When you click on links to various merchants on this site and make a purchase, this can result in this site earning a commission. Affiliate programs and affiliations include, but are not limited to, the eBay Partner Network.
Finally decided to post up a build thread of my car since its nearing completion, I will most likely just backtrack and find old pictures of the car until I am up to the current progress, enjoy! the car (background): Well my dad bought a 1991 NA with 113,000 miles on it for $1200 in around 2014 if I remember correctly. He quickly lost interest with it and sold it to me for a little less then what he paid for it. The previous owner must have been setting the car up for drift, hence the welded differential, drift end-links, and drift stickers everywhere. The goodies that where on the car already was a solid racing beat rear sway bar, racing beat end links all around, and poly diff bushings. It also had a set of rokkor coilovers if I remember correctly, Car also had some ebay fiberglass fenders that fit terribly and where soon replaced. Other then that when my dad had it we installed boss frog frame rails. My dad also scored an oem hardtop off of craigslist from some lady that obviously didn't know what she had. Think he settled a deal for $500 although she had it listed for much less. The car surprisingly had very little rust (being a New England car) and we took care of that before we painted it. end goal: just to basically have a fun street car that looks nice and can get out of its own way.
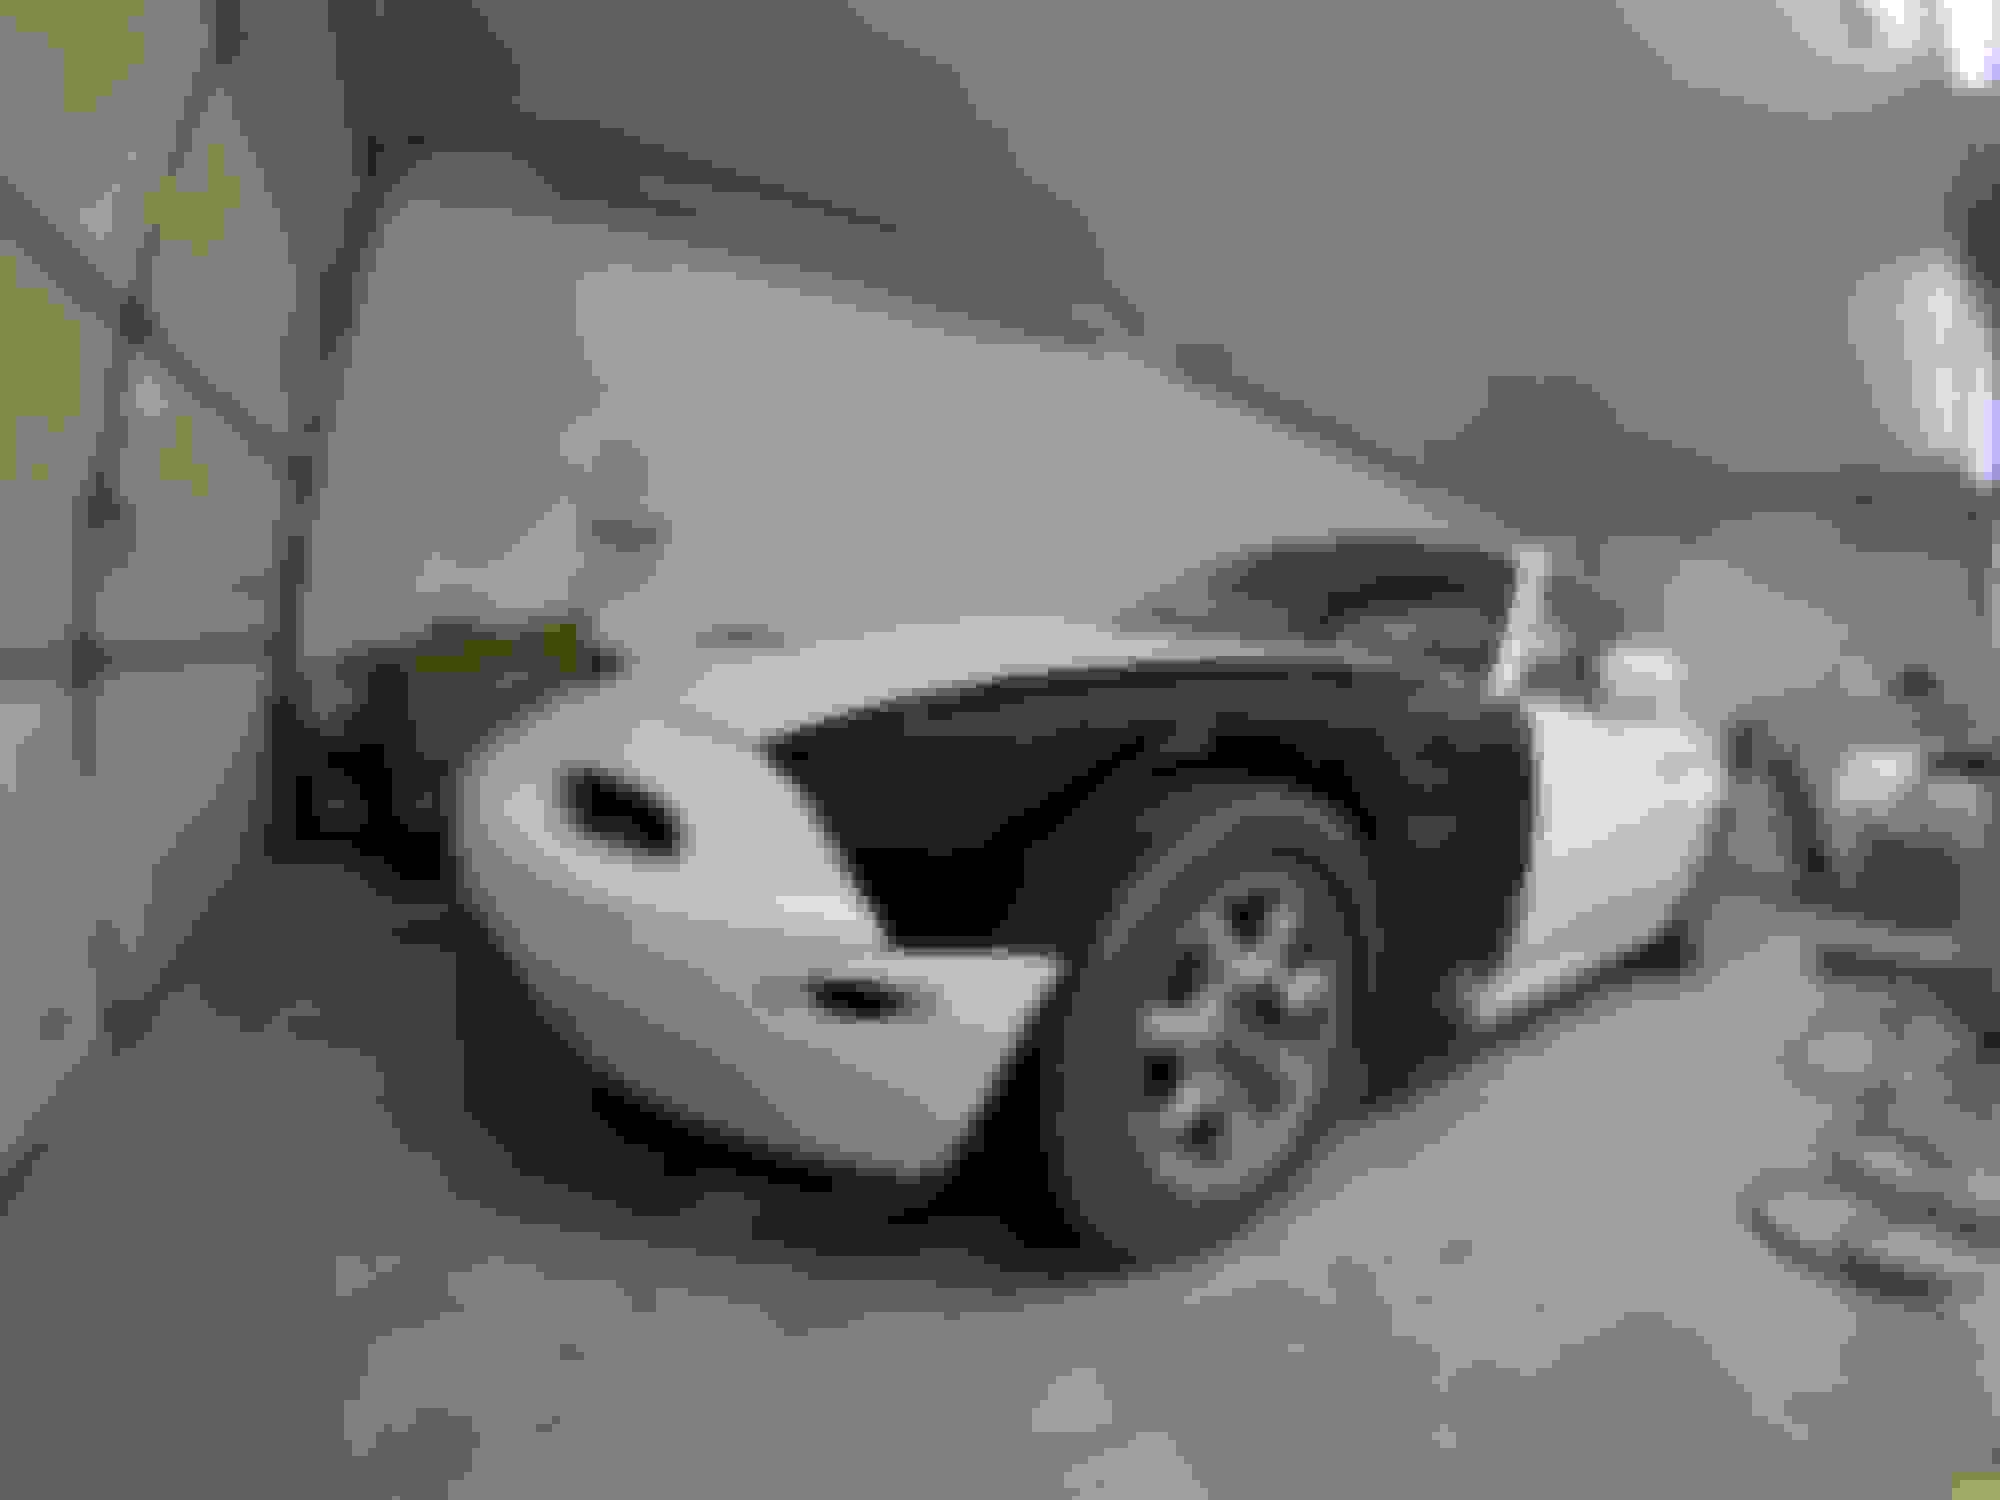
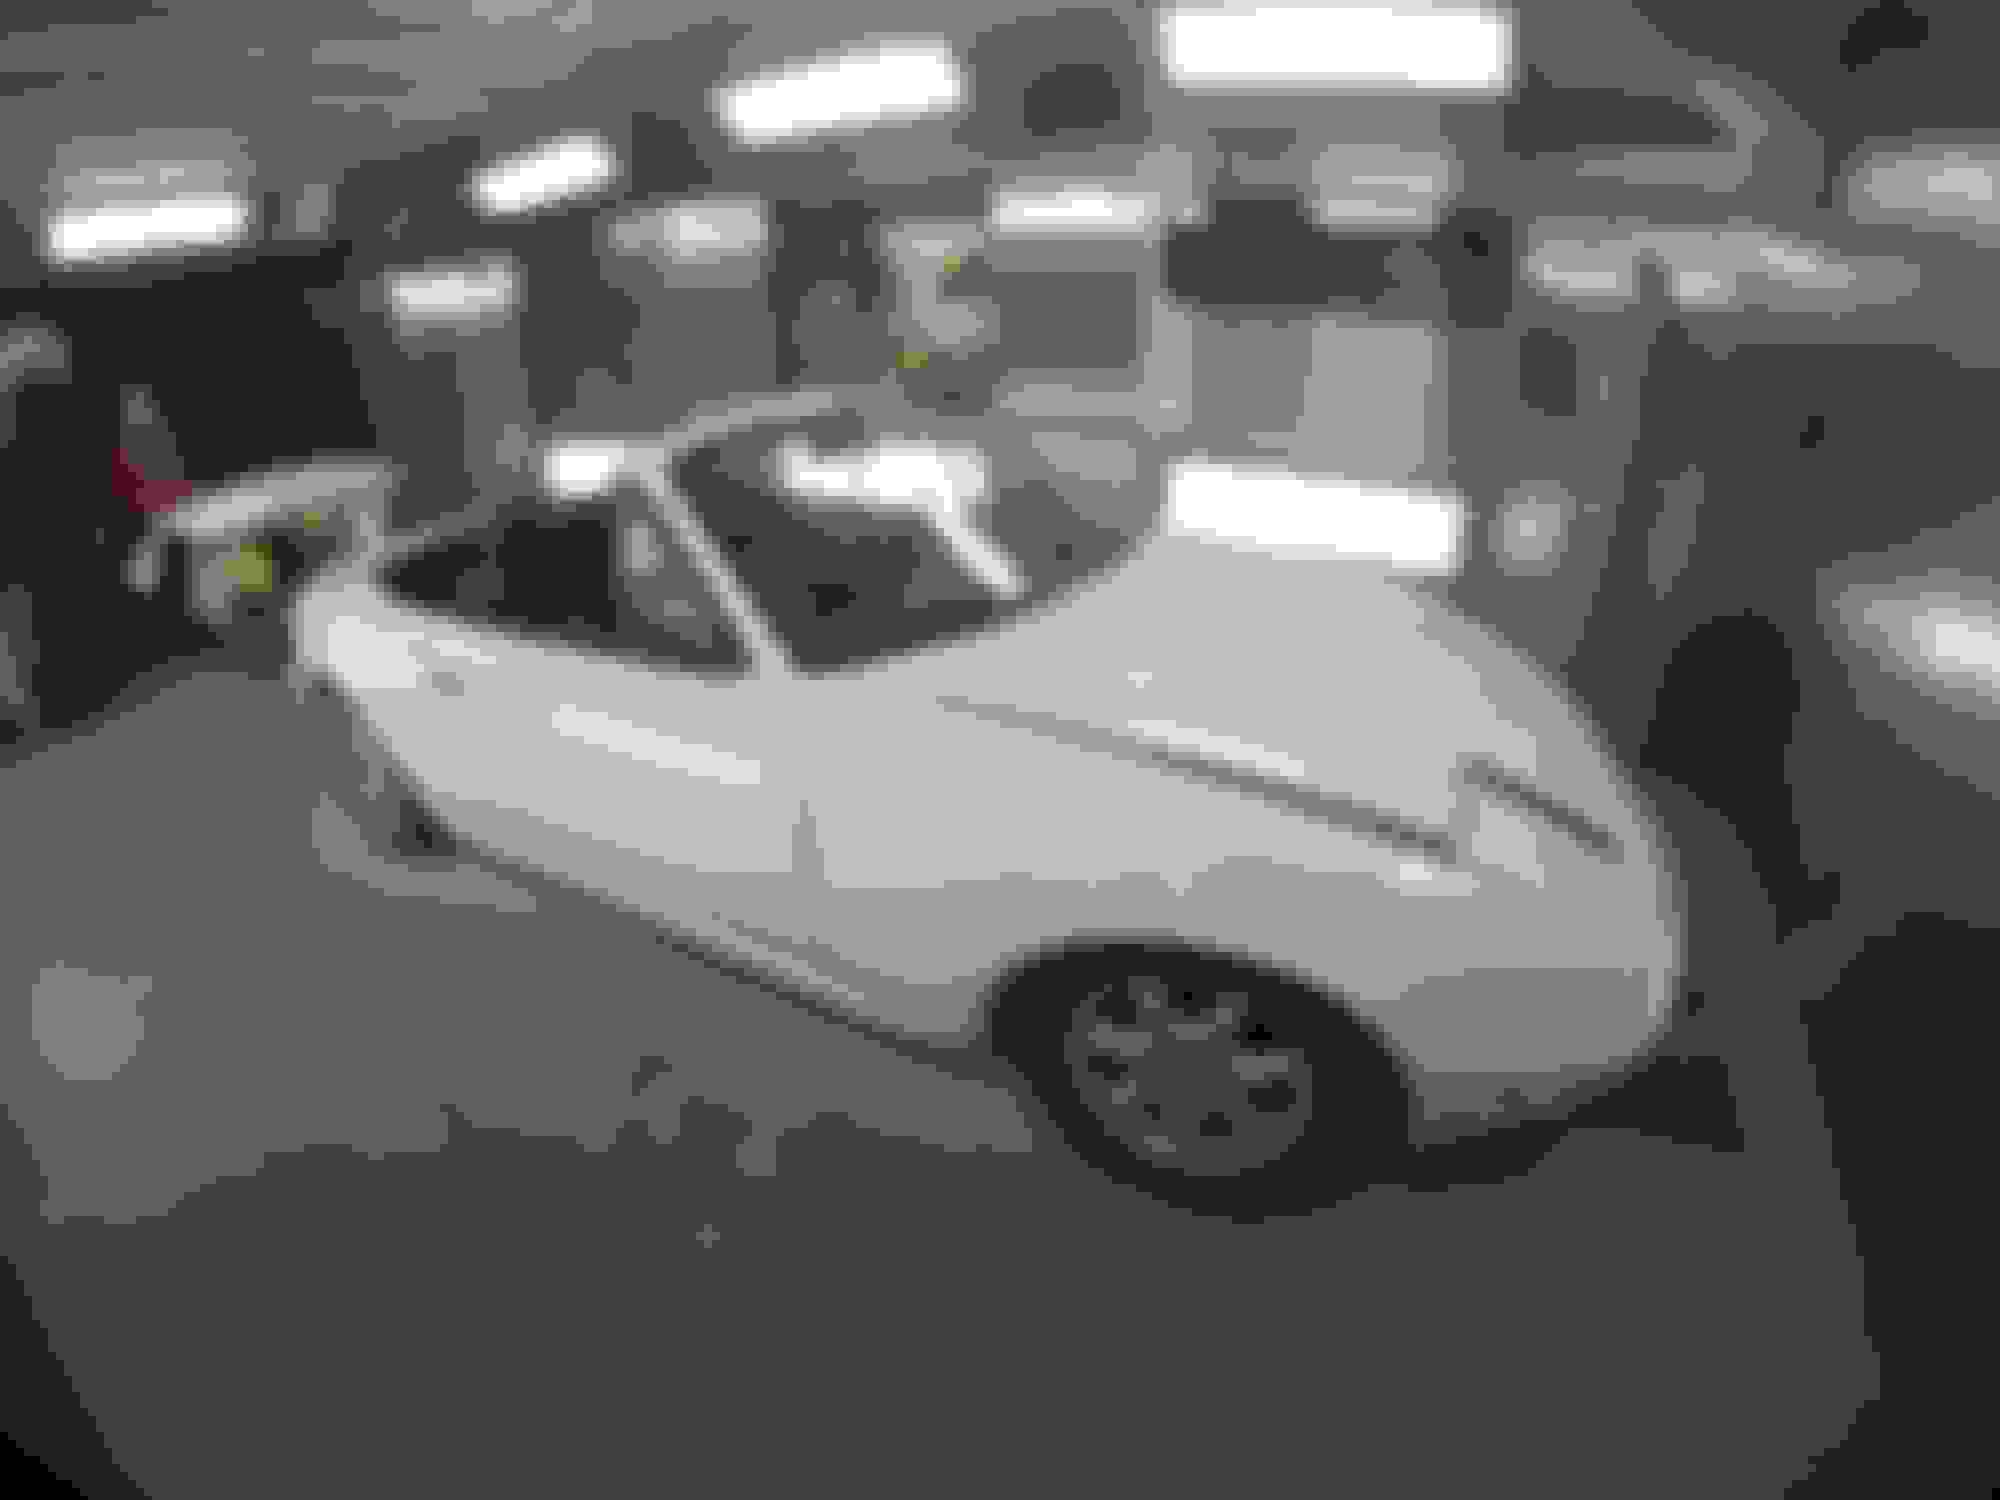
A few old pictures below
paint: was pretty straight forward, but lets just say that I tried using cheap single stage paint first before we painted it in the booth and I magically wet sanded the car all over again and got it resprayed. I also deleted the antenna hole and cut the rear bumper at this point. I also shaved most of the tabs on the front bumper to make more room for the intercooler (little did future me know, I would end up installing the smallest intercooler ever.
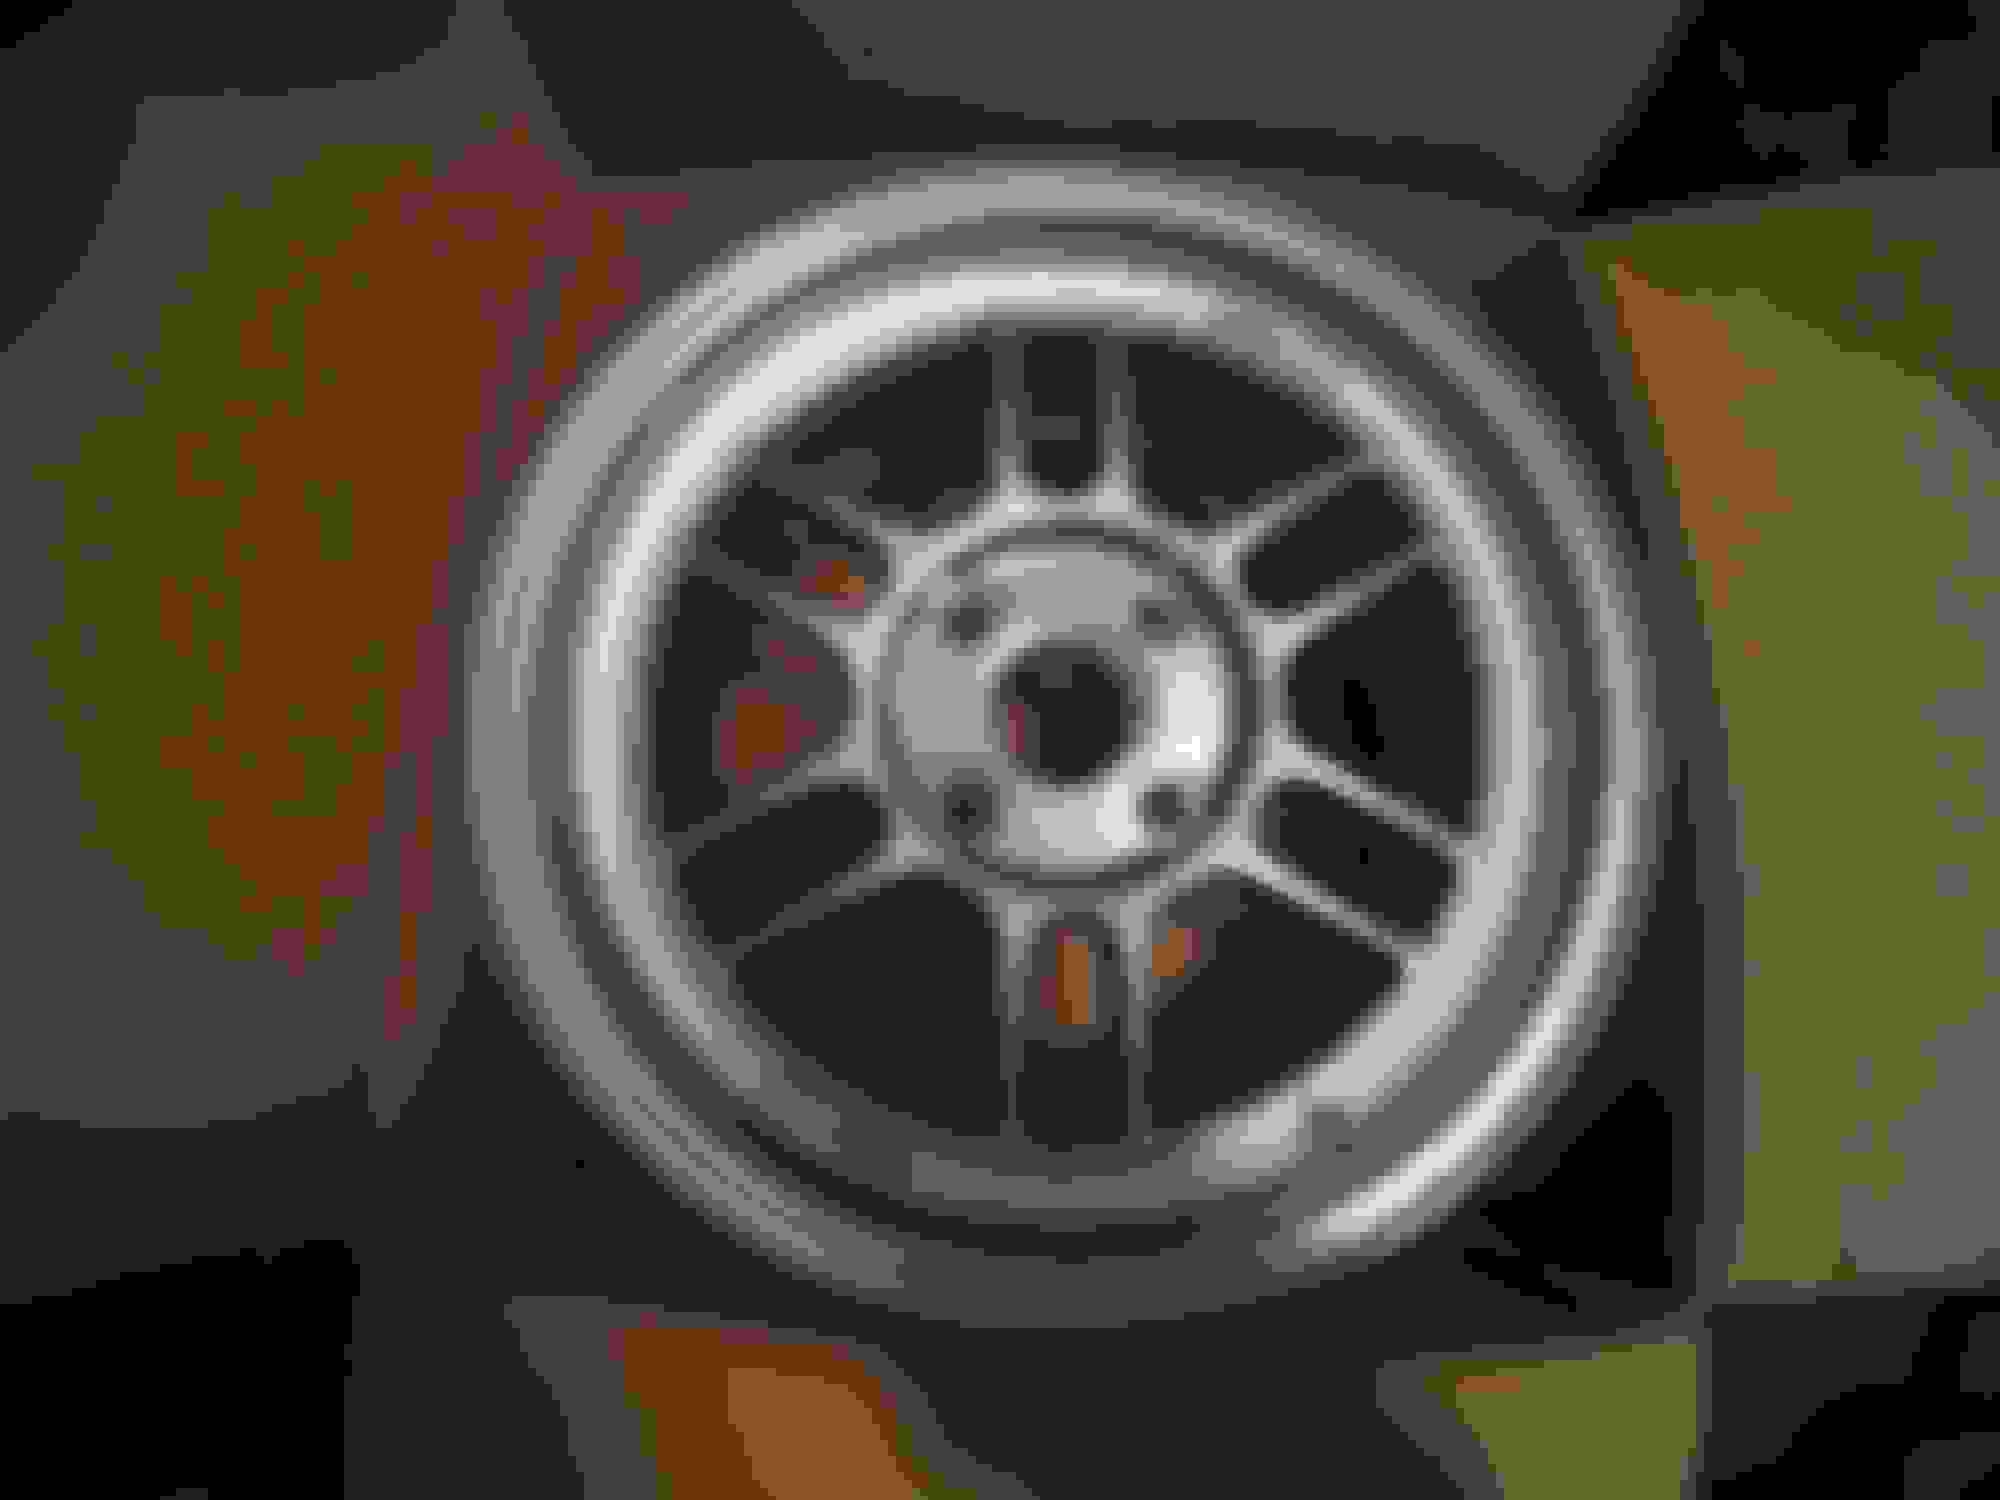
wheels & tires: always loved the look of enkei rpf1's and how light they are, so I just decided to go with 14x7 et19 with a set of dangerously cheap federal tires Federal SS-595 185/55R14 to be exact; I actually like them quite a lot, tons of grip for the small size.
wheels & tires mounted up, also reinstalled the TDR radical splitter after the car got painted, would like to eventually get a larger piece of ABS plastic and make a splitter that goes further back to function as an undercarriage tray as well to help the air flow into the radiator and ic.
straightened out the gaps on the hood, headlights, and bumper at this point the best that I could.
At this point I didn't drive the car that much mainly waited for parts to arrive, but I installed what I could at the time. ecu: Megasquirt diypnp2 just because its pretty user friendly and has a lot of features for the price. also got the gm iat sensor to delete the afm. injectors: 420cc RX-8 195500-4450 gauges: went with Innovate mtx-l for the wideband and just a mechanical Autometer boost gauge that will soon be replaced with one that shows vac. wheel/hub: Momo team 280mm wheel with a nrg quick release shift ****: Techno Toy Tuning nylon shift **** stereo: Alpine headunit hidden with a nice set of door speakers, controlled via bluetooth.
intercooler: cxracing core 19.5"x6"x2.5" Piping: cxracing 2.5" kit and it basically had everything that I needed. Thanks to having no ac I was able to run 2.5" all the way with a 45 deg 2" to 2.5" elbow straight to the turbo. I am quite happy with how the intercooler setup came out. I spent a lot of time routing it out and making sure that all of the clearances where good where things got tight.
made some lower brackets for the intercooler
drilled and tapped fittings for the iac valve as well as the gm iat sensor.
When it came to the important bits I sourced parts from flyin' miata as I am planning on keeping the car for a while.
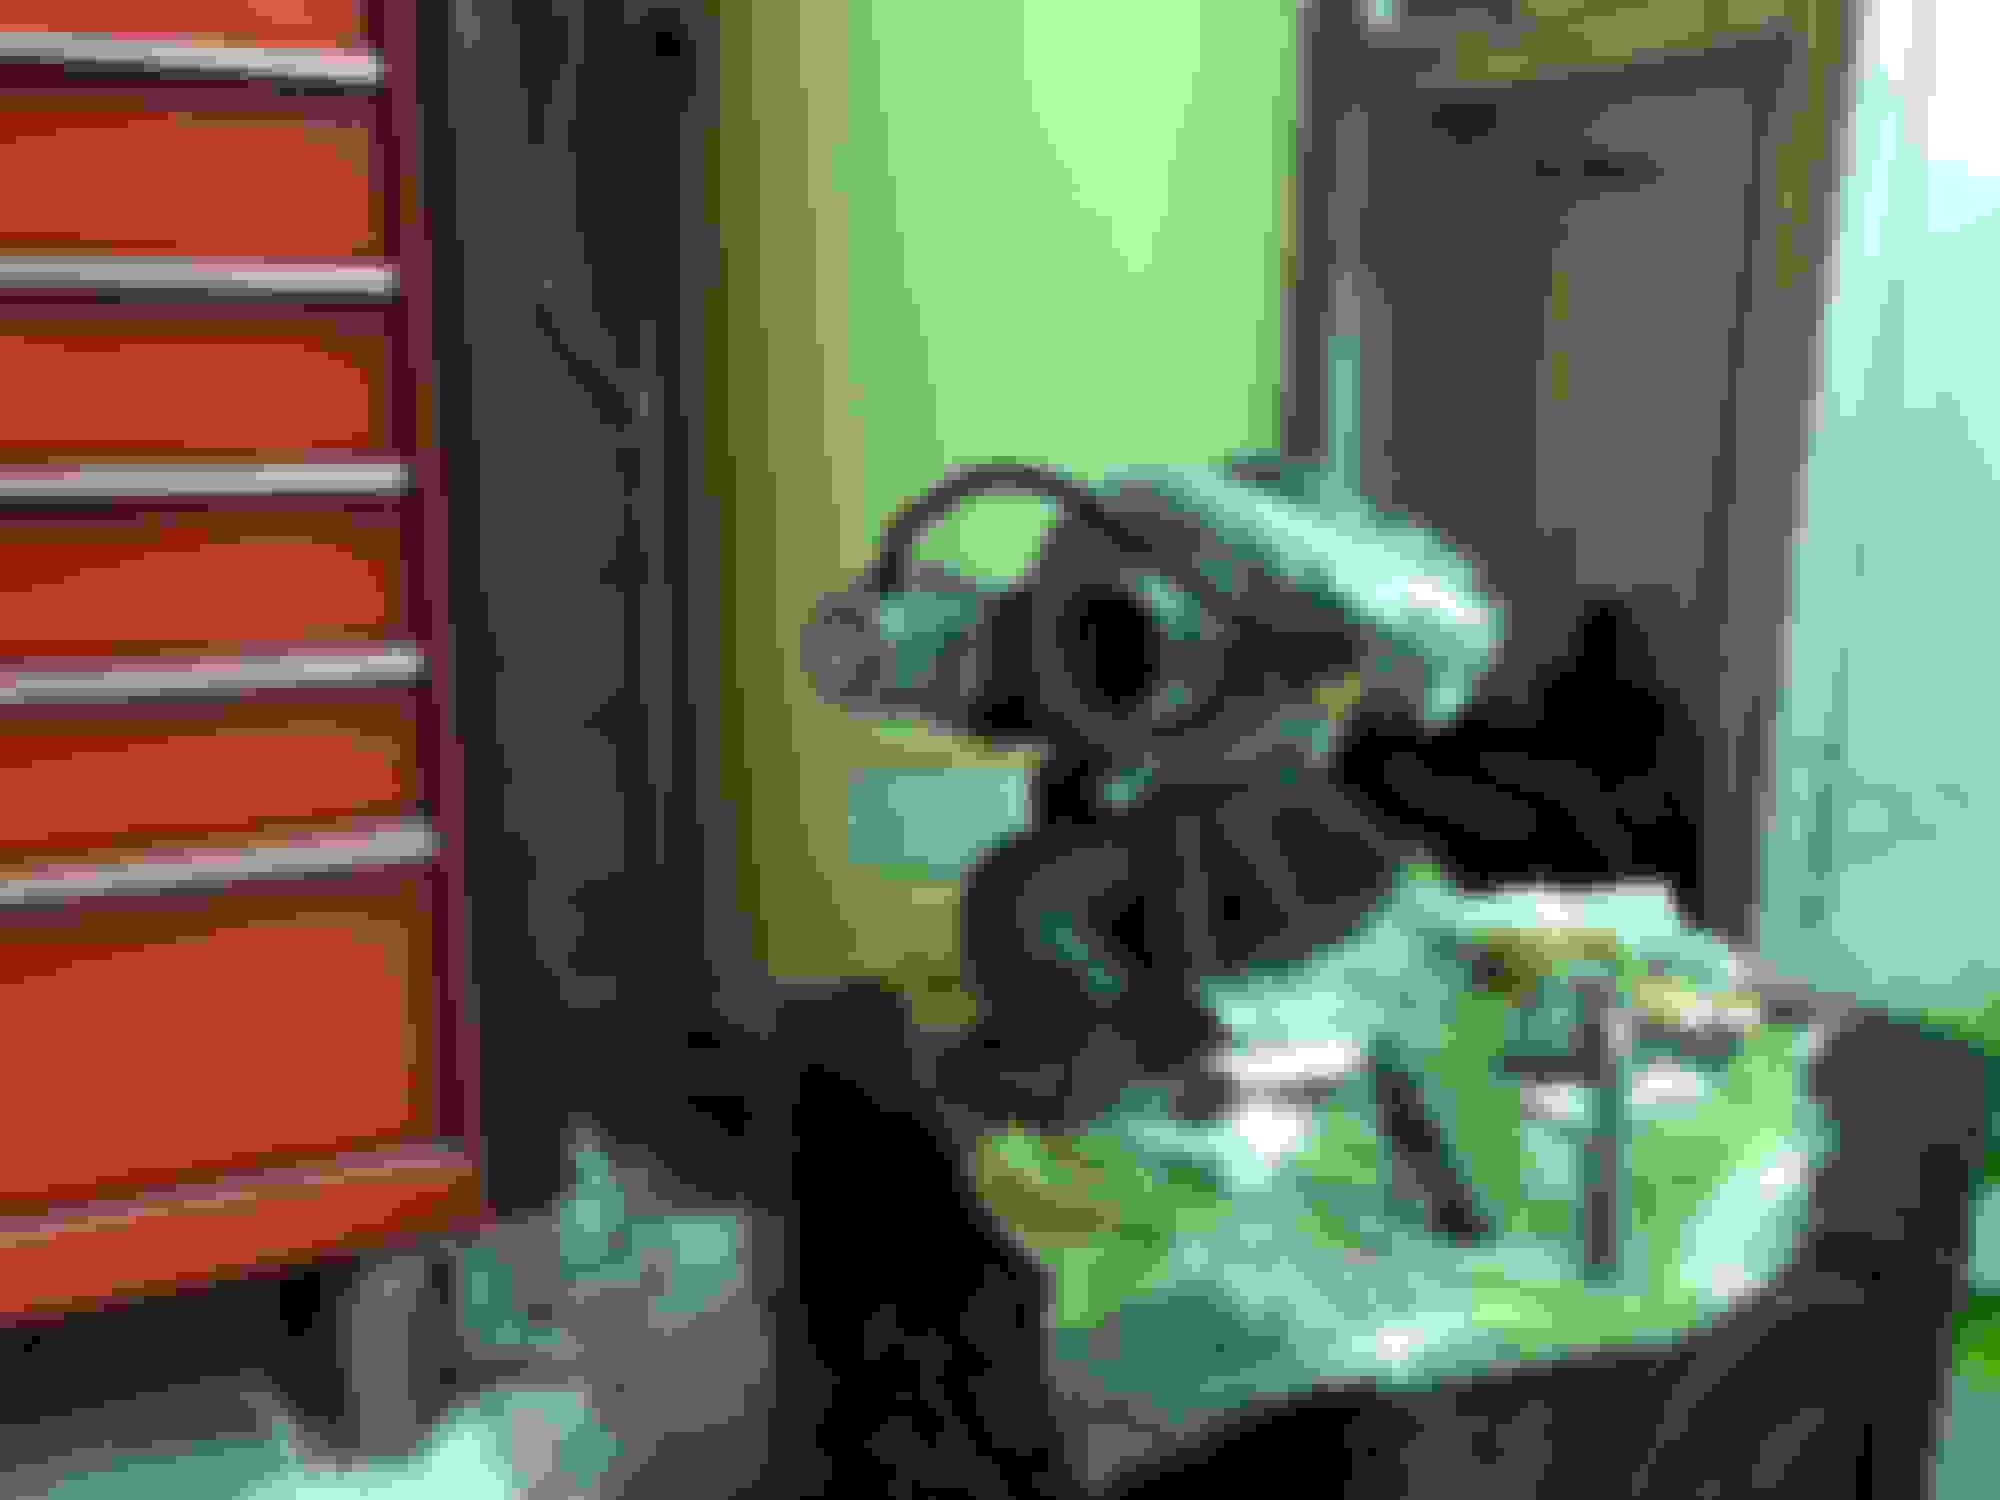
garrett gt2554r turbo with 7psi wastegate actuator (all fittings for turbo sourced from flyin' miata)
flyin' miata cast manifold
flyin' miata stainless steel downpipe
Had a slight issue with the manifold, looks like one of the reliefs for the nut was overlooked and not machined out all of the way. Contacted flyin' miata and they had a new manifold shipped out the same day, great customer service.
old manifold
new manifold
test fit the new manifold on my spare engine
still need to switch out the manifolds this week
made an intake out of a 2.5" silicone elbow and a small section of leftover ic pipe hooked up to a cone mesh air filter.
[respraying engine bay over the winter by the way]
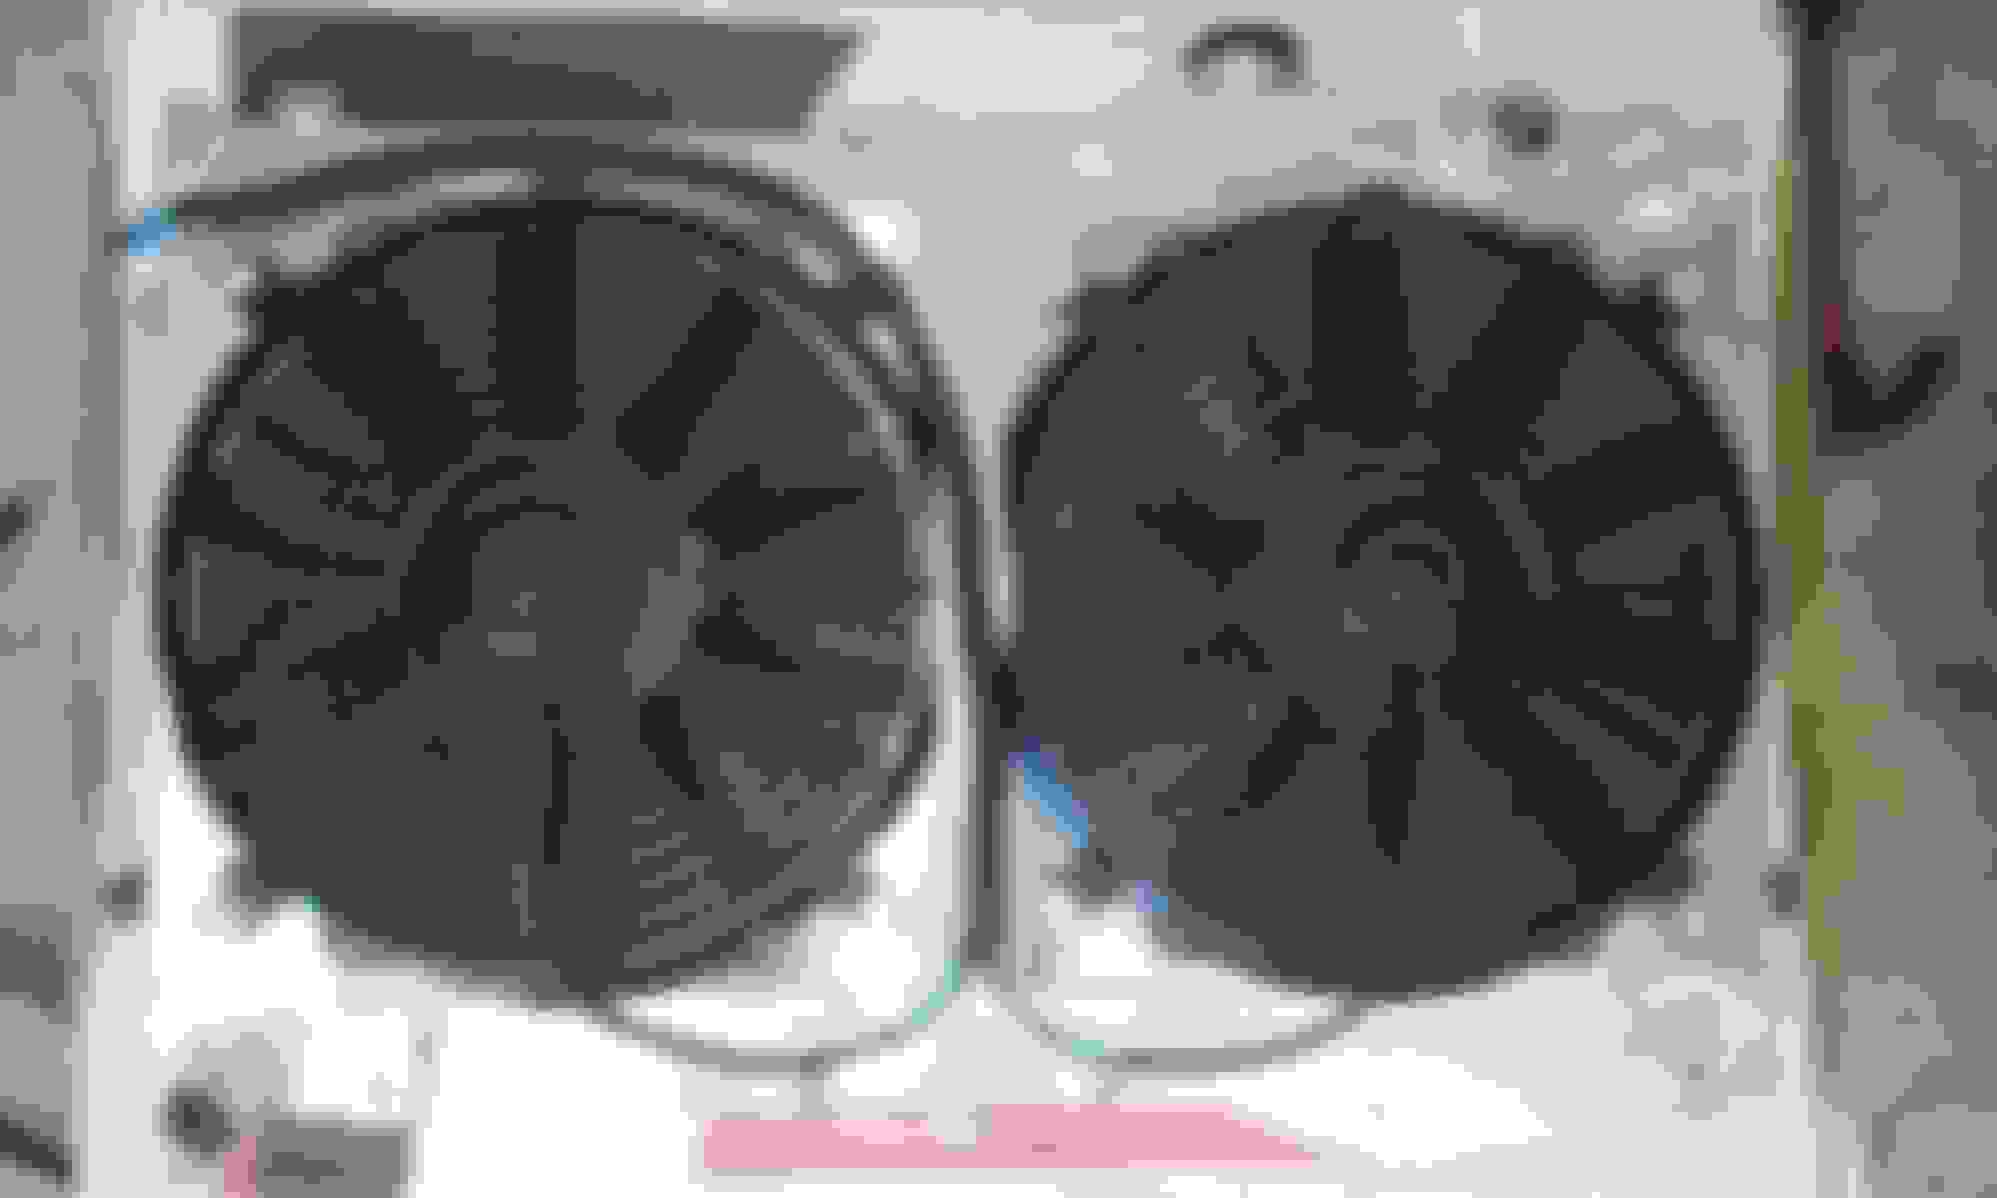
cooling: Yonaka radiator with dual fans, I will actually update later on about the long term reliability as I just installed them. Purchased from Redline360.com for $210 and the shroud and fans where already installed. Most of the Ebay listings you see are not pre-assemble and cost $240.
comparison of the cores on the stock one and Yonaka, pretty insane.
soldered and shrink wrapped
just wired the fans in tandem as I don't have A/C
Yonaka even has the fan wires color coded, bonus points.
re-loomed the wires
don't forget to re-install the rusty old oem-goodness.
fitment was great no complaints, car seems to stay right around 195-200 deg on hot days. Used to always be at 205-210 deg with the oem radiator and single fan.
oil catch can: Ruien unit off of amazon
quality is actually quite nice.
might end up relocating it before I paint the bay, but for now this location will be fine.
used some 3/8 fuel line just because it will do a better job resisting heat.
cooling update: I changed my thermostat over to a Stant 180 and the car runs at 185 most of the time, the old thermostat must have not been opening all of the way.
Looks to be super solid. How is running batch on the DIYPNP? Once I installed the sequential mod from DIYAutotune the car became 3x driveable and I also doubled my MPGs.
Great wheel and tire combo! The 14" RPFs have great lip and the 185 tires on a 7" wide wheel has the perfect amount of stretch and fill the fenders beautifully.
Looks to be super solid. How is running batch on the DIYPNP? Once I installed the sequential mod from DIYAutotune the car became 3x driveable and I also doubled my MPGs.
Car runs surprisingly well on batch; I should look into sequential soon, still need to take it to get property dyno tuned to work on accel enrich, when the throttle tips in under light load I get a decent spike in my AFRs.
Originally Posted by Ken Hill
Great wheel and tire combo! The 14" RPFs have great lip and the 185 tires on a 7" wide wheel has the perfect amount of stretch and fill the fenders beautifully.
Thanks! yeah ive always loved the look of rpf1's myself.
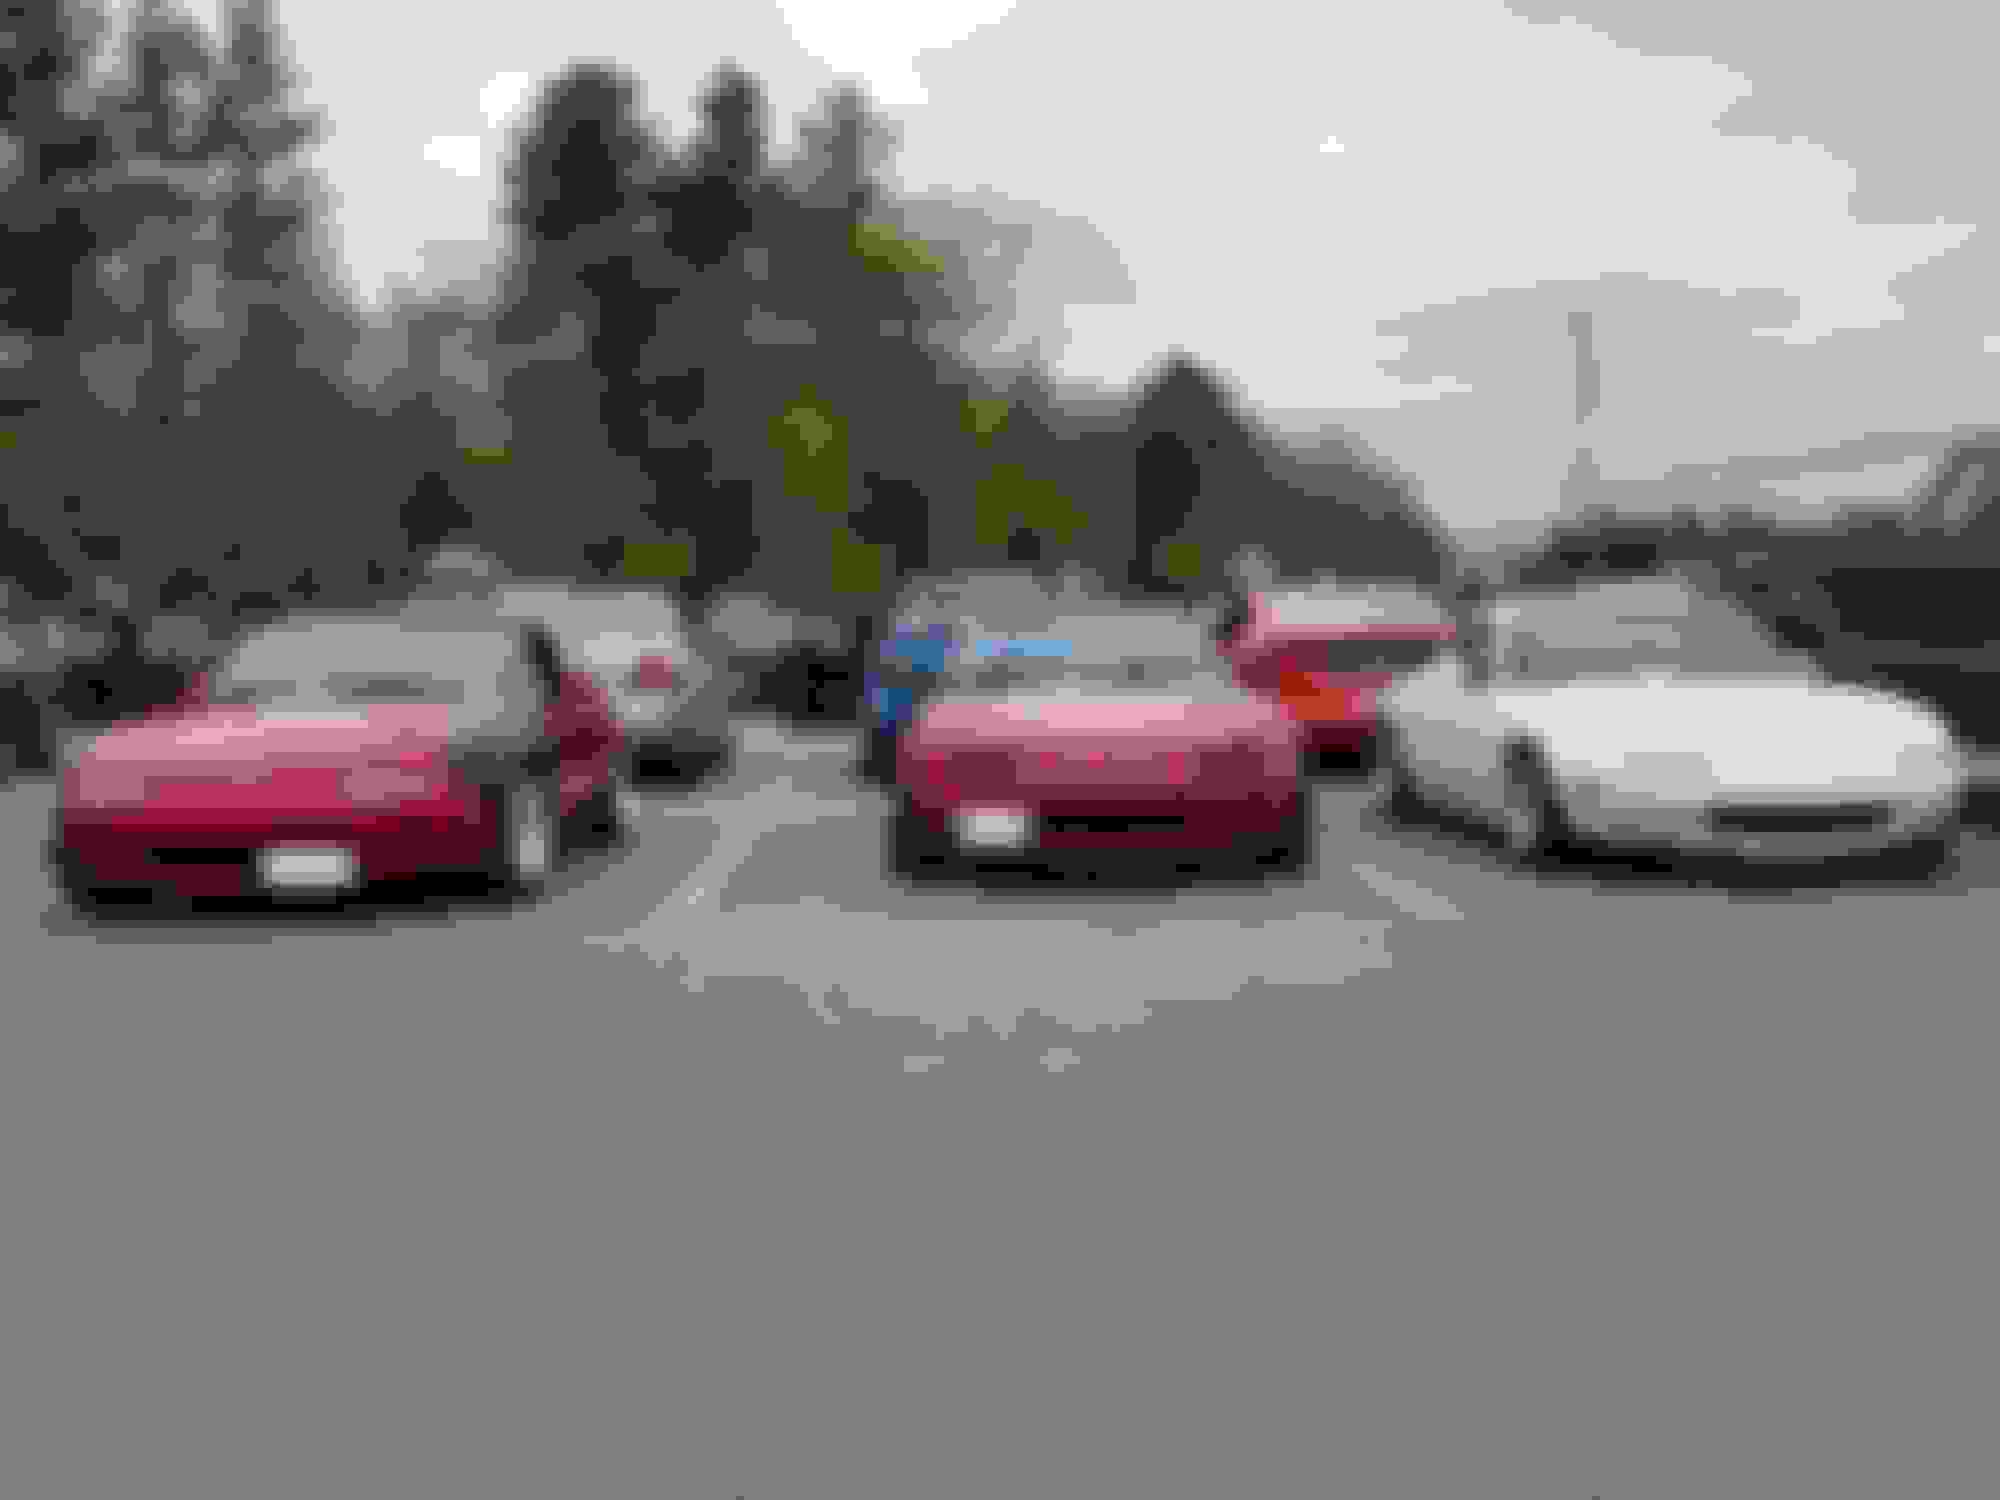
Went to a Larz Anderson Auto Museum for miata day, was very well organized and had a blast.
I have been trying to put miles on the turbo and buttoning up a few things before it gets properly tuned, dealing with slightly lean AFR spikes during low load accel. so i'm just going to get a VTP most likely and have the accel. enrich dialed in as well. last step is installing a clutch and welding up the intercooler piping to get rid of a few couplers so ill have pictures to come of that.
Thanks!
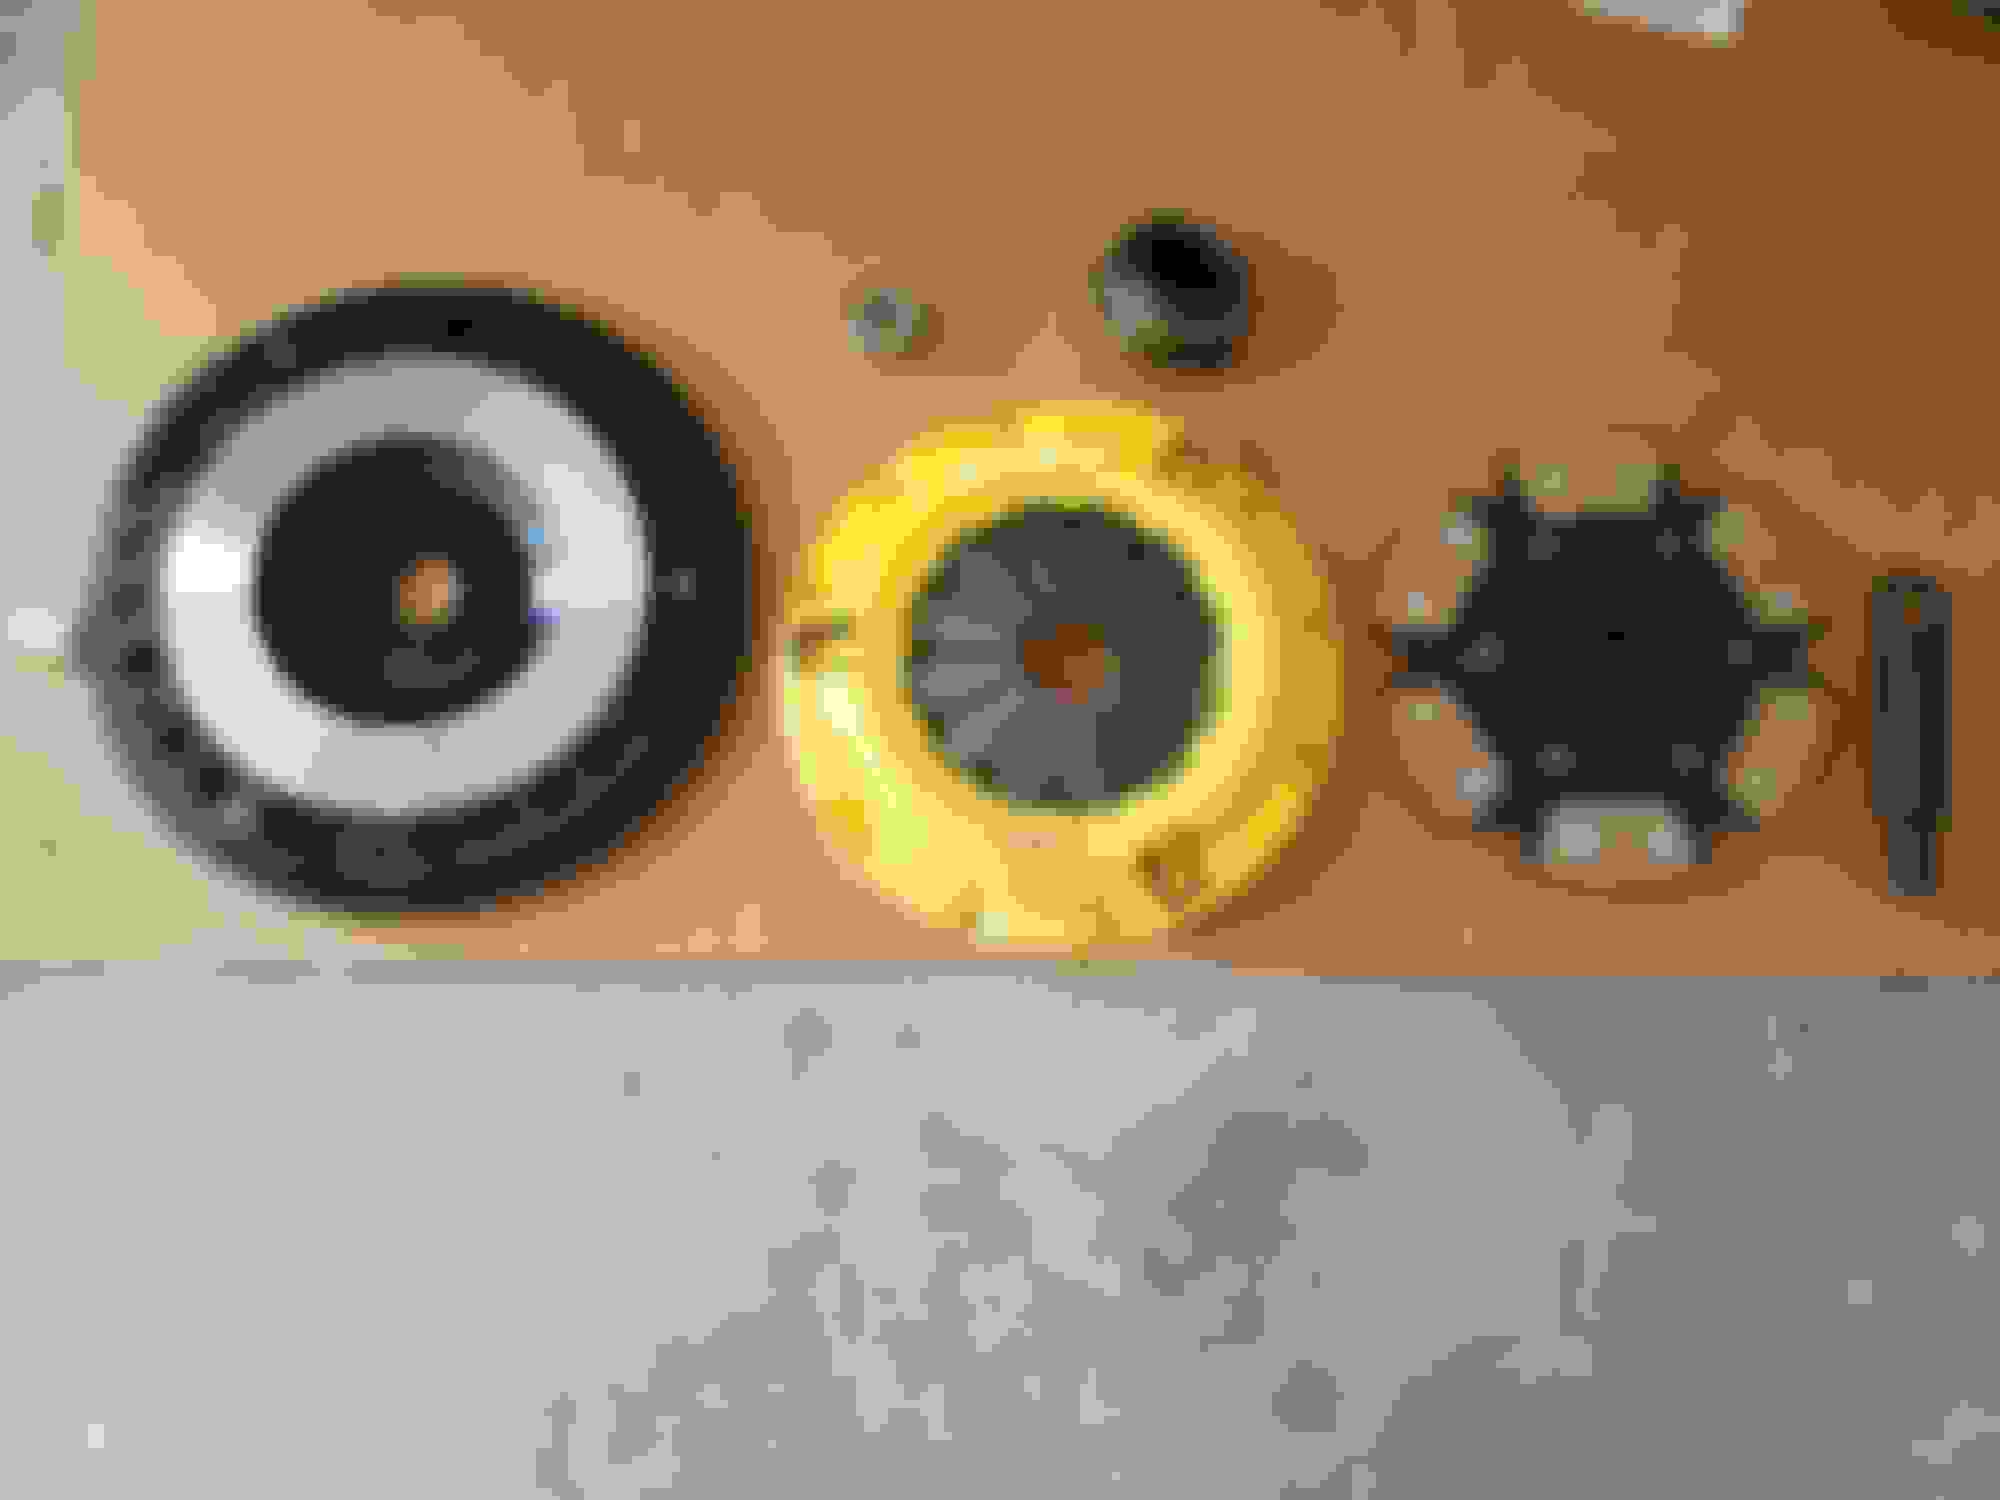
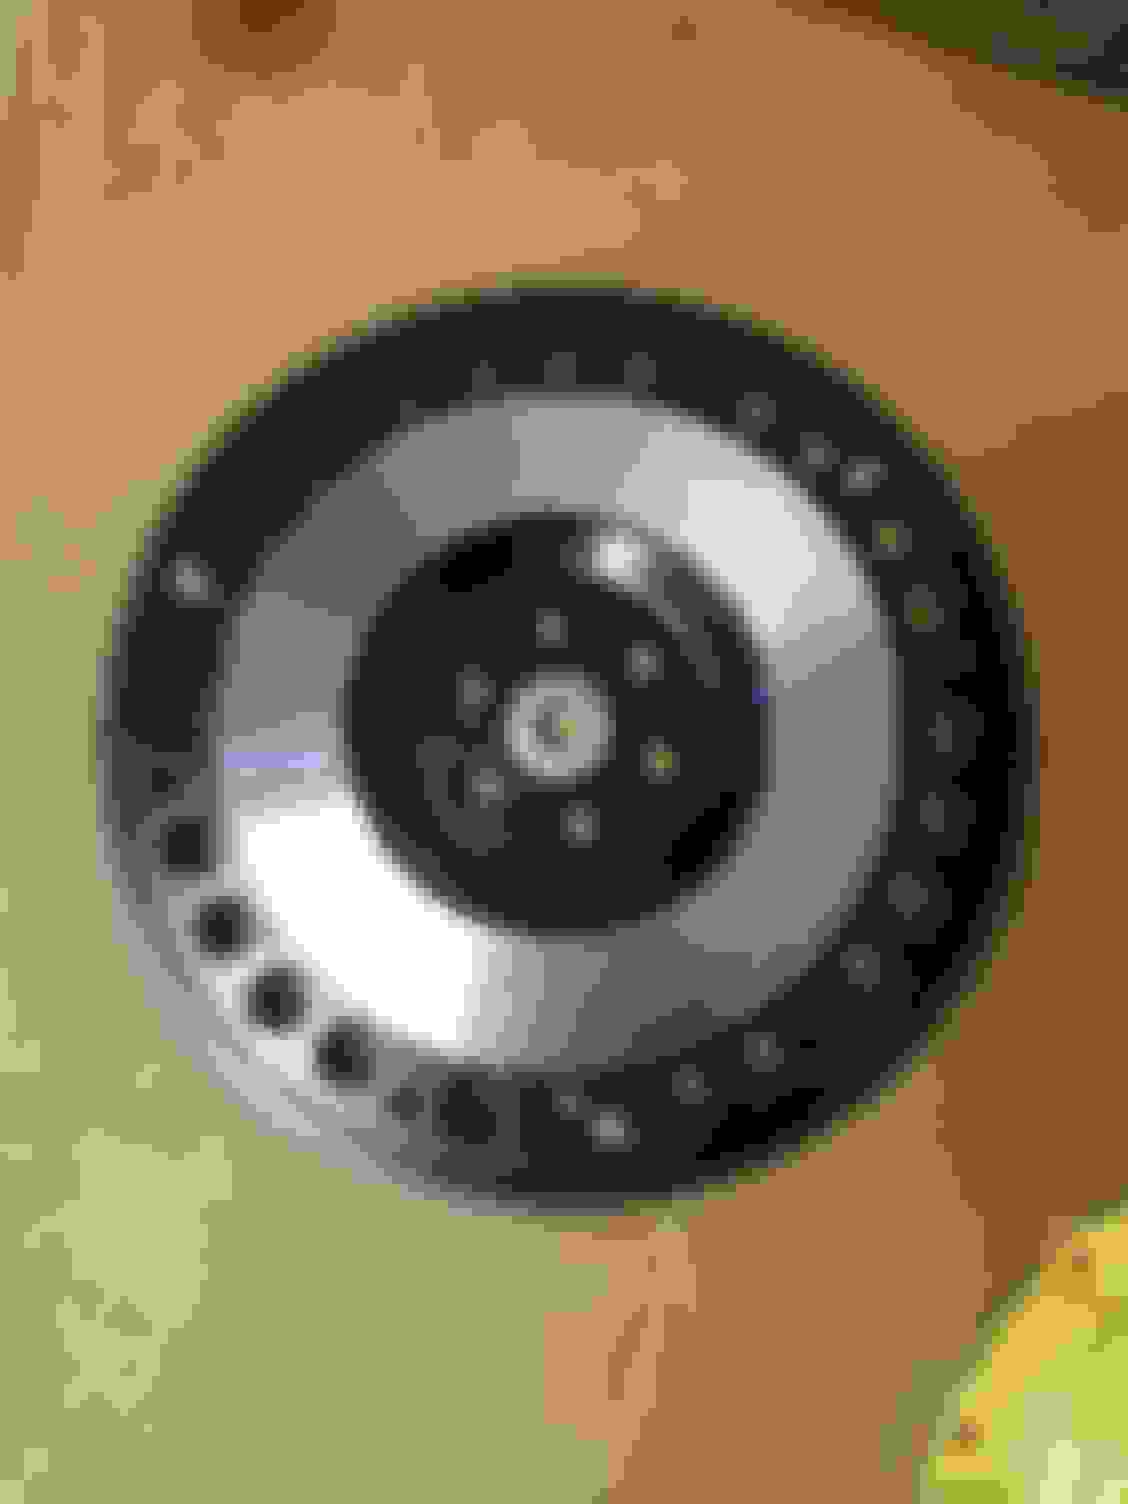
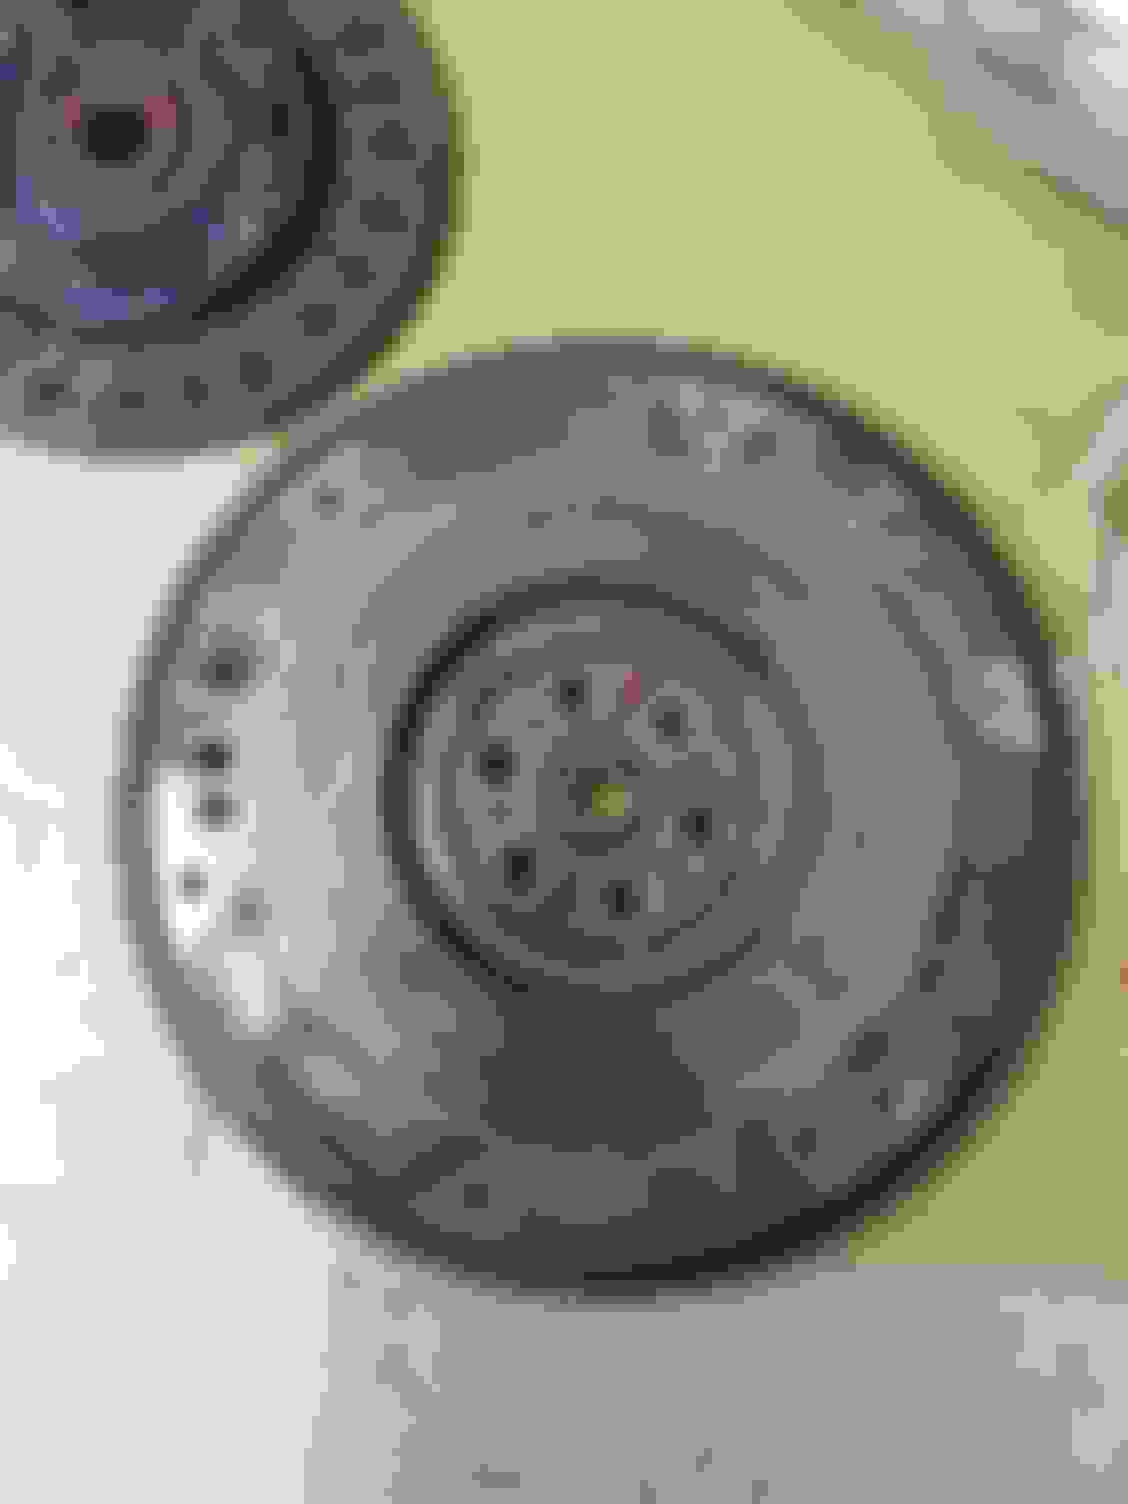
few pictures I found of the clutch install past fall, clutchmasters six puck with a lightened flywheel
Was surprised to find an aftermarket clutch in there, was an exedy clutch almost completely worn down.
only have about 400 miles on the clutch but first impressions are pretty good, holds the power and easy clutch engagement. Only complaint would be that it is a little noisy, but that seems common when you put a lighter flywheel in, less sound dampening.
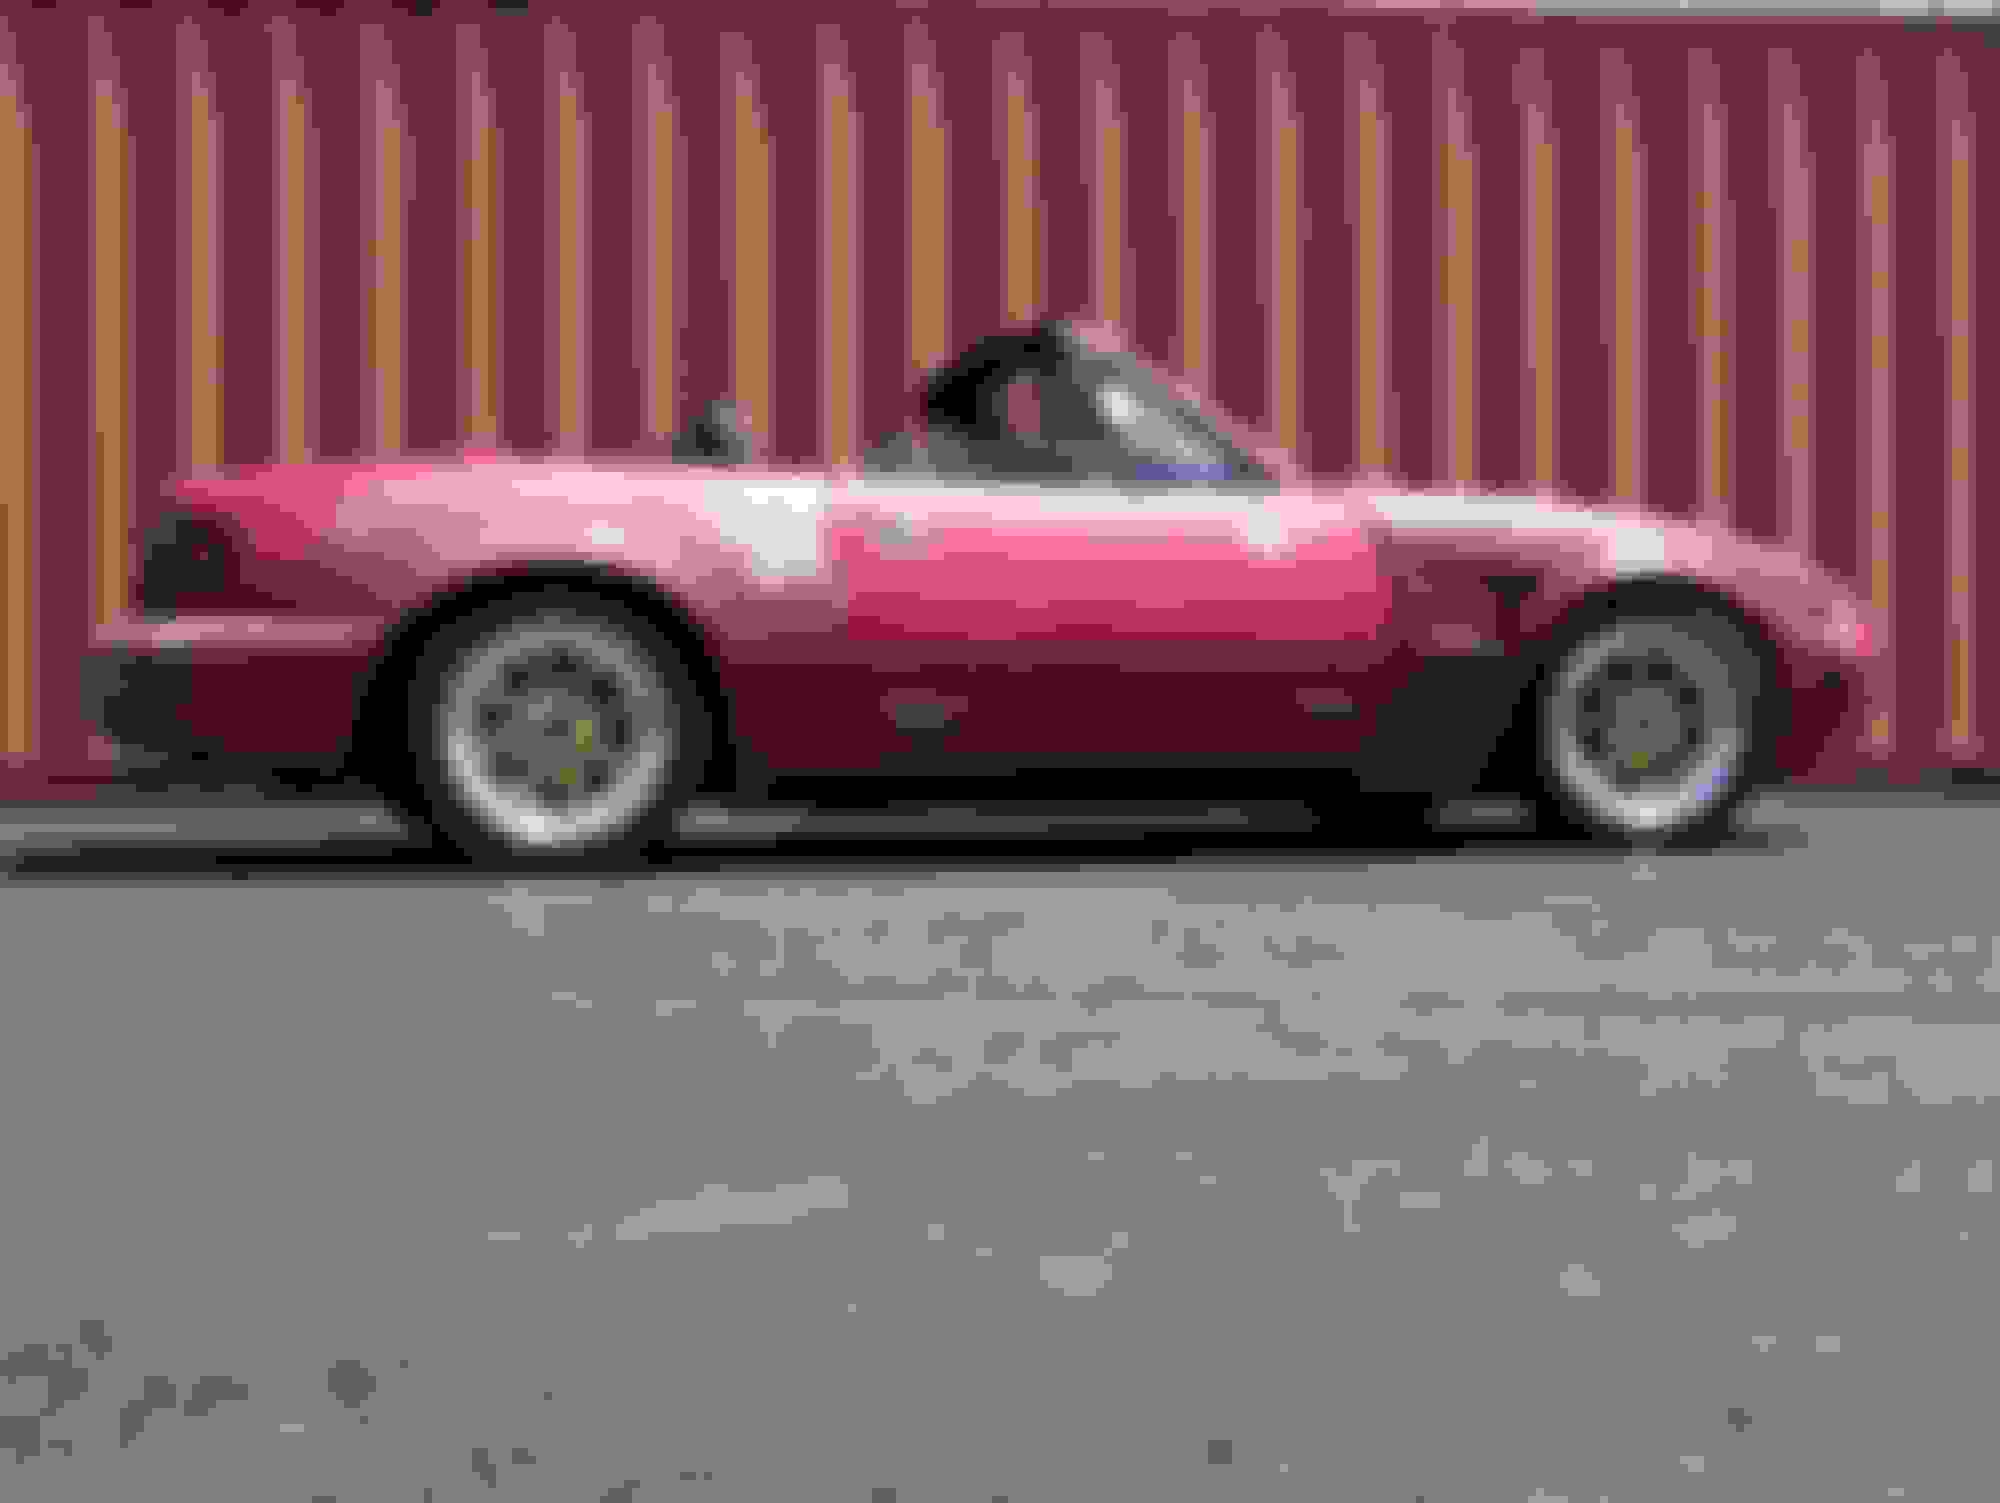
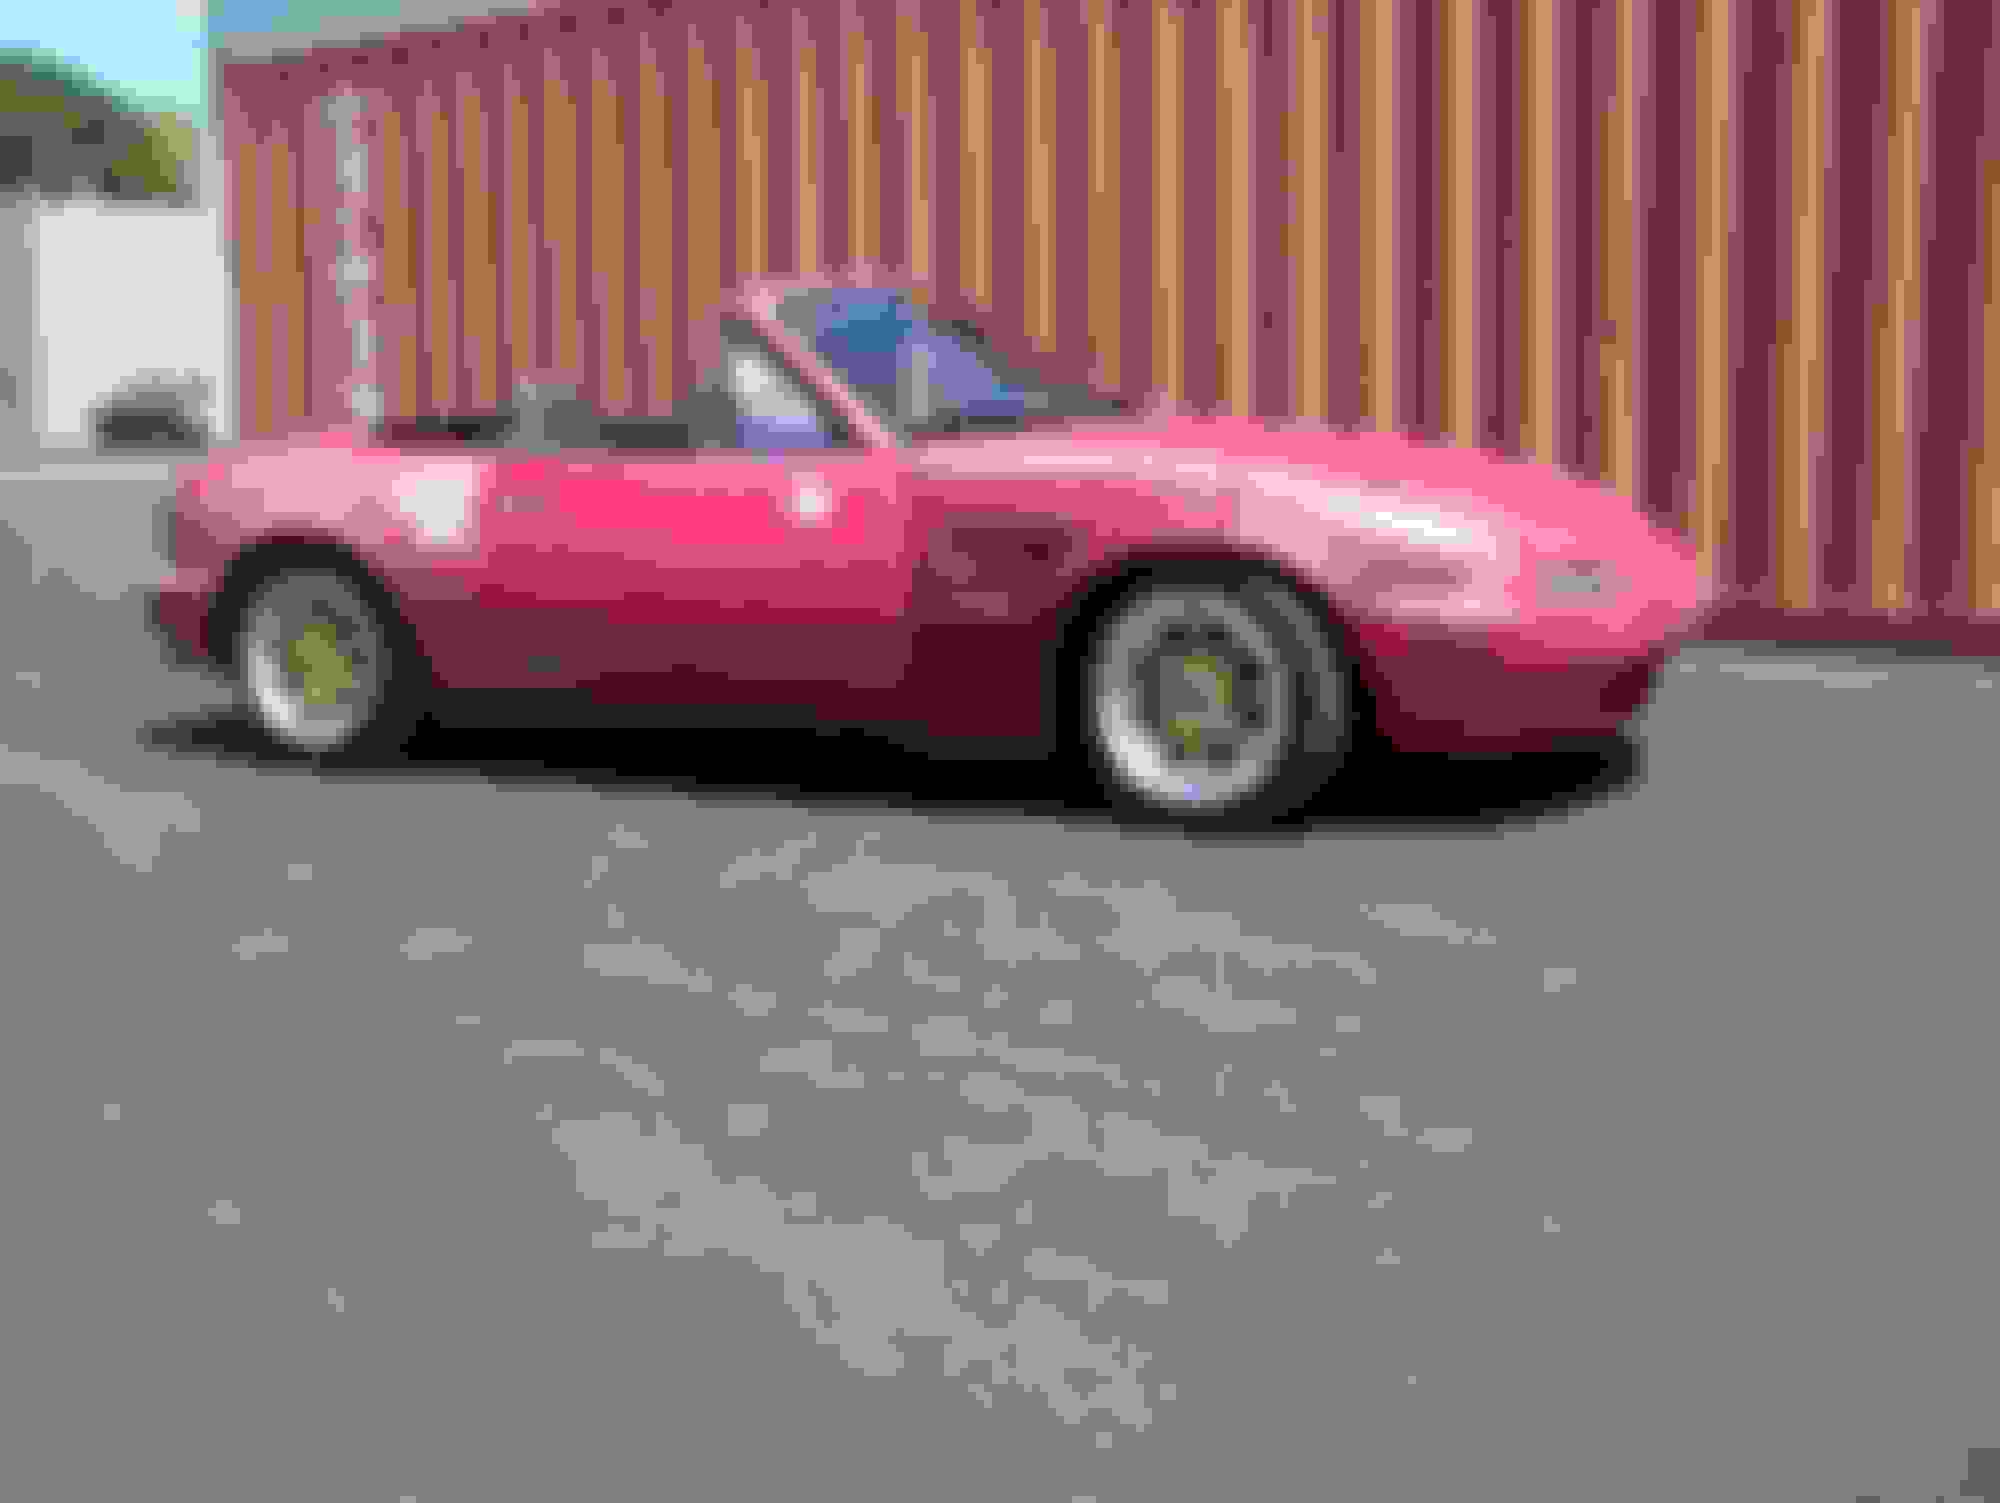
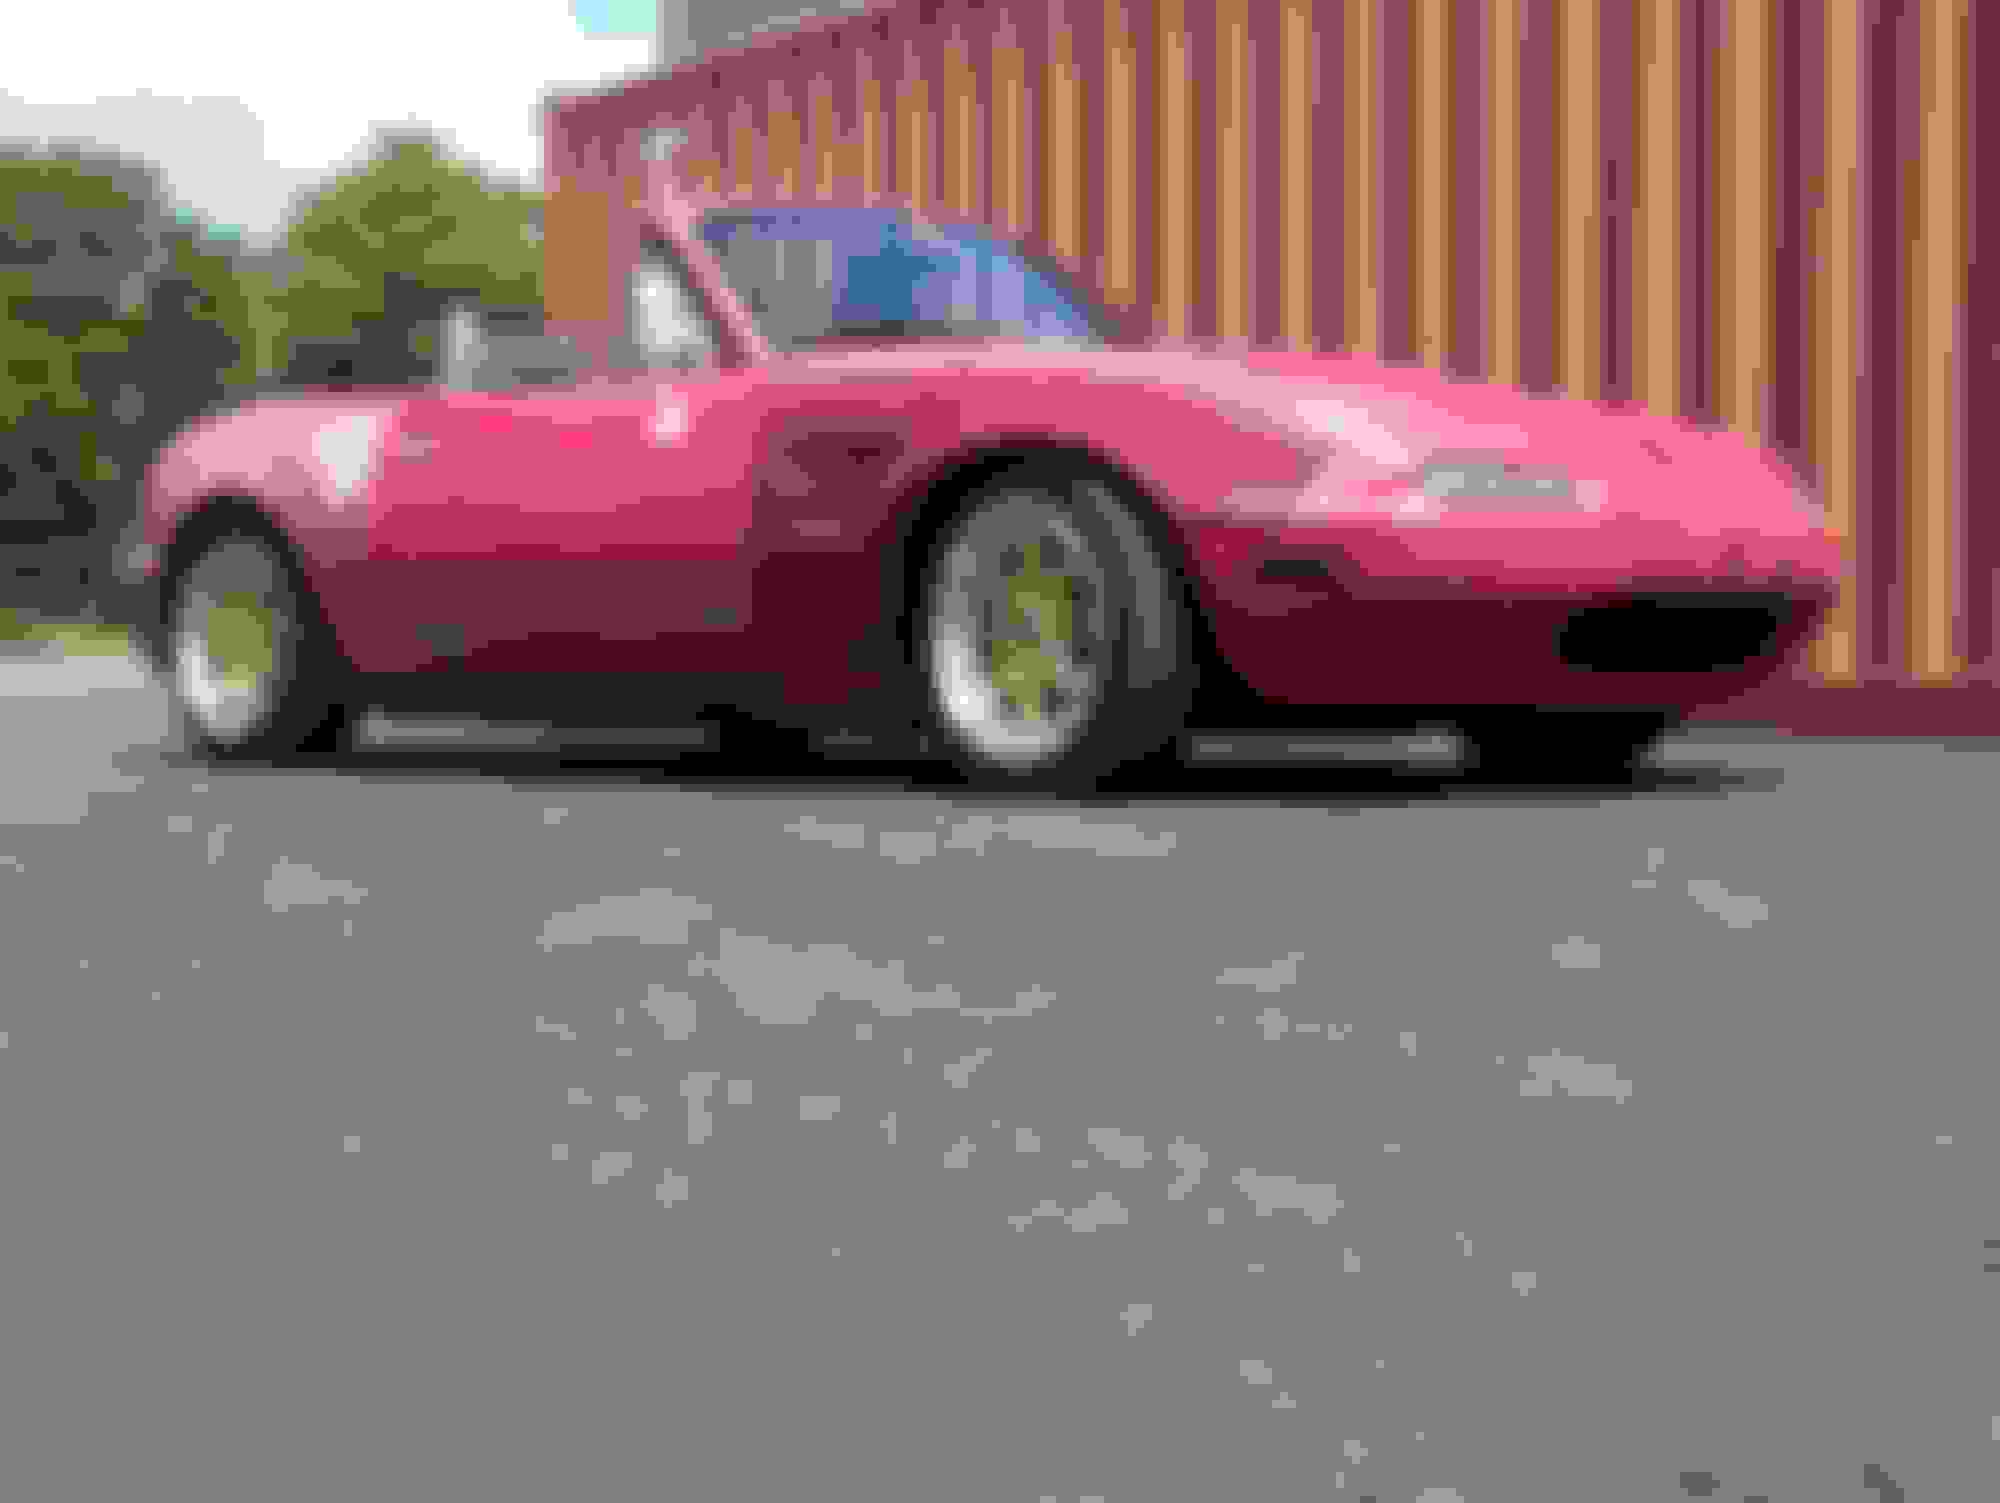
Few more pictures of the car, debating v8 swapping it in the next few years, I daily drive a 300c srt8 and after driving that I feel like the miata needs a v8 haha
 06-06-2017, 08:58 PM


 0
0