When you click on links to various merchants on this site and make a purchase, this can result in this site earning a commission. Affiliate programs and affiliations include, but are not limited to, the eBay Partner Network.
Sorry to ignite a more general debate here. I was more or less comparing cheap, unknown heat-shrink butt splices with high-quality heat-shrink butt splices from TE, Molex, or 3M. The biggest difference is that nice closed-barrel splices have a strong brazed seam that is necessary for good performance with hand crimping tools.
There are many right ways to splice wires, many wrong ways, and lots of opinions. However, it�s generally reasonable to buy high quality versions of whatever method you�ve chosen and to use a good crimp tool. Plus, nice butt splices come in step-down versions perfect for changing wire gauges or fanning out a signal to multiple wires.
It's surprisingly inexpensive to have branded tooling to match, which gives good confidence of a high-quality result.
A nice small heat gun is supremely useful for wiring as well. I had one already from model airplane days, but I saw this one on clearance at a local dying Radio Shack store, and picked it up for $10. I'd pay full price for it. The reflector allows you to get both sides of the connection without acrobatics. Also, it's hot enough, but not too hot.
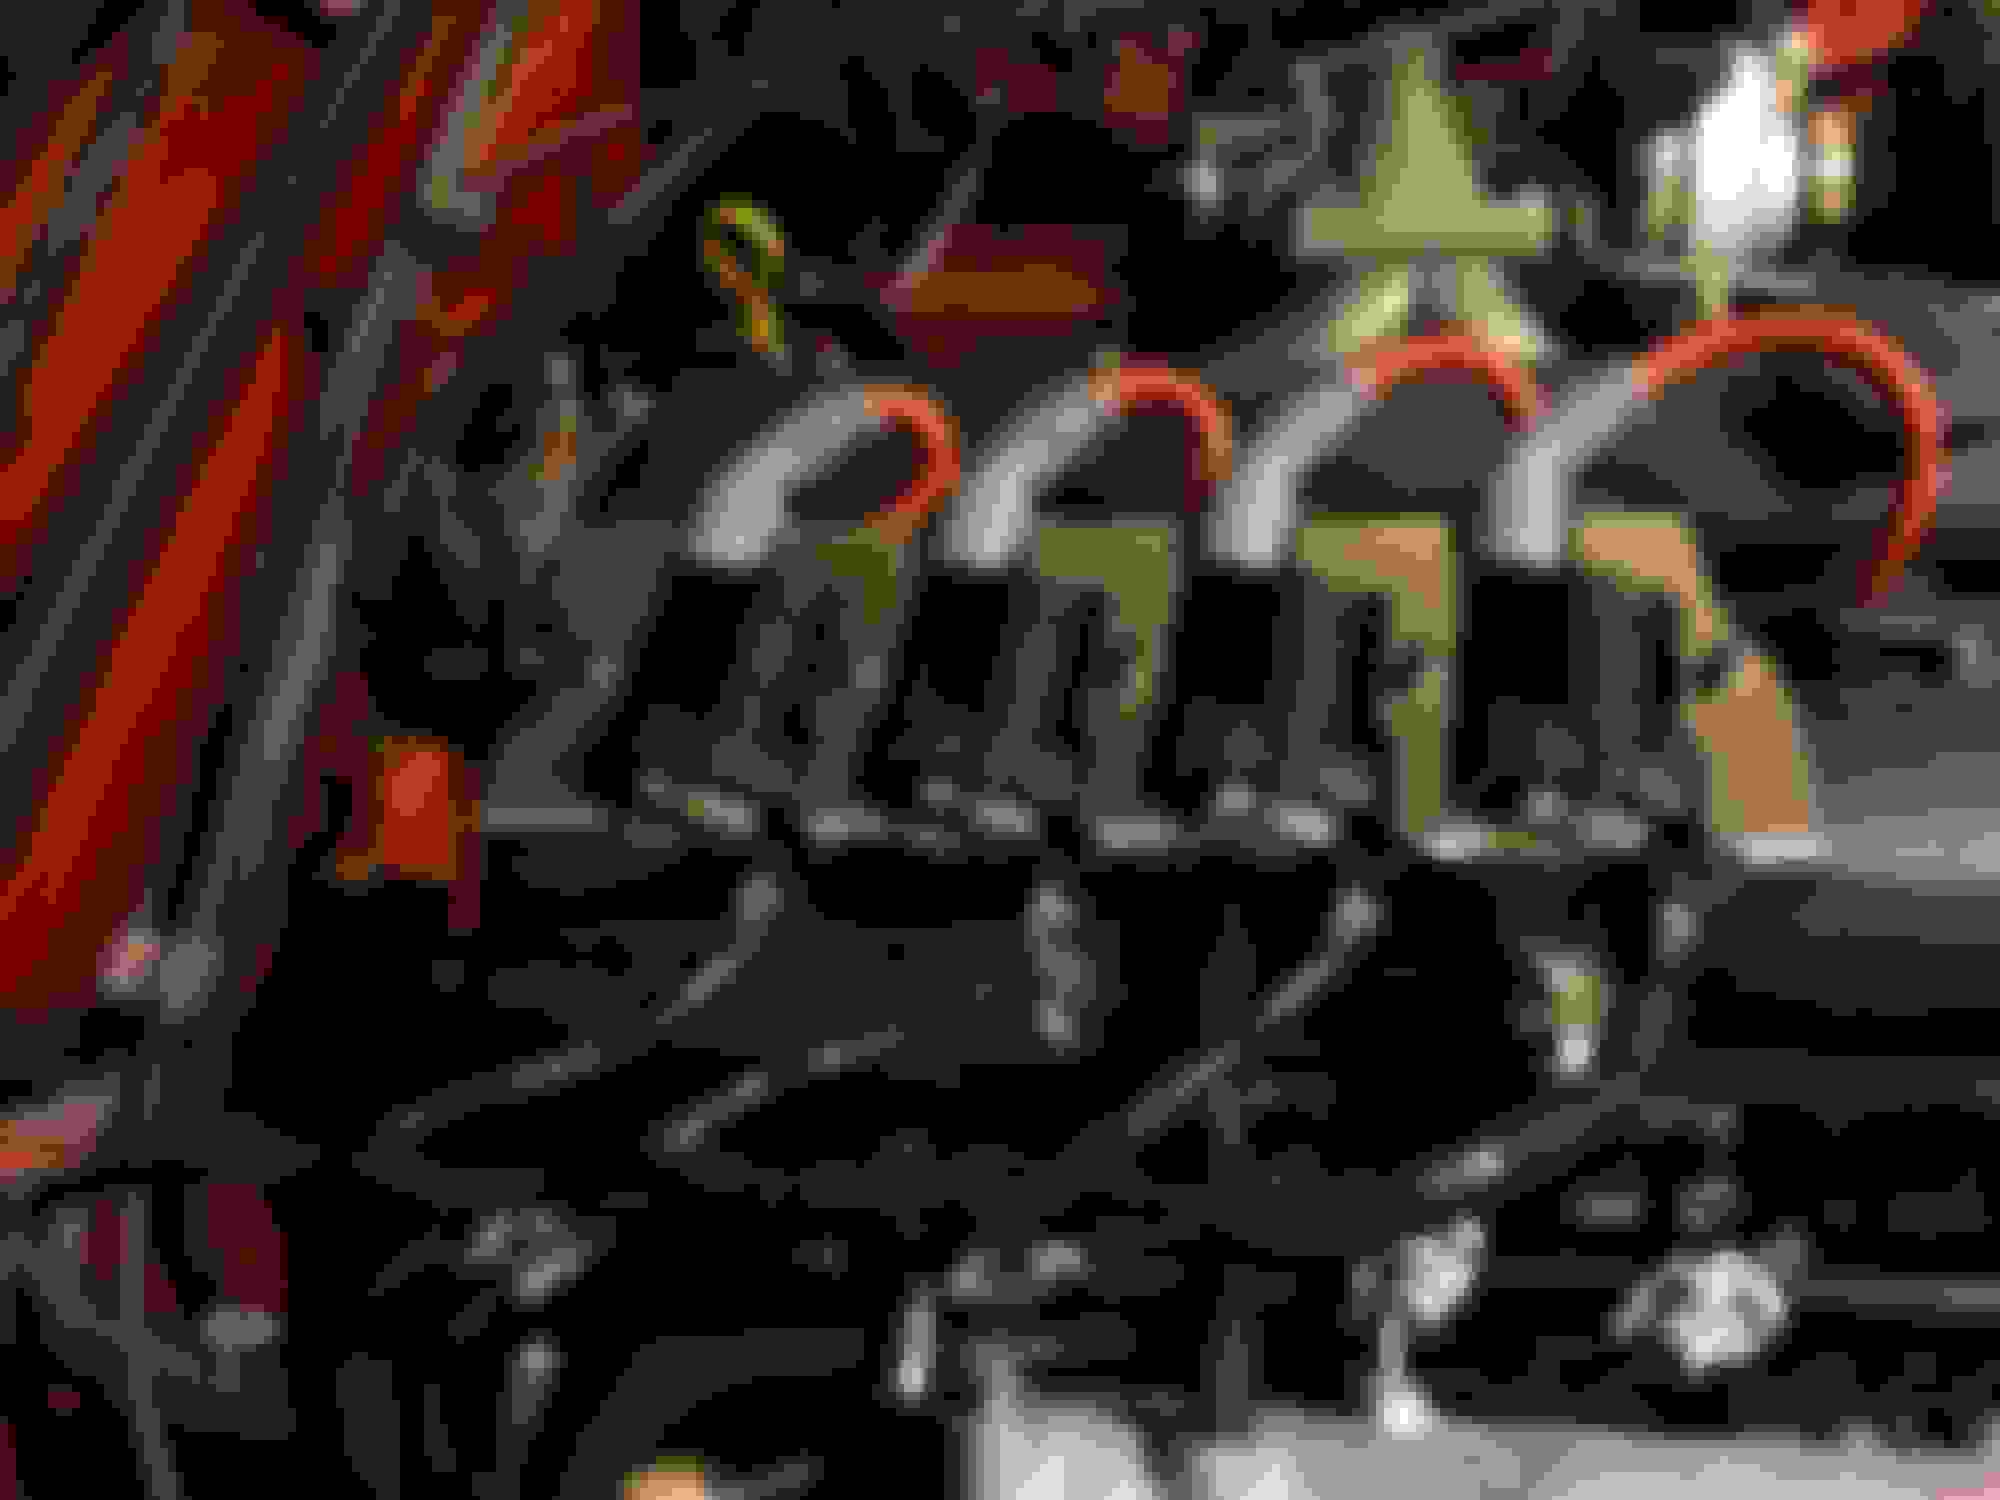
So Im going to start the harness tomorrow and am looking for some advice. The harness on the 95 has several things connected. Im not sure everything in total but for sure the O2 sensor and injectors are. I have PNP adapters for my ID 1050s but the injector clips on the stock harness are broke so they do not hold. I have ordered replacement pigtails for the Denso plug. My question is do you all recommend taking the harness apart and trying to separate things out or just cutting the broken clips off and connecting the new pigtails in as well as just wiring the wideband in to the existing harness. I think that would be the easiest thing to do but I am open to some suggestions here--again this part I really have little clue on.
Just a reminder picture of what the stock harness on my car looks like. I wish this **** was all separate so I could just clean up each individual section but the bitches are all wired in together. Again just looking for suggestions and a little guidance. My pigtails get here tomorrow.
You can lop off the denso female injector plugs and splice in EV14 plugs. You can cut apart the pnp connectors that came with your injectors, or I have heaps of EV14 pigtails. The only good reason to keep the original connectors is if you plan to go back to stock at some time. Somehow I get the feeling that that's not something you plan to do.
Got zero done during the week as work killed me but this guy showed up on Thursday. One day shy of 4 months for everything to arrive. My 3" exhaust should be here soon from Enthuza.
Started the wiring process. Got the new injector clips wired in. Overall pretty clean and the clips aren't broken like the stock ones so thats a plus.
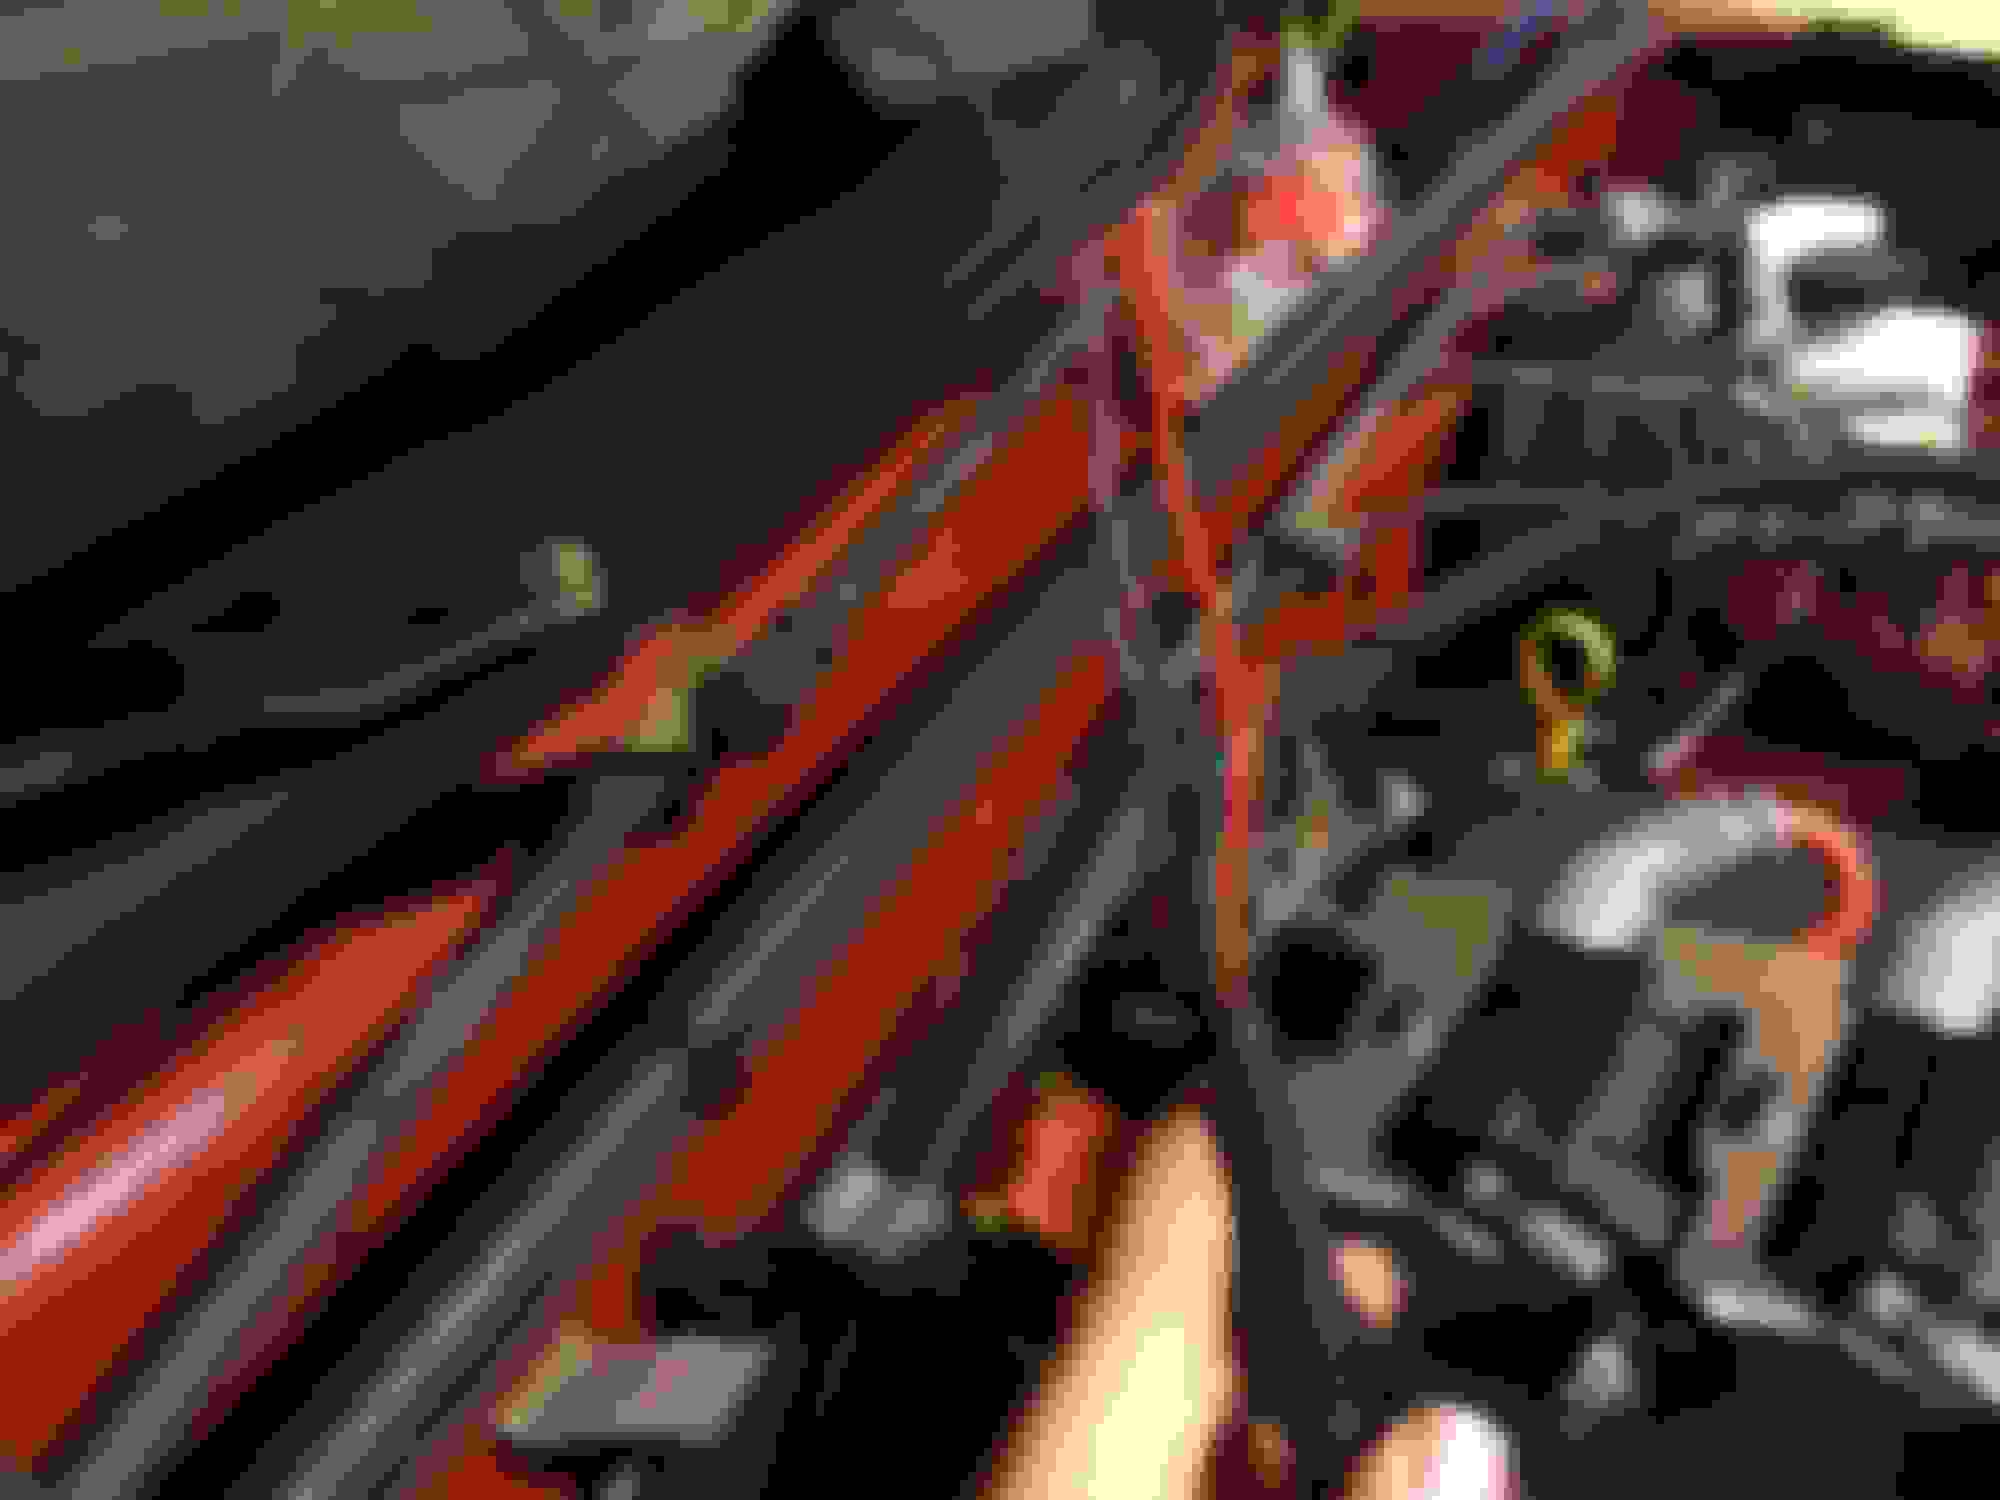
Also changed the wiring arrangement on the LS harness so the fit was a little better. Again not a wiring pro but I think it came out ok.
This is whats left over so I have to figure out how to wire this into the miata harness. Any pictures or assistance on this would be a plus. Ill do a search to see what I can come up with.
Got these mounted tonight. Obviously not my design but Im happy with the setup. Looked nice in Aidan's car so I straight stole it. I will be re-reading his post on the dash so I can start the wiring process on that. Sorry its slow...just taking my time so the wires look clean and I am happy with the routing of things. One thing I have noticed on the FM big fuel kit that is sorta annoying is that since the FPR is in the back I have to run a vacuum line to the rear of the car which sucks monkey ***** so I need to figure out the best way of doing that. I don't like the idea of vital rubber vacuum line running the length of the underside of the car so I may see if there is a way I can run it inside the car for most of the way on the passenger side and just drill a hole behind the passenger seat to mate it to the FPR. I dunno. This is one of those times that had I known what I was doing I would have ran two fuel lines all the way to the front and just mounted the FPR under the hood. I may end up changing it in the future but for now Ill just run the vacuum line.
As I said this is the hardest part of the race. Just doing all the small ****. Sometime this week Im going to start putting fluids in the car and will bleed the clutch and brakes. The tires have been mounted and balanced which is nice. Ill need to spend a day just going over as many nuts and bolts as I can just to verify the torque. The problem with touching so many parts of the car is trying to make sure things aren't missed. Getting closer. Im happy with the way she is coming along. Just trying to learn this wiring **** and not pull my hair out.
It's really coming together nicely! I'm at the edge of my seat for the first drive video.
Also, your photos are beautiful. If being a surgeon/mechanic doesn't work out for you, maybe photography?
Had to cut the shelf slightly for it to make the turn. Also had to beat the **** out of the tunnel to make it fit as well.
After the first part of the downpipe went in I hit a bit of an issue. The transmission mount is in the way of the second part of the pipe.
So this is a bit of a snafu...Going to have to figure out the exhaust situation. Definitely going to have to modify the pipe though. It clears the transmission fine but the transmission mount is clearly in the way of the TSE pipe.
Last edited by TonyMontana; 11-24-2017 at 11:05 PM.
I figured the tail end of the downpipe would need to be cut off or otherwise customized to work around the transmission mount but the rest of it is a surprise.
I'm not surprised with the transmission mount that a little modification is required. TSE can't plan for that obviously. As for the other part not sure. Reality is that it didn't slide right in that's for sure.
I'll help take a look at everything, including the wiring, next time you aren't stuck at the hospital on a 24hr long shift (who the hell schedules people that way?). Best wishes on the cardiac surgery this morning. Text me when you want to work on the car next.
Man, if I spent 2000 dollars for a downpipe and manifold, I'd be PISSED if it didnt fit perfectly.
It is annoying--there is plenty of space next to the transmission. The problem is the bends on the downpipe are off...they are too shallow so it couldn't clear the underside of the firewall. Right now it still touches the underside of the firewall even after bashing it in so I'll need to modify it a little more then put the heat shielding on. Its 1400 for the manifold and downpipe and 4 months of your life.

 11-13-2017, 06:24 PM


 0
0