Rafael's Build Thread
 12-27-2009, 01:14 AM
#1
Junior Member
Thread Starter

Join Date: Jan 2008
Location: Central, NJ
Posts: 200
Total Cats: 0
Things being done for now;
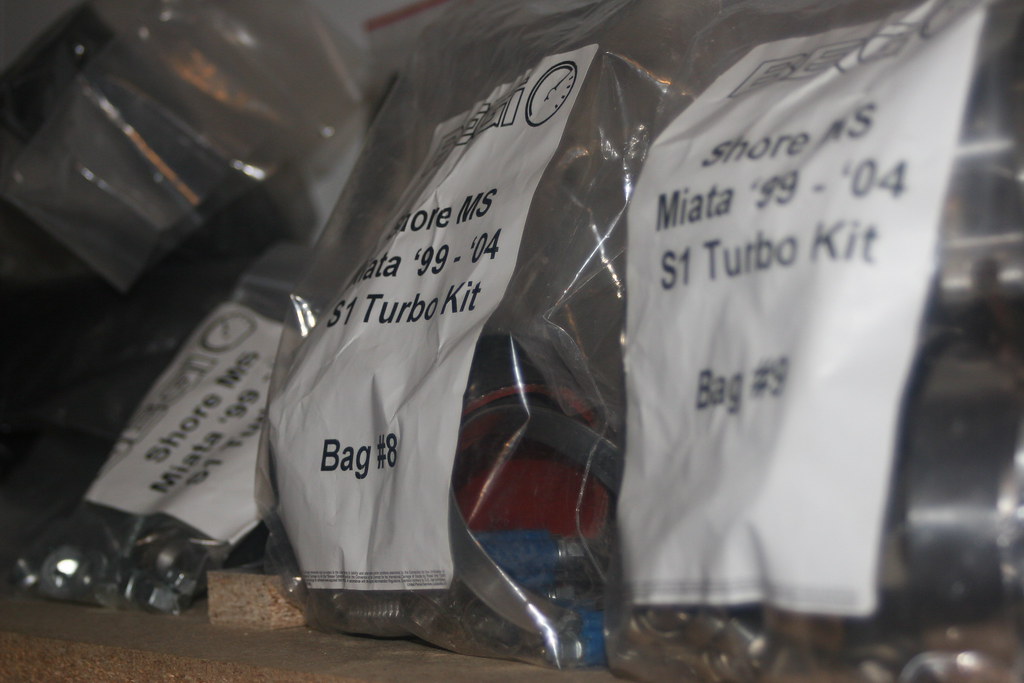
Begi S1
LC1 Wideband
Adaptronic Ecu
Deutscheworks 600cc injectors

What I have done so far...
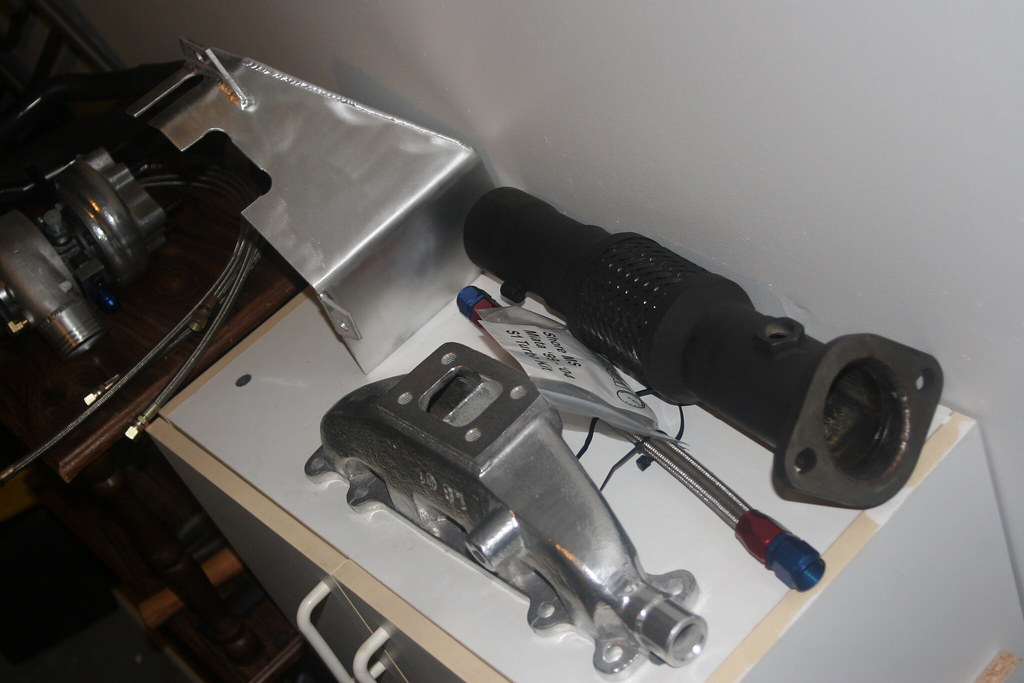
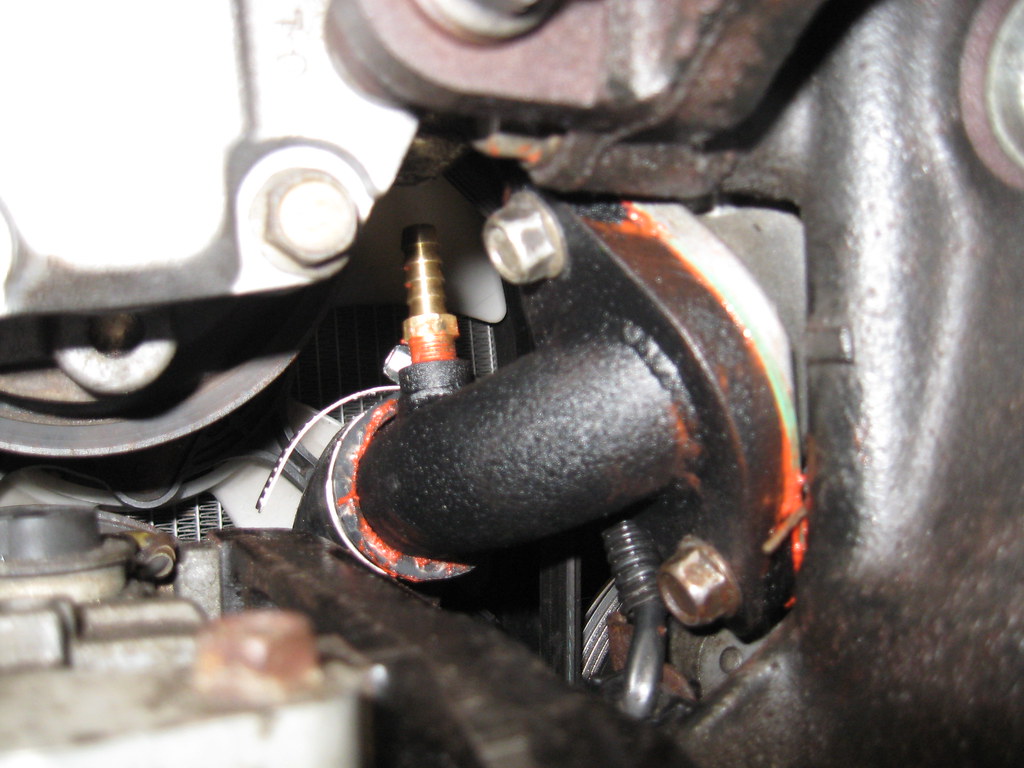
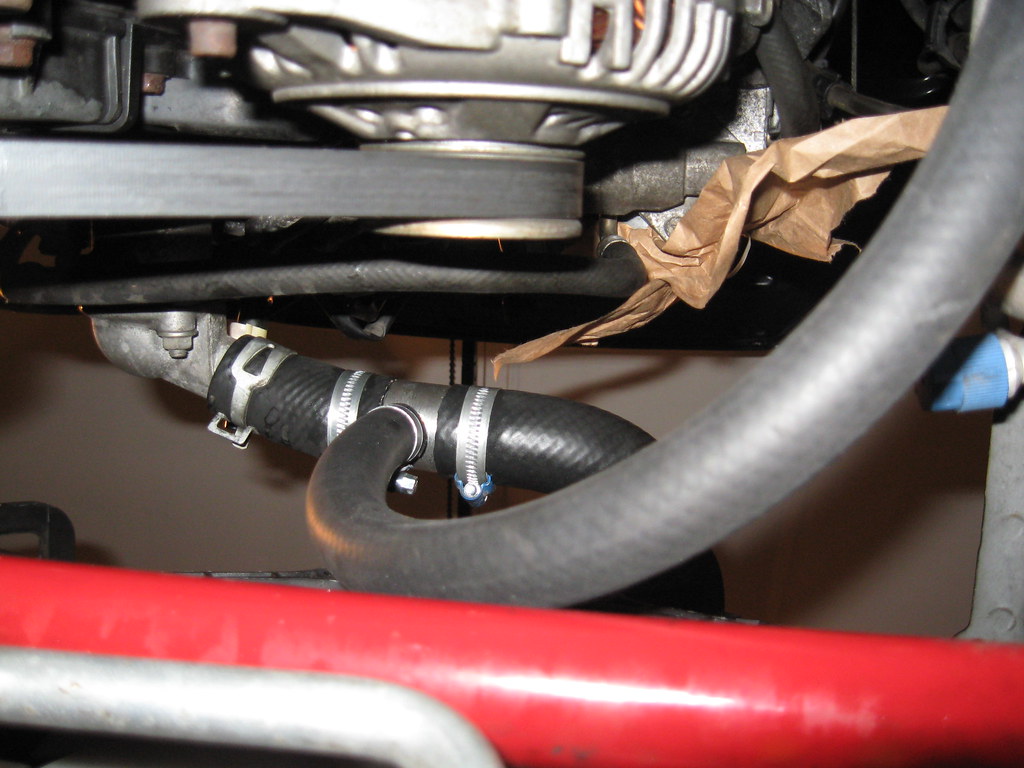
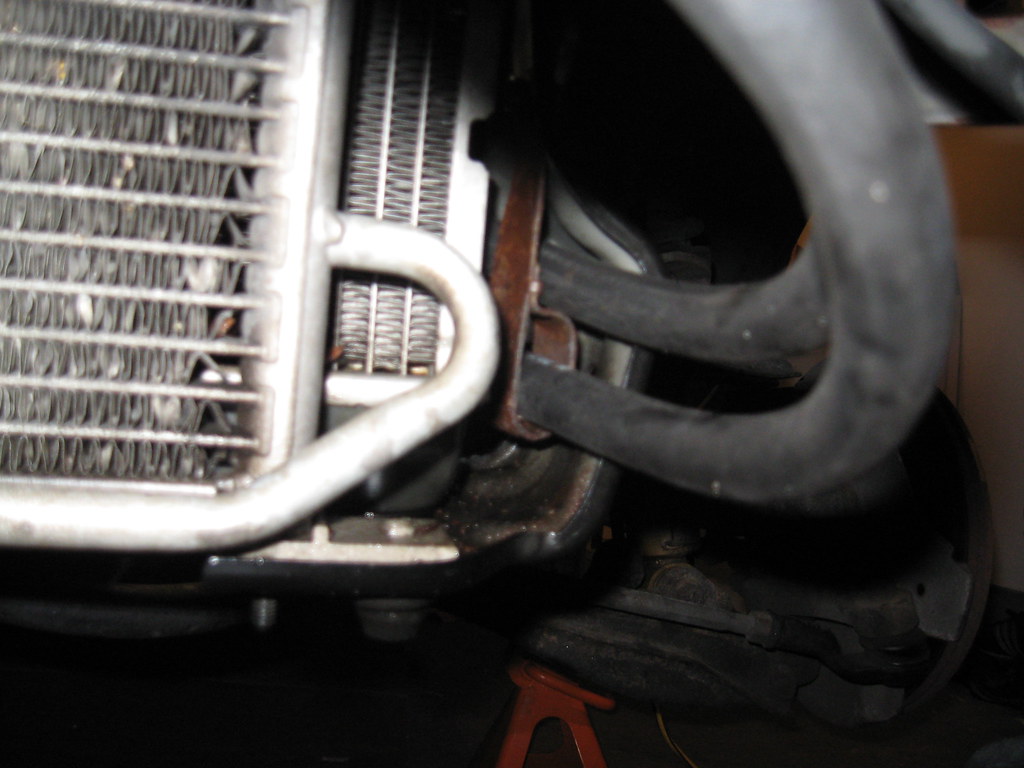
removed header, air intake and lower coolant hose.
Installed signal source fitting, new coolant tubes and water by-pass tube.
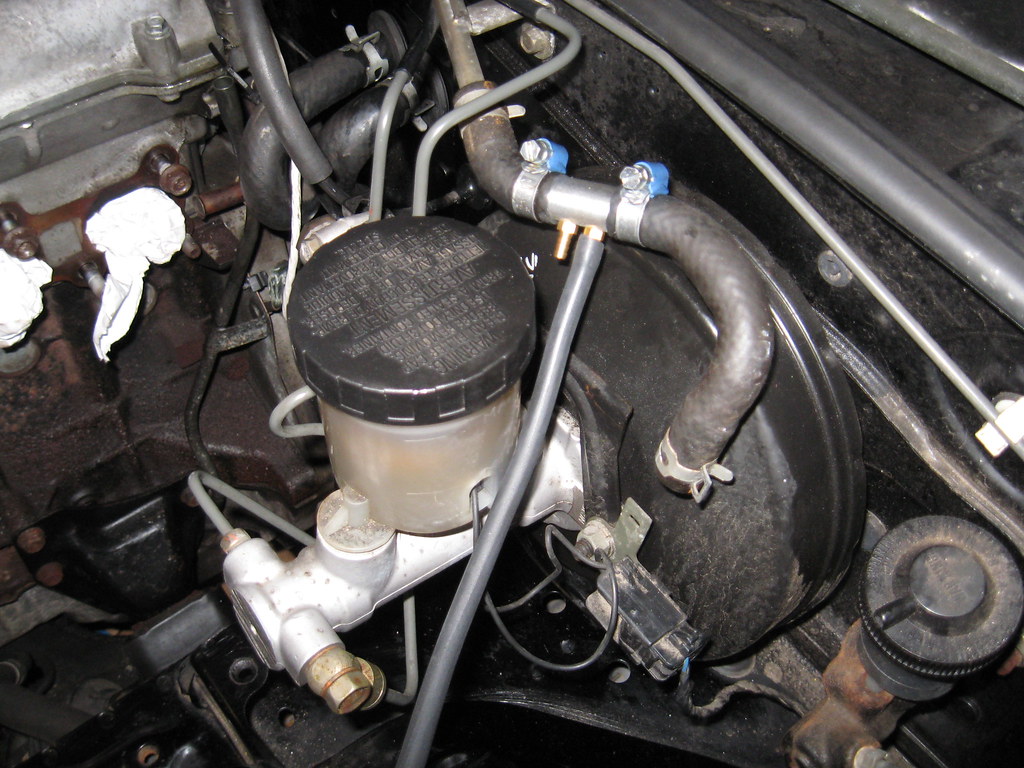
Zip tied the lower coolant tube to keep away from the belt but have a feeling it's just going to rattle up against the sway bar.

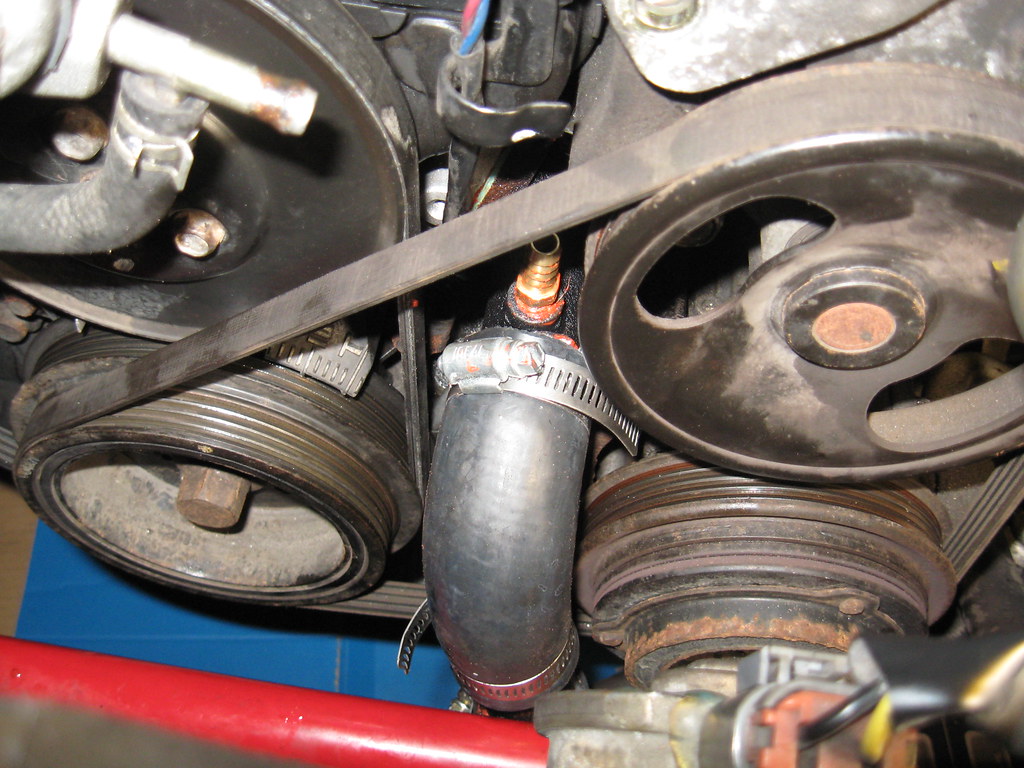
New PWS lines and cooler. Routed them through the old pws line bracket instead of begi's 3rd adel clamp. Not sure if this is going to work after the intercooler is installed.

I'll tap the oil pan tomorrow and hopefully finish up a lot more.
This is my first turbo install and I figured I'd post pics since other builds have helped me with this install.
Any advice is more than welcomed.
Picture of the ride...

Begi S1
LC1 Wideband
Adaptronic Ecu
Deutscheworks 600cc injectors
What I have done so far...
removed header, air intake and lower coolant hose.
Installed signal source fitting, new coolant tubes and water by-pass tube.
Zip tied the lower coolant tube to keep away from the belt but have a feeling it's just going to rattle up against the sway bar.
New PWS lines and cooler. Routed them through the old pws line bracket instead of begi's 3rd adel clamp. Not sure if this is going to work after the intercooler is installed.
I'll tap the oil pan tomorrow and hopefully finish up a lot more.
This is my first turbo install and I figured I'd post pics since other builds have helped me with this install.
Any advice is more than welcomed.
Picture of the ride...

Reply
 0
0

0
12-27-2009, 12:18 PM
#2
Junior Member
Thread Starter
Join Date: Jan 2008
Location: Central, NJ
Posts: 200
Total Cats: 0
Hit a wall today. I need a deep 24mm socket for the oil pressure sensor. No biggie I'll run out and get that. Then I realized that the drill bit from begi doesn't fit in my drill. Now I need a new drill, plus I don't know how I'm going to even have room to drill the hole. It doesn't even look like there's room for a drill down there. I knew it was going to be hard but it looks unachievable.
Reply
0
0

 12-27-2009, 12:49 PM
#4
Boost Czar


iTrader: (62)
Join Date: May 2005
Location: Chantilly, VA
Posts: 79,493
Total Cats: 4,080
I'd suggest to revisit the heater-core return line. I really hate that they still have you run it to the upper hose...Shueinds was just saying he let his car warm up before a drive, so it hit 160* sitting there, once he started driving the gauge pegged C. It's not the ideal way to run the heater core return...get it back on the lower hose.
Reply
0
0
12-27-2009, 01:54 PM
#5
Junior Member

Join Date: Jul 2007
Location: Mundelein, IL
Posts: 59
Total Cats: 0
Where are you putting your oil-pressure sender? Are you just replacing the stock on-off one? That's the next mod I'm doing...
I'm getting everything except turbo done this winter. Come spring I can focus on installing the turbo 'cause I know I'll put everything else on the back burner once I start playing with that.
I'm planning a very similar setup so I'll be watching this thread. I already have the Adaptronic and LC-1 installed and running. (real) oil pressure gauge next, then new injectors.
Reply
0
0
 12-27-2009, 09:23 PM
#7
Elite Member
iTrader: (9)
Join Date: Jun 2006
Location: Chesterfield, NJ
Posts: 6,893
Total Cats: 399
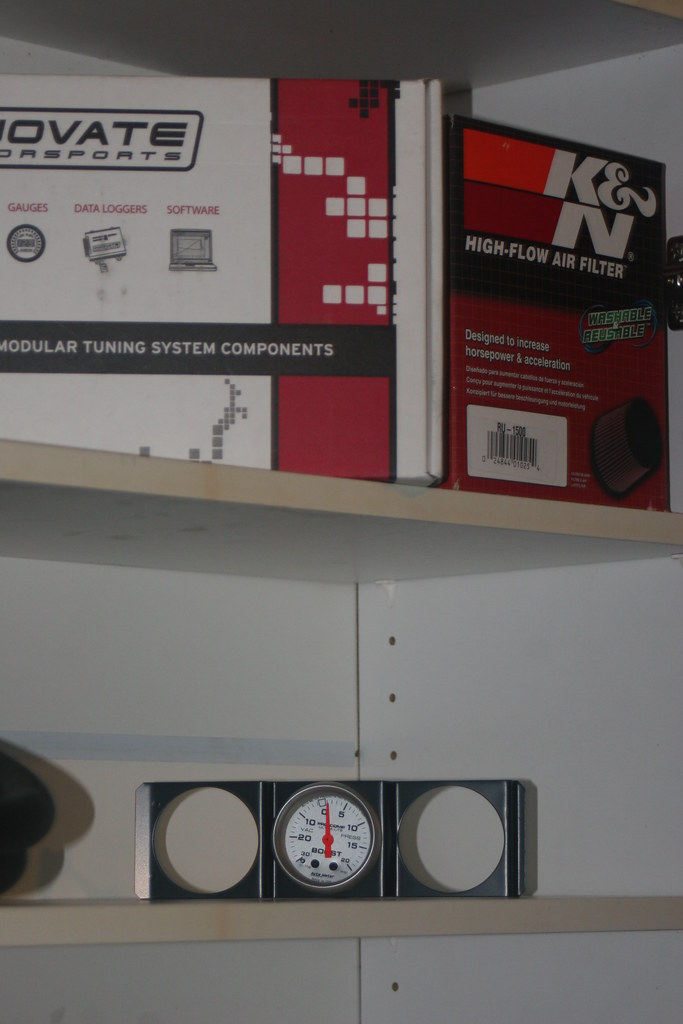
Seems as though autometer gauges aren't what they used to be. Unless you're wwaaayyyy below sealevel when you took that pic  I'd consider getting that exchanged.
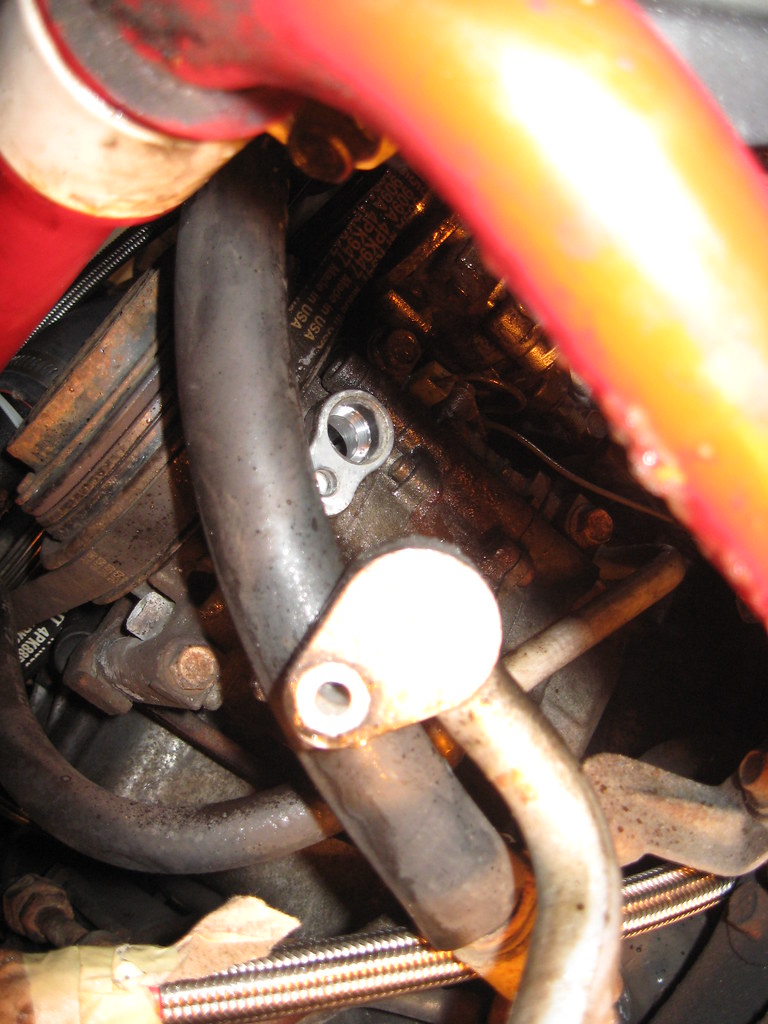
I'll post my 2cents here too, regarding your oil drain line fitting:
I'd consider getting that exchanged. I'll post my 2cents here too, regarding your oil drain line fitting:
I've never done it, always paid my dad to do it. But he doesn't have a right angle drill, and he doesn't move the A/C parts. I was there "holding the light" when he did the fitting on my 1.6 many years ago. I think he just removes the front driver's wheel and uses a standard 1/2" chuck cordless drill. Drills & taps slowly with lots of grease on the flutes to grap the chips, cleaning often and reapplying grease. I do not know what size he drill/taps the hole to however, BEGI may send a larger bit & fitting cause "bigger is better" with drain lines and the internet says 10AN is what you do. I do know we use 8AN fittings on our drain lines without issue ever. The fitting goes at the front right under the A/C compressor
Reply
0
0
 12-27-2009, 11:22 PM
#9
Junior Member
Thread Starter
Join Date: Jan 2008
Location: Central, NJ
Posts: 200
Total Cats: 0
Went looking for one at home depot today but none of them were 1/2 chuck and they did not have the right angle adapter in stock. So I didn't get to tap the pan today.
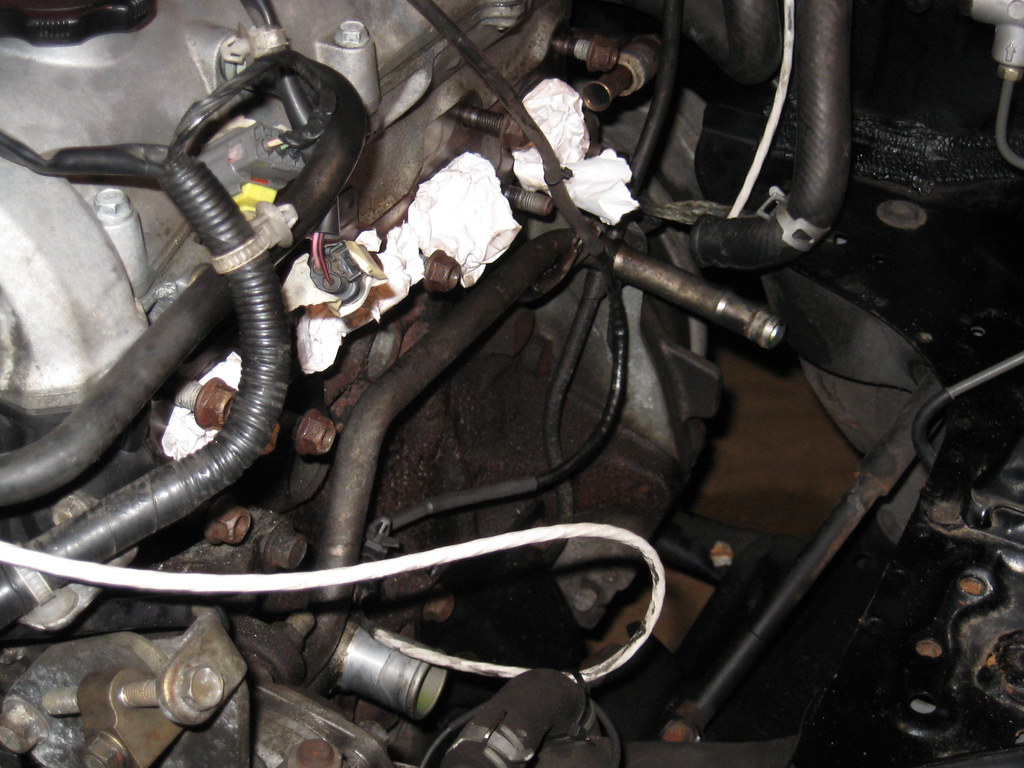
WTF, I spent most of the day yesterday installing that. It took forever just to get to the lower water line bolt. I already cut and spliced the upper radiator hose. I also cut the heater core tube in half. Would there be a quick fix for this and will I have overheating issues if I don't run the racer re-route?
Here's what I got done today...
I was finally able to get at the oil pressure sender and install the oil line. Those 90 degree fittings are a bitch to tighten. It seems every time I would tighten the line it would loosen on the other end. Is there a trick to these?
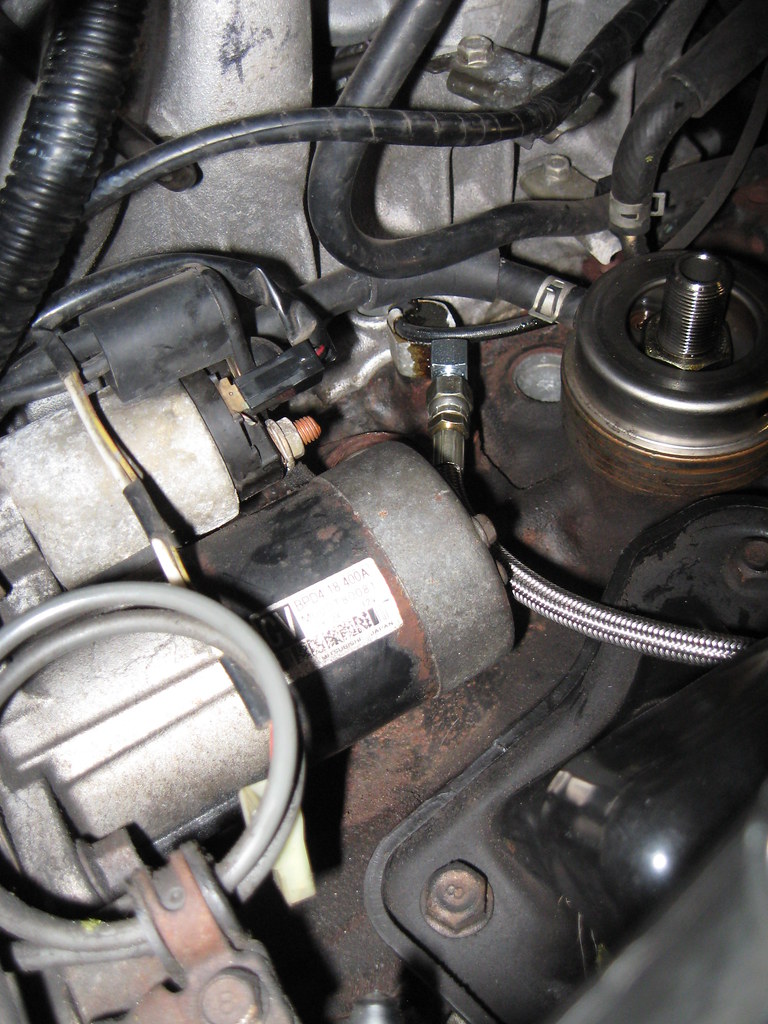
It took me at least an hour to screw this damn lock nut.
I was able to get the turbo, downpipe and manifold mounted. Need new tools because for some reason my open ended side of my 1/2 wrench won't fit on the wastegate lock nuts. The turbo nuts are also a bitch to get too.
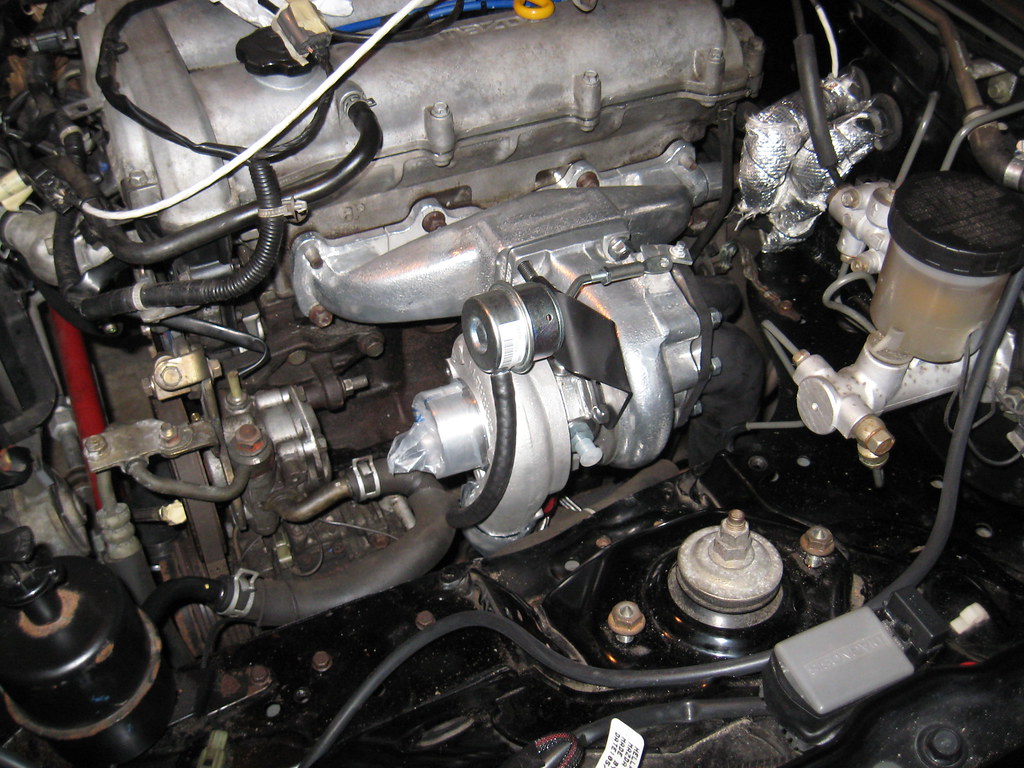
Hopefully I won't have to uninstall it to undo the racer reroute.
I'd suggest to revisit the heater-core return line. I really hate that they still have you run it to the upper hose...Shueinds was just saying he let his car warm up before a drive, so it hit 160* sitting there, once he started driving the gauge pegged C. It's not the ideal way to run the heater core return...get it back on the lower hose.
Here's what I got done today...
I was finally able to get at the oil pressure sender and install the oil line. Those 90 degree fittings are a bitch to tighten. It seems every time I would tighten the line it would loosen on the other end. Is there a trick to these?
It took me at least an hour to screw this damn lock nut.
I was able to get the turbo, downpipe and manifold mounted. Need new tools because for some reason my open ended side of my 1/2 wrench won't fit on the wastegate lock nuts. The turbo nuts are also a bitch to get too.
Hopefully I won't have to uninstall it to undo the racer reroute.
Reply
0
0
 12-27-2009, 11:39 PM
#11
Junior Member
Thread Starter
Join Date: Jan 2008
Location: Central, NJ
Posts: 200
Total Cats: 0
http://www.bellengineering.net/templ...eries1-2-3.pdf
huhhh... Is it supposed to be exactly on 0 and is there a way to fix this? Brian gave me this bitch...
Reply
0
0
 12-28-2009, 01:32 AM
#13
Junior Member
Thread Starter
Join Date: Jan 2008
Location: Central, NJ
Posts: 200
Total Cats: 0
WTF, I spent most of the day yesterday installing that. It took forever just to get to the lower water line bolt. I already cut and spliced the upper radiator hose. I also cut the heater core tube in half. Would there be a quick fix for this and will I have overheating issues if I don't run the racer re-route?

Reply
0
0
12-28-2009, 08:00 AM
#14
Elite Member
iTrader: (9)
Join Date: Jun 2006
Location: Chesterfield, NJ
Posts: 6,893
Total Cats: 399
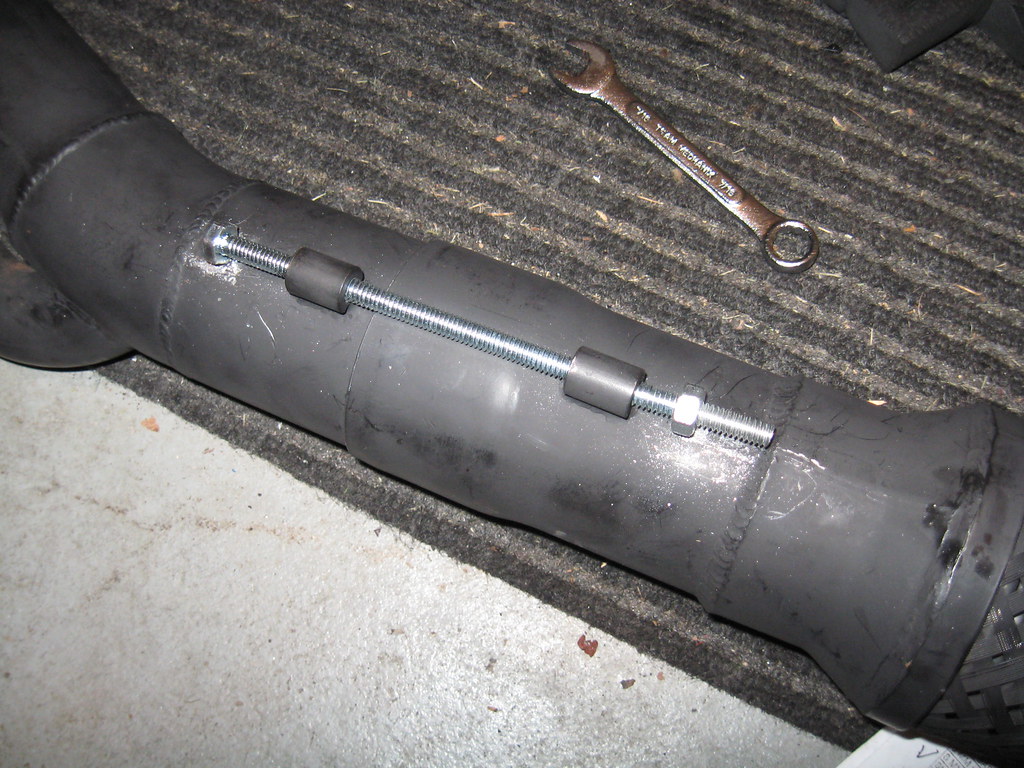
I have sticks of 1.25" dia pipe (ss and aluminum) if you need some to replace the splice in your upper radiator hose.
Reply
0
0
12-28-2009, 08:17 AM
#15

Raf, still need ur address in case I decide to come over today, but I think I might be mounting my snow tires and installing hardtop/defroster.
Reply
0
0
12-28-2009, 12:22 PM
#16
Junior Member
Thread Starter
Join Date: Jan 2008
Location: Central, NJ
Posts: 200
Total Cats: 0
I just fucked up something. I unbolted a hose to the ac to make room for the drill and got an explosion of liquid in my face. The belt started to spin also. Did I do huge damage? Can I fix this and replace that liquid? Should have known not to touch anything.

I'm such a dumbass!
Artie pm sent.
I'm such a dumbass!
Artie pm sent.
Last edited by PhantomRoadster; 12-28-2009 at 12:57 PM.
Reply
0
0
12-28-2009, 12:39 PM
#19

hah.....no worries. you just lost all of the refridgerant. do what you need to do, and then put the hose back on pronto.......you want as little moisture as possible to get into the AC system.
then you will have to get the AC system recharged......probably best to take it to a professional garage. they will pull a vacuum on the system (removing any moisture) and then rechage it with refridgerant. you might need to replace the o-rings in that hose now too.
again.....i don't see any major problem with what happened.
Reply
0
0


