When you click on links to various merchants on this site and make a purchase, this can result in this site earning a commission. Affiliate programs and affiliations include, but are not limited to, the eBay Partner Network.
If your curious about me you can find my introduction thread here.
Just to give you a quick overview. I plan to build my car in four phases.
phase 1) Collect/ design parts
phase 2) build car to 230 hp
phase 3) collect/ design more parts
phase 4) build car to 350hp
phase 5)????
phase 6) profit
Installed parts list:
Flying Miata happymeal clutch
Revlimiter gauges
Trucklite LED headlights
Planed parts list:
Holset H1C with Hx35 turbine housing
Trackspeed cross flow radiator
coolant reroute
Ebay IC
Ebay Cast manifold
Custom QSV
Custom shift ****
flowmaster dbx muffler/ custom 2.5in exhaust with v bands
I will try my best to keep this up to date with everything I am doing with my car, including all the parts I buy and all the stuff I make.
So I'm starting with a 97 miata with lsd. Car was bought with 130,000 miles on it and since buying it I have put 15,000 more on. I drive too and from New York roughly once every other month, so I get to "enjoy" some long drives in the car. I think that everyone here has seen a red miata before so I won't bother with a picture of the unmodified vehicle.
The first couple mods I made were quality of life and I'll include them here just to get them out of the way.
First mod I did was to get some Rev Limiter gauges. I went with the EB with white LED's makes the car look a lot more modern inside. Adam was great to work with and he even made me some custom badges and a steering wheel button for me. I will warn others that you should follow the instructions carefully. I over tightened the screws and messed up the paint on the gauge faces a bit. Learn from my mistakes and listen to Adam's instructions. Love the gauges, high recommended would buy again.
And of course I forgot a screw when putting it back together.
Second mod was to get some LED headlights. I ended up getting the trucklite LED headlights. These things are awesome. The light output is way better than stock and I drive long distance regularly this makes night driving way better.
I also ended up finding so rust on the side sill and I had to grid it back and fill it in. Turned into a decent sized hole.
I found a dent on one of the frame rails which I suppose was from putting the jack stands in this location.
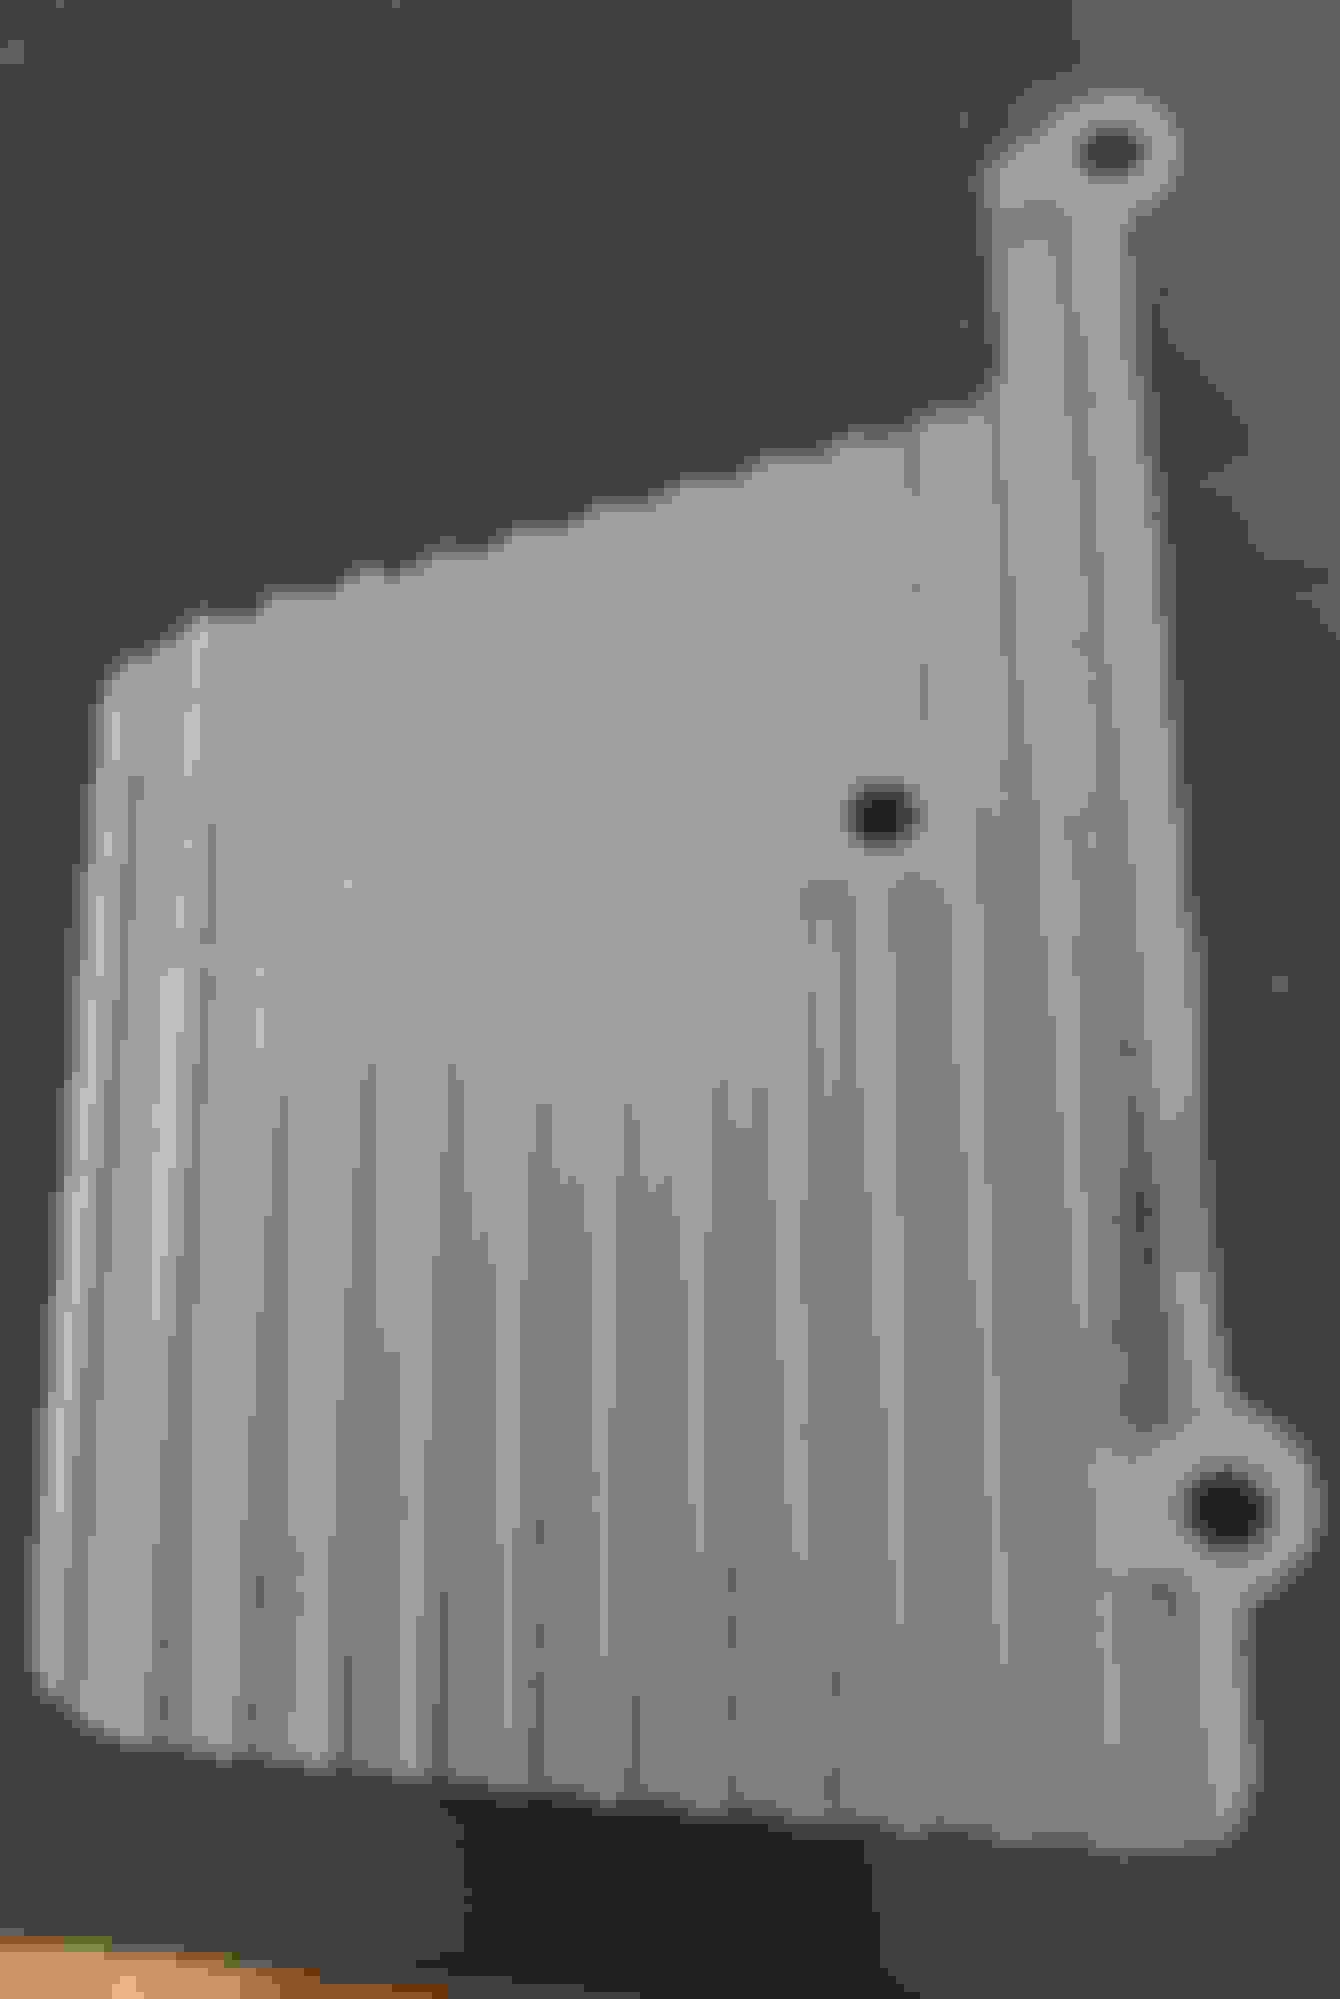
I also found so weird holes in my trunk any ideas on what these are?
Next post I'll get onto the good stuff; turbo parts and some of the parts I am designing.
As someone who has used an H1C with a custom hotside on a 1.6 I recommend against it. Unless you are trying to make 350-450whp it is just too laggy, even then there are better turbos for that power level.
Yeah I totally agree that an H1C is not the right turbo for this car even with a modified hotside. I got the turbo for free which is why I am using it. To keep cost down I am going to run with it for now and it might work well for when I go for 350 whp, but even then when I get some more money and I have the system up and running I may go buy an EFR.
The idea that it is reasonable to design a turbo kit around a turbo that one has procured for free has frustrated many folks when it comes to piecing things together. There are so many churbos that folks have had good results with that it would honestly make more sense for you to sell your turbo and get something more well suited for the application.
Alright finally had some time to take some pictures.
I replaced my valve cover gasket and CAS oring cause I was leaking a little oil. The valve assembly looked okay but I'm not super experienced with whats excessive wear and what isn't. I'd love to hear if I bought a lemon or not.
Also got a chance to install my revlimiter oil cap. Love the look of it. I do want to repaint the valve cover wrinkle black at some point.
My cast manifold showed up and I painted it with header paint to stop rust. I know these cheap manifolds don't flow super well and the mating surfaces aren't usually well made. Luckly for me I have access to a surface grinder so those mating surfaces will be nice and flat. I could even lap the matting surfaces on a block of granite to make it perfect, but I really don't think that is necessary. This manifold is part of how I want to fix my spool issue. A poor flowing manifold should hinder flow and thus pressure will build in the manifold. A higher pressure differential should help spool on the low end but will limit top end power. I'm okay with that as I'm already not going to be making the HP that the h1c is capable of. I also plan to hone the runners to improve flow somewhat, but I'll do that when I'm doing the build. I looked into making my own extrude hone paste but it seems a little to complicated. I'll also probably remove the header pain and get a ceramic coating before the build, but in the mean time I wanted to protect the surface.
I also like the look of the "heat shield" that comes with it. It's got a nice retro feel to it. I know it will do nothing to stop heat spread and thus I'm going to make my own, but I do like the aesthetic of the plate.
@1RMDave, If you have any memory of your spool rpm and psi I would like to hear it. Using it as a reference would be helpful for me when designing parts. I know there is a spool data thread as well and I'll probably go look in there too.
@ridethecliche, you are probably right that a Chinese turbo might be a better route for finding a cheap alternative to meet my power goal. I am a little worried about reliability and I feel like quality control is always an issue with cheap turbos. I know that the H1C is not properly sized, but I am kind of having fun designing solutions to a problem I made myself. And I know its a really reliable turbo, not very efficient but reliable. I will eventually drop some money on a quality turbo.
Well its been a while, and Ive been busy AF (who would of thought graduate school requires time and effort), but I have also gotten a lot done on the car. I started by ordering a bunch parts I'll through pics down below. I also got around to taking my H1C apart and checking the tolerances everything was fine, but I ended up with a churbo, but I'll get to that later. The shaft had some ware but it scotchbrited right off. I also grabbed a 2.5in vband housing with an internal wastegate to avoid an external wastgate and extra welding. I also grabbed a cheap turbo blanket that I never ended up using I probably won't use it but maybe I will. I bet everyone will have an opinion.
Along with my turbo housing I got my hands on a generic intercooler piping kit, a flowmaster muffler (DBX series incase anyone cares I actually really like it), and a ebay intercooler. The intercooler is definately cheap, and I plan to use it as a place holder till I try to go for higher power levels.
Lets keep the parts coming (I shrunk the pictures down so this doesn't get too out of hand). I got a rebuild kit for the H1C, a mishimoto catch can ( I wish I had made my own, good part but I like making stuff myself), NGR quick disconnect, glowshift boost gauge, AEM wideband, vbands, hose clamps, and a glowshift sandwich plate. No leaks yet on the plate I can recommend the part. I cut it short on all of the small stuff I ordered safe to say lots of random bits a bobs from ebay.
Now some of the more important parts, A Qmax reroute and my supermiata crossflow radiator, I read some posts online that the supermiata radiator might leak. At this point I have about 5k miles on it and I have yet to lose a drop. I'll keep my eye on it. Based on the rest of the parts and service I have had from them I am not to worried about leaks.
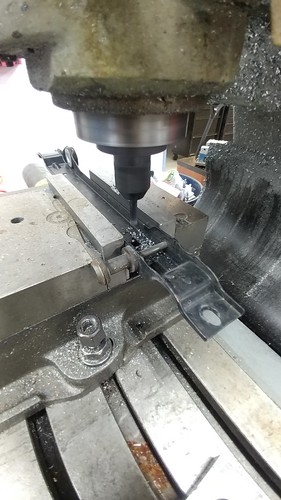
Okay onto the actual build, I took a week off and traveled to upstate NY to my friends machine shop. I put the car up on stands and worked on the car 10-14 hr's a day for 6 days. That still wasn't enough time to get everything that I wanted to get done. This was my first time doing a bunch of stuff so there was a lot of learning along the way. Huge shot-out to brain and trubokitty.com that site saved my life on day one with the harness. I started by turning the turbo housing's 2.5in band to make with the vbands I got of ebay. For the machine nerds out there I turned it on a monarch 10EE that came out of a barn in long island, its a pretty sweet machine. The second thing I did was wire up the ECU into the stock harness. I had bought the 6ft harness off of DIYautotune. along with a MS3X so I ended up with a bunch of extra wire length I really only needed the 6in harness. I left all the extra wiring in and taped it together just incase I wanted to add sensors in the future. That took me all of day 1, but the car was running on the new ECU by the end of day 1.
Day 2 is when the car really started coming apart I too the radiator out, air box, ect. I was pretty all in at this point. I didn't mention this before but at the end of this week was the white coat ceremony for my girlfriend, and my mom and sister had flown out to attend so I had to have a running car by the end of day 6. I started with the coolant reroute, I love the reroute be be warned I had to remove the EGR tube to get it in place. This isn't a big deal for me as I deleted the system, but if you weren't removing EGR you would need to remove the exhaust manifold to get it in place. I didn't take the neck all the way off and I might end up using the 1/8 npt later for a coolant feed for a turbo in the future. All the parts in the kit were beautifully machined. Showed it to my buddies and we took guesses on how many ops it took. I also plasma cut some block off plates for the EGR system and removed all of wiring that went with it. That was pretty much all of day 2.
Day 3 I started making a cruise control bracket. Its ghetto, but it works, I'll paint it some day to make it stand out less. I road trip the car about 1000 miles once a month so cruise control is really nice to have.
After that I put the new radiator in. The radiator looks sexy AF. The mounting points didn't line up perfectly on my stock bracket but I just threw it on the mill and slotted them to make it fit. Worked out perfectly and fit in the stock position like a dream. I also had a friend welded up a mounting bracket for my Volvo fan. I went to the junkyard a couple weeks before the trip and grabbed a fan and the 2 speed relay. I have yet to figure out the 2 speed relay but its on the todo list. I wanted the larger single fan so I could run a oil cooler next to it later on down the line. But for now no shroud and only a single speed. I bought a cookie sheet for a shroud but have yet to cut and fit it.
I spent the rest of the day surface grinding mating surfaces car was pretty far from done at this part and I started planning on what things I wasn't going to get done. I was really feeling the time crunch by the end of this day. Car still didn't have any hot side at this point.
Day 4, Power steering system got cut out. I removed the reservoir and pump. Then I took the rack out and dissembled and cut the internal seal out of that. This took way too long to do almost the whole day. I did not weld the pinion valving system as some people mentioned. The depowered rack feels great and there is hardly any slop. It can be heavy when parallel parking but man other times it feels great. I bought all the plugs on mcmaster and cut them to length if people are interested in thread pitches I can go dig up a receipt.
The hot side started going in by the end of the day. Manifold was mounted up. The stock hardware did not fit my ebay manifold, but thankfully a machine shop has a large selection of bolts to work with. So I made some studs out of hardware they had laying around and used bolts in areas where I couldn't get a nut on a stud. same thing for the turbo mounting stuff. The ebay studs were too short so I made some custom hardware to get it to fit. Put the turbo on the manifold and it did't fit in the car at all. I knew this was going to happen so I started cutting the frame. I ended up grinding for a couple hours to get the turbo to fit and I made room for the down pipe while I was at it. I didn't take any good pics while I did it, but if people want I can grab some pics of how it is in the car now.
Day 5 and the frame got some patches welded in it to cover up where I ground away for the turbo. I used some .090" so I think it is stronger than what it started out as. Friend of mine has been doing the welding hes excellent when I can drag him away from his day job to help with my car. The intercooler piping started going in at this point. The only way I could get it to fit with the AC compressor was through the wheel well so out came the circle saw. The intercooler piping involved a bunch of welding and modification to the piping I bought but we got it in place. We also figured out oil feed and drain at this point. The H1C needed 3/8 brake line so I had to make a bunch of conversions to 1/8 npt barb. The AN 10 drain also needed to be customized to fit past the turbo housing. It took a lot of welding and time. But by the end of the day I got the turbo in place and bolted up.
Day 6, feeling the time pinch now. I took less photos this day as I really needed to get stuff done to make it to the white coat. My buddy welded up the downpipe and I installed the wideband and boost gauge. We made a pipe back behind the driver and welded the and O2 bung in. A lot of little things happened this day I honestly don't know where the time went. I started putting the car back together at this point and that took a bunch of time. We went for our first test drive at about 1 AM. Car did not make boost. Went back in and turns out the compressor housing was put on wrong. Fixed that and went back out. We did a pull in 3rd on a long road and god damn that turbo kicks hard. Came on at like 6000 rpm like a freight train. My buddy was driving and he said he has never felt a turbo come on that hard before. Spiked to maybe 15-20 psi, but it was like a light switch just instantly there and then out of rpm. And then we never hit boost again. There was a pop and we never made boost.
I was out of time so I started cleaning up and finishing up the reassembly. I drove it not making boost 2 hrs to the ceremony. Turbo smoked on deceleration and it was straight piped so it was loud AF. But it had a turbo on it and I was very happy.
I then drove the car home 12 hrs still not making boost back to Indiana. I stopped about an hour in and got the rest of the exhaust welded up. OMG that muffler does wonders. When I got home I ordered a churbo like ridethecliche recommended. When I finally got the H1C off it was missing several bolts on the turbo side. Like 6/8 bolts. So good thing the turbo housing didn't come off. I put the new turbo on and installed some new hardware. After a bit of oil leakage and messing around I got it working. And the car makes boost and stopped smoking oil. I got one of the t04e turbos with the .48 AR housing. Spoilers: its not .48AR. It does spool between 3000-4000 rpm which is just fine for now.
Currently I am working on getting my start up idle working properly and getting AC working with the 2 speed fan relay. I still have a bunch of parts I have yet to get too. I suspect I'll probably have a few questions for the forum in the future, but I'm going to try to figure them out before I bother you guys too much.
Big shout out to brain and westfield, brain for the ECU website and westfield for helping me trouble shoot a bad injector driver in my MS3X.
 06-25-2018, 03:59 PM


 0
0