When you click on links to various merchants on this site and make a purchase, this can result in this site earning a commission. Affiliate programs and affiliations include, but are not limited to, the eBay Partner Network.
Duratec cooling systems are notoriously hard to bleed--even the OEM Ranger rail and bypass lines give us problems on the dyno at work. I'd recommend making sure you have everything shown in this diagram: http://www.sbdev.co.uk/Info_sheets/C...h%20heater.pdf
Solar flux is interesting. Its so much easier than back purging.
You need to stop, dip, burn in the rod, then move to get the dimes. It seems to cool differently when using solar flux so you cant just keep moving slowly and dipping.
Duratec cooling systems are notoriously hard to bleed--even the OEM Ranger rail and bypass lines give us problems on the dyno at work. I'd recommend making sure you have everything shown in this diagram: http://www.sbdev.co.uk/Info_sheets/C...h%20heater.pdf
I don't have a header tank. I think that's what I need. I have a couple weeps in my butchered ranger rail, so I'll have to add a nipple the and figure out a header tank.
Got a bunch more air out, need to order a special socket to get the cylinder head temp sensor out. But I think I have the calibration right. And I suspect that when I crack it open the last of the air will come out of the cooling system.
Cant get alternator control to work. I might have fried it by putting 12v to D which the fsm says kills the power transistor.
Forgot to order the coupling nut to extend the clutch rod so I haven't driven it yet.
I zip tied the factory ecu harness above the hvac tube behind the glove box. That's going to be an easy 5lbs of weight reduction next winter.
I corner balanced it. I did it with a simulated full tank of gas and 175lbs in the drivers seat. First I set the ride heights even left to right and set the rake. I had to crank like 6 turns into the rear xidas to get the rake the same as it used to be, that was a good sign starting out. Here's what it was before I stated.
Then after cranking in 1 turn on the passengers front. I went back down half a turn and forgot to take a picture.
Then I took out the weight and the simulated gas, there's like 4-5 gallons in the tank. This is the weight with a wheel and tire setup that's 3 pounds per corner heavier than my nationals setup and without 17lbs of splitter. My minimum weight is 2180.
Oh and weird problem, timing advances with rpm even witn timing locked. Weird.
Yeah oem, or at least they should be, truck had like 80k miles on it. And they had that much rust on them. I left my laptop in the garage, so no log and tune till next weekend.
Forgot to do anything this weekend besides put the hood on and extend the clutch rod, didnt test it. For the next month or two this thread is going to become a garage build thread, we close on thursday.
Drove it out of the old garage, did half a donut in the culdesac, stalled it a couple times, spun the tires on the trailer ramp, shot the ramp out, poooped my pants, save it, decided to just push the car onto the trailer. This clutch is actually pretty easy for a stupid light twin disk, but the tune is just barely good enough to run, the clutch rod needs more adjustment, and the brakes need to bled. Also leaked tranny fluid onto the trailer in the tail shaft area, I'll have to see if that persists and I might need a slight spacer for the rear flange to get it just right, or maybe I just over filled the tranny and its ok now.
And now for the garage part of the build thread.
Here is what I started with.
Now to chip out the cracks so the epoxy has somewhere to go. This sucked hard. I was also way to aggressive at the beginning.
I didnt have nearly enough epoxy once I started, but I was going to Germany and the floor covering epoxy would need to cure for at least 7 days before I could move the garage, and I was going to do that 4th of july weekend. I had 1 gallon of epoxy, for the amount of cracks I had 4 gallons probably would have been a lot better. I ended up running out of epoxy resin at the end and had to settle for some polyester resin which doesnt bond all that great to concrete and isnt nearly as strong. You can see I just used the same epoxy as carbon fiber, which is really all the expensive crack fixing concrete epoxys are. Just 10kpsi or better epoxy with some viscosity modifiers depending on if its horizontal or vertical work and then mixed with sand. I mixed as heavy with sand as the epoxy would suffer to get the viscosity up and to save on epoxy. But like I said I was very shy on epoxy so I filled the bottoms of the cracks with just normal concrete patch. Hopefully only doing the top inch with proper epoxy will be enough to prevent the crack from coming back, if not I guess there's always time to do it right the second time.
Then it was time to grind. The grinder weighed a **** ton, fiance almost died helping me get it in and out of the truck, she stronk for a girl though. Also it works slow and didnt like heavy transitions so I had to destroy my HFgrinder. She ground her last on this job, nose bearing is smoked and the switch is intermittent. I also had one oil spot I had to grind way ******* deep, it sucked I ended up filling it in with fast set cement, but I didnt fill it high enough. There was also an oil spot on a hairline crack and once I power washed the floor to get all the dust out that **** bled through. I had to go at it with the degreaser and hope I got it off well enough for the floor coating to stick because I'd already brought the grinder back. You do get a good feel with the grinder to know when you've gotten a crack level. When you're on a transition it really pushes you around, but when you've made it level it no longer does that.
I went with a high solids (93%) epoxy from garagefloorcoatingsllc.com light gray, no flakes (flakes are the devil), and the VOC compliant top coat (by accident, I meant to get the high performance but miss clicked). Heres the 2 part epoxy primer. I hand threw general purpose sand on it for traction. I wish I used a finer sand and had a better way to spread it than thrown by hand.
And I forgot to take pictures after the main coat, I put the main coat down before leaving for germany, Fiance put the top coat on once I was already on the plane.
Now I bought some 5k lumen LED lights from amazon, like $120 for a 4 pack, which is only about $5 more per light than buying the cheapest 2 bulb T8s and 2 bulbs from lowes. And the T8s ony do 3200 lumen for my 5k with equivalent energy usage. $5 per light difference pays off the first time I have to swap bulbs on the T8s. I'm just testing this out/ I needed some light to assembly the grill. Light let me get better shots of the floor too.
I was afraid of hitting the post size limit so heres the last few I took yesterday of moving the stuff in. Unlike my last garage that we pretended maybe you could park something in the other bay we're going straight for this is a 1 car garage plus workshop so I can arrange the work space much more efficiently. I'm doing kind of a U shape with an umlaut for the work area. Also note its all going to move around at least once when I have to insulate and drywall, maybe here twice. I also will have to make space for the kerosene heater.
Stuff happened last week. Installed a new alternator, still no charging. Put the scope on the control wire and I was getting 5v signal to the alternator. Just for kicks I threw that wire onto the other terminal. Low and behold literally every diagram for this alternator online is upside down.
Drove it up and down the street a few times, was pretty sweet. Then it died at the bottom of the hill. Neighbor comes out of the woods and say the car looks really cool, helps me push it halfway up the hill, said when it died it sounded like fuel. Apparently he builds stock cars in the shop in his backyard and he's got sweet tools and stuff. Low and behold the fuel pump fuse died. I dont know how it worked the whole season two years ago with the wally 450e85, it was a 15amp fuse. I put a 20 amp in there since it was wired for that much amps anyways.
Buddy had a brand new hunter rig show up in the shop monday and he was dying to put a racear on it, so I brought the car by on my way to work to get it aligned. Could get up to 4.2� from camber with the new ELBJs. He only did 3 burnouts on his new alignment rack trying to get the car onto it.
Scheduled the dyno for noon friday, but we lost power thursday night and I spent most of the evening getting the generator that came with my house to start. Needle valve dissolved into the fuel bowl, I just made a permeate orifice and let the generator run with the choke closed. So I did that instead of installing new plugs that night and making some knock ears, and I did that **** first thing friday morning. I started getting the fuel all set with steady state tuning that worked fine. Until I tuned at 7k rpm and the temp went from 200ish to ******* maxed the **** out in like 20 seconds. Geiser out the overflow, it was fun. Started to get on to tuning boost duty cycle and suddenly it wont idle below 5k. Look all around the engine cant find the vac leak, decide it HAS to be the PCV so I pull the intake manifold off, and I was right. When replacing the pcv I cracked the retainer clip and the pcv actually shot out of the block. Luckily the owner of the shop has a 500hp ecoboost mustang and replaced all the stock pcv so he had the ring. Then it blows the PCV hose off the manifold. There's no room there to put a clamp on, you have to slide the hose on as you put the manifold in. So he finds some 9/16" ID fuel line scrap and we put bolts in the pcv hose and a small hose off the manifold. We just zip tie it for hose clamps. Do some more tuning, has a leak again, not as bad. Take it apart again, and it sucked the bolt stub into the hose against the nipple, so we hose clamp it this time. Good to go now. Get it reliably making 12psi open loop so I decide to get a baseline power pull. We get a funky shaped graph and the dyno did some strange feeling stuff, and power just died completely at like 7500rpm. We figure its because we started the pull at 2k rpm, and it was definitely valve float up top. Do a pull from 3krpm and it sounds like and feel like valve float from 4300-4700 rpm, and the dyno dips there again to prove it. Must be a weird resonance. But still made 310ftlbs and 295hp with that valve float and stopping the pull at 6500 rpm because it started to valve float around 6800 on the first pull. I also noticed that idle oil pressure was 9psi at this point, that will become important later. I decide to drop down to just wastegate pressure it still floated but not as bad. I basically decided to pack it in at this point, the tune would be perfectly safe if it didnt valve float like a ******. Still made 250ftlbs and 240hp on wastegate with the valve float, lol.
Also, I dont know if my knock ears didnt work or if this engine is just super quiet but it was way quieter than the BP engine with the stethoscope. I think I'm going to make electronic ones before I go back to the dyno.
Other fun note, this dyno is made in NH and is capable of braking 6,000 ftlbs of torque. The shop owner uses it with his 1200hp rwd dsm all the time.
Not to be defeated by the valve float and still race on Sunday I start tearing into the motor saturday at noon after mowing the lawn and ****.
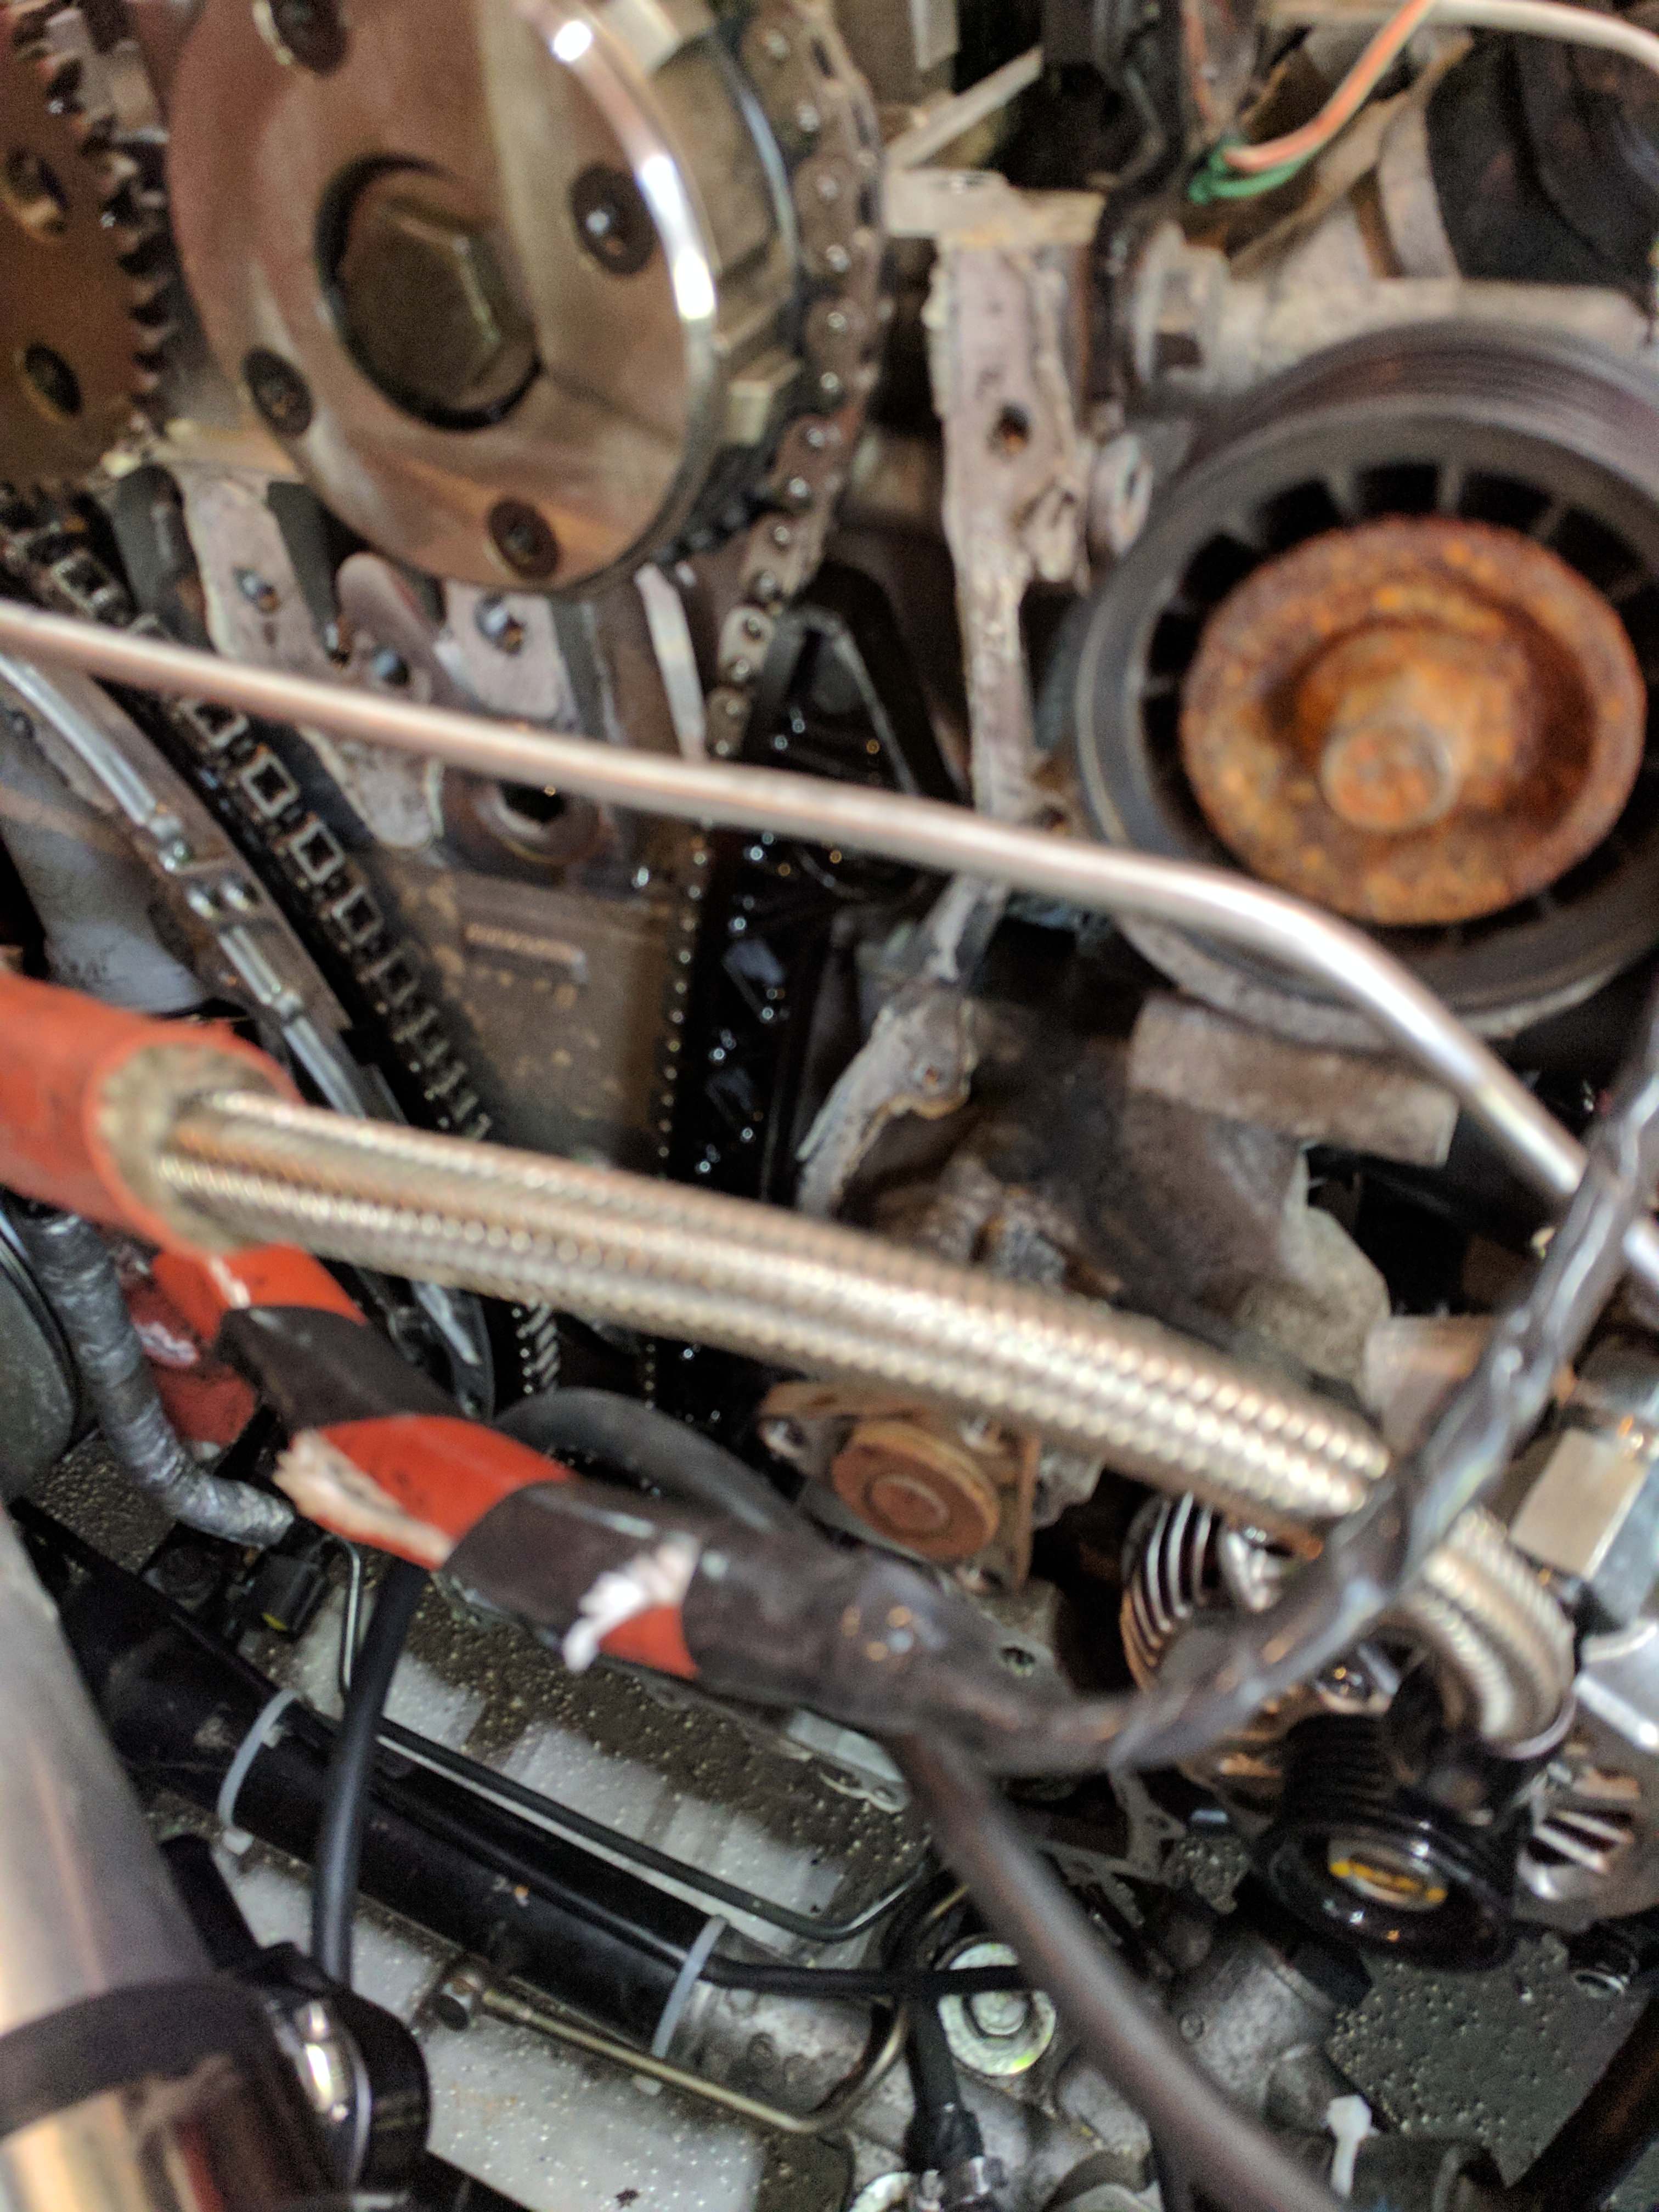
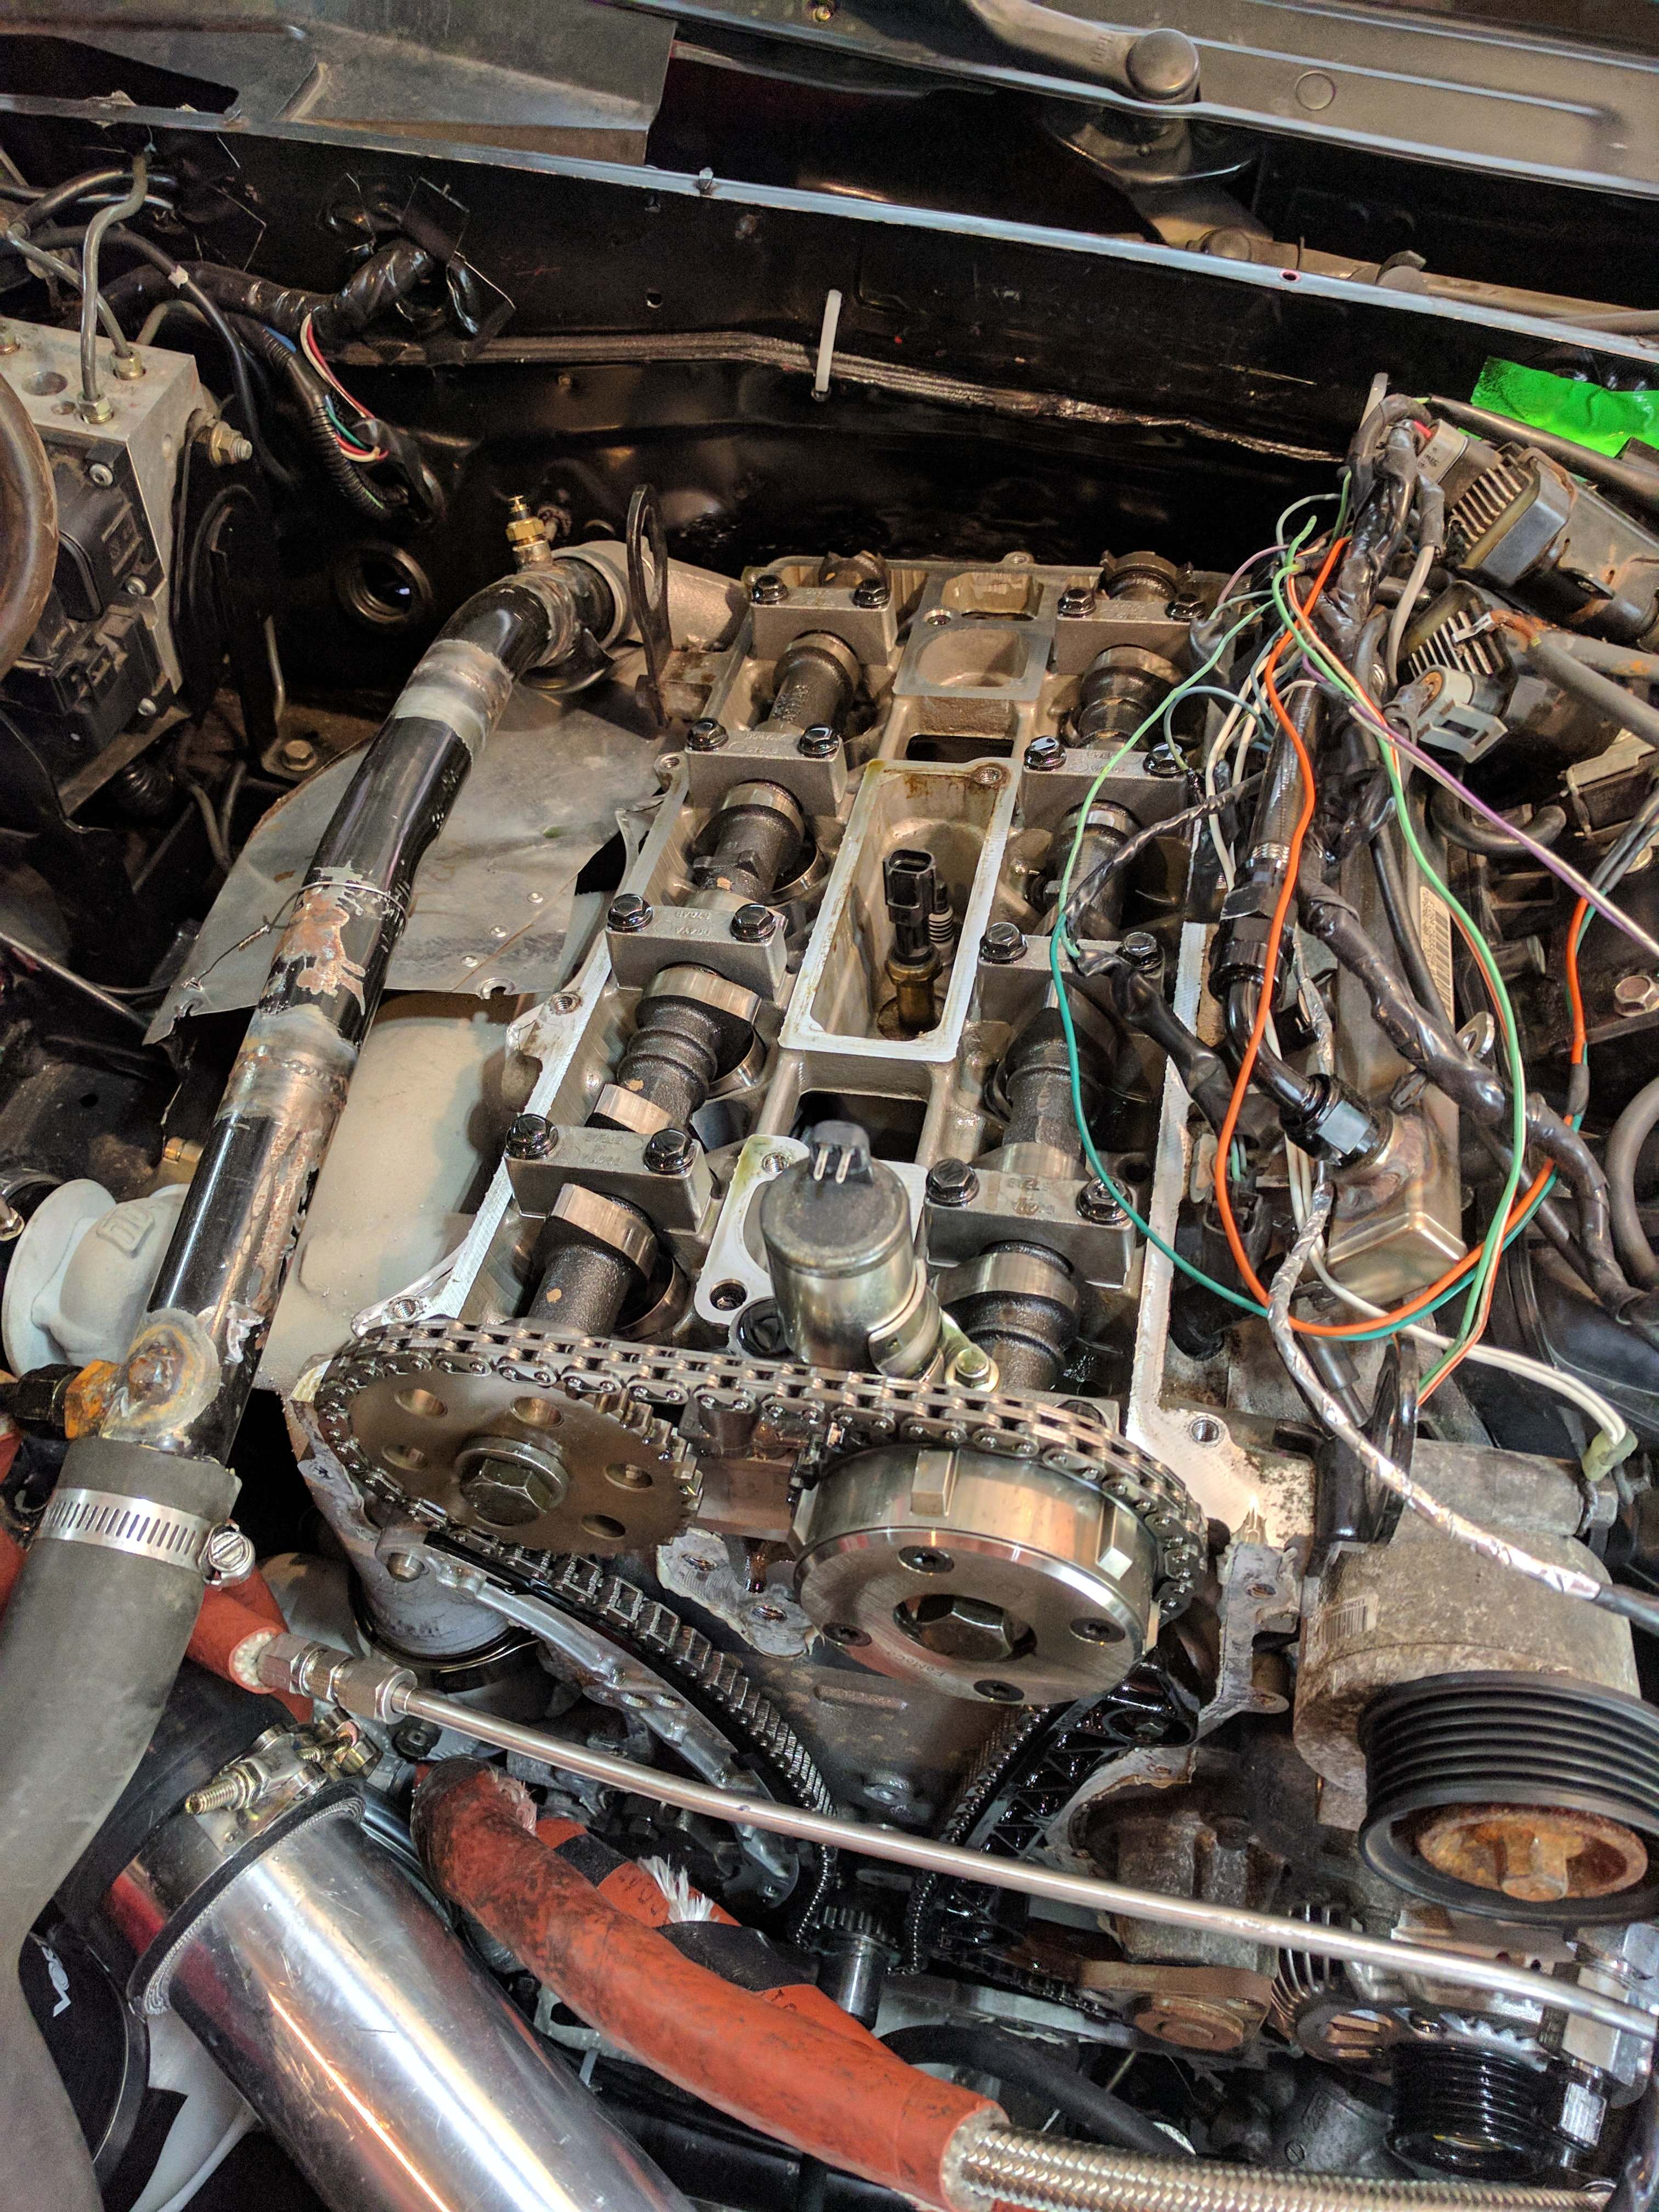
Holy ***** I can do the timing on this motor without removing the radiator.
I found upon tear down that the water pump pulley bolts were finger tight, this engine must vibrate less than a BP for those to have not fallen out on the dyno. I also found that the oil pump sprocket bolt was half way unthreaded. That explains the low oil pressure, whats impressive is that none of the shafts and sprockets in the motor are keyed so it was force of will of this engine to live providing the oil pressure. Replacing the valve springs the usual way, by filling the cylinder with shoelaces and then moving the piston as close to tdc as possible. I use my real lever style valve spring compressor, which comes with a nice spark plug to air compressor adapter that I will use once I have an air compressor. Cylinder 1 and two go off pretty easy. I drop the valve retainers a few times onto my new floor but find them instantly because I didnt put any of that ******* flake **** in there. And by pretty easy I mean I question my method of getting the retainers back in multiple times and then just resign to the fact that its purely based on luck. Cylinder 3 time, valve 2 drop a ******* retainer into the head, can see it at first but cant get the magnet close enough, try and bump it with the pick and I lose it. ****. I think I bumped it next to the 1st valve of the cylinder so I take that back out. Cant find it, look for 20 more minutes then say **** it, its 6:30PM.
Go to the store and get lunch for tomorrow and cook dinner (salmon and sweet potato fries). Find it instantly after dinner. Go to put the first cylinder back together drop the retainer again, this time not into the motor. I cant find it on the floor, cant find it in the bay. Roll the car out of the garage, cant find it. Clean everything off the tires, only pebbles. Figure it had to have bounced into the oil pan in the small slot of it open after removing the timing cover. This oil is brand new and $12 a quart and there's 5 quarts in there. So I put a milk jug into my dirty oil catch pan, and use my tranny funnel with hose to direct it into the jug. Obviously this failed the hose kinked and 1 quart went onto my new floor, half a quart went into the milk jug, and the rest into the drain pan.I t was 9:30 on the day before a race and the only oil I had in the shop was some 0W20 I bought for the crown vic and some non-synthetic rotella that came in the trunk of the miata I parted out, so you could understand why I'd want to try and save it and thought this would totally work. And as you would guess from how this has gone so far, there was no retainer in the oil. There was no metal in the oil either, so thats a win. The stupid retainer must have fallen into the new alternator, that has to be it.
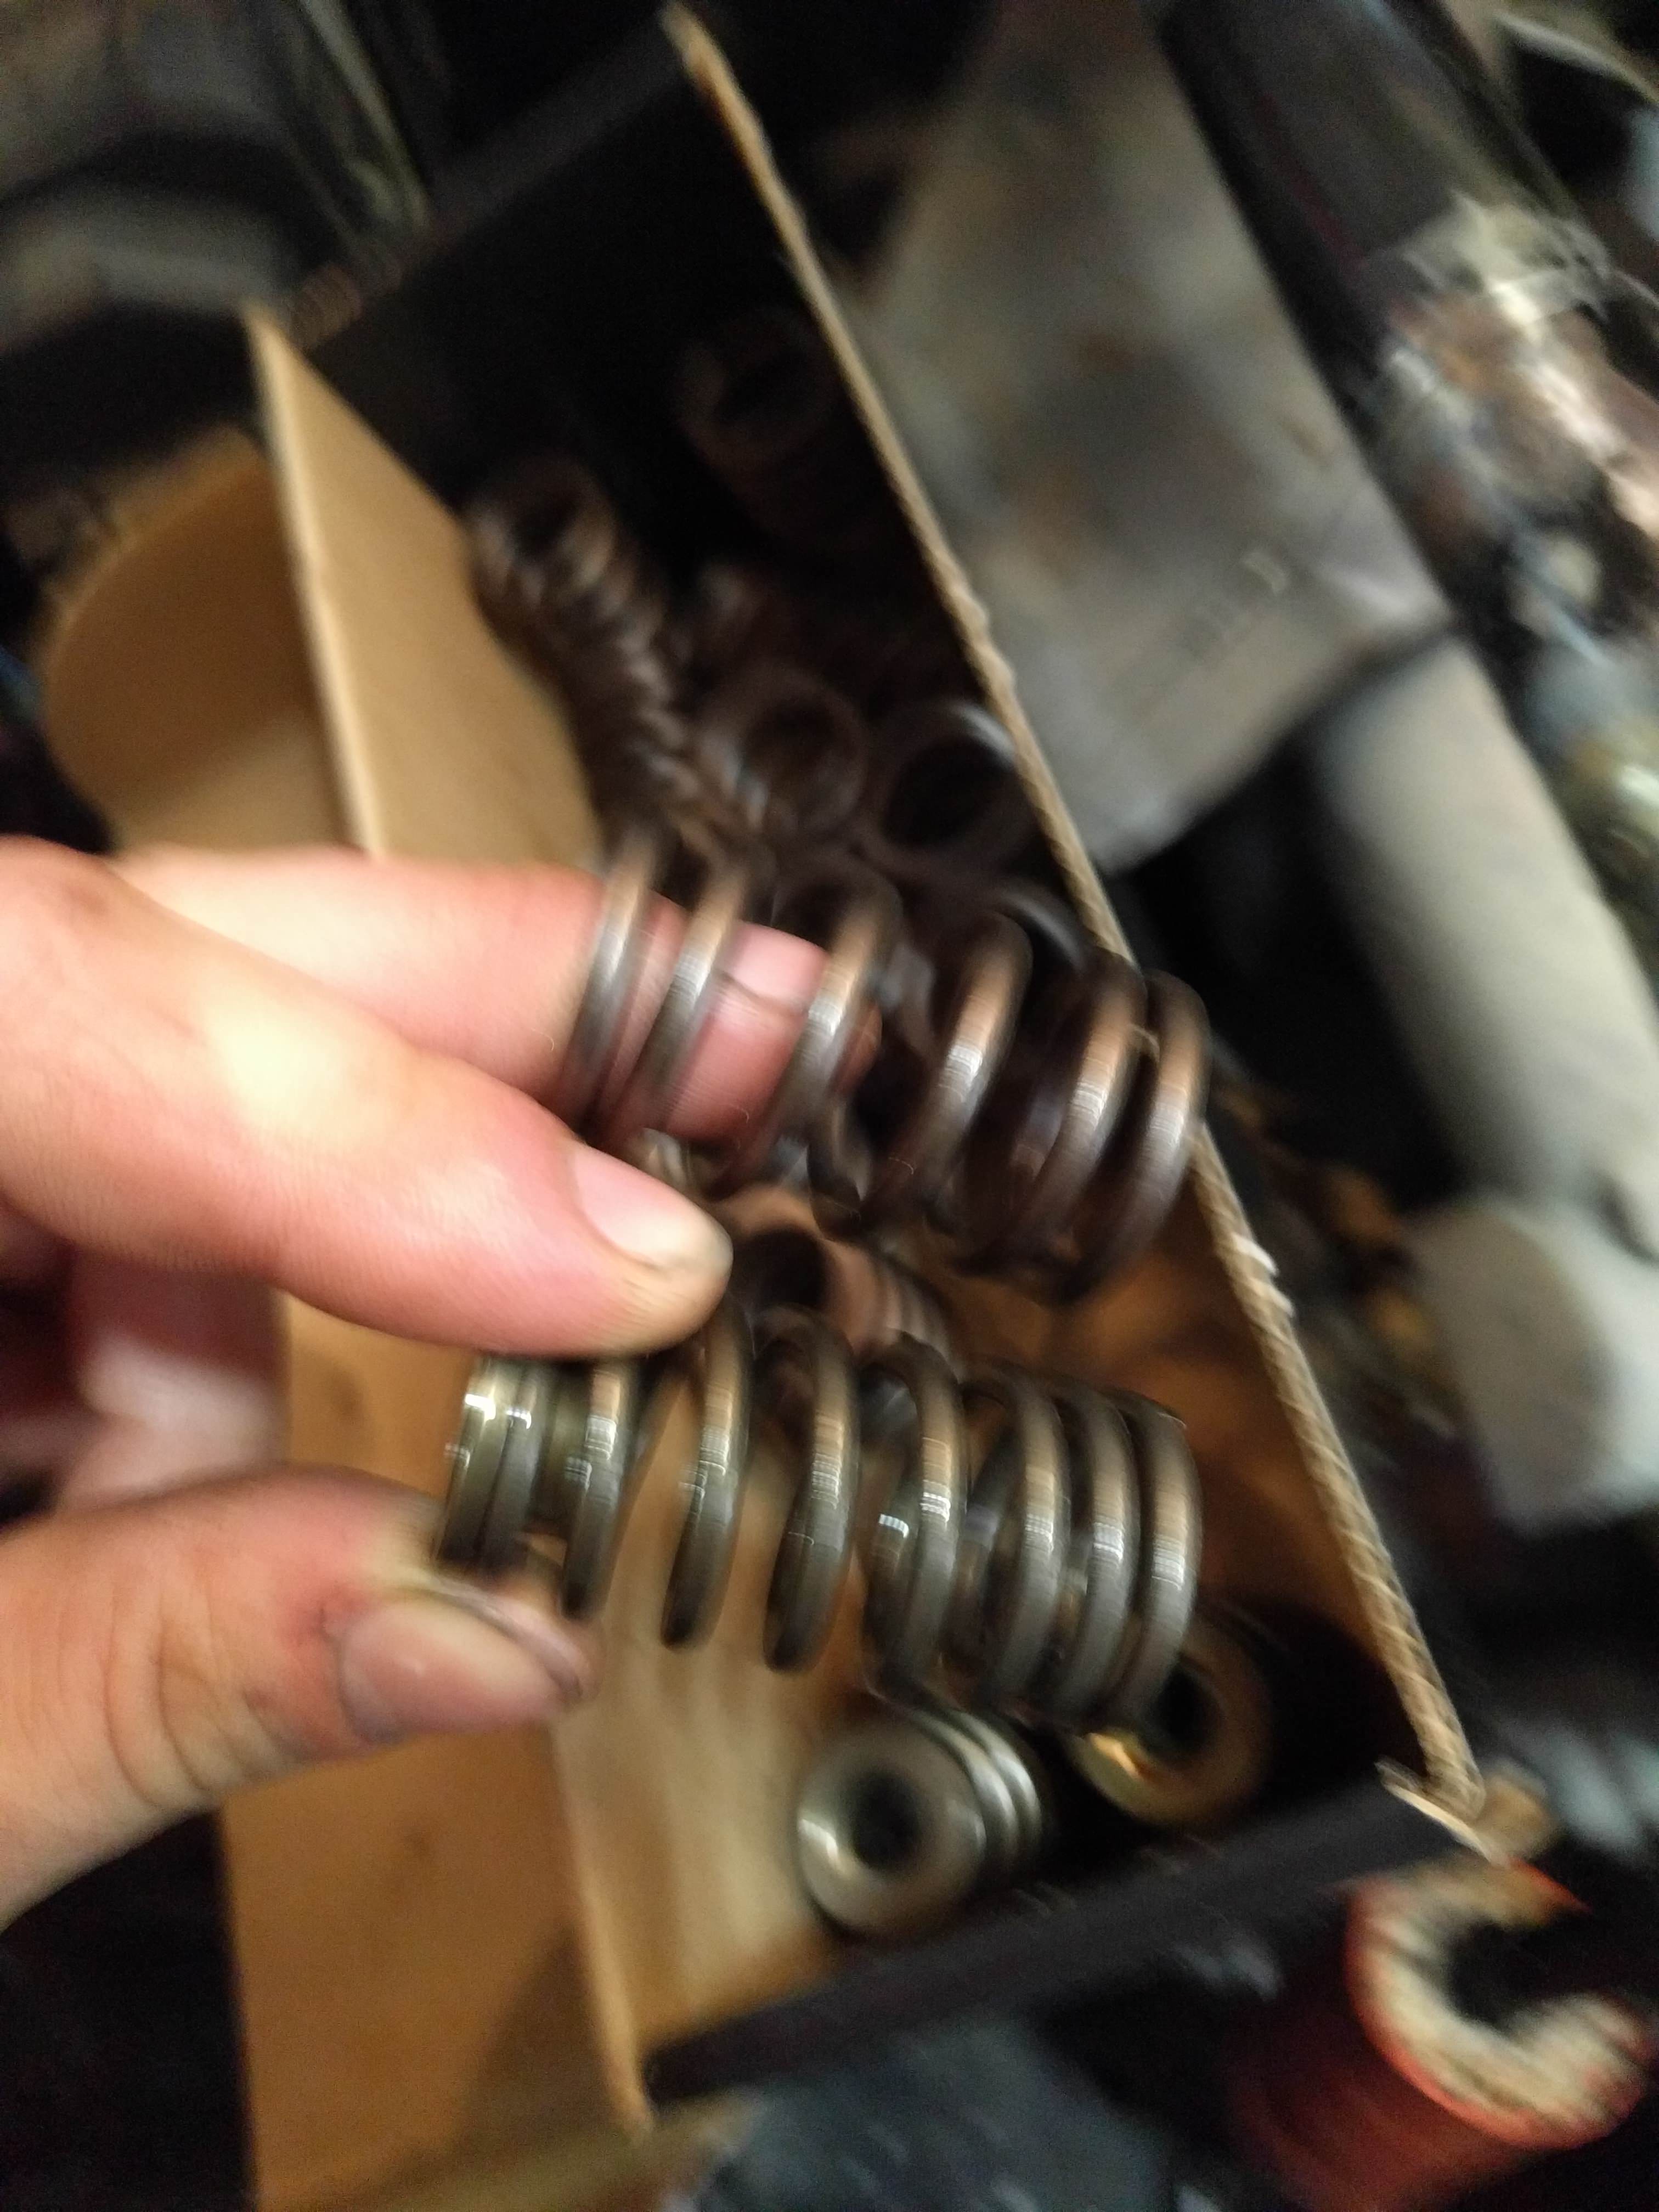
Here's what the difference between the valve springs looks like.
So on the retainers. Mazda Comp doesnt even list them. I called the closest Ford place today and they said one an hour away had them, like a ton. I called the closest mazda place and they told me they could get them from maryland by wednesday. I called the ford place hat should have them and they claimed to not have them, then I told the guy the other ford dealership said the his had them and low and behold he said he actually did have them but he shouldnt and he has no idea how he got them. I send the fiance to pick them up today, she's the best. I'm taking a rest tonight so I'll butten the car up tomorrow. Oh yeah, I got like 4 so I'm never going to drop on again. Also, next time I do valve springs on anything I will be ordering more of these ******* things.
While I was working on the valves I had the fiance make the turn down for the car since I melted the **** out of the bumper on the dyno. I taught her how to use the bandsaw, she did a good job. Couldn't get her to find a sheet metal screw to hole the tip in though, and I was too busy with the valve springs to go through boxes. I want to make the tip removable so I can swap the spiral insert in and out. I also need to figure out a temporary mount for the LS coils until I find a real home for them and order custom plug wires.
oh no, I didn't specifically mean any one part in general. :P
I could only imagine trying to cut pipe elbows with a sawzall.
When starting out I did my manifolds with a zip disc to rough it in and a grinding disc to finish it off. took a while but it did a better job than my tiny bandsaw and was much faster. the tiny bandsaws flaw is rigidity of the blade and no downfeed control.
 05-30-2017, 11:58 AM


 0
0