When you click on links to various merchants on this site and make a purchase, this can result in this site earning a commission. Affiliate programs and affiliations include, but are not limited to, the eBay Partner Network.
Track day yesterday went smoothly. No issues. I am still fighting bad understeer. I think I need to add more camber. I am planning on installing a full set of bushings with offset lower bushings or ELBJs, any opinions on which to go with?
I did a 1:45.5 again with a passenger. I really should be down in the 1:42 range at this point. So I either need to loose wight, or add more camber.....or both. probably both.
You're doing it wrong if your lowered without EBJ's. I don't think it's possible to get appropriate amounts of camber up front without them in most setups. How much rear camber are you running? That can also determine how hard it is to make the car rotate.
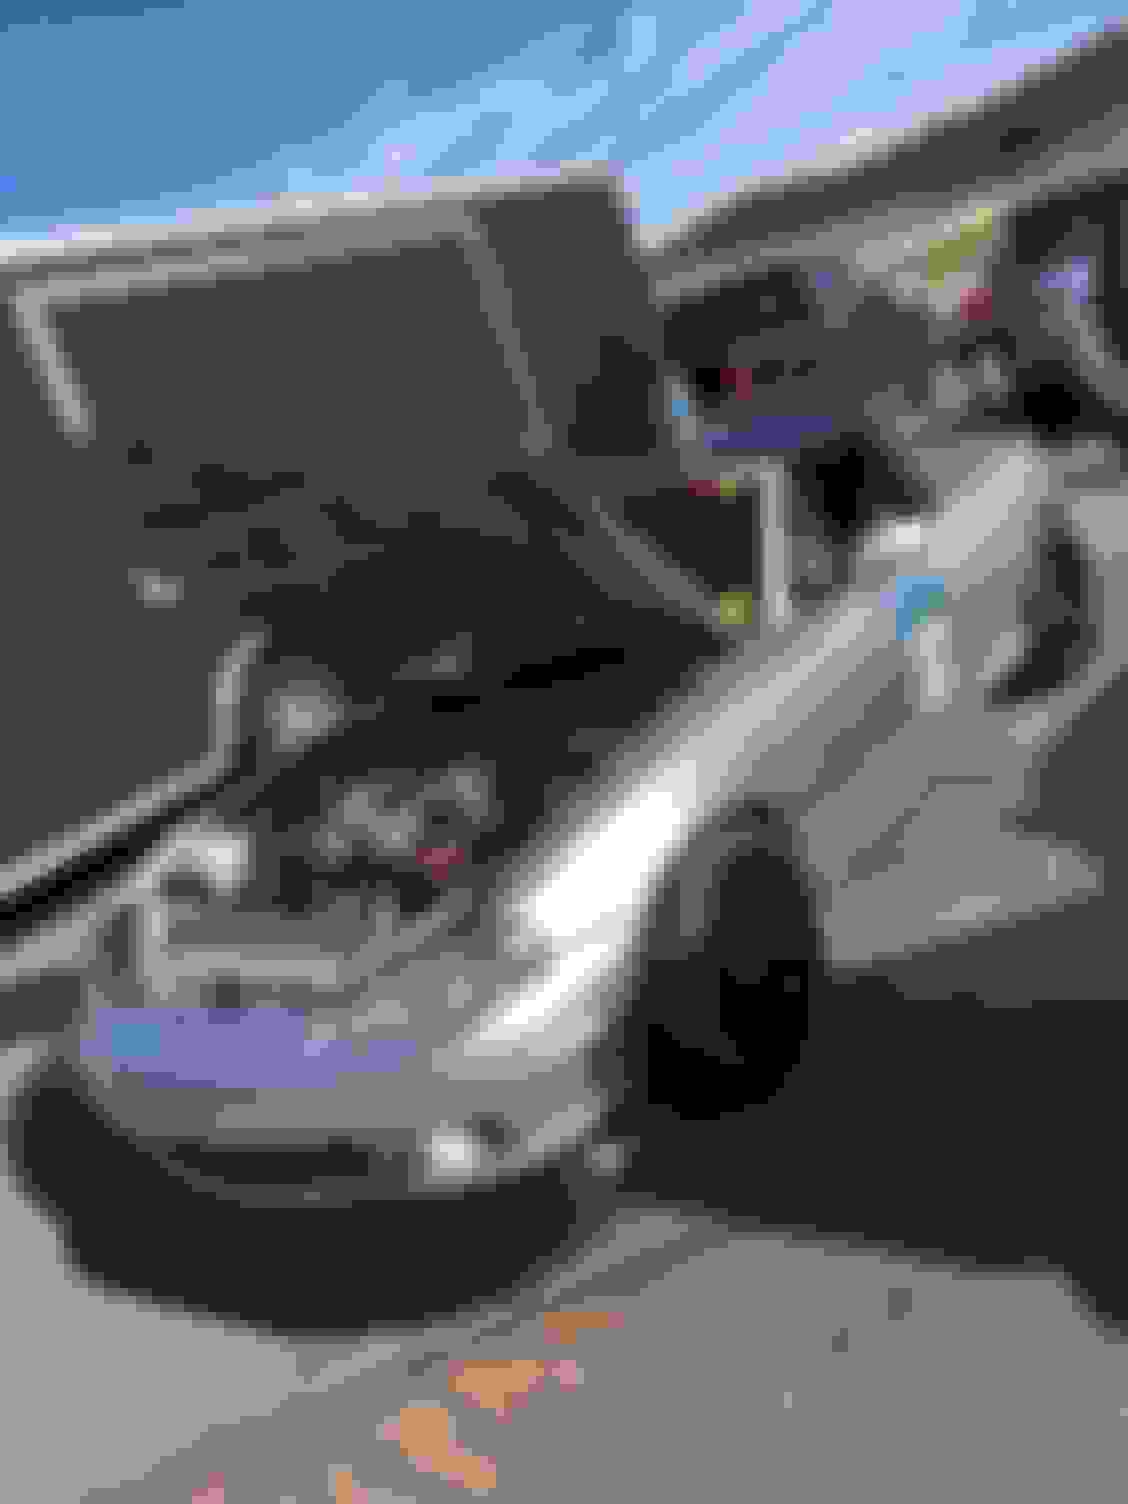
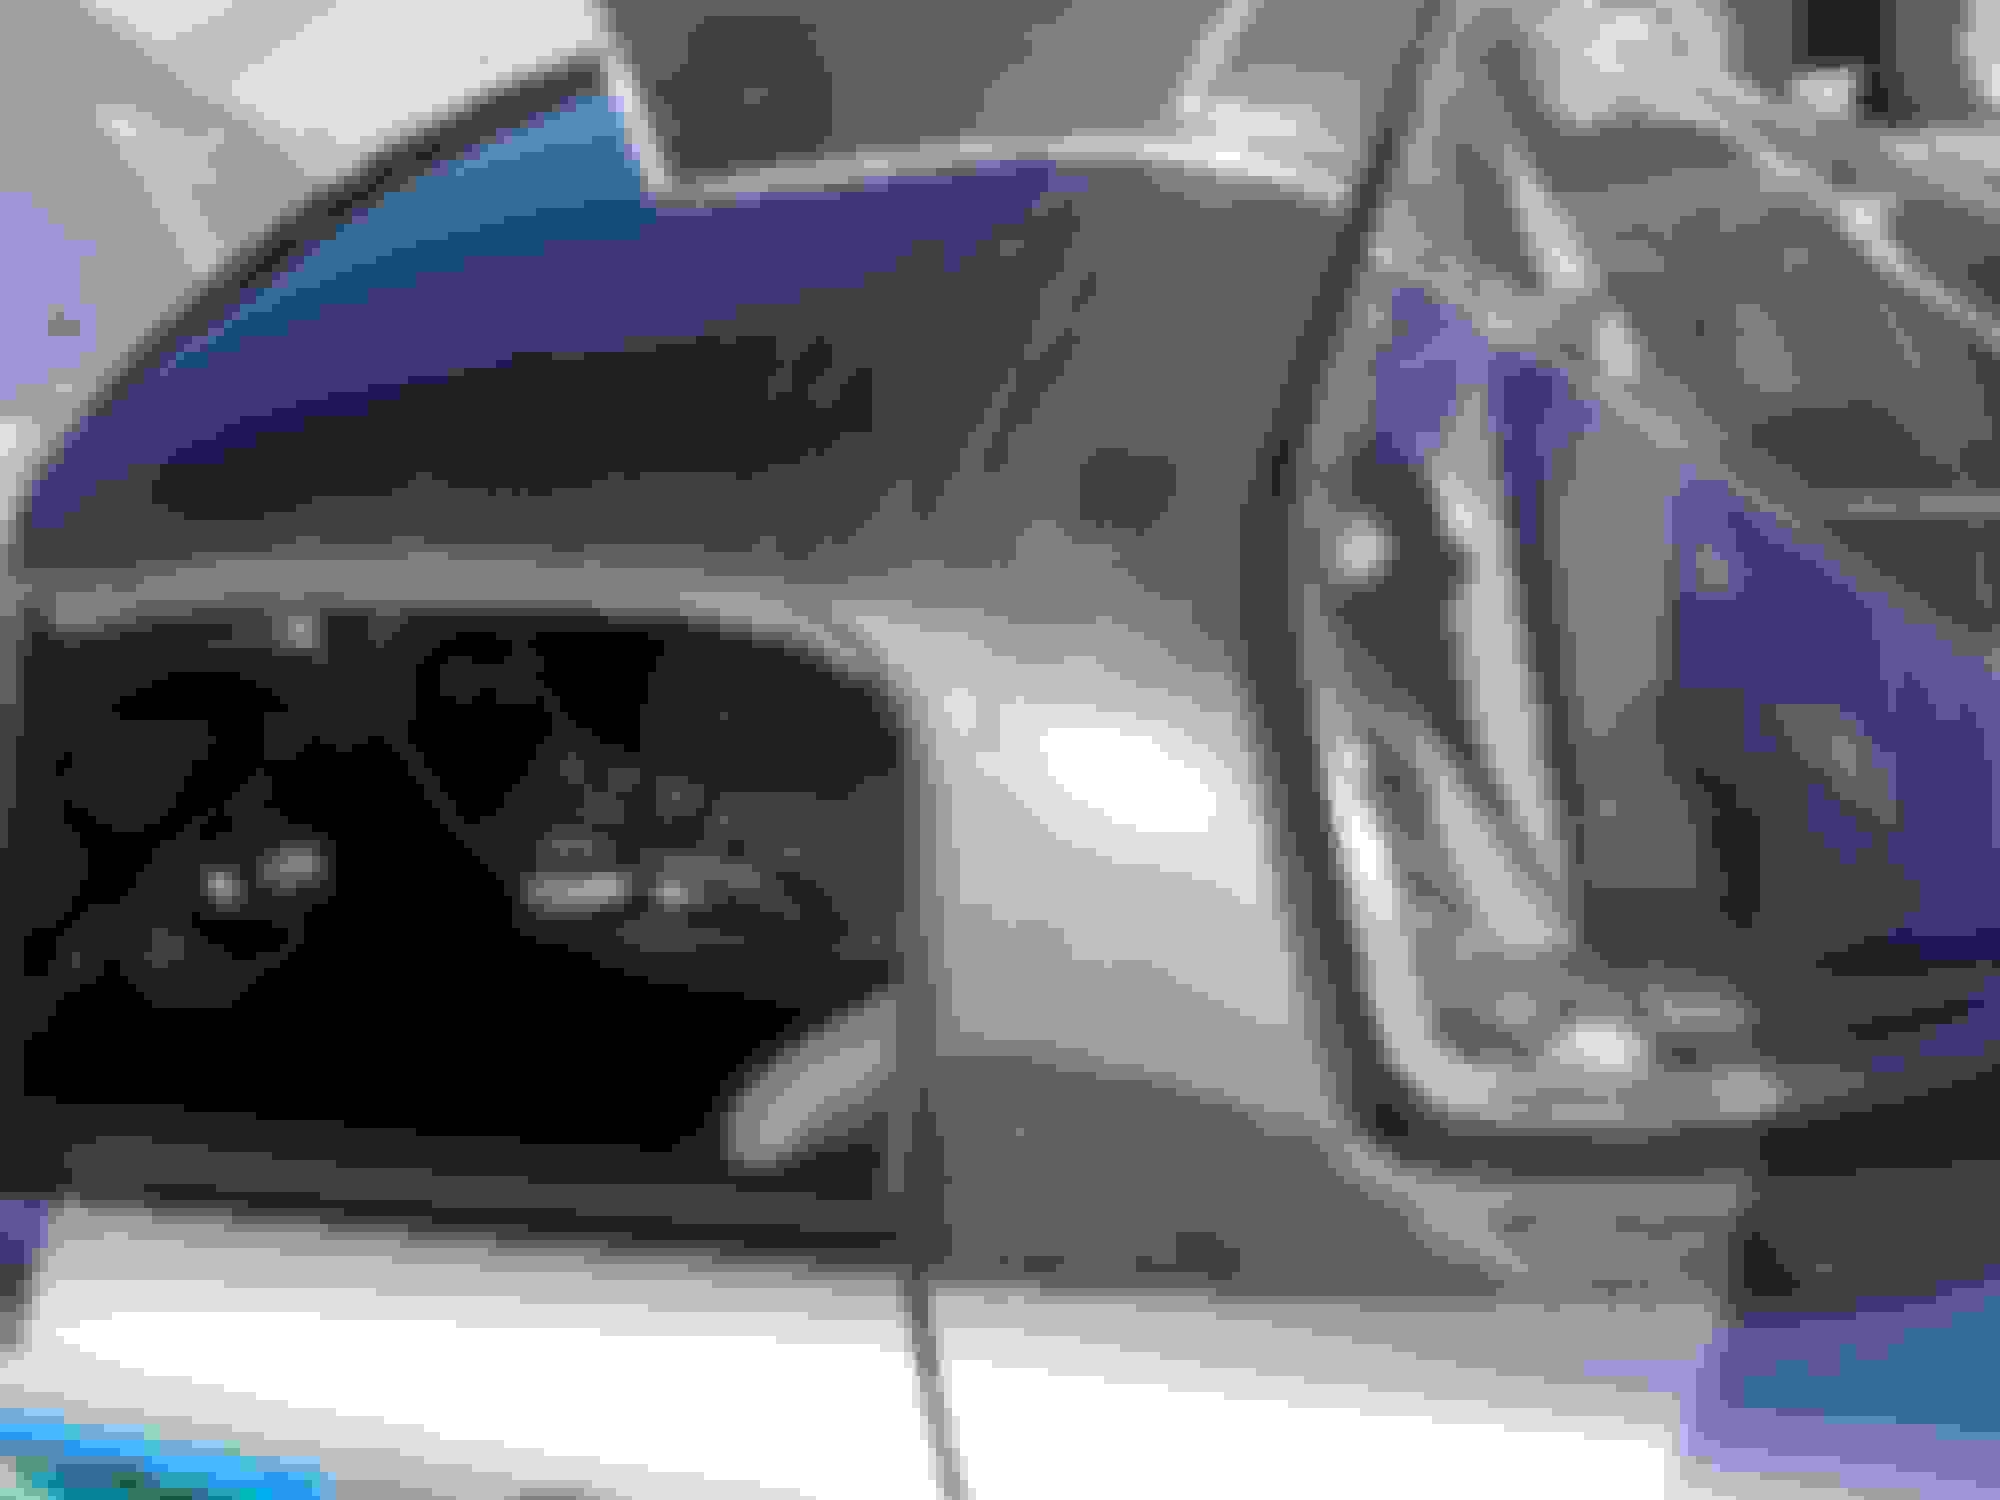
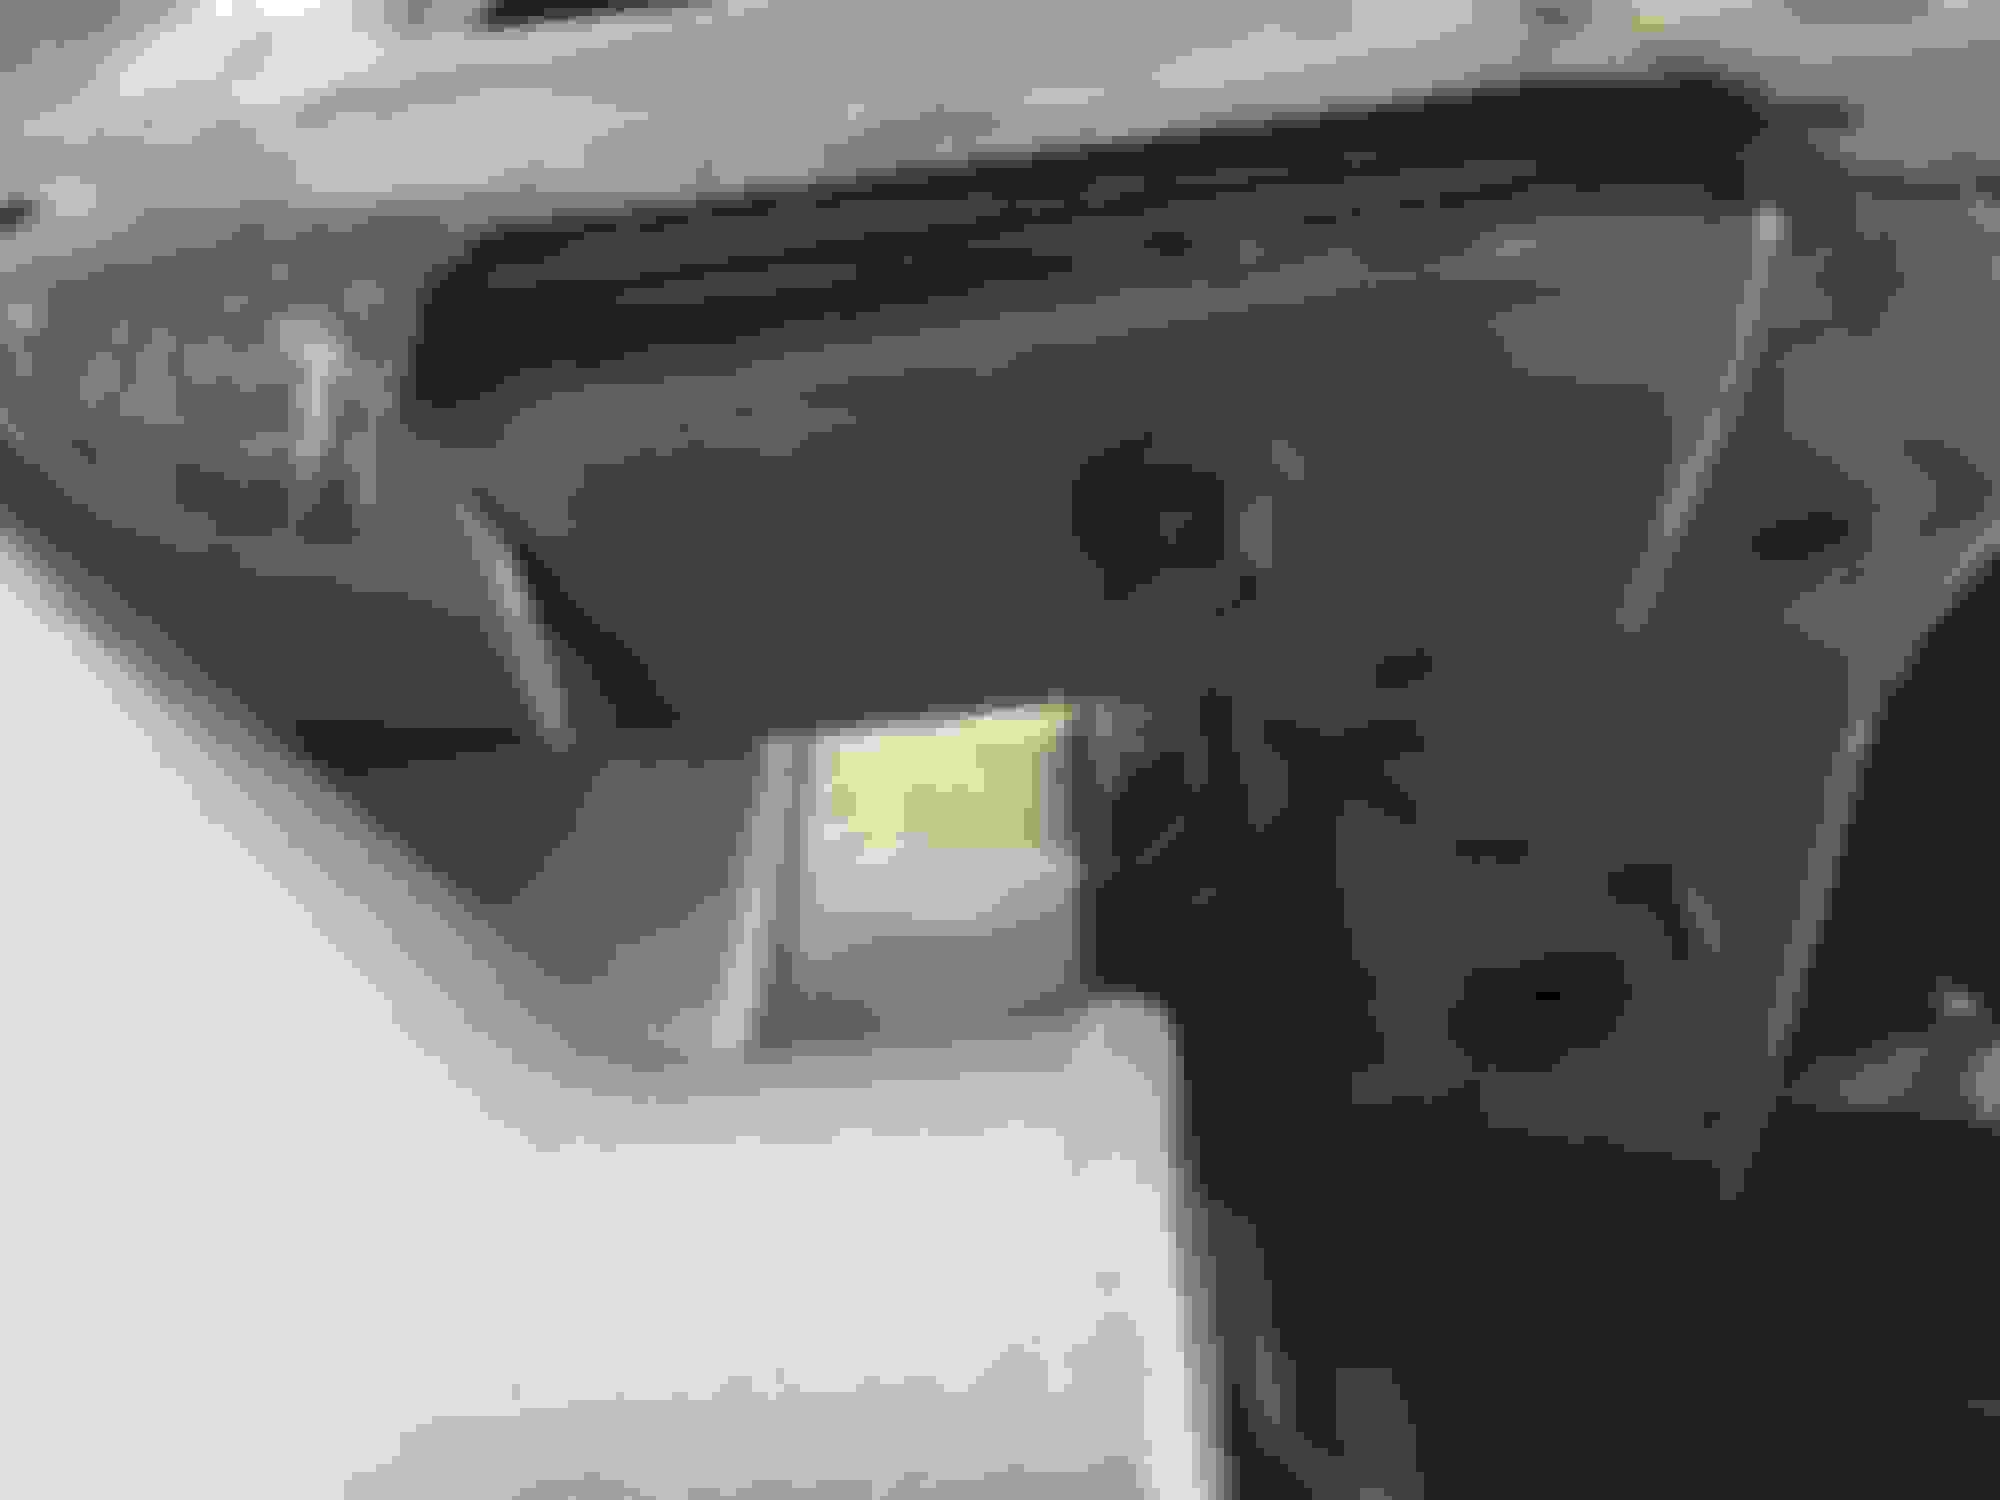
This weekend I set out to get started on mounting my precision 350hp intercooler. I made some brackets that will attach to the factory baby teeth locations.
Like so:
I cut out triangles to fill in the gap that you see. Ill get some pics once its all welded up. I dont have a tig welder so I will need to sent it out to get welded up.
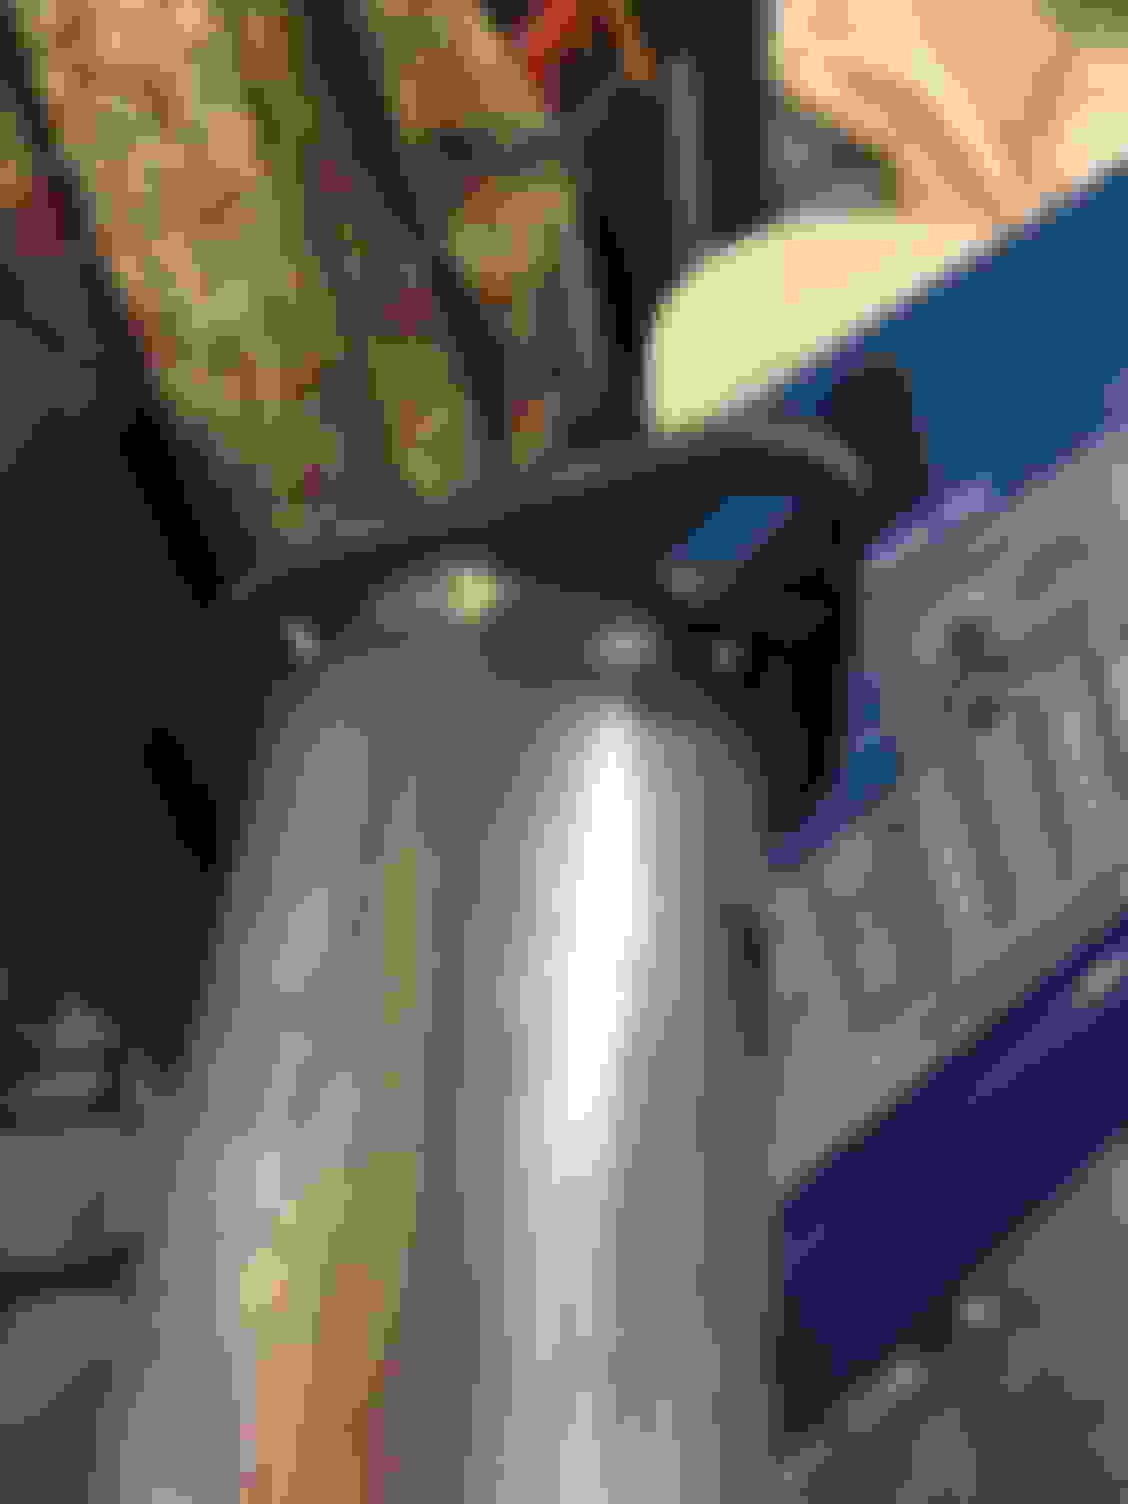
But speaking of welding. I also got started on the 3" exhaust. I tacked up the first flange. This is the only flange that is not a v-band. It will be mated to the downpipe.
This stupid thing will never go back on the car. I dont care if I drive it with a straight pipe. Its stupid heavy for what it is, its ugly, and it has been choking power and spool. Saranara.
Tomorrow my goal is to get the midpipe done and all tacked up. I am sending the whole exhaust out to get fully tig welded becase I have a friend that works in a welding shop and is 5x certified; so I may as well take advantage of it and have some nice looking welds.
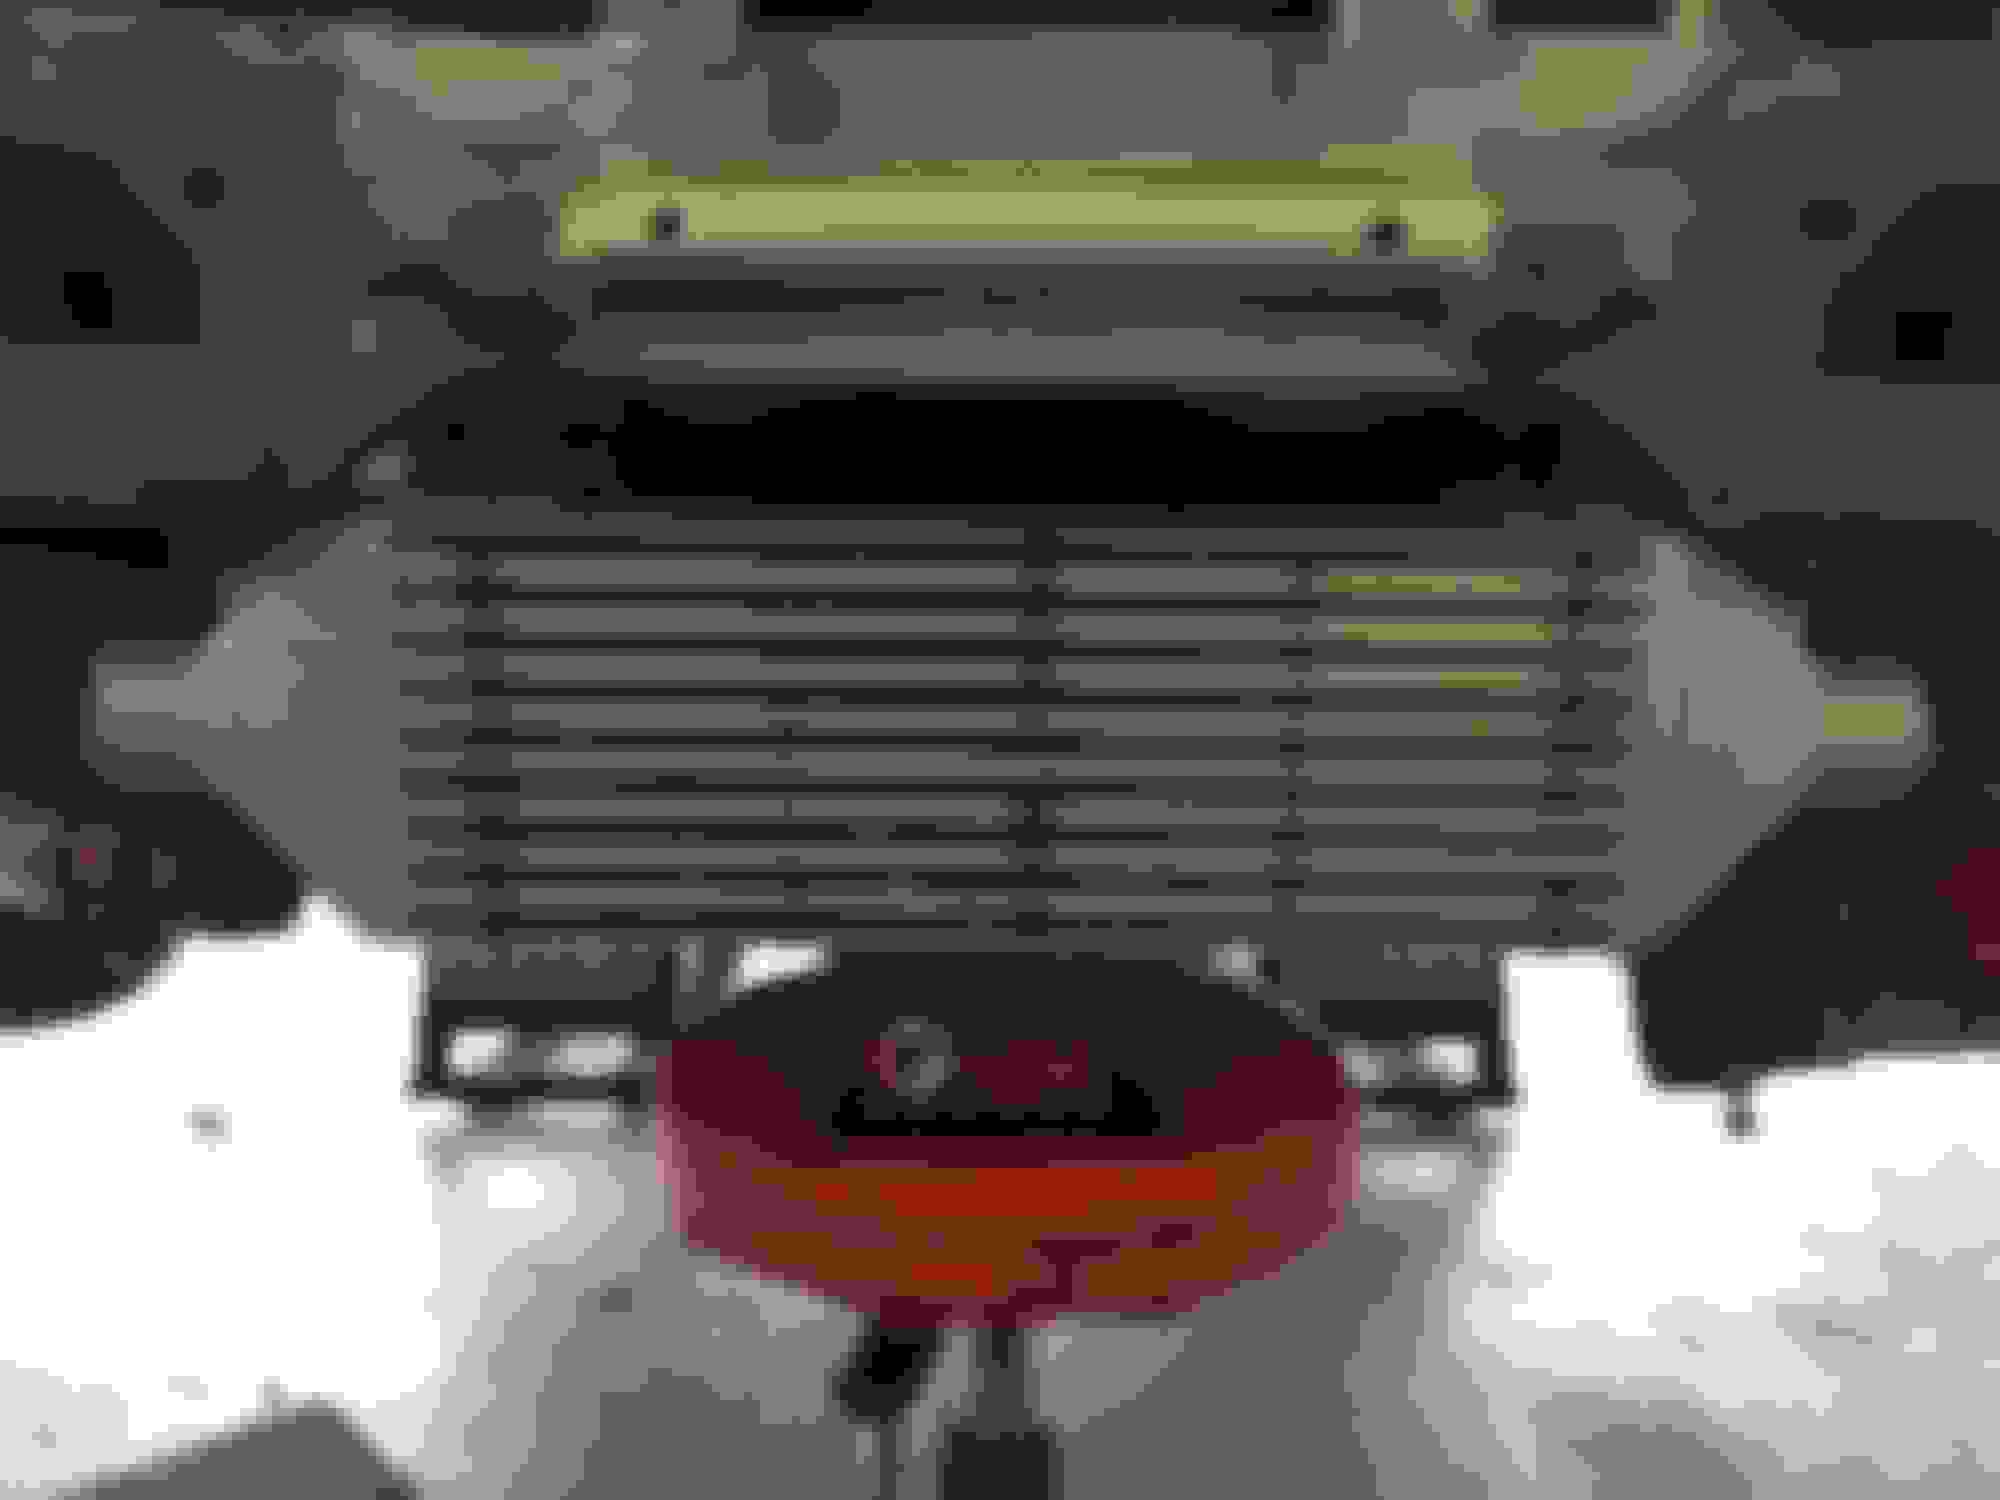
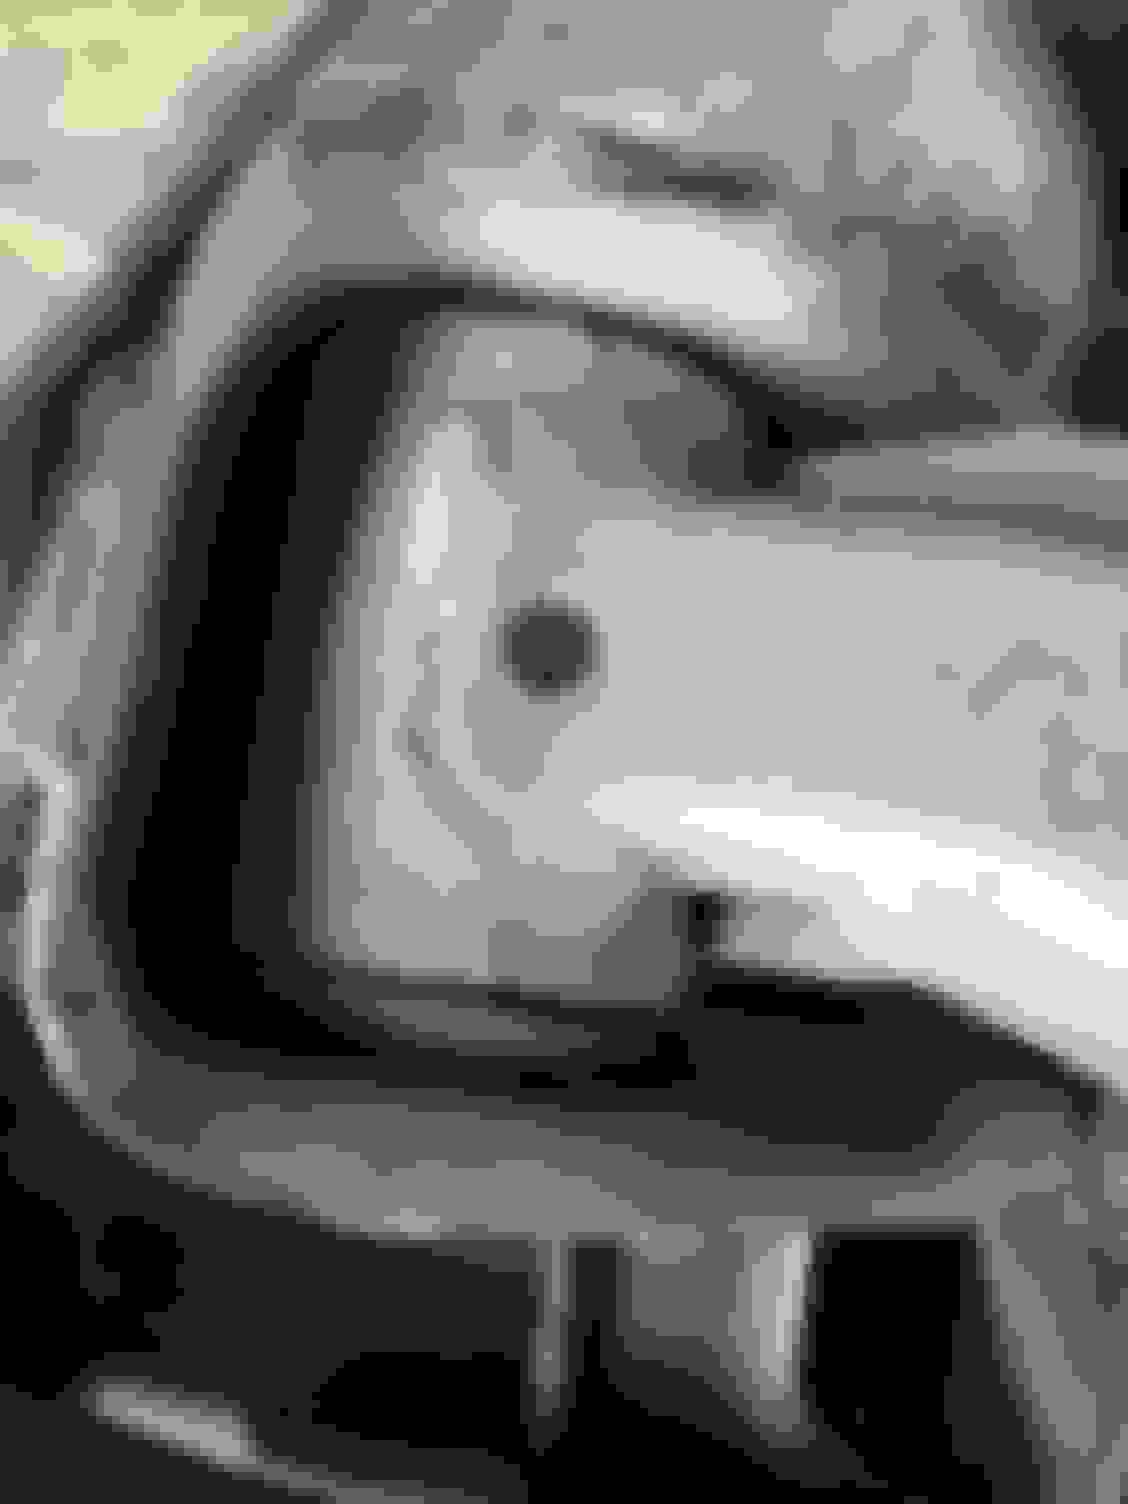
I forgot to include that I will be cutting out the crash bar and a �bash bar� will go in its place. This will open up a huge gap for airflow to the rad.
If there is anything we have learned it's to go overboard with Cooling when you are designing things up front. Much easier than having to make last minute changes when the car keeps overheating.
Made more progress on the exhaust than I thought I would. All thats left is the pipe that exits the muffler and 2 exhaust hangars, then ill take it to get welded up.
While I was under the car I noticed my bushings are super worn out.
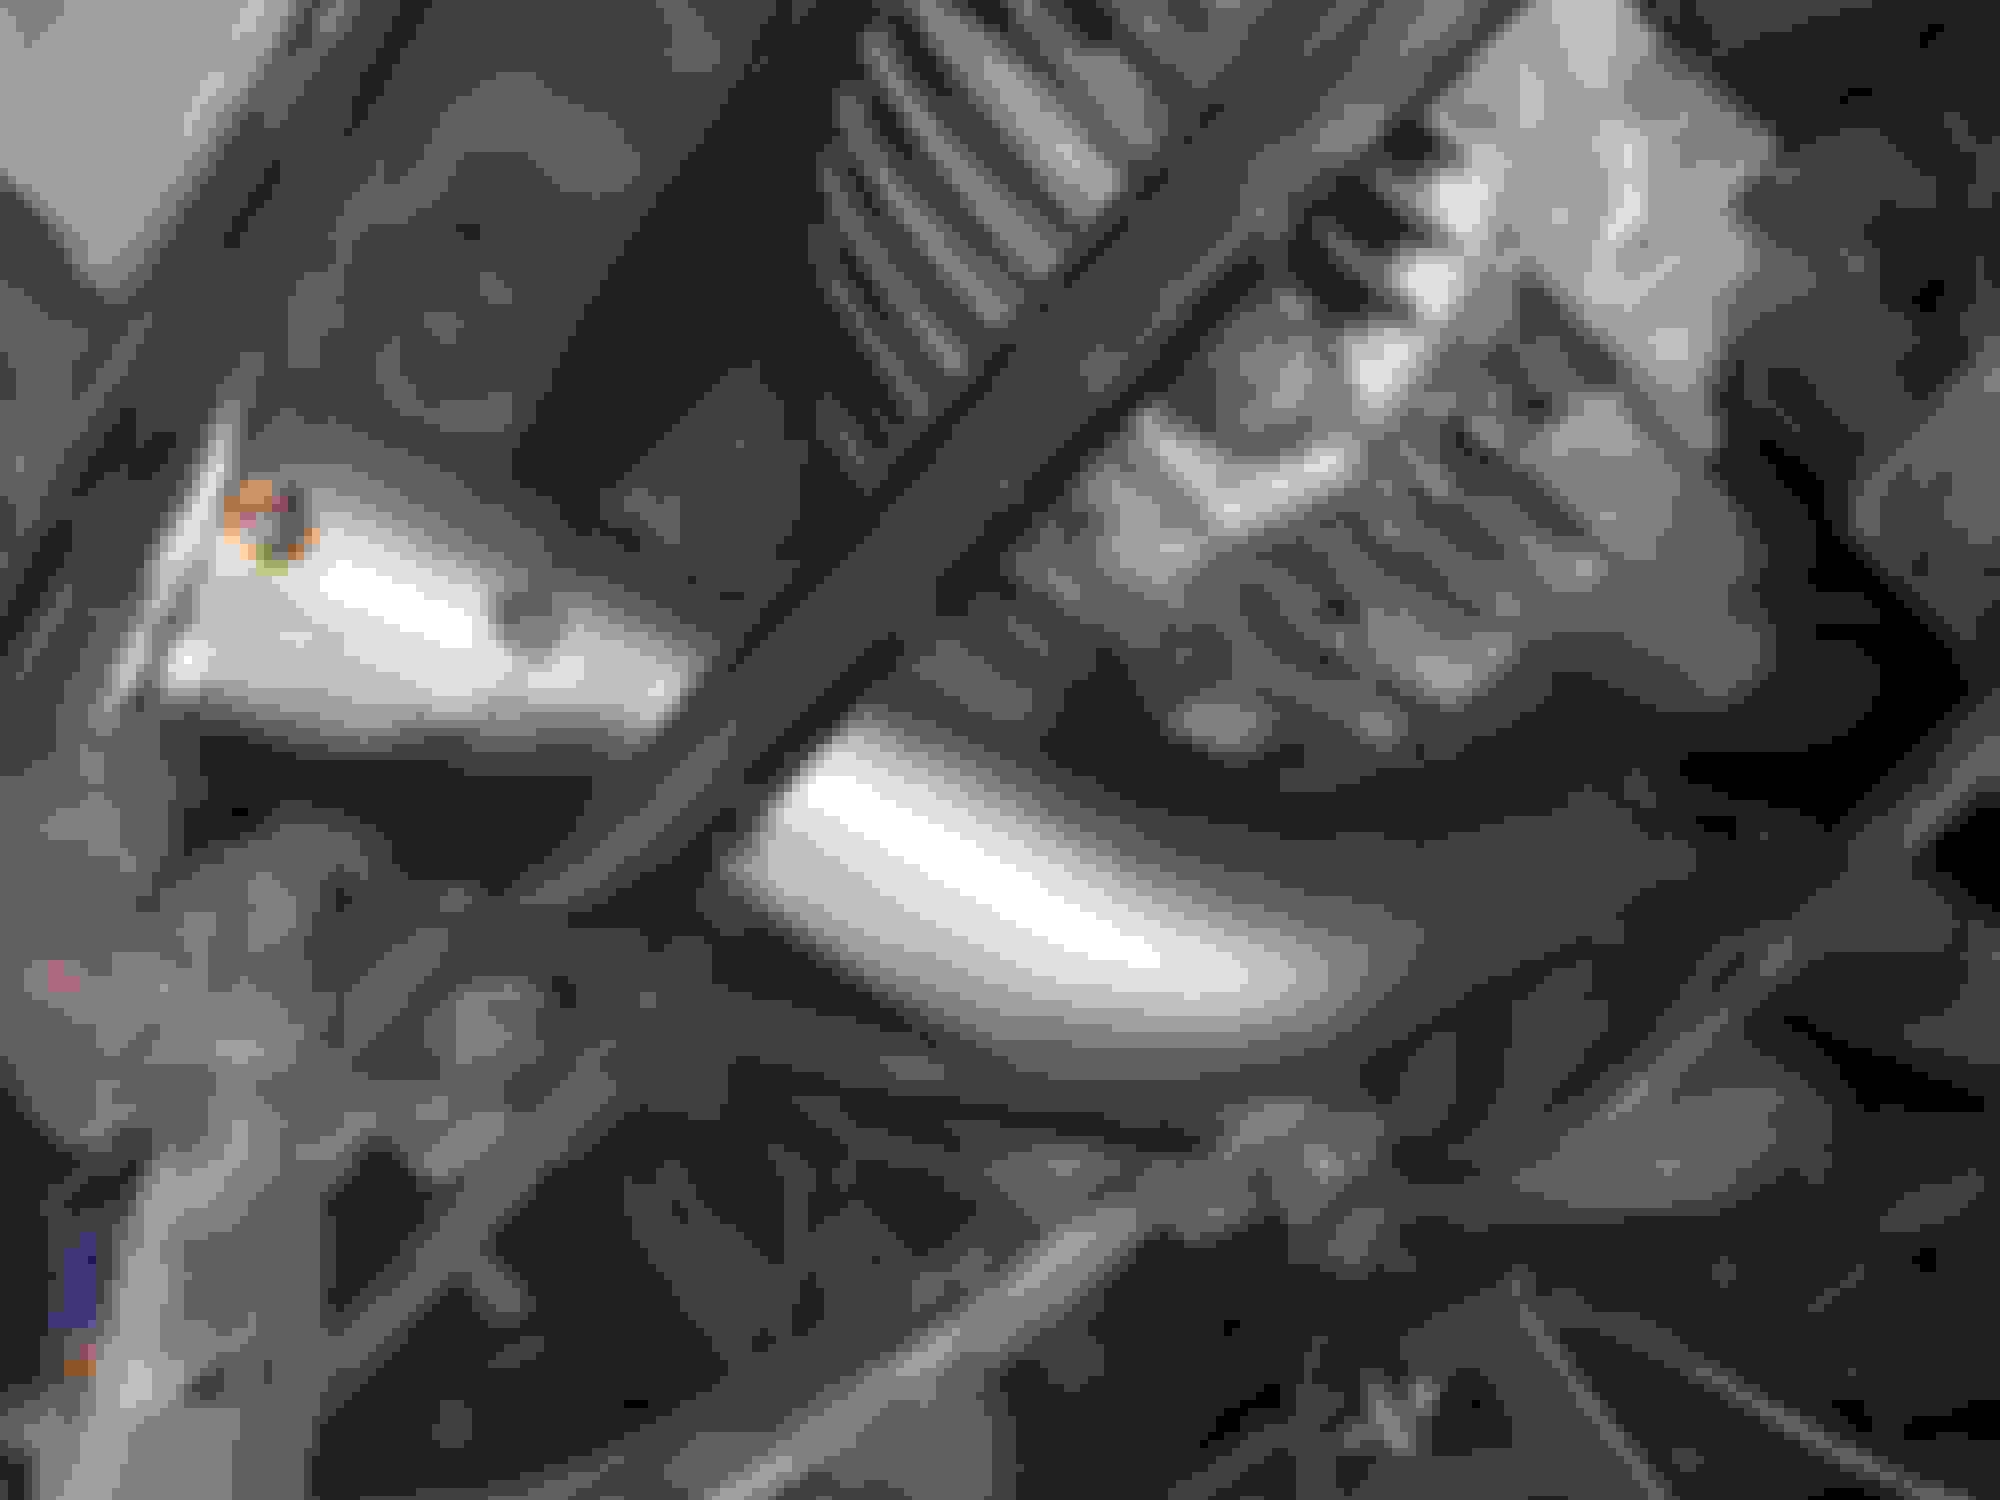
Anyways, here is the mid-pipe.
And here is what consumed most of my day....
I got the muffler where I want it.
Pie cuts.....I hate them.
Hopefully tomorrow I can finish it up. Fingers crossed.
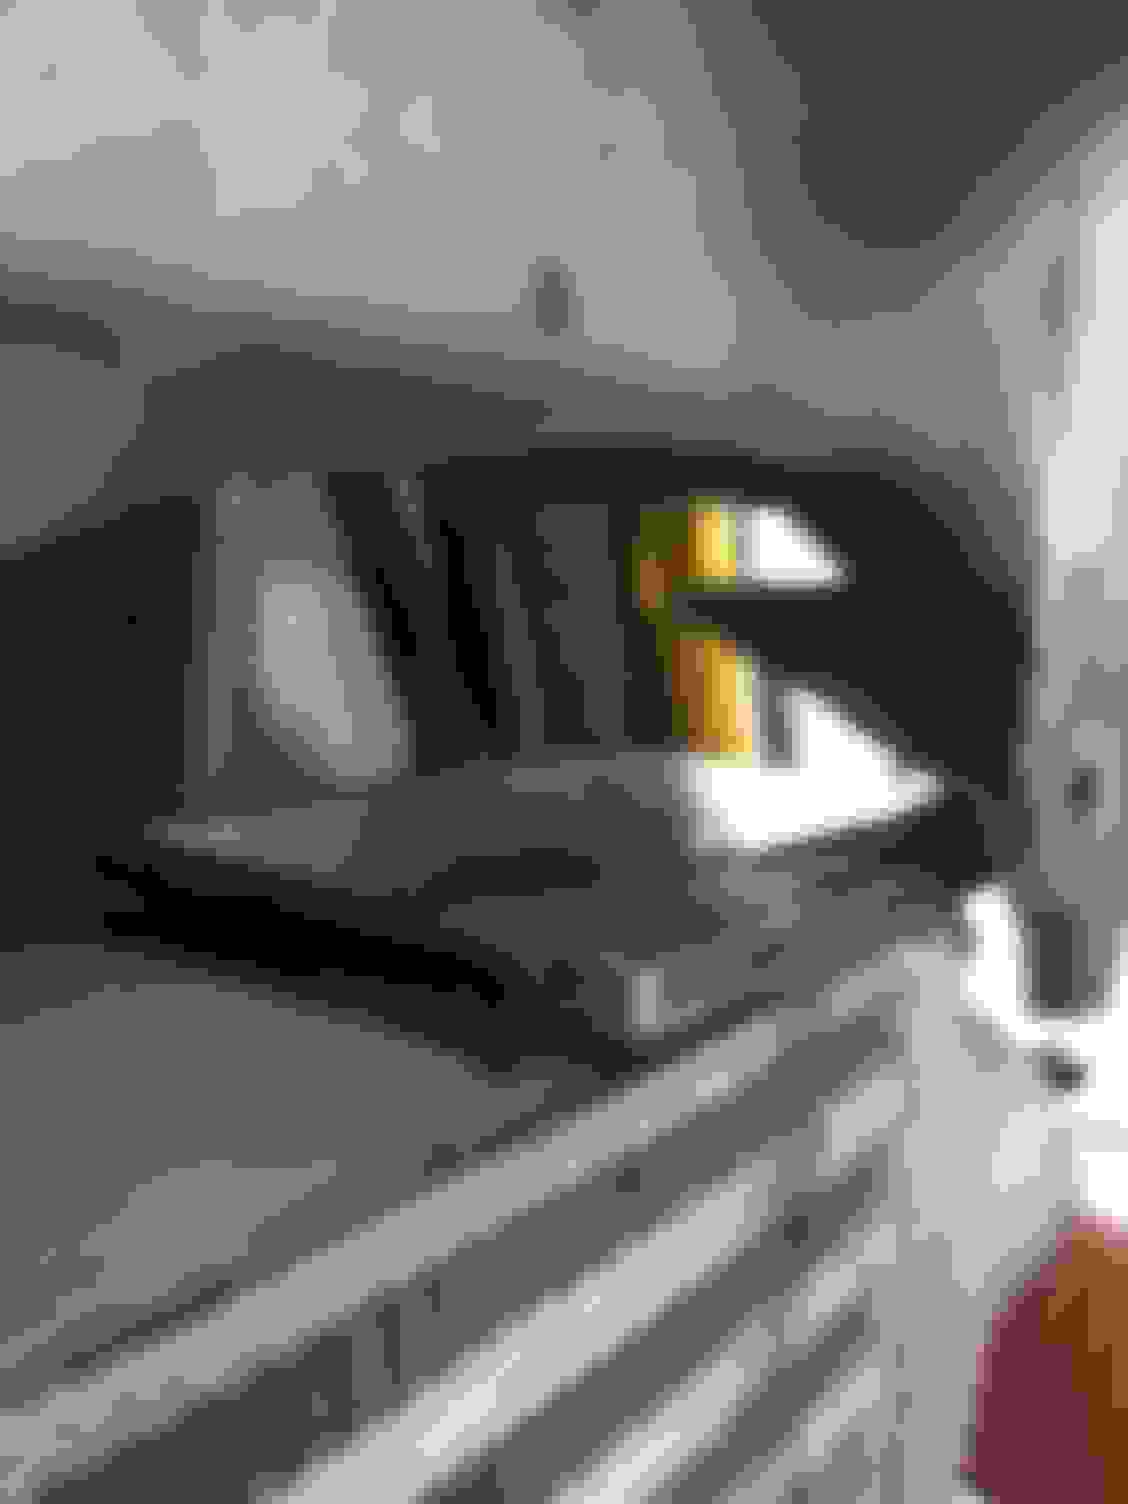
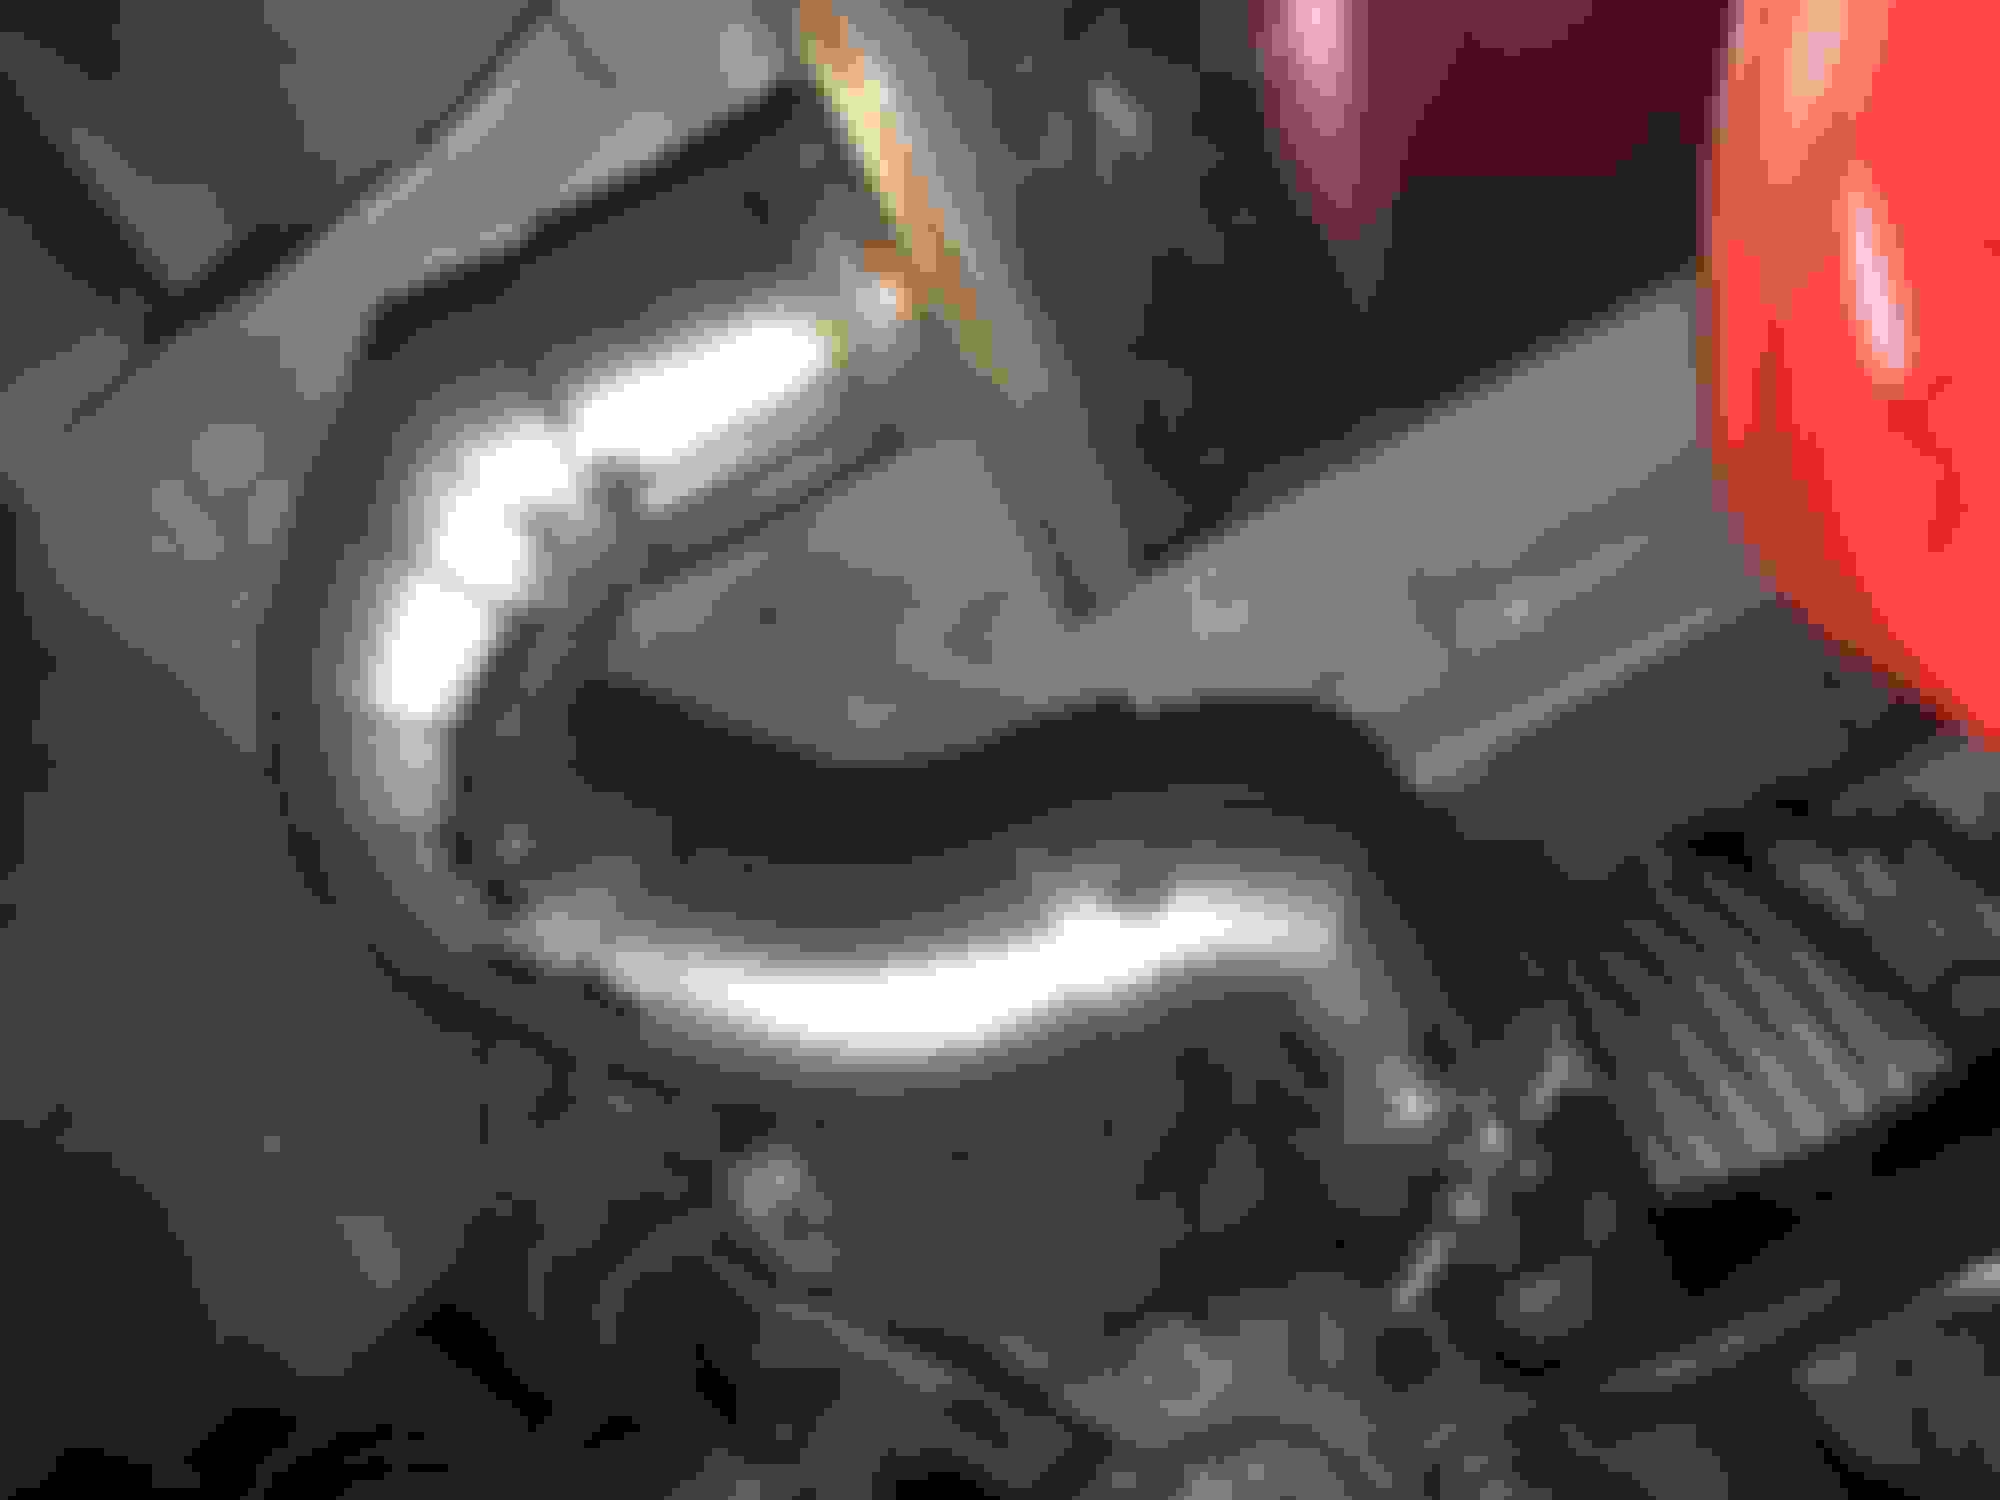
not sure what you mean by cheater bends. You mean the ones coming off the V-band? The hump has to be there because there is a heat shield that is preventing me from moving the muffler towards the back of the car. So I had to make it cut back in. It sucks and its ugly, but it is what it is.
I mean its definitely not a big deal/problem, but you're making this thing from scratch and obviously taking a lot of time/work to do it, might as well finish the last 10% properly.
With a little more cutting and shaping you can make both bends smooth and not have that hump
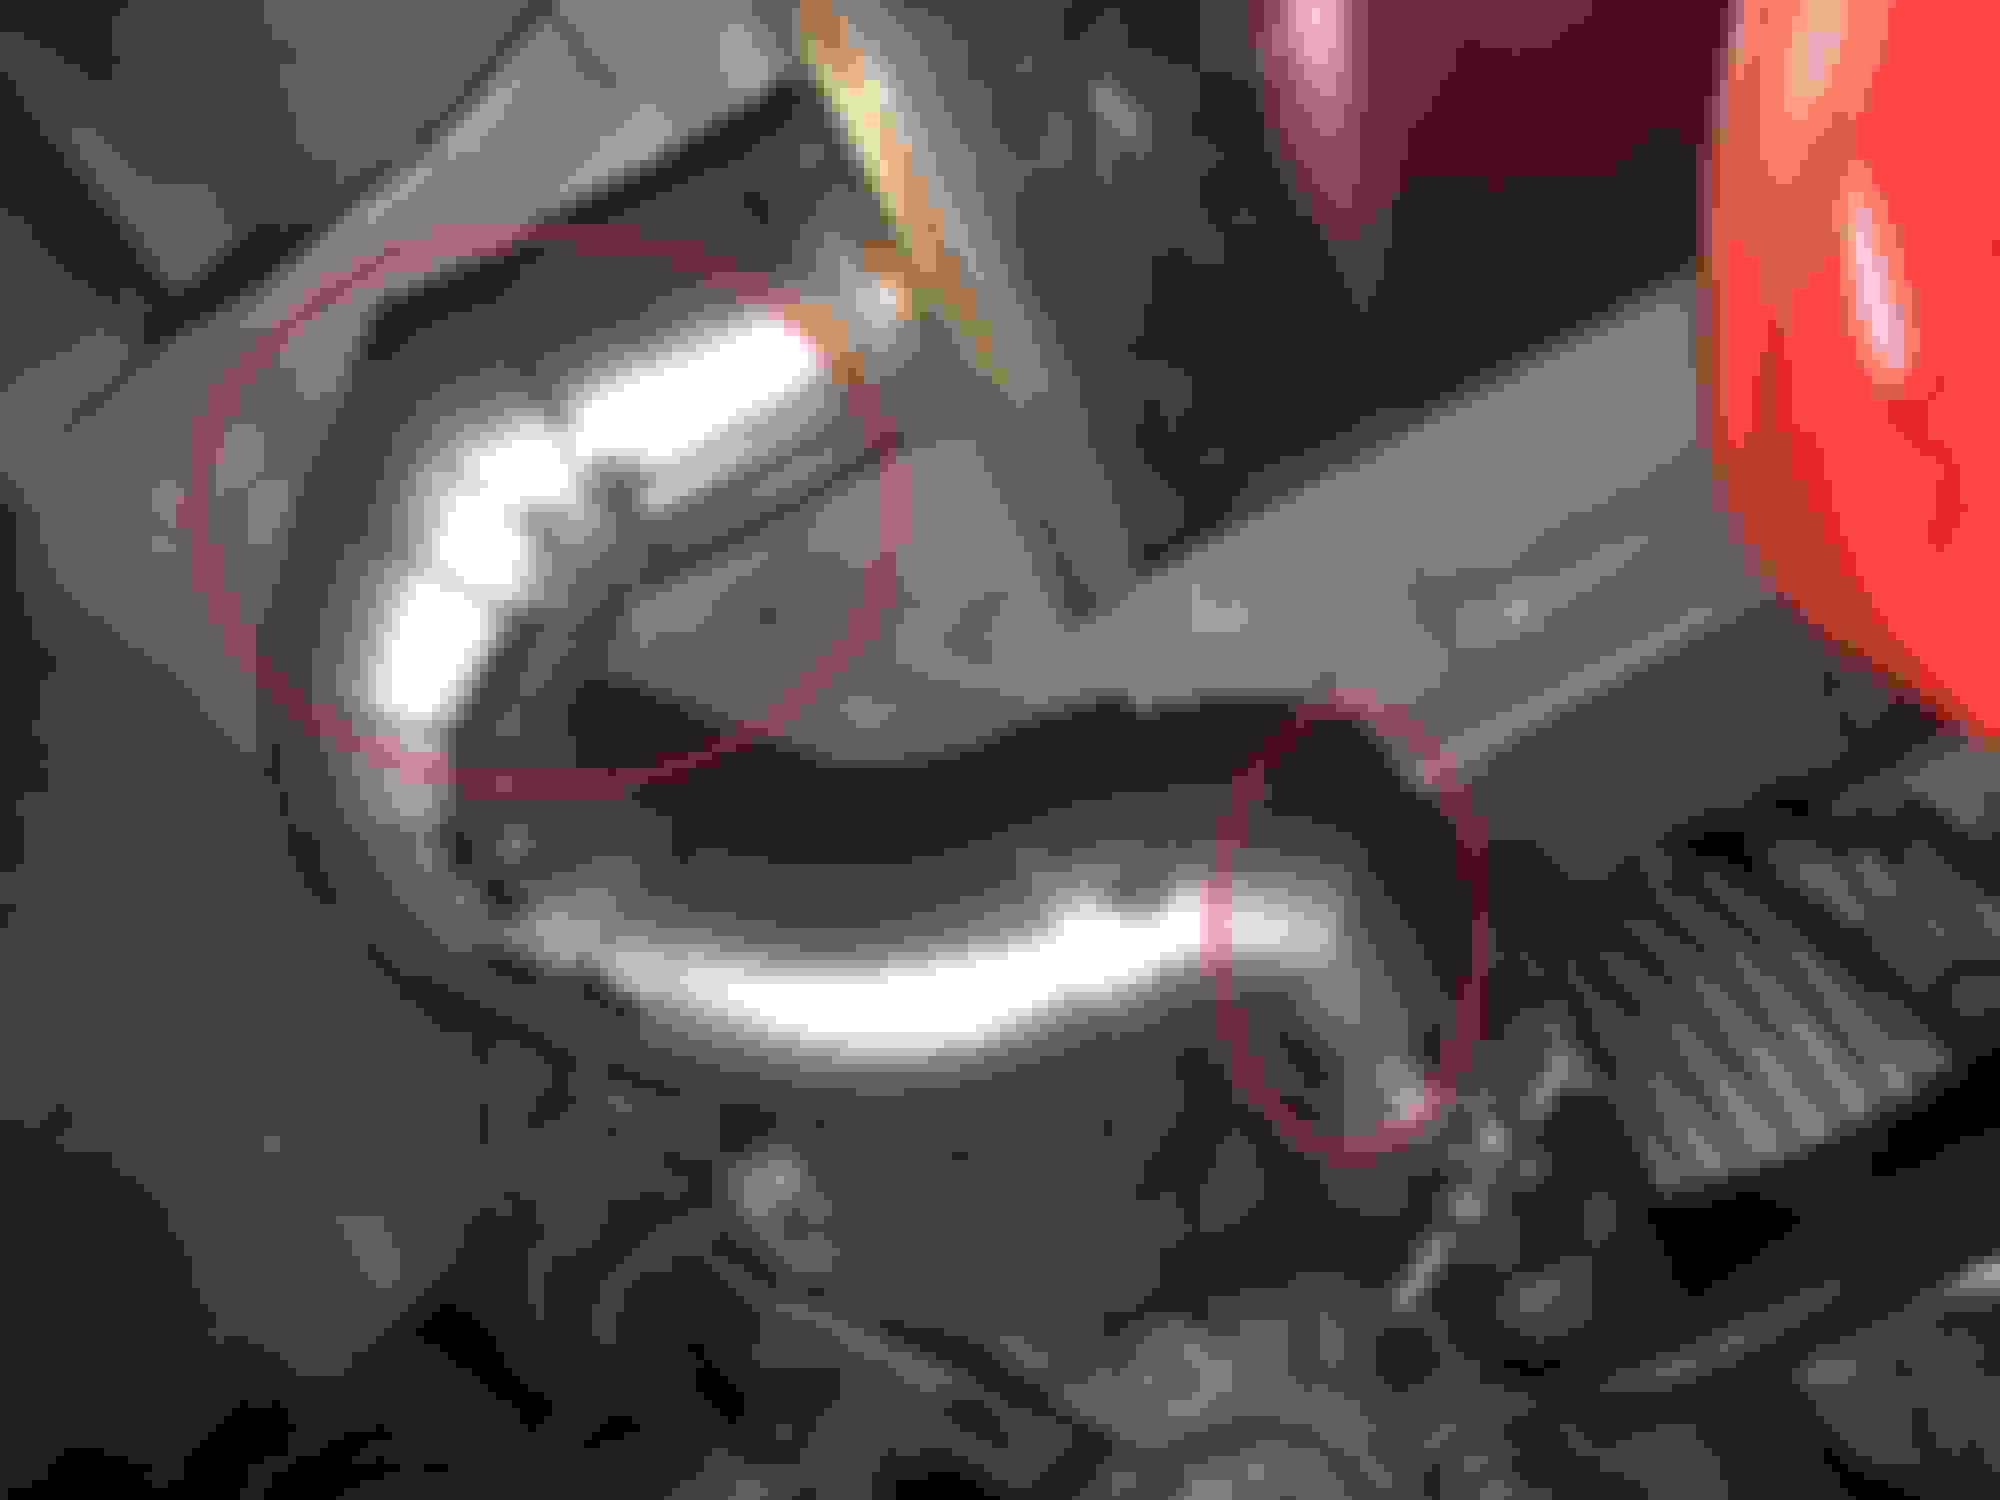
a "cheater" bend is exactly waht I circled. shortening the muffler inlet would allow you to run proper bends from what I see
but again, if you don't wanna mess with it I'm sure it will 100% work
Just remove the heatsheild if its interfering with muffler placement. Its three bolts if memory serves and you can rid yourself of two ounces in useless weight.
I wouldn't remove it. You can hammer it upward out of the way, nearly flush with the trunk floor. You will want to keep the heat out of the interior. You will also want to shield the fuel tank, trans, diff, and that inner CV joint for trouble free running.
A cheater bend is when your cuts aren't pointing to the center line of the bend radius. It technically gives you an oval pipe, but a good TIG weld over it will make it look OK. I don't think you'll be happy with the results no matter how good the welder is. 18psi is right though, it looks like there's a cheater bend or two that isn't necessary.
One thing you can do is take a 180* bend, cut through ~90% of the pipe, bend the two halves together, and weld completely around it. That'll give you a few precious mm of extra bend for situations like this, and the end result looks like you made a perfect pie cut.
If I had another 180 I would try that.....but I don�t. The cheater closest to the muffler seems necessary to me. If you look at the inside, you will see I have very minimal room to work with, and the outside has a large gap. So I�m not sure how else this could be done unless I chop the end off the muffler. (Might do that actually).
The one closest to the v-band is. a super tight bend. The only other way that I could see of making this work would be cutting a bunch of small bends. But that�s a lot of work

 02-11-2018, 05:49 PM


 0
0


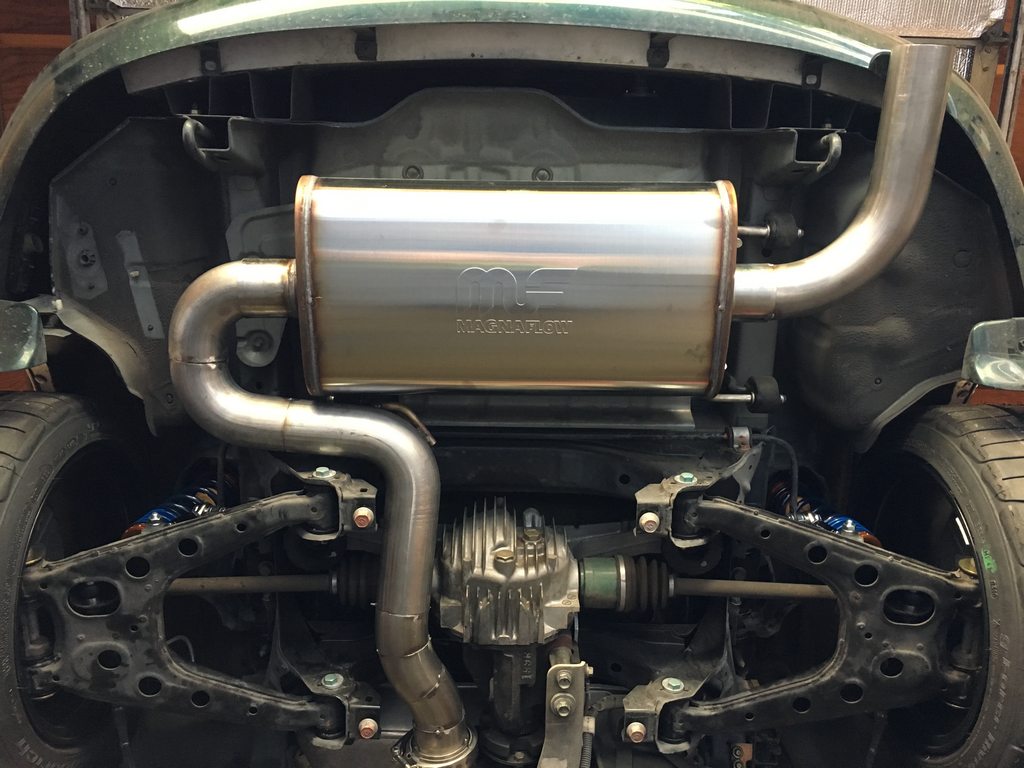
 why do I make my life so hard..... that looks so much better than whatever the hell im doing.


