When you click on links to various merchants on this site and make a purchase, this can result in this site earning a commission. Affiliate programs and affiliations include, but are not limited to, the eBay Partner Network.
Any data showing time to boost for the 6258/6758 would be interesting to see -please post! I did see a couple of posts for the 2560, which were about 1 second, but I don't recall the RPM.
Yes .4S is real. It feels much faster than that, seat of the pants wise. I would very much like to reduce the volume of my intercooler, but even with no intercooler at all, I am probably looking at a minimum of .2 seconds.
AND then there is the time for the turbo to spool. When I was running the turbo by its self, it would take a tad less than 2 seconds for the turbo to to spool fron 40KPA to 23psi at 5000 rpm (much faster to 6psi)!. I guess this is what you get when you combine an old large turbo with a cheap cast manifold.
The weather has finally gotten nice, so this last weekend I had the car on the road to iron out the bugs.
Had some initial problems with a bad check valve, and the SC pulley hitting the new front sway bar, but outside of that everything is good.
Boost levels are up a bit, for 2 reasons.
1. the SC is newer, and tighter so am seeing just over 2psi more, below 3000rpm. (less above that)
2. I leaned out the mixture (from ~ 11.0 to 11.4) over the 4000-7000 rpm range, so the turbo spools quicker, unloading the SC about 400rpm earlier and
getting up to 25psi sooner. When the SC unloads, boost is now at about 23.5psi, compared to 22psi previously.
I doubt either of these items will make any significant HP difference, and I am sure the SC output will drop to the level of the old one after it wears in.
Made some other electronics changes, to hopefully improve some minor issues.
1. When I had just the turbo, and I would flat shift, the boost would drop nearly 10psi, and would take about 1/2sec to recover. This is with a 7800rpm redline.
I have added a high side switch, so when I put in the clutch, the bypass (ETB2) will close, forcing the supercharger re-spool the turbo. (Oh, and I need to shift quicker)
This should reduce the drop, and the resulting spool time, but it remains to see how effective this will be.
2. I added circuitry to the MS1(electronic throttle body controller), such that when the bypass (ETB2) opens, the throttle feeding the supercharger will close slightly (this is programmable and currently set to about ˝ throttle).
This restricts the amount of air going into the supercharger, so it does not build up boost in the outlet piping. (I tested this last year)
Not entirely sure if this will improve efficiency, but I am hoping it will. I will need to measure the output temperature of the supercharger while doing this to confirm this isn't
overheating the supercharger. During these conditions, the supercharger is a parasitic load and not doing any useful work. It is pushing against a 4.6psi wall at 7000 rpm
which means I could save some HP if I can negate this pressure. If restricting the input causes something bad, I can add another valve to dump to atmosphere.
3. Last thing I have done is add a switch to the dash to allow for a secondary throttle map.
I normally tune the throttle, so the pressure between the supercharger and manual throttle body is 95kpa (ambient pressure). I
can tune that to easily be much more (I changed all the settings over the winter, and when I first got the car running I was running 9psi between the supercharger and manual throttle body.
This gives you great throttle response, but makes a racket)
Here is what the tuning window looks like, which I use for tuning the electronic throttle body.
I have taken the output from the TPS on the regular throttle body, and fed it into the map input on the MS1.
The TPS I have, outputs from 34KPA (0% throttle position) to 185KPA (100%) –Gauge #5 and #2.
Gauges #3, #7 capture the calculated throttle position the system is trying to attain, while Gauge #8 reflects actual position.
I am trying to get Gauge #7 to stay around 95KPA. (Gauge #6 is supposed to reflect the fuel VE setting but isn’t currently working.)
So I tune the throttle body, by adjusting the fuel ve table. This way I can tune the electronic throttle position, by RPM and manual throttle position.
Still have to tune the throttle body, get the swaybar clearing the front pulley and then get an alignment.
First event is over 3 weeks away, so I have plenty of time.
It has been a good summer. Got in quite a few autocrosses and 2 track days so far and surprisingly, no big problems. Small ones, like the exhaust falling off, some overheating and the occasional clamp breaking, but so far things are good.
Changes to electronics are working well. Now, above 5000rpm, the supercharger throttle closes to about 1/2, which reduces parasitic boost in the piping. During shifting, the boost now drops about 5psi vs previously 10, since the supercharger bypass is closed during this condition. I thought I wanted a more aggressive throttle map, but after a bit of testing, I discovered that I really needed something that was much more progressive.
The throttle was more like an on off switch, which made driving competitively in an autocross, impossible.
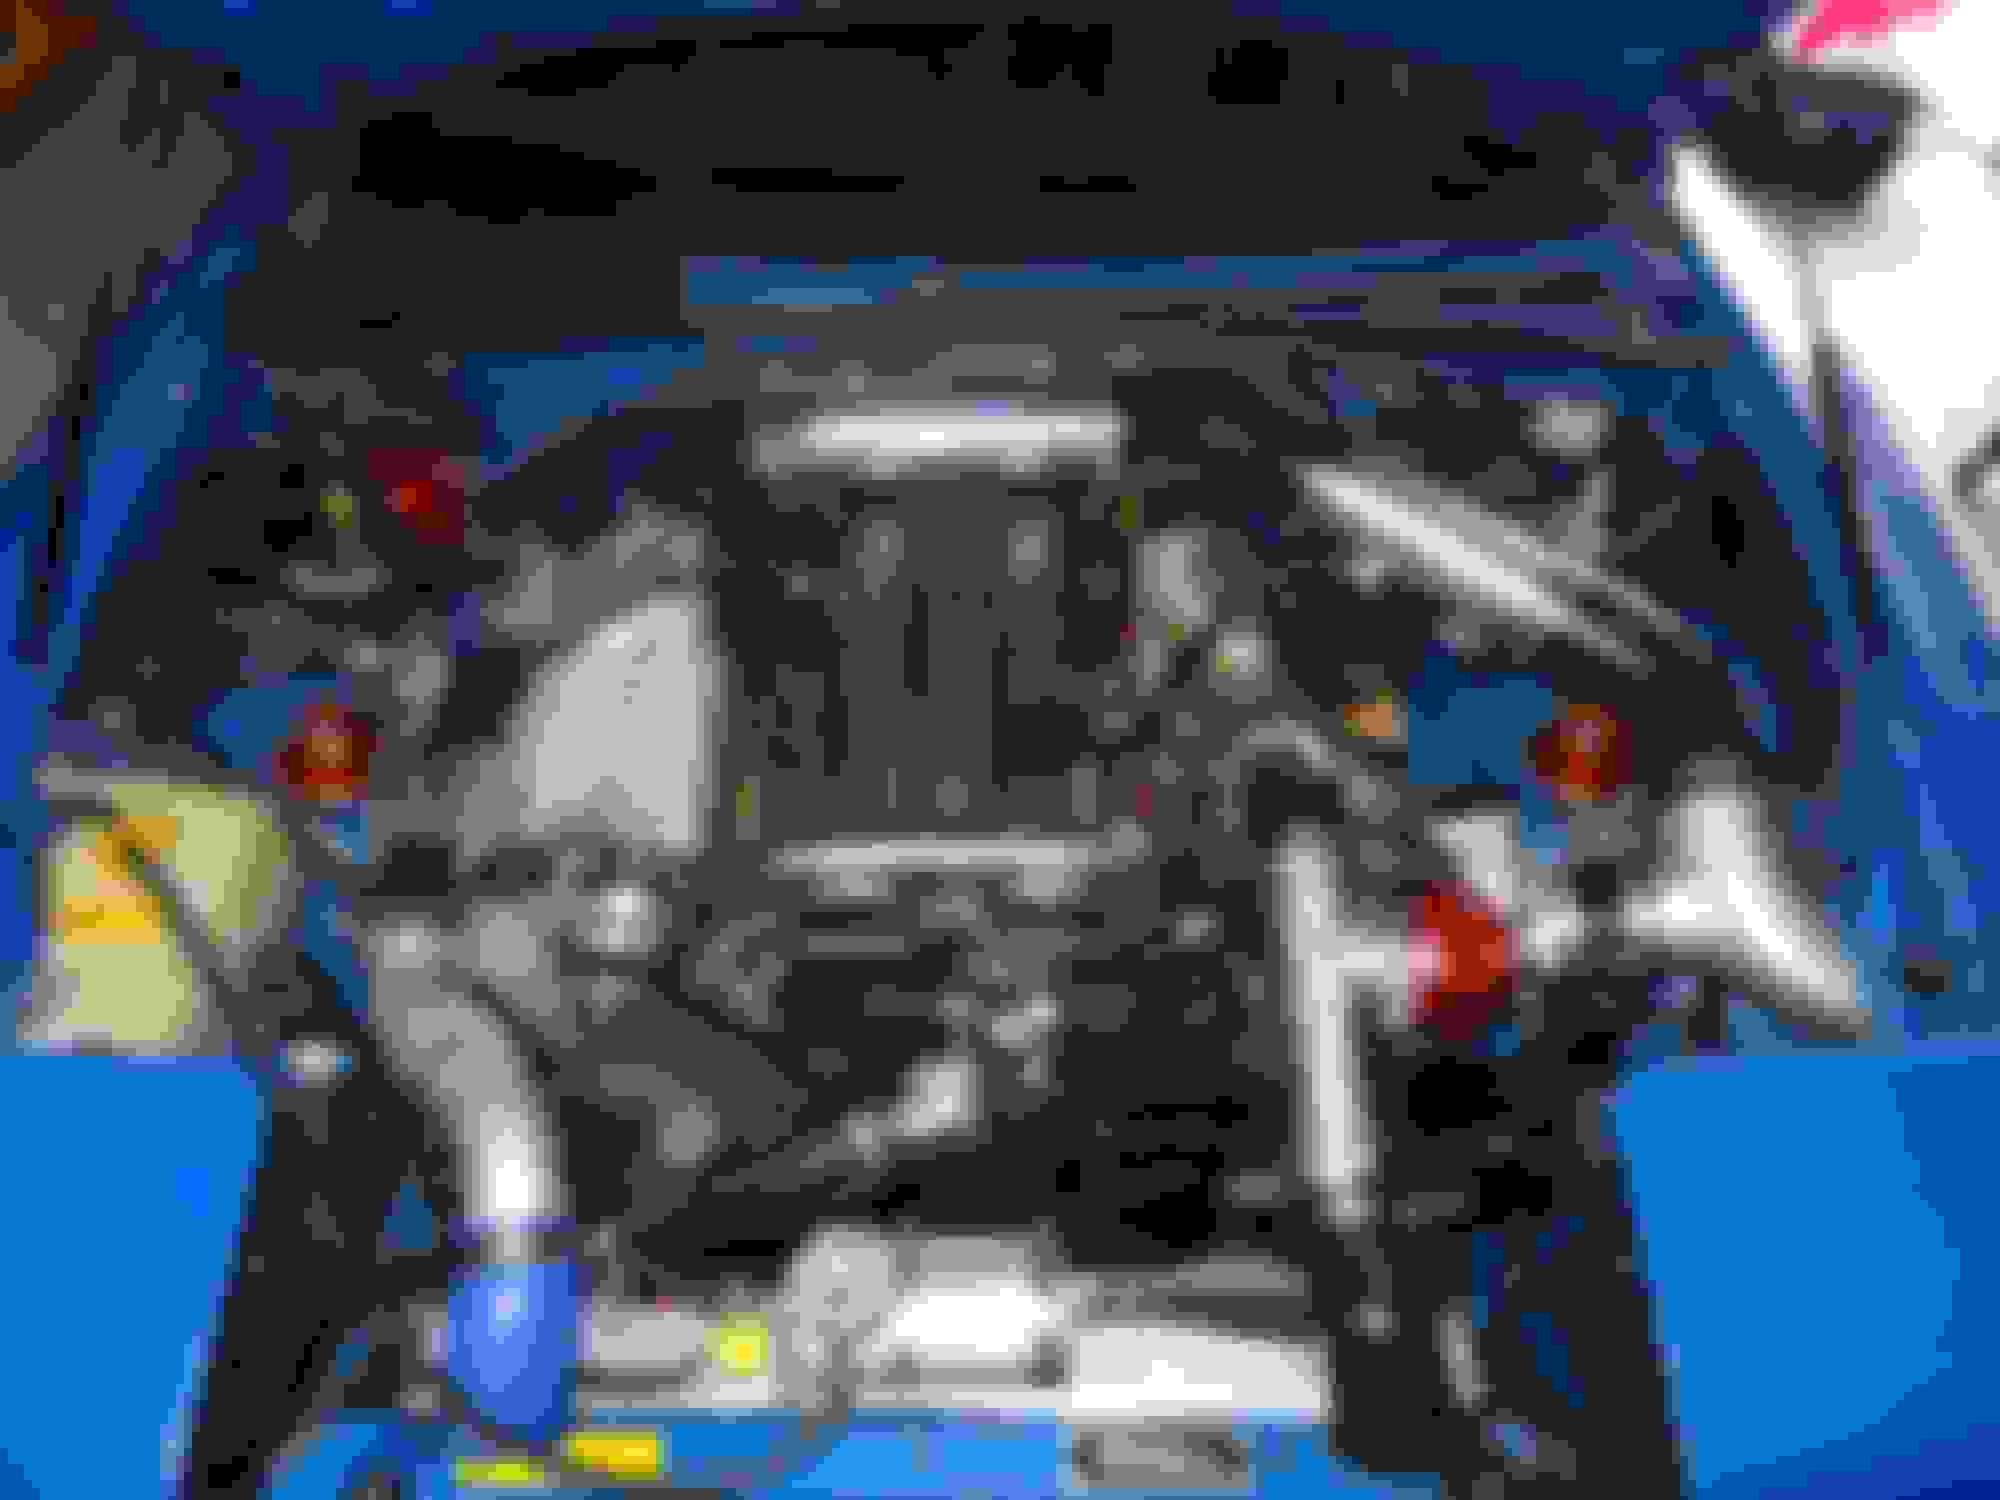
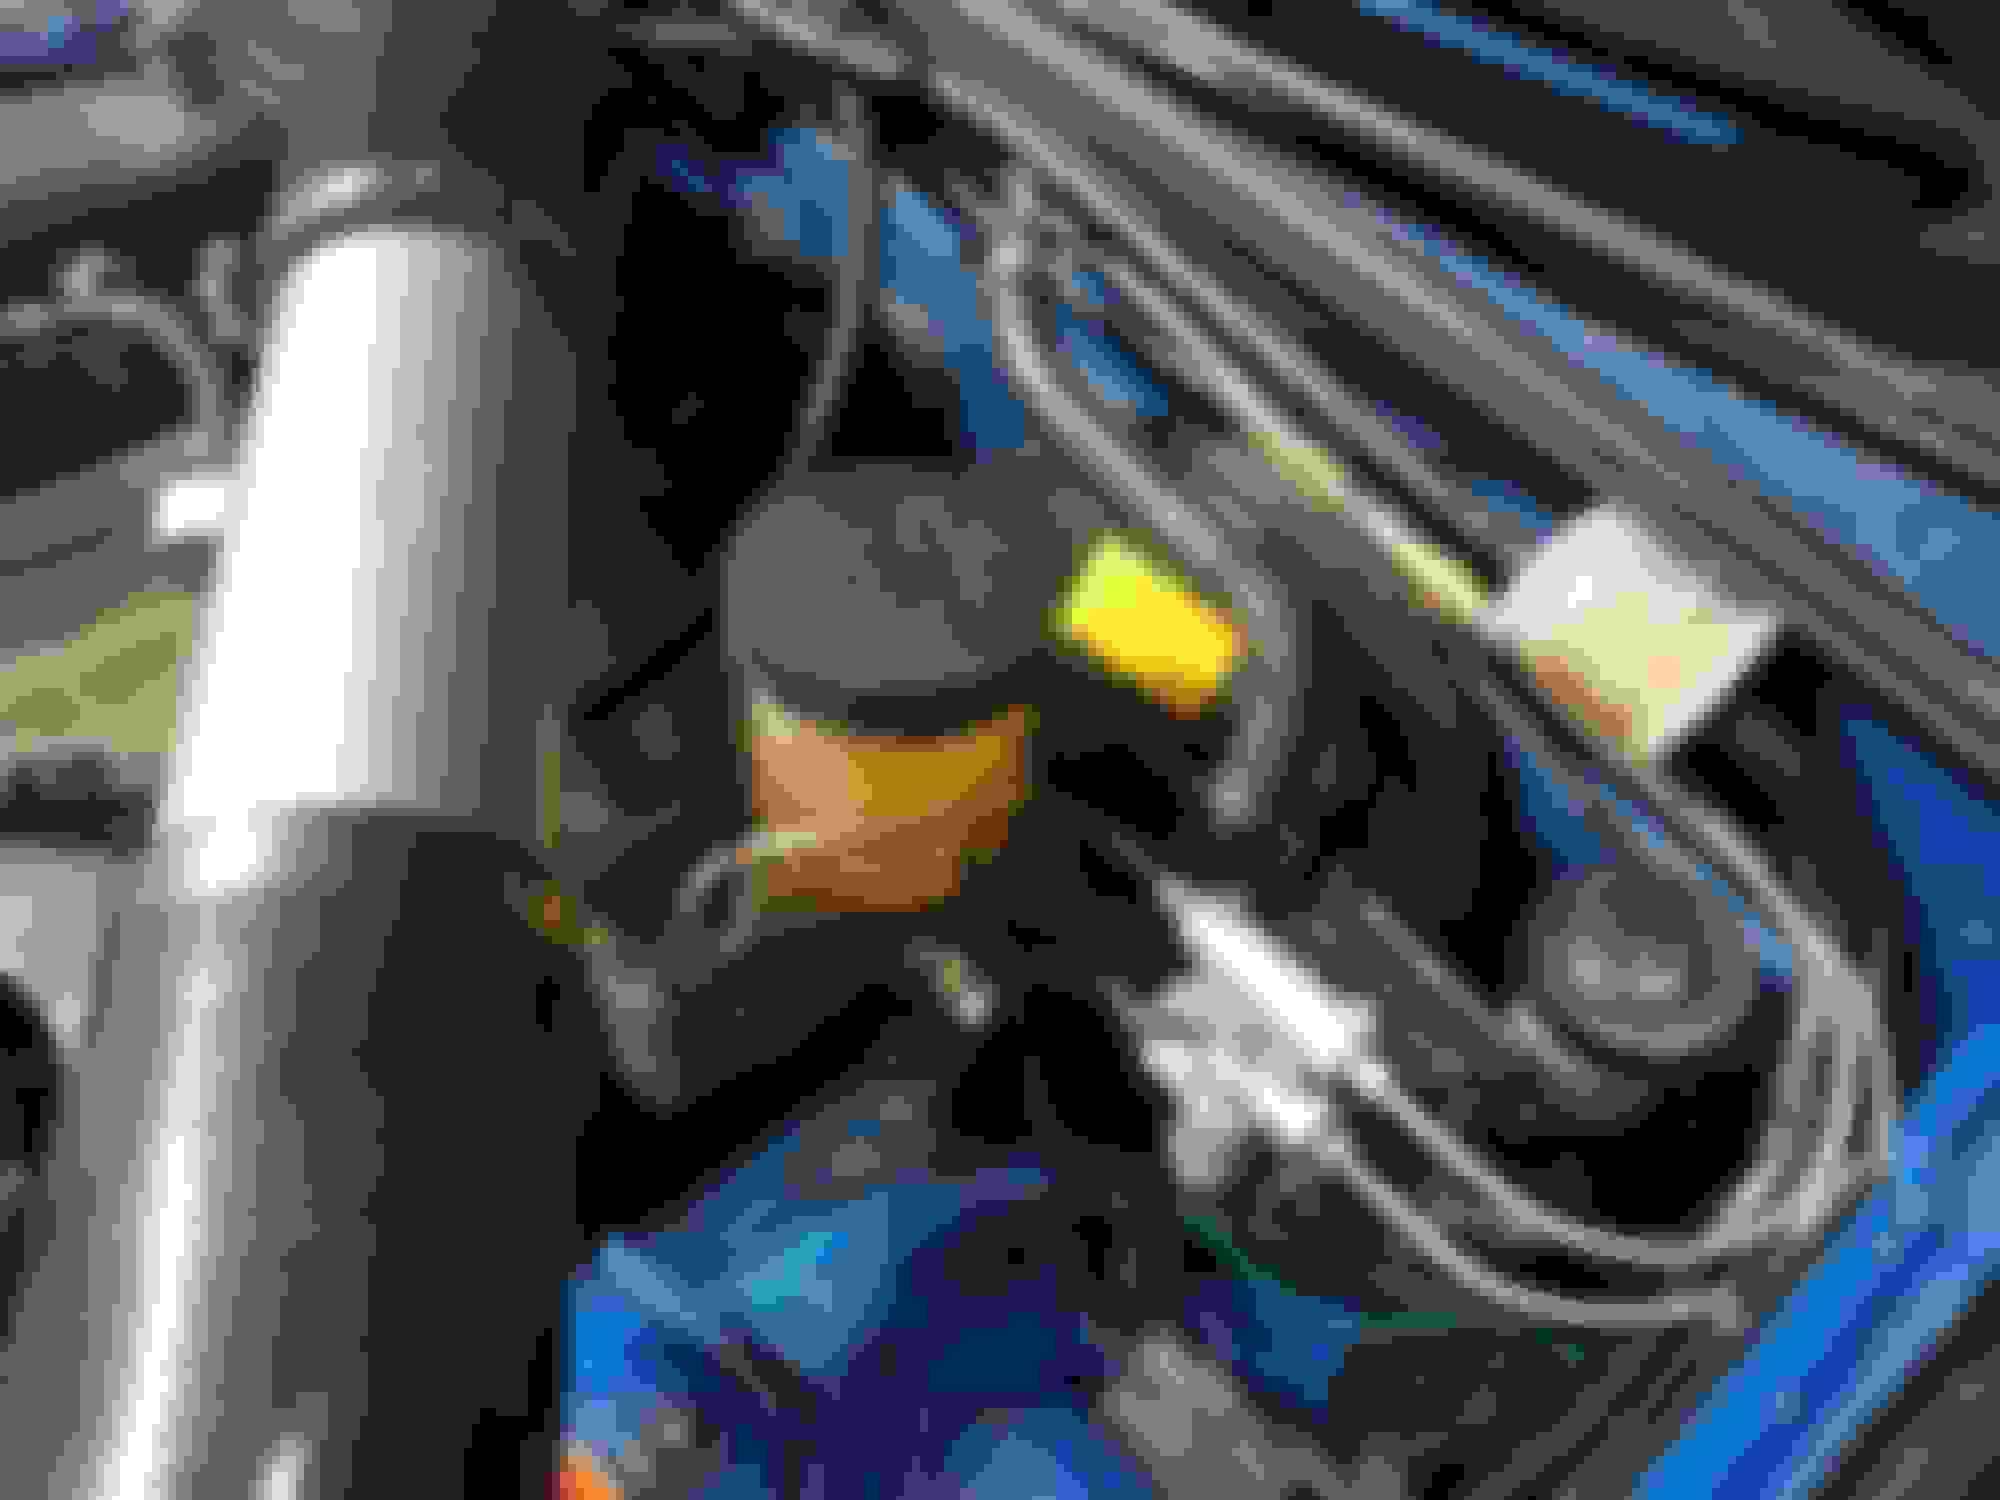
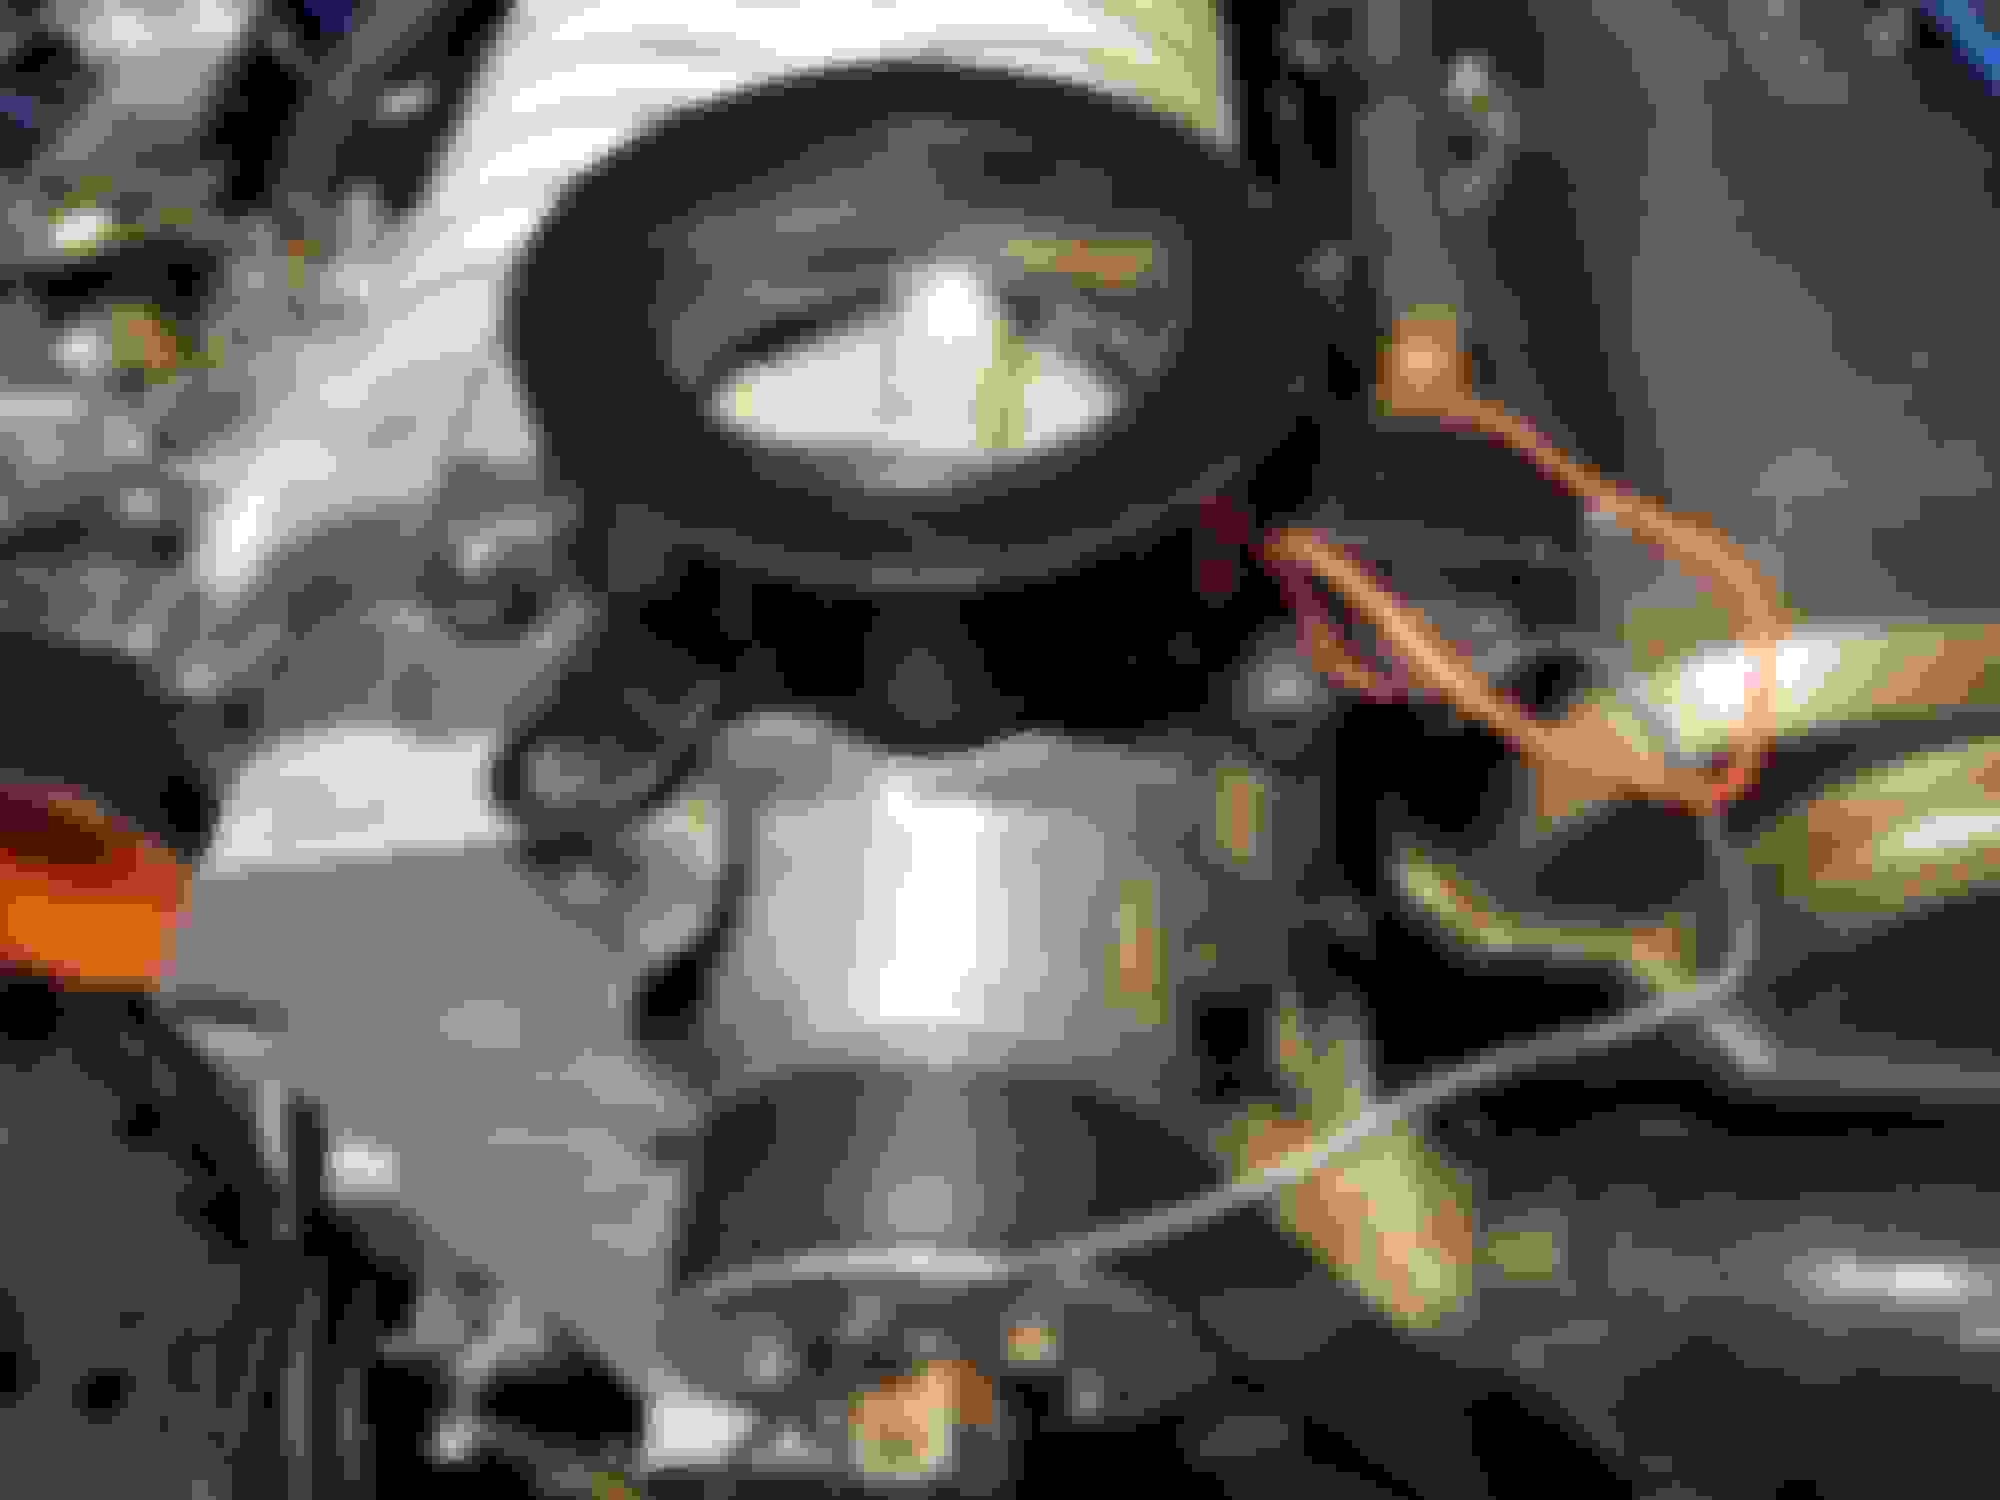
Did get the xidas and brake prop valve in there. Here is the current under hood. I upgraded the clone Rad fan with a SPAL, mostly due to some events with a small turnout and the need to run 4-5 runs in a row.
Plus it's been a pretty hot summer here.
An underhood bling item.
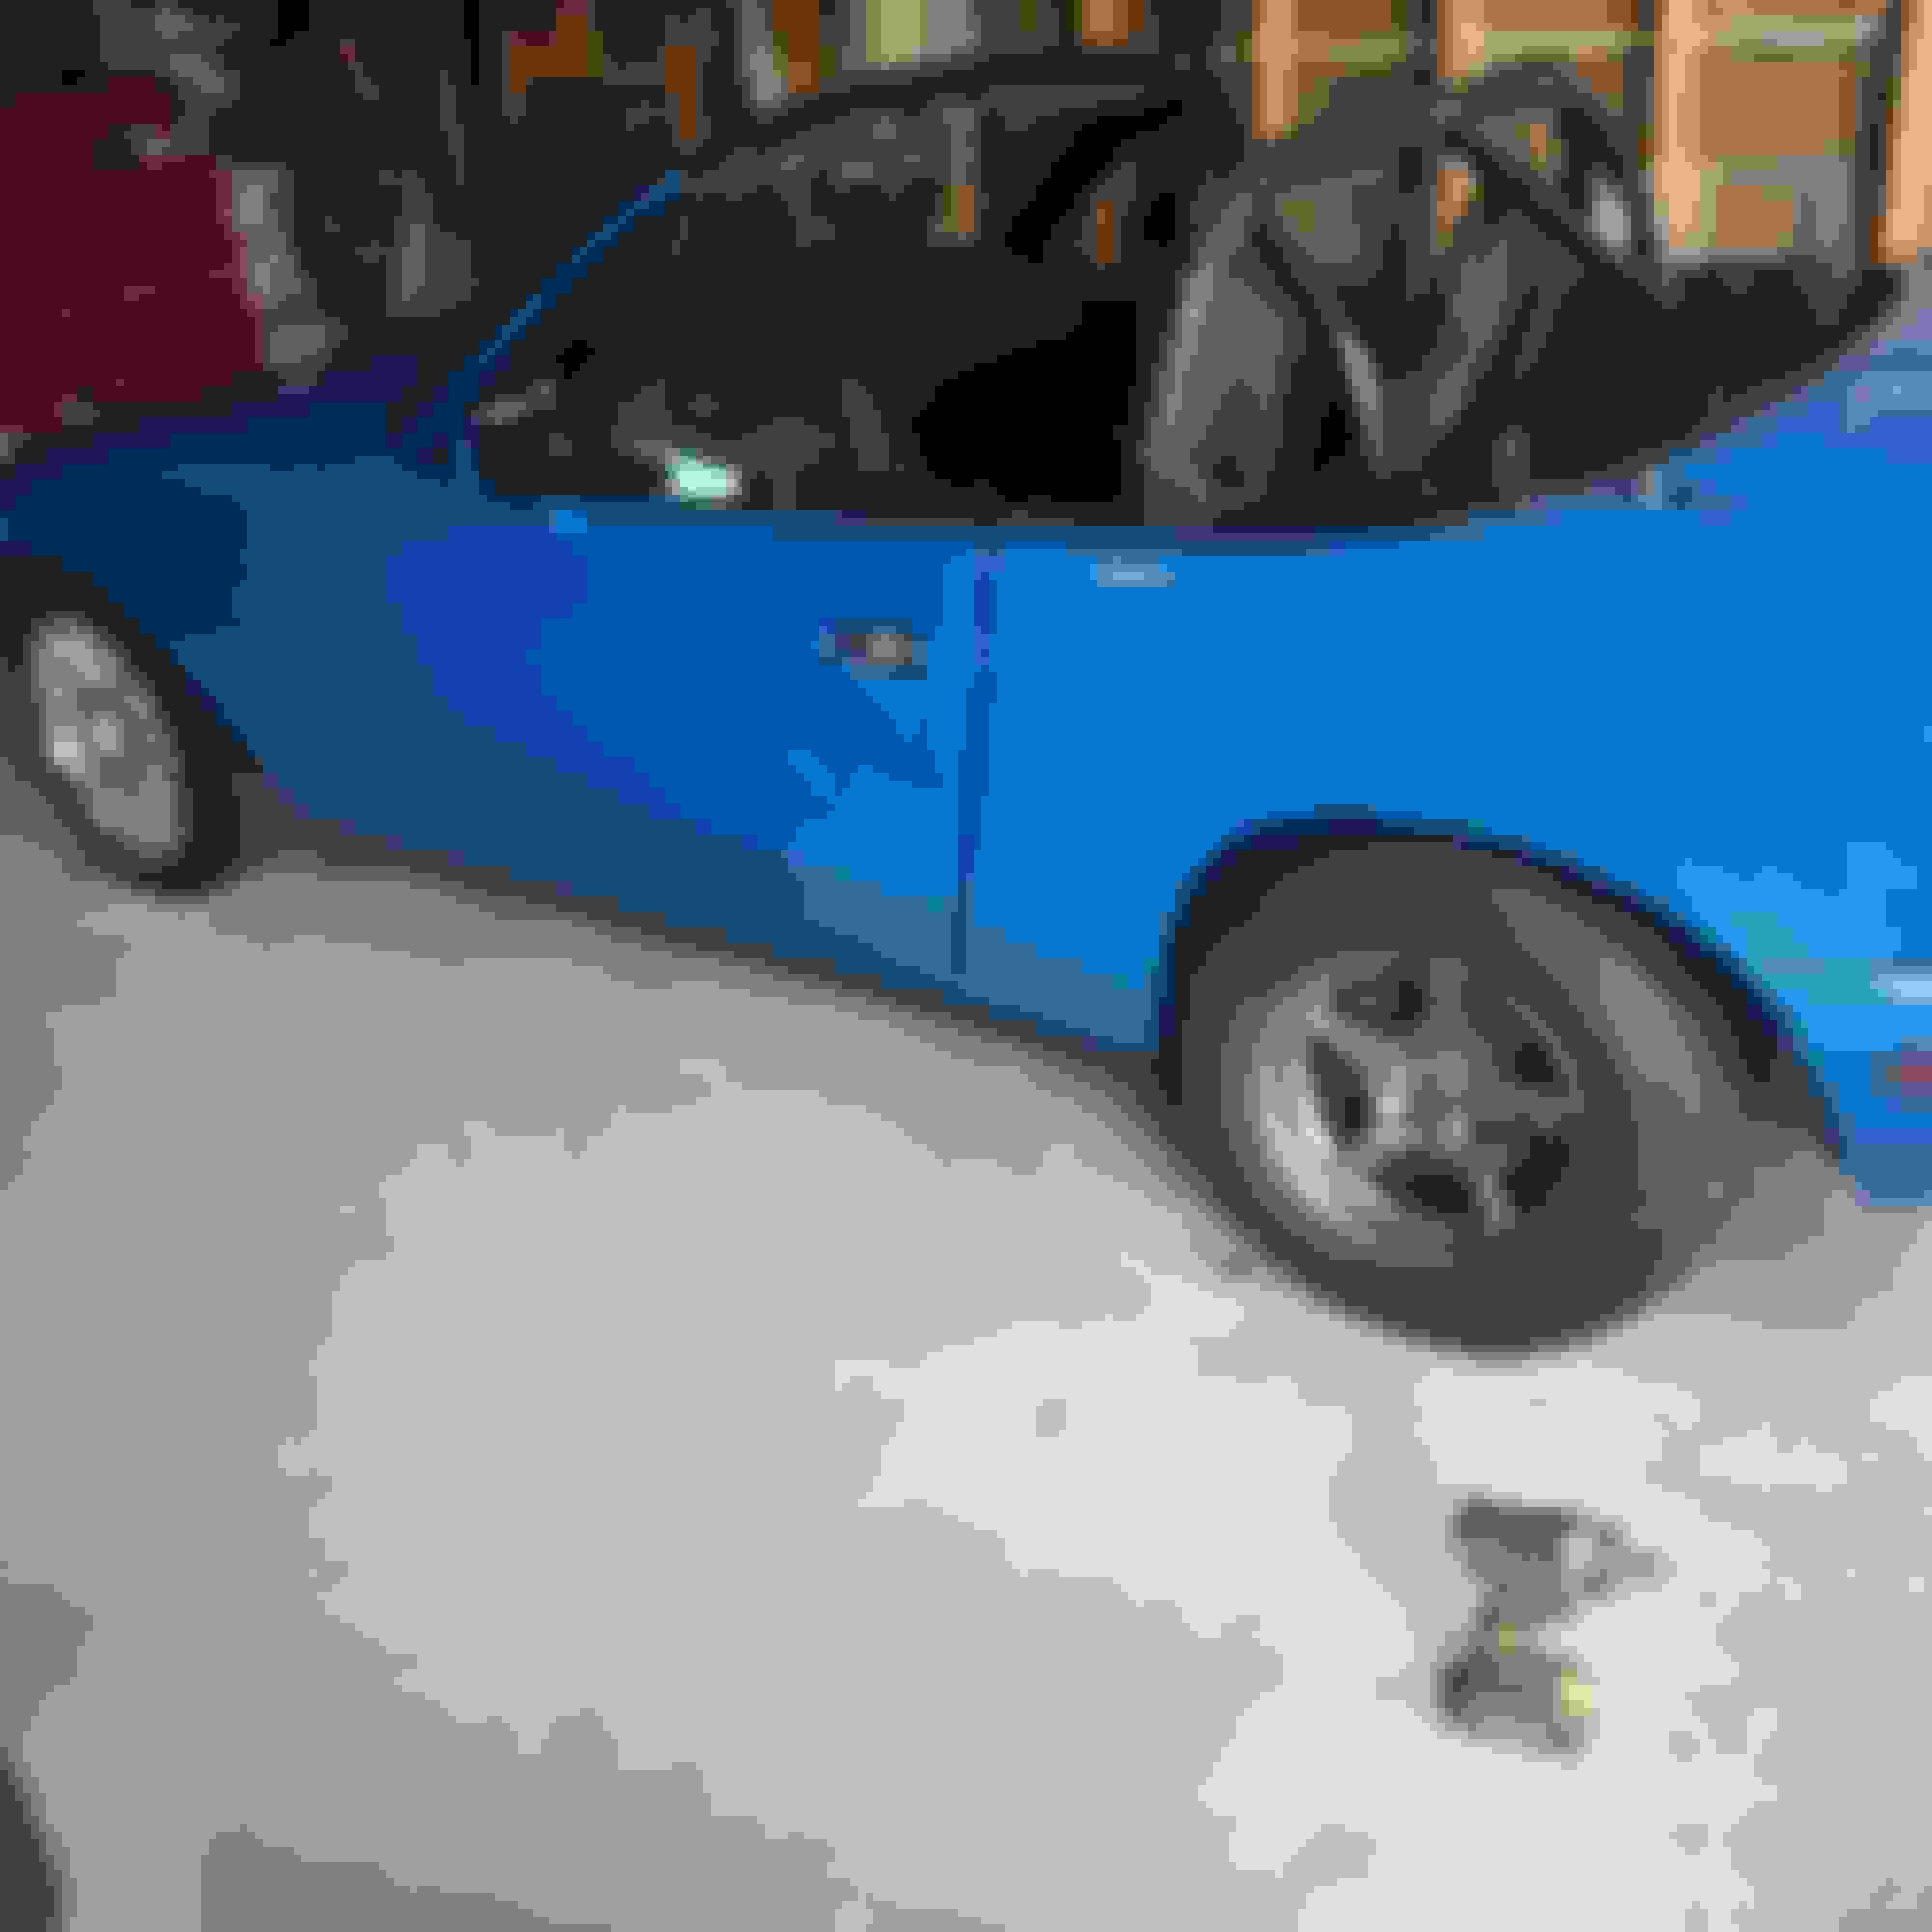
And I recently picked up a pair of drag slicks 23x8 which I mounted on some 13" wheels. I repurposed a t-bolt clamp, to make a driveshaft loop.
The loop is bolted to the PPF.
Seats and big brakes are on the list for probably the fall, when things slow down a bit. I'm tired of dealing with badly faded brakes.
^ Good catch, you're right. I thought I could use something I had, but didn't think it through. I do think it would work just fine on a lawn mower though
Can we get some videos or a dyno plot or something? Looks like a wicked crazy contraption and I'm dying to see it in action or a plot showing us if "it was all worth it"
Can we get some videos or a dyno plot or something? Looks like a wicked crazy contraption and I'm dying to see it in action or a plot showing us if "it was all worth it"
I did post an autocross video and a Virtual dyno graph earlier in this thread. (Post 62,74) Those give a rough idea of what the system does.
When you’re in the car and you floor it in 5th at 2000rpm the car feels pretty quick, but when you video it, the car is just slowly accelerating.
Pretty boring and not worth posting.
Also, the 2 dyno companies I used to deal with, are out of business, and I have not found anyone who is interested in setting up their dyno
unless they can charge me a couple of hours of tuning. So, I won’t likely be posting a dyno either.
When I run the drags, I will know if the top line numbers in virtual dyno are close to real, and will shoot some video
but that will not really tell anyone, if “it was all worth it”.
IMO, 99.99% of people will argue a twin charged system is not worth it, because you can go EFR with an off the shelf system,
and get pretty close to the same performance. I would agree with this statement.
Of course, building something like this, or the projects that Leafy/Pat/Ted plus many others have done has more to do with a vision
or passion for something different. Performance is part of the goal, but many other things add up to making the project “worth it”, for the builder.
Personally, I like reading about these and other projects, because they are interesting/entertaining, and they drive me to get off my ***
and get working on the car. Sometimes I need the motivation.
I am not saying that this project was not worth it for me. I came pretty close to my performance goals, and find the result to work very well on the street
and in the small lot autocross events I usually run the car in. Unexpectedly, the car also generates a huge amount of interest.
Now, I am keenly interested in a turbo/compressed air setup. I think that would be very cool project and present some interesting challenges….
Of course, I really need to stop thinking about this and just drive the damn car.
I did upgrade the brakes. I had a hard time deciding on whether to go with 11.75” rotors or stick with 11” and go with curved vanes. I eventually did a search on “brake rotor thermal performance thesis” and found a number of thesis which had slightly different numbers, but basically told me that the curved vanes would get me 10-14% more heat dissipation, while going from 11-11.75” would give me 35-55% more heat dissipation. Thesis So I went with the base track speed 11.75” kit. The calipers were bare aluminum, so I got some disc brake paint, and painted the fronts and rears. I still need to duct some air to these, but even as they are, I am liking it.
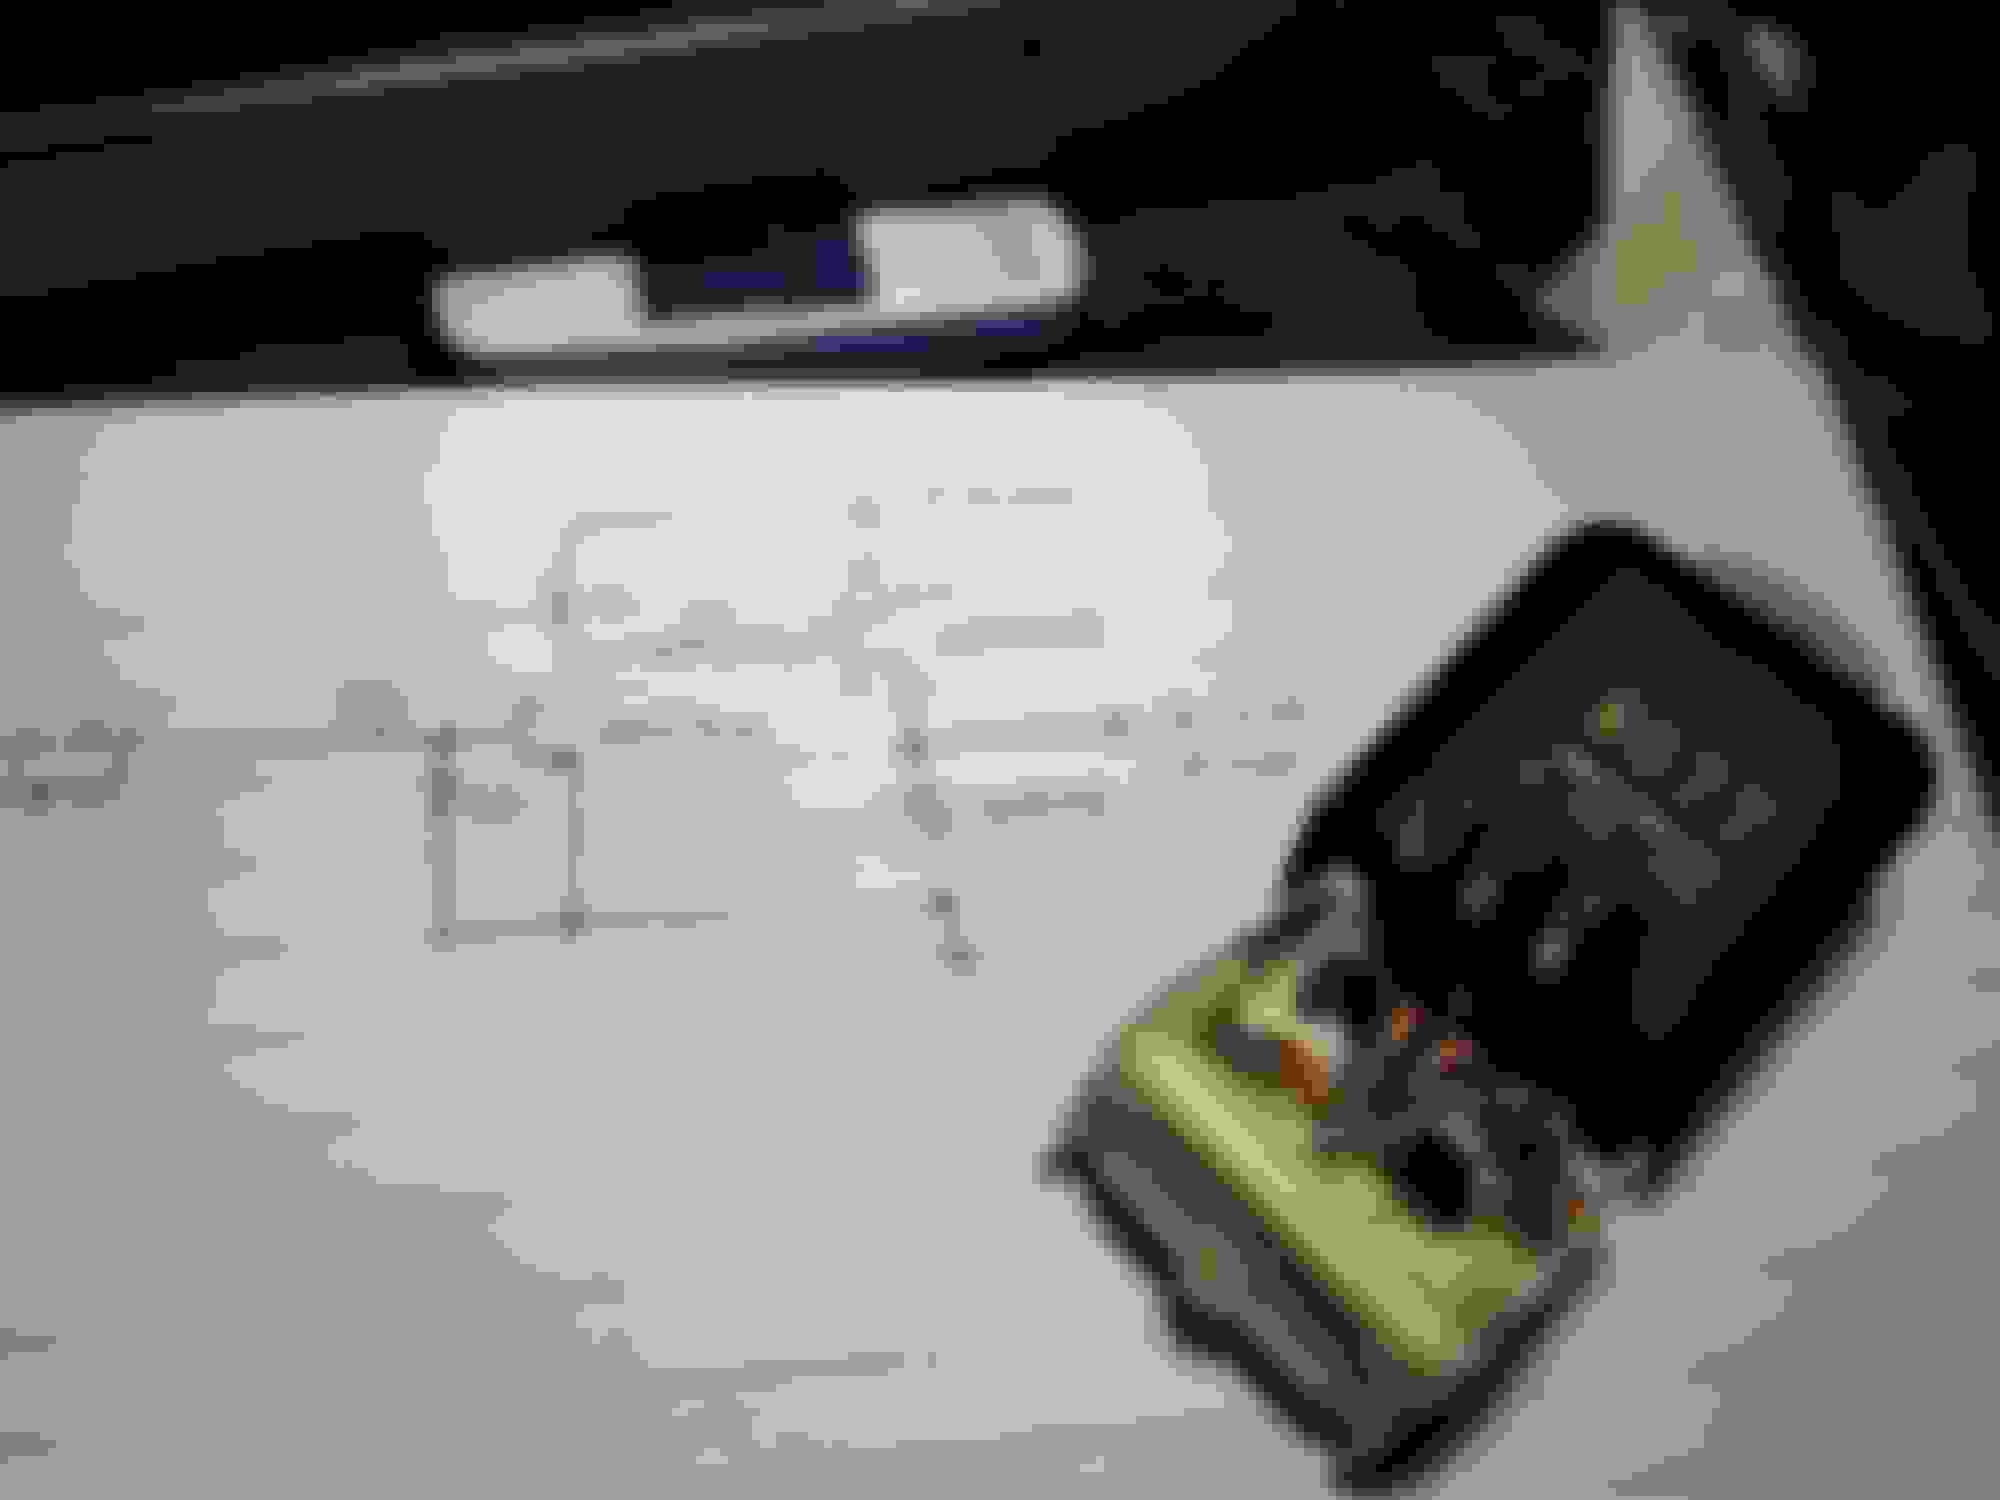
I read Codrus’s thread on “retrofit ABS on a NB” and finally did a similar install on my car. Since my car is rather busy under the hood, I installed the NB pump in the trunk.
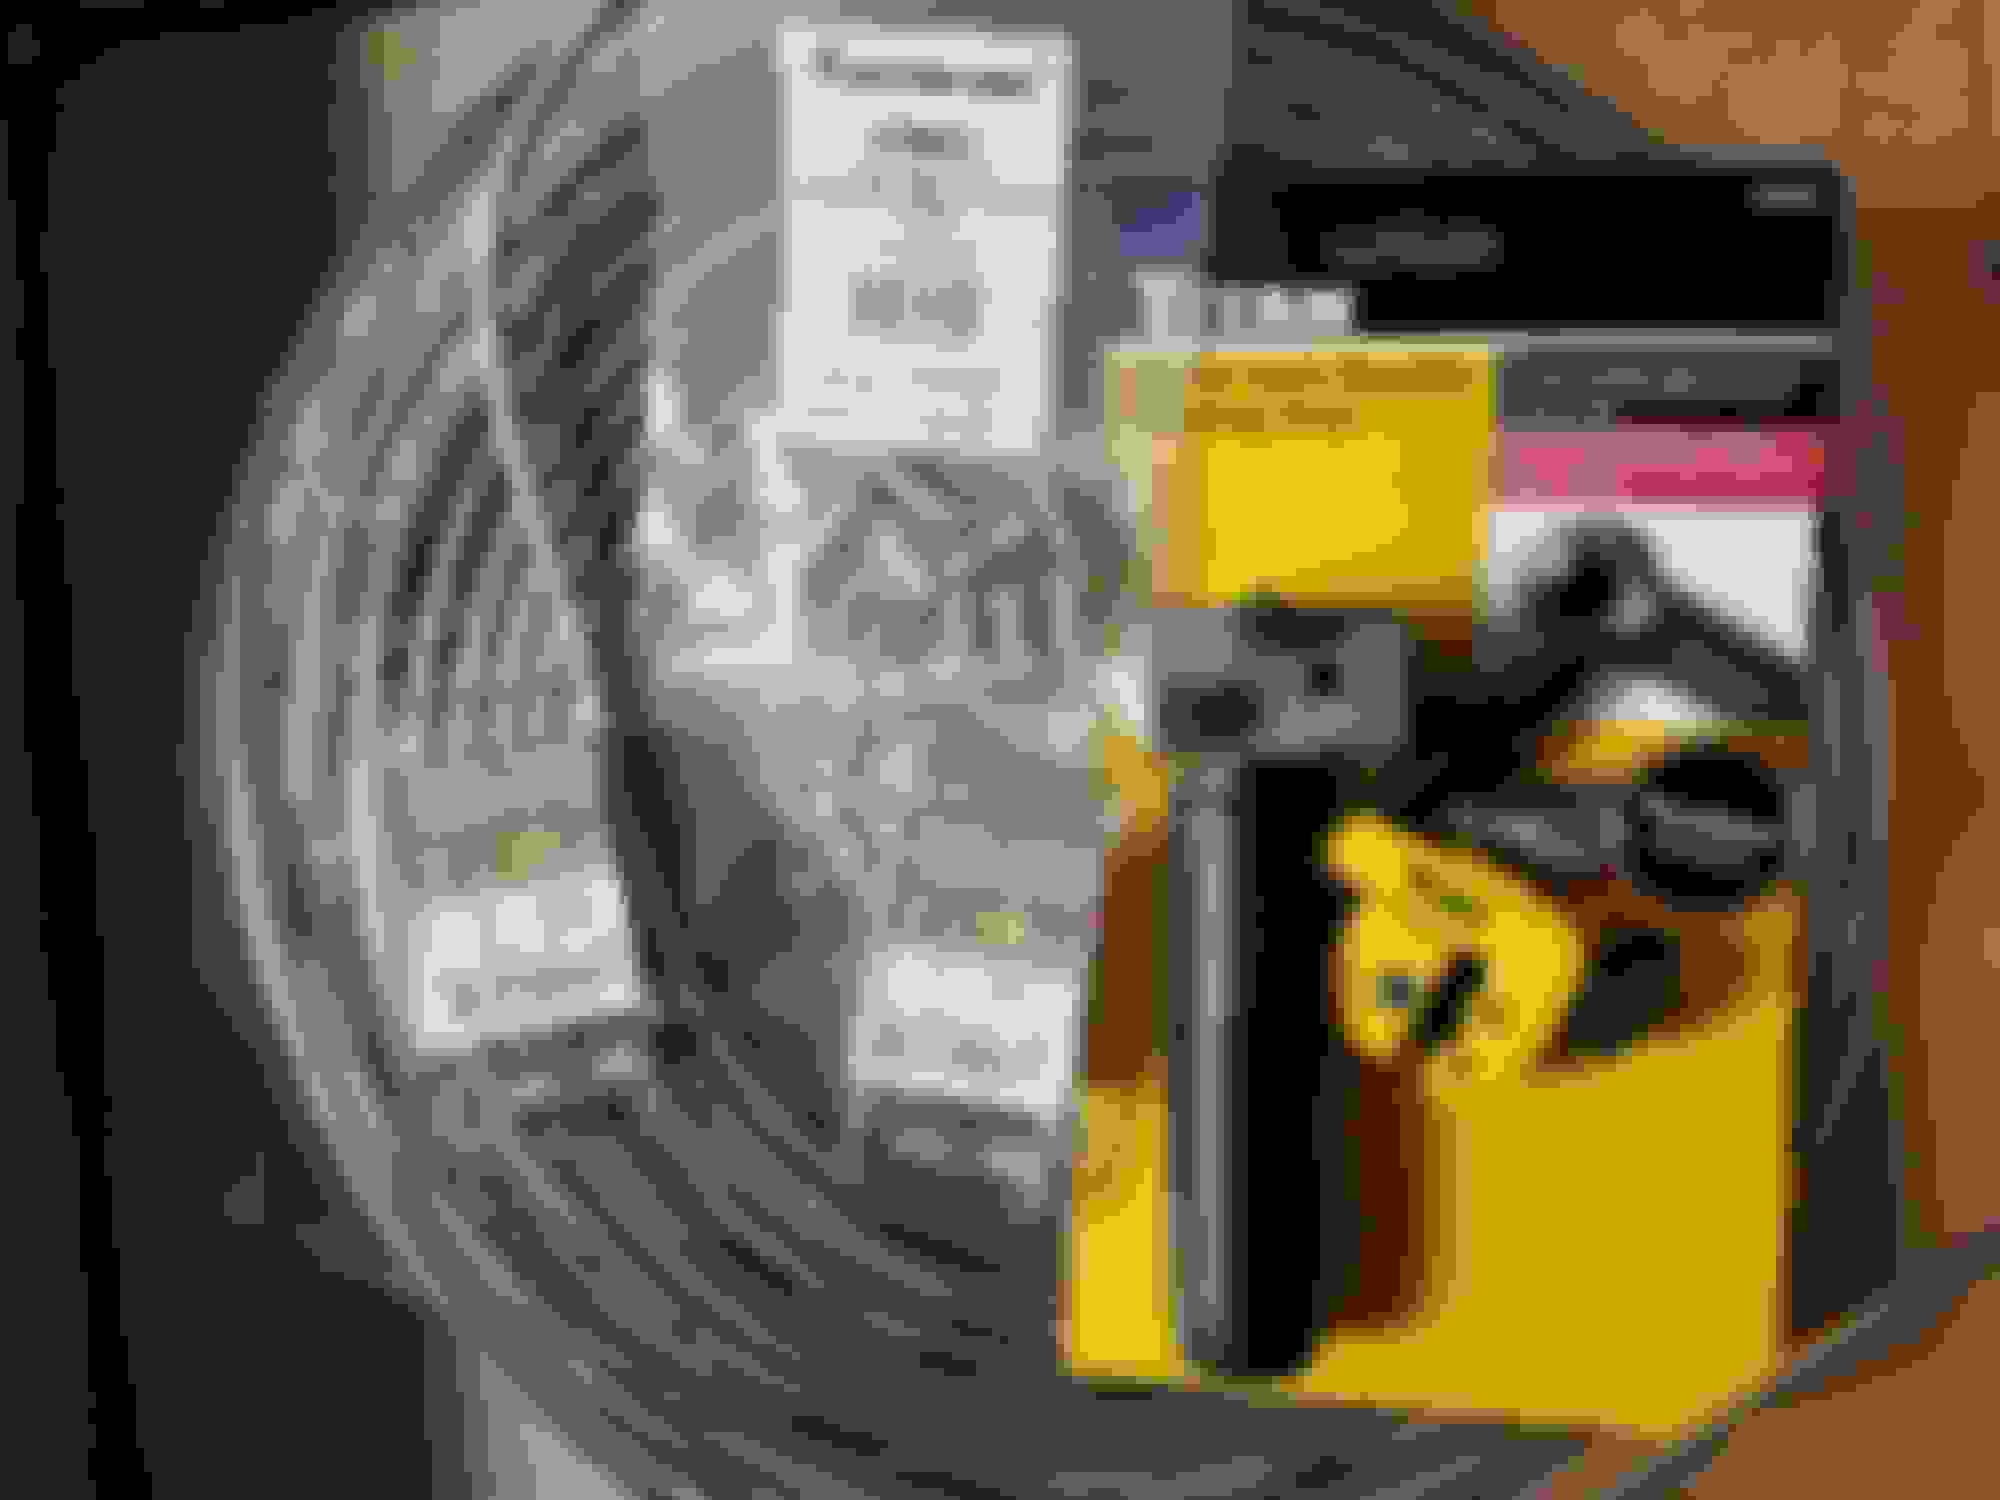
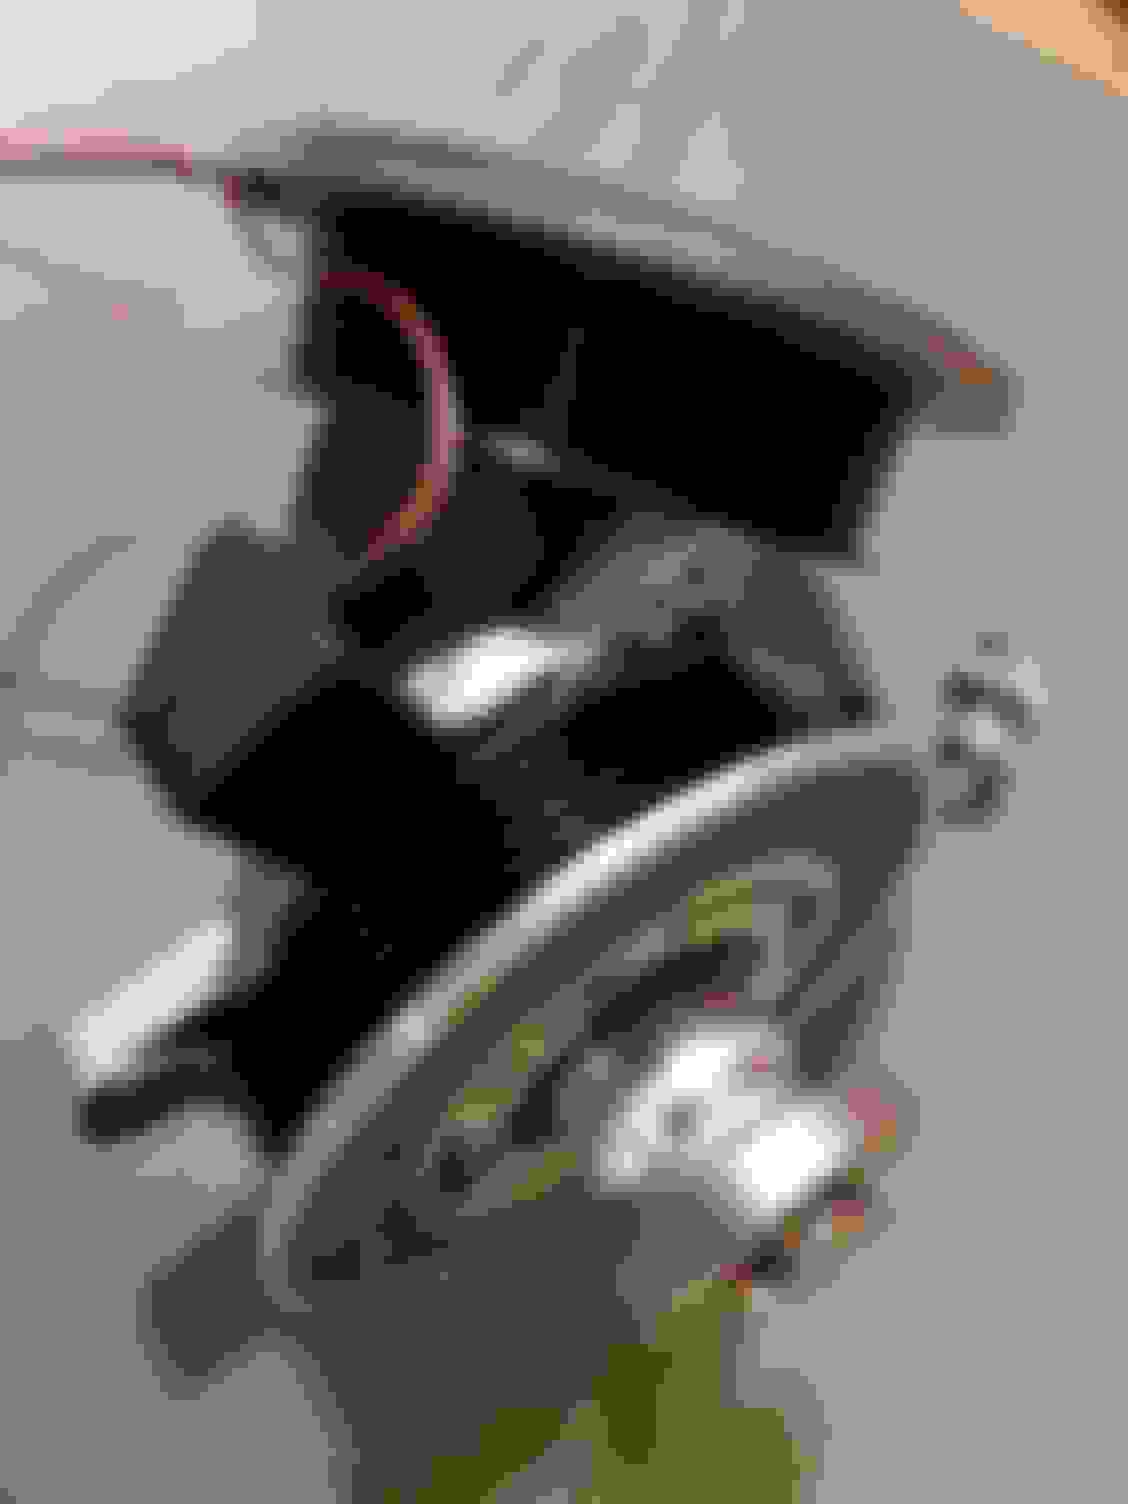
I ordered 50’ of copper/nickel brake line and a flaring tool off Amazon. The ad for the line said “made in USA”, but it arrived at my door with a “made in one of the following countries” type sticker. The line is very easy to bend and flare. The tool shown in this picture was wonderful. I was able to make consistent flares, and had just 1 leak because I forgot to tighten one of the fittings. Highly recommended.
Here are some other pictures showing my how I routed the lines and wiring. I didn’t use any connectors for the wiring, and used lamp cord wire (18awg, double insulated wire). In areas where the brake line might rub up against something, I slipped some silicone hose, over the tubing. I used 3/8” rubber isolated clamps in some locations, and wire ties in others to hold the wiring/tubing in place.
All the lines were brought into the trunk, on the right side. Most of this is covered by a plastic panel
Having a compact tool was helpful.
For electrical terminations I used high reliability braised splicing terminals which I got through Digikey. These work very well, and are dead nuts reliable.
I have an arming switch on the pump, as well as a switch to put it into the mode for bleeding. I kept the manual prop valve in there, for events where I am not using the ABS. I had no issues bleeding the system as I followed the process linked to in Codrus’s thread.
Still need to make a bracket to stop anything that is moving around in the truck from hitting this. This mod has made me much more competitive in autocross. No need to think to much on most braking.
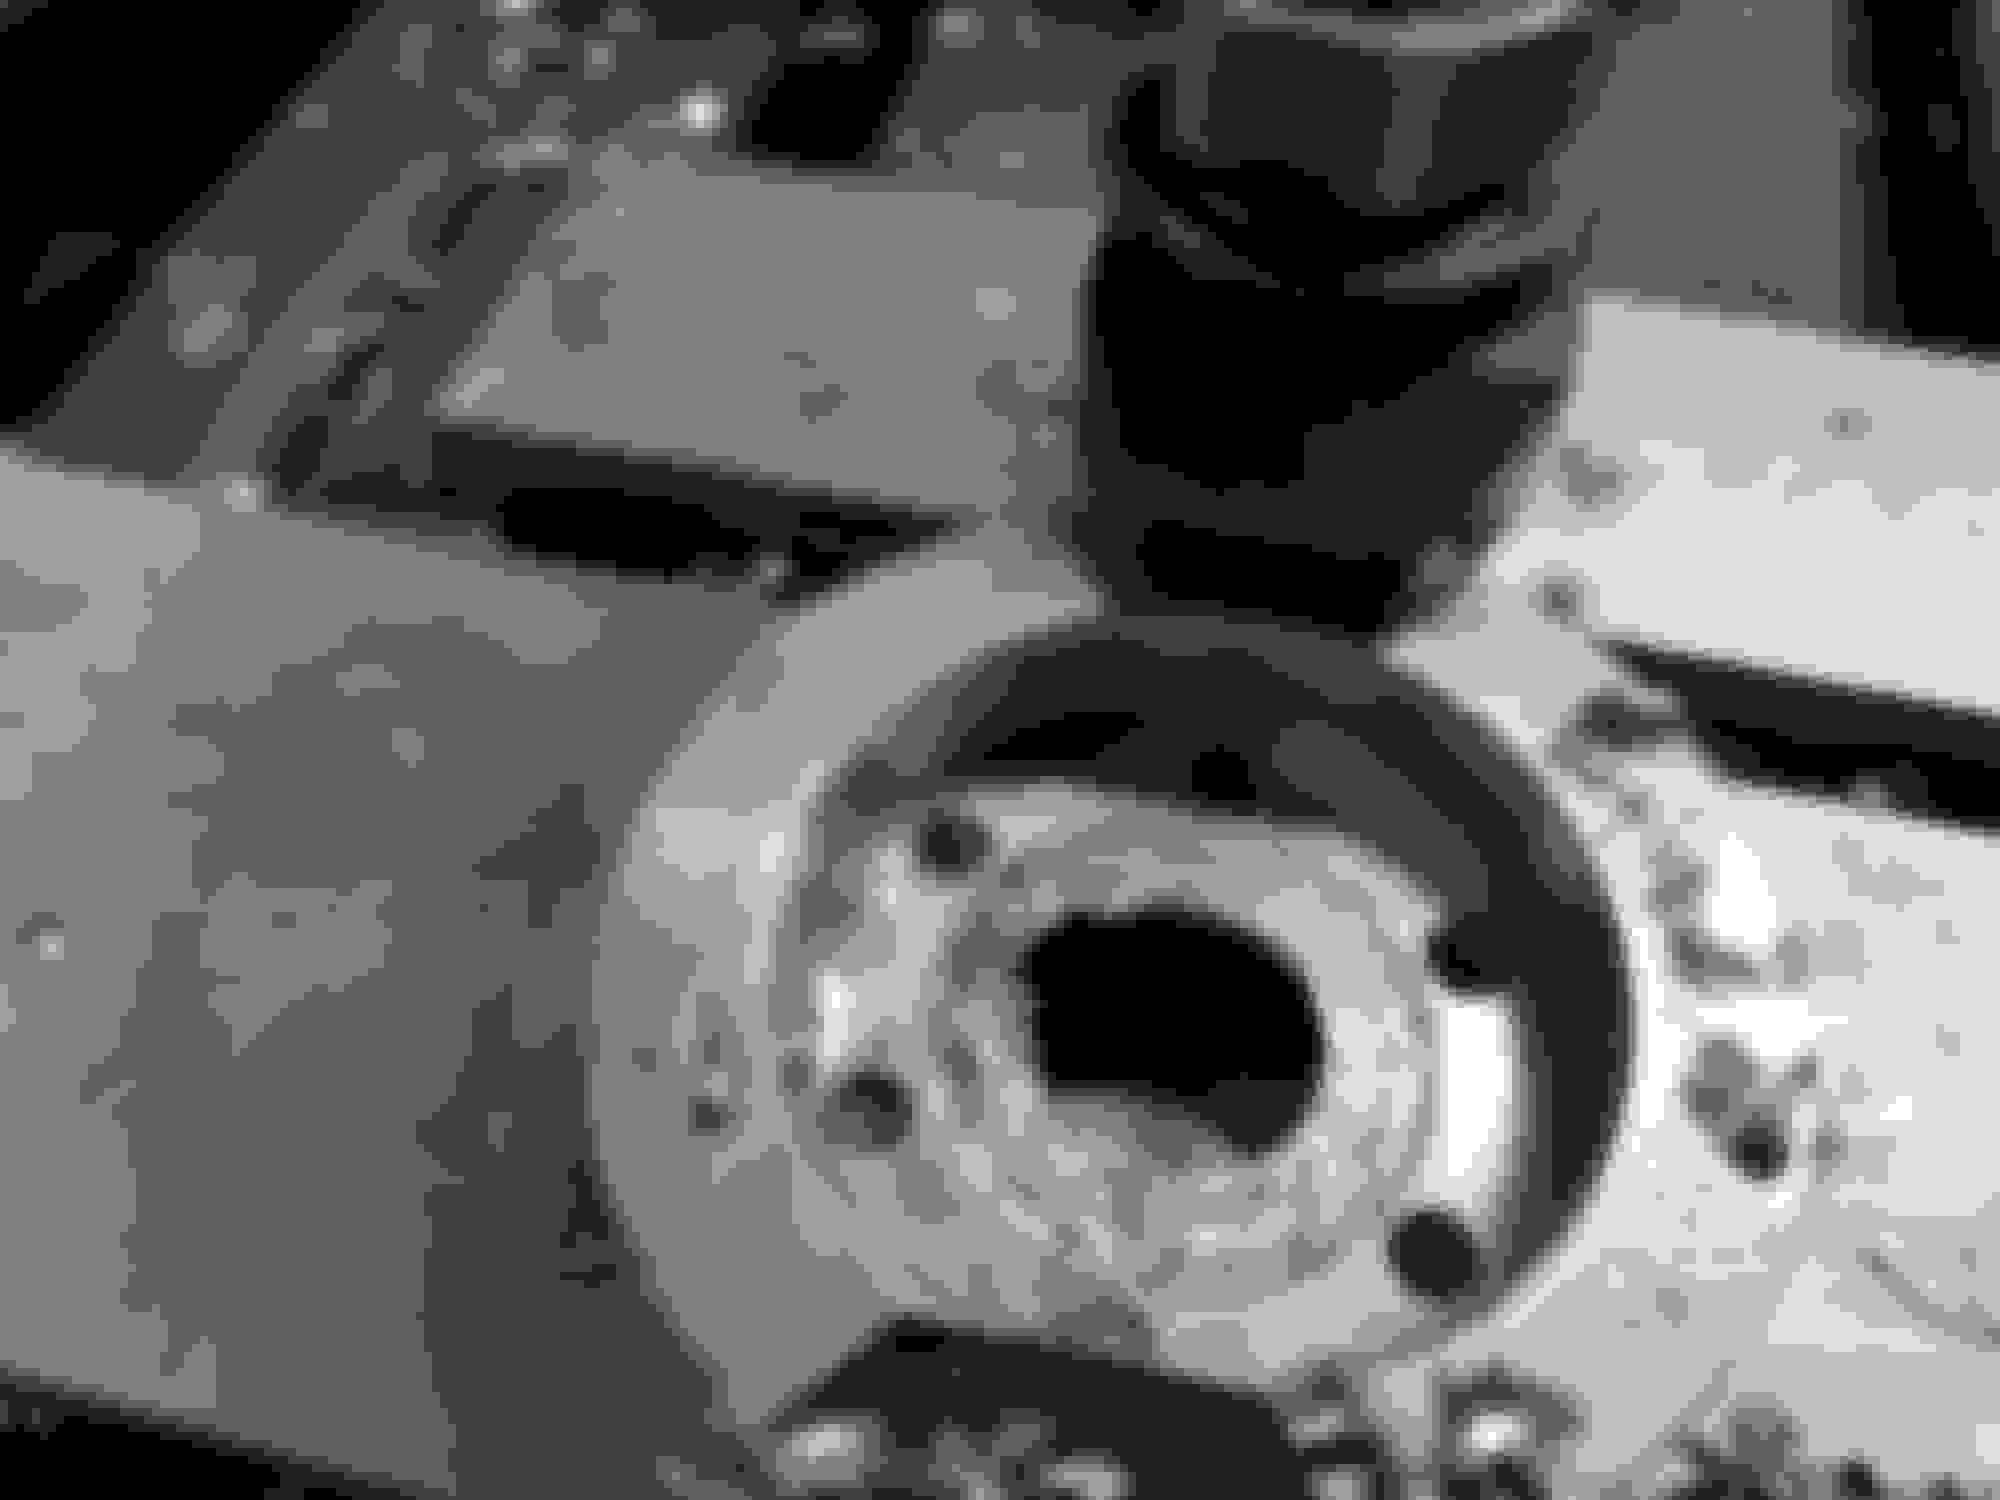
Car has been pretty reliable, but there have been some problems. I never liked my supercharger aluminum pulley because its easy to overtighten it (and distort the aluminum), due to it having a very small mating flange onto the supercharger shaft. Anyway, I guess I didn’t tighten it enough, and the keyway beat itself to death. Hard to believe, but I couldn’t find a direct replacement. I noticed several companies offering pulleys that bolt onto a hub, so I looked in my parts bin and discovered that I had a steel pulley that I could turn into a hub, and then I made my current pulley into a bolt on.
This worked out better than I could have expected. Bolting this aluminum handle onto the hub, allows me to torque the mounting nut properly.
Cleaned up some wiring, and simplified some things. Replaced the guts of a mechanical relay with electronics for improved reliability (it failed and was feeding the fuel pump). Swapped out the diff and axles, and installed SADfab rear hubs. I also added an additional bypass for the supercharger, however the actuator failed shortly after installation. Virtual dyno said this was giving me 20ft/lb more torque but no additional HP, which is strange. Longer term I will probably be taking this off. Went to the drags just recently. The conditions were perfect, with a temp in the mid 60’s with no wind. The car was very unstable at the big end, and I was having some trouble with launch, and not hitting the rev limiter prior to shifting. There is more in the car, but I need to work on technique in order to improve these times.
Here is a project I will be working on over the winter. I want to declutch the supercharger at high RPM’s. This is a OEM waterpump/clutched pulley off a VW. I am thinking I can use the clutch surfaces, and pretty much everything else will be custom, including the electrical coil. The challenge will be that I need to use a much smaller pulley.
Other than this, probably going to focus on fixing up the body work a bit and repainting the car. The paint is original and all things considered is not bad, however it really needs a refresh.
FWIW, mercedes has a 5.5L V8 with a clutched SC pulley. Might be a better starting point for what you're trying to do. It's from an E55 AMG.
Thanks. This clutch may well not be big enough, but its an inexpensive part that I can play with. I may use an clutched alternator pulley, as well, as those seem to be pretty plentiful and cheap.
Well, the water pump is used on a twin-charged car and they chose to implement the clutch and water pump in one assembly. The clutched pulley for alternators is really just a pulley, bearing and a one way latch, so that when the engine slows down, the alternator can free wheel. Still, for me to purchase a new supercharger pulley (out of aluminum) the going price is about $100, while the same size pulley (out of steel, which is better) with an enclosed bearing is much much cheaper. ($20 and up). Not sure how long the bearing will last though.
This shows you what I am talking about, but is the wrong size and is cheaper than what I would be going for.
Last edited by oreo; 11-03-2019 at 07:12 AM.
Reason: formatting
So I took apart my electromagnetic clutch and tried to figure out how to mount it, or something similar at the nose of the supercharger.
This coil (60mm ID) will not fit over the nose of the supercharger (diameter =66mm), but I did find some others on-line that would.
I determined that the 4.5" clutch I have, could probably be massaged to fit under the hood, however I would need to use the clutch which is designed for the new larger coil assembly.
(the slot cut into the clutch plate needs to be aligned with the coil)
Unfortunately, I would then need to build a new supercharger drive shaft, relocate the belt tensioner and make some bits to hold the pieces of the clutch together onto a bearing.
oh, and then figure out how to make a sealed bearing survive 20,000rpm. (My max supercharger rpm is currently 19krpm@7400rpm engine, but if I am declutching the SC, I will
likely want to bump the pulley ratio up a bit.)
The idea being, if I am going to declutch the supercharger at say 5000 rpm, I can easily run a much higher pulley ratio (lets say 3:1) and enjoy the benefits of more low RPM boost.
The problem of course, is that while the supercharger is declutched, the bearing is being used. So not a lot of minutes at this high RPM, but most sealed bearings are rated at maybe 12,000 rpm.
This all seems riskier than normal.
So I have discarded this idea.
The other possibility is to put the clutch at the main pulley end. After doing some research, I eventually found a fairly large clutch assembly (5.7" diameter) designed for a Freightliner AC compressor (8.3L turbocharged 6inline).
One of the reasons the clutch needs to be so large for this application, is due to the large acceleration pulses created by the torquey engine. It has a 6" pulley, which exactly matches the pulley I have. I figure I can mount this relatively easily, compared to doing something at the supercharger end. So for now, that is the plan. I am ordering one of these clutches, and a smaller supercharger pulley (actually an alternator pulley).
Next figure out what needs to be done, to attach it to the crank. (I will be flipping the assembly, so the coil will face towards the radiator.)
Still somewhat risky, because I am unsure if the torque capacity of the clutch will be sufficient. If it is not I can always modify the coil, or drive it with a higher voltage to increase the torque -hopefully not though.
Unfortunately, none of the pulleys I received were the advertised size. The clutch pulley is actually 5.8", not 6" and the supercharger pulley is 2.05", not 2.0" (Pulley masters does
not even list a 2.05" part on their website). Oh well, these parts will work I guess..
First I measured the amount of torque required to overcome the clamping force on the clutch pulley.
Initially I was disappointed because I didn't clean the parts first, and you need to make sure the electromagnet is perfectly centered to obtain the best results.
With everything prepared properly, I measured about 11-12 ft/lb per amp of current. At 13.6v and a cold coil, I am a little over 4 amps.
I you believe Eaton's HP numbers for the MP62, then I will need about 12ft/lb max over where I intend to operate it. So 12 x 5.8 / 2.05 = 35ft/lb. So I am thinking I need
a circuit that can deliver more than 13.2v, probably 18 or 24v and a method of monitoring the coil temperature.
The belt was not happy when trying to measure torque above 3A. It was an old one anyway.
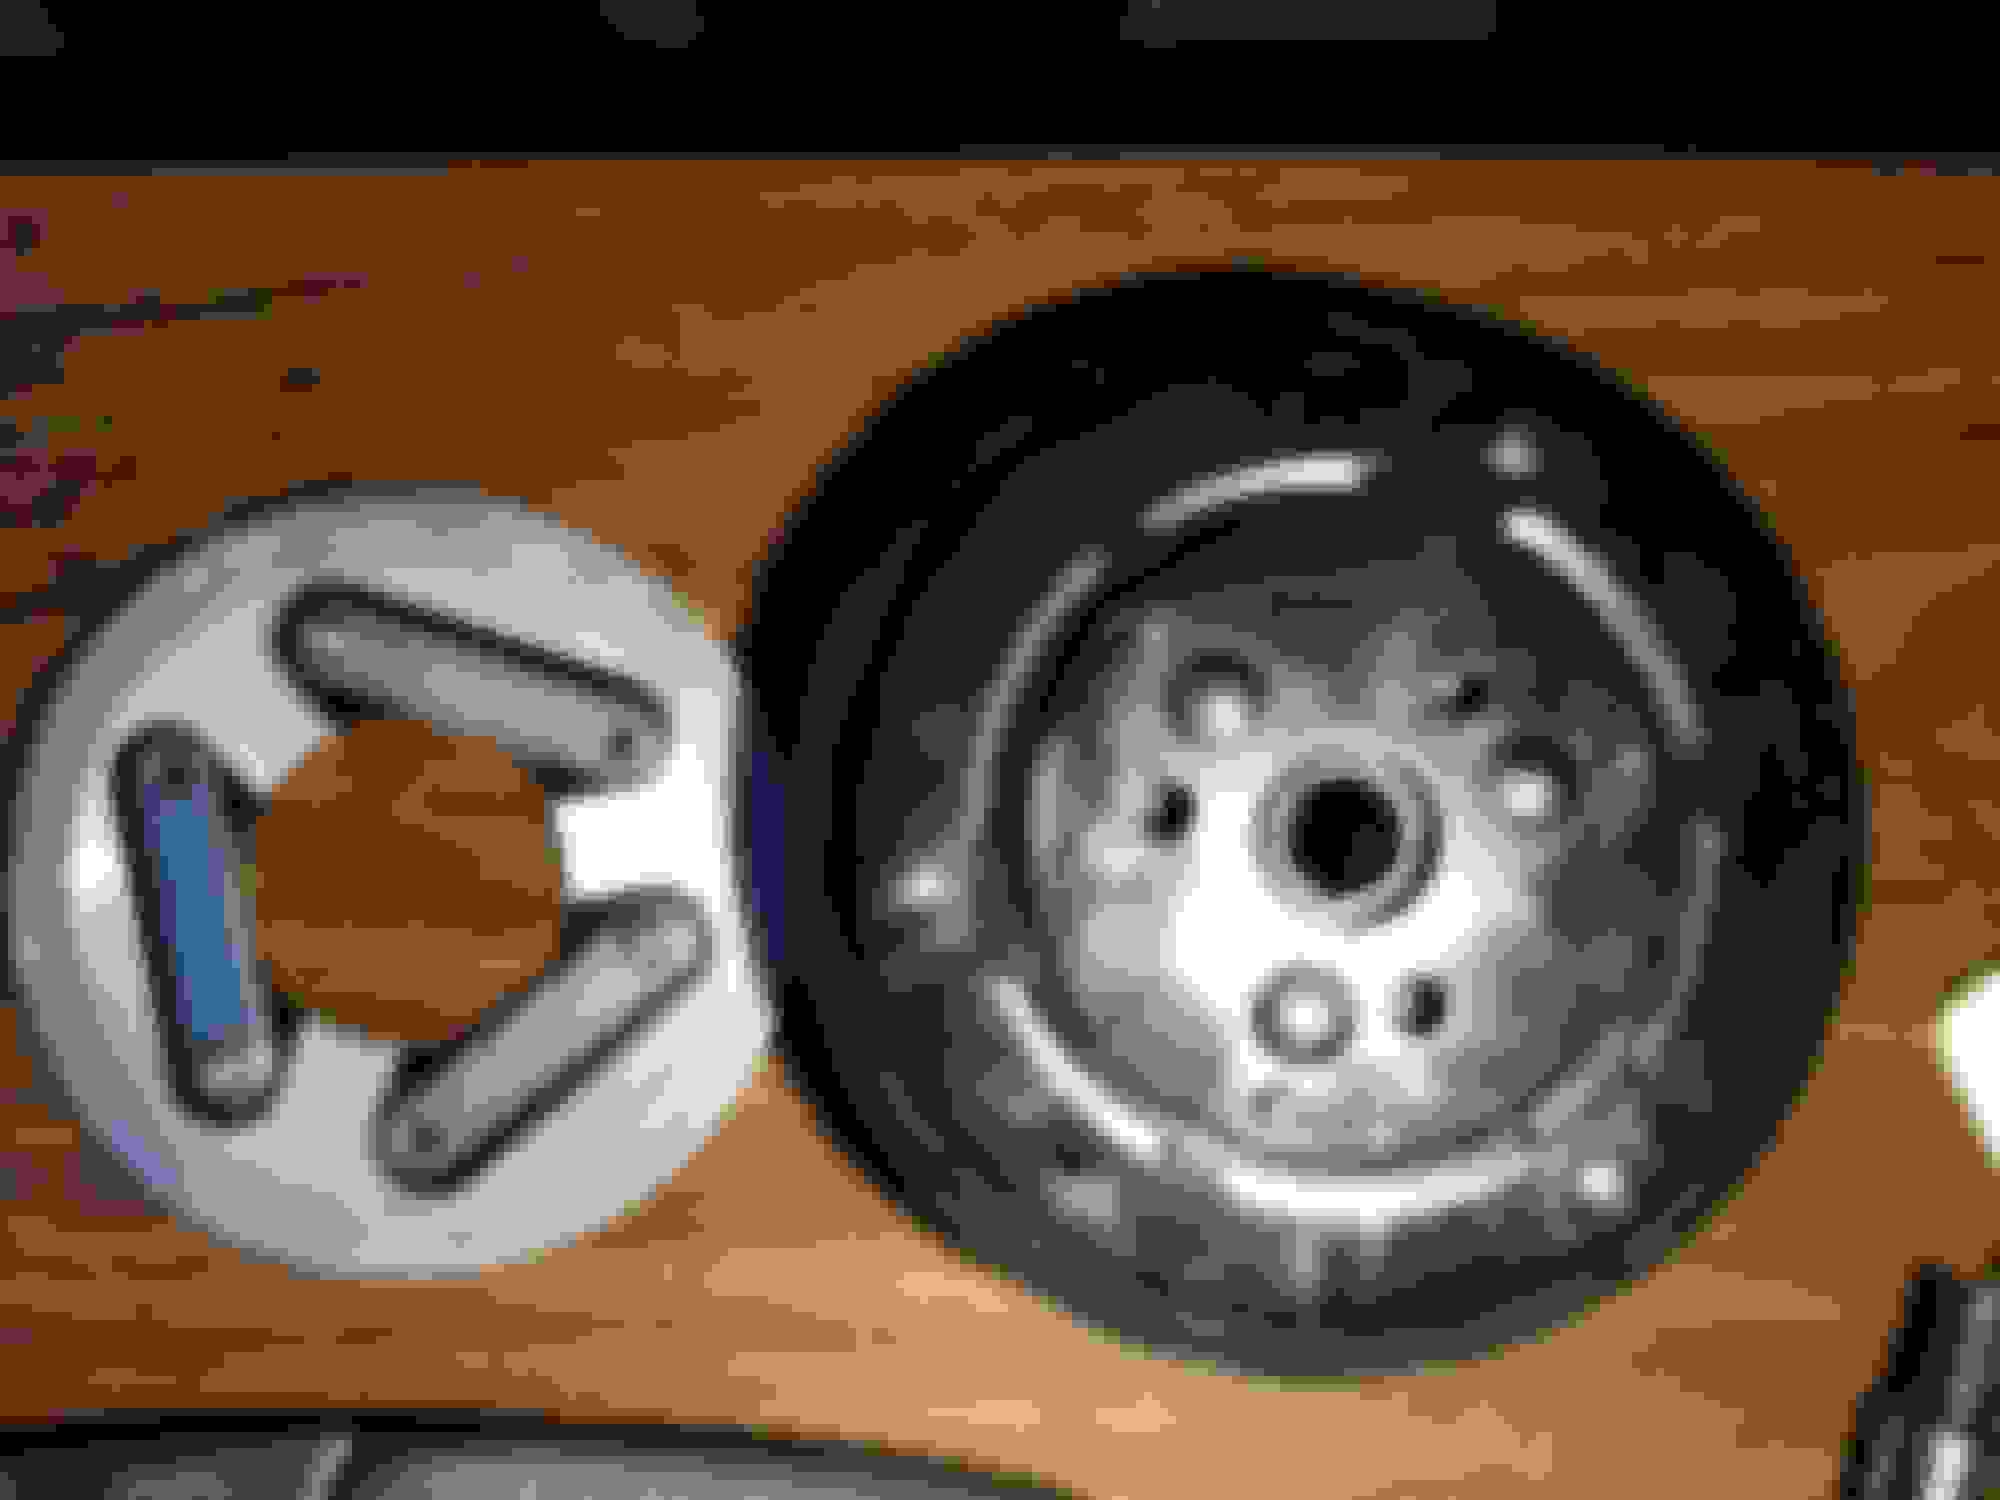
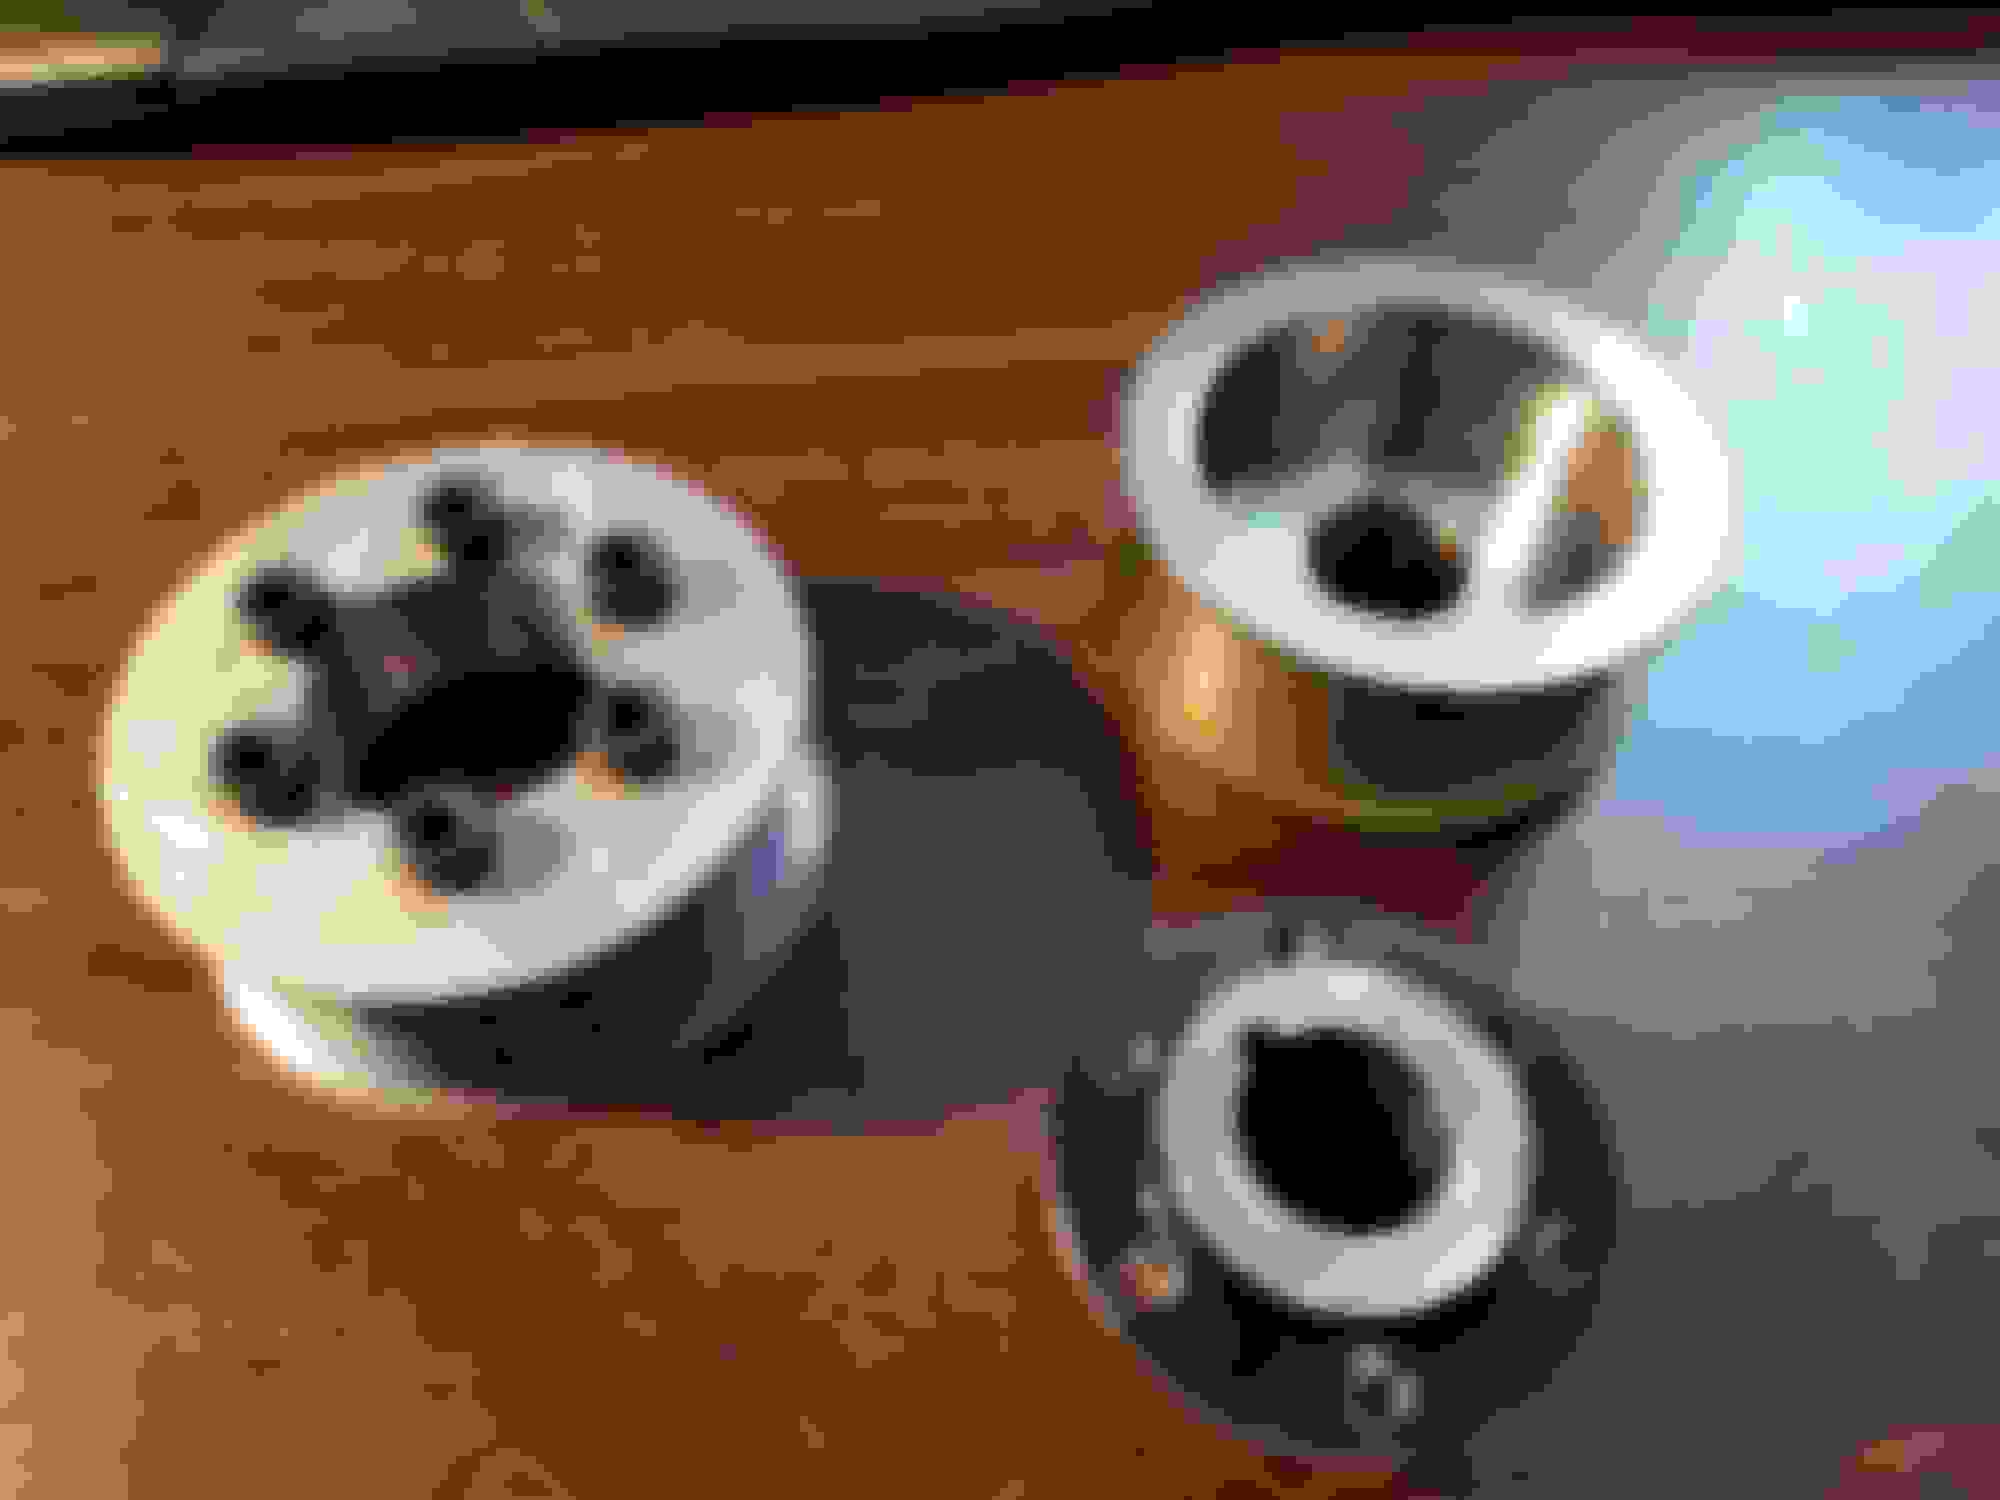
New electromagnet coil on the right.
Compare the width of the torque transmission plates between the 2 units.
Next step is to build some parts. I pulled out a previous hub that I built to support a very large crank pulley (which I never used)
I need to build something similar to this, with a shaft running out the center. The pulley and electromagnet will mount to this on bearings.
The torque transmission plates will bolt right to the hub.
Unfortunately this thing is not light. 6.6lb for the pulley and associated bits (which will be trimmed down slightly because I don't need all the parts) and 2.2.lb for the coil assembly.
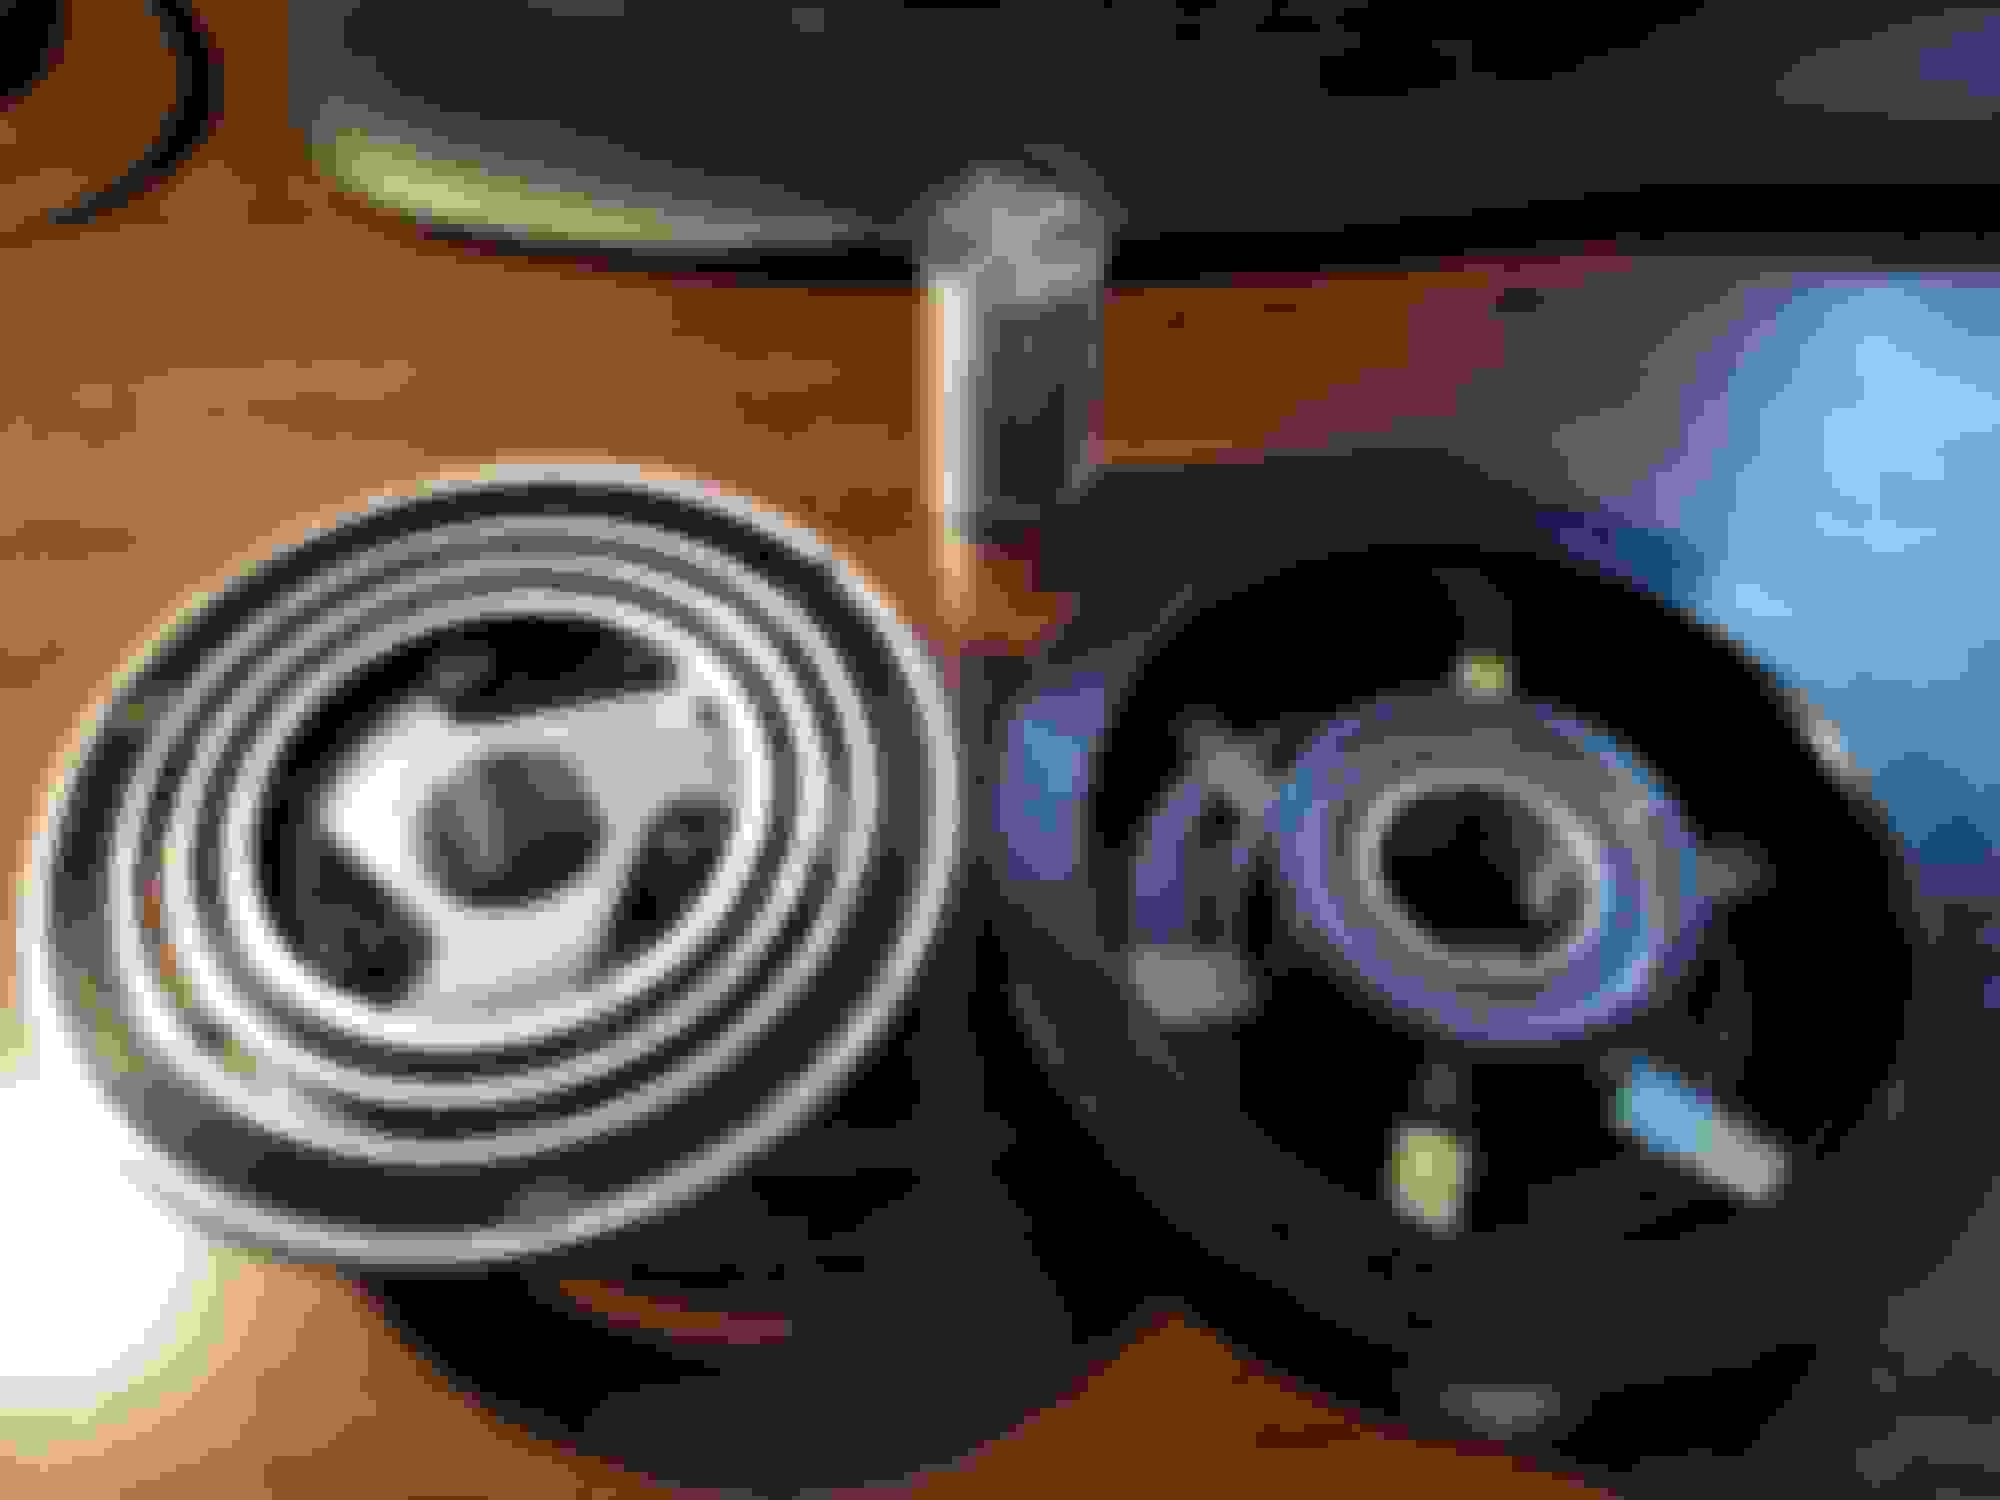
I pulled off the crank and supercharger pulleys to measure them, and my new crank pulley is nearly exactly the same diameter as my old one. (that was nice)
After reviewing things, I determined how I could fit things in, and unfortunately I will need to relocate my sway bar lower to clear the junk I am adding.
Not ideal, but I have run this way with one of my earlier supercharger setups and may even still have the bits to do it.
Doing the maths.
I made a couple of parts.
Starting from the left, is the stock adapter which attaches to the crank. The next piece, bolts to the crank with the 4 bolts near the center. The next piece, bolts to that with the 3 outer bolts. (I had to use 2 pieces because the 3 bolts from the clutch, interfered with the location of the 4 bolts to the crank)
The AC clutch mounts to the 2 above pieces, with 3 bolts. I ordered some friction material from McMaster Carr.
If I need more holding torque, I can glue this material in the 3 groves in the clutch.(black area on clutch)
The E-Z Lok inserts are steel inserts, which are glued into larger threaded holes. I don't like depending on aluminum threads when I plan on taking things apart a lot.
I made a temporary shaft out of aluminum, so I could test everything (I will use steel eventually). The shaft will be pressed into the piece on the left, and the pulley and coil will run on bearings.
I ordered some shims from McMaster Carr, which I will use to set the correct gaps between the clutch and the pulley and the pulley and the coil.
Now I need to make a piece to hold the coil in place. I ordered a 30x47x20mm bearing to support this piece. The whole mess will be clamped together and held on with a bolt from the end. I was able to open up the center of the supercharger nose pulley I purchased, so it fits over the hub adapter I made earlier. This new combination of pulleys will drive the supercharger about 12% faster. There is another smaller pulley that will fit, if I make another hub adapter, which would drive the supercharger another 9% on top of this. Since I will be declutching the supercharger at more than 6000 engine rpm, I will not be spinning the supercharger as fast as I am now, even with the smallest pulley I can fit.
Need to wait for some parts to arrive before I can move further, but I do not see any unsurmountable issues yet.


 02-12-2018, 09:26 AM


 0
0