Yet Another Trackspeed S1/ST4 Build Thread


 08-23-2018, 02:04 PM
#65
Junior Member
iTrader: (1)

Join Date: Sep 2017
Location: Huntington Beach, CA
Posts: 230
Total Cats: 22
Have you tried the Iron Canyon unit? We have that with our stock tank/sender/MXL2, and it reads about like stock. 100% for a while, tapers smoothly to 0%, and we can run on 0% for ~5-10 minutes. This all takes ~1:50 with 185hp. We had to do a custom sensor calibration like any fuel cell sending unit.

Reply
 0
0

0
08-24-2018, 04:46 AM
#66
Junior Member


Join Date: Mar 2012
Location: Manchester, UK
Posts: 171
Total Cats: 30
Oh man that rad/IC ducting looks great. I did some basic ducting on mine, but I'm not sure I would want to lose the cross member on my road car in order to make it as good as that. I do wonder if it's possible to curve a sheet of aluminium under it though.
I'd certainly be interested in some of the splitter brackets that bolt up to the chassis rails, along with a few other parts from TSE if you post to the UK Savington?
I'd certainly be interested in some of the splitter brackets that bolt up to the chassis rails, along with a few other parts from TSE if you post to the UK Savington?
Reply
0
0
 09-04-2018, 10:56 PM
#68
Former Vendor
Thread Starter
iTrader: (31)

Join Date: Nov 2006
Location: Sunnyvale, CA
Posts: 15,442
Total Cats: 2,099
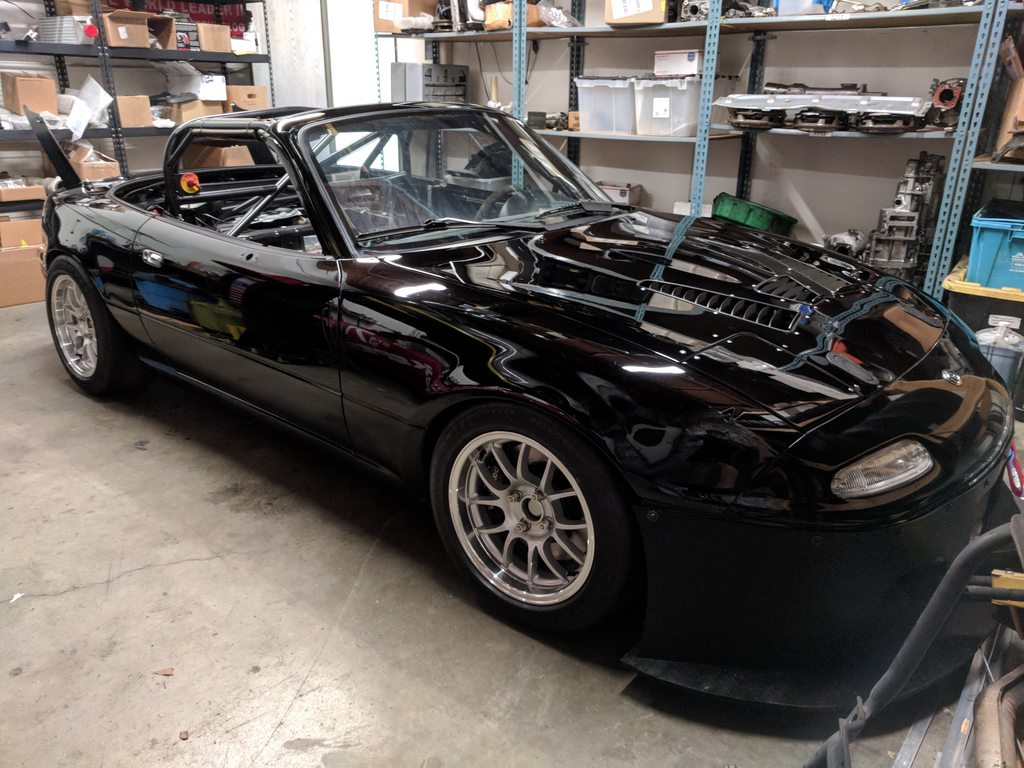
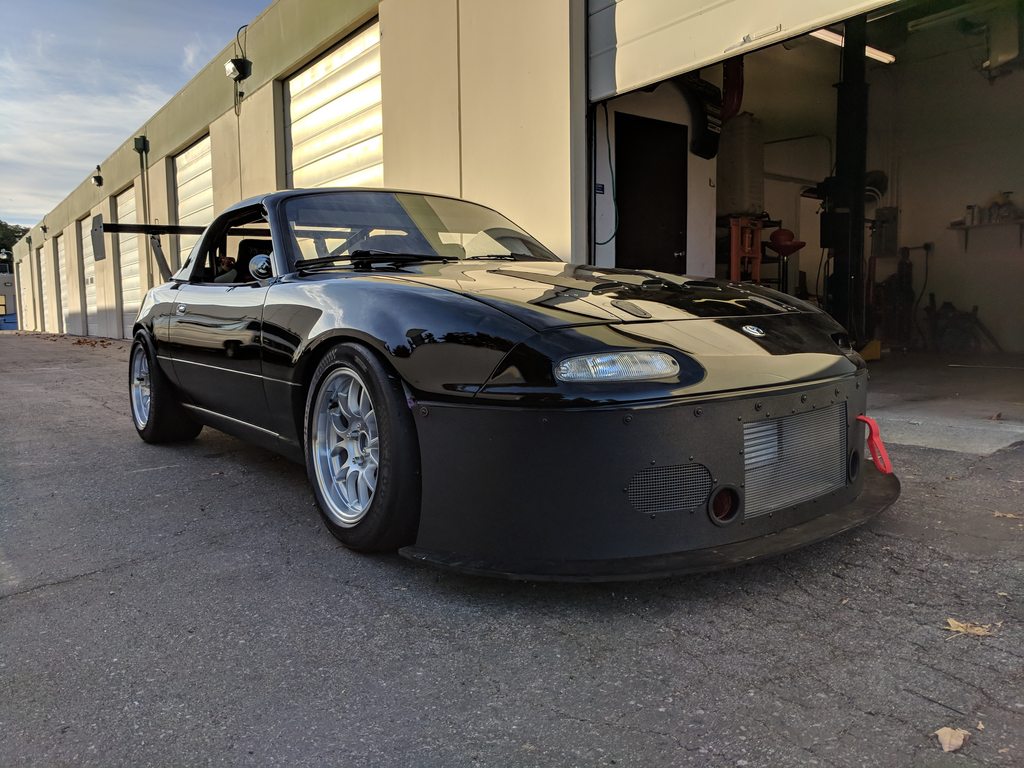
On the ground for the last time. Really onto details at this point. Test day scheduled for October to do shakedown and setup.
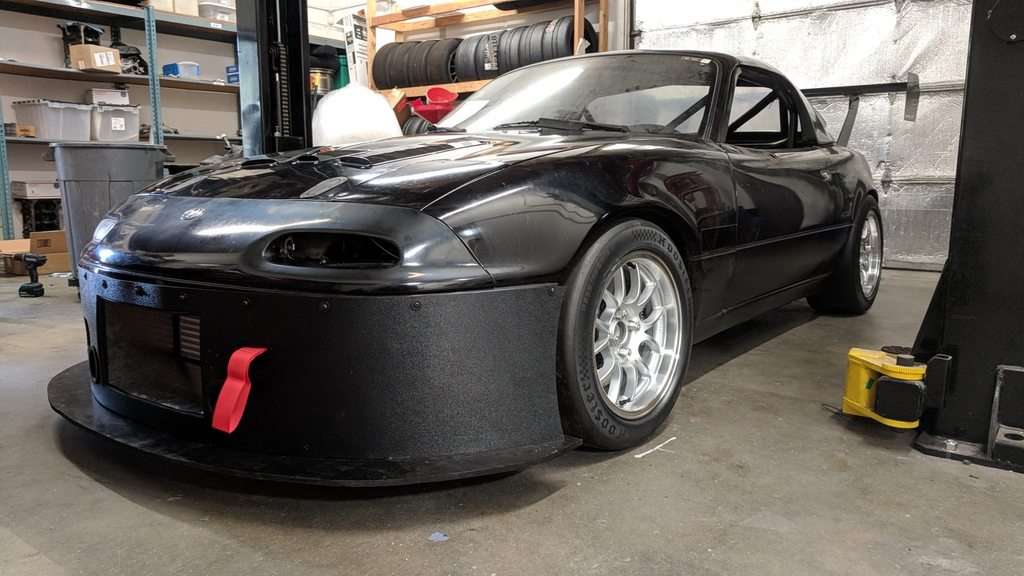
Also had the car detailed. Not 100% perfect, but for a race car, it looks damn good. Before above, after below.
Dyno tomorrow for motor break-in and CA91 tune. It will come back in a few months for E85 and hi-power tunes.
Also had the car detailed. Not 100% perfect, but for a race car, it looks damn good. Before above, after below.
Dyno tomorrow for motor break-in and CA91 tune. It will come back in a few months for E85 and hi-power tunes.
Reply
3
3

 10-28-2018, 01:27 AM
#72
Former Vendor
Thread Starter
iTrader: (31)
Join Date: Nov 2006
Location: Sunnyvale, CA
Posts: 15,442
Total Cats: 2,099
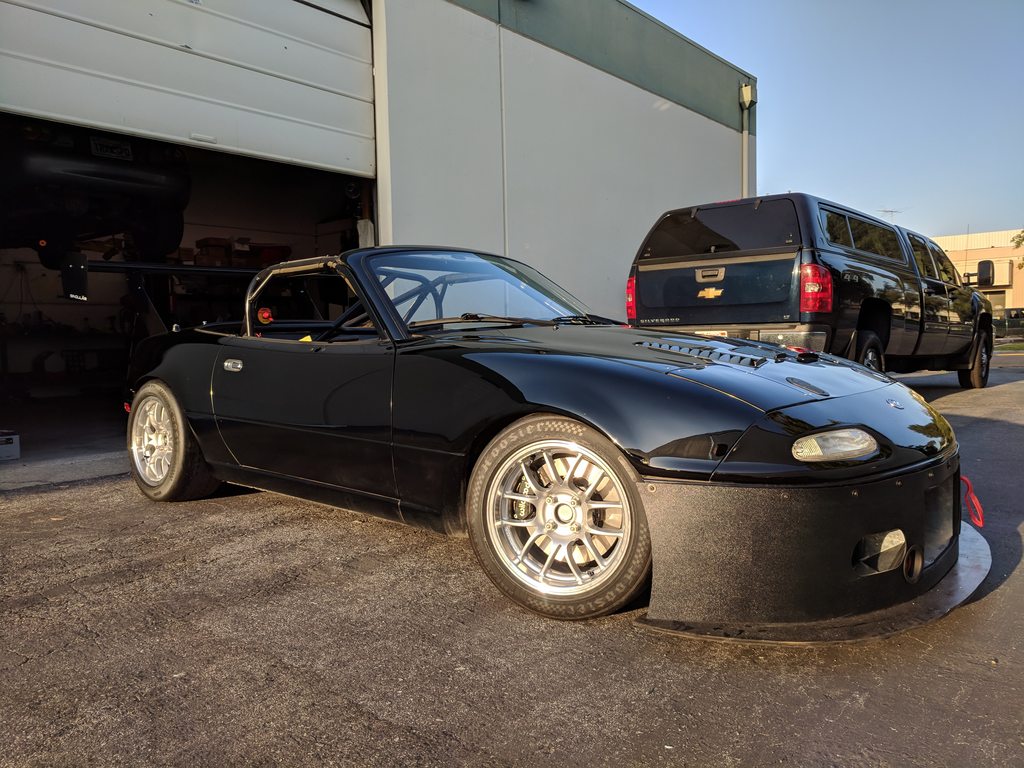
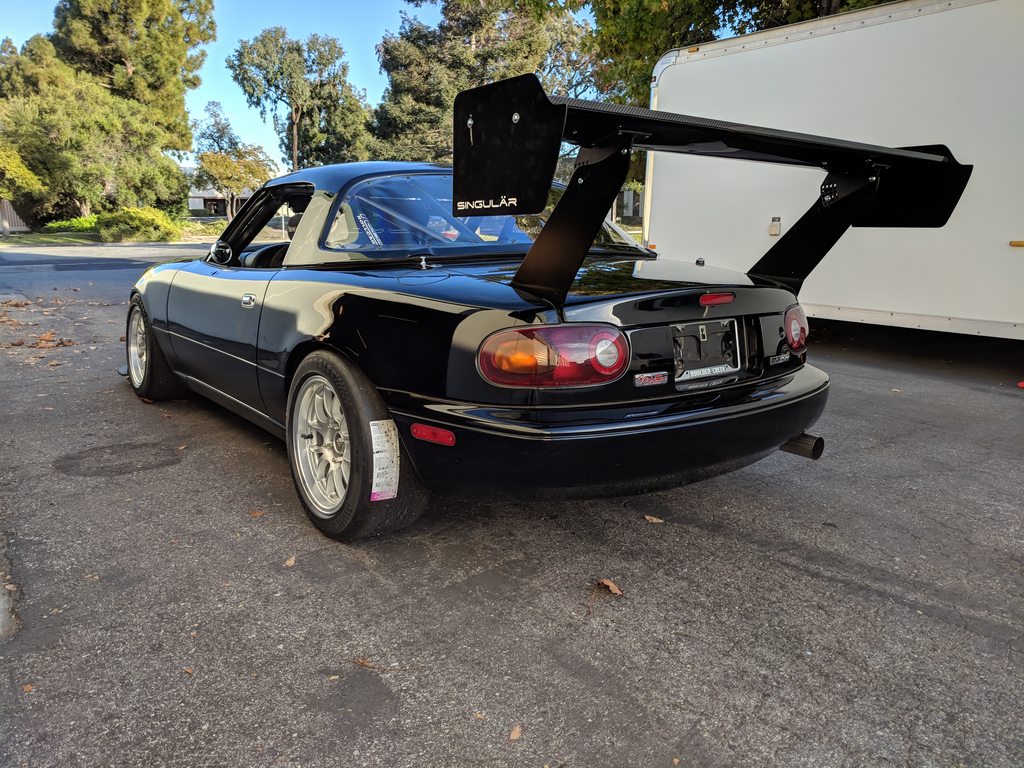
This one is just about done. Tony @ TC did a fresh Racetech 4119 and Schroth belts, as well as an ESS AFFF-AR fire system. New CCP hardtop and 1/8" lexan rear window installed, alignment and ride heights are set. The owner picked it up this evening and we're off to Thunderhill next week for initial shakedown and orientation.
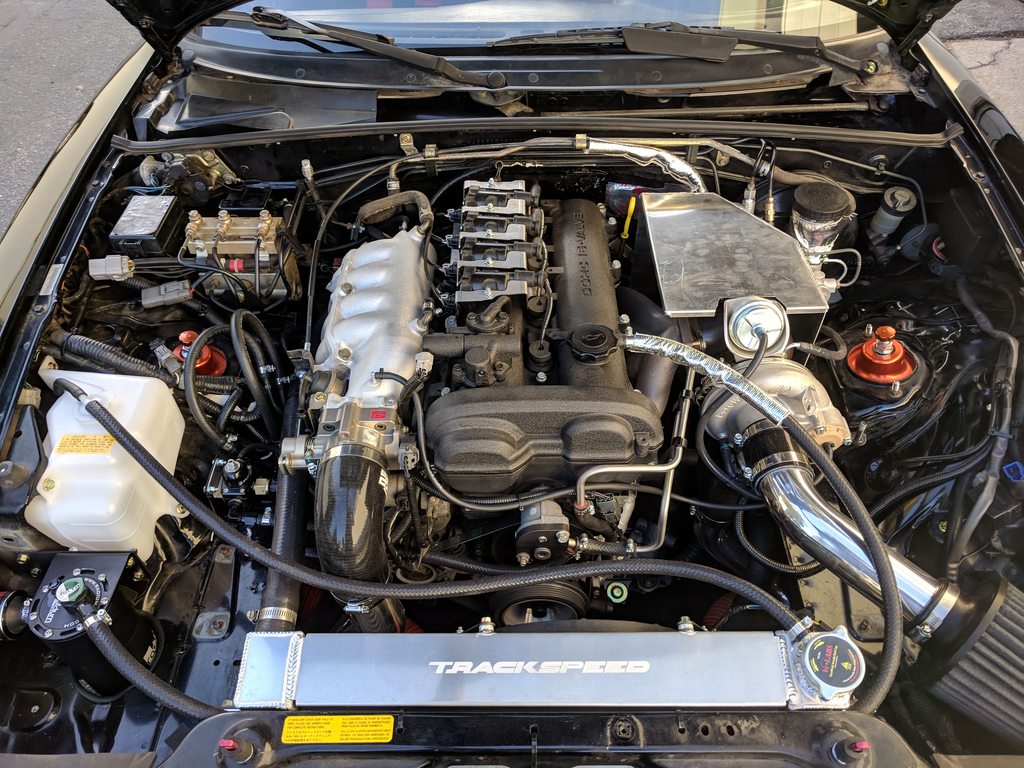
Final(ish) engine bay with heat shield. I am going to have a few NA cold air boxes laser-cut since I need one for this car, Rover, and two future builds, but aside from that detail, this is the final product.
Final front end with mesh grilles.
So long.
Final(ish) engine bay with heat shield. I am going to have a few NA cold air boxes laser-cut since I need one for this car, Rover, and two future builds, but aside from that detail, this is the final product.
Final front end with mesh grilles.
So long.
Reply
7
7
 11-15-2018, 09:51 AM
#74
Newb

Join Date: Mar 2018
Location: Los Gatos, CA
Posts: 1
Total Cats: 4
I just measured it on the rack, and it�s 3.5�.
It�s low enough that I have to use Race Ramps extensions to get it in my tilt bed trailer that supposedly has a ~7 degree ramp angle.
Still easier than pulling off the front end.
(I�m the customer, and figured I would keep this thread up to date, if nobody minds. Like the Vegas build thread, but a less awesome car )
)
It�s low enough that I have to use Race Ramps extensions to get it in my tilt bed trailer that supposedly has a ~7 degree ramp angle.
Still easier than pulling off the front end.
(I�m the customer, and figured I would keep this thread up to date, if nobody minds. Like the Vegas build thread, but a less awesome car
)Last edited by sleipnirus; 11-15-2018 at 09:54 AM. Reason: Broken smiley
Reply
4
4
12-17-2018, 05:32 PM
#76
Senior Member

Join Date: Apr 2011
Location: Las Cruces, NM
Posts: 581
Total Cats: 111
Close-up of the FPR/flex fuel bracket. I usually tuck everything back against the fusebox, but with ABS in an NA, there's no room back there. This is as clean a solution as I've seen for keeping everything accessible. I also vastly prefer the little electronic fuel pressure sensor which kicks the data back to the ECU, instead of trying to stare at a mechanical gauge. Less guesswork.

Sorry to keep bugging you about the fuel line/fitting setup but I'm still in the process of piecing mine together using this setup as a guideline...
I'm using a Hawley Performance Fuelab mounting bracket so space is a little tight with the FPR and IM. I know you're using Earl's Vapor Guard stuff but, as you well know, they don't really offer a tight radius 90* bend (see: 90* fitting off FF sensor) so I'm trying to mimic what you've got going on off the FPR here. I was going to just do a 90* -6 directly from the FPR to a E's VG 5/16" nipple like so:


But I'm curious as to the -6 AN adapter plug you've got in the FPR in the image above. Is it to space the 90* out from the unit or am I reading way too much into it?

Reply
0
0
12-17-2018, 06:22 PM
#77
Former Vendor
Thread Starter
iTrader: (31)
Join Date: Nov 2006
Location: Sunnyvale, CA
Posts: 15,442
Total Cats: 2,099
It's not a 90deg male-male adapter. On the FPR side, the fitting is straight JIC male threads with a nut. Without the straight threads and nut, you can't clock the 90deg fitting, which makes installation impossible.
Something like AT949006ERL would work.
Something like AT949006ERL would work.
Reply
1
1

Thread
Thread Starter
Forum
Replies
Last Post
gesso
Build Threads
454
11-13-2023 12:01 PM
hi_im_sean
Miata parts for sale/trade
14
12-01-2016 05:07 PM


