First Build Day
 05-13-2008, 11:26 PM
#21
Cpt. Slow

iTrader: (25)
Join Date: Oct 2005
Location: Oregon City, OR
Posts: 14,181
Total Cats: 1,132
nice, I vote for a good close-up picture of the top and bottom brackets for your lowered radiator. I'm getting a godspeed radiator, and my over-the-top pipes barely fit with my stock radiator, so sounds like I'll be doing the same as you. again, nice work!

Reply
 0
0

0
05-13-2008, 11:31 PM
#22
Senior Member
Thread Starter

Join Date: Jun 2006
Location: Orlando FL - UCF
Posts: 684
Total Cats: 1

Yup, about 1/2 - 1 inch from top of pipe to bottom of the hood without any trimming of the hood, just notching of the radiator support. It's not bad for under $300 into the intercooler setup, and much better than paying for the TDR one.
Thanks guys for the good comments.
Reply
0
0
05-13-2008, 11:40 PM
#23
Elite Member
iTrader: (11)

Join Date: Jun 2007
Location: Overland Park, Kansas
Posts: 5,360
Total Cats: 43
Yup, about 1/2 - 1 inch from top of pipe to bottom of the hood without any trimming of the hood, just notching of the radiator support. It's not bad for under $300 into the intercooler setup, and much better than paying for the TDR one.
Thanks guys for the good comments.
Thanks guys for the good comments.
 Hells Yeah!! Cant wait for another update!!
Reply
0
0
05-16-2008, 02:37 AM
#24
Senior Member
Thread Starter
Join Date: Jun 2006
Location: Orlando FL - UCF
Posts: 684
Total Cats: 1
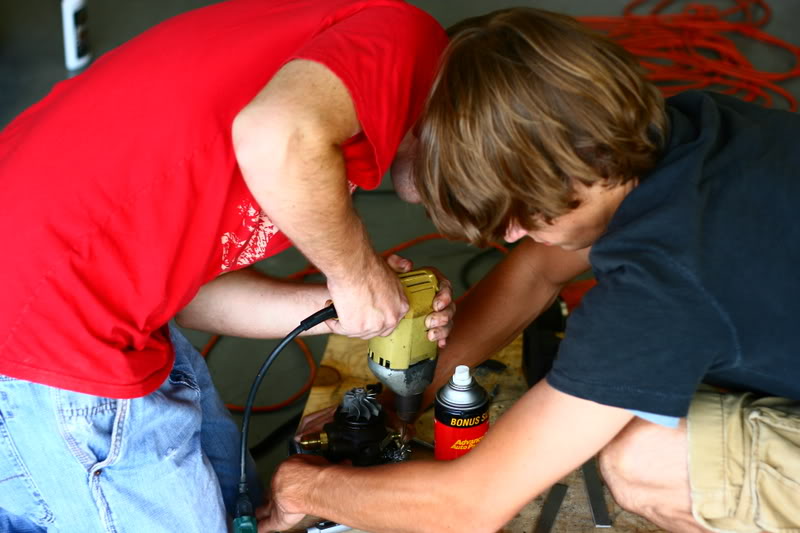
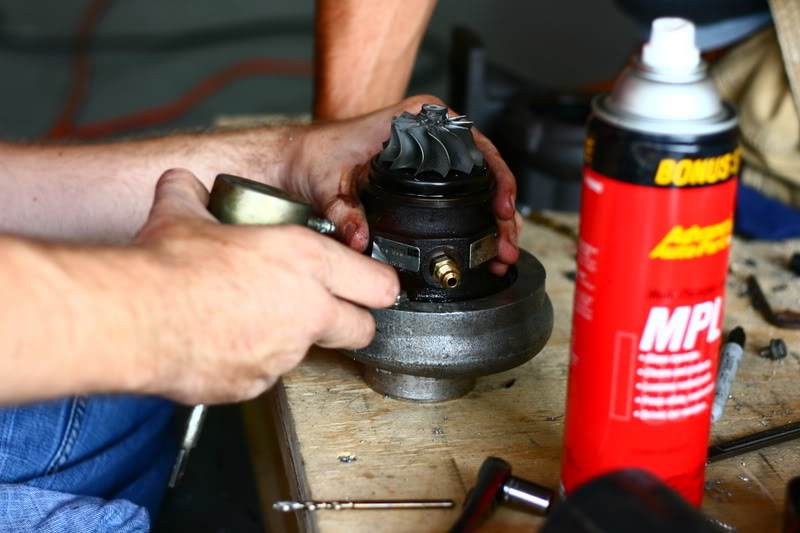
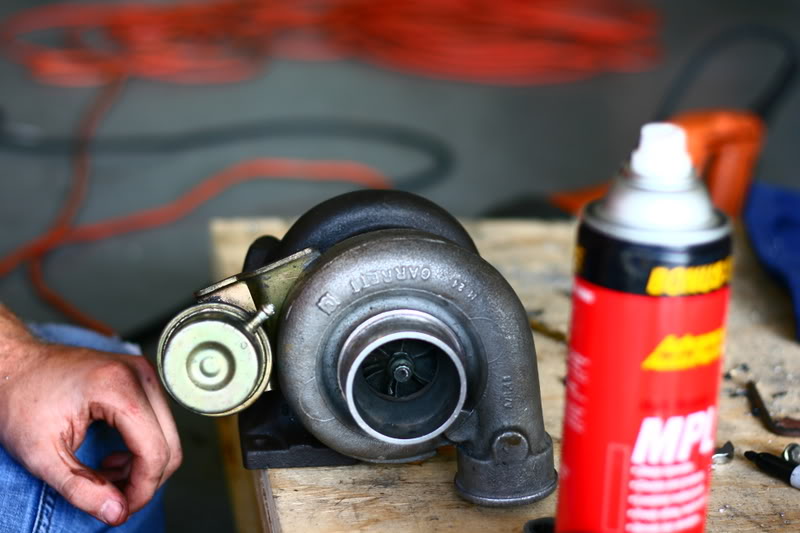
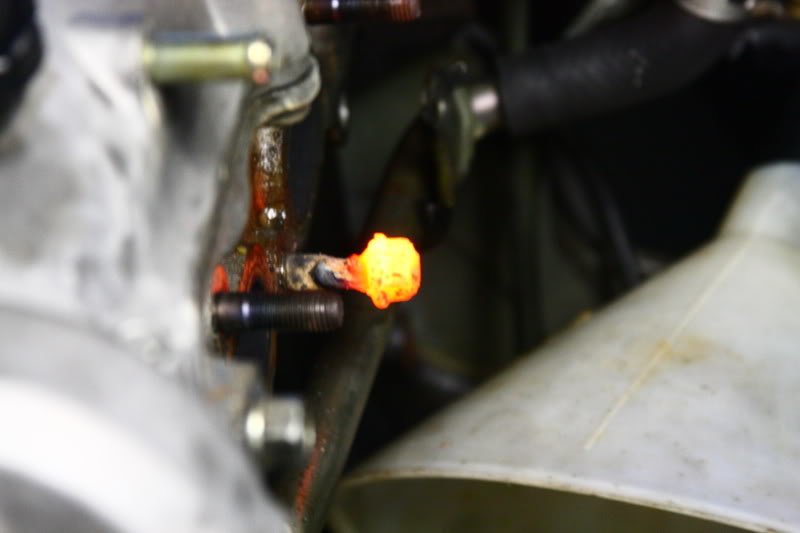
Here are some pics from today. Drilling and tapping the turbo.
And Tony welding a nut onto a stud to get that bastard out.
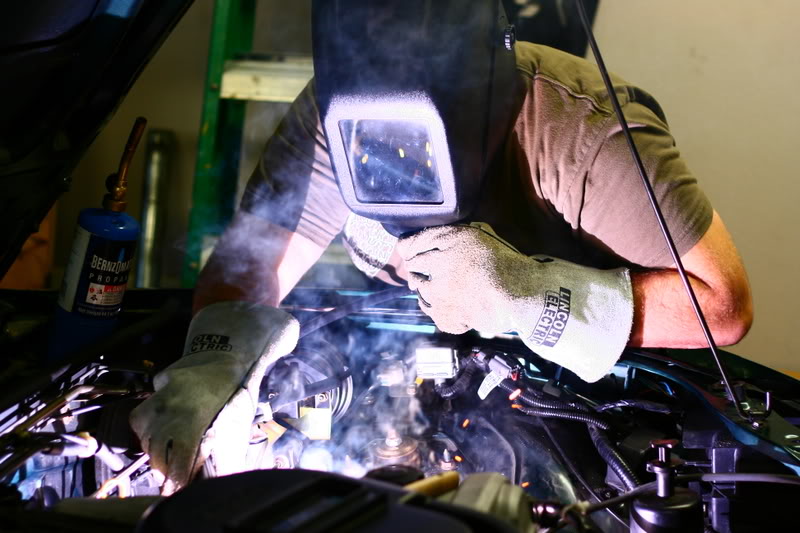
The stud while still in the head.
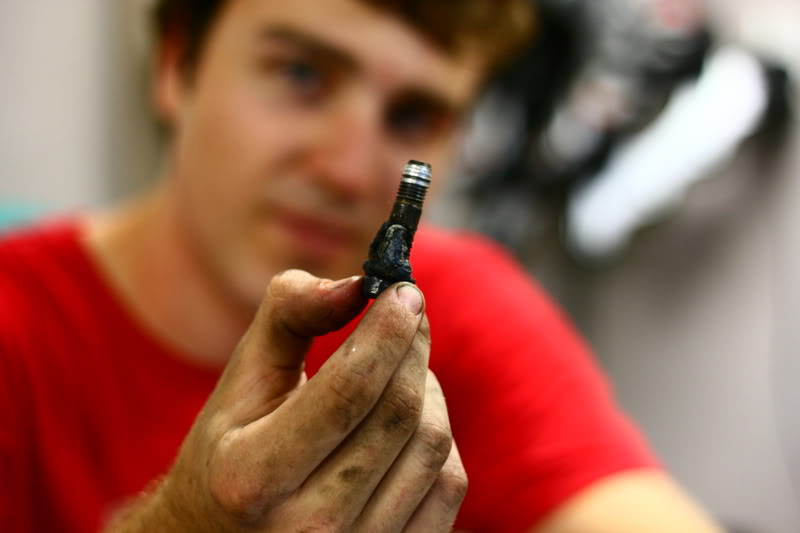
And the stud afterwards.
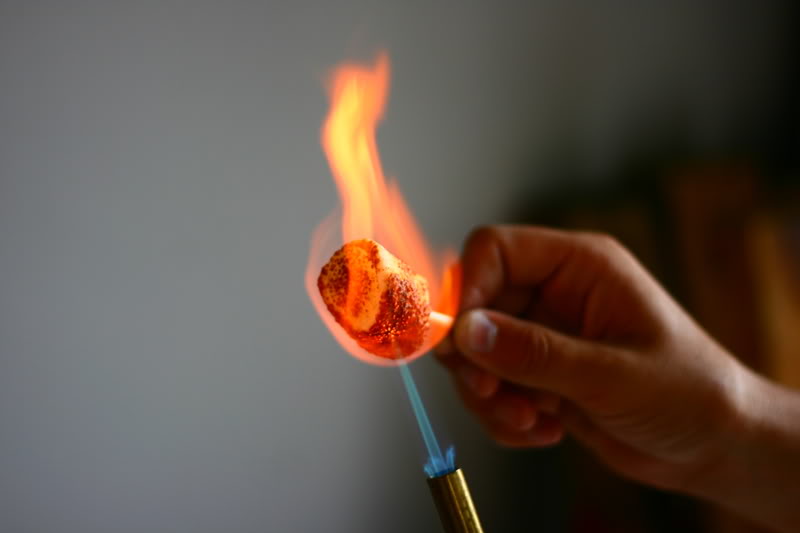
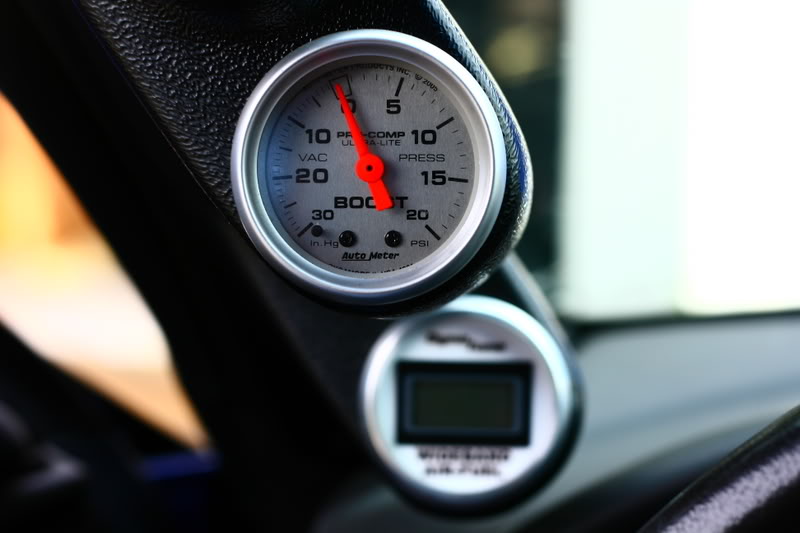
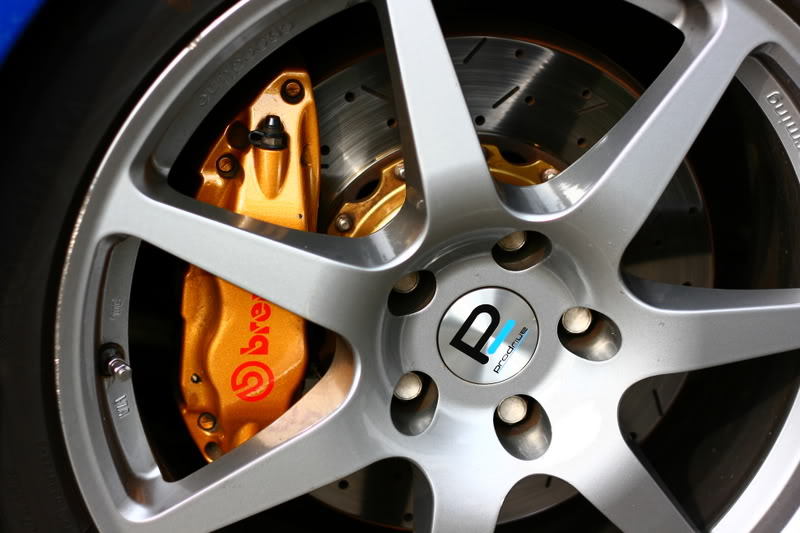
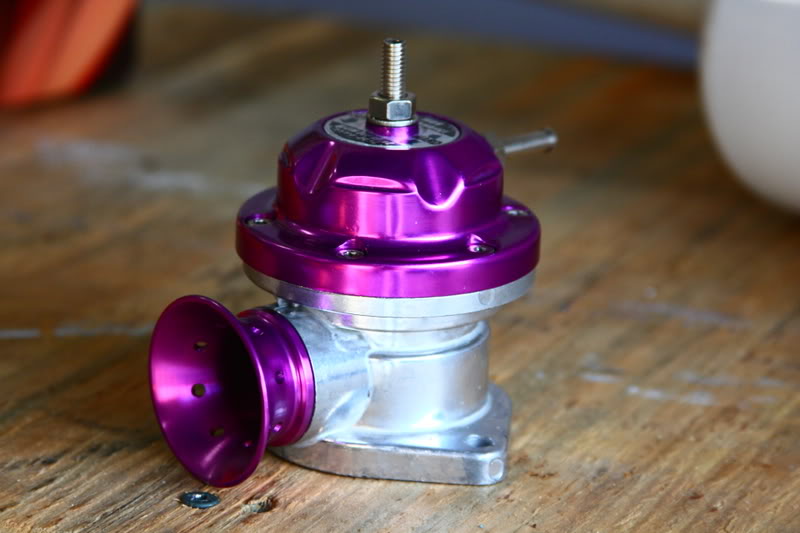
Some entertainment in the middle.
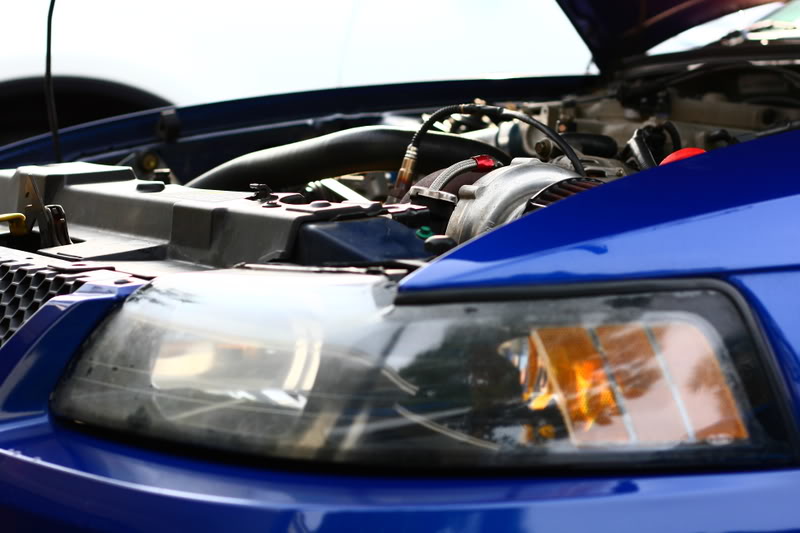
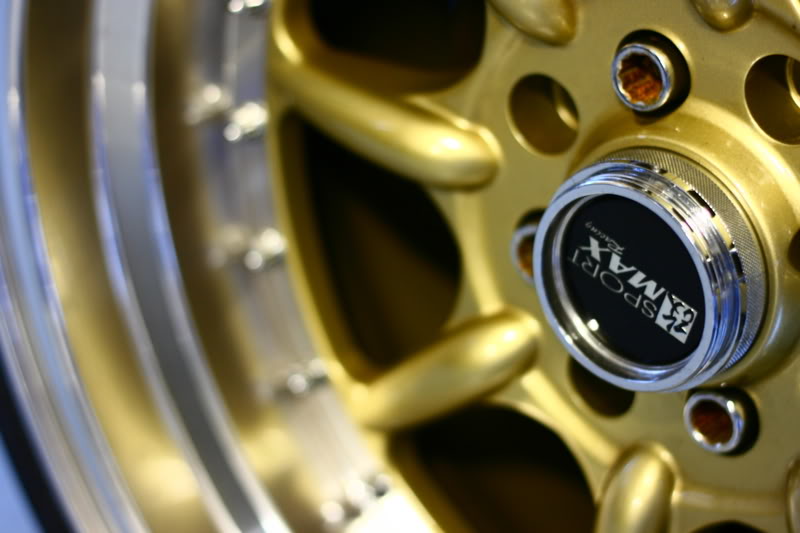
The boostang.
The STi.

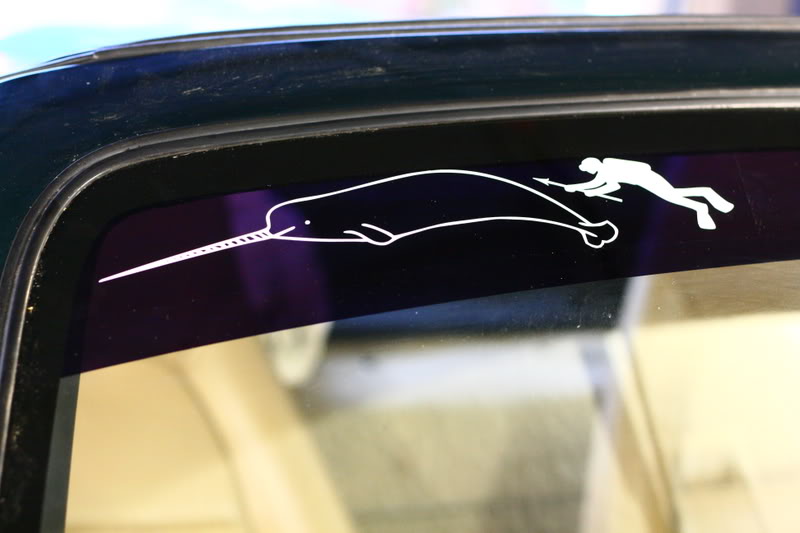
And the sweet sticker that my buddy (the welder) made for me...
And Tony welding a nut onto a stud to get that bastard out.
The stud while still in the head.
And the stud afterwards.
Some entertainment in the middle.
The boostang.
The STi.
And the sweet sticker that my buddy (the welder) made for me...
Reply
0
0


 05-16-2008, 09:56 AM
#28
Elite Member
iTrader: (15)

Join Date: Dec 2007
Location: San Antonio, Texas
Posts: 4,847
Total Cats: 27
I took the stock mounts and bent the bottom tabs that the rad normally sits in down. Then I bent a piece of aluminum into a L shape, made two holes for the radiator to sit in, and used self tapping machine screws to attach them to the stock brackets lowering the radiator about an inch and a half. I attached the A/C condenser to the radiator with those zip tie like things that are used to hold slim fans to the radiator. Ghetto, but it works.
Nice work man. I really like your approach
 It is nice that it completely clears the PS stuff.
Reply
0
0
05-16-2008, 11:27 AM
#29

Sorry guys, wasn't thinking...got whacked with the ban stick for that one...
I'm self employed so no worries bout that in my office, but forgot thats not the same for others....Thats the last ***** you'll see b-atch
OP---great pics man!!! And great progress!!! Keep up the good work!!
I'm self employed so no worries bout that in my office, but forgot thats not the same for others....Thats the last ***** you'll see b-atch
OP---great pics man!!! And great progress!!! Keep up the good work!!
Reply
0
0
05-16-2008, 12:27 PM
#30
Senior Member
Thread Starter
Join Date: Jun 2006
Location: Orlando FL - UCF
Posts: 684
Total Cats: 1
Thanks guys. I thought about using the sway bar mounting locations, but there was the problem with the bolt holes, and the driver side having that funky bend to get around the PS lines. Also one of my buddies who set off on that task just took it off and started bending away.
Reply
0
0
 05-17-2008, 12:54 AM
#32
Senior Member
Thread Starter
Join Date: Jun 2006
Location: Orlando FL - UCF
Posts: 684
Total Cats: 1
IT RUNS!!!
For a little while at least, as Walmart was out of distilled water, and Advance Auto was out of vacuum lines. Cranked it up, let it idle to check for oil leaks, revved it a few times, and grew a BIG smile.
No pictures yet, as it looks the same as it did yesterday + all the piddly ****.
The car pretty much hates life without the MAF, and I need to play with my tune in the EMU for throttle tip in, but it idle right at 14.8 A/F.
Pictures of it finished later this weekend!
Reply
0
0


