When you click on links to various merchants on this site and make a purchase, this can result in this site earning a commission. Affiliate programs and affiliations include, but are not limited to, the eBay Partner Network.
Interesting setup. I don’t think I’ll be doing AN lines to the heater core (yet) so I’m more trying to fins a solution that works with stock (or silicone) hoses, or maybe a hose off some other car
You really only need to worry about the outer hose, the one that connects to the hard line. You can heat up and bend the hard line towards the back and still use the stock rubber line, maybe trimming it slightly.
a more drastic method is welding the hard line hole shut on the mixing manifold, removing the hard line completely, and running a length of 5/8” heater hose from the core outlet to a metal T in the lower radiator hose. Even more drastic but for more room, flip the mixing manifold upside down, source a 1.25” 90* rad hose, and again T into it for the heater core. This is unfriendly to PS equipped cars.
Okay one more question, once you cut the shelf and get the heater line situated, what kind of solutions have you guys done with the ground strap that goes from the engine to the frame? Just make your own hole somewhere else, extend the ground to some other existing hole?
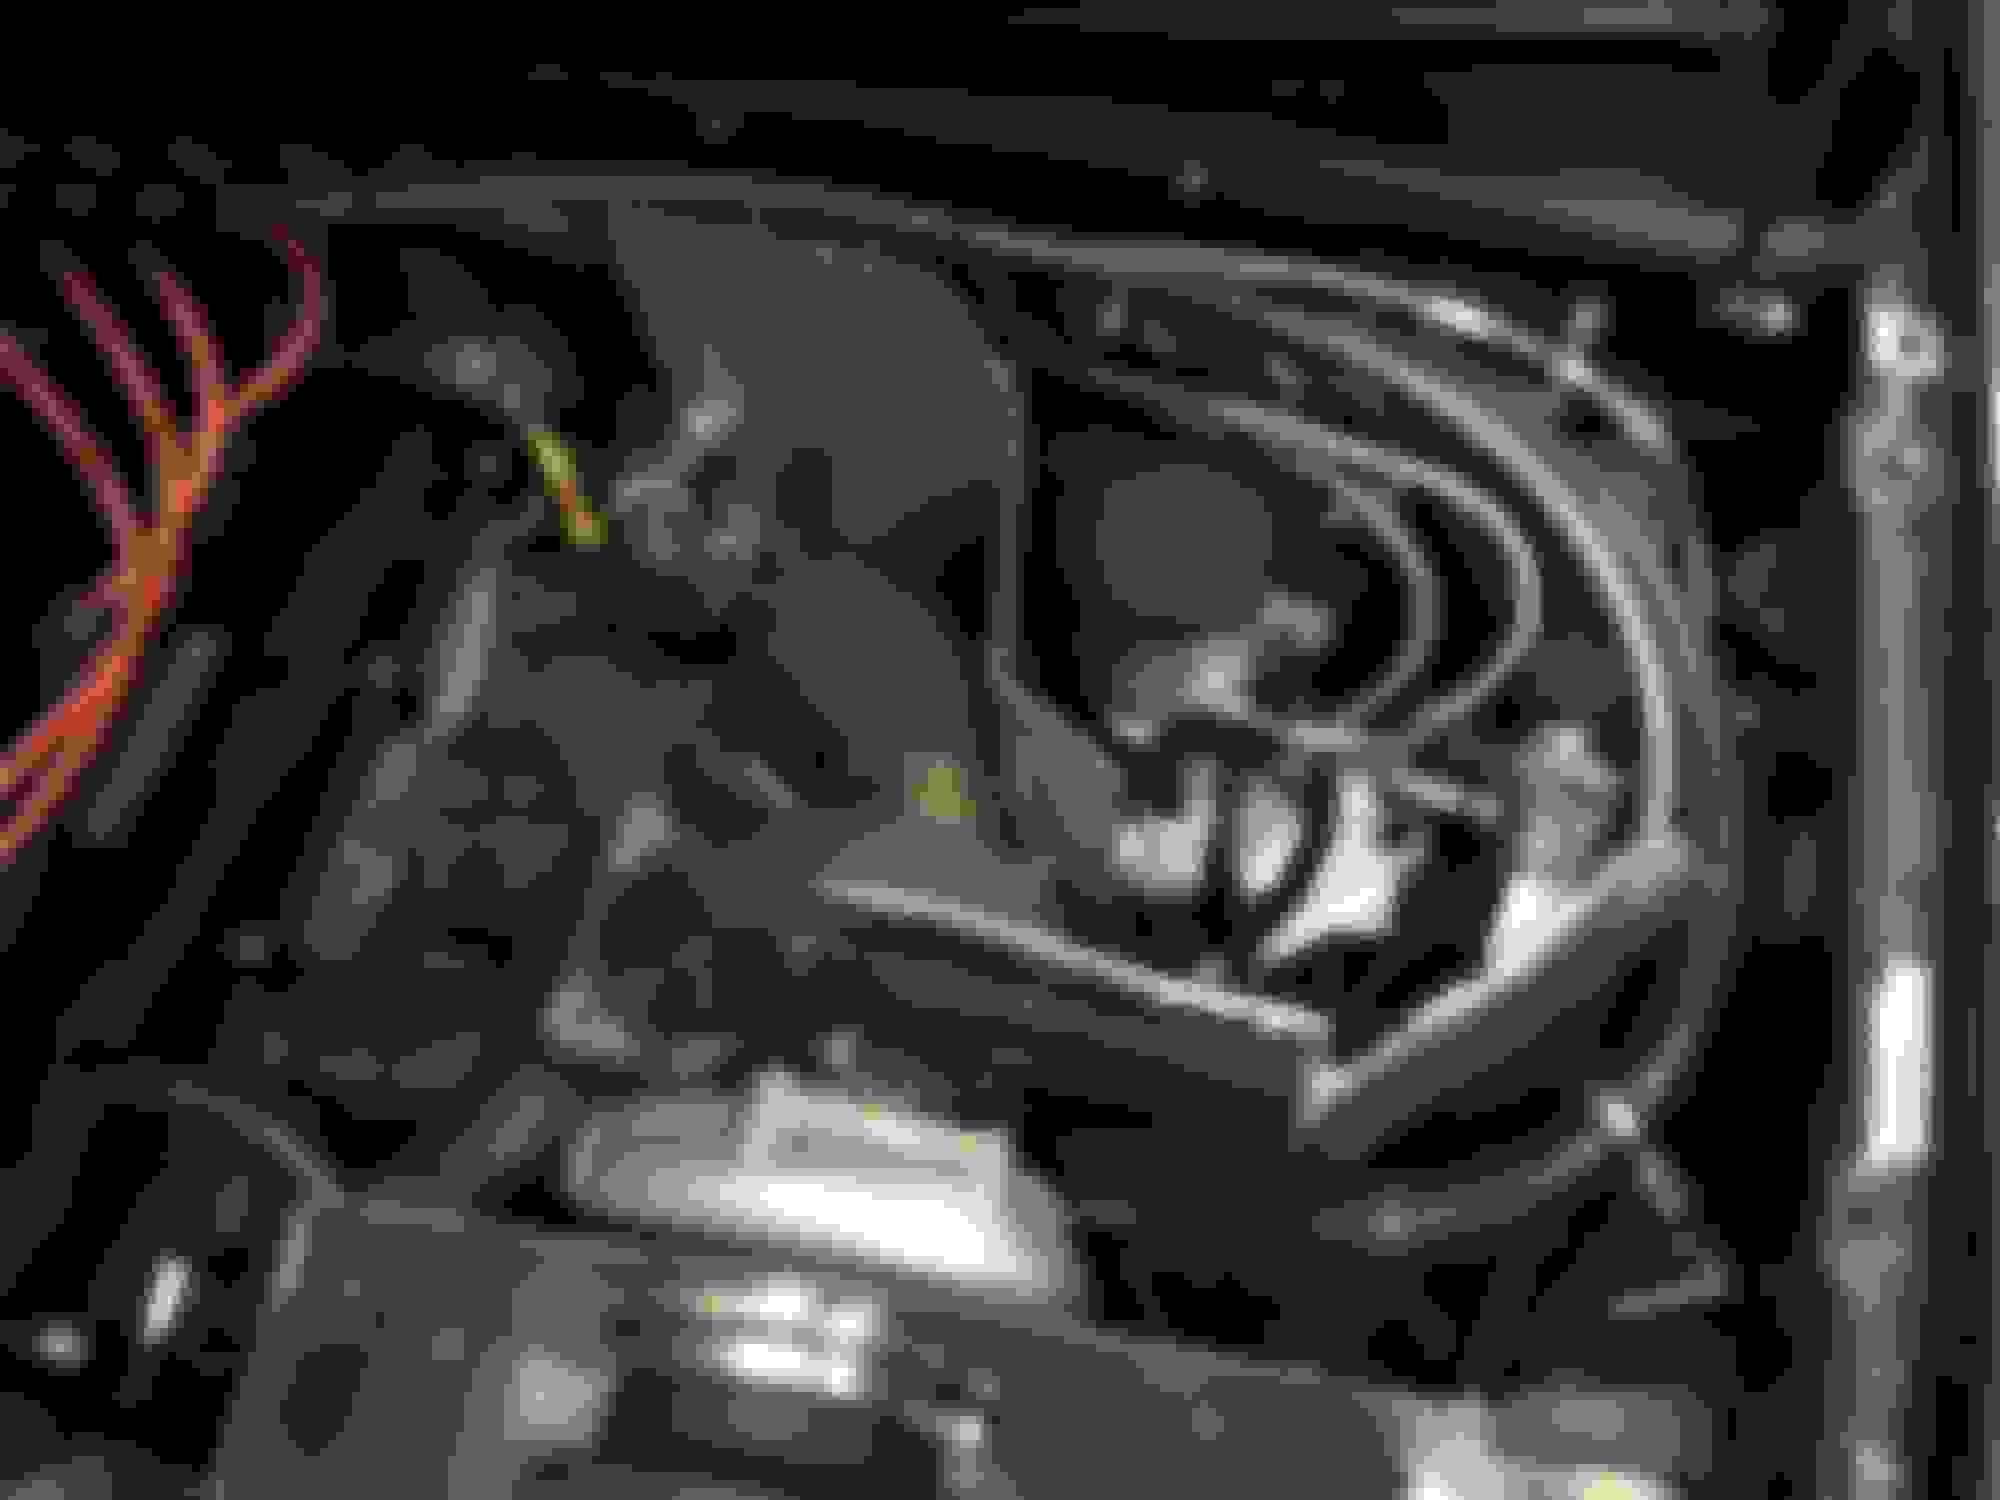
Here are pics of my shelf cut and heater return route. I posted a little more write up somewhere. Not sure how to attach a thread link. My heater hose is obviously behind the shield around the wall and down through the slot under the CHRA (high temperature hose and wrap). Welded an AN fitting to the inlet hole where the hard line previously connected with a 90 adapter. I have a custom 3” DP.
Really, use a real grounding strap and find a hole in that corner or make a new one. Maybe use a little sand paper around the old or new hole and check continuity to know that you are well grounded.
It’s not finished yet but this is where I’m at in order to fit the downpipe onto the back of the turbo. Now I’m going to have my downpipe modified because it’s a little too long, and once it’s the correct length I’ll get it back in here and do any final adjustments, then I’ll probably have my buddy throw a couple welds on there to close it up and then maybe coat it with something to prevent rust
It’s not finished yet but this is where I’m at in order to fit the downpipe onto the back of the turbo. Now I’m going to have my downpipe modified because it’s a little too long, and once it’s the correct length I’ll get it back in here and do any final adjustments, then I’ll probably have my buddy throw a couple welds on there to close it up and then maybe coat it with something to prevent rust
The hose to the hardline looks close to that jagged edge on the shelf. Is that just the camera angle? Any thought about protecting that?
The hose to the hardline looks close to that jagged edge on the shelf. Is that just the camera angle? Any thought about protecting that?
this is super temporary, had to get to work this morning lol, but it’s a safe distance for now. That edge is going to be ground down and then a bead welded along it, and that hose is going to be routed differently as well.


 0
0