Turbo fitment and air cond.
 03-15-2007, 11:35 PM
#1
Junior Member
Thread Starter

Join Date: Sep 2006
Posts: 225
Total Cats: -4
Hey all,
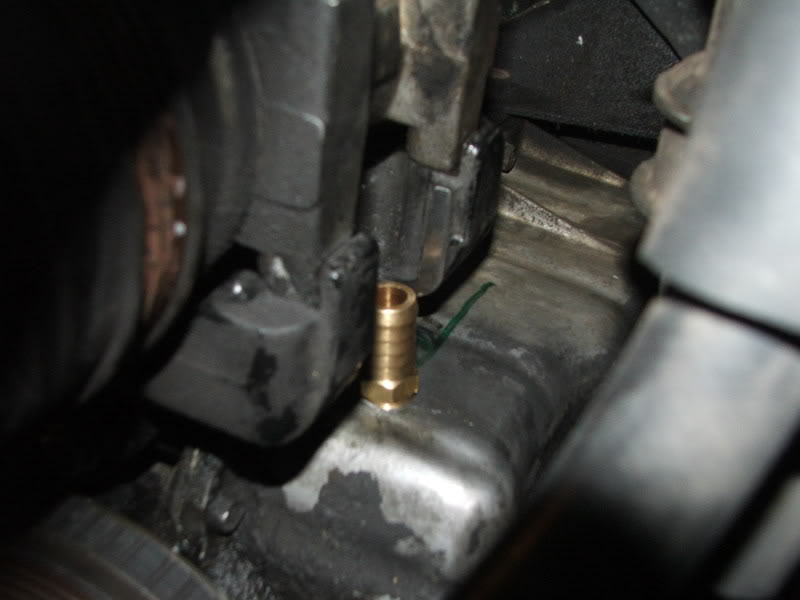
I am running into all sorts of issues trying to get bits to fit as I install the turbo. The latest one is that the airconditioning compressor bracket fouls the side of the sump, and where I have enough space on the sump to clear everything, the access to the sump for drilling is fouled by the chassis/subframe.
Has anyone encountered similar issues (or not) and how did you get around installing (particularly the drilling and tapping part) the return fitting into the sump for the oil line return?????
Last edited by Uncle Arthur; 03-19-2007 at 05:52 PM.

Reply
 0
0

0
 03-15-2007, 11:55 PM
#3
Senior Member

Join Date: May 2005
Location: San Francisco
Posts: 547
Total Cats: 0
you just have to be careful, a 45deg head is supposed to help. Otherwise, you need to either A) pull the engine B) pull the subframe. it's tight in there. Do a search, there is tons of info on tapping the pan here.
Reply
0
0
03-16-2007, 03:45 AM
#4
Junior Member

Join Date: Jul 2006
Location: Torino, Italy
Posts: 99
Total Cats: 0
I have seen an AVO kit instruction manual in wich they put a jackstand under the pan, lift the engine a bit and then unbolt and remove the left motor mount.
So you have enought room from to drill next to the compressor bracket, from the inside of the engine bay.
I will do that asap, I still need some fittings...
Reply
0
0


 03-17-2007, 01:30 AM
#13
Junior Member

Join Date: Jun 2006
Location: LV, NV
Posts: 225
Total Cats: 0
It takes a few more minutes, but I unbolted the compressor and raised it up a few inches to get the drill in there. Just be sure you don't put the fitting too high that it interfers with the pump once it's back on.
Reply
0
0
03-17-2007, 07:21 AM
#14
Junior Member
Thread Starter
Join Date: Sep 2006
Posts: 225
Total Cats: -4
Thanks all for the suggestions - in the end we modded the A/C compressor bracket slightly with the angle grinder and it fits ok.....
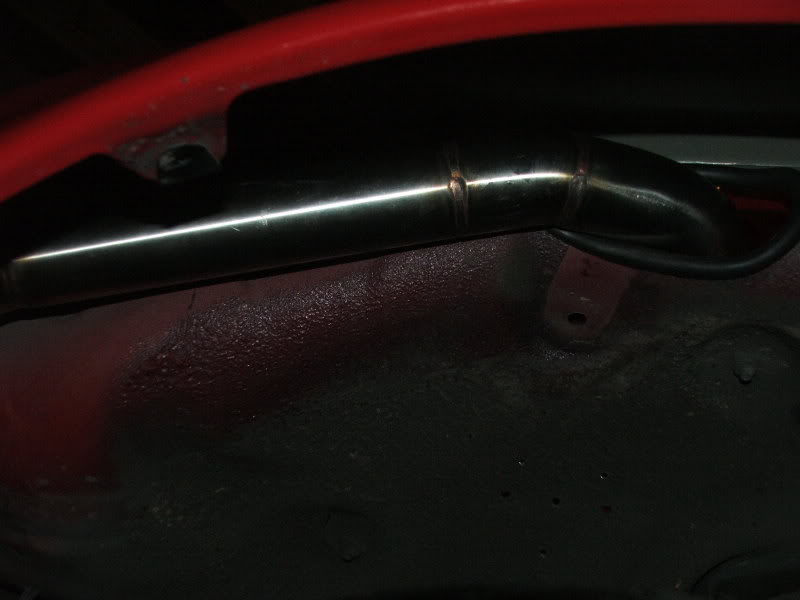
The rest of it is looking like this after today's effort.....
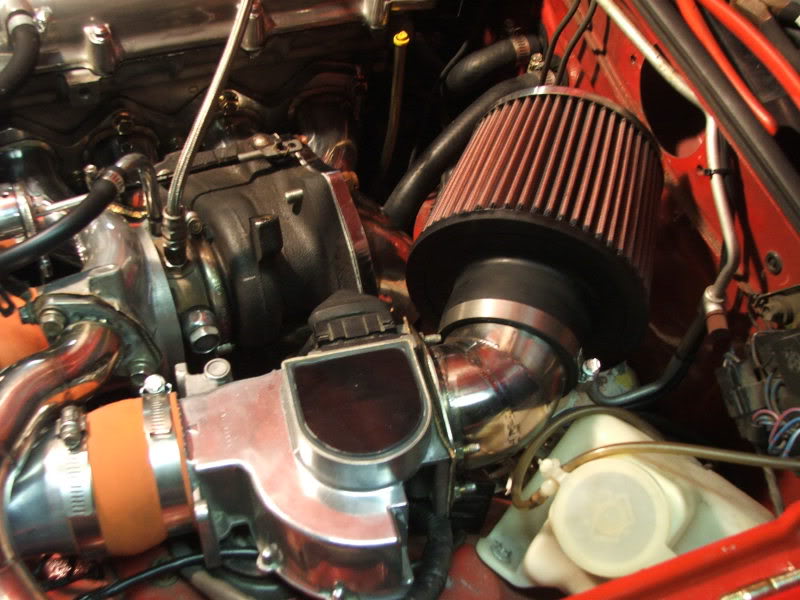
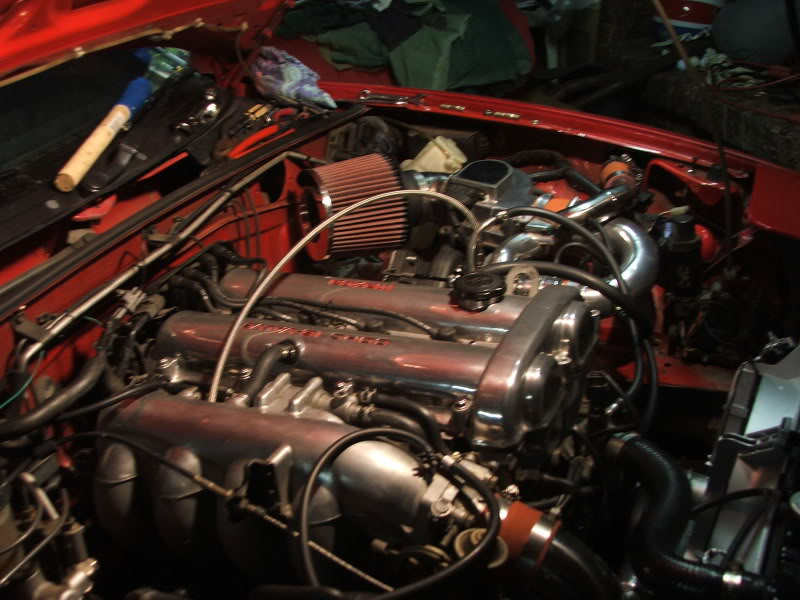
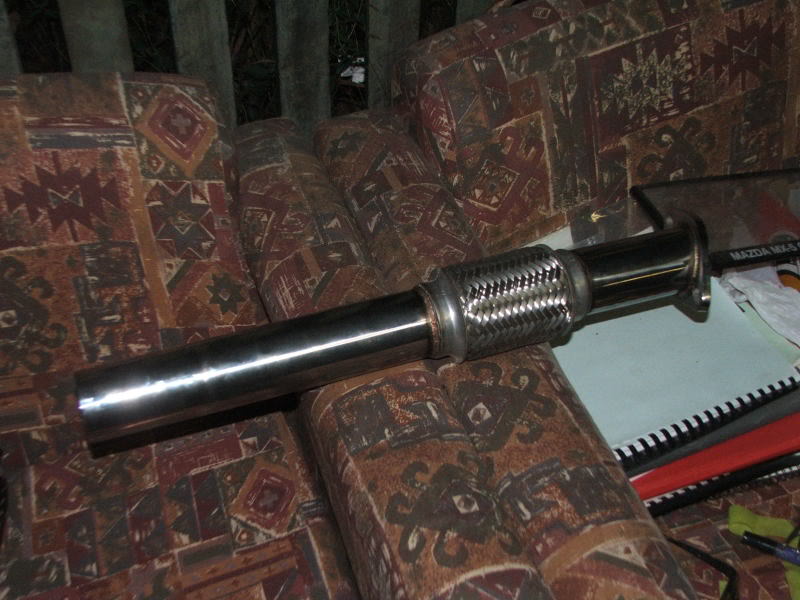
However it was not all plain sailing - this is what happens when aftermarket 'bolt on' parts (like the NPower dump pipe) don't actially bolt up and need extensive modification.
First it needed to be cut just to get it to be able to bolt up to the turbo. Don't aske me how much trouble we had trying to get the bottom stud connected.
Next, I have to find a way to shift the water return pipe because the O2 sensor position is right in the way (and I'm not pulling the dumppipe back off after it took an hour to fit up.
That said - we got it to start this afternoon, and the oil is happily being pumped to the turbo, and it still runs.....
The rest of it is looking like this after today's effort.....
However it was not all plain sailing - this is what happens when aftermarket 'bolt on' parts (like the NPower dump pipe) don't actially bolt up and need extensive modification.
First it needed to be cut just to get it to be able to bolt up to the turbo. Don't aske me how much trouble we had trying to get the bottom stud connected.
Next, I have to find a way to shift the water return pipe because the O2 sensor position is right in the way (and I'm not pulling the dumppipe back off after it took an hour to fit up.
That said - we got it to start this afternoon, and the oil is happily being pumped to the turbo, and it still runs.....
Reply
0
0
03-17-2007, 11:55 AM
#15
Boost Czar


iTrader: (62)
Join Date: May 2005
Location: Chantilly, VA
Posts: 79,488
Total Cats: 4,077
looks good, few thoughts:
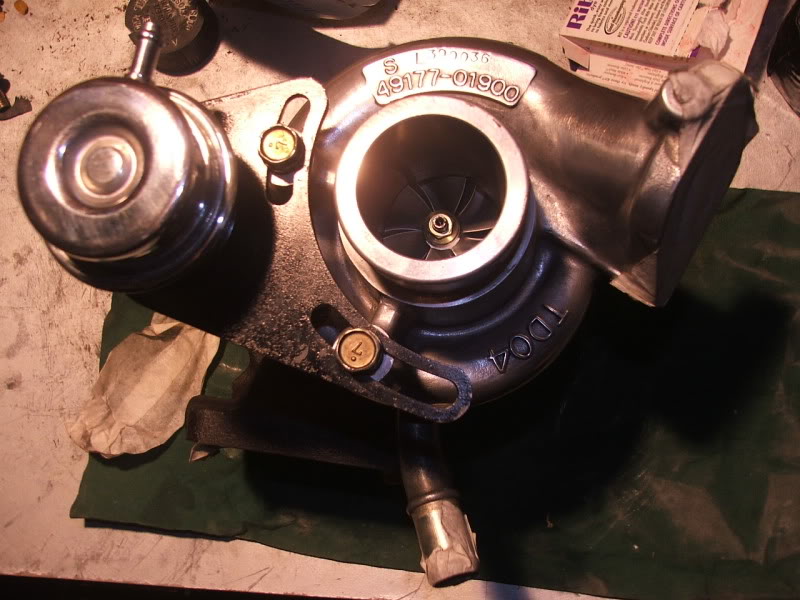
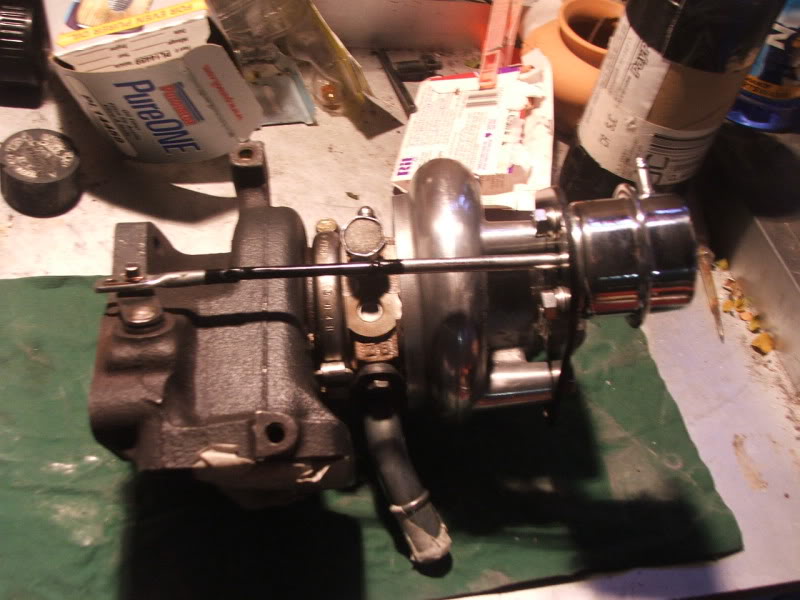
what type of turbo is that?
Consider a NACA duct, or something to prevent your intake from getting nice 500-700* F radiating heat from the DP.
what diameter is the charge pipe?
what type of turbo is that?
Consider a NACA duct, or something to prevent your intake from getting nice 500-700* F radiating heat from the DP.
what diameter is the charge pipe?
Reply
0
0
03-17-2007, 06:54 PM
#17
Junior Member
Thread Starter
Join Date: Sep 2006
Posts: 225
Total Cats: -4
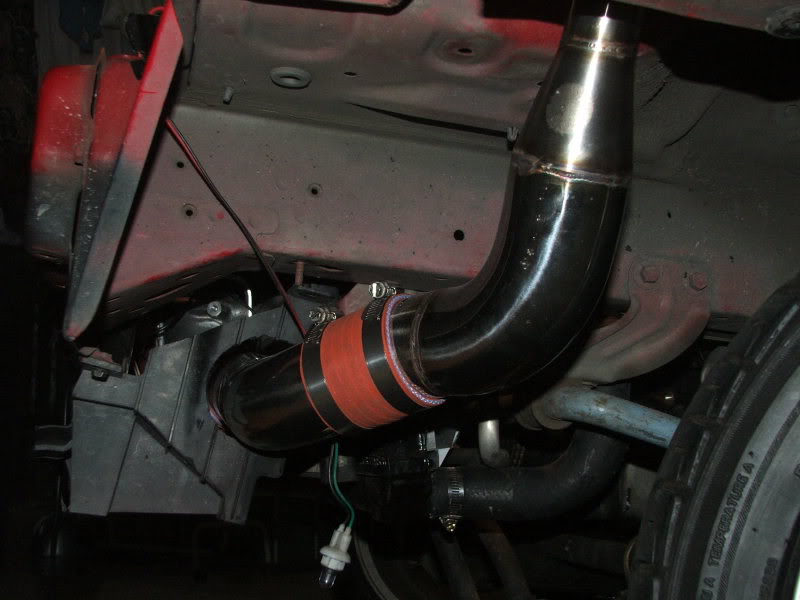
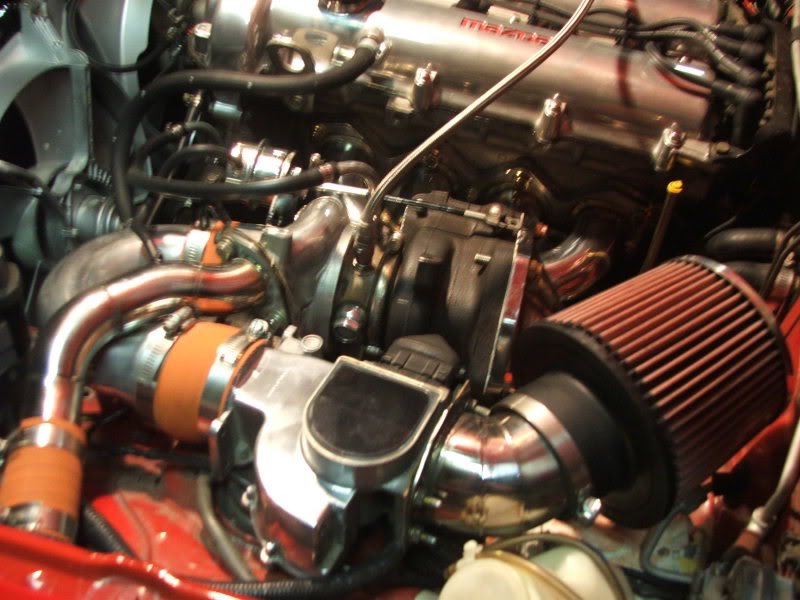
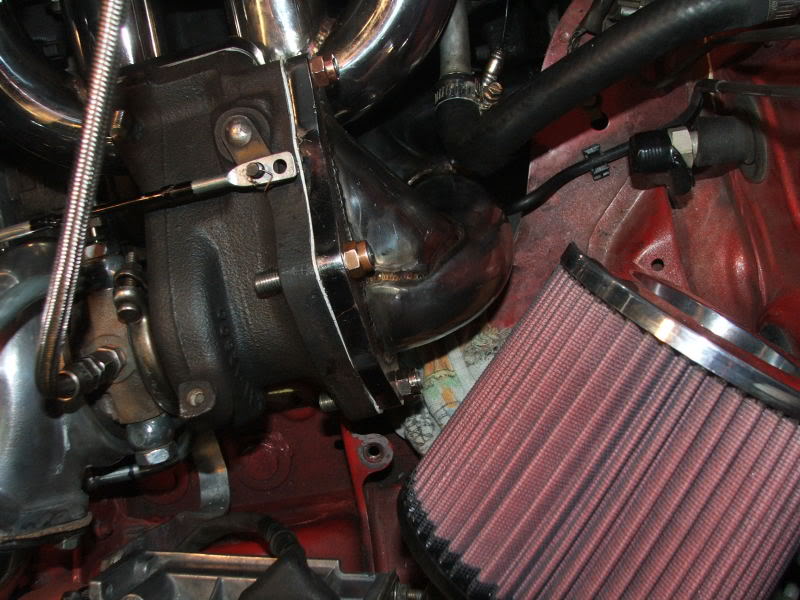
I'll be making a heatshield/shroud for the air filter, so it will predominantly draw cooler outside air through the hole in the firewall that previously held my old Loch Stewart air box.
And this is the turbo here - I don't exactly know which TD04 it is - I thought 13G at first, but I really can't tell the difference between them looking at pics on the net.
Reply
0
0
03-19-2007, 05:53 PM
#18
Junior Member
Thread Starter
Join Date: Sep 2006
Posts: 225
Total Cats: -4
Sooooo - it's amazing how long the finishing off seems to be taking - I suppose it's not easy to ****** much time when the office beckons each day for most of it...
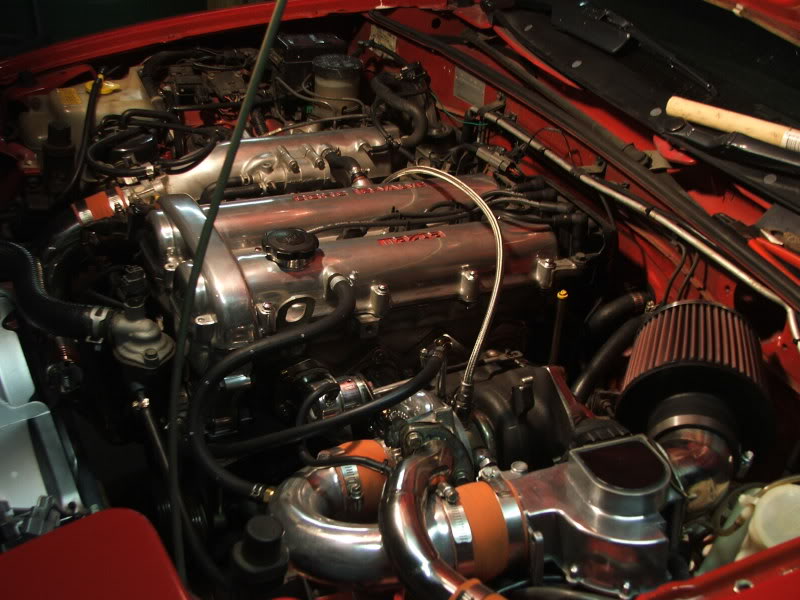
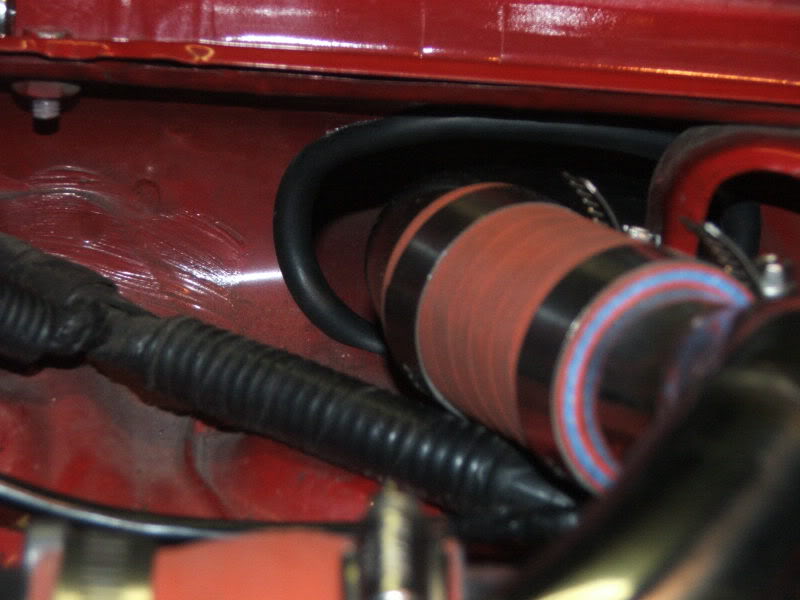
Here is my heatshield. It's not as bling as bling can be, but it's a bugger to make these things from scratch. I don't know how some of the guys get their DIY airboxes/heatshields looking so damn good.....

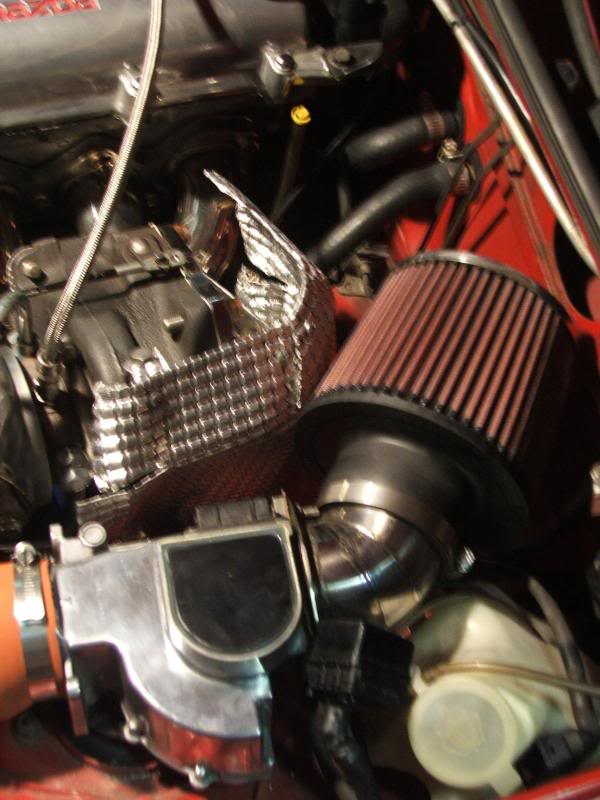
I'm hoping it does what's needed.
Here is my heatshield. It's not as bling as bling can be, but it's a bugger to make these things from scratch. I don't know how some of the guys get their DIY airboxes/heatshields looking so damn good.....
I'm hoping it does what's needed.
Reply
0
0


