When you click on links to various merchants on this site and make a purchase, this can result in this site earning a commission. Affiliate programs and affiliations include, but are not limited to, the eBay Partner Network.
I *believe* there is roll center corrections to the lower control arms. I know when I swapped my NA to NB subframe I lost camber but gained caster. Could be tolerances or could be intentional. I think it is intentional.
Just did some googling: NB subframe has more caster (UCA moved back, LCA moved forward) and lowered mounting points on the LCA for improved roll centers. Oh yeah, and the rack was moved up for bumpsteer correction which accompanied outer tie rod mounting point changes in the spindle.
I plan to make a better jig in the future and when that happens I could easily do it for the NB subframe as long as I can get my hands on one. I plan to buy a nice big chunk of aluminum plate that I can drill and tap a million holes in to use as a fixture plate for various projects. the jig pictured is something I threw together in a couple hours just to get mine made up real quick.
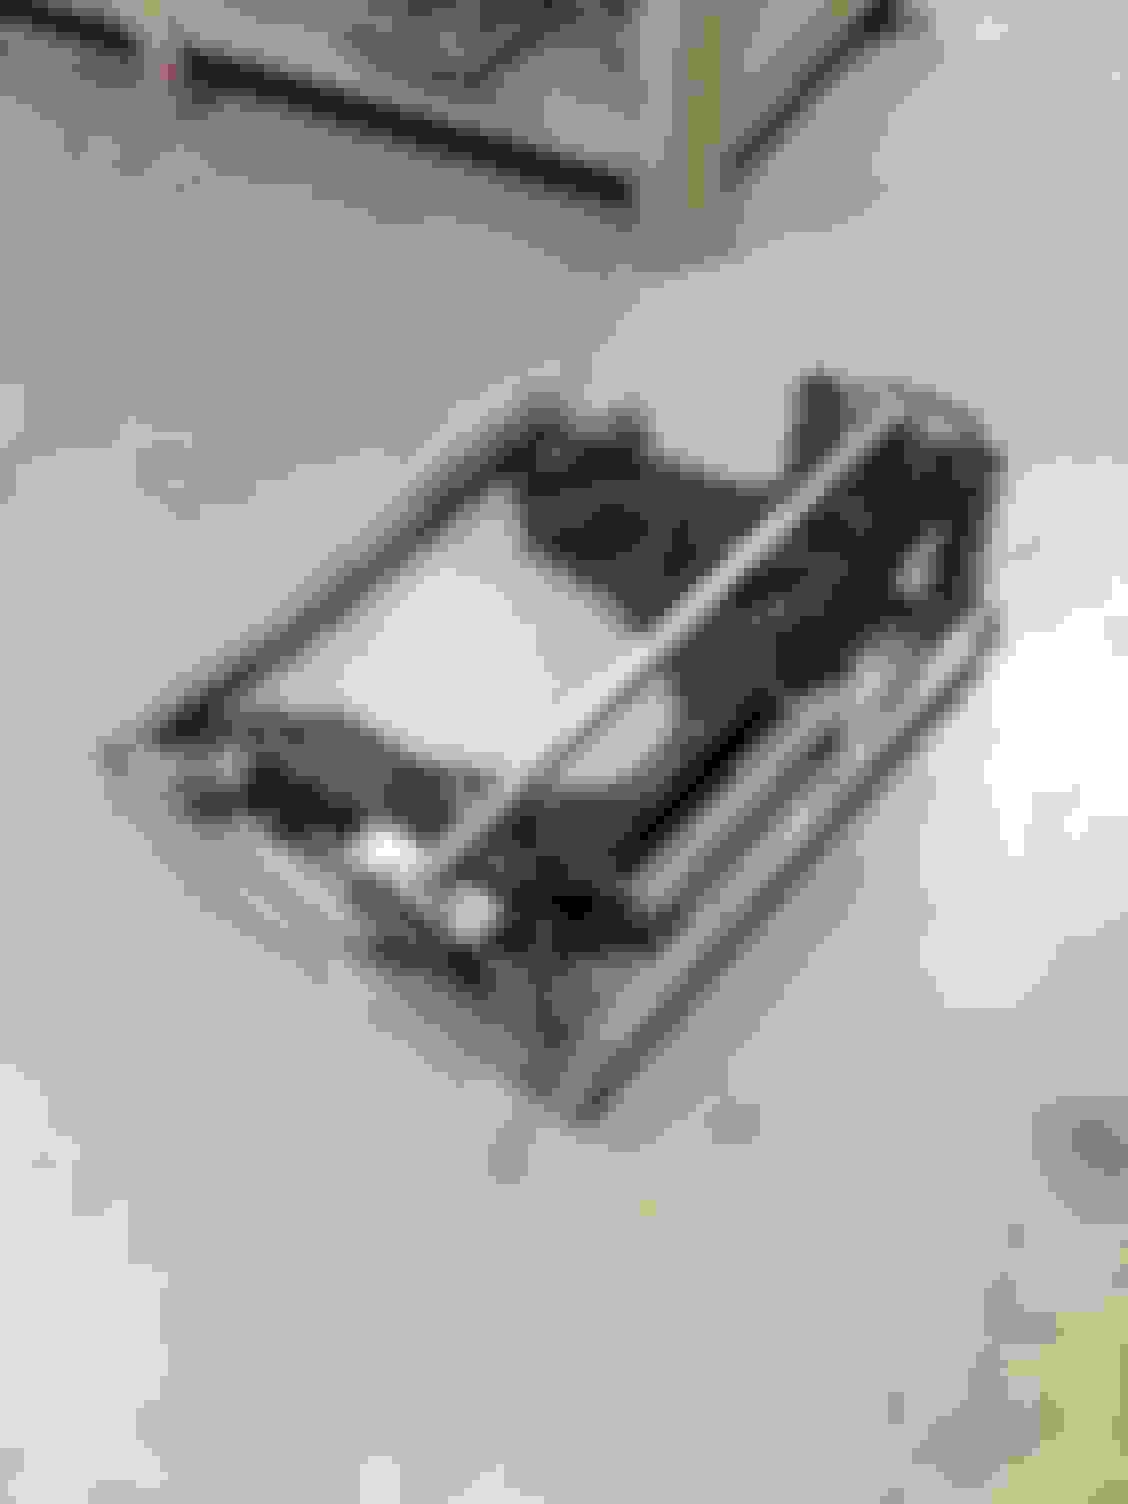
below are the pieces I have made so far.
lower control arm mount tabs
front cross over tube for the rack mount
bent side uprights
top subframe mounts with holes drilled for the upper control arm mounting tube to get welded in
side rails of the k-member
tubing is 1.5" .120"
and 1" .120"
rectangle is 1"x2"x .120"
and all tabs are .120" and i do plan to gusset them as well.
according to solid works the k member should be about 23 lbs which is lighter than the stock k-member by about 10 lbs.
here is a picture of the various parts I have made so far
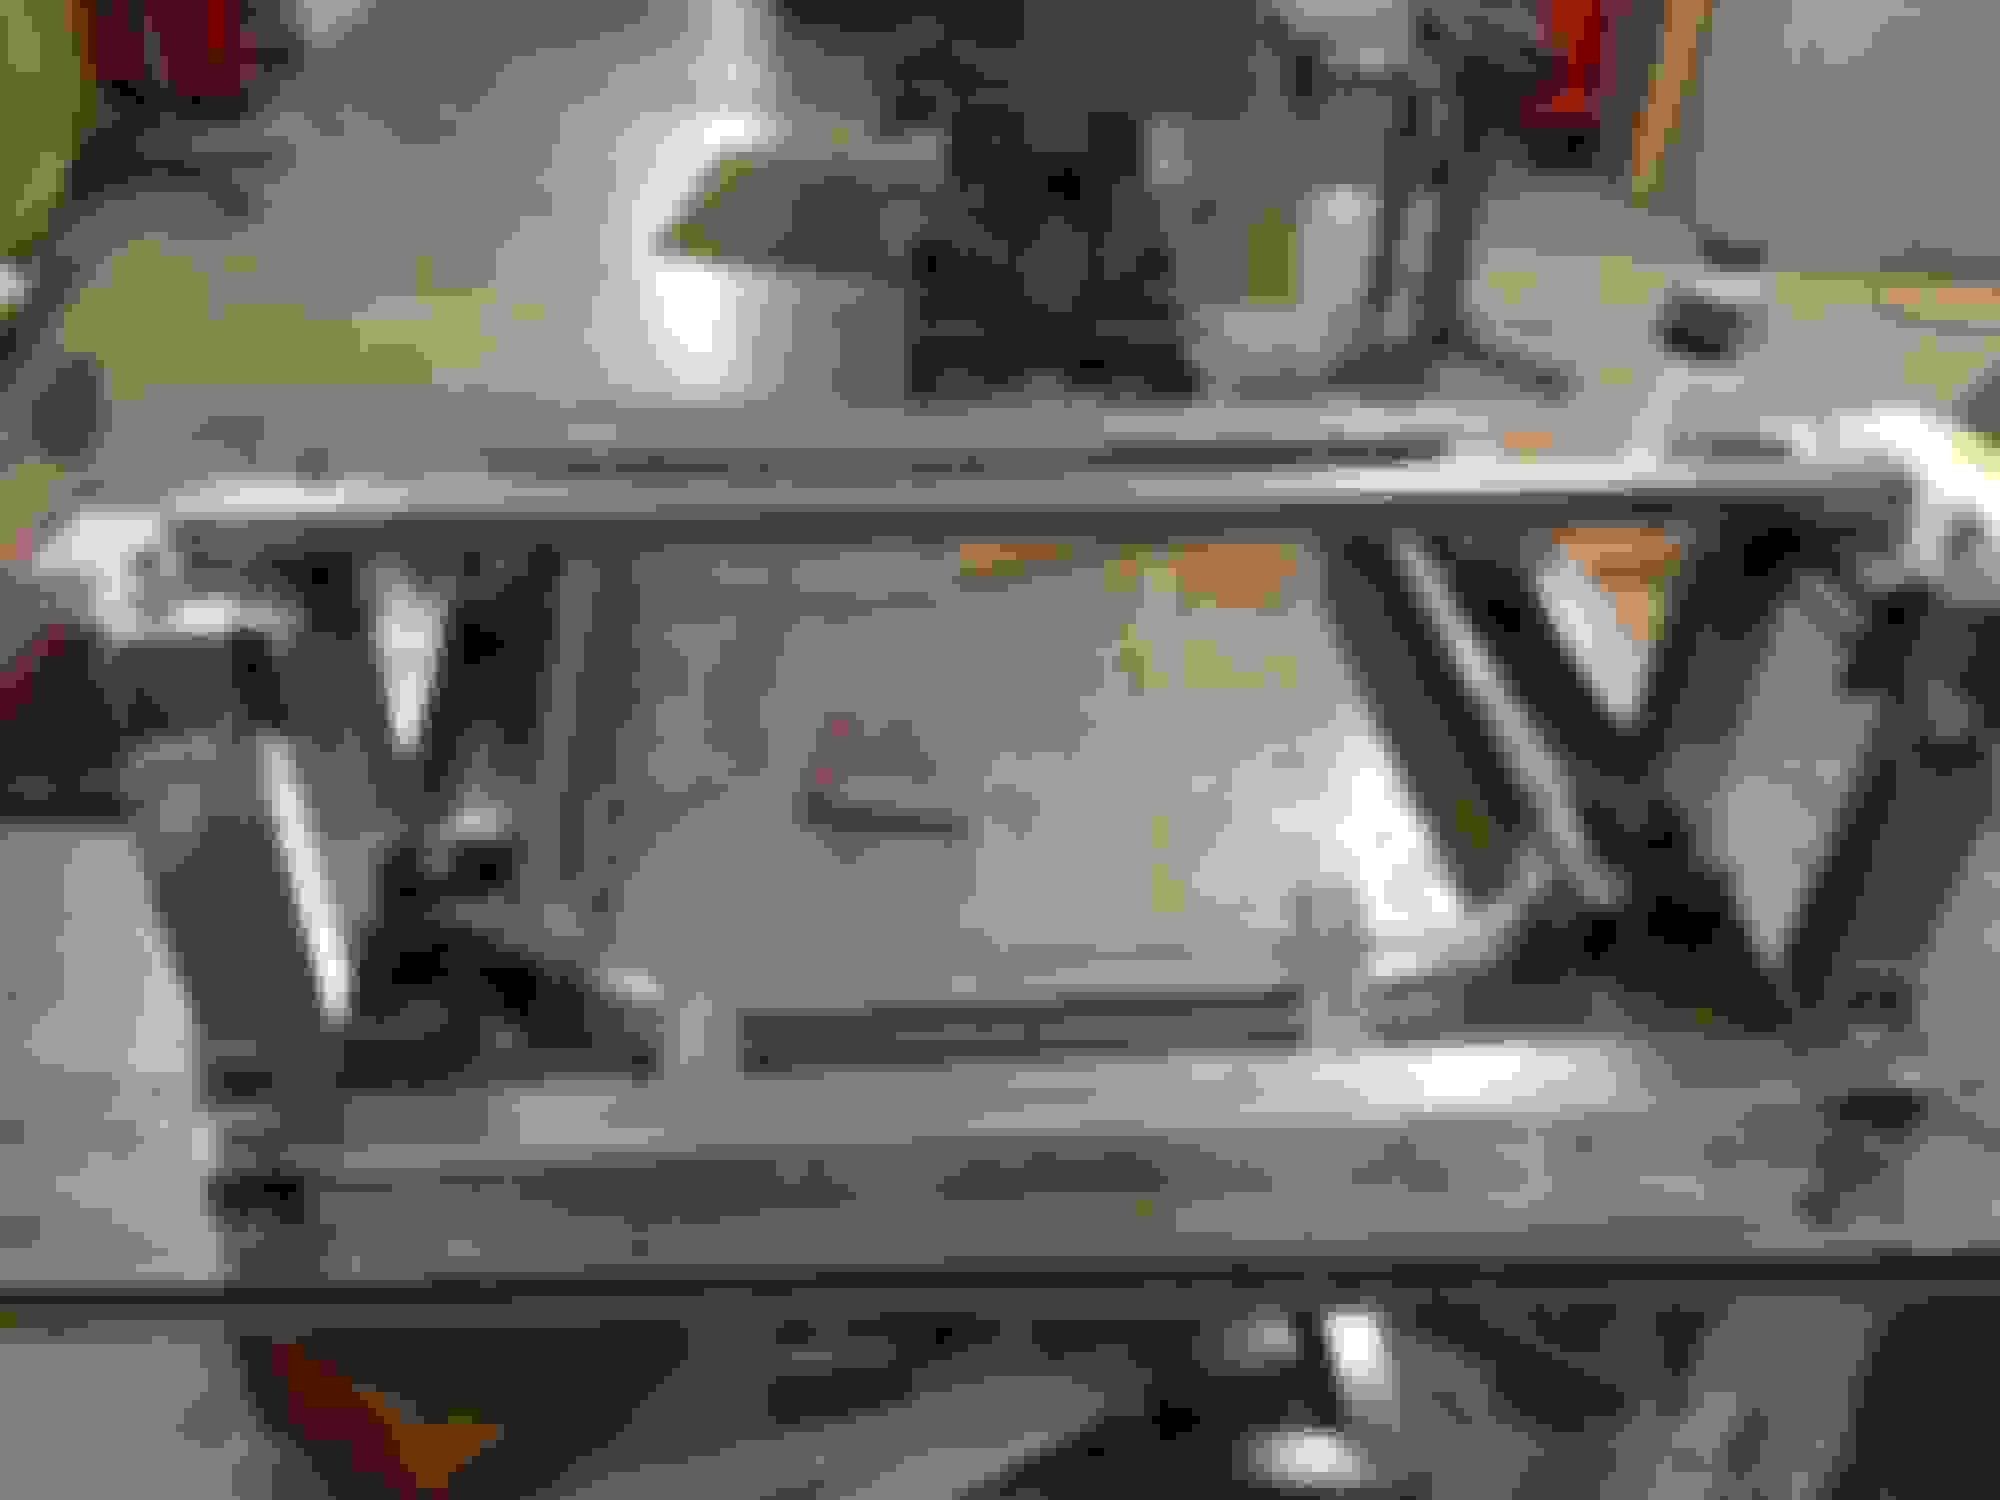
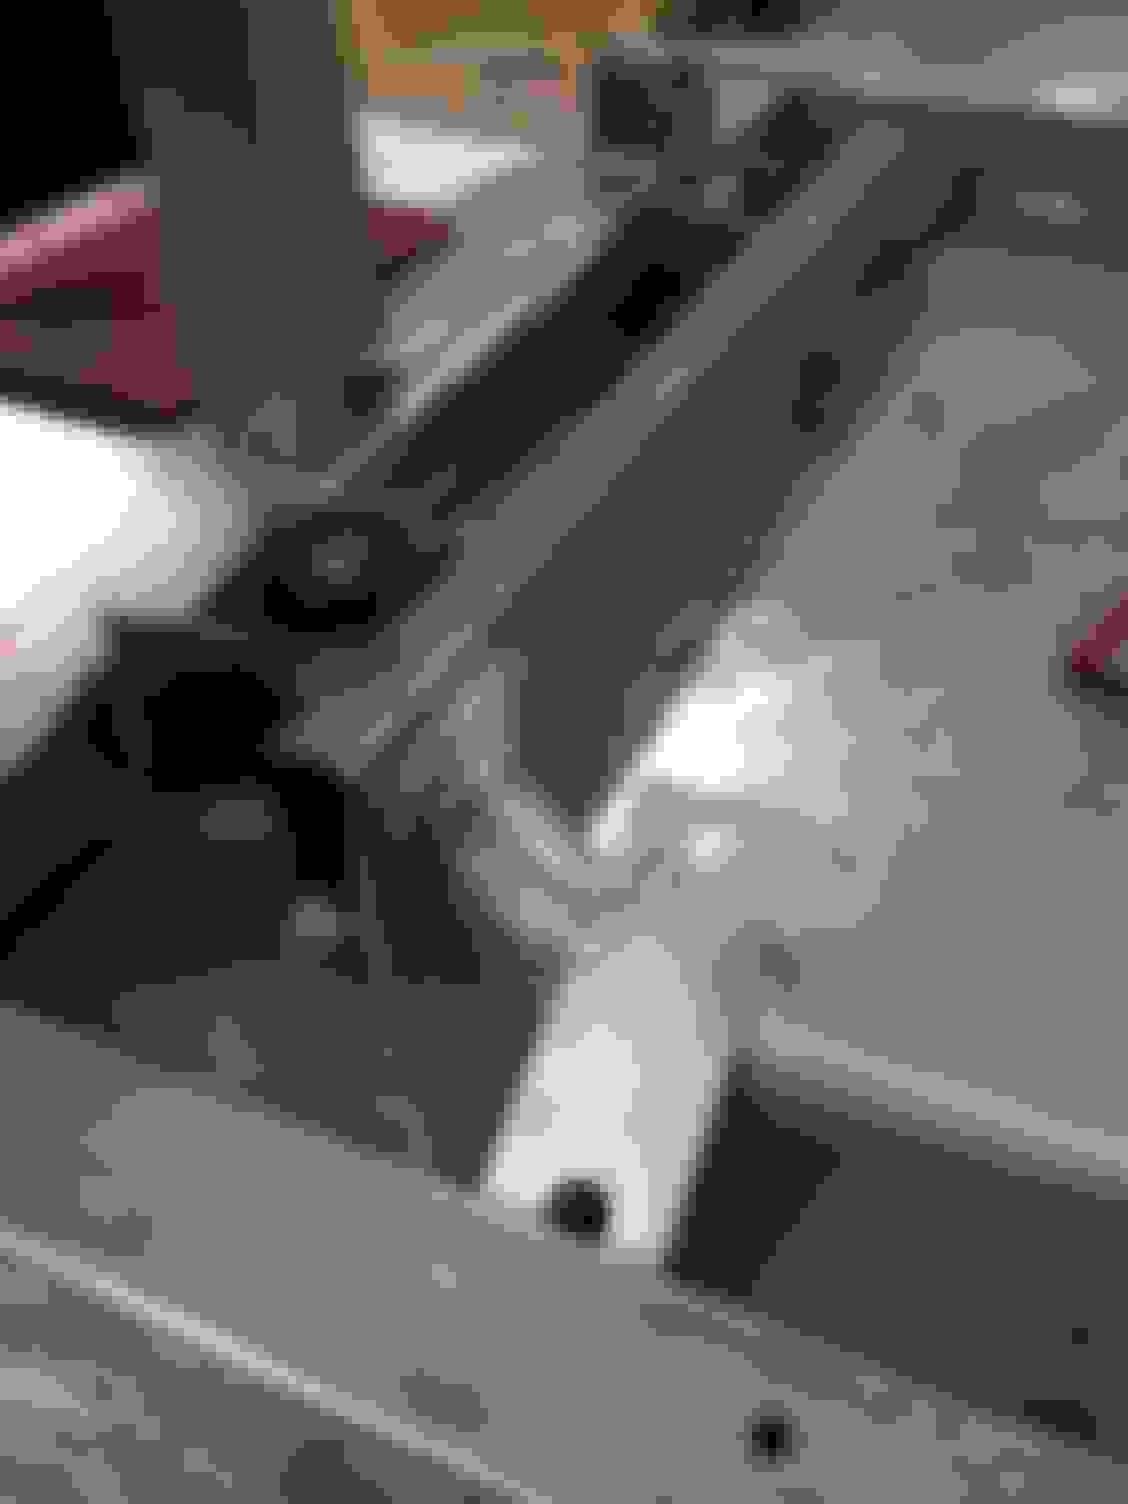
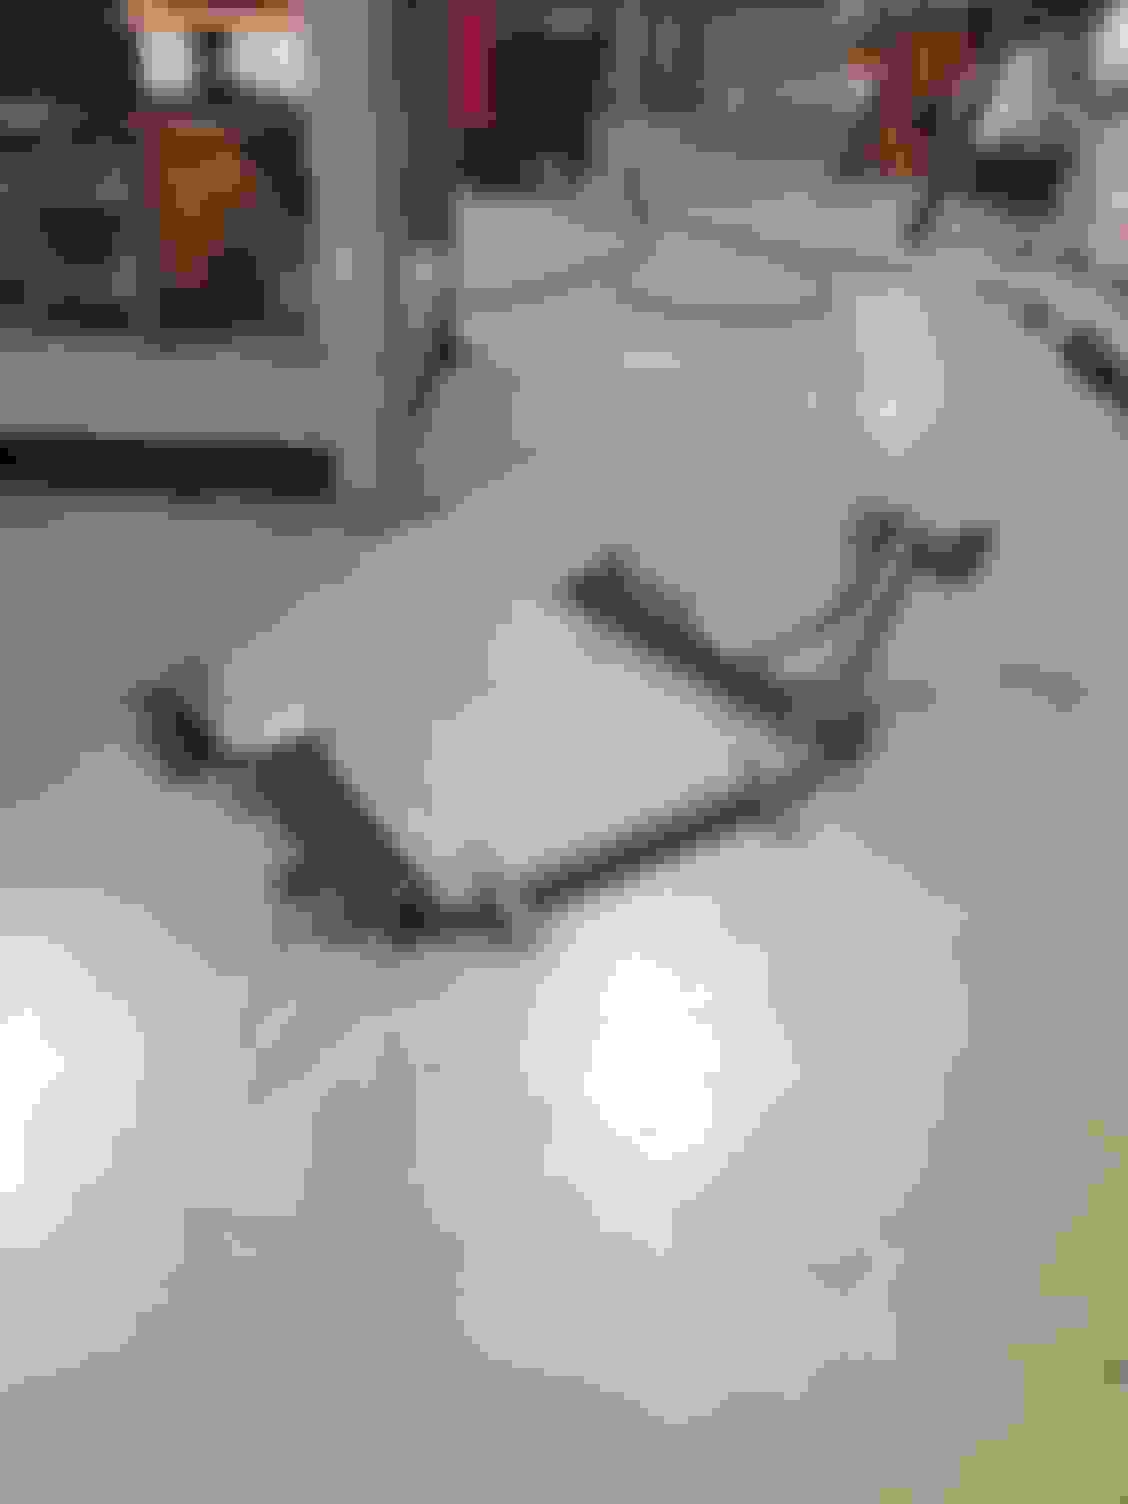
So guys here is my progress so far,
Using the crappy jig that i made we got the lower suspension tabs all welded up and the front cross over tube for the rack and pinion welded up as well. this all took longer than expected because i had some issues with the mig welder... Ended up just saying screw the mig and just Tig welded it together. I was trying to avoid Tig because if I make a lot of these I would prefer to mig them as it is much faster, but I am no expert at mig and my welds looked good but I am afraid they may have not had enough penetration so. with tig I know exactly whats going on and i feel a lot more comfortable with my tig welds.
is yours gonna better than the V8R unit?
if so, how?
will it be worth the effort, or is it just for fun?
Originally Posted by JacksonRacingEngines
Hey guys i wanted to shed some light on this subject, I am a mechanical engineering student at Cleveland state and have 5+ years of experience of machining and about 3+ years of welding and fabrication experience. I designed a K-member that is similar to the v8R kit in solidworks using a factory 95 miata k-member. I already bent up all the tubes and made all of the tabs I just have to put them in the jig that I made and start welding. if you guys have any questions let me know as I may be able to help, ill post updated photos as I go along. i do not yet have the rack and pinion mounts braced in my solidworks design but I plan to come up with a good solution then add that to the model.
is yours gonna better than the V8R unit?
if so, how?
will it be worth the effort, or is it just for fun?
That's a great question!
I believe that what I am doing is worth the effort and will be better than the V8R kit would be for my application.
so the reason for me building this K-member is pretty much based off of two things.
Reason #1 The V8R kit requires a special oil pan or the stock F-body pan to be modified. as well as fancy headers that flying miata sells or that V8R sells and both those header options are $700+ granted you could probably buy your own block hugger headers and modify them to work with that K-member. My goal with this K-member is to design one that you can buy all off the shelf parts from summit racing or jegs, my oil pan of choice is a sheet metal one from jegs that cost me $120 new, also I have decided to go with a Ford racing Close ratio T-5 transmission with a quick time bell housing and a howe racing hydraulic throw out bearing because it is much cheaper than most of the t56 transmissions I could find. also with the t-5 you don't need to modify the trans tunnel.
so even with the quick time bell housing and the throw out bearing my ford racing t-5 was still cheaper than most t-56 options I could find. price for all my trans stuff is $1500 minus the ZR1 flywheel and pressure plate and ford mustang clutch disk.
Reason #2 I like to make stuff! and I really enjoy fabrication, the stuff I have already made has taken maybe 2 hours of designing and 5 hours of fabrication, all I have left to do is the tubes that go to the upper k-member mount.
The Materials to make the K-member and the jig only cost me $140 at my local metal store and im 21 so my time is pretty much either spent on this or out partying "which i really should be out partying instead of this car crap." So vs the $600 for the mount less V8R yes I would say my kit is better for me.
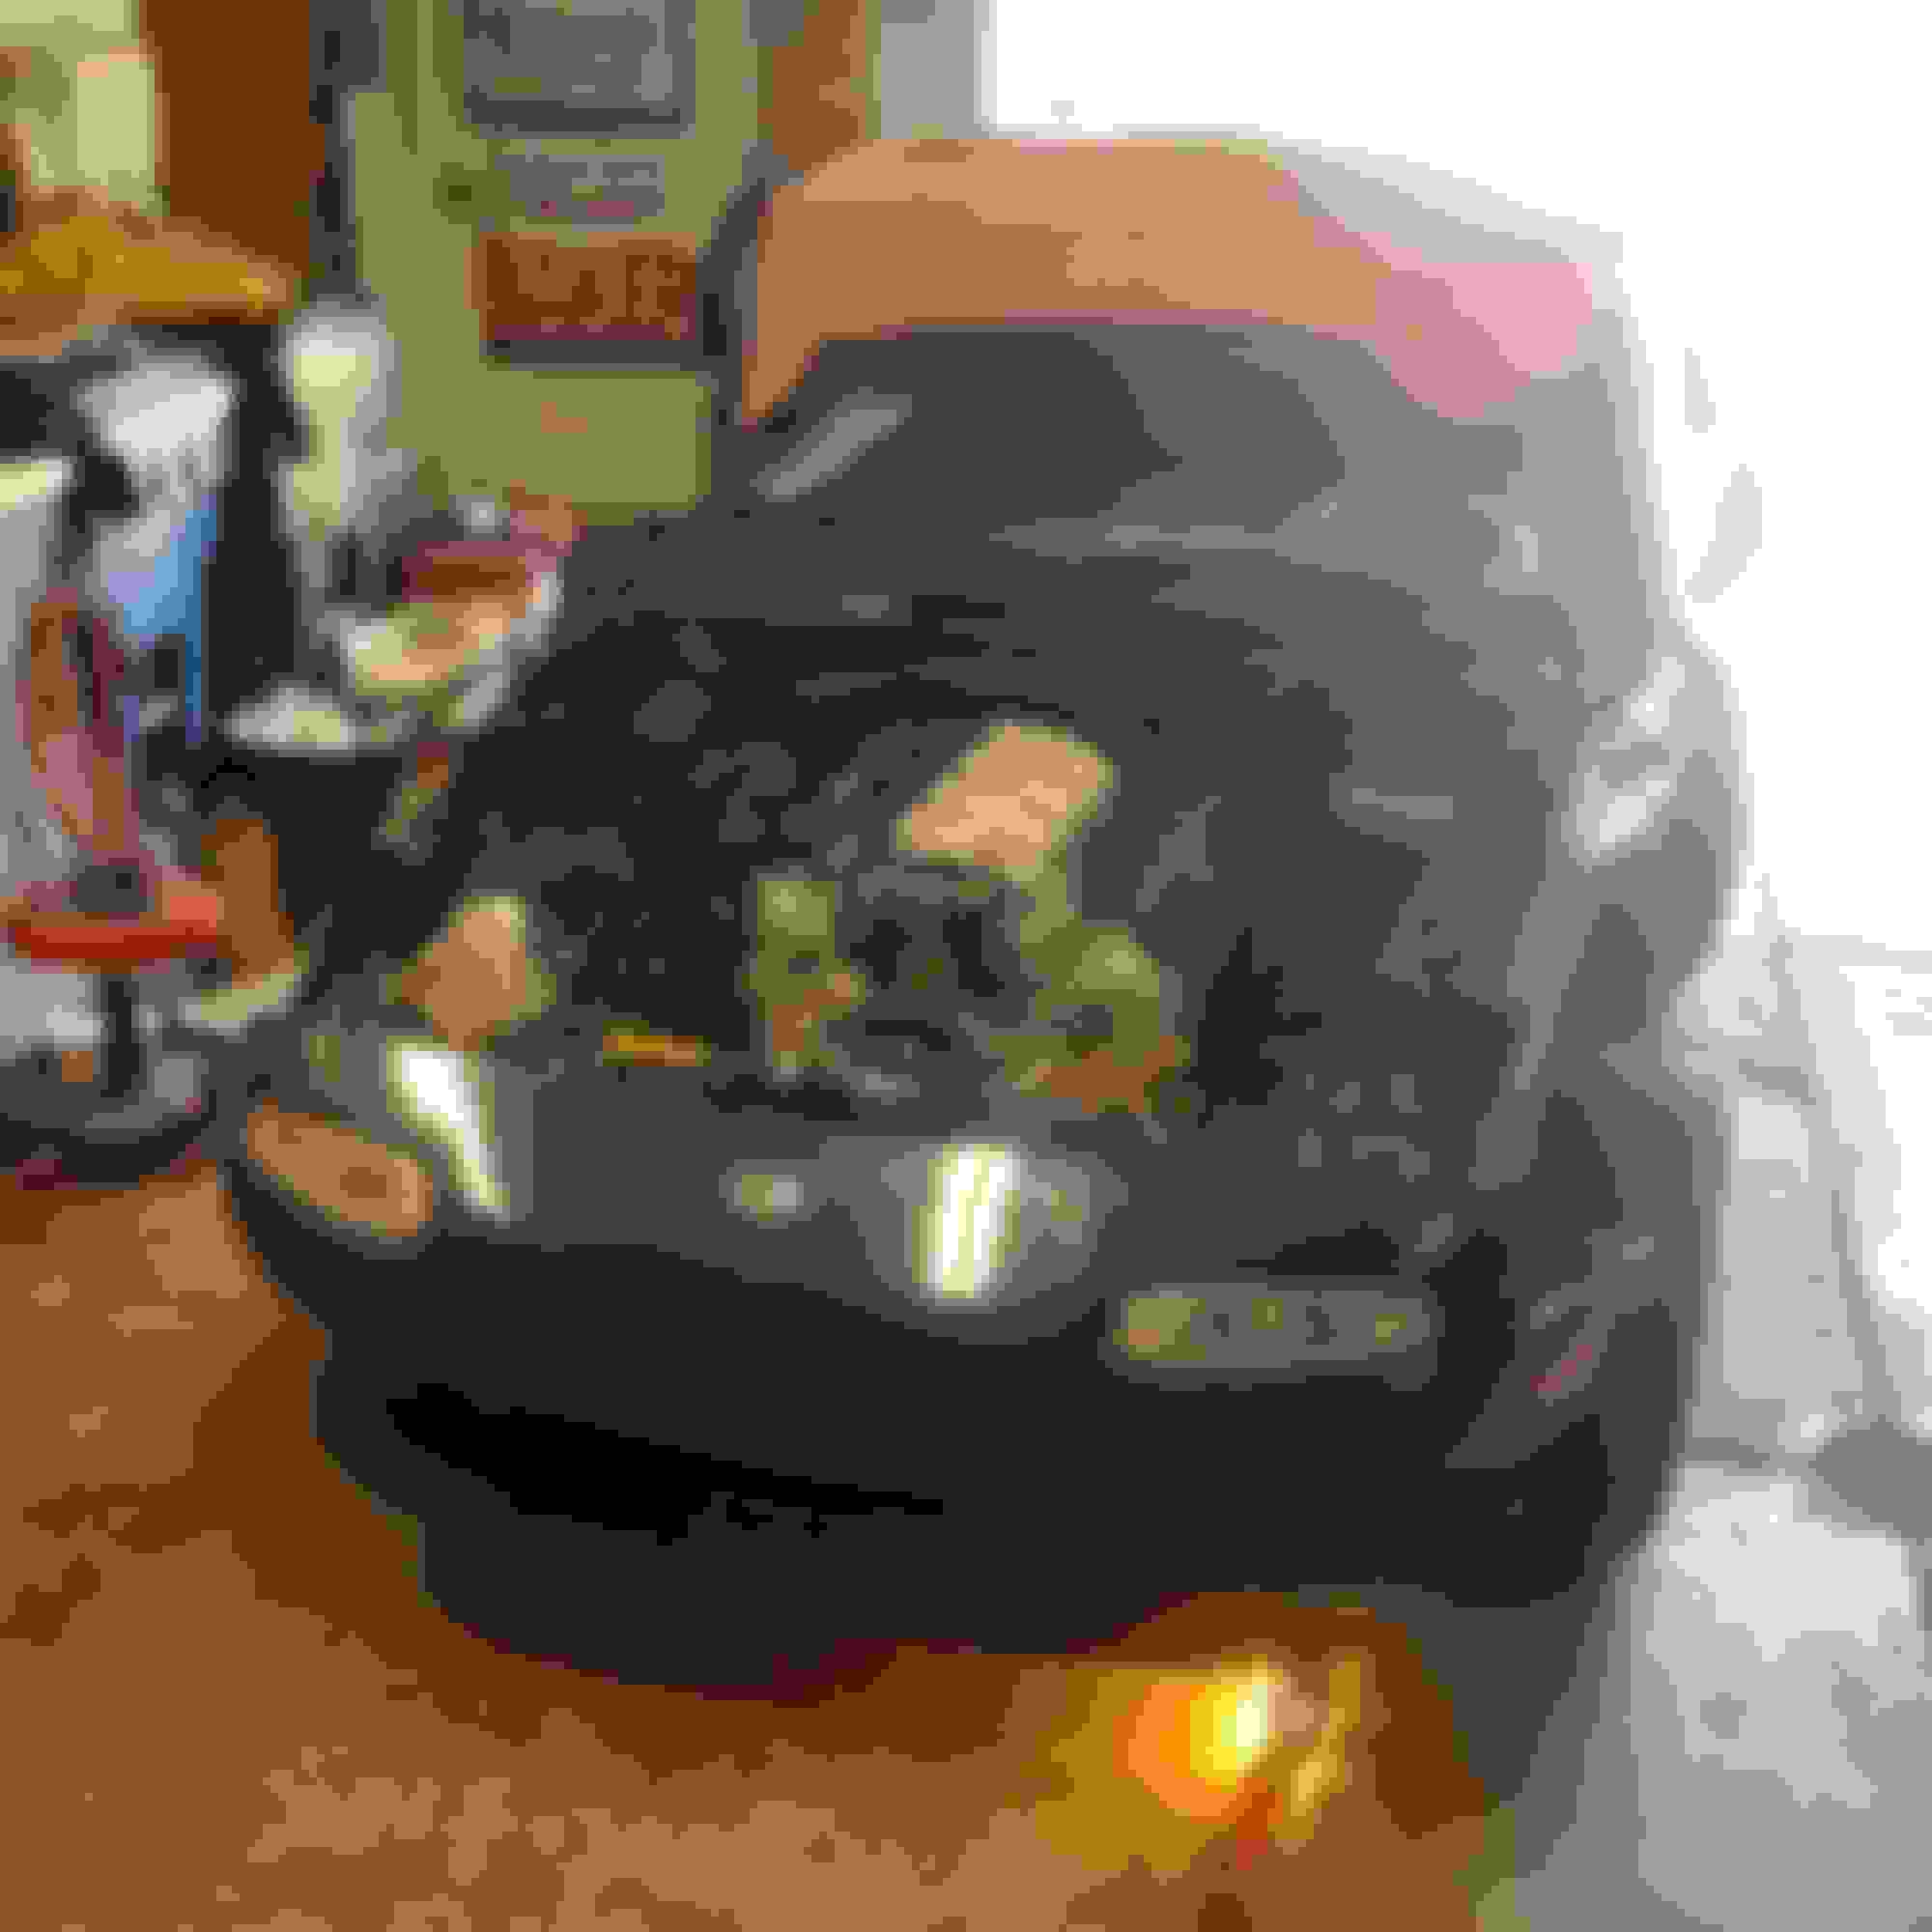
Here are some pictures of my oil pan and other fabrication projects I have worked on
Now I did not design this car, it was designed by a good friend of mine who now works as an engineer at honda. but I did do a lot of the fabrication and most of the machine work and almost all of the welding and I was the driver for all the races this car has been in aswell.
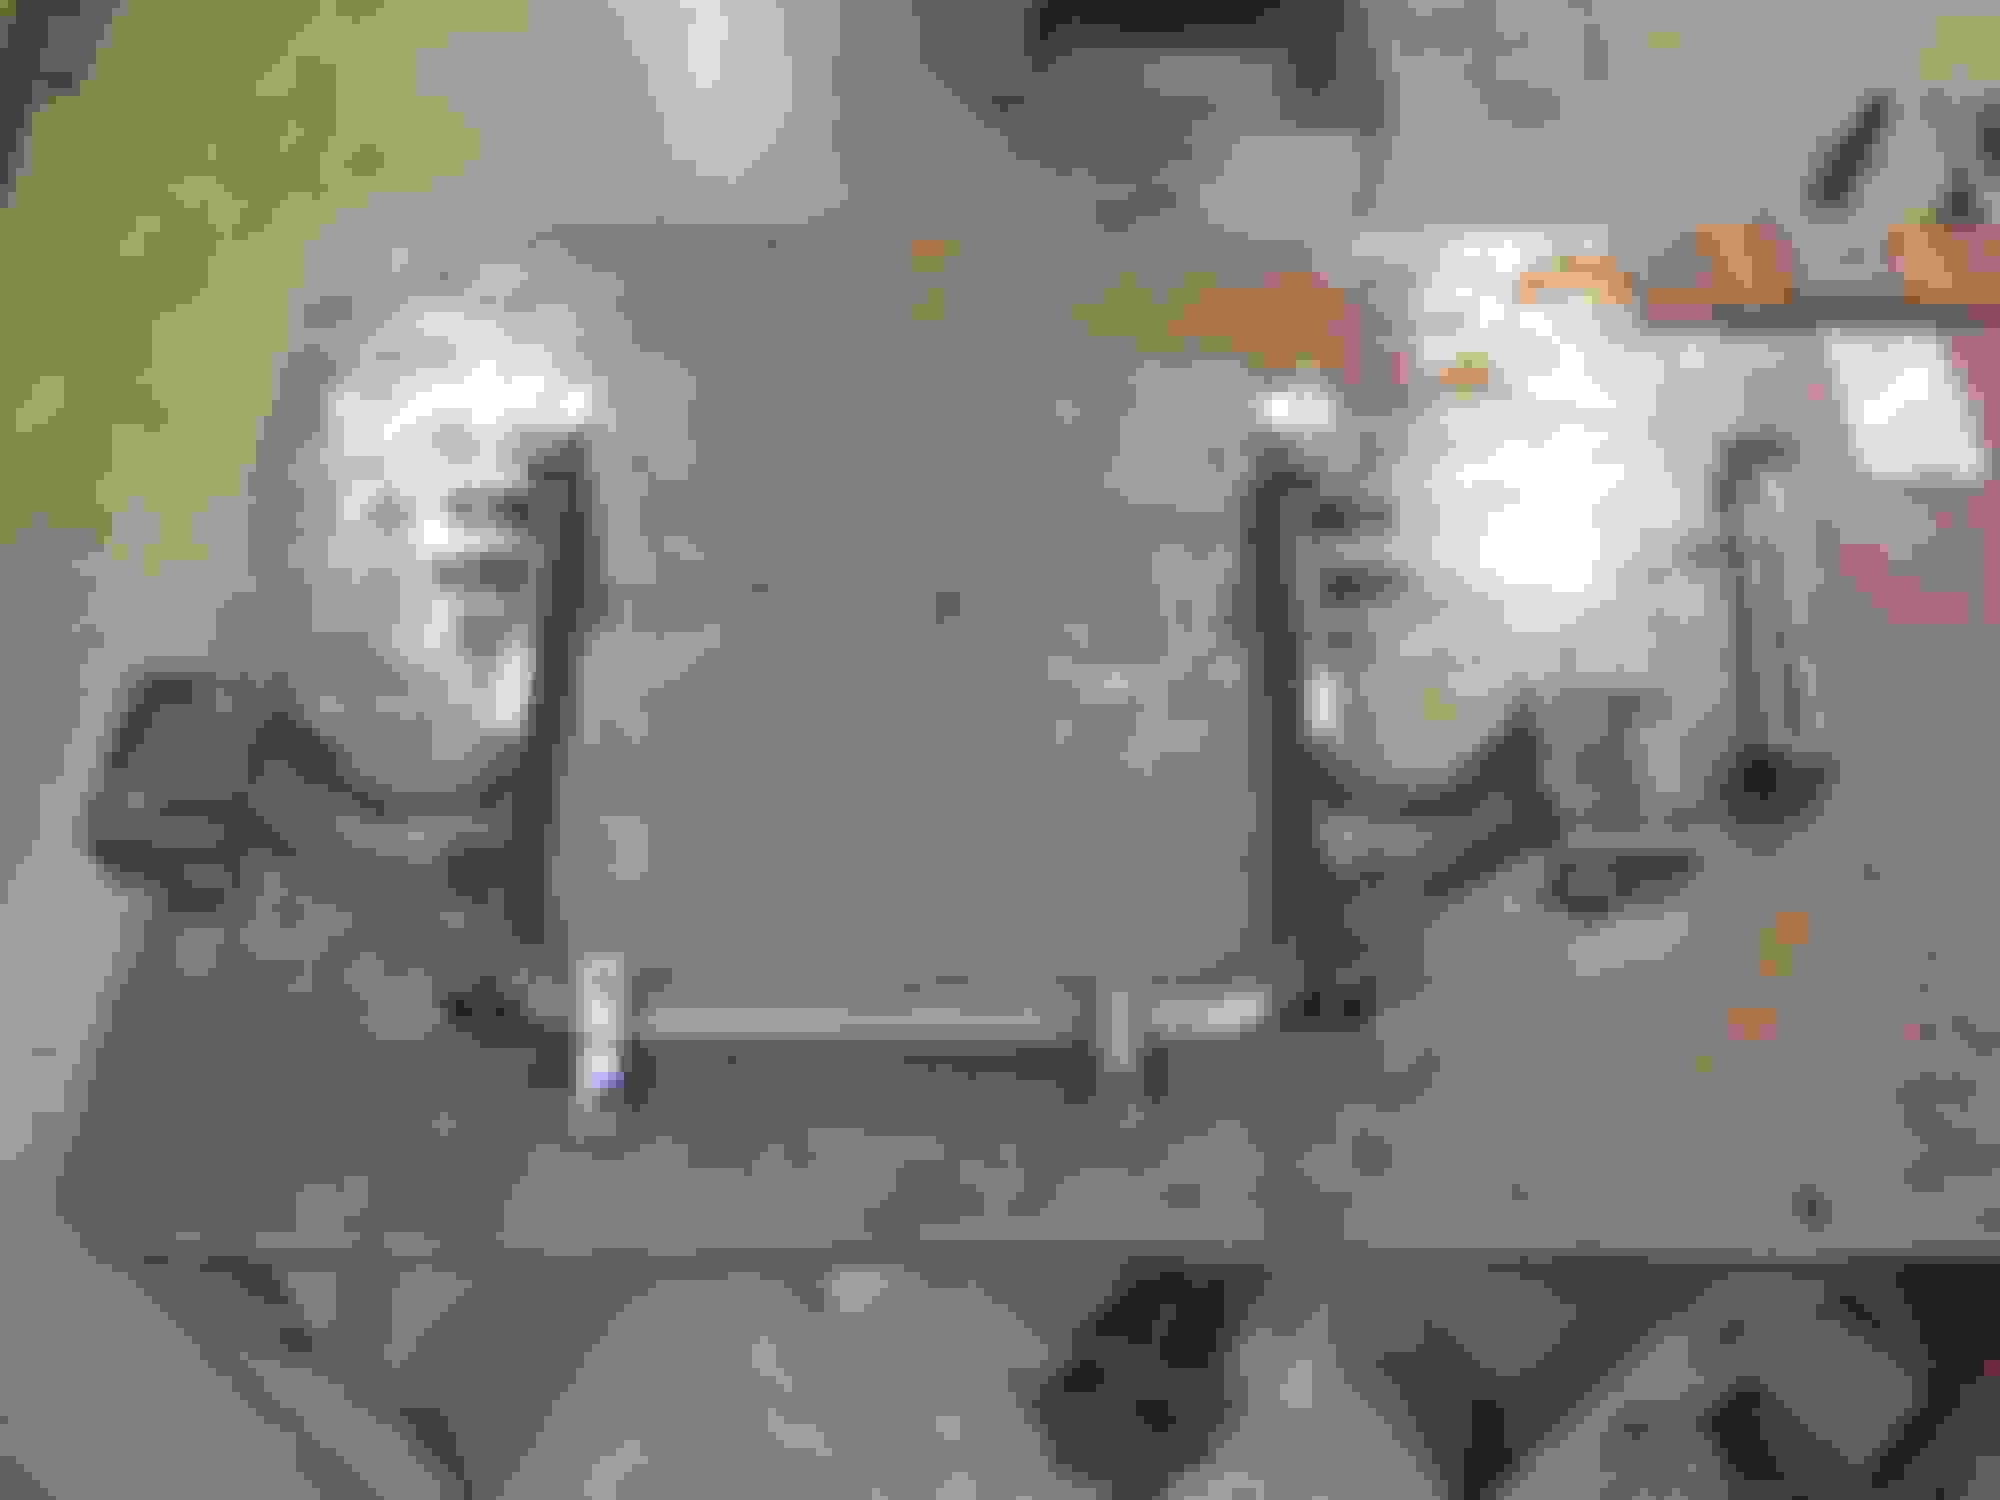
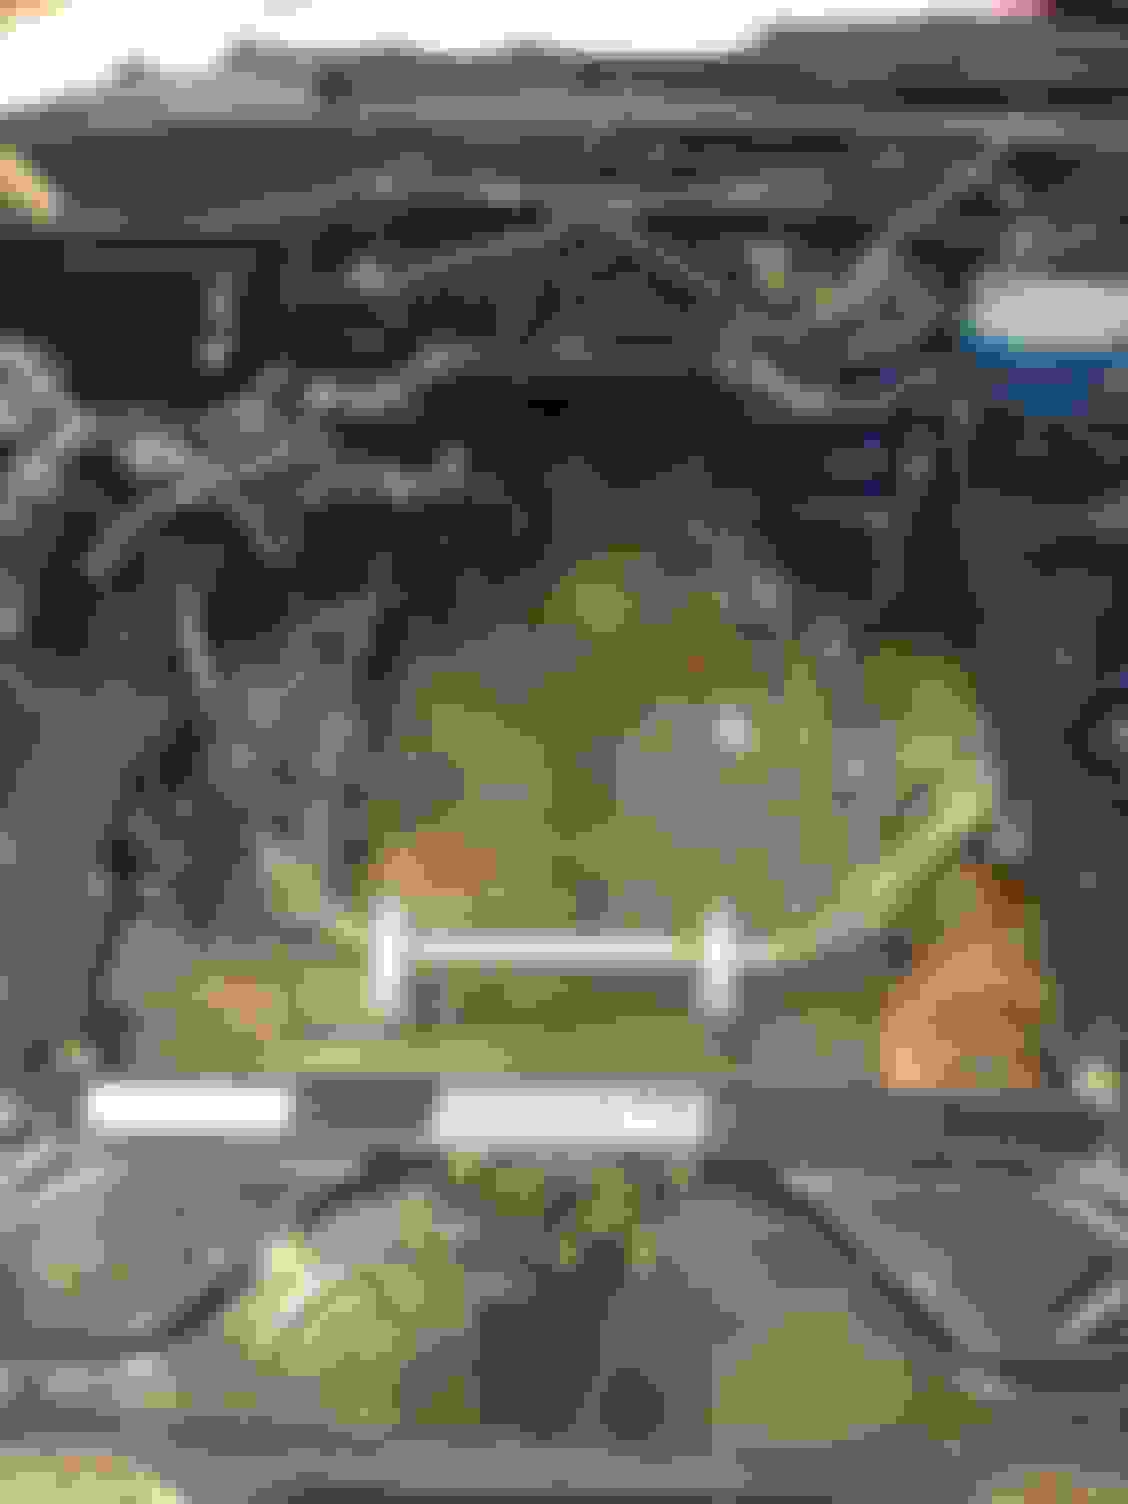
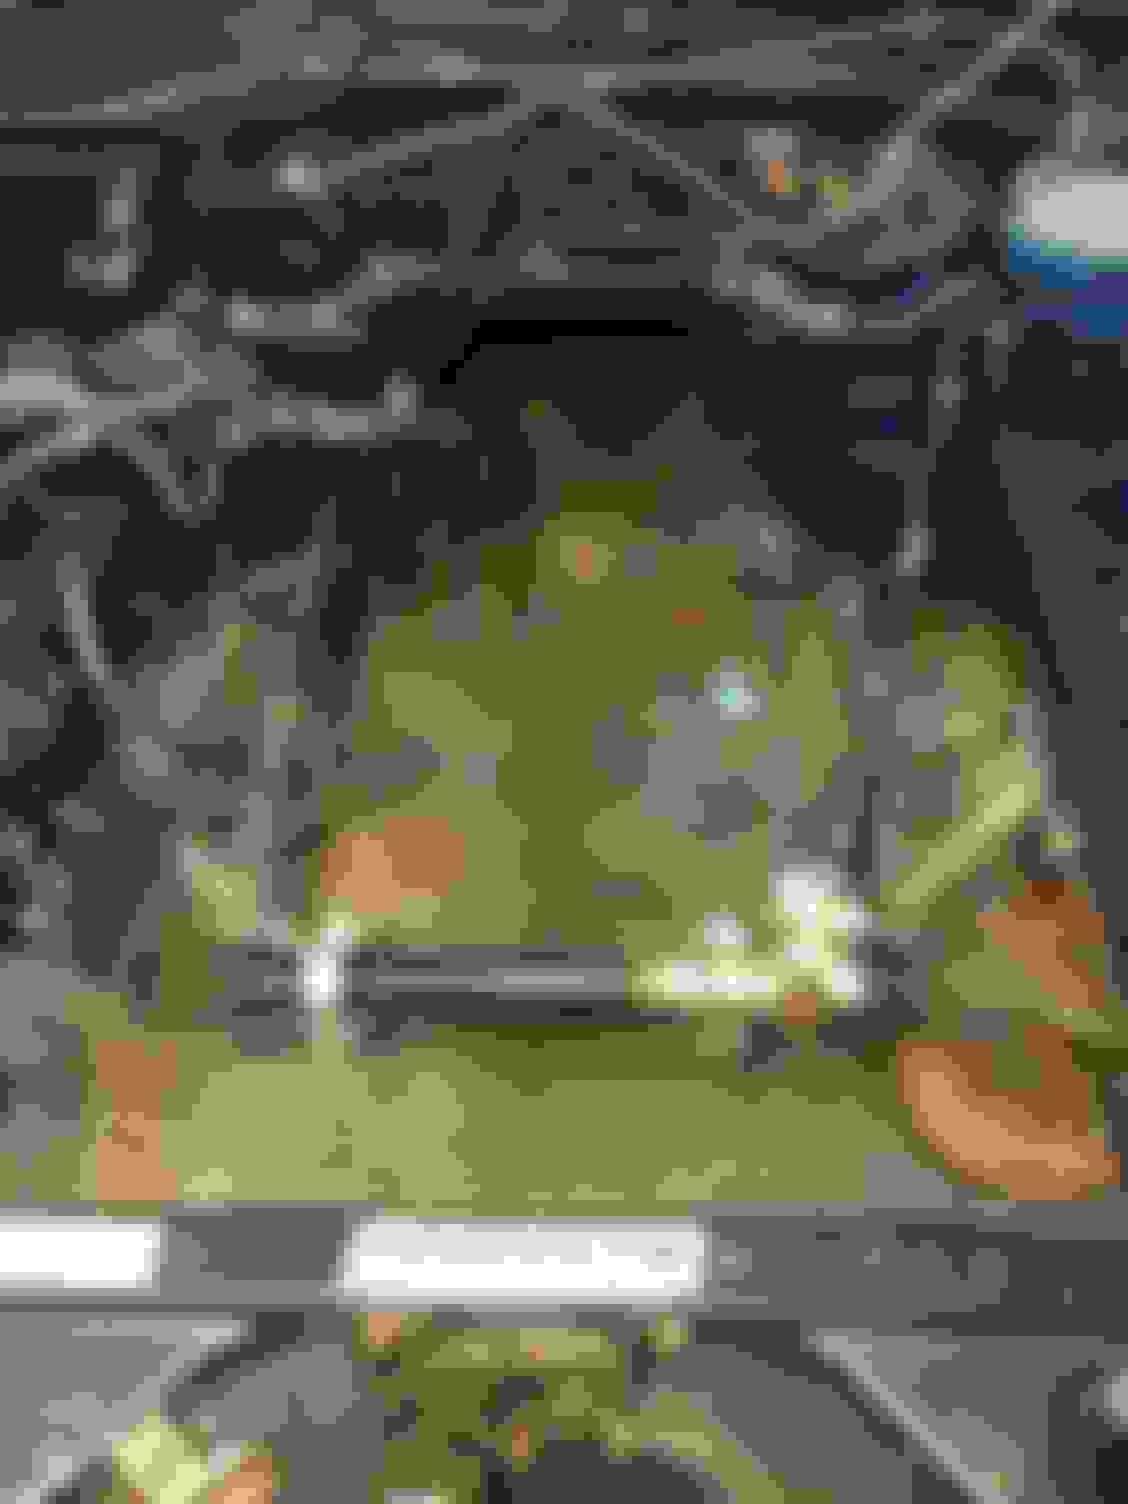
So I spent three hours last night finishing up the important stuff on the K-member and it turned out really good I think!
I still need to weld on some nuts to the back side of the rack mount bolt holes and i also need to weld on some gussets to the lower control arm mount tabs as well as the fancy little things to help adjust camber with the elliptical bolts.
Any ways here are some pictures of what i have got done so far!
Reason #1 The V8R kit requires a special oil pan or the stock F-body pan to be modified. as well as fancy headers that flying miata sells or that V8R sells and both those header options are $700+ granted you could probably buy your own block hugger headers and modify them to work with that K-member. My goal with this K-member is to design one that you can buy all off the shelf parts from summit racing or jegs, my oil pan of choice is a sheet metal one from jegs that cost me $120 new, also I have decided to go with a Ford racing Close ratio T-5 transmission with a quick time bell housing and a howe racing hydraulic throw out bearing because it is much cheaper than most of the t56 transmissions I could find. also with the t-5 you don't need to modify the trans tunnel.
so even with the quick time bell housing and the throw out bearing my ford racing t-5 was still cheaper than most t-56 options I could find. price for all my trans stuff is $1500 minus the ZR1 flywheel and pressure plate and ford mustang clutch disk.
Reason #2 I like to make stuff! and I really enjoy fabrication, the stuff I have already made has taken maybe 2 hours of designing and 5 hours of fabrication, all I have left to do is the tubes that go to the upper k-member mount.
I think reason #2 is good enough to make one!
The reason I asked is because as you know, a lot of engineering and suspension geometry goes into a subframe design, specially on a car like the Miata where all your suspension points are on the subframe.
If you tweak the geometry even a fraction, you can have detrimental effects due to ackerman and bump steer, so you may have to end up doing it over a few times which sucks up a lot of time and money.
Now, if you can design a unit that is lighter and stiffer than the V8R unit, and keep the geometry correct, then you are doing pretty dam good.
Find a way to correct the roll centers for lowered/race vehicles and you are going to sell a few of these guys.
The other drawback to aftermarket subframes at least in a restrictive rule set, is that you pay a points penalty for using one.
D
Luckily Suspension Geometry is my favorite subject! The Ackermann is mostly dependent on the spindle so my K-member shouldn't influence that too much, Also if i do anything to effect bump steer i will improve it by moving the rack up on the k-member to make the tie rods more parallel with the lower control arm, but for now i have it in the stock location.
one thing i was tempted to play with was kingpin angle to change the scrub radius so that i could run different offset wheels, but i didn't really feel like machining new spindles because i blew up the 4 cylinder turbo almost 8 months ago and i really just want to drive the damn car!
I also toyed with the idea of changing the amount of castor by moving the locations of the lower control arm mounts forward or backward, i am switching to manual steering "properly de powered rack" and was thinking that it might make sence to take some castor out of the car to make the manual steering a little easier with the have ls1 up front. but after driving my friends car with manual steering i decided to just leave it alone.
In the future i plan to make a K-member for the NB suspension geometry as well as a K-member that uses my own design for suspension, i would like to learn as much about suspension geometry as i can, and yes i know this car is not worth anything that im doing to it but at least it gives me a place to refine my fabrication and design skills so that when im trying to get a job at GM or Ford or Honda or Mazda i can walk out into the parking lot during my interview and show them what work i have already completed.
I own a CAD contracting business in NZ. But I am designing an off road buggy as a hobby, not quite like the baja you built, but similar. I plan on using Miata Knuckles in all 4 corners, and possibly using the suspension geometry too. I would love to ask you some questions and get you to have a look at my design if you are interested?
I'd really hate to see this thread die. Any more material on this?
Sorry guys been super busy with school and work!
But the subframe is completed And the engine fits perfectly! So does all the suspension as well.
The car currently runs. But I have not had time to finish putting the interior back together or finish the exhaust.
$600 for one without mounts is the biggest rip off i have ever seen. $1200 with mounts is just stupid. literally cost me about $100 in materials and about three hours to make mine. so yeah V8 Roadsters is a F#@*ing joke. even if i decided to use 4130 instead of 1020 steel it would only be about $150 in materials.
$600 for one without mounts is the biggest rip off i have ever seen. $1200 with mounts is just stupid. literally cost me about $100 in materials and about three hours to make mine. so yeah V8 Roadsters is a F#@*ing joke. even if i decided to use 4130 instead of 1020 steel it would only be about $150 in materials.
So what you're saying is that you'll sell me one of these with BP mounts for $400 shipped, right?


 02-22-2017, 05:06 PM


 0
0