Post your motor shots


 03-09-2009, 11:11 PM
#47

Damn that's clean!! ^^^
__________________
Best Car Insurance | Auto Protection Today | FREE Trade-In Quote
__________________
Best Car Insurance | Auto Protection Today | FREE Trade-In Quote

Reply
 0
0

0


 03-09-2009, 11:51 PM
#50
No, low on the frame is not preferable. Mine worked great, and wasn't even as well designed as Splitime's. It worked even better than the damn-near-solid MMR mounts I had, and didn't transmit as much vibration to the chassis (massive understatement).
Think about the rotation of the engine. The head is much further from the crankshaft's centerline than the location of the engine mounts.
Think about the rotation of the engine. The head is much further from the crankshaft's centerline than the location of the engine mounts.
Last edited by kotomile; 03-10-2009 at 01:22 AM.
Reply
0
0
03-10-2009, 12:39 AM
#51

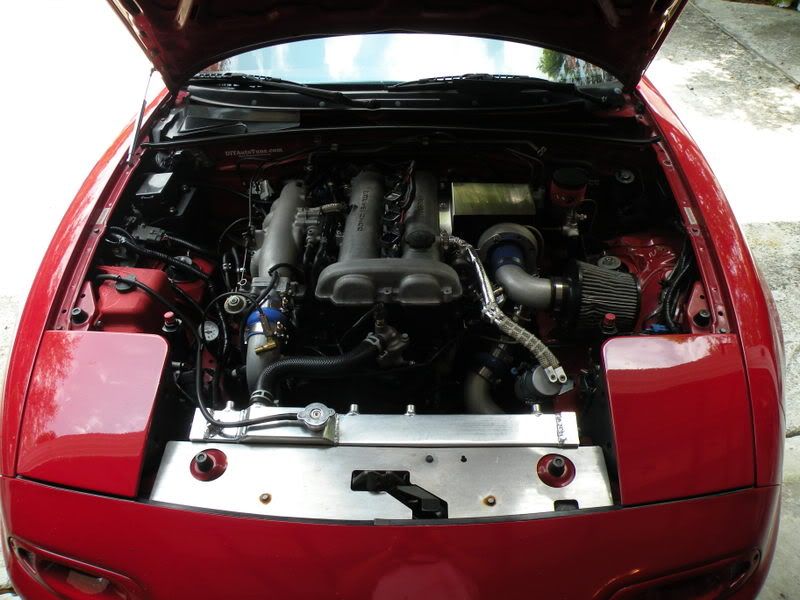
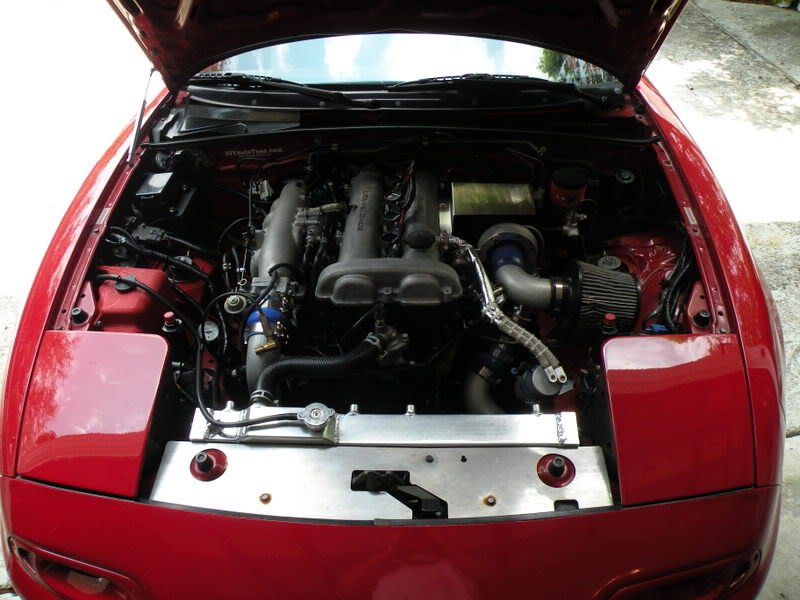
this one's a little old. it's a little different now, samco hoses, different catch can mounted in nose, and couple little odds/ends. plan on changing intake/filter, ic piping to aluminum and more heat shielding for trackdays in summer. it was 105deg. in the shade last august at texas world speedway and 127* track temp.!
Reply
0
0
 03-10-2009, 04:09 AM
#54
Elite Member
iTrader: (15)

Join Date: Sep 2007
Location: Incline Village, NV
Posts: 2,034
Total Cats: 5
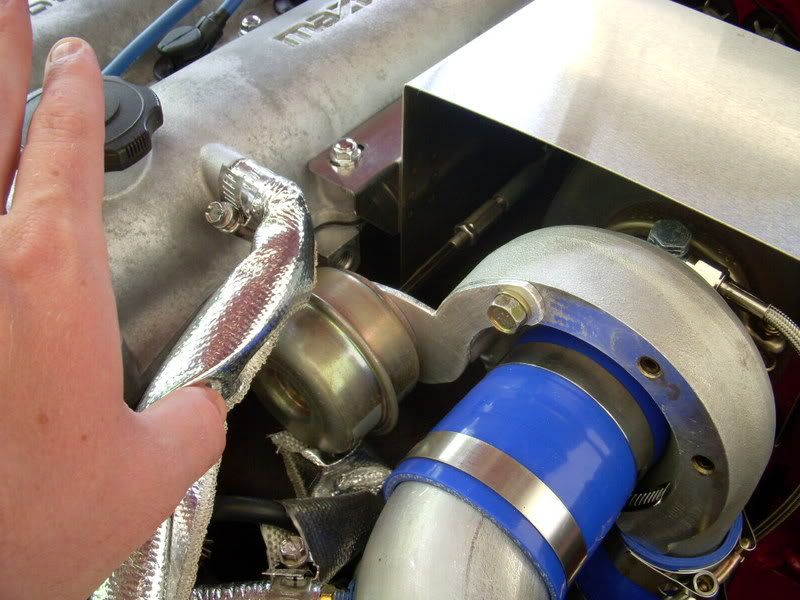
Can i request a close up shot of your front T-stat housing? Is that both your front and rear temp sensor in the same location? Looks like the same green connector on the rear. More info please? With my Begi spacer i keep messing these clips up and would like to relocate my rear sensor somehow.
If thats the case whats the thread pitch on the rear sensor?
If thats the case whats the thread pitch on the rear sensor?
Reply
0
0
03-10-2009, 07:17 AM
#55
Can i request a close up shot of your front T-stat housing? Is that both your front and rear temp sensor in the same location? Looks like the same green connector on the rear. More info please? With my Begi spacer i keep messing these clips up and would like to relocate my rear sensor somehow.
If thats the case whats the thread pitch on the rear sensor?
If thats the case whats the thread pitch on the rear sensor?
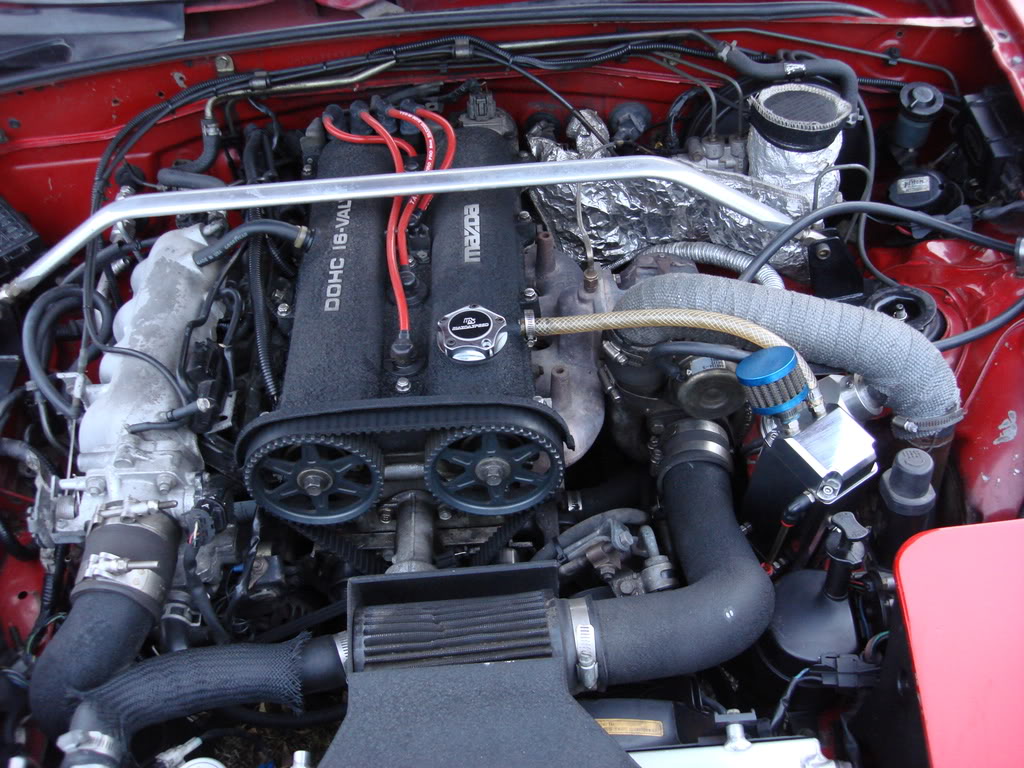
Front

Rear

Reply
0
0
 03-10-2009, 02:15 PM
#58
And in reference to my 'dampener'.. uh, it works perfectly up there. It is setup to stop the motor from pulling to the passenger side as it does when you rev it. Nothing more. It cost almost nothing to make and consisted of 1 big turn buckle, some bolts/nuts from my misc bolt box and a foot of angle iron/dremel'd/drilled to order.
I have Mazdaspeed motormounts which are nice, but the brace actually tightened it up even more.
Thanks for playing.
Reply
0
0