1.6 B6 Engine Rebuild - Slow Progress
 05-12-2008, 11:56 AM
#1
Elite Member
Thread Starter
iTrader: (2)

Join Date: Jun 2006
Location: ABQ, NM
Posts: 1,838
Total Cats: -7
I'm probably not going to be as detailed as Zabac in the write up. But if anyone has questions I'll do my best to answer them. I has lots of pictures, if there is anything in paticular you want a pic of I probably have one.
My goals for this build are a HP range of 240-280 at the wheels keeping the 1.6L displacement, affordability, and to have decent spool. I also want longevity (try for 100,000 miles street and track), daily drivability(smogable, no cold slap, ect), and durability.
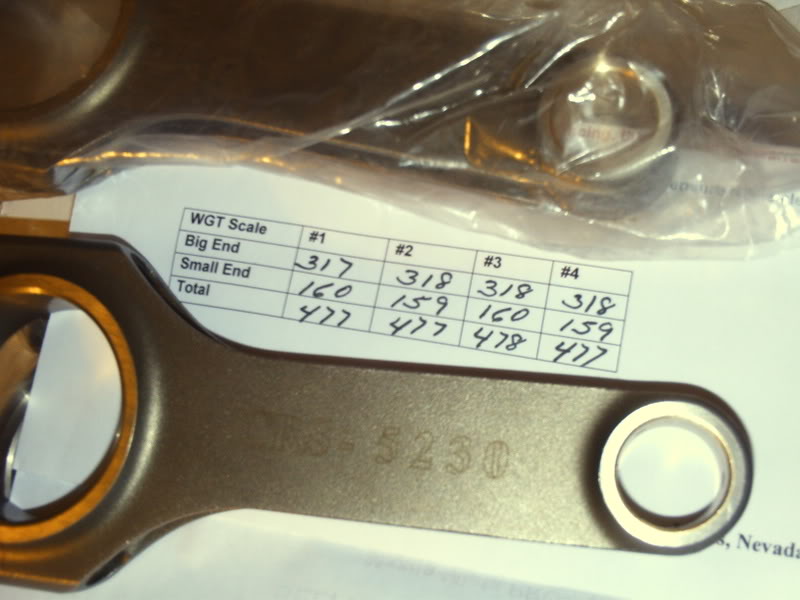
Belfab H beam rods.
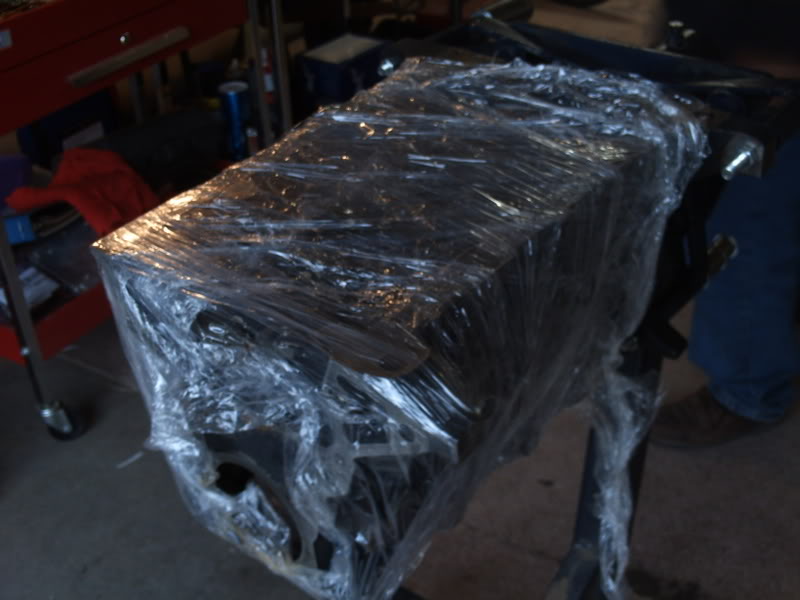
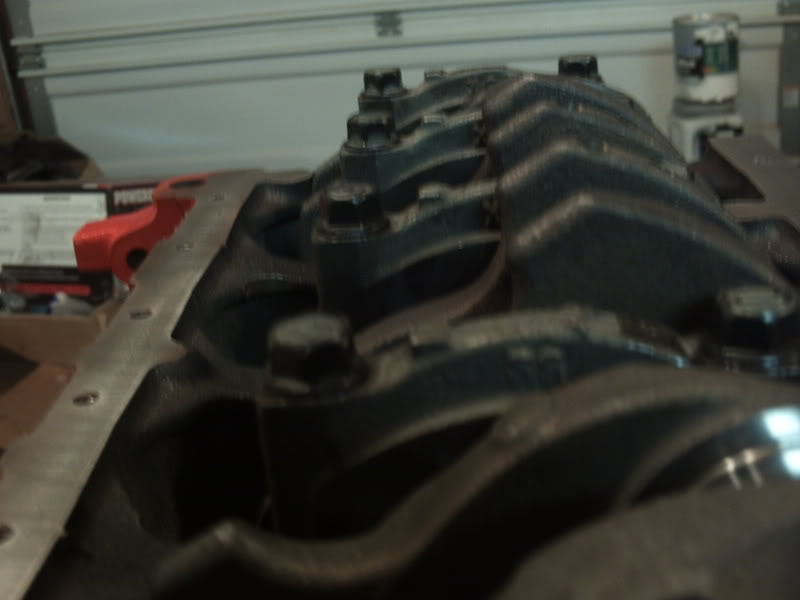
The block back from the vat cleaning and rehoning.
Stock VS H Beam
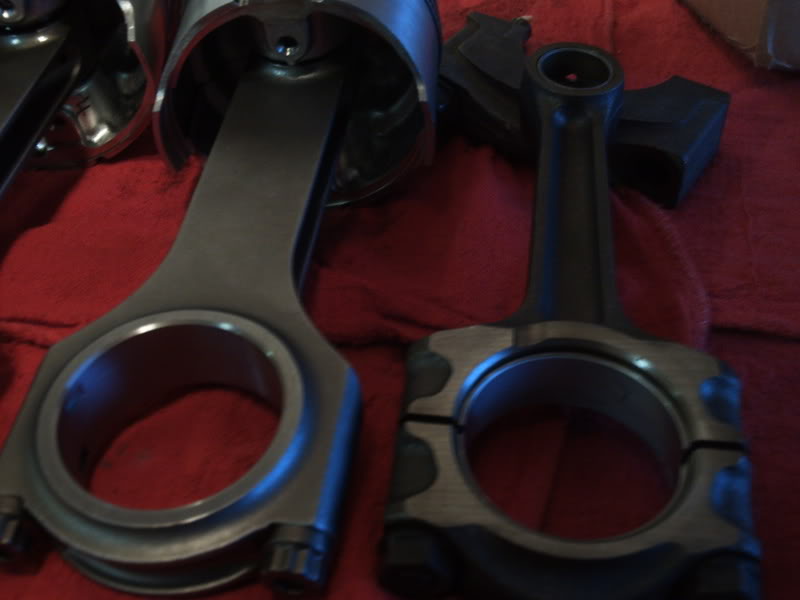
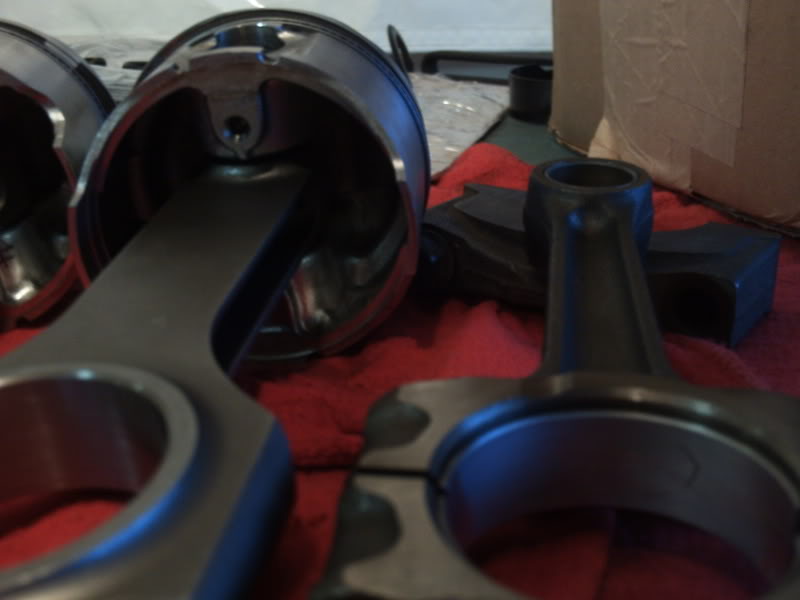
Miata VS Ford Turbo 2.3

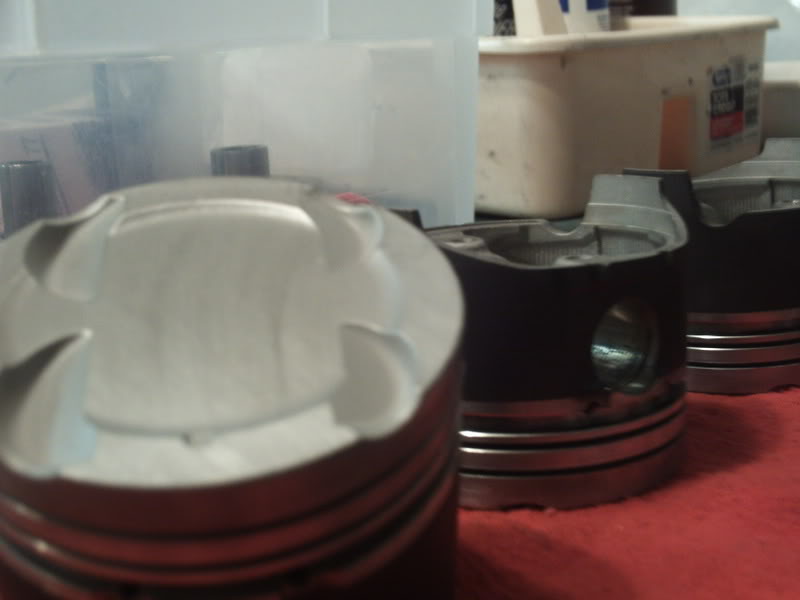
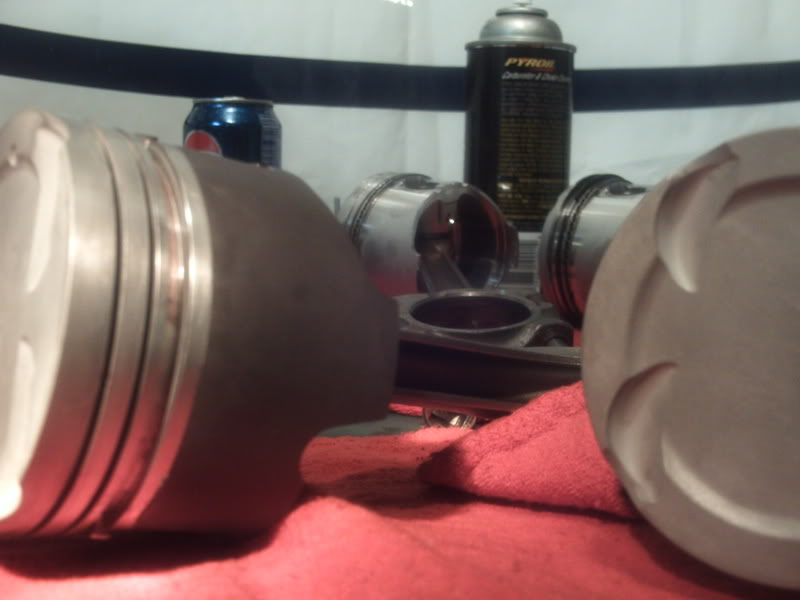
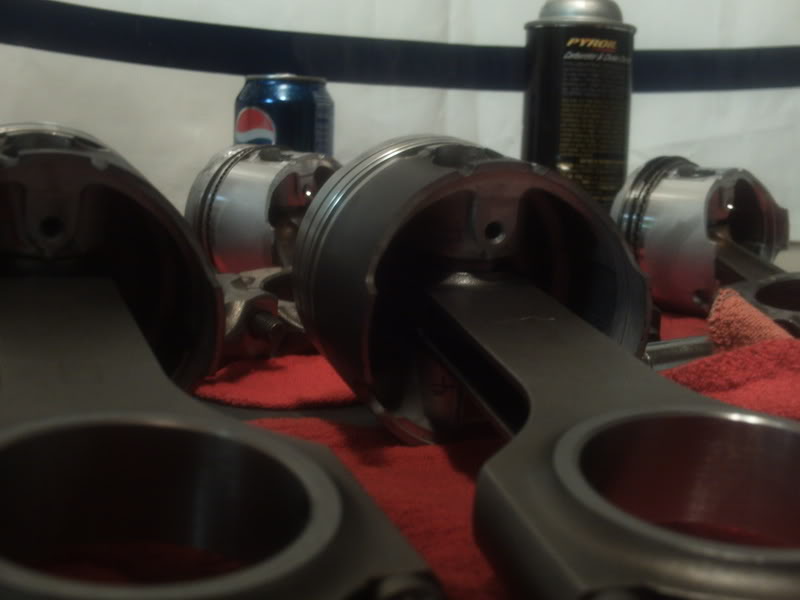
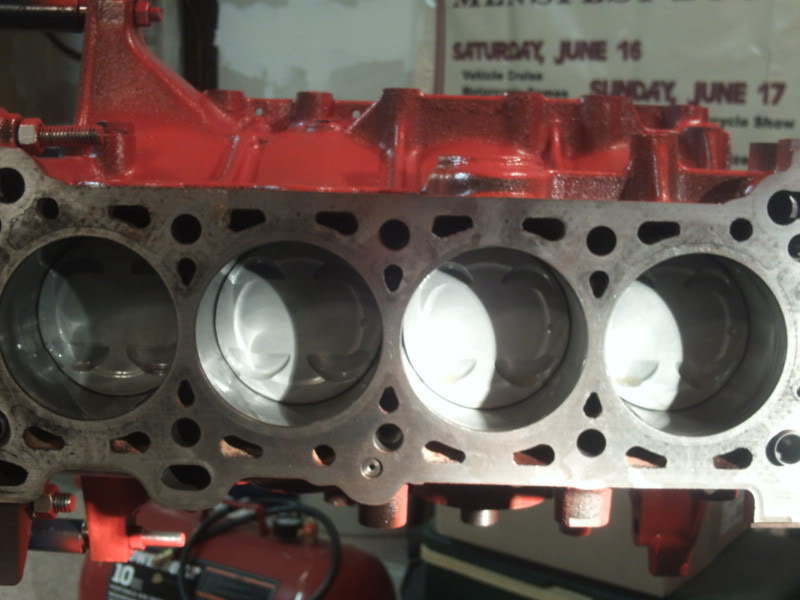
Ceramic coated stock pistons
The bores with the piston coolers
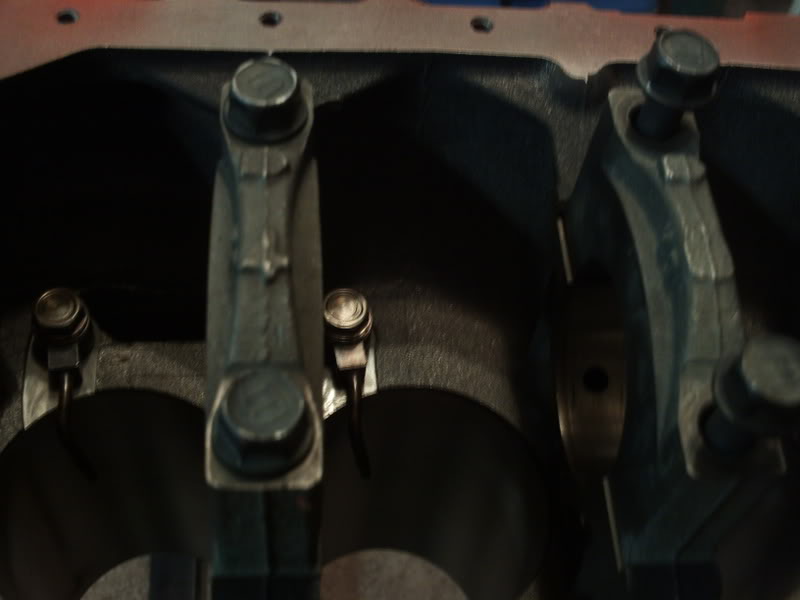
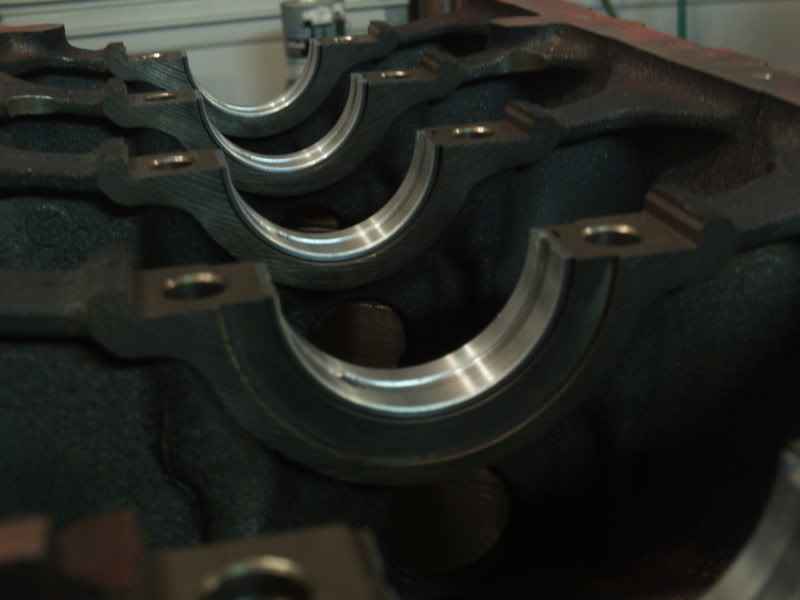
Block with bearings
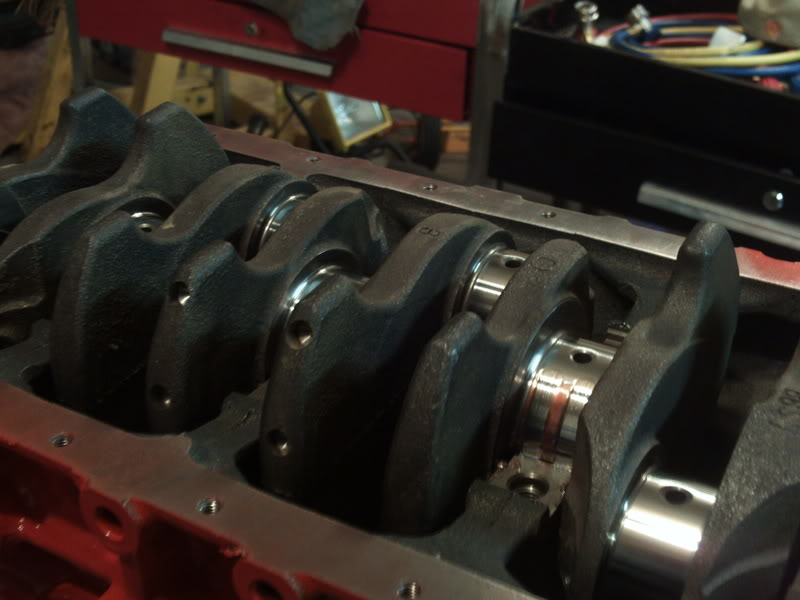
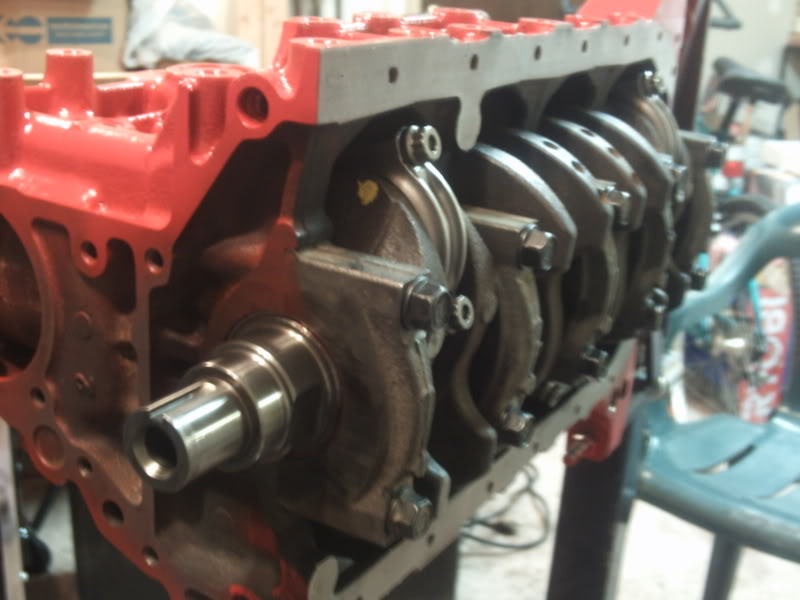
Crank installed
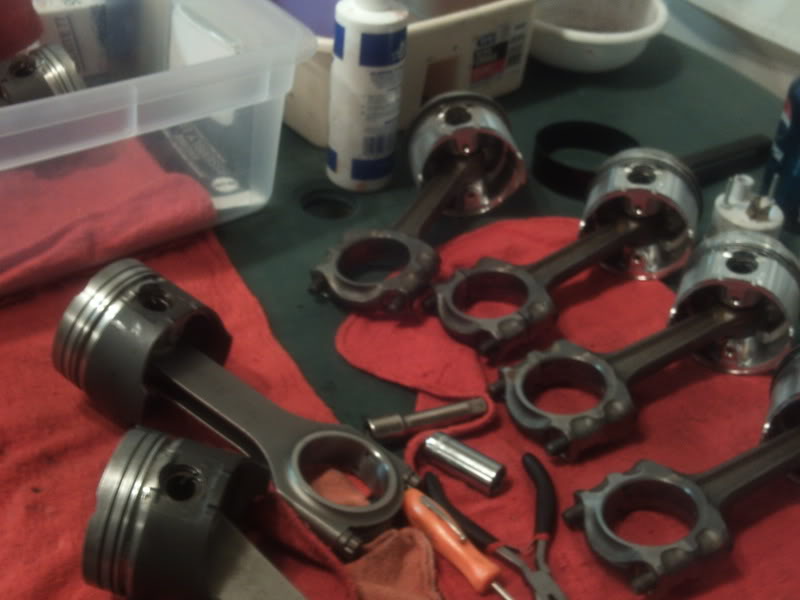
Pistons and rods installed
Marty's rape van

My goals for this build are a HP range of 240-280 at the wheels keeping the 1.6L displacement, affordability, and to have decent spool. I also want longevity (try for 100,000 miles street and track), daily drivability(smogable, no cold slap, ect), and durability.
Belfab H beam rods.
The block back from the vat cleaning and rehoning.
Stock VS H Beam
Miata VS Ford Turbo 2.3
Ceramic coated stock pistons
The bores with the piston coolers
Block with bearings
Crank installed
Pistons and rods installed
Marty's rape van

Reply
 0
0

0
05-12-2008, 01:54 PM
#2

Very nice build so far.
Could you add $$ ammount spent on various things, and where you bought parts and what shops you used, this can save some people some coin, I mean things such as:
Block honing and cleaning, Piston Ceramic Coating, Rods, bearings, oil pump, waterpump, etc.
Did you balance your crank?
Thanks in advance.
Best of luck on your build.
Reply
0
0
05-12-2008, 02:25 PM
#3
Elite Member
Thread Starter
iTrader: (2)
Join Date: Jun 2006
Location: ABQ, NM
Posts: 1,838
Total Cats: -7
Motors: $0 various dead 1.6 motors I've been stock pileing
Belfab rods $320 from Belfab
Ceramic and dry film coating on stock pistons: $120 from Synergy Coatings
Vat cleaning and machine work: $0 so far (machine shop is owned by a family friend, I often trade in computer help)
Crank polished and balanced: $0
Gasket set: $200 from Rosenthal
ARP head studs: $120 from miata roadster
Gates timing belt: : $80 from miata roadster
Moly rings: $75 ITM I think? I got the box at home if anyone is really interested. They're what John Urist uses in his turbo builds.
Bearings: $0 hookup from machine shop
Oil Pump: $0 reuse stock
Water pump: $0 reusing a basically new one from one of the scrap motors
I'm planning to install the motor complete with a trans attached.
Fidanza, ACT 6 puck and Xtreme PP, and rebuild transmssion are sunk costs from a previous car.
There is still a few things I need to buy, mainly the head, I'm kind of undecided. The machine shop may do a basic rebuild for really cheap, or I can pick up a ported big valve head for $750. I'm leaning towards the cheaper route and stick the money in fuel rail, cops, dampener, RC 550s, ect.
Reply
0
0
05-22-2008, 12:12 PM
#4
Elite Member
Thread Starter
iTrader: (2)
Join Date: Jun 2006
Location: ABQ, NM
Posts: 1,838
Total Cats: -7
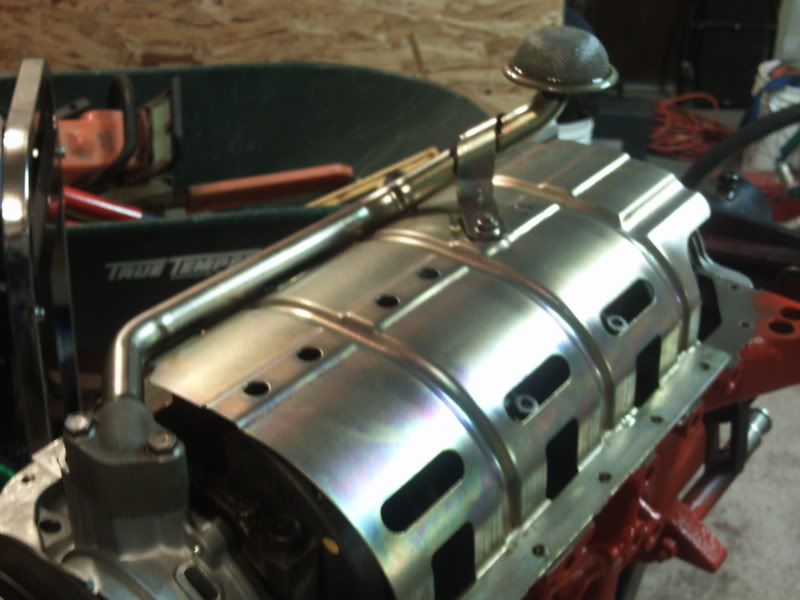
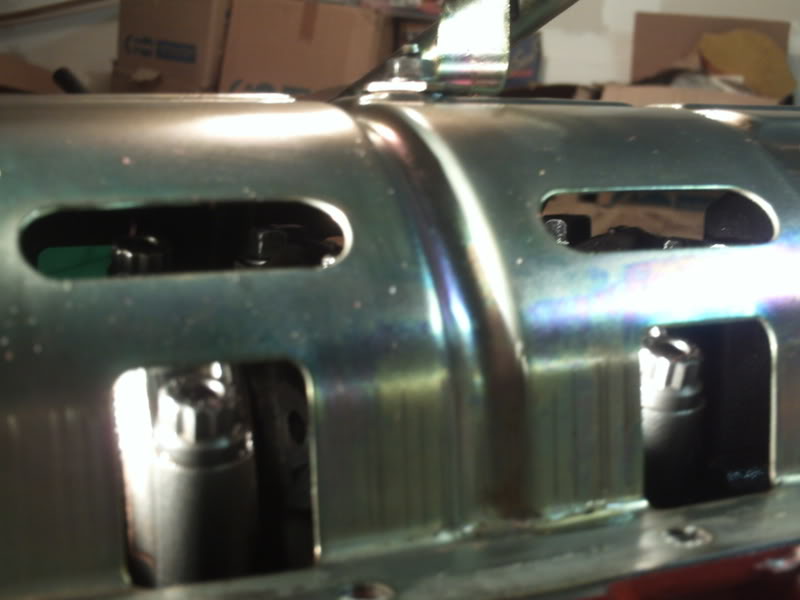
Oil pan drilled and tapped for 3/4 fitting (matches greddy 19mm drain on turbo)
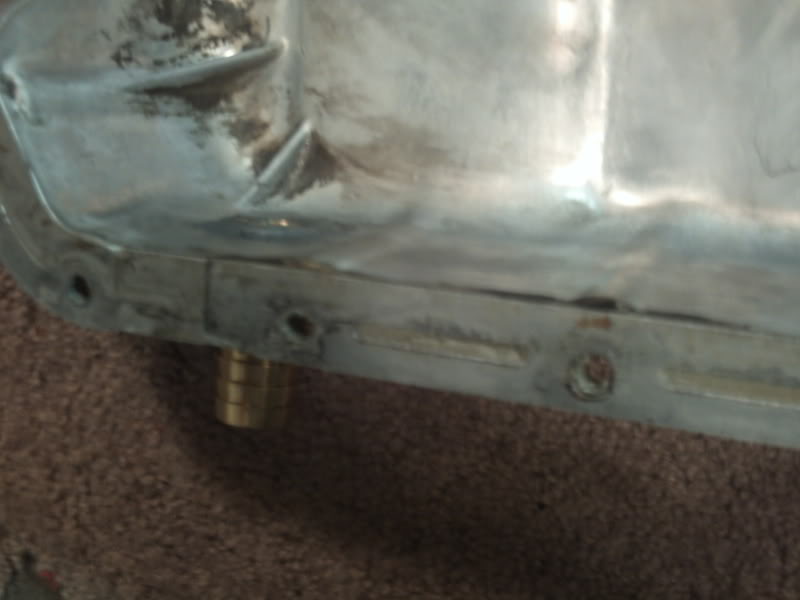
Baffles in pan.
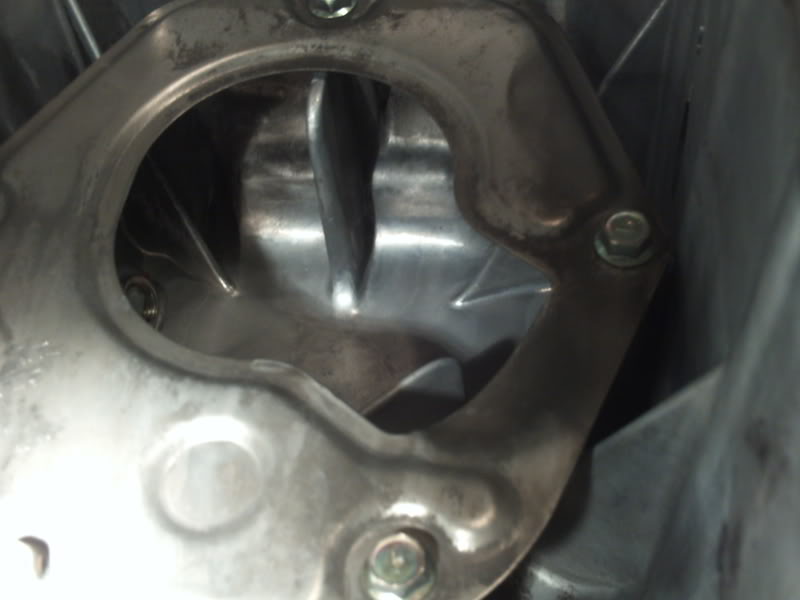
I decided to use a new oil pump.
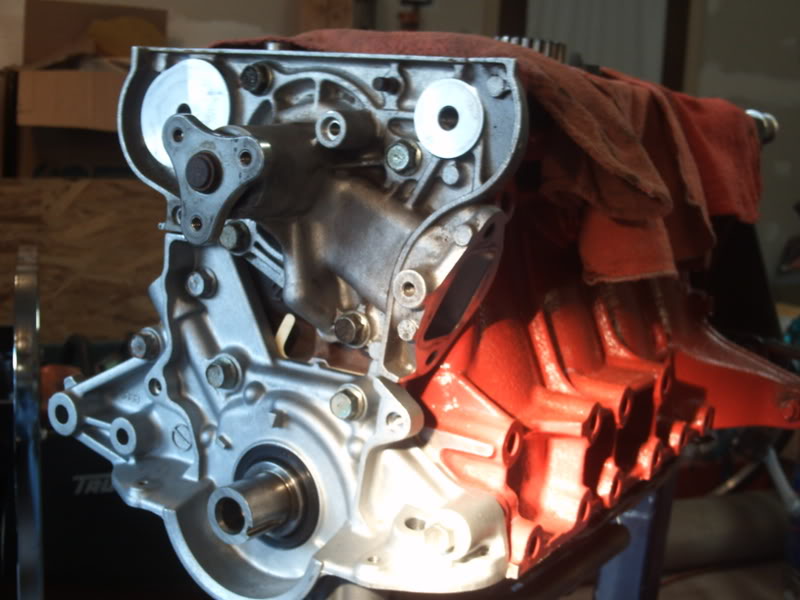
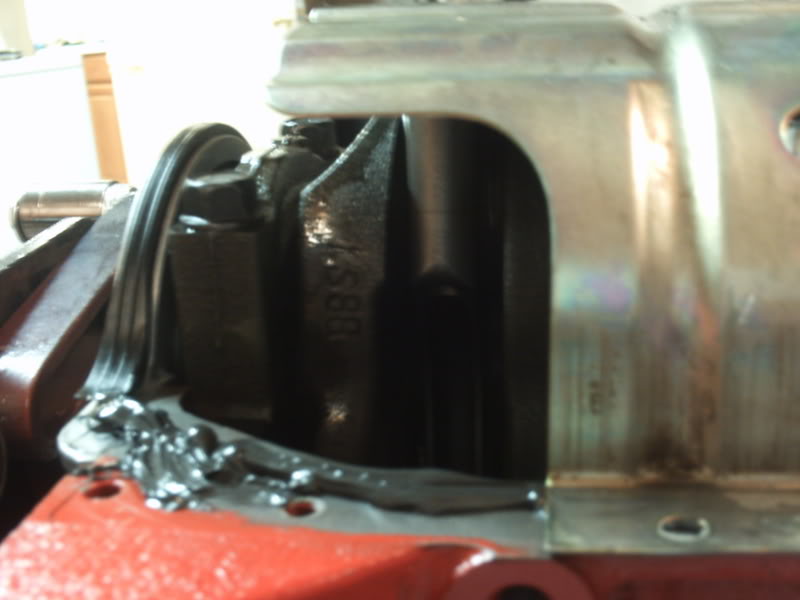
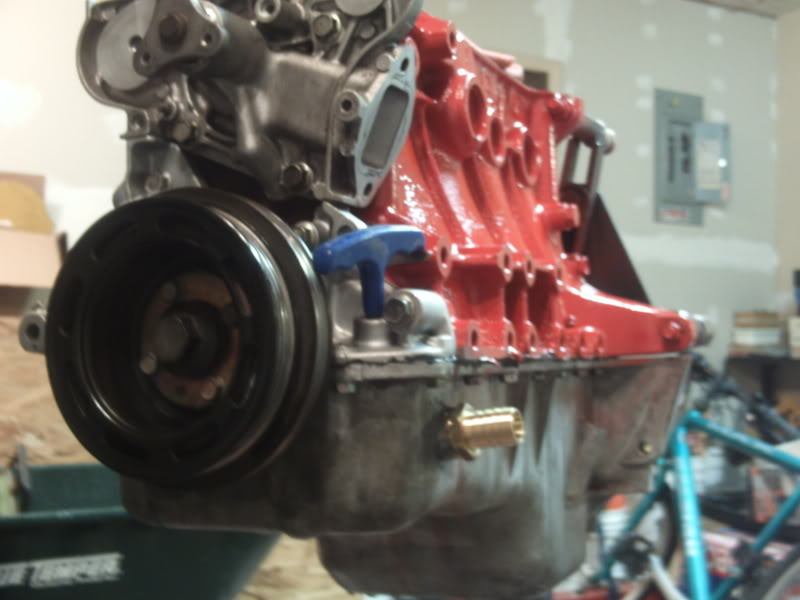
Assembled short block.
Baffles in pan.
I decided to use a new oil pump.
Assembled short block.
Last edited by BenR; 05-22-2008 at 01:19 PM.
Reply
0
0
05-22-2008, 02:06 PM
#8
Elite Member
Thread Starter
iTrader: (2)
Join Date: Jun 2006
Location: ABQ, NM
Posts: 1,838
Total Cats: -7
Head gasket, both manifolds, oilpan, cams, cas, front and rear main, valve cover, timing cover, oil pump, waterpump, valve seals, the weird o-ring for the coolant tube. Think that's it.
Reply
0
0
05-22-2008, 02:11 PM
#9
The 1.6's have an oil pan gasket? I don't recall my 1.8 having one, only the two found in this pic. and the rest is Silicone.
https://www.mazdamotorsports.com/wcs...07041_1000.gif
https://www.mazdamotorsports.com/wcs...07041_1000.gif
Reply
0
0
 05-22-2008, 04:25 PM
#14
Elite Member
Thread Starter
iTrader: (2)
Join Date: Jun 2006
Location: ABQ, NM
Posts: 1,838
Total Cats: -7
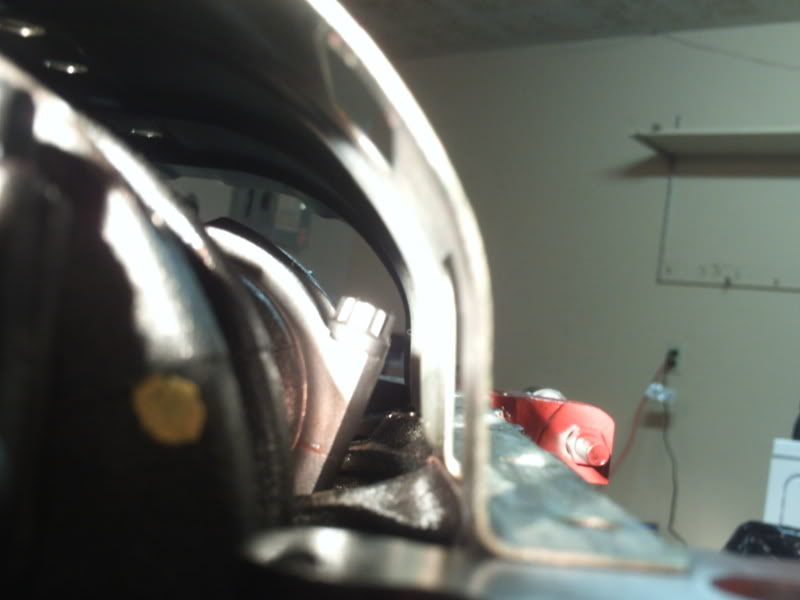
Pull start.

Really, the pump has a hole there that needs to be plugged. The old pumps I have laying around have a plug there, not sure what that hole is supposed to be for. The handle is to remind me to insert a plug there next time I work on the motor.
Thanks, it's much easier to tap the pan off the car. Took 3 hardware store trips to find that stupid 3/4 barb fitting.
Reply
0
0
05-23-2008, 09:14 AM
#16
Senior Member
Join Date: Jul 2005
Posts: 513
Total Cats: 0
Dave,
Reply
0
0
05-23-2008, 10:25 AM
#17
Elite Member
Thread Starter
iTrader: (2)
Join Date: Jun 2006
Location: ABQ, NM
Posts: 1,838
Total Cats: -7
You mean I can't go ahead with my MAAD JDM pullstart plans?
Thanks for the info about the protoge. I'll stick a metal plug in it.
For some reason the edit button doesn't show up on some of the earlier posts, so I'll just continue the parts list here.
Addition:
Timing belt idler and tensioner from Rock Auto $65
Fuel injector O-ring $2.55
Thanks for the info about the protoge. I'll stick a metal plug in it.
For some reason the edit button doesn't show up on some of the earlier posts, so I'll just continue the parts list here.
Addition:
Timing belt idler and tensioner from Rock Auto $65
Fuel injector O-ring $2.55
Reply
0
0
05-23-2008, 11:45 AM
#19
Elite Member
Thread Starter
iTrader: (2)
Join Date: Jun 2006
Location: ABQ, NM
Posts: 1,838
Total Cats: -7
The gates belt is "better" according to them, I haven't used one before. The stock one has always been very durable and usually last longer than the water pump. I just wanted to try it out.
I may just stick a rebuilt stock head in for now, and pickup a big valve head to build over a year or so. It would help spool, but I don't really think it's all that necessary for the power levels I'm shooting for. The money's better spent on other things.
I may just stick a rebuilt stock head in for now, and pickup a big valve head to build over a year or so. It would help spool, but I don't really think it's all that necessary for the power levels I'm shooting for. The money's better spent on other things.
Reply
0
0
05-23-2008, 11:50 AM
#20
I'm no expert... but if you've got a spare head, maybe a little unshrouding and bowl-blending wouldn't be a bad idea. I don't know if you can do all that **** with the valvetrain still installed, but it'd be great for spool and maybe let you run a little less boost to get the power you want. Less boost=cooler charge=easier power... I'd look into it.
There's a couple great writeups online from dudes from various communities. They talk about theory, technique, what Dremel speeds and bits work best... I'll absolutely be looking into it when the time comes.
There's a couple great writeups online from dudes from various communities. They talk about theory, technique, what Dremel speeds and bits work best... I'll absolutely be looking into it when the time comes.
Reply
0
0


