Bought a turdbucket 00 6speed
#21
Another suggestion, please join WeldingWeb™ - Welding forum for pros and enthusiasts They have a section for critiquing welds with very knowledgeable folks that are helpful.
#22
Junior Member
Thread Starter
Join Date: Oct 2016
Location: Europe, Bulgaria
Posts: 113
Total Cats: 14
45 amps is not going to do a damn thing. like I said I would start at 160, 120 minimum . they give you a pedal so that you can back off the power as you wish, it will also add power, but it has to be available . in this instance I would start near the intersection concentrate on the hanger, get a bead started and then draw it down to the thinner material . once the first puddle is started it should be focused 90% at the hanger and just adding enough filer to get down to the thinner material .
you need to practice. 3/8" to .040 is a pretty advanced weld. certainly not an easy one to learn at first.
you need to practice. 3/8" to .040 is a pretty advanced weld. certainly not an easy one to learn at first.
#25
Junior Member
Thread Starter
Join Date: Oct 2016
Location: Europe, Bulgaria
Posts: 113
Total Cats: 14
Hi there! I need some advice from you guys. I'm thinking about buying kosei k1's 15x7 and the seller wants around 380$ for them. Can someone tell me whats the usual going rate for a 2nd hand set? Thanks.
#29
Junior Member
Thread Starter
Join Date: Oct 2016
Location: Europe, Bulgaria
Posts: 113
Total Cats: 14

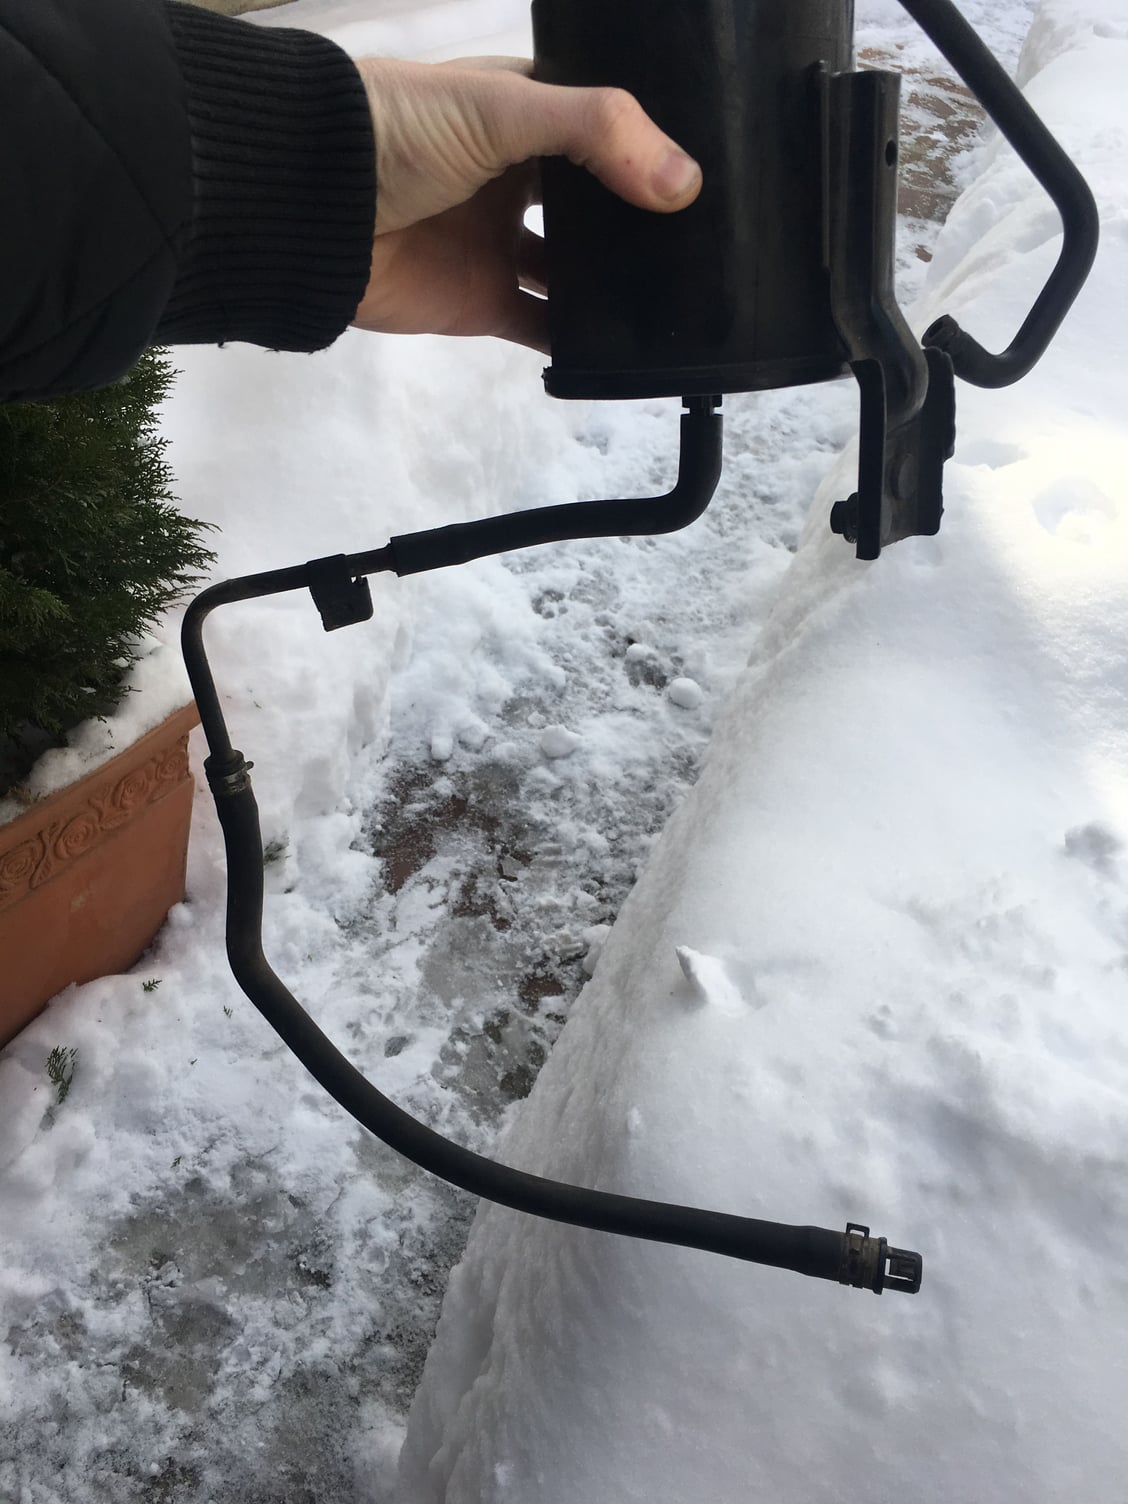
A little update. Got rid of the charcoal canister and couldn't help but notice this bottom hose was just dangling around in the engine bay. Looked all over the place but couldn't find any place it should be attached to. Any idea where it goes because there's probably a hole somewhere that needs filling and it drives me crazy.

#32
I'd let it breather. Otherwise you will pressurize the tank if you fill it up and let it stand in direct sunlight. I simply run a silicone hose from the vent tube forward under the passenger side headlight and through a hole into the wheel well.
I actually do this on both my MX-5 and Daimler XJ40, now that I think of it. So far polar bears haven't become extinct.
I actually do this on both my MX-5 and Daimler XJ40, now that I think of it. So far polar bears haven't become extinct.
#33
Junior Member
Thread Starter
Join Date: Oct 2016
Location: Europe, Bulgaria
Posts: 113
Total Cats: 14
I'd let it breather. Otherwise you will pressurize the tank if you fill it up and let it stand in direct sunlight. I simply run a silicone hose from the vent tube forward under the passenger side headlight and through a hole into the wheel well.
I actually do this on both my MX-5 and Daimler XJ40, now that I think of it. So far polar bears haven't become extinct.
I actually do this on both my MX-5 and Daimler XJ40, now that I think of it. So far polar bears haven't become extinct.

#35
Junior Member
Thread Starter
Join Date: Oct 2016
Location: Europe, Bulgaria
Posts: 113
Total Cats: 14
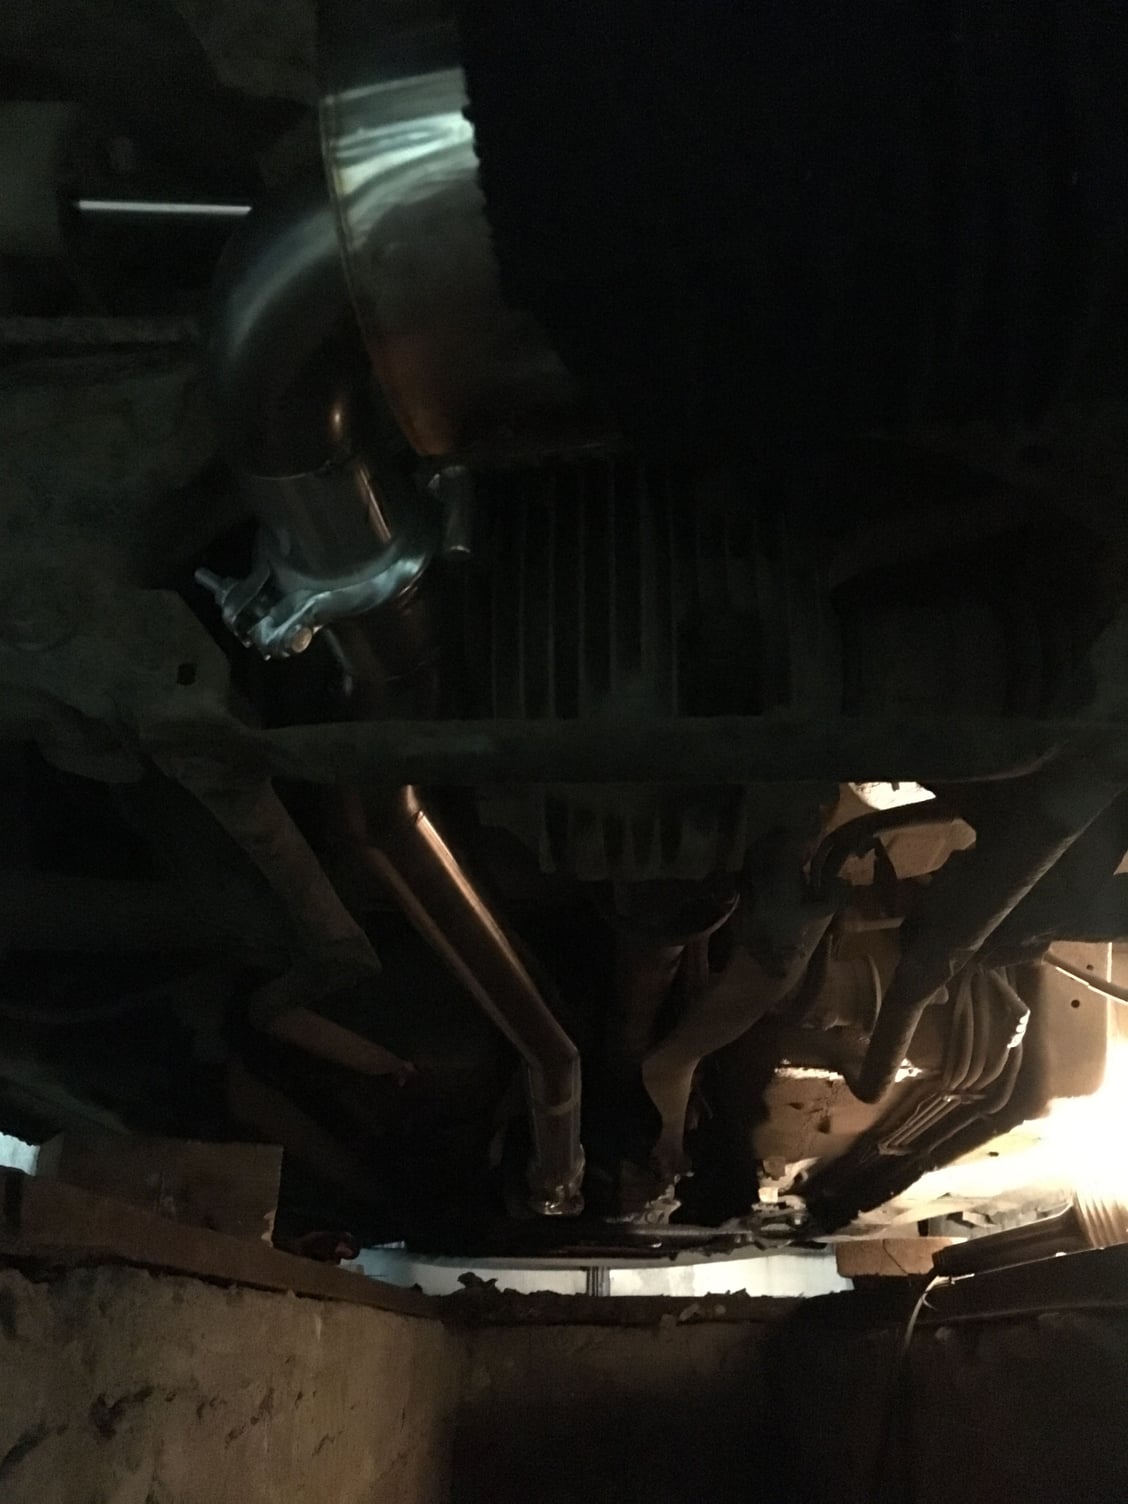
Sooo today I crawled under the car and found out that the output shaft on the tranny has a bit of radial play thats less that half of a millimeter but is there nonetheless. As far as I know some axial play is acceptable but not radial. Pleace correct me if I'm wrong.
#37
I havent tig welded in a couple years, but I used to be damn good at it, so take what I say with somewhat of a grain of salt.
120-140 amps at least, 5-7 psi on your argon. Clean up your tungsten as best you can, and make sure it's pretty sharp.
Feel out the puddle at first, ease into it, find where the bigger piece melts, then ease it onto the thinner material. When the thinner stuff starts to melt, stack your rod into the pool and move up to melt the thicker portion. Again, feel the puddle. Is it melting to the point it retreats? Is it just barely melting? You can either lift your foot to accommodate what the thinner material does, or you can change your travel speed/weld pattern. Personally, I like to keep my foot in one spot and manipulate my torch to get the weld the way I want it.
Try not to have such a large weave between the pieces like your first photo, especially if one side is much thinner. Keep one bead between the two if you can. Thin enough of a bead to where you don't have to lift off the pedal when you fuse them, but thick enough to make the weld hold.
If you can, I strongly suggest practicing on some 3/32 or 1/8 inch if you intend to dive deep into tig welding.
Hell, you could do like I did when I felt like I wasn't getting it, and grab some 1/4", set it at 75 amps and floor it to get a good concept of how to manipulate the puddle.


