When you click on links to various merchants on this site and make a purchase, this can result in this site earning a commission. Affiliate programs and affiliations include, but are not limited to, the eBay Partner Network.
Looking to sell for as much as I bought it for. Parts were never installed, merely taken out of the box for inspection. I have decided to go another route which is my reason for selling.
I just pulled this off my 1990 1.6L track car this past weekend; I'm converting it back to stock. This was on the car for about 1100 miles.
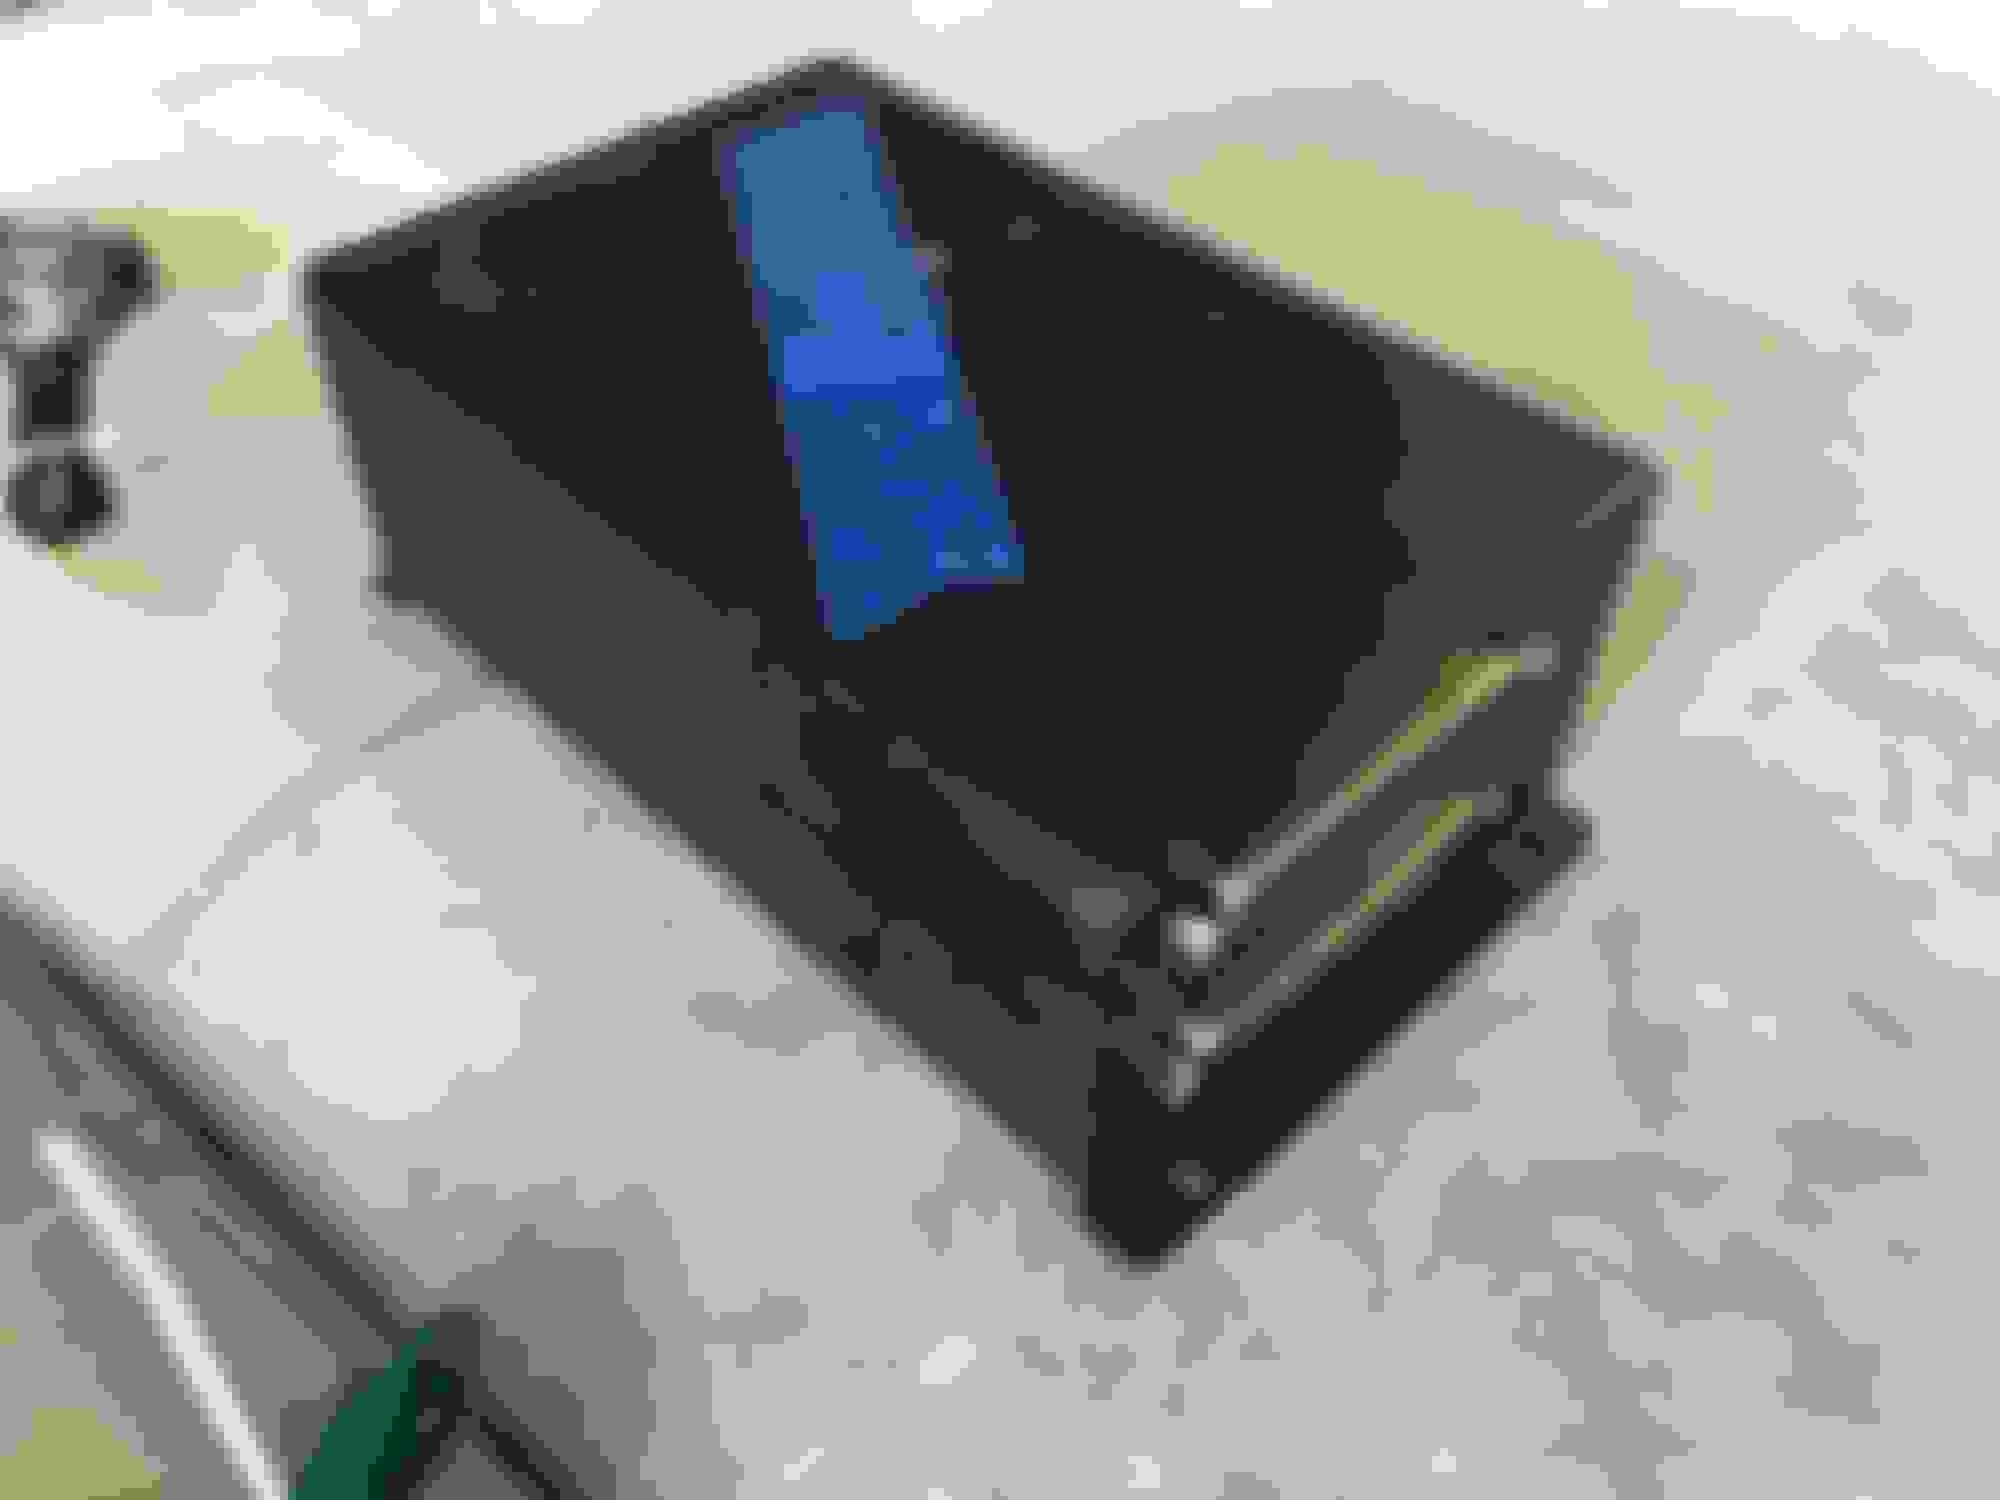
-Megasquirt MS3x
-Braineack wiring harness (with install guide)
-Innovate LC-1 Wideband (new sensor)
-'BMW' TPS mounted on a stock Miata 1.6L plate (for easy install)
-dash light/ calibrate switch for LC-1
-GM air temp sensor
-vacuum tubing to run to intake
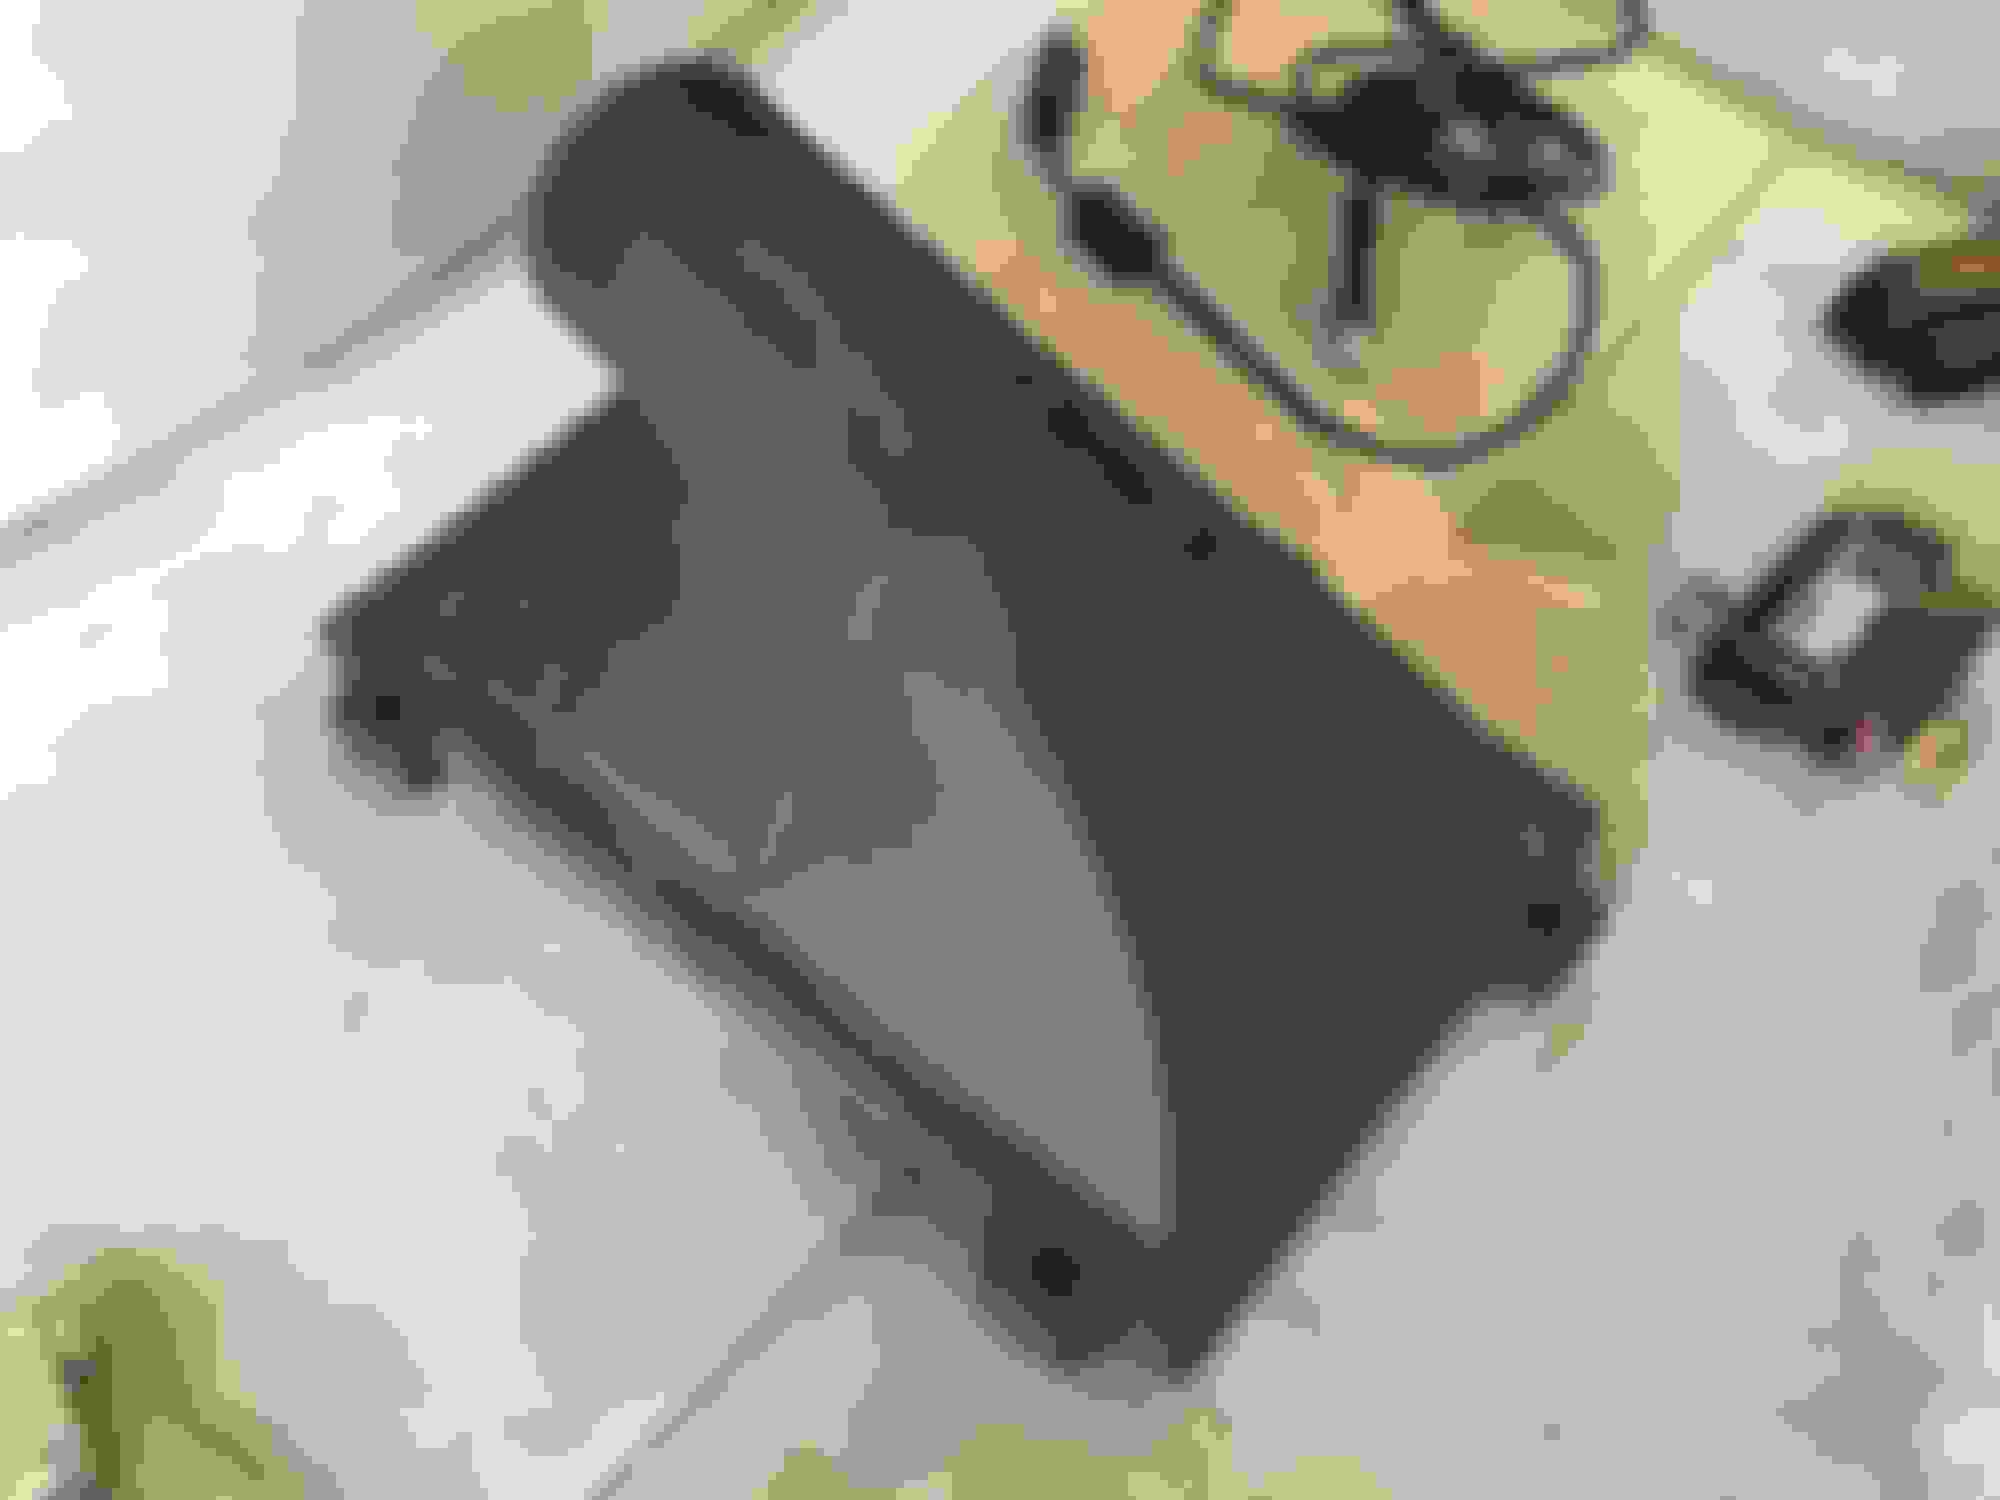
-3d printed airbox top to remove the AFM flapper
-I haven't looked into how to transfer my TunerStudio license to a different user yet, but if I can, you can have that as well.
This is EVERYTHING you need to go from a stock 1.6L ECU setup to being a Megasquirt-powered naturally aspirated Miata. My engine is stock, with only a cat-back exhaust. Even the downpipe and cat are factory. The tune should work great if you have a similar setup. I was able to get this to pass a CA smog test on the rollers with this tune as well. It's obviously not CA legal, but that's your business.
INSTALLATION:
-run the vacuum line from the intake to the cabin
-unplug the old ecu, plug in the new ECU and vacuum line
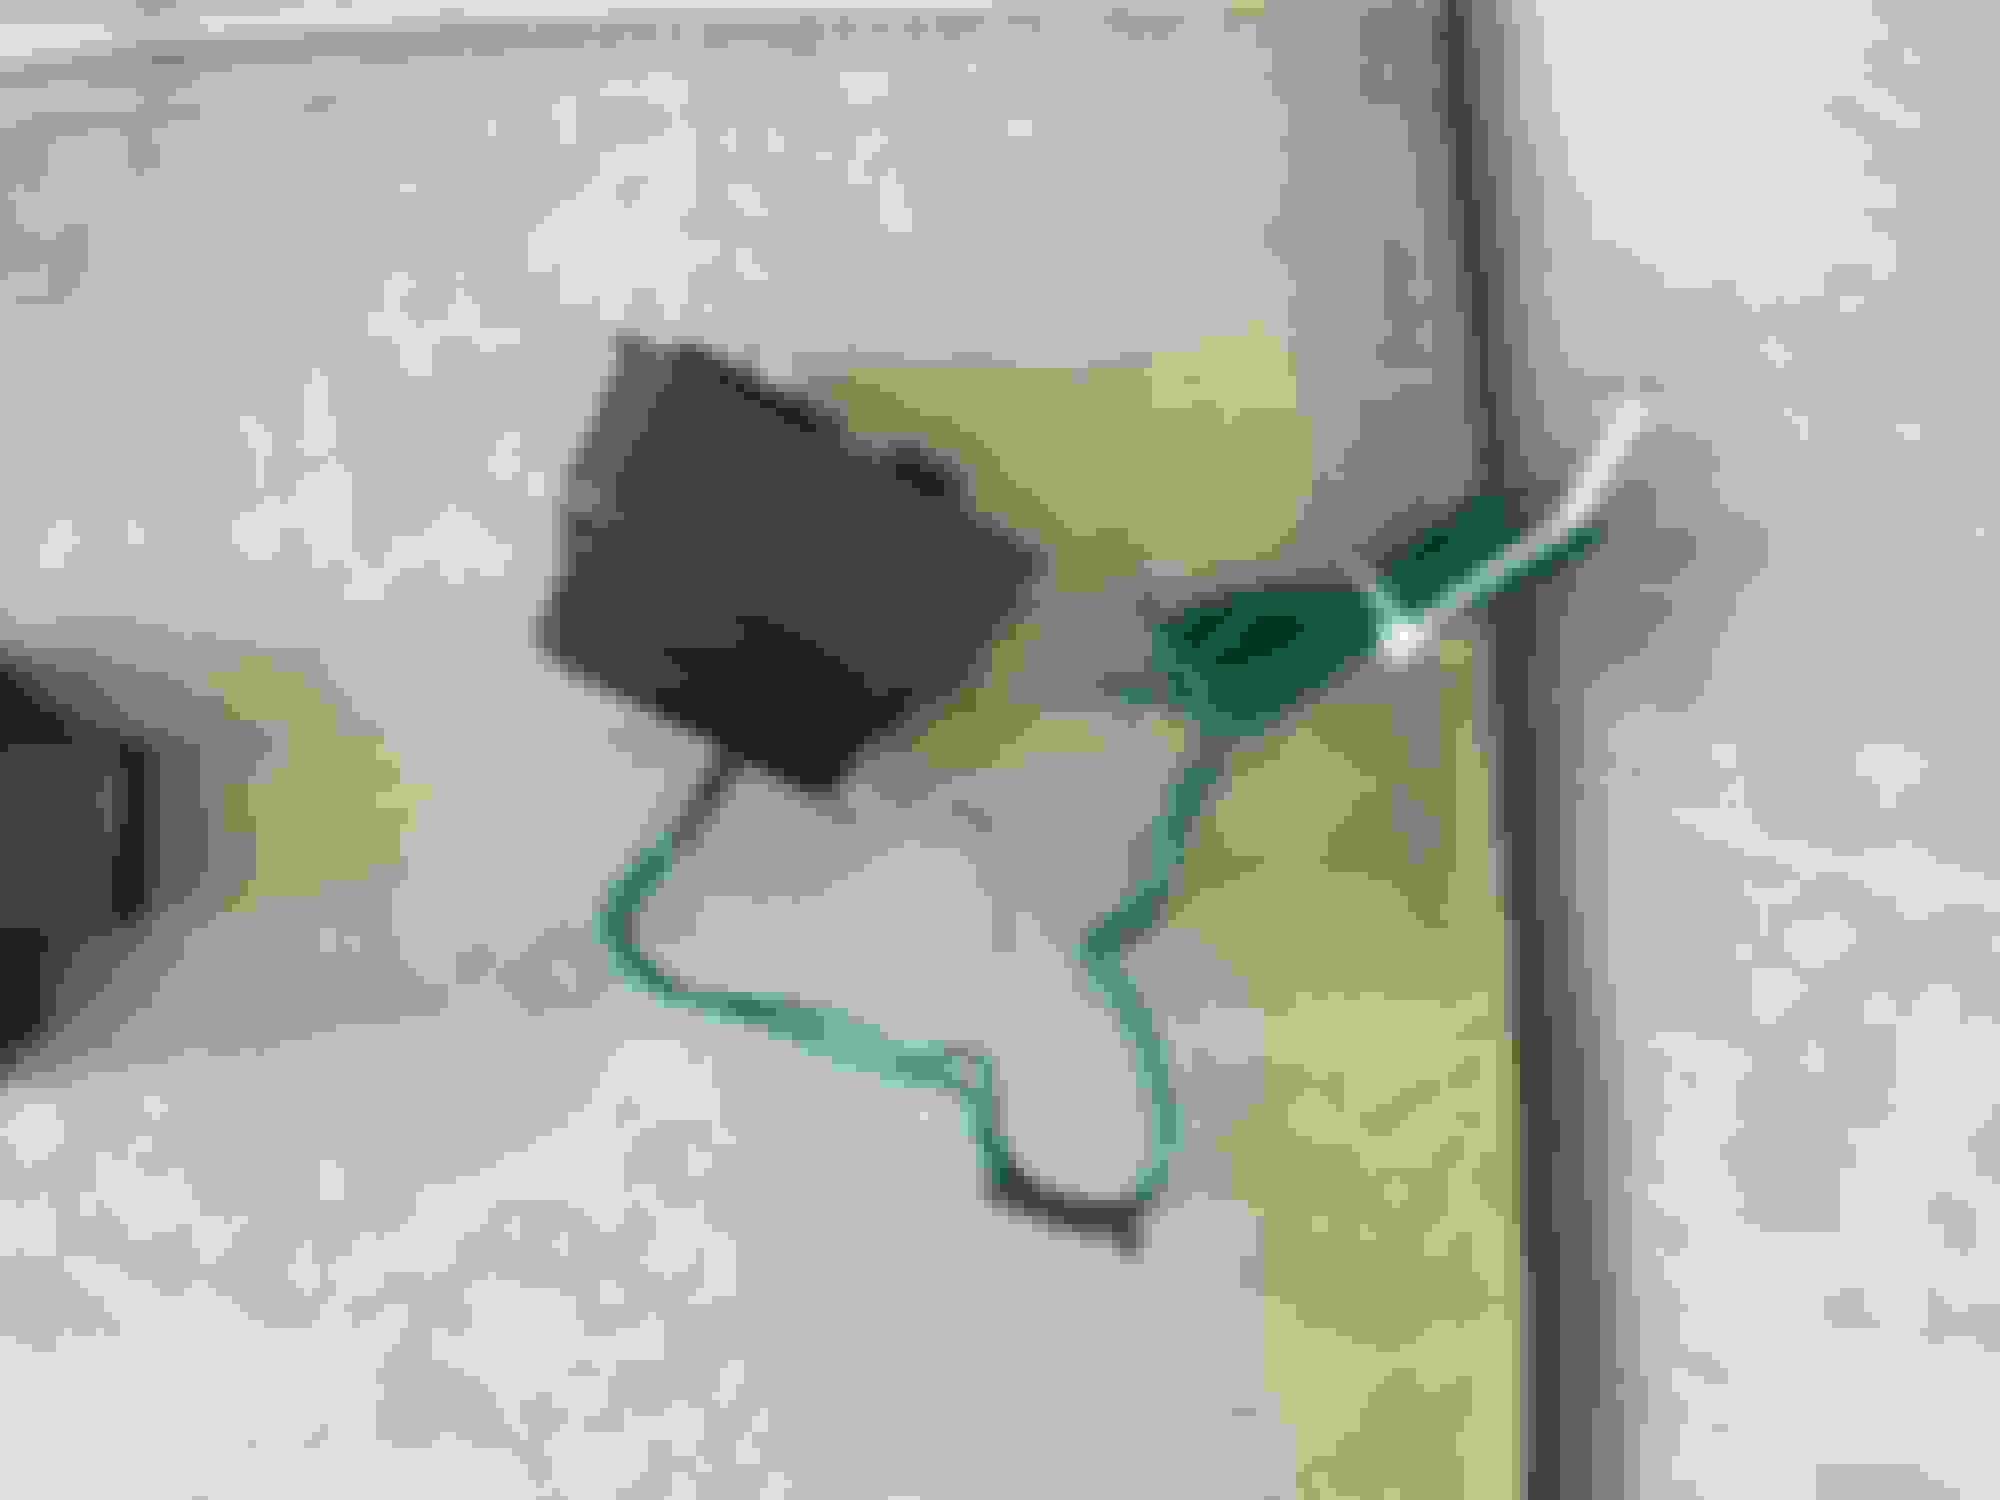
-remove O2 sensor, replace with LC1 sensor
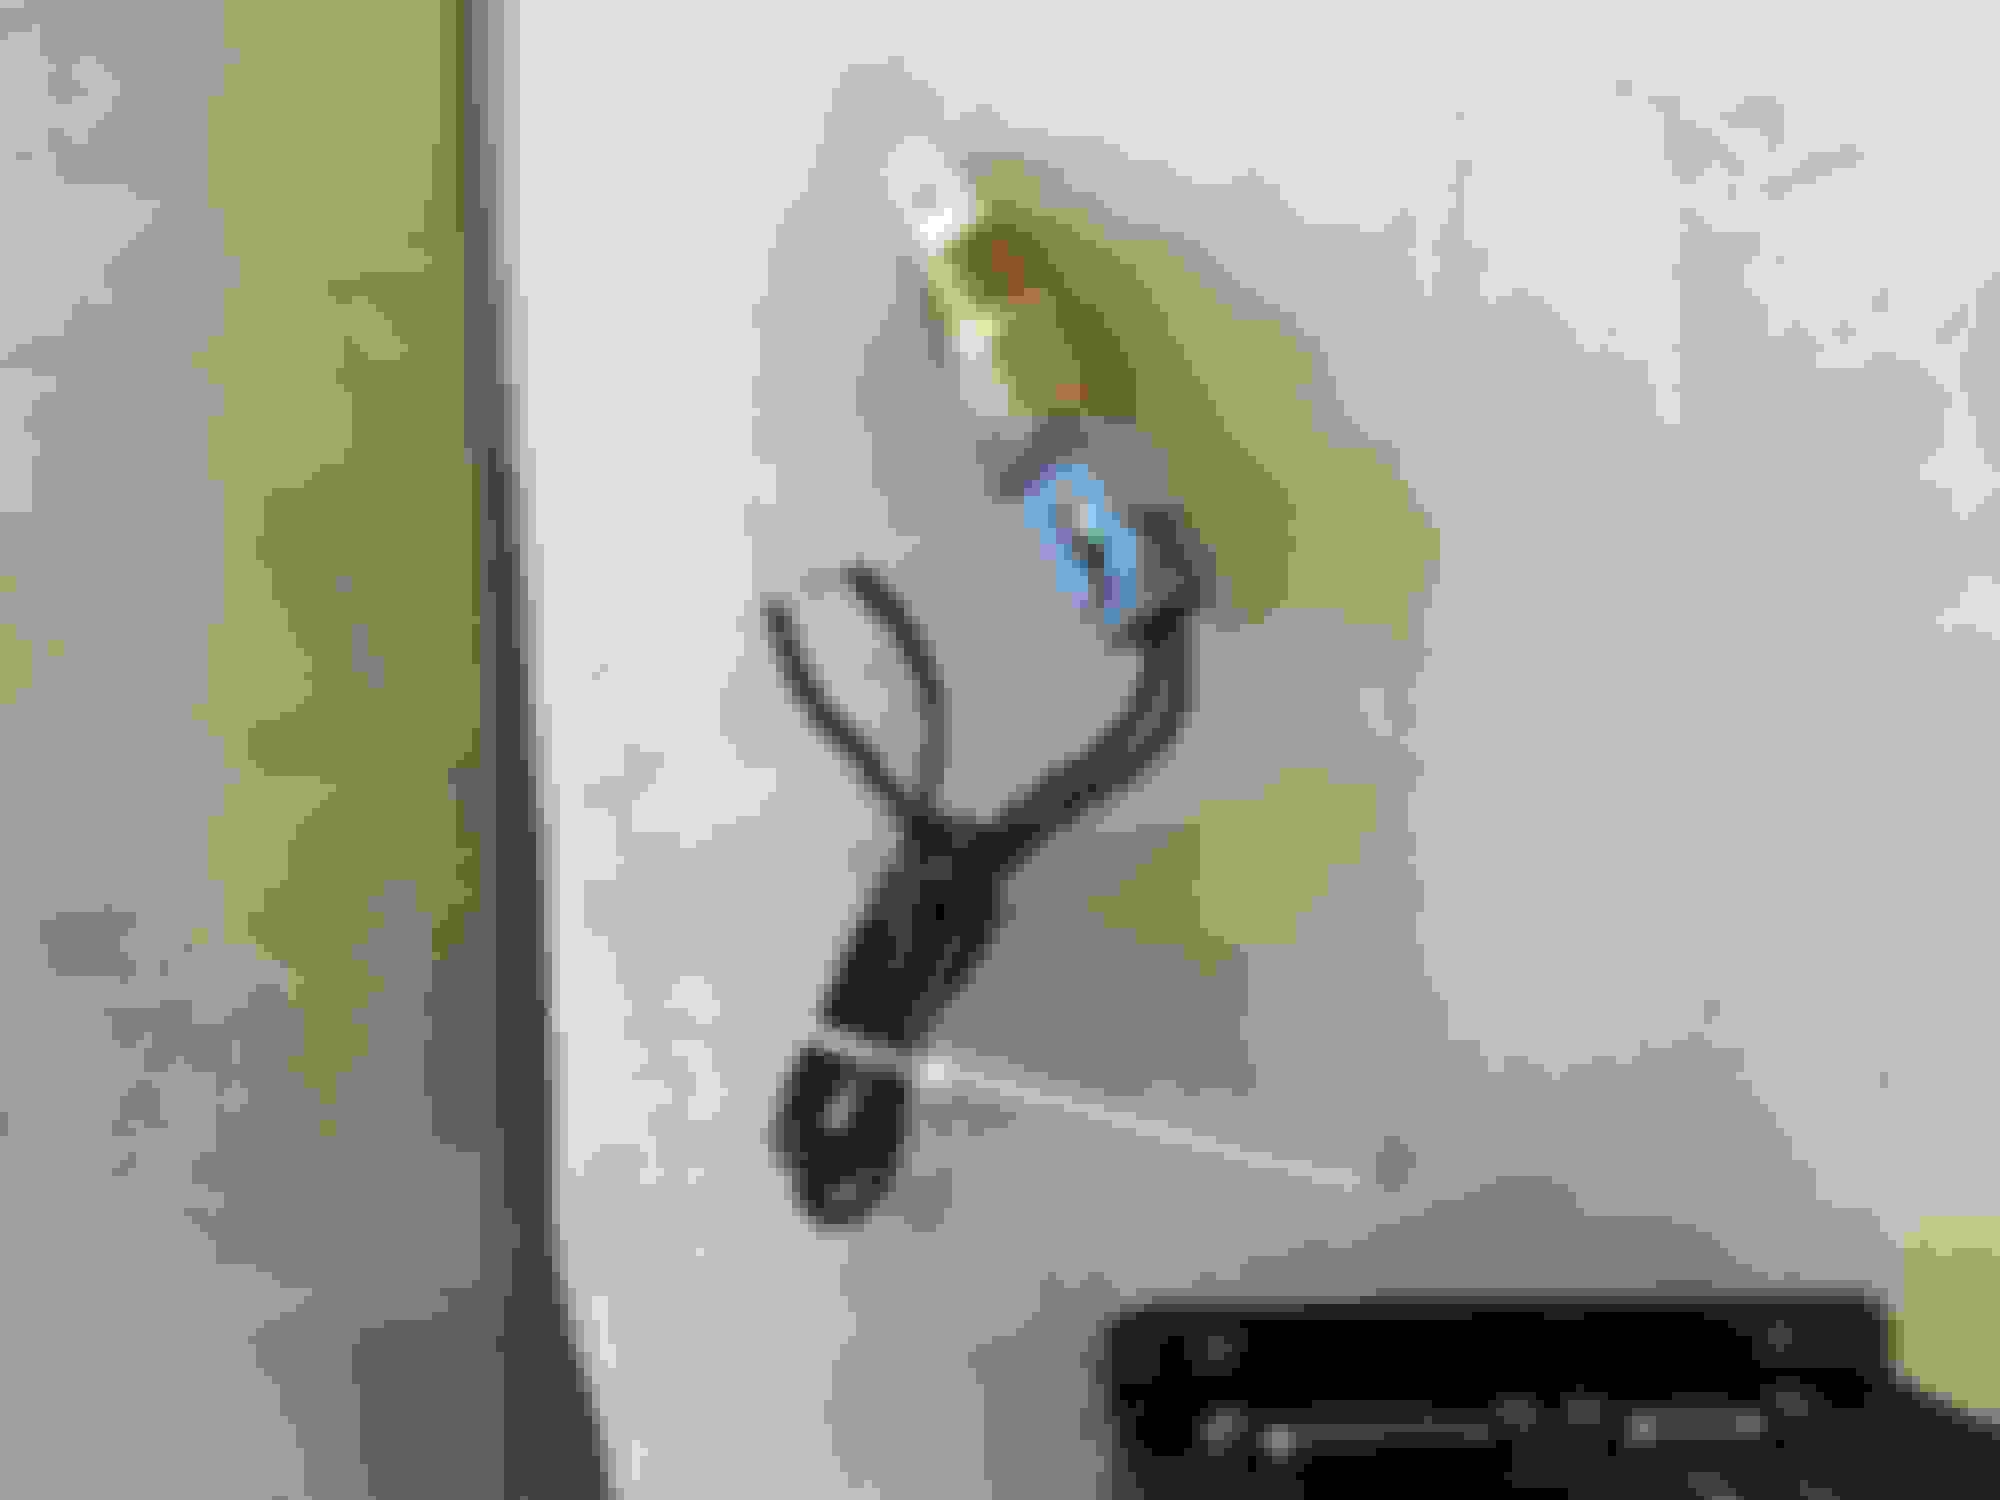
-run LC1 wires into cabin, attach yellow wire to main ECU harness and black wire to small, new harness plug (wires are cut and easy to identify where they were attached)
-install dash switch. Ground one wire (steering column bolt?), and run the other to the end of the LC1 harness at the ecu. Connect it to the green wire (wires are cut and easy to identify where they were attached)
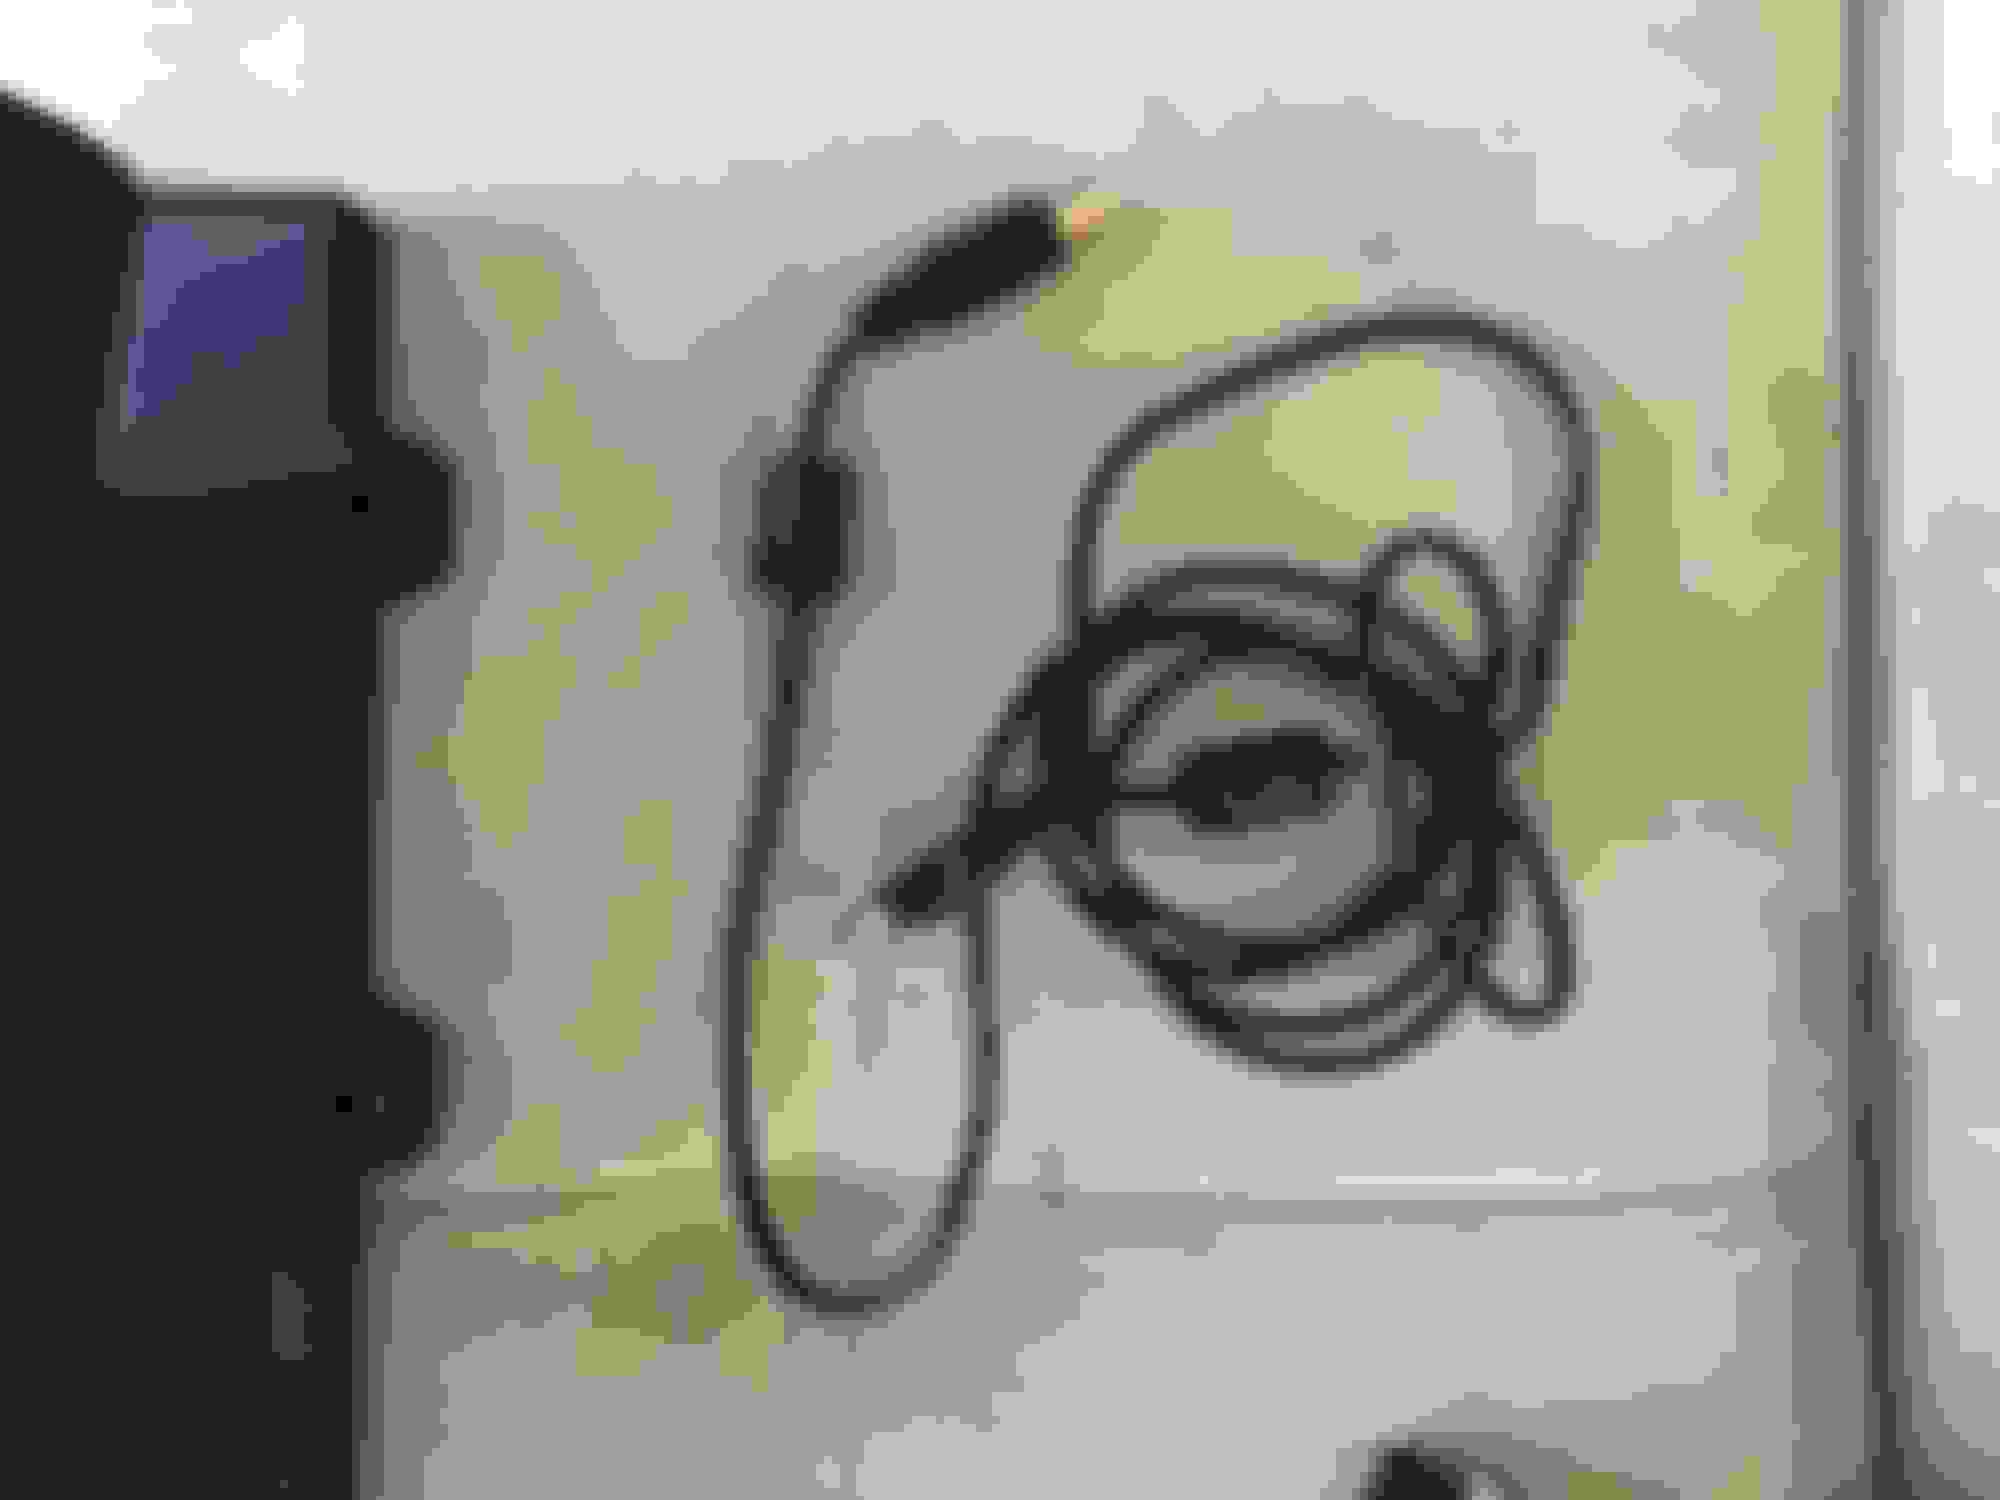
-remove factory TPS, replace with modified one.
-remove air box top.
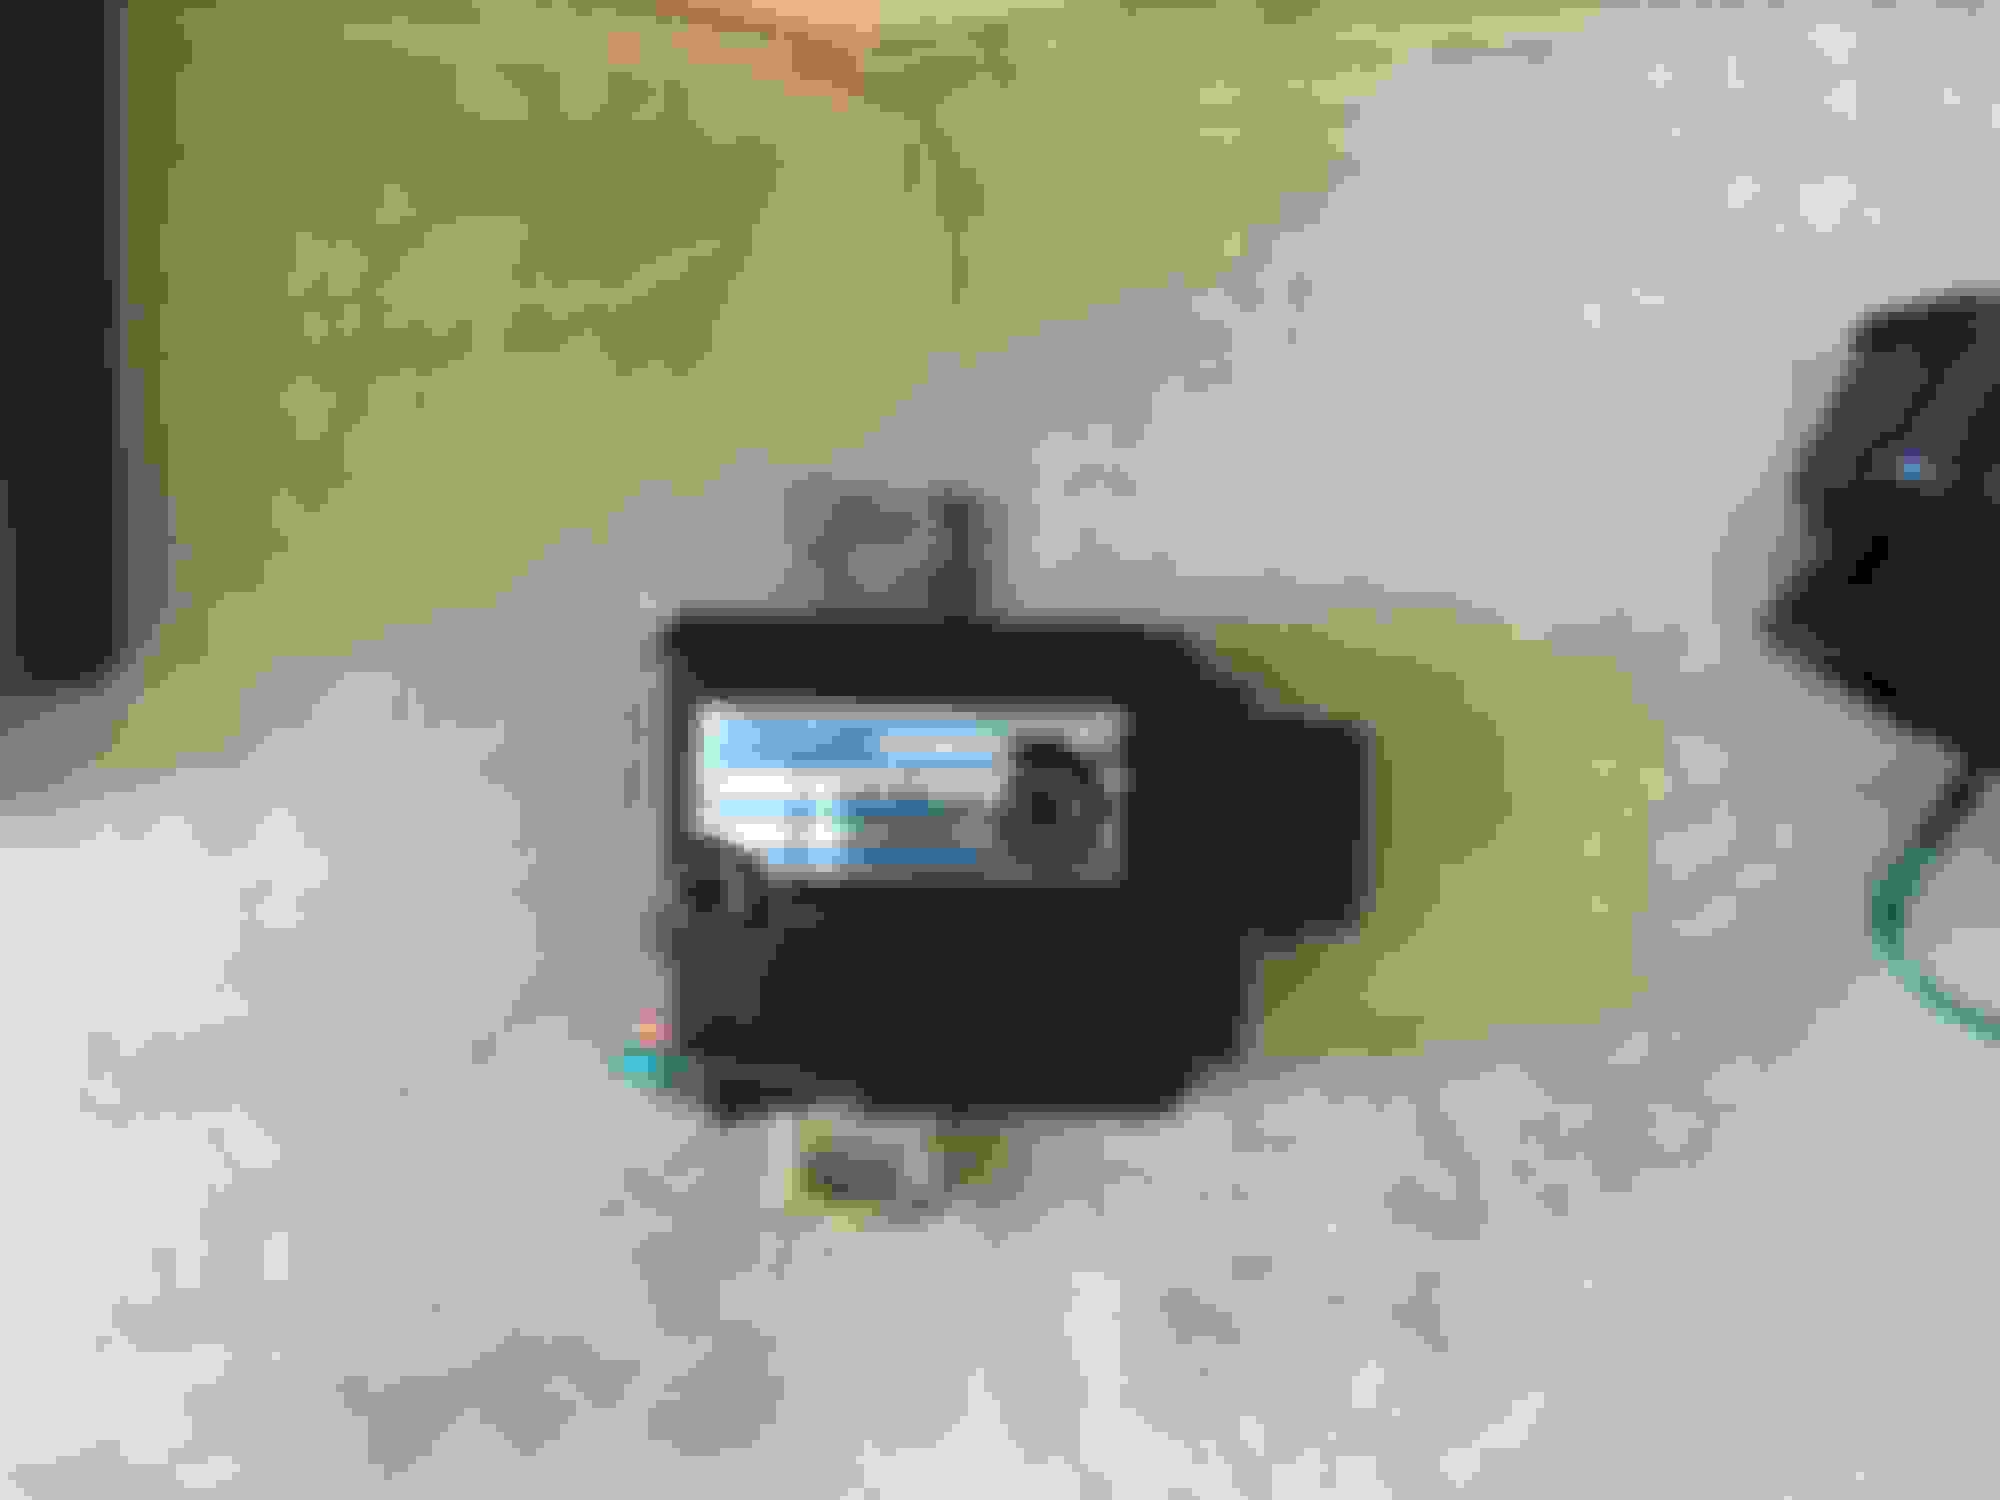
-plug air sensor to factory plug (picture will be included), tie to bottom of airbox bottom.
-install 3d printed airbox top.
Fire it up!
I designed the airbox top - it was printed on a Dimension SST machine in 2 pieces (too large for 1 print). It was split during the build file to have a wobbly edge for more surface area to glue. It works fine. If you don't like the glued edge look, you can sand, fill, prime, and paint the box - it's ABS plastic. You can make it look as finished as you'd like.
I'm not sure how much value lies in the airbox top. It is really expensive to have that printed (~$600 at Shapeways, last time I checked), but there's nothing else on the market to compare it to.
Project-G Side G-Fuser System for NA Miata w/ Hardware
Great condition, bought used never installed. $450 OBO will NOT ship these..
Also have an aftermarket matte black hard top w/ Lexan rear window that needs work. $700 OBO will not ship.
If interested please text (773) 999-9795
Thanks!
Last edited by timemachine89; 07-16-2016 at 07:49 PM.
 07-12-2016, 10:57 PM


 0
0


