
Post your DIY aero pics


 12-19-2015, 08:40 PM
#1004
Junior Member
iTrader: (1)

Join Date: Jun 2014
Location: Toronto, ON, Canada
Posts: 133
Total Cats: -7

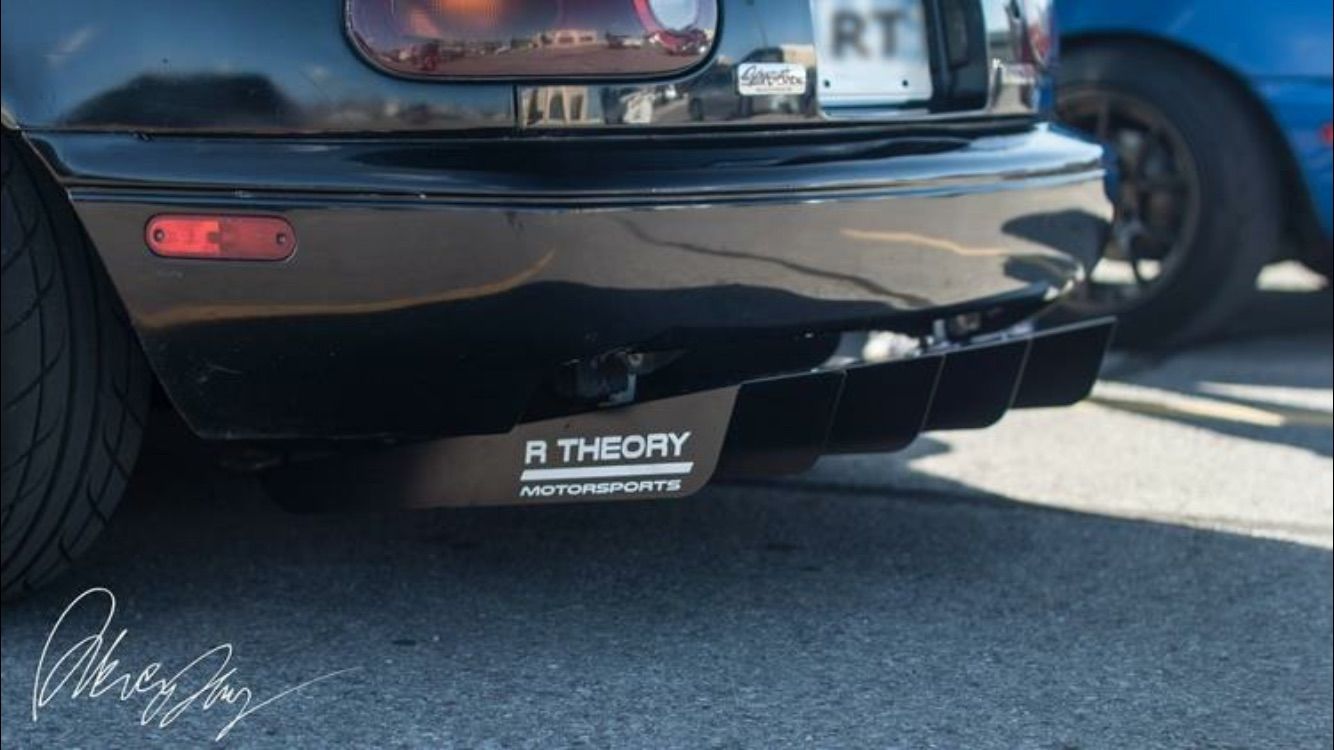
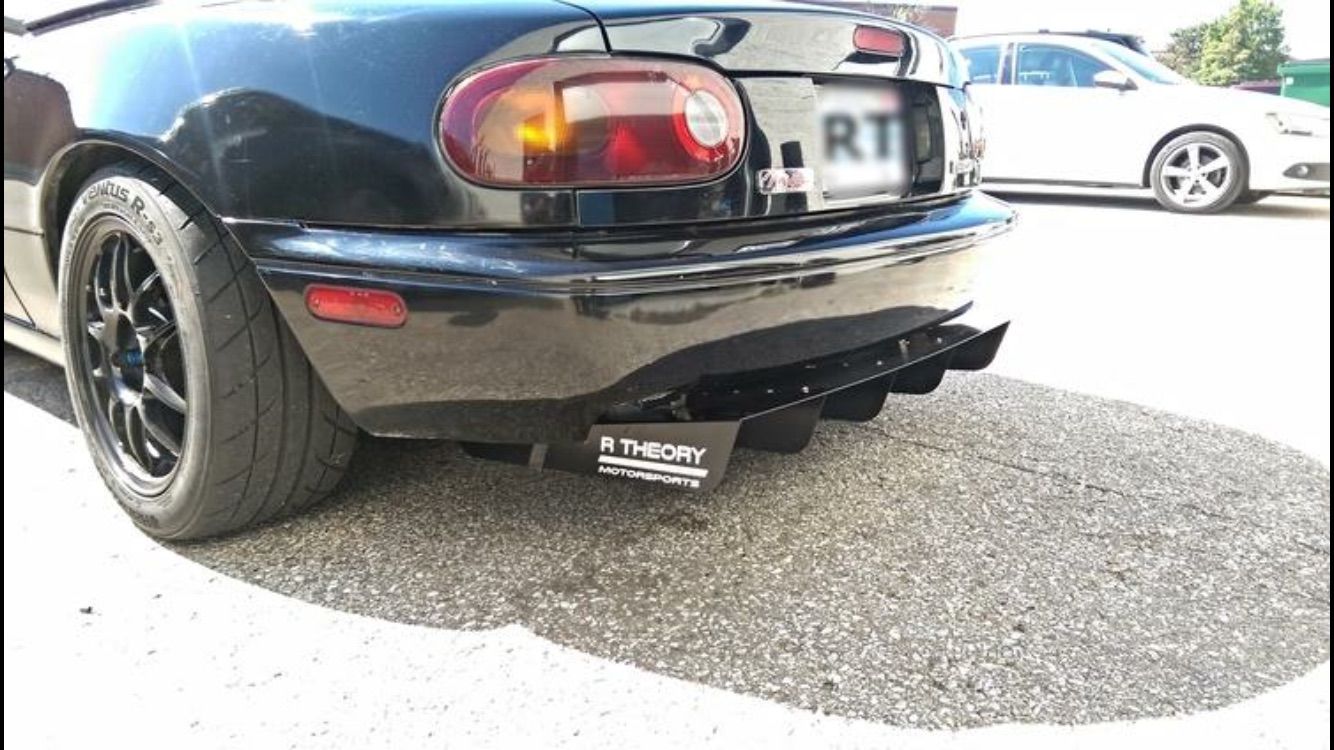

Like ThePass said, the most important part to a functioning diffuser is a flat floor infront of the diffuser. I'm working on second design that will feature a curved profile instead of flat. It will help the air stay attached to the diffuser surface at more severe angles.
Also the angle on the diffuser in the pictures is adjustable. You can run it right up to the bumper if you wanted to.

Reply
 0
0

0


 12-20-2015, 06:56 PM
#1008
Senior Member

Join Date: Dec 2010
Location: Auckland, NZ
Posts: 992
Total Cats: 57
Love the idea and implementation, my concern whenever I consider this type of setup is removing the front tie bar across the front of the chassis...would be so nice to have it all on the undertray as you say!
Are there no issues with chassis or overall strength when removing that bar?
put to OP and others....
Are there no issues with chassis or overall strength when removing that bar?
put to OP and others....
Reply
0
0
 12-21-2015, 01:41 PM
#1011
Love the idea and implementation, my concern whenever I consider this type of setup is removing the front tie bar across the front of the chassis...would be so nice to have it all on the undertray as you say!
Are there no issues with chassis or overall strength when removing that bar?
put to OP and others....
Are there no issues with chassis or overall strength when removing that bar?
put to OP and others....
Reply
0
0
12-22-2015, 10:30 PM
#1012
Supporting Vendor

iTrader: (3)

Join Date: Jul 2006
Location: San Diego
Posts: 3,303
Total Cats: 1,216
I too haven't had any issues with that cross section removed. I have a small 1" square tube welded in between the two sides, so not quite as drastic as having nothing spanning that gap, but that tube is mostly there just to support the front of the intercooler, not so much for the chassis.

Reply
0
0
12-23-2015, 06:04 AM
#1013

Isn't anything in front of the crossmember "just" for crash protection and support for body panels etc.
But with an improved (flimsy) crossmember you might need help with stability from the framerails.
Having stock structures helps when bouncing against guardrails...
But with an improved (flimsy) crossmember you might need help with stability from the framerails.
Having stock structures helps when bouncing against guardrails...
Reply
0
0
01-05-2016, 07:58 PM
#1014
SADFab Destructive Testing Engineer


iTrader: (5)
Join Date: Apr 2014
Location: Beaverton, USA
Posts: 18,642
Total Cats: 1,866
When designing an air damn the air intake has a certain size that is an optimal combo of drag vs air intake right? Does this change when adding a grill? When adding a mesh grill do you take the area of the bits blocked by the gril into account?
Just thinking. No actual reason behind the question, thought this would be a good place to ask.
Just thinking. No actual reason behind the question, thought this would be a good place to ask.
Reply
0
0
01-05-2016, 08:45 PM
#1015
Elite Member

Join Date: Feb 2007
Location: Columbus, OH
Posts: 1,531
Total Cats: 739
When designing an air damn the air intake has a certain size that is an optimal combo of drag vs air intake right? Does this change when adding a grill? When adding a mesh grill do you take the area of the bits blocked by the gril into account?
Just thinking. No actual reason behind the question, thought this would be a good place to ask.
Just thinking. No actual reason behind the question, thought this would be a good place to ask.

Grill and mesh choice
We typically make grills from three meshes of different open ratio. Basically cool and hot weather. With a reroute, it's easy to overcool the engine to the point that the oil doesn't get hot enough. The more closed it ism the less aero drag and more downforce on the front end.
Wire mesh from mcmaster.com
9217T41 81.5% open area hot weather (pictured)
9641T241 61.6% open area warm weather
9227T632 44.8% open area cold weather, what we ran at T25.
Reply
0
0
01-05-2016, 09:49 PM
#1018
Junior Member

Join Date: May 2008
Location: Grants Pass, OR.
Posts: 488
Total Cats: 17
I run 1/2"galv. farmers cloth, also known as construction cloth, picture above. On cold mornings I just add duct tape till it warms up in the afternoon. To answer your question I don't think the 1/2" effects the issue enough to figure it as being in the equation. Going to the 1/4" or 1/8" would be a different story.You can buy this stuff at any local hdwre store usally by the foot.
Reply
0
0
01-07-2016, 11:35 PM
#1019
Newb

Join Date: Feb 2009
Location: Seattle, Wa.
Posts: 12
Total Cats: 3
My answer to a question no one has asked; EZ on-off splitter, steetable track car. Basically I don't wanna have to buy a trailer so...The 4 front elements nest together and fit on the parcel shelf for transport to and from the track.
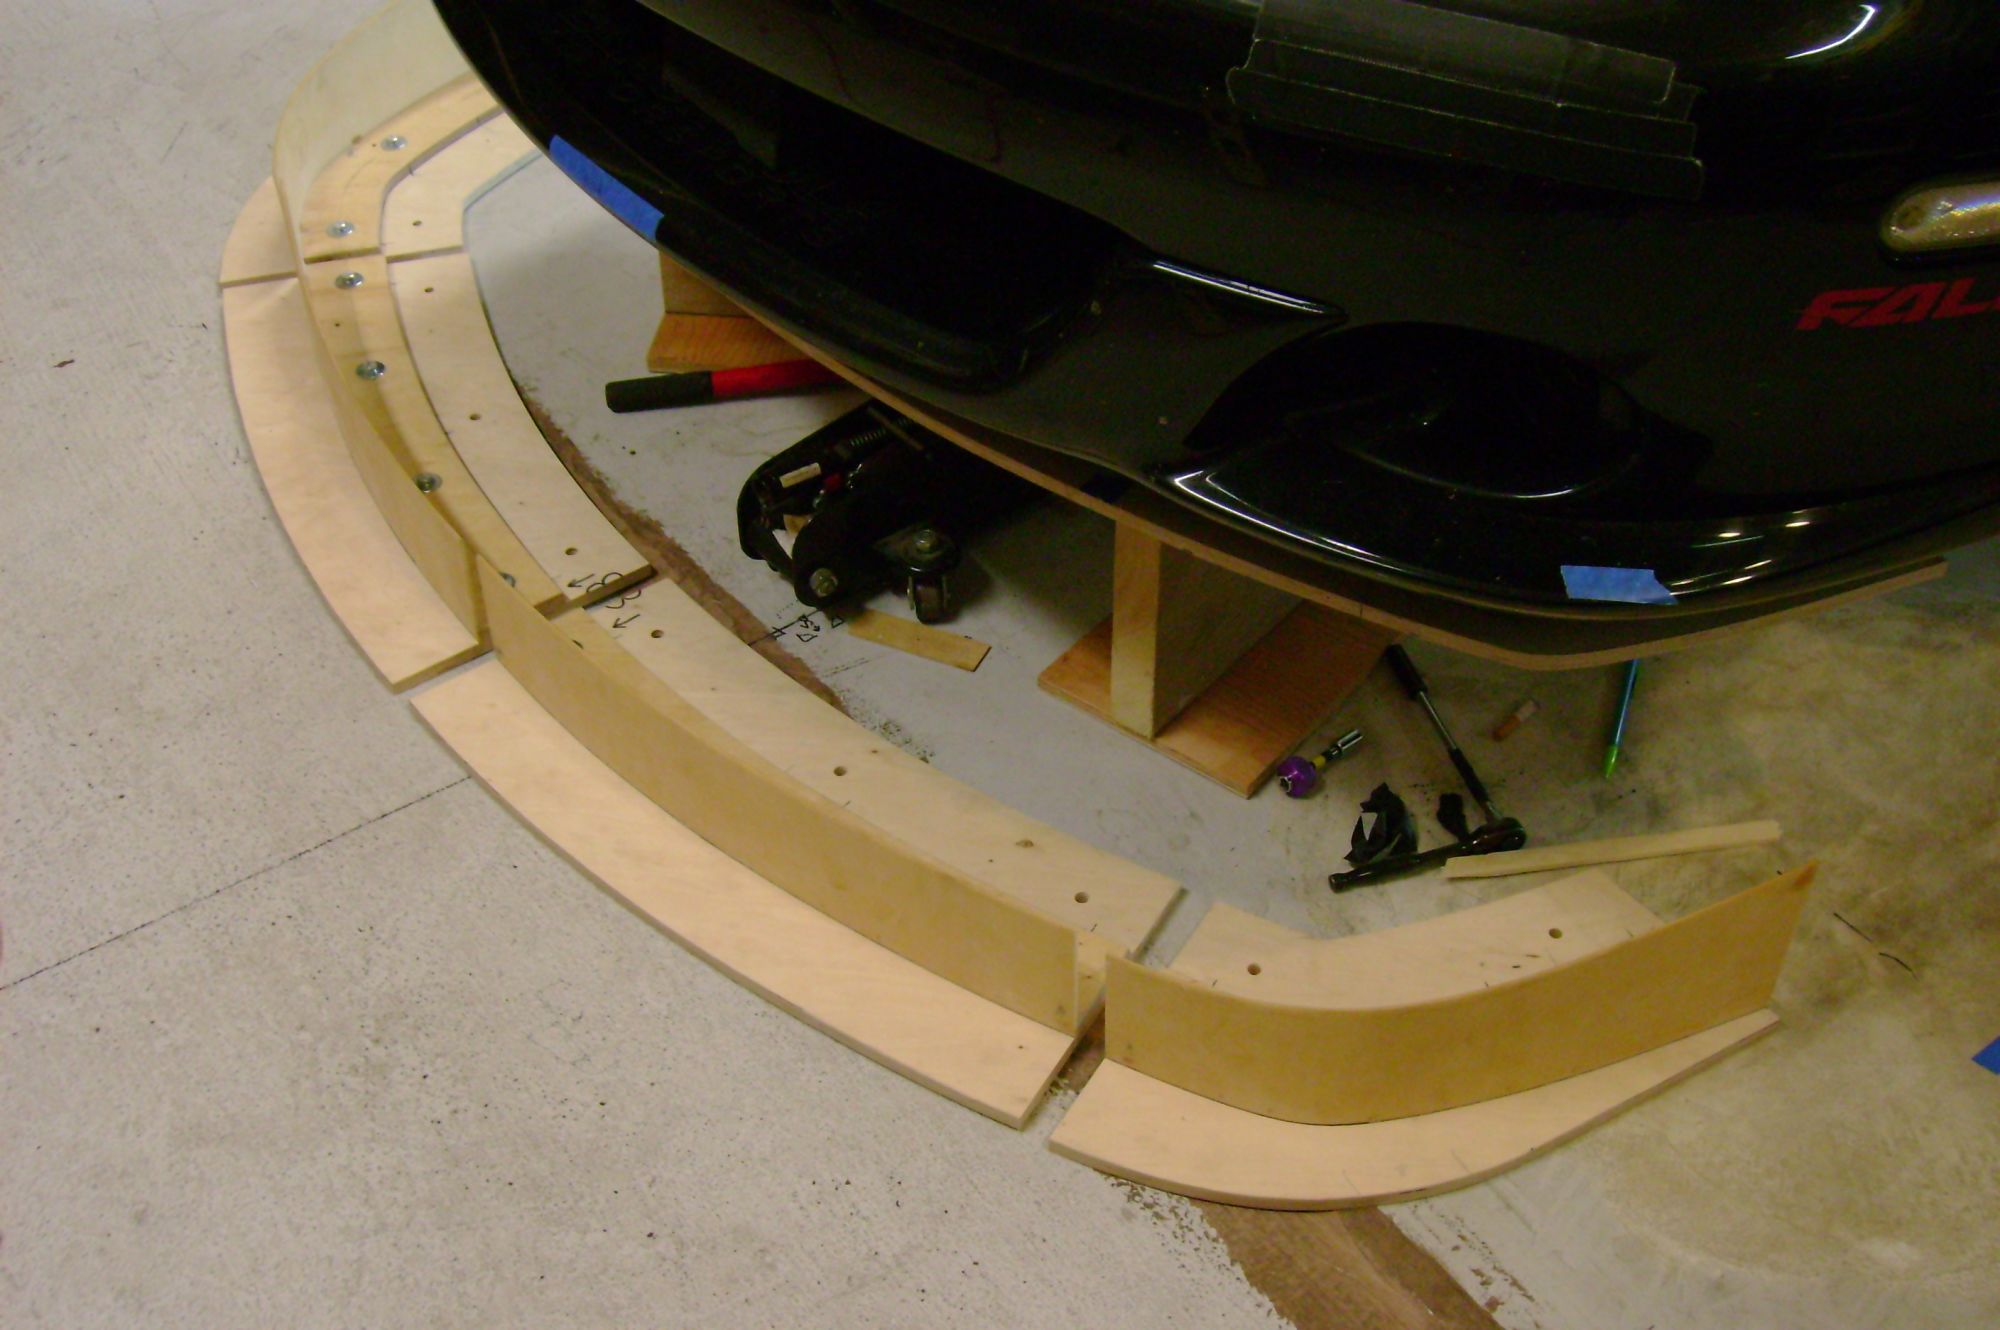
4 Removable front elements
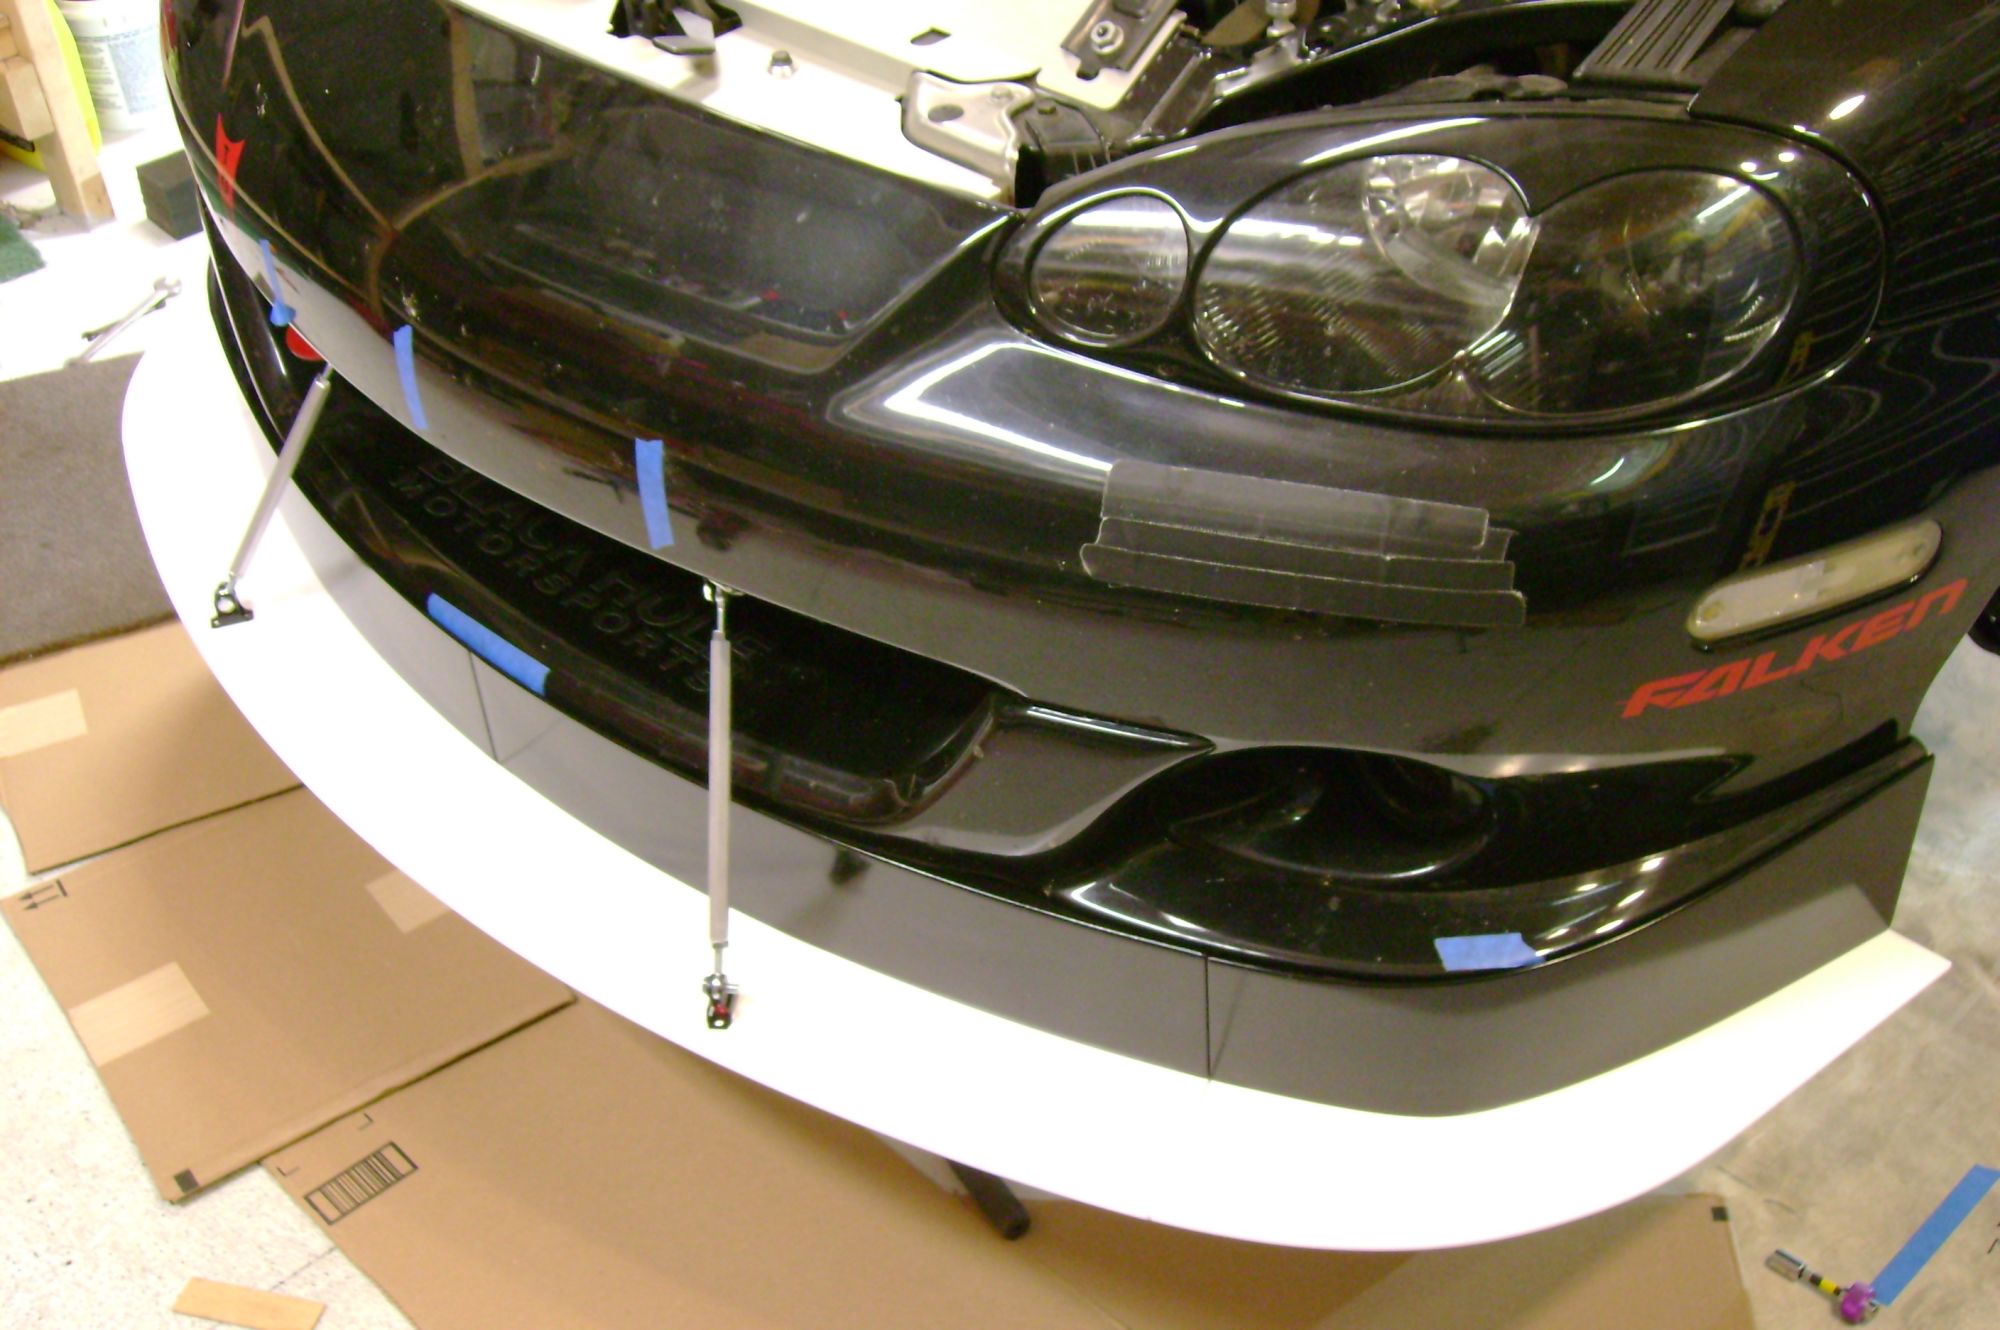
Front elements mounted
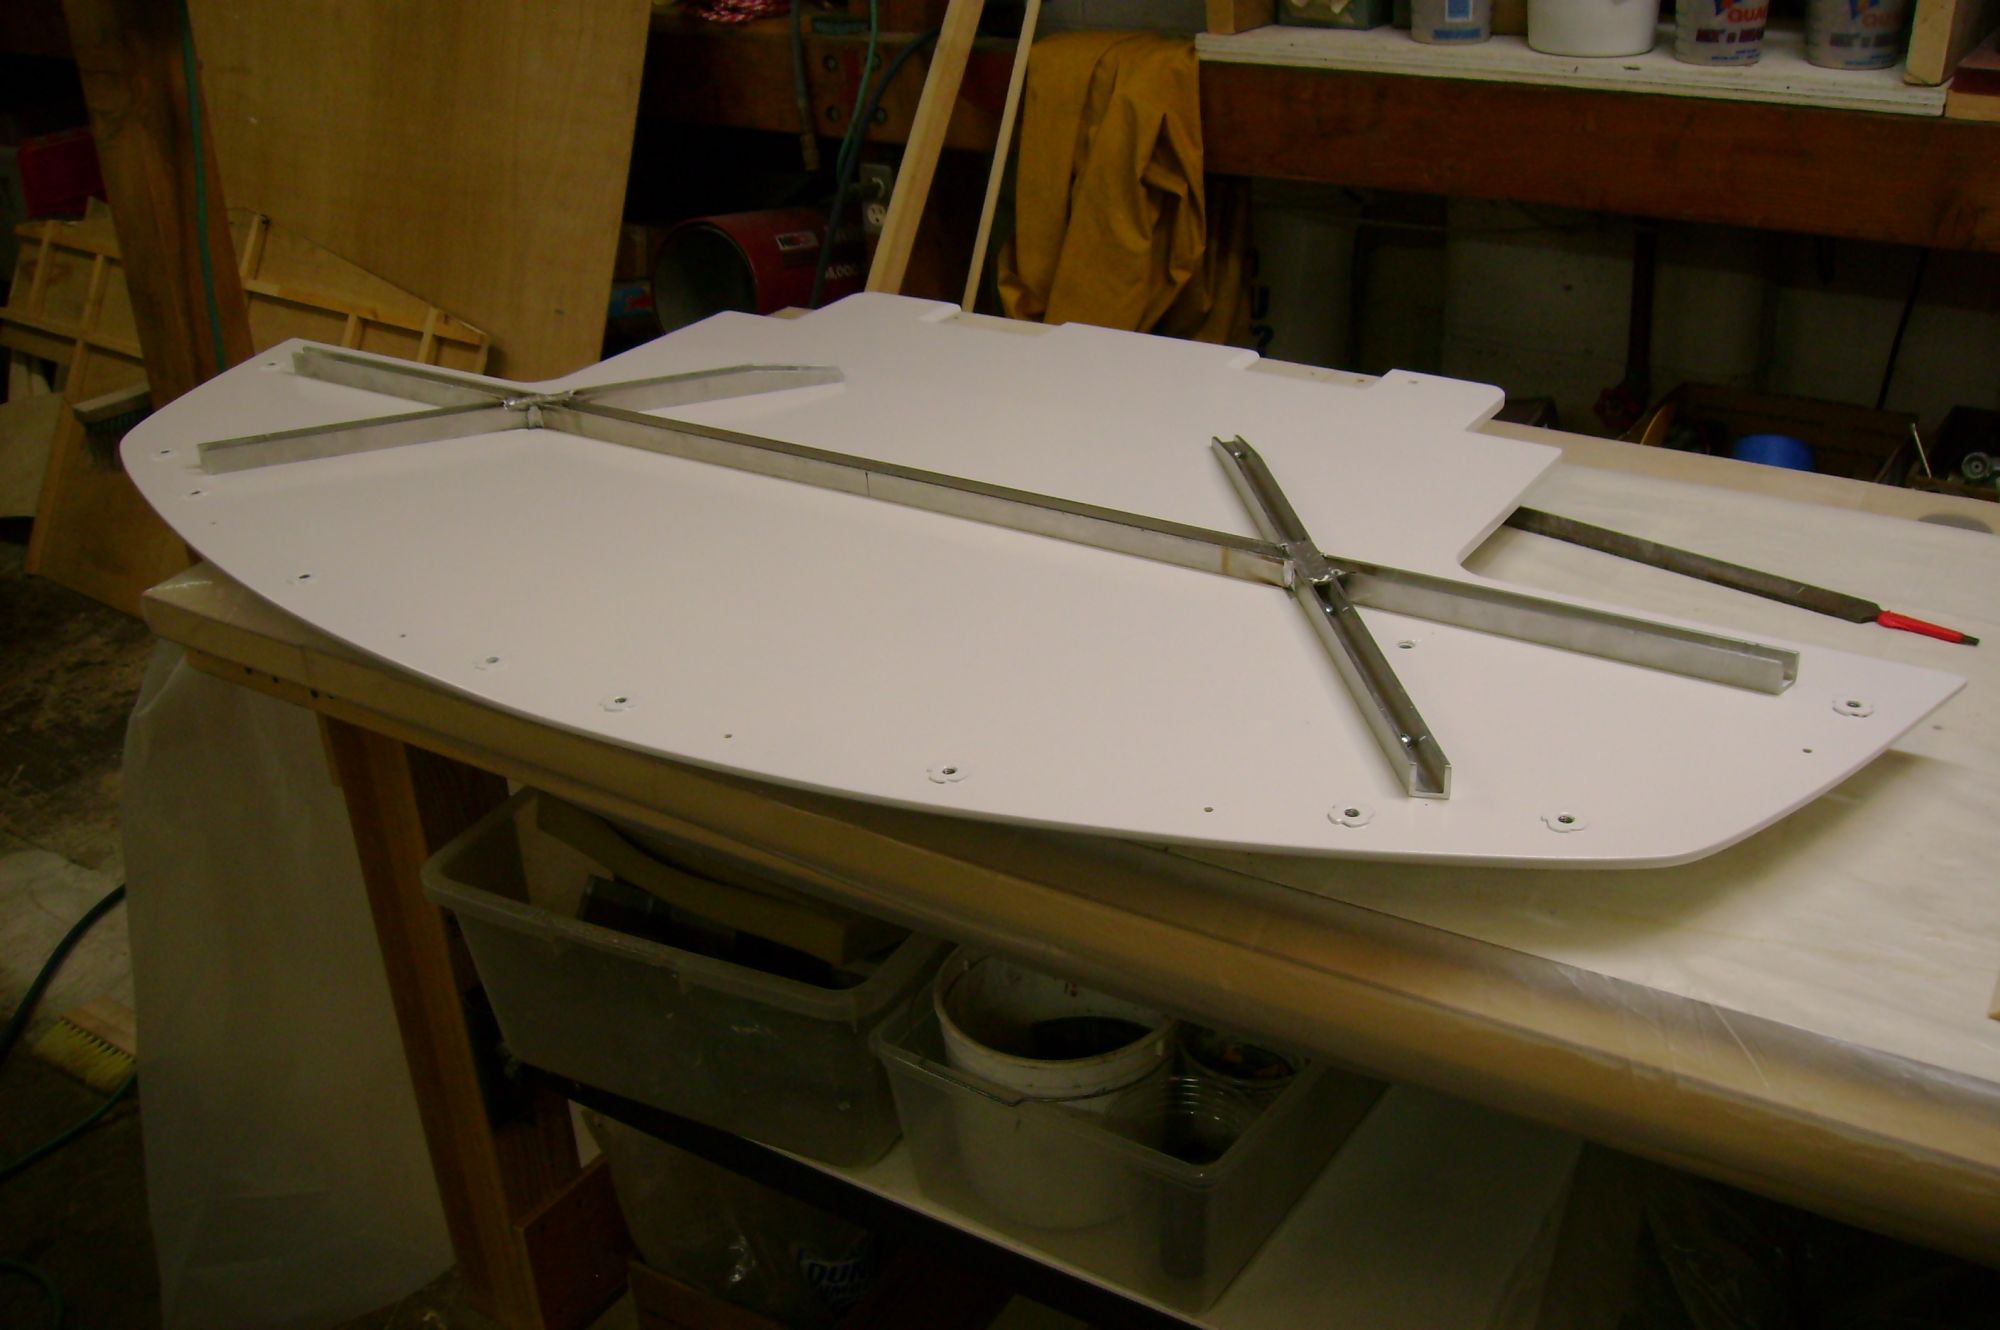
This section remains on the car and serves as the mount for the removable front elements
4 Removable front elements
Front elements mounted
This section remains on the car and serves as the mount for the removable front elements
Reply
3
3
01-08-2016, 07:42 AM
#1020
I like this idea the most for my application. I have thought about this a lot, but most of my reason for a removable splitter is that I can try different designs while not wasting more materials or taking up large space. It looks like you just soldered the aluminum channel together but how are you mounting it to the chassis? It all looks very well done.
Reply
0
0


