Nickt93's Build Thread - 1995 FMII

 05-03-2010, 10:50 AM
#62
Senior Member
Thread Starter
iTrader: (5)

Join Date: Apr 2007
Location: Atlanta
Posts: 646
Total Cats: 36
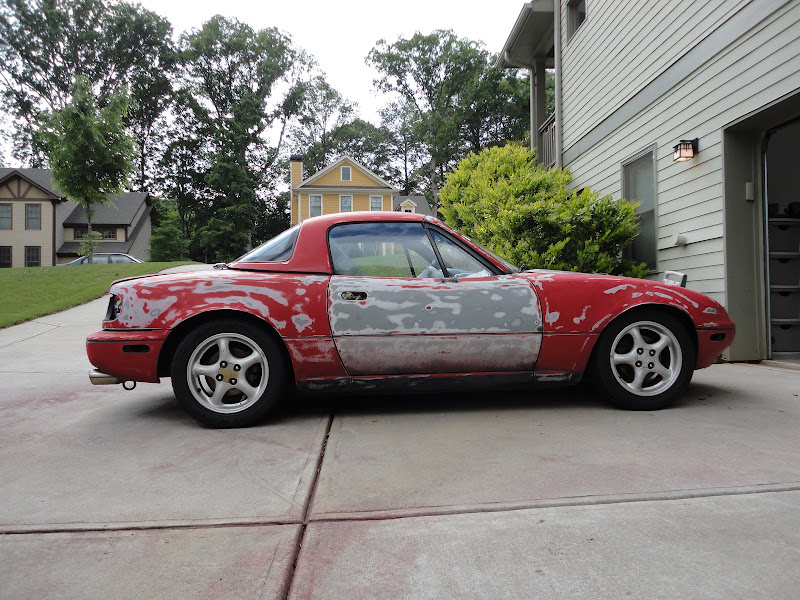
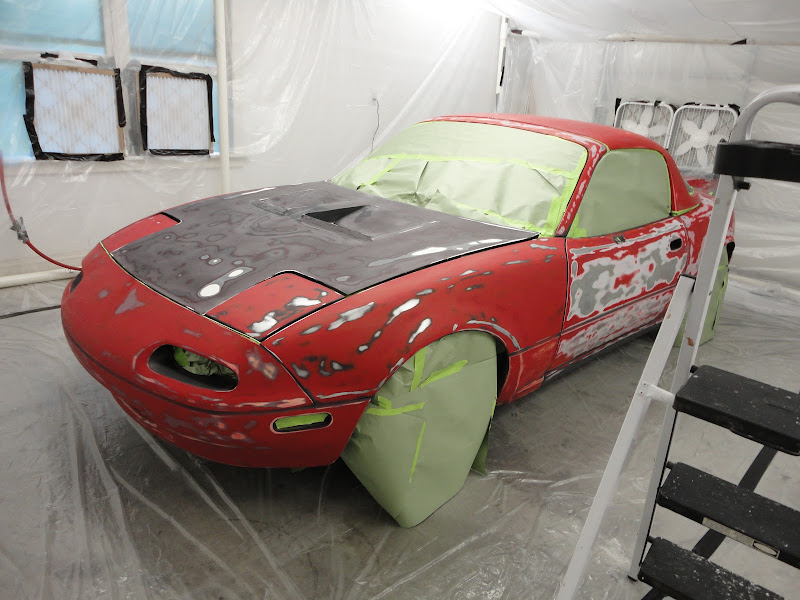
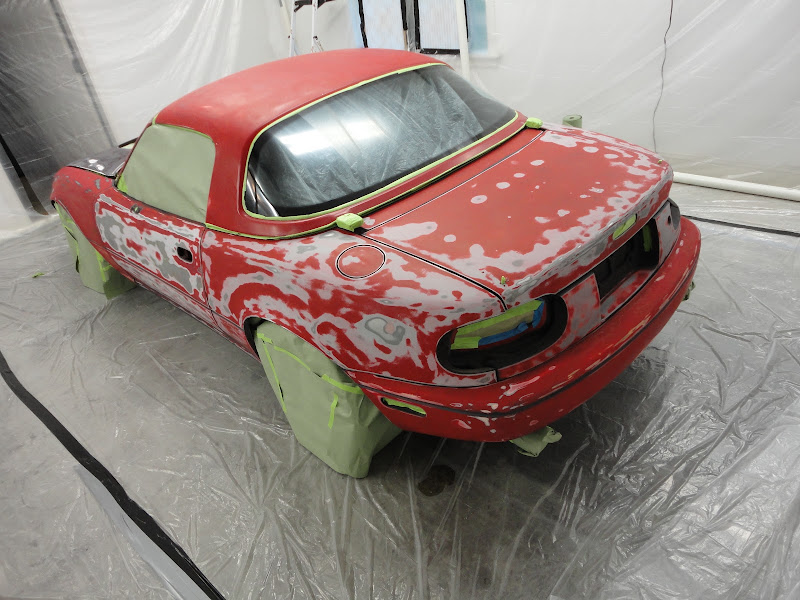
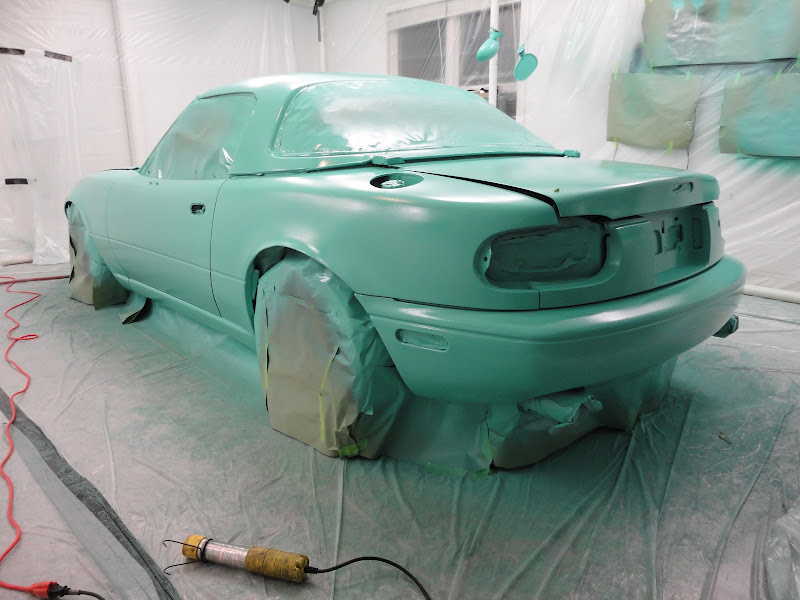
Update - I'm getting closer to painting. This weekend I stripped the remaining black paint, removed some trim, built the paint booth, and masked off the car. I was hoping to spray the paint as well, but ran out of time. The car is sitting in the booth, masked off and ready to go.
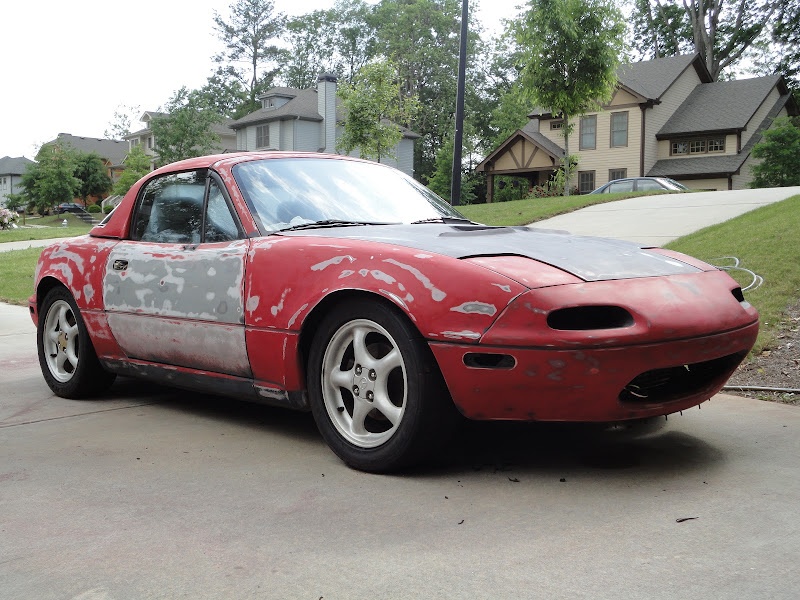
Here are some pics with the paint removed:
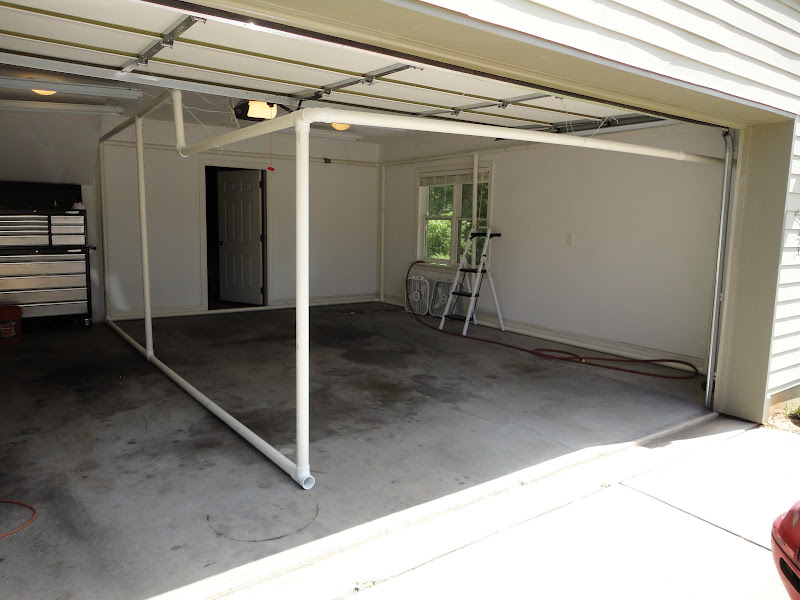
Here is a picture of the booth framed out. When I made my initial booth design plan, I forgot to account for the garage door opening when I decided on the height of the booth. No worries - I just made a little dog leg with the PVC at the back of the booth to allow enough room for the garage door to open.
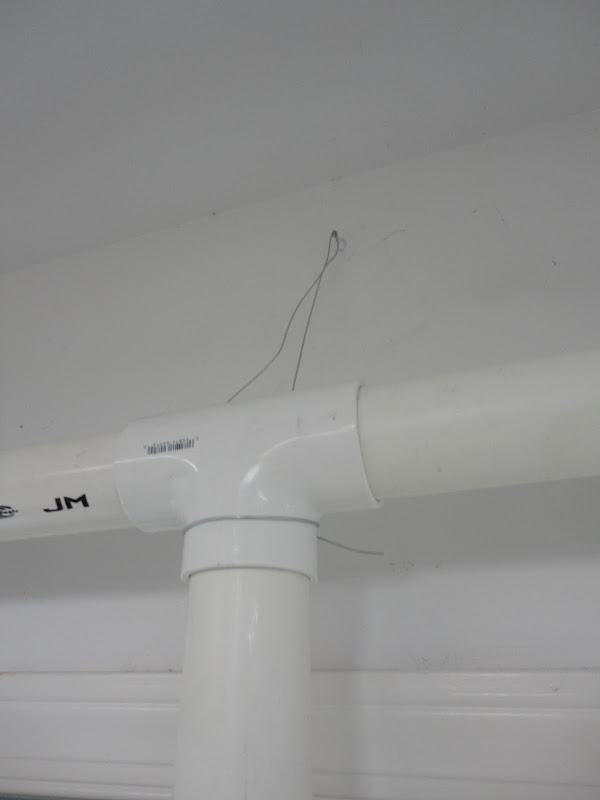
To give a little bit of needed stability to the booth, I used some wire to support the upper part of the frame. This will keep the booth from falling apart while I'm trying to paint the car!
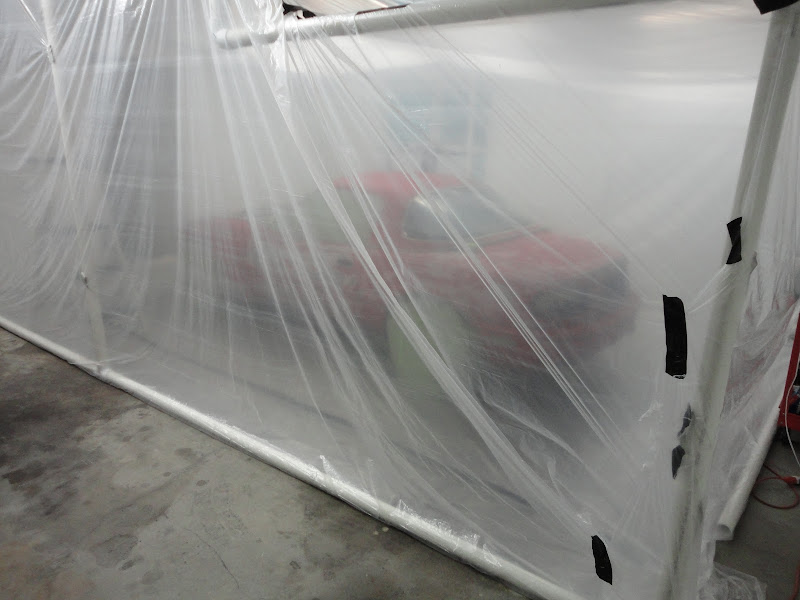
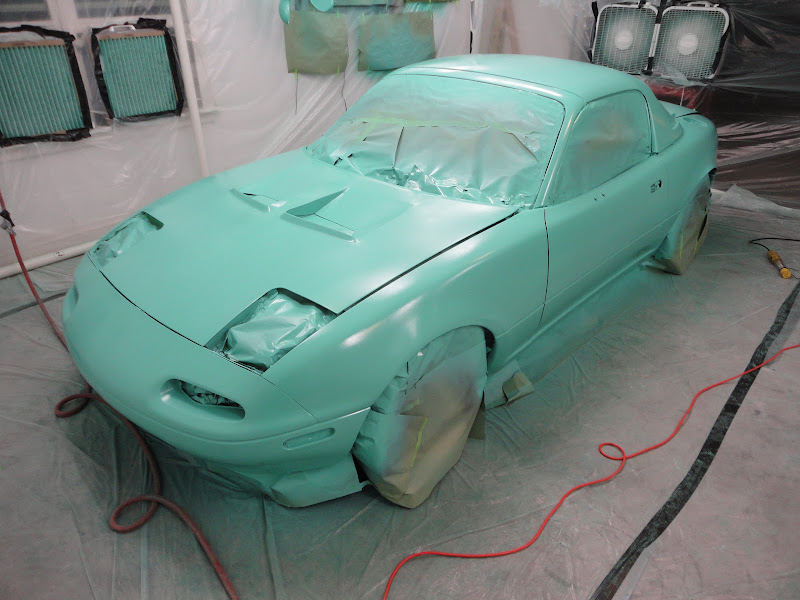
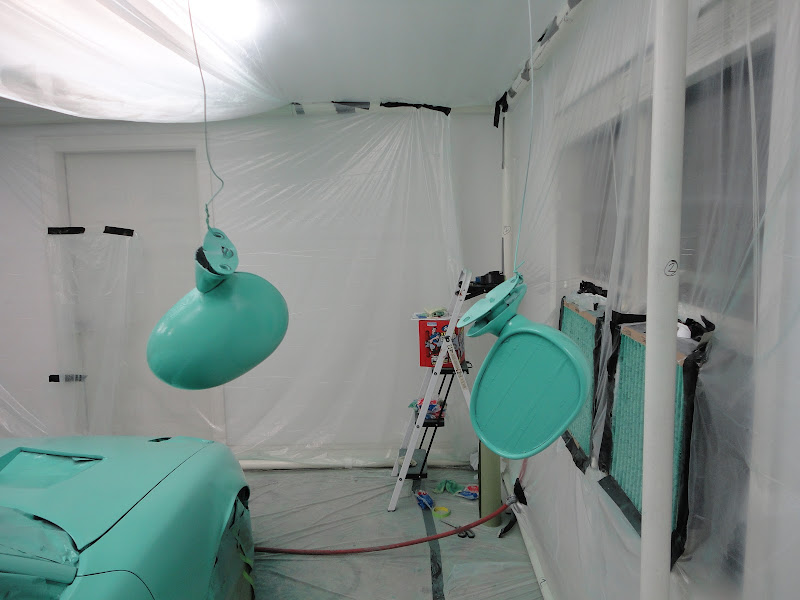
Here are some pics of the car in the booth. The booth is fairly large, so there should be plenty of room to maneuver. The overall dimensions are something like 18'x14'. In this pic you can see the intake and exhuast fans to keep clean air circulating through the booth:
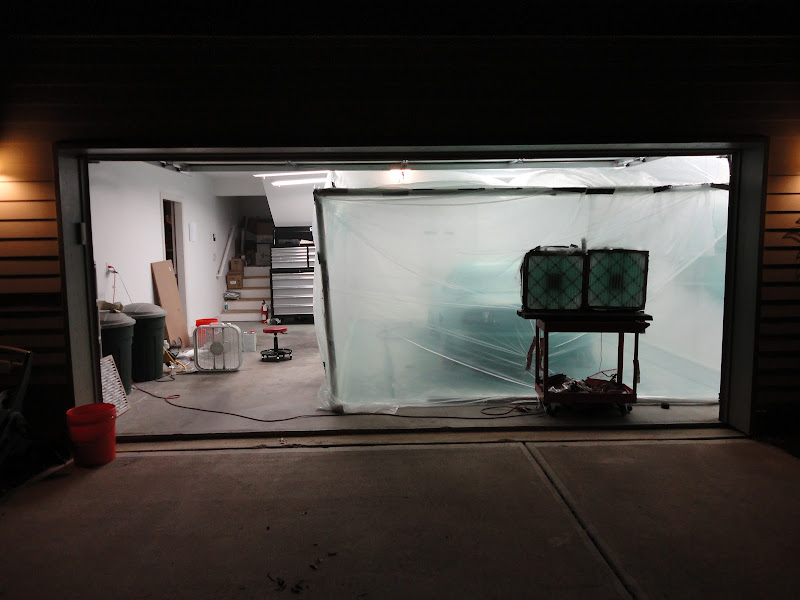
An outside shot of the booth:
Once complete, I'll create a full DIY paint job write up including booth construction, car surface prep, purchasing supplies, and any other Miata-specific considerations in case any of you guys want to paint your car yourself.
Here are some pics with the paint removed:
Here is a picture of the booth framed out. When I made my initial booth design plan, I forgot to account for the garage door opening when I decided on the height of the booth. No worries - I just made a little dog leg with the PVC at the back of the booth to allow enough room for the garage door to open.
To give a little bit of needed stability to the booth, I used some wire to support the upper part of the frame. This will keep the booth from falling apart while I'm trying to paint the car!
Here are some pics of the car in the booth. The booth is fairly large, so there should be plenty of room to maneuver. The overall dimensions are something like 18'x14'. In this pic you can see the intake and exhuast fans to keep clean air circulating through the booth:
An outside shot of the booth:
Once complete, I'll create a full DIY paint job write up including booth construction, car surface prep, purchasing supplies, and any other Miata-specific considerations in case any of you guys want to paint your car yourself.

Reply
 0
0

0
05-03-2010, 11:11 AM
#63

Looks good Nick. Have you ever painted a car before? What type of paint are you using? Are you going to spray sealer first?
It has been a while since I shot a whole car, but have done several individual panels recently for friends. I am torn or repainting mine or just driving the **** out of it as it is.
It has been a while since I shot a whole car, but have done several individual panels recently for friends. I am torn or repainting mine or just driving the **** out of it as it is.
Reply
0
0
05-03-2010, 11:13 AM
#64
Senior Member
Thread Starter
iTrader: (5)
Join Date: Apr 2007
Location: Atlanta
Posts: 646
Total Cats: 36
Thanks Brian - this is my first paint job. I prepped my old MR2 for paint (body work, sanding, trim removal, masking, prep solvent), but took it to a shop to have them spray it.
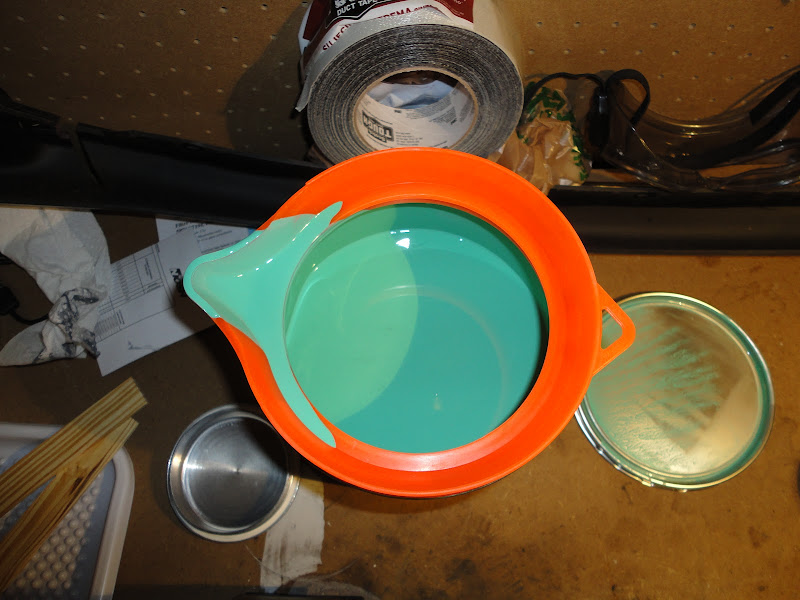
I've got three quarts of Nason that I'm going to shoot and a gallon of clear. I'm going to spot prime with a bare metal primer on any of the spots with exposed metal, then I'm going to seal it.
I've got three quarts of Nason that I'm going to shoot and a gallon of clear. I'm going to spot prime with a bare metal primer on any of the spots with exposed metal, then I'm going to seal it.
Reply
0
0
 05-03-2010, 02:01 PM
#66

Update - I'm getting closer to painting. This weekend I stripped the remaining black paint, removed some trim, built the paint booth, and masked off the car. I was hoping to spray the paint as well, but ran out of time. The car is sitting in the booth, masked off and ready to go.
Here are some pics with the paint removed:
Here is a picture of the booth framed out. When I made my initial booth design plan, I forgot to account for the garage door opening when I decided on the height of the booth. No worries - I just made a little dog leg with the PVC at the back of the booth to allow enough room for the garage door to open.
To give a little bit of needed stability to the booth, I used some wire to support the upper part of the frame. This will keep the booth from falling apart while I'm trying to paint the car!
Here are some pics of the car in the booth. The booth is fairly large, so there should be plenty of room to maneuver. The overall dimensions are something like 18'x14'. In this pic you can see the intake and exhuast fans to keep clean air circulating through the booth:
An outside shot of the booth:
Once complete, I'll create a full DIY paint job write up including booth construction, car surface prep, purchasing supplies, and any other Miata-specific considerations in case any of you guys want to paint your car yourself.
Reply
0
0
 05-03-2010, 02:26 PM
#68
Senior Member
Thread Starter
iTrader: (5)
Join Date: Apr 2007
Location: Atlanta
Posts: 646
Total Cats: 36
In 2001, I had my MR2 painted at a Maaco. I did all the body work and prep - installed a body kit, repaired dents/dings, block sanded with 320 grit, removed trim, masked - and then took it to them to spray Dupont base/clear. They charged $700 and it looked phenomenal - here's a pic:

Maacos are mostly franchises though, so some are good, some aren't. It's kind of a roll of the dice, but if you can see some of their finished product beforehand you'll get a sense of what you are getting into. Also, those places cut corners on prep work, so do the prep yourself.
Reply
0
0
05-03-2010, 02:47 PM
#69
advice from someone whose painted many cars, take the hood, trunk lid, fenders, doors, finish panel, headlight lids, gas lid, front bumper and hardtop off and spray those pieces separately to completion. then paint the body and reassemble after drying. the overall result is MUCH better.
Reply
0
0
05-03-2010, 03:01 PM
#70
advice from someone whose painted many cars, take the hood, trunk lid, fenders, doors, finish panel, headlight lids, gas lid, front bumper and hardtop off and spray those pieces separately to completion. then paint the body and reassemble after drying. the overall result is MUCH better.
I know you already have it sitting there waiting for paint, but I would also advise on pulling the bumpers, hood, and headlights to do them separately.
Reply
0
0
05-06-2010, 11:43 AM
#72
Senior Member
Thread Starter
iTrader: (5)
Join Date: Apr 2007
Location: Atlanta
Posts: 646
Total Cats: 36
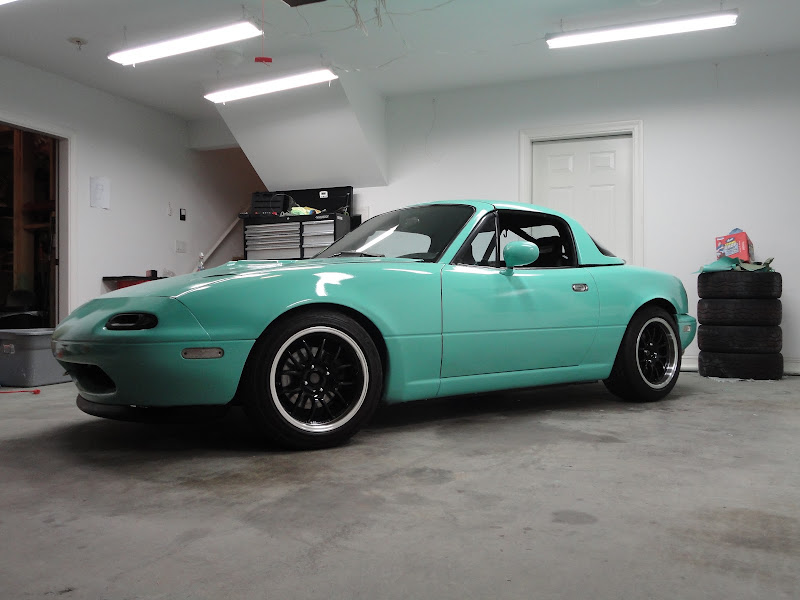
Done! I had some free time last night, so I managed to lay down the primer, sealer, base, and clear. Overall it looks awesome � I�m super happy with the results! The color is sick � I don�t think the pictures really do it justice. Love it or hate it, most folks will probably remember it . Everything went pretty smoothly � I learned that the Devilbiss Starting Line HVLP gun I have is much easier to use than the Harbor Freight HVLP gun and well worth the extra money. There is a bit of texture/orange peel on some of the panels right now, but it still hasn�t been wet sanded and buffed. I�m hoping most of that comes out.
I appreciate all of the suggestions above - I ended up removing the headlights and gas lid, but left the bumpers and hood on, and since the hardtop never comes off (no soft top) I left it on too.
Here are a few �in process� pictures:
Spot primed with a direct to metal primer:
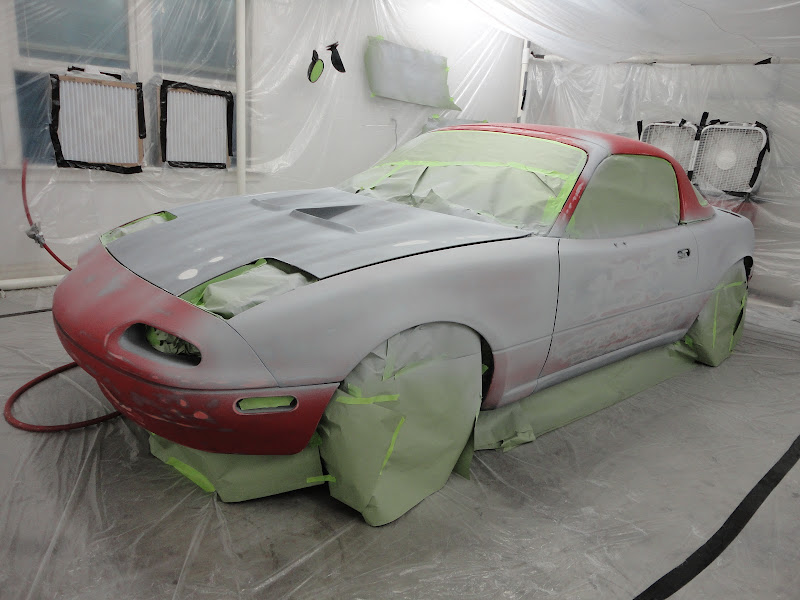
Sprayed with one coat of sealer:

Mmmm�beautiful paint. At this point I was insanely excited about spraying the first coat!
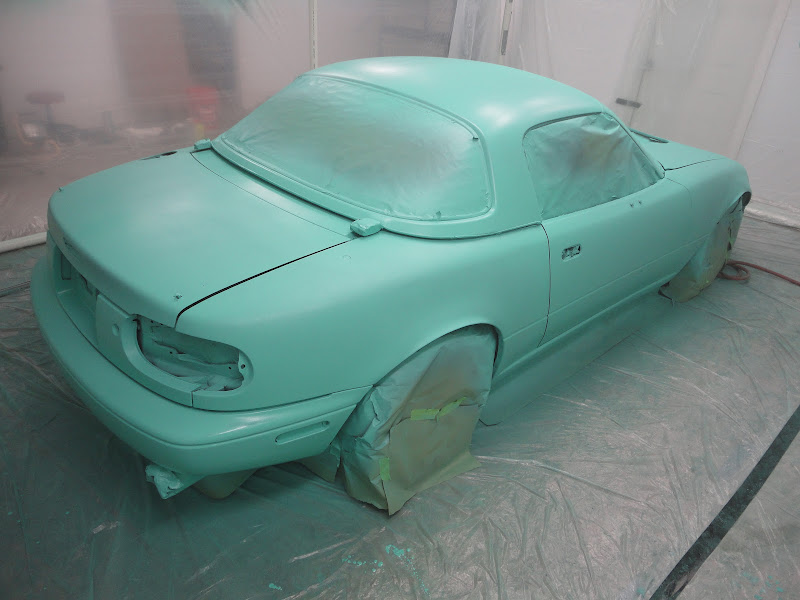
After three coats of base (no clear coat):
An outside shot of the booth:
I appreciate all of the suggestions above - I ended up removing the headlights and gas lid, but left the bumpers and hood on, and since the hardtop never comes off (no soft top) I left it on too.
Here are a few �in process� pictures:
Spot primed with a direct to metal primer:
Sprayed with one coat of sealer:
Mmmm�beautiful paint. At this point I was insanely excited about spraying the first coat!
After three coats of base (no clear coat):
An outside shot of the booth:
Reply
0
0
05-06-2010, 11:43 AM
#73
Senior Member
Thread Starter
iTrader: (5)
Join Date: Apr 2007
Location: Atlanta
Posts: 646
Total Cats: 36
Three coats of clear later:

I�m looking forward to unmasking the car and putting it all back together to see what the final product looks like. I should have time to do that this weekend, and of course I will post pictures here soon thereafter.
I�m looking forward to unmasking the car and putting it all back together to see what the final product looks like. I should have time to do that this weekend, and of course I will post pictures here soon thereafter.
Reply
0
0
05-06-2010, 07:30 PM
#75
Elite Member
iTrader: (14)

Join Date: Sep 2009
Location: Birmingham, AL
Posts: 2,101
Total Cats: 180
^^^Now just a minute on that clear... not sure if you noticed but his lights are on the OUTSIDE of the opaque plastics, so it very well might be like wet glass, you just can't tell in the pics. Will have to see in the sunlight. Lookin' great man... mine's in the garage booth as we speak getting a tatoo job.
Reply
0
0


 05-13-2010, 12:19 PM
#79
Senior Member
Thread Starter
iTrader: (5)
Join Date: Apr 2007
Location: Atlanta
Posts: 646
Total Cats: 36
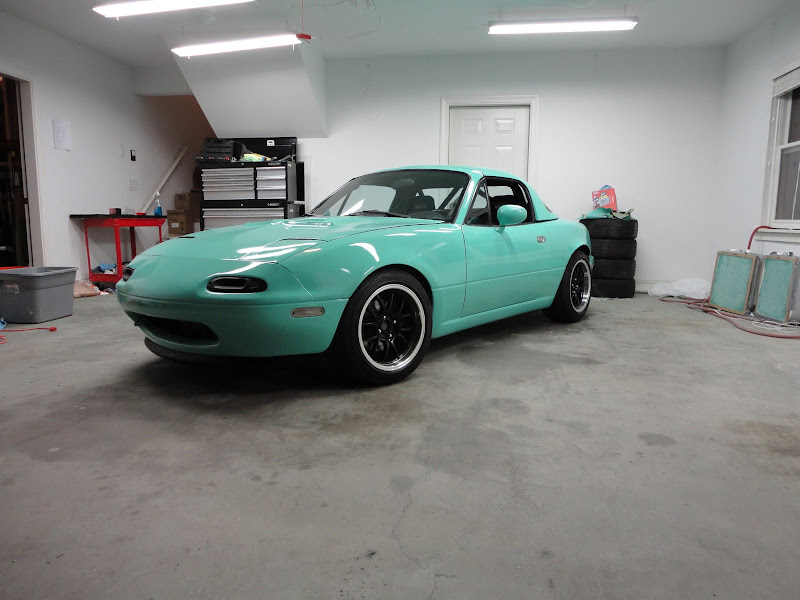
Finally - I unmasked the car and reinstalled the trim/wheels. The car still needs to be wet sanded and buffed, but overall it looks good. I absolutely love the color - it turned out even better than expected. I know it's not for everyone, but whatever - it's my car, and a track toy at that.
Big thanks to Leatherface - he advised me to lay down some additional clear coat, which made a huge improvement in the way the car looks. Thanks man!

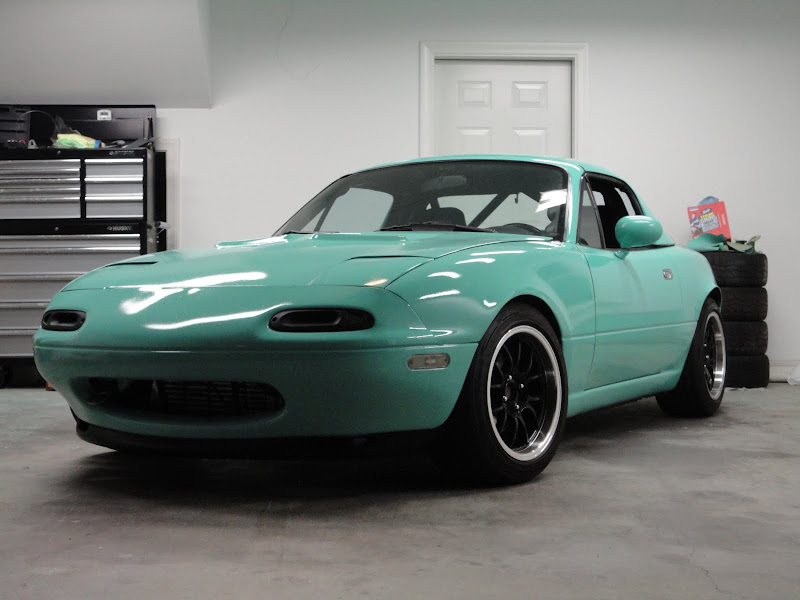
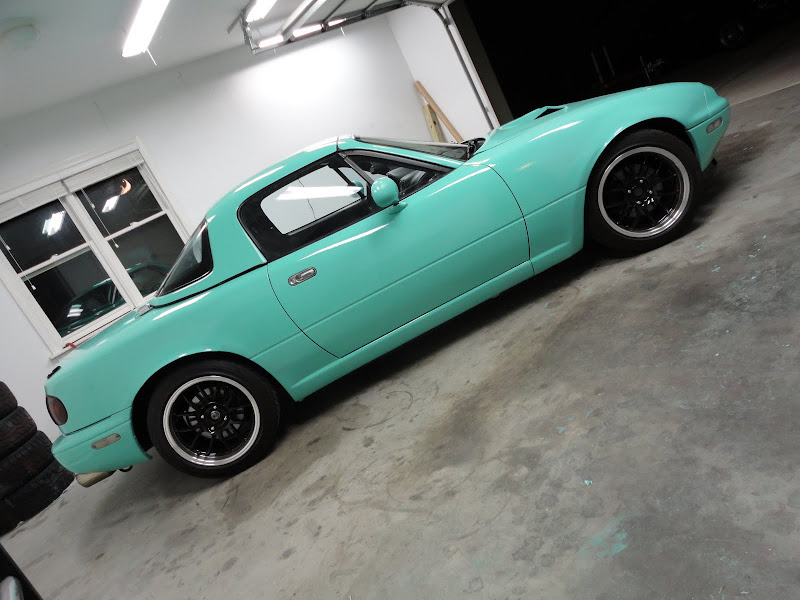
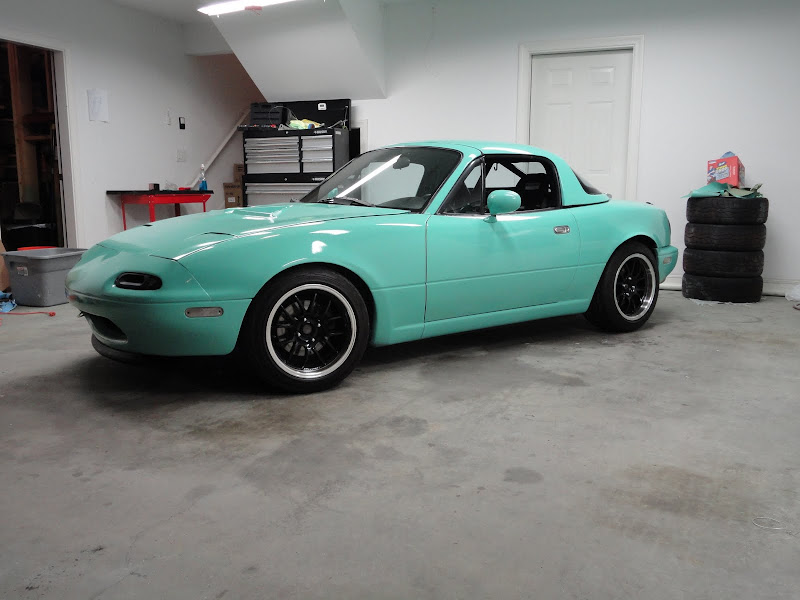
A little photochop action from Doppelganger

Big thanks to Leatherface - he advised me to lay down some additional clear coat, which made a huge improvement in the way the car looks. Thanks man!
A little photochop action from Doppelganger
Reply
0
0


