Project: Merlot r4cecar
 06-26-2013, 10:07 PM
#1
Junior Member

Thread Starter
iTrader: (4)

Join Date: Jul 2012
Location: Fredericksburg, VA
Posts: 80
Total Cats: 1
Sooooooo...I created a build thread a while ago but in the wrong section because I'm dumb and can't read. Take two.
Relatively new on the site but been boosting for almost a year. A change in employment has allowed me to make some changes in the fun car. On to the goods.
Car:
95 M-edition which I acquired first of the year in 2012 from a local for $2,000. Had around 94,000 miles and ran fine. Didn't look all that pretty and there were some hack-job items on the car when I picked it up.
Original Car
I boosted it with some parts I picked up off the site and it's been very fun despite horrible tires and stock suspension, sways, you name it. Now it's time to get serious and build it big; build it right.
Goal: 350 at the wheels. Many have done it, i'm sure. I've estimated my power anywhere between 180-200 with the current setup (2554 @15psi, 3" back, FM big intercooler, all stock internals) and I'm ready to move up.
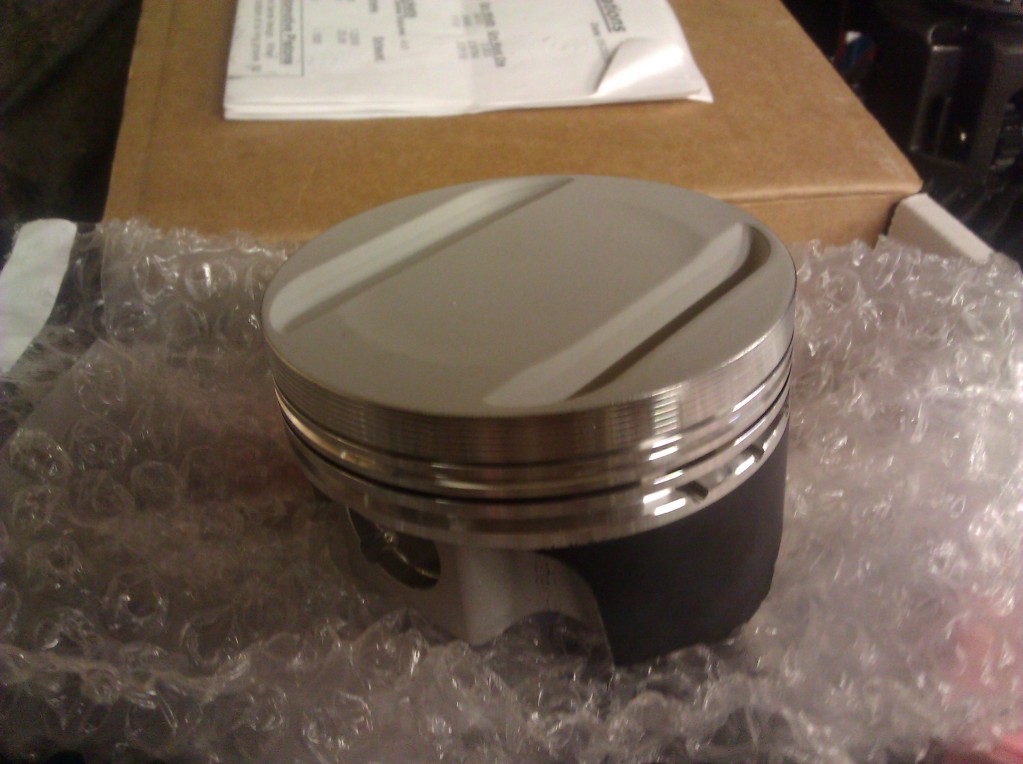
To meet the goal, I'll be using a 2871R, Manley rods, and FM-Wiseco 9.1 CR pistons. From my reading, I'll be at or near the highest abilities of the 2871 but I'm looking to keep the spool relatively quick for streetable use.
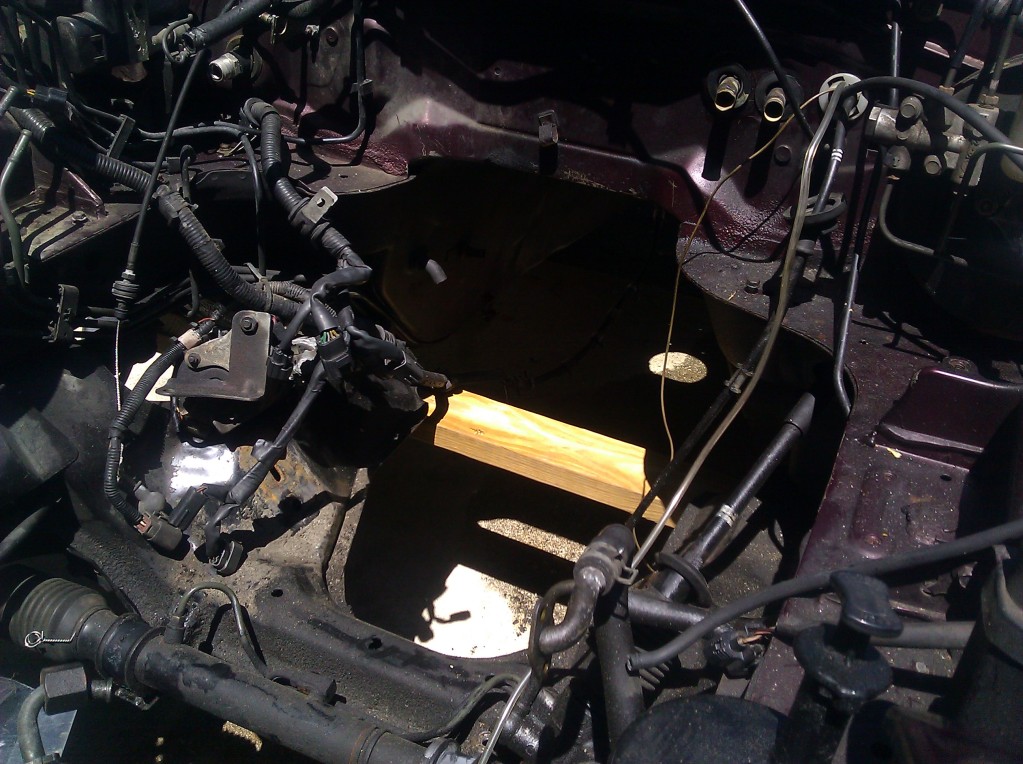
With this "big" HP goal come the need for a good infrastructure to build off of. The car is being stripped down to the tub and built back from there. The list of parts is huge so stuff will get mentioned as I get to buying it, putting it in, etc.
I'll start this thread with the donor block which is a recently rebuilt 95 Merlot block as well. The clock read well over 200k but the engine still had the cross hatches in the cylinders - impressive. Wish I took pictures of it before I sent it off to the shop. The machine shop is doing a 1mm overbore to 84mm (mic'ing each piston), checking the mating surfaces, checking the main caps with new hardware in case it needs a line-bore, and hot tanking.
I'll snap a few when it gets back. EDIT: it's back! Pics in below.
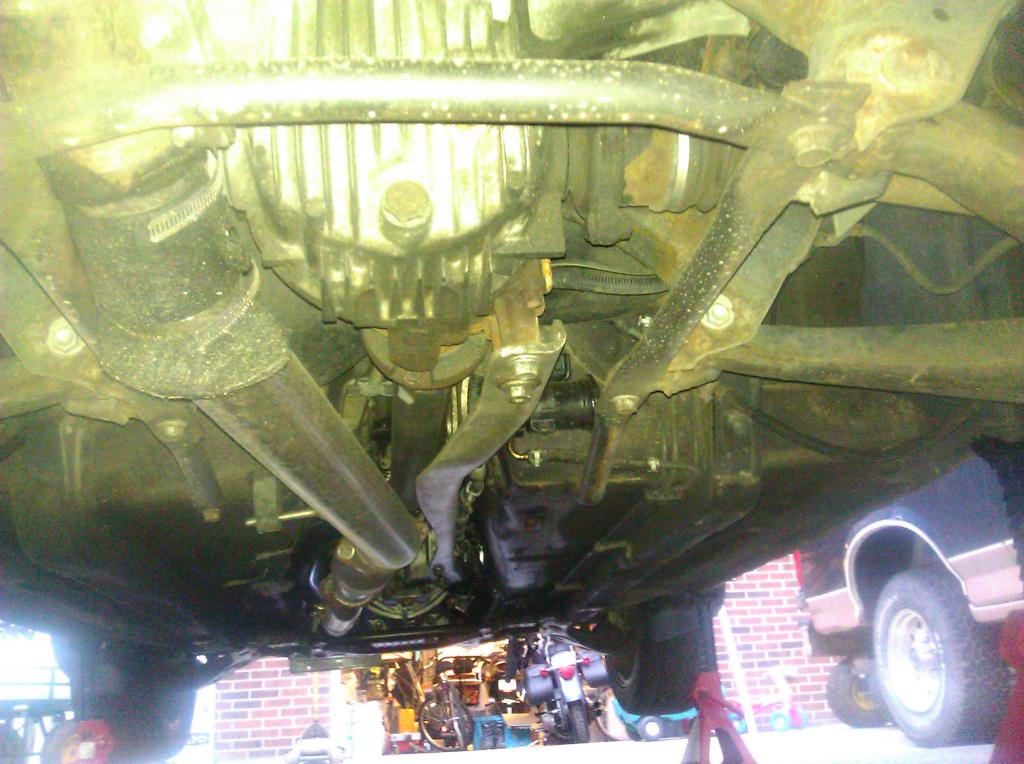
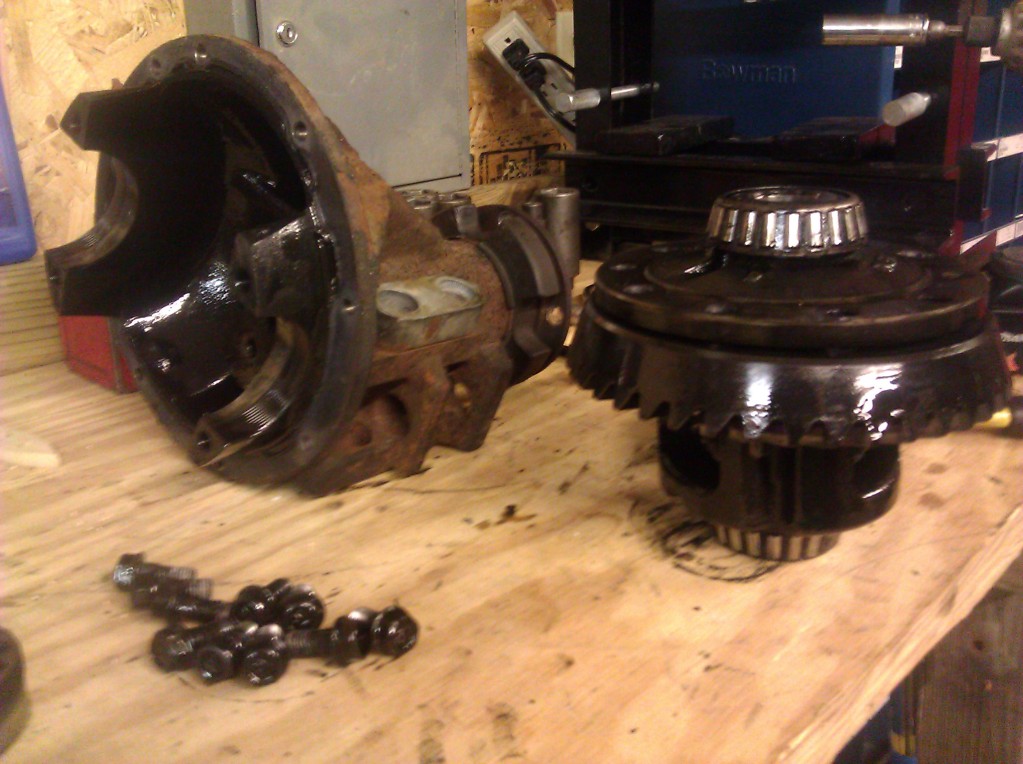
Diff night - which is always my favorite. Pulled the original rear end and PPF for the rebuild. Swapping in a 3.9 ring and pinion. 3.6 is probably a better option but I'd like to try out a 3.9 set first. Anyways, pictures:


That's the OP. Time for a slew of pictures with some bad humor here and there.
Relatively new on the site but been boosting for almost a year. A change in employment has allowed me to make some changes in the fun car. On to the goods.
Car:
95 M-edition which I acquired first of the year in 2012 from a local for $2,000. Had around 94,000 miles and ran fine. Didn't look all that pretty and there were some hack-job items on the car when I picked it up.
Original Car
I boosted it with some parts I picked up off the site and it's been very fun despite horrible tires and stock suspension, sways, you name it. Now it's time to get serious and build it big; build it right.
Goal: 350 at the wheels. Many have done it, i'm sure. I've estimated my power anywhere between 180-200 with the current setup (2554 @15psi, 3" back, FM big intercooler, all stock internals) and I'm ready to move up.
To meet the goal, I'll be using a 2871R, Manley rods, and FM-Wiseco 9.1 CR pistons. From my reading, I'll be at or near the highest abilities of the 2871 but I'm looking to keep the spool relatively quick for streetable use.
With this "big" HP goal come the need for a good infrastructure to build off of. The car is being stripped down to the tub and built back from there. The list of parts is huge so stuff will get mentioned as I get to buying it, putting it in, etc.
I'll start this thread with the donor block which is a recently rebuilt 95 Merlot block as well. The clock read well over 200k but the engine still had the cross hatches in the cylinders - impressive. Wish I took pictures of it before I sent it off to the shop. The machine shop is doing a 1mm overbore to 84mm (mic'ing each piston), checking the mating surfaces, checking the main caps with new hardware in case it needs a line-bore, and hot tanking.
I'll snap a few when it gets back. EDIT: it's back! Pics in below.
Diff night - which is always my favorite. Pulled the original rear end and PPF for the rebuild. Swapping in a 3.9 ring and pinion. 3.6 is probably a better option but I'd like to try out a 3.9 set first. Anyways, pictures:


That's the OP. Time for a slew of pictures with some bad humor here and there.

Reply
 0
0

0


 06-26-2013, 10:56 PM
#7
Junior Member
Thread Starter
iTrader: (4)
Join Date: Jul 2012
Location: Fredericksburg, VA
Posts: 80
Total Cats: 1
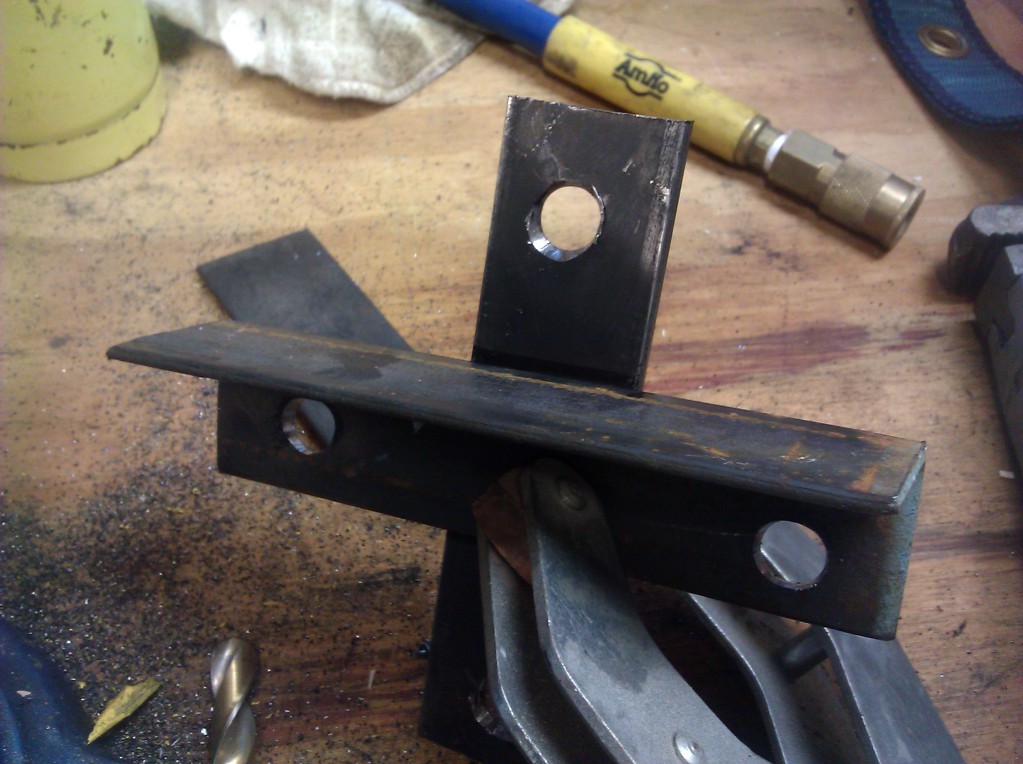
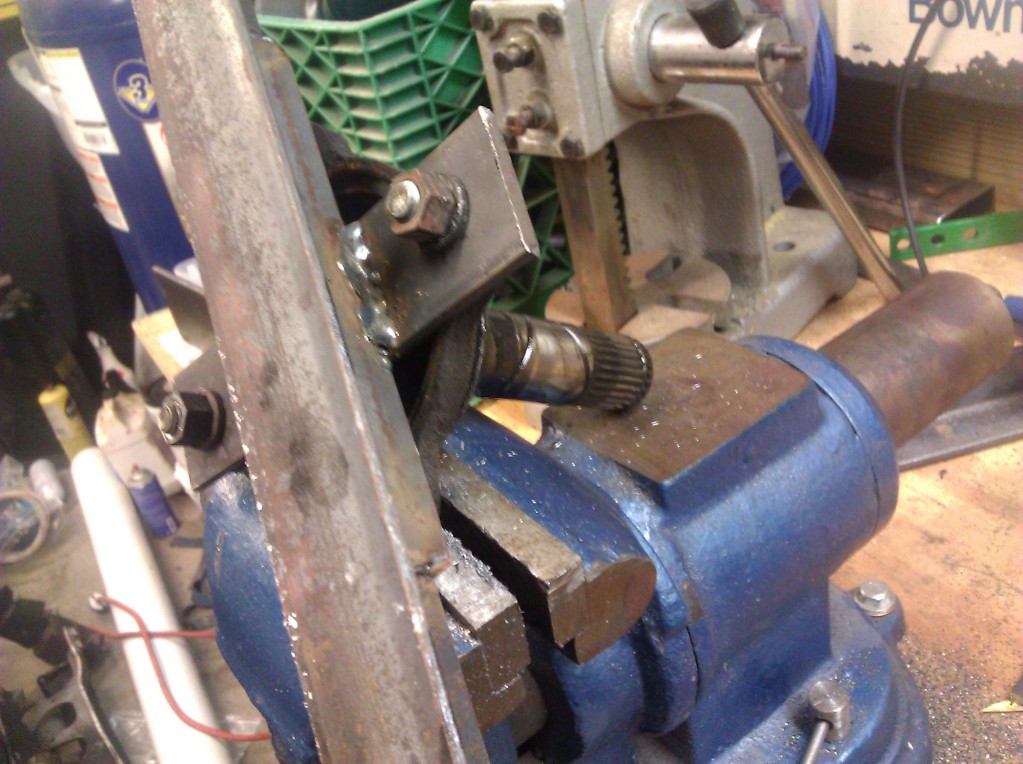
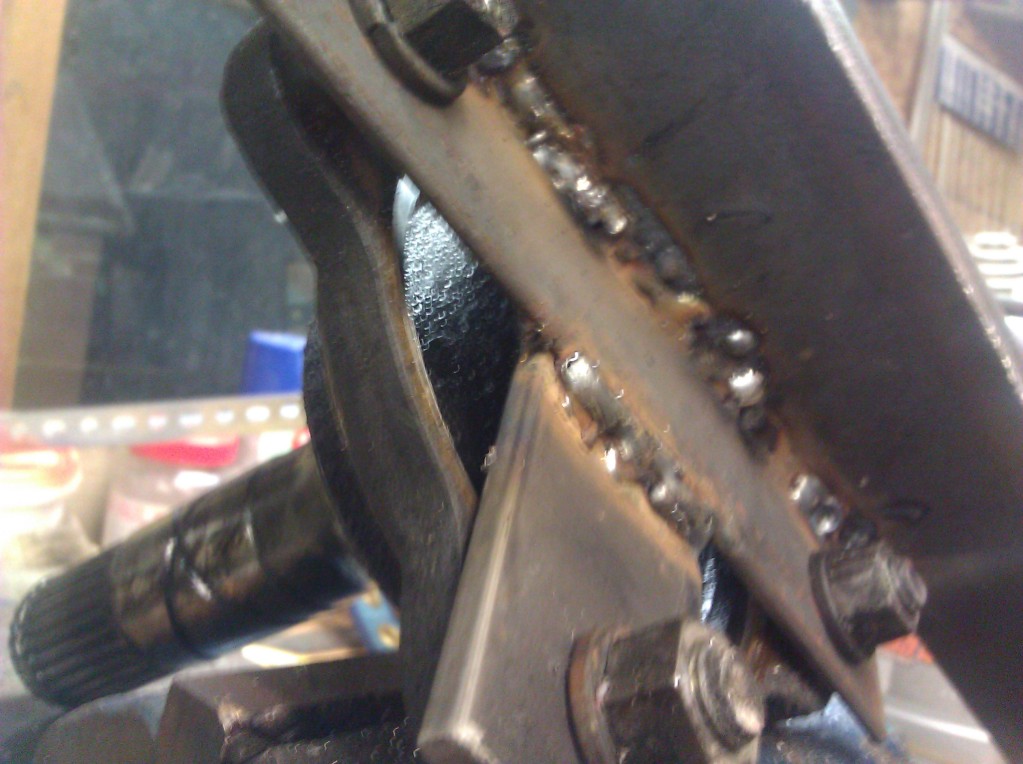
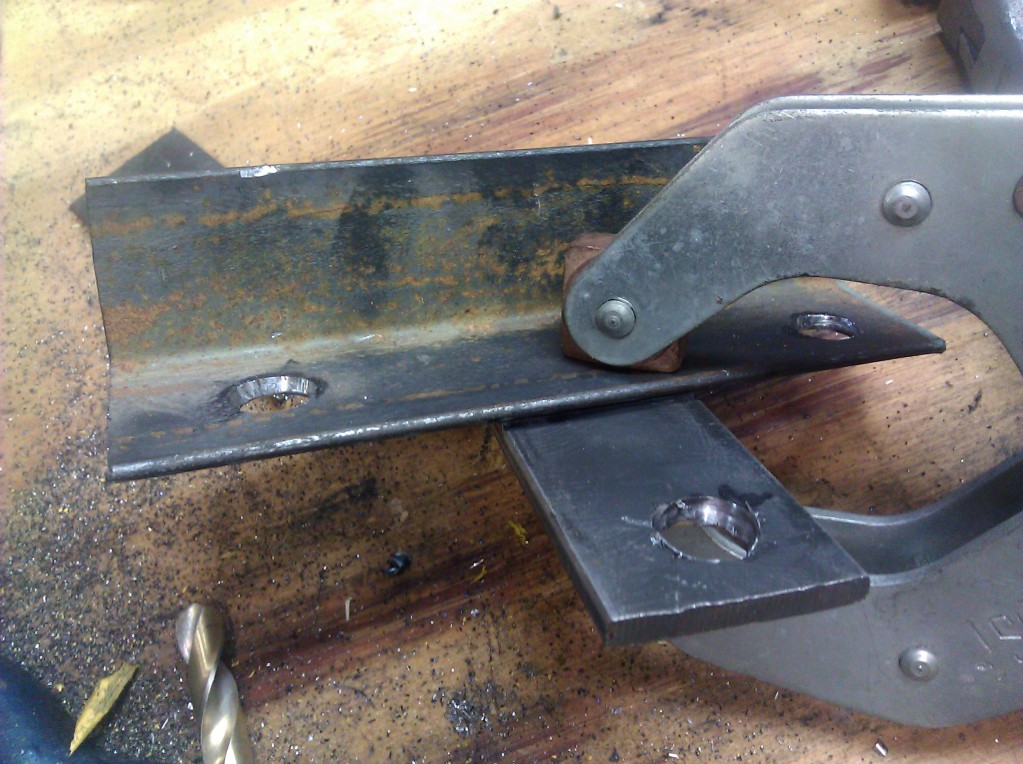
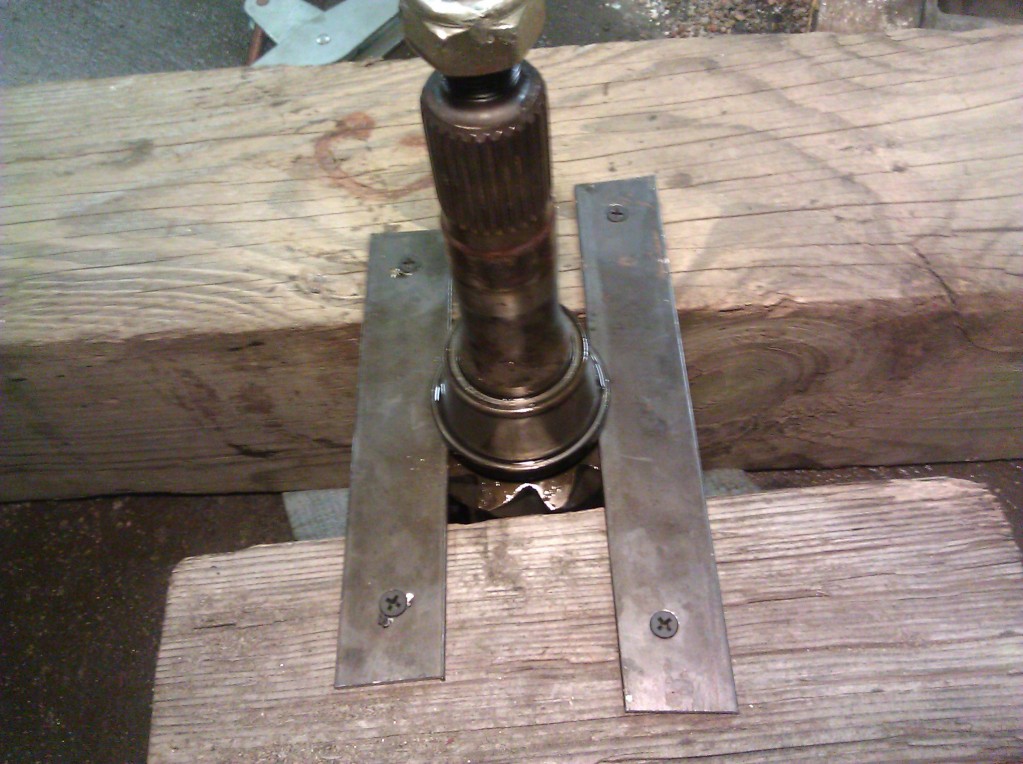
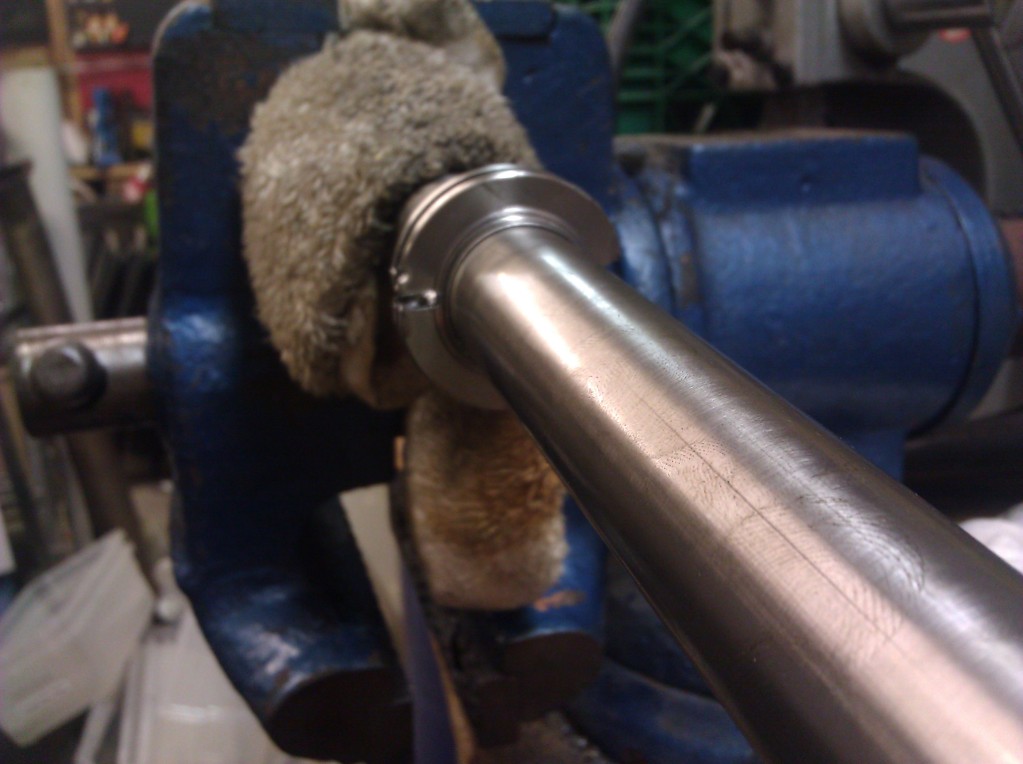
I work on diffs. I work on diffs a lot, actually. I decided to make a tool that makes pulling stub shafts easy. Yes I know those welds look like ABSOLUTE dogsh**.

Cliche selfie:


Cliche selfie:

Reply
0
0
06-26-2013, 11:05 PM
#8
Junior Member
Thread Starter
iTrader: (4)
Join Date: Jul 2012
Location: Fredericksburg, VA
Posts: 80
Total Cats: 1
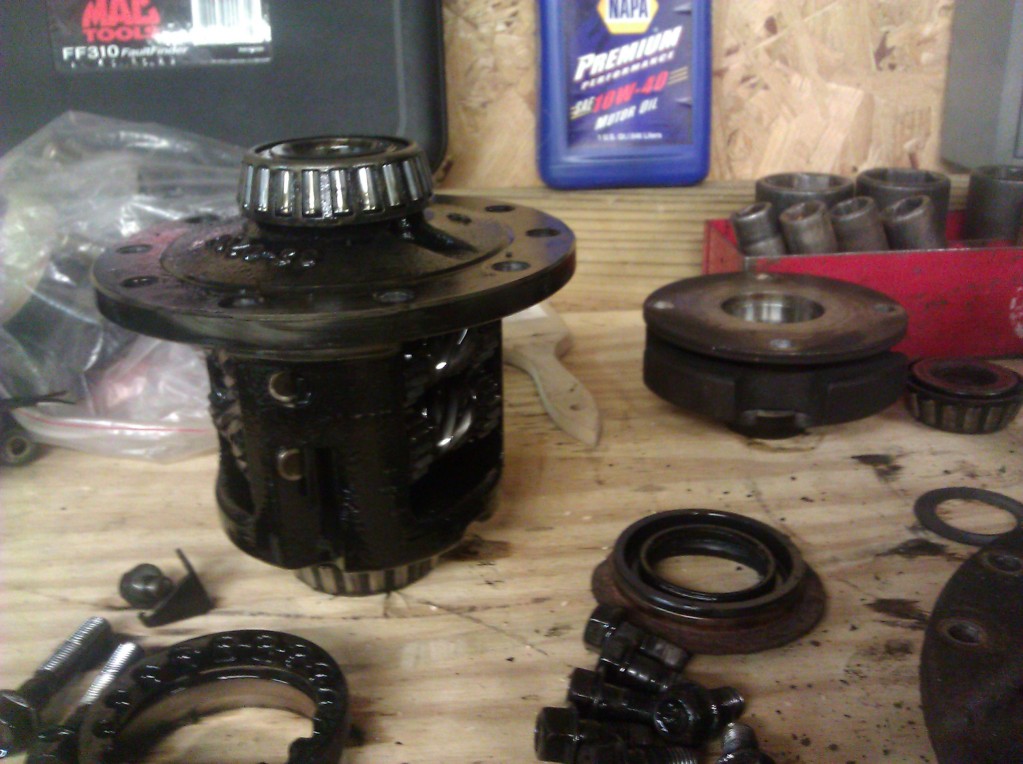
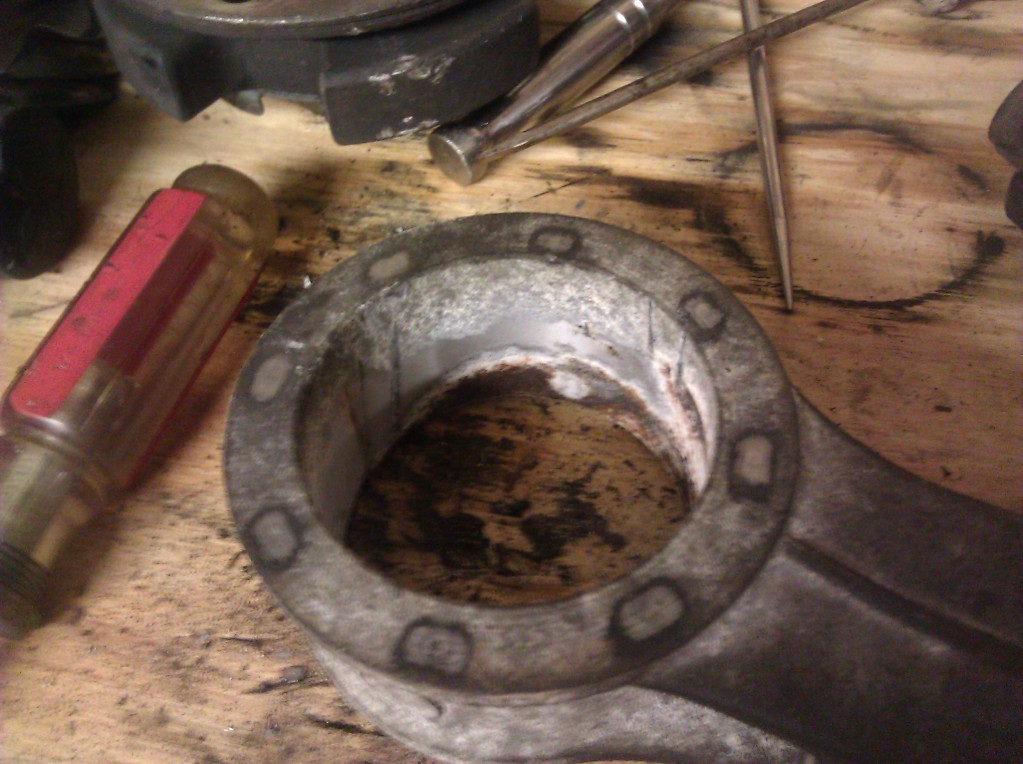
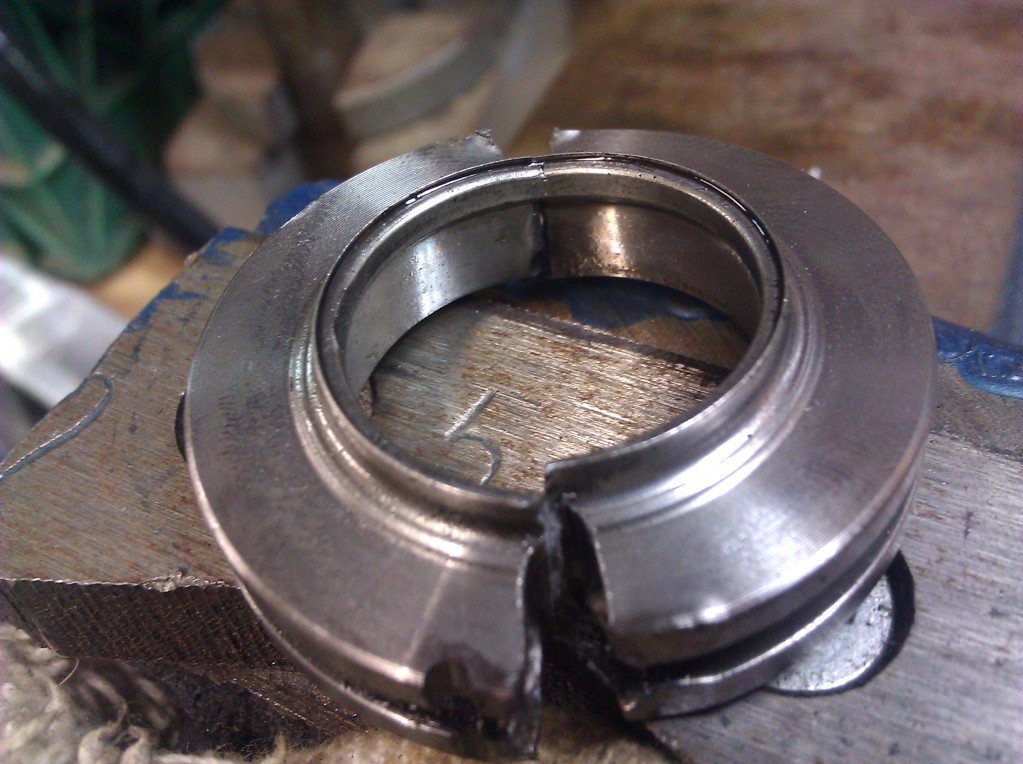
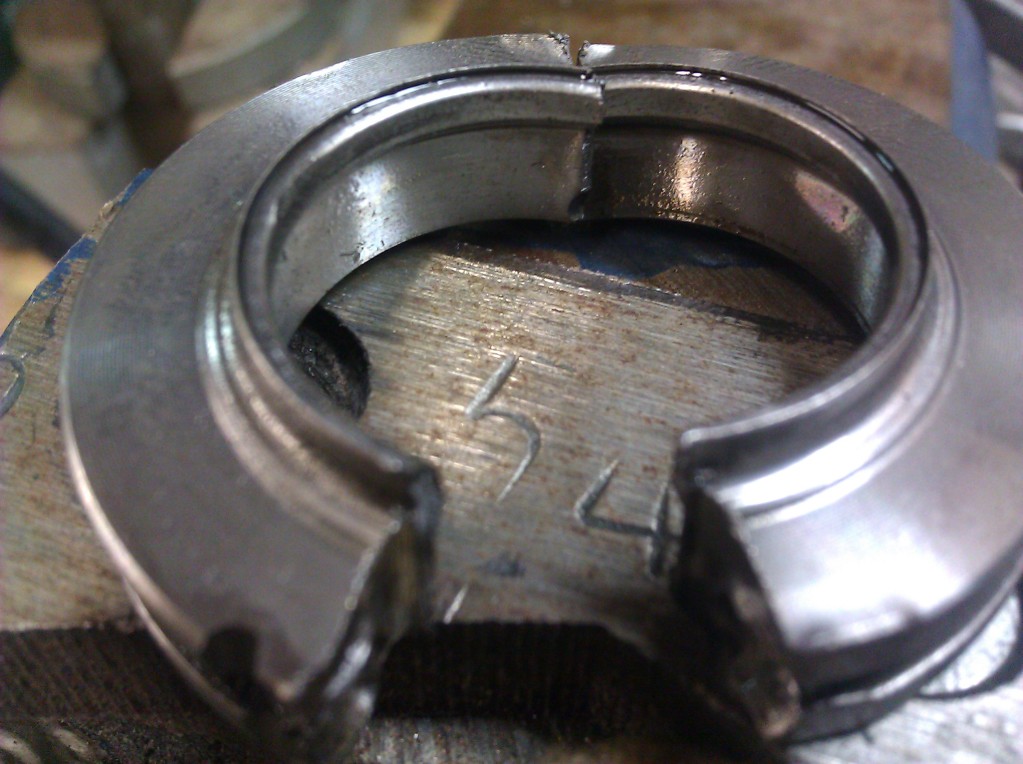
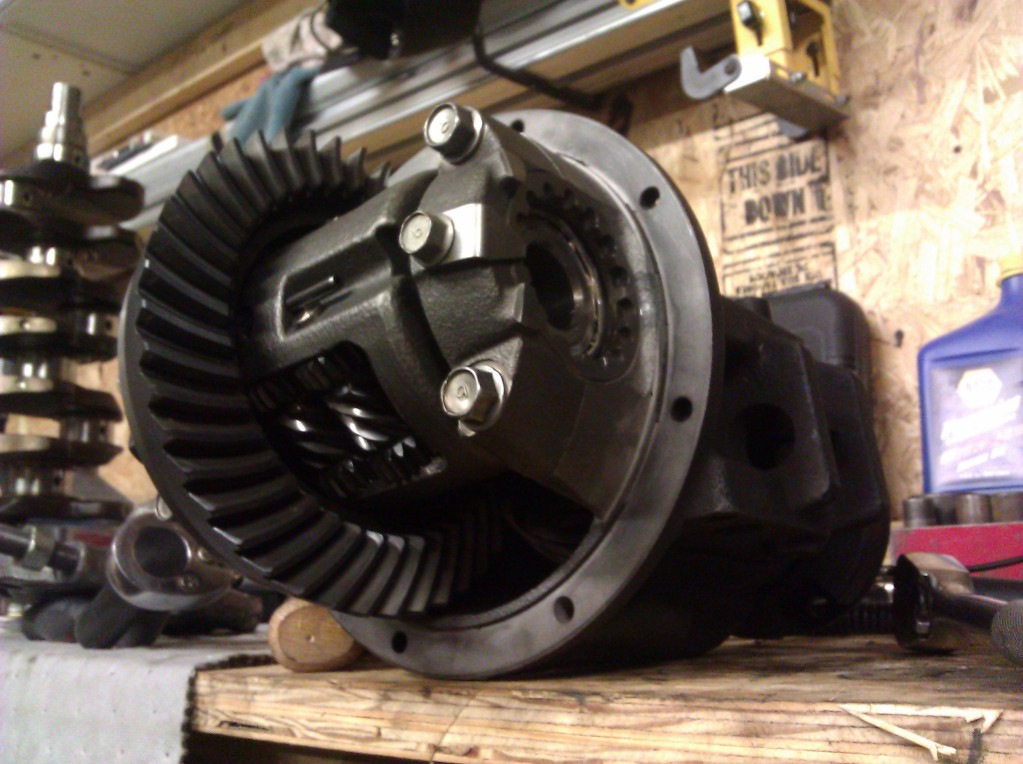
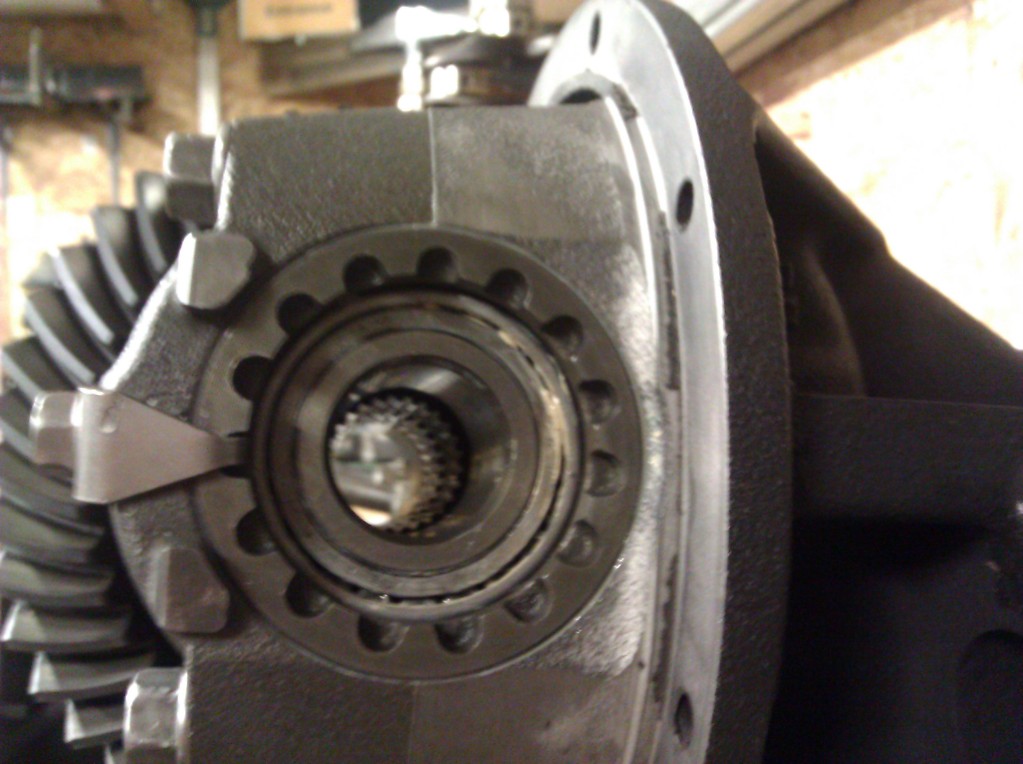
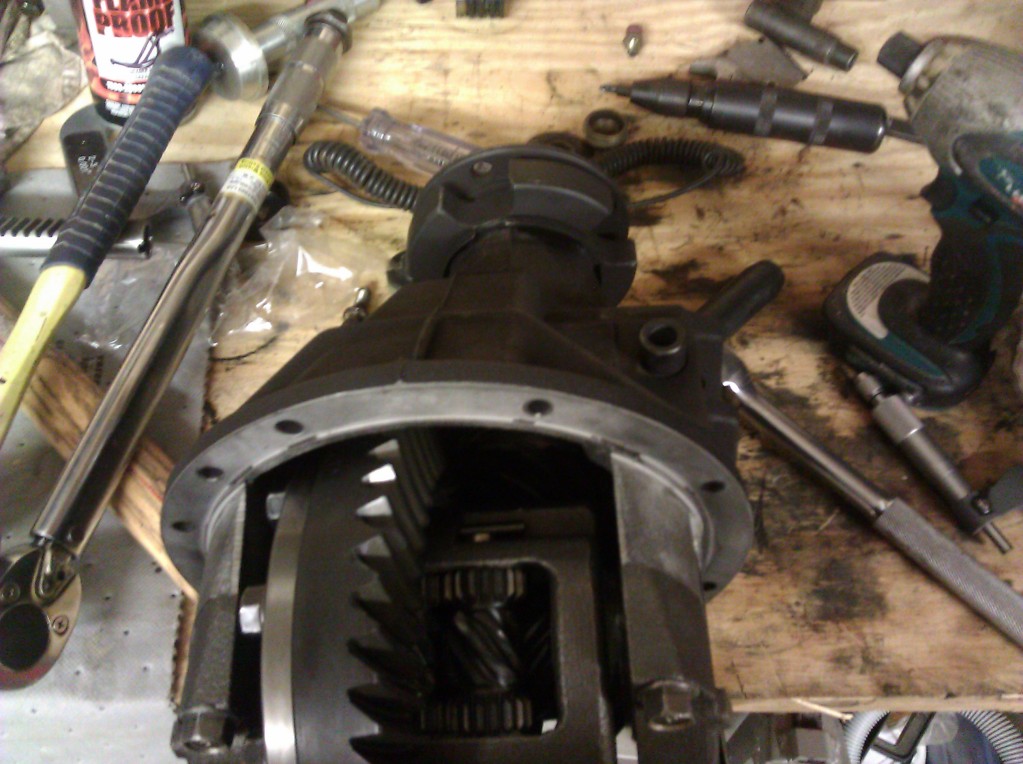
Speaking of diffs. Here's the Torsen at 105k miles before and during teardown. Finished product pictures further down.
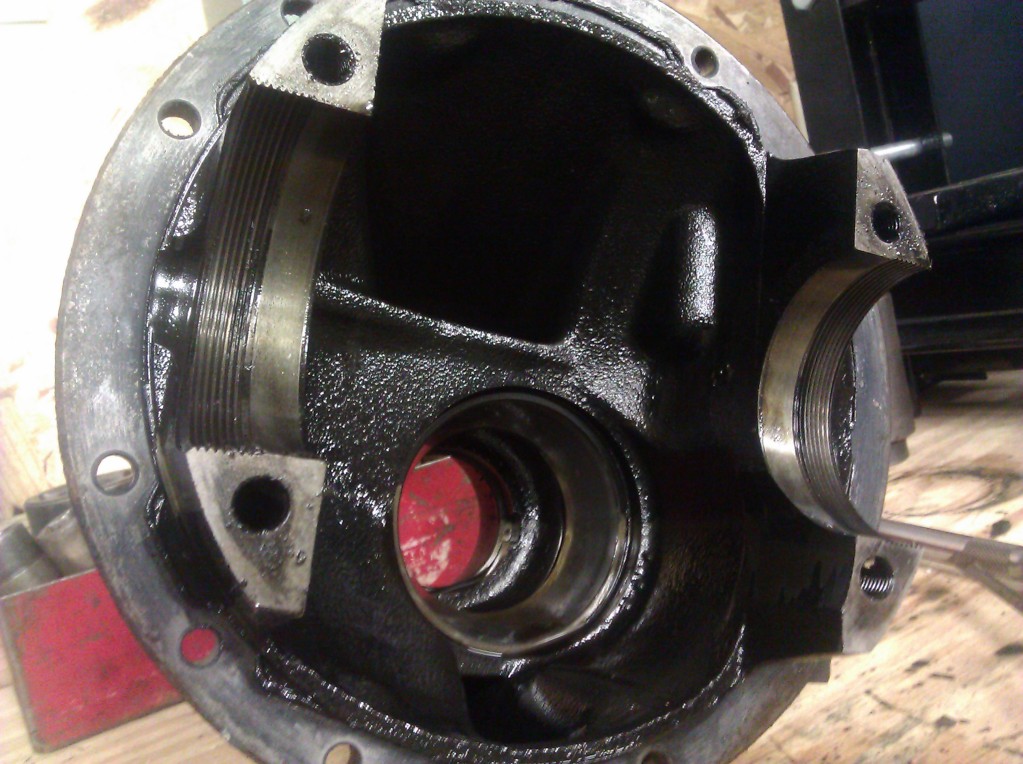
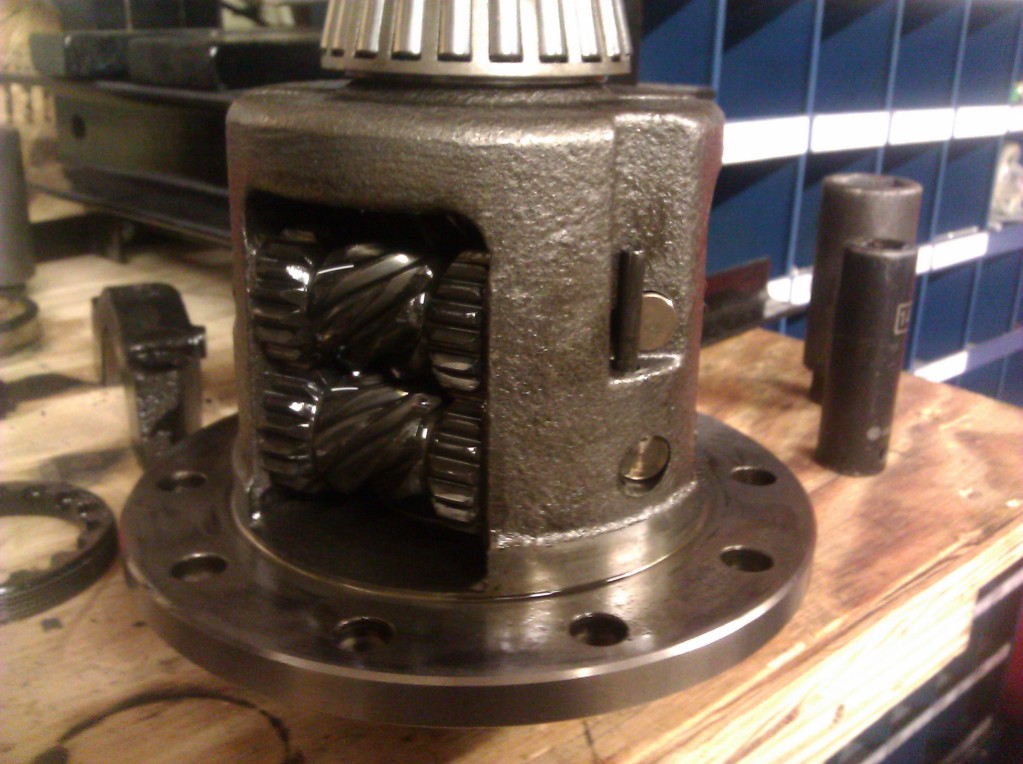
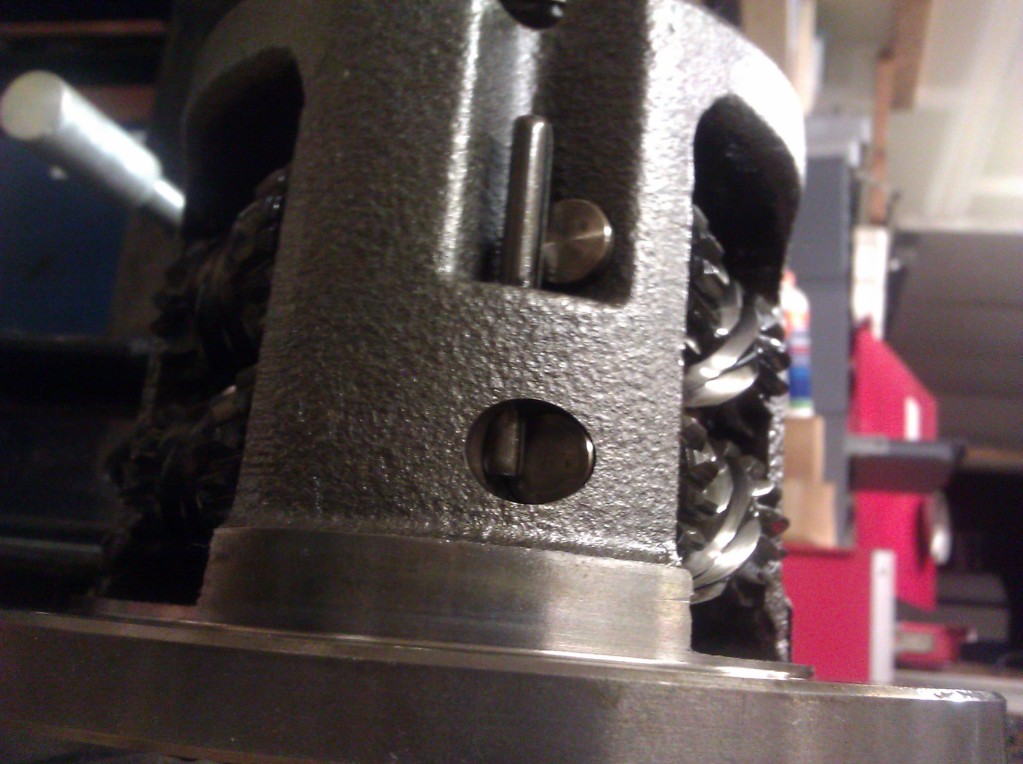
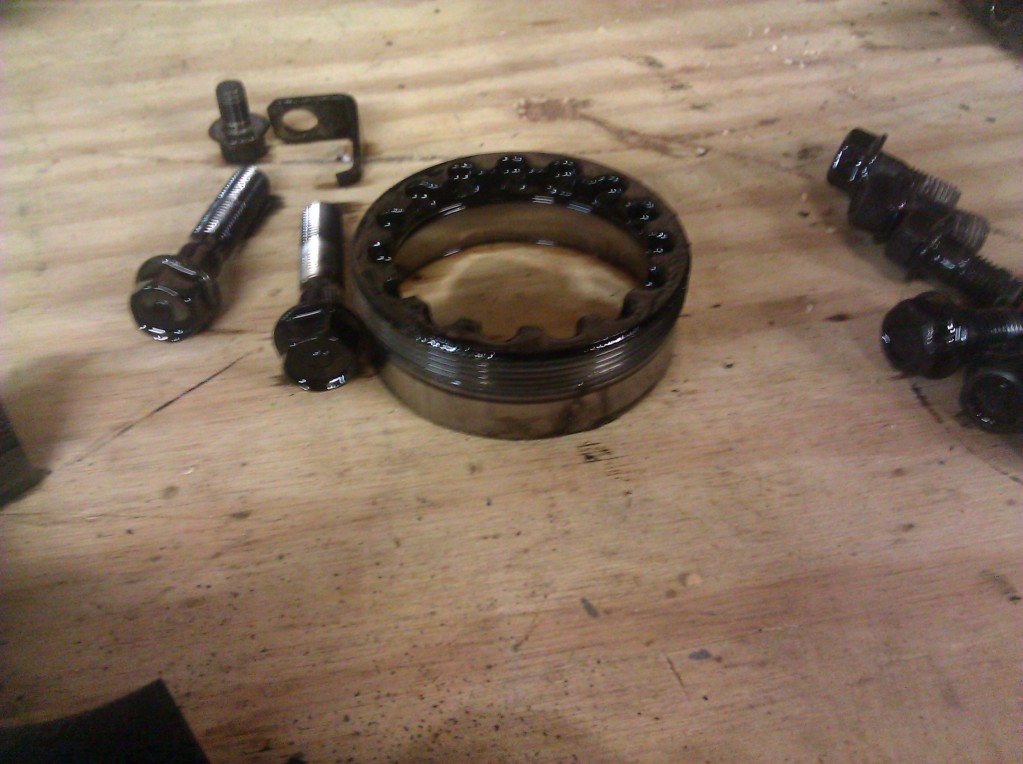

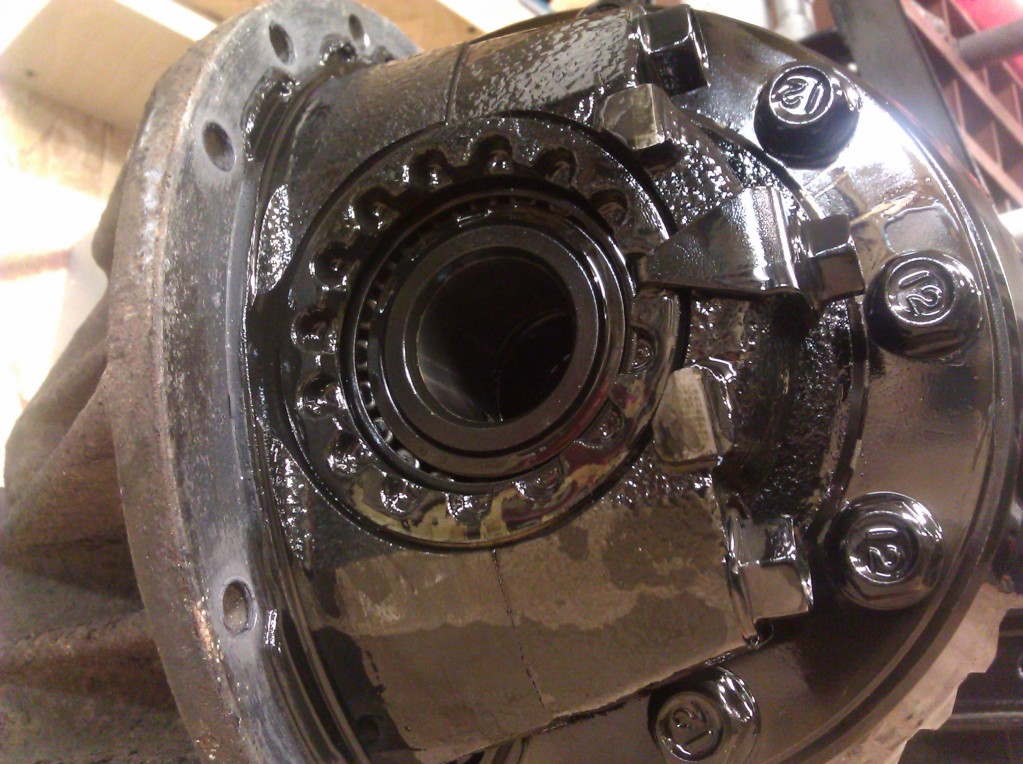
That "press" idea between the two 6x6's and a BFH, by the way...Was a horrible idea. The roller retainer flew off the inner race and about fifty-eleven rollers shot about the garage.


That "press" idea between the two 6x6's and a BFH, by the way...Was a horrible idea. The roller retainer flew off the inner race and about fifty-eleven rollers shot about the garage.
Reply
0
0


 06-26-2013, 11:26 PM
#11
Junior Member
Thread Starter
iTrader: (4)
Join Date: Jul 2012
Location: Fredericksburg, VA
Posts: 80
Total Cats: 1
Here's a whole bunch of random stuff. My ability to focus on ONE sub-project at a time is not very good at all. The result is that I have this string of pictures that jump all around and laziness prohibits me from organizing them sensibly.
Sweet compressioney goodness. ^^^
I ended up using a push-rod valve spring compressor for a DOHC setup which was a mistake. It's what I had. hwell:
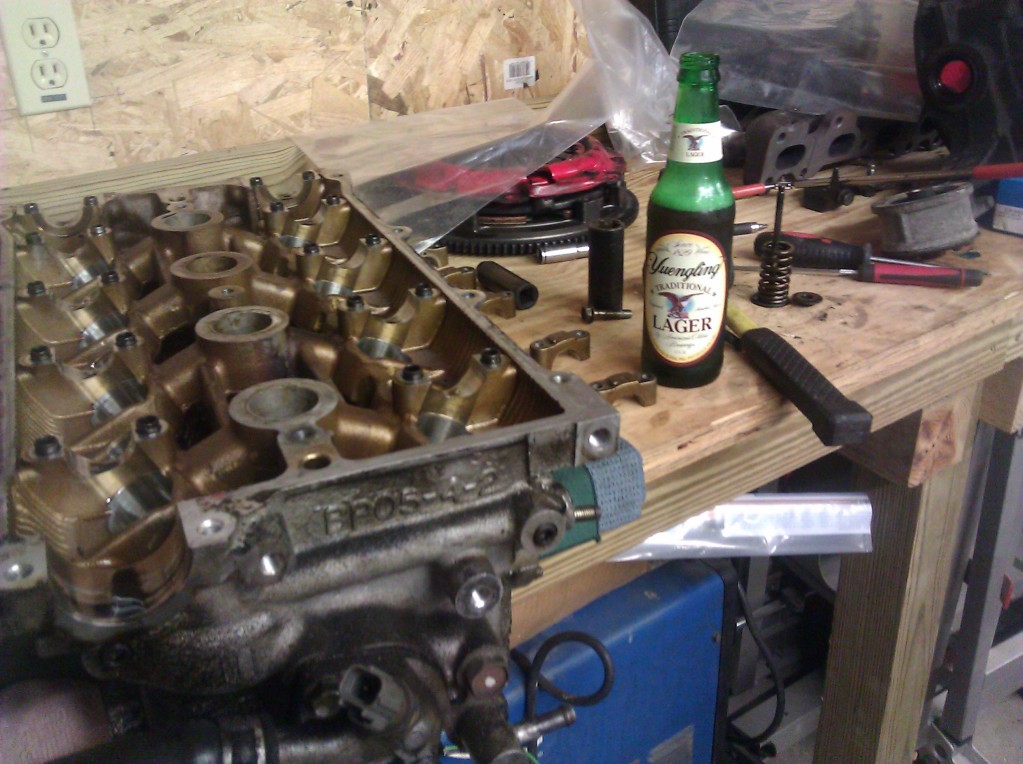
A long night of beer and head
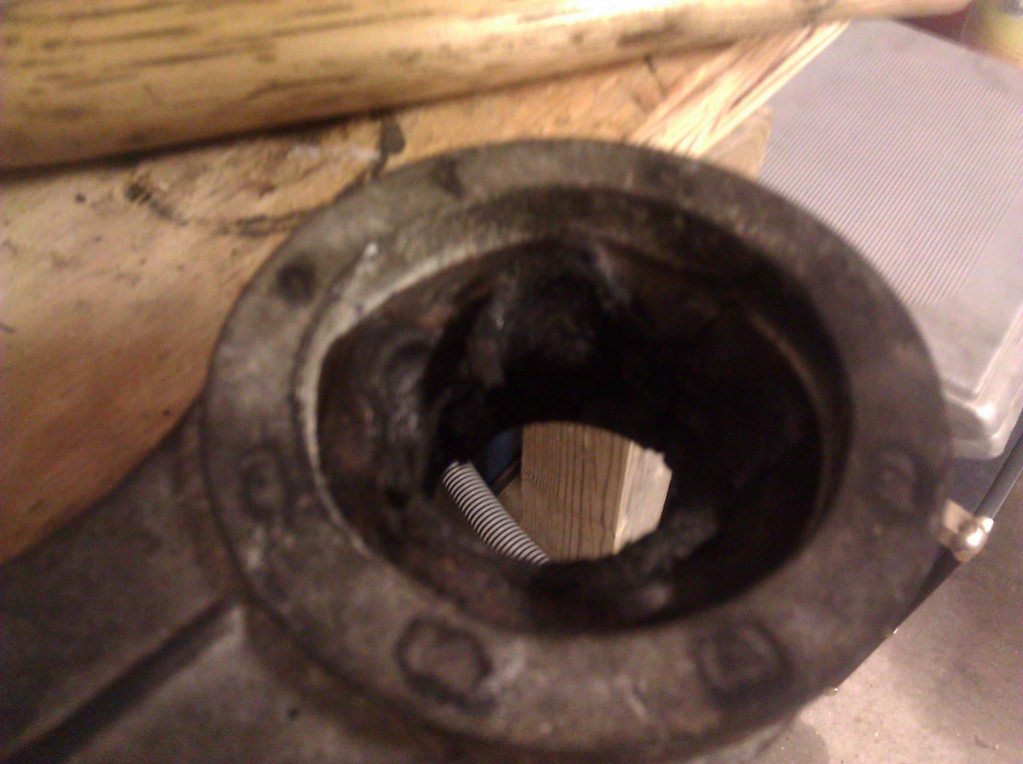
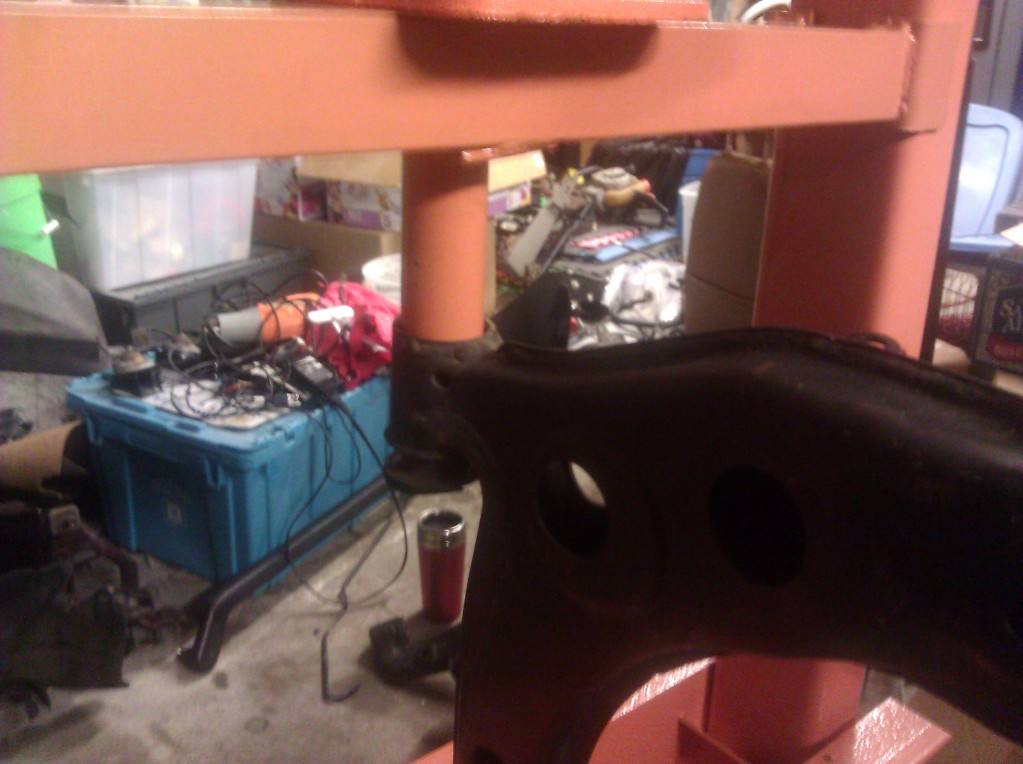
Here's the diff carrier. I sandblasted the whole thing (no pictures) then decided to change my plans up. I'm using a 2nd gen rx7 carrier now since they don't have the relief cut. More dangerous? probably. Anyways, here's some shots of pressing the damn bushings out. Luckily, I had my trusty HF 20 ton press.

Sweet compressioney goodness. ^^^
I ended up using a push-rod valve spring compressor for a DOHC setup which was a mistake. It's what I had.
hwell:A long night of beer and head

Here's the diff carrier. I sandblasted the whole thing (no pictures) then decided to change my plans up. I'm using a 2nd gen rx7 carrier now since they don't have the relief cut. More dangerous? probably. Anyways, here's some shots of pressing the damn bushings out. Luckily, I had my trusty HF 20 ton press.


Reply
0
0
06-26-2013, 11:34 PM
#12
Junior Member
Thread Starter
iTrader: (4)
Join Date: Jul 2012
Location: Fredericksburg, VA
Posts: 80
Total Cats: 1
Now, I'm gonna get flamed for this one. Here it goes, anyways.
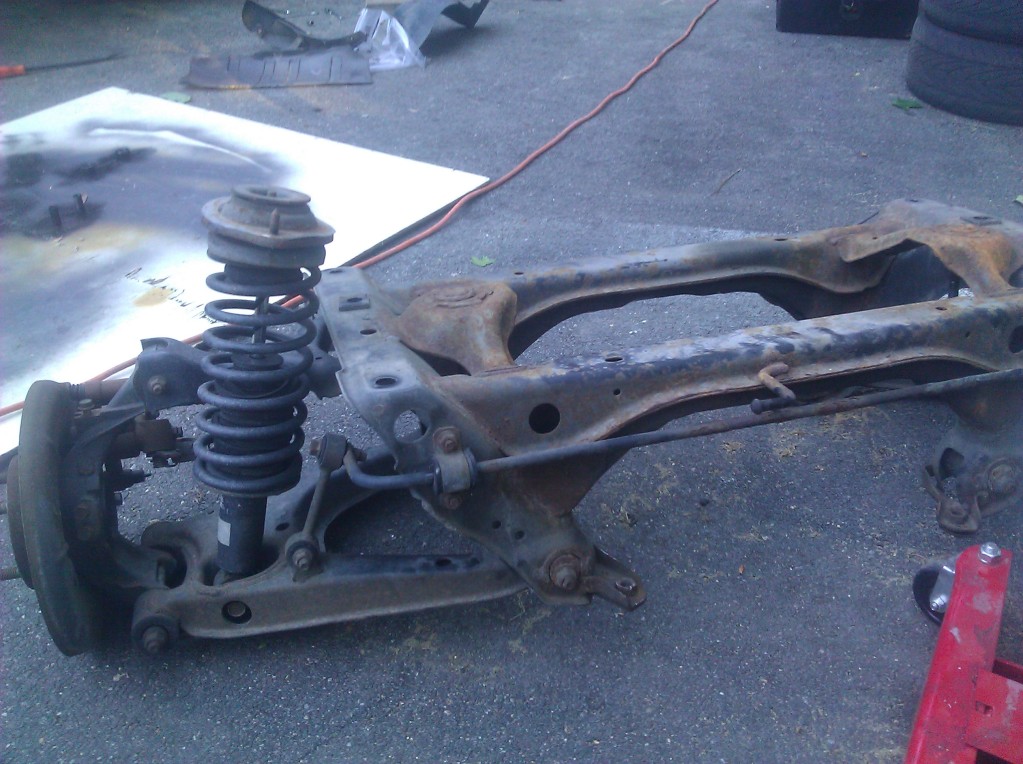
V-maxxes.

Some would ask (and they're correct) "how can it be a racecar with cheap a$$ suspension?" My answer is "it's not". Maybe, and MAYBE some time down the road I'll track, autocross, whatever. Right now, I'm just having a blast.
V-maxxes aren't too bad though. Good balance between ride comfort and performance.
On to the car itself.
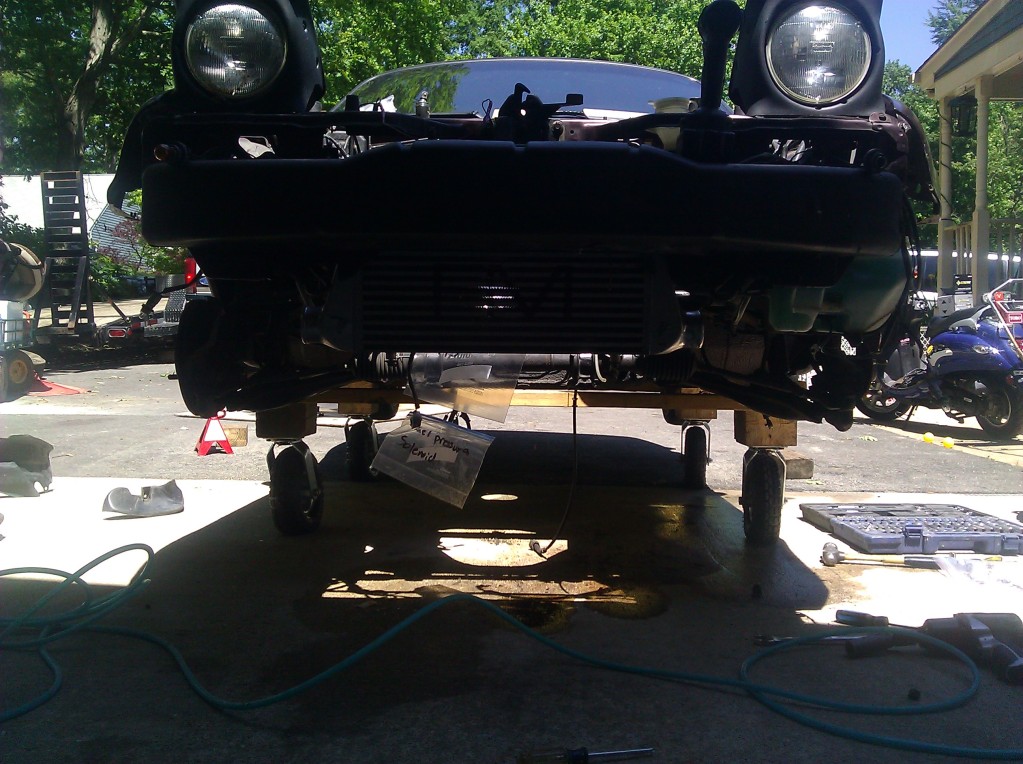
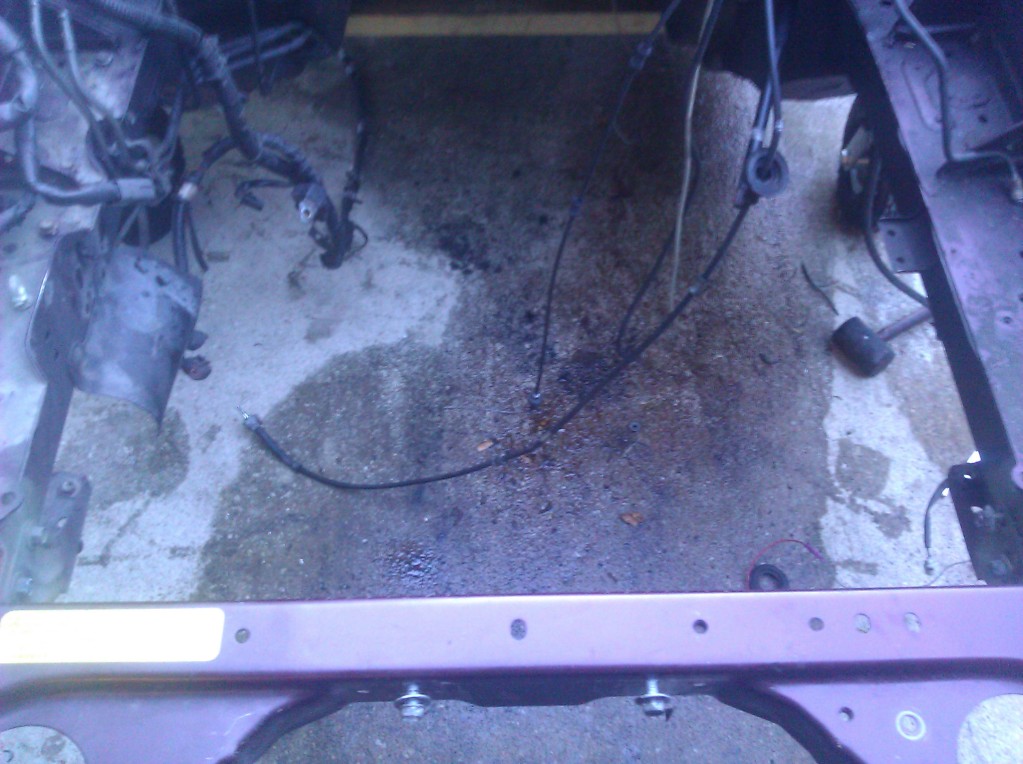
My buddy and I thought it would be nice if we could work on the car in the garage or out, weather pending. How would this be possible if the subframes would later be removed? The "carcart" was the result. 350# casters at each corner. Rolls fairly well and can be spun, moved, you name it all with one person.
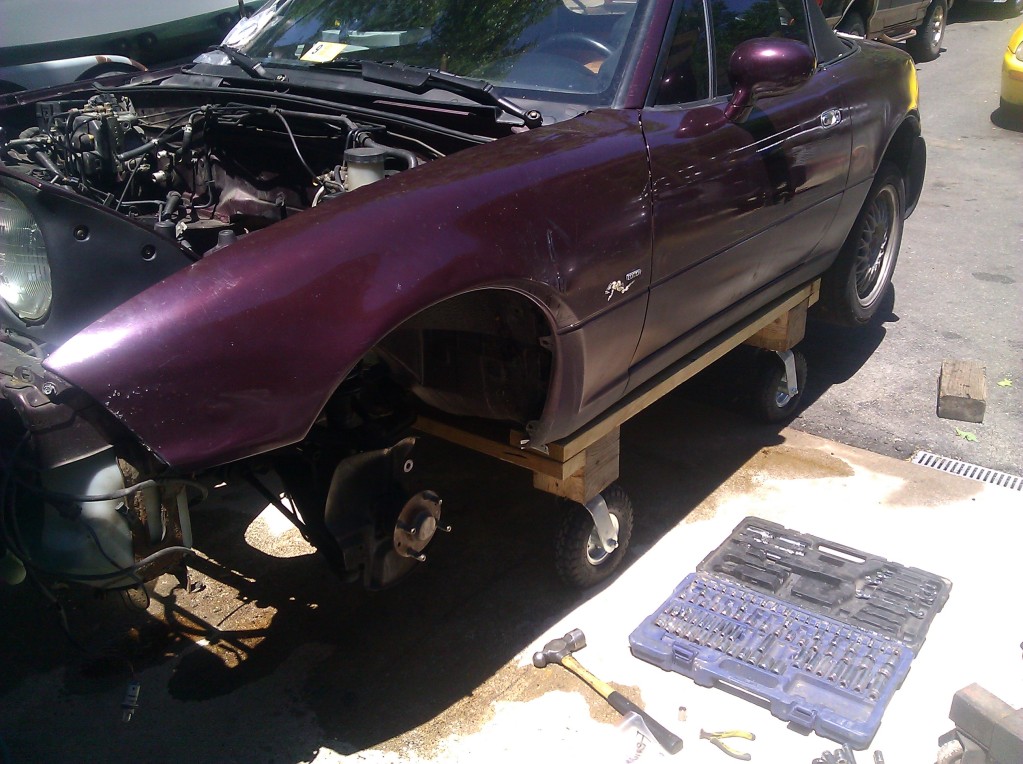
Like I said in the beginning - Infrastructure is important. Everything has to come out. Not only is it a good learning experience, but it gives me a chance to thoroughly check the car over; To make sure it's built right.
V-maxxes.

Some would ask (and they're correct) "how can it be a racecar with cheap a$$ suspension?" My answer is "it's not". Maybe, and MAYBE some time down the road I'll track, autocross, whatever. Right now, I'm just having a blast.
V-maxxes aren't too bad though. Good balance between ride comfort and performance.
On to the car itself.
My buddy and I thought it would be nice if we could work on the car in the garage or out, weather pending. How would this be possible if the subframes would later be removed? The "carcart" was the result. 350# casters at each corner. Rolls fairly well and can be spun, moved, you name it all with one person.


Like I said in the beginning - Infrastructure is important. Everything has to come out. Not only is it a good learning experience, but it gives me a chance to thoroughly check the car over; To make sure it's built right.
Reply
0
0
 06-26-2013, 11:41 PM
#14
Junior Member
Thread Starter
iTrader: (4)
Join Date: Jul 2012
Location: Fredericksburg, VA
Posts: 80
Total Cats: 1
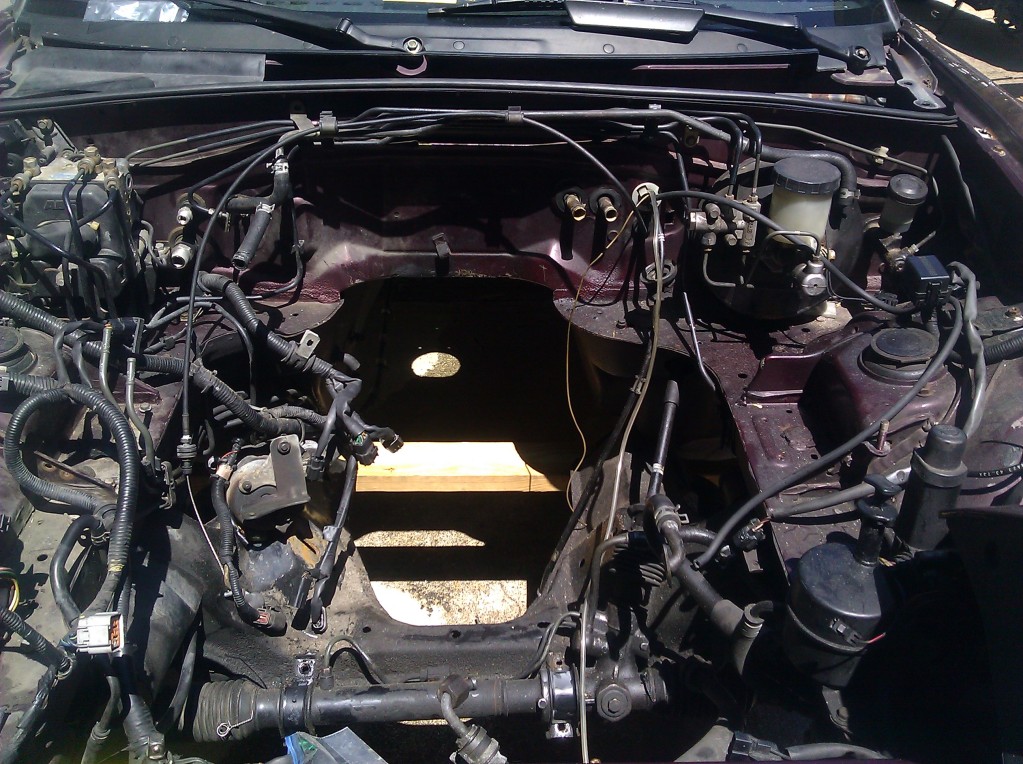
Remember the subframes?
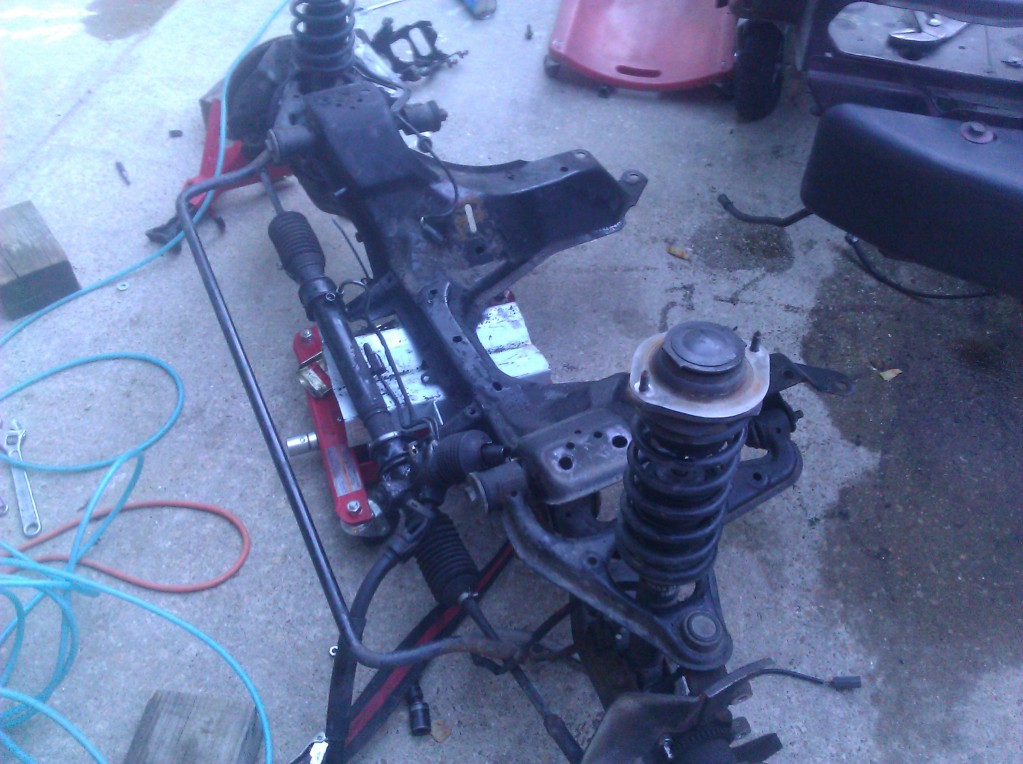
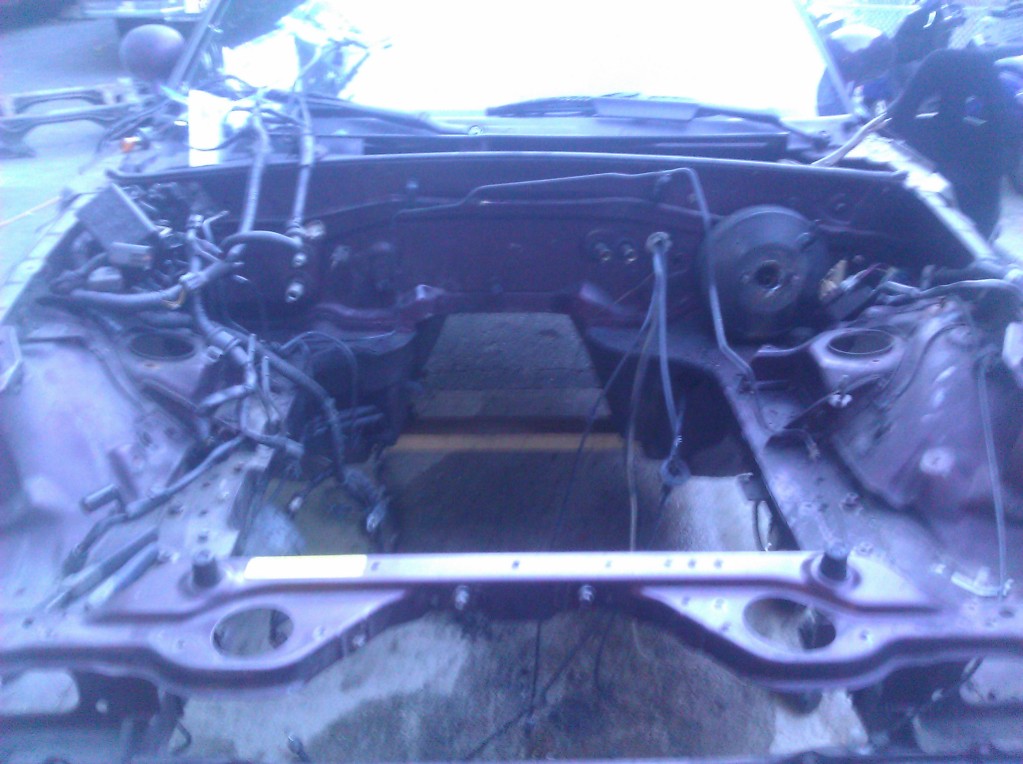
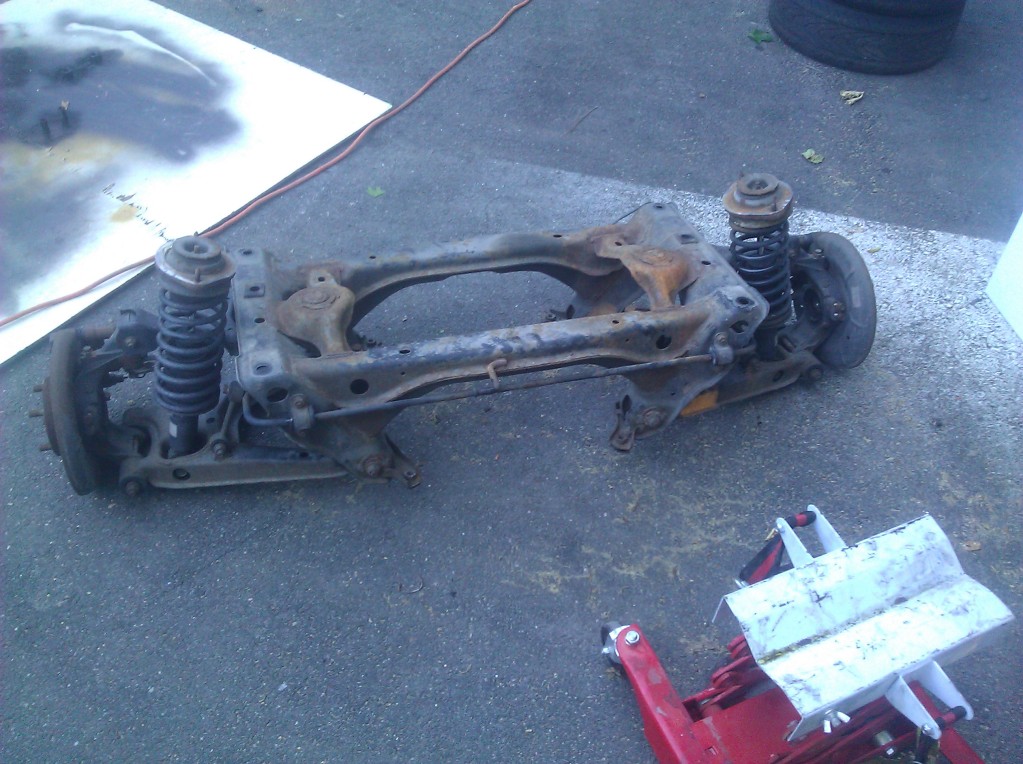
With the front subframe out, I needed to deal with the rack. Being a M-edition meant it had power steering. I don't want the drag of the pump, or the weight, or the feel. I want the quicker ratio, however. "properly" depowering the rack was in order. I actually only finished this a few days ago because the rack rod had some rust I needed to figure out. No pictures of it reassembled yet but there will be soon. Here's some disassembly.
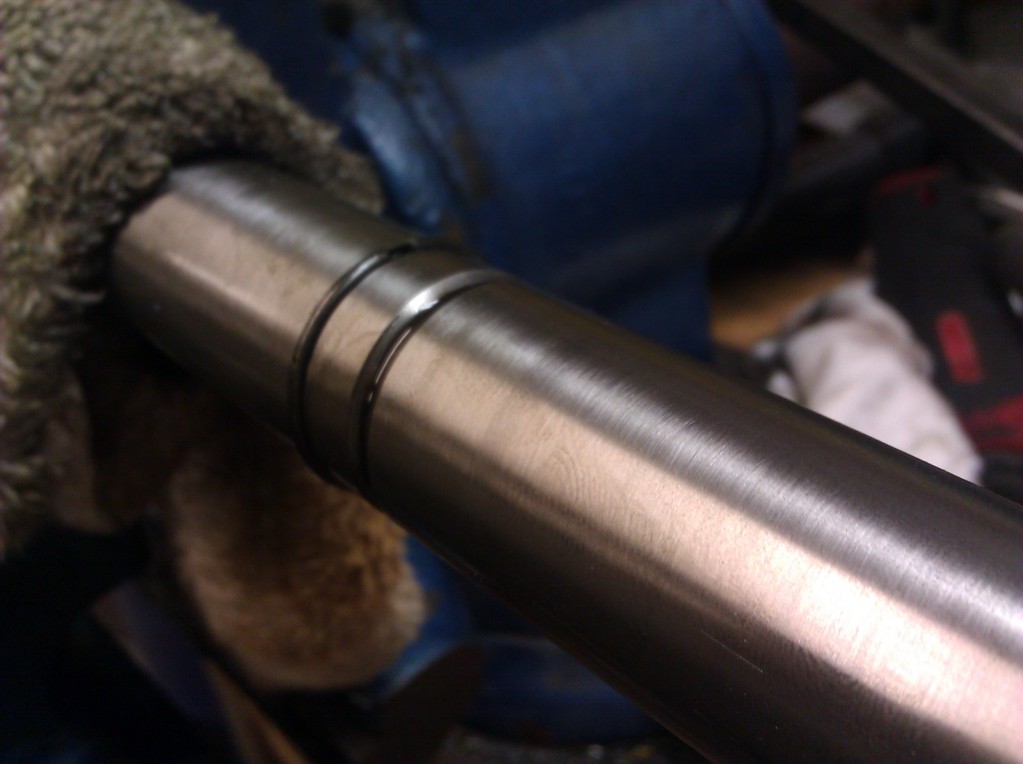
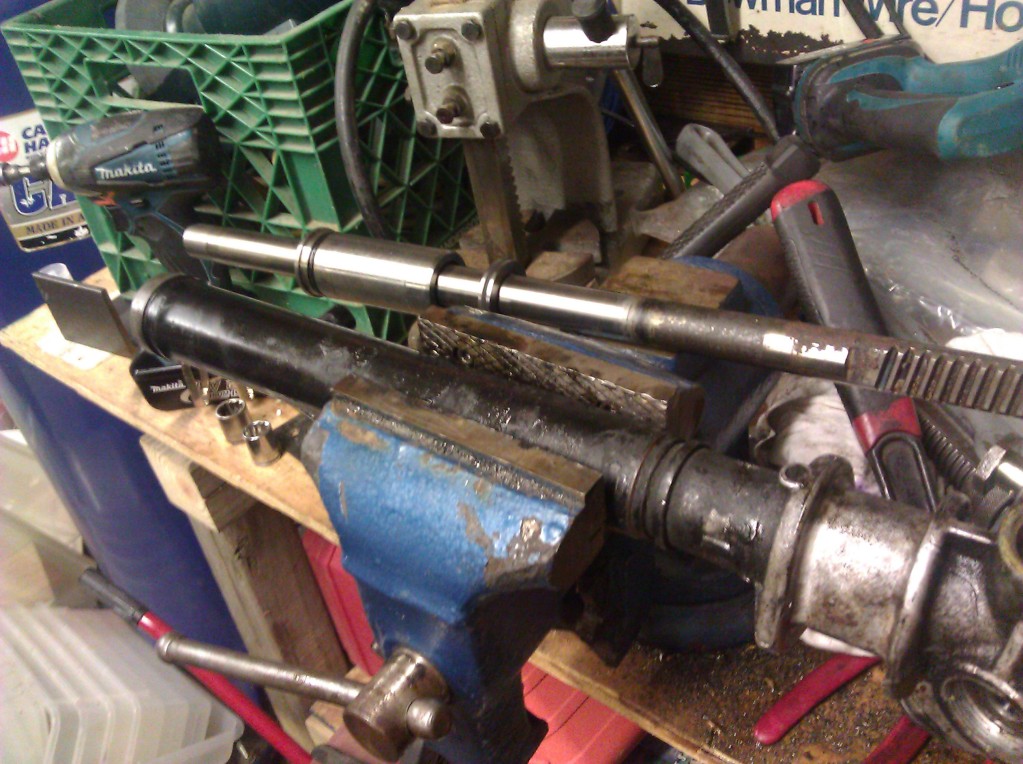
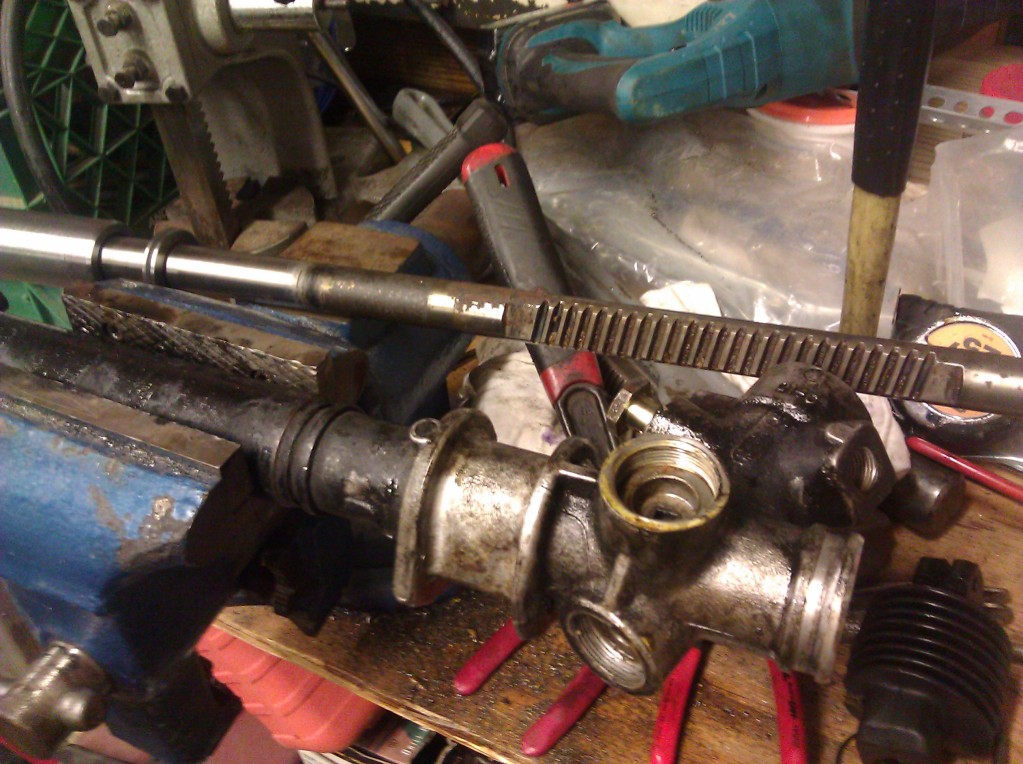


With the front subframe out, I needed to deal with the rack. Being a M-edition meant it had power steering. I don't want the drag of the pump, or the weight, or the feel. I want the quicker ratio, however. "properly" depowering the rack was in order. I actually only finished this a few days ago because the rack rod had some rust I needed to figure out. No pictures of it reassembled yet but there will be soon. Here's some disassembly.


Reply
0
0
06-26-2013, 11:43 PM
#15
Junior Member
Thread Starter
iTrader: (4)
Join Date: Jul 2012
Location: Fredericksburg, VA
Posts: 80
Total Cats: 1
Garrett 2871R. I could definitely go bigger (3071, mmmmm) but I want to keep somewhat of a small spool time without falling short of my goal.
Last edited by Grantofhell; 06-27-2013 at 12:31 AM.
Reply
0
0
06-26-2013, 11:59 PM
#16
Junior Member
Thread Starter
iTrader: (4)
Join Date: Jul 2012
Location: Fredericksburg, VA
Posts: 80
Total Cats: 1
Did I mention 56k death, yet?
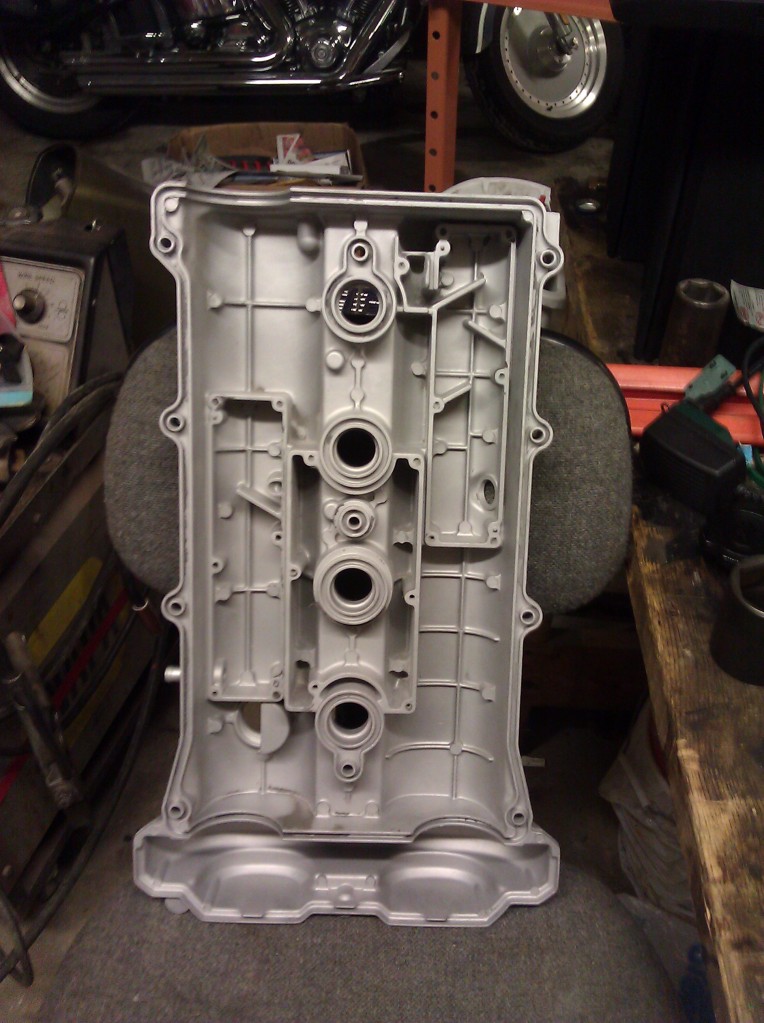
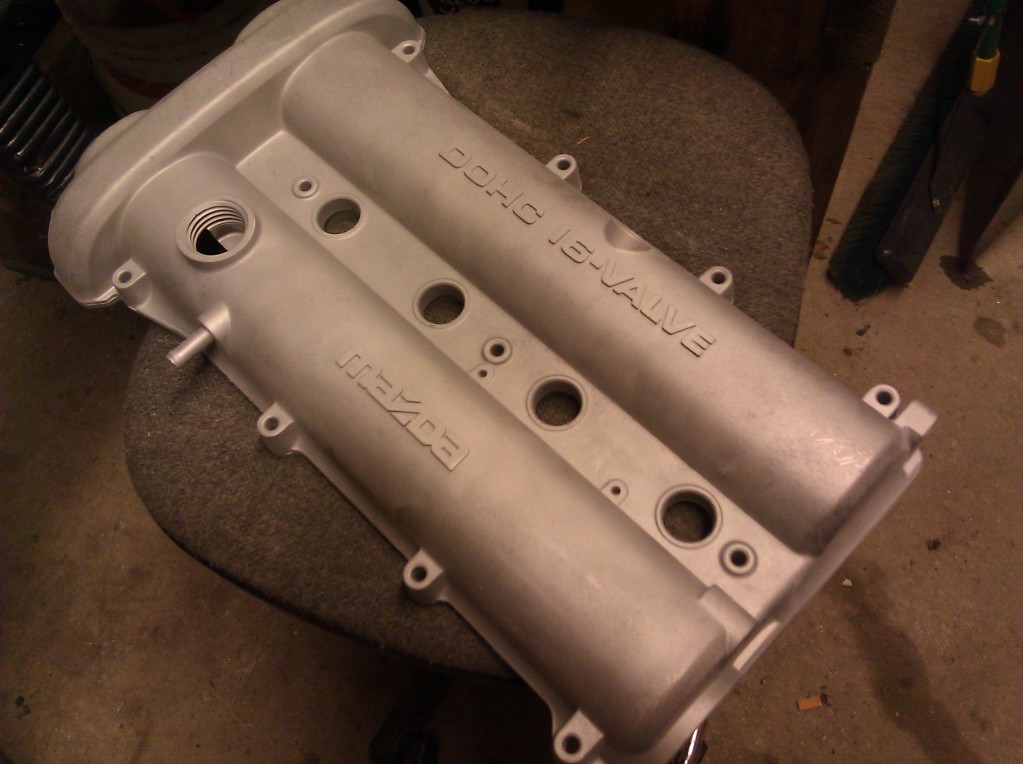
Hey look, a valve cover. Sandblasted, ready for high heat prime and sexy coat of Merlot. Y'know, for that "coordinated" look.
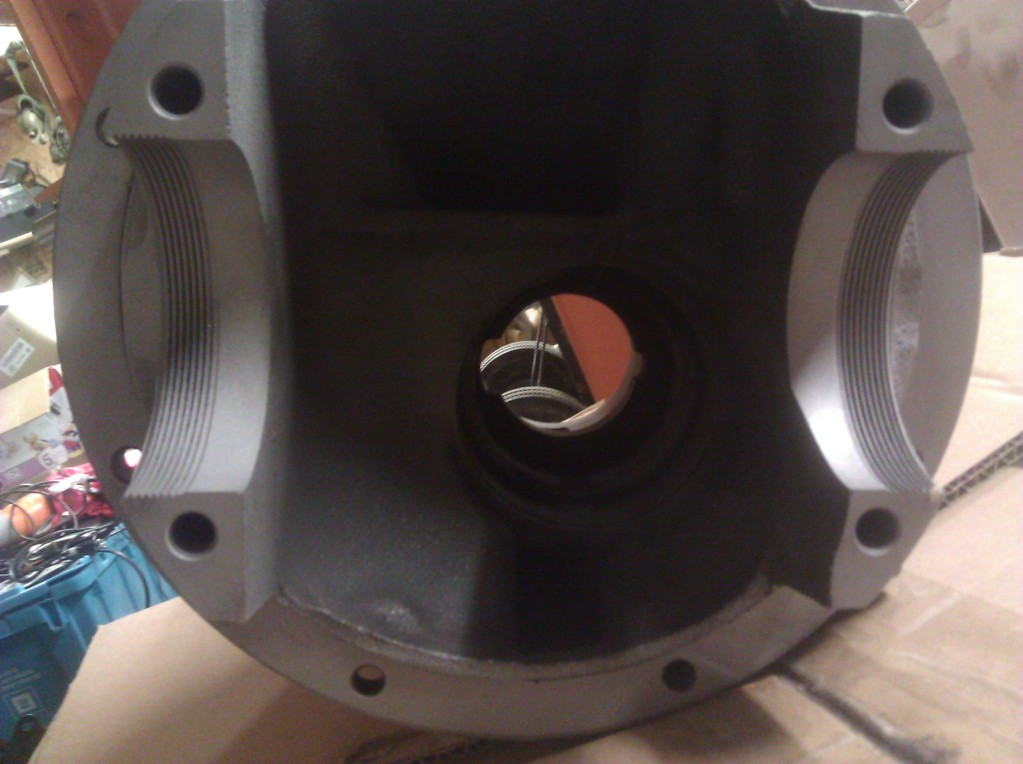
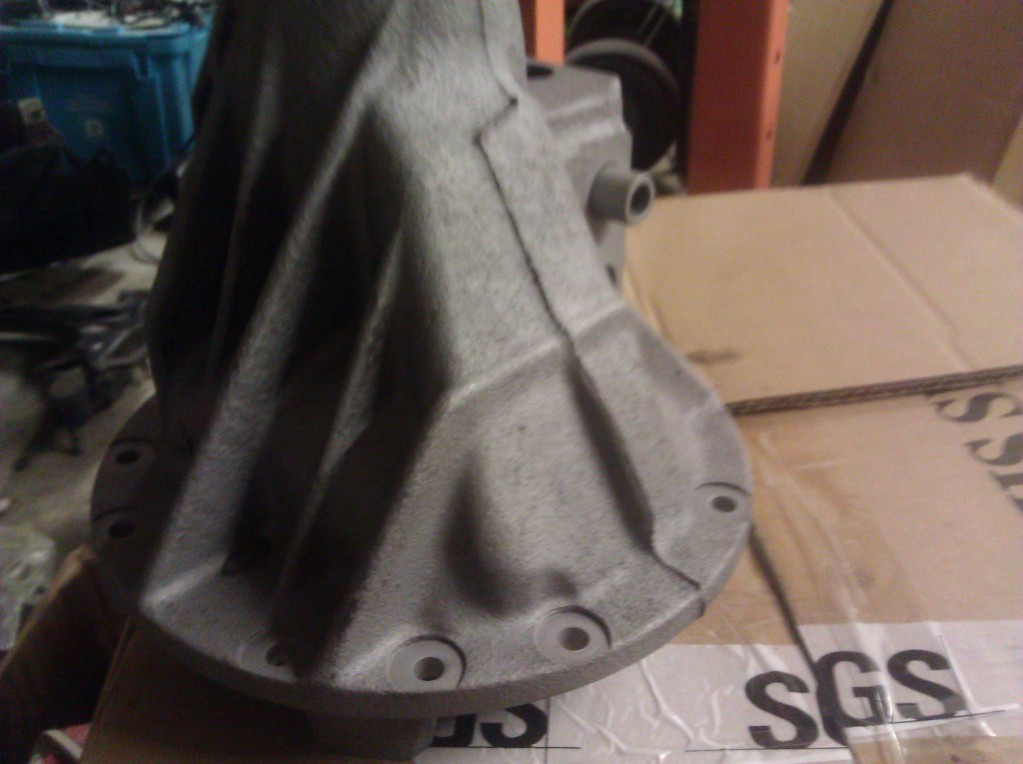
Back to the diff.
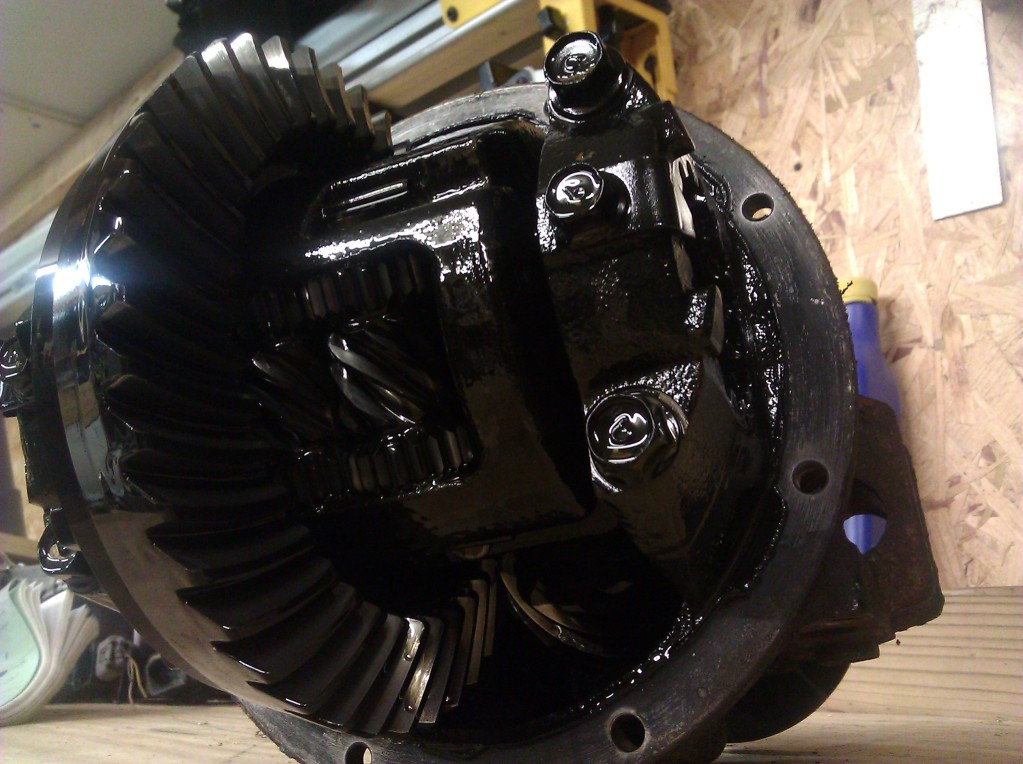
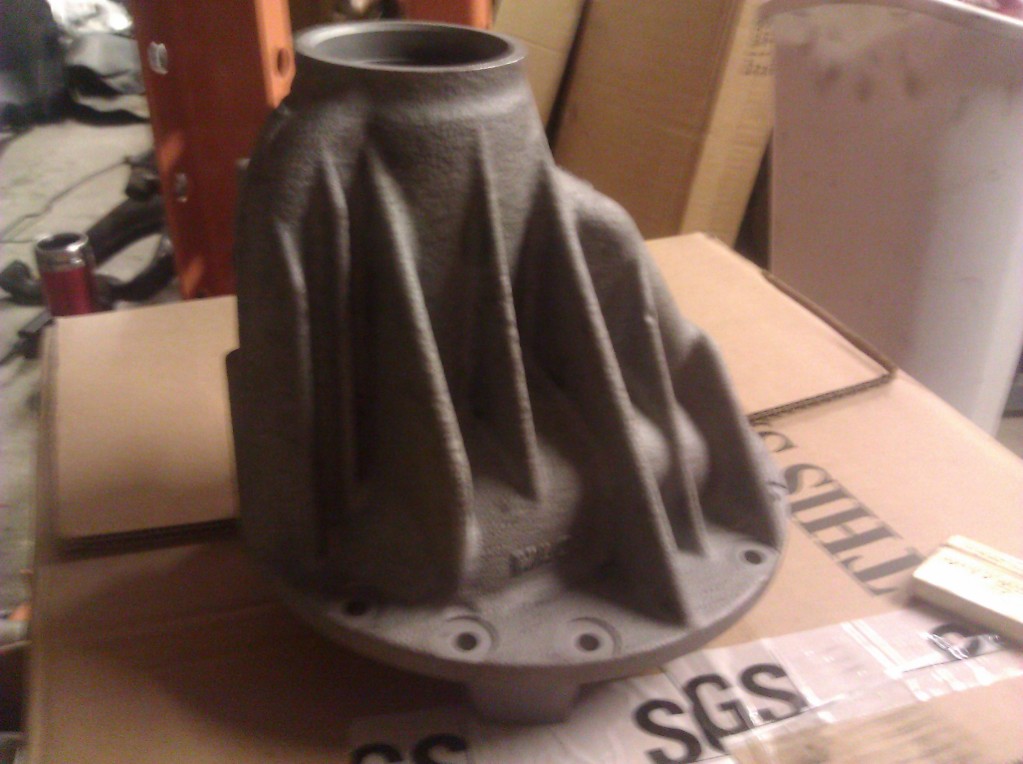
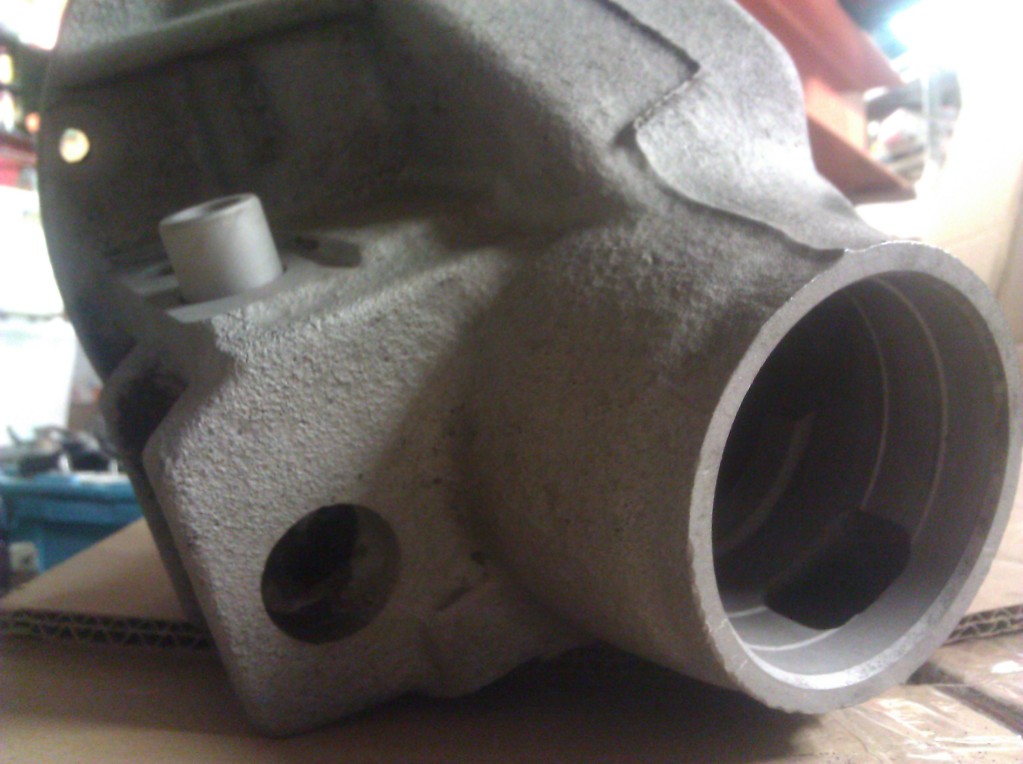
When I rebuild diffs I like to make them look pretty, too. All that work restoring the inside (removing oil deposits, residue, cleaning passages, etc) means I might as well spend some time at the blast cabinet making the outside nice as well. My very own diff is no exception.
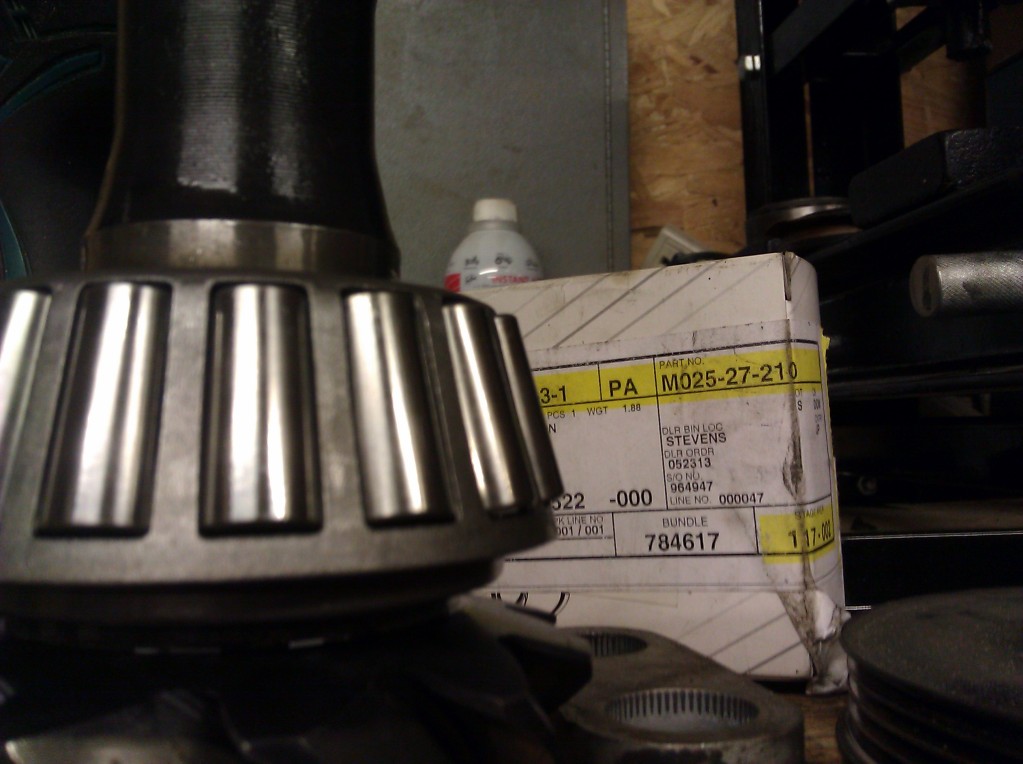
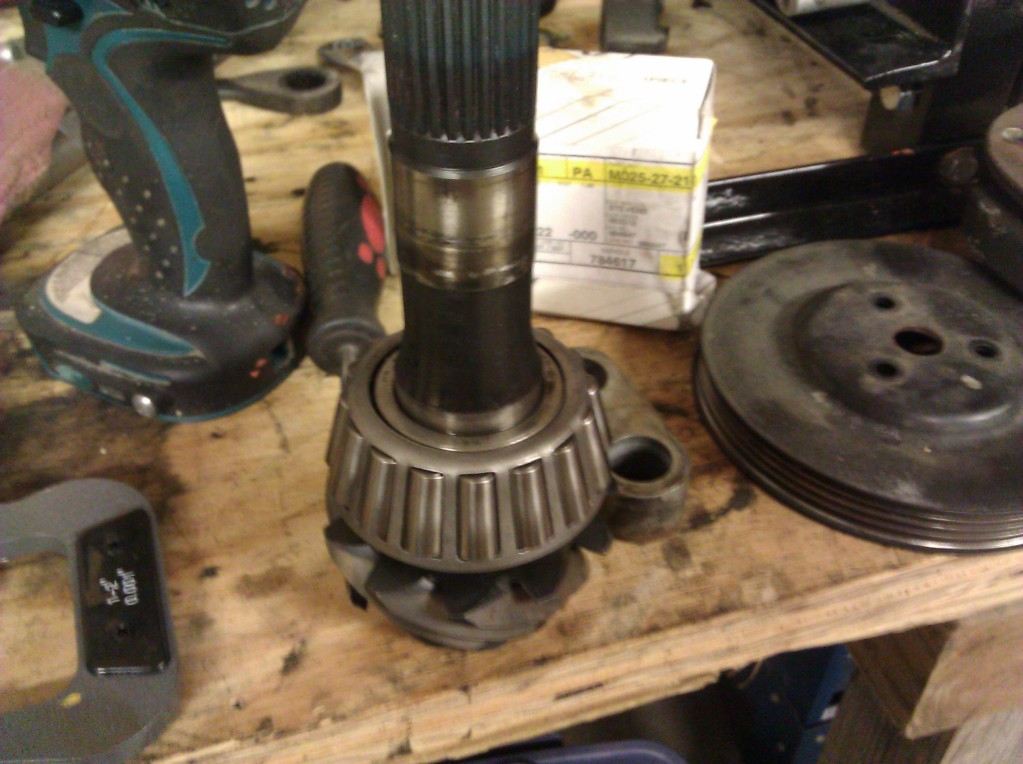
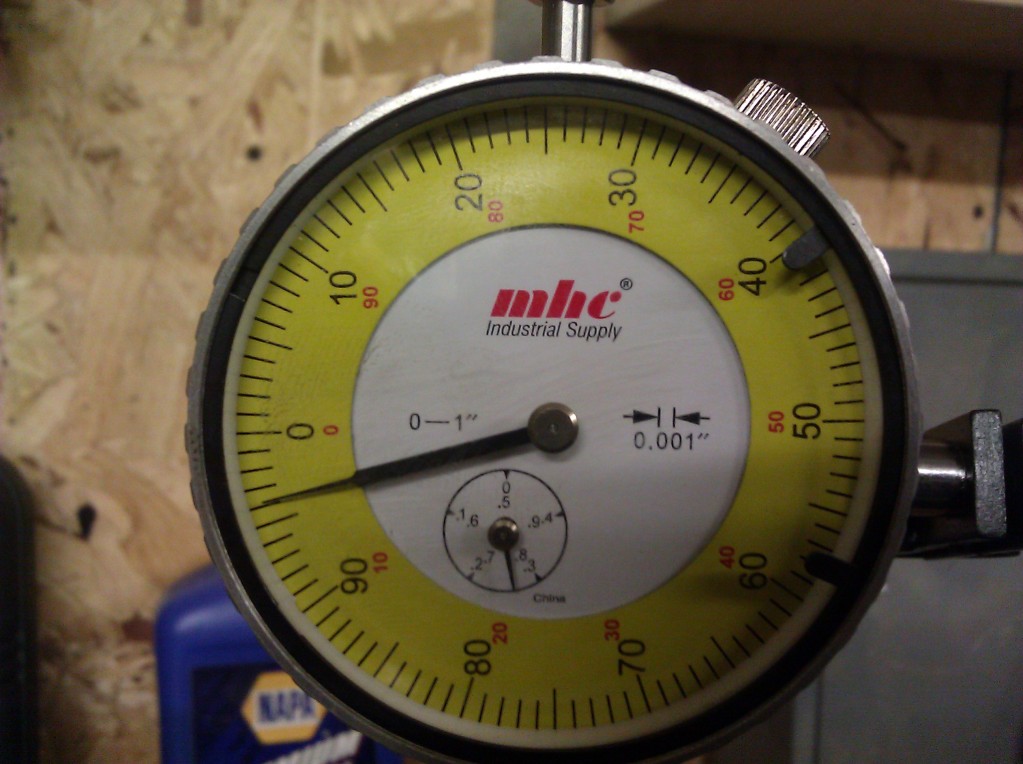
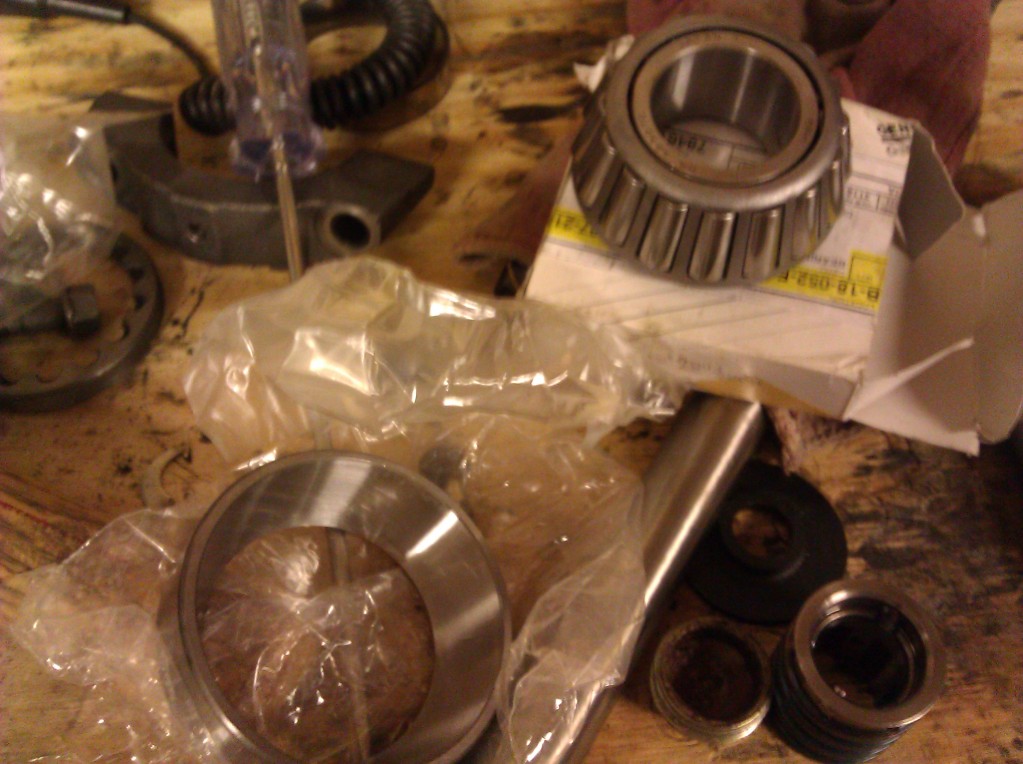
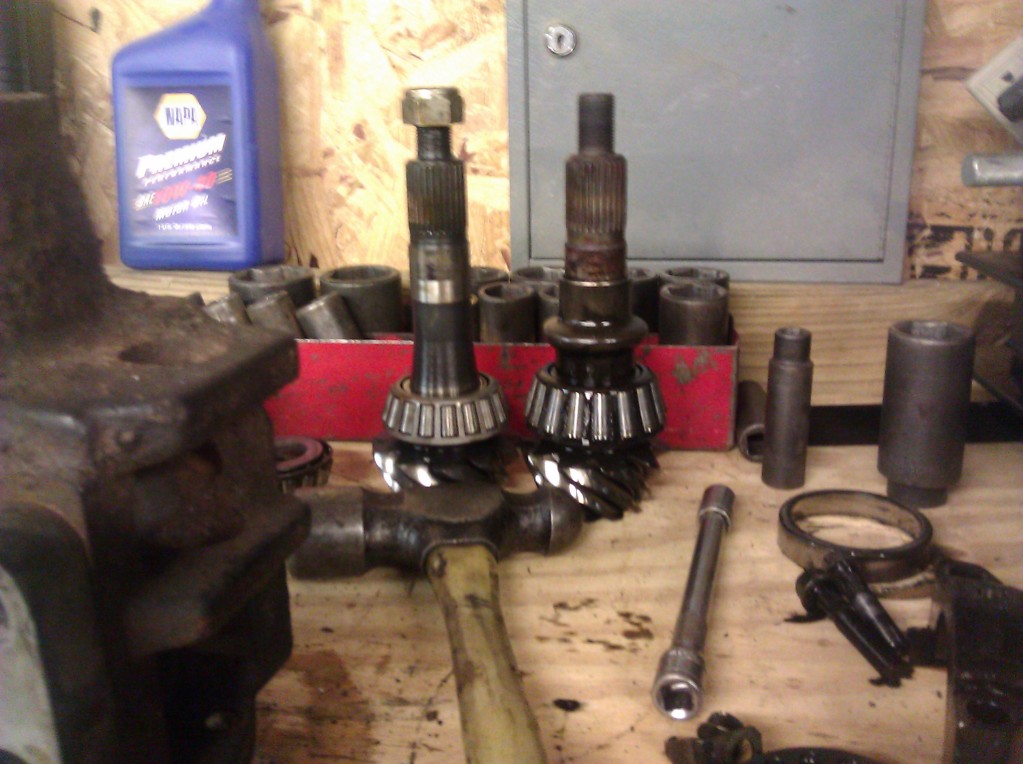
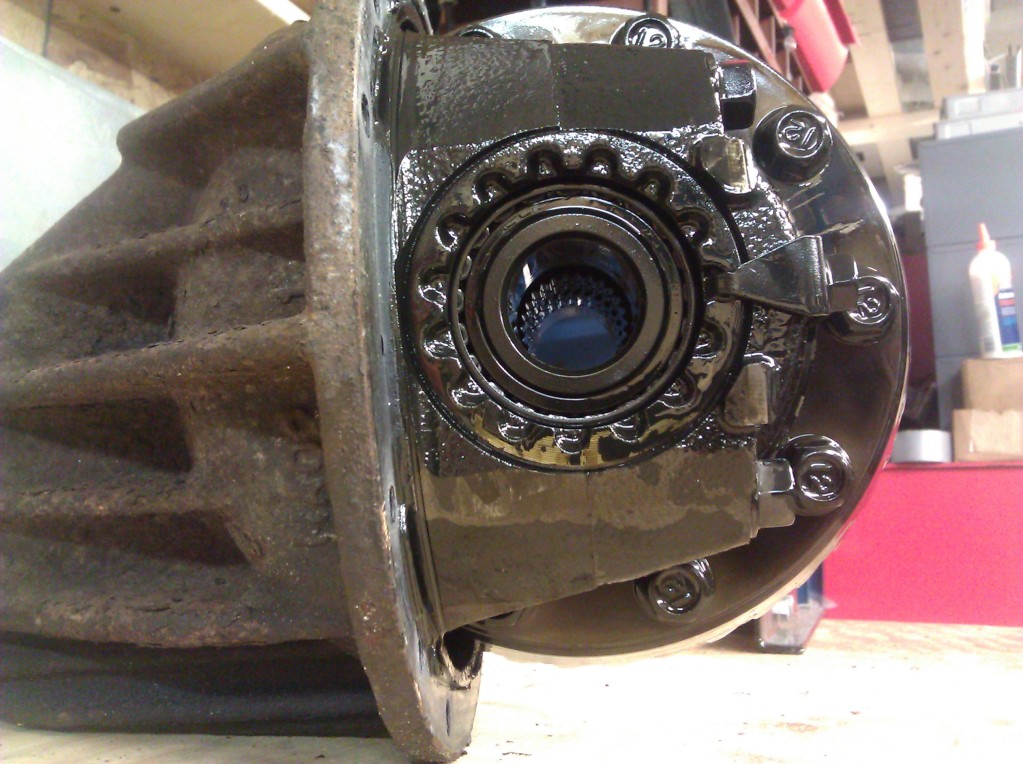
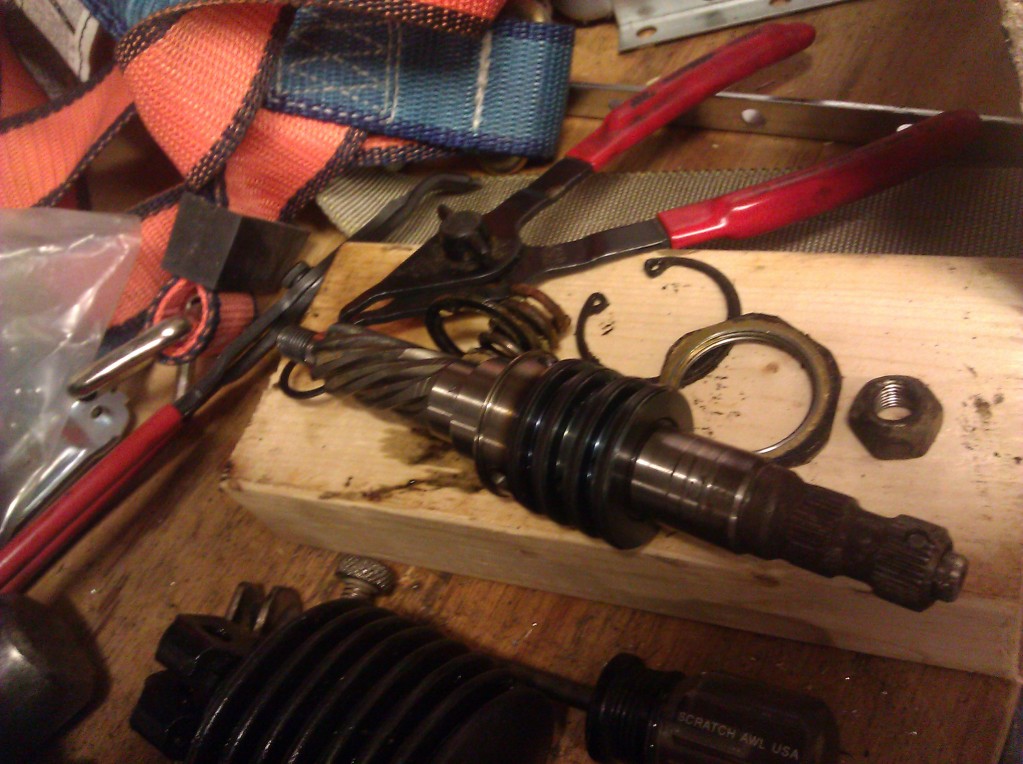
New OEM pinion bearing with race since I wrecked the original one. It was MUCH easier to get on than off. Thank you again el cheapo HF 20 ton.
Don't have a picture of my fancy mic, unfortunately.
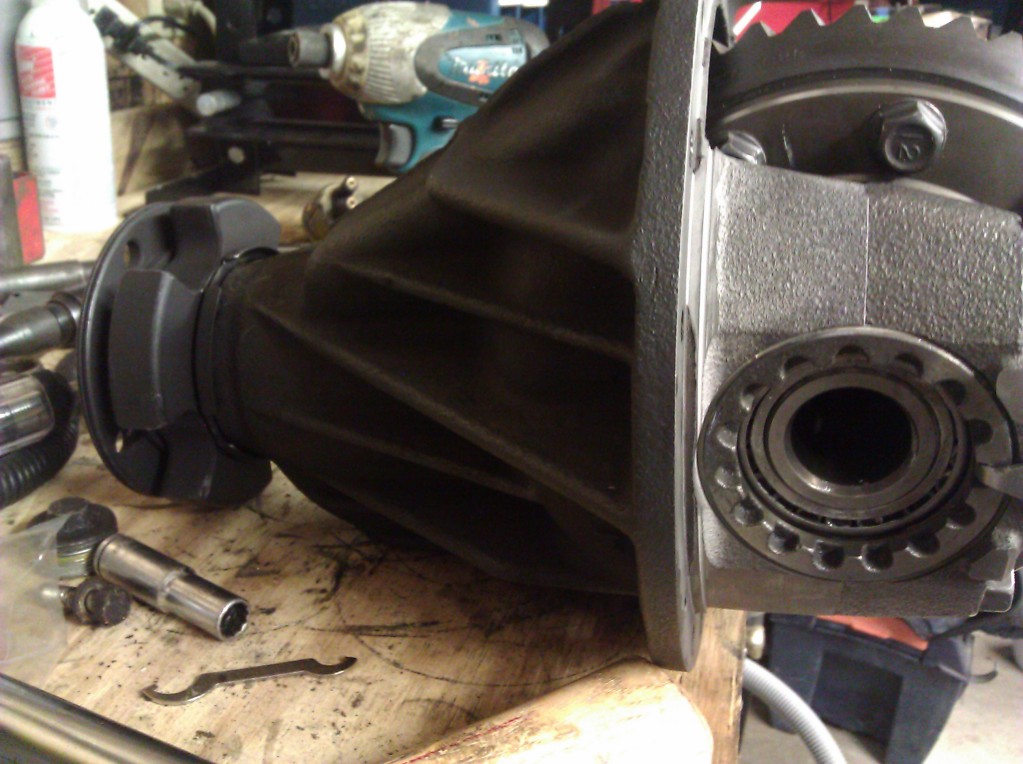
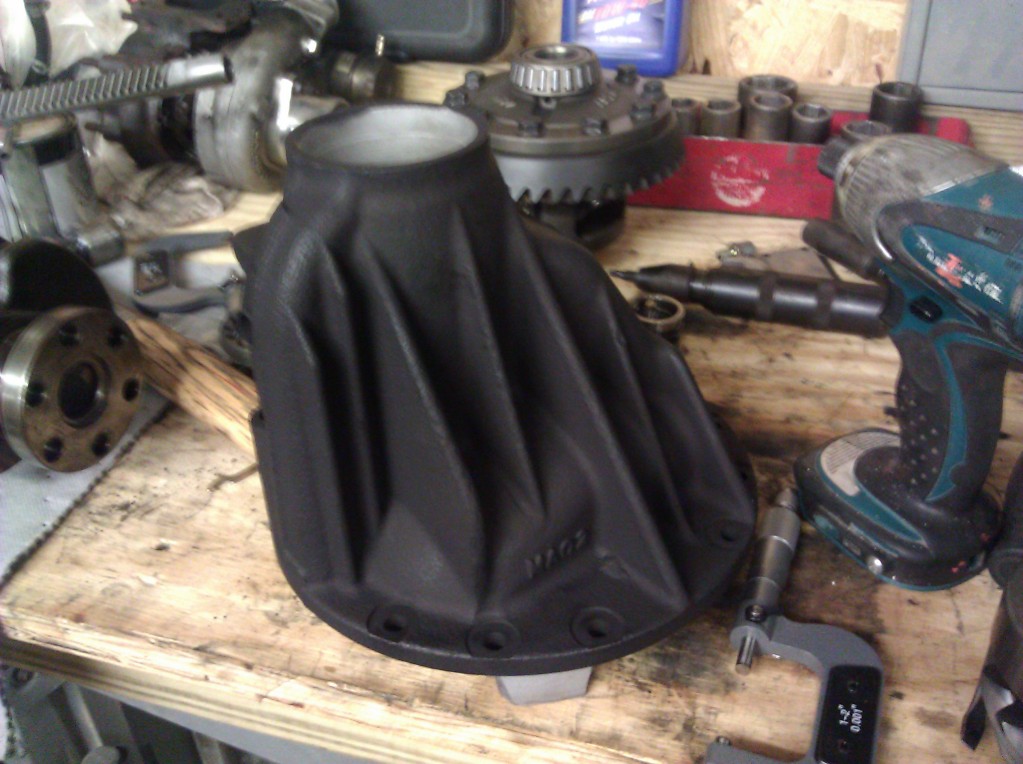
After it's all sandblasted and thoroughly rinsed (including the carrier) I paint it with a rust resistant matte black. I leave the carrier in straight aluminum though, cause that's sexy.
Hey look, a valve cover. Sandblasted, ready for high heat prime and sexy coat of Merlot. Y'know, for that "coordinated" look.

Back to the diff.
When I rebuild diffs I like to make them look pretty, too. All that work restoring the inside (removing oil deposits, residue, cleaning passages, etc) means I might as well spend some time at the blast cabinet making the outside nice as well. My very own diff is no exception.


New OEM pinion bearing with race since I wrecked the original one. It was MUCH easier to get on than off. Thank you again el cheapo HF 20 ton.
Don't have a picture of my fancy mic, unfortunately.


After it's all sandblasted and thoroughly rinsed (including the carrier) I paint it with a rust resistant matte black. I leave the carrier in straight aluminum though, cause that's sexy.
Last edited by Grantofhell; 06-27-2013 at 12:13 AM.
Reply
0
0
06-27-2013, 12:04 AM
#17
Junior Member
Thread Starter
iTrader: (4)
Join Date: Jul 2012
Location: Fredericksburg, VA
Posts: 80
Total Cats: 1
Some more random bits
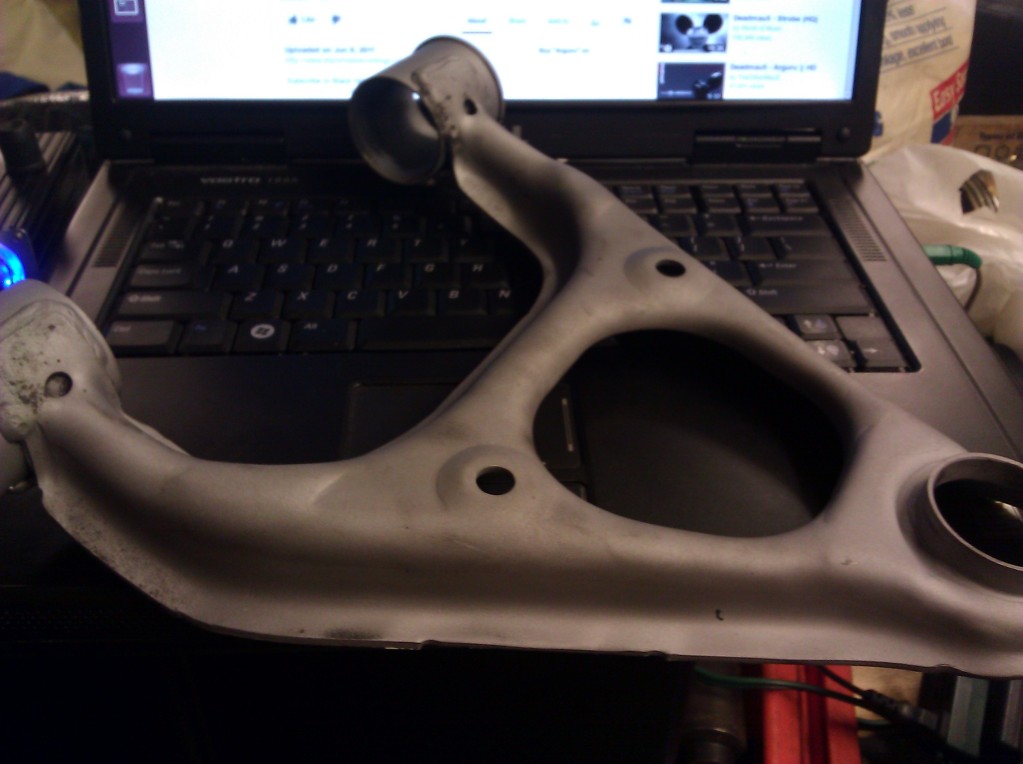
Name the control arm? That's coincidentally sitting on the laptop I'm posting from. Laptopception.
I didn't realize until recently that you CAN NOT get front upper ball joints without buying an entire control arm from various sources for damn near $350. Luckily, V8 Roadsters makes one that is "rebuildable", looks like it has zerks, and doesn't break your wallet into too many pieces.
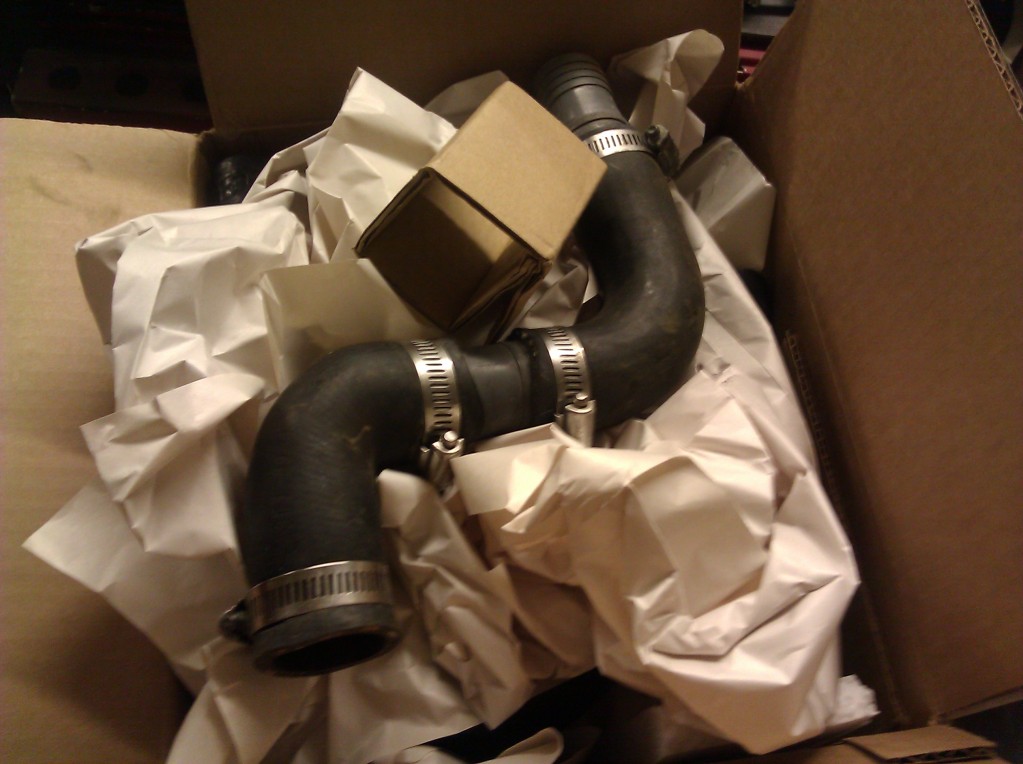
M tuned coolant re-route. A healthy part of every big boost build.
Name the control arm that's getting bent because I'm an idiot?
Another valve cover shot
That's all for now. Hopefully the next update won't be so prolonged and have a bajillion photos for me to upload and sift. Which may mean that pictures start appearing in the actual order I'm doing them...It won't be any more logical, sadly.
Name the control arm? That's coincidentally sitting on the laptop I'm posting from. Laptopception.
I didn't realize until recently that you CAN NOT get front upper ball joints without buying an entire control arm from various sources for damn near $350. Luckily, V8 Roadsters makes one that is "rebuildable", looks like it has zerks, and doesn't break your wallet into too many pieces.

M tuned coolant re-route. A healthy part of every big boost build.

Name the control arm that's getting bent because I'm an idiot?

Another valve cover shot

That's all for now. Hopefully the next update won't be so prolonged and have a bajillion photos for me to upload and sift. Which may mean that pictures start appearing in the actual order I'm doing them...It won't be any more logical, sadly.
Reply
0
0
 06-28-2013, 09:21 PM
#20
Junior Member
Thread Starter
iTrader: (4)
Join Date: Jul 2012
Location: Fredericksburg, VA
Posts: 80
Total Cats: 1
I have also read many horror stories about media used on various parts getting into the oil and making short work of the block. I pulled ALL thhe baffles in the oil pan, valve cover and intend to wash all parts before reassembly. Appreciate it!
It's control arm night..again...here's to not bending any more!
It's control arm night..again...here's to not bending any more!
Reply
0
0


