Down at the detail shop
 06-08-2012, 10:16 AM
#24
Antisaint

Thread Starter
iTrader: (17)
Join Date: Feb 2007
Location: Danbury, CT
Posts: 4,564
Total Cats: 58
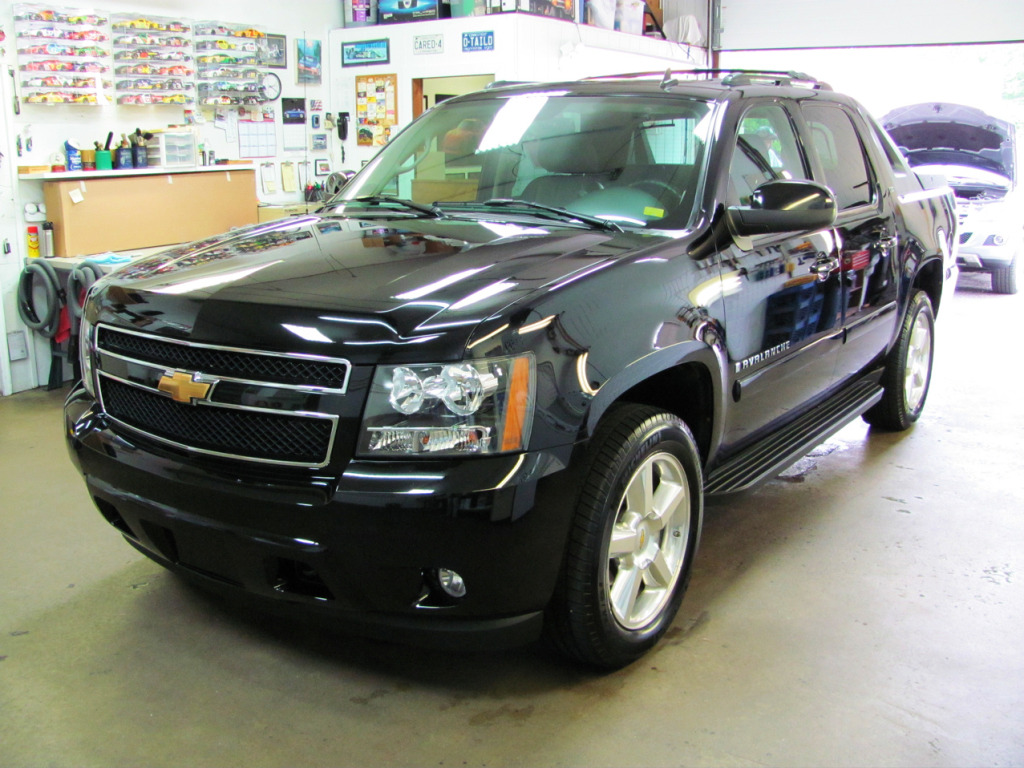
Yeah I was surprised myself. Apparently the husband puts Borla exhausts on everything he owns. Even the wife's miata. lol
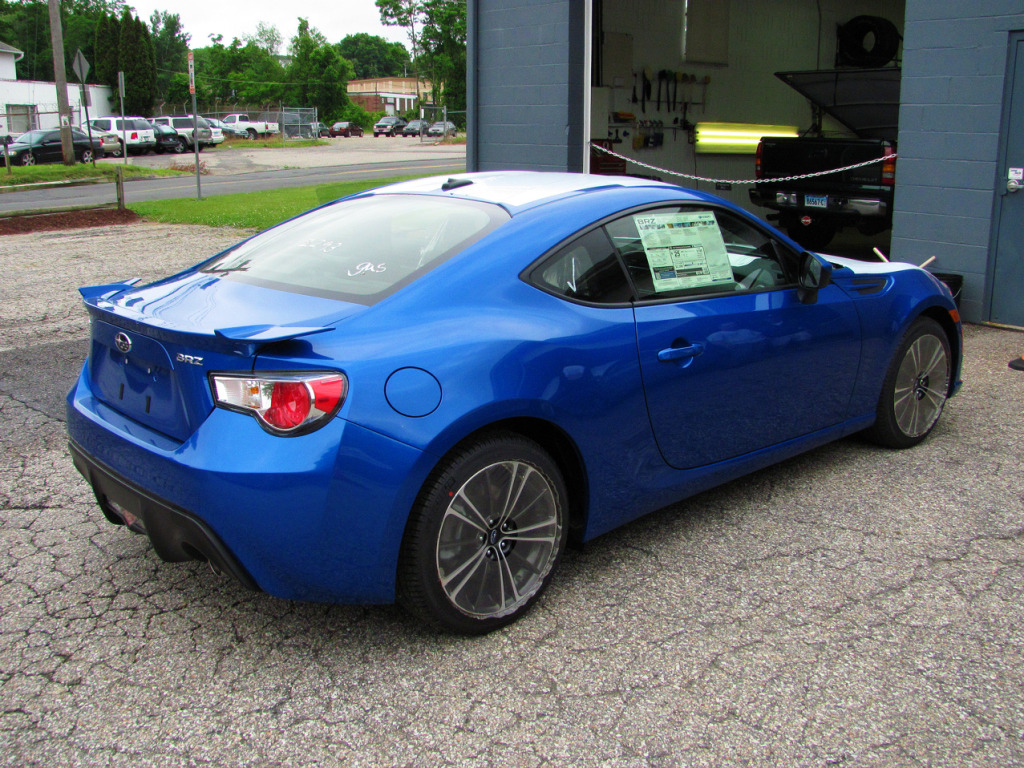
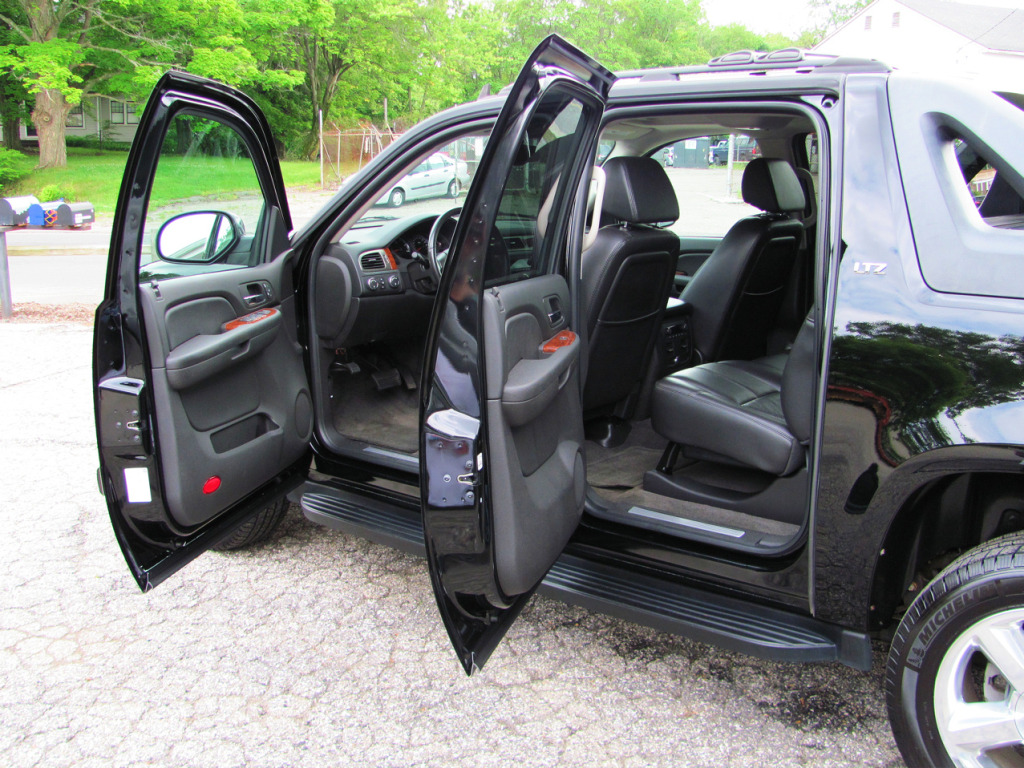
I wish I snapped before shots of this thing cause it was FILTHY. Complete with a mouse nest under the wiper cowl! Polished up nice though.
I wish I snapped before shots of this thing cause it was FILTHY. Complete with a mouse nest under the wiper cowl! Polished up nice though.

Reply
 0
0

0
06-08-2012, 10:29 AM
#25
2 Props,3 Dildos,& 1 Cat

iTrader: (8)
Join Date: Jun 2005
Location: Fake Virginia
Posts: 19,338
Total Cats: 573
I hate to say this Vash but if you're using photos for your portfolio, you're going to need better photos. The difference is subtle, but the lack of sharpness and blown out colors is hampering the big titty look of the cars.
Here's how I'd set that Canon SX120IS:
P Mode on the top ****.
Turn the flash off.
Turn exposure compensation down two dots by holding +/- and rotating the dial.
Set the custom My Colors option "colorsymbol"C
and... press DISP to set the options:
Contrast: normal (you may want to play with this--the histogram will tell all)
Sharpness: bump up one (you can play with this)
Saturation: bump up one
The manual doesn't give details on other options for "my colors"... so I'm guessing what's available up there.
and watch the histogram closely while you shoot. You want to avoid the graph bunching up at either end. You can use the exposure compensation to corral it some. And remember, once you overexpose a bright spot, you can't get information back--that's why you want shoot slightly dark.
Reply
0
0
06-08-2012, 10:43 AM
#28
Antisaint
Thread Starter
iTrader: (17)
Join Date: Feb 2007
Location: Danbury, CT
Posts: 4,564
Total Cats: 58
I hate to say this Vash but if you're using photos for your portfolio, you're going to need better photos. The difference is subtle, but the lack of sharpness and blown out colors is hampering the big titty look of the cars.
Here's how I'd set that Canon SX120IS:
P Mode on the top ****.
Turn the flash off.
Turn exposure compensation down two dots by holding +/- and rotating the dial.
Set the custom My Colors option "colorsymbol"C
and... press DISP to set the options:
Contrast: normal (you may want to play with this--the histogram will tell all)
Sharpness: bump up one (you can play with this)
Saturation: bump up one
The manual doesn't give details on other options for "my colors"... so I'm guessing what's available up there.
and watch the histogram closely while you shoot. You want to avoid the graph bunching up at either end. You can use the exposure compensation to corral it some. And remember, once you overexpose a bright spot, you can't get information back--that's why you want shoot slightly dark.
Here's how I'd set that Canon SX120IS:
P Mode on the top ****.
Turn the flash off.
Turn exposure compensation down two dots by holding +/- and rotating the dial.
Set the custom My Colors option "colorsymbol"C
and... press DISP to set the options:
Contrast: normal (you may want to play with this--the histogram will tell all)
Sharpness: bump up one (you can play with this)
Saturation: bump up one
The manual doesn't give details on other options for "my colors"... so I'm guessing what's available up there.
and watch the histogram closely while you shoot. You want to avoid the graph bunching up at either end. You can use the exposure compensation to corral it some. And remember, once you overexpose a bright spot, you can't get information back--that's why you want shoot slightly dark.
I had no idea I could even get those menus!
Just changed everything like you said and took a few practice shots and they look pretty damn good in comparison to the auto shots.
When you say watch the histogram, where do I watch it?
Reply
0
0
06-08-2012, 10:58 AM
#29
2 Props,3 Dildos,& 1 Cat
iTrader: (8)
Join Date: Jun 2005
Location: Fake Virginia
Posts: 19,338
Total Cats: 573
if you hit the DISP button twice, it should pop up on the display.
page 45 of manual:
http://gdlp01.c-wss.com/gds/9/030000..._CUG_EN_02.pdf
take some shots, then post them up!
page 45 of manual:
http://gdlp01.c-wss.com/gds/9/030000..._CUG_EN_02.pdf
take some shots, then post them up!
Reply
0
0
 06-08-2012, 02:40 PM
#31

Or you can do like the the miracle creams/weight loss things and take a horrid before pic and a fantastic after pic
Reply
0
0

 06-11-2012, 11:13 PM
#34
Antisaint
Thread Starter
iTrader: (17)
Join Date: Feb 2007
Location: Danbury, CT
Posts: 4,564
Total Cats: 58
Detailing is getting me extra money per week, plus its an opportunity to use the shop for eBay related reasons. Our shop is a construction shop, so its not the best place to be storing antiques and ----. Plus while at work I'm able to kill 2 birds with one ------- stone.
I have more pictures to share that I've been taking per Y8S's recommended method. When I have some time I'll post them.

Yeah Rick, $88k for that truck would be insane. I just don't see the money in it. Same as the H2 we did today, not worth the cash.
Reply
0
0