
1990 open "mod" class build.


https://youtu.be/heMwnmDl1F8
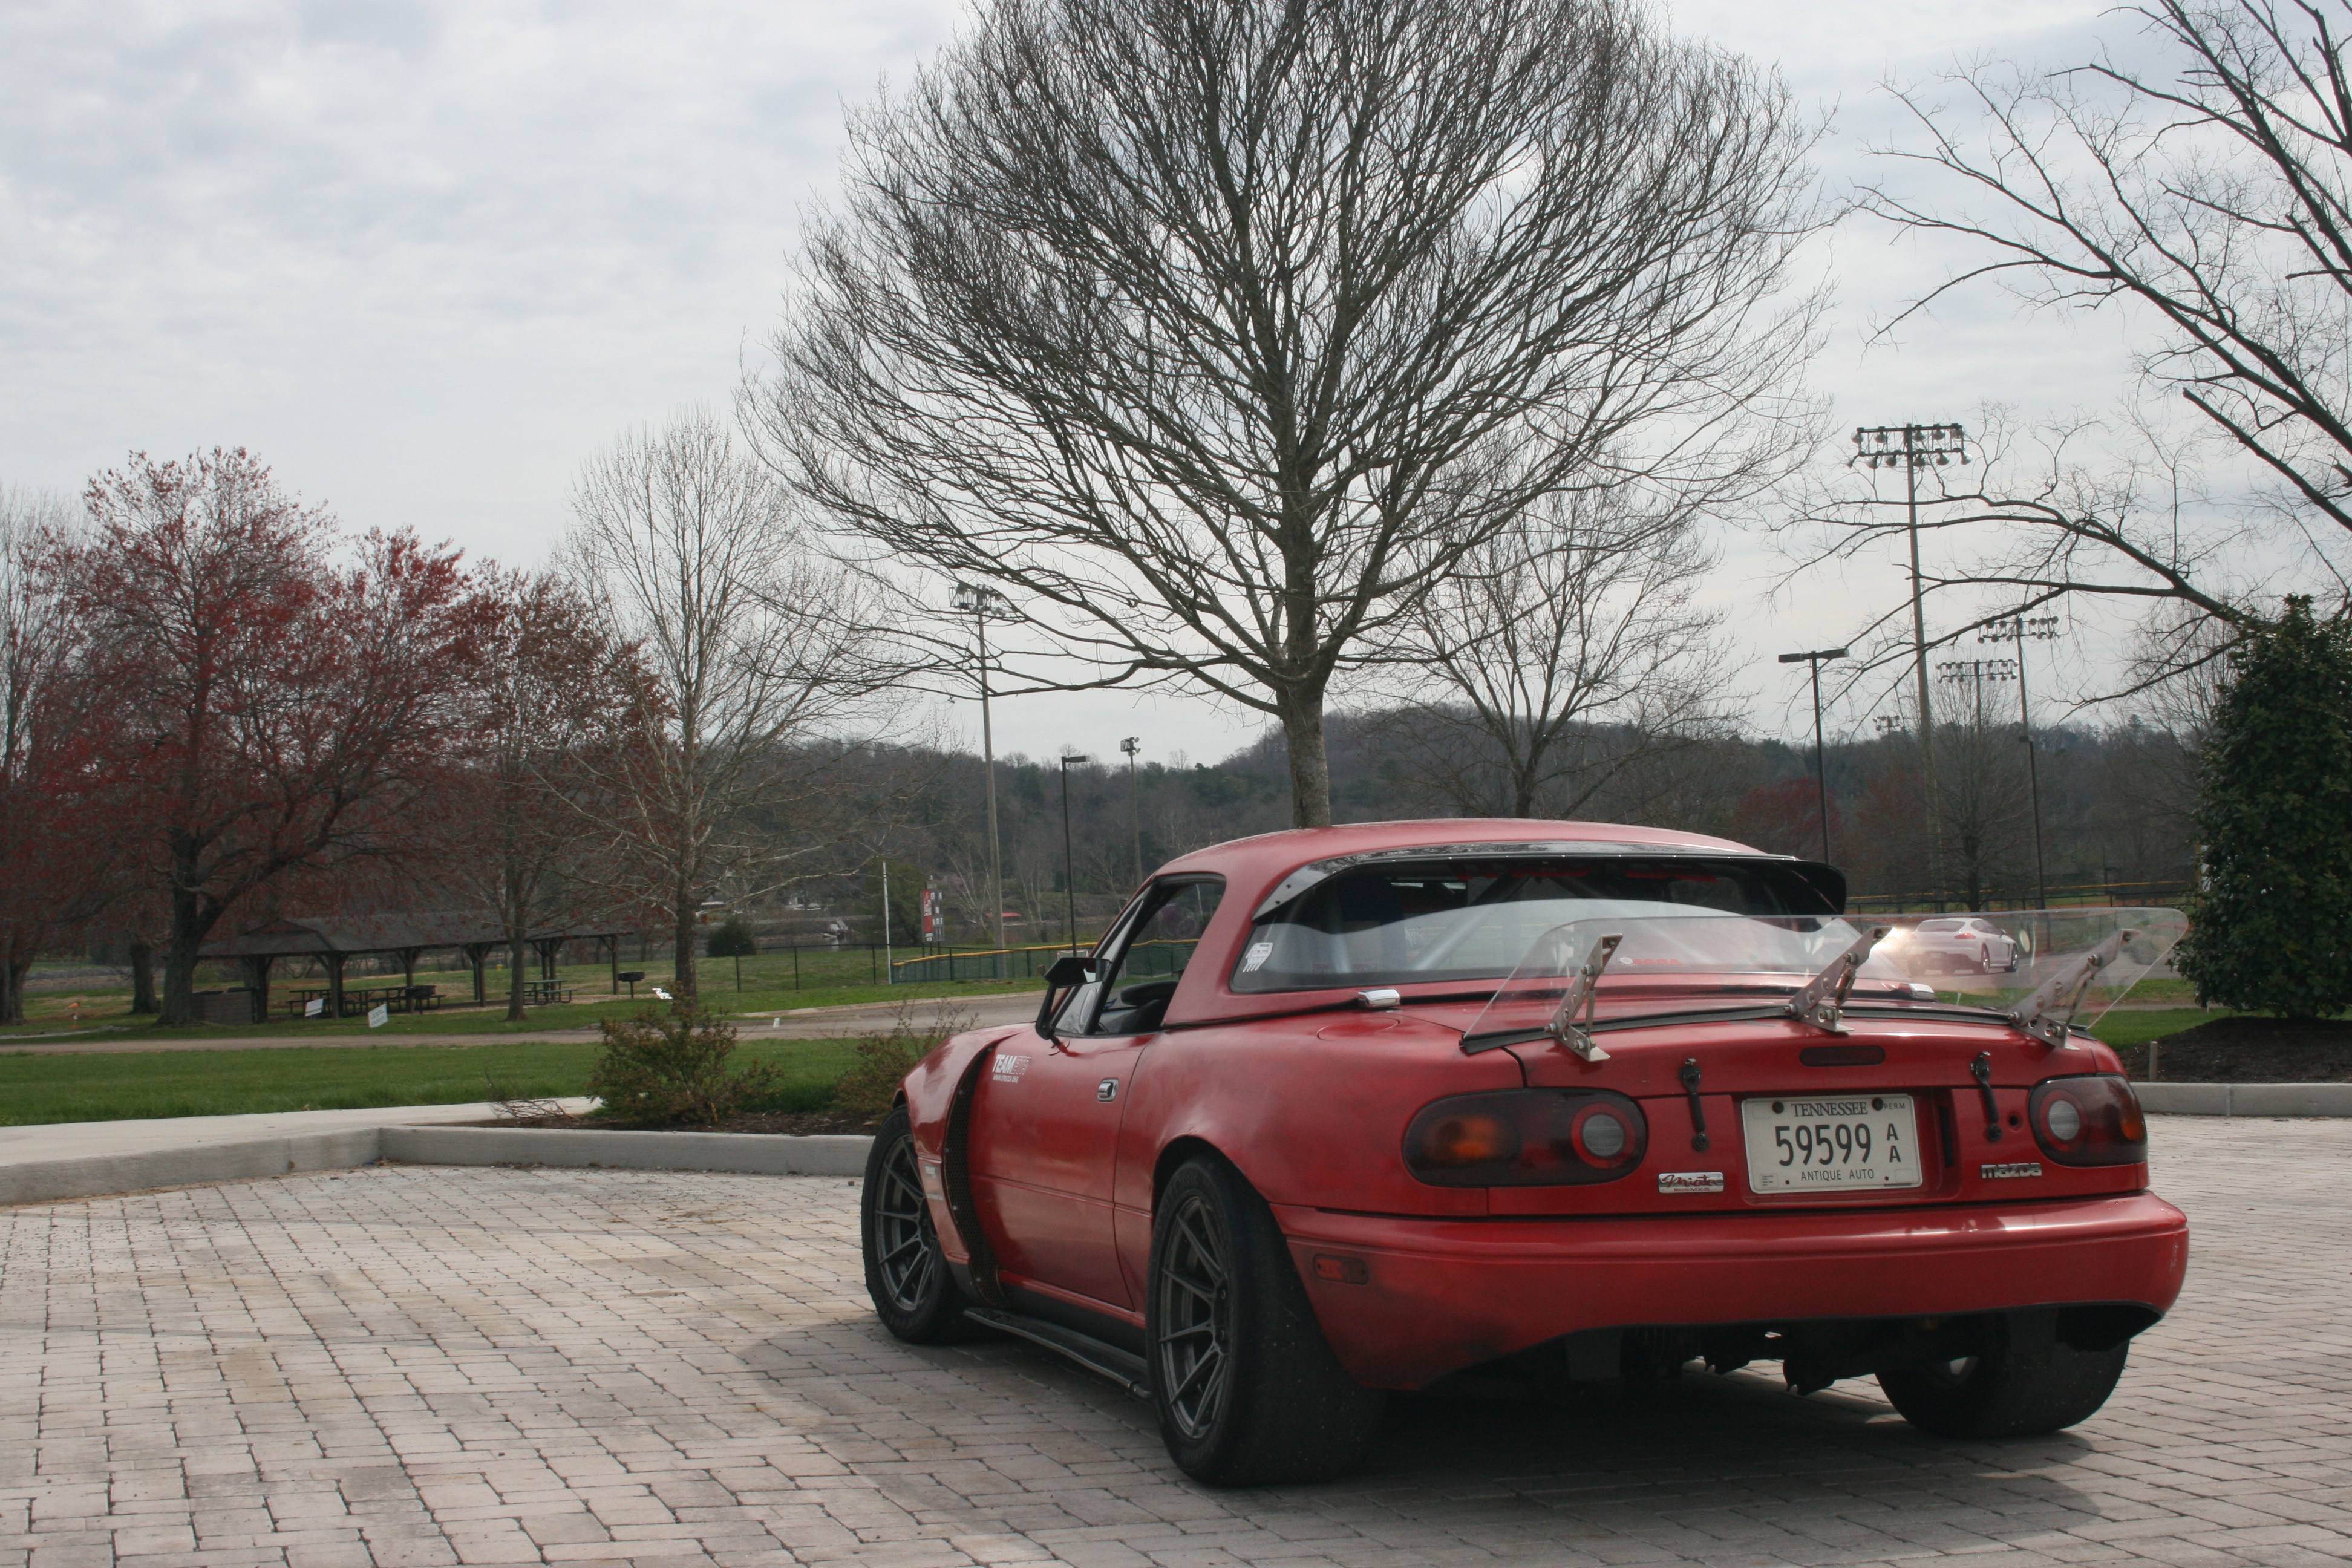
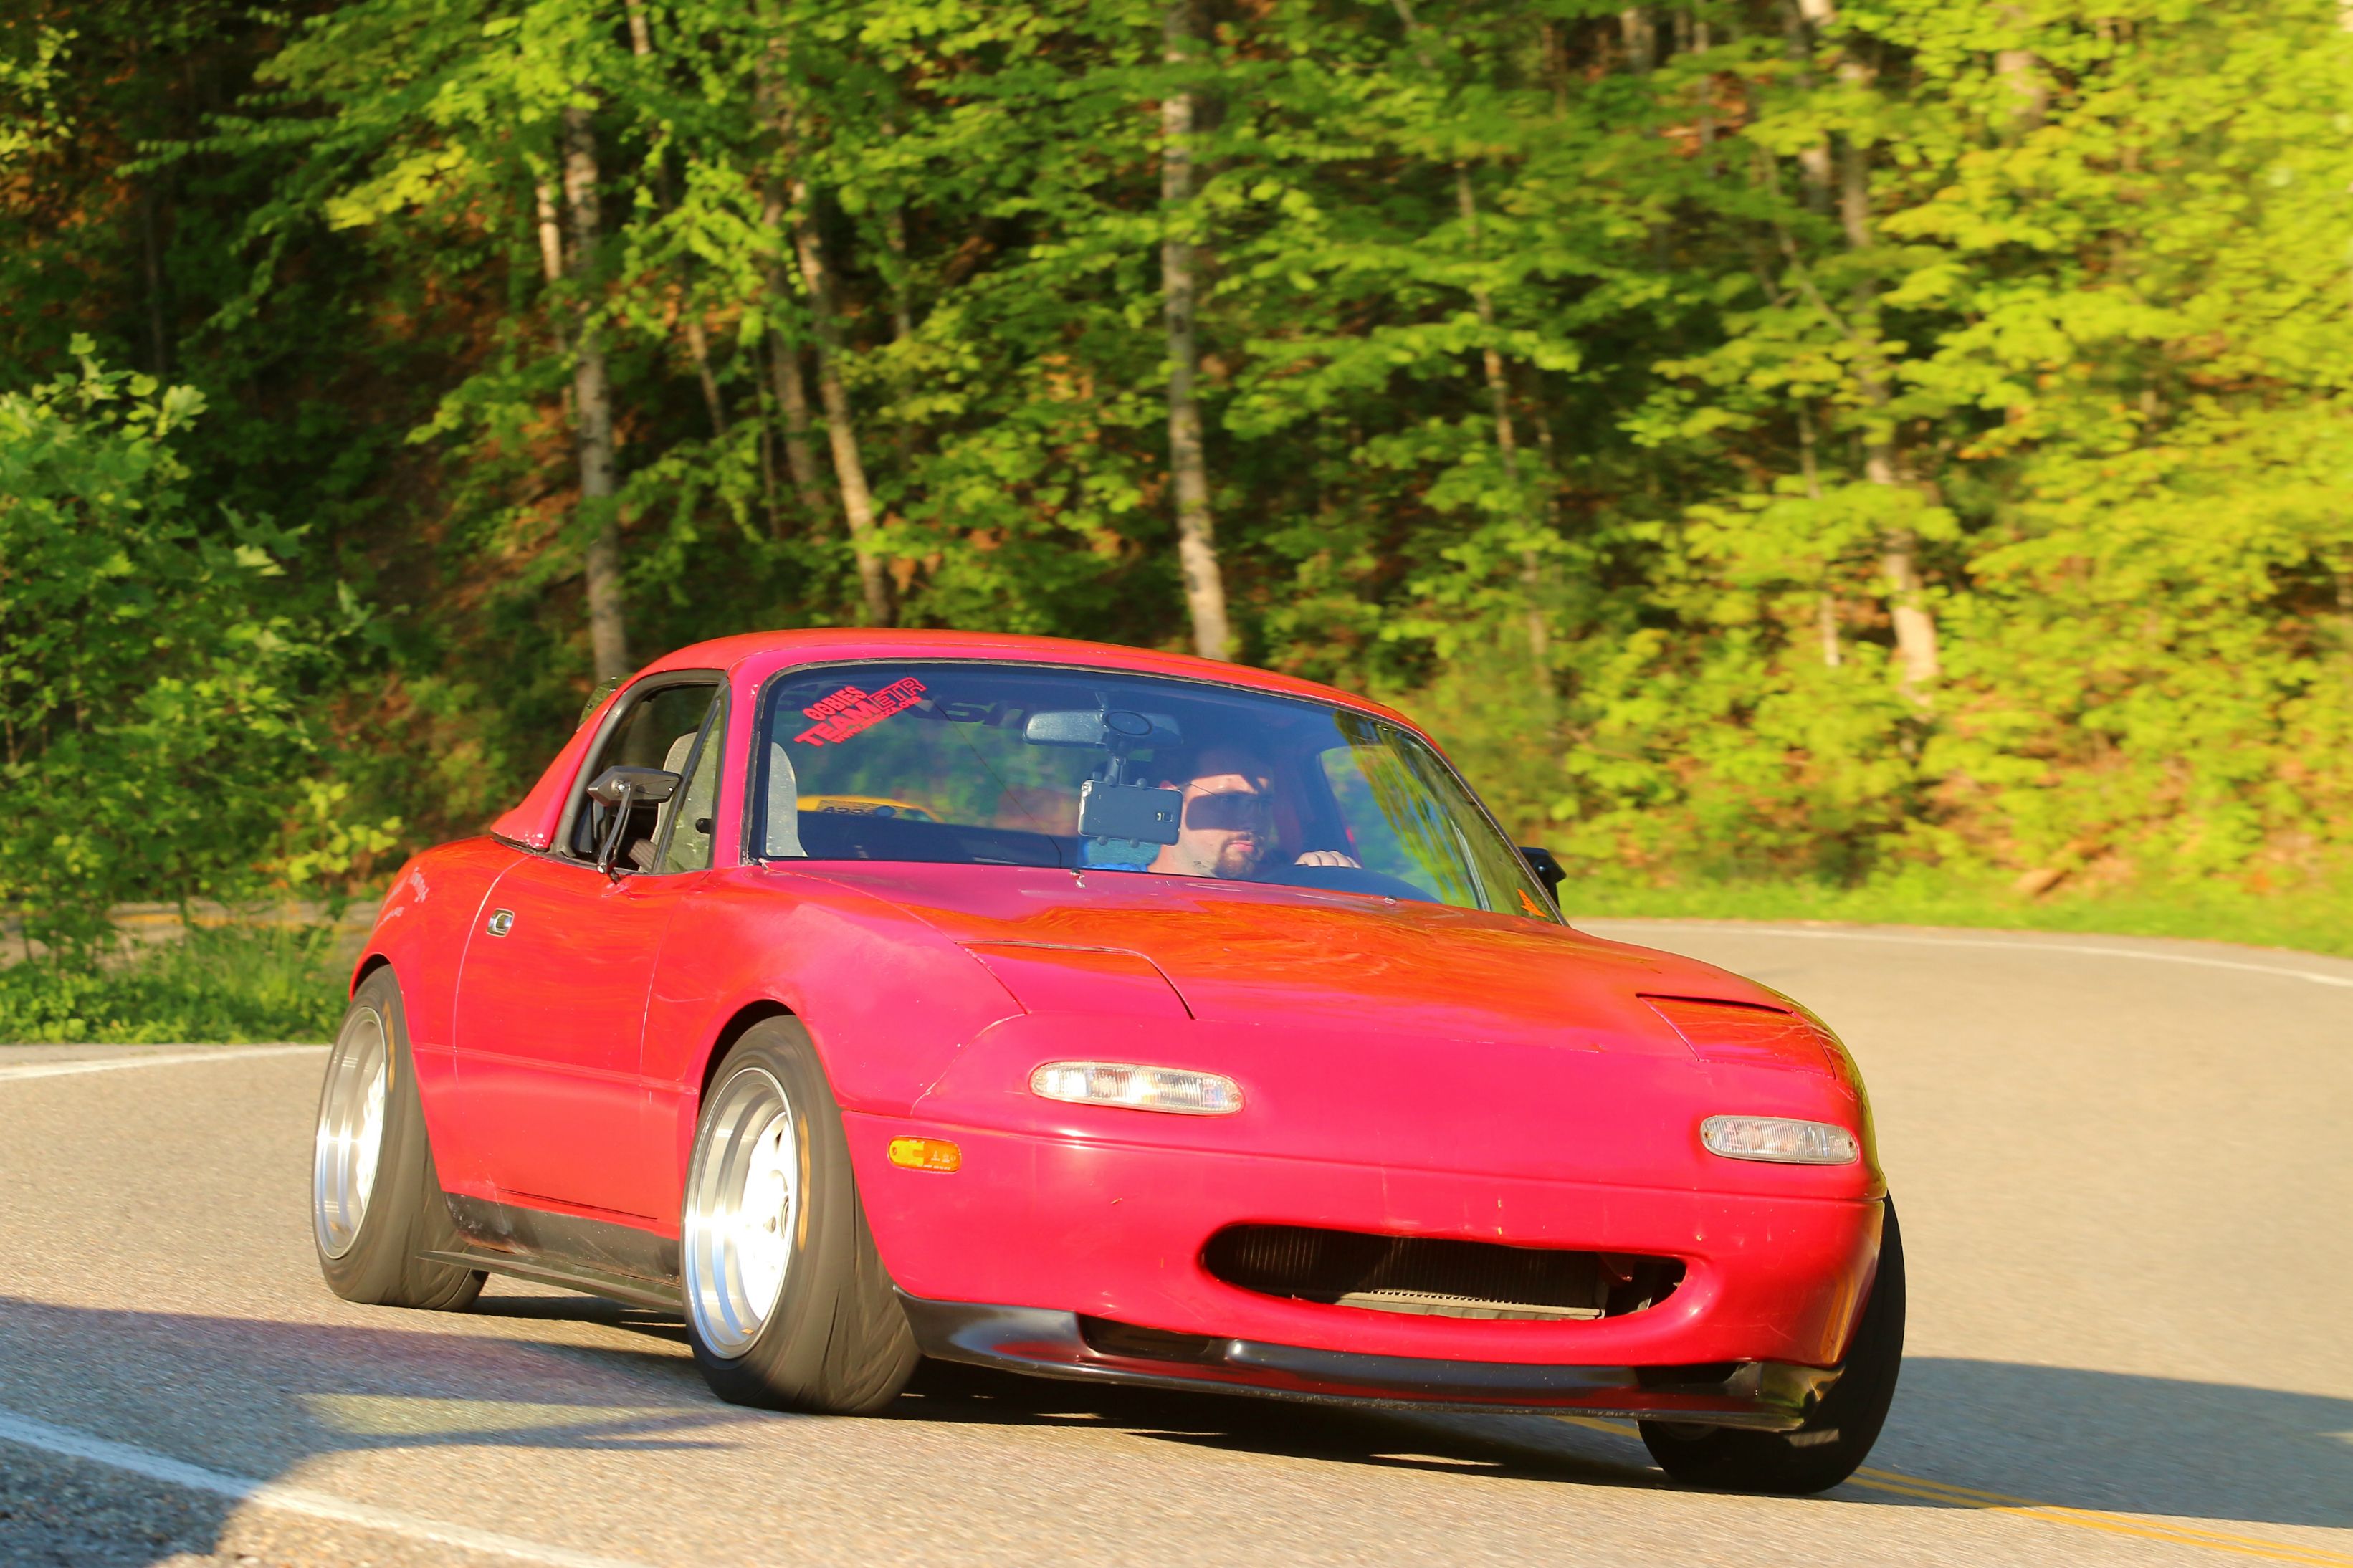
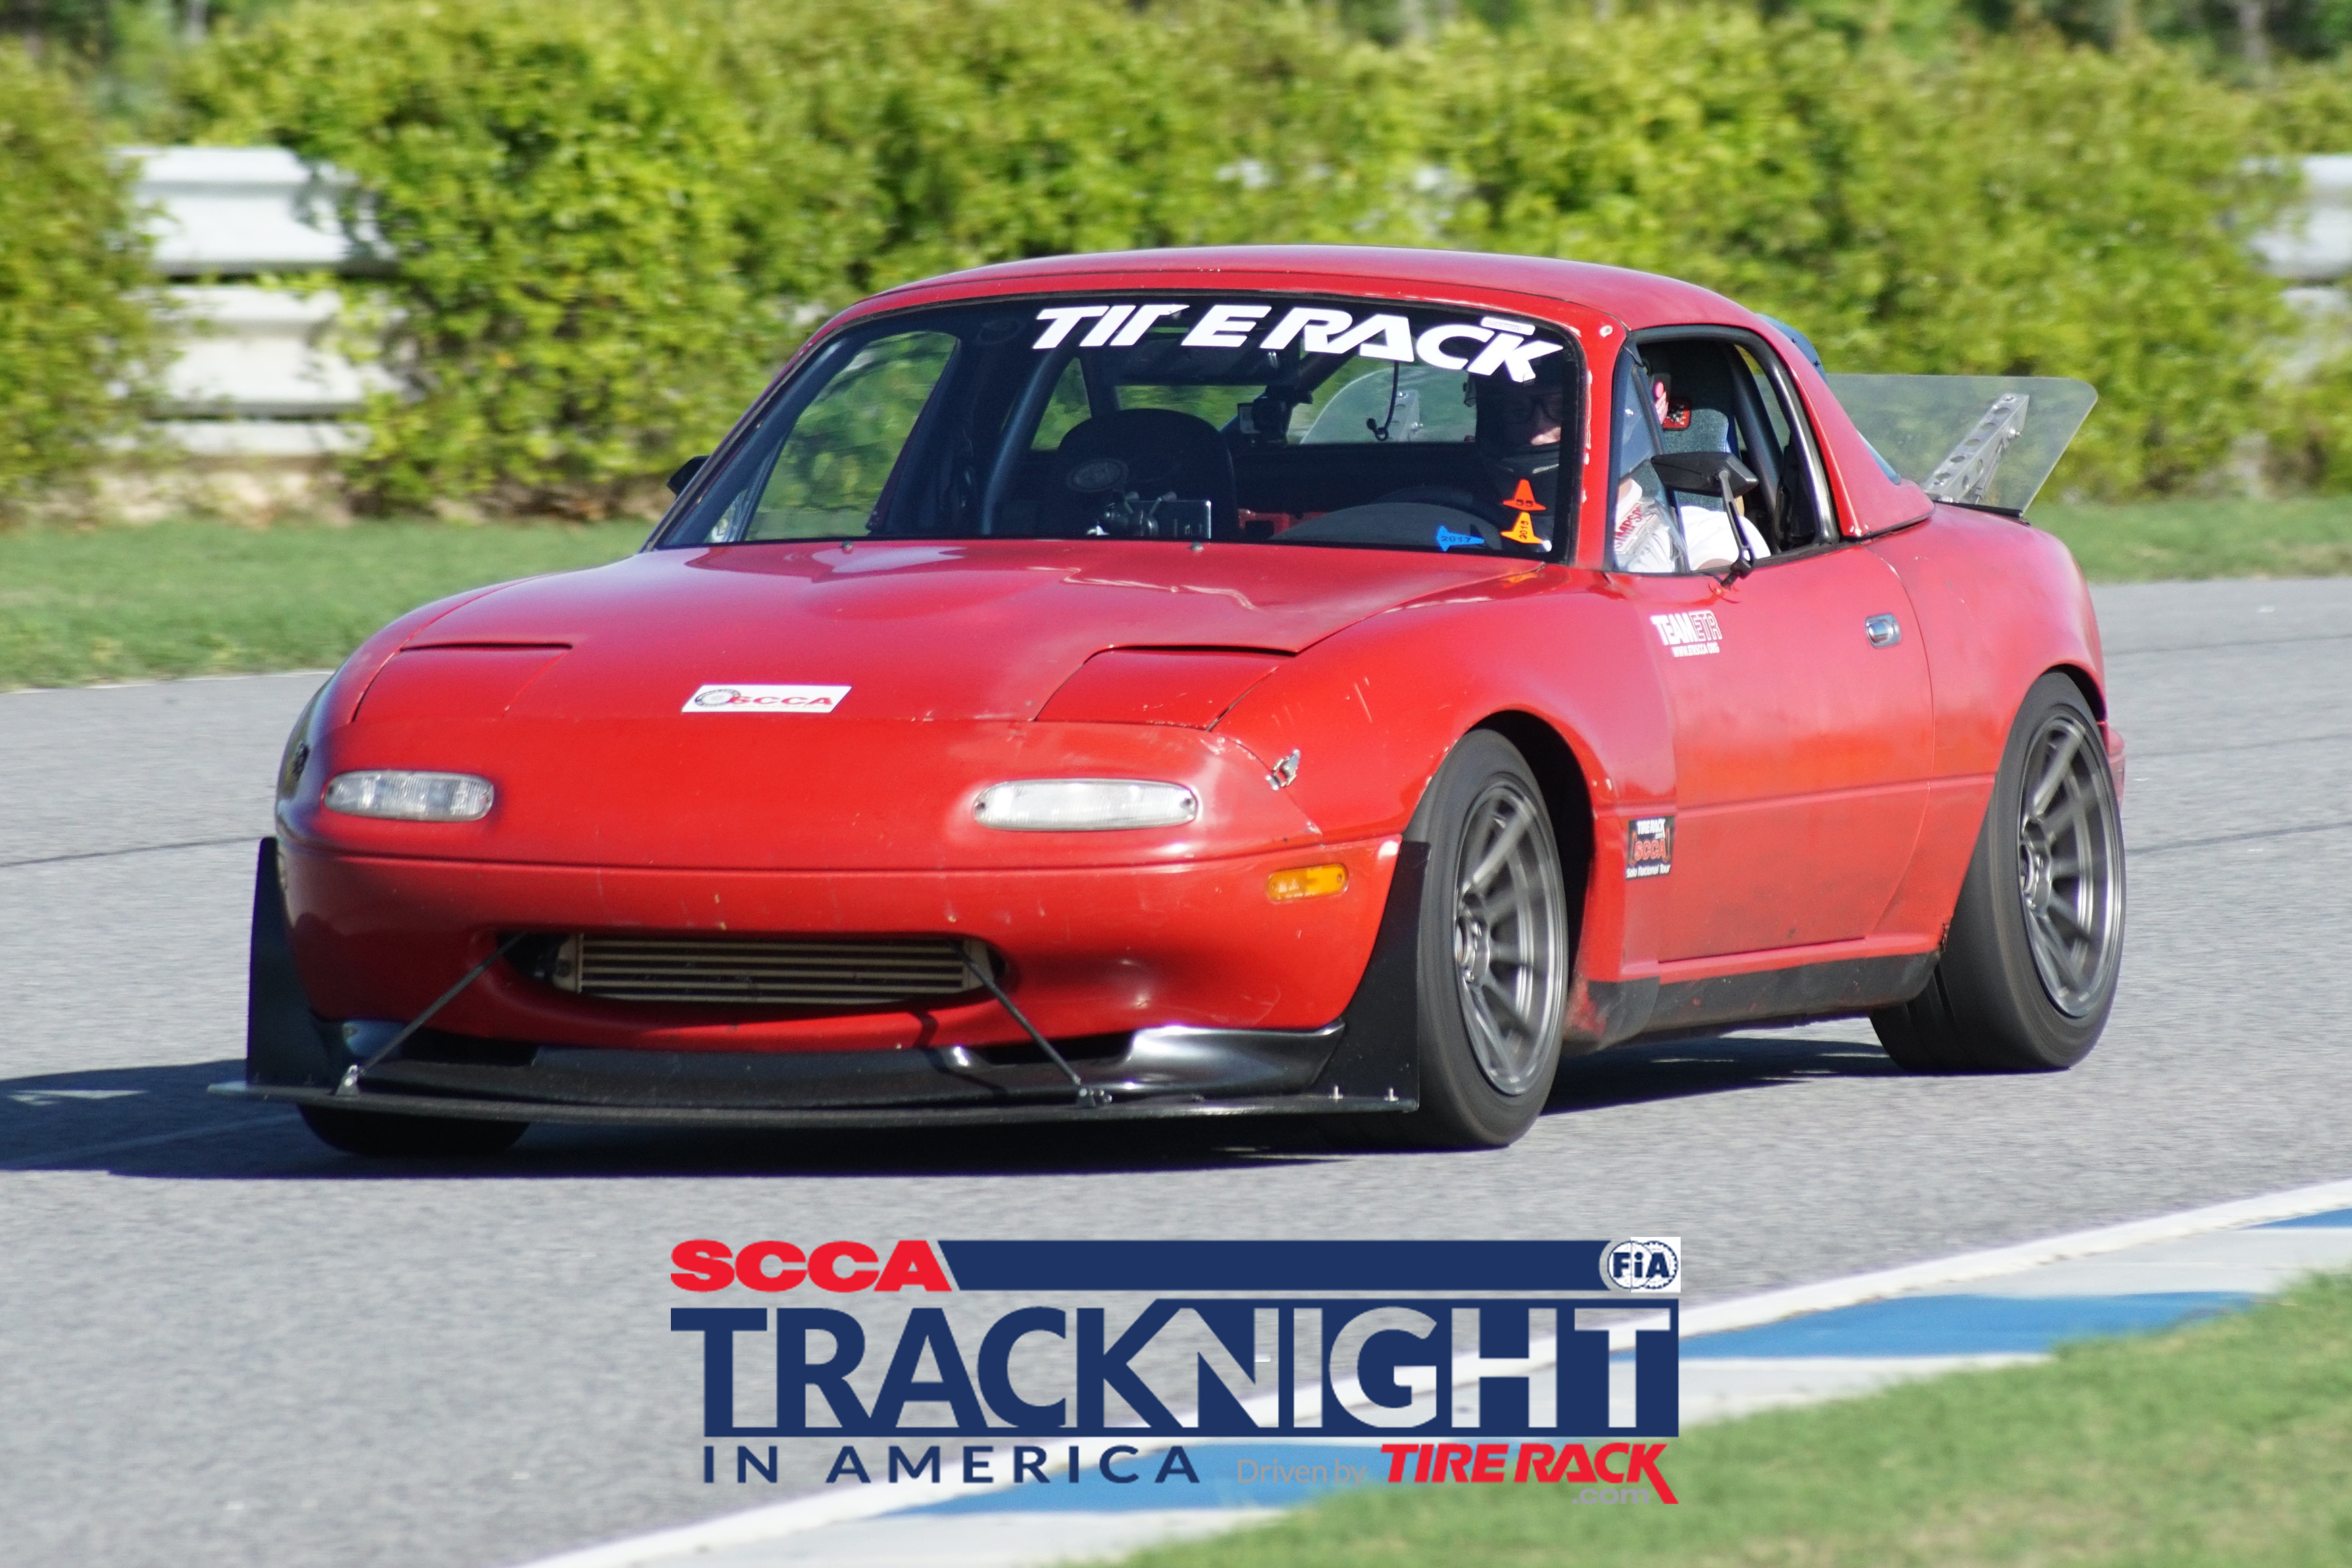
Trackday fun
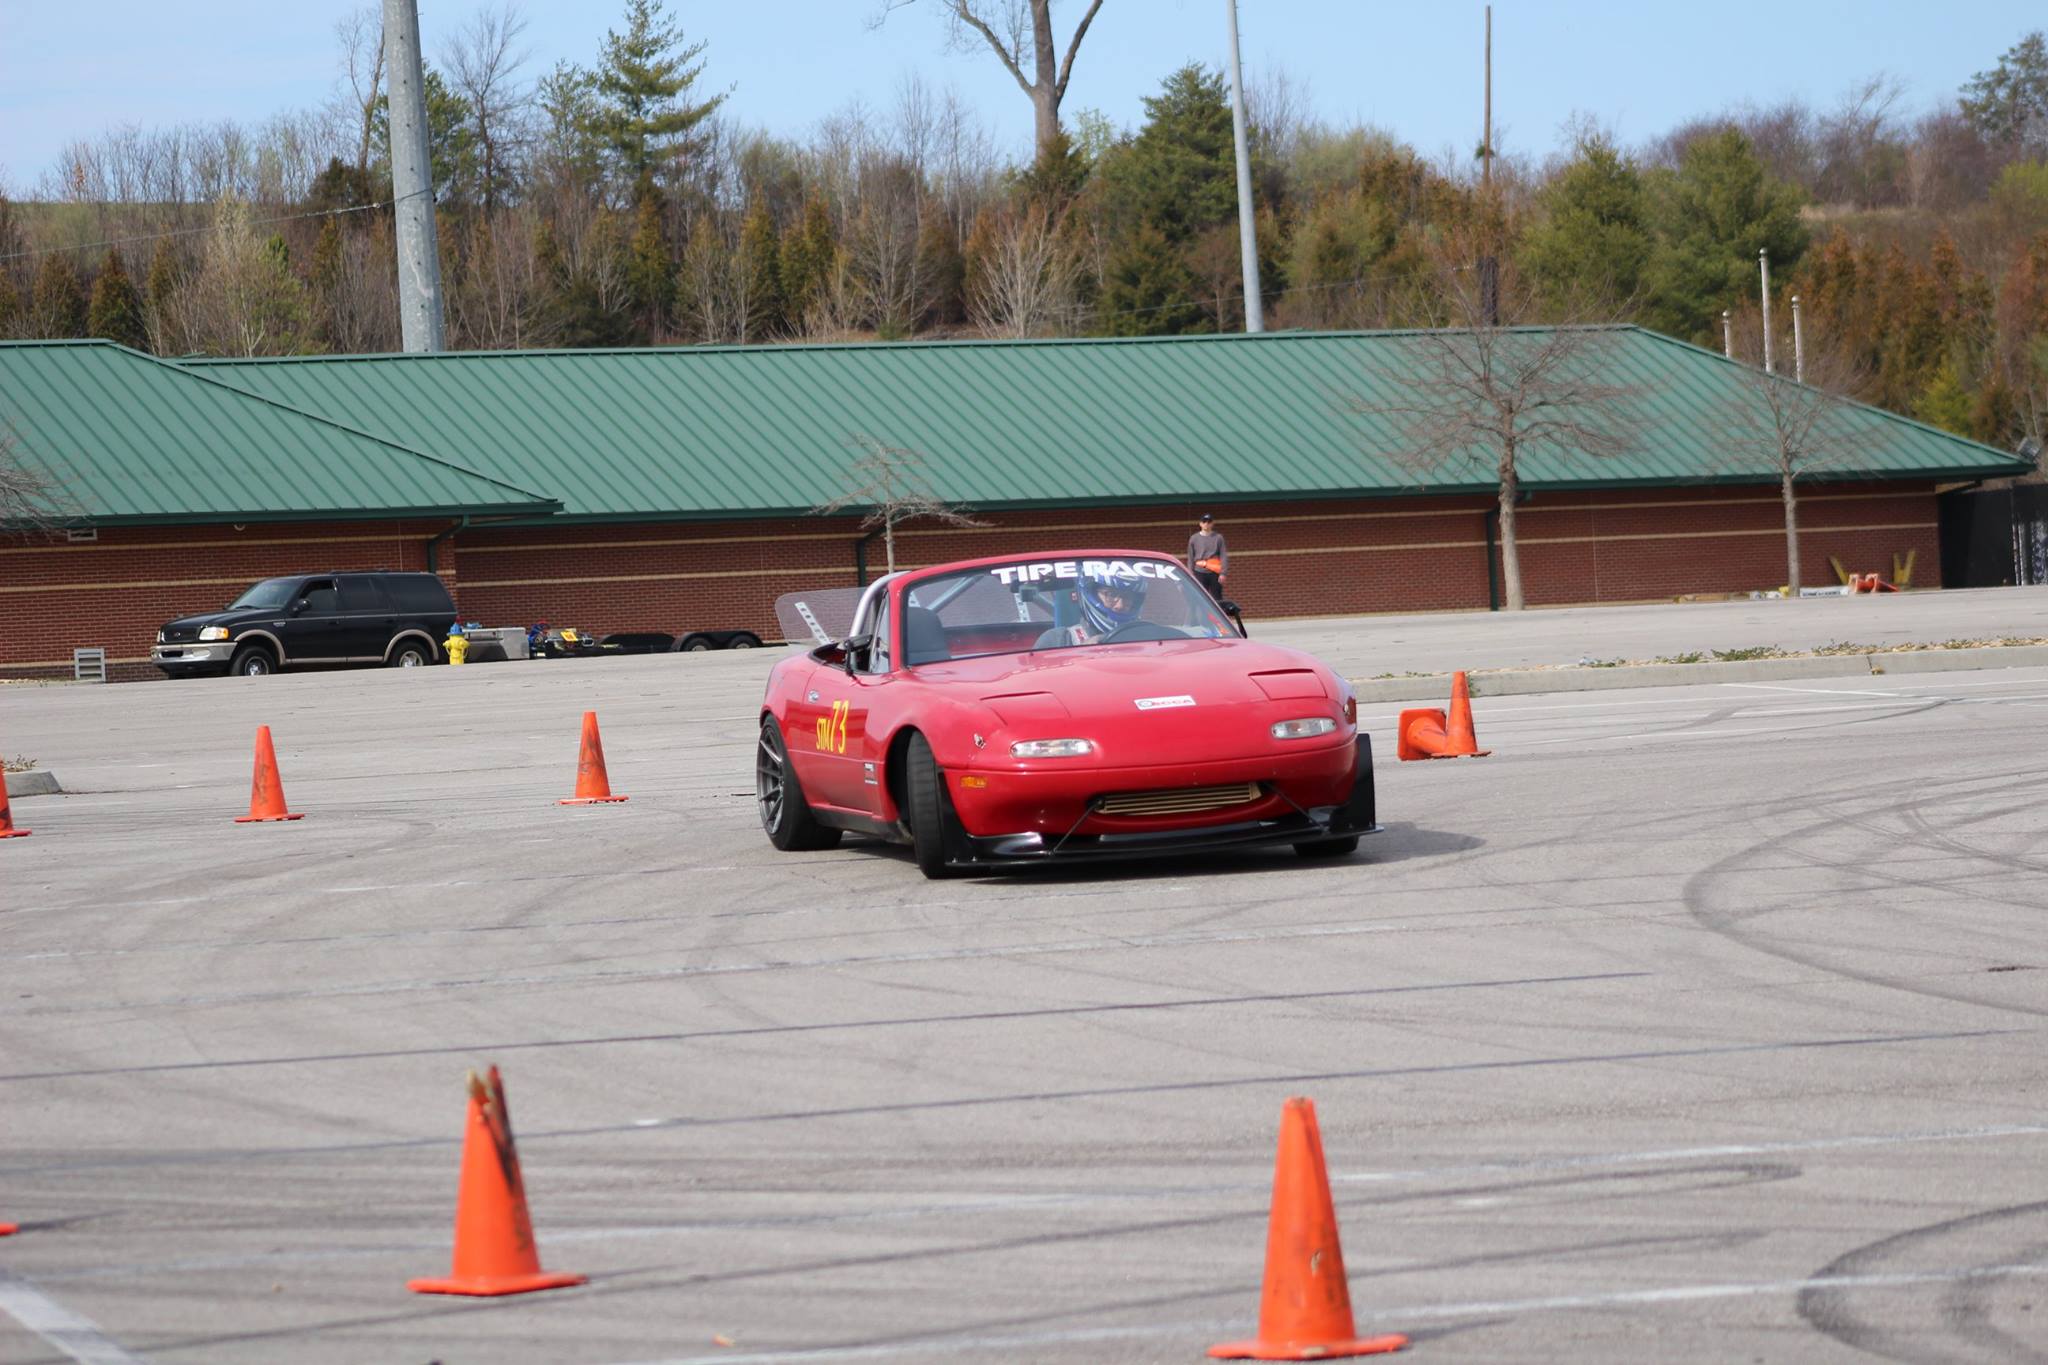
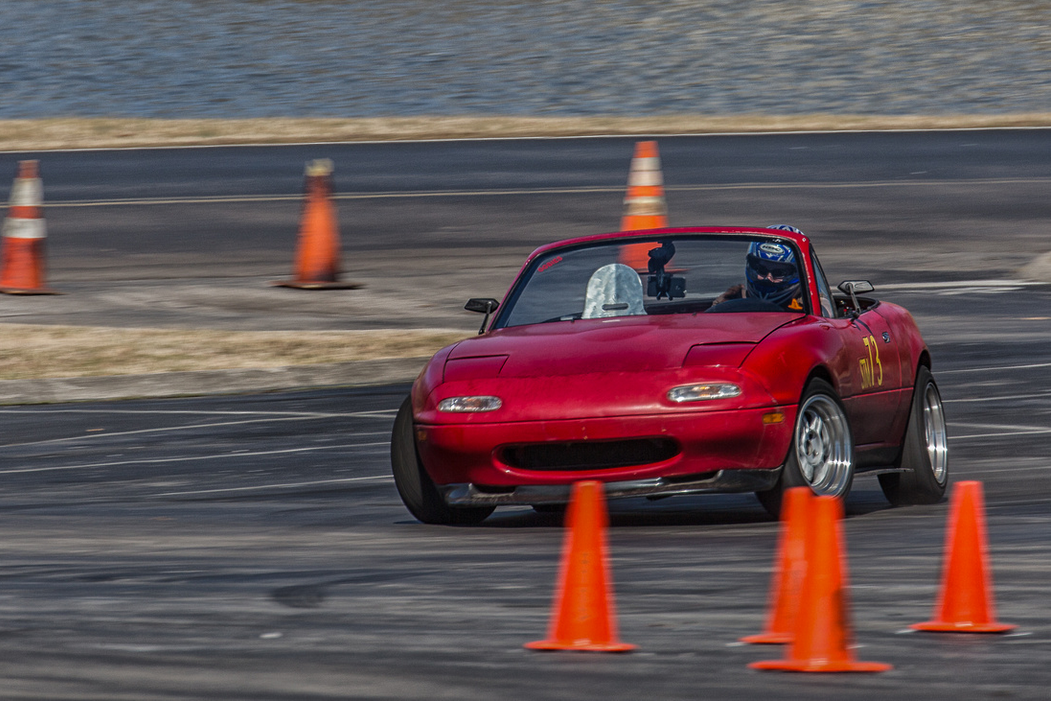
There is a local class in my autocross region we call (STM) Street tire mod. The rules are only 140tw tires or higher. It's pretty much a "run what ya brung" class. We are usually the largest class at each event with 15+ people registered regularly.
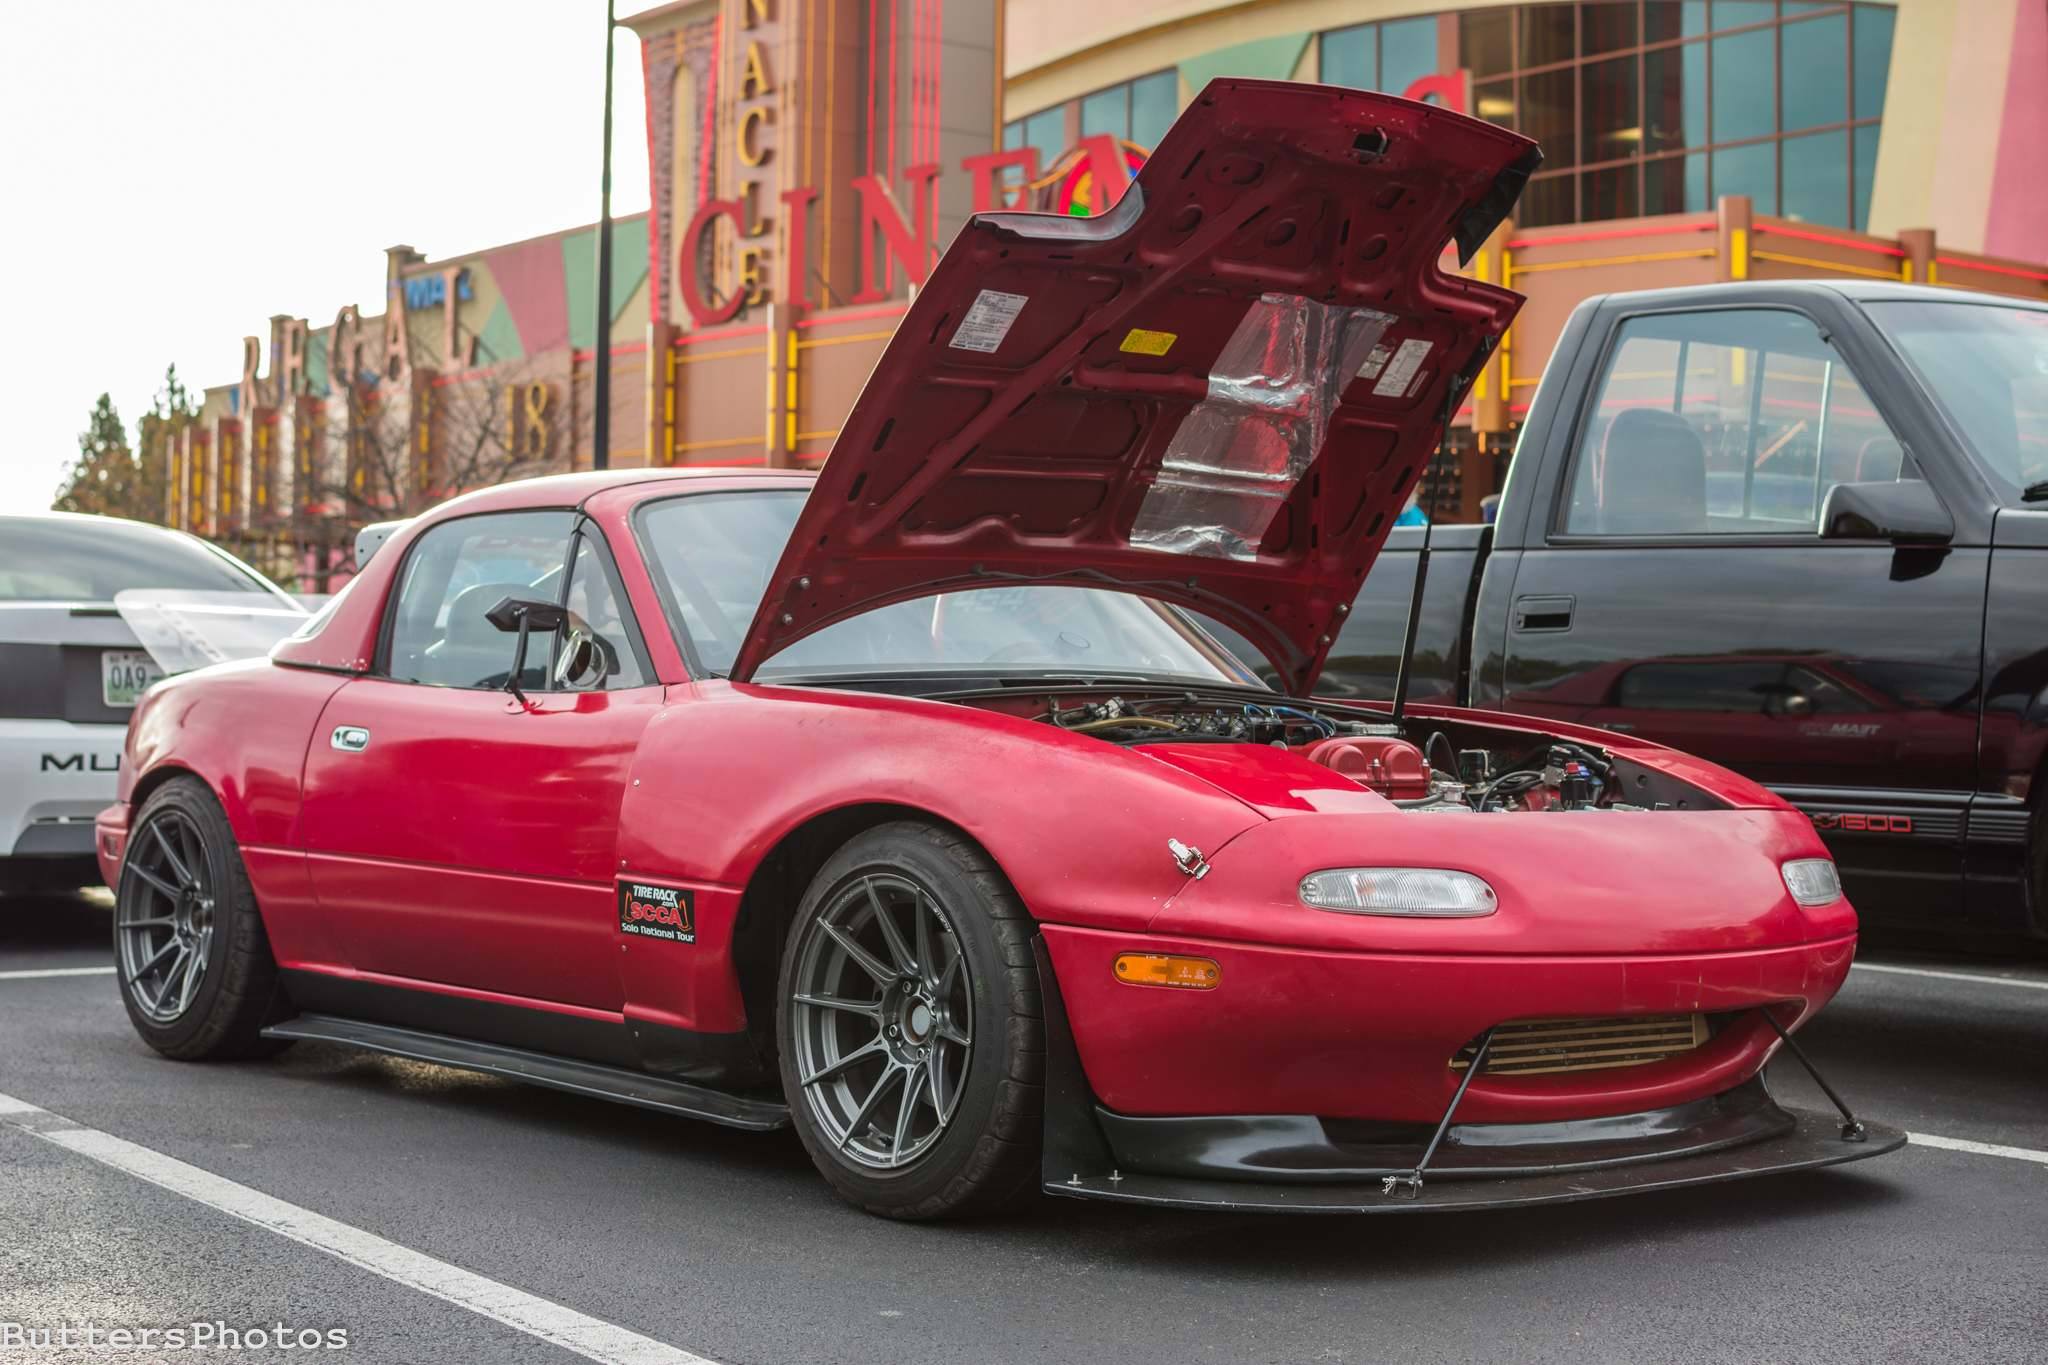
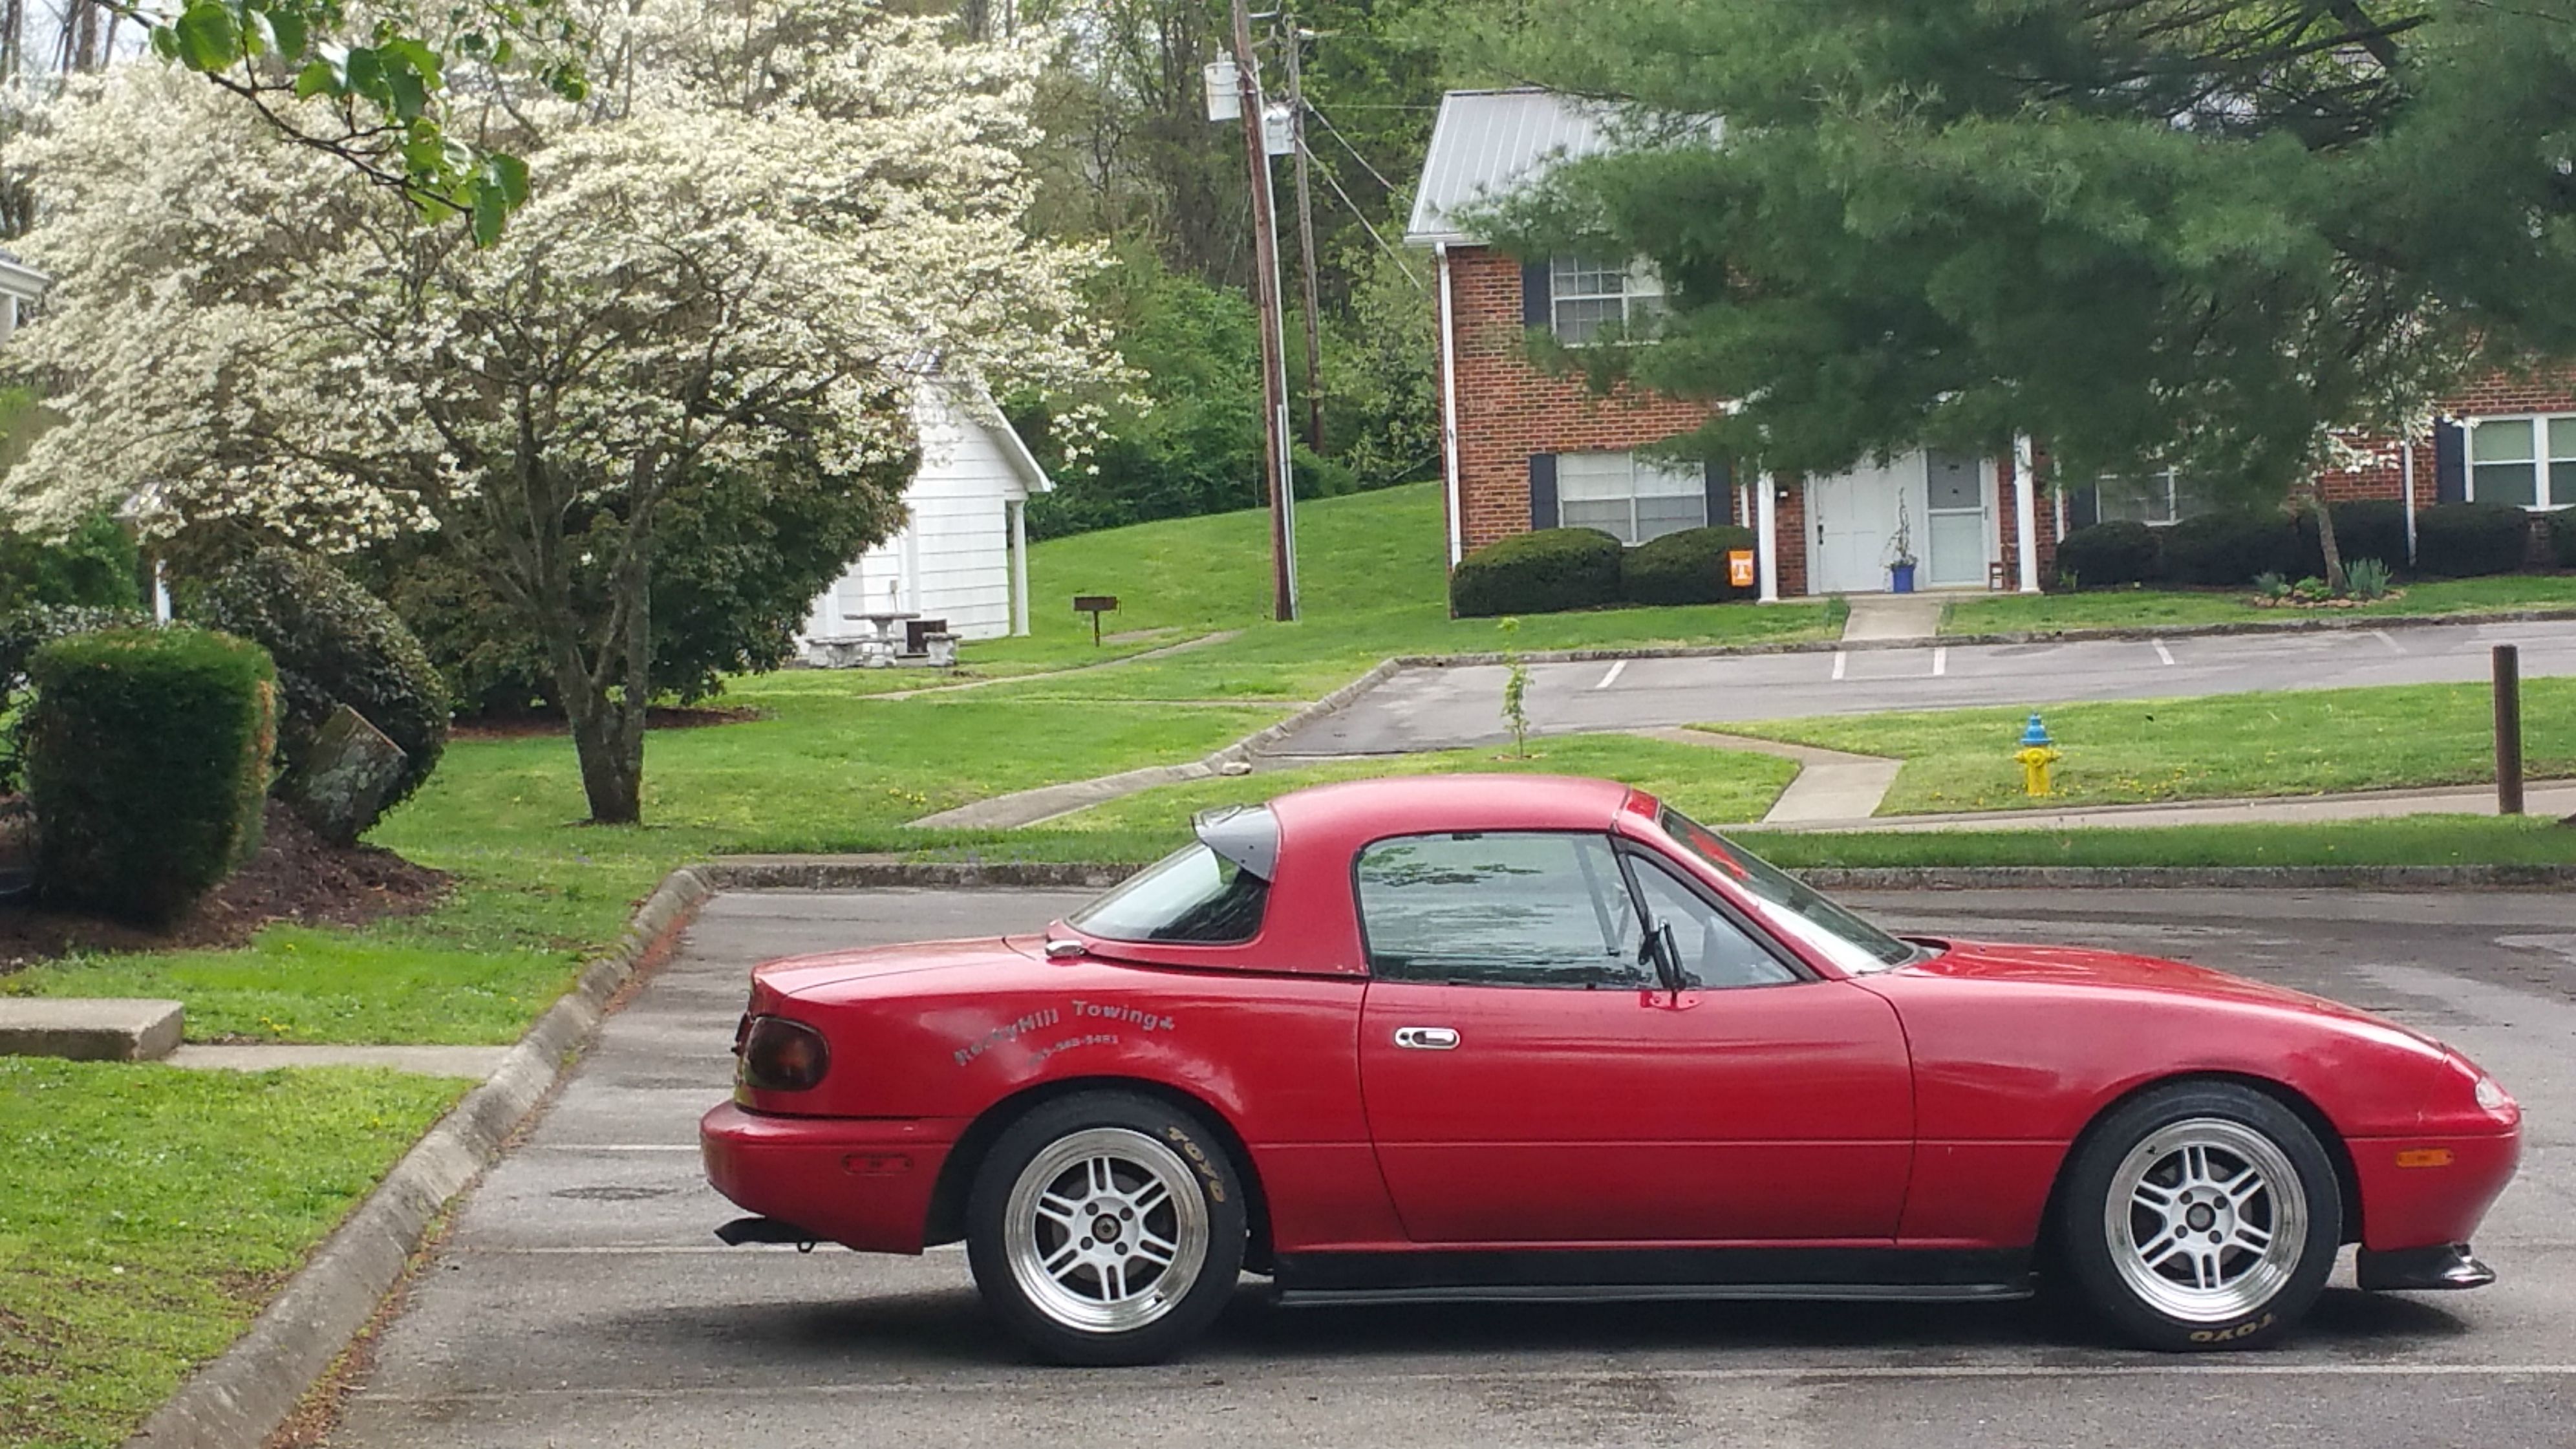
I got this car spring break my senior year of college (Spring 2014). I decided to build a dedicated car for STM while keeping it marginally street legal (because tow rigs are expensive).
I placed 3rd in my region in STM my first year out with the car. I have gone through 3 different suspension setups and have cut weight in almost every place I could find it, while keeping the car "streetable". I drive it to and from events and some of our mountain roads, although it's a bit unsafe on the road.
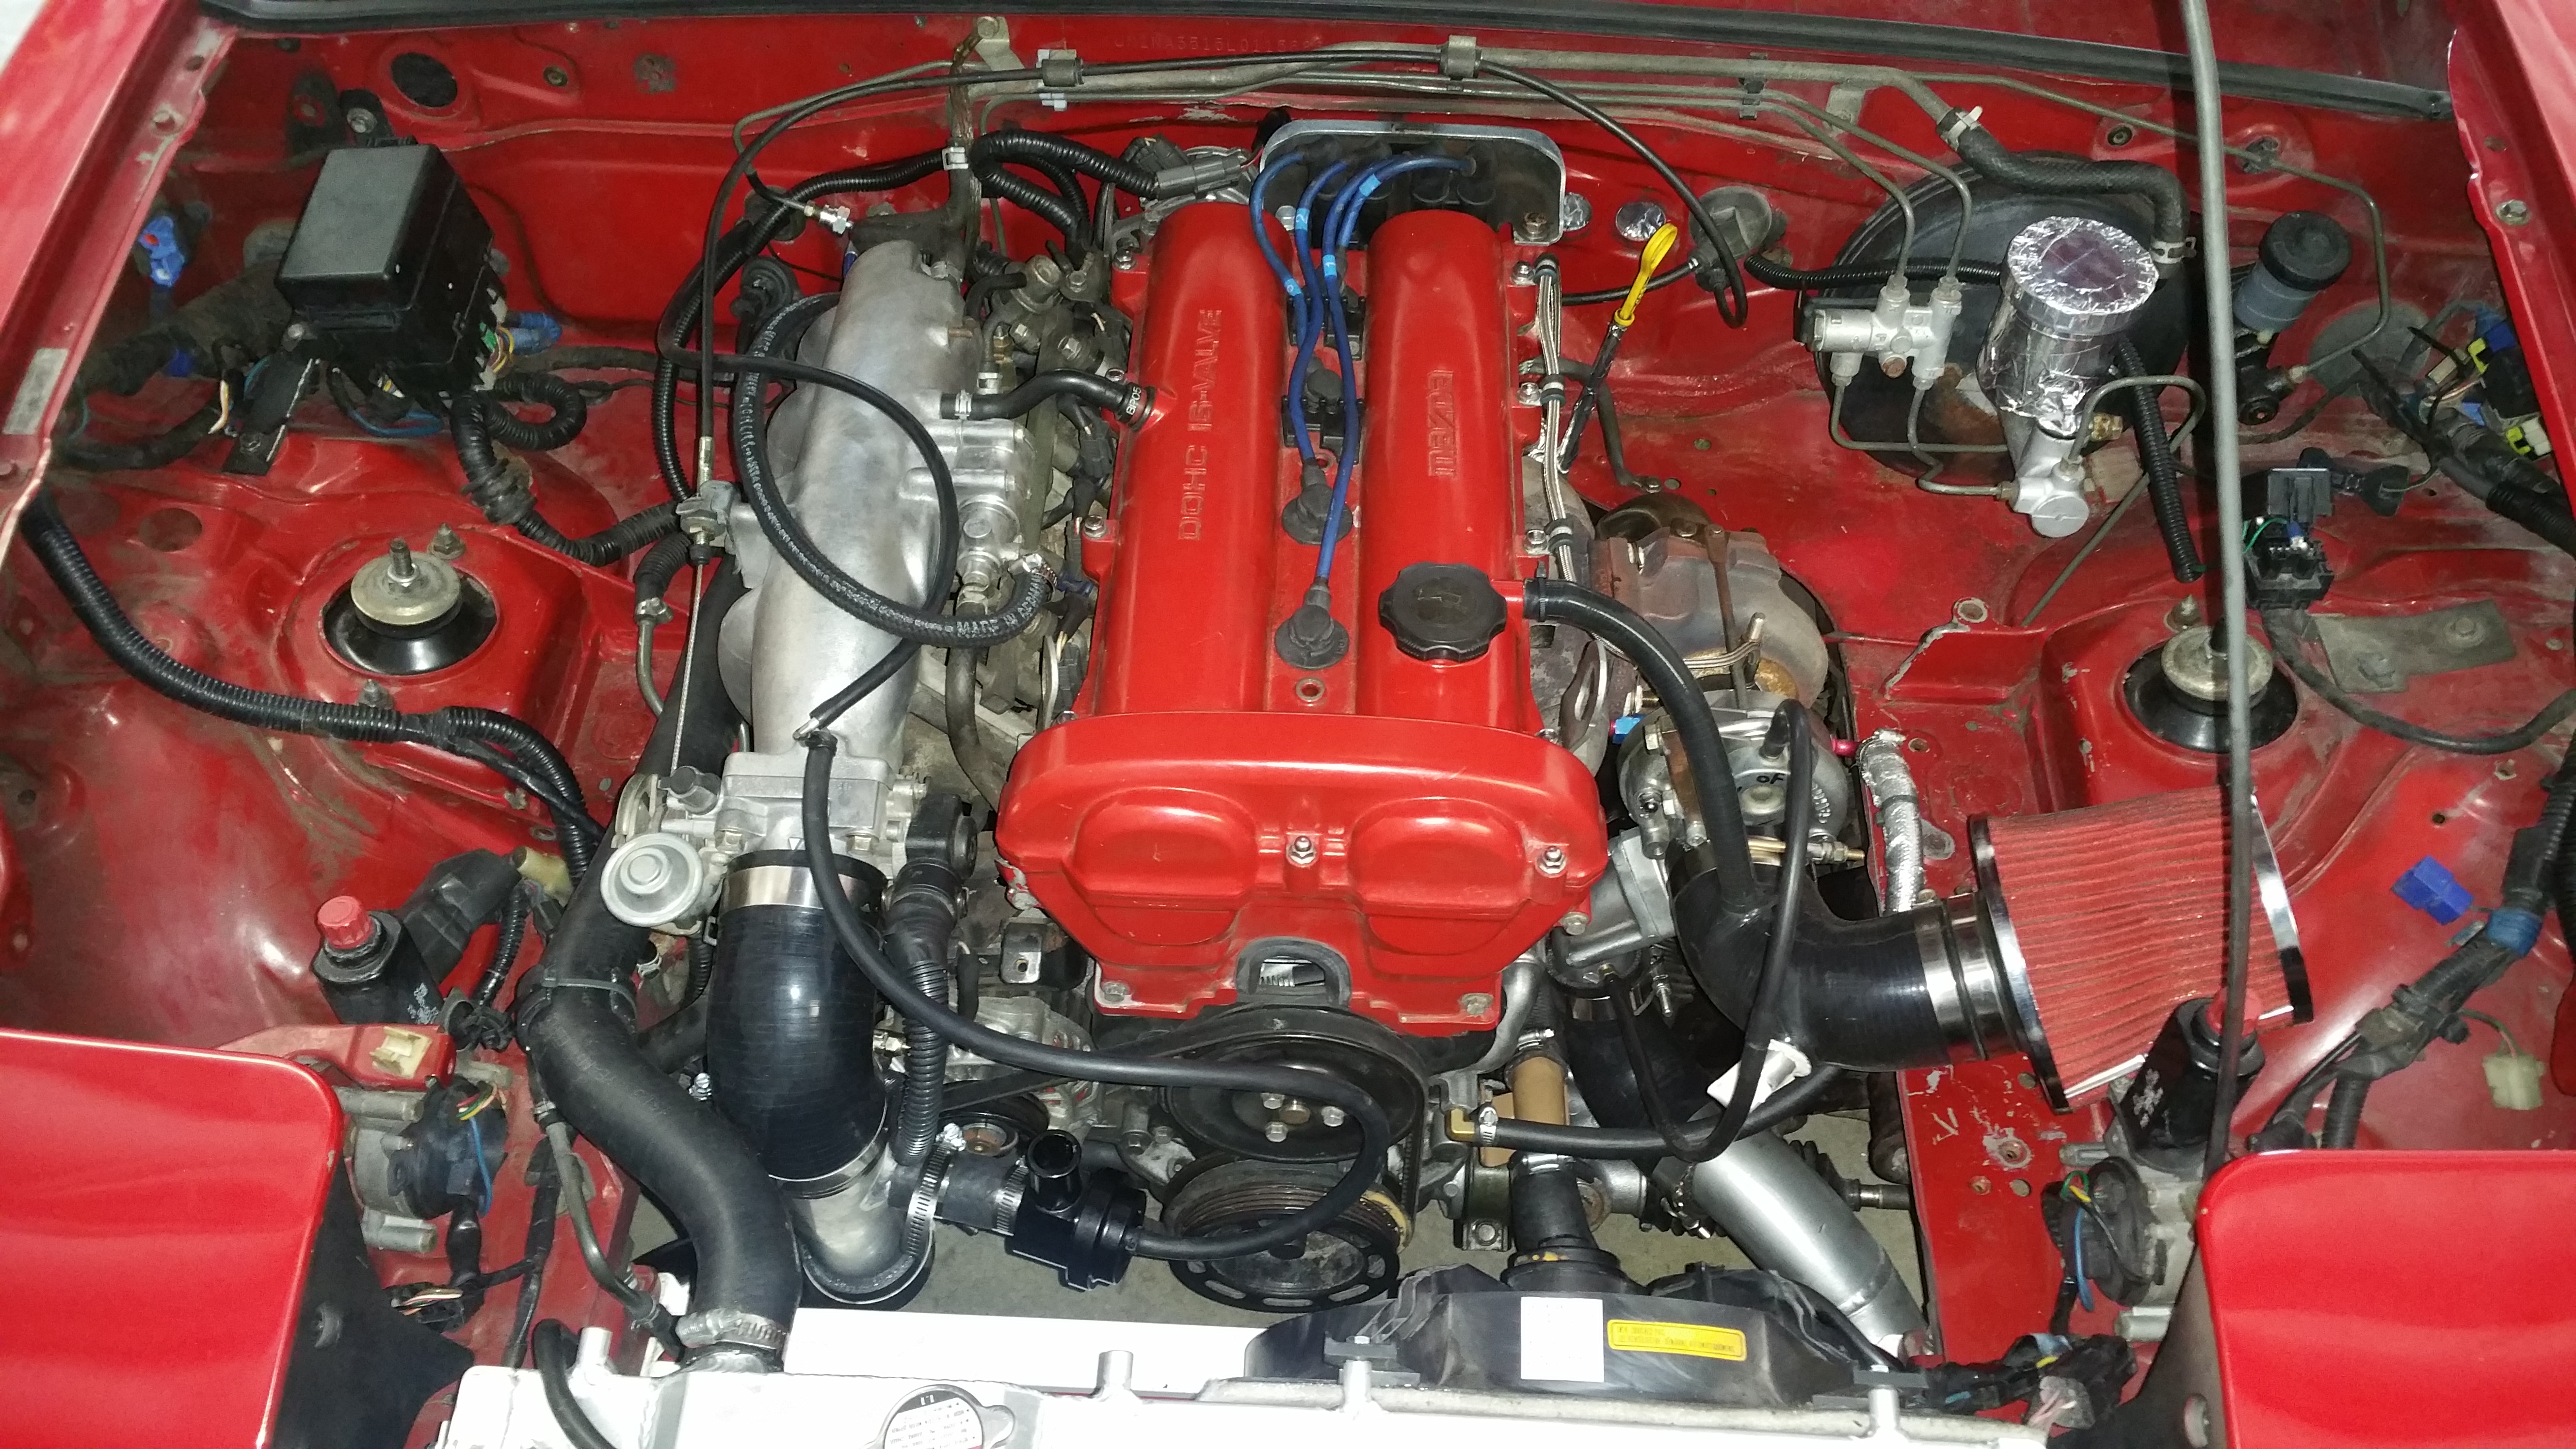
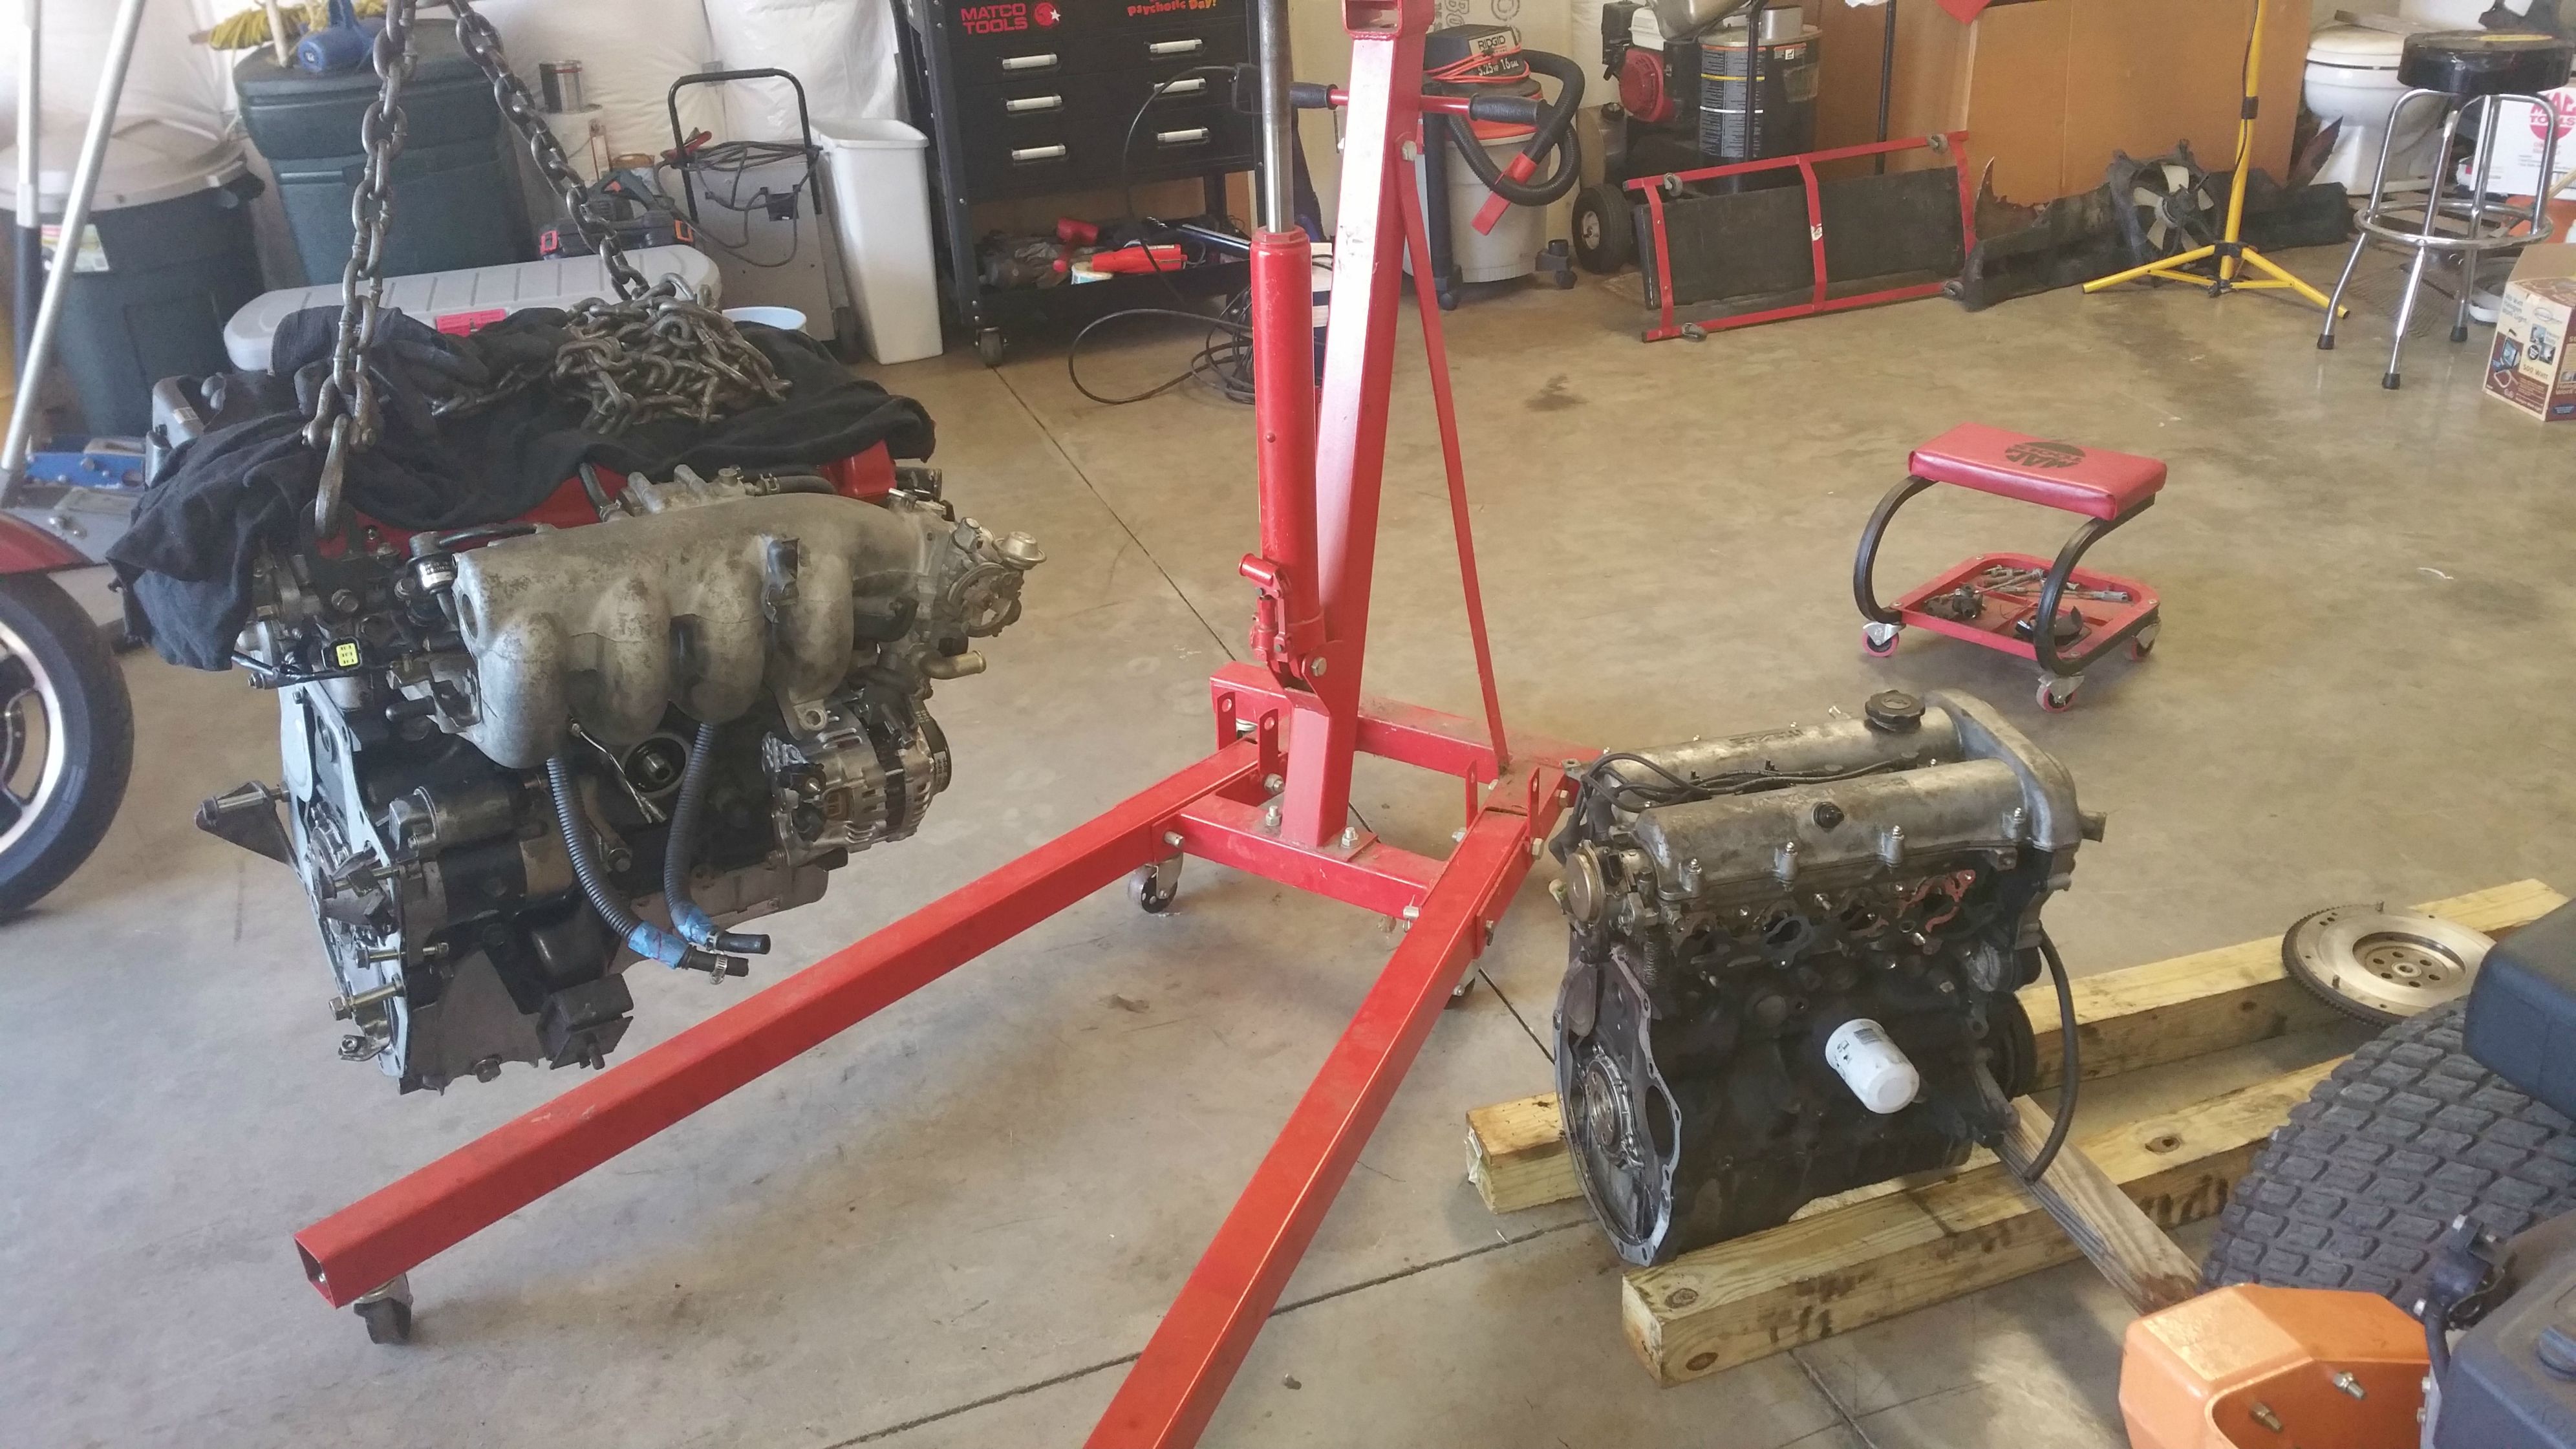
Car started with life with a crank wobbling 1.6L. I did the "Loctite 660" fix. The wobble didn't stop, but it didn't pull anymore timing so I raced it like that. The motor still made good power but short nose crank problems. So I picked up a ~100k mile 93 long nose crank engine locally. Everyone hates the 1.6 so you can get them really cheap.
1990 Miata crankshaft wobble fixed. - YouTube
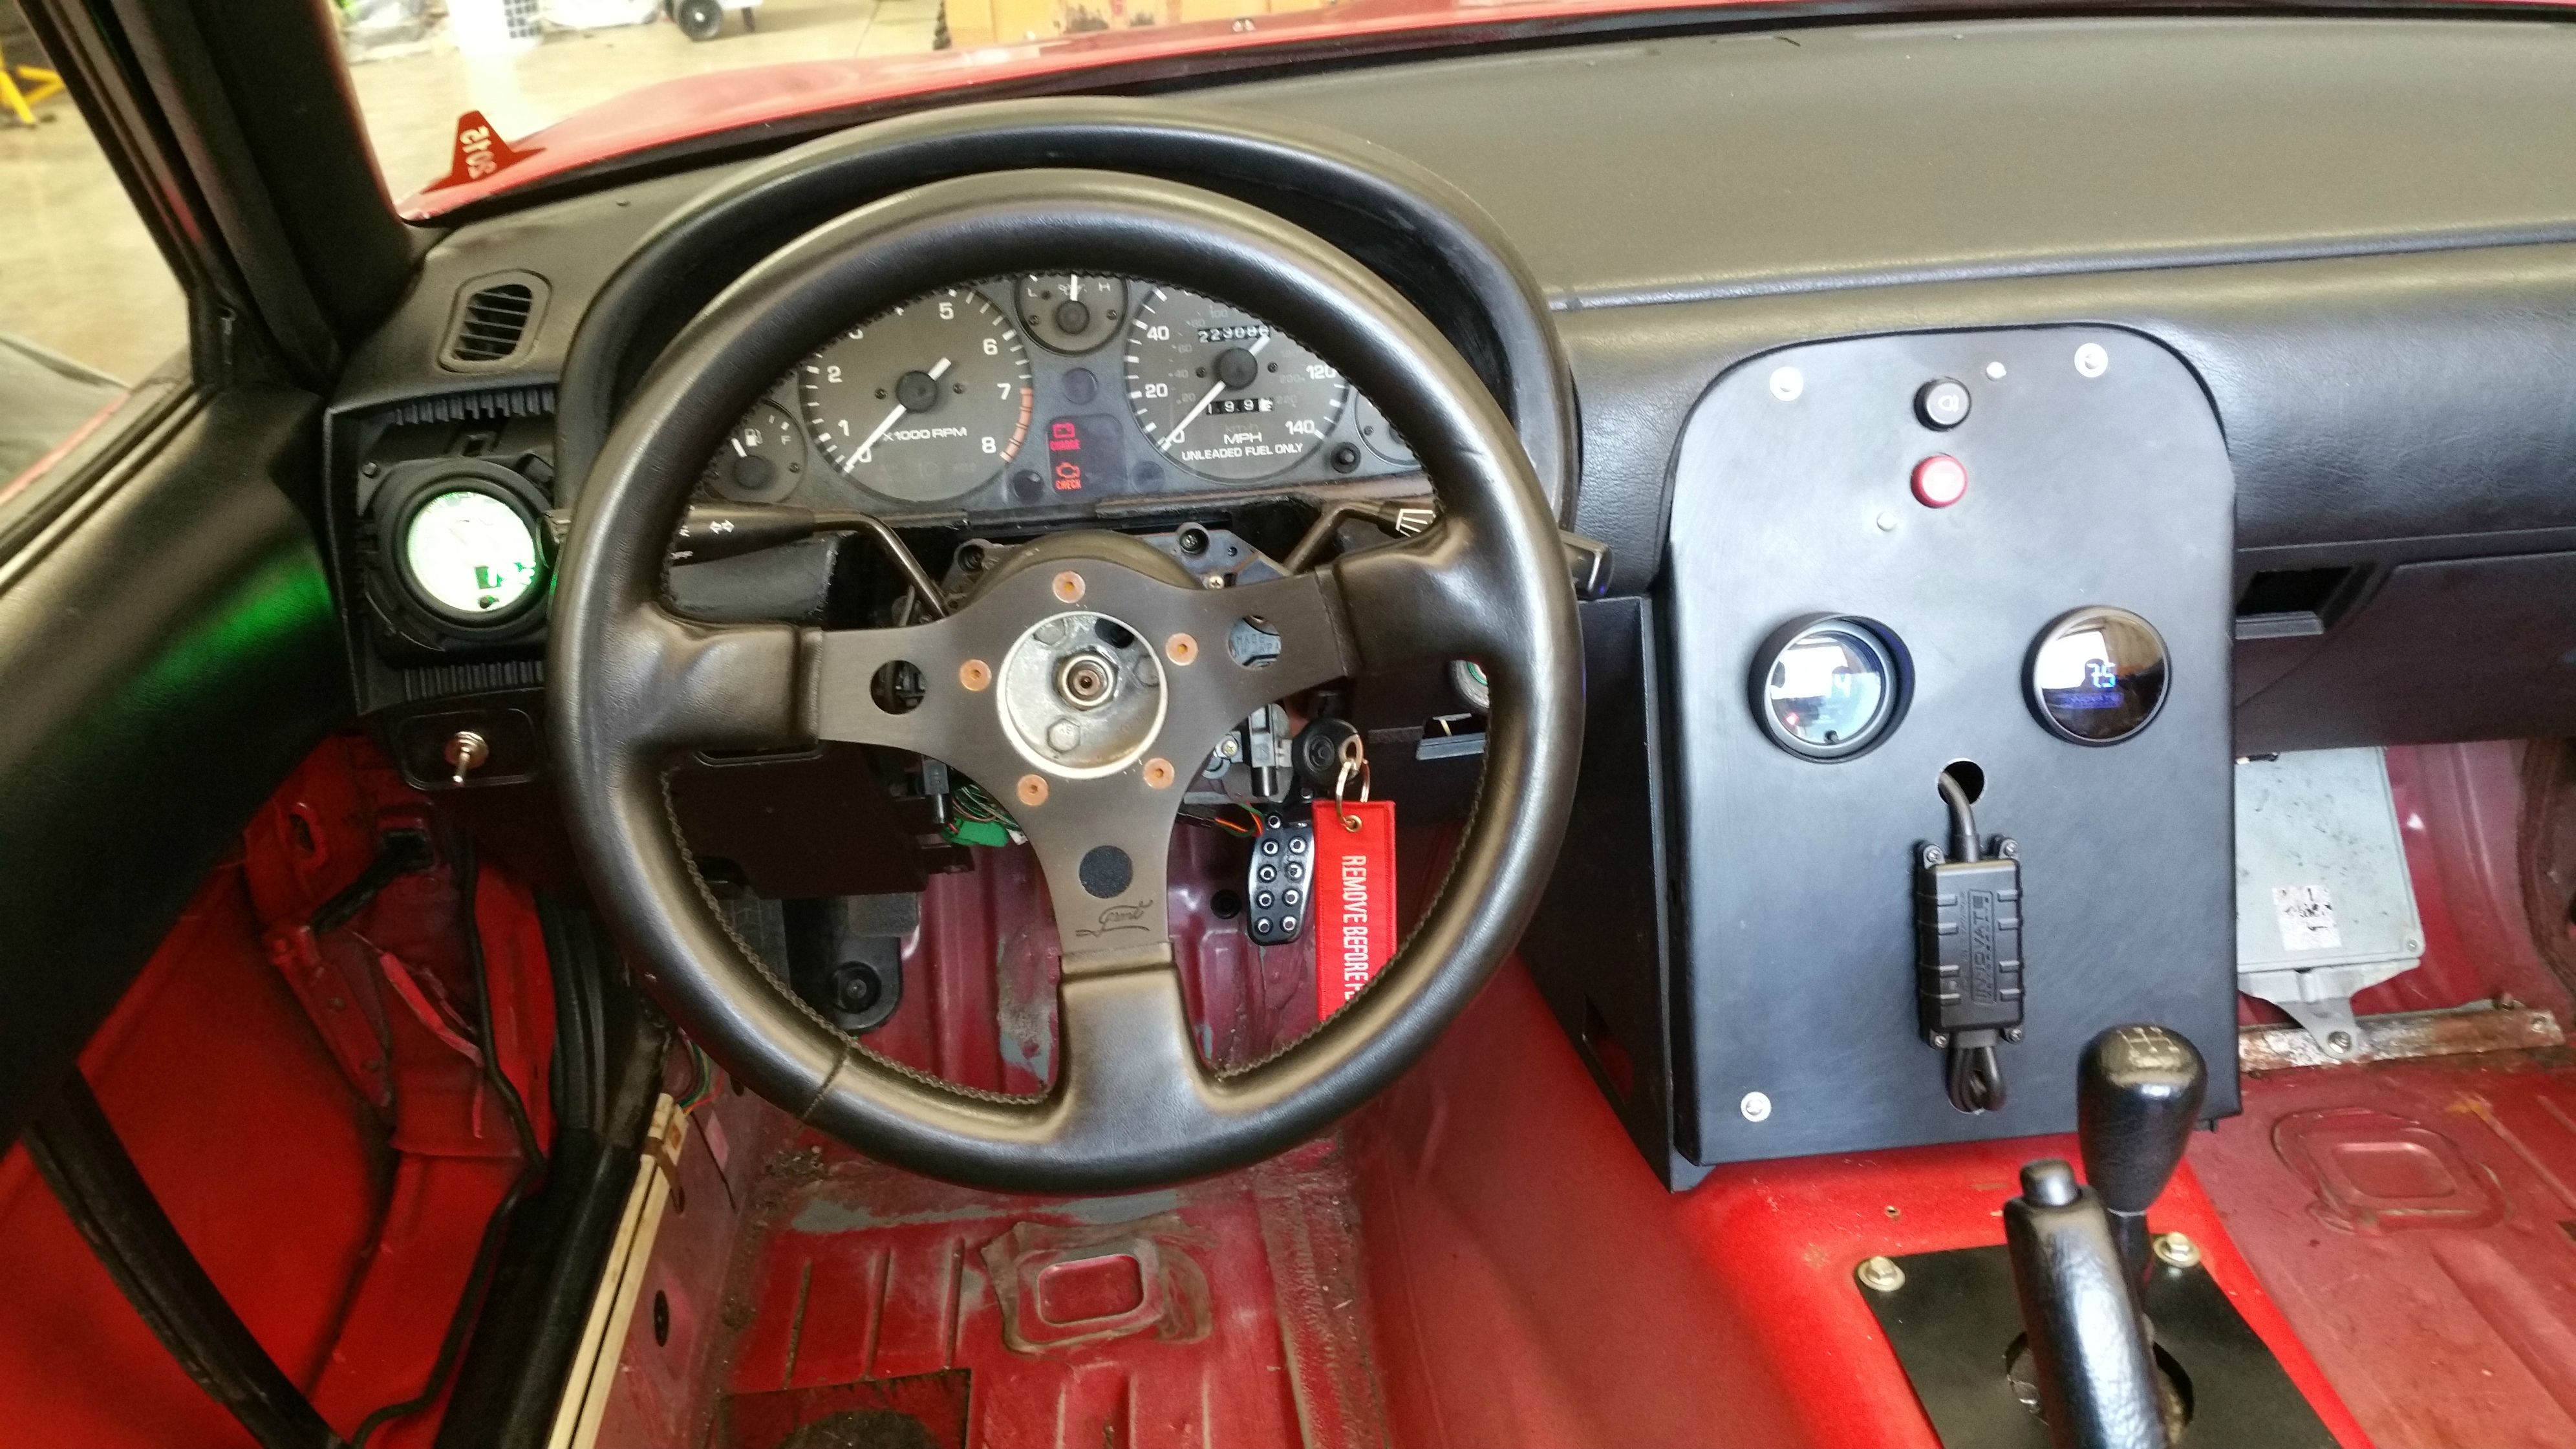
Water temp, oil pressure, Innovate LC-2 (getting prepped for MS2)
Finding more weight to trim. Getting a bit unsafe for street stuff though.
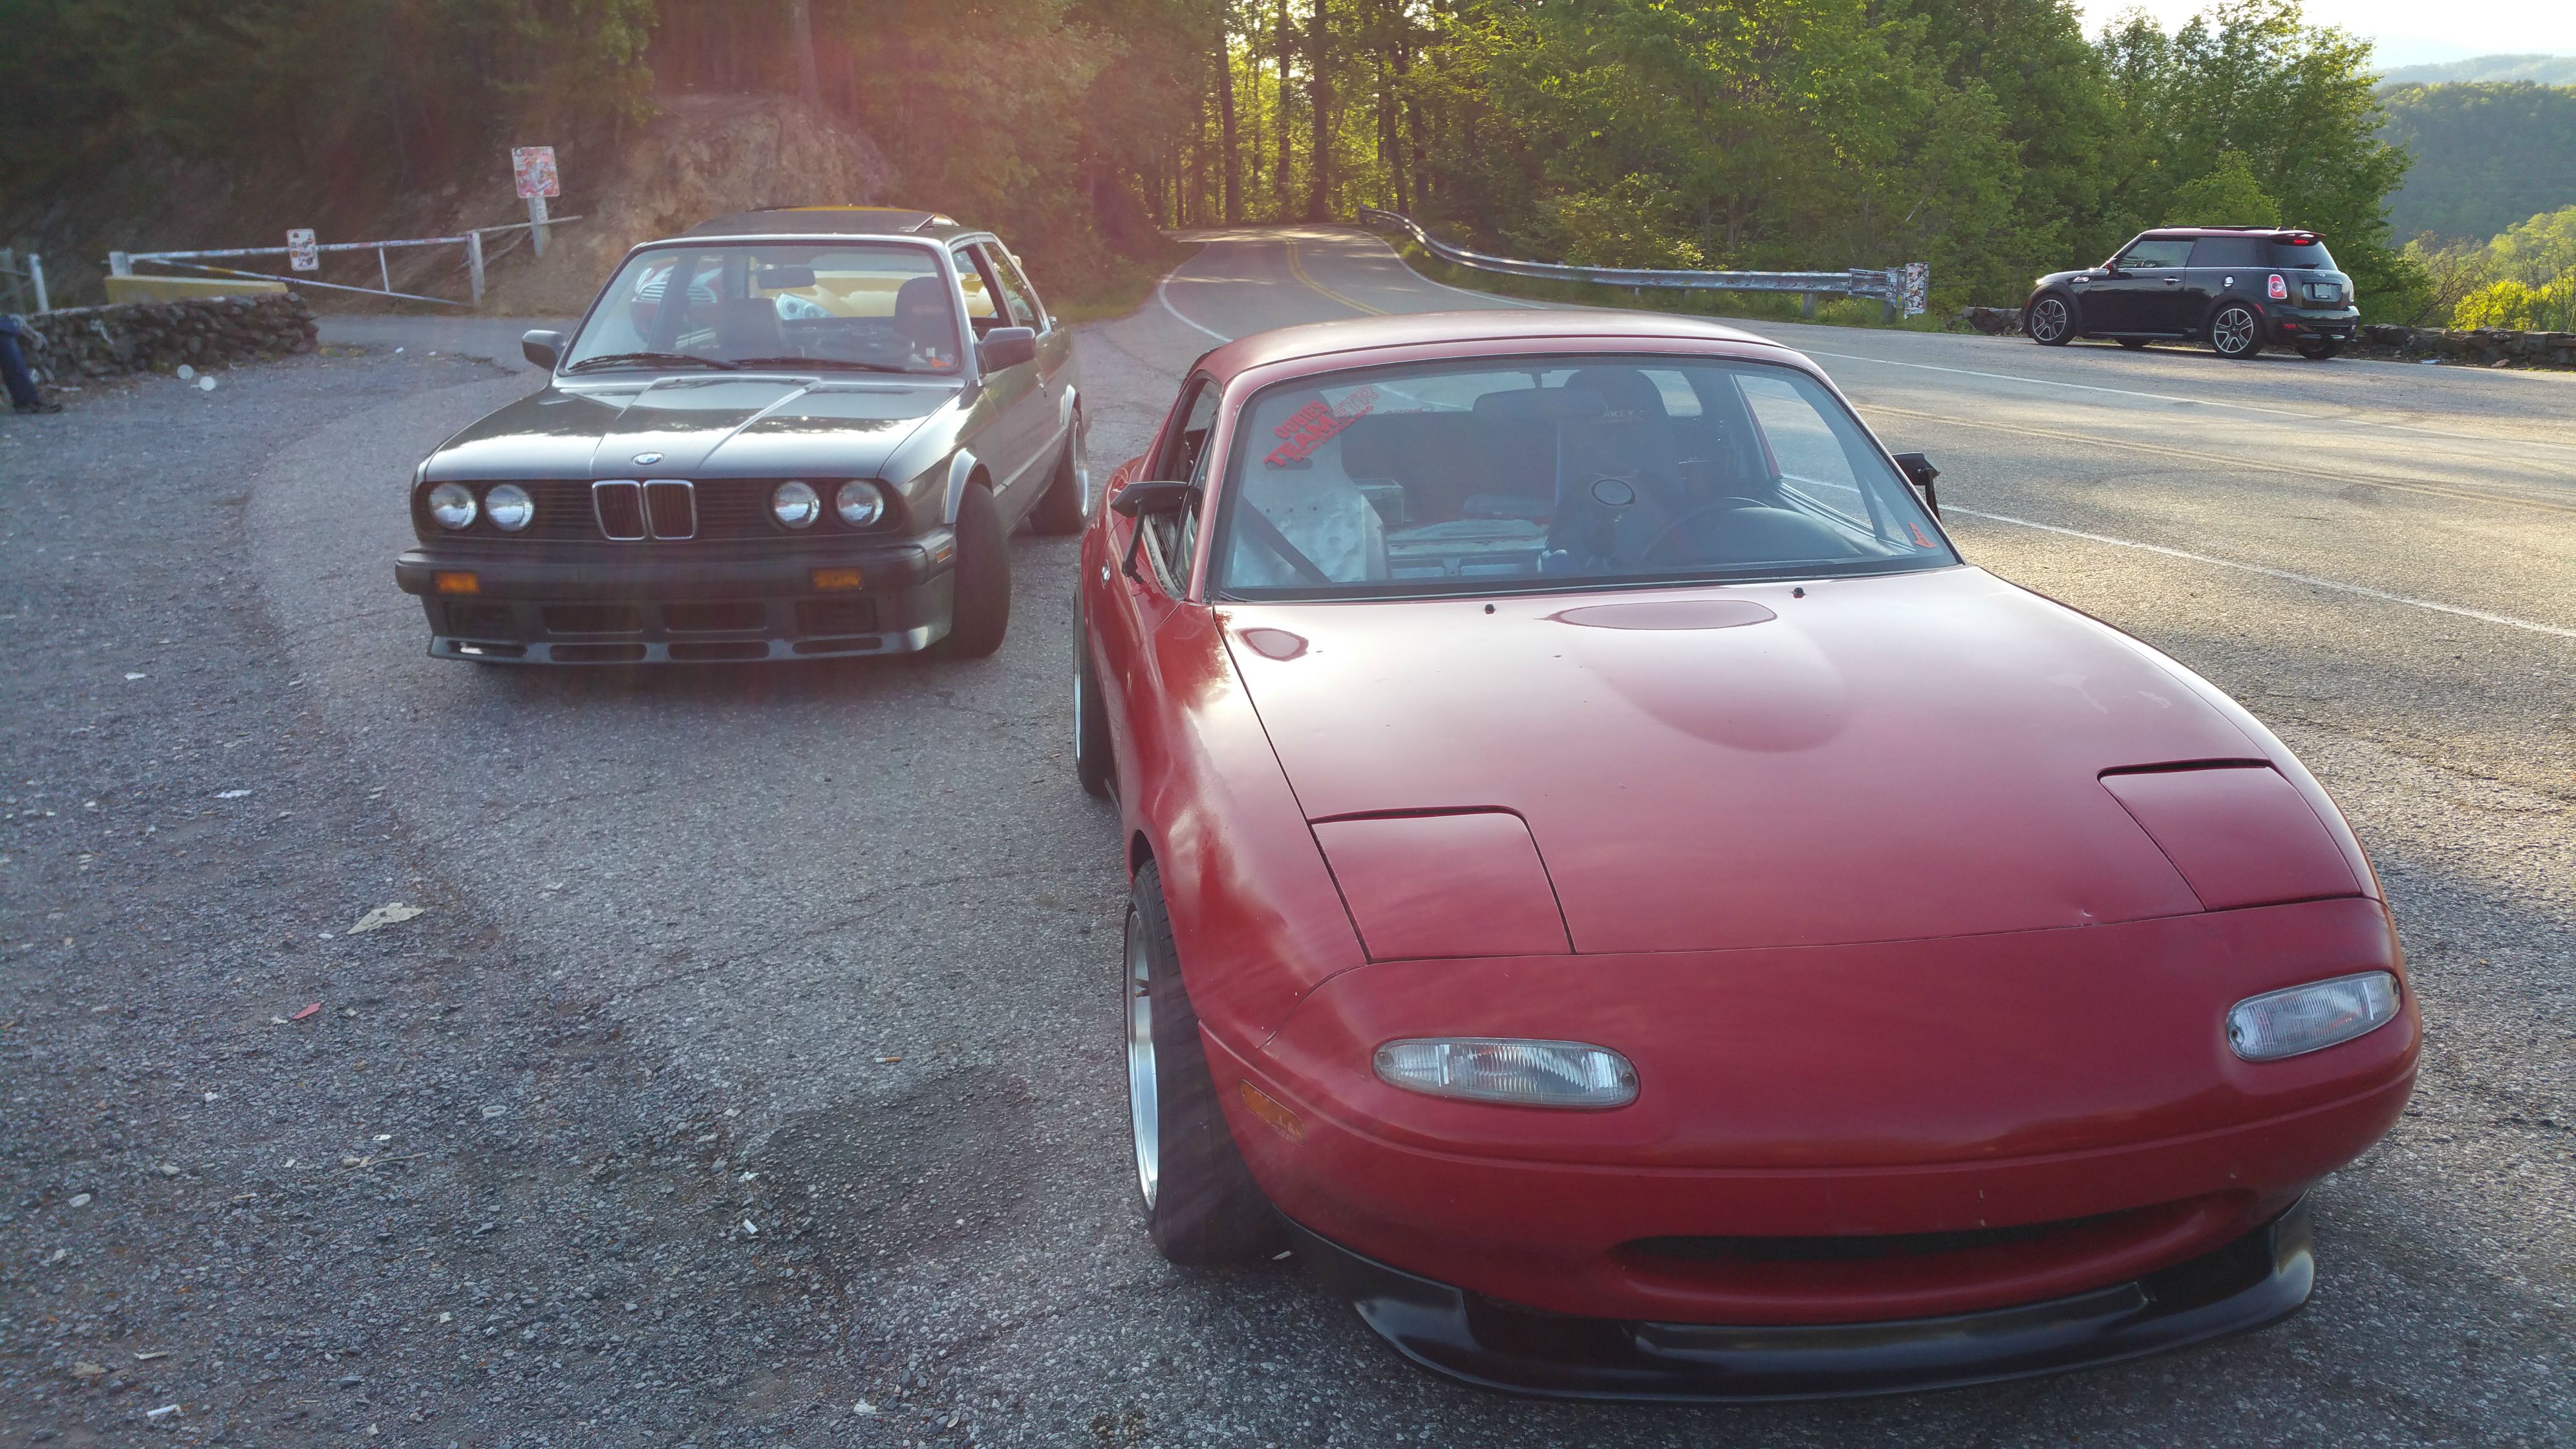
Heading to Miata's at the Gap this year was a pretty fun time.
A quick run with a 2015 WRX, STI, and M3 at "Miata's at the Gap". - YouTube
Last edited by 90civichhb; Mar 19, 2018 at 02:36 PM.
Reply
 0
0

0
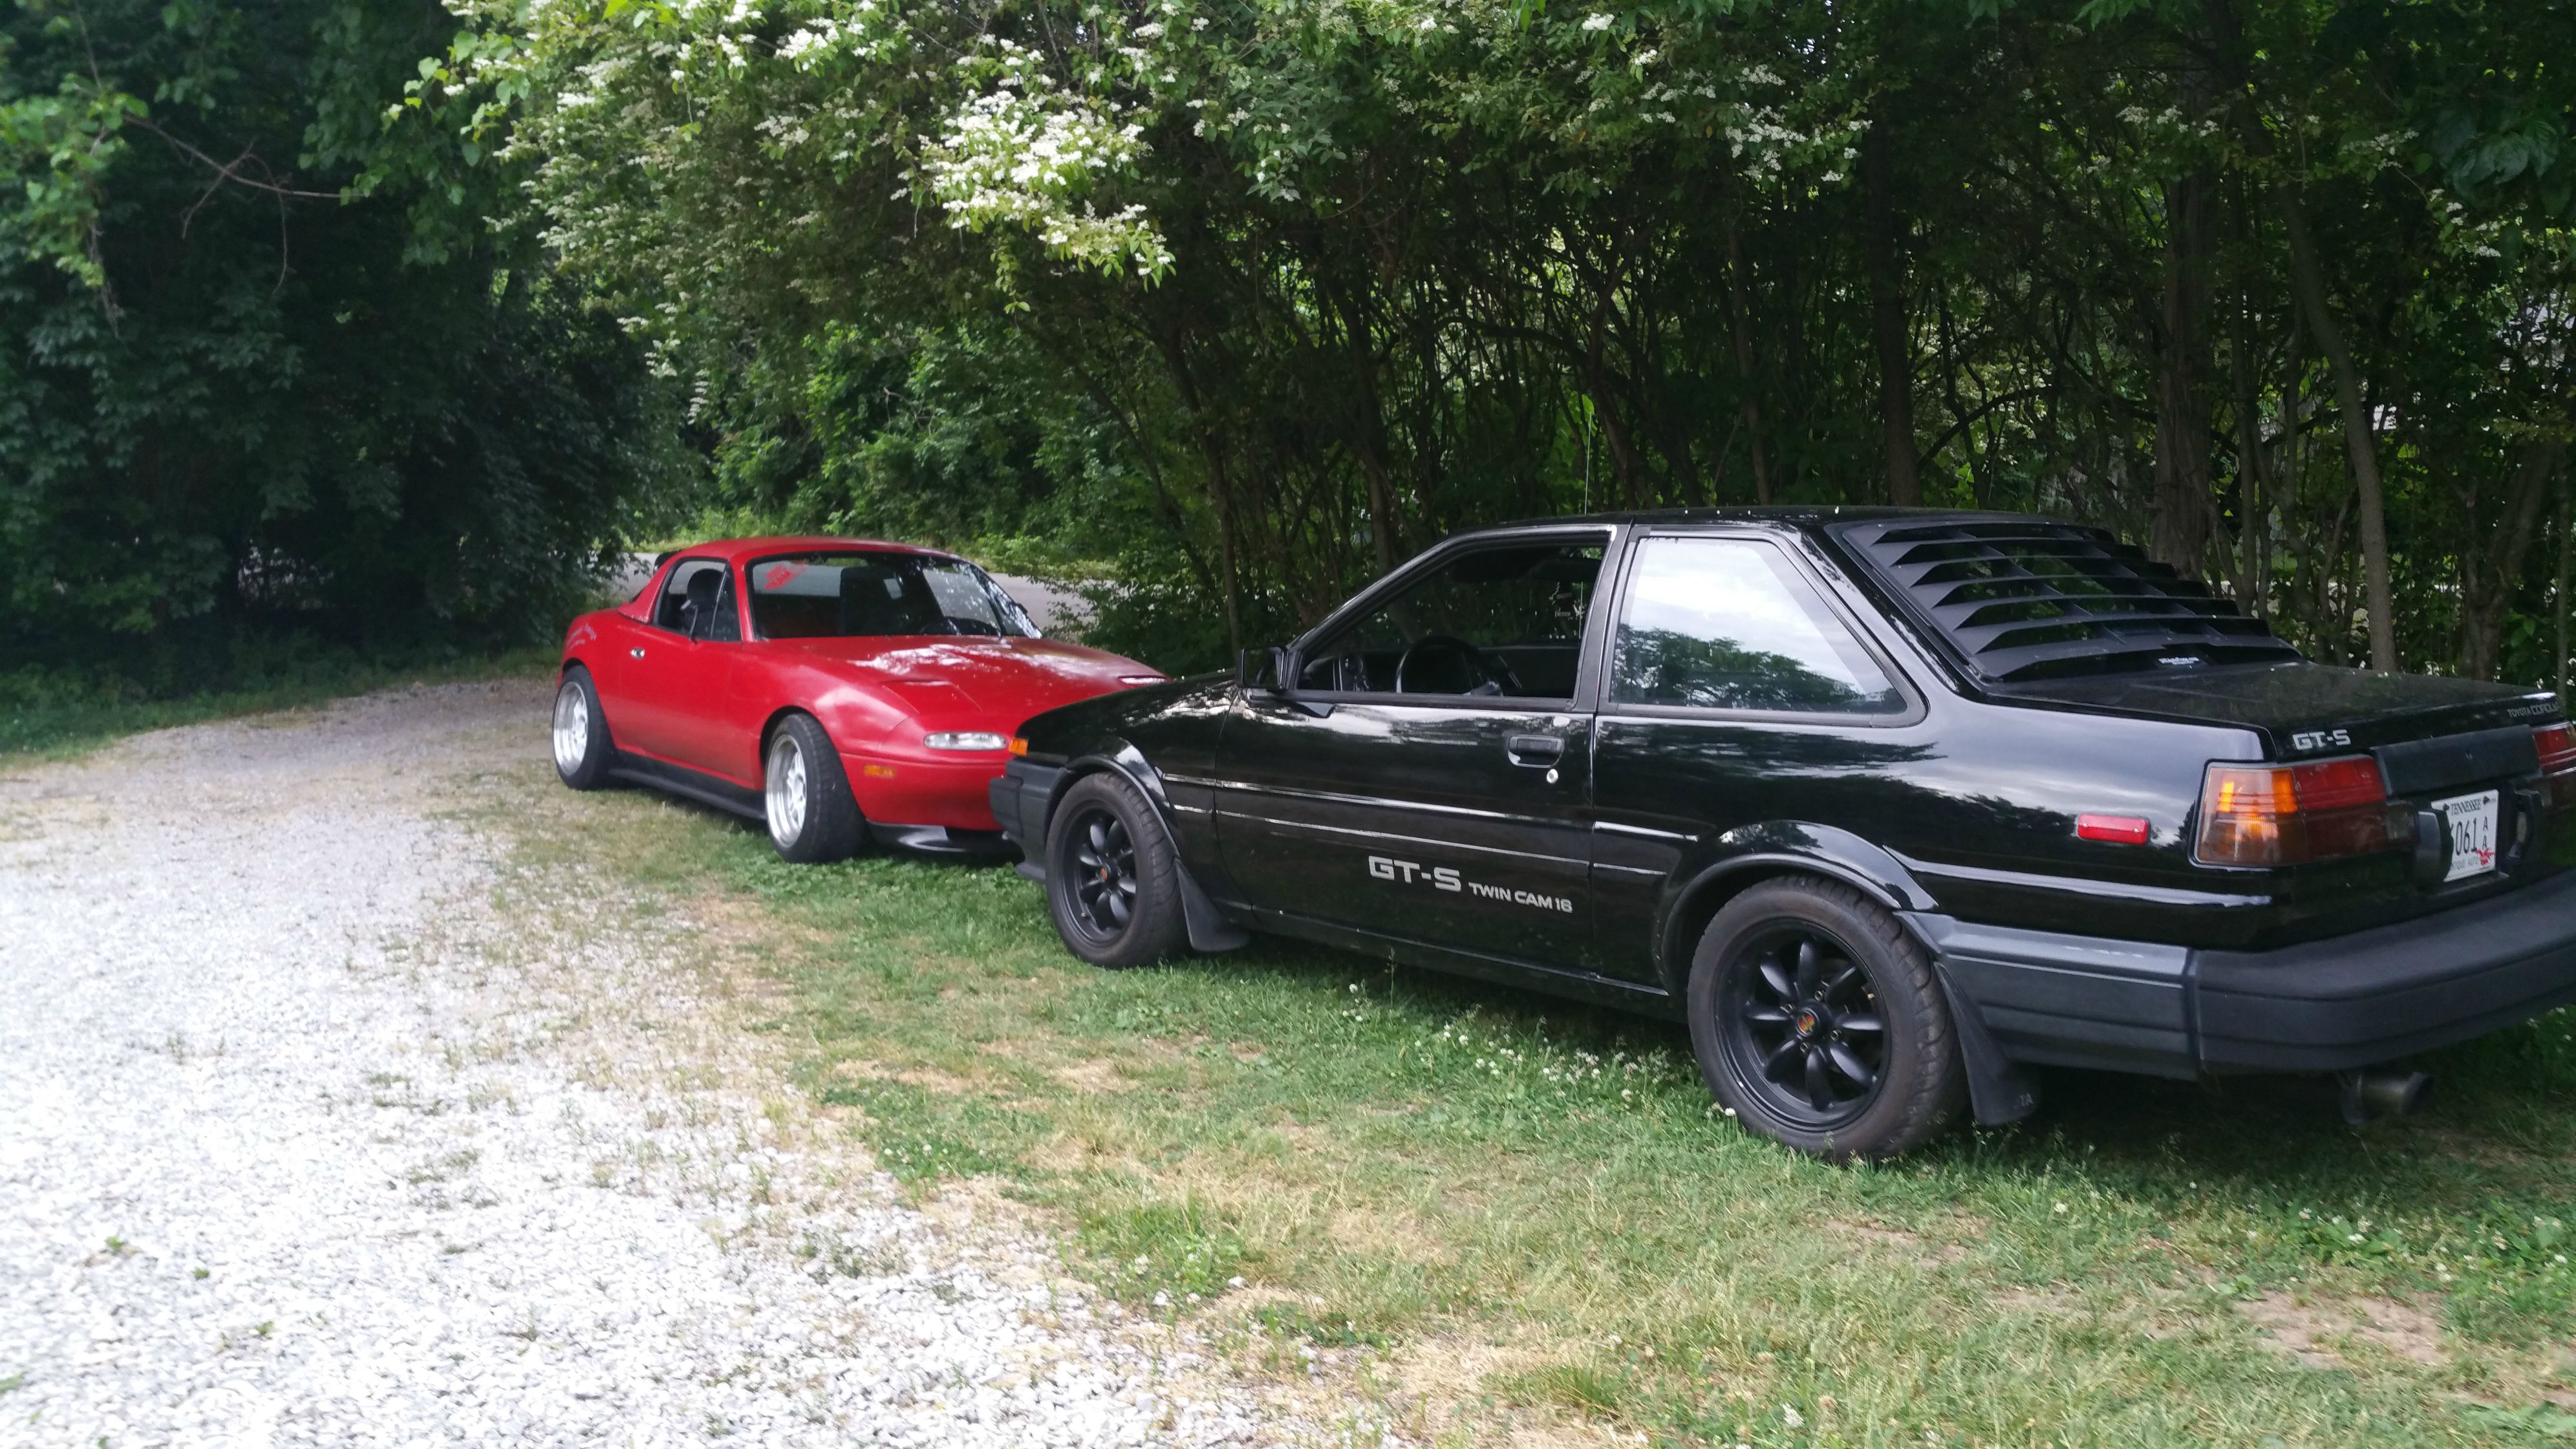
My buddy with his ITB 4ag AE86. Lots of time and goodies in that thing.
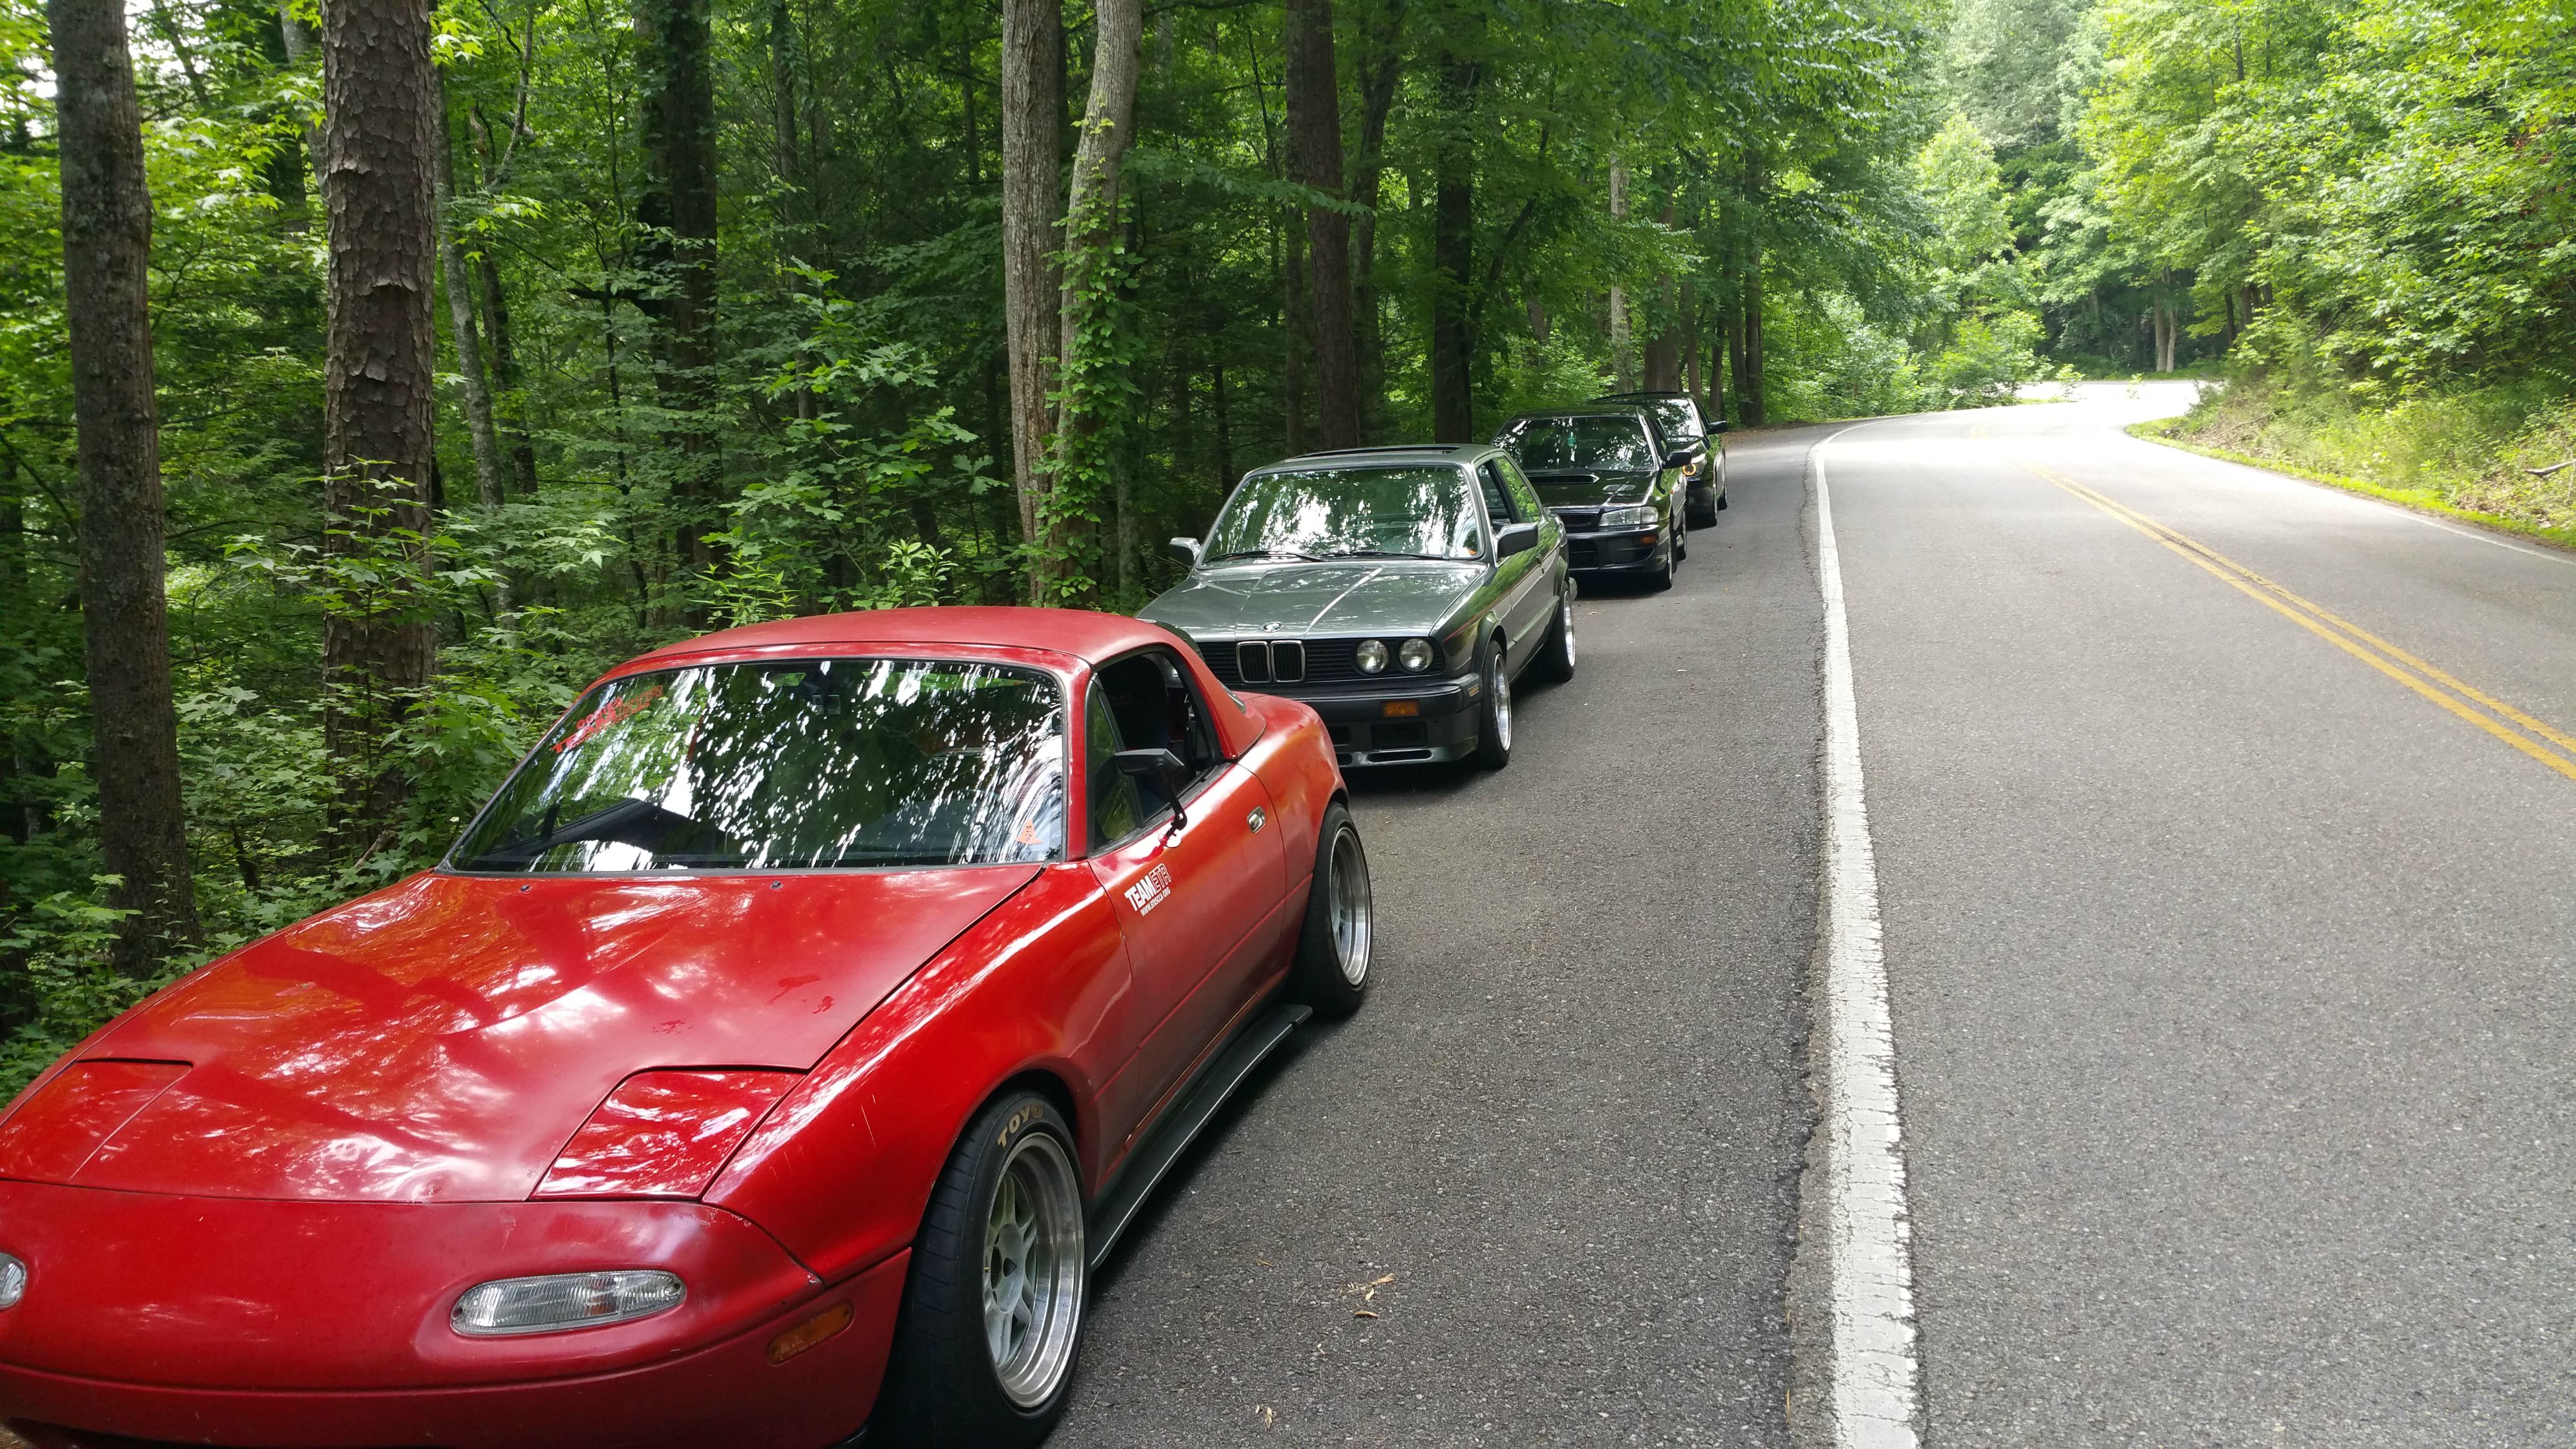
My buddy with his E30 on Deal's Gap. He has been first in our class for the past 2 years.
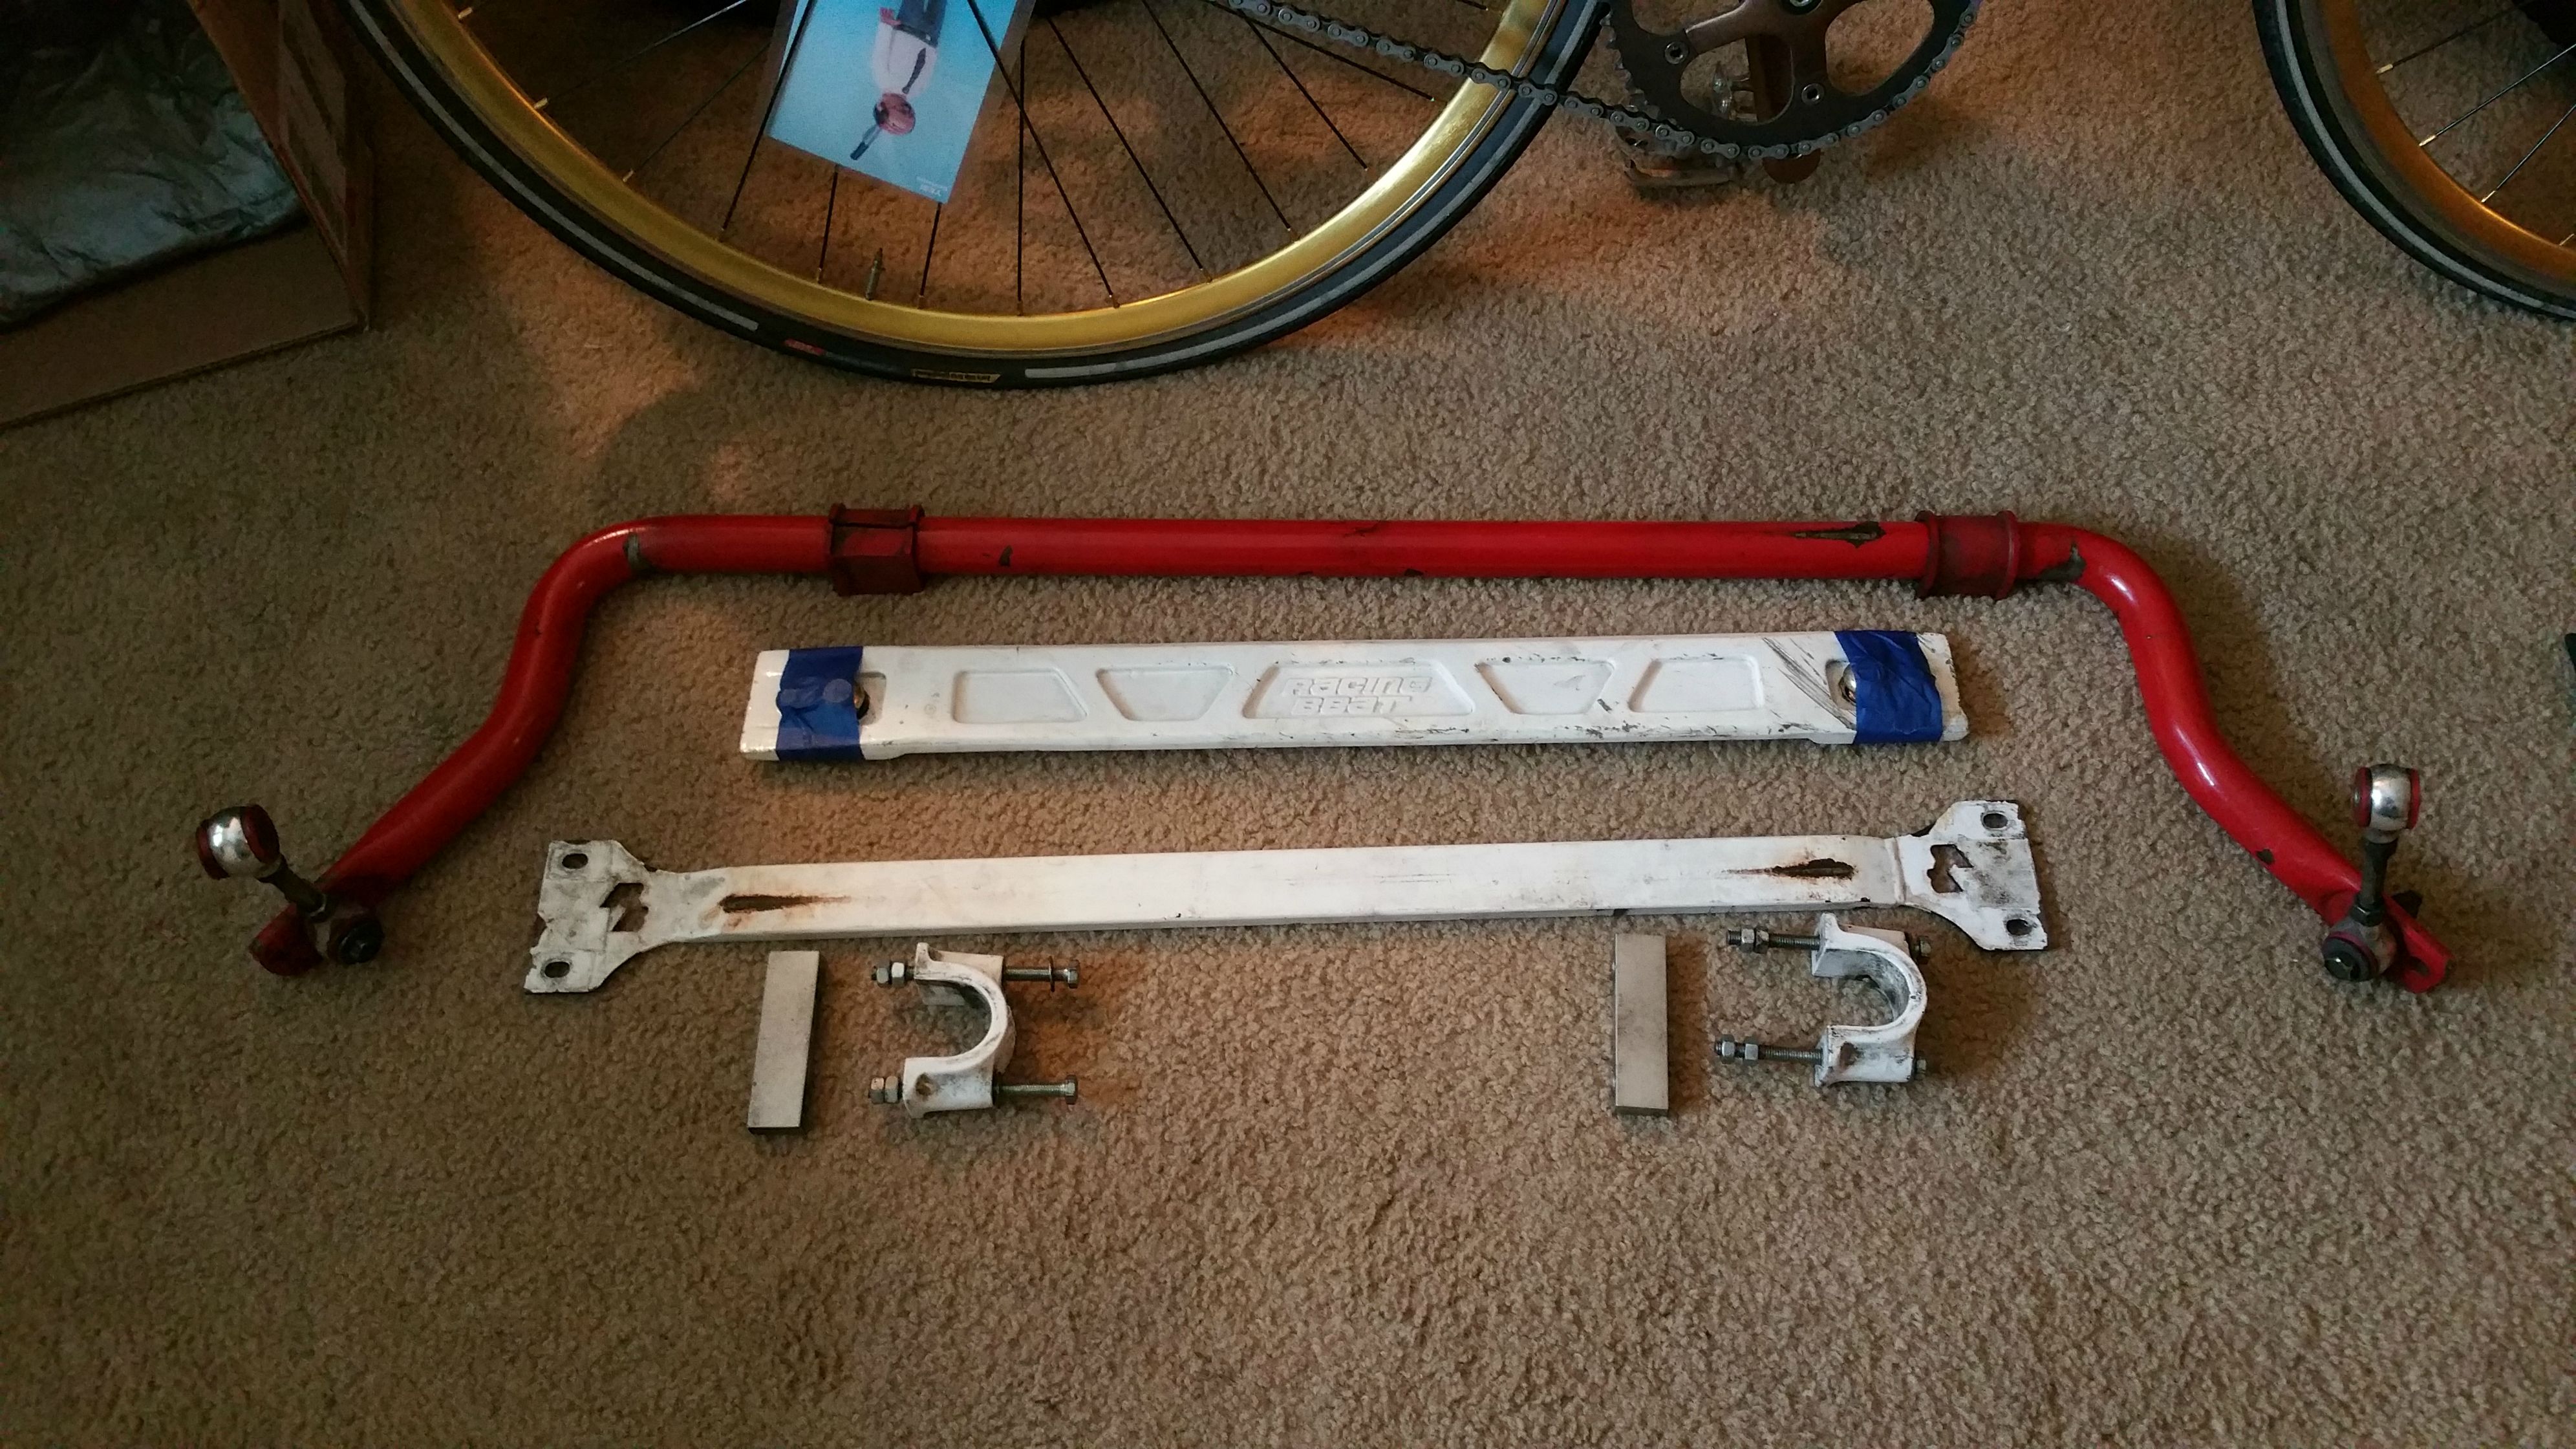
Halfway through the autocross season a deal came up on some suspension.
Out with the old...
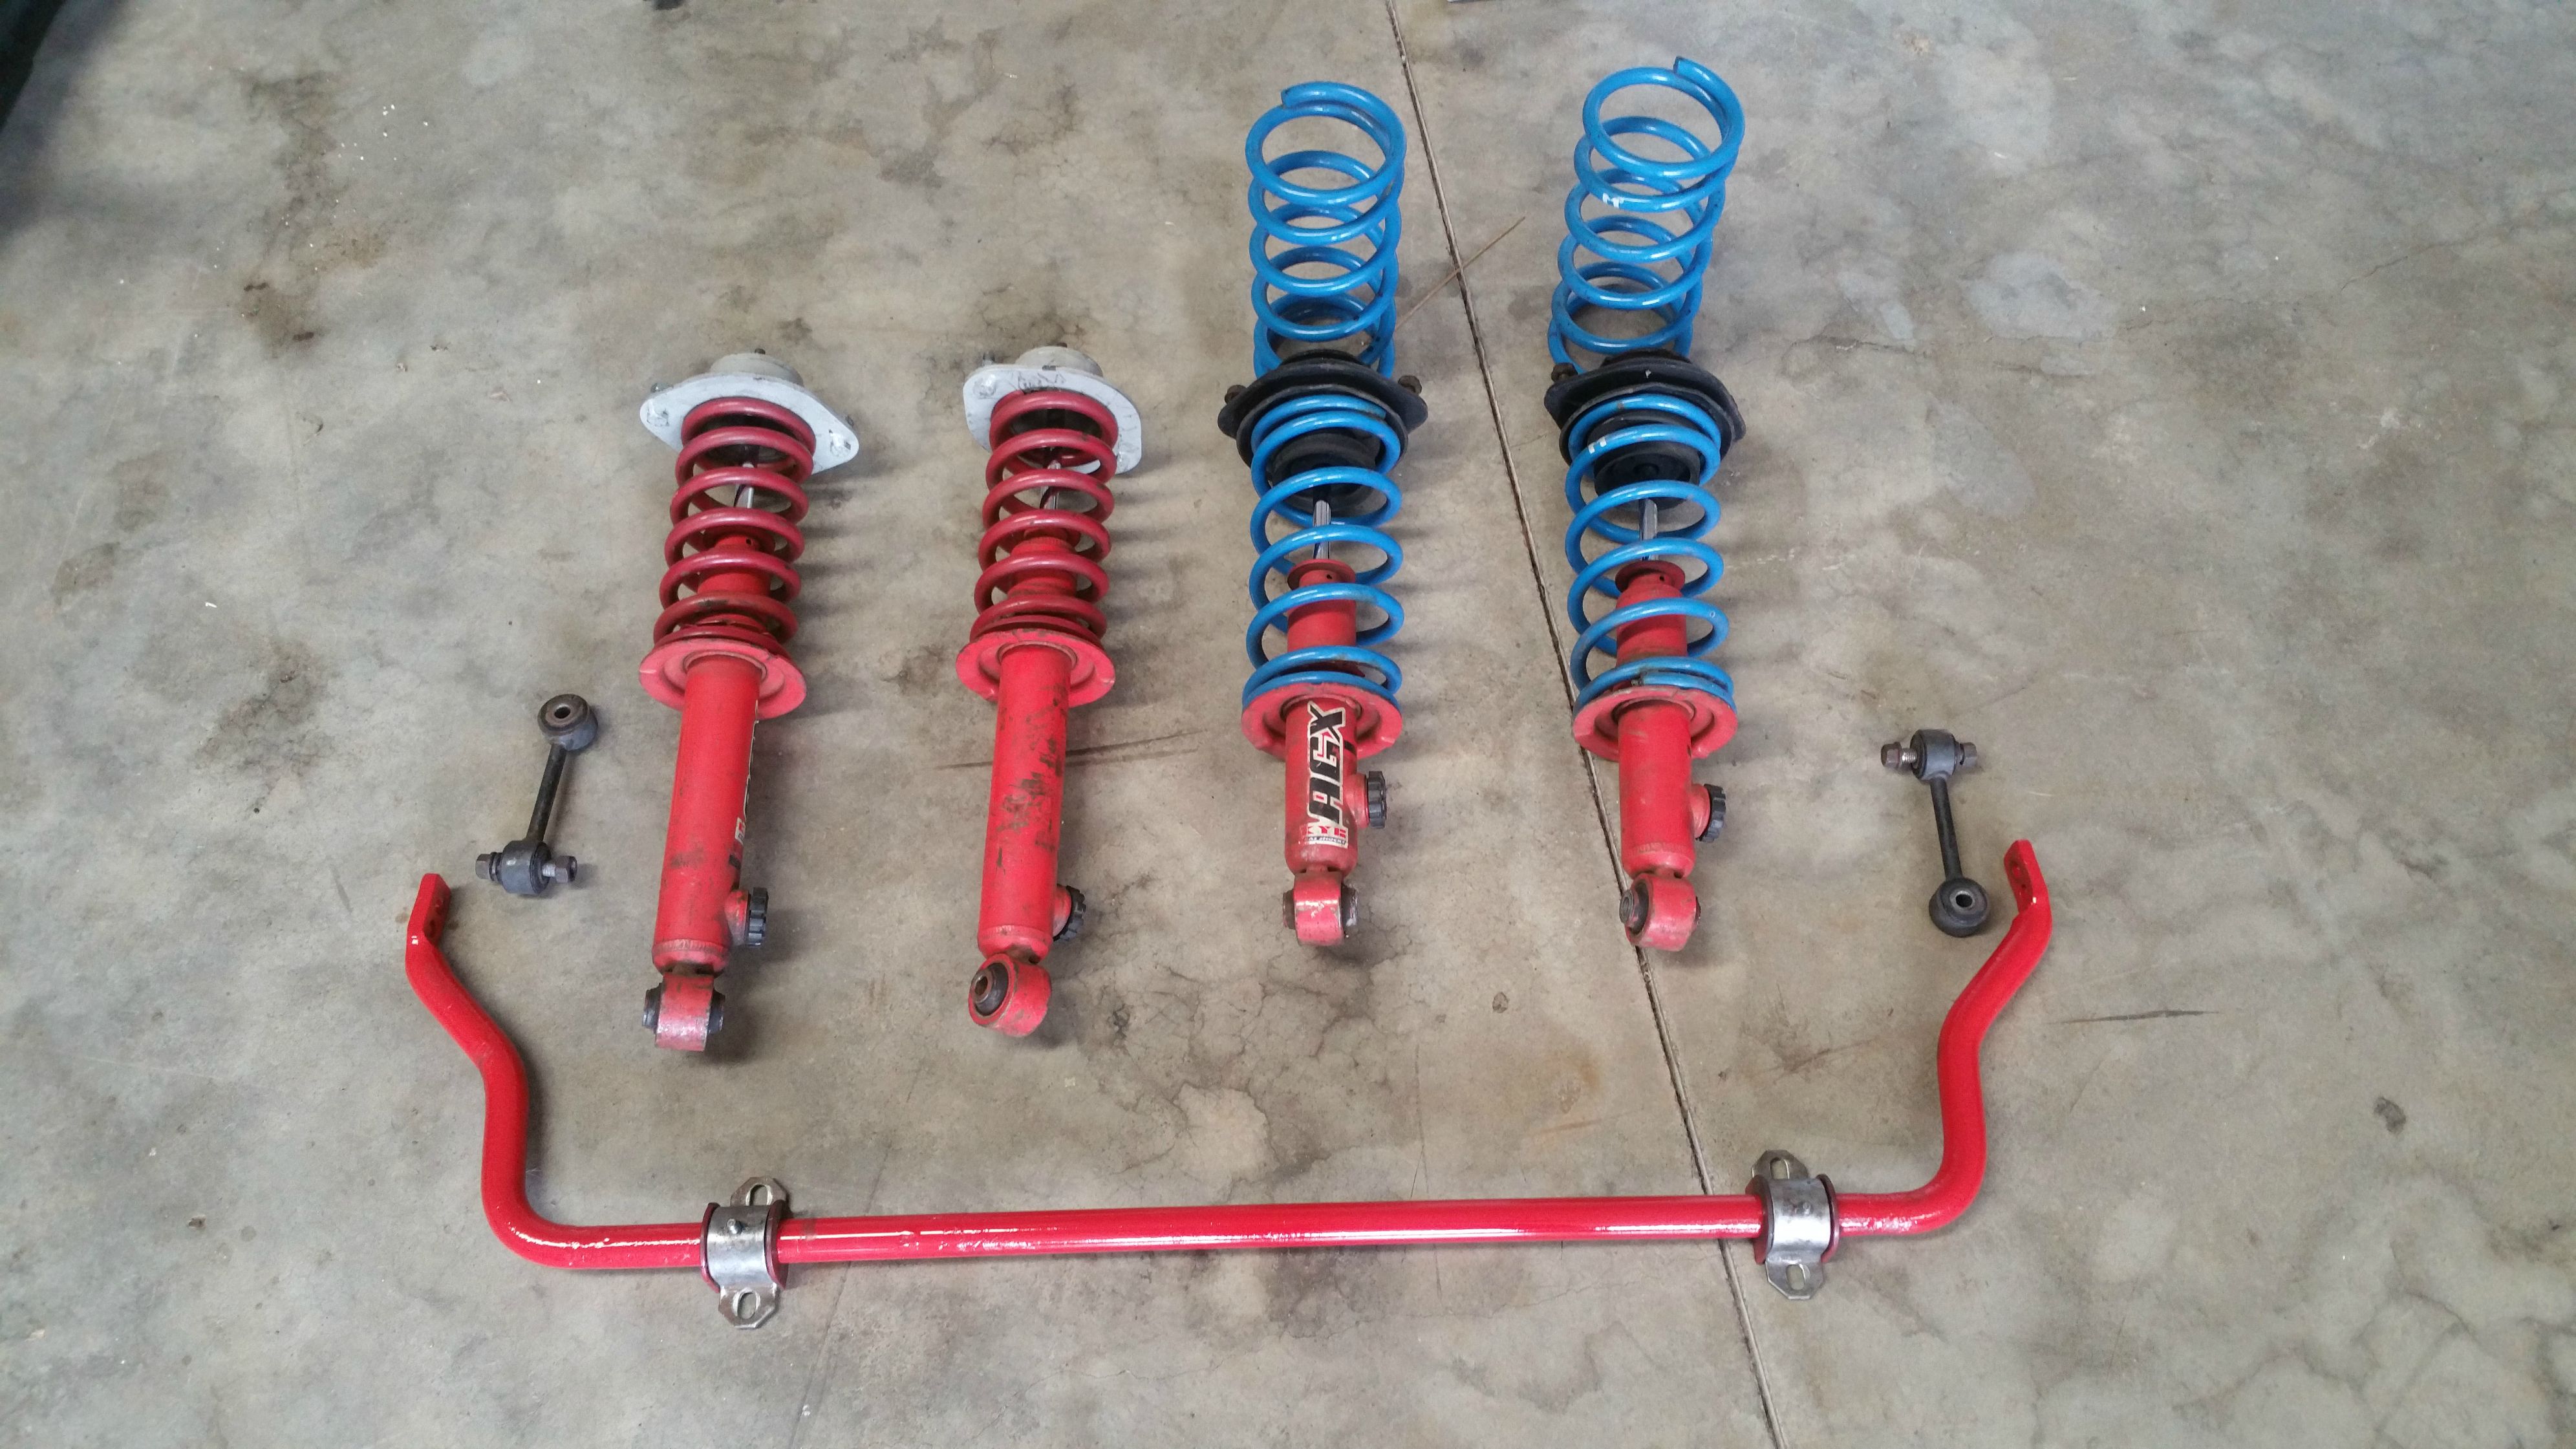
In with the new...

First autocross felt pretty good with it but going from a 4.30 gear to a 4.10 really killed the powerband of the car. It got a bit better once I got the Megasquirt dialed in a bit more for 93 octane. The midrange felt much better but the car needs more power.
Ended up getting a trophy position.

Then I decided that the open diff life was getting kinda lame. So I built a clutch type RX-7 diff with 94 half shafts and a 7" open diff carrier housing.
Last edited by 90civichhb; Oct 15, 2017 at 02:15 PM.
Reply
1
1
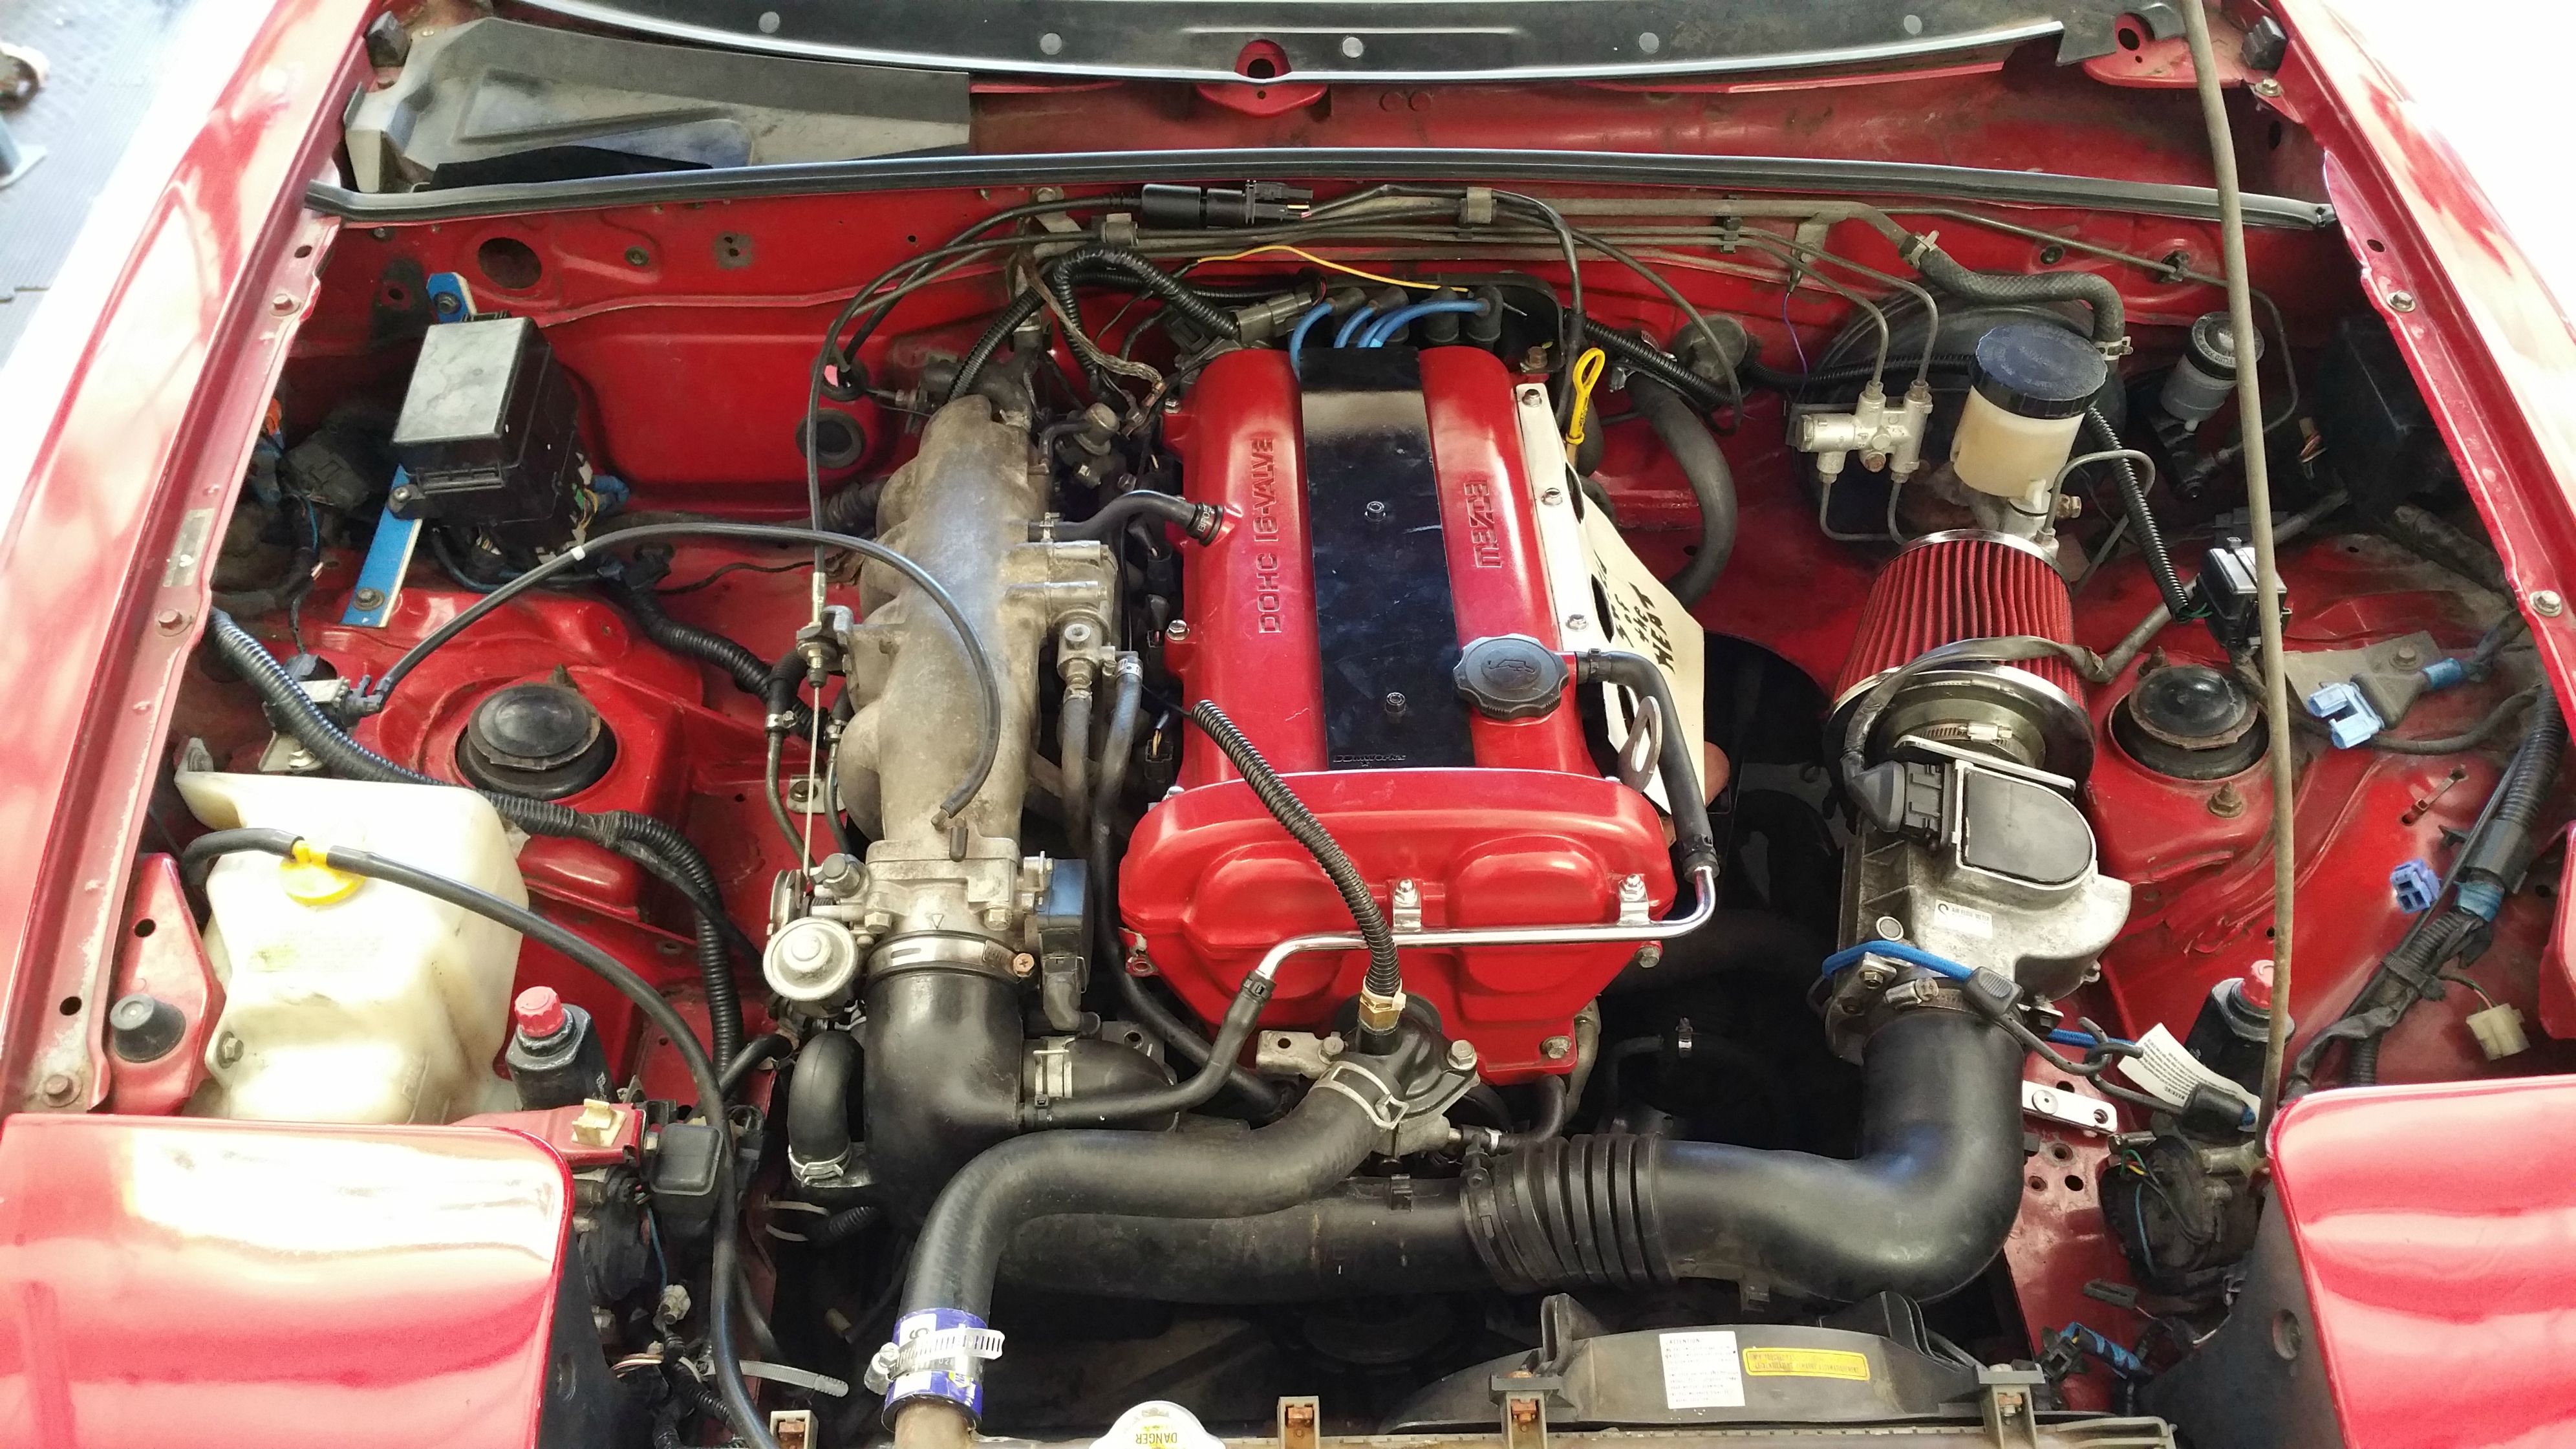
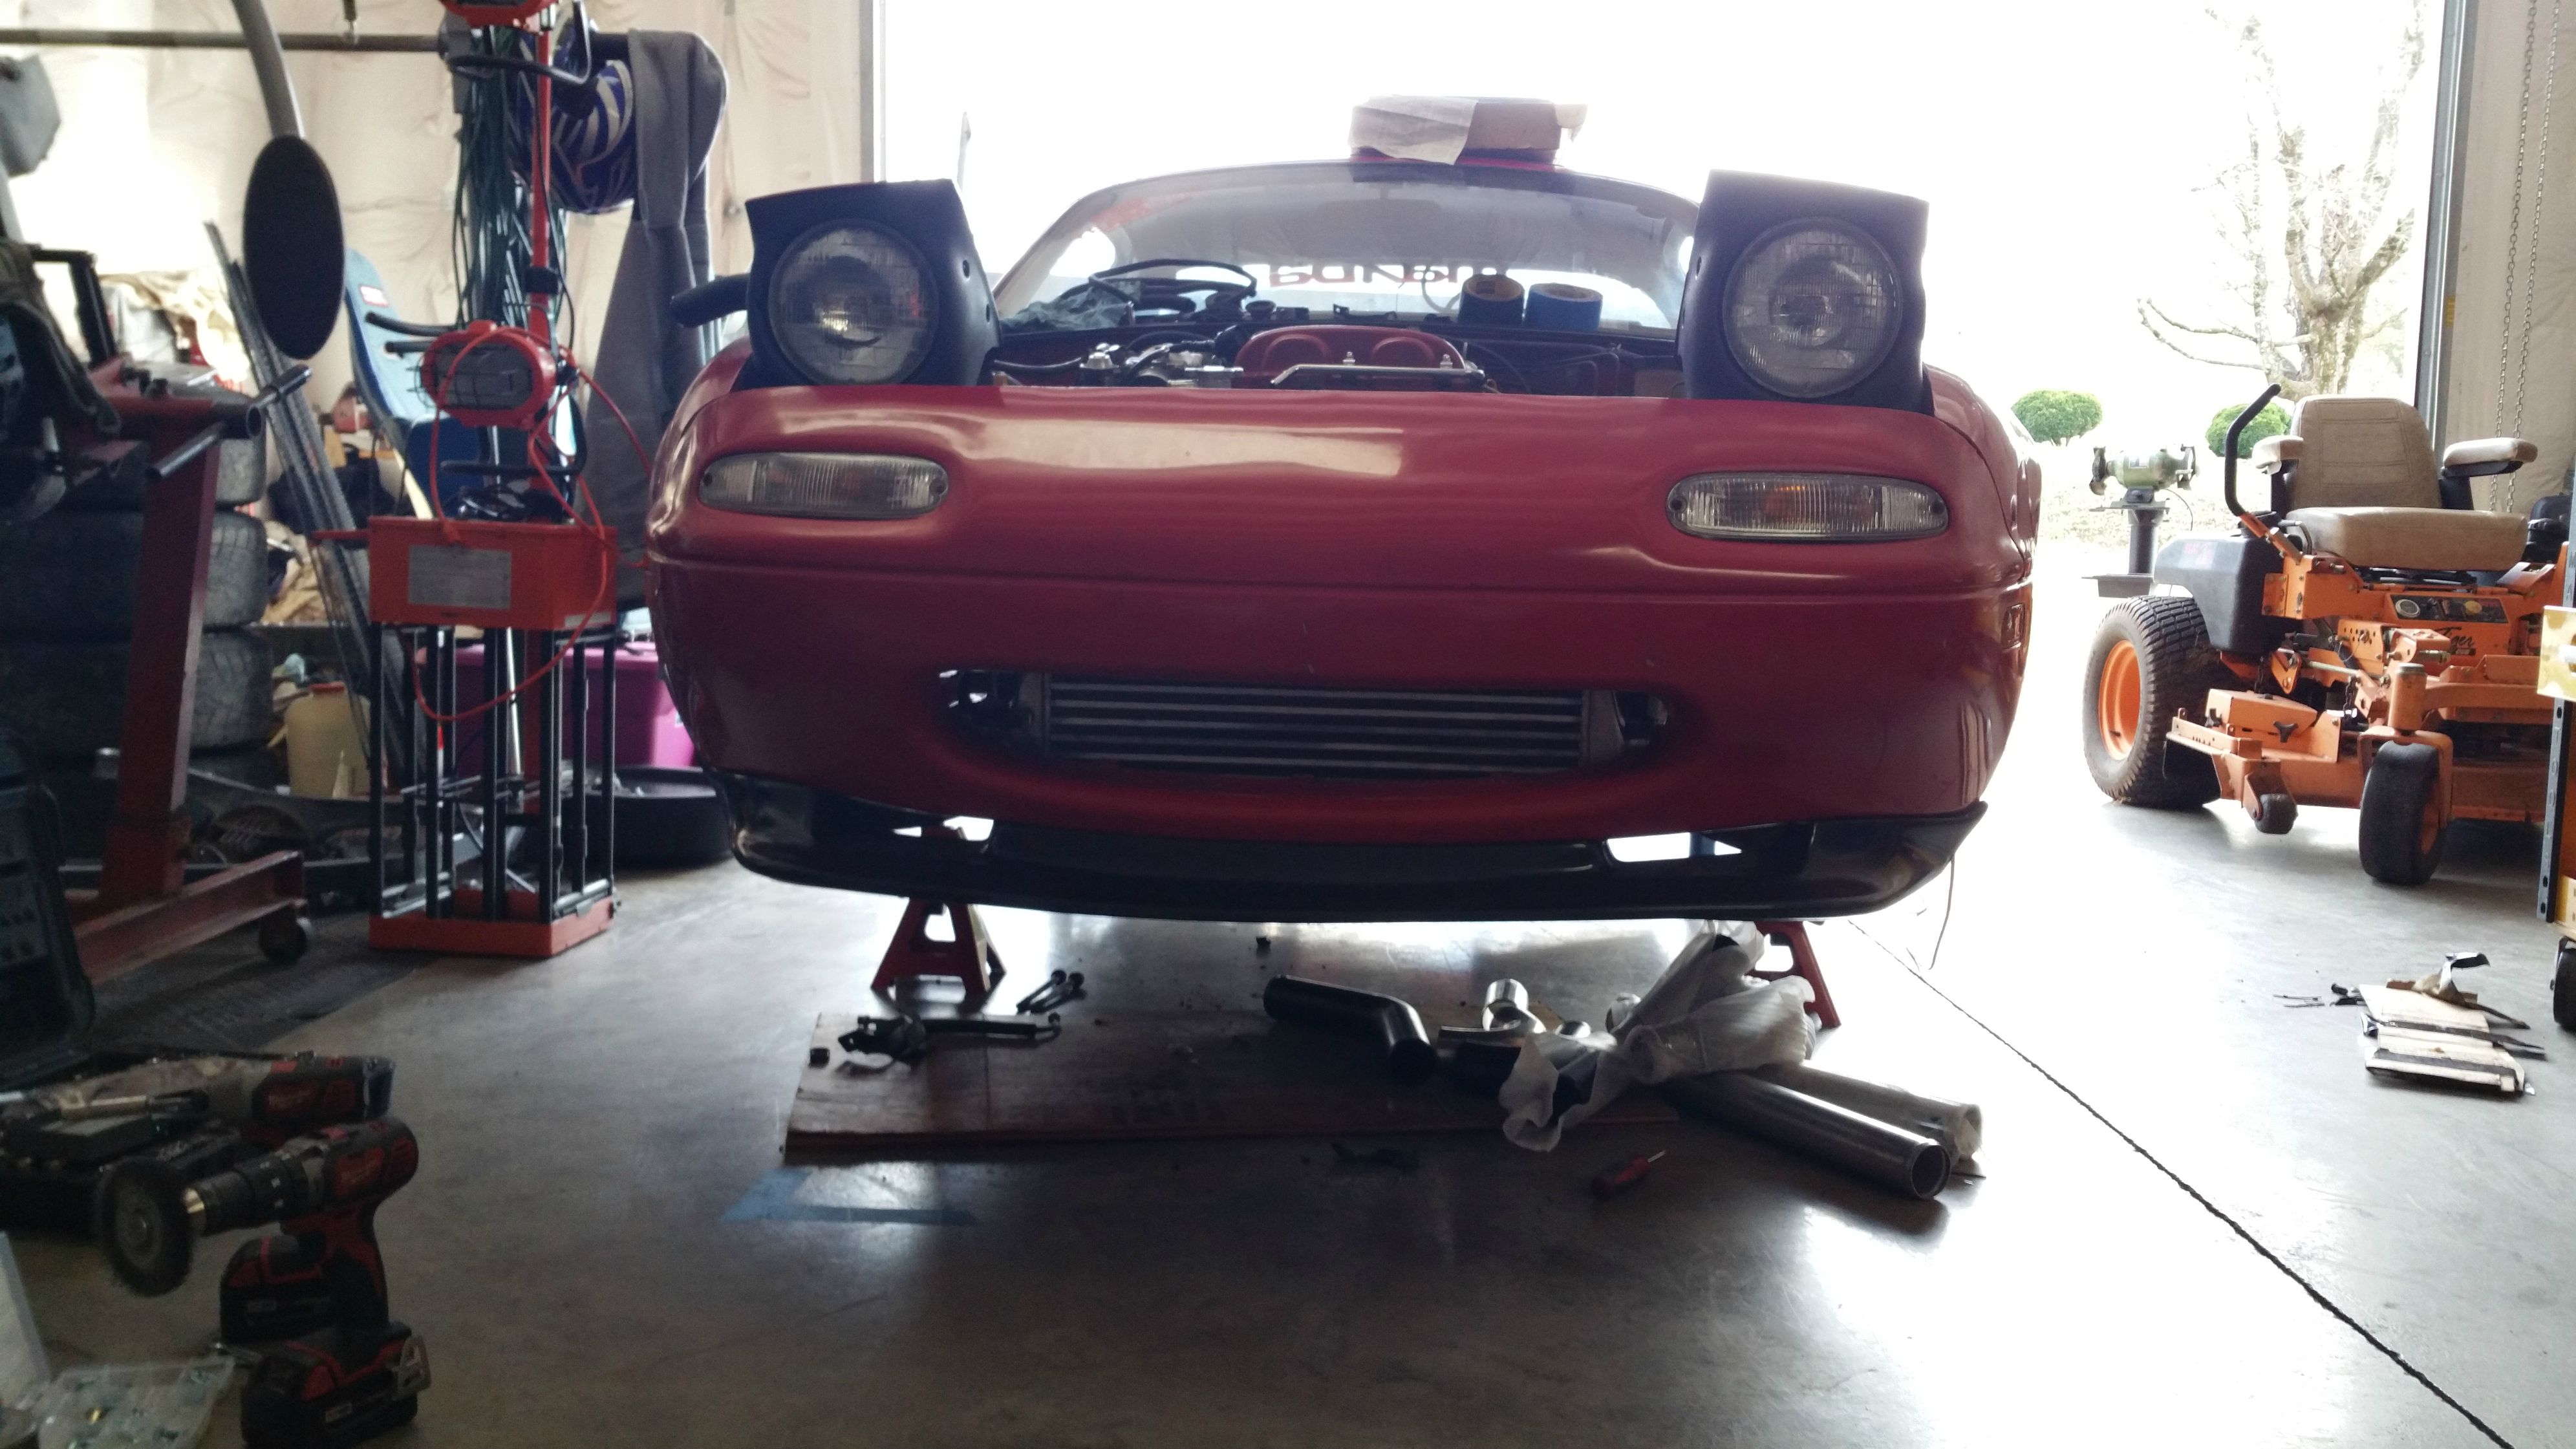
Now time for the Turbokitten lyfe...
This is Curly's old kit.
SR20 T25
ARTech manifold/downpipe/testpipe
Most all oil/water lines
TSE hardware
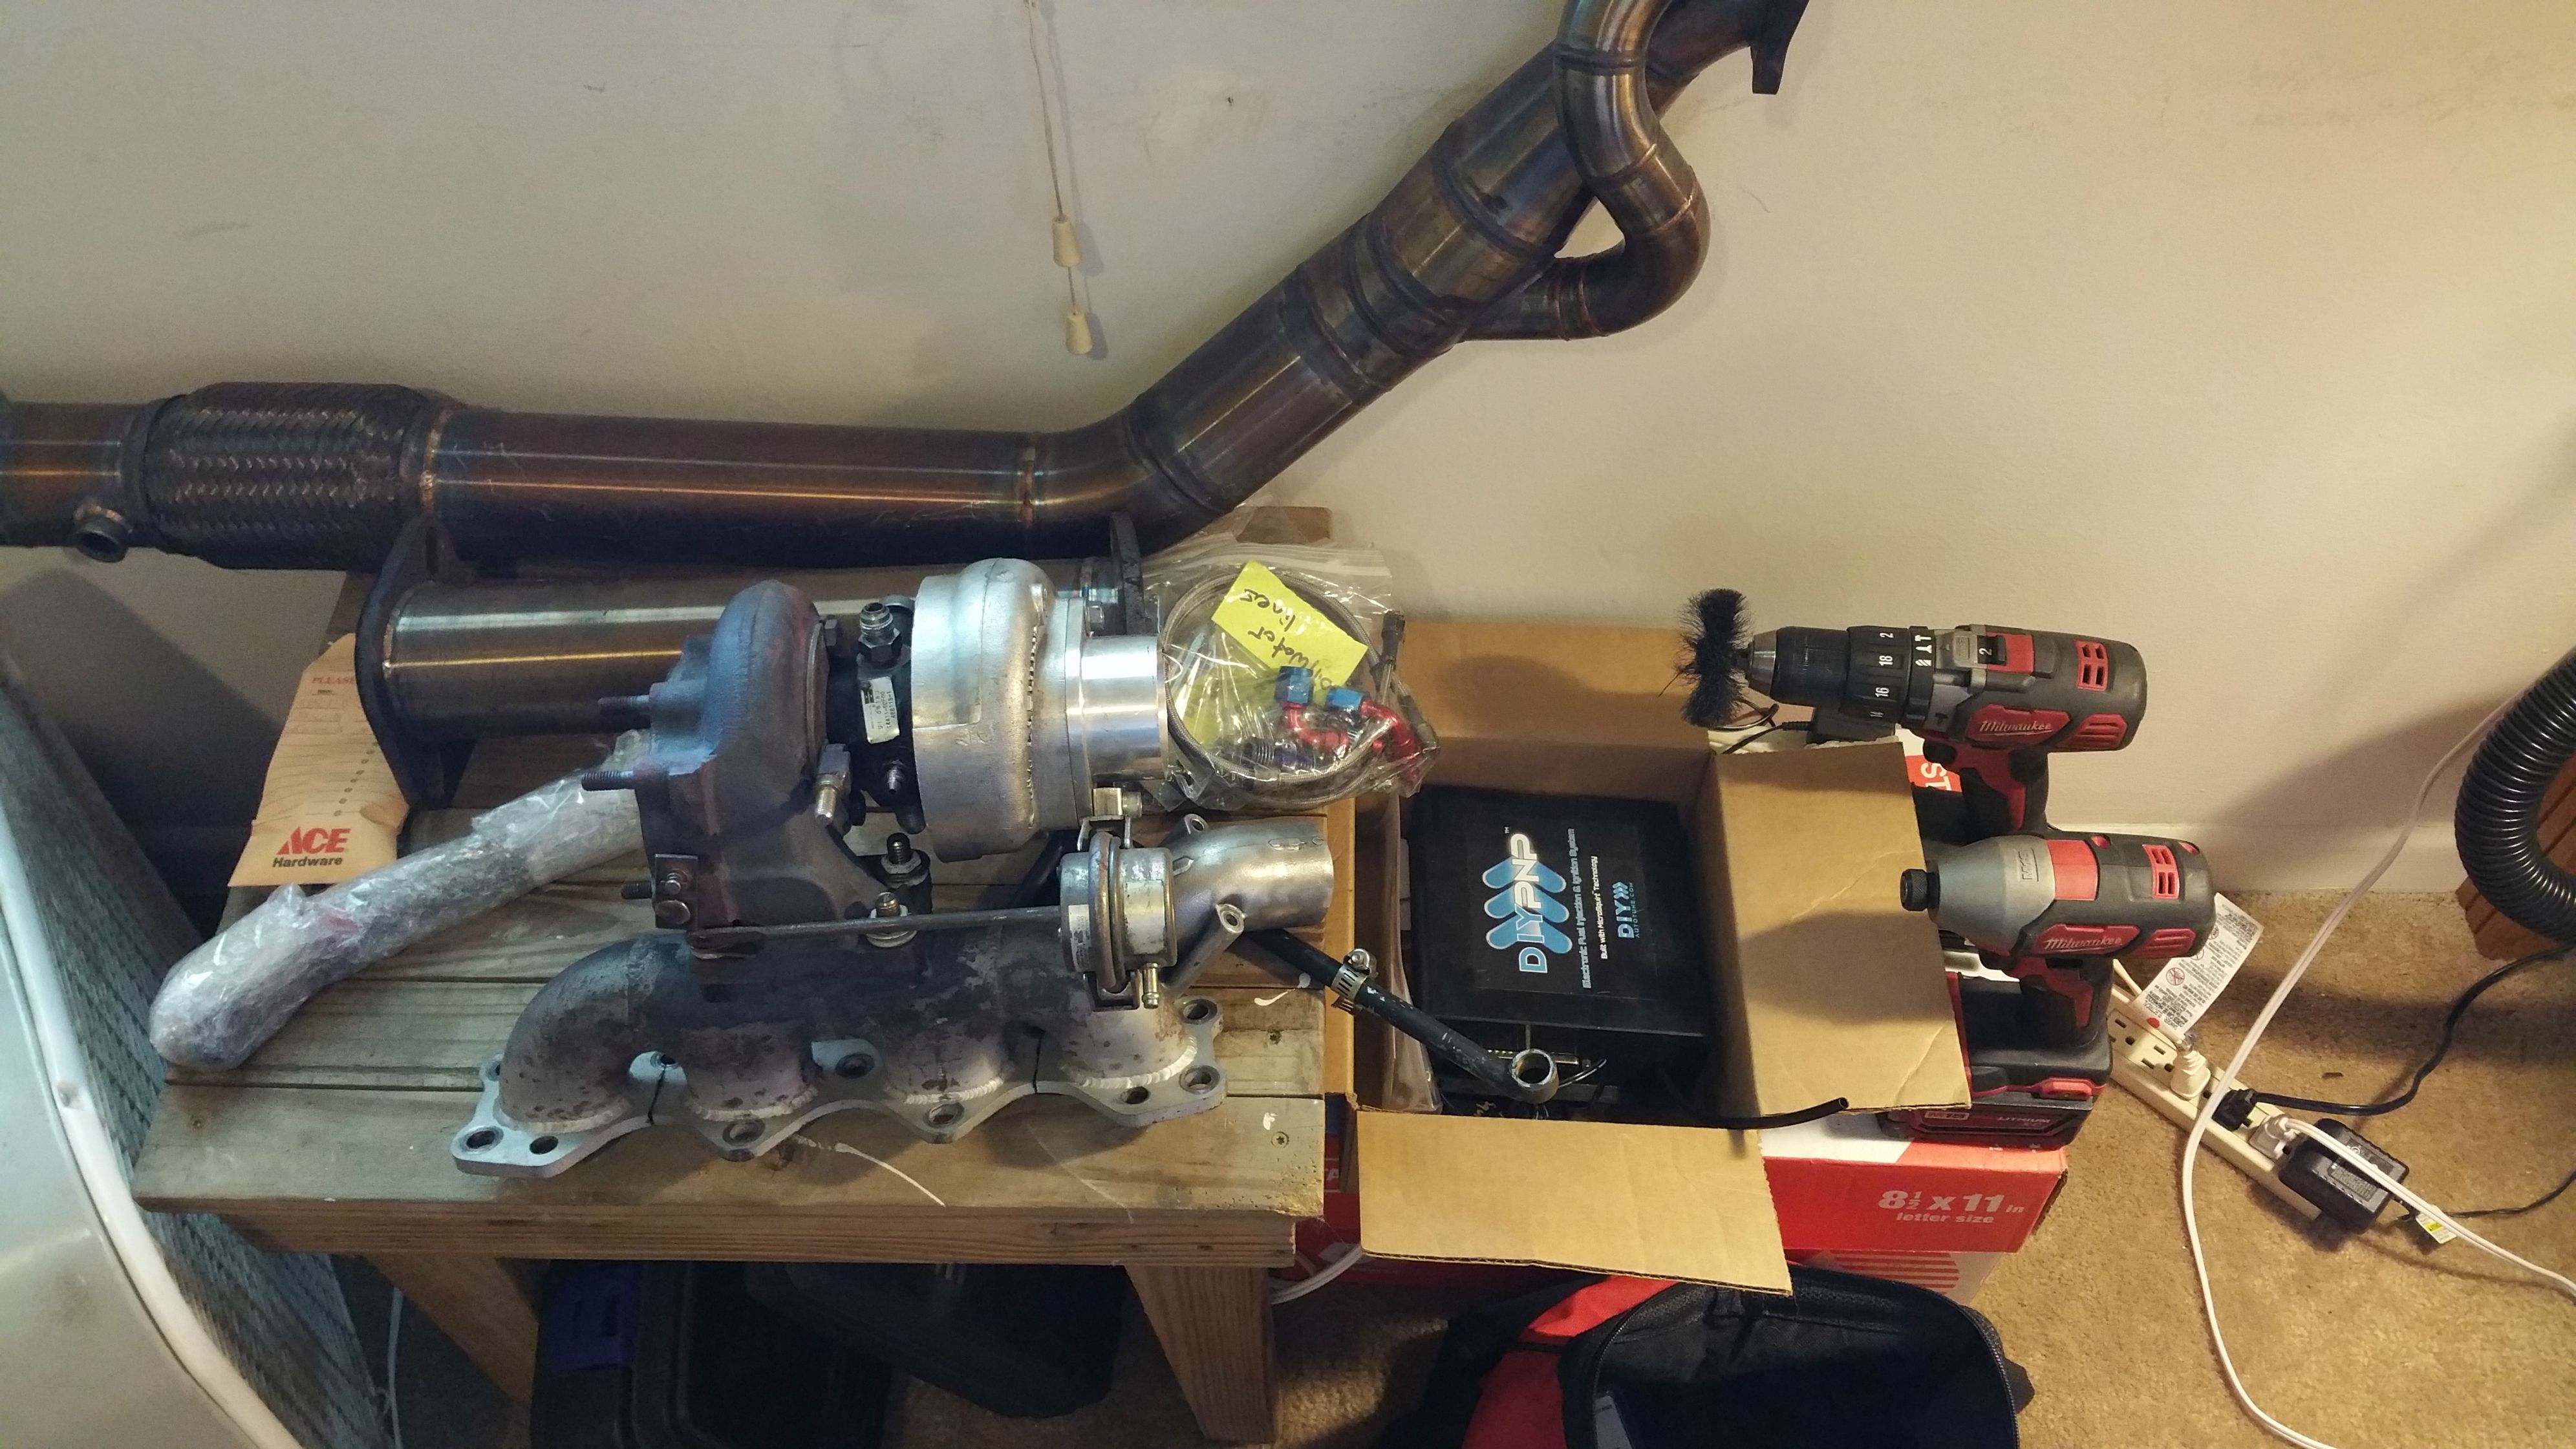
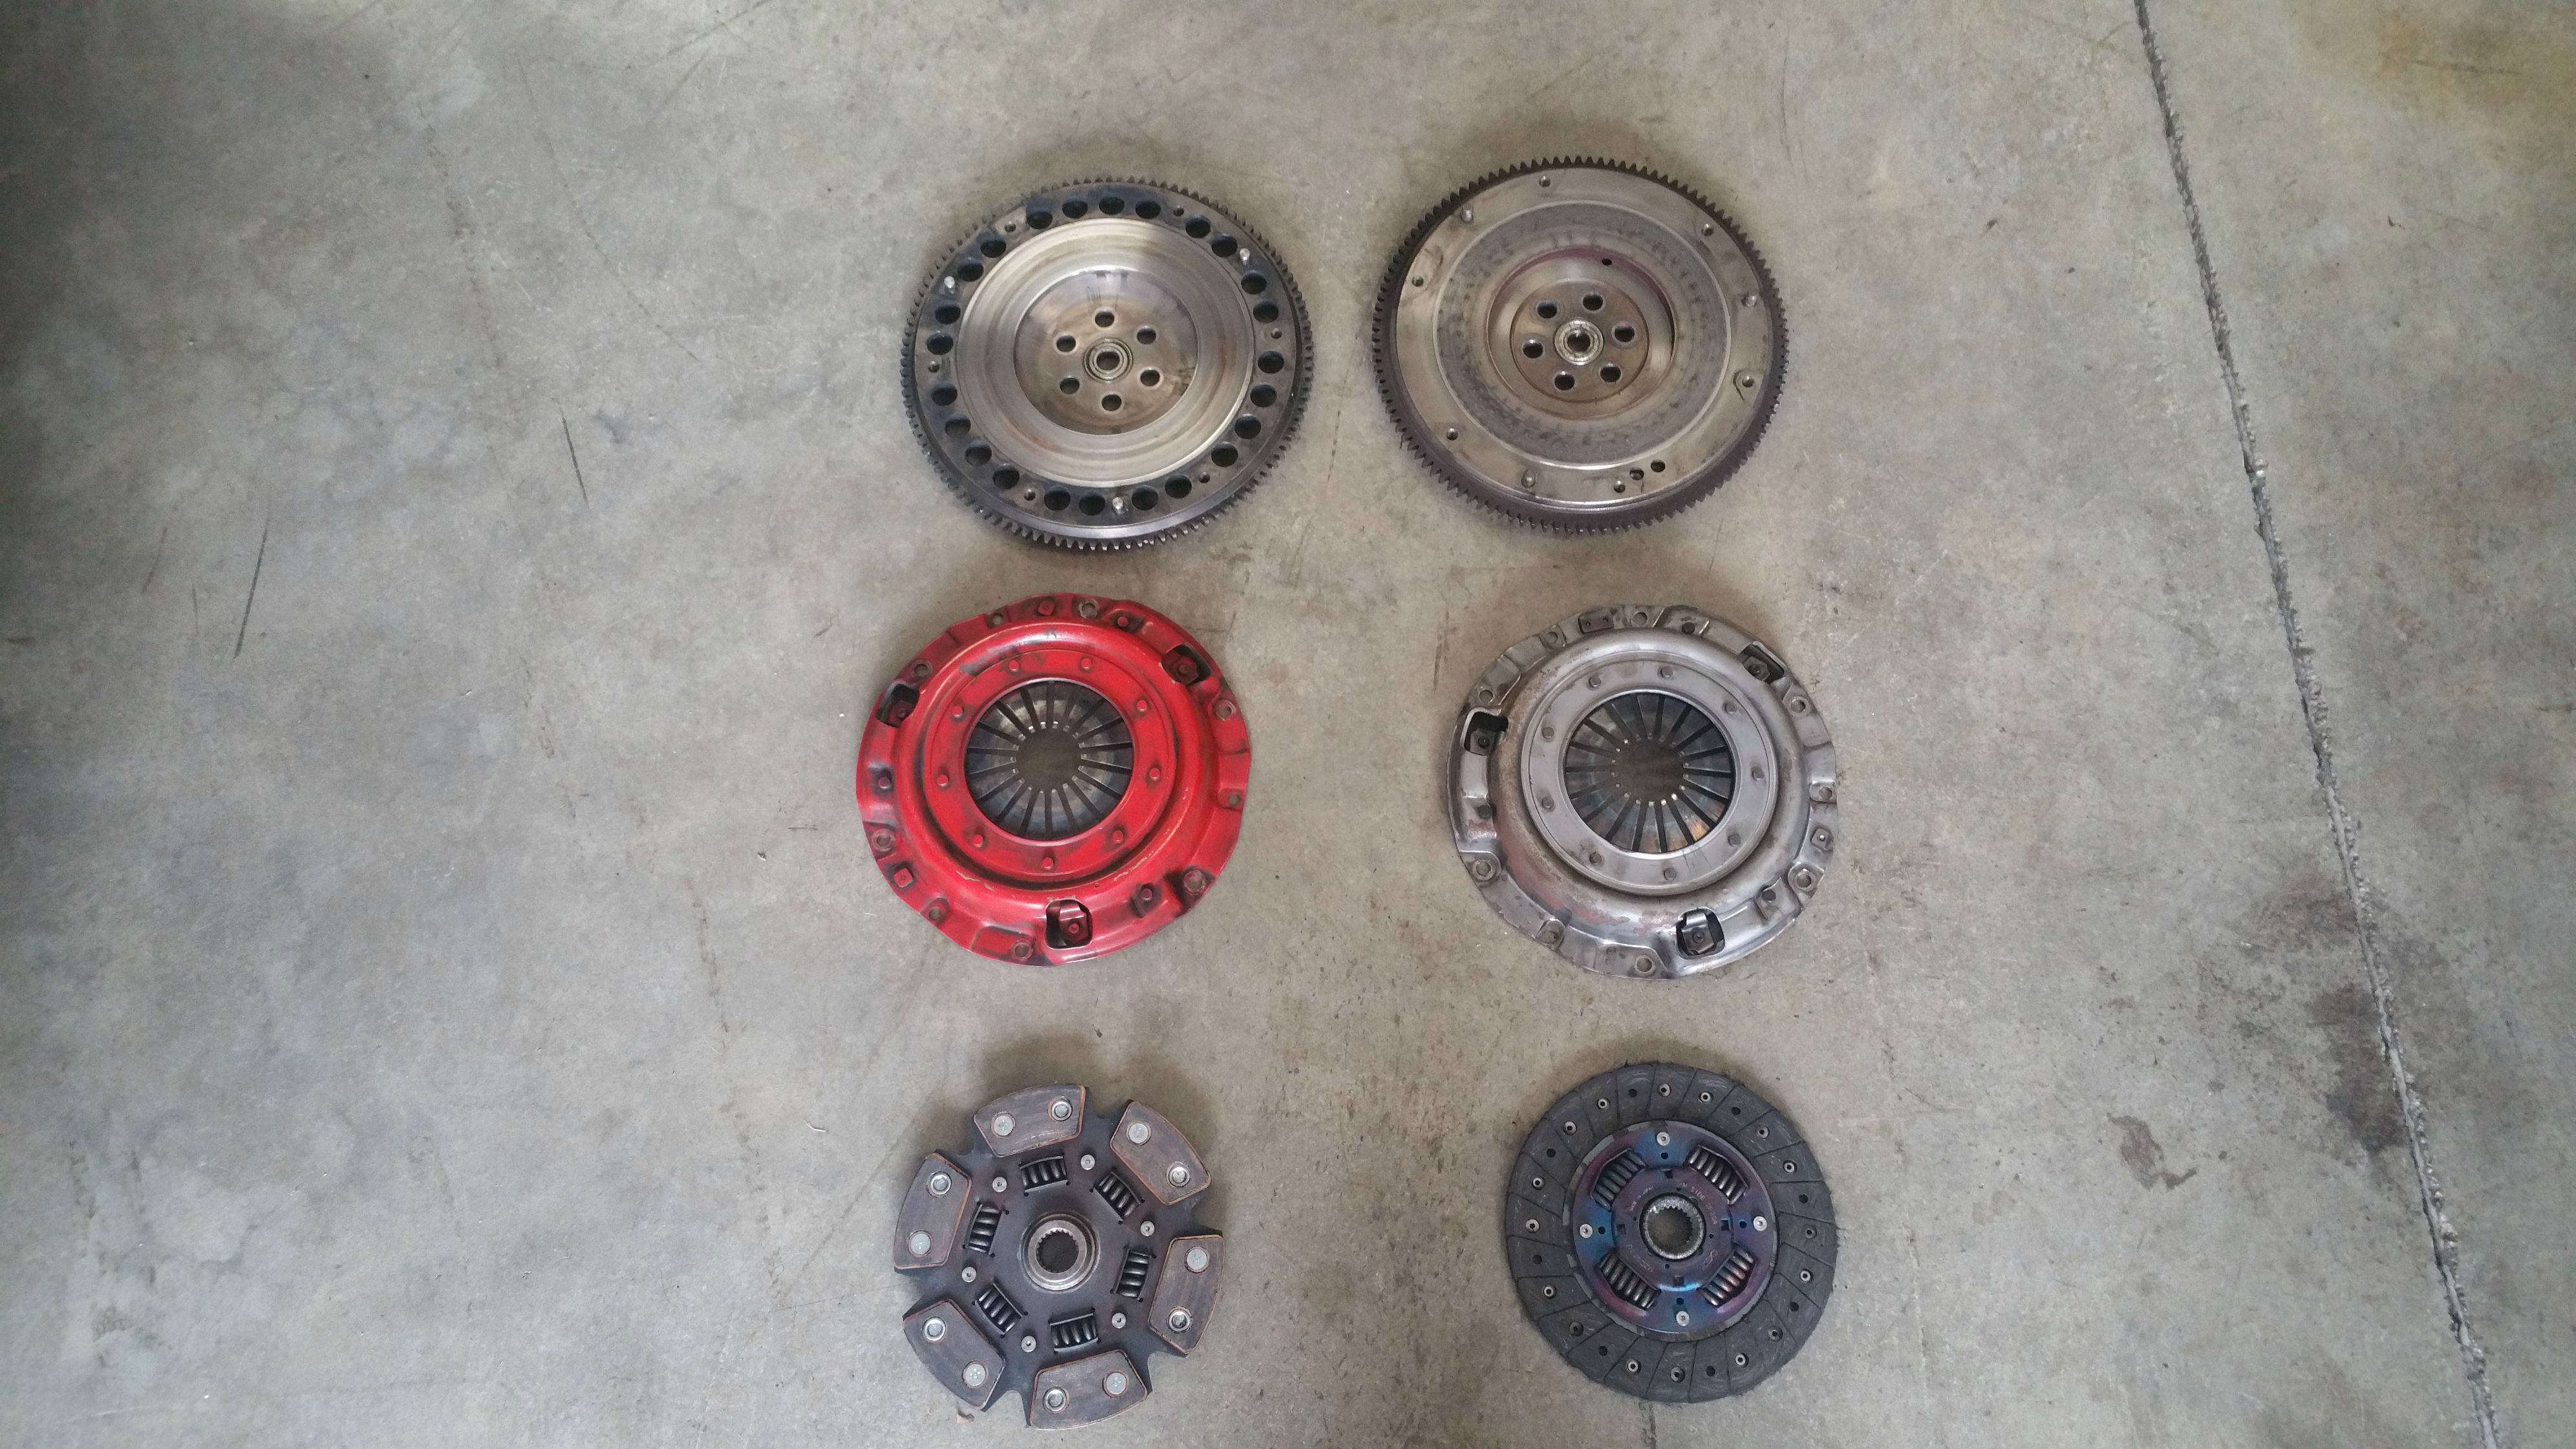
Cheap XTD clutch, PP, and light flywheel. Probably going to make all sorts of bad noises.
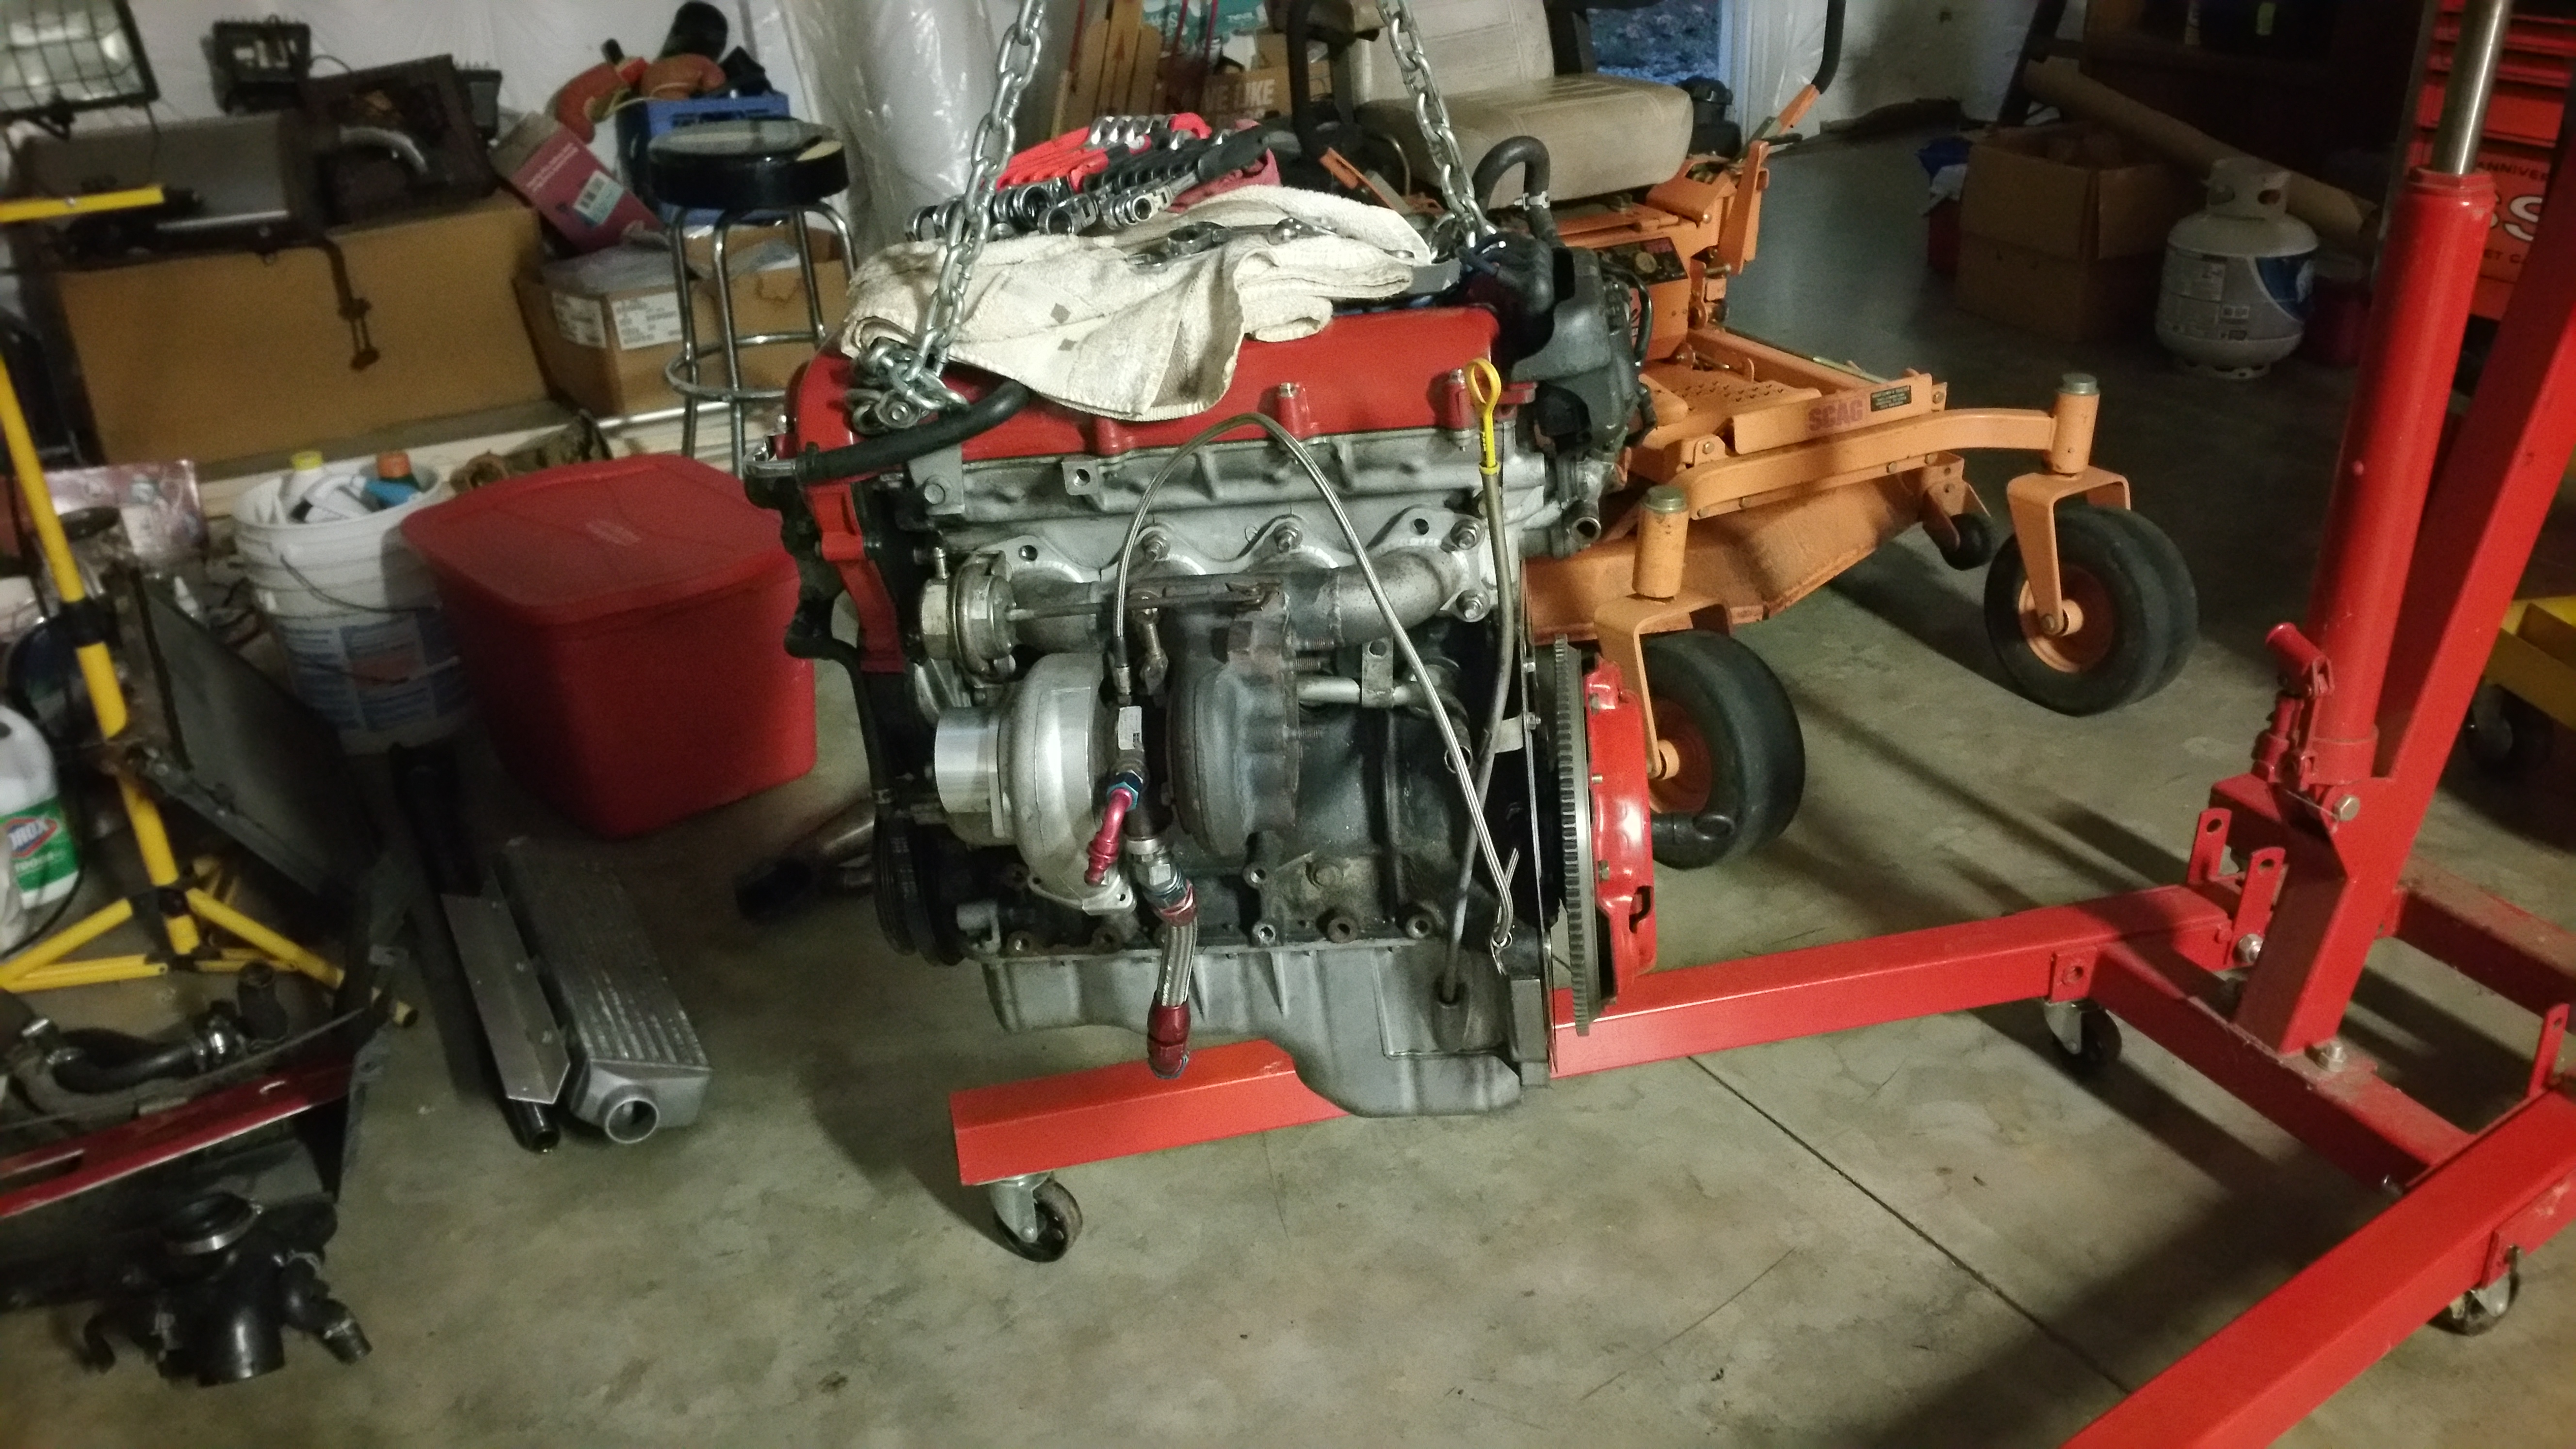
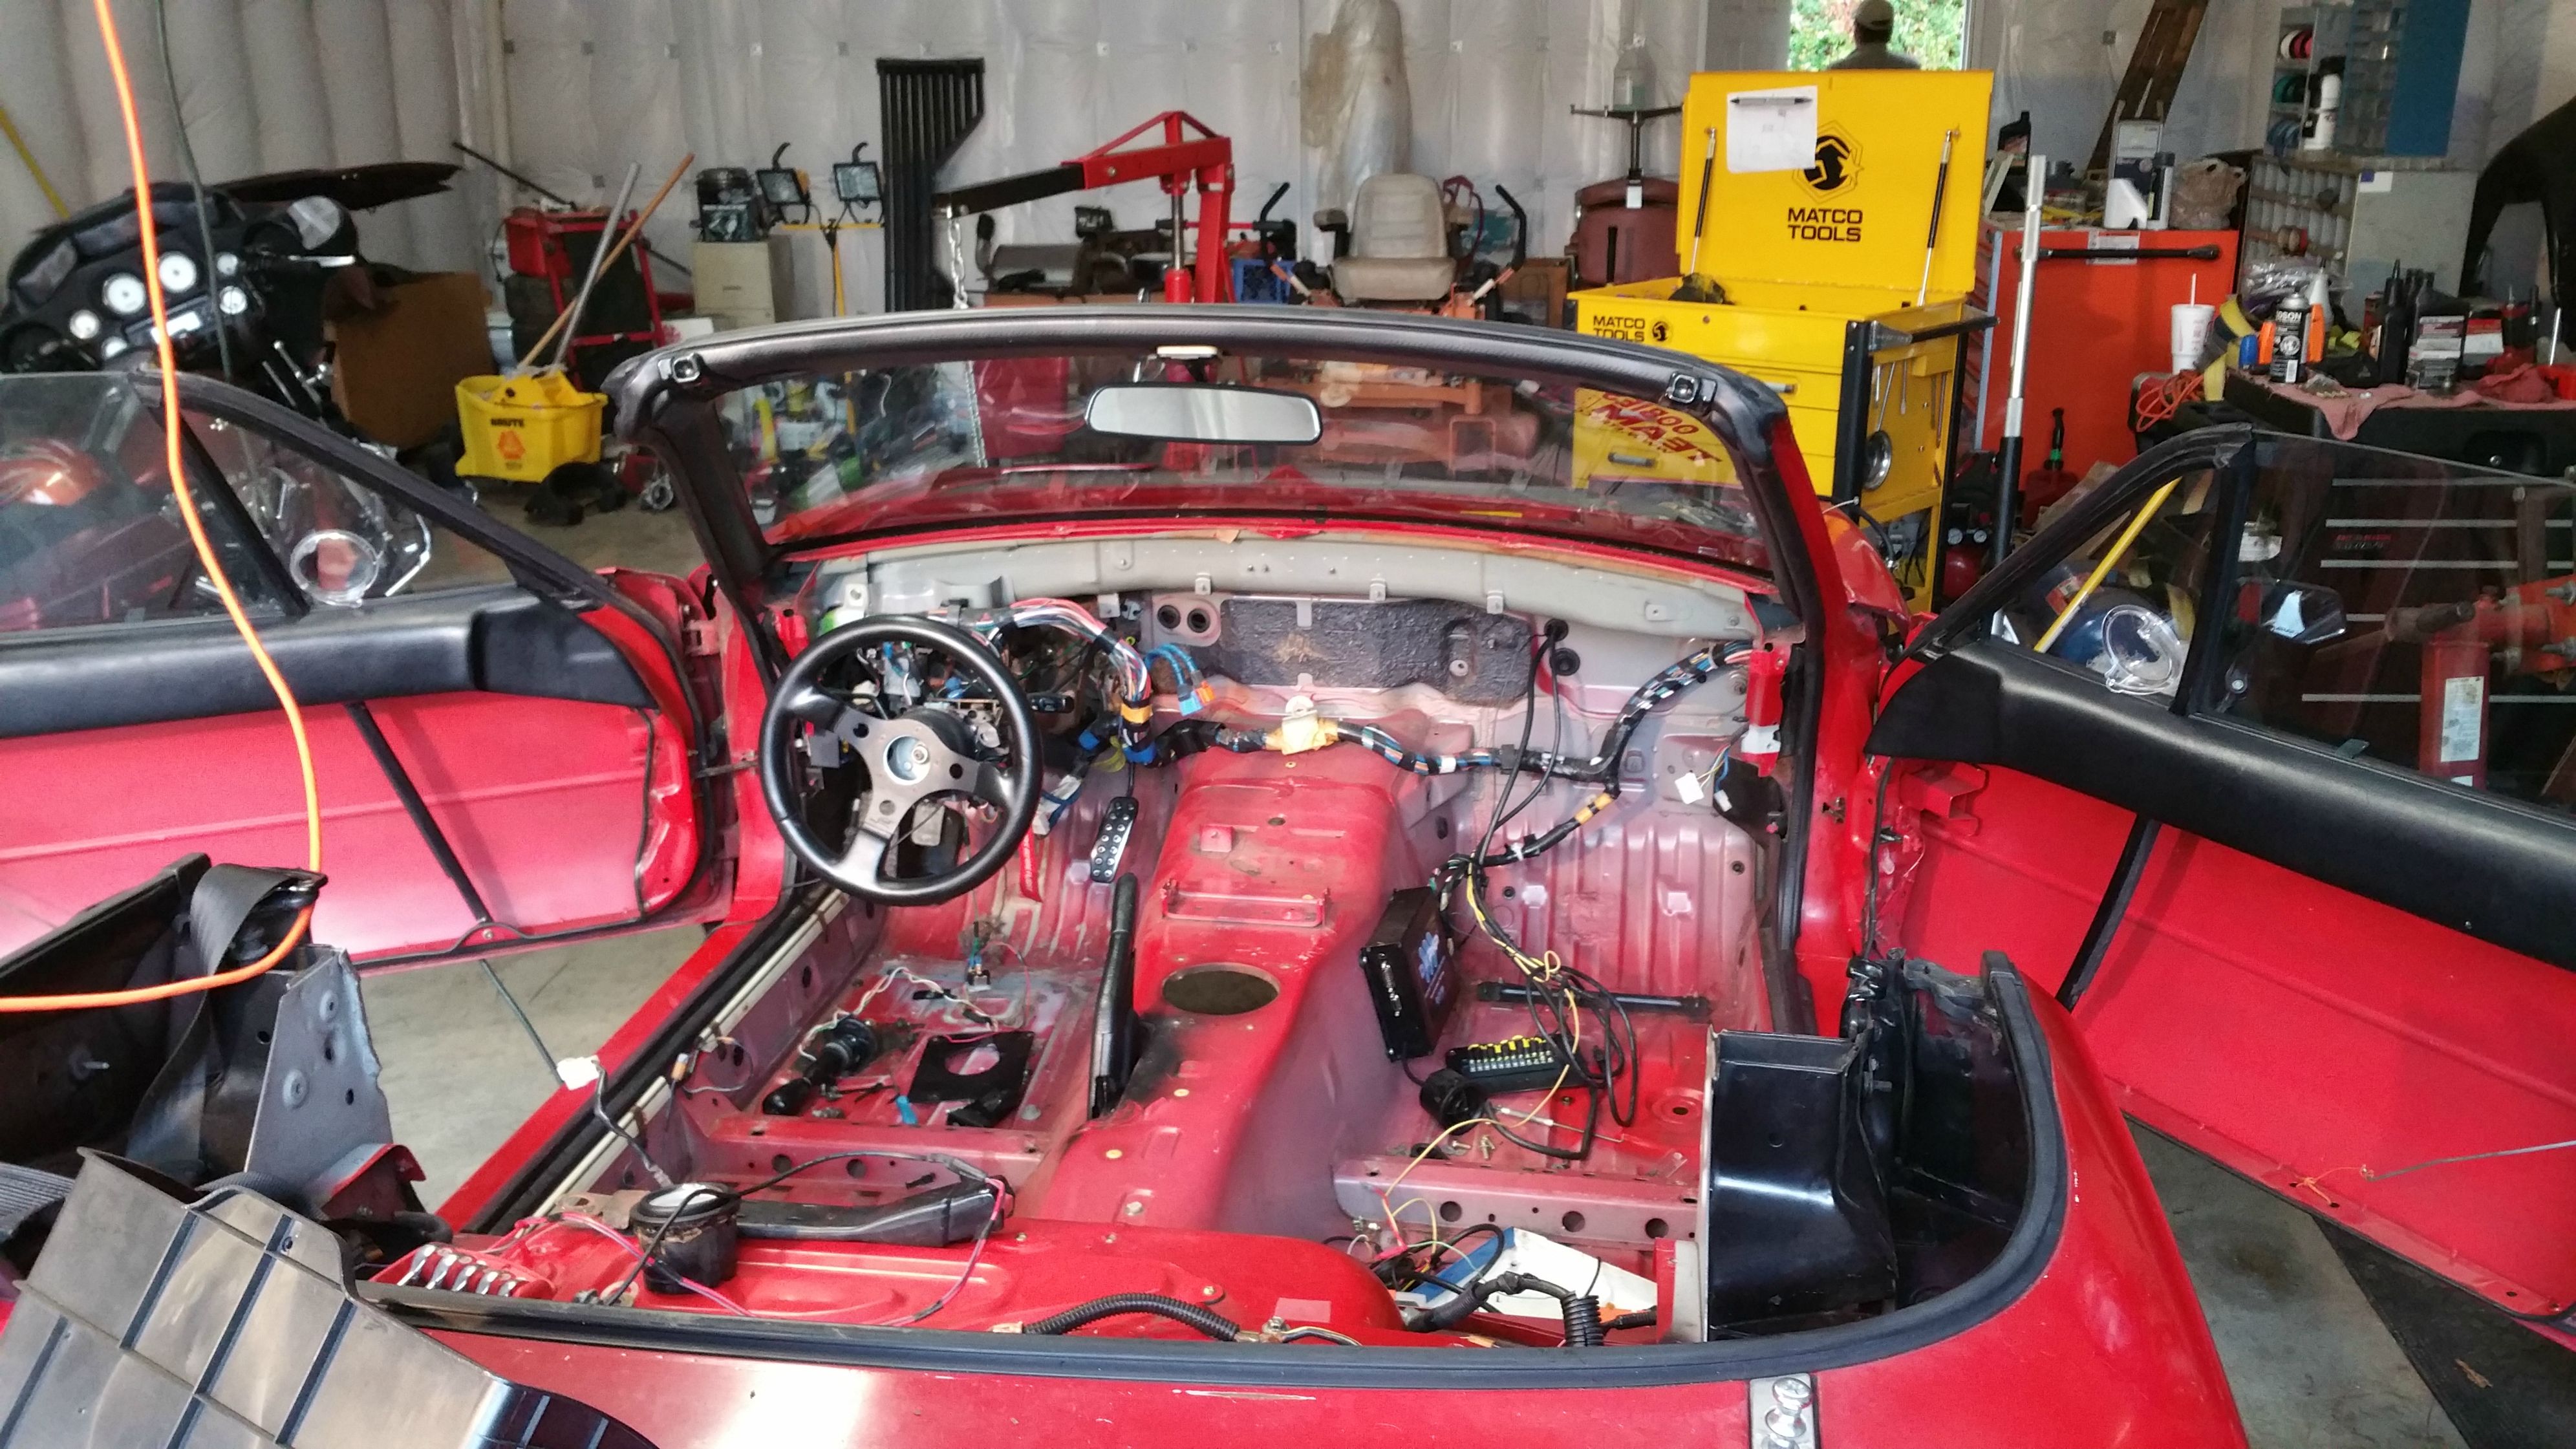
Mounted the MS with some rivnuts. Next to my distribution block I build for the gauges making it a bit easier to remove/troubleshoot.

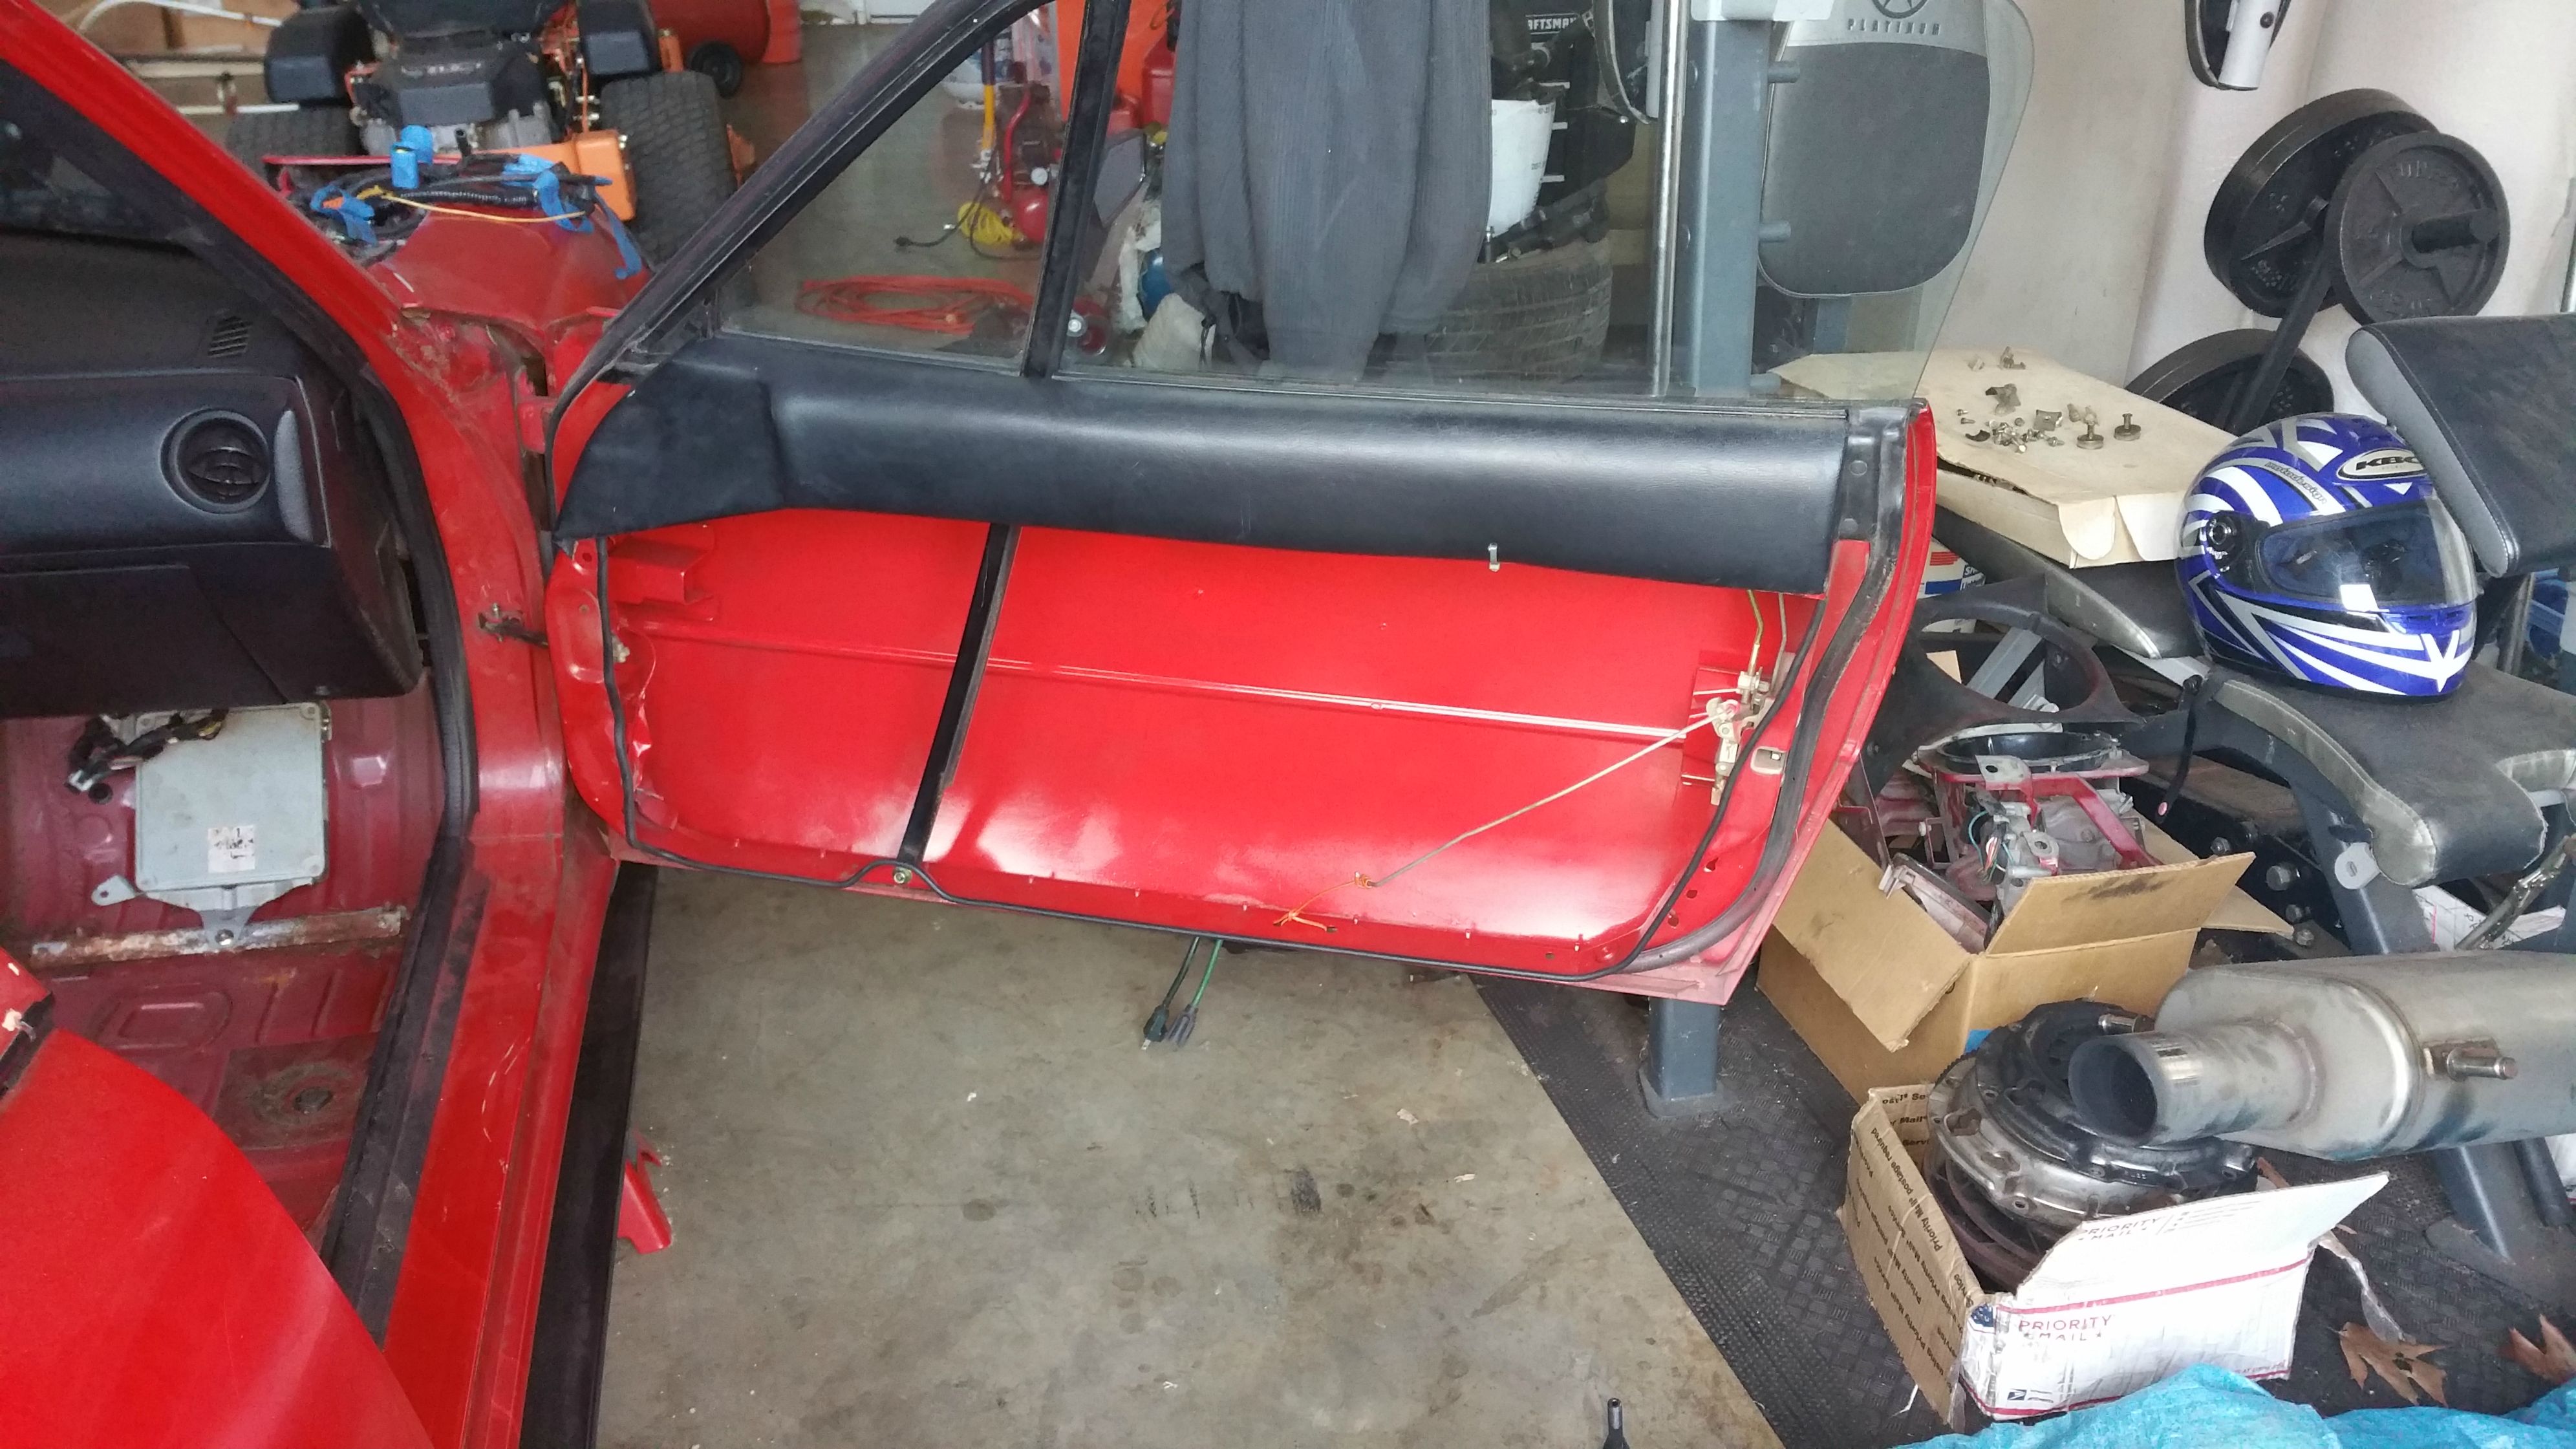
The car currently.
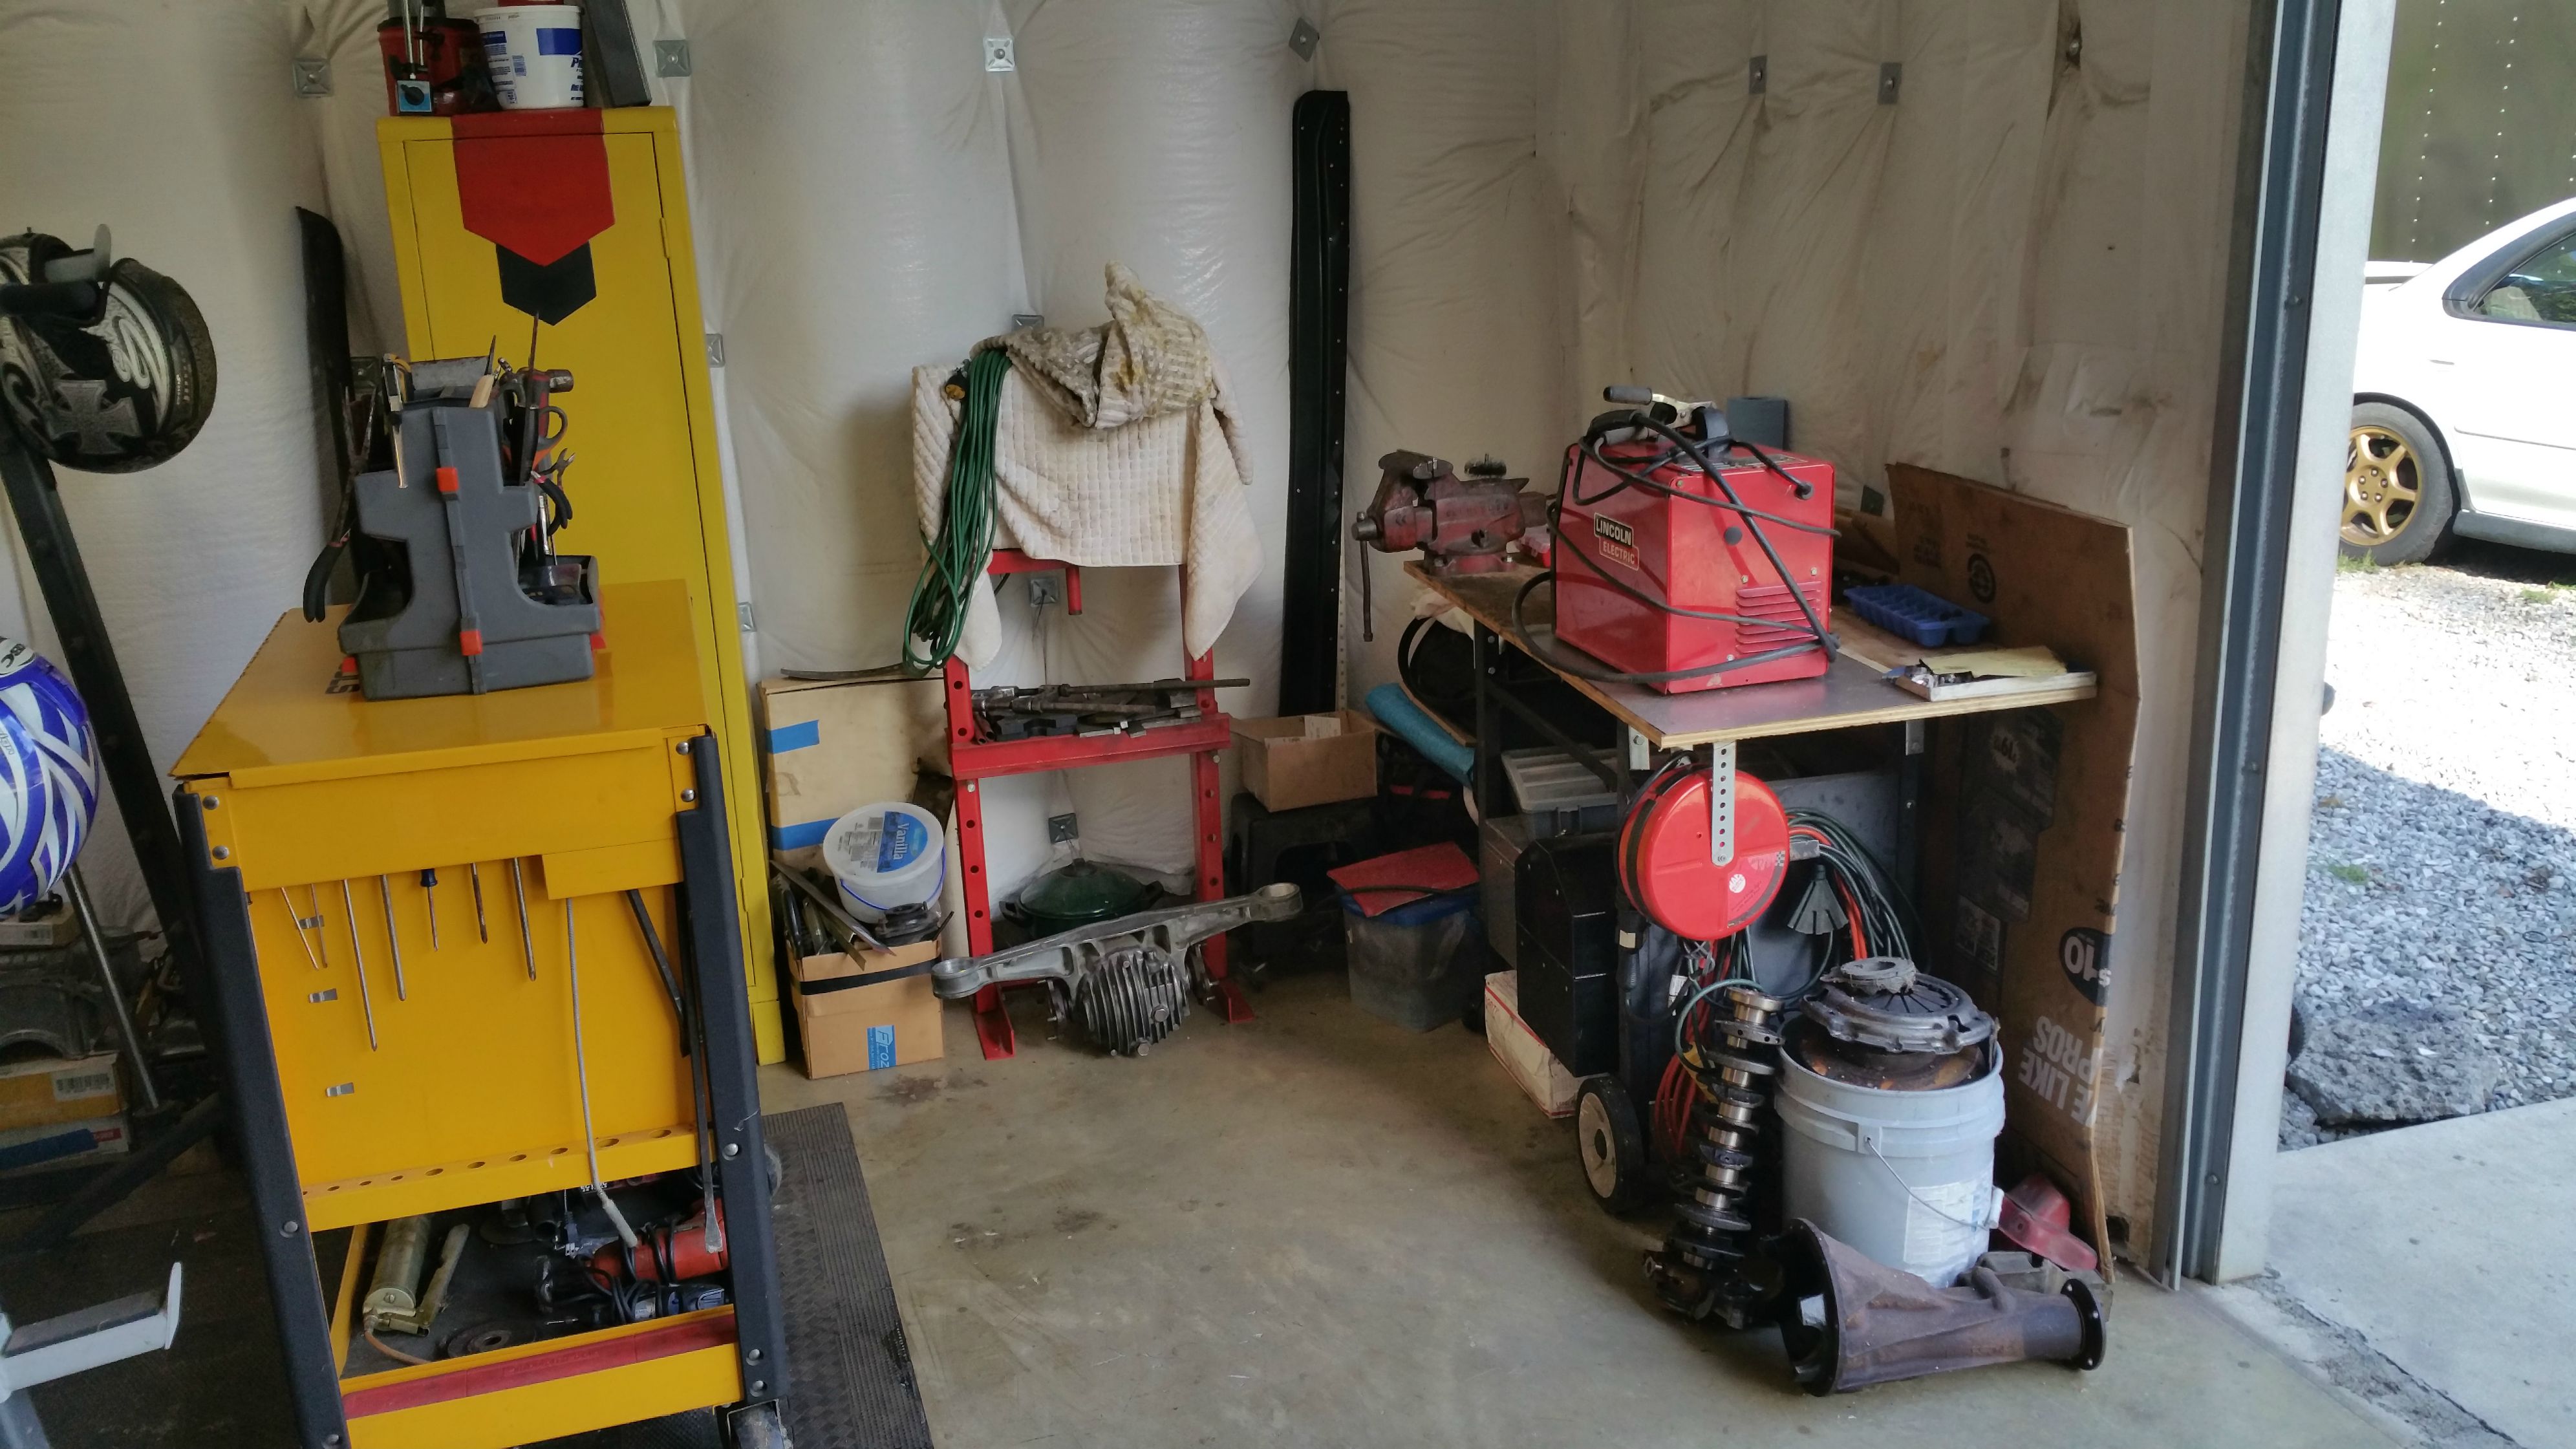
My little work space. Not perfect but works alright for what I need.
This is Curly's old kit.
SR20 T25
ARTech manifold/downpipe/testpipe
Most all oil/water lines
TSE hardware
Cheap XTD clutch, PP, and light flywheel. Probably going to make all sorts of bad noises.
Mounted the MS with some rivnuts. Next to my distribution block I build for the gauges making it a bit easier to remove/troubleshoot.
The car currently.
My little work space. Not perfect but works alright for what I need.
Last edited by 90civichhb; Dec 7, 2015 at 12:51 PM.
Reply
0
0
Here is my Youtube channel where I do most of my updates. Trying to give a bit back to the community by doing some "How to" videos.
I will say that this place has been a great resource, explicitly the Race Prep section. A lot of big talent on this forum and some great free data. I don't know how much further I will end up taking this car, but I plan on seam welding the chassis, shimming my diff, building a cage for it and then doing some HPDE events.
I will say that this place has been a great resource, explicitly the Race Prep section. A lot of big talent on this forum and some great free data. I don't know how much further I will end up taking this car, but I plan on seam welding the chassis, shimming my diff, building a cage for it and then doing some HPDE events.
Last edited by 90civichhb; Dec 7, 2015 at 12:55 PM.
Reply
0
0


Reply
0
0

Joined: Apr 2014
Posts: 18,643
Total Cats: 1,870
From: Beaverton, USA
Why did you not adjust pinion depth to get a better pattern. That pattern is really far towards the toe. And that's the coast pattern you were looking at. Not the drive side pattern.
Reply
0
0
I don't want to remove the pinion at all honestly. It has a crush sleeve in it and I don't want to pay for all those parts yet. I may do it down the road if I break what I currently have but after 400 miles and 3 autocross events I have yet to have a problem out of it.
What I plan on doing this off season is to break it back down, shim it up, and then I will reevaluate the wear pattern. With used parts getting a proper patter while keeping proper backlash is going to be pretty difficult, if not impossible, with my tools and knowledge. I have very little money in the build and keeping it that way is a plus. This car saw 1854 miles this year, it will probably be similar next year as well.
What I plan on doing this off season is to break it back down, shim it up, and then I will reevaluate the wear pattern. With used parts getting a proper patter while keeping proper backlash is going to be pretty difficult, if not impossible, with my tools and knowledge. I have very little money in the build and keeping it that way is a plus. This car saw 1854 miles this year, it will probably be similar next year as well.
Reply
0
0
Joined: Apr 2014
Posts: 18,643
Total Cats: 1,870
From: Beaverton, USA
You just need a lot of shims, and a lot of patience to get the right pattern. I'm in the middle of rebuilding my ford 9 inch, and it sucks.
Adding power wont help either.
Adding power wont help either.
Reply
0
0
These are a bit different in that they don't use shims to adjust the ring gear "chunk". You have these large inset screws that you move. It's pretty difficult but great that I don't need copious amounts of shims around.
This was my first diff I had built and I agree, adding power is not going to help prolong the life of the diff. The shimming I plan to do is to achieve more preload. I will probably make another video on that process.
This was my first diff I had built and I agree, adding power is not going to help prolong the life of the diff. The shimming I plan to do is to achieve more preload. I will probably make another video on that process.
Reply
0
0
Interesting, do you know a link of anyone doing that with the Miata? I did a good amount of research but it didn't extend very far outside of Miata/RX7 based forums or searches.
Reply
0
0
Joined: Apr 2014
Posts: 18,643
Total Cats: 1,870
From: Beaverton, USA
Weir Performance - Solid Pinion Spacer Kits
First link google popped up.
I know @Leafy set up his diff himself.
Getting the right pattern is heavily dependent on pinion depth. Thats why your pattern was so far towards the toe. Backlash just moves it towards/away from the root.
First link google popped up.
I know @Leafy set up his diff himself.
Getting the right pattern is heavily dependent on pinion depth. Thats why your pattern was so far towards the toe. Backlash just moves it towards/away from the root.
Reply
0
0
Yup did, way easier with the shims than trying to uncrush a crush sleeve of you go too far. Still a pita and I wouldn't even consider doing it unless you're going to 3.63 gears. Just buy the ratio you want in the housing and then you don't have to paint anything. Just swap the lsd and set the backlash and preload. Avoid touching the pinion depth unless you're putting in a gear ratio that you can't already buy in a matching housing.
I will try and get a better wear pattern when I go back for stacking some shims in the clutch packs.
I planned on buying some .010 copper sheet and just making shims out of it. I have read people using soda cans and stuff but I want to try and keep similar metals together in the diff and the "crush washers" look to be copper.
Reply
0
0
This is generally the answer I got whenever I looked up adjusting the pinion depth. I am sure a shop with more experience could do it but I didn't want to pay anyone and I sure don't want to mess with something that isn't broken.
I will try and get a better wear pattern when I go back for stacking some shims in the clutch packs.
I planned on buying some .010 copper sheet and just making shims out of it. I have read people using soda cans and stuff but I want to try and keep similar metals together in the diff and the "crush washers" look to be copper.
Reply
0
0
Finally got a bit of time to get new fluids in and start the car. The coolant reroute and new radiator really keep temps down. Ambient was about 56*F and the coolant gauge hung around 170*F until I idled it up for about a minute. Really impressed with the cooling over stock.
The lightweight flywheel is almost comical with how responsive the throttle is now. I am sure it's going to be interesting.
The lightweight flywheel is almost comical with how responsive the throttle is now. I am sure it's going to be interesting.
Reply
0
0
I have no idea. Is it possible to have the CAS 180* out? I thought it was just because of the stupid light flywheel in the car now. I also don't have the front mount hooked up. I also didn't have my laptop on me to change any settings. I'm still waiting to send in my injectors for cleaning and flow match before I drive the car.
Reply
0
0


