93' Miata stolen and flipped build thread


 01-04-2014, 08:31 AM
#723
Elite Member

Join Date: Oct 2013
Location: Cedar City, UT
Posts: 2,764
Total Cats: 951
Man it is nice have my bolts back!
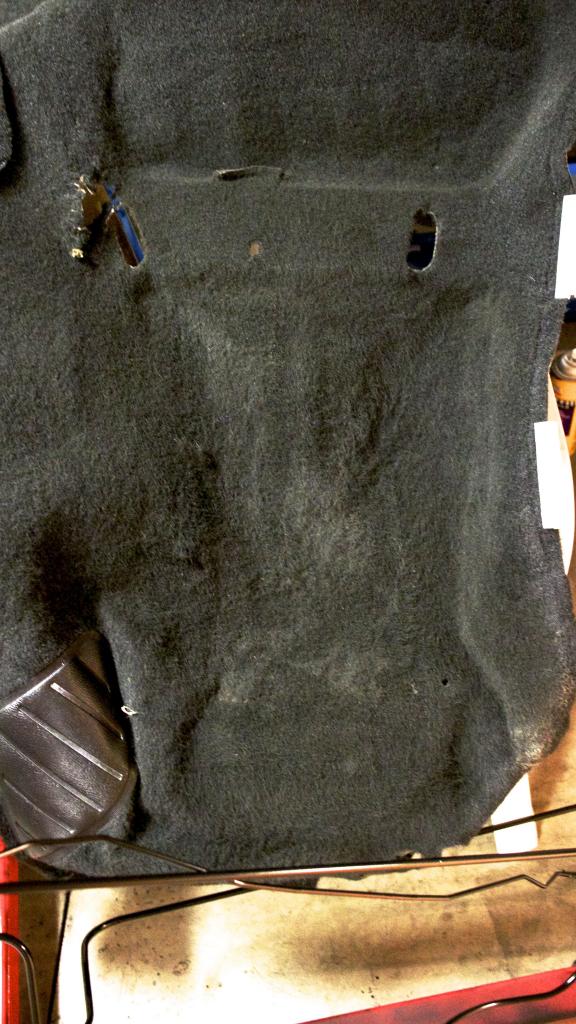
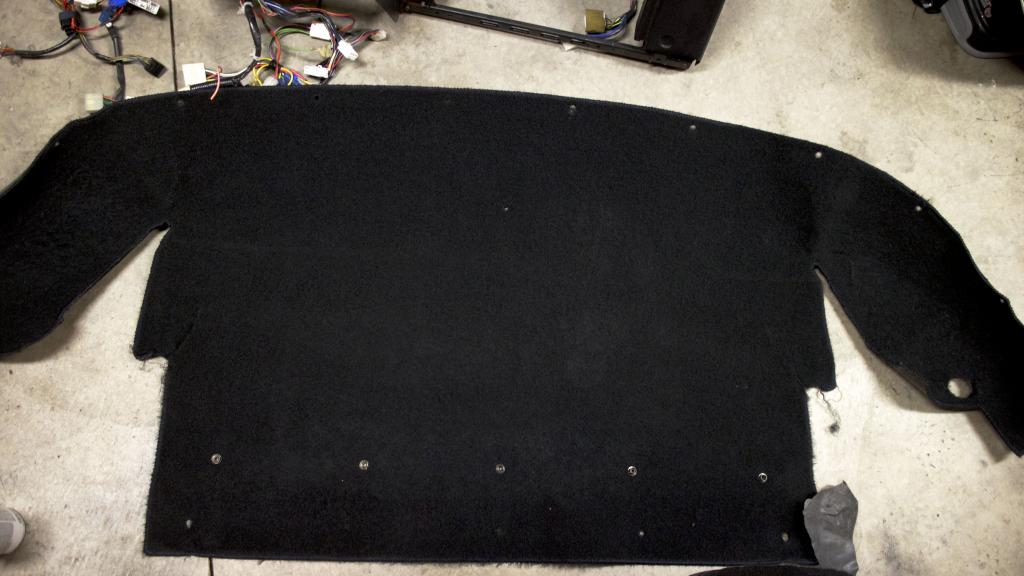
Dyed my carpets with real dye, pictures really have a hard time showing how nice they look in person. All one uniform blackness now. The lettering on the mats has been filled in with a fabric black pen, but I didn't get an after shot of it so it looks like **** in the photos.
Before
After


Bumper horns on, the gold contrast looks so good

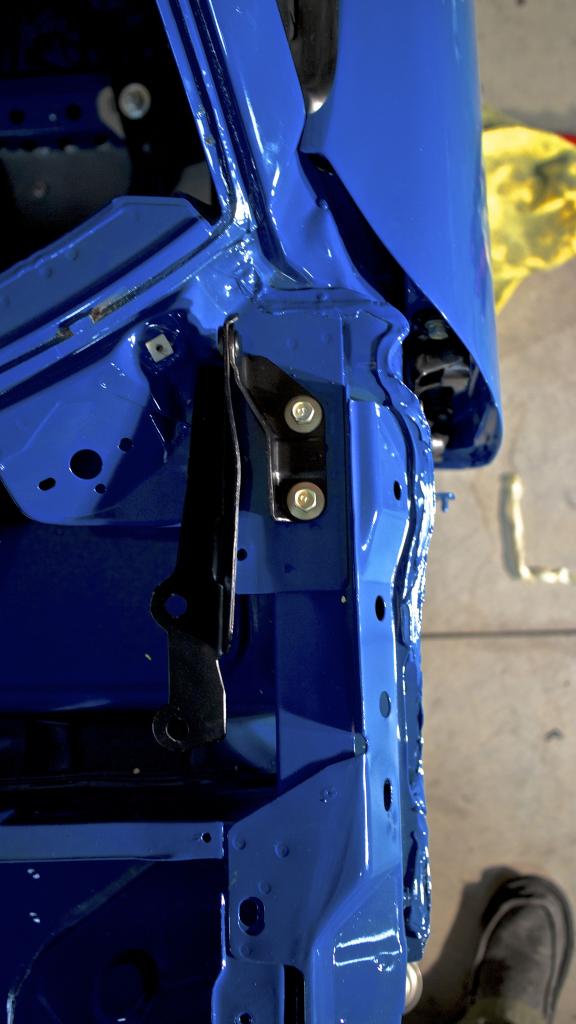
Hood brackets installed, luckily the bolt circles from before I painted them remained
Doors installed. This was a bitch getting them lined up with the body/actually installing them by myself. Plus I'm not sure that center bolt on the top bracket does anything.


trunk lid installed. Those tension rods are retarded. Seems like there would have been a much easier way to do it. Latch also installed along with center console release cable and lock cylinder for the rear. Again, centering the trunk lid up was a pain in the butt since you had to do front to rear spacing, side to side spacing, and up and down spacing.

Tail lights also installed

Not too hard really, tomorrow I will probably install the hood just to test the fitment and install the aero-catch hood pins since I am tossing the stock, "brick-of-a-hood latch".
Dyed my carpets with real dye, pictures really have a hard time showing how nice they look in person. All one uniform blackness now. The lettering on the mats has been filled in with a fabric black pen, but I didn't get an after shot of it so it looks like **** in the photos.
Before

After


Bumper horns on, the gold contrast looks so good

Hood brackets installed, luckily the bolt circles from before I painted them remained

Doors installed. This was a bitch getting them lined up with the body/actually installing them by myself. Plus I'm not sure that center bolt on the top bracket does anything.


trunk lid installed. Those tension rods are retarded. Seems like there would have been a much easier way to do it. Latch also installed along with center console release cable and lock cylinder for the rear. Again, centering the trunk lid up was a pain in the butt since you had to do front to rear spacing, side to side spacing, and up and down spacing.

Tail lights also installed

Not too hard really, tomorrow I will probably install the hood just to test the fitment and install the aero-catch hood pins since I am tossing the stock, "brick-of-a-hood latch".

Reply
 4
4

4

 01-04-2014, 08:49 AM
#726
Cpt. Slow

iTrader: (25)
Join Date: Oct 2005
Location: Oregon City, OR
Posts: 14,189
Total Cats: 1,135
SOOOO much easier to work on the engine with the hood off. I'd probably leave it off myself. In fact I did yesterday when I went for a test drive on the engine I just installed. I'm guessing you're going in from the bottom with the sub frame off though.
Reply
0
0
01-04-2014, 09:12 AM
#727
Elite Member
Join Date: Oct 2013
Location: Cedar City, UT
Posts: 2,764
Total Cats: 951
Thanks I'm pretty happy to be in construction mode not deconstruction!
The doors were taped up....
Honestly it wasn't too bad. 2 jacks under the front and rear of the door. All edges taped up and the door sills taped up as well. Just slow small movements and it went together just fine. Just a lot of minor adjustments to get them lined up perfect.
I'm only installing the hood to do the aero catch latches then I'm going to remove it. Even though I am indeed dropping the body onto the assembled running platform I don't want to run the risk of scratching/hitting it when doing all the other work.
Tomorrow I'll work on the front subframe assembly.
Honestly it wasn't too bad. 2 jacks under the front and rear of the door. All edges taped up and the door sills taped up as well. Just slow small movements and it went together just fine. Just a lot of minor adjustments to get them lined up perfect.
Tomorrow I'll work on the front subframe assembly.
Reply
0
0
 01-04-2014, 11:37 AM
#730
The doors were taped up....
Honestly it wasn't too bad. 2 jacks under the front and rear of the door. All edges taped up and the door sills taped up as well. Just slow small movements and it went together just fine. Just a lot of minor adjustments to get them lined up perfect.
Reply
0
0
 01-04-2014, 02:42 PM
#733
Elite Member
Join Date: Oct 2013
Location: Cedar City, UT
Posts: 2,764
Total Cats: 951
 I almost didn't if it makes you feel better.
I found RIT in a aerosolized spray bottle at Joanns fabric store. You spray it really really lightly and allow it to dry in between coats and supposedly you don't have to wash the carpets.
Reply
1
1
01-04-2014, 10:39 PM
#737
Elite Member
Join Date: Oct 2013
Location: Cedar City, UT
Posts: 2,764
Total Cats: 951
Spent most of the day playing with my niece so I haven't had a chance to do much on the car, no regrets though, I'd much rather do the former than the latter.
Got the turbo/downpipe hooked up. Turbo is a Garrett GT2860RS.
TSE Inconel studs
New exhaust turbine housing
Surfaces milled flat
New wastegate
Nord-lock washers for the downpipe bolts
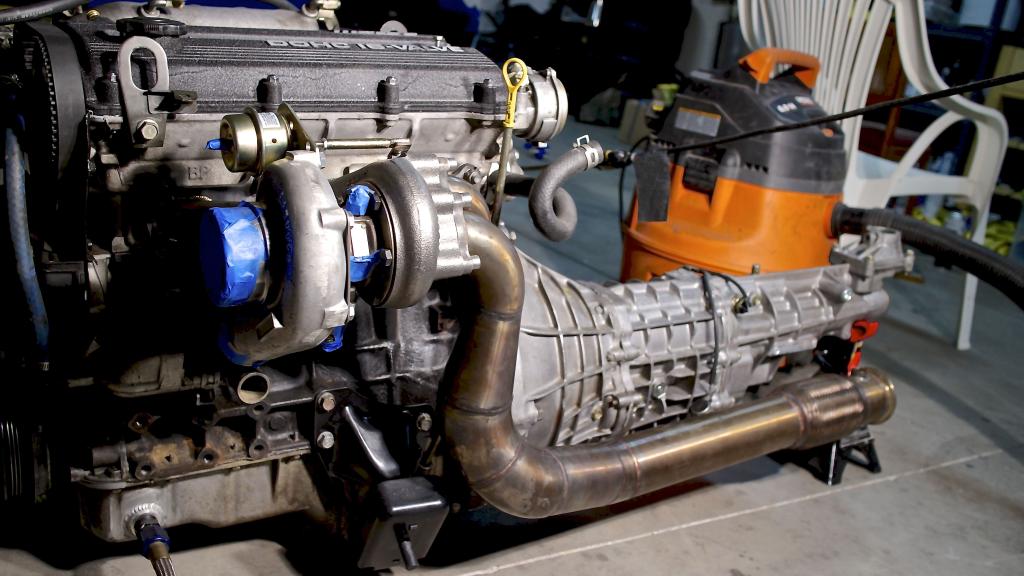


Onto the next project.
Got the turbo/downpipe hooked up. Turbo is a Garrett GT2860RS.
TSE Inconel studs
New exhaust turbine housing
Surfaces milled flat
New wastegate
Nord-lock washers for the downpipe bolts


Onto the next project.
Reply
1
1
01-05-2014, 09:59 AM
#738
Elite Member
Join Date: Oct 2013
Location: Cedar City, UT
Posts: 2,764
Total Cats: 951
Getting the front subframe together. Really taking my time to avoid making mistakes and damage.
Clutch master painted up.

Sealant applied
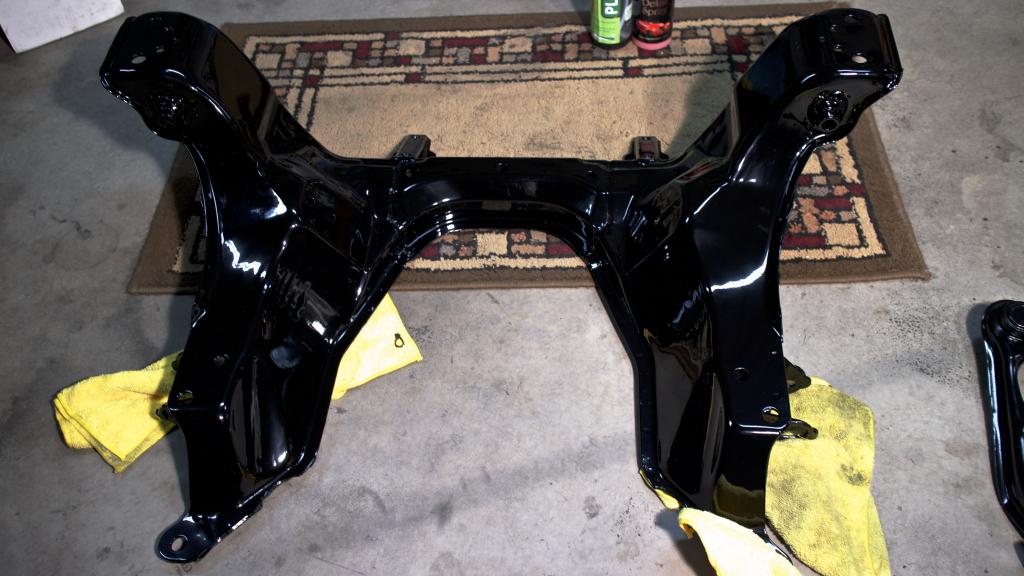
Bushings installed

Upper/lower control arms slapped on

Cleaned up the Bilsteins.I'll repaint them at a later date.

Just need to add the front hubs and the brake assembly now.
Clutch master painted up.

Sealant applied

Bushings installed

Upper/lower control arms slapped on

Cleaned up the Bilsteins.I'll repaint them at a later date.

Just need to add the front hubs and the brake assembly now.
Reply
5
5


