When you click on links to various merchants on this site and make a purchase, this can result in this site earning a commission. Affiliate programs and affiliations include, but are not limited to, the eBay Partner Network.
Might want to look at the Silver Car build thread starting from page 8/post 145. I used this intercooler. Might be some things over there that would be useful to you.
Thanks, I did go through your thread the other day, it was one of the reasons I went with the FAB9 Vibrant. It has been very helpful, and I am planning on trying to do my pipes like yours. I have a couple questions if you don't mind.
1) Were you ever able to provide the templates for your custom air guide? What thickness ABS did you use? 1/4 inch?
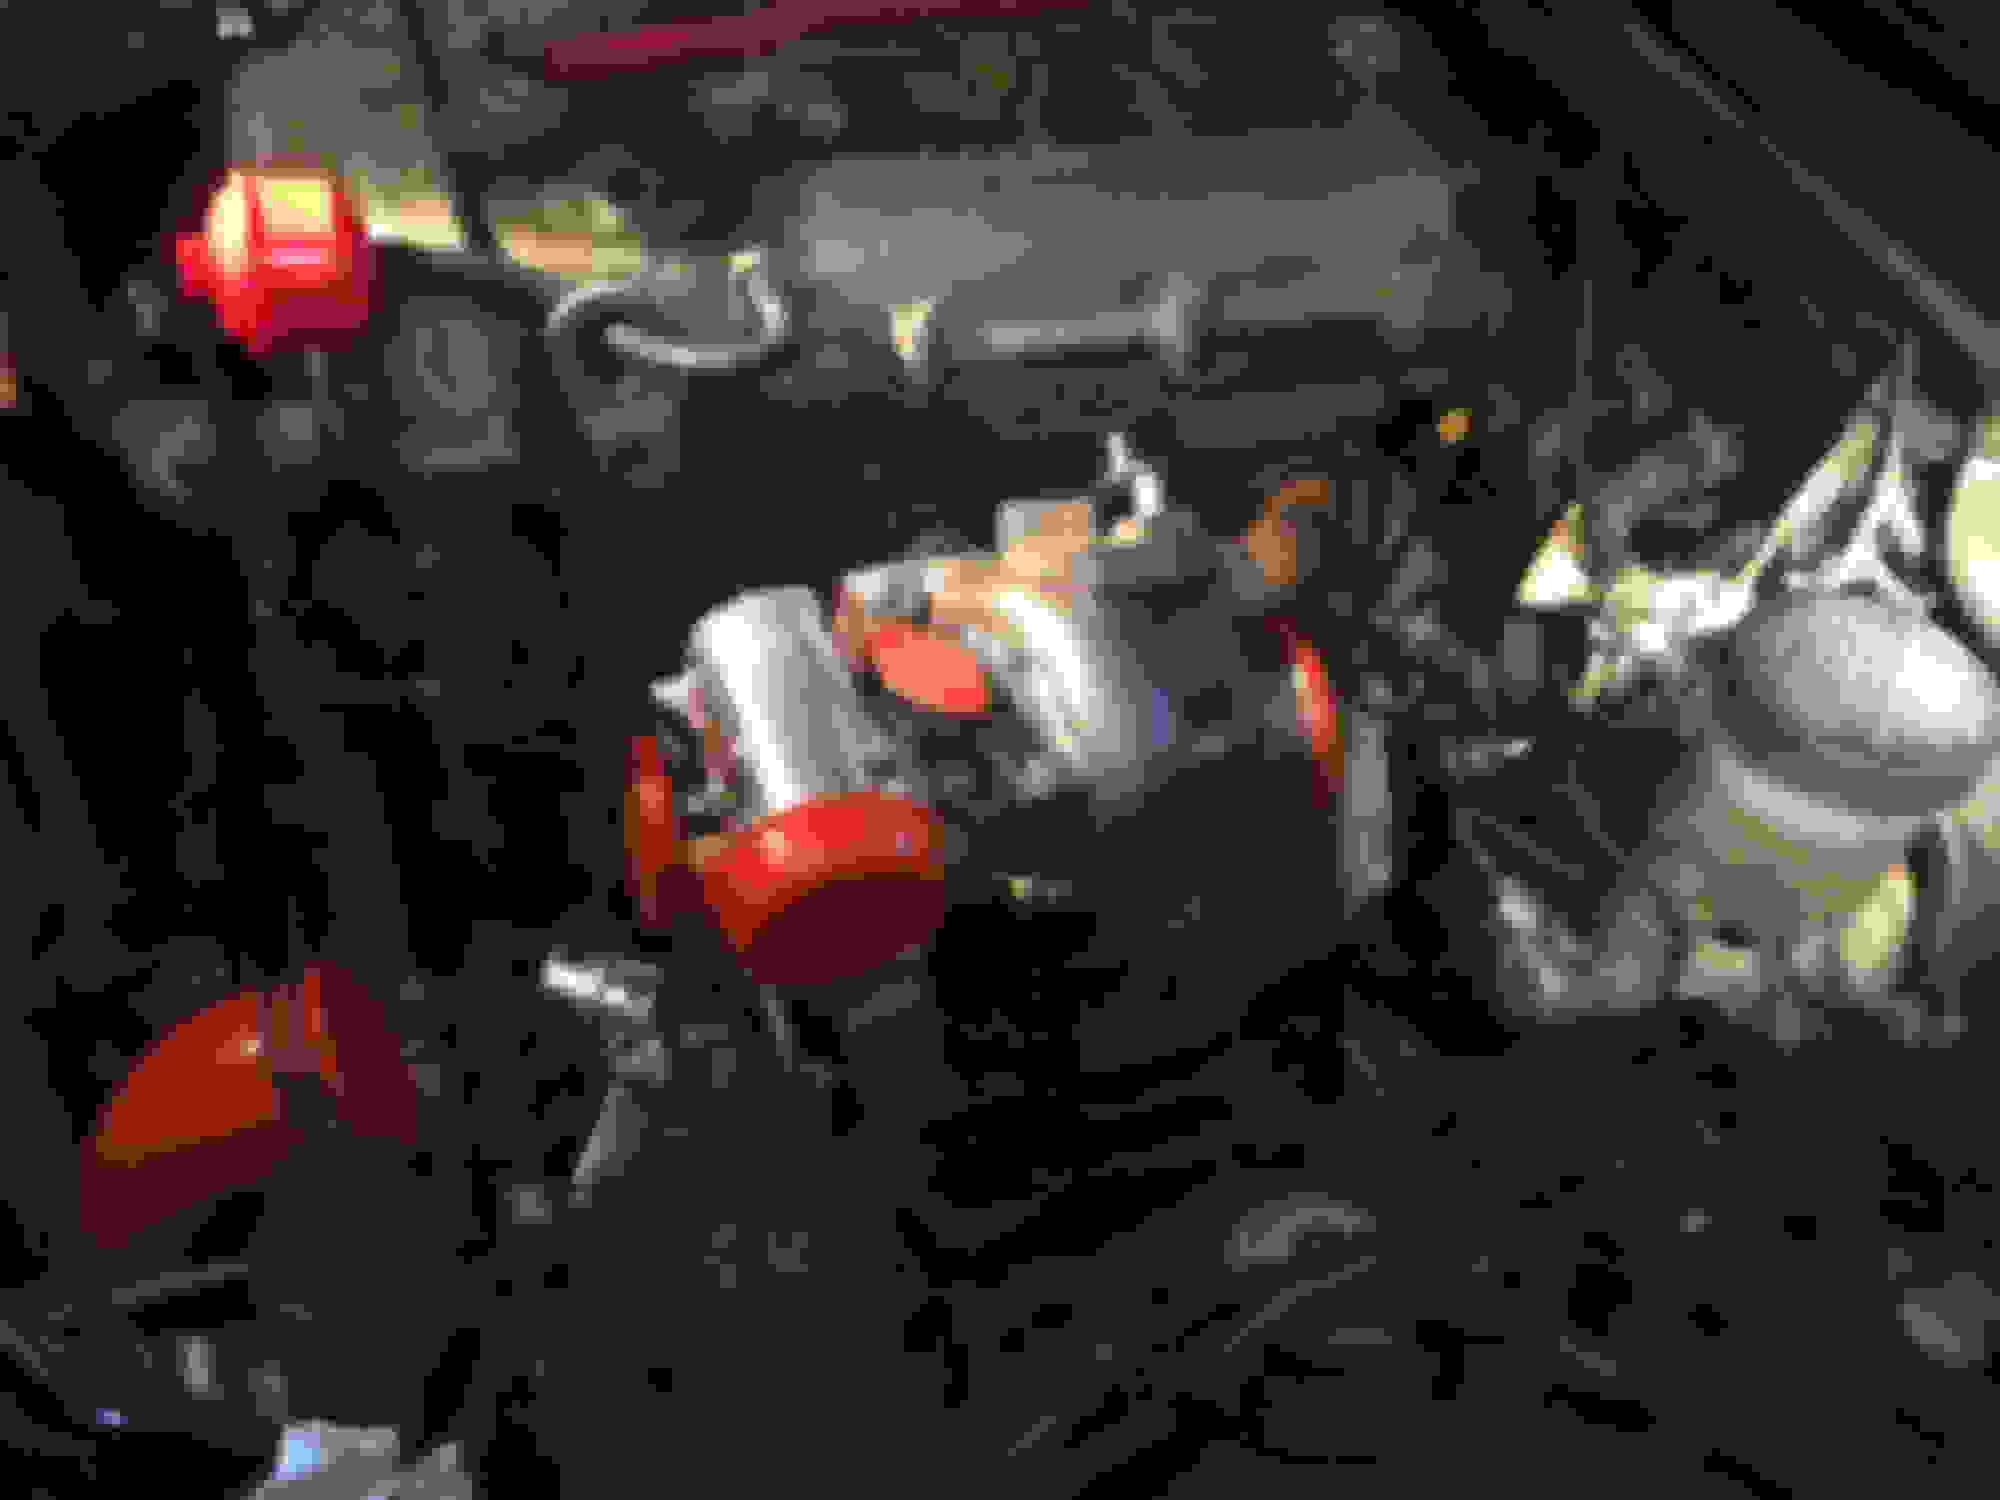
2) I did see that you said you put the IAT in the end tank, does the location I circled above look like where you placed yours?
3) Did you ever determine if your cowl induction worked better than drawing from front, or just an open filter in the hot bay? My current setup also has the cowl induction (originally stolen from you as well), so was planing on retaining, although may make the piping a bit more challenging. If you kept it, do you remember what filter you used to fit in the cowl? My current one won't fit, I have an inline assembly now.
1) Were you ever able to provide the templates for your custom air guide? What thickness ABS did you use? 1/4 inch?
2) I did see that you said you put the IAT in the end tank, does the location I circled above look like where you placed yours?
3) Did you ever determine if your cowl induction worked better than drawing from front, or just an open filter in the hot bay? My current setup also has the cowl induction (originally stolen from you as well), so was planing on retaining, although may make the piping a bit more challenging. If you kept it, do you remember what filter you used to fit in the cowl? My current one won't fit, I have an inline assembly now.
Great info, thanks! Maybe @EO2K can jump in, or I will send him a PM. Routing 1/8" ABS? That sounds challenging. My buddy, who is building a kit plane VAN RV-7A, just told me to make it out of aluminum....
Got the IAT installed tonight. Quick drill with the 37/64 bit, then tapped it at 3/8-18 NPT. A little swipe of JB Weld, and tightened it on up. The business end of the IAT is directly in the airflow, and should be a lot less likely to heat soak.
I was worried it might be a tight fit here, but plenty of room to get the connector on.
Bumper reinstalled.
Grandma Smith's Strawberry Pie. My daughter is excited to make tomorrow, nothing like four generations of strawberry pie.
I received some exciting news yesterday, Lars is almost finished my setup, and will be shipping out this week. This is about a month ahead of schedule, which is great, although I still feel like I have a lot of parts to collect before it arrives.
I finished setting up my car to run using the intercooler in N/A mode this weekend. Basically I ran pipes on the cold side from intercooler to throttle body, and then on the hot side from the intercooler to my canister air filter that is fed through the cowl. I wanted to get some experience running everything, and seeing how I was going to run the pipes up from behind the radiator. It all went smooth, but I think I learned two lessons. The first is that my cooling system probably is going to need an upgrade. I am still running a stock radiator, so thinking of upgrading to the Koyo V-Core while I am making changes.
Second is I basically forgot about what the hell I was going to do about BOV. After a ton of reading, I am looking to put it on the cold-side, using something like the following. Amazon Link
I will connect it using a T-adapter like the following
Now, the way I understand it, if my spring pressure is setup correctly, the valve should always be closed, or if open exhausting air, when not in boost, however I still feel like it is risky to run these valves without an air filter just in-case. I have read folks on here saying that there is no way for that to happen ( @18psi ), but I figure an air filter will also help reduce the noise, I am looking for stealth here, not Fast & Furious.
An air filter won't really quiet it too much. I do like to run mine recirculating, but more so I can run less spring and don't smell PCV fumes. My valve is basically always open except in boost, not quite true, but close.
To truly quiet the thing, it needs an air box ahead of the recirculation port.
The FAB9 intercooler is mounted really far forward and is one heck of a brick in the Miata mouth. Great clearance for a condenser and filter/dryer (assuming you keep your AC), but not much bypass air to the radiator -- most of the radiator air will need to run through that thick core first.
With good ducting, Koyo Hyper-V Core and reroute, I'm doing OK on cooling. Have seen some mid-90F days and been using the AC occasionally. @Sixshooter had some ideas about getting air up and over a forward mounted intercooler (basically, trimming the front bumper plastic and making paths around the bumper support) -- that's still in my arsenal if I need more. Hood vents are another really effective thing to do, but I haven't because DD.
Thanks for the feedback guys. I have my BOV here, and Lars shipped the turbo goodness today. This week I installed a Koyo rad, and my daughter and I started fabbing up some ducting for it. Hoping to get the BOV installed this weekend.
Still needs some filing and clean-up, but overall I am pretty happy with it.
I started working on a new front undertray between the front spoiler lip and stock undertray. I was able to get the template done, but before it was finished, I had three large boxes show up yesterday. The MKTurbo is now in the house, and I guess it is time to get it installed. Today I tackled what I expect to be the most nerve racking portion of the install.
I have hauled this right angle drill around for quite a few years. It was about to finally get used as intended.
Here is the start, going slow to make sure it drills where I want it drilled.
Then there was this...
And then
I swabbed the inside with about 30 bent q-tips, it was actually a bit shocking the amount of chips, even with using grease on the drill and the tap. I then ran about three gallons of mineral spirits through the return line, filtering and checking what was coming out to monitor the chips. After the last gallon, it was draining clean.
I used some Permatex Ultra Black to seal it up, and will wait 24 hours before filling back up with oil, run for a bit, then another oil change. Tomorrow, I will dig into the turbo, I need to port out the wastegate, and figure out how I will want it clocked. If all goes well, I will plan on pulling the headers on Thursday and getting the manifold bolted up.
So, according to Lars, and other using this turbo, it needs a good wastegate port to keep boost creep at bay. I used the suggested method of greasing the flapper, closing, and then marking where the hole can be enlarged. I was hoping that it would be semi-centered so I could just use a drill to enlarge it. But, it was not....
I also took the opportunity to try and grind a channel towards the wastegate hole. I need to pick up some better cutting tools tomorrow, the existing stones I had for the Dremel were not really getting the job done.
Enlarged the hole a couple of mm's. It is sem-oval shaped, I think I still have a bit of room to go, although I really don't want to go too far...
You'll notice that you have quite a lot of play on the housing so you can move the wastegate flapper a good bit in every direction. Make sure to center it over the hole again when you put it back together. I used grease again.
Thanks, I did re-center and re-grease multiple times. I had room left, but I figured I would see how it went before I got more aggressive. I made some great progress yesterday, however it came to a halt when I went to put together the oil T-adapter. Unfortunately, Lars got one of the adapters mixed up... Luckily Amazon exists, and a guy walked up to my house at 8PM with the correct part. Today was spent hefting that massive muffler up in the rear. It looks awesome.
Here the turbo awaits some oil and piping.
I am not sure how I would have removed that oil pressure sensor without this clawfoot. The right tools always make working on the car more fun.
Attention, we have boost. We now have #abitofit Thanks to MKTurbo, we successfully boosted up to 6psi, and everything is still together, and nothing caught fire. I had a small issue with forgetting to reinstall the O2 sensor, and not putting the rivet restrictor in the oil feed at first. But, those issues were quickly fixed, and I drove around for a few minutes tonight. Will go out tomorrow and work on the tune. Right now running super rich, not taking any chances...
So, this is where it sits tonight. The duct on right is where I will ultimately run the cowl intake. I am waiting on Amazon to deliver a new filter that will fit in the cowl area. I cobbled together a quick and dirty heat shield, I will be wrapping all the lines, and cleaning up the heat shield.
Thanks Lars! Everything really went together great. My only wish is that the oil feed line was a couple to a few inches longer, right now it is a tight fit. I have a VVT motor with the NA starter, so that may be some of issue. I think if I had a NB starter, it would free up a little bit of space.
It has been two weeks since we got the turbo fired up for the first time. I spent the first week working on the tune, re-routing the air intake back out the cowl, and making sure that everything was buttoned up tight.
The first issue I ran into was a slight leak at the right heater hose. I pressure tested the coolant system, and saw a very slow leak when pumped up to 15 psi. Taking off the hose I noticed that I must have slightly nicked the brass line. I cleaned it up a bit, and re-clamped. I then hooked up the new air filter, a K&N model RU-3840, which is a 10 inch by 3.5 inch filter that fits perfectly in the cowl area. The lady and I took a long 200 mile trip through Western MD last weekend, and the turbo intake on the highway when it was just below boost was a bit extreme, so thanks to @patsmx5's suggestion in other threads, I wrapped the filter in some acoustic foam. Amazing how just a little foam will quiet it right down. After I pipe the BOV back to the filter, I think it should be even quieter. Speaking of quiet, the Lars built 3" is shockingly quiet. That huge Magnaflow does a great job.
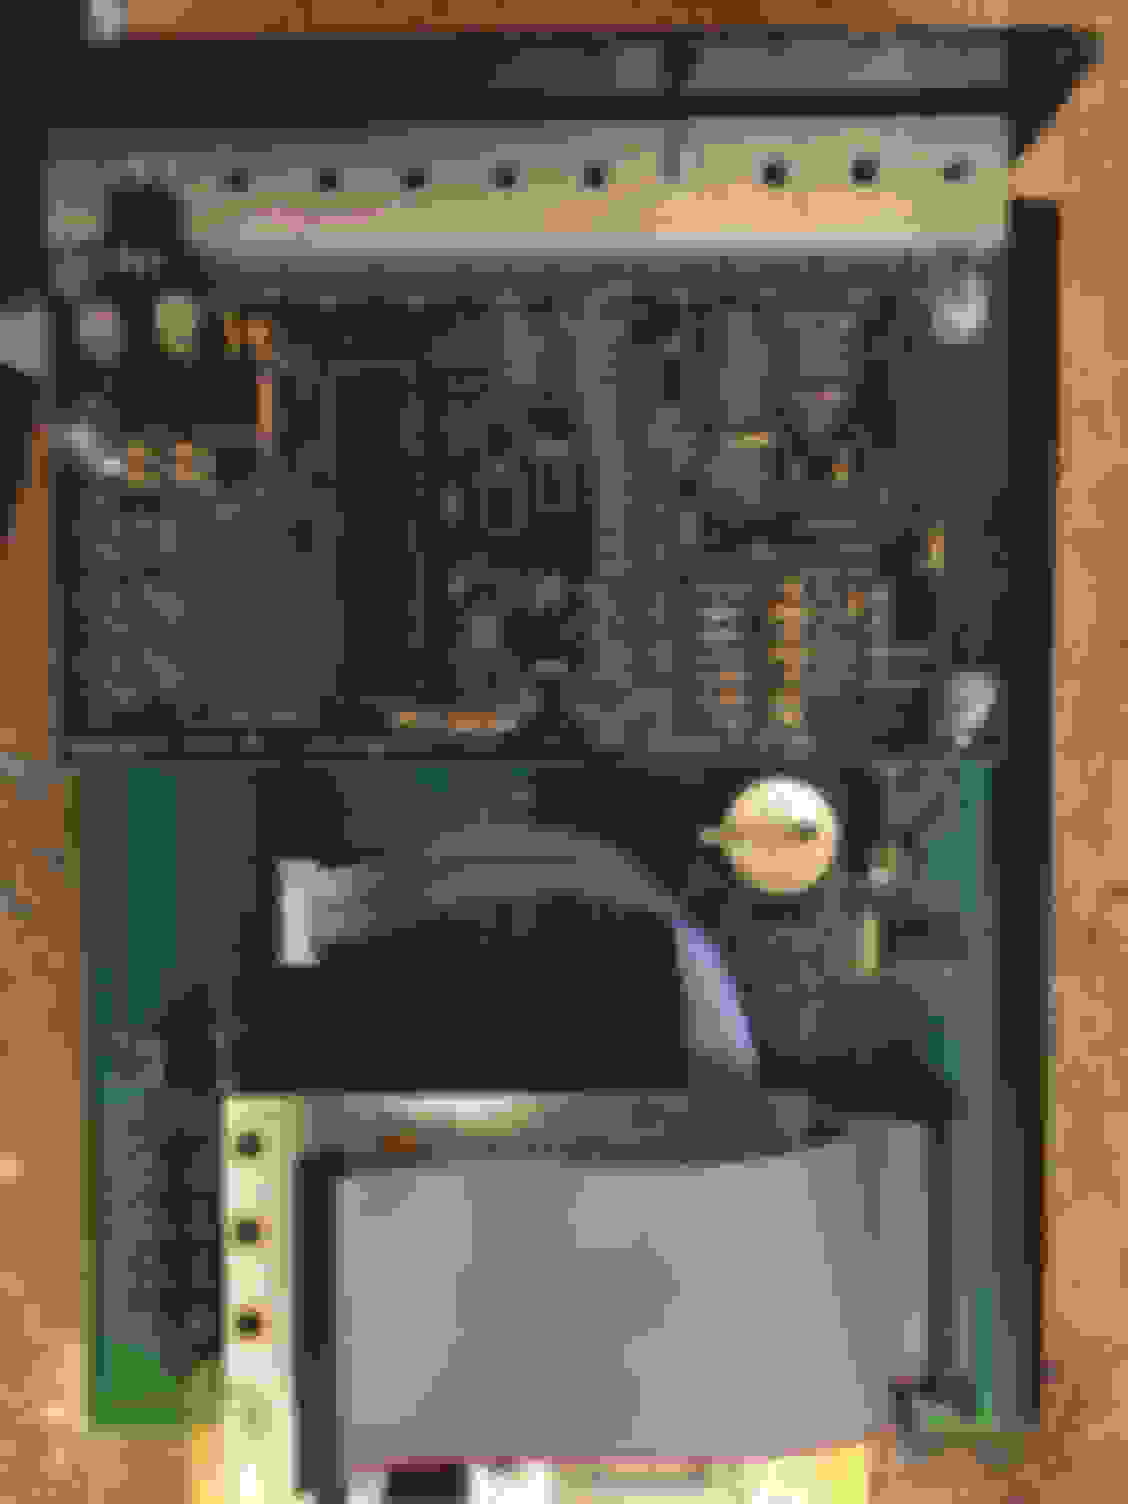
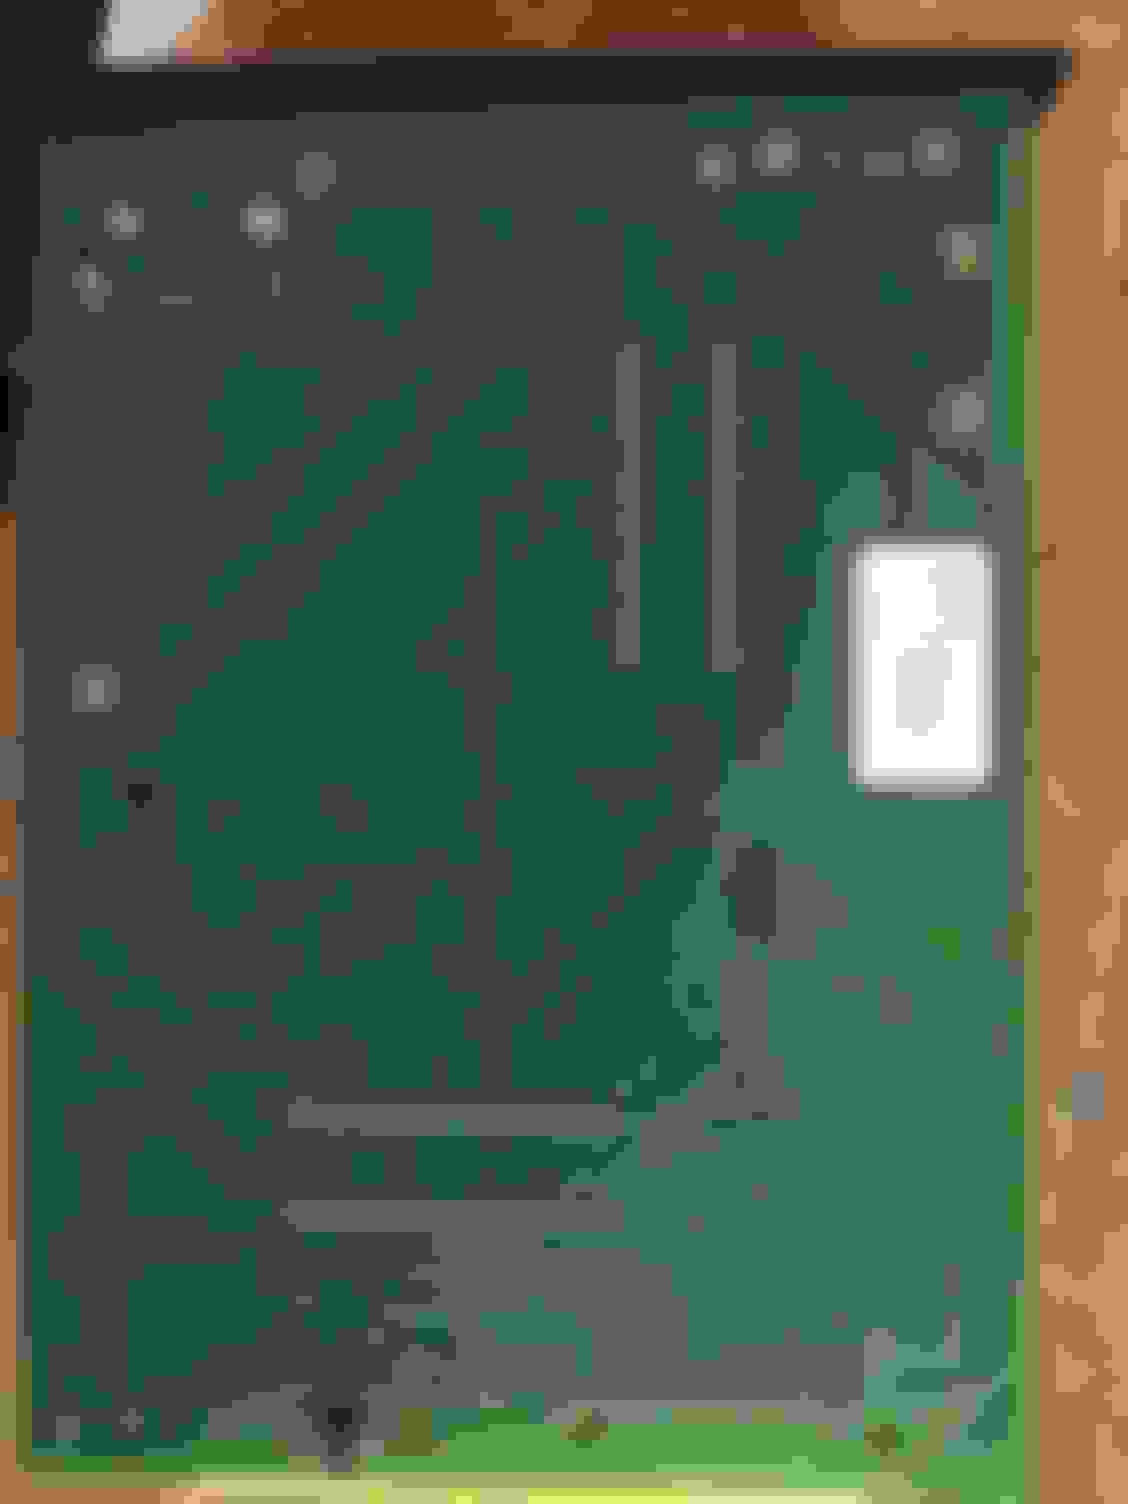
I bought a EBC controller from FrightProps.com, and got that all hooked up and have started tuning it. The only issue I ran into was trying to decode the various input/outputs in my MS3Labs MS3. Boost was not too difficult to get hooked up, I never received any documentation with my unit, and unfortunately Reverant is not as responsive anymore. I was able to get a copy of the manual that TrackSpeed provides, and it appears as if my unit is pretty close to those. After the EBC connection, I was working to identify how I could get oil temp and pressure into the unit. There were inputs for EXT_MAP and SPARE ADC, although I was unsure if they already had pull-ups connected. After some testing, it appears that they both are already connected. That was a bonus...
I have included a couple pictures, just in case someone in the future is trying to determine how their unit may be setup.
I started tuning boost this evening. Looks like all is working as it should, I just need to continue fine tuning everything. I usually use my Macbook for tuning and logging, however I finally started using my old Nexus 7 with ShadowDash to do regular logs, and keep an eye on critical information. Works pretty well. Next up is some home-made det cans, Amazon brought me some supplies, so I will have another project this week.
Can't say enough good things about my MKTurbo, best money I have spent on the Miata so far. Not only has everything worked like it should, Lars has been super responsive, even when I have asked him questions that are not directly related to his product.
All has still been great in MKTurbo world. I have put about a thousand miles on the turbo. including some commute time around the DC beltway. All has been great, only issue so far is a small amount of oil weeping at the oil connection into the turbo. I tightened it up again tonight, so hopefully that will be the last of it. I am still running way too rich above 7psi, I have been auto-tuning, but it has taken a while to work it back from an AFR of 10. My daughter helped me tonight, she really is a computer wizard. Hell of a tuner, and I can pay her in ice cream.
While we were out and about tonight, we happened to park next to this guy. People can debate which one looks nicer, but at least now I can say mine is faster...
So, I have a @Reverant MS3 Basic for my 94. I got it in June 2014, and it appears to be version 2.2. I am looking to run some corn, and have a flex fuel sensor on the way. From what I have been able to determine, this unit was setup by Reverant so that the FLEX input is used by VSS. So, I need to figure out some other way to connect the sensor. I have contacted Reverant, but no details yet on how I can get this working. I did find a post from @HHammerly where he says that he received the following from Reverant on how the sensor could be added. However, this would appear to be a 01-05 V3.0a board, so I am not sure it would work on my unit. Or, what sensor port I would then use when setting up in TunerStudio.
If anyone has figured this out, I would love some advice.
I could not get it to work and ended up switching to an ms3pro, i just run E85 during the summer months when doing track days and switch tunes to run 93 pump gas early december to sometime in may when the car gets driven very little
 06-06-2017, 09:50 AM


 0
0