When you click on links to various merchants on this site and make a purchase, this can result in this site earning a commission. Affiliate programs and affiliations include, but are not limited to, the eBay Partner Network.
The build threads are great - so I thought I might document the updates as I go to my 99 NB.
The car has a very early FM kit, and I'm still learning what all it has.
Plans include:
New shocks & springs: FM V-Maxx Classic installed - learning how to adjust.
AEM wb: installed - 3d printed gauge holder
Fuel Pump: to inspect the tank and add relay update.
MS3PNP on order to replace piggy link.
Radiator and reroute ordered.
Considering a damper swap.
I don't want to spend all my time building - I hope to mod - drive - rinse - repeat.
The car breaks up with a bit of boost so while I am waiting for the MS3 I think I should review where the Link is set and probably make a few adjustments to test effects. No logging here, driving slow and looking at the AFR when it is safe to do so.
I ran the fuel out of the tank with my new relay hooked to the old pump before I opened it. The pump really only left a few ounces in the tank - how does it do that?
Choose a new pump should be way more than I need according to the curve.
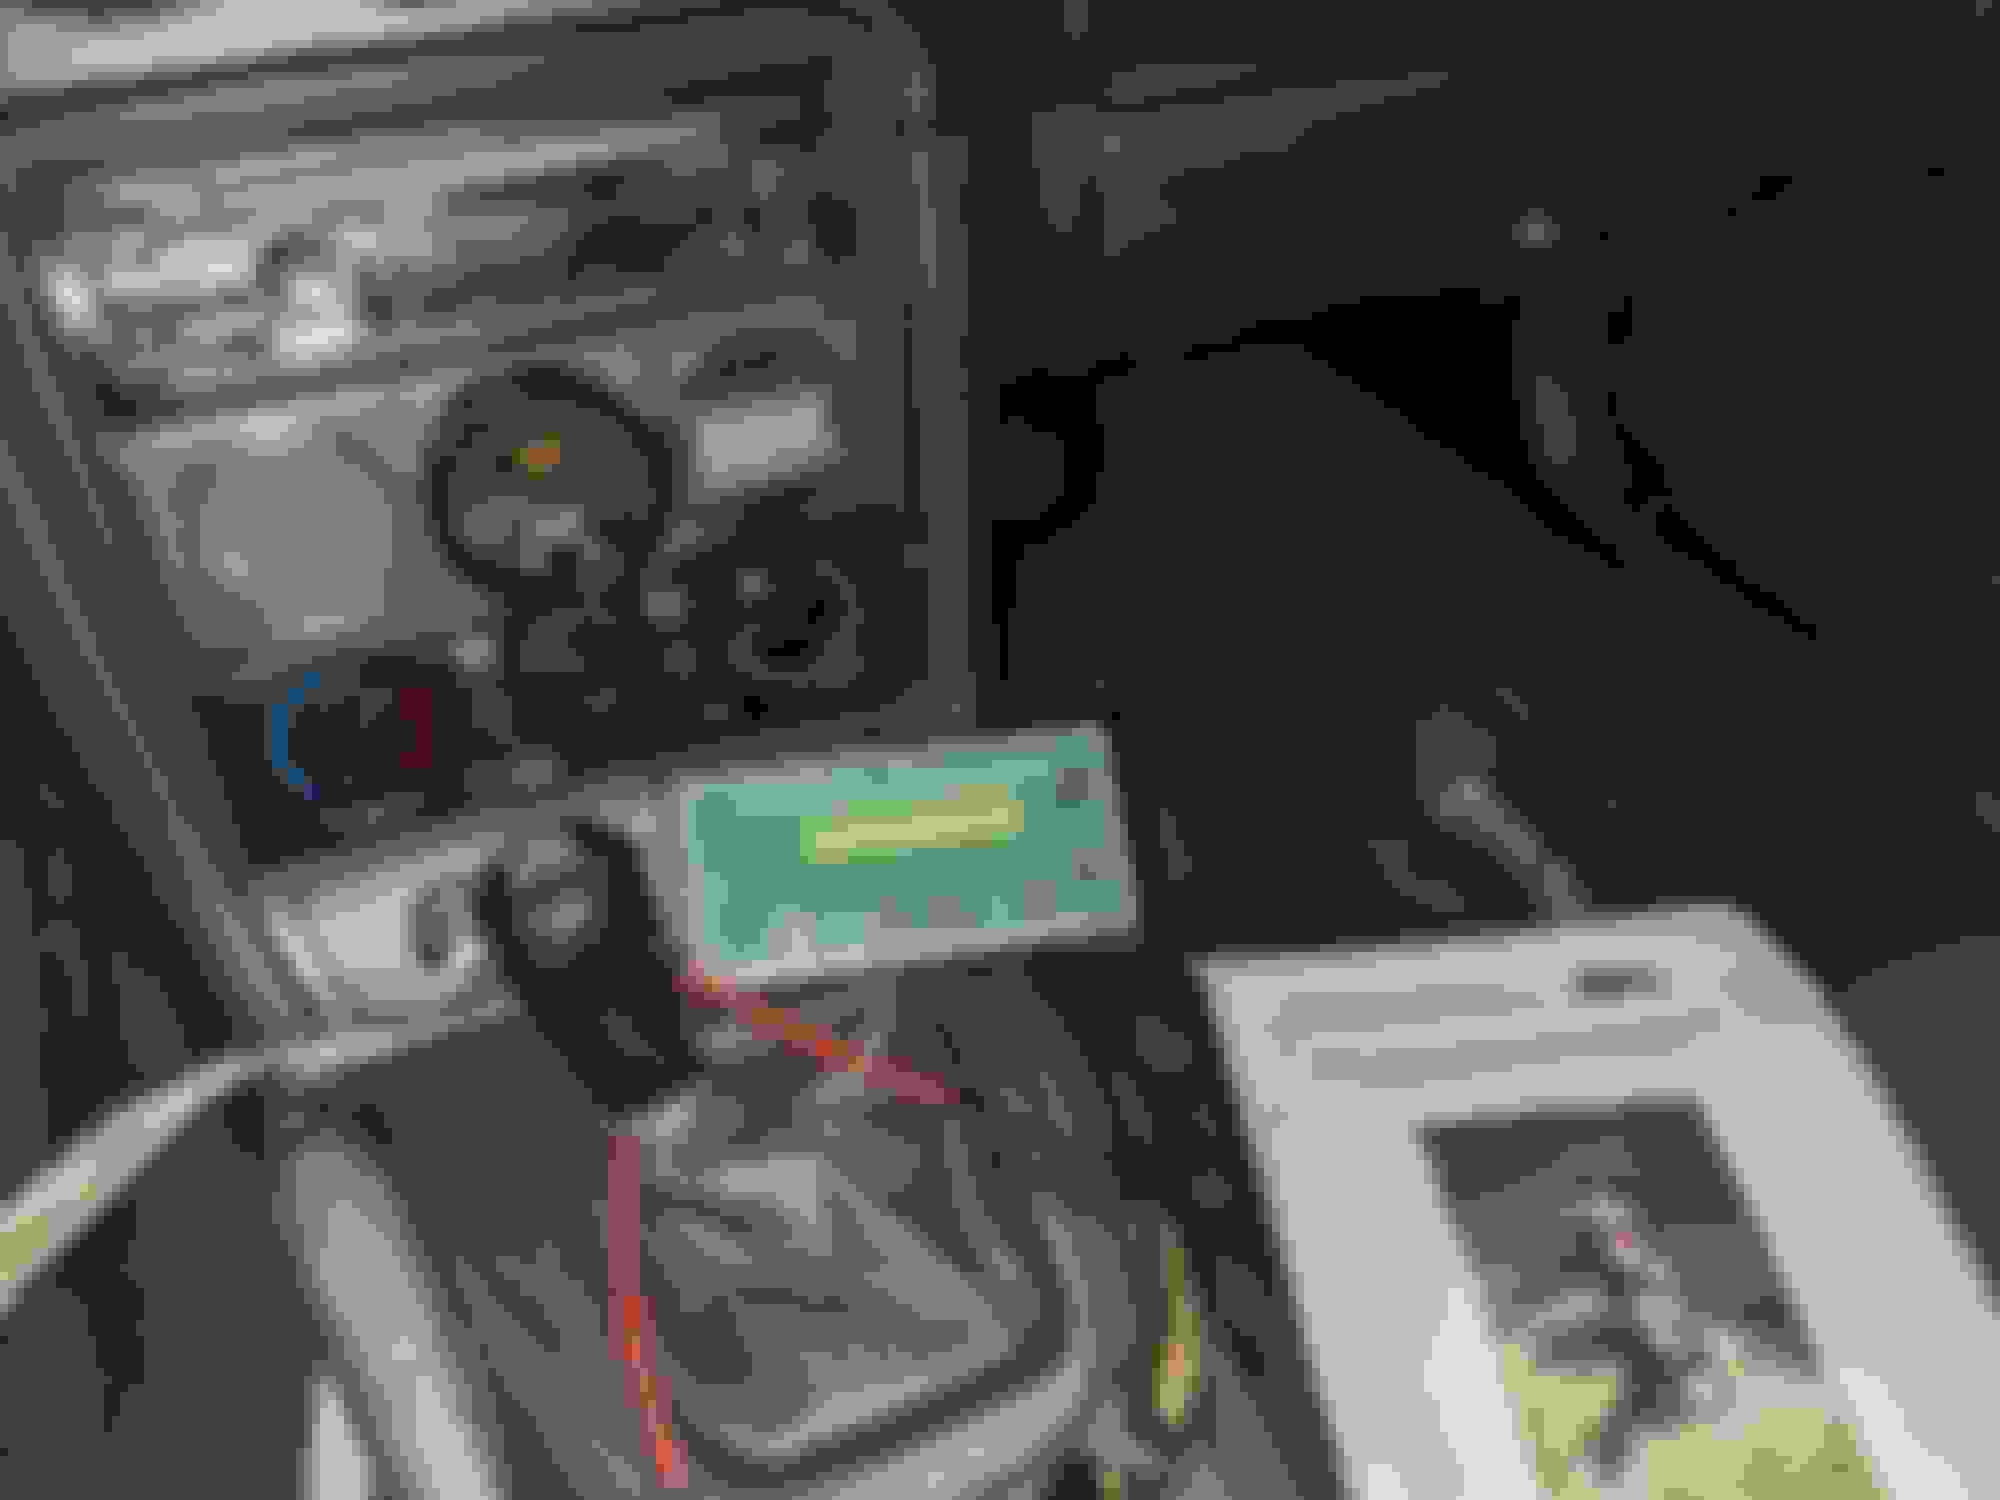
3D printed gauge pod from thingiverse. Undecided on the left gauge spot. Recording the link settings and comparing to the original book. Pretty happy with the condition of the fuel tank as found. Took several more photos of the tank to be sure I wiped out all the @#$ at Went with AEM pump - dropped in exactly like the original and it's quiet.
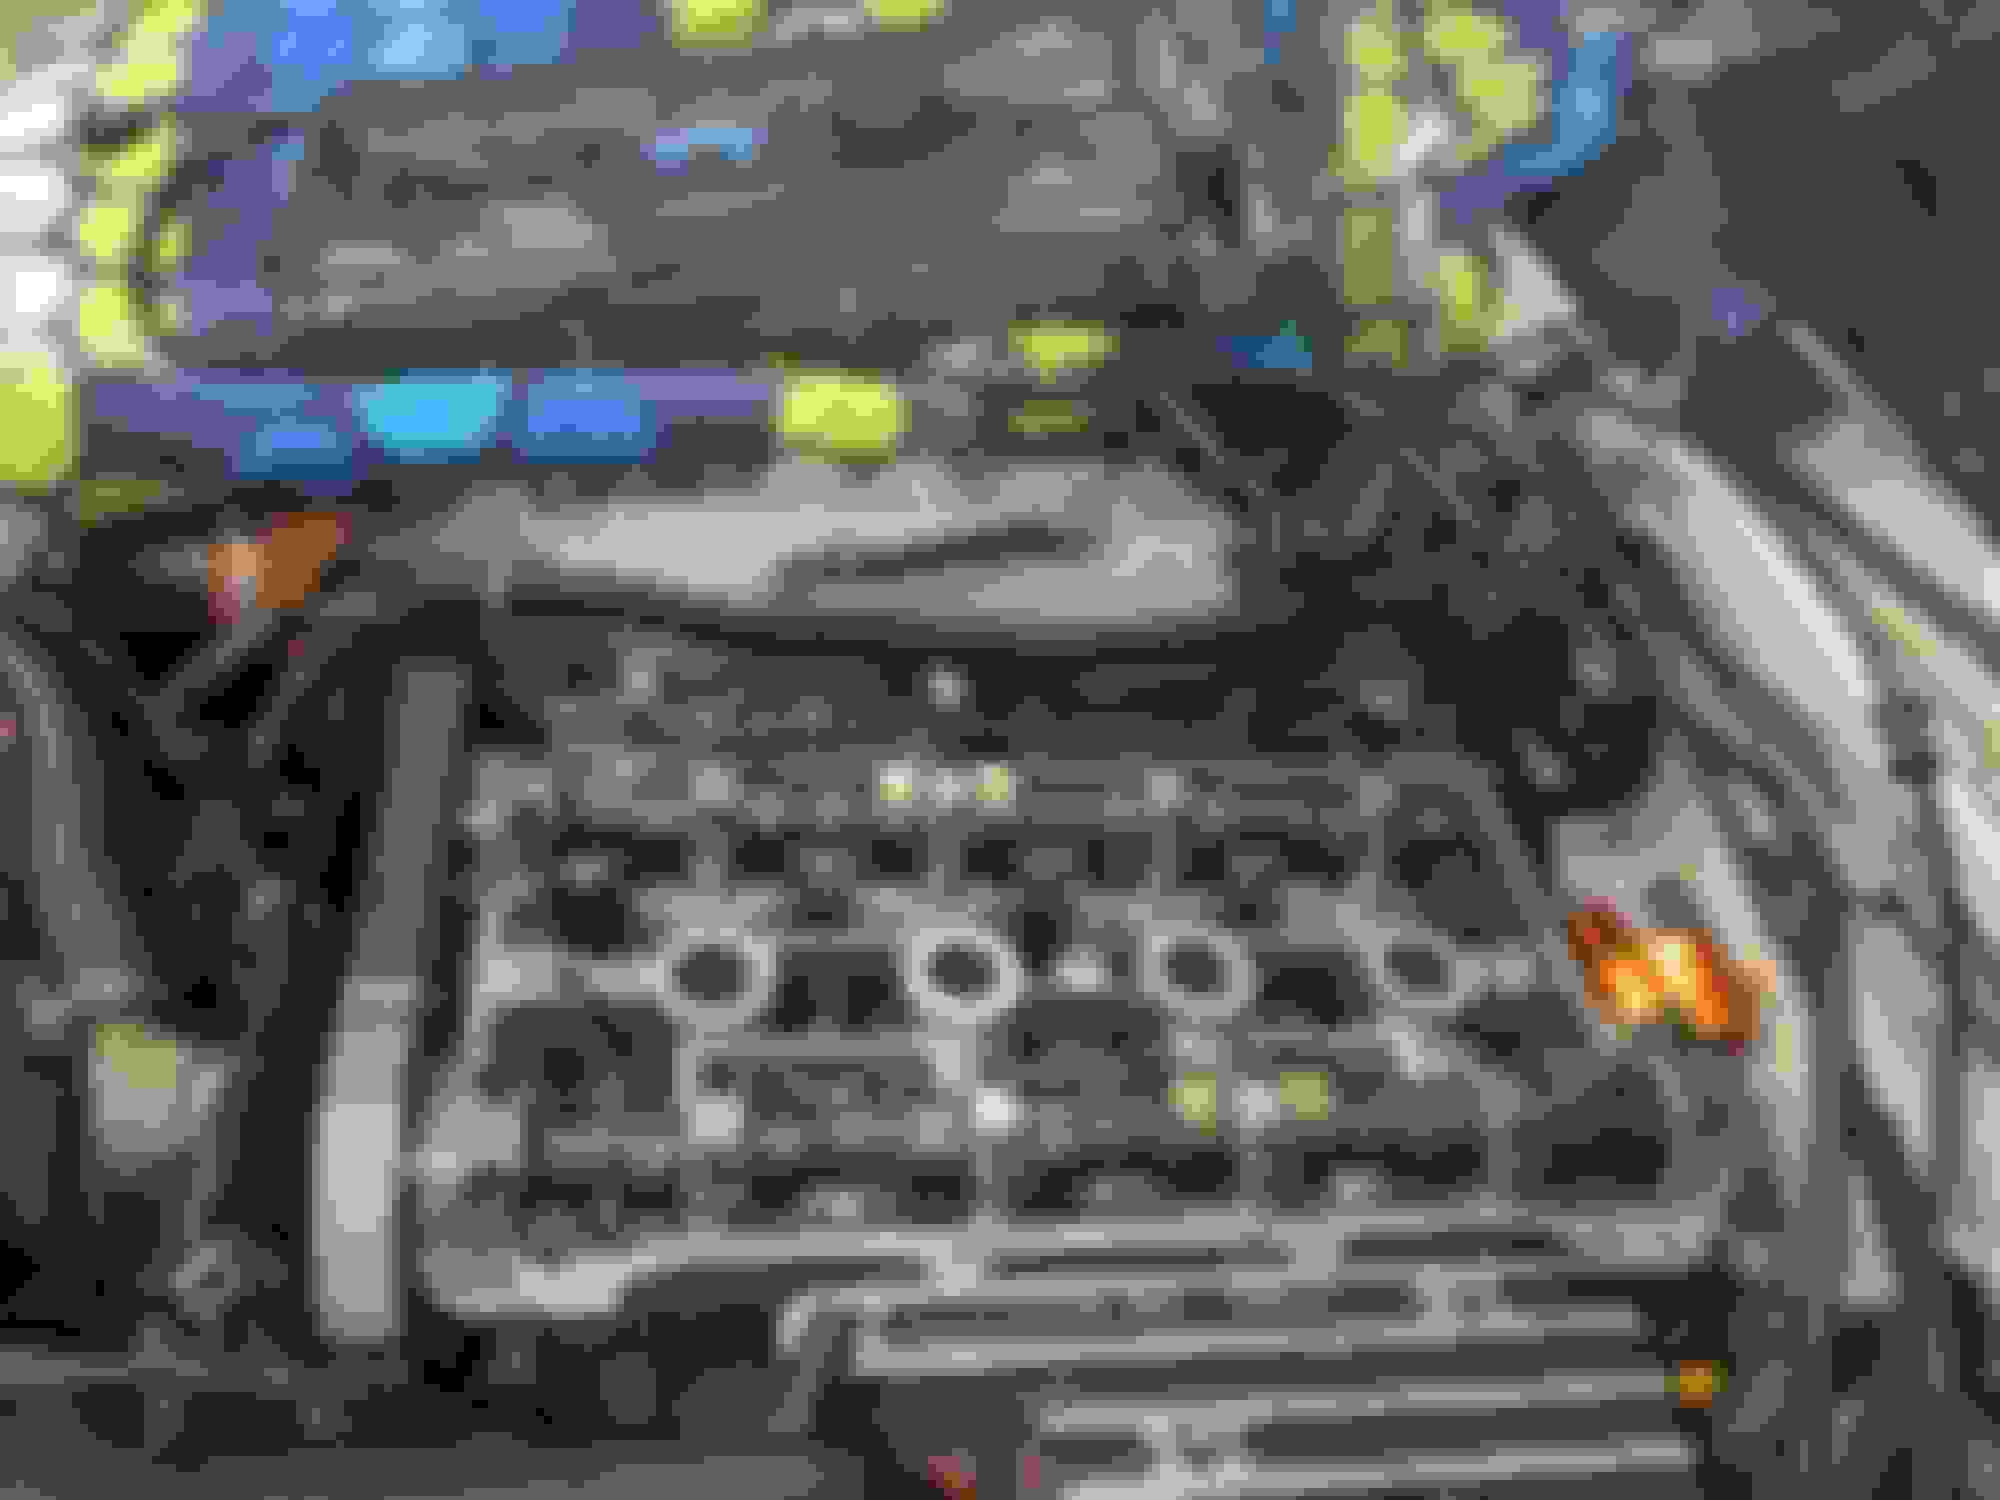
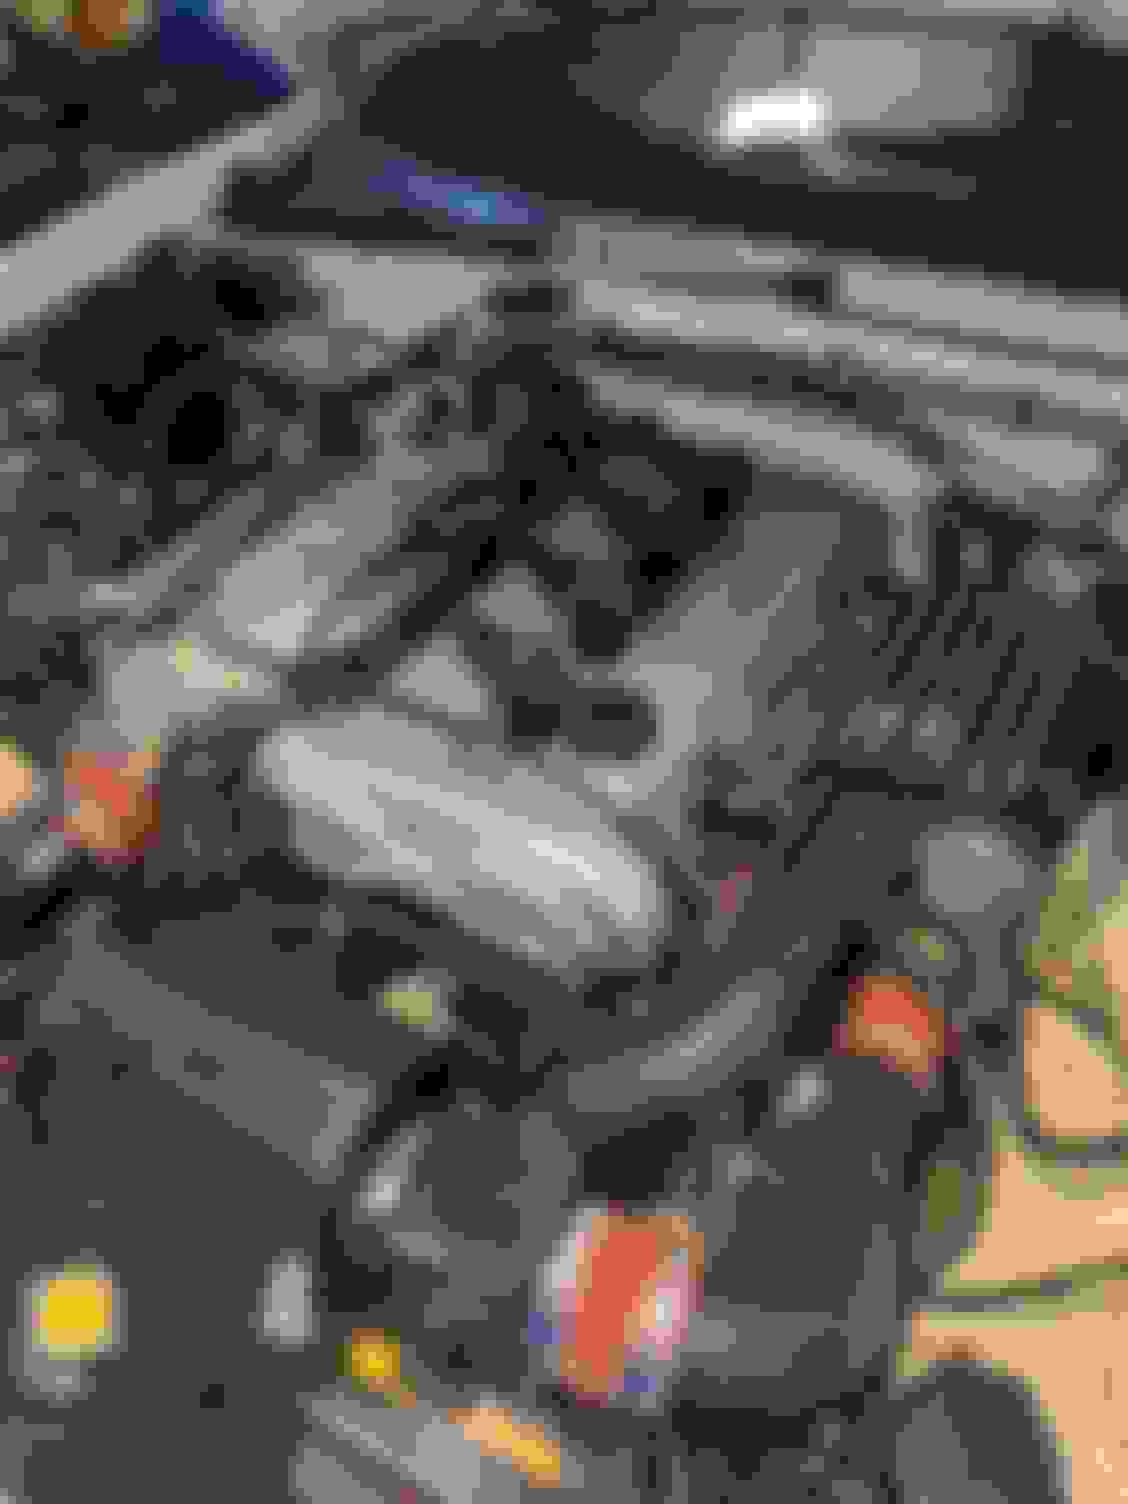
I decided to replace the valve cover gasket while I was working on the reroute install. Looked pretty clean in there, quick check with a feeler gauge I may revisit later (old set of feelers needs updating ) to ensure the exhaust values have enough clearance and are not closing up with seat wear. Pretty happy the po used mobil one. Lifting the cover during coolant reroute install.
DNM, I am starting with one of your maps I saw in a previous post labeled pre-firmware upgrade. I'm looking at the AE and trying to wrap my head around how to choose values for wetting walls etc, but set to simple for now. I have wired the secondary injectors and left the stock in place too, because I am that guy and the injectors are already there. I plan to upgrade injectors later the EV4 really is better control I think, but for now playing with staging to see what happens. If the staging works out I may be able to stay with smaller units up close to the valves for low speed / idle.
Such a great wealth of knowledge in these forums, 20 years + of improvements / experiments.
I had a plastic hose shield on an old hose and fit it to the reroute hose where it should help protect it. In other locations I zip-tied a bit of hose to the reroute line to protect it from anything it looked like it might rub on.
Still running the stock radiator but it's days are numbered.
Took the car out for a test, wow , going to be fun to tune if it runs this good now. Shout out to @DNMakinson for good maps to start with. I just learned how to mention :-)
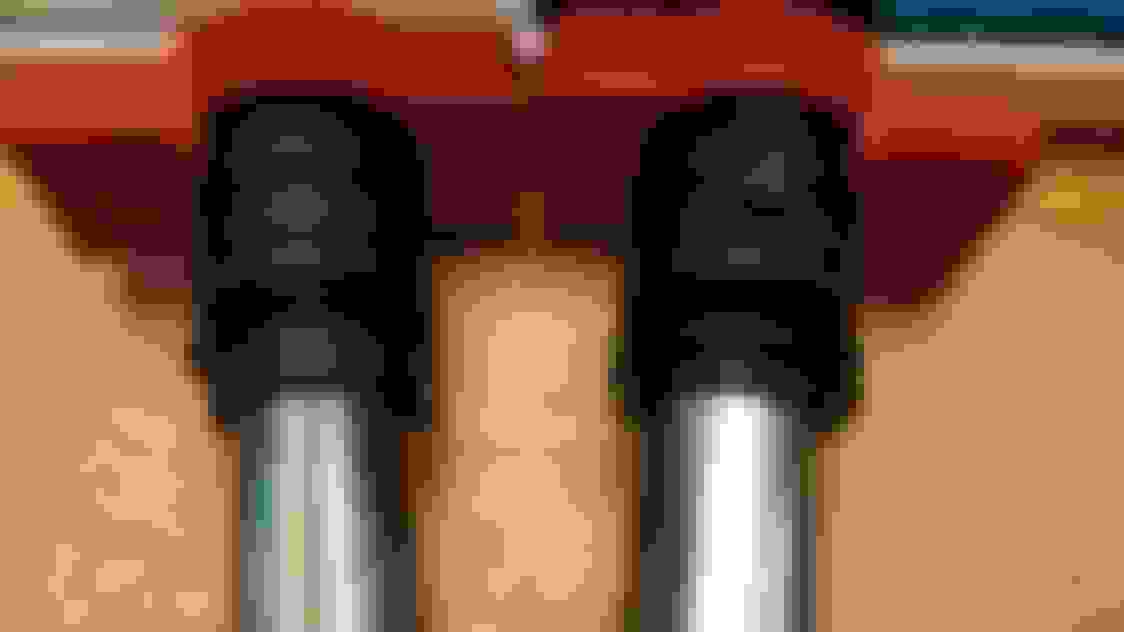
FYI there is a slightly shorter VAG coil that fits directly (i.e. without a spacer/sticking up out) by just shaving off the lowest o-ring with a razor. Shoutout to @der_vierte for the original find. I went with some autozone knock-offs (cheap and lifetime warranty and its not for a super serious racecar or anything) of these NGK COPs.
@Spaceman Spiff , I think I did see them after I ordered the Denso's and these were about $20 a coil. I wanted a name brand, Bosch would have been nice too, but wary for what now seems like a flooded market with the red ones. They do look cool in red. From what I found there may be even a slight advantage to the longer coil in output. From what I have seen the dwell time can be a bit less for the long coil. The low dwell time these can use is a really impressive stat, and the power rise seems dramatic with the longer times. I am going to start with a low number and test. Searching for Vag or R8 coil well times turns up a variety of posts and info. I like checking out what some of the other ECU manufactures write as well.
Oh, to mention or tag use the @ sign then @screenname .
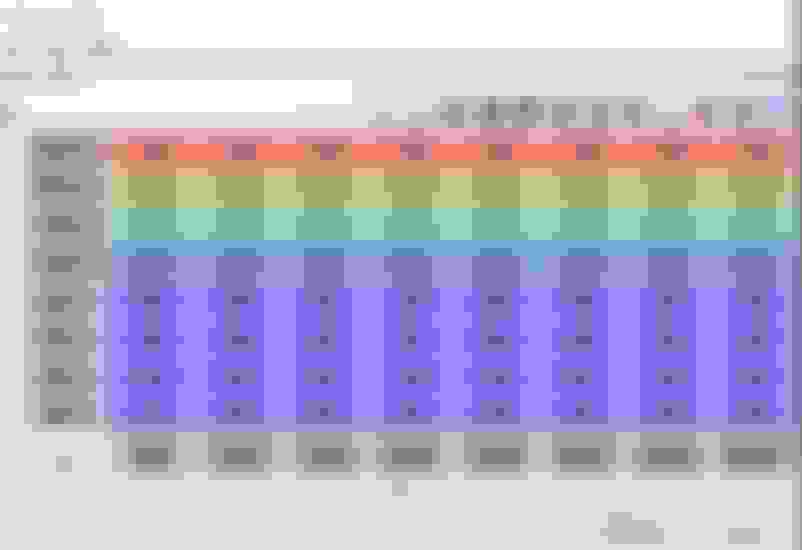
Yes, we are having fun now! Coil on Plug working well after puzzling start. I plan and carry through and try to be meticulous but there are people much more organized that I am. Last week I had read a post about the injector wiring and firing order, so I went and checked my secondary injectors and I had A-1 B2 C-3 D-4 which I now know is incorrect for sequential. But this was a good learning experience since I was moving on to sequential coils and getting that wrong would be more noticeable. I had high hopes of plugging in the coils and Wah Lah, instant improvement. Well, I writing here to let everyone know - almost made it but not sure what happened. So I have been still changing too many variables at once to know which one or combination went the wrong way. I've also gotten lucky with some of my early drives being quit good and patting myself on the back too soon. Need to work on that cold car start, { well in FL, 80 degree not cold but for an engine of course it is.) Anyway, last night and it was dark I killed the battery so I knew I should have went with test mode to start to double check the coil wiring. Testing everything I had the wiring correct, so while the battery was charging I pulled each plug which looked at bit fouled and clean them with some brake cleaner since that is what I had. Upon reassembly, it fired right up, but the warmup still needs work. After reaching temp, I gingerly took it out for a drive , not wanting to test the battery / starter to many times by stalling. Seemed pretty good. After coming home I went through the tune that @Silver NB had shared, and I loaded most of the idle screens he had. Confirmation it is not a bad place to start at least with my stock injectors. OK took the car out today for a few small trips and logging and I am making progress, idle seemed to catch and not hunt like I had been. I still want to go through and set targets to see if that helps. I've got the boost targets set down for now, but had break up with the stock coils, now seems a lot better and I am running low dwell. Here is my table for now, with the boost targeting 169kPa and seeing a bit of overshoot it small pulls in second I am trying. Coils just installed last night and working.
Now to do something about removing that restriction right after the air cleaner.
Well, been a couple of weeks but not that many more miles on the car. That being said, the better the tune the more fun this is to drive. First the dwell table updated with a touch more dwell Additional dwell in boost, and a touch in idle.
MAS replaced, keeping the location of the air filter in this early kit. Printed MAS replacement. Maybe just a little thinner that I expected. PETG filament seems pretty tough. Yeah, I'm relaxed.
I've kept the stock injectors and the additional injectors the piggy link used to run. Trying different setups with the staged injectors, injector timing, and how they get added in with the MS3 settings. The additional injectors are in the lower manifold but of course further away from the valves. Also, most things I read about a single injector over the valves indicates the injection cycle sprays the fuel before opening the valve , the idea being the fuel evaporates and make a more even mixture. After some short experiments I think this correct, at least the car seems smoother if both of the settings end injection before 360 which is close to the intake valve opening after the last ignition. Then there is the transition to using both sets of injectors that has options. I started with Duty cycle of the primary at I think either 60 or 70 with just a few ignition cycles to bring in the Aux injectors. This was was getting the fuel in and AFR staying low but now I can say this was not as smooth feeling as it could be. And I was getting a, well, I'm gonna call it a hick-up like event that I couldn't quite figure out. Was it my lift at shift time, ignition, or fuel, or loss of sync I didn't know. Reading more about staging I saw another idea to bring the aux online in before or at the start of boost would allow for more consistent AFR's. So today I 'OR' ed in that MAP of 90Kpa should start bringing them in. Ah ha, the hick-up moved down and was happening when with transition of adding or lifting or both. The hysteresis was set to 5, and it was pretty easy to tell that was the transition to / from primaries doing something. I actually changed two settings, I gave many more ignition cycles to slow down bringing in the second bank and I put in a large 45 kpa of hysteresis to be sure I was lifting before the aux should drop out. Once the aux had joined the fun, the eight injectors sets ran fine together. So the logs now show the much slower ramp down of the primaries and bringing in the Aux. And yes, much smoother boost and lift. After each trip out maybe a warmup and just a miles {sometimes an actual errand) I can come back and get better at studying the logs. Looking for errands to run now lol.
I'm enjoying more seat time. Tune is improving I think. I still have enough to do before I post a log for critique. I noticed after a bit of highway my temps crept up to a max of 225 , slowing and actually turning on the AC helped bring it back to 215. In the past this would have freaked me out but my last project was an 87 C4 that I rescued from a trip to the junk yard and 220's what the engineers planned for. Still, I know from this forum that I need to get the ducting right ( there is none ) I think the AC fan running and bringing temps down confirms an air flow issue. A moment for refraction. I noticed the PETG spacers have acted like heat shrink. I haven't pulled a coil to see if I can get them out yet, but I am keeping an eye on my intake spacer which I have tighten a few times already now. I changed the diff oil. As far as I can tell this is a base model open 4.3. Adding torsen to the wish list. Note to self: Remove dauber nests. Use degreaser to get the remaining oil off, but no drips it seems. Once I've touched everything I'll come back and start the minor rust cleanup, overall I am very pleased with the general condition of things. Went a few miles down the highway, and noticed what I think was driveshaft vibration. I know the PO had a couple of shops in and out with clutches, adjusting this may not have been on their list. This is the PPF bolts after adjustment, they were the trans was as low as it could go in the back. This definitely changed the vibration, seemed to make it a bit less and move it to a slightly higher speed. This seems to be in about the middle of the bolt slots and close the 66 mm measurement. I think I'll check the tire balance next before messing with it again. When had the down pipe off and added a gasket between that and the mid-pipe. Yes the cat is still there, I feel a bit green.
Well, I still miss my 86 mustang convertible, but the Miata is a lot of fun now, and if I had kept it I wouldn't have a turbo. On that car, when I had a motor put together, balanced, I added a Fluiddampr - the bottom was spun balanced and together it was smooth.
So, that influenced my choice of course and I went with a Fluidampr for the BP as well. The balancer hadn't spun but just on age I can't help but think the elastic ring which is supposed jiggle to counteract the wiggles must be affected. The install went ok and a new bolt was used also. Hmm, I though I had a picture of the damper in place. I had to wait until my Mazda parts came in since I wanted to go with a Protege 36-1 trigger wheel, a new radiator bottom hose to go with the CSR radiator waiting as well. Try to keep with my drive a bit - mod a bit theme here. Had to tweak the timing offset to get the 10 degree back in line but seems to be good. Key looked ok and no oil leaks, well at least by the main seal - outside is still under investigation. new vs old damper Nice unit from Supermiata.


 0
0