
aug's build thread


Thread Starter
Junior Member
iTrader: (7)
Joined: Jan 2010
Posts: 349
Total Cats: 1
From: Long Island, NY
So, this was originally going to be a really cheap build.. then I got yelled at for trying to buy an eBay manifold.
As a compromise, I am now using a Begi manifold and thank this community for its guidance.
Anyway, my setup is as follows:
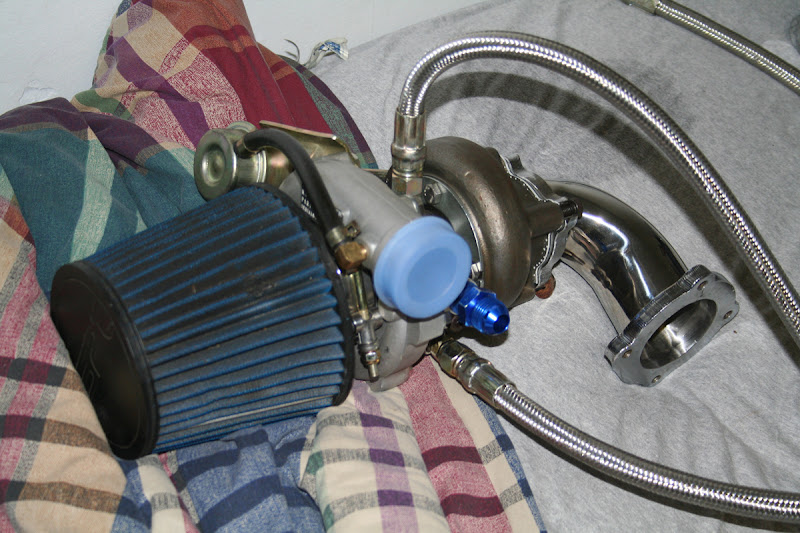
Begi old-style manifold
Tial BOV
AEM EMS 1710 (ait and map)
CX Racing intercooler and custom plumbning
T28 Churbo
eBay Downpipe (will probably be ordering one from Artech eventually)
440cc WRX Lt. Blue Injectors
ATP Turbo Hardware
-6an coolant plumbing (SS)
-3an oil feed (SS)
-10an return line (SS)
Buschur MBC
Yeah, this is a really simple setup- will probably tune to 6psi and hope to make 140hp. This is my 8th car and my 2nd turboed; I look forward to learning more about the NA chassis through this site.
This is a 1994 Miata with 40,000 mi on the chassis and motor.
As a compromise, I am now using a Begi manifold and thank this community for its guidance.
Anyway, my setup is as follows:
Begi old-style manifold
Tial BOV
AEM EMS 1710 (ait and map)
CX Racing intercooler and custom plumbning
T28 Churbo
eBay Downpipe
(will probably be ordering one from Artech eventually)440cc WRX Lt. Blue Injectors
ATP Turbo Hardware
-6an coolant plumbing (SS)
-3an oil feed (SS)
-10an return line (SS)
Buschur MBC
Yeah, this is a really simple setup- will probably tune to 6psi and hope to make 140hp. This is my 8th car and my 2nd turboed; I look forward to learning more about the NA chassis through this site.
This is a 1994 Miata with 40,000 mi on the chassis and motor.
Last edited by aug; Sep 18, 2010 at 10:36 AM.
Reply
 0
0

0
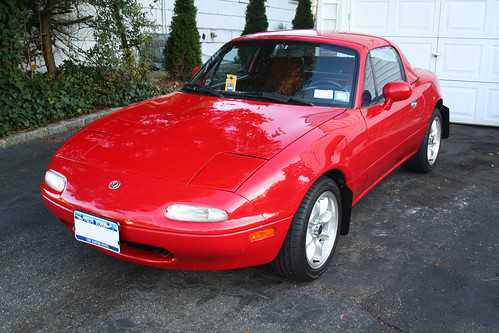

Nice clean platform you got there. Do you have a/c?
__________________
Best Car Insurance | Auto Protection Today | FREE Trade-In Quote
__________________
Best Car Insurance | Auto Protection Today | FREE Trade-In Quote
Reply
0
0

I have AC and it wasn't an issue. Looking forward to your progress, I don't know of any other boosted Miata's on Long Island, though I did meet a guy with a supercharged 95 running a Powercard who's on his 4th engine. 

Reply
0
0
Yours is much farther forward than his, but it looks like it should be ok.
Then again, he put it pretty high up. Hopefully it's far enough back.
__________________
Best Car Insurance | Auto Protection Today | FREE Trade-In Quote
Then again, he put it pretty high up. Hopefully it's far enough back.
__________________
Best Car Insurance | Auto Protection Today | FREE Trade-In Quote
Reply
0
0
Thread Starter
Junior Member
iTrader: (7)
Joined: Jan 2010
Posts: 349
Total Cats: 1
From: Long Island, NY
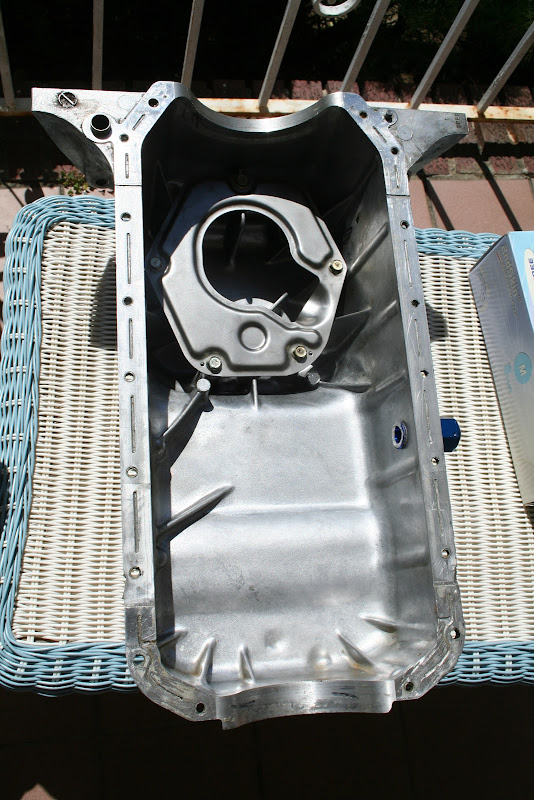
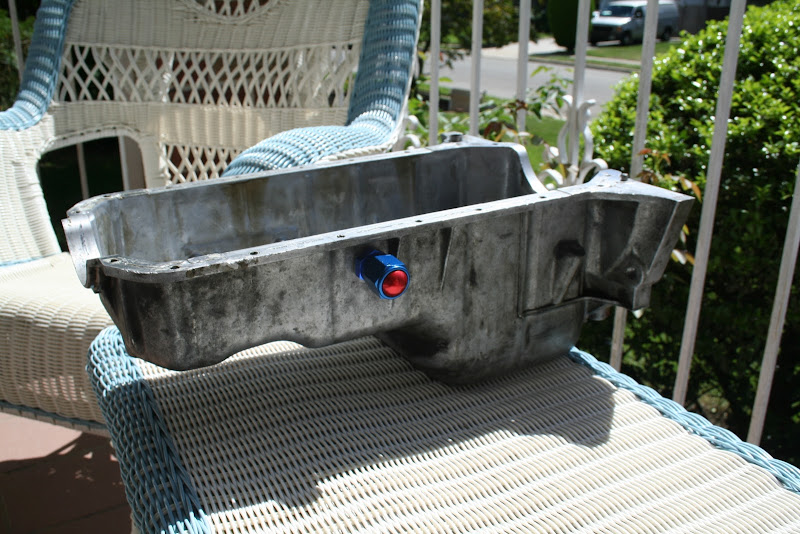
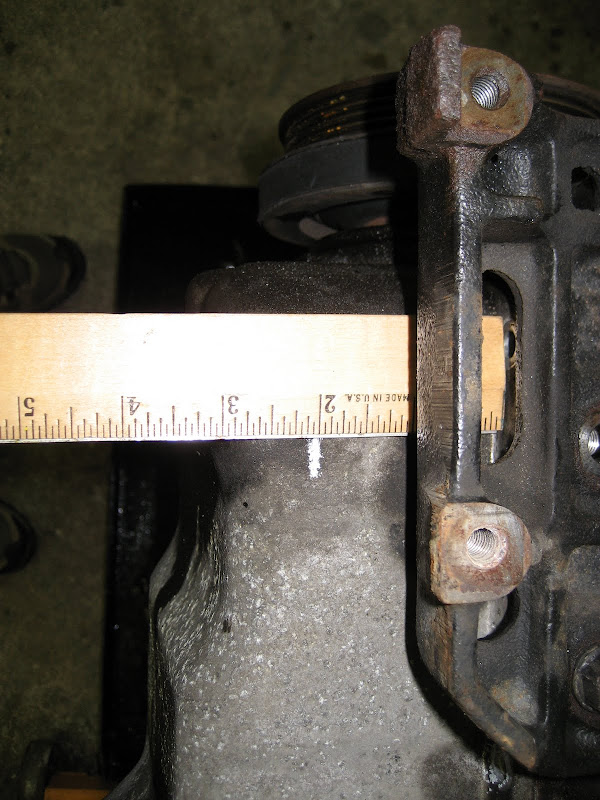
Oh, I measured and mocked everything up before drilling that hole. It was an annoying task of removing the oil pan with the motor in the car, but after seeing the amount of shavings I was glad.
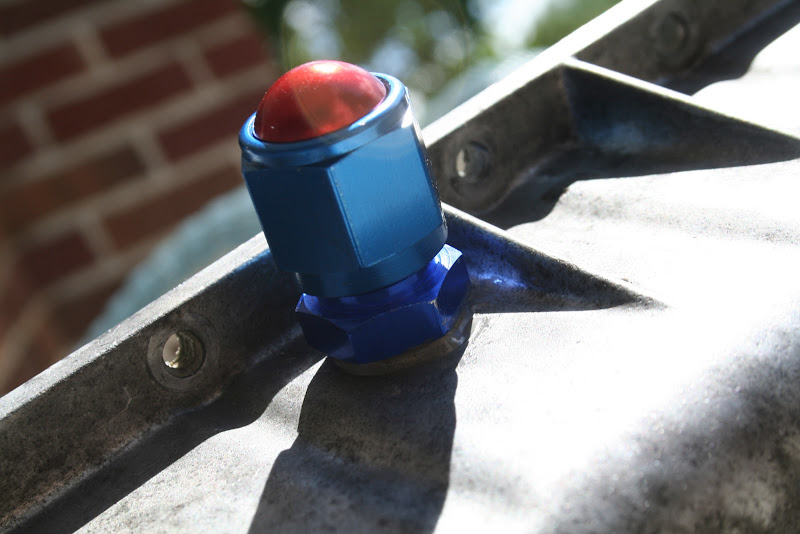
My placement was due to three factors: the A/C compressor and bracket, a shorter routing of my return line- albeit by a small margin, and the line being higher from the ground.
This had to be completed over a weekend, as I use the miata to commute. Hopefully, by the end of tomorrow, my EGR will be deleted and I can begin calibrating the AEM EMS..
Reply
0
0
Thread Starter
Junior Member
iTrader: (7)
Joined: Jan 2010
Posts: 349
Total Cats: 1
From: Long Island, NY
Update for this week:
EGR tube was deleted. The valve and other electronics involved are staying in until I find some information on the process. Not sure what to disconnect or to leave in.
Here is my makeshift block off plate. I made it out of some scrap steel, no one can see it anyway:
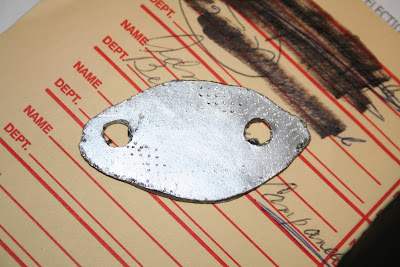
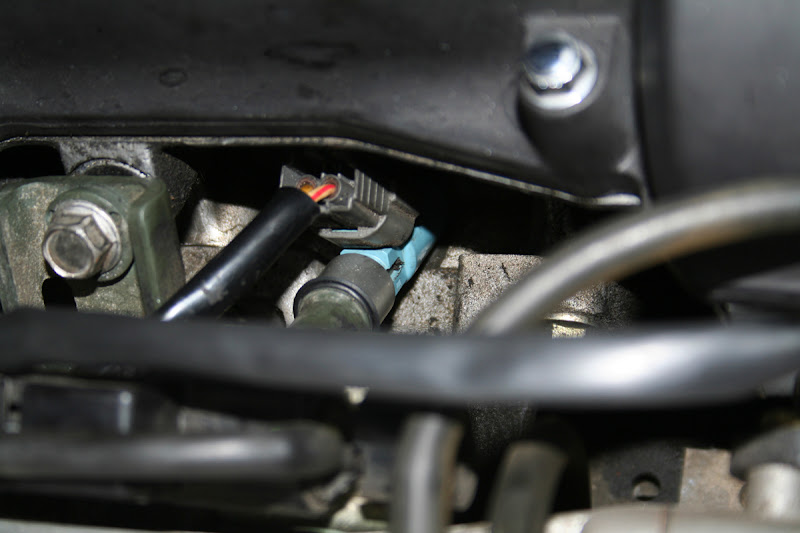
And just because it was an ordeal in itself, the EGR tube:
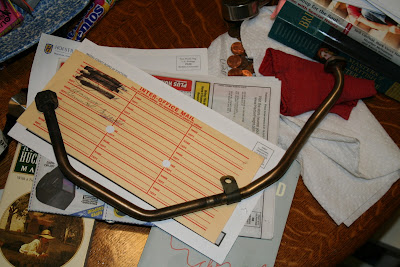
I really give anyone credit who can remove that thing easily.. Taking the bracket off behind the motor took 20 minutes..
Also, I decided to hold back on the 550cc injectors. In their place, an old set of WRX 440's will be retrofitted. My Subaru's legacy will live on... I will be sending them out to Witchhunter soon..
EGR tube was deleted. The valve and other electronics involved are staying in until I find some information on the process. Not sure what to disconnect or to leave in.
Here is my makeshift block off plate. I made it out of some scrap steel, no one can see it anyway:
And just because it was an ordeal in itself, the EGR tube:
I really give anyone credit who can remove that thing easily.. Taking the bracket off behind the motor took 20 minutes..
Also, I decided to hold back on the 550cc injectors. In their place, an old set of WRX 440's will be retrofitted. My Subaru's legacy will live on... I will be sending them out to Witchhunter soon..
Last edited by aug; Sep 18, 2010 at 10:31 AM.
Reply
0
0

Thread Starter
Junior Member
iTrader: (7)
Joined: Jan 2010
Posts: 349
Total Cats: 1
From: Long Island, NY
An update:
Only part left to go on is my drain line. The one I purchased off a member on here was too short =[
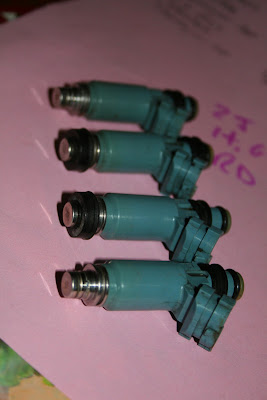
Anyway, the only interesting thing I've done on this car is the WRX injector swap. As they are about 12 milimeters shorter than stock, I bought some extenders to compensate. I know many people have thought about this modification; WRX 440's are dirt cheap.
Here are the results:
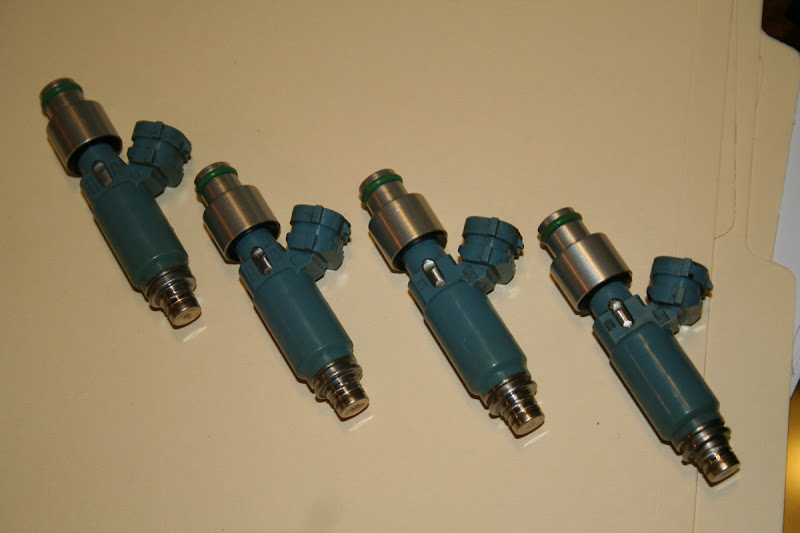
You will need the "Help!" Fuel Injection O-Rings from Autozone Part #90100
I used the same fat, brown O-ring (the largest in the pack) on the top and bottom of injector. For the seal, I used the Smallest black injector seal. I'll get exact measurements later.
Black seal: 13mm OD, 9mm ID
Brown O-Ring:
Source for the extenders:
http://www.fiveomotorsport.com/elect...s/?itemid=1136
Only part left to go on is my drain line. The one I purchased off a member on here was too short =[
Anyway, the only interesting thing I've done on this car is the WRX injector swap. As they are about 12 milimeters shorter than stock, I bought some extenders to compensate. I know many people have thought about this modification; WRX 440's are dirt cheap.
Here are the results:
You will need the "Help!" Fuel Injection O-Rings from Autozone Part #90100
I used the same fat, brown O-ring (the largest in the pack) on the top and bottom of injector. For the seal, I used the Smallest black injector seal. I'll get exact measurements later.
Black seal: 13mm OD, 9mm ID
Brown O-Ring:
Source for the extenders:
http://www.fiveomotorsport.com/elect...s/?itemid=1136
Last edited by aug; Sep 26, 2010 at 06:06 PM.
Reply
0
0


Thread Starter
Junior Member
iTrader: (7)
Joined: Jan 2010
Posts: 349
Total Cats: 1
From: Long Island, NY
Haha, yes... that was the hardest part of this install...
Good thing I went over everything before starting; the return line was extremely taught and definitely would have failed. For some reason it's taking UPS a week to bring me another from Ohio..
You're the man Rafa, can't wait to start this beast.. You've been an amazing resource throughout the process.
Reply
0
0

Joined: Jun 2006
Posts: 29,085
Total Cats: 375
From: Republic of Dallas
Reply
0
0


I was going to post something about mine. Just bought them for my '08 Lancer, the standard ones, which are only $45. Held them up to the miata and it'd look like they'd work with a little modification, if someone's looking for some badass mudflaps.
Reply
0
0


