
Bryce does the VVTeez


Thread Starter
Elite Member
iTrader: (24)
Joined: Jul 2007
Posts: 3,759
Total Cats: 35
From: Cypress, TX
No can do. With such a spendy motor, I didn't want to tear it down and rebuild it myself. That said, I'll definitely be doing it myself next time.
This motor felt like it had a little extra something in it.
This motor felt like it had a little extra something in it.
Reply
 0
0

0

Reply
0
0
Thread Starter
Elite Member
iTrader: (24)
Joined: Jul 2007
Posts: 3,759
Total Cats: 35
From: Cypress, TX
I'm currently waiting on an oil pickup tube seal before I join the two halves of the motor.
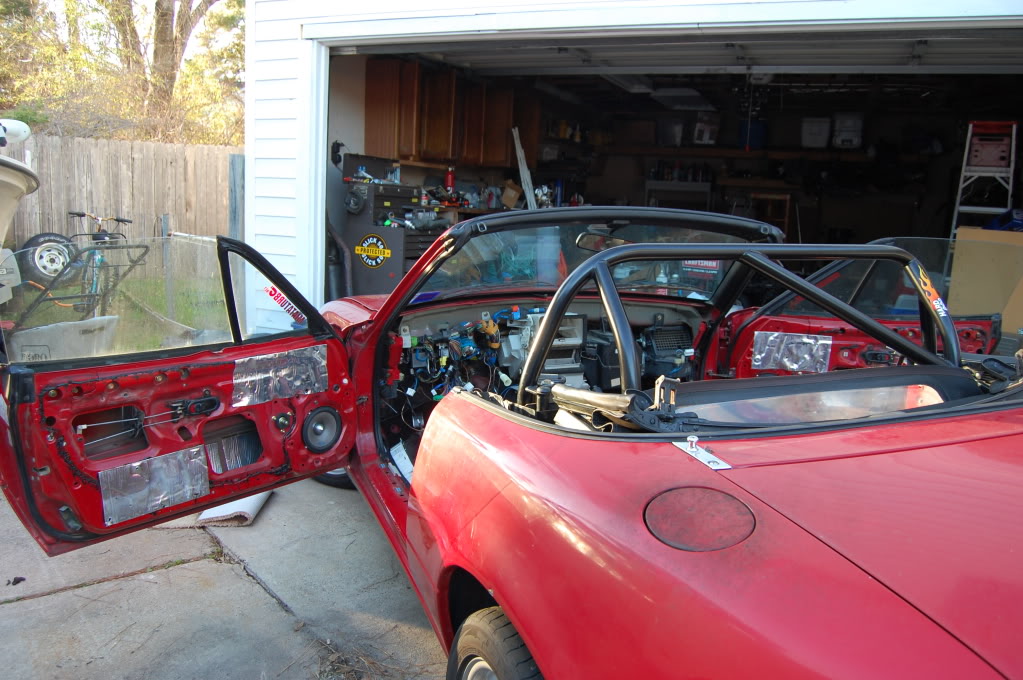
Today I sat out in the 100 degree weather and cleaned house. Will be swapping in some fresh cut-pile NB carpet, seat belts, shoulder trim panels, and new top tension cables. I'll be adding Reflectix to the transmission tunnel to hopefully cut down on heat. Picked up this Hard Dog Sport M2 to coincide with my eventual plans for an NB glass soft top and hard top . Got it locally for $250. I have so many parts just sitting around in my room, waiting to be installed.
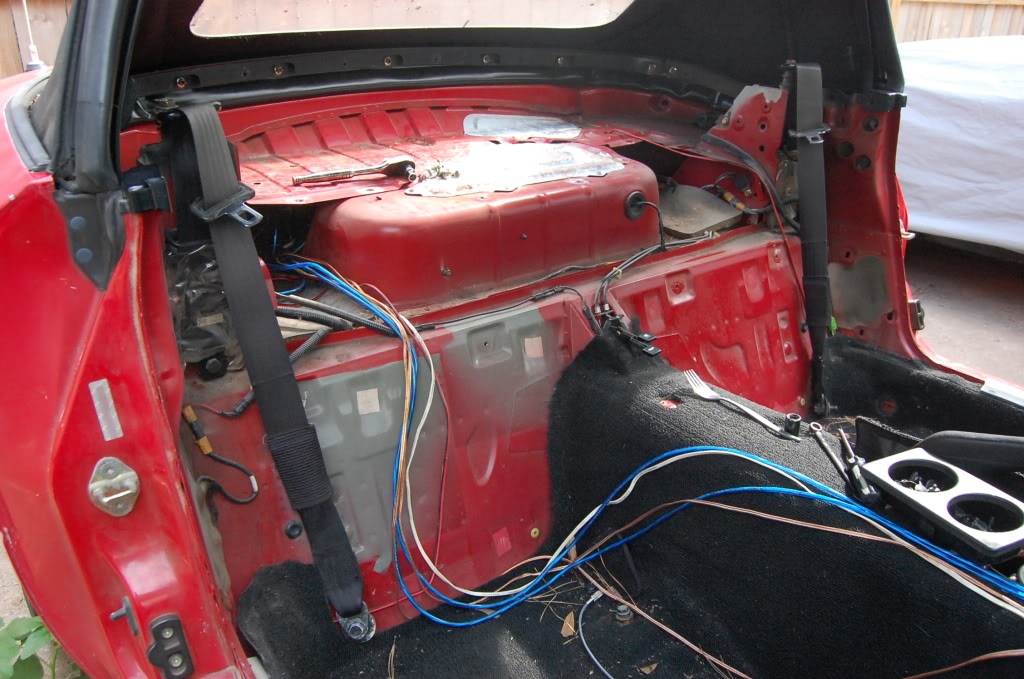
Today I sat out in the 100 degree weather and cleaned house. Will be swapping in some fresh cut-pile NB carpet, seat belts, shoulder trim panels, and new top tension cables. I'll be adding Reflectix to the transmission tunnel to hopefully cut down on heat. Picked up this Hard Dog Sport M2 to coincide with my eventual plans for an NB glass soft top and hard top . Got it locally for $250.
I have so many parts just sitting around in my room, waiting to be installed.
Reply
0
0
Thread Starter
Elite Member
iTrader: (24)
Joined: Jul 2007
Posts: 3,759
Total Cats: 35
From: Cypress, TX
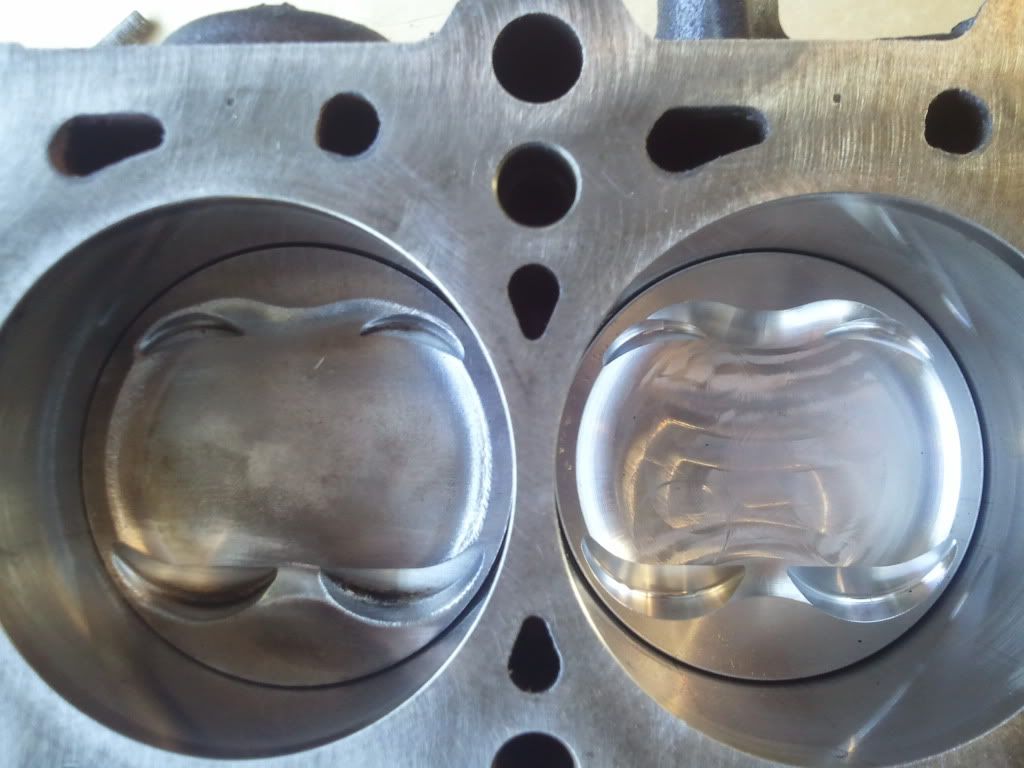
It's time to show off my new cellphone's picture-taking abilities.
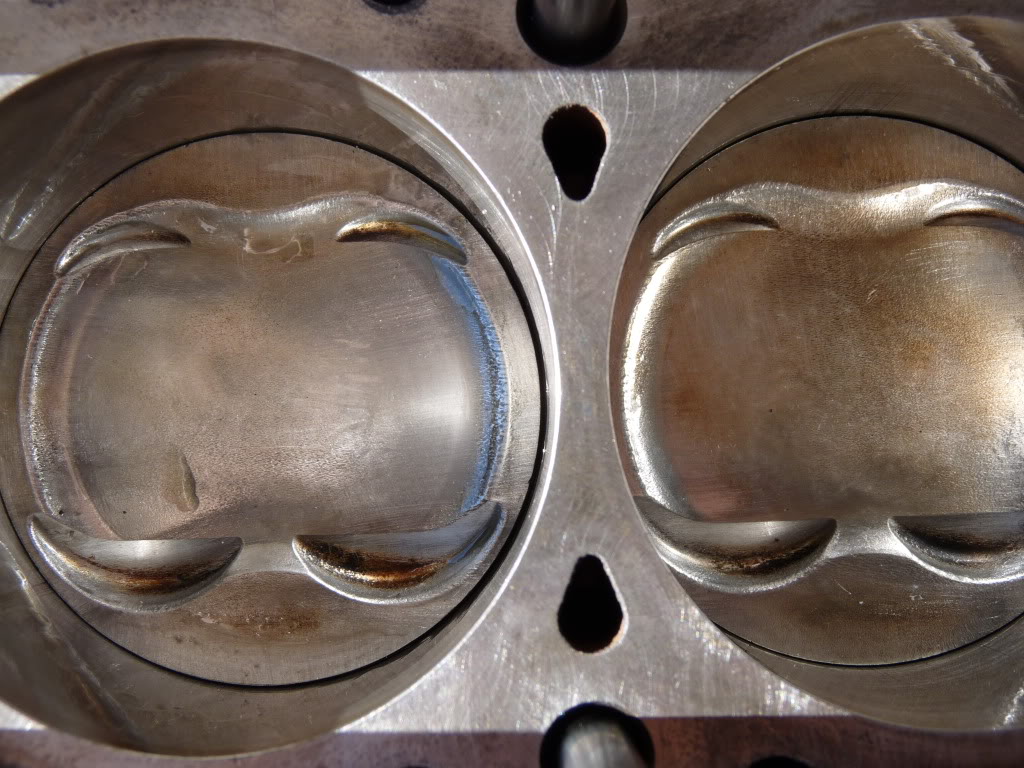
Should I be worried about this?
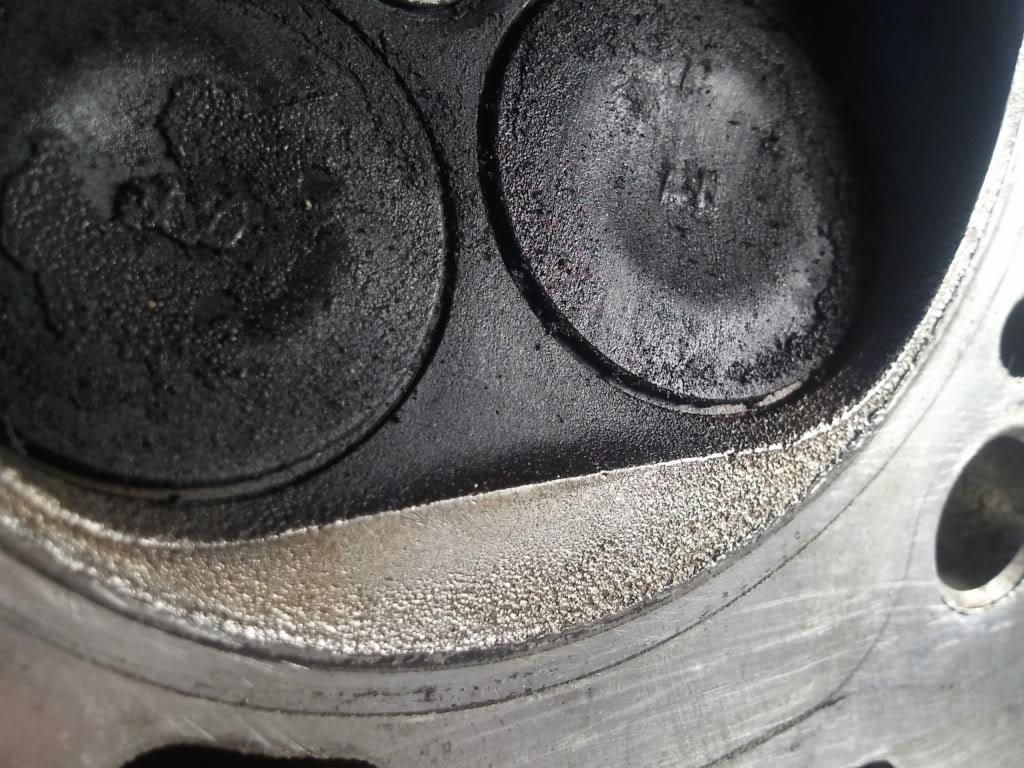
It's interesting how "sharp" the new piston is, compared to the old ones.
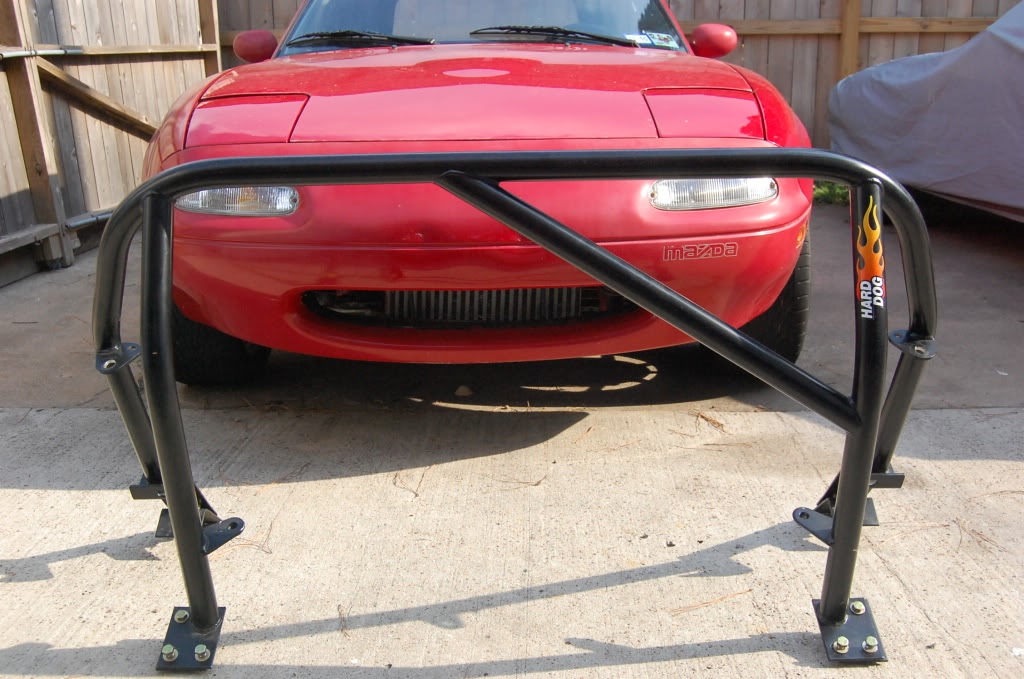
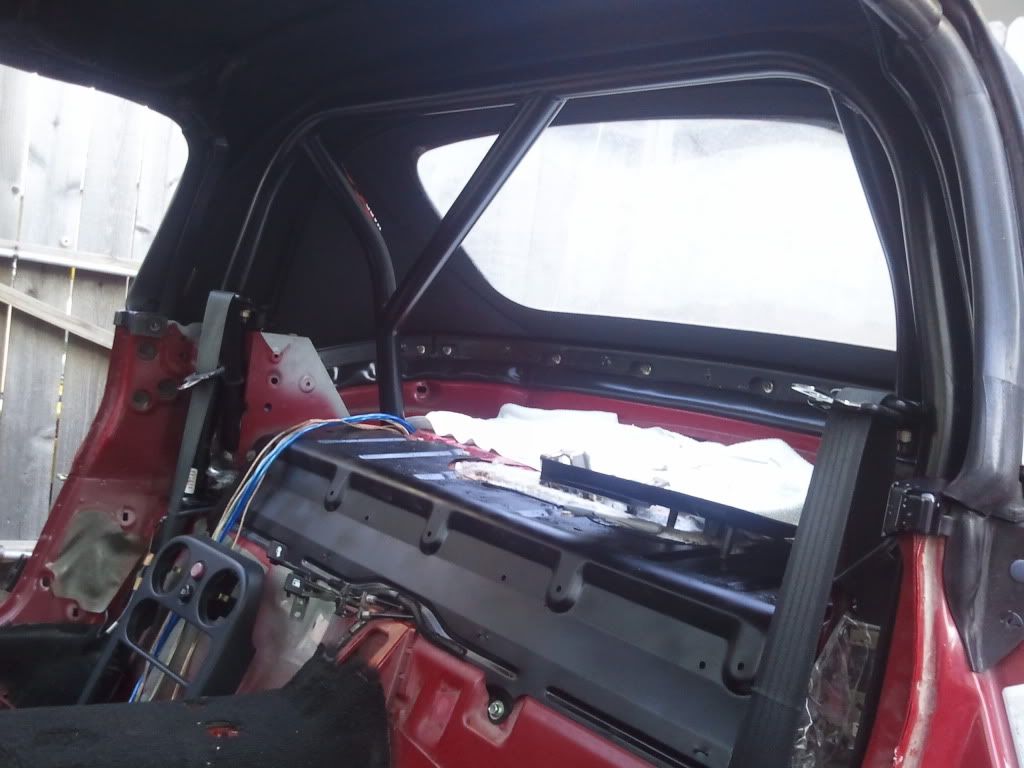
Roll bar installed!
Should I be worried about this?
It's interesting how "sharp" the new piston is, compared to the old ones.
Roll bar installed!
Reply
0
0


Oooh! You must have burned fragrant offerings to the detonation gods that they were constantly present but did not smite thee. Perhaps it would be wise to appease them with a re-tune.
Reply
0
0
Thread Starter
Elite Member
iTrader: (24)
Joined: Jul 2007
Posts: 3,759
Total Cats: 35
From: Cypress, TX
Base map, conservative timing. This did not happen with the motor in my possession. My question is will I need to worry about this causing more detonation and need cleaning up or will it be ok to use as is, without worry.
Last edited by Bryce; Oct 29, 2010 at 02:40 PM.
Reply
0
0

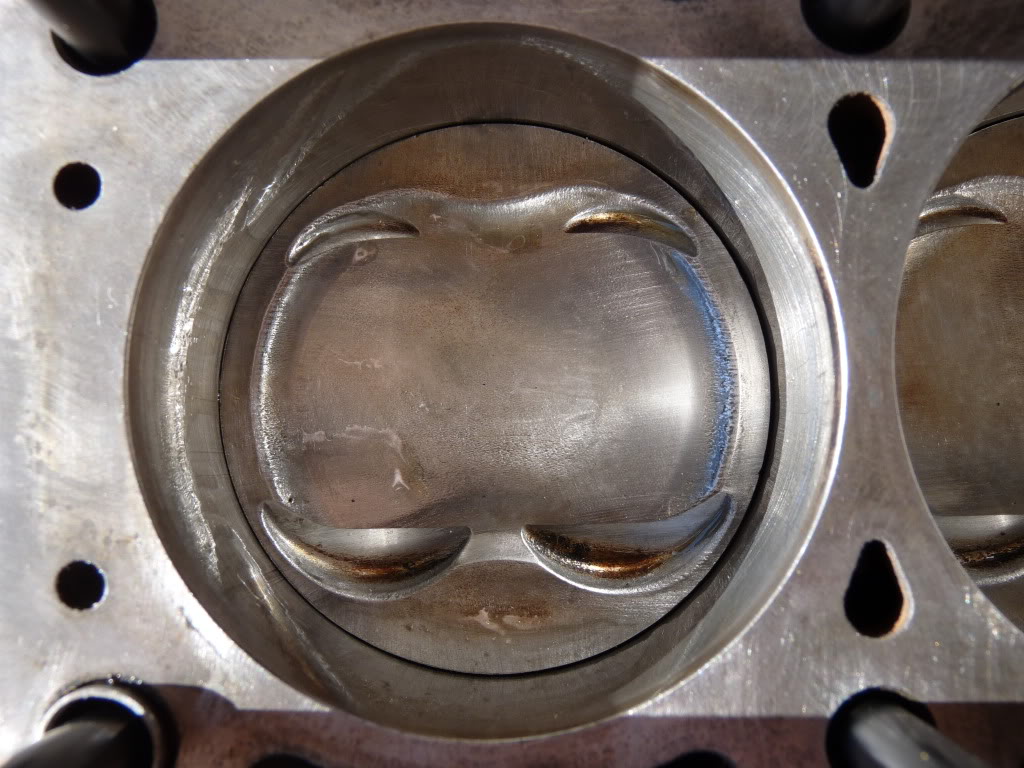


I think it is an illusion. Piston seems to be on one side of the bore because of ring tension. It does look like the pistons are a little small for their bore, but it may just be another illusion.
Can you wiggle the piston much in there bores? Are you sure ring gaps are staggard properly? DID YOU REMEMBER TO INSTALL RINGS??????
Can you wiggle the piston much in there bores? Are you sure ring gaps are staggard properly? DID YOU REMEMBER TO INSTALL RINGS??????
Reply
0
0
Thread Starter
Elite Member
iTrader: (24)
Joined: Jul 2007
Posts: 3,759
Total Cats: 35
From: Cypress, TX
I think it is an illusion. Piston seems to be on one side of the bore because of ring tension. It does look like the pistons are a little small for their bore, but it may just be another illusion.
Can you wiggle the piston much in there bores? Are you sure ring gaps are staggard properly? DID YOU REMEMBER TO INSTALL RINGS??????
Can you wiggle the piston much in there bores? Are you sure ring gaps are staggard properly? DID YOU REMEMBER TO INSTALL RINGS??????
Reply
0
0
Reply
0
0
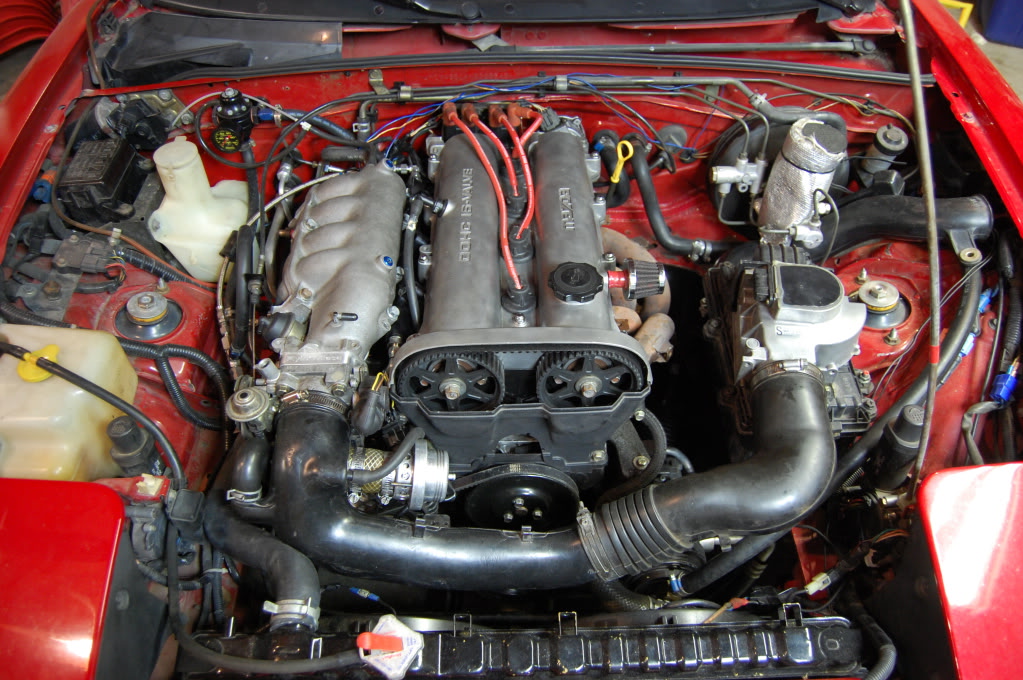
Motor is in. Now Bryce just needs to hook everything up and get her running.


We also installed a MSM wheel in my 99 sport, so that Bryce can modify my old Nardi wheel to fit on his 92.
We also installed a MSM wheel in my 99 sport, so that Bryce can modify my old Nardi wheel to fit on his 92.
Reply
0
0


Thread Starter
Elite Member
iTrader: (24)
Joined: Jul 2007
Posts: 3,759
Total Cats: 35
From: Cypress, TX
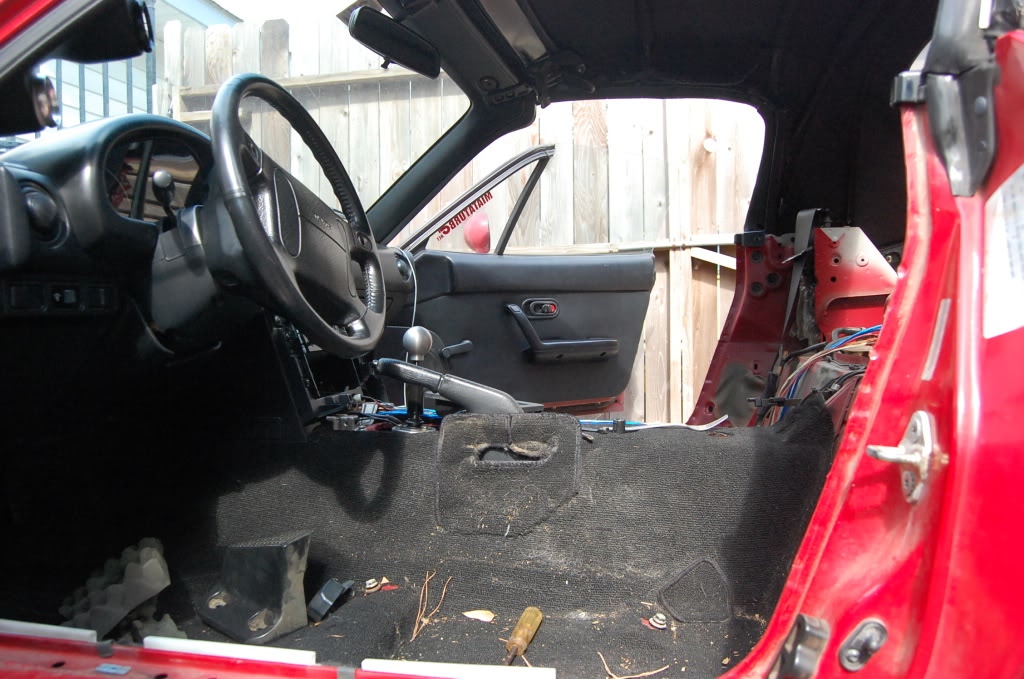
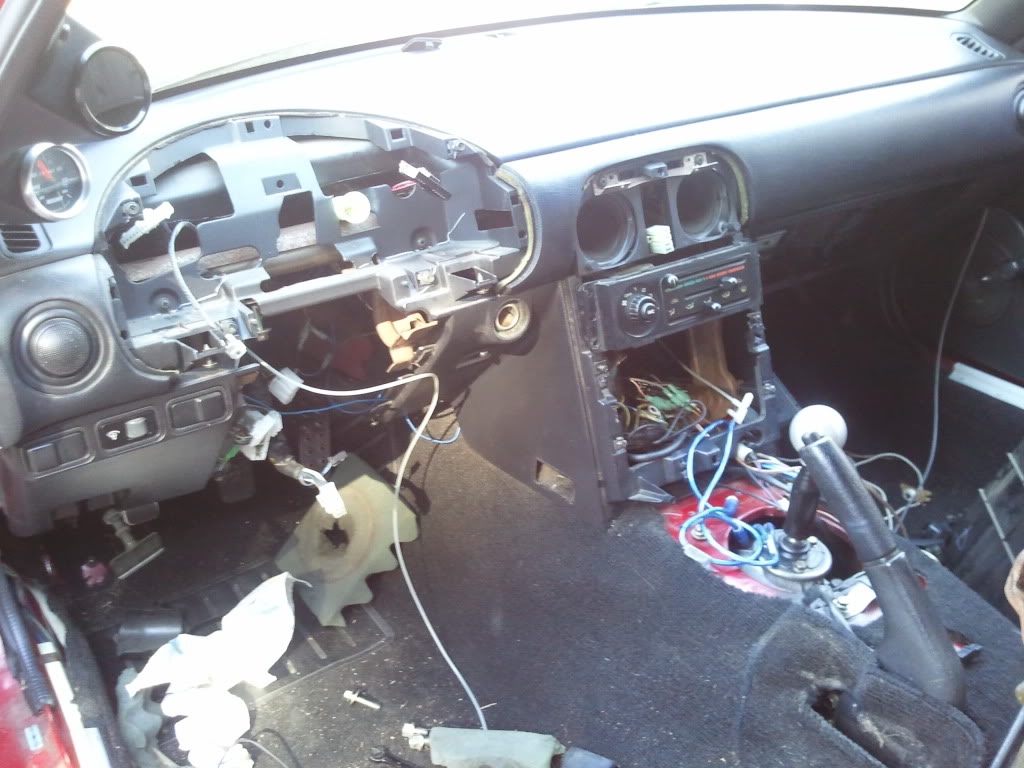
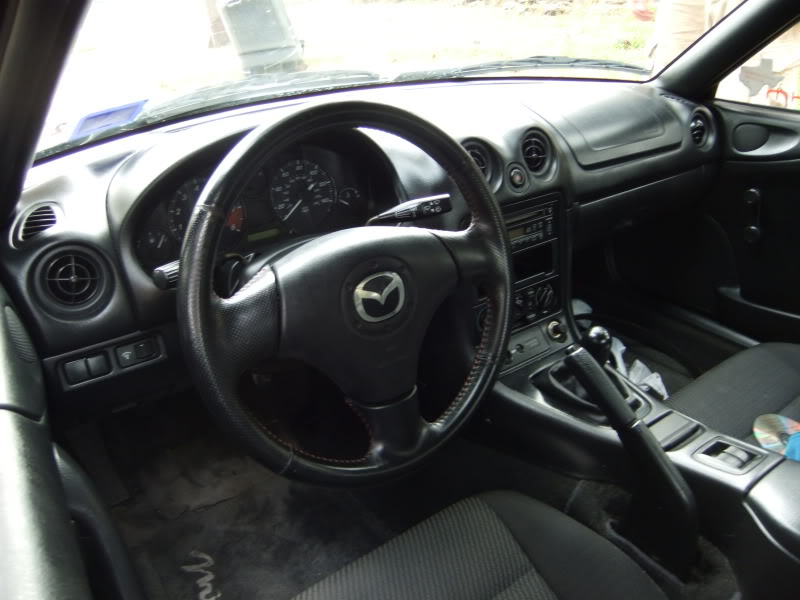
This is how it looked yesterday.
The end of today.
The NB wheel feels so much nicer in the hands. It's in much better shape than my old one too. Plus, it was free. Thanks Stan!
I haven't touched the motor since it was put in. :P
The end of today.
The NB wheel feels so much nicer in the hands. It's in much better shape than my old one too. Plus, it was free. Thanks Stan!
I haven't touched the motor since it was put in. :P
Reply
0
0
Thread Starter
Elite Member
iTrader: (24)
Joined: Jul 2007
Posts: 3,759
Total Cats: 35
From: Cypress, TX
Stan, your assistance is not longer required.
Thanks for all the positive feedback!
I cleaned out the garage to put the Miata in, so I've been working on it a lot more the past 2 weeks. This has resulted in some rapid progress.
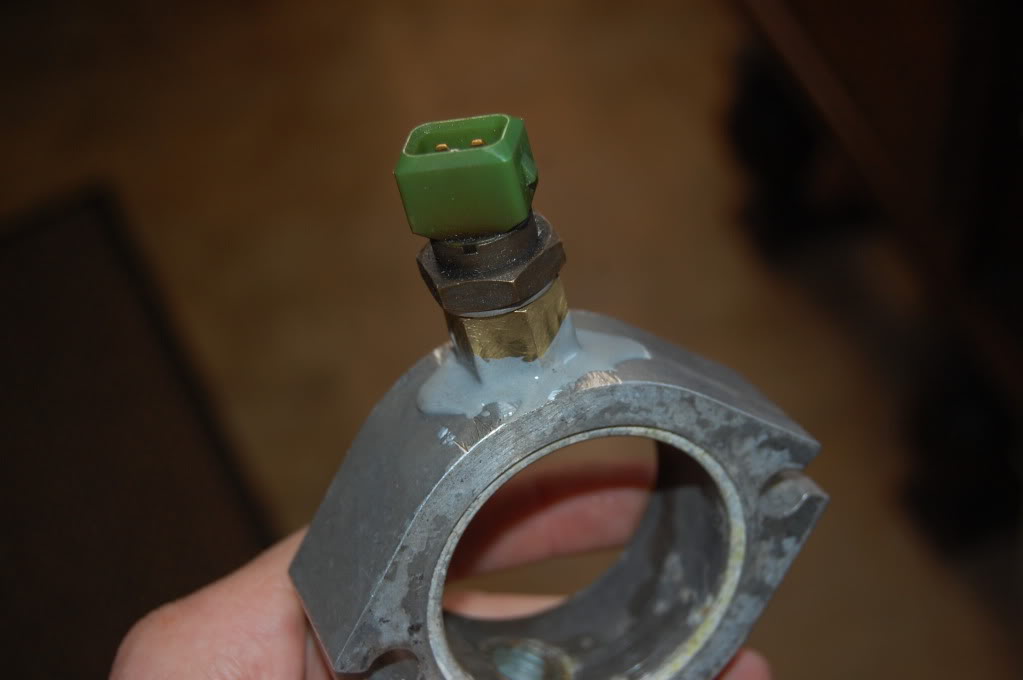
The NPT bushing that I tapped for the CLT sensor decided to break. I ended up JB welding an NPT coupler onto it. Hopefully this will hold. If it doesn't, I should know pretty quickly.
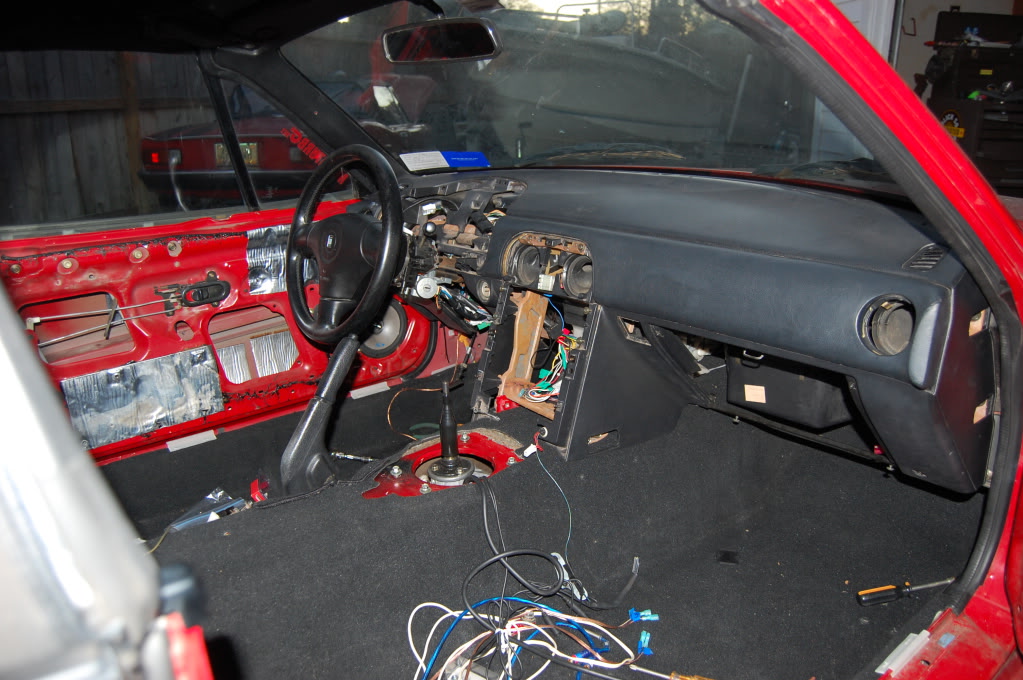
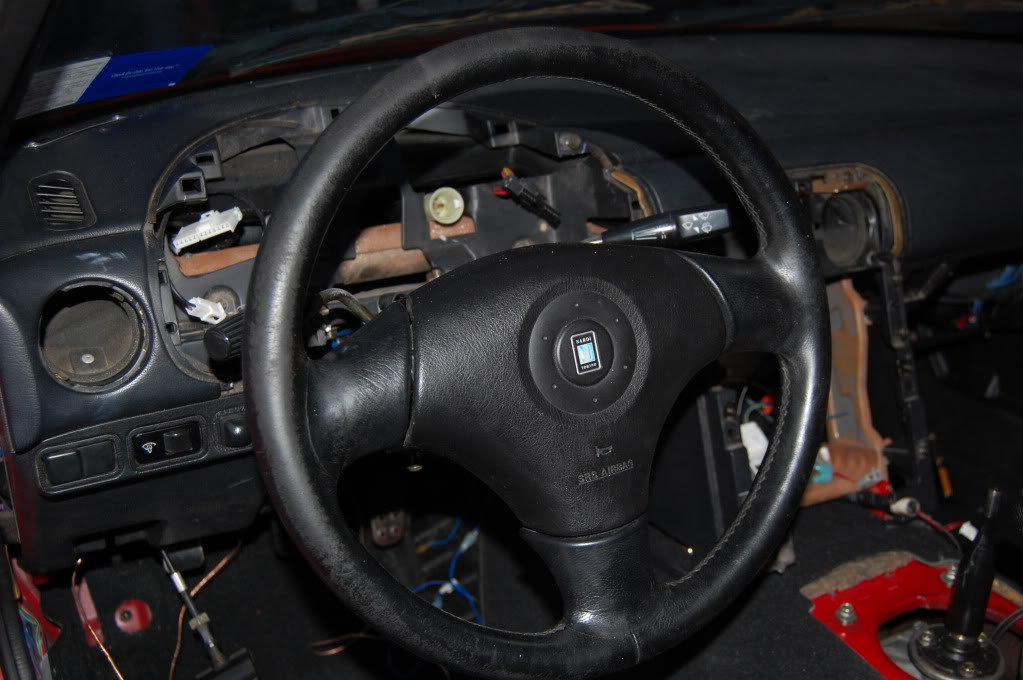
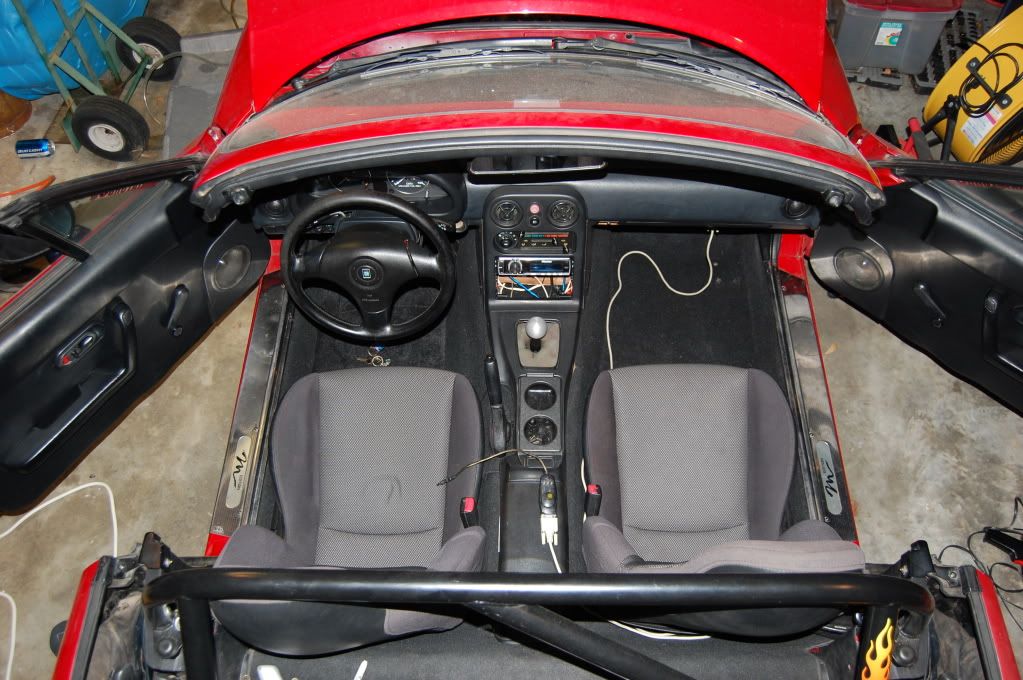
Interior is complete. No more crack in the dashboard. NB carpet with 20k miles on it is so much better than that loop-pile crap. The shifter boot is worn out so I opted out on that part. The NB steering wheel was easy to modify. Just one hole needed to be drilled. I also detonated my old airbag. Need to find the video of it and upload.
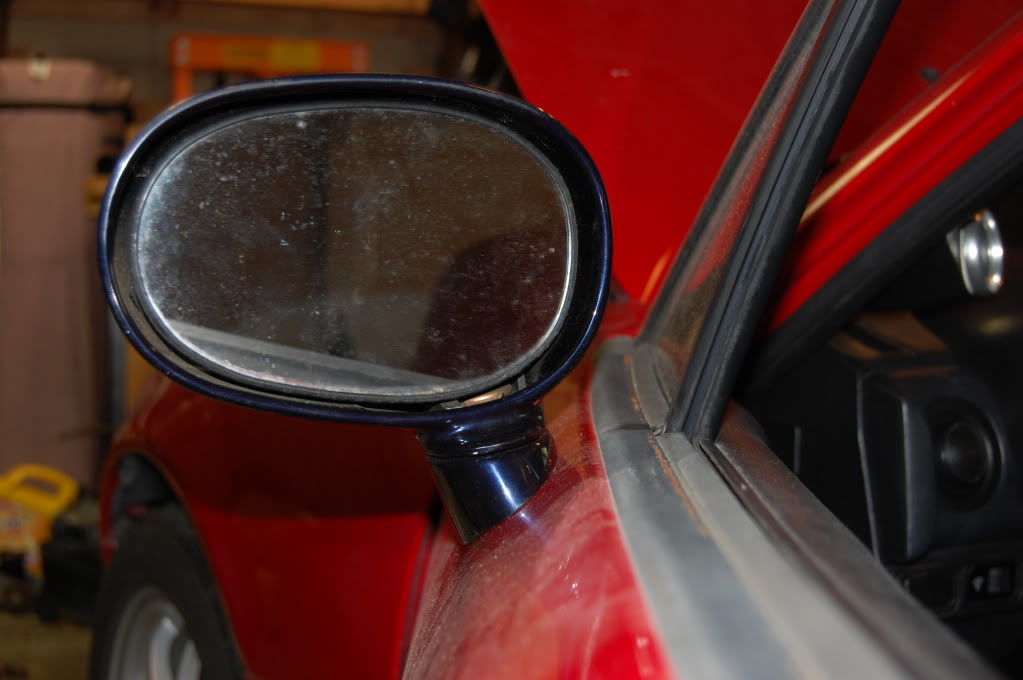
Power mirrors. The manual ones literally rusted off! They aren't hooked up yet. Apparently Mazda didn't offer them until 93, so I don't have the harness for them.
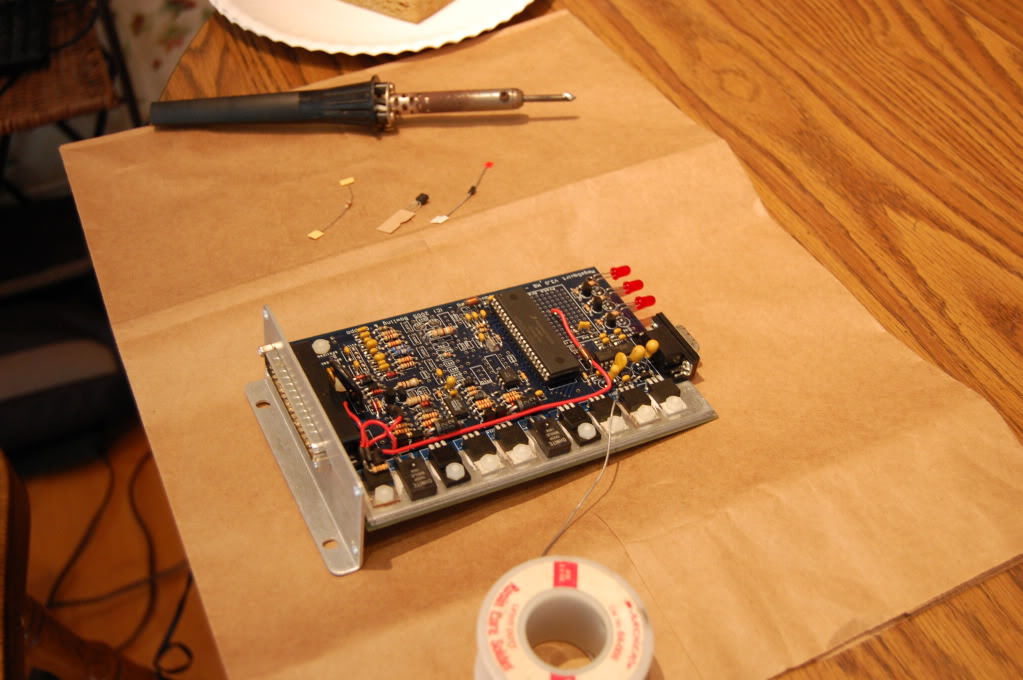
Fan control mod. It doesn't work though. It activates the fans anytime the key is on. I think the transistor might not be switching. I think it's showing continuity between the two legs that shouldn't have any continuity. Any ideas?
Get a load of this. I have a boost gauge and a blow off valve, but no turbo. I decide to put the stock intake back on. This way, I can let the AIT sensor sit inside the plastic snorkel and not get heatsoaked.
If nothing goes wrong, I'll be driving around tomorrow with an inspection sticker that expired in 2009. Gotta break in 1 cylinder, lol.
I tested the fuel system by jumping the diagnostic terminals and heard a spraying sound. Fuel is everywhere due to an o-ring on one of the injectors not seating properly. At least I checked this before getting everything hooked up to the point of starting the car. It was easily fixed though. I don't mind the 2 piece design of the NB manifold. I'd rather remove a couple extra bolts and clamps to have much more room to work on the fuel rail compared to the 1.6 design.
I had one hell of a time getting oil pressure. I had to whip out the commercial vacuum pump, aka the Prime master 5000, and pull a vacuum through the turbo oil feed while cranking the motor to get oil flow. It didn't do the trick without cranking the motor.
I tried to start it, but cranking PWs are certainly off after going from 750 to 800cc injectors and the GF was getting impatient.
Thanks for all the positive feedback!
I cleaned out the garage to put the Miata in, so I've been working on it a lot more the past 2 weeks. This has resulted in some rapid progress.
The NPT bushing that I tapped for the CLT sensor decided to break. I ended up JB welding an NPT coupler onto it. Hopefully this will hold. If it doesn't, I should know pretty quickly.
Interior is complete. No more crack in the dashboard. NB carpet with 20k miles on it is so much better than that loop-pile crap. The shifter boot is worn out so I opted out on that part. The NB steering wheel was easy to modify. Just one hole needed to be drilled. I also detonated my old airbag. Need to find the video of it and upload.
Power mirrors. The manual ones literally rusted off! They aren't hooked up yet. Apparently Mazda didn't offer them until 93, so I don't have the harness for them.
Fan control mod. It doesn't work though. It activates the fans anytime the key is on. I think the transistor might not be switching. I think it's showing continuity between the two legs that shouldn't have any continuity. Any ideas?
Get a load of this. I have a boost gauge and a blow off valve, but no turbo. I decide to put the stock intake back on. This way, I can let the AIT sensor sit inside the plastic snorkel and not get heatsoaked.
If nothing goes wrong, I'll be driving around tomorrow with an inspection sticker that expired in 2009. Gotta break in 1 cylinder, lol.
I tested the fuel system by jumping the diagnostic terminals and heard a spraying sound. Fuel is everywhere due to an o-ring on one of the injectors not seating properly. At least I checked this before getting everything hooked up to the point of starting the car. It was easily fixed though. I don't mind the 2 piece design of the NB manifold. I'd rather remove a couple extra bolts and clamps to have much more room to work on the fuel rail compared to the 1.6 design.
I had one hell of a time getting oil pressure. I had to whip out the commercial vacuum pump, aka the Prime master 5000, and pull a vacuum through the turbo oil feed while cranking the motor to get oil flow. It didn't do the trick without cranking the motor.
I tried to start it, but cranking PWs are certainly off after going from 750 to 800cc injectors and the GF was getting impatient.
Last edited by Bryce; Mar 4, 2011 at 03:33 AM.
Reply
0
0


