
Build : 2 Turbo Miata for a good cause!


Joined: Sep 2010
Posts: 8,146
Total Cats: 1,087
From: Lake Forest, CA
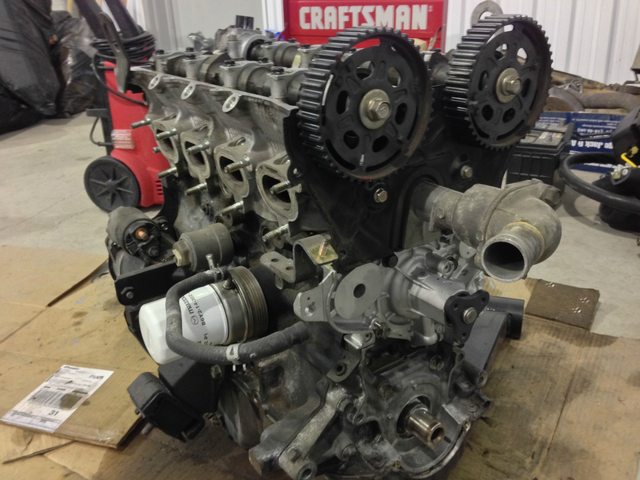
Oh no, the green paint came out.
Motor looks suuuuuper clean inside. Nice find.
Motor looks suuuuuper clean inside. Nice find.
Reply
 1
1

1

Thread Starter
Bannisheded
Joined: Feb 2014
Posts: 74
Total Cats: -88

as far as the outside/inside goes, i'll be keeping a very subtle, matte black and gloss black mix with some bare metal/chromish color.
You'll see ! trust me !
Reply
0
0
Thread Starter
Bannisheded
Joined: Feb 2014
Posts: 74
Total Cats: -88
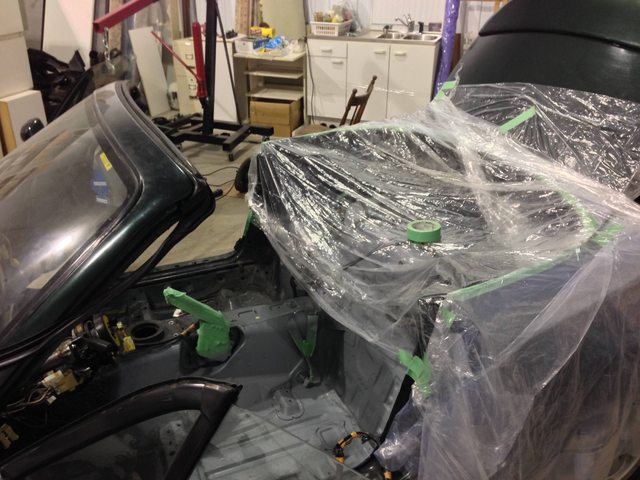
okay guys ! no school from tuesday to friday, so I slept over at the garage.
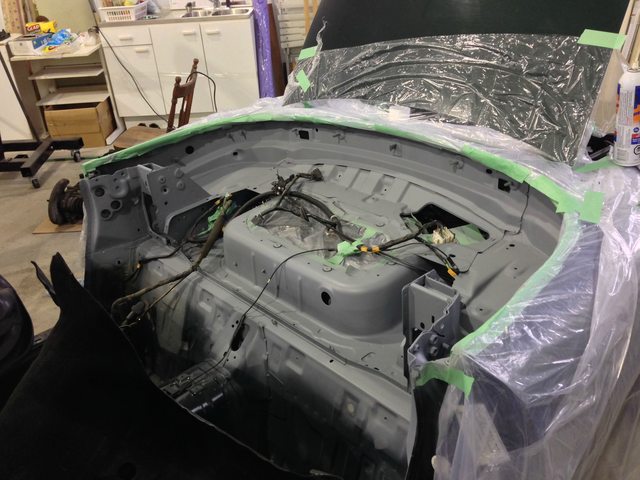
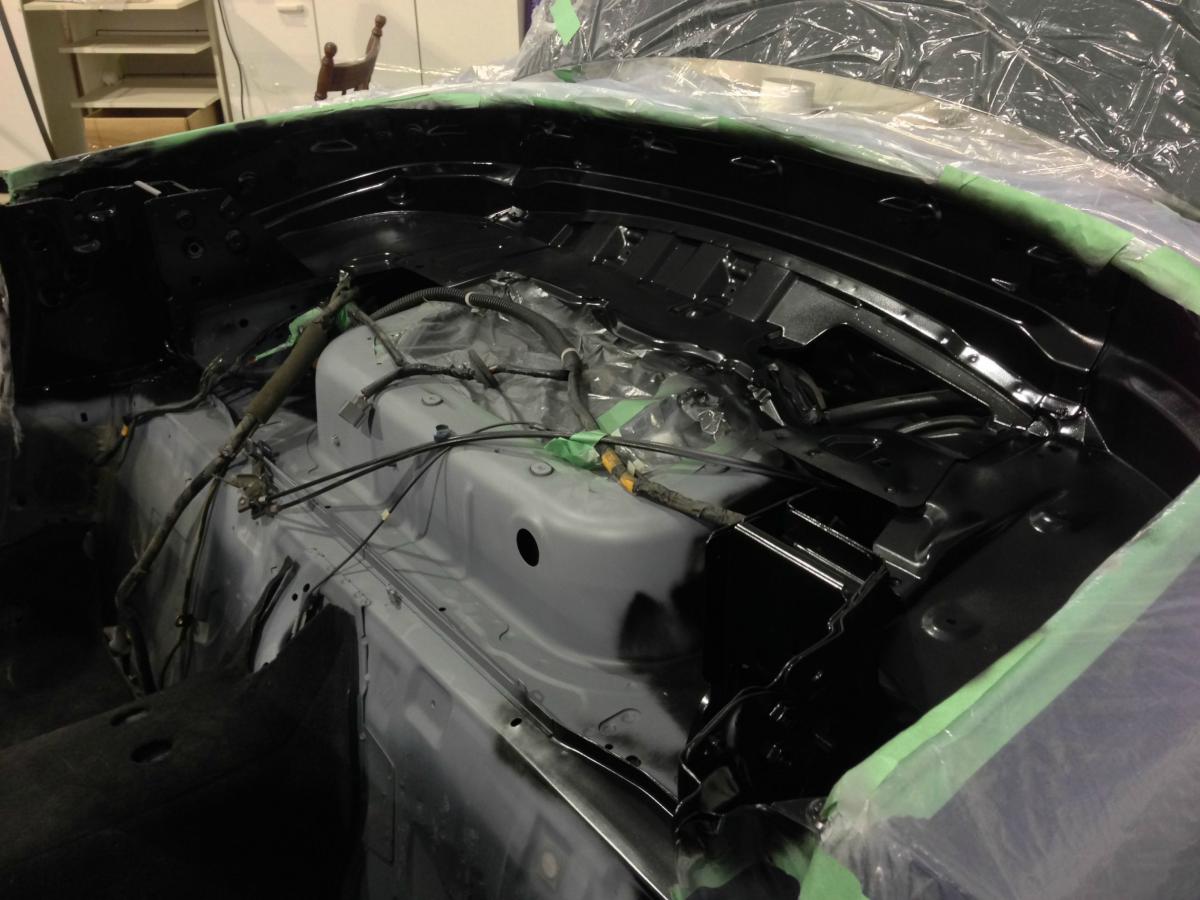
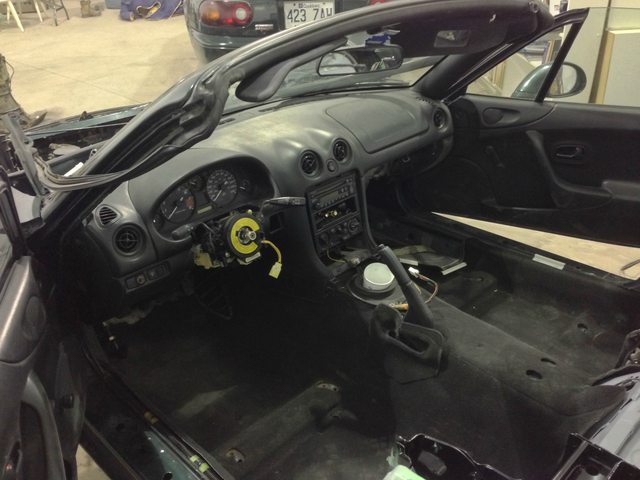
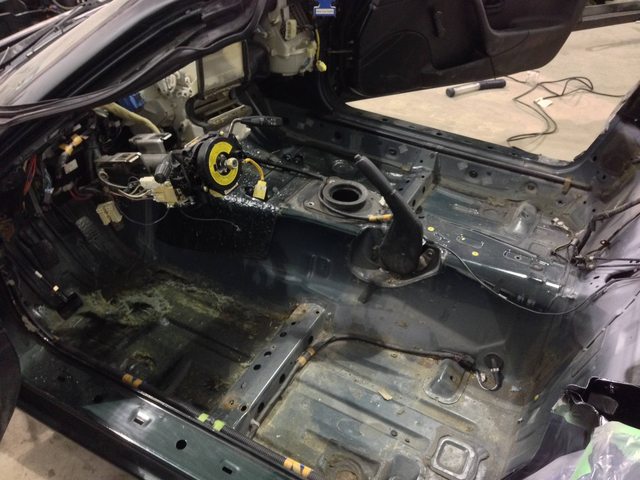
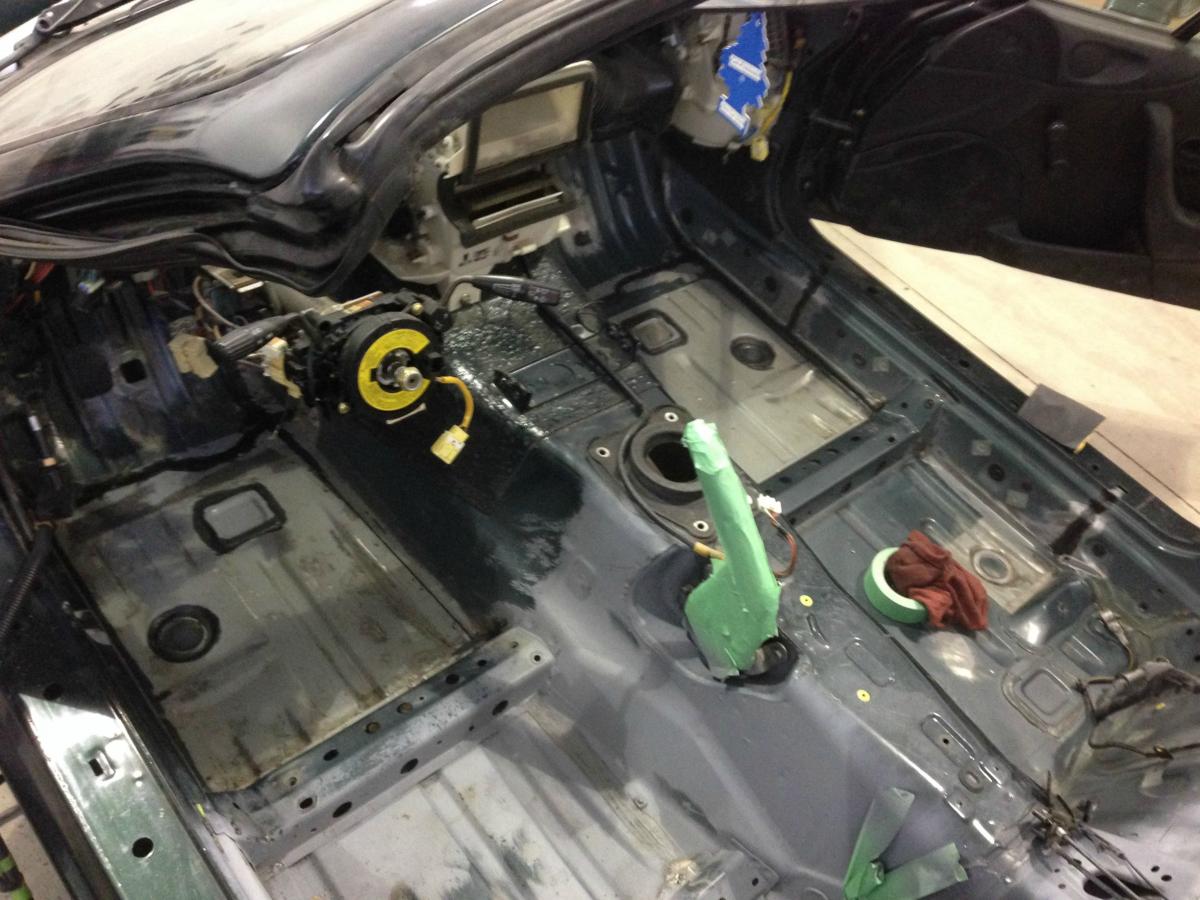
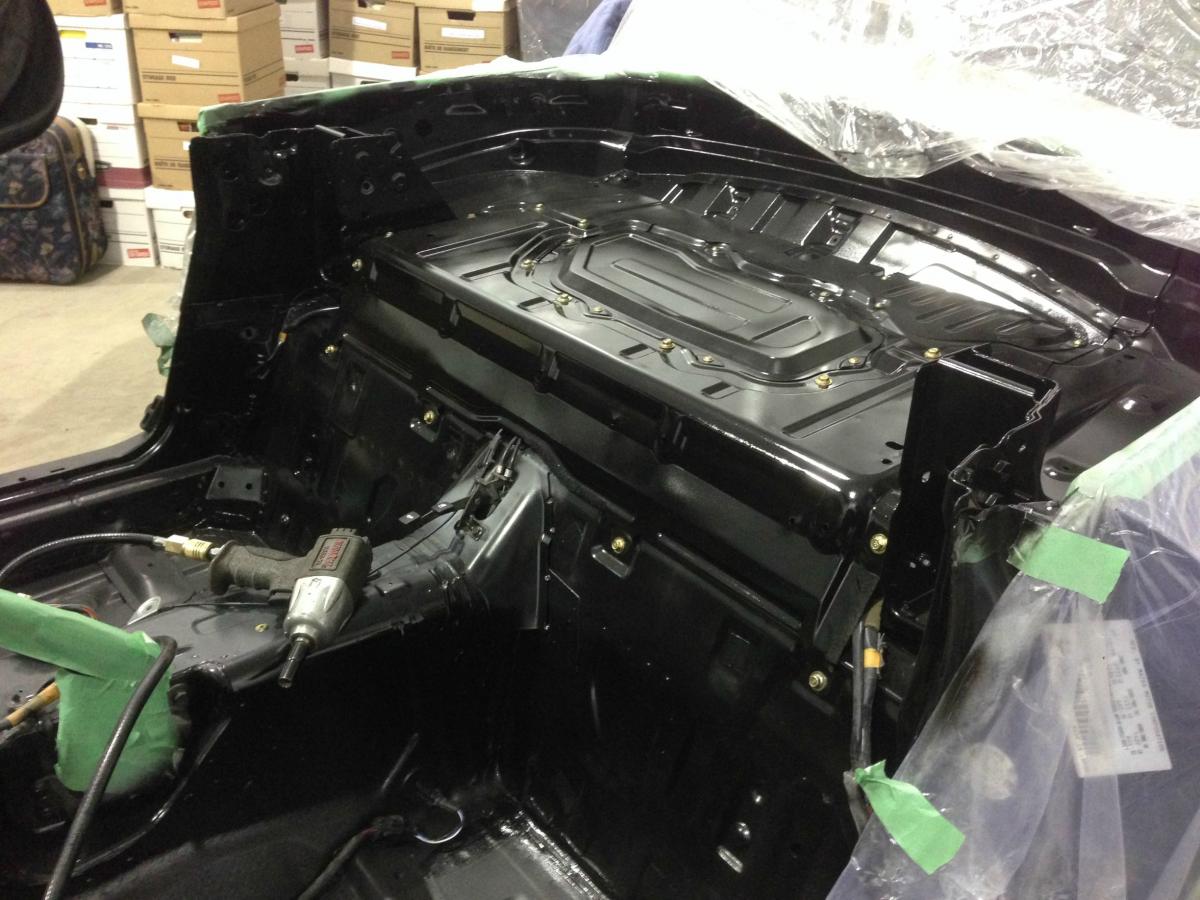
Sound insulation had to come off, paint had to be done in my interior
MISSILE style.
(rattle cans)
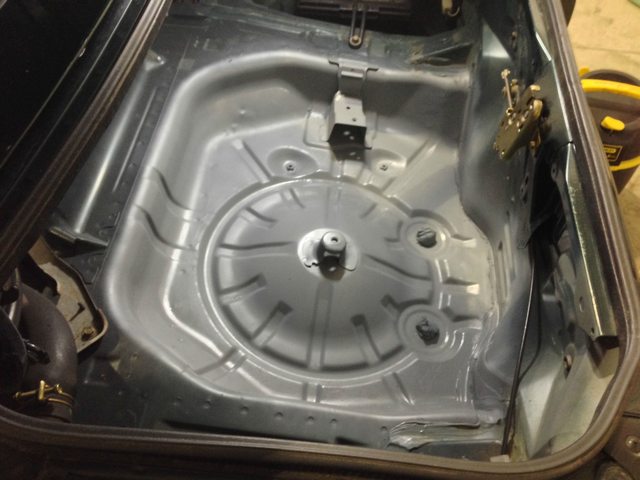
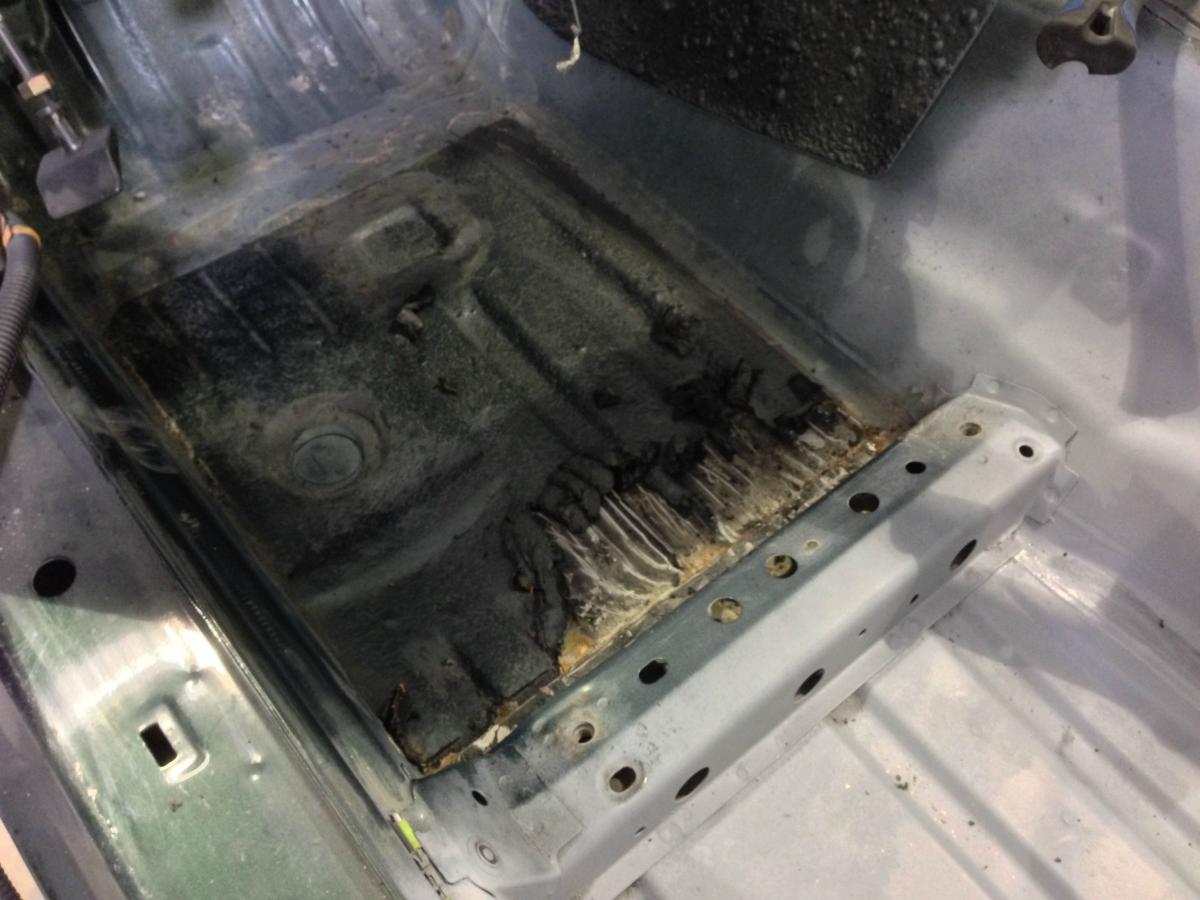
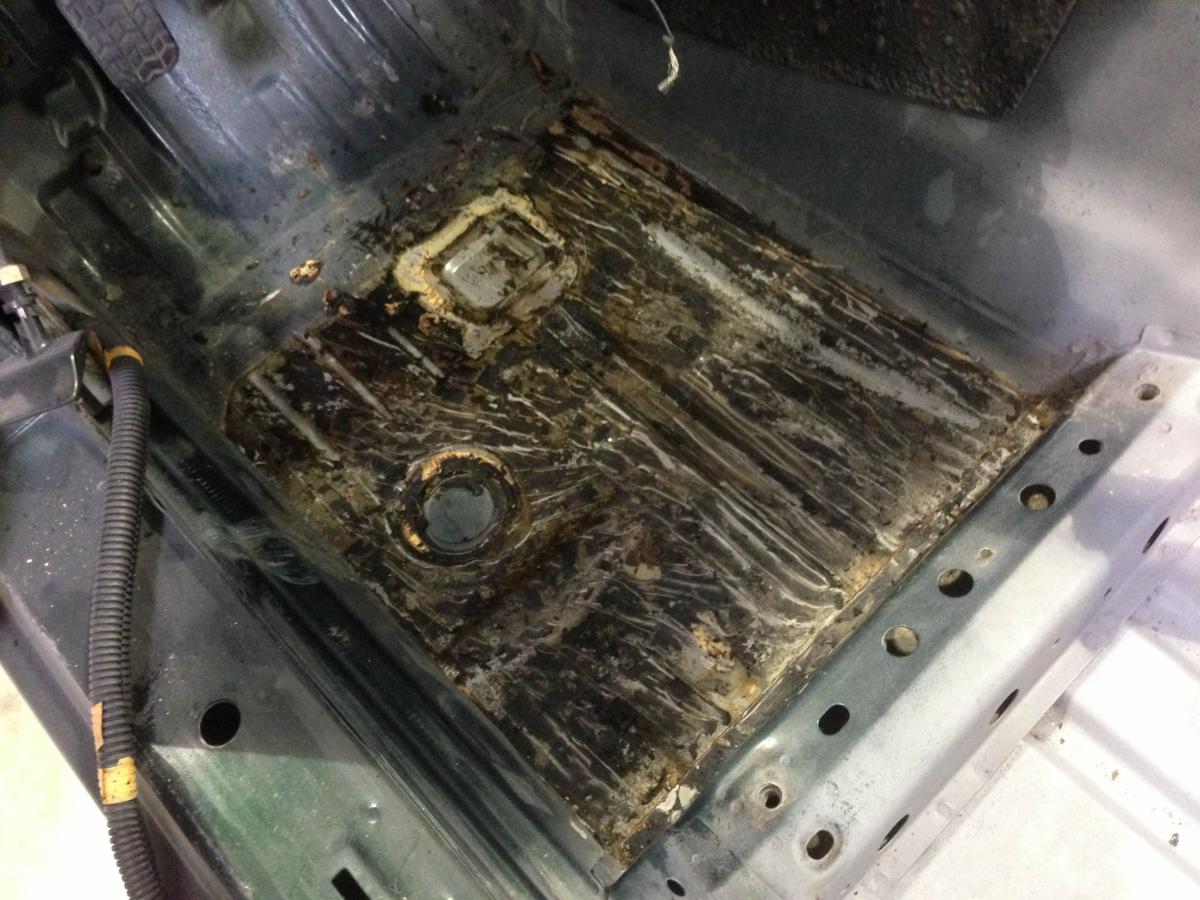
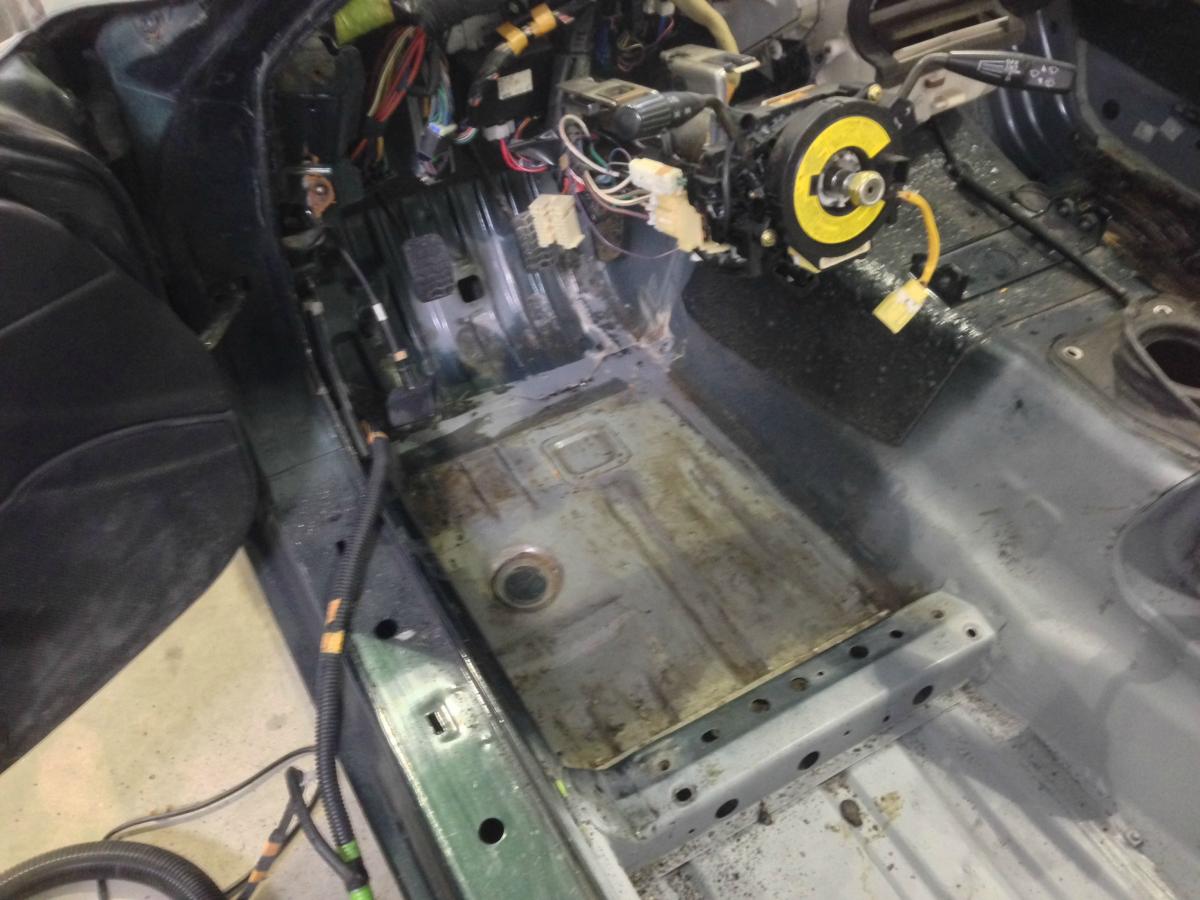
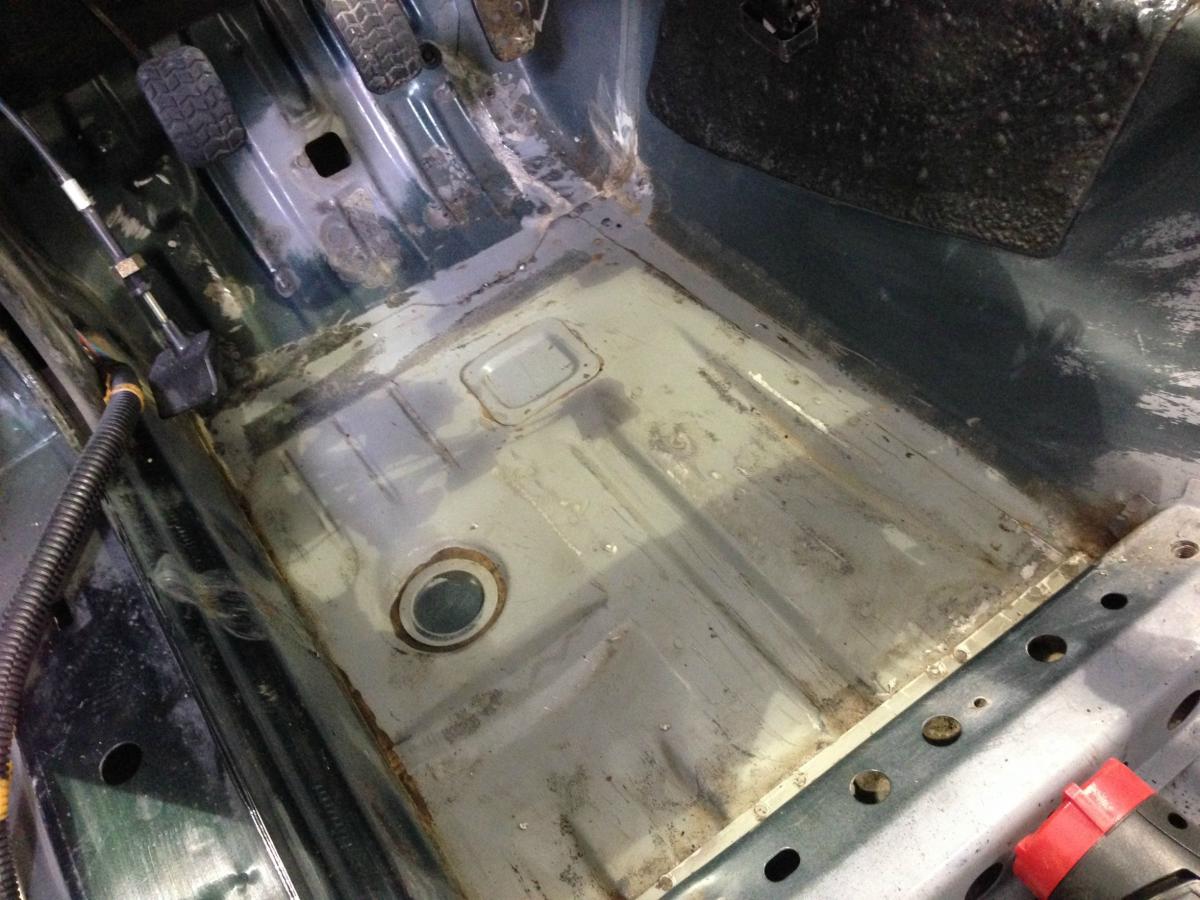
I was expecting far worse when removing the insulation
took me 3 hours to get it all clean but it was worth it, found some light rust on the floor
I used my heat gun and a chisel, no hammer. then to clean it off i used my wire wheel and then some paint thinner.
garage gastronomy at its best... ramen noodles in the coffee pot
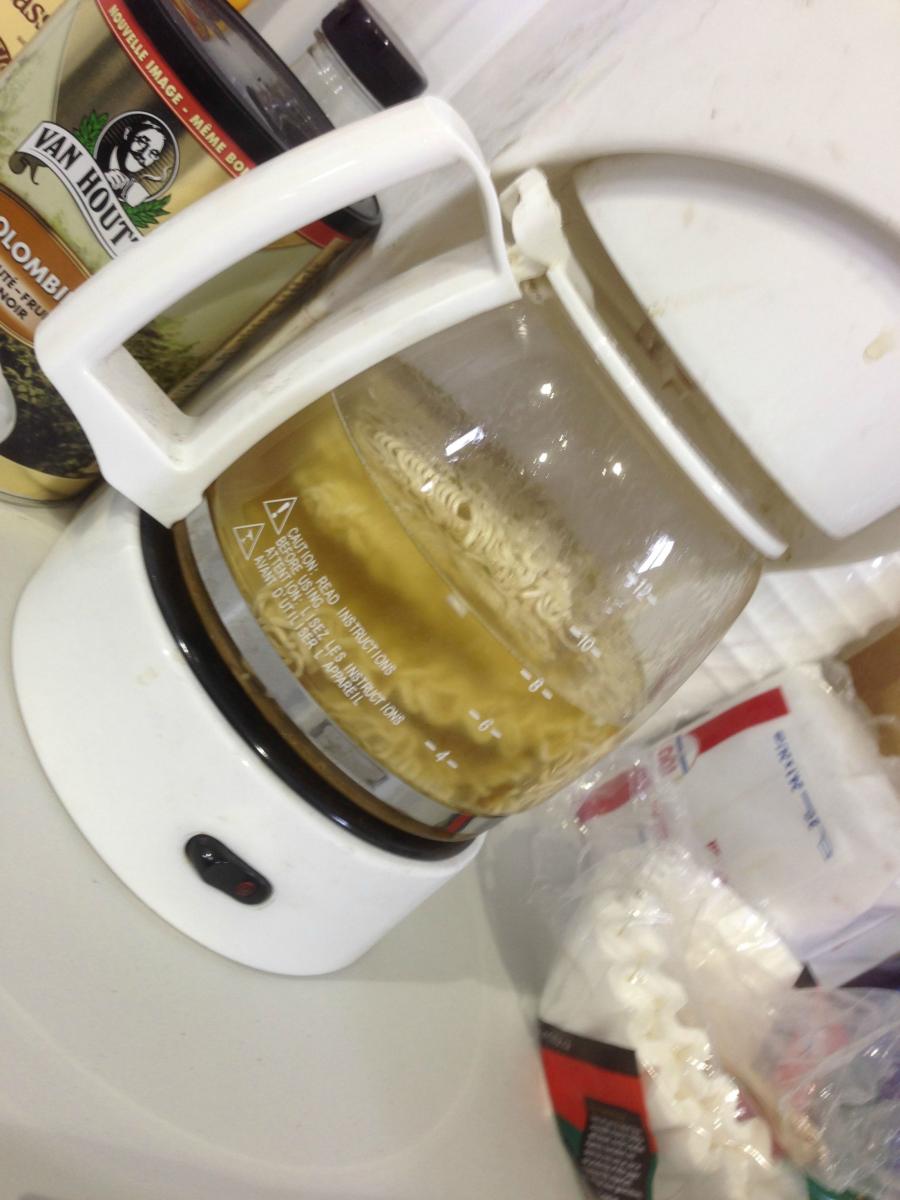
(break time)
then back to work !
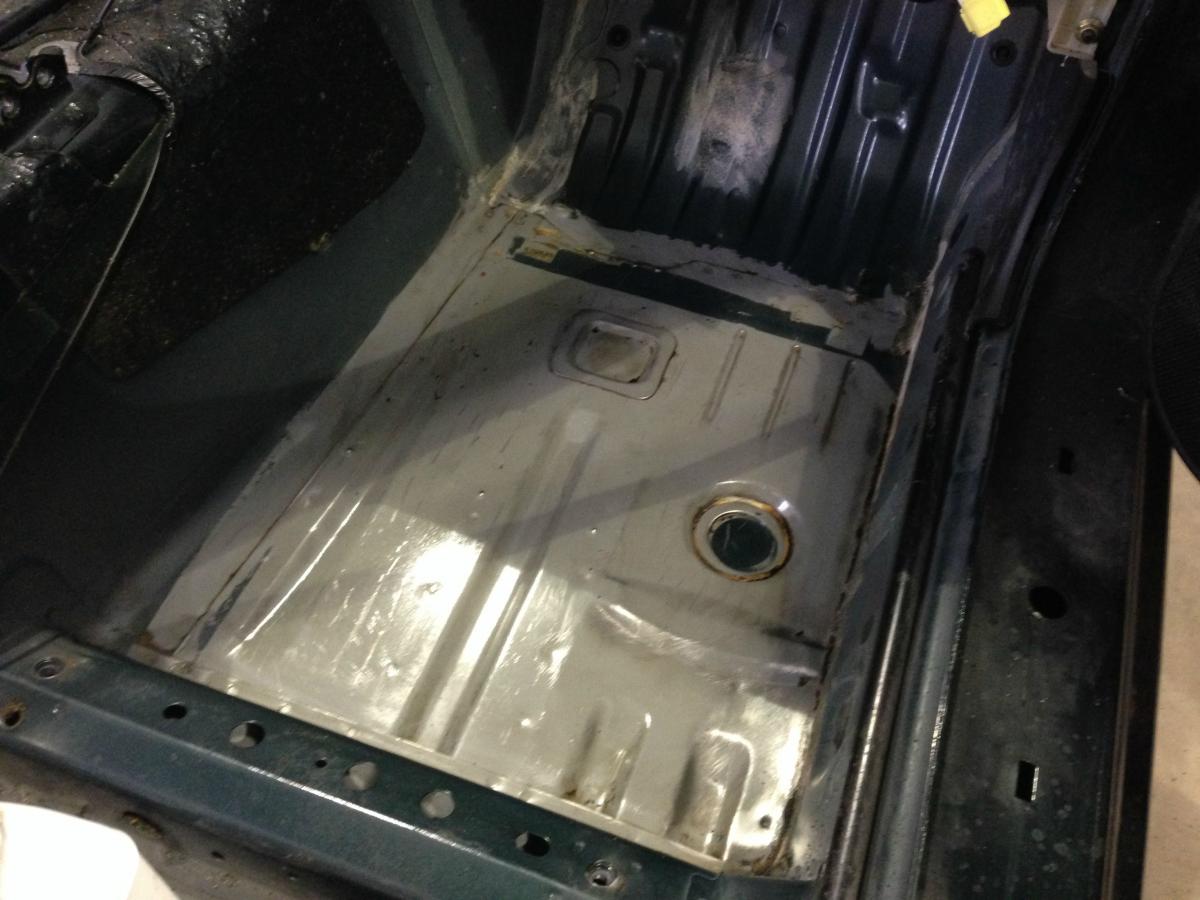
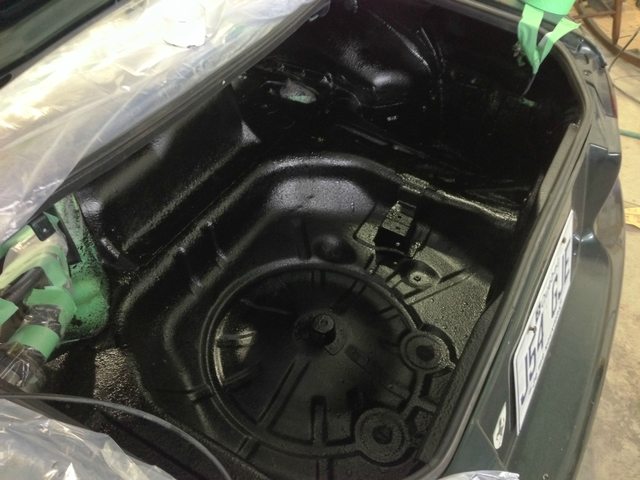
put up some brand new body sealant for the old one I removed
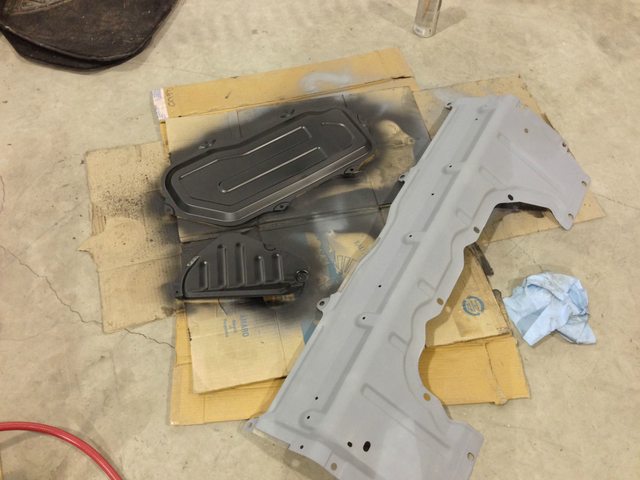
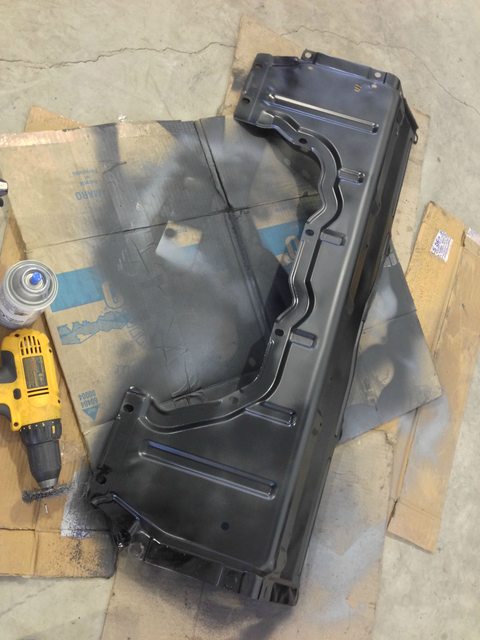
primer'd all the way
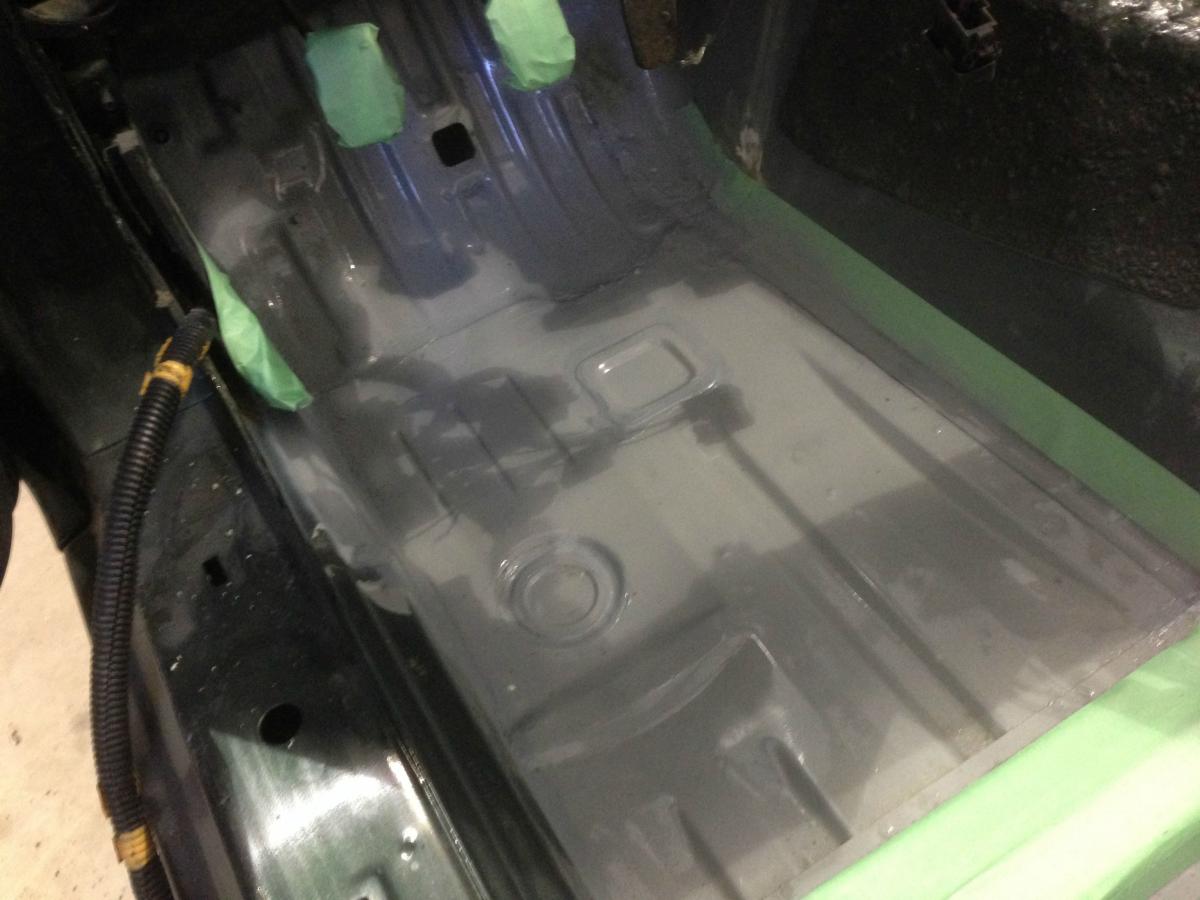
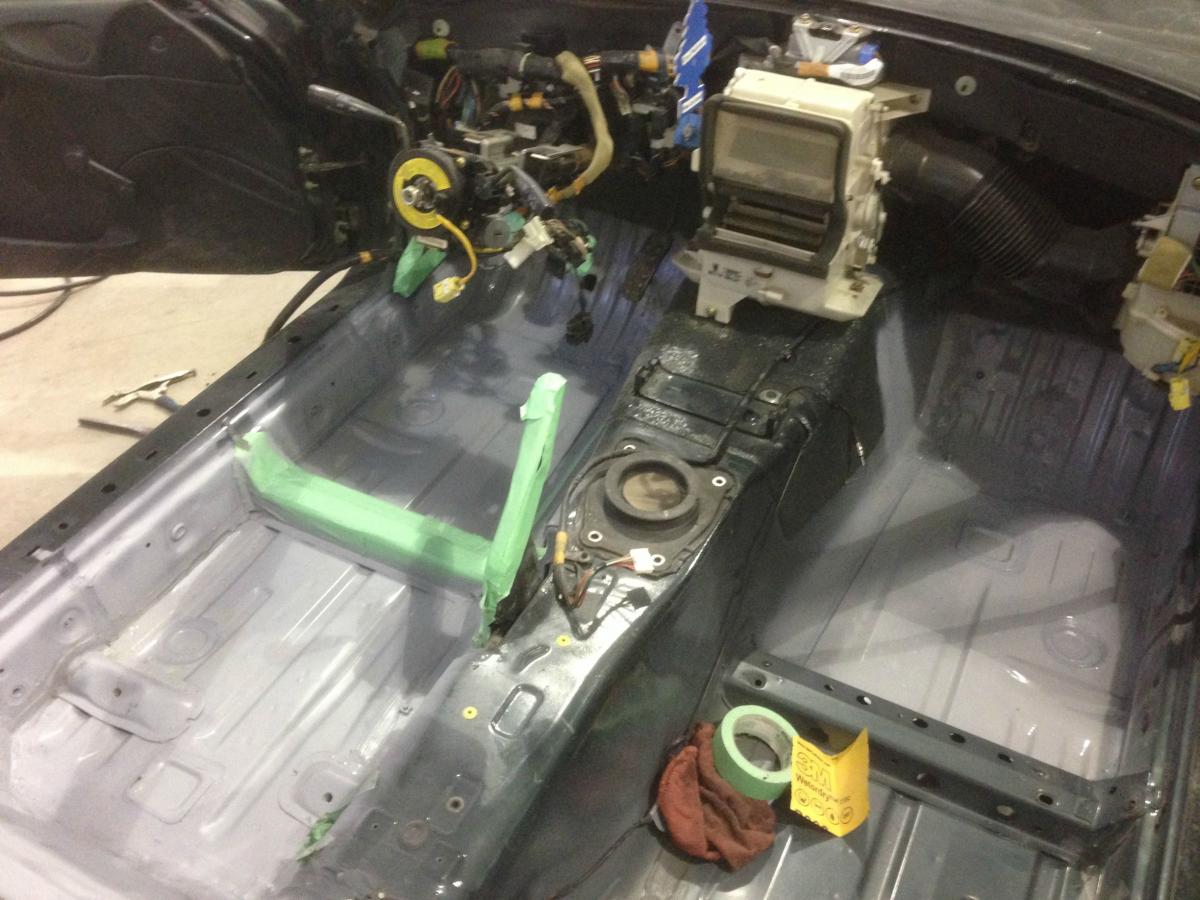
rubber undercoating !!

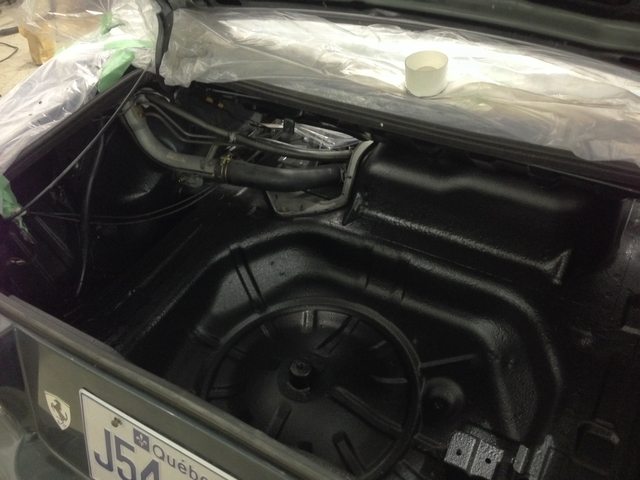
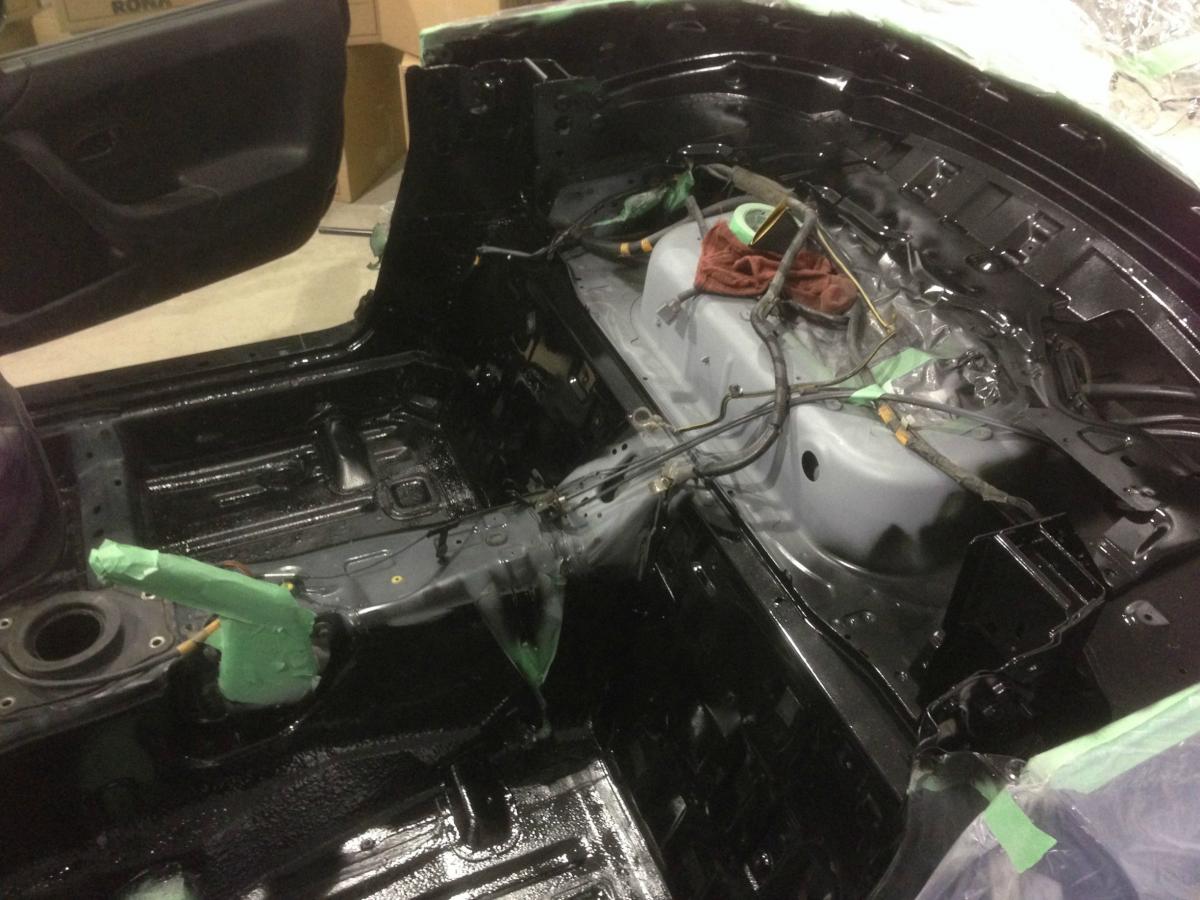
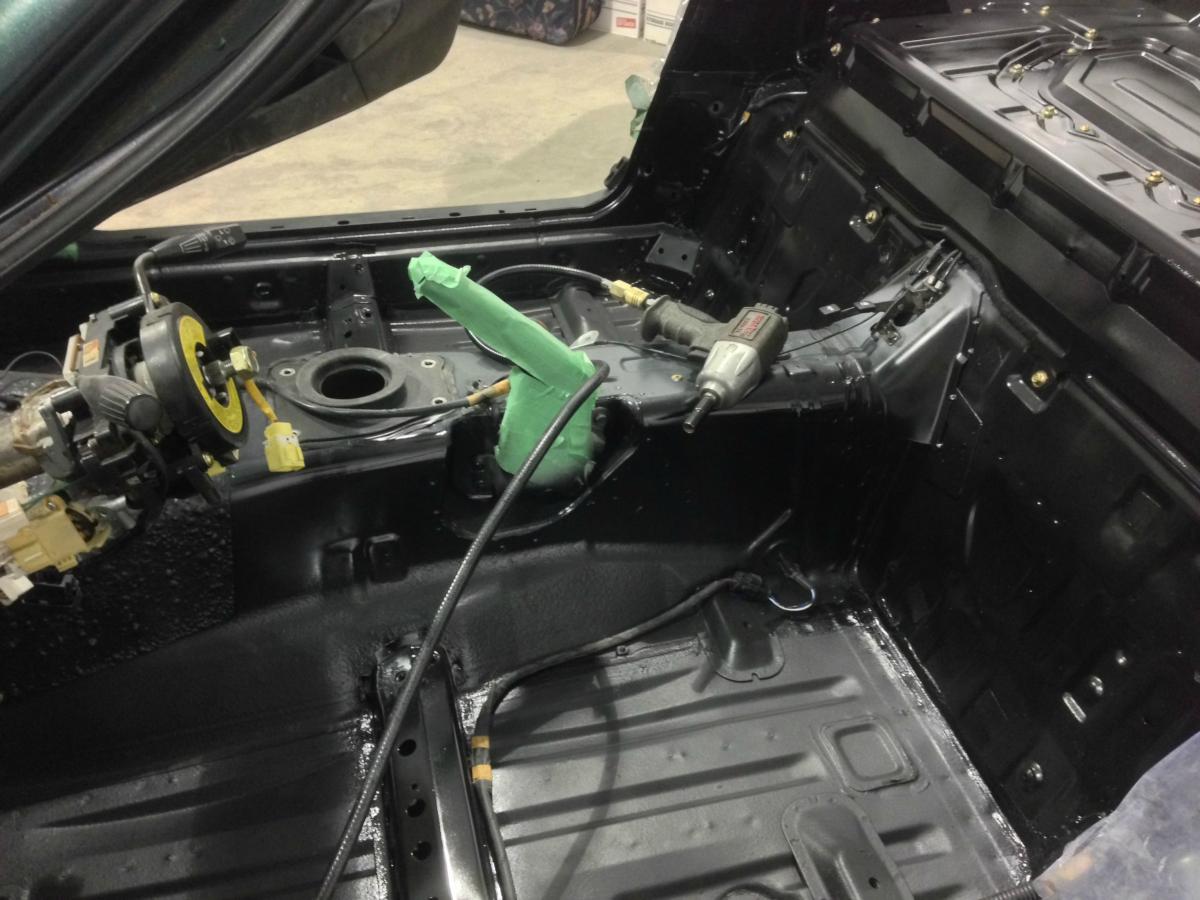
paint and undercoating on the floor
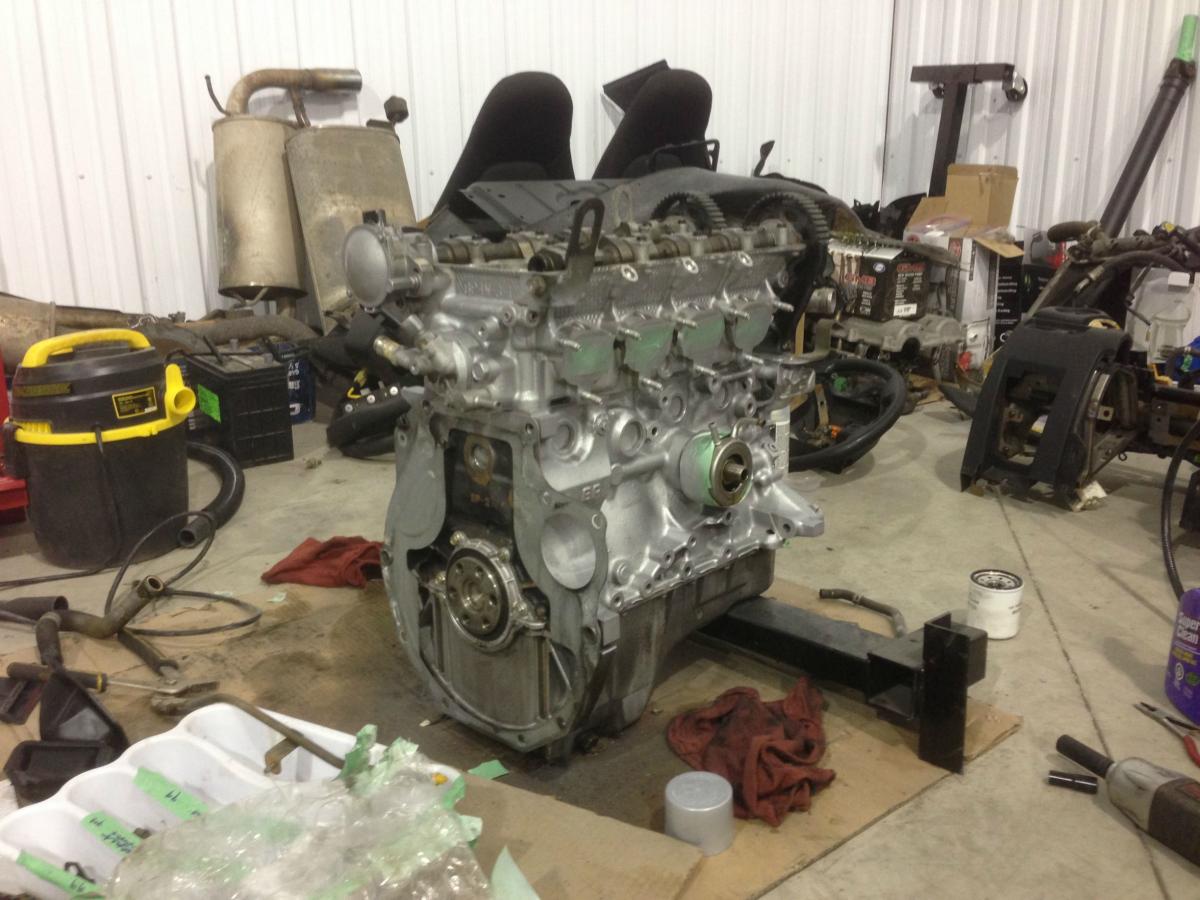
painting my block
enjoying some late night mcdonalds with the nice view
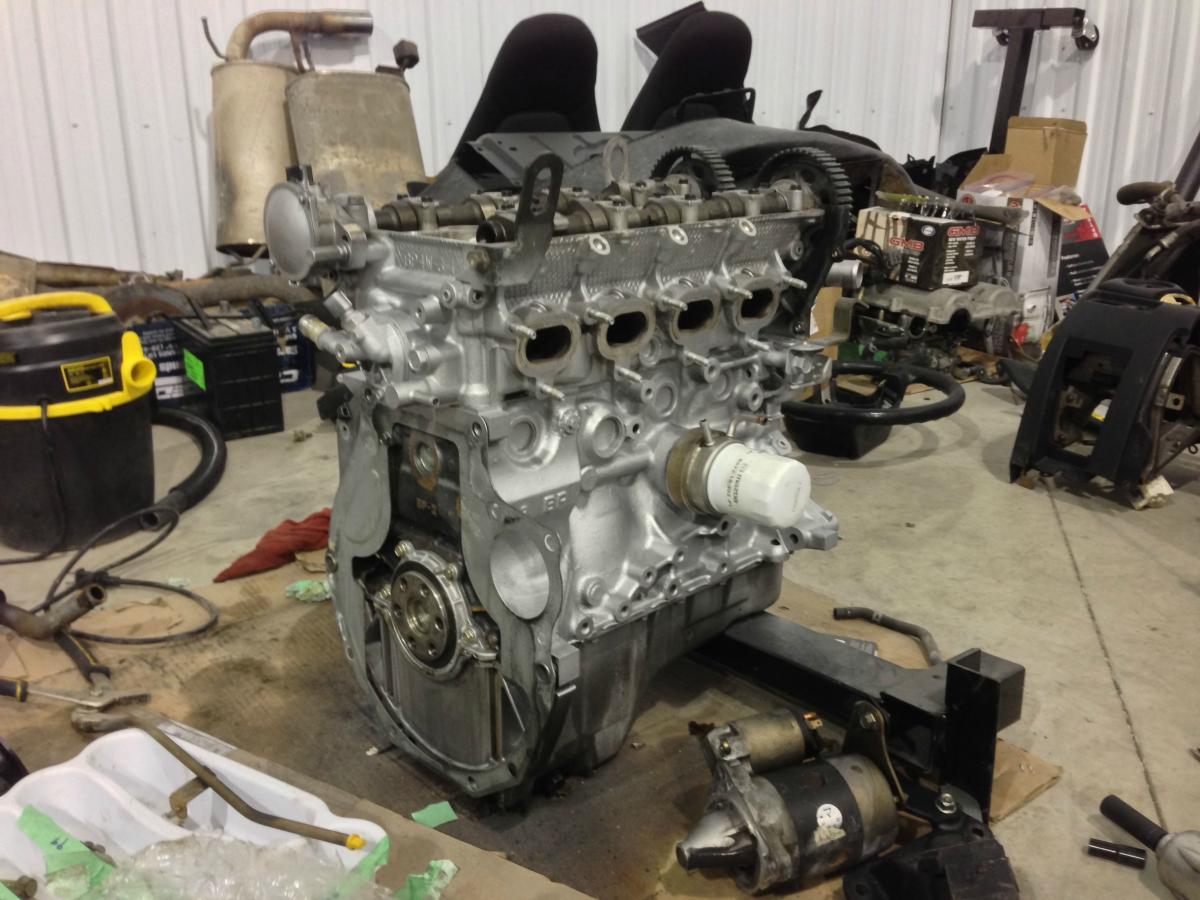
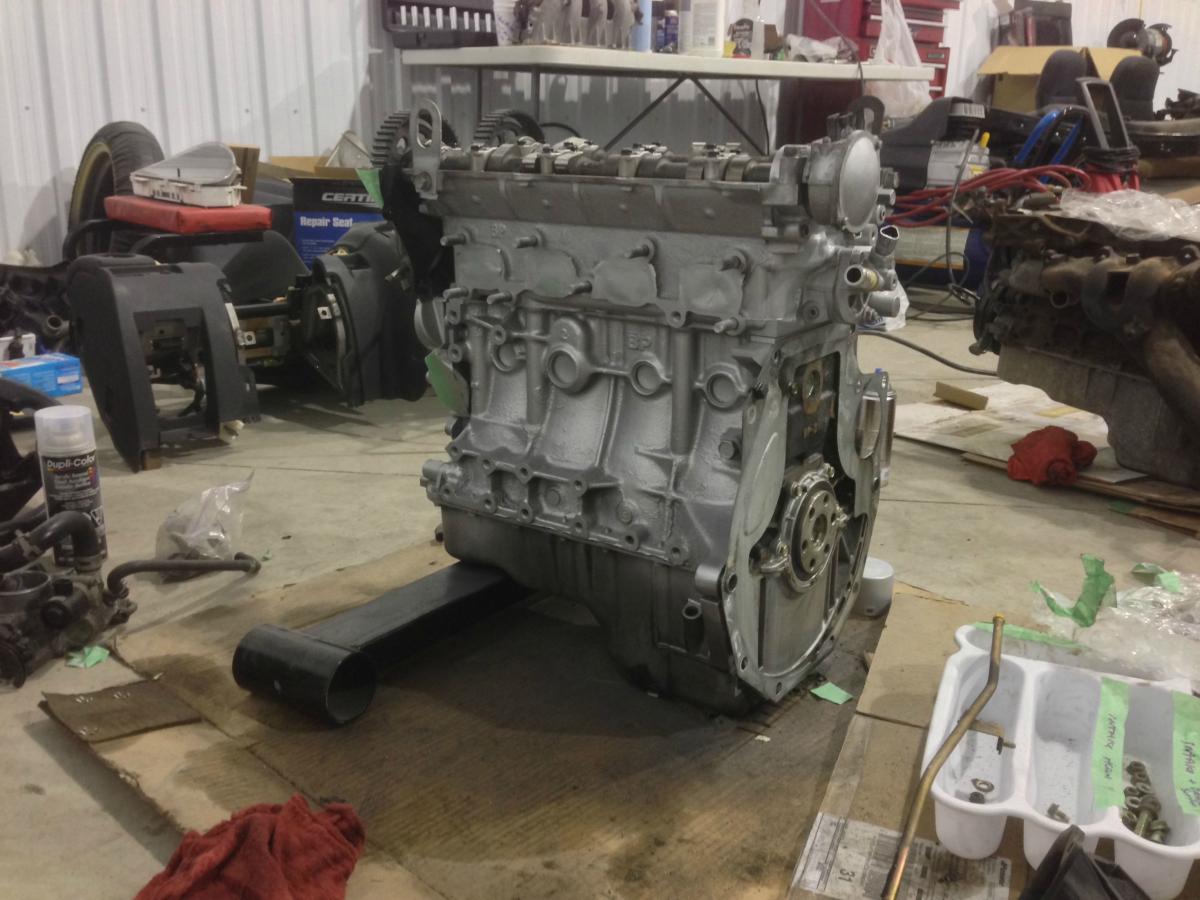
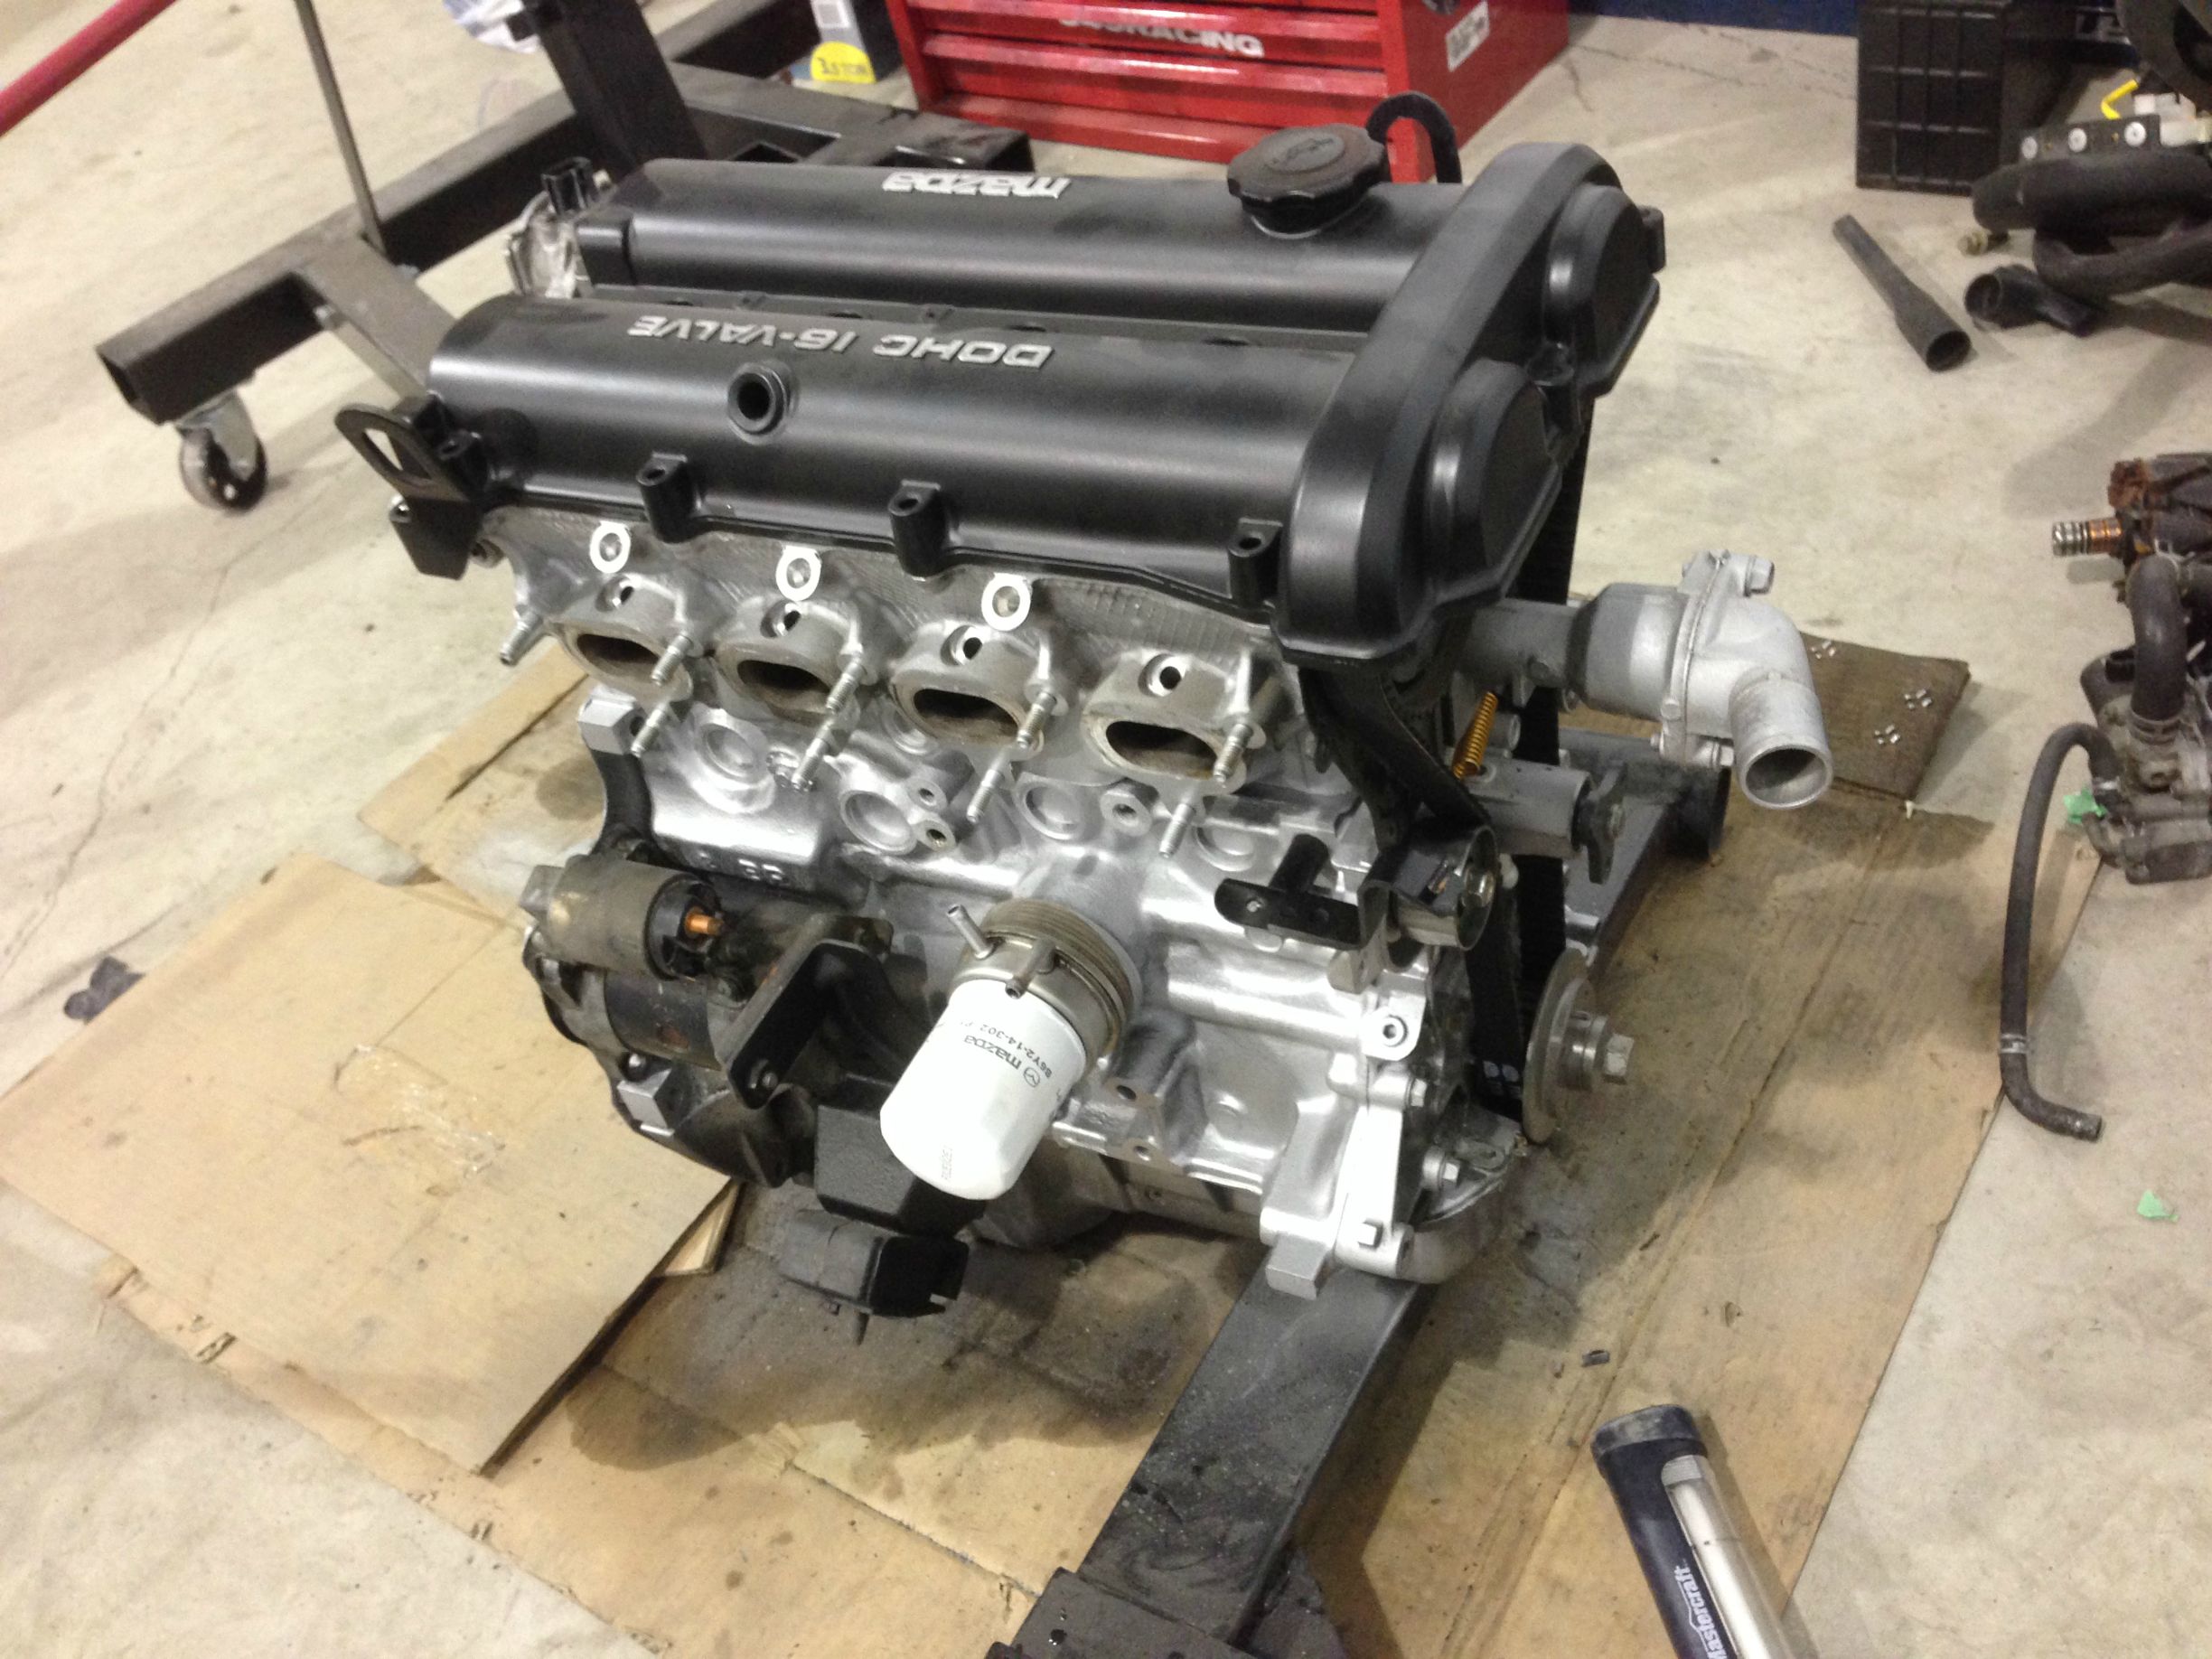
engine finished up
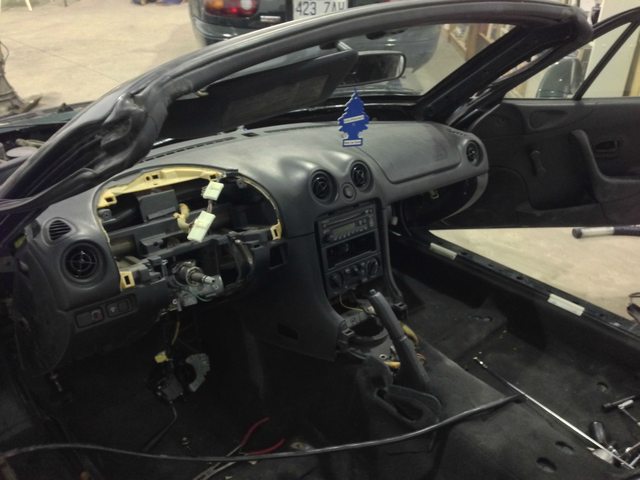
finished up with the inside
started the timing job... which went surprisingly well
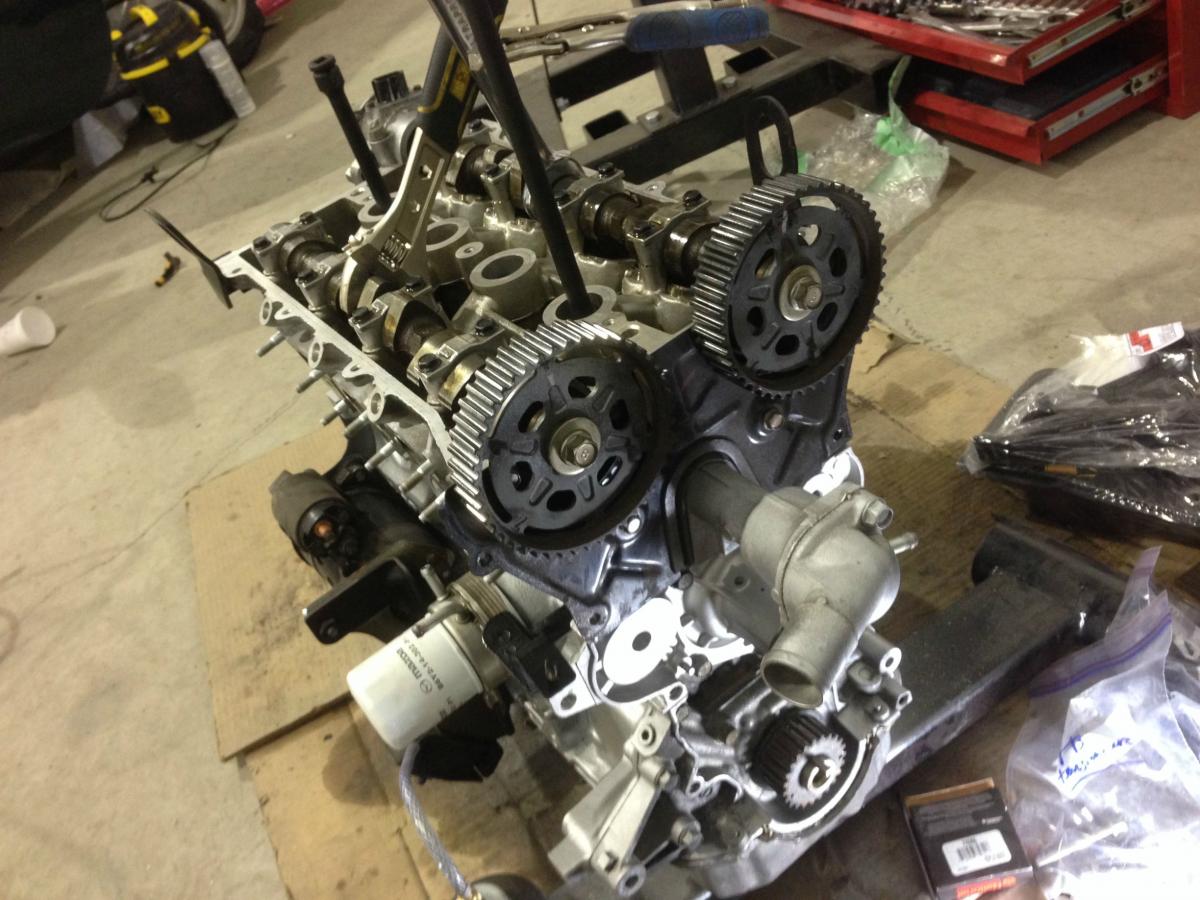
all lined up, even though it doesnt look like it in the pictures
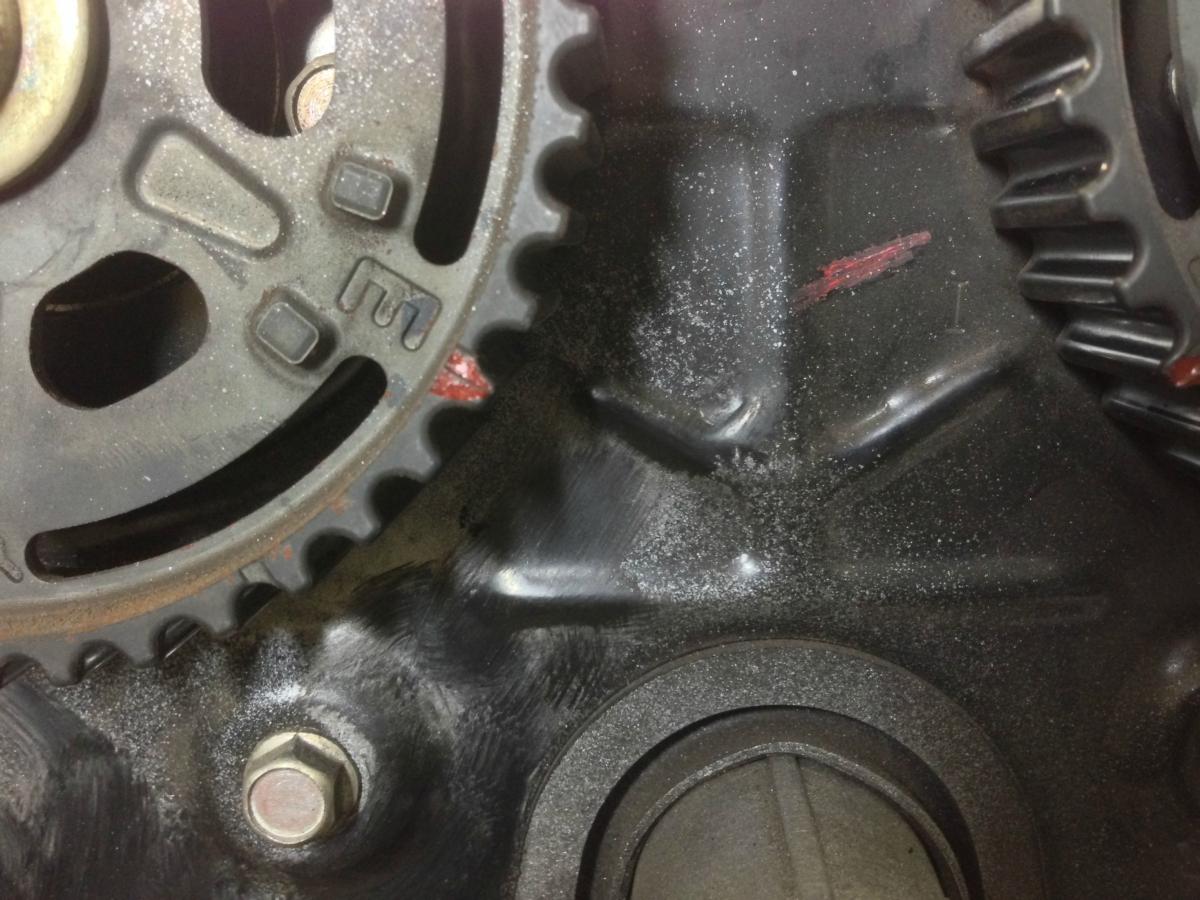
done

annnnd a little mockk up of my baby whos about to be done soon
we received the gaskets and covers from rosenthals which is nice, this weekend I'll be able to finish everything up
have a good week fellas
Sound insulation had to come off, paint had to be done in my interior
MISSILE style.
(rattle cans)
I was expecting far worse when removing the insulation
took me 3 hours to get it all clean but it was worth it, found some light rust on the floor
I used my heat gun and a chisel, no hammer. then to clean it off i used my wire wheel and then some paint thinner.
garage gastronomy at its best... ramen noodles in the coffee pot
(break time)
then back to work !
put up some brand new body sealant for the old one I removed
primer'd all the way
rubber undercoating !!
paint and undercoating on the floor
painting my block
enjoying some late night mcdonalds with the nice view
engine finished up
finished up with the inside
started the timing job... which went surprisingly well
all lined up, even though it doesnt look like it in the pictures
done
annnnd a little mockk up of my baby whos about to be done soon
we received the gaskets and covers from rosenthals which is nice, this weekend I'll be able to finish everything up
have a good week fellas
Last edited by ddturbosante; Feb 27, 2014 at 11:47 AM.
Reply
0
0

Thread Starter
Bannisheded
Joined: Feb 2014
Posts: 74
Total Cats: -88
People are quick to judge but it's normal. They often forget they started somewhere too.
More to come this weekend! going back tomorrow
Reply
0
0


Thread Starter
Bannisheded
Joined: Feb 2014
Posts: 74
Total Cats: -88

me too... me too...
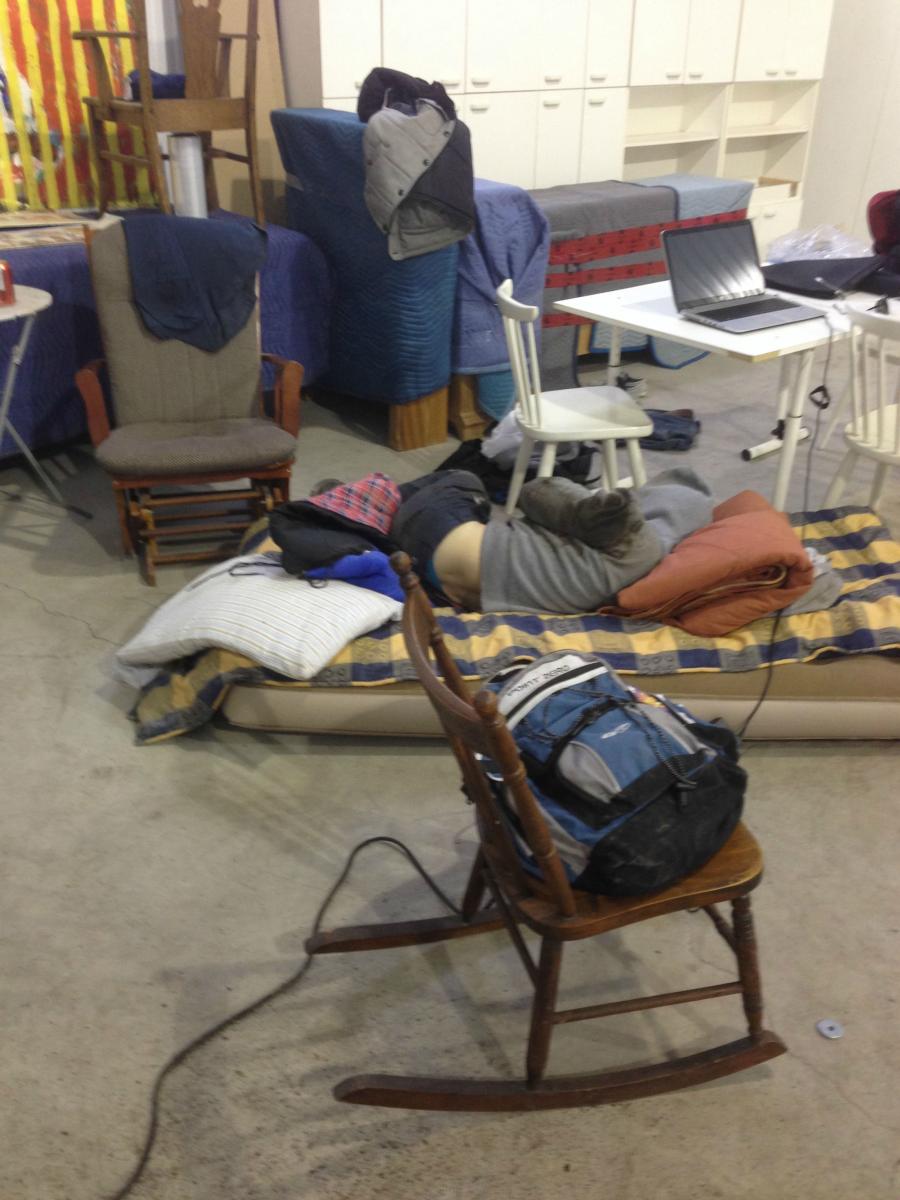
whats up guys !
been a long weekend, my back hurts and inflatable mattress aint ****.
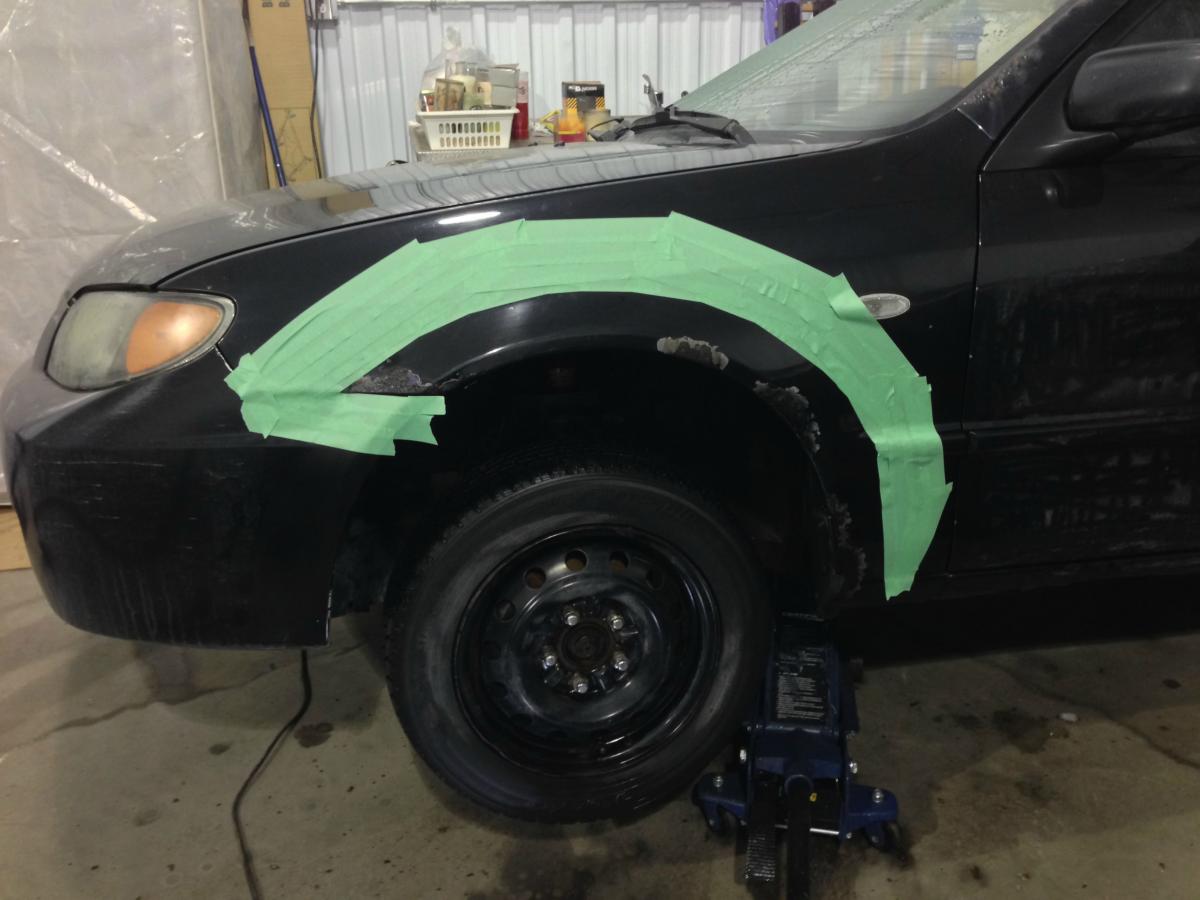
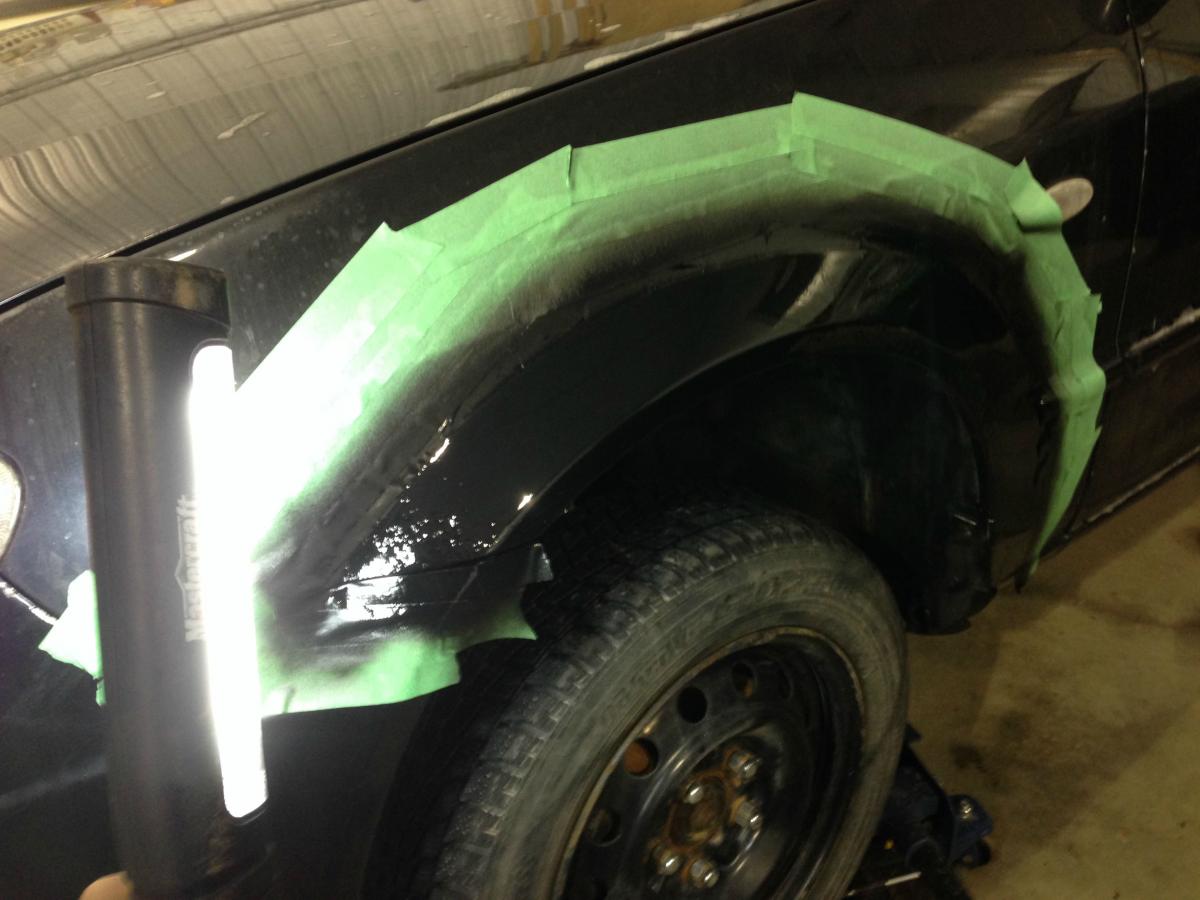
had some good surprises and some bad...
miata...
y u do dis
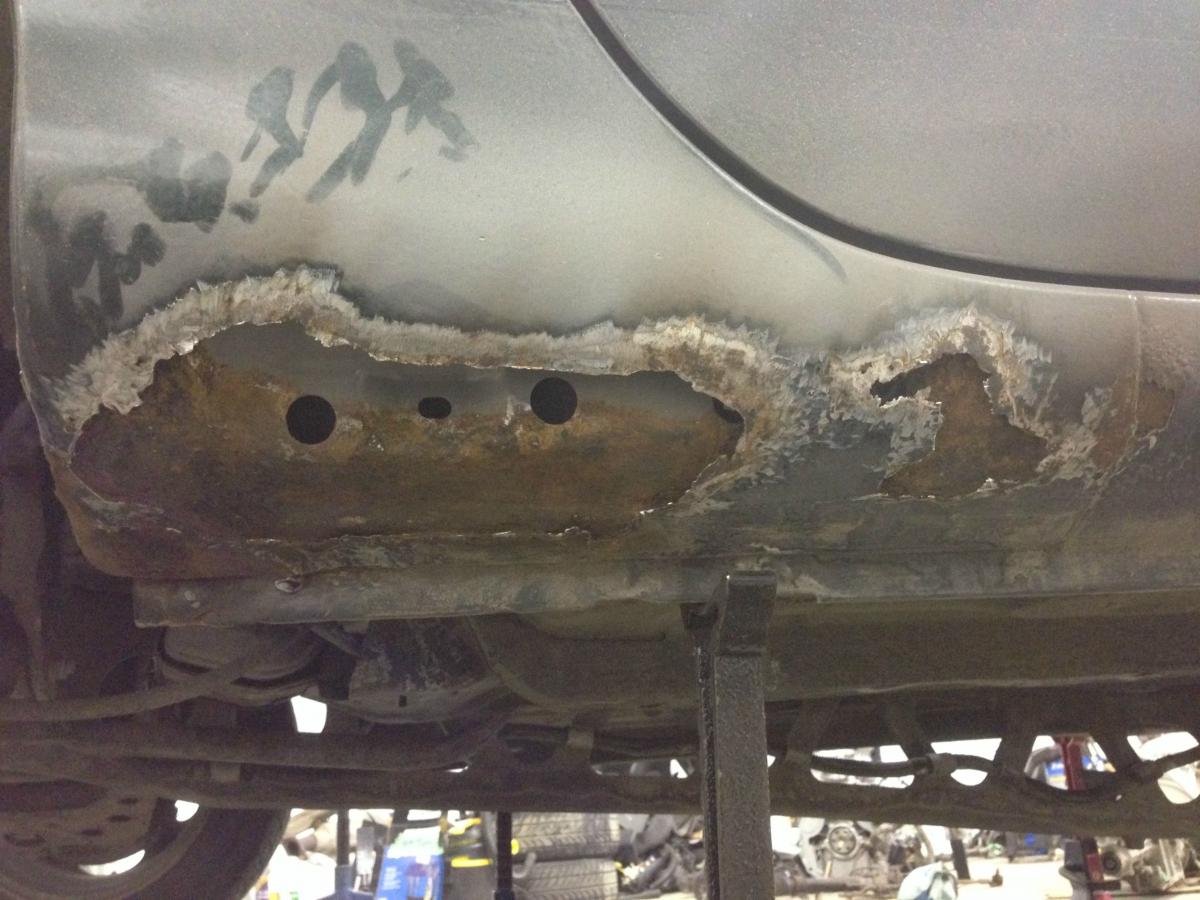
miata stahp
get the mig out... which i dont have. oh well.
I'll take care of that some other time.
what's good about this is that it's only on one side but this side is pretty bad. frame's not too bad either.
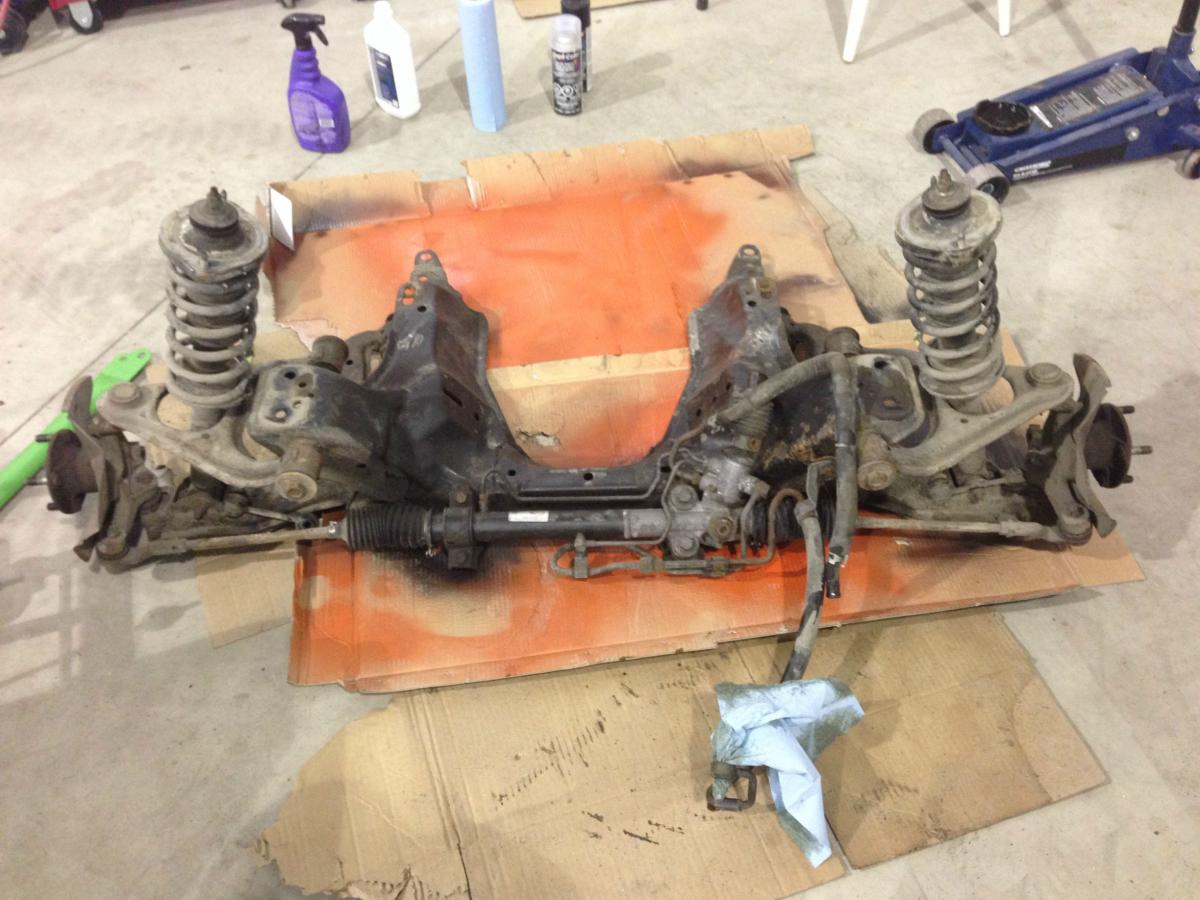
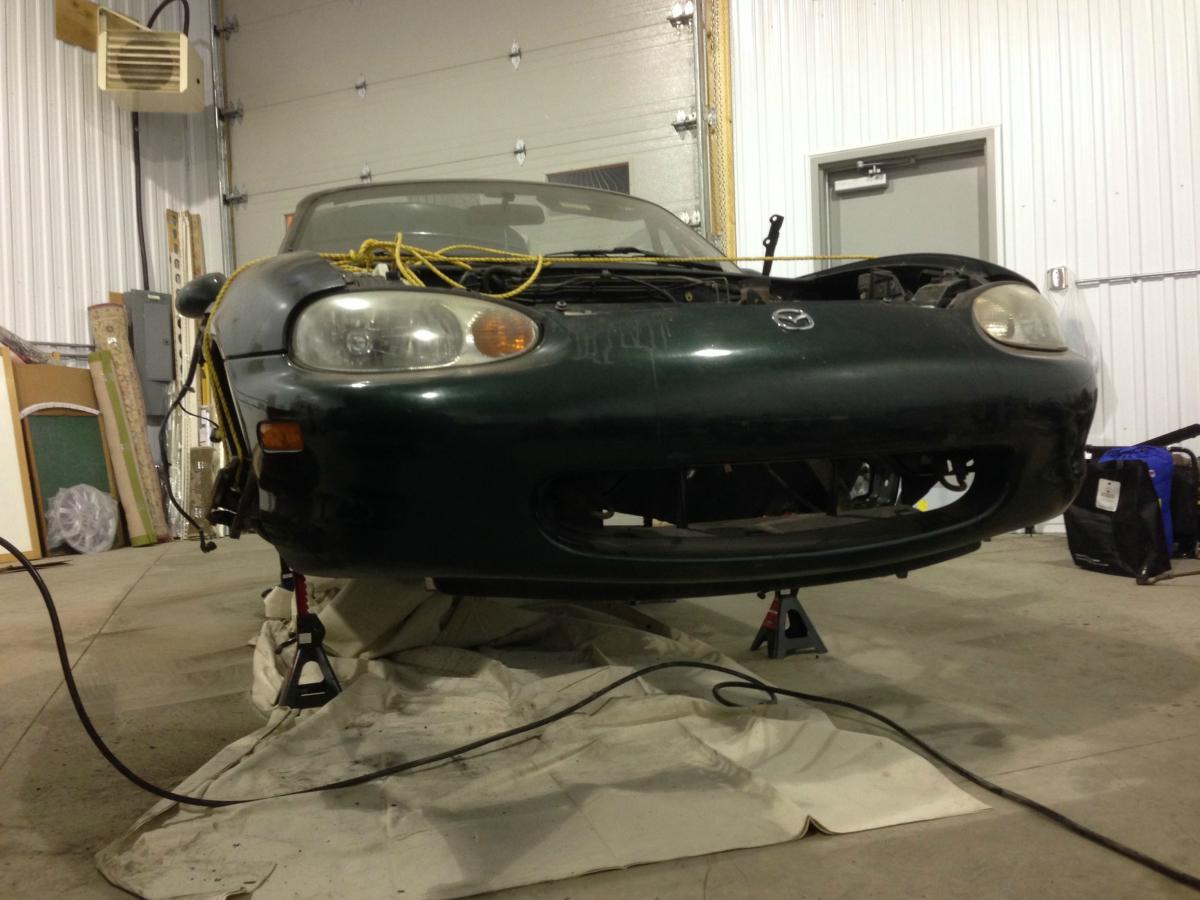
so, I started the weekend by removing my power steering reservoir and pump from my engine bay. I decided I wanted to run depowered.

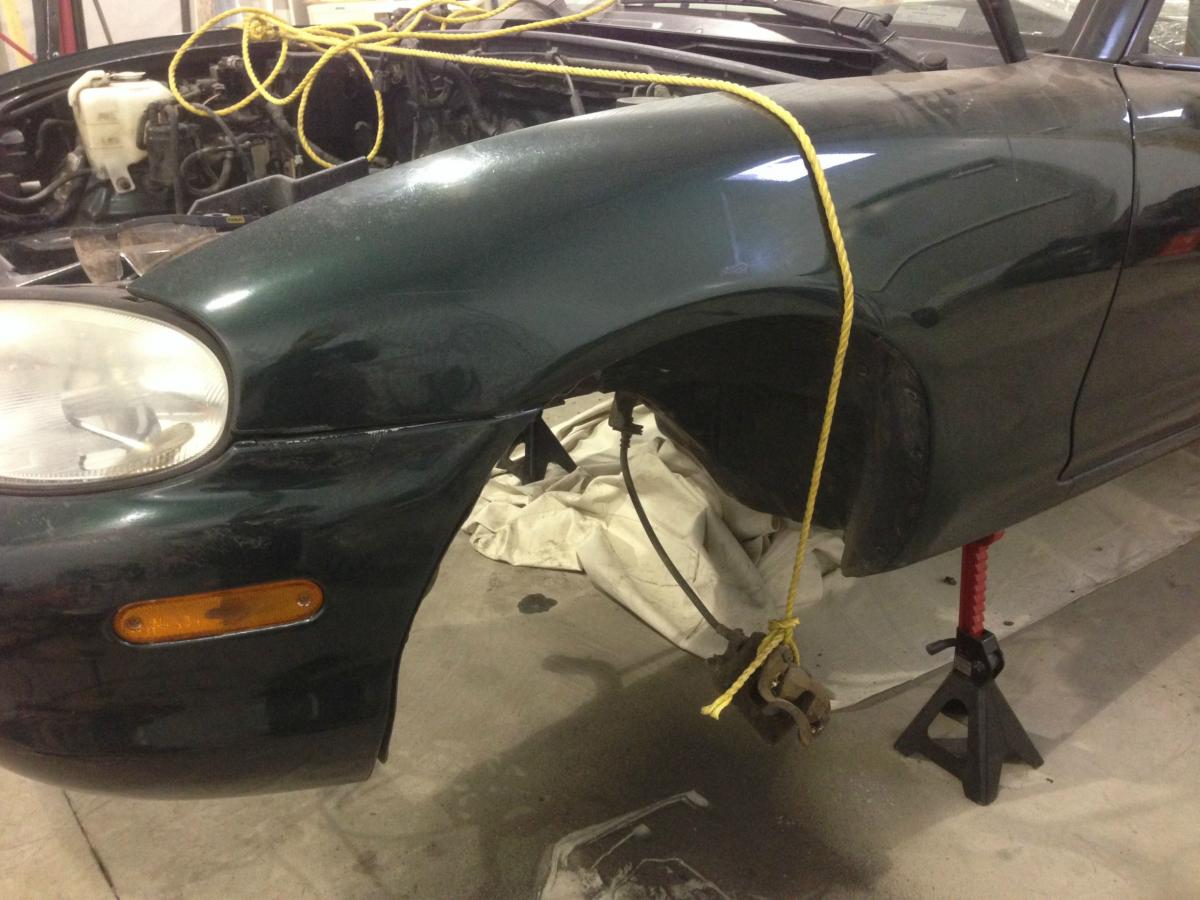
then friday night, after a nice dinner and a few beers at a local restaurant I decided to drop the subframe and get to work for the following day.
bam
peep my caliper holding apparatus.
so that is done, broke both my end links ball joint. yay.
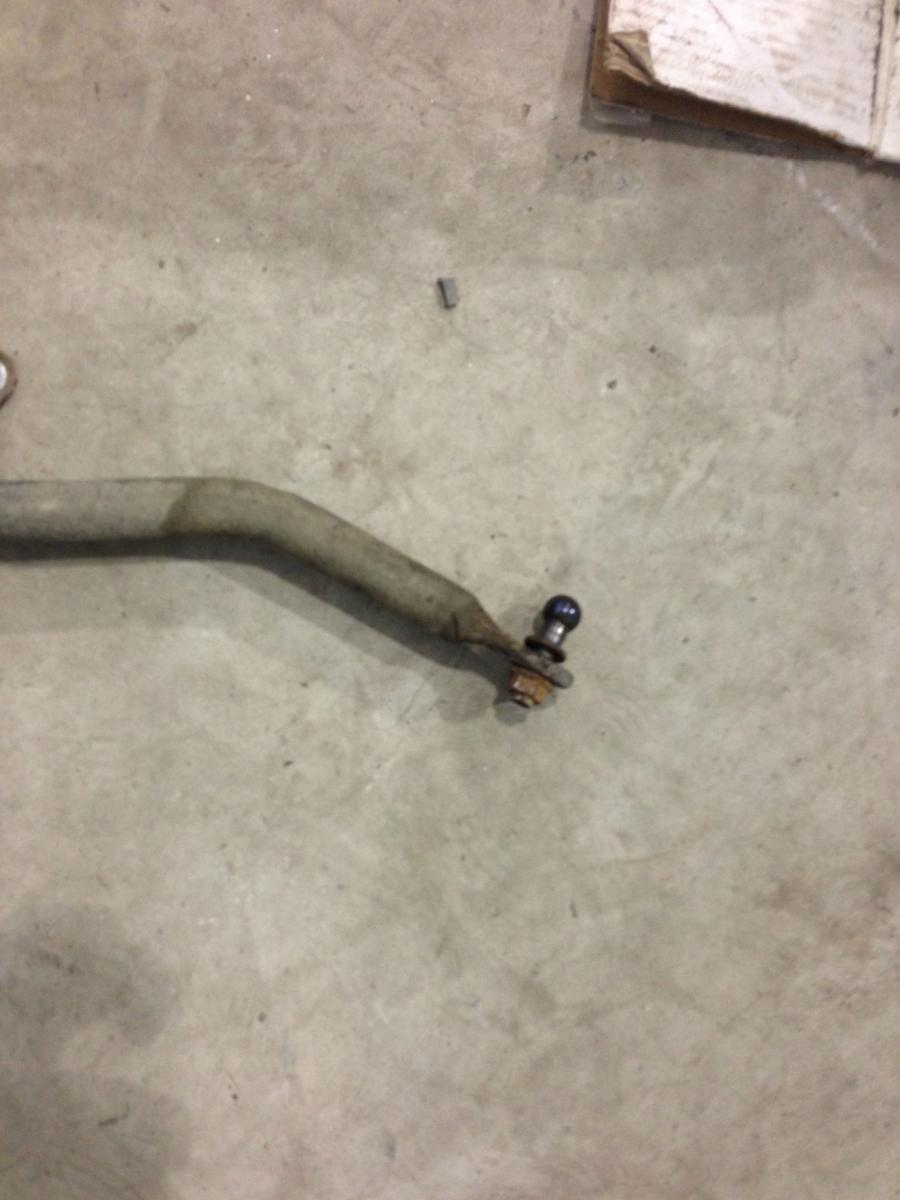
it's like that on both sides lol. I hate end links with ball joints.
Anyways, next up was the steering rack which I wanted to remove from the subframe so I could paint it, broke the 2 ball joints on both tie rods. Everything is just rusted up to **** on this car.
after that was removed I saw both balljoints on both sides for the lower and upper arms and i was just like **** it. kept everything attached to the knuckle and put it on the side.
i'll deal with them later.
so, back to the thing
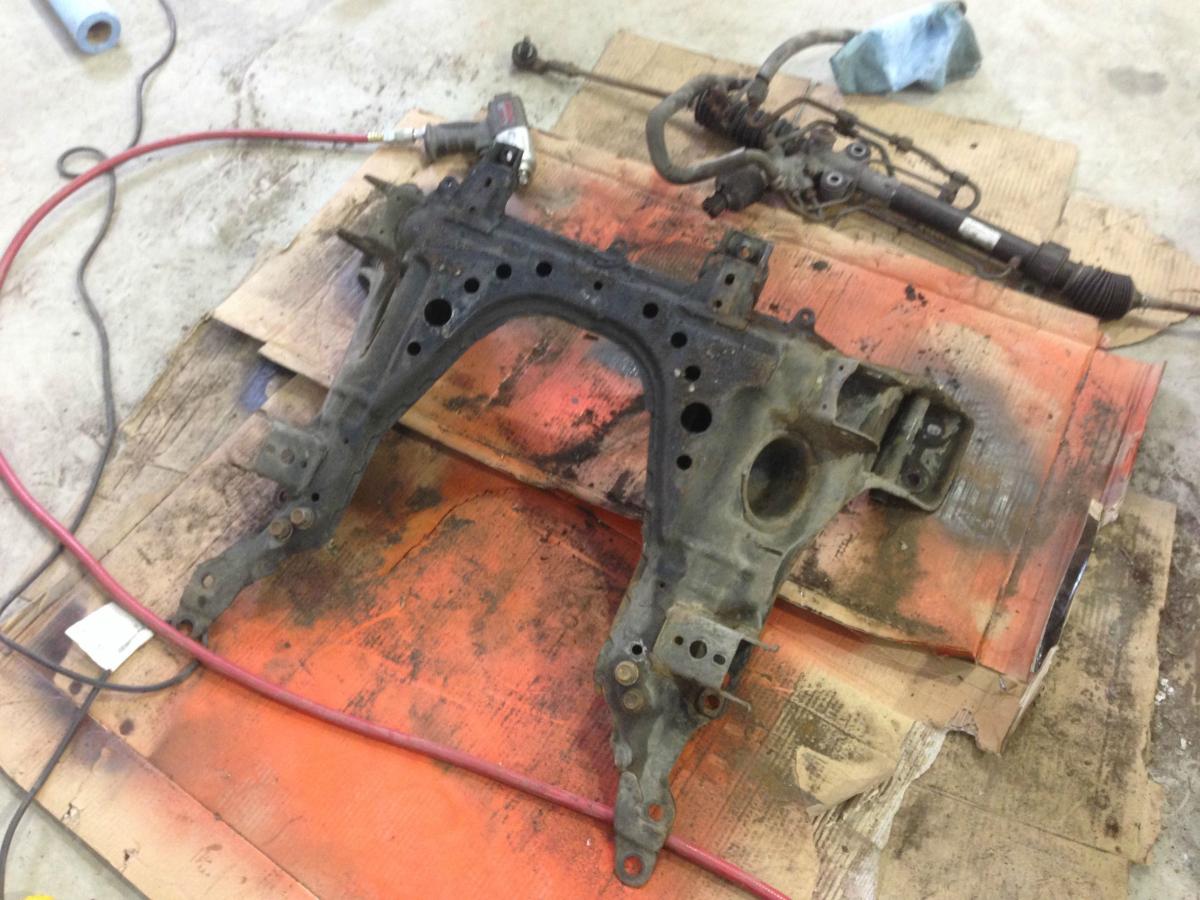
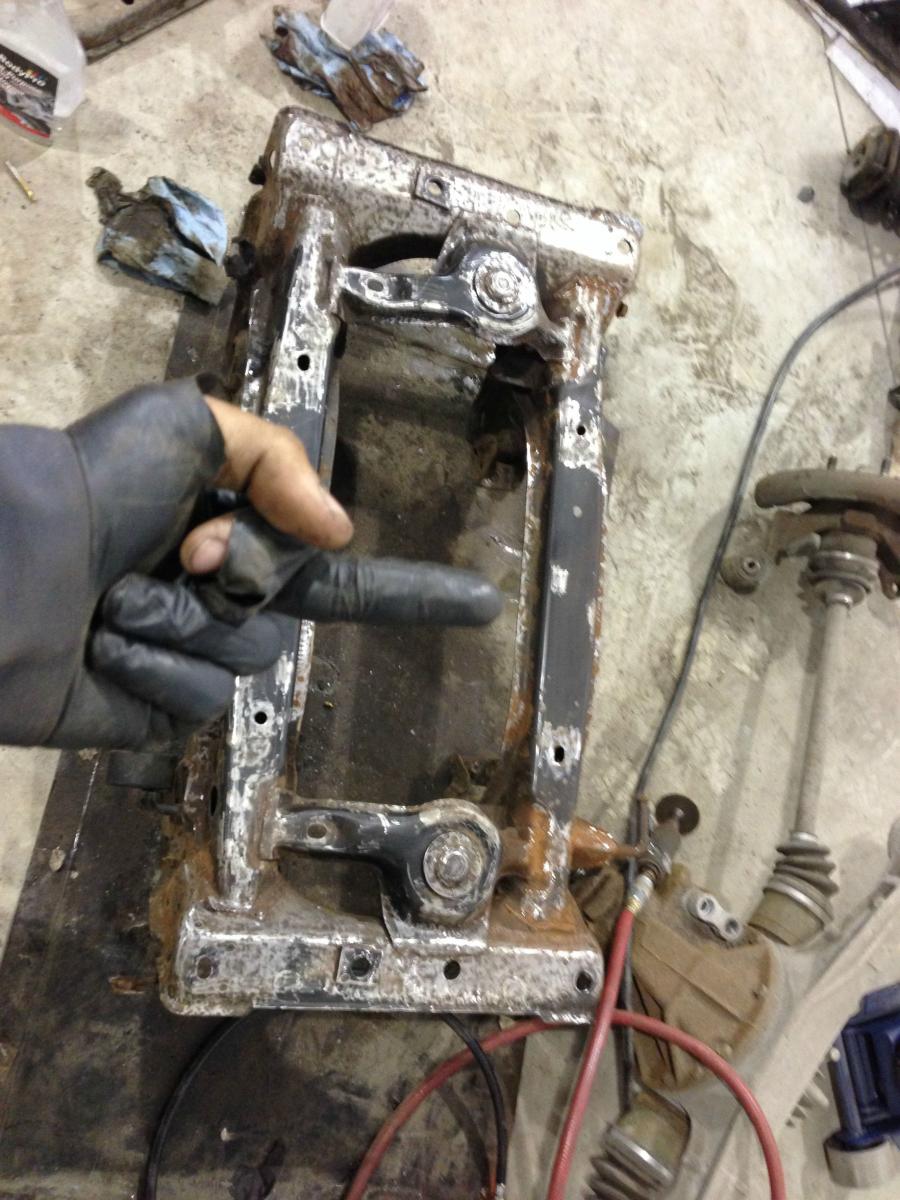
rack's disconnected, frame is free and filthy... and RUSTY
I spent a good 2 hours trying to get most of the rust off of the subframe, cleaning it up and brushing it back to its original prettiness.
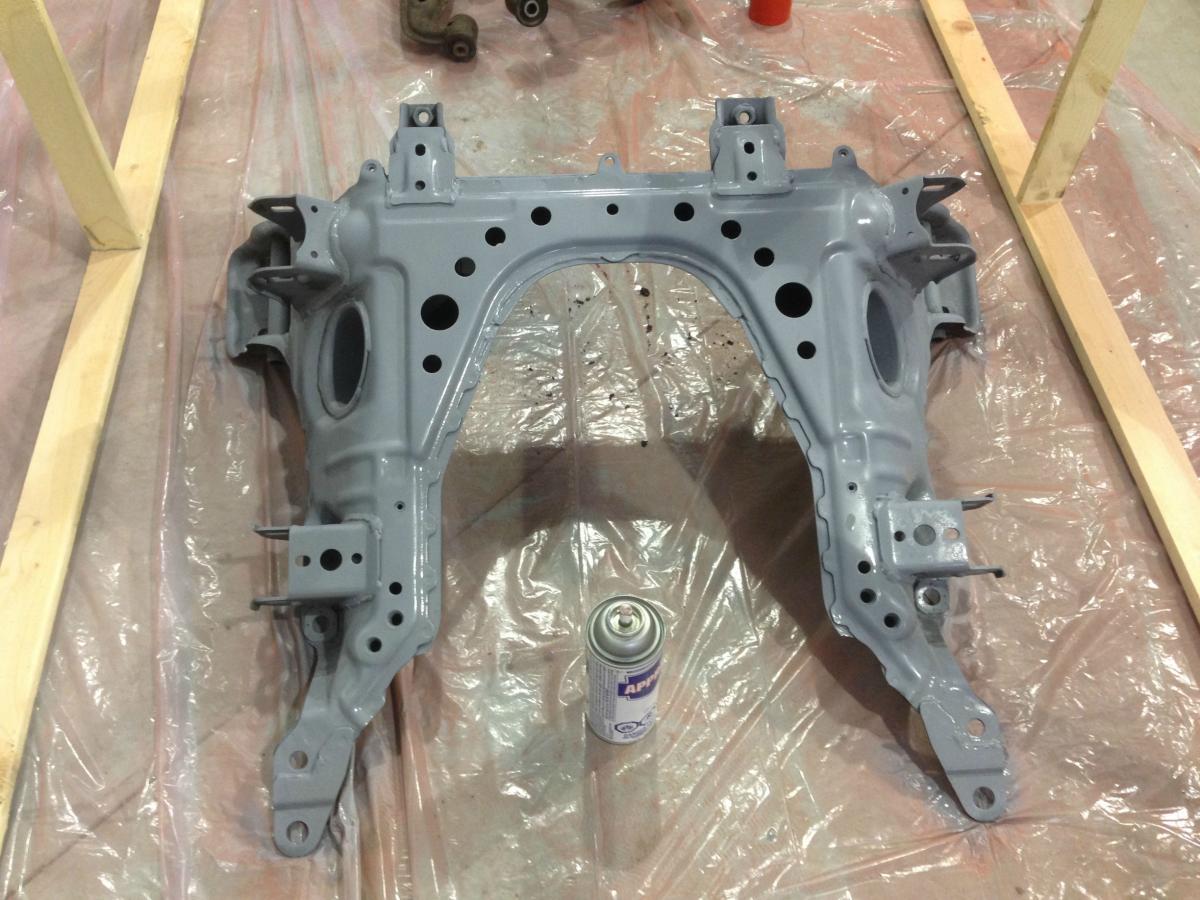
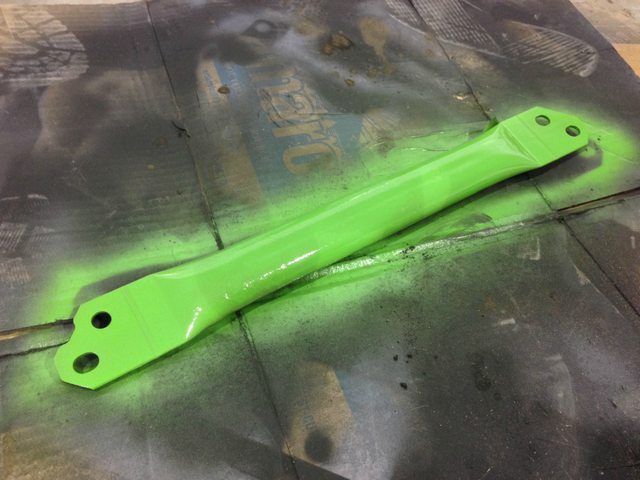
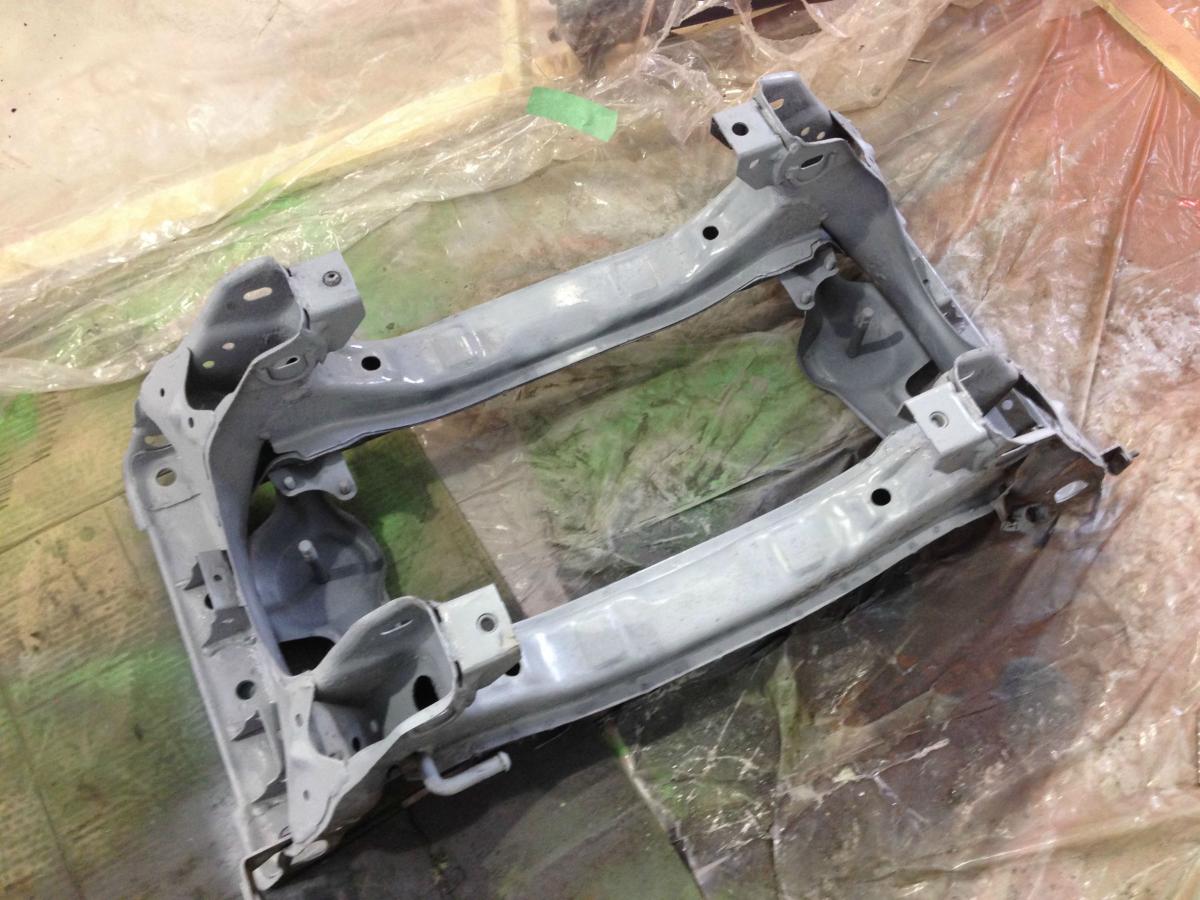
primer'd UP.
painted DOWN
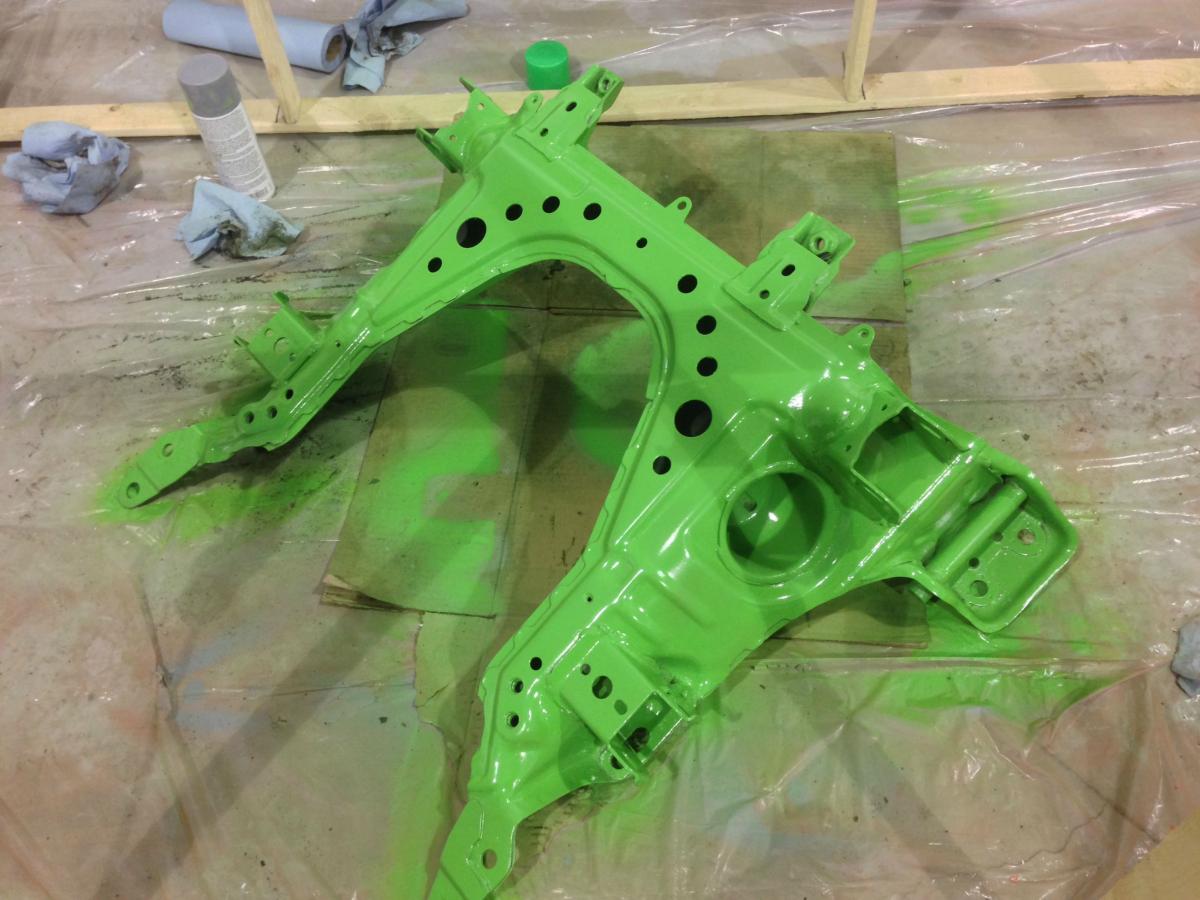
I know, it's ******* green. deal with it.
here's pablo hard at work
...god damnit
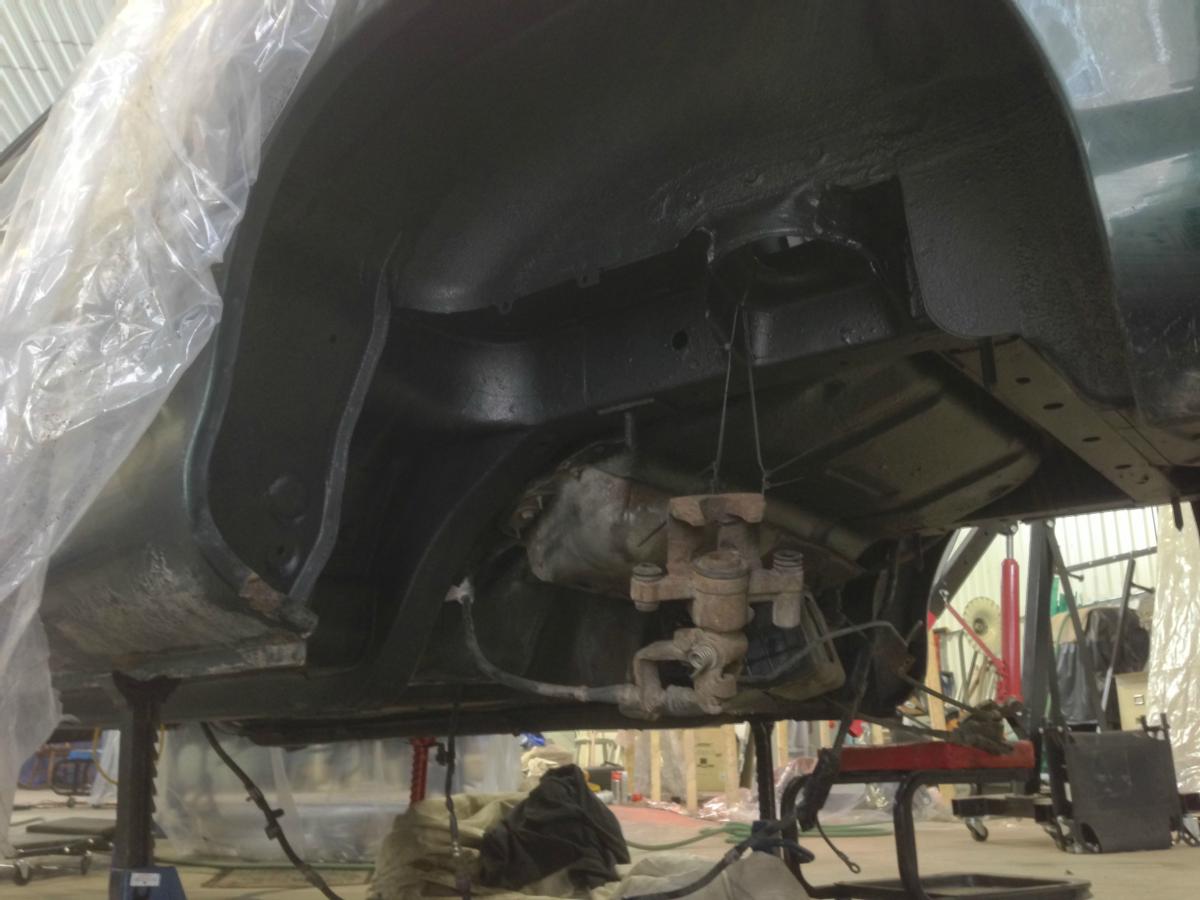
took the opportunity of the frame being out to clean my wheel wells
rubberized that bitch up
here's how it sat when I left the garage.
now I have a question for you fellas, even though I know I will get laughed at and shunned by the turbomiata community.
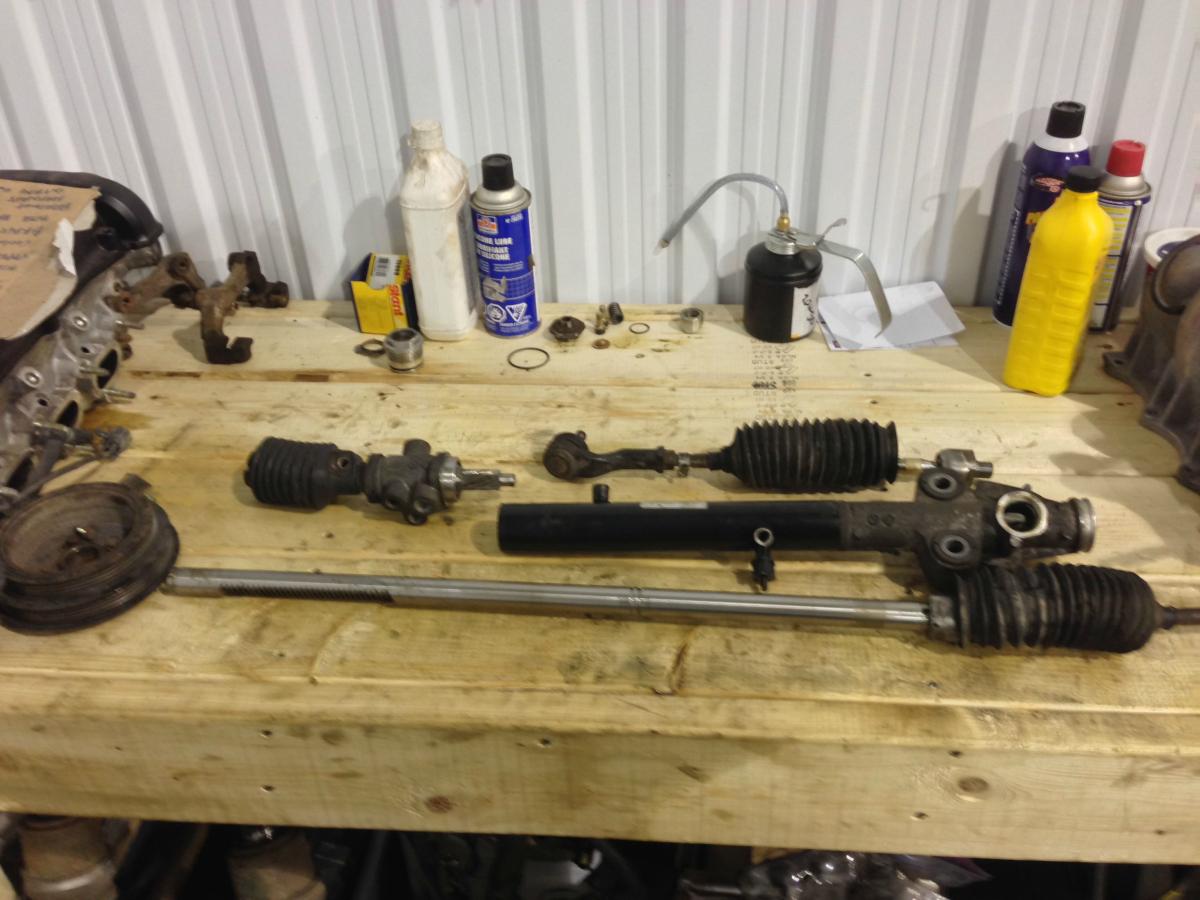
here's a picture of my rack (lol)
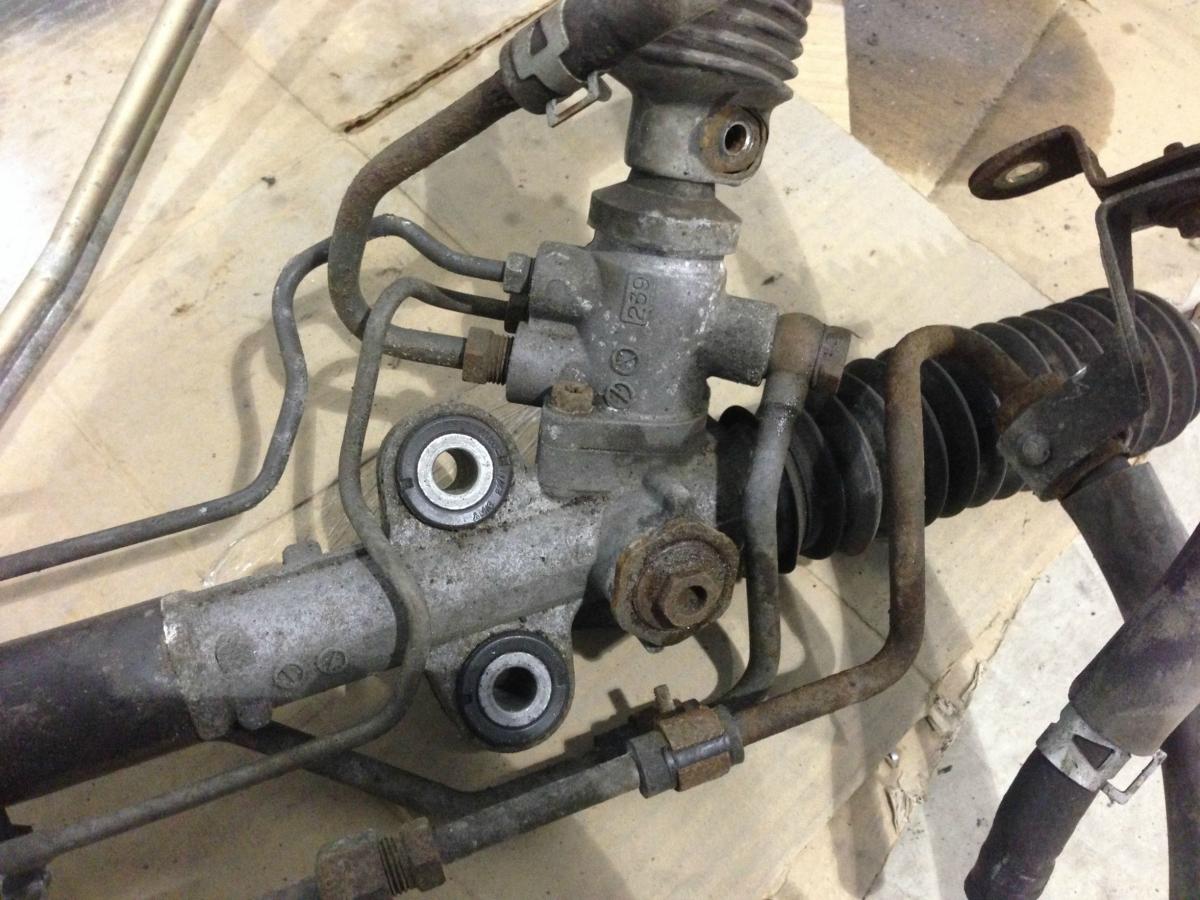
On most threads I read, people loop off the LITTLE lines instead of the 2 big return and pressure lines.
I've been told by a friend that I should loop the two big lines and leave the small ones as is.
Is he right?
for the bother, here's a picture of my love

have a good turbo week
Reply
0
0
Thread Starter
Bannisheded
Joined: Feb 2014
Posts: 74
Total Cats: -88
I figured my 7$ heat gun and a sharp chisel would do the trick. It did but it took me a long long time lol.
will do ! the engine is not going back in the car until everything for the turbo is fitted accordingly! I wont weld it though, it's kinda scary. i'll just drill it, tap it and fit a bung in there with some locktite or something.
Reply
0
0
The concept of looping the lines is fine but it will feel like a de-powered power steering rack because you're essentially pushing the fluid back and forth manually.
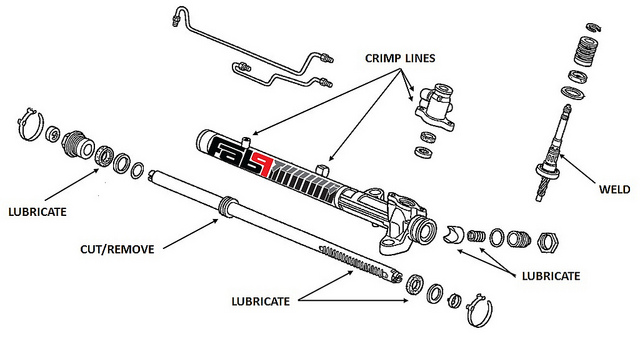
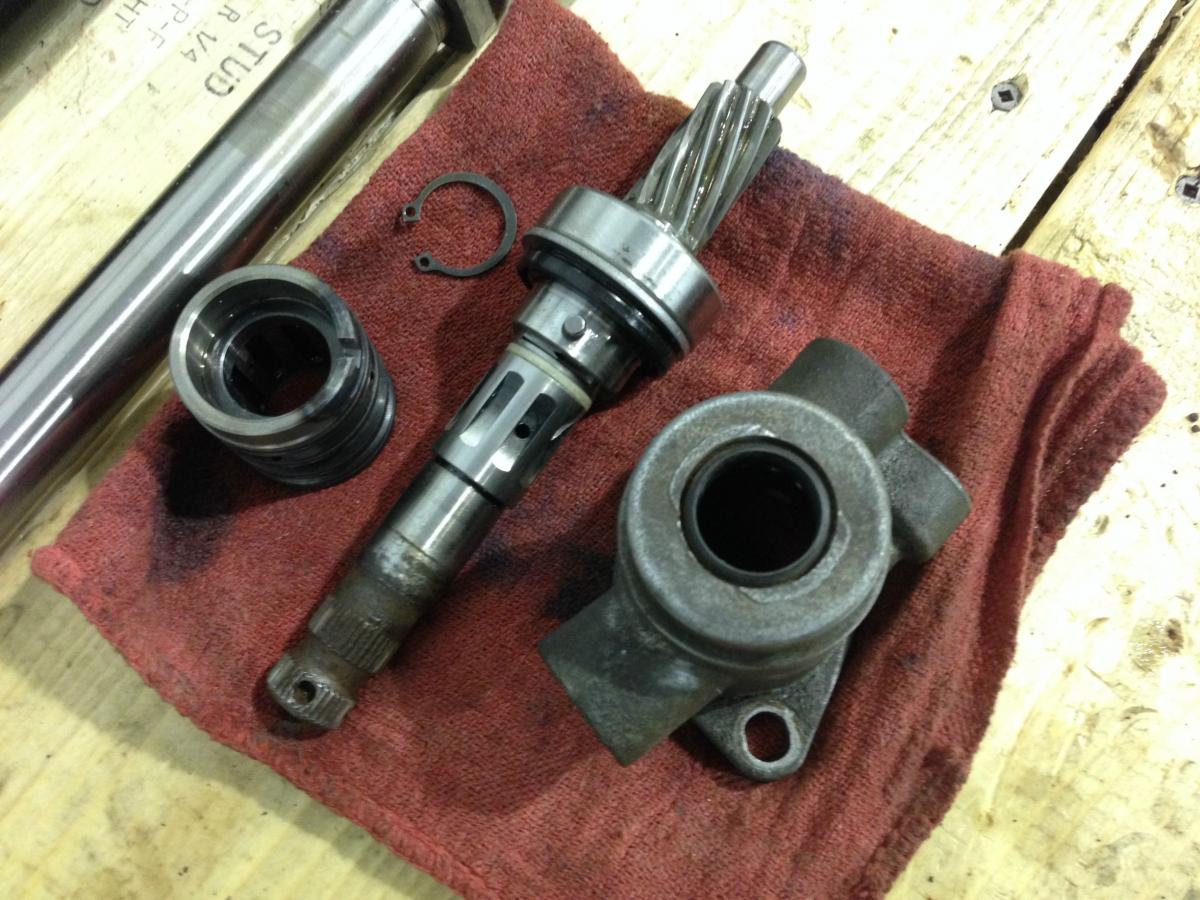
You'll want to do a couple of things while you have it apart:
- Remove the pressure seal ring - after doing this you'll clean the rack of any fluids and then use bearing grease during assembly. This way the bearing grease lubricates the moving bits and you aren't working to pump fluids back and forth.
- Weld the input shaft - the input shaft on a power steering rack has a heavy spring built into it. This spring basically dampens the movement of the input from steering wheel just enough for the power steering hydraulics to take over. It also allows some dead zone in your steering. If you de-power your rack and don't weld the input shaft you'll be disappointed with the amount of movement it takes to get your wheels to even begin to turn.
- Roll/crimp the fluid lines. If you have access to the welder you can apply a small bead across a crimped line but I've seen people roll and crimp them without problems.
The other important thing is to make sure the back lash on your input shaft is correct or you'll also end up with too much dead zone (probably unsafe) and potentially some noise.
Here is an illustration we tossed together for another customer. There are hundreds of write ups out there but this covers the basics:
Reply
0
0
Reply
0
0
Thread Starter
Bannisheded
Joined: Feb 2014
Posts: 74
Total Cats: -88
Gosh, I hate writing a good paragraph about the project and getting told I have to do it again because my ''token'' expired.
I hope you guys are having a good turbo week! spring is around the corner if not already there for most of you not sharing the same location as me.
It's been a pretty stressful two weeks guys... Gotta say, things have been better for DD turbo than it has recently. I just try to stay enthousiastic about it, because it's cars ffs, and I love working on 'em.
Like the wise Kendrick Lamar said : Bitch don't kill my vibe.
So I'll start at the beginning like most stories do :
my dad bought me a workbench ! Quite happy, it's very nice of him to have built me this. He never is interested in stuff I do but he got out of his way to make me this so, I appreciate it.
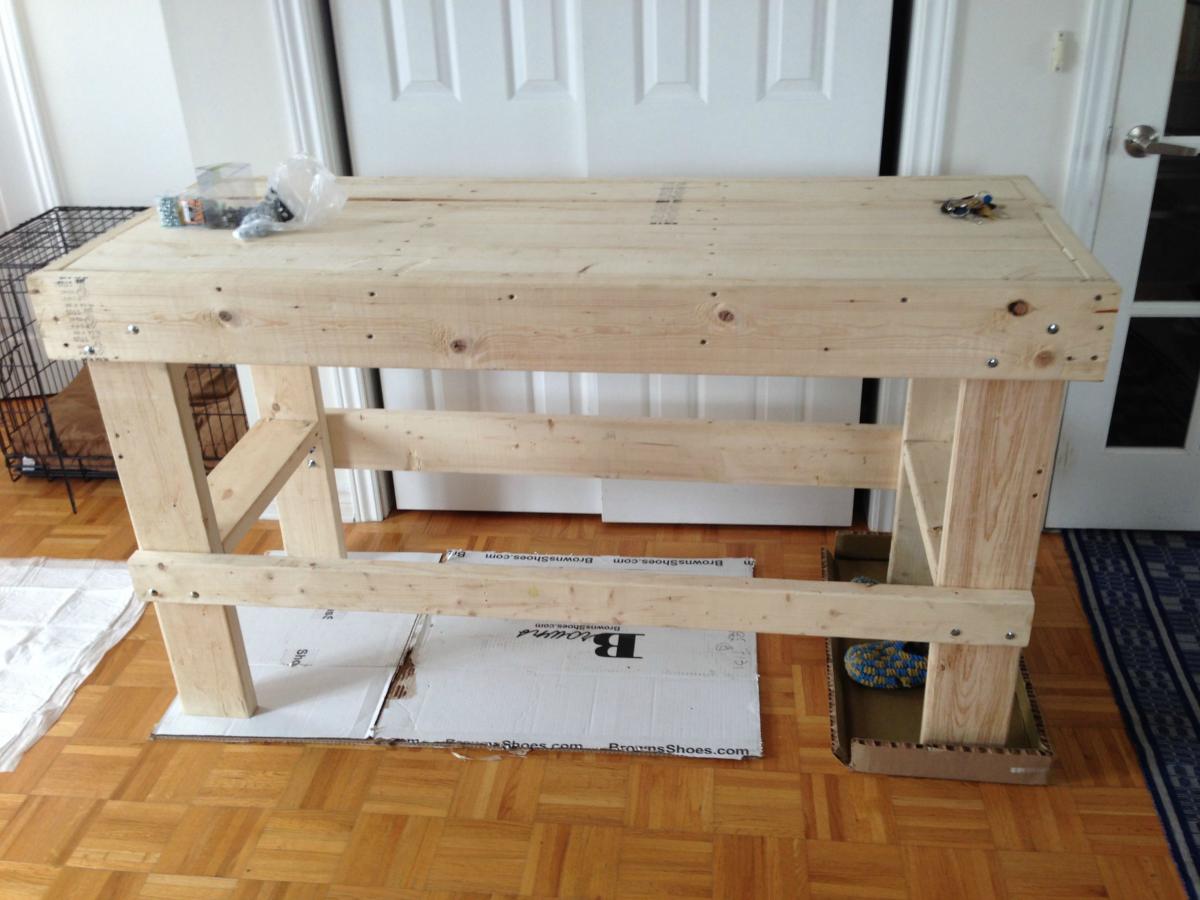
It's looking good I think. I'll have to get a metal sheet or something of the sort to bolt on top because I've worked on it this weekend and, it absorbs oily substances a lot and makes it hard to maintain.
Here it is in it's natural habitat (aka my work space at the garage and where I'll be spending most of my time now).
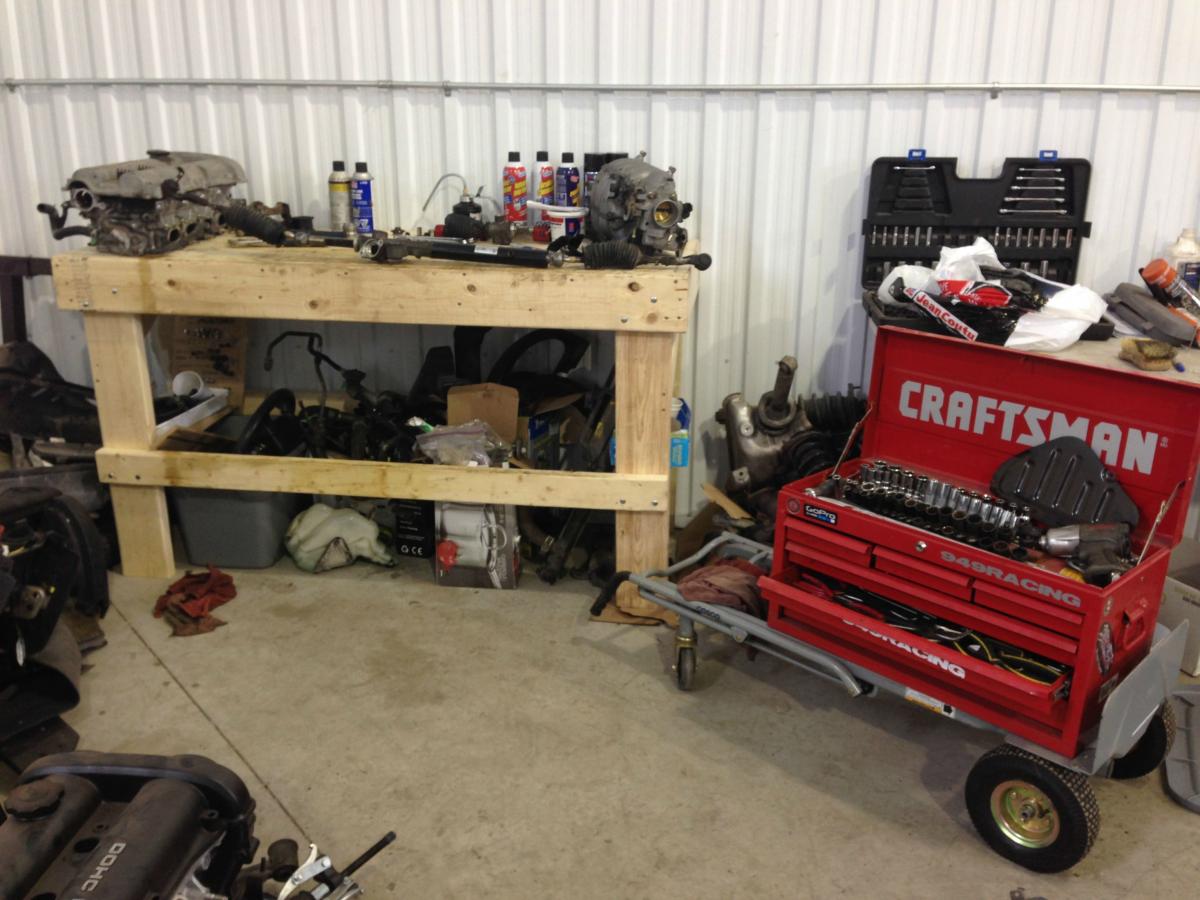
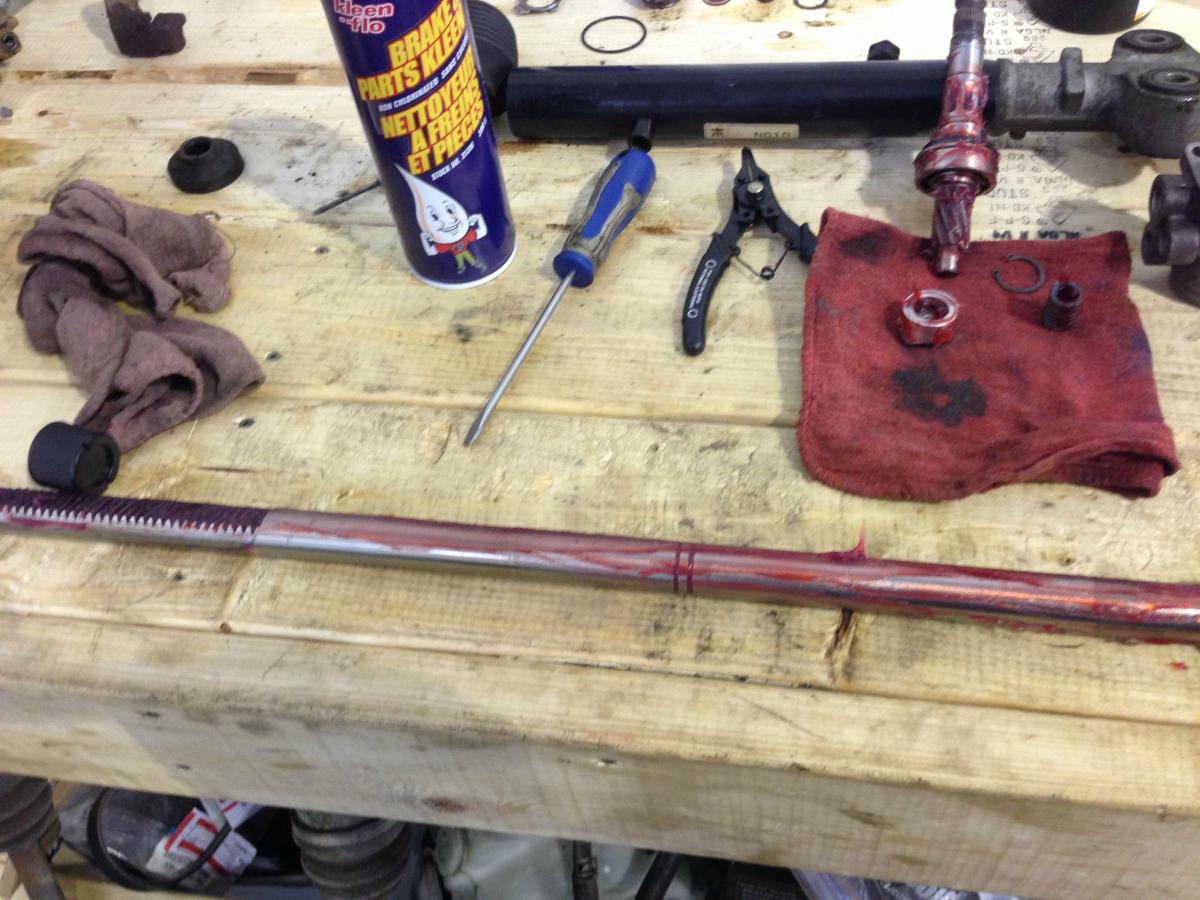
It already got put to the test with me working on the steering rack and doing the ''proper'' depowering of it.
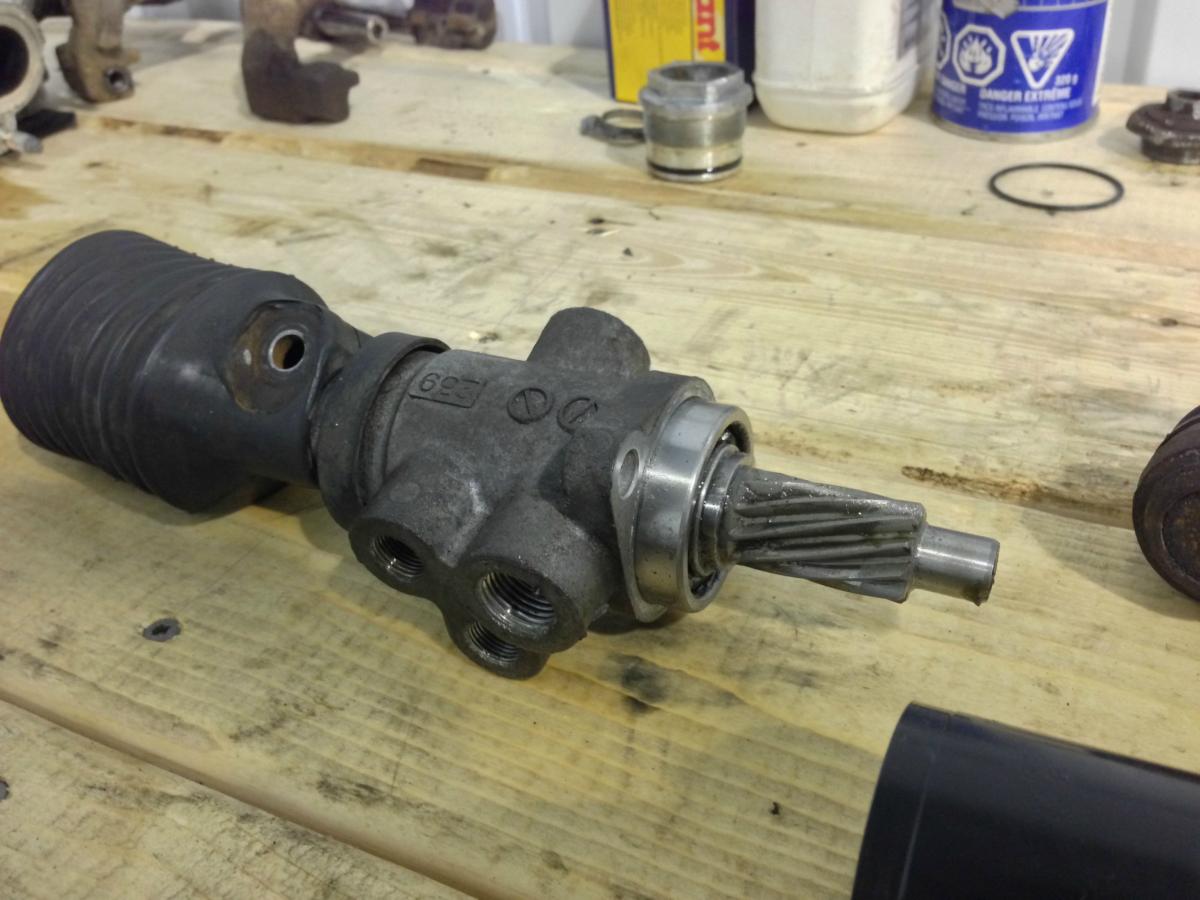
That was at the beginning. I had removed the piece of metal with the pinion on it (which I couldn't take out of - if anyone knows how, please share)
After, I noticed without a vice, removing both tie rod ends were going to be a realllllll b-word. My brother-in-law who was here to visit me this weekend instinctively bolted the rack to my subframe and used it as leverage. Two heads are better than one.
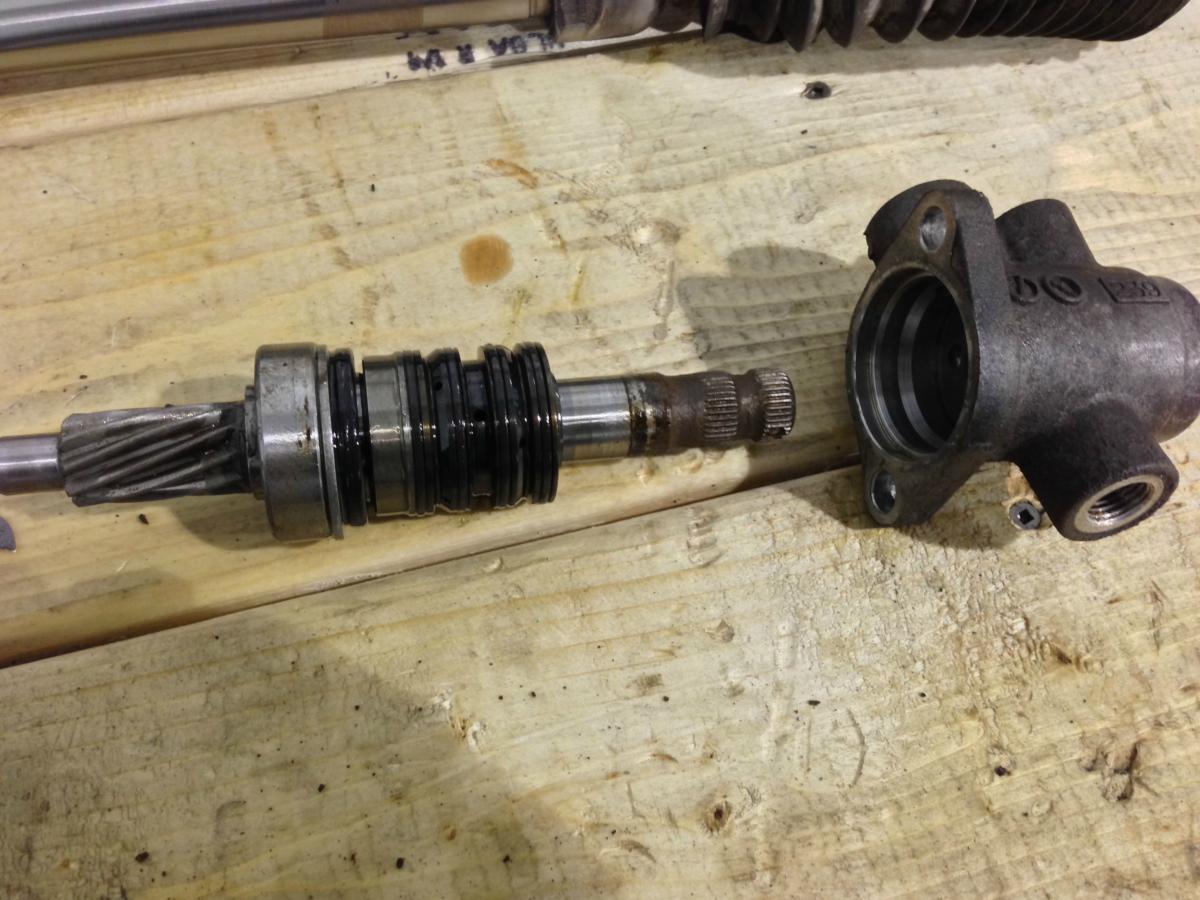
After that, I removed the shaft from the rack, ground off the metal seal on it and left it there. I'll take pictures later on this week to show you the progress, it's quite interesting.
Speaking of my brother-in-law ( mastertech at ford), I gotta take a moment to say I really appreciate the time he's given me throughout this journey that is the project. He's my mentor when it comes to mechanics and I've never seen anybody so passionate about their occupation before in my life.
A real inspiration this guy... and that is his build : (quick interlude)
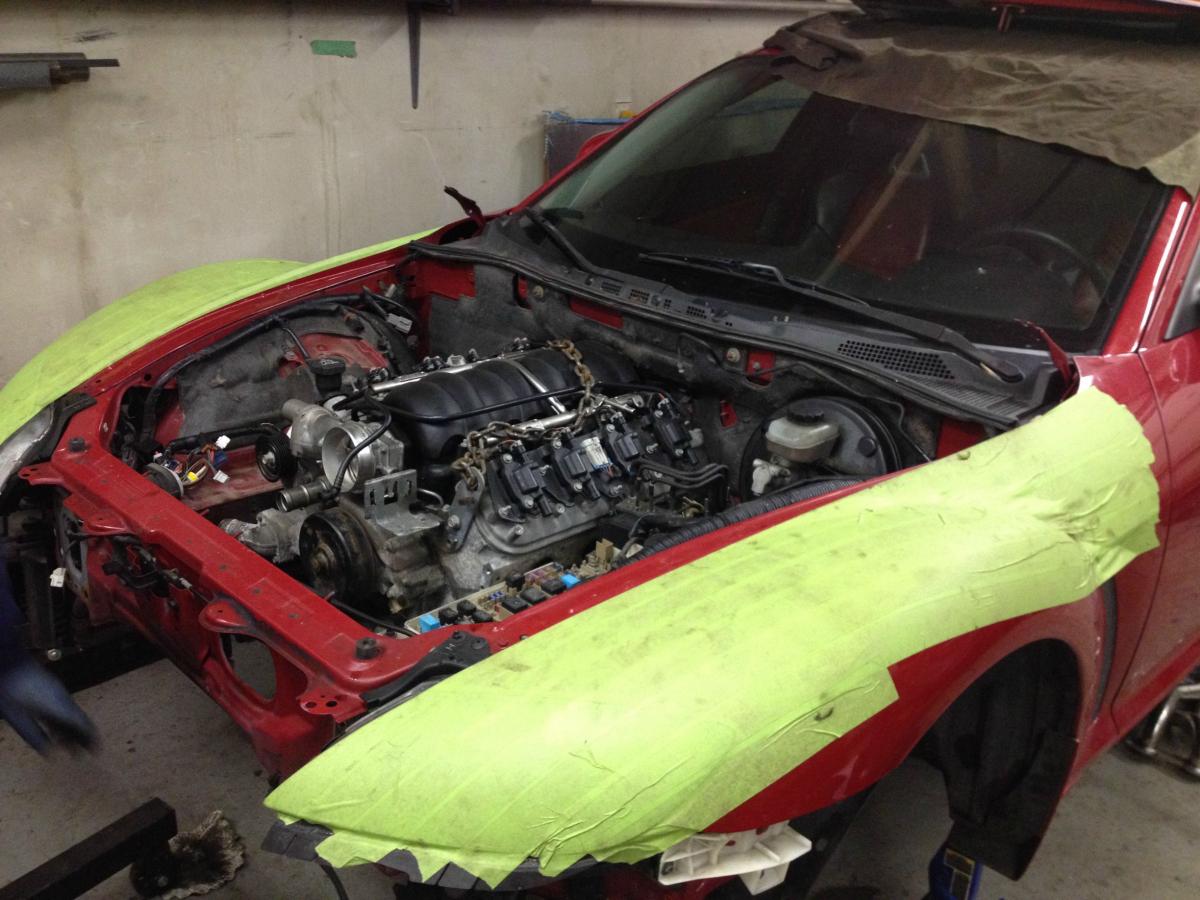
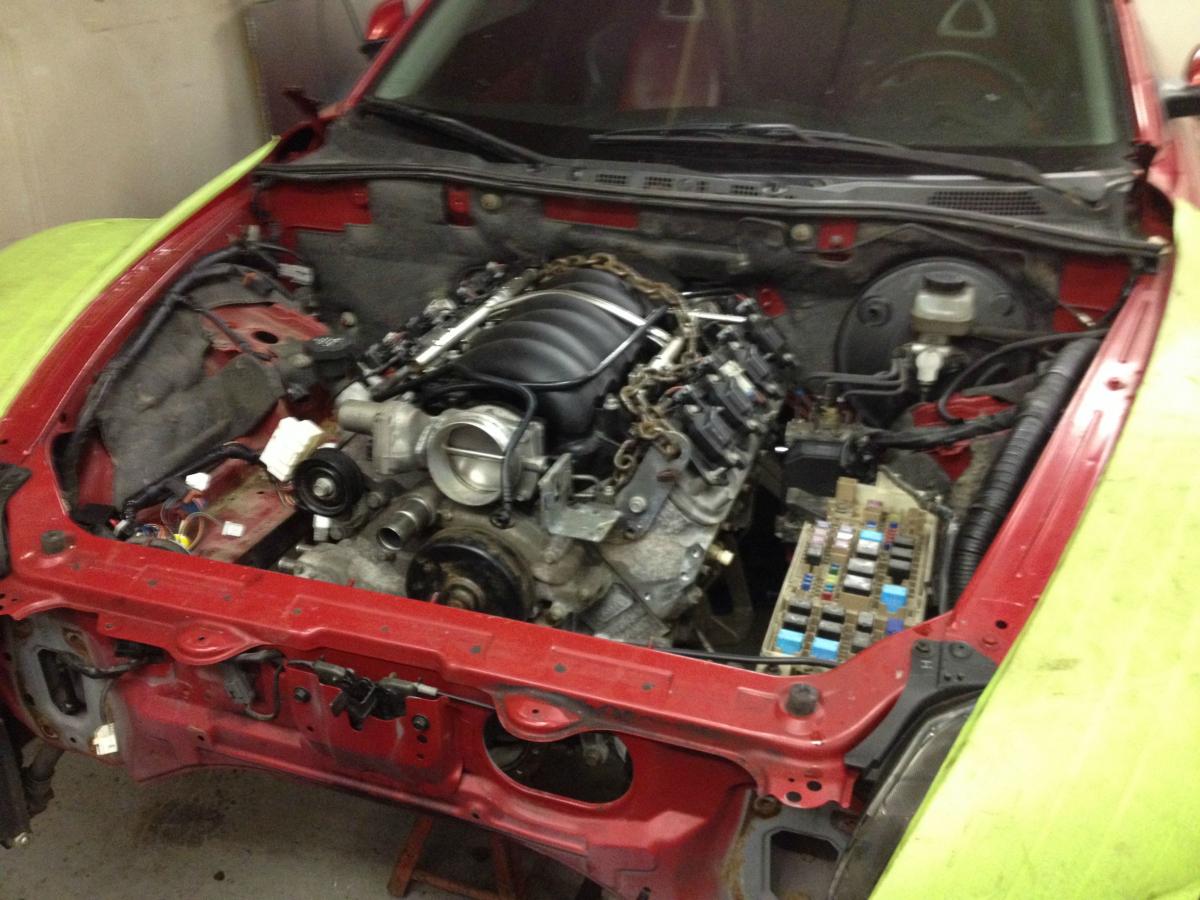
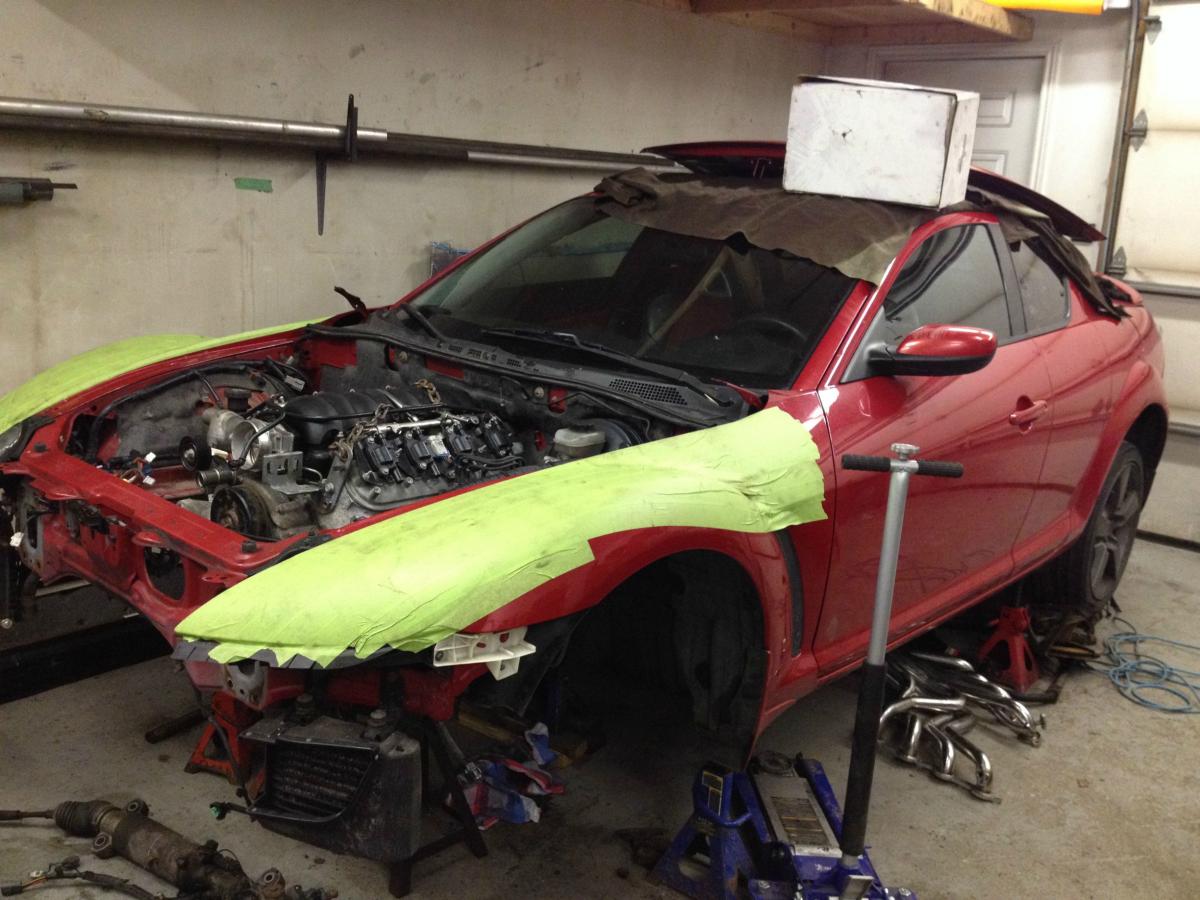
Yep, that is an RX8 with a G8 engine in it. I know it's not turbo but I think you Miata guys are car guys before all, and you can appreciate it. The amount of fabrication work in this build is impressive. I'll try to grab more pictures when I can.
interlude over.
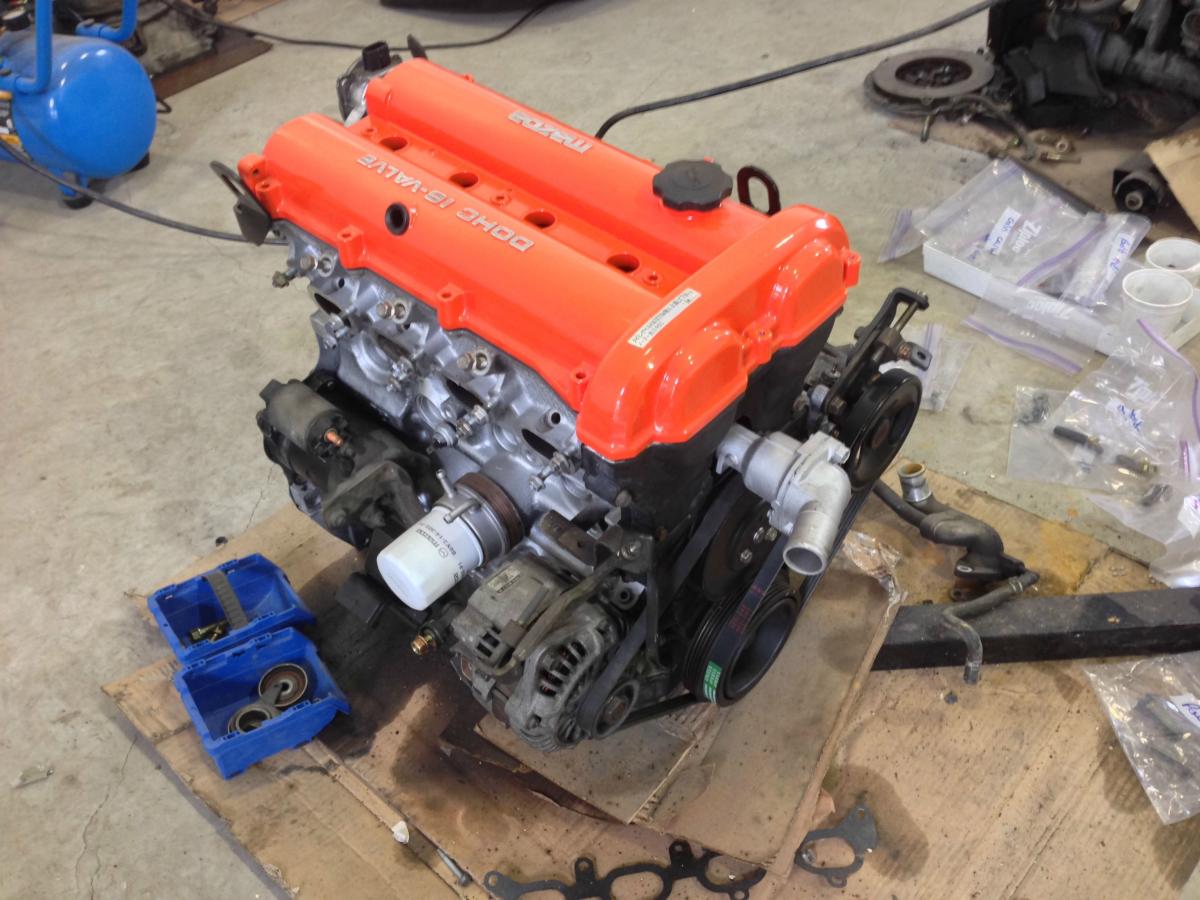
Pablo finished up his engine, he decided to keep his power steering and everything. timing job is done, everything is back together and looking GOOD
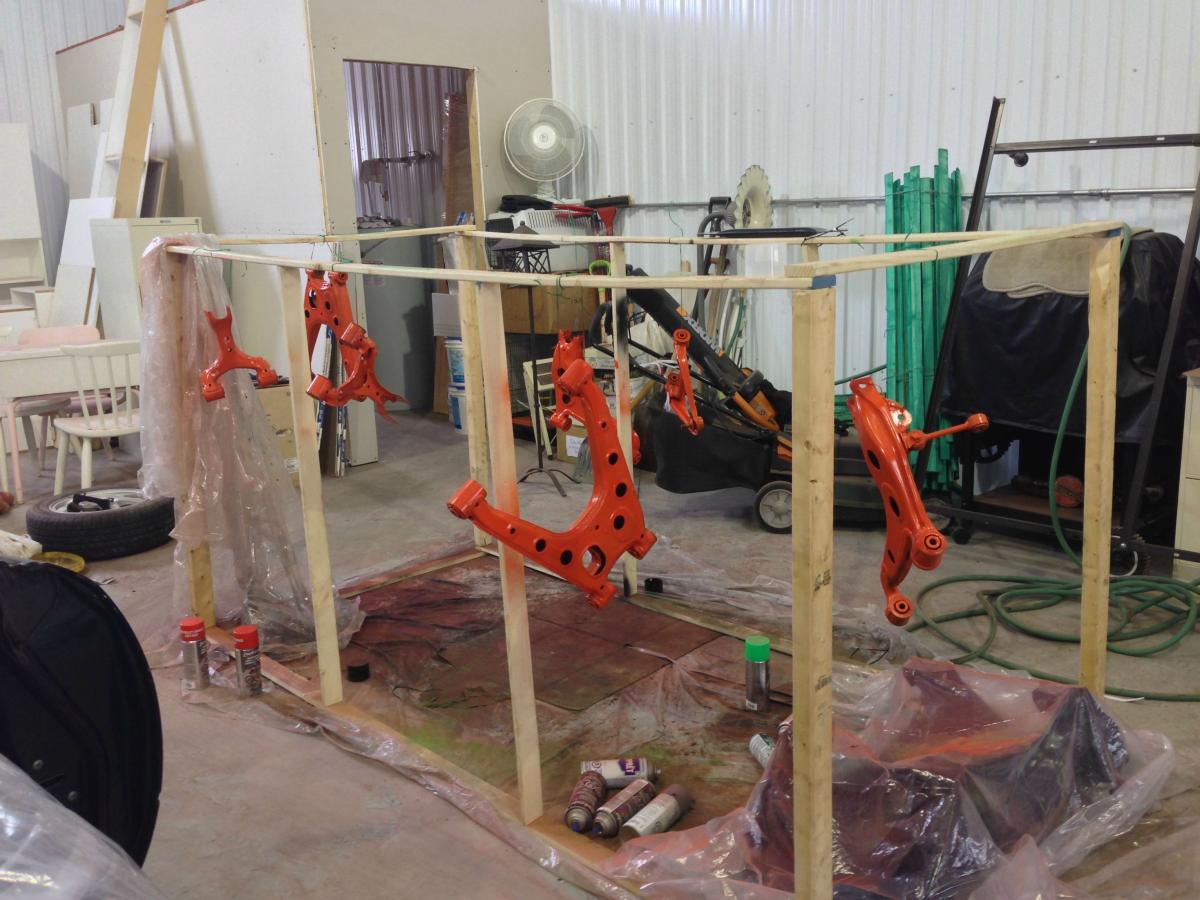
He finished painting all his suspension pieces. He doesn't want to change his bushings. He'll invest in something that looks like this :
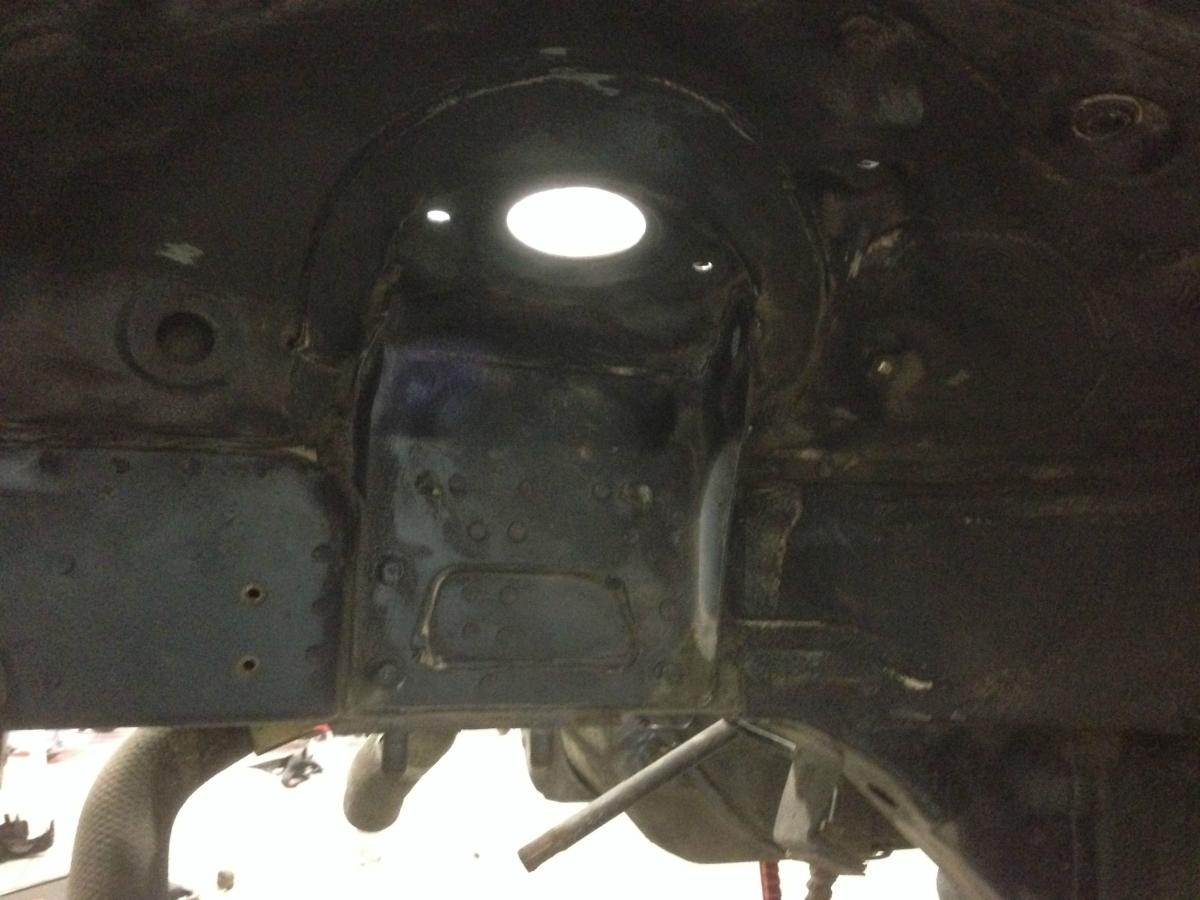
Lately, I've been wire brushing and cleaning the underside of my car to get it ready for the undercoating. I got 75% of it done this weekend
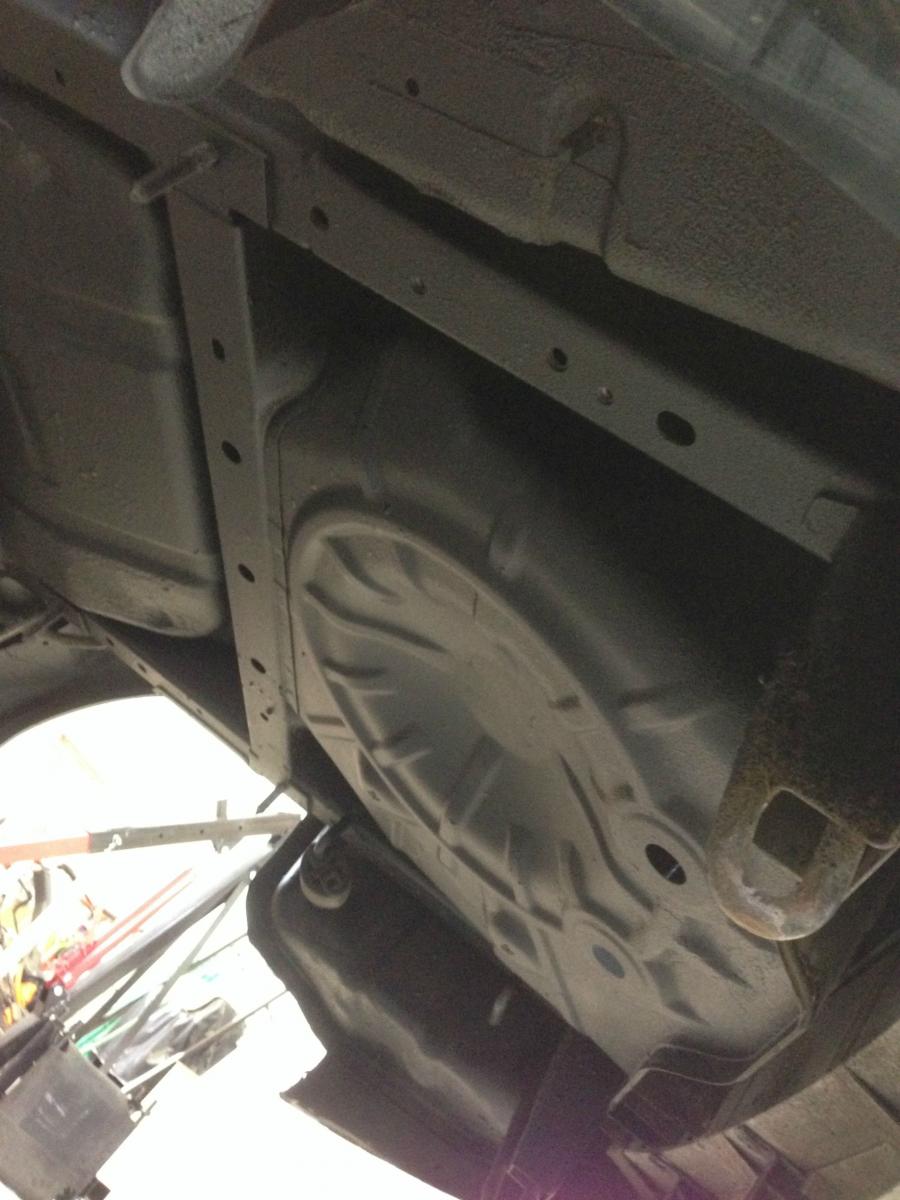
All that is missing is the tranny tunnel and frame rails area to be finished.
Damn ! I forgot.
I removed the rear crossmember and everything with it before that ! haha
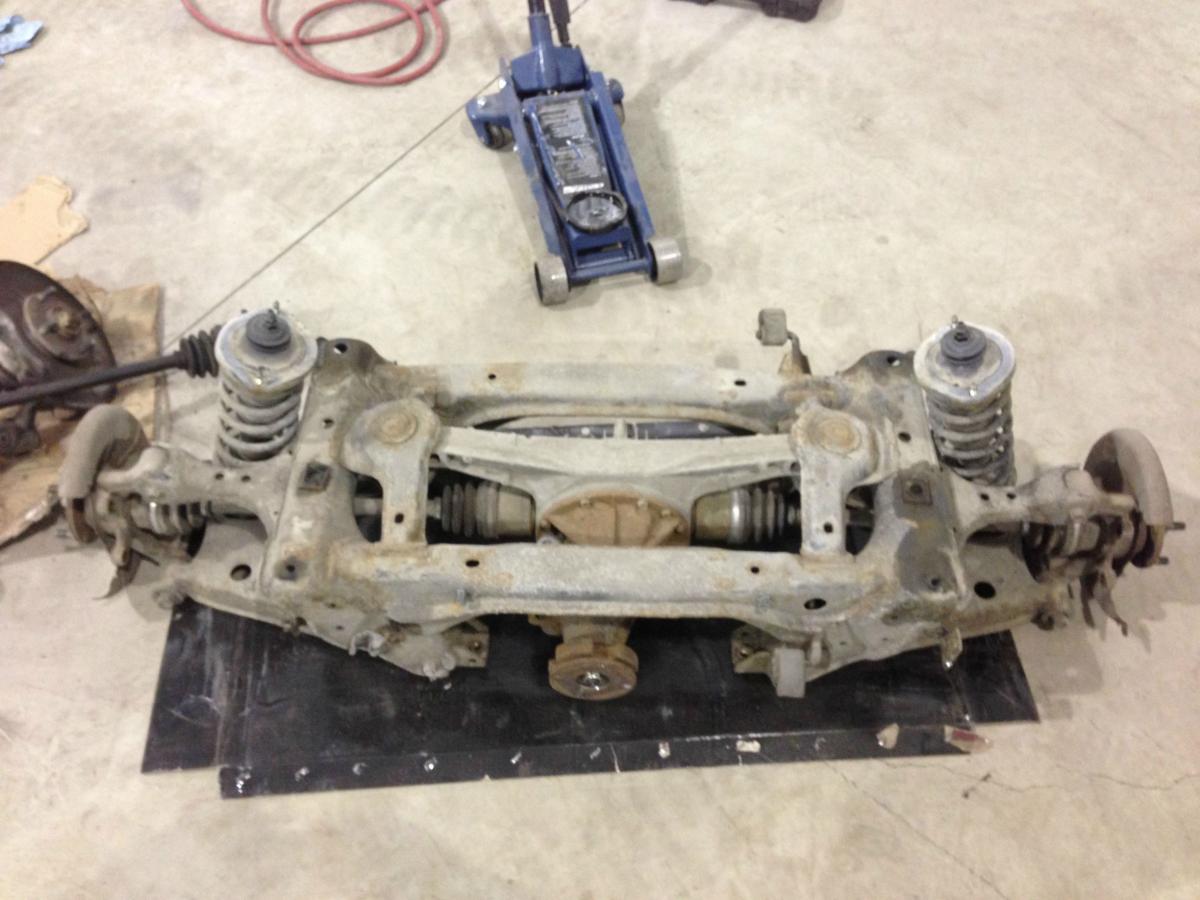
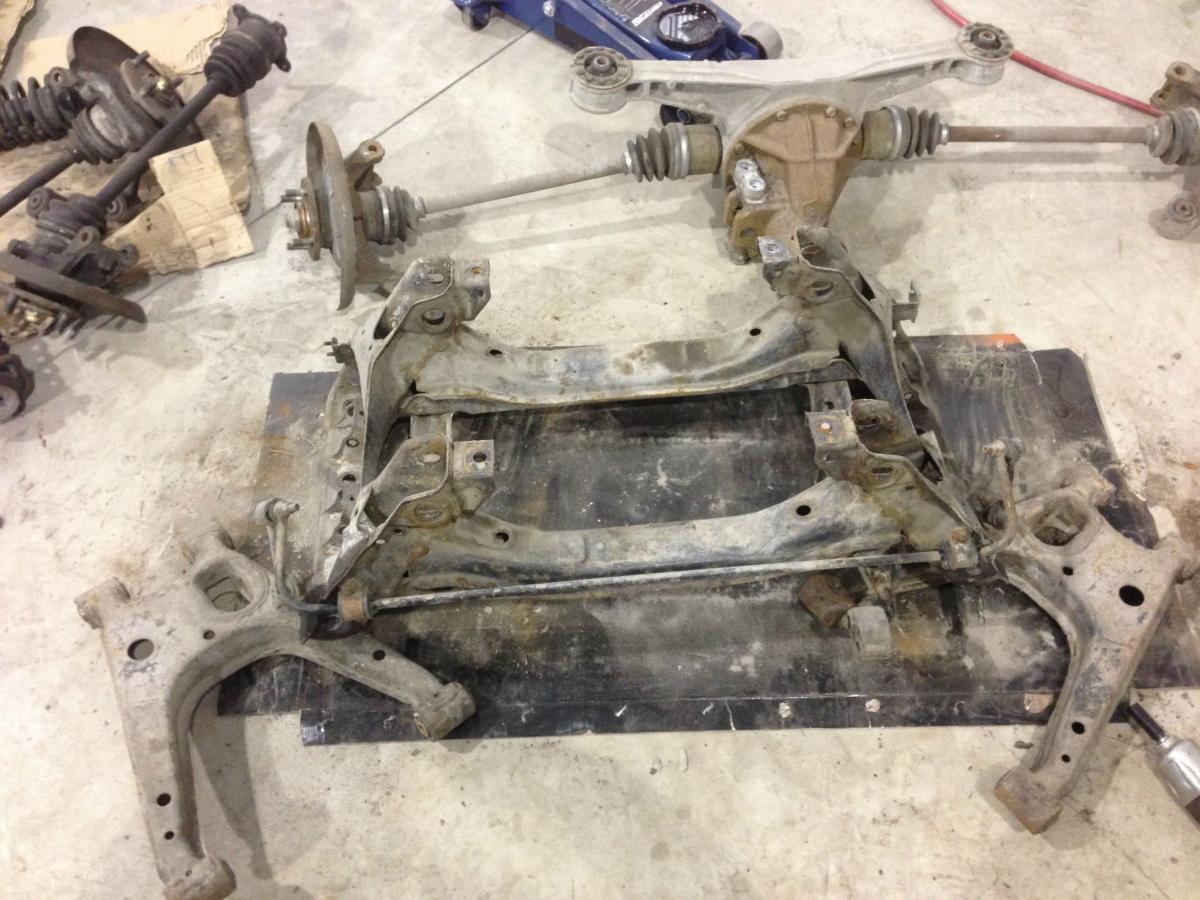
so. much. rust.
Also, all of my 4 end links' ball joints are shot to ****. I emailed Emilio at 949 to find out when the supermiata's endlinks are gonna be in stock. He told me 1-2 weeks. I'll be ordering that soon with 2 new tie rod ball joints.
Then I began the rust removal (somewhat) process.
Spent a few hours grinding without a mask on. A lot of dust particules in my lungs = me sneezing and blowing my nose until it's dry = scabs and pain in my nose and sinuses from the past 2 weeks.
Wear a mask, or just put a shirt on your face... just do something.
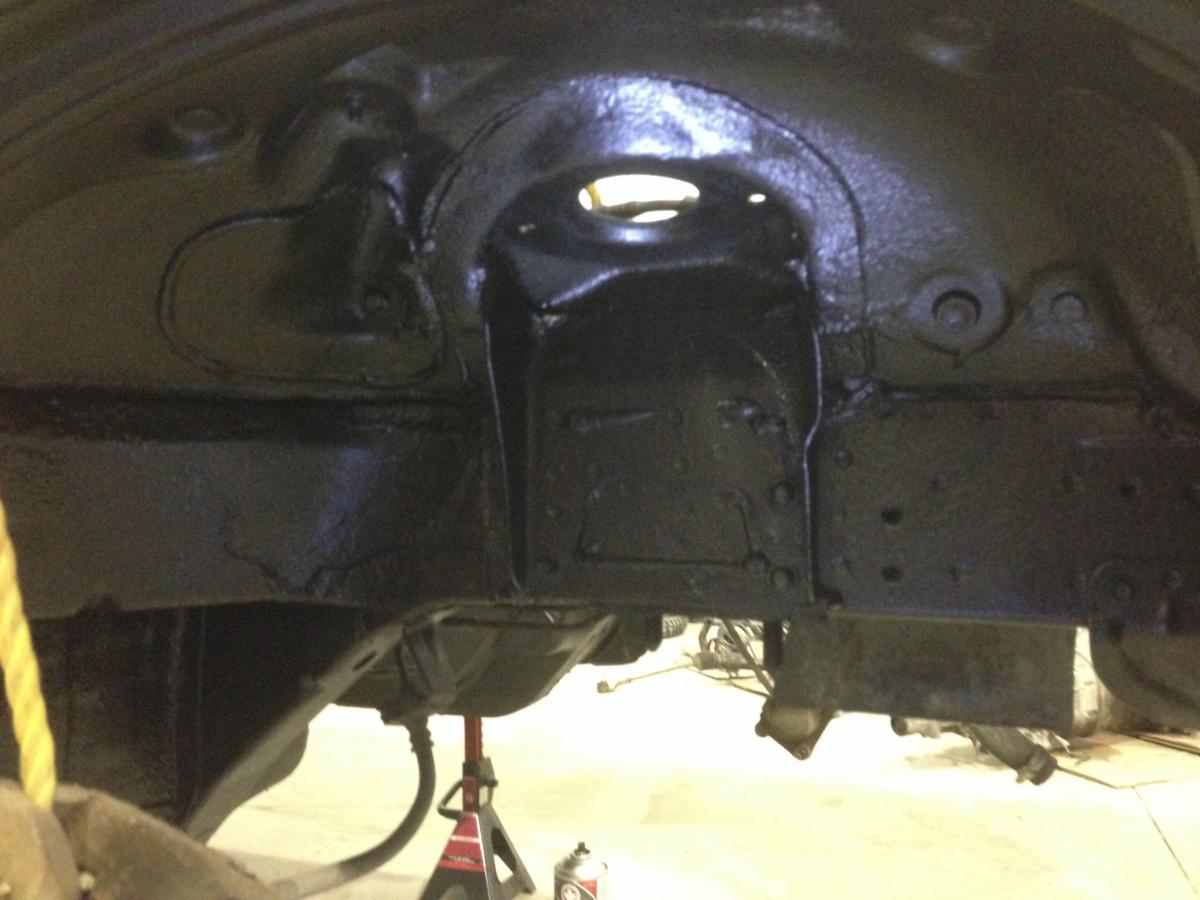
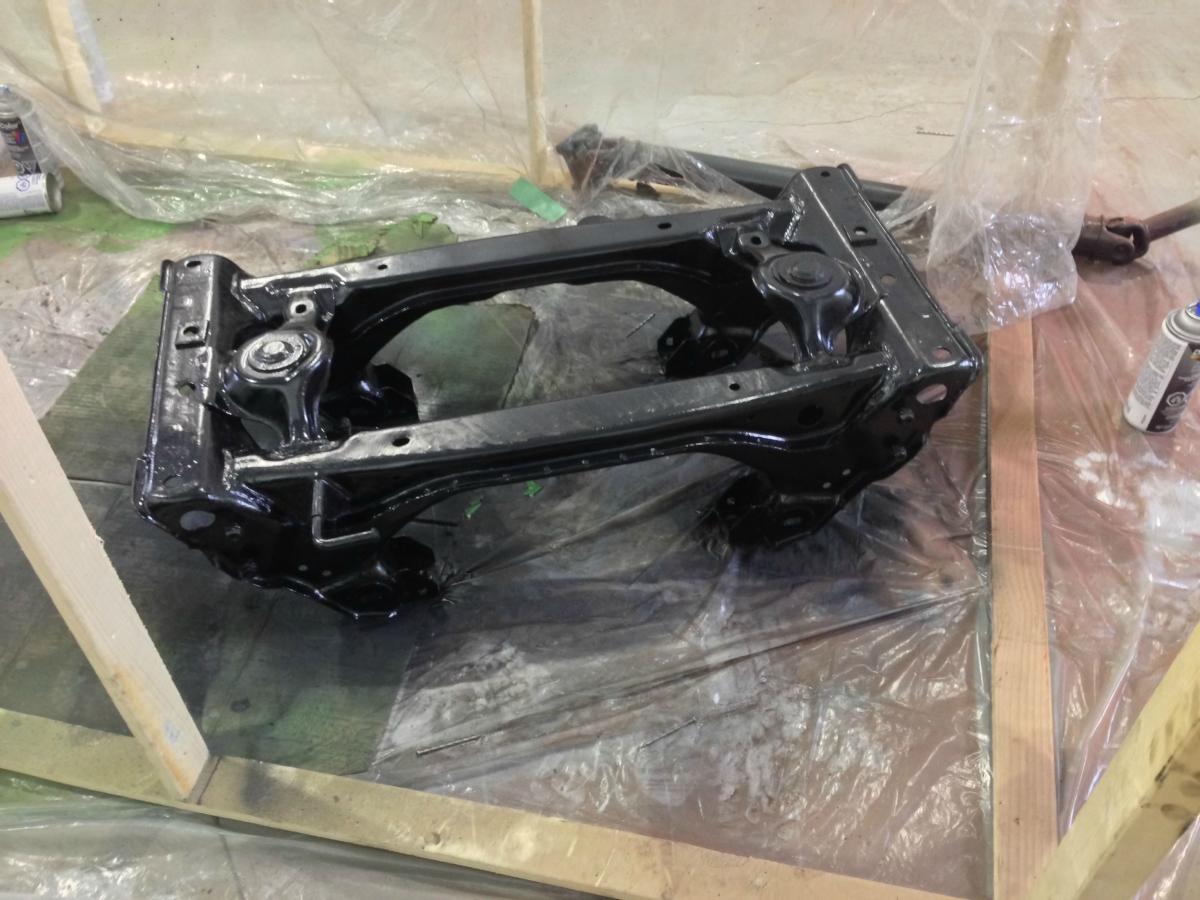
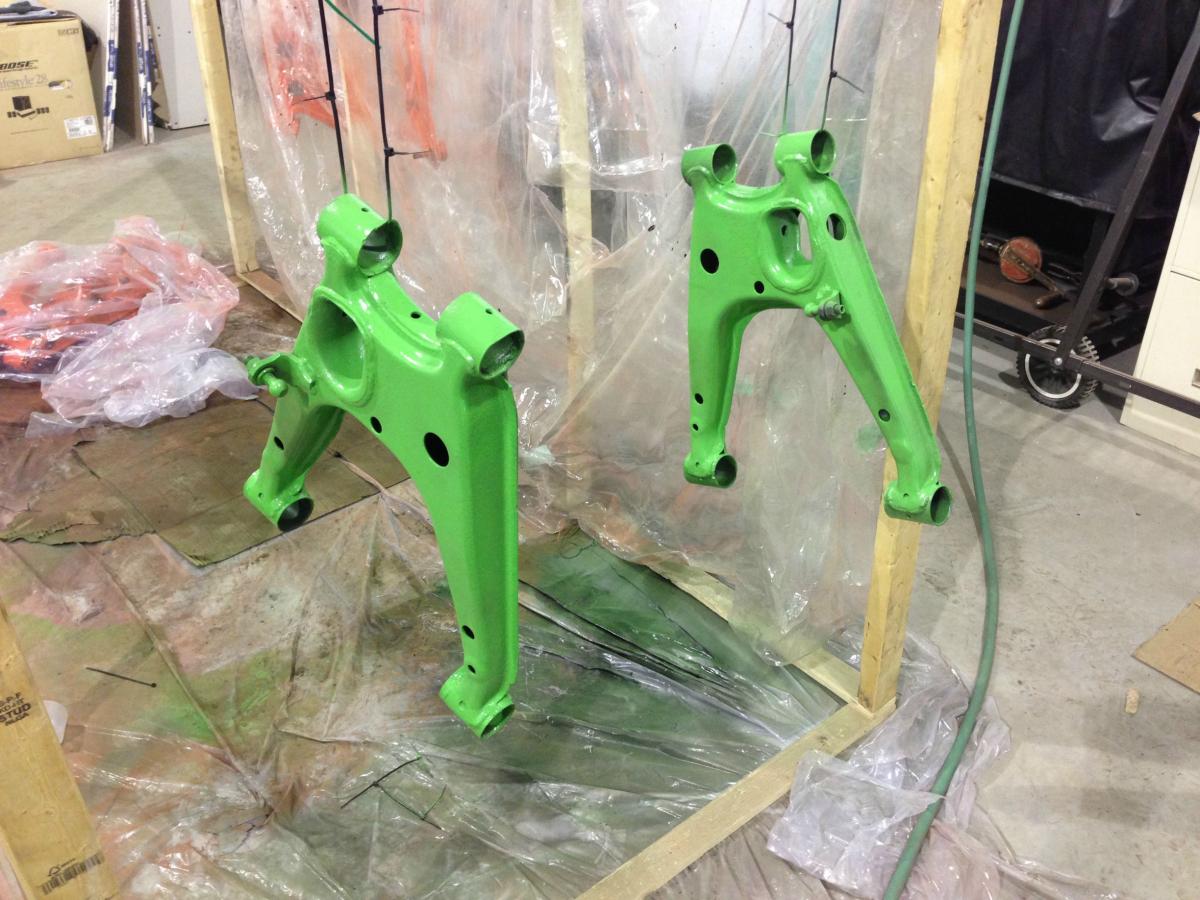
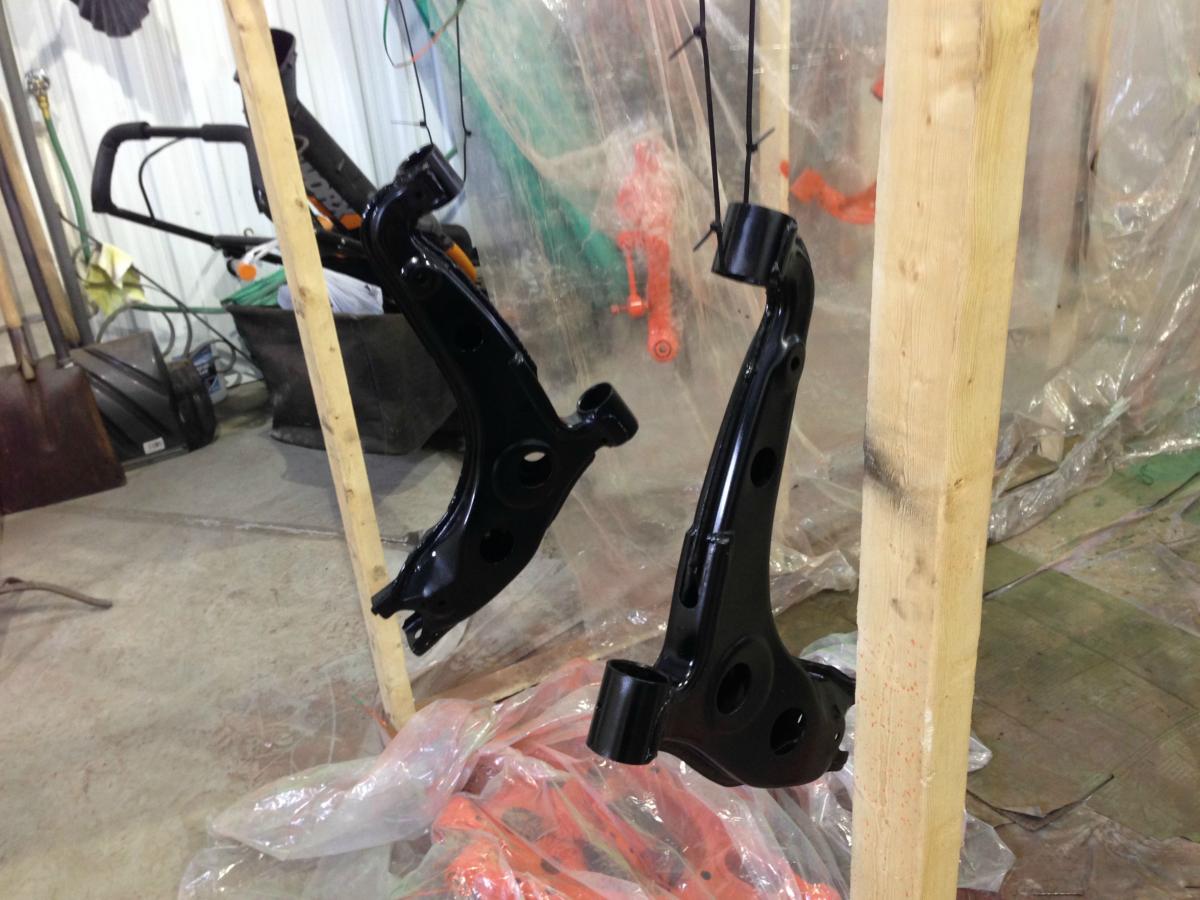
I removed as much as I can without going crazy about it and primed it :
then I hit it with a few coats of gloss black and called it a day.
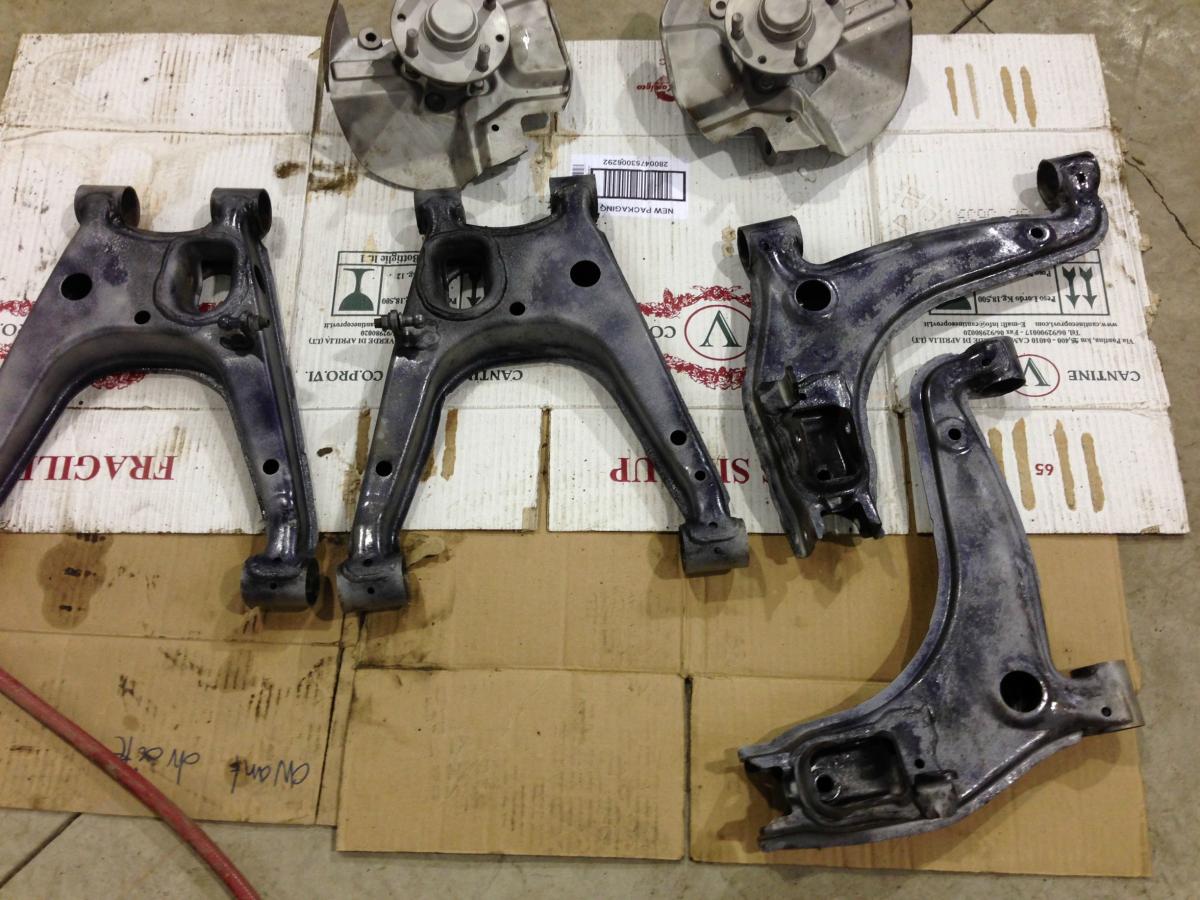
I managed to get a few bushings out of my suspension arms using a 3 teeth puller. These were the easiest to pop out - I brought 'em to school and sandblasted them before :
Paint was out, so might as well spray em.
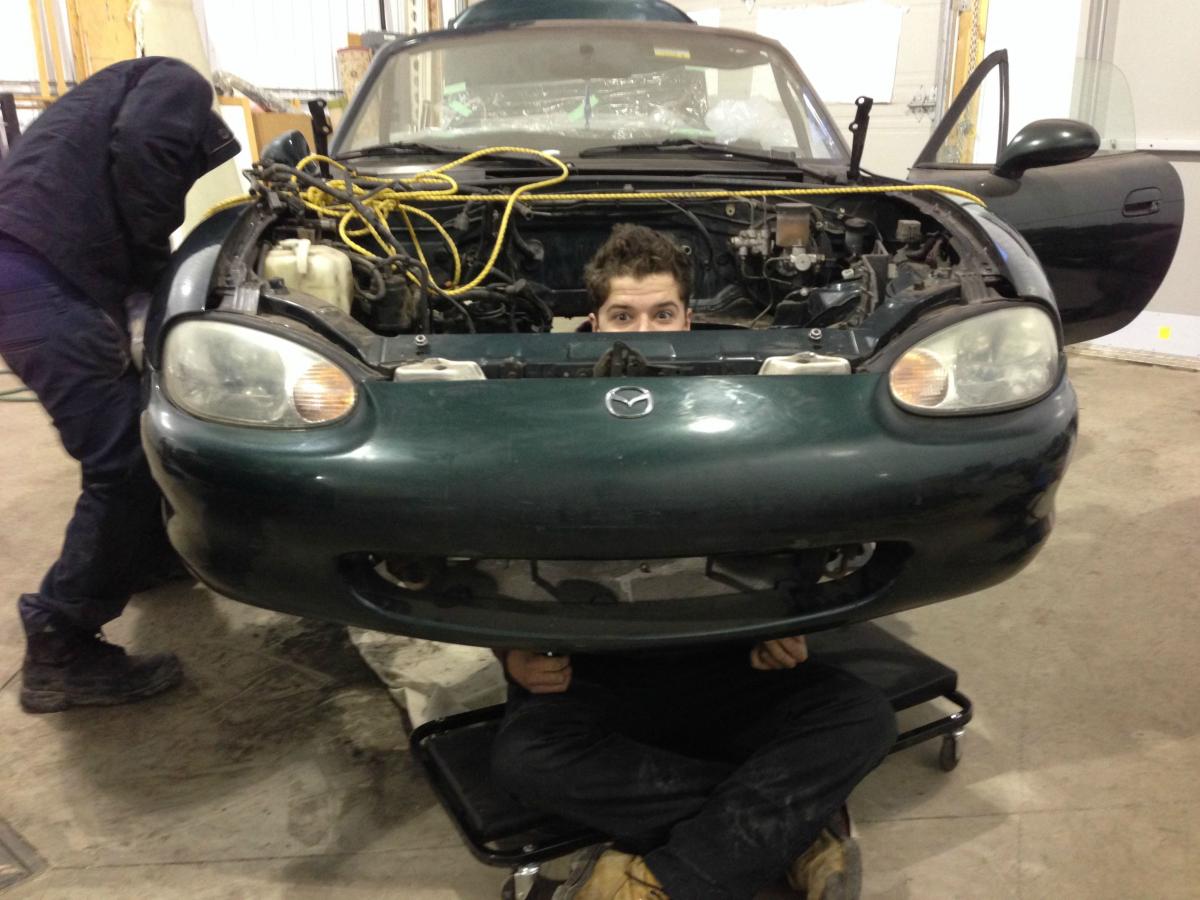
Obligatory friend in engine bay first timer picture :
I took the opportunity of have an experienced guy (brother in law) at the shop to go over a few things. Especially my engine which I wasn't too sure about.
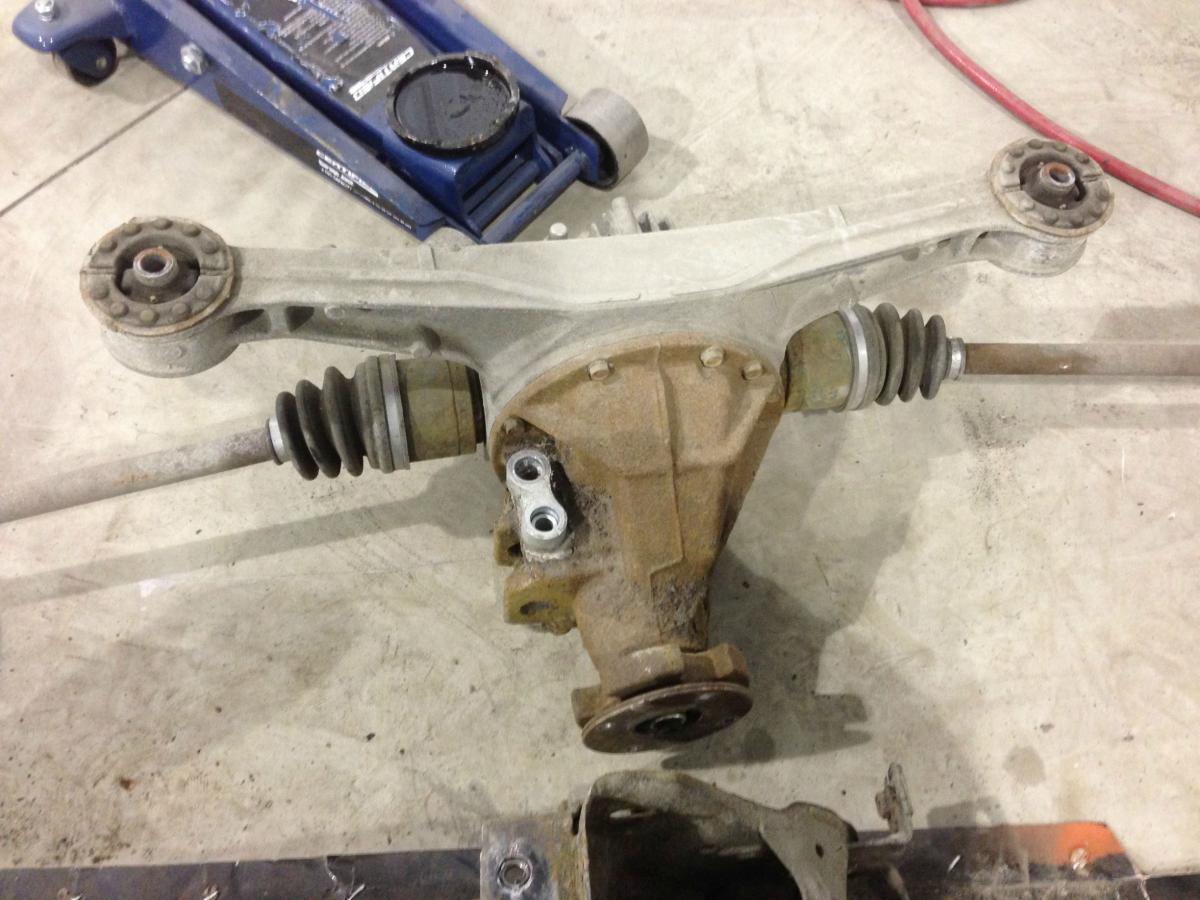
He helped me remove my shafts (don't know the word in english) from the diff so I can carry it around and remove my bushings.
He also double checked my timing job, aside from a slightly loose belt, he said it was perfect ! So there you go, doubters. hahaha I'm kidding.
Also, we found out on my 99 block, there is a CKP and there isn't one on my 94-97.
The good thing is, on the block, there is a hole drilled but not tapped right where the bolt is supposed to be (and is on the NB block). Only thing to do is grind a little plateau off towards the timing gear so the ckp bracket will fit, tap the hole with the adequate size tap and install the NB pulley and the trick is done!
To do it I bought this on sale at my trustee favorite store canadian tire for 25$
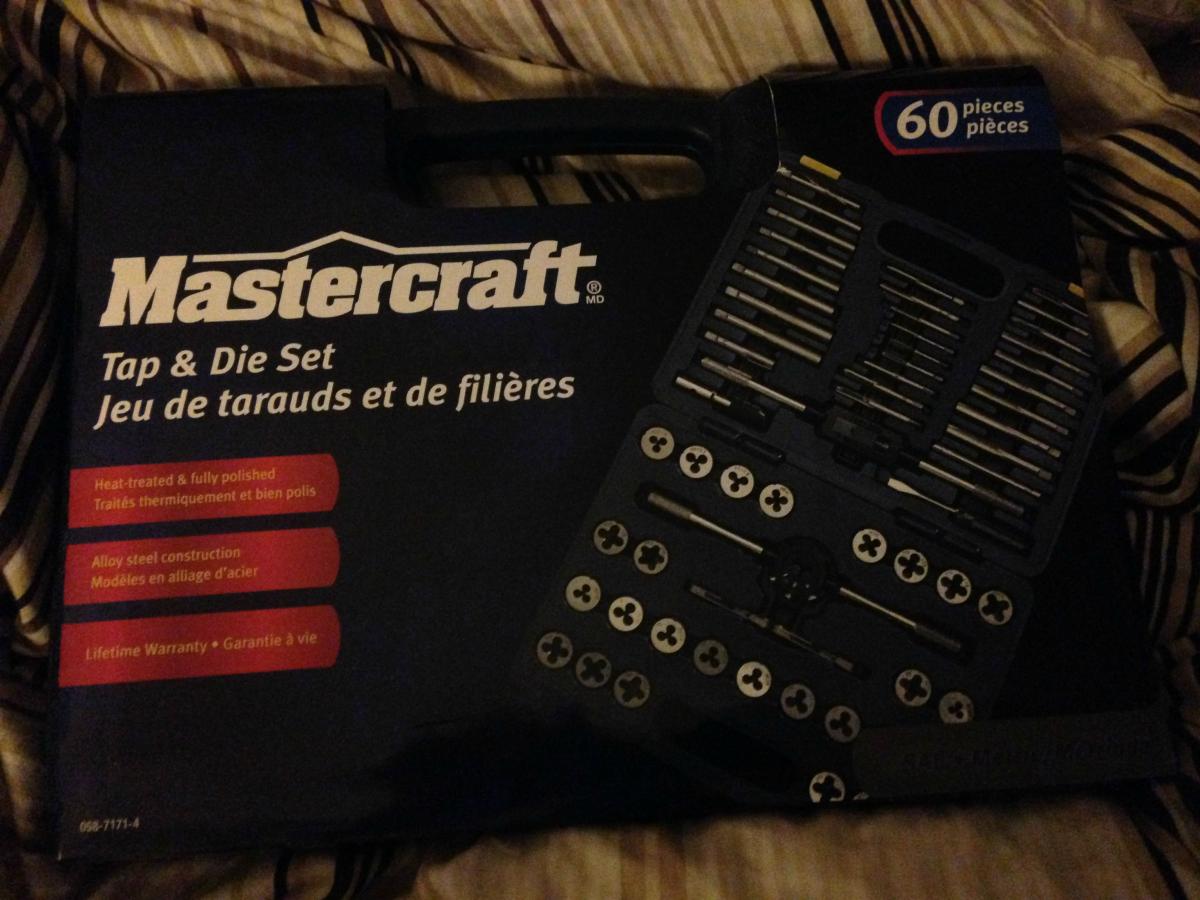
I hope it's got the right size haha
I forgot to take pictures of all this but I'll make sure I get some next time I go, no school this week wednesday, thursday and friday so I'll definately hit up the shop later.
Other than that, we checked out the coolant and oil ports available on the block for the turbo, there are a coolant and oil port on the exhaust side and one coolant on the back.
I'll use the one in the back as a main and the one on the side as a return coolant line. The one on the side's gonna be my main and I'll drill my pan for my oil return and I'll have good, cool and proper fluid circulating through my turbo. It's crazy how they made these blocks as if they knew we would be putting turbos on them.
Have ANOTHER great and warmer turbo week fellas !
Ill be back with more pictures, apologies for the lack of them today
I hope you guys are having a good turbo week! spring is around the corner if not already there for most of you not sharing the same location as me.
It's been a pretty stressful two weeks guys... Gotta say, things have been better for DD turbo than it has recently. I just try to stay enthousiastic about it, because it's cars ffs, and I love working on 'em.
Like the wise Kendrick Lamar said : Bitch don't kill my vibe.
So I'll start at the beginning like most stories do :
my dad bought me a workbench ! Quite happy, it's very nice of him to have built me this. He never is interested in stuff I do but he got out of his way to make me this so, I appreciate it.
It's looking good I think. I'll have to get a metal sheet or something of the sort to bolt on top because I've worked on it this weekend and, it absorbs oily substances a lot and makes it hard to maintain.
Here it is in it's natural habitat (aka my work space at the garage and where I'll be spending most of my time now).
It already got put to the test with me working on the steering rack and doing the ''proper'' depowering of it.
That was at the beginning. I had removed the piece of metal with the pinion on it (which I couldn't take out of - if anyone knows how, please share)
After, I noticed without a vice, removing both tie rod ends were going to be a realllllll b-word. My brother-in-law who was here to visit me this weekend instinctively bolted the rack to my subframe and used it as leverage. Two heads are better than one.
After that, I removed the shaft from the rack, ground off the metal seal on it and left it there. I'll take pictures later on this week to show you the progress, it's quite interesting.
Speaking of my brother-in-law ( mastertech at ford), I gotta take a moment to say I really appreciate the time he's given me throughout this journey that is the project. He's my mentor when it comes to mechanics and I've never seen anybody so passionate about their occupation before in my life.
A real inspiration this guy... and that is his build : (quick interlude)
Yep, that is an RX8 with a G8 engine in it. I know it's not turbo but I think you Miata guys are car guys before all, and you can appreciate it. The amount of fabrication work in this build is impressive. I'll try to grab more pictures when I can.
interlude over.
Pablo finished up his engine, he decided to keep his power steering and everything. timing job is done, everything is back together and looking GOOD
He finished painting all his suspension pieces. He doesn't want to change his bushings. He'll invest in something that looks like this :
Lately, I've been wire brushing and cleaning the underside of my car to get it ready for the undercoating. I got 75% of it done this weekend
All that is missing is the tranny tunnel and frame rails area to be finished.
Damn ! I forgot.
I removed the rear crossmember and everything with it before that ! haha
so. much. rust.
Also, all of my 4 end links' ball joints are shot to ****. I emailed Emilio at 949 to find out when the supermiata's endlinks are gonna be in stock. He told me 1-2 weeks. I'll be ordering that soon with 2 new tie rod ball joints.
Then I began the rust removal (somewhat) process.
Spent a few hours grinding without a mask on. A lot of dust particules in my lungs = me sneezing and blowing my nose until it's dry = scabs and pain in my nose and sinuses from the past 2 weeks.
Wear a mask, or just put a shirt on your face... just do something.
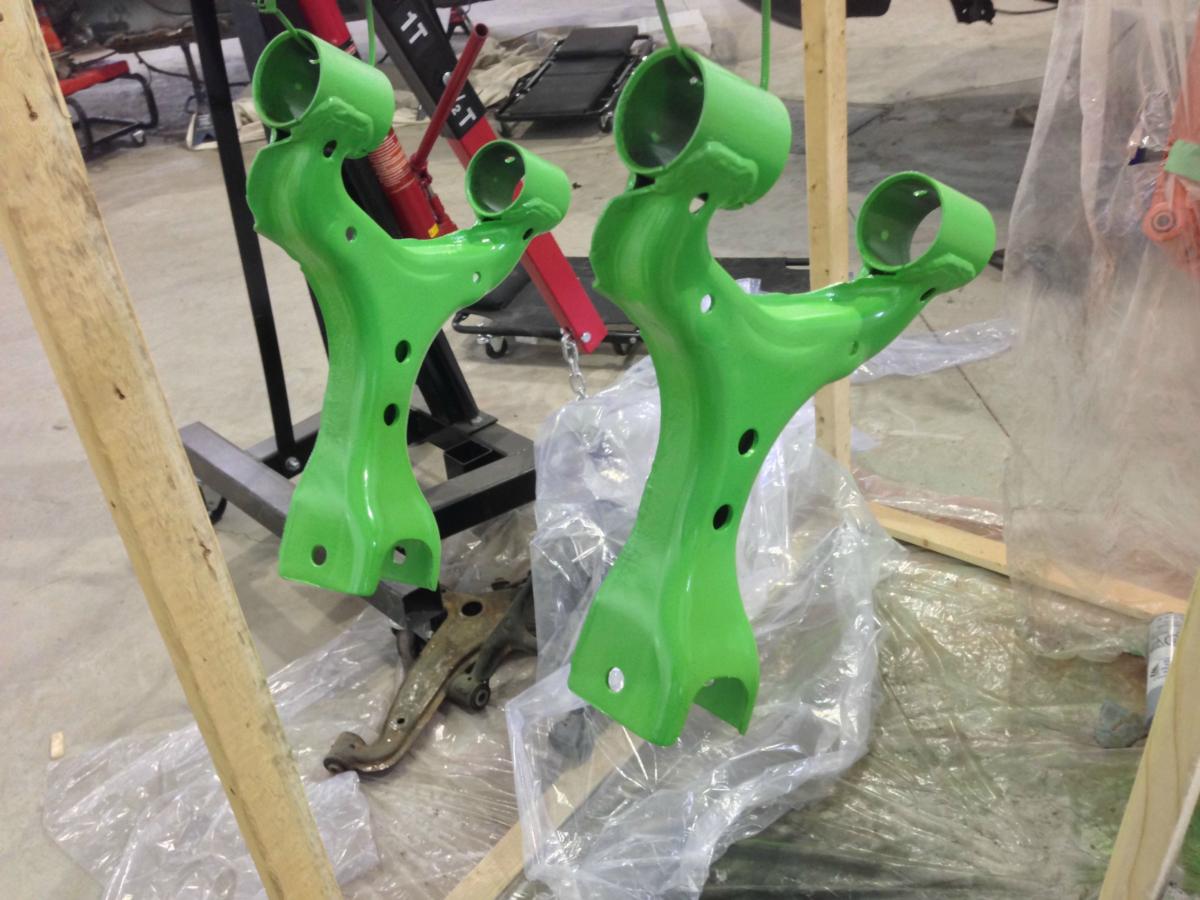
I removed as much as I can without going crazy about it and primed it :
then I hit it with a few coats of gloss black and called it a day.
I managed to get a few bushings out of my suspension arms using a 3 teeth puller. These were the easiest to pop out - I brought 'em to school and sandblasted them before :
Paint was out, so might as well spray em.
Obligatory friend in engine bay first timer picture :
I took the opportunity of have an experienced guy (brother in law) at the shop to go over a few things. Especially my engine which I wasn't too sure about.
He helped me remove my shafts (don't know the word in english) from the diff so I can carry it around and remove my bushings.
He also double checked my timing job, aside from a slightly loose belt, he said it was perfect ! So there you go, doubters. hahaha I'm kidding.
Also, we found out on my 99 block, there is a CKP and there isn't one on my 94-97.
The good thing is, on the block, there is a hole drilled but not tapped right where the bolt is supposed to be (and is on the NB block). Only thing to do is grind a little plateau off towards the timing gear so the ckp bracket will fit, tap the hole with the adequate size tap and install the NB pulley and the trick is done!
To do it I bought this on sale at my trustee favorite store canadian tire for 25$
I hope it's got the right size haha
I forgot to take pictures of all this but I'll make sure I get some next time I go, no school this week wednesday, thursday and friday so I'll definately hit up the shop later.
Other than that, we checked out the coolant and oil ports available on the block for the turbo, there are a coolant and oil port on the exhaust side and one coolant on the back.
I'll use the one in the back as a main and the one on the side as a return coolant line. The one on the side's gonna be my main and I'll drill my pan for my oil return and I'll have good, cool and proper fluid circulating through my turbo
. It's crazy how they made these blocks as if they knew we would be putting turbos on them.Have ANOTHER great and warmer turbo week fellas !
Ill be back with more pictures, apologies for the lack of them today
Last edited by ddturbosante; Mar 21, 2014 at 10:51 PM.
Reply
0
0
Thread Starter
Bannisheded
Joined: Feb 2014
Posts: 74
Total Cats: -88
Second update this week! thank god its friday...
Plenty of pictures for you guys again!
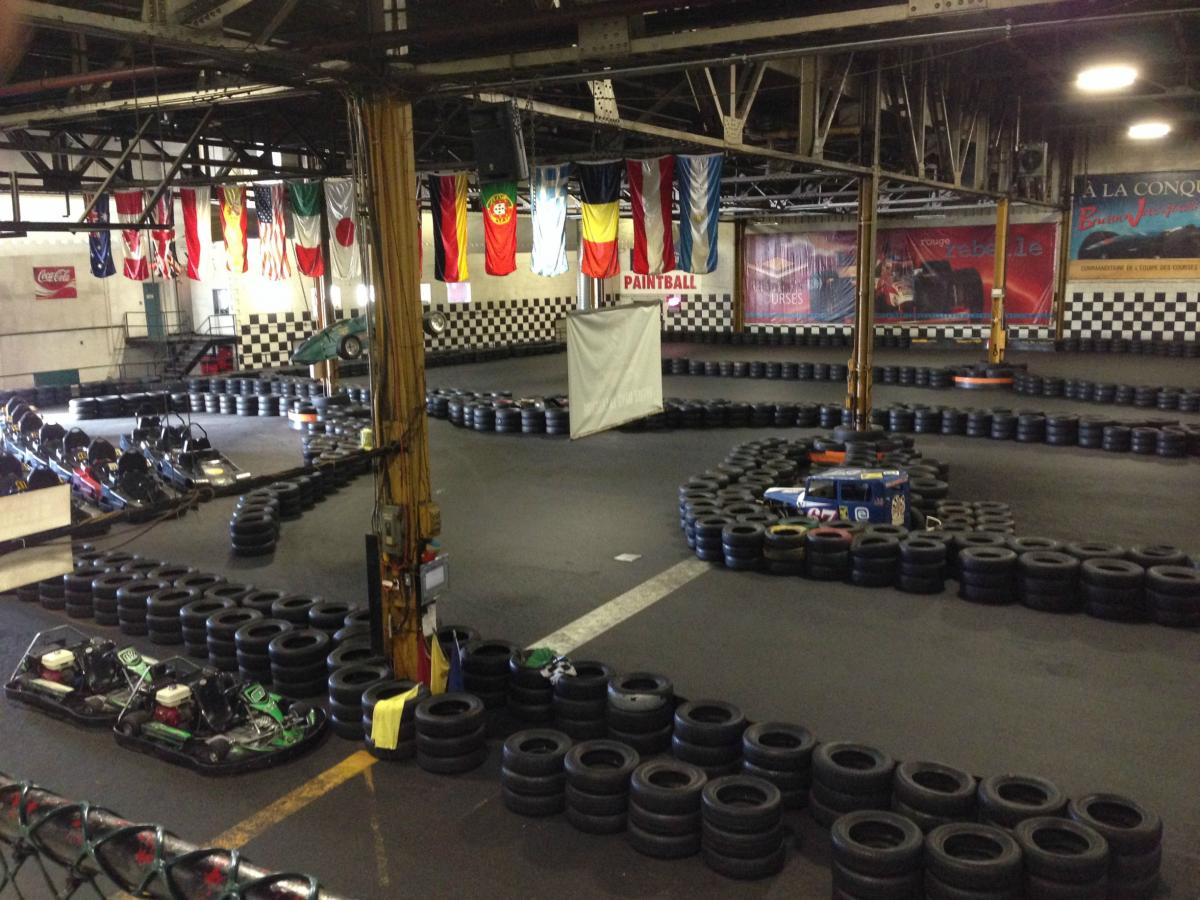
Was a pretty hectic week with exams and everything so one night my friend invited me to a race he was taking part in at the local indoor go kart track.
Needless to say, I had to try it.
my buddy for the next 20 minutes
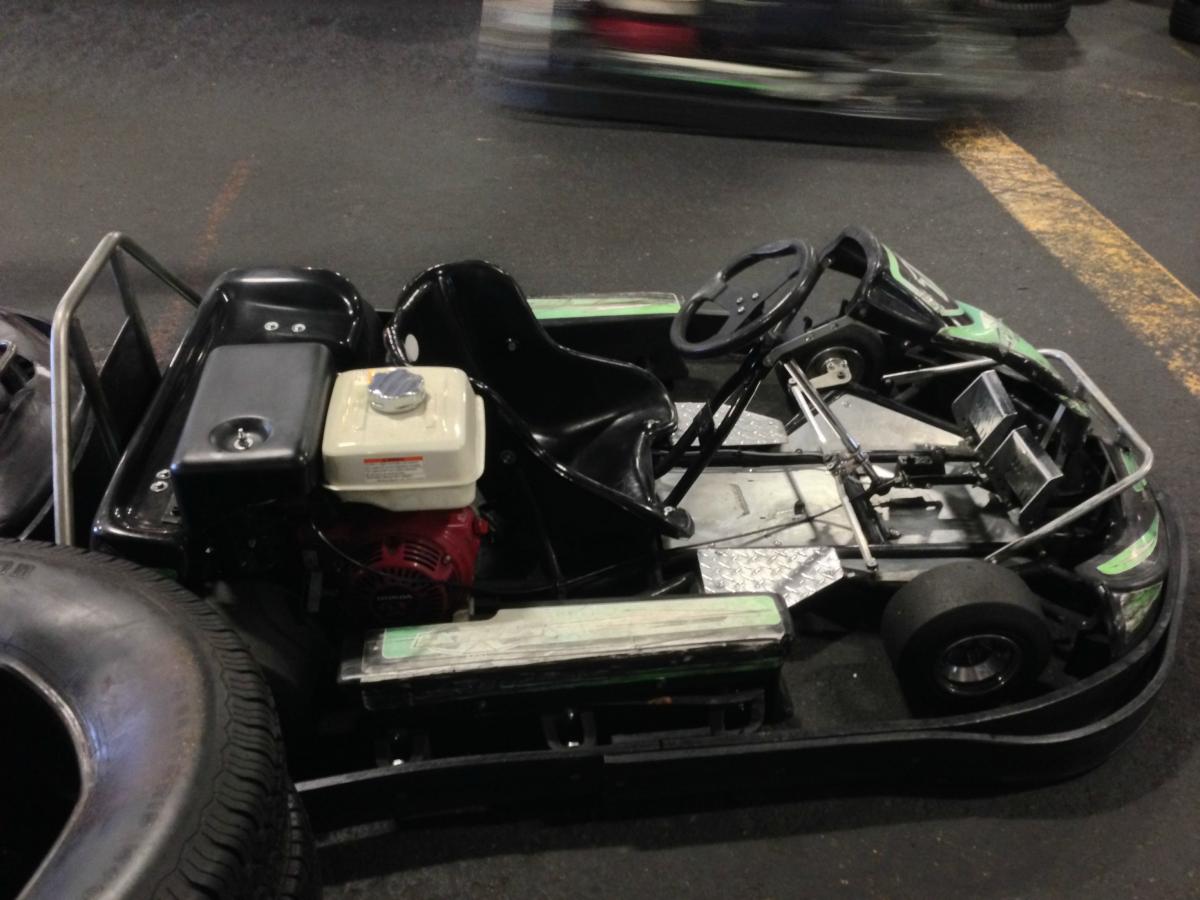
Much harder than it seems! I had never raced a go kart before and it was a lot of fun! I have some footage on my gopro which I'll have to work on a bit and then maybe I'll be able to show you. If you want that is.
A couple days later I headed back to the garage and got to work!
Did some work on the good ol' rustbucket that is my winter beater/DD
Motor started knocking a bit and I didn't notice until after a week that I basically ran out of oil.
Wierdly enough... my oil pressure switch was slowly leaking and it resulted in me using this car and prematurely ruining it. We'll see how long it lasts me.
So, needless to say when I found out I almost had no oil left, I put 2 pints in and had to do an oil change, which I did.
Didn't wash the car all winter with the salt and everything. Rust was everywhere so I powerwashed it and it chipped off some paint. I took the opportunity to do an inspection and some cover up painting while it was in the shop. Inner tie rod is shot but the rest seems fine. Brakes will have to be done soon enough too.
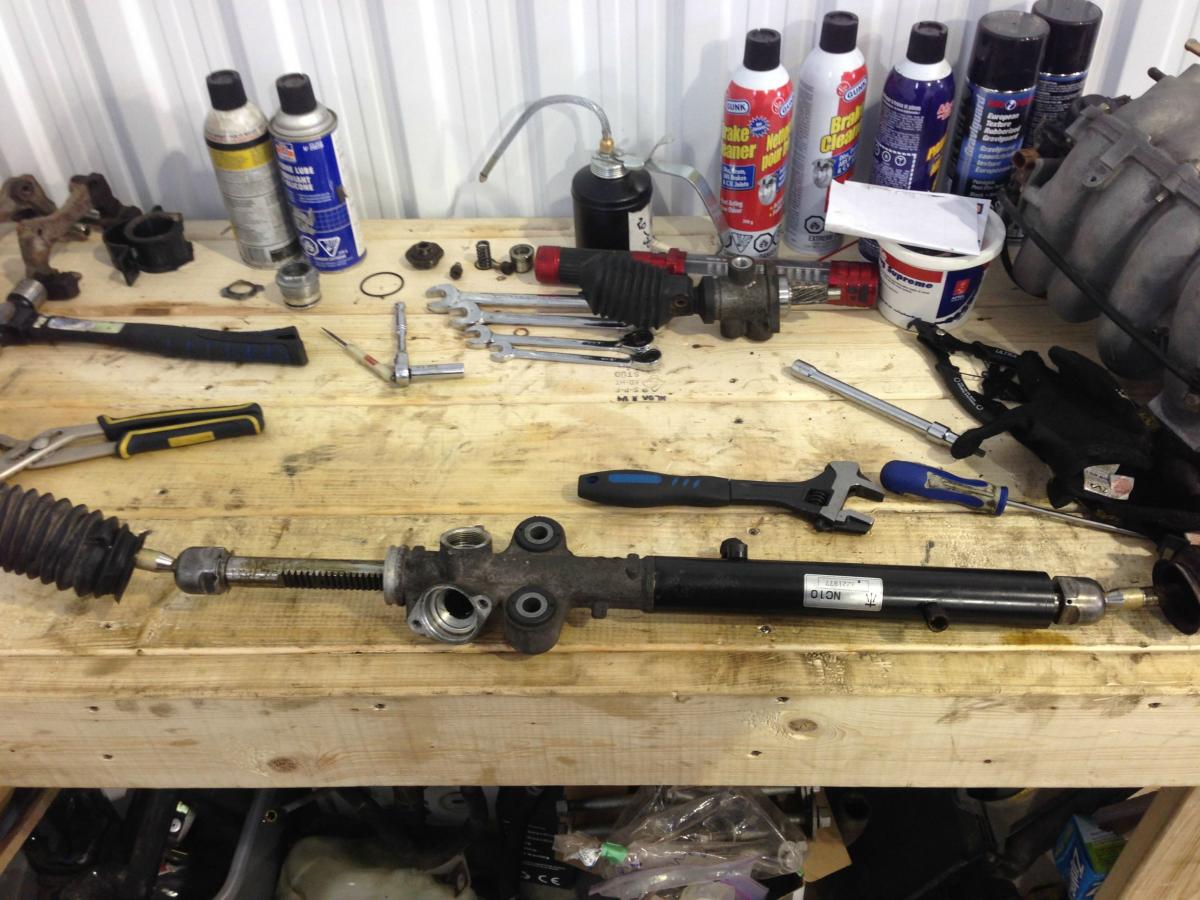
I picked up where I left off last time, doing the power steering depowering.
I decided not to weld the shaft and try it like it is before I do anything. Anyways, it's not that hard to get out of the car once it's actually on the car.
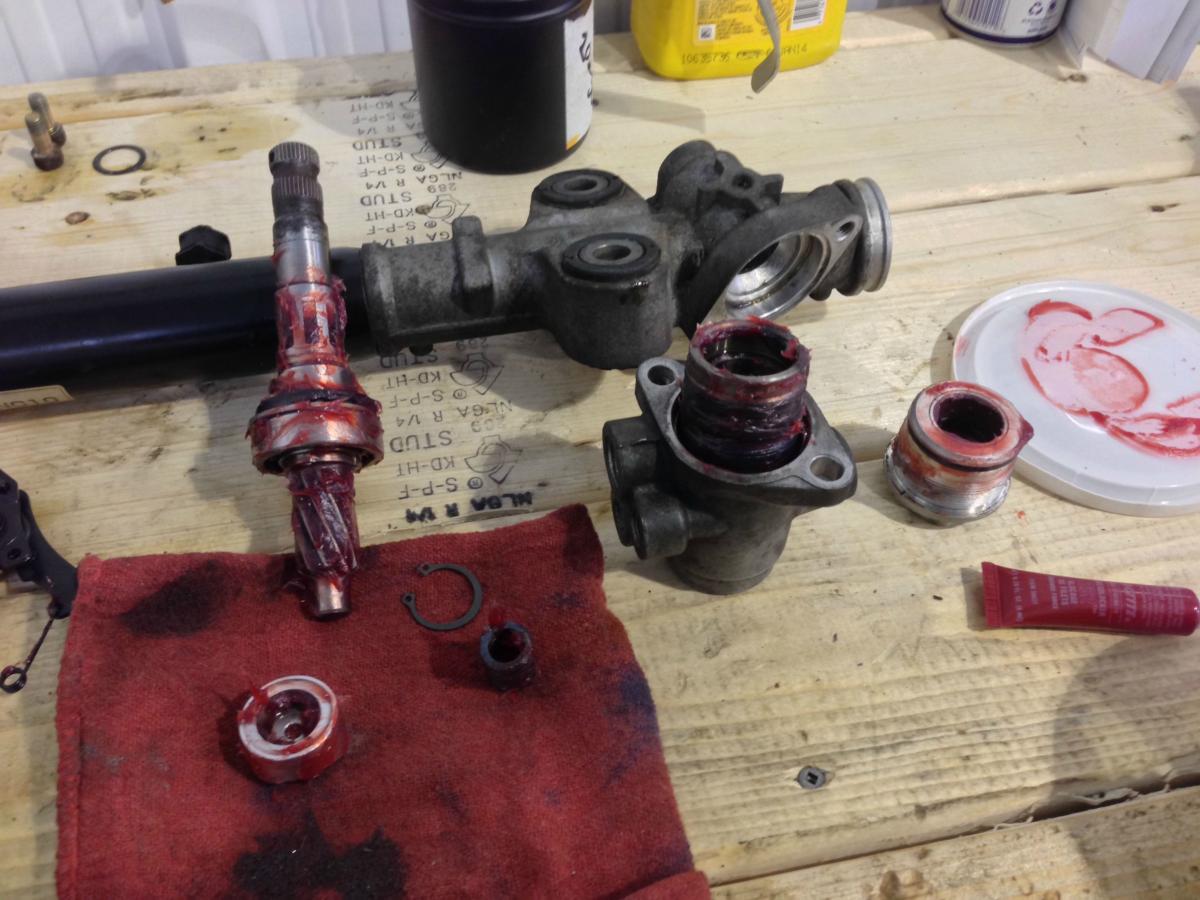
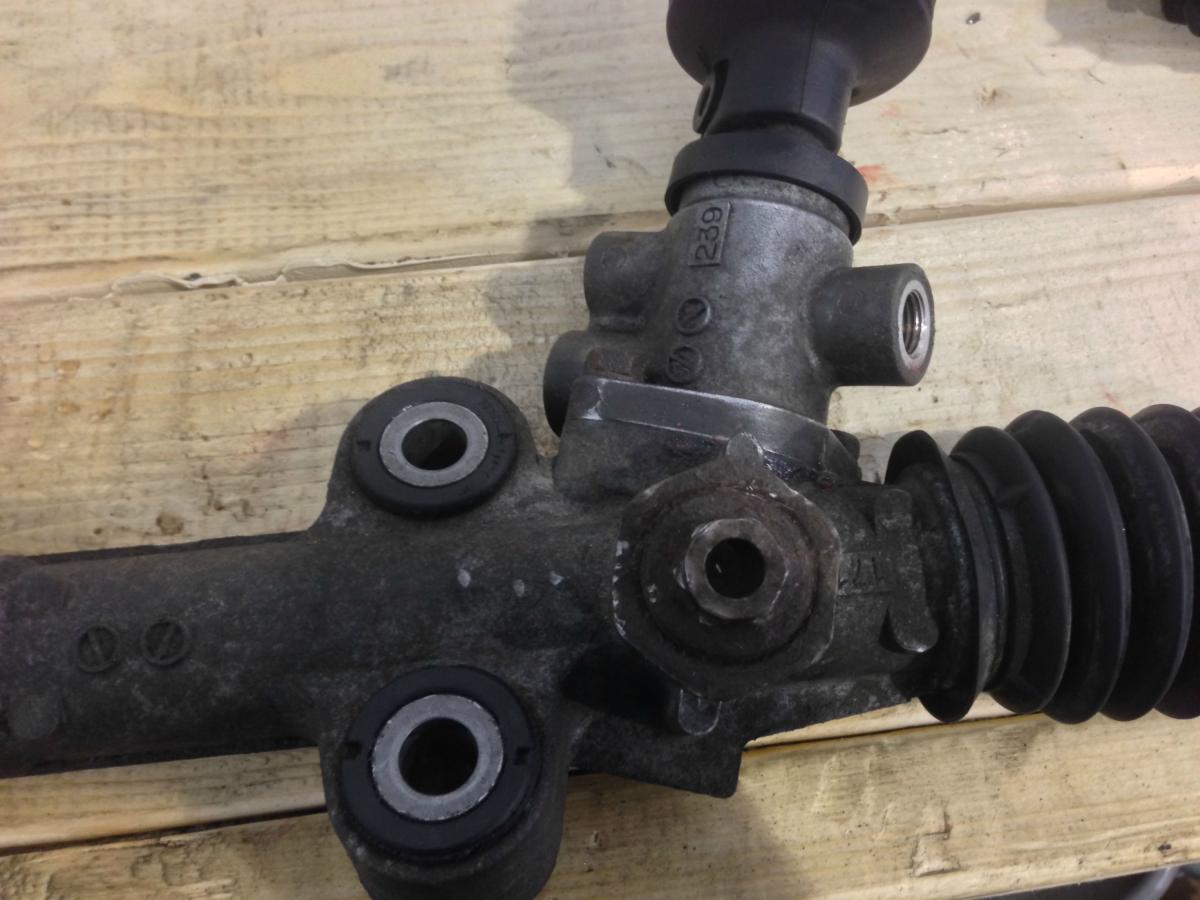
here it is back together, assembled and ready to go! All I need to do now is removed the tie rod ends to replace them with new ones to replace those broken balljoitns!
Plenty of pictures for you guys again!
Was a pretty hectic week with exams and everything so one night my friend invited me to a race he was taking part in at the local indoor go kart track.
Needless to say, I had to try it.
my buddy for the next 20 minutes
Much harder than it seems! I had never raced a go kart before and it was a lot of fun! I have some footage on my gopro which I'll have to work on a bit and then maybe I'll be able to show you. If you want that is.
A couple days later I headed back to the garage and got to work!
Did some work on the good ol' rustbucket that is my winter beater/DD
Motor started knocking a bit and I didn't notice until after a week that I basically ran out of oil.
Wierdly enough... my oil pressure switch was slowly leaking and it resulted in me using this car and prematurely ruining it. We'll see how long it lasts me.
So, needless to say when I found out I almost had no oil left, I put 2 pints in and had to do an oil change, which I did.
Didn't wash the car all winter with the salt and everything. Rust was everywhere so I powerwashed it and it chipped off some paint. I took the opportunity to do an inspection and some cover up painting while it was in the shop. Inner tie rod is shot but the rest seems fine. Brakes will have to be done soon enough too.
I picked up where I left off last time, doing the power steering depowering.
I decided not to weld the shaft and try it like it is before I do anything. Anyways, it's not that hard to get out of the car once it's actually on the car.
here it is back together, assembled and ready to go! All I need to do now is removed the tie rod ends to replace them with new ones to replace those broken balljoitns!
Reply
0
0
Thread Starter
Bannisheded
Joined: Feb 2014
Posts: 74
Total Cats: -88
Part 3!
Removed all my bushings at school with the help of a few buddies. It was a royal pain in the *** to get them out, Still have 2 front uppers to take care of next week and then I'll be done with that.
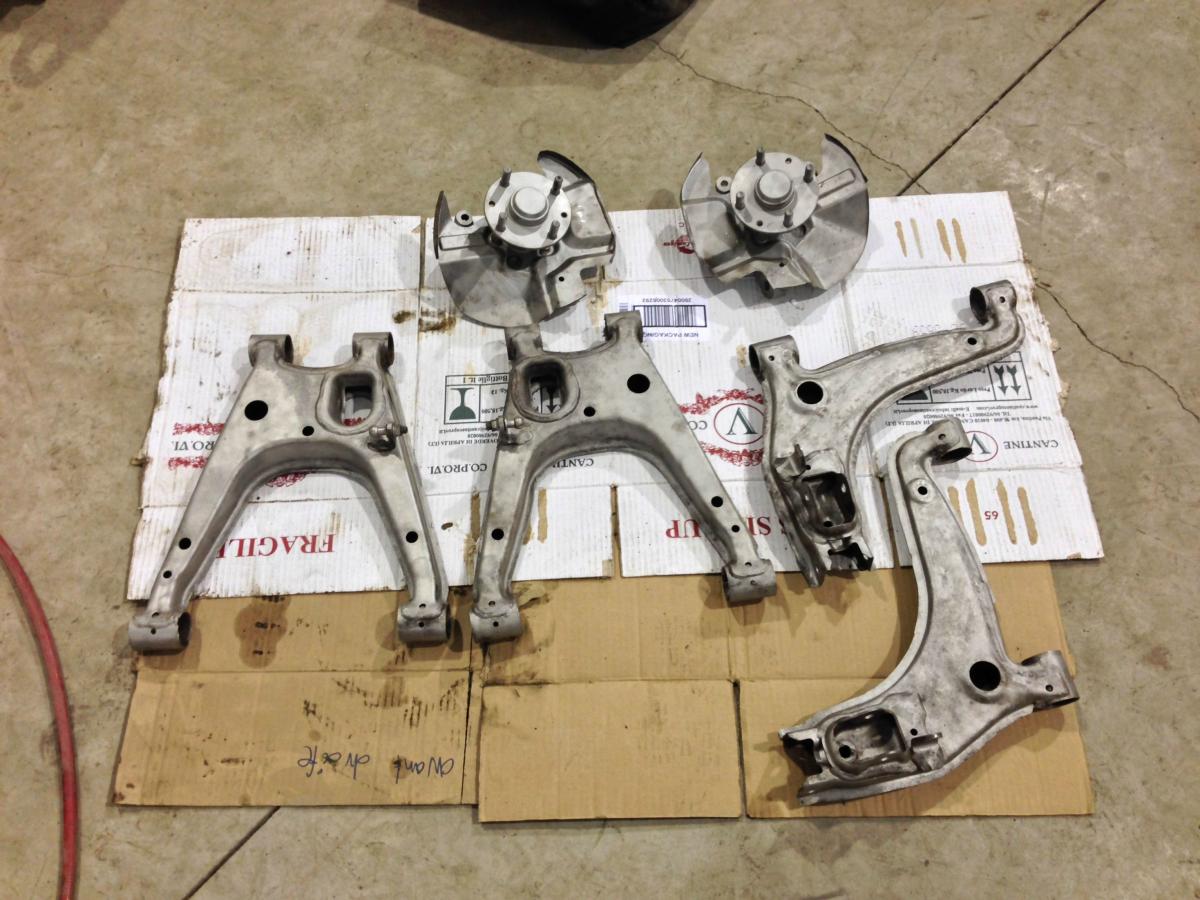
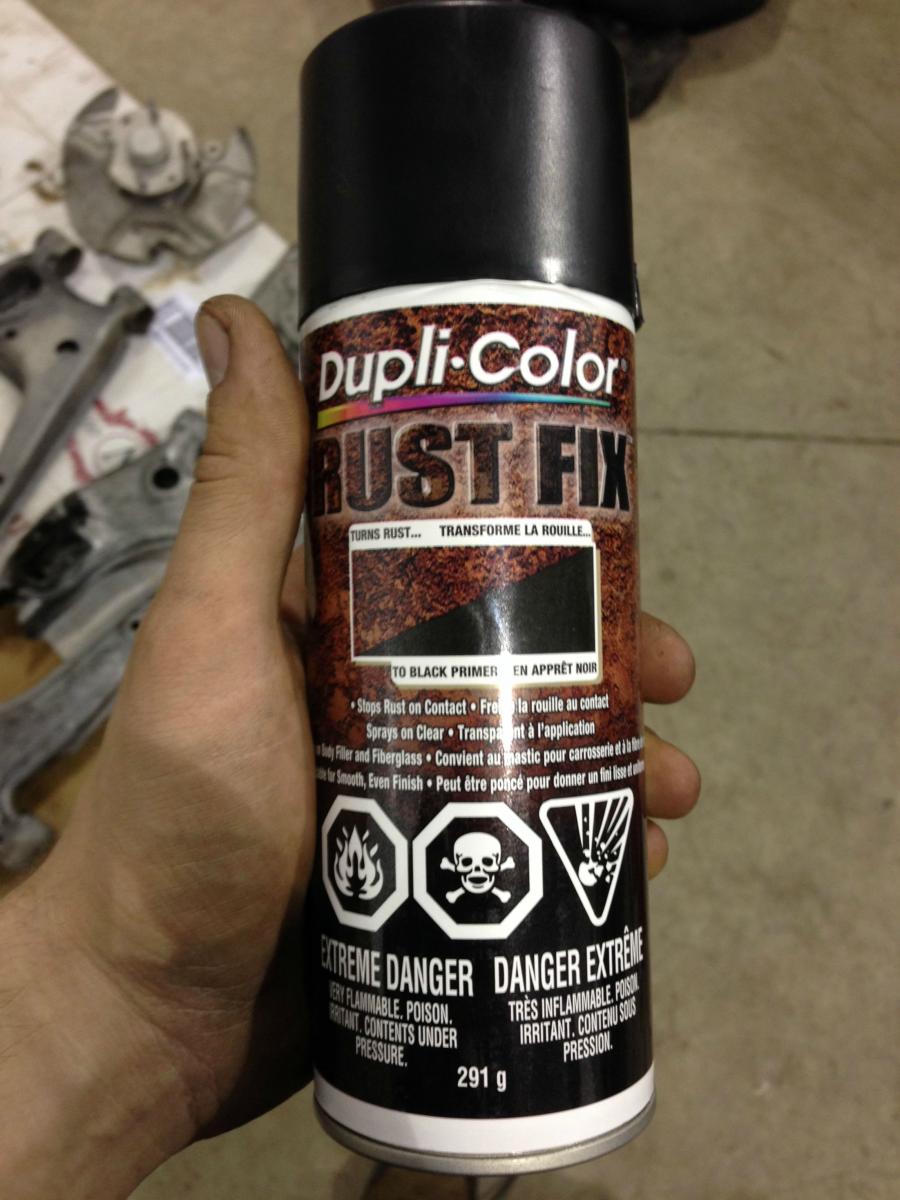
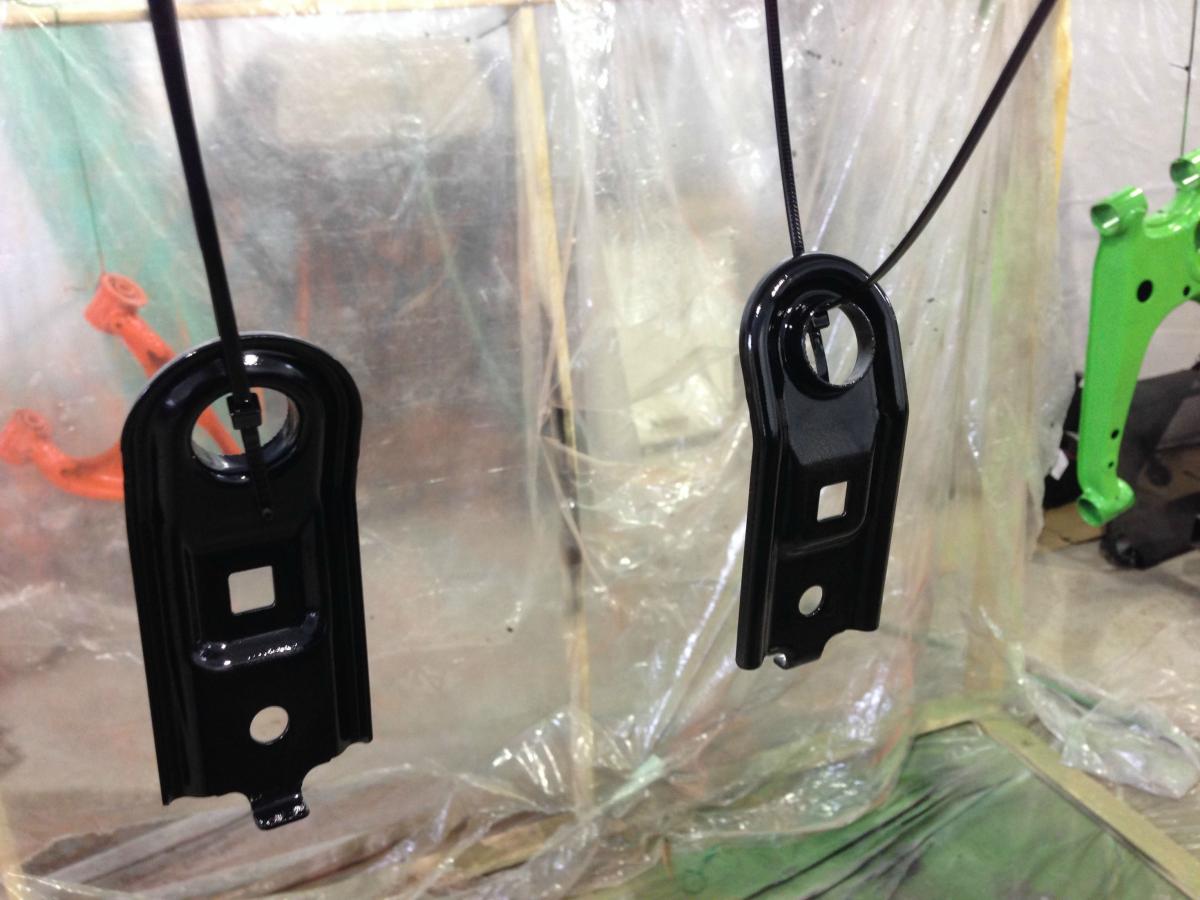
I sandblasted everything and shot everything with rustfix before I painted them.
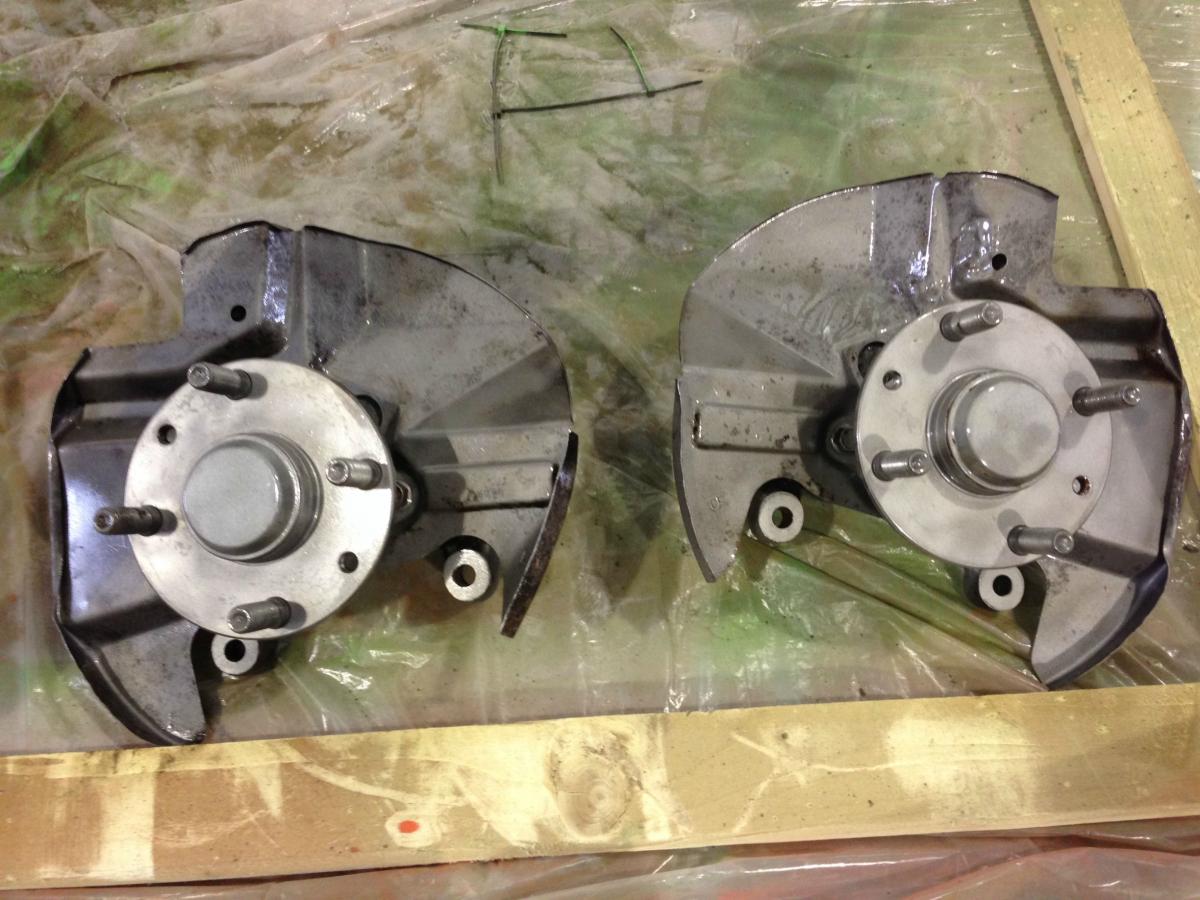
Clear coated all the hub and knuckle assembly, i thought it'd look good once on the car!

Also took the opportunity to paint and clear coat my freshly sandblasted radiator brackets
Removed all my bushings at school with the help of a few buddies. It was a royal pain in the *** to get them out, Still have 2 front uppers to take care of next week and then I'll be done with that.
I sandblasted everything and shot everything with rustfix before I painted them.
Clear coated all the hub and knuckle assembly, i thought it'd look good once on the car!
Also took the opportunity to paint and clear coat my freshly sandblasted radiator brackets
Reply
0
0
Thread Starter
Bannisheded
Joined: Feb 2014
Posts: 74
Total Cats: -88
Part 4!
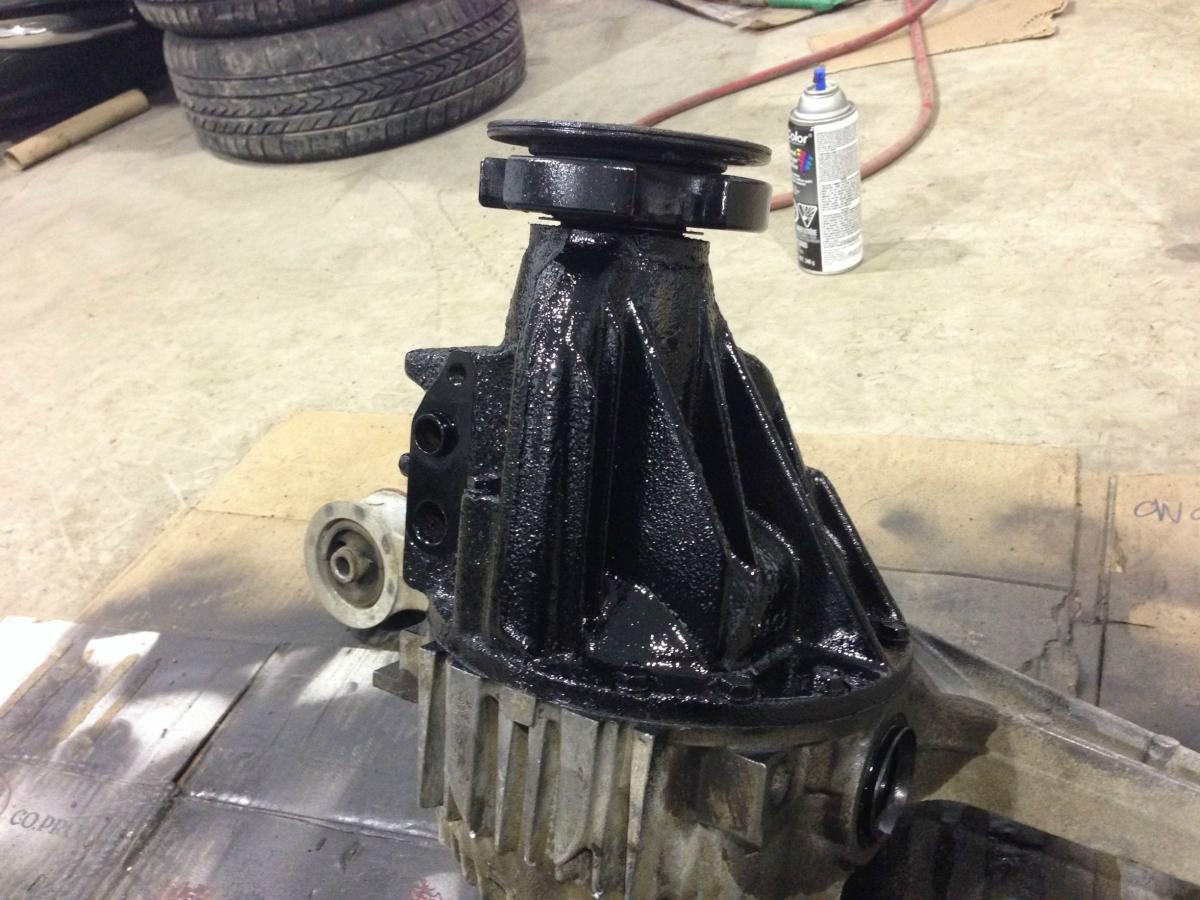
Then I got to the diff!
Wire brushed it a bit and started painting the housing
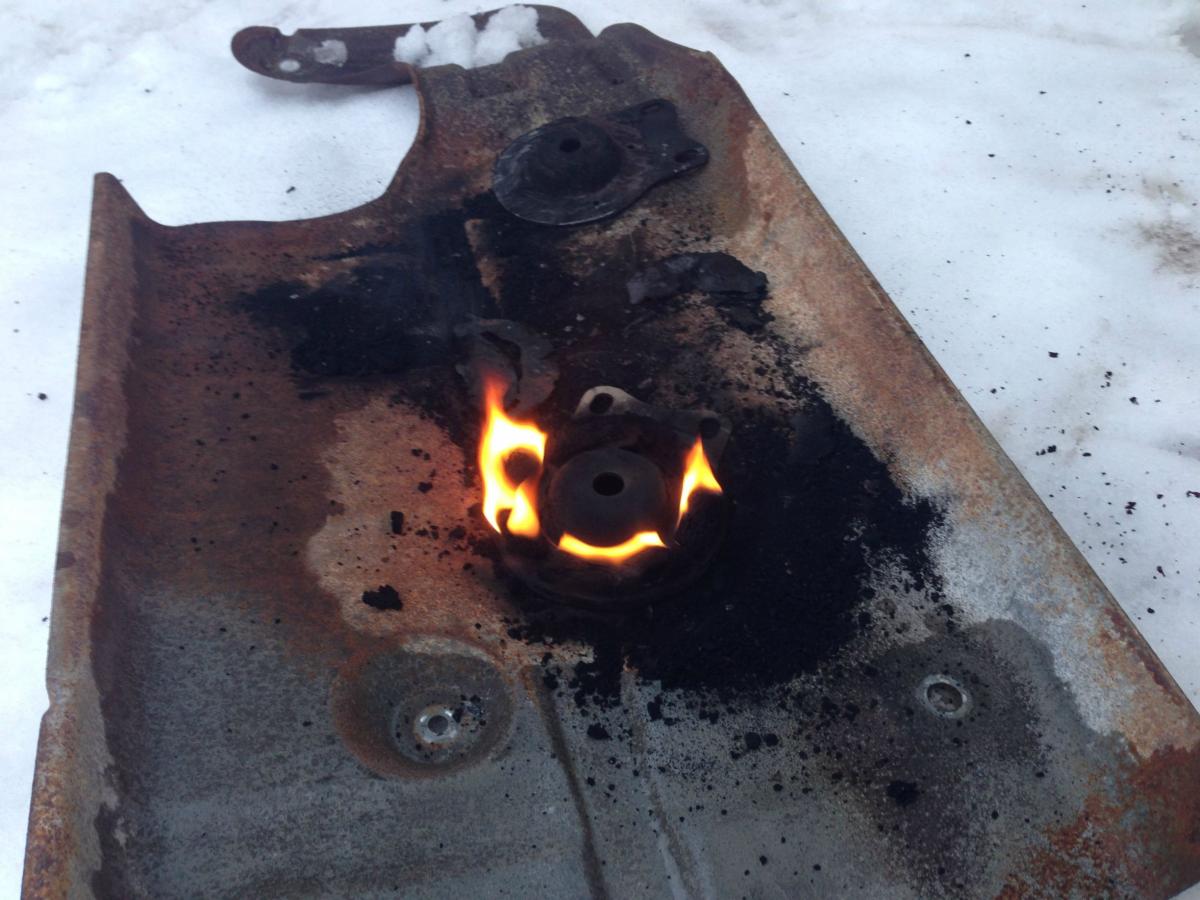
Got tired of trying the zip gun or the die grinder on those so I set the little f*ckers on fire.
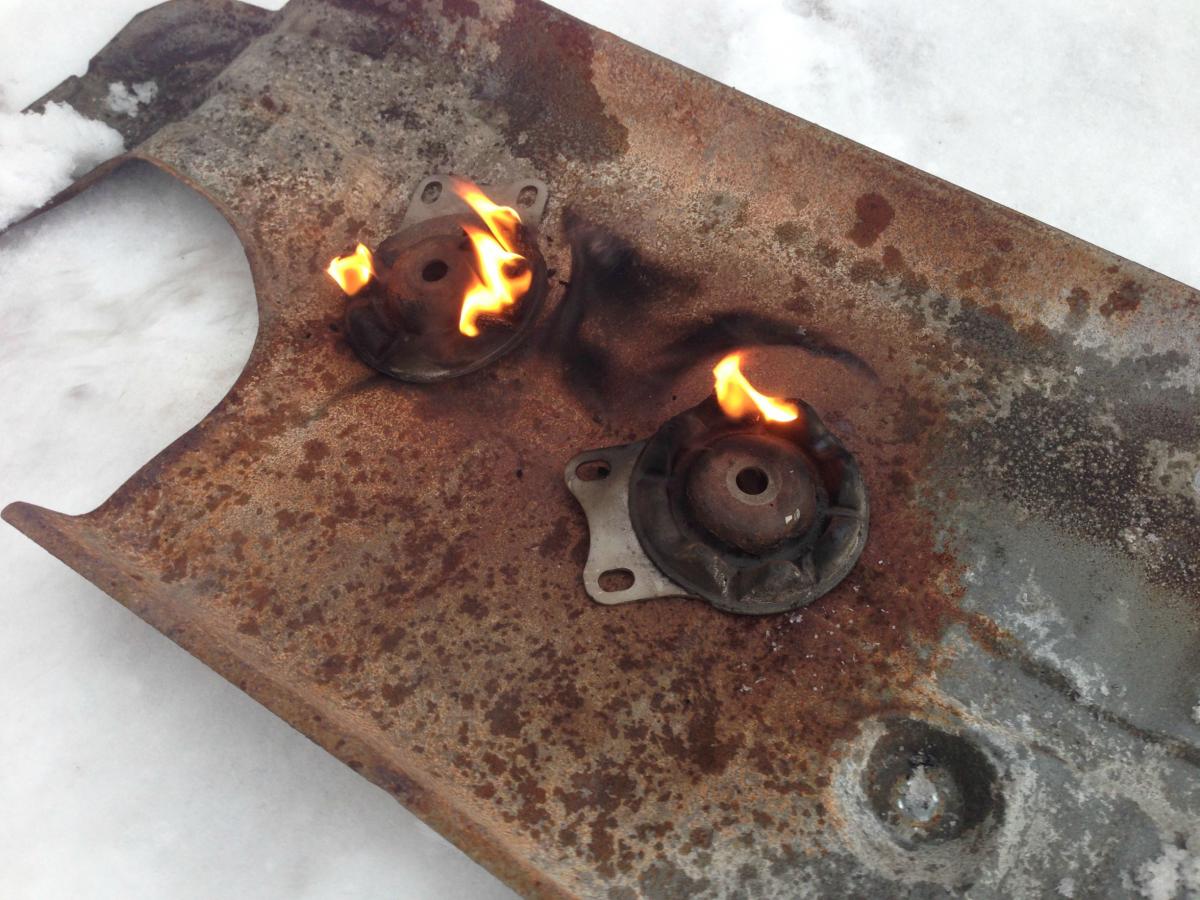
worked better than I had originally anticipated I must say.
Smelled like ****, but worked well.
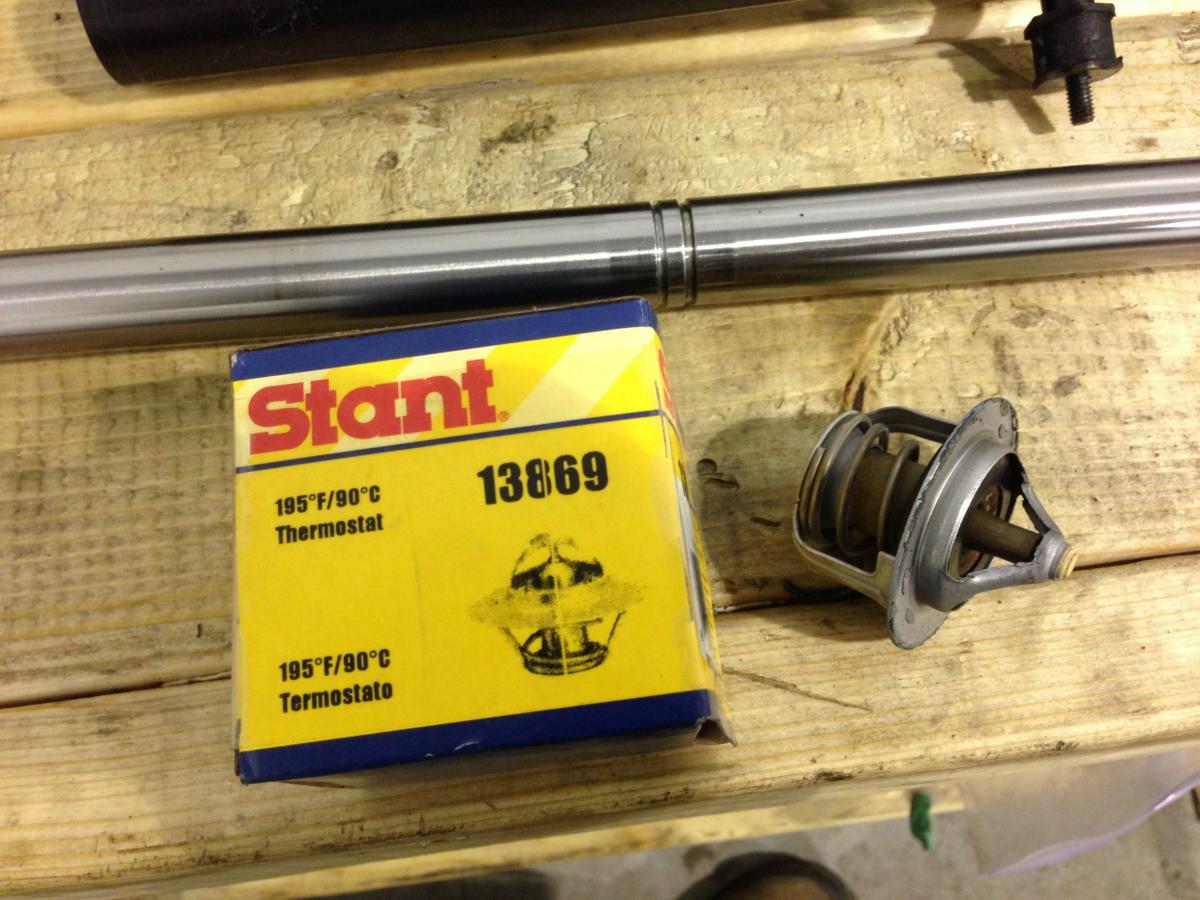
After I had finished the undercoating under the car, I changed the thermostat on the BP, bought it at an autoparts store so it wasn't exactly the same but it'll work.
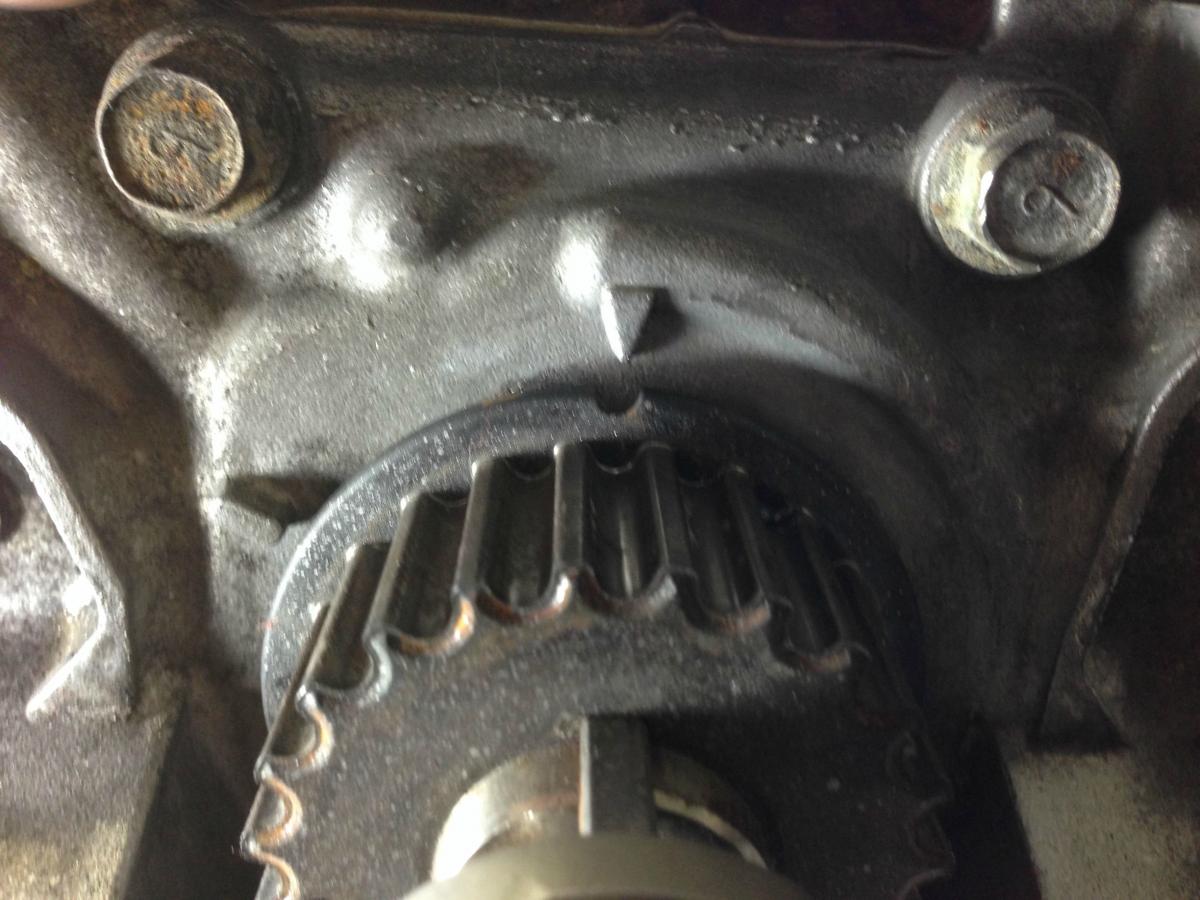
then came the grinding and tapping new holes to make my CKP fit on the old block!
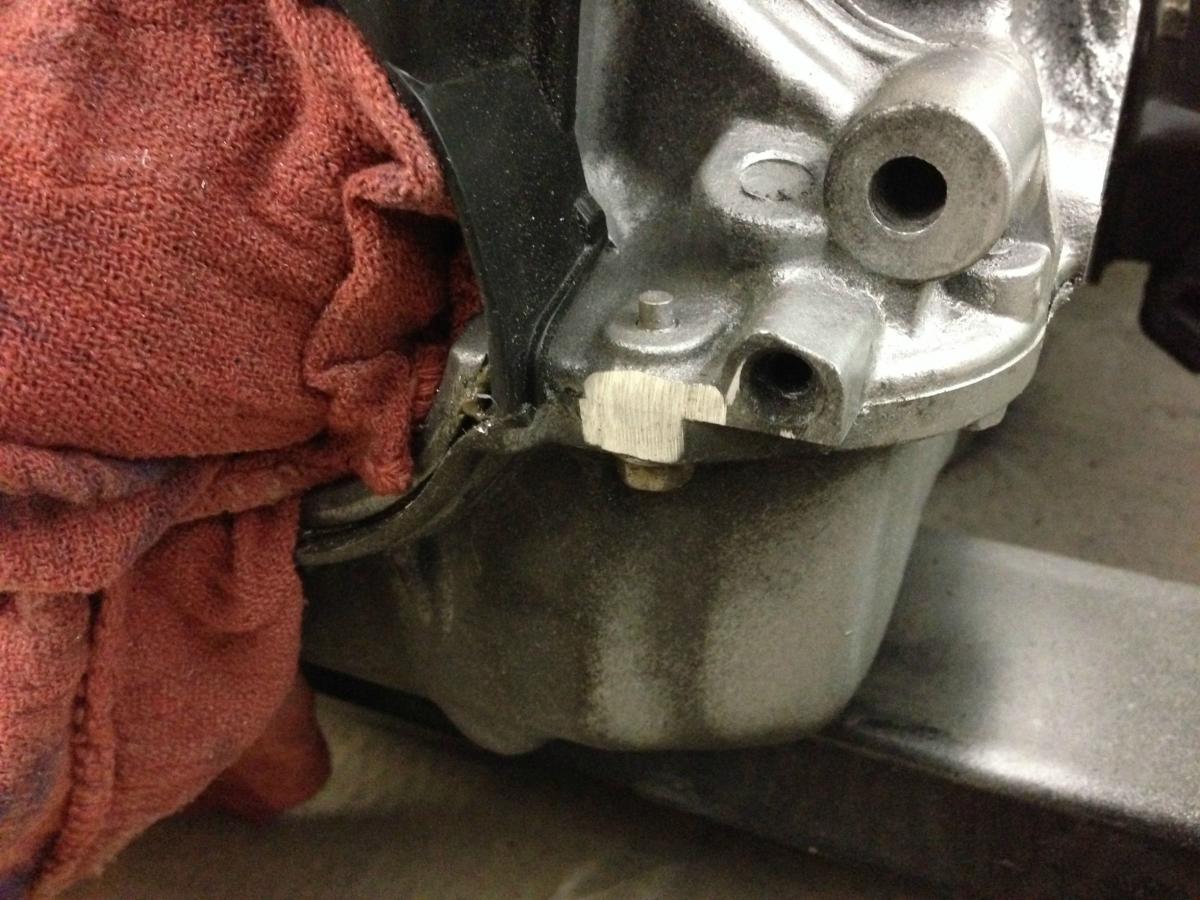
This is the little portion of the block I had to grind off. Didnt take long. Then I tapped it with a 6x1 tap and it fit in no struggle!

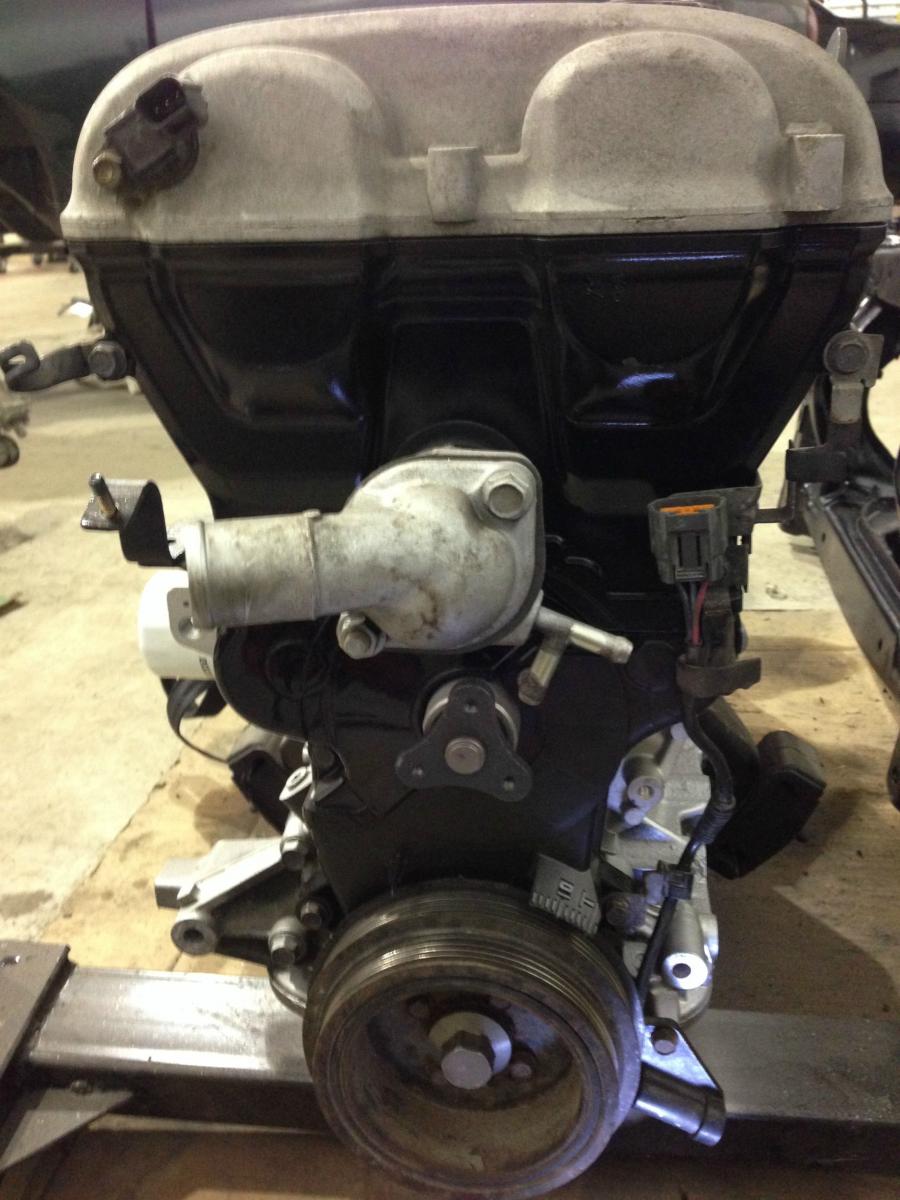
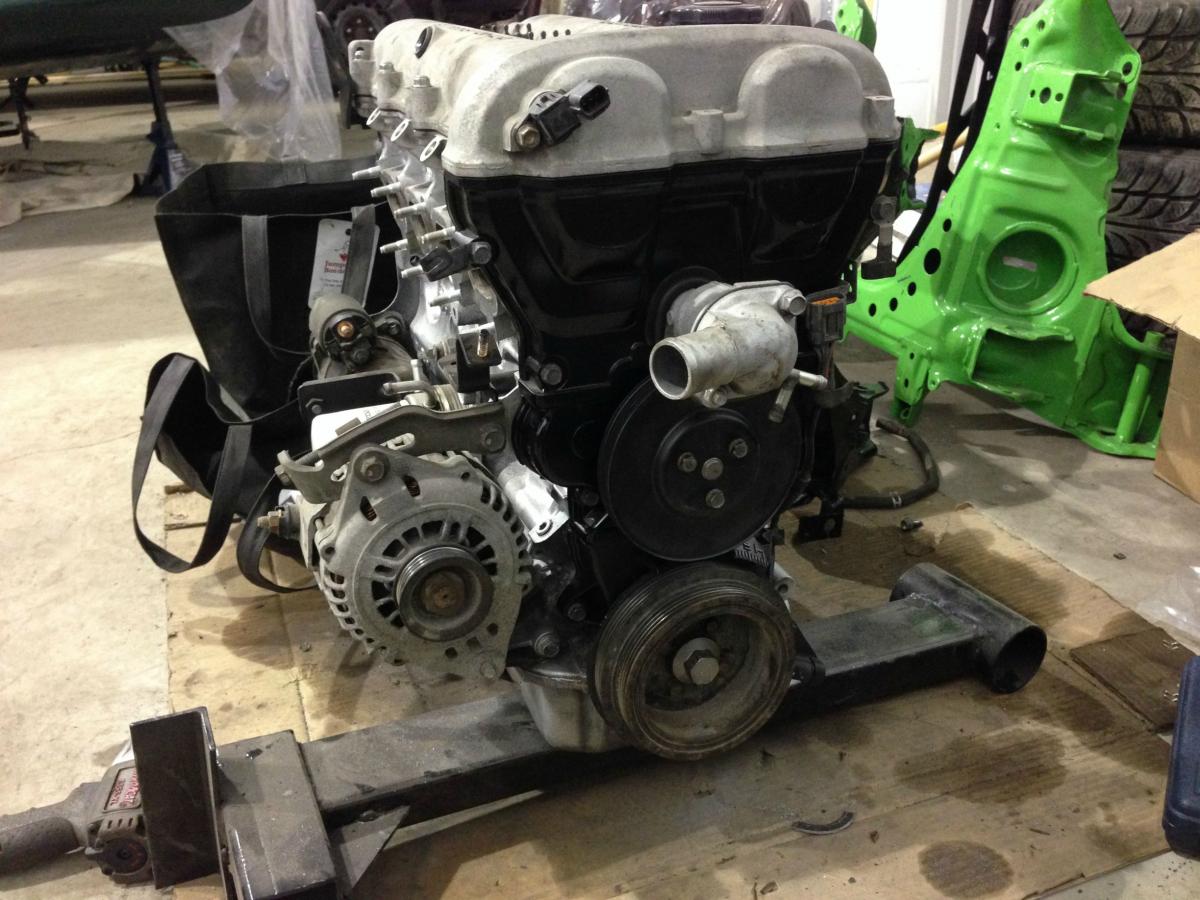
installed my nb alternator
it looks so good even with the shitty valve cover. so clean !
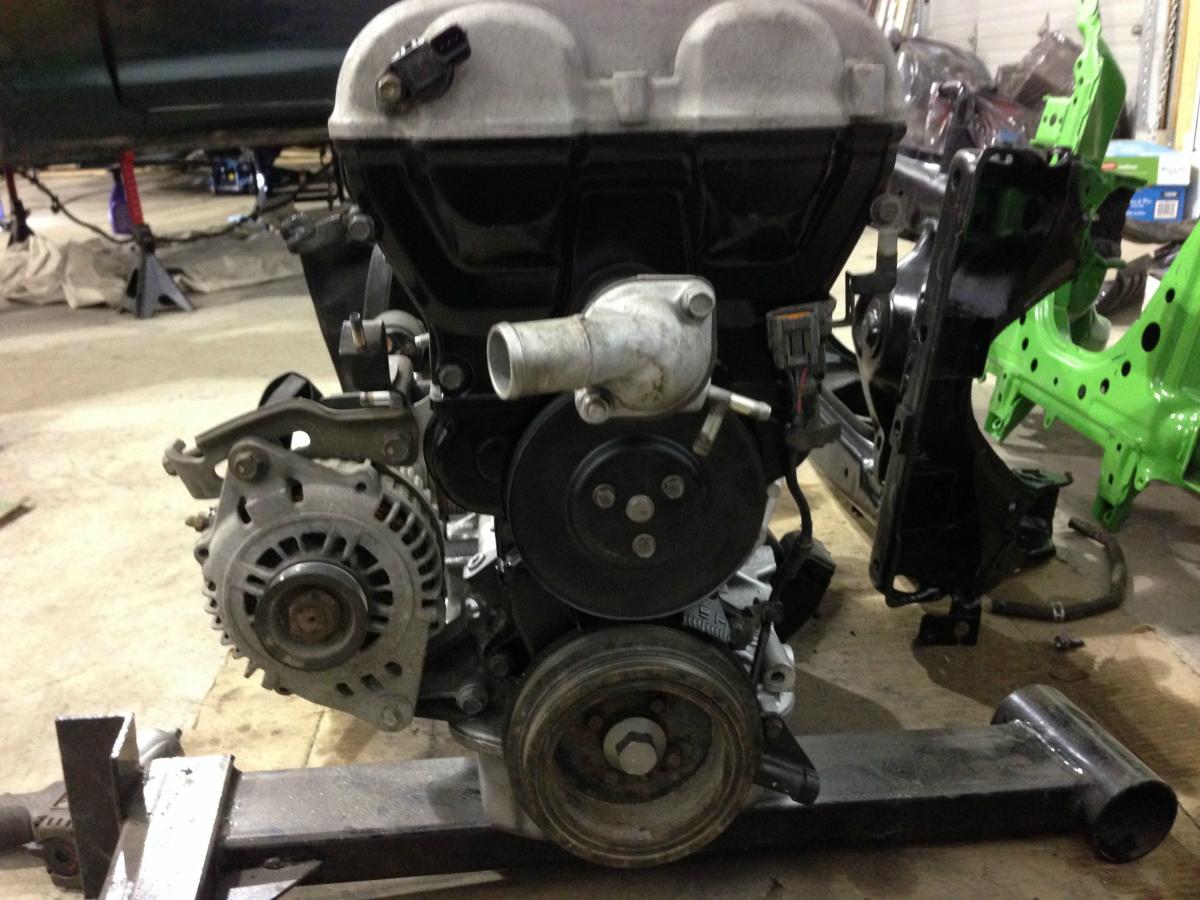
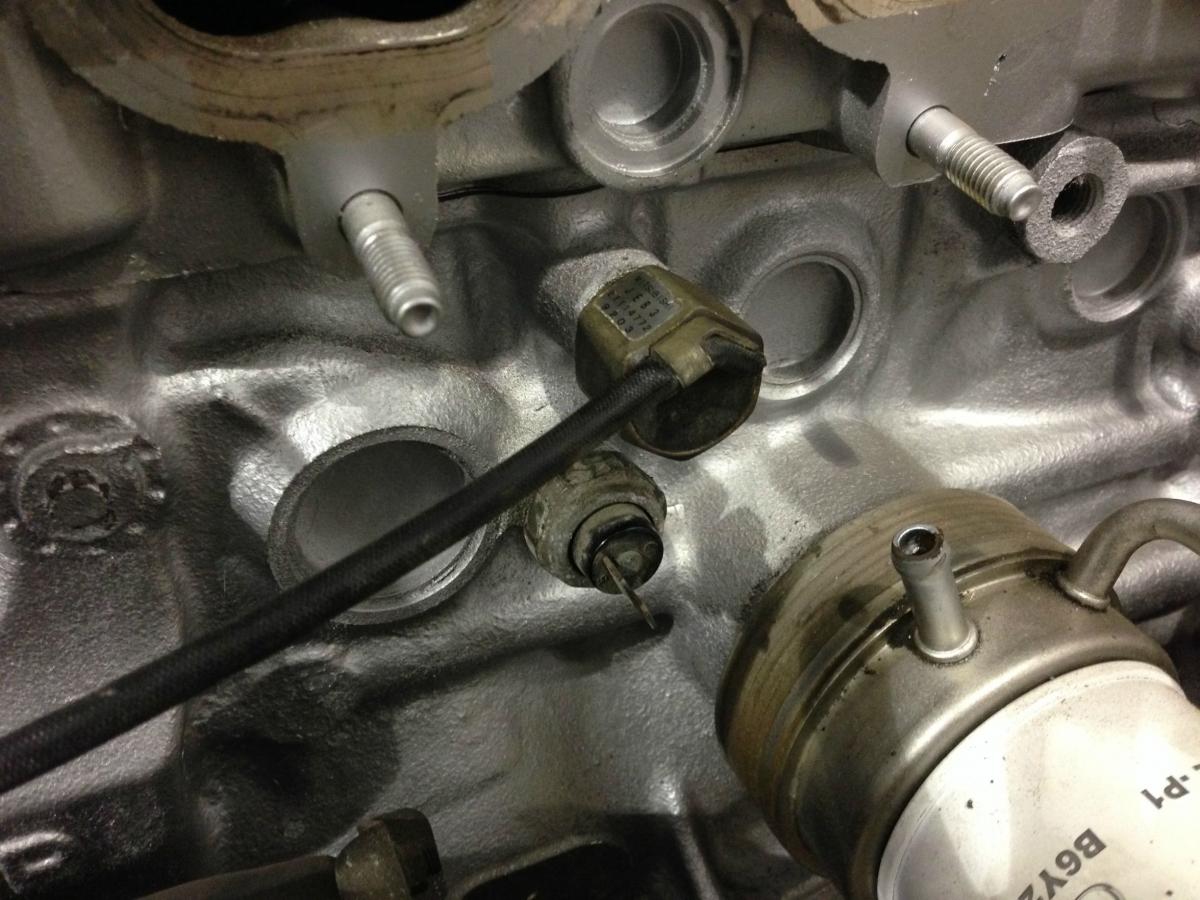
Then tapped this with what I believe was a 12x1.25 to fit in my nb knock sensor
Then I got to the diff!
Wire brushed it a bit and started painting the housing
Got tired of trying the zip gun or the die grinder on those so I set the little f*ckers on fire.
worked better than I had originally anticipated I must say.
Smelled like ****, but worked well.
After I had finished the undercoating under the car, I changed the thermostat on the BP, bought it at an autoparts store so it wasn't exactly the same but it'll work.
then came the grinding and tapping new holes to make my CKP fit on the old block!
This is the little portion of the block I had to grind off. Didnt take long. Then I tapped it with a 6x1 tap and it fit in no struggle!
installed my nb alternator
it looks so good even with the shitty valve cover. so clean !
Then tapped this with what I believe was a 12x1.25 to fit in my nb knock sensor
Reply
0
0
Thread Starter
Bannisheded
Joined: Feb 2014
Posts: 74
Total Cats: -88
part 5!
I got cleaning !
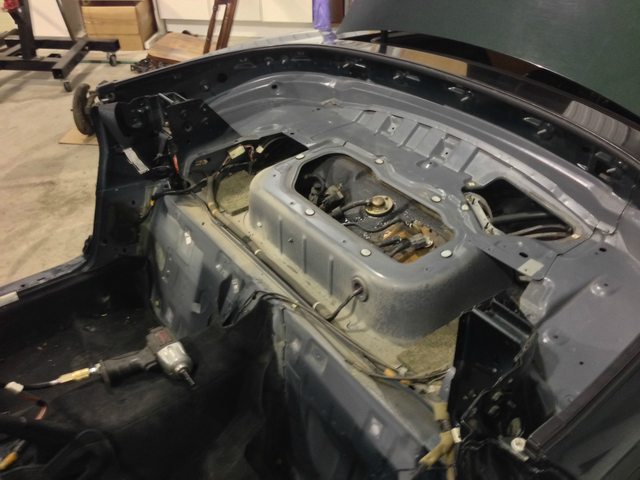
Removed the old overflow tank, sprayed it with some degreaser and left it there for a bit. I powerwashed it afterwards

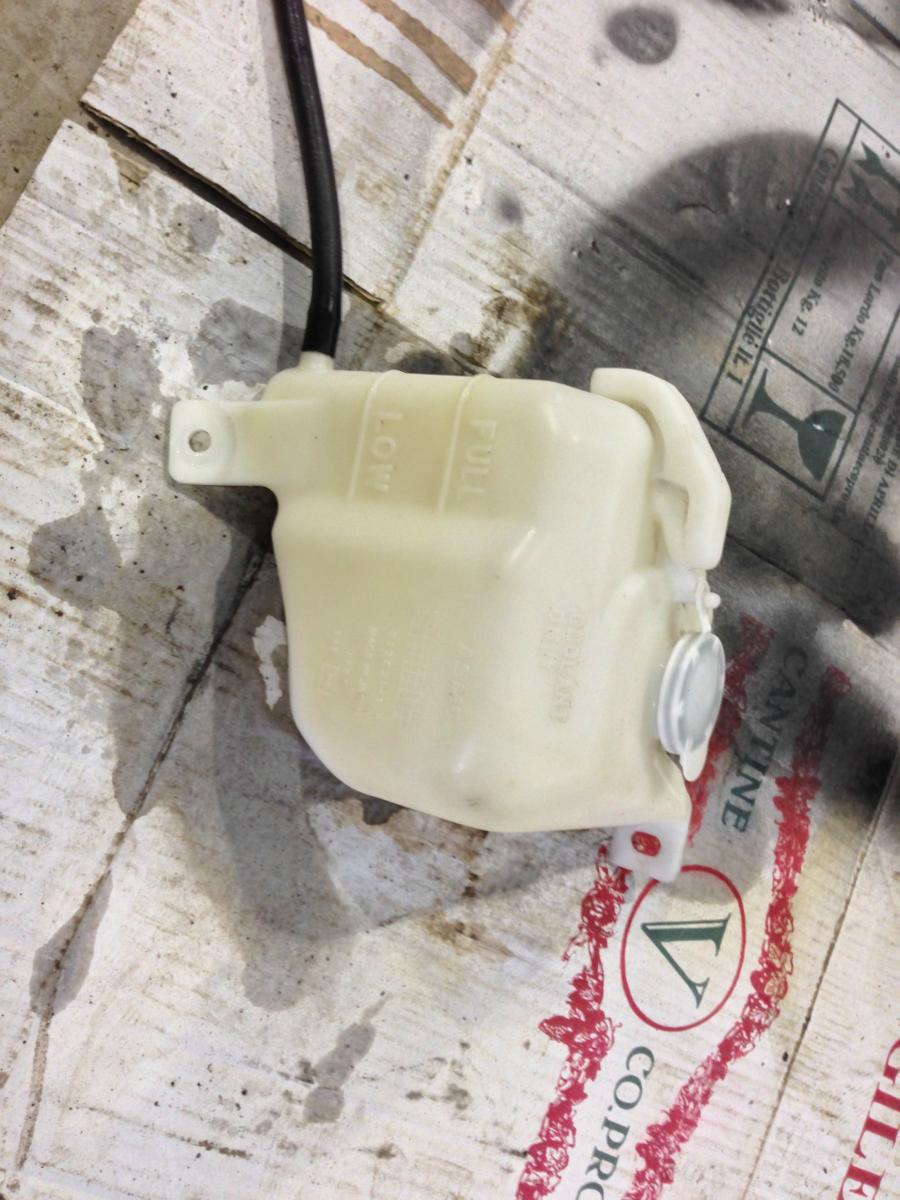
CLEAN!
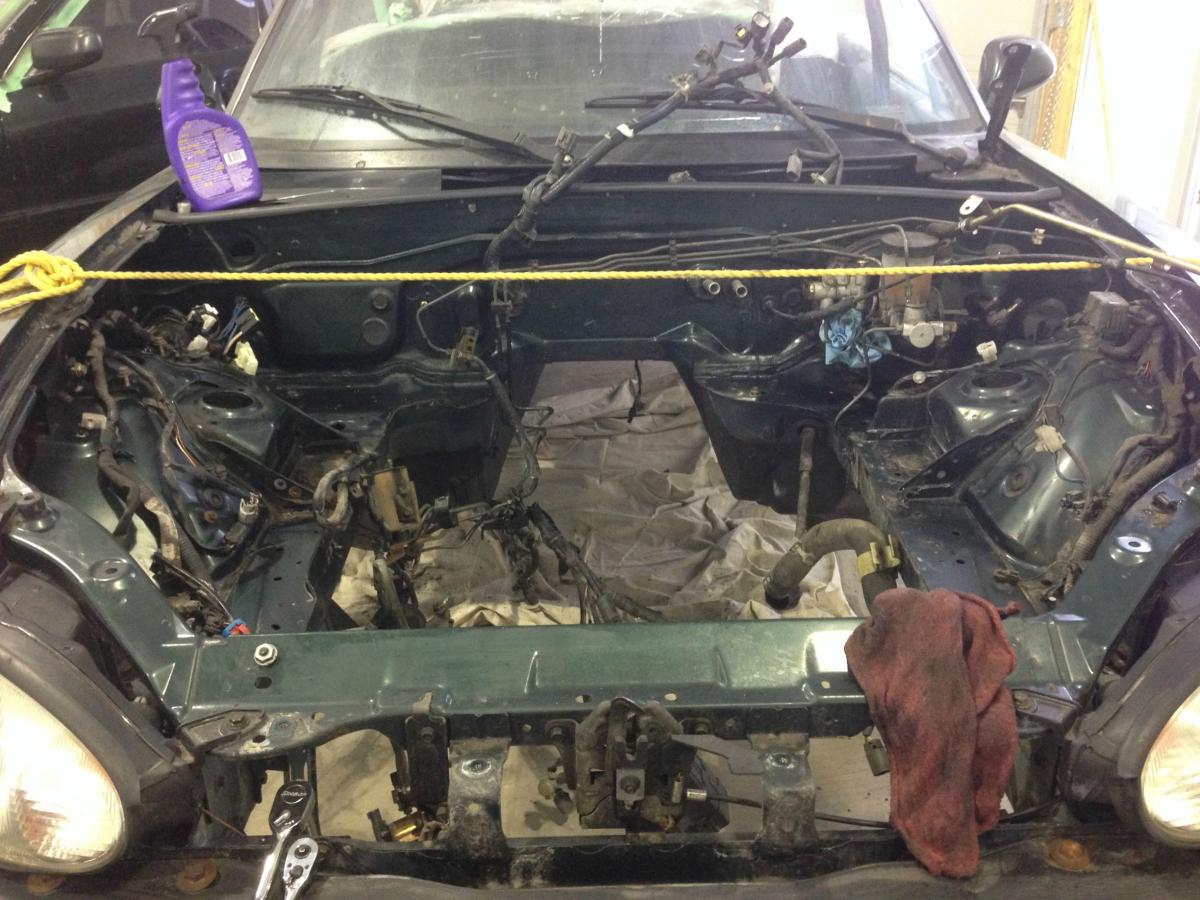
anybody knows what these 2 connectors are for?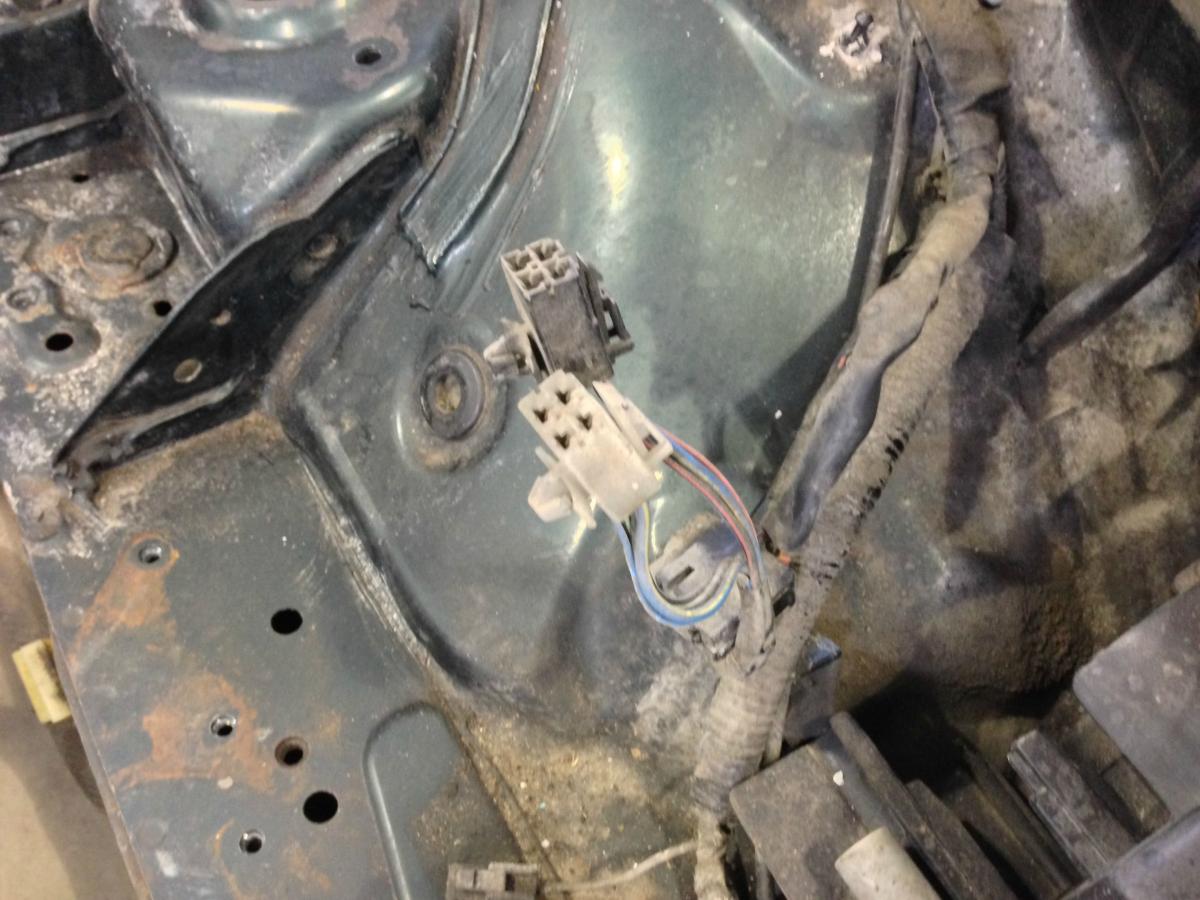
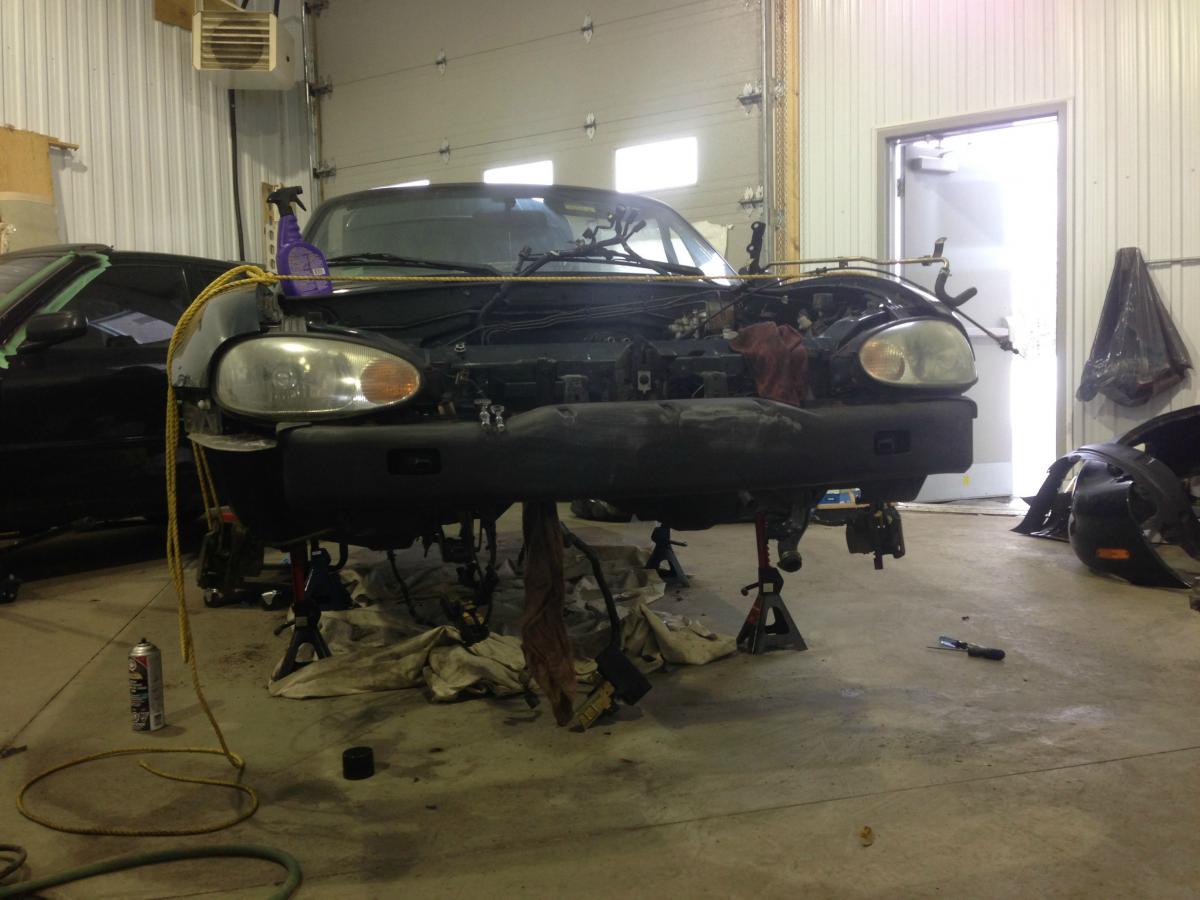
Removed my front bumper in anticipation of the future intercooler piping and cleaned it off
removed everything on the passenger side in the engine bay to give it a good thorough clean
The ever growing parts pile ! Getting there !

And thats pretty much it for this week folks !
Next week I'll be going back with my other suspension pieces to get them ready. After that, we'll have to order some parts to start getting the car back together !
Have a good turbo weekend
I got cleaning !
Removed the old overflow tank, sprayed it with some degreaser and left it there for a bit. I powerwashed it afterwards
CLEAN!
anybody knows what these 2 connectors are for?
Removed my front bumper in anticipation of the future intercooler piping and cleaned it off
removed everything on the passenger side in the engine bay to give it a good thorough clean
The ever growing parts pile ! Getting there !
And thats pretty much it for this week folks !
Next week I'll be going back with my other suspension pieces to get them ready. After that, we'll have to order some parts to start getting the car back together !
Have a good turbo weekend
Reply
1
1


