
Cheap Turbo Build

Thread Starter

Joined: Apr 2009
Posts: 7,174
Total Cats: 180
From: Arizona
The engine bay? That is the color. It's not primer. I'd say more of a flat black, but more grey-ish. I want the focus to be more on the engine, thus the lack of color. Plus I'm not going lime green or pink.
Haha oh yes the 7 IC setup. What a horrific turn of events. Glad that is in the past. I can assure you this setup will be 180 degrees different.
Ryan, the bumpers and hood were ruined in a botched IC setup. The fender and door were used on a different miata, which at the time that I sold it, I didn't think I was going to revive this project.
Moar pics from this weekend later.
Reply
 0
0

0
Thread Starter
Joined: Apr 2009
Posts: 7,174
Total Cats: 180
From: Arizona
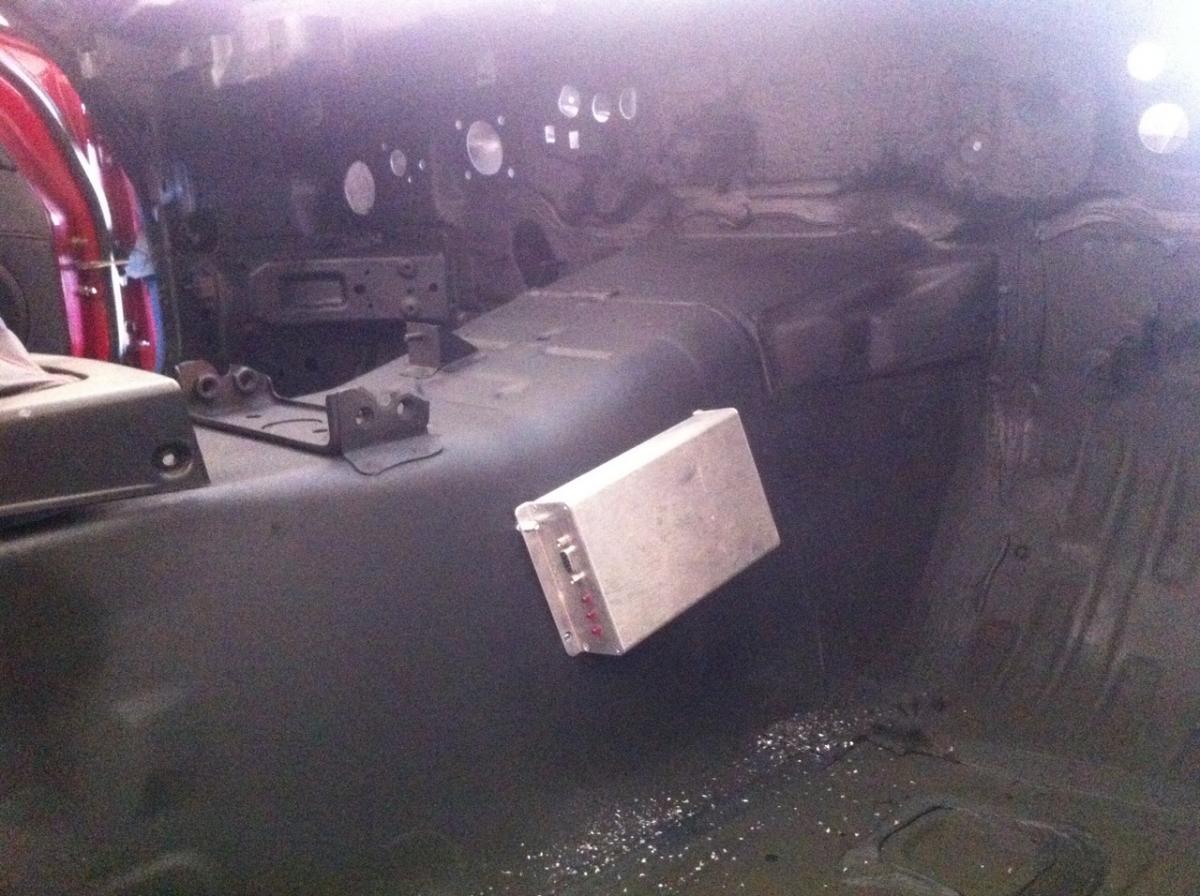
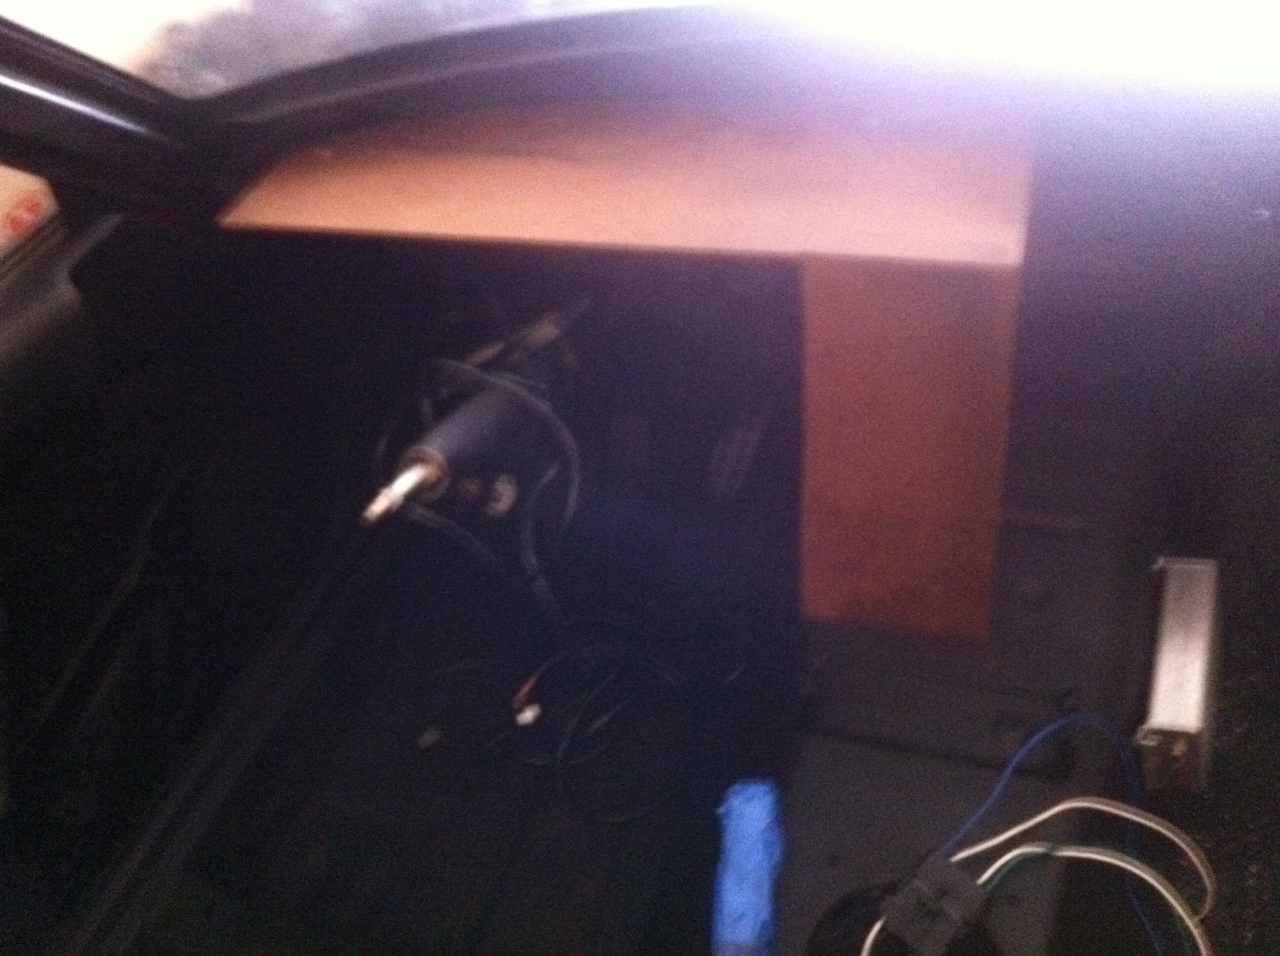
Mounting spot for the MS. It will be insulated when it is actually installed.
Early stages of the harness. This is just the MS to engine stuff part.
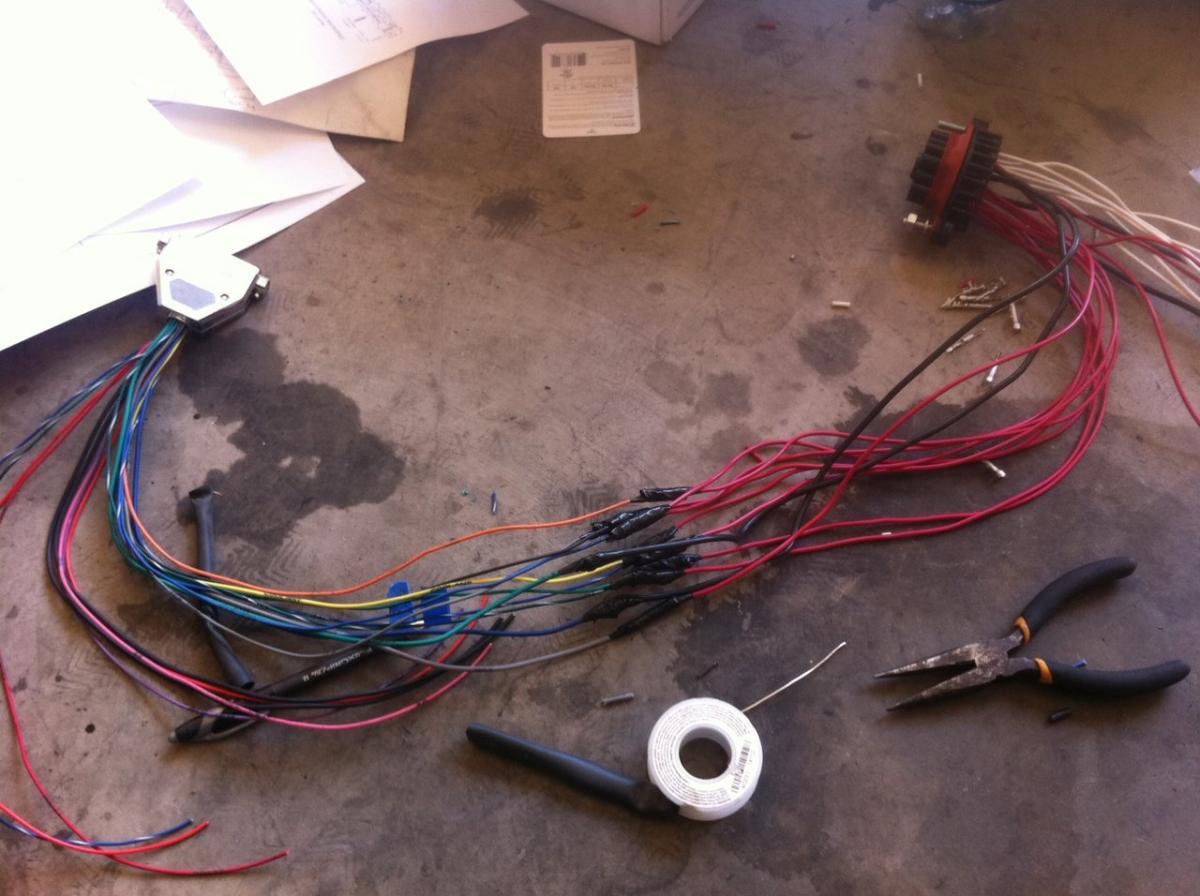
Getting an idea of wtf goes where.
Early stages of the harness. This is just the MS to engine stuff part.
Getting an idea of wtf goes where.
Reply
0
0

Is that a 1.6 or 1.8 crankshaft? The one I see out way in the back of the garage.
Give it a good coating of grease or something ( and maybe wrap it in plastic), the last thing you want is rust in those journals. That is of course if it is in good condition.
Why does the oil pan has two plugs side by side? and like always JB weld, lets hope it does not leak.
Give it a good coating of grease or something ( and maybe wrap it in plastic), the last thing you want is rust in those journals. That is of course if it is in good condition.
Why does the oil pan has two plugs side by side? and like always JB weld, lets hope it does not leak.
Reply
0
0
Thread Starter
Joined: Apr 2009
Posts: 7,174
Total Cats: 180
From: Arizona
1.8 crank, it's junk. Might make something cool out of it one day.
Oil pan was for a twin turbo build back in the day. Holes were drilled/tapped/sealed, then JB weld over them.
Oil pan was for a twin turbo build back in the day. Holes were drilled/tapped/sealed, then JB weld over them.
Reply
0
0
Thread Starter
Joined: Apr 2009
Posts: 7,174
Total Cats: 180
From: Arizona
Cleaned a bit today since an S10 will be in there for the next 2 weeks as I do some work for a buddy.
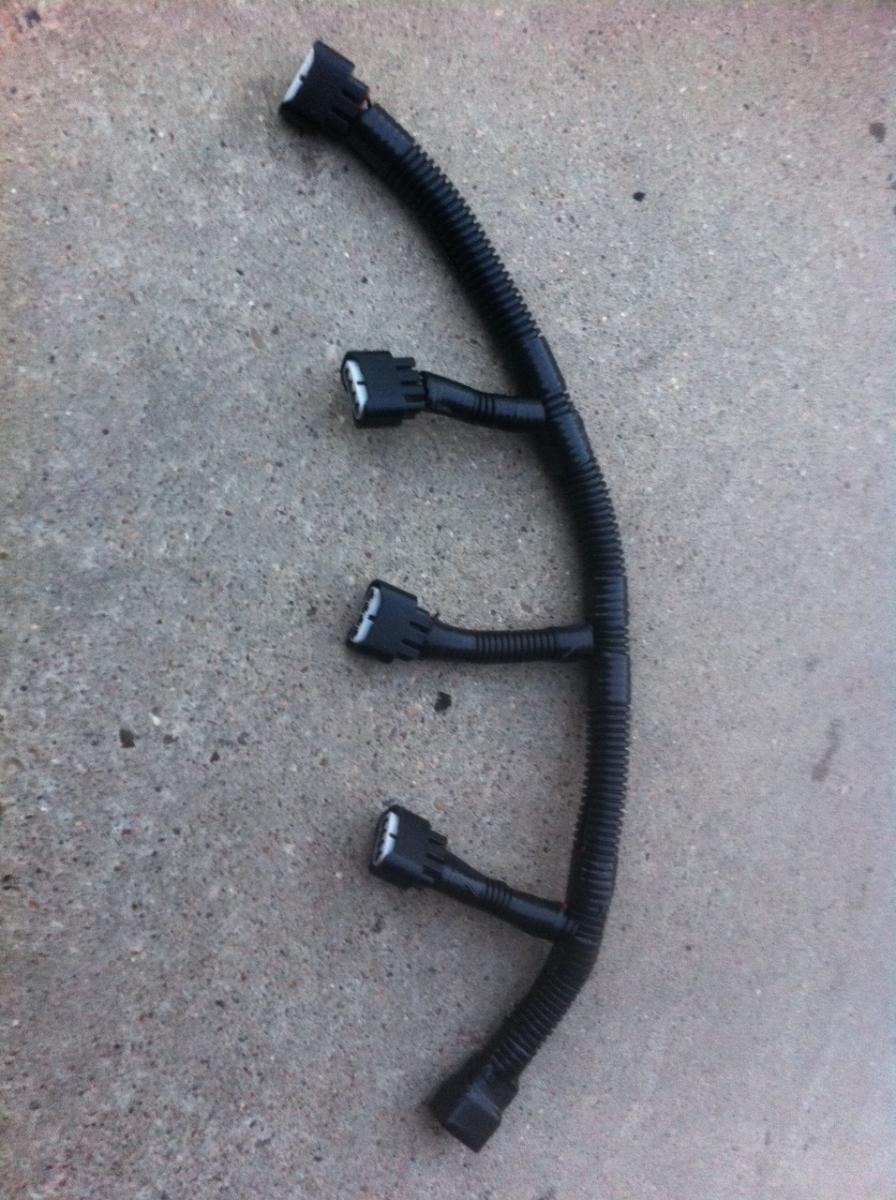
Block off plates and the injector harness.

Going to modify the relay/fuse box, and it will be located in the engine compartment.
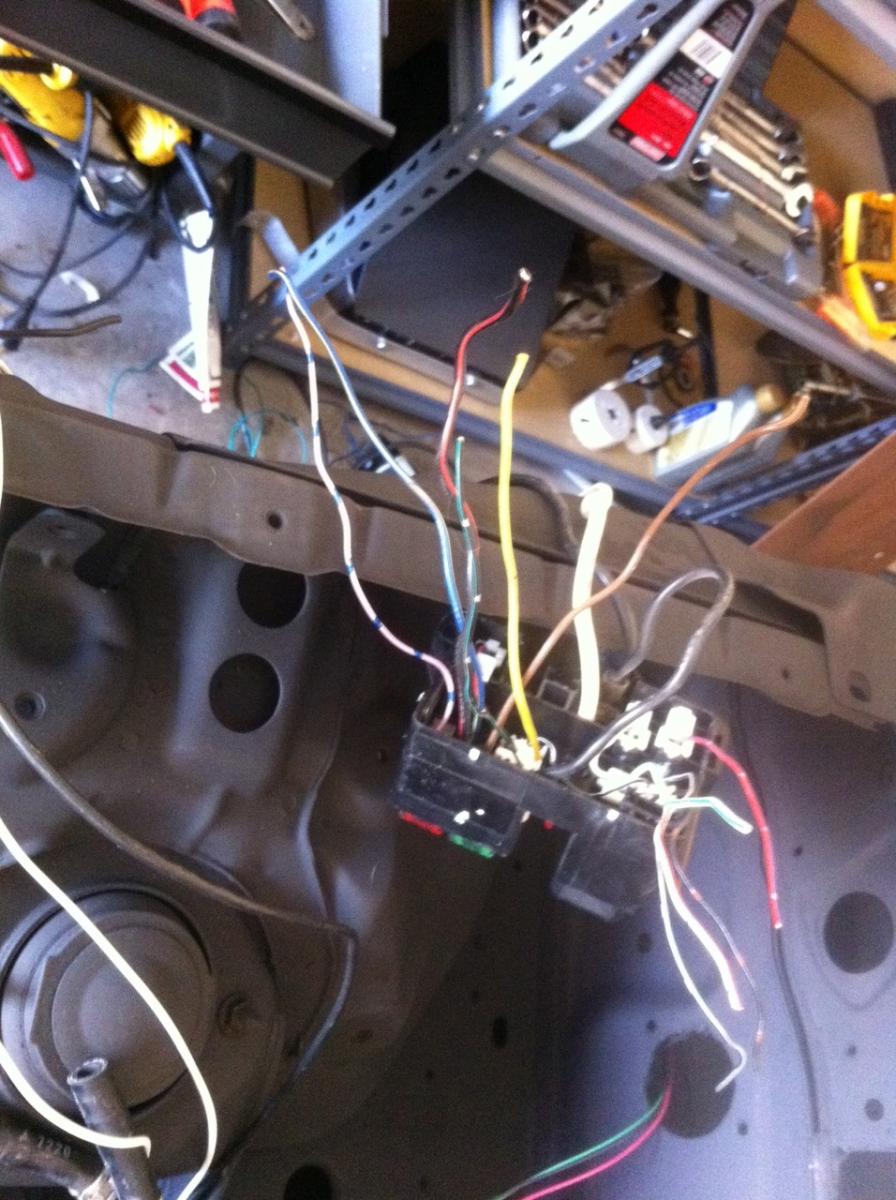
MOAR wires are appearing

Block off plates and the injector harness.
Going to modify the relay/fuse box, and it will be located in the engine compartment.
MOAR wires are appearing
Reply
0
0

Thread Starter
Joined: Apr 2009
Posts: 7,174
Total Cats: 180
From: Arizona
Honestly this build has been a lot of fun. It's great just going to the shop, working until I don't feel like, then leaving. No deadline, no frustration, just fun. Although I do have a goal of getting it on the road by the end of October. But if I don't reach that, oh well.
Reply
0
0
Thread Starter
Joined: Apr 2009
Posts: 7,174
Total Cats: 180
From: Arizona
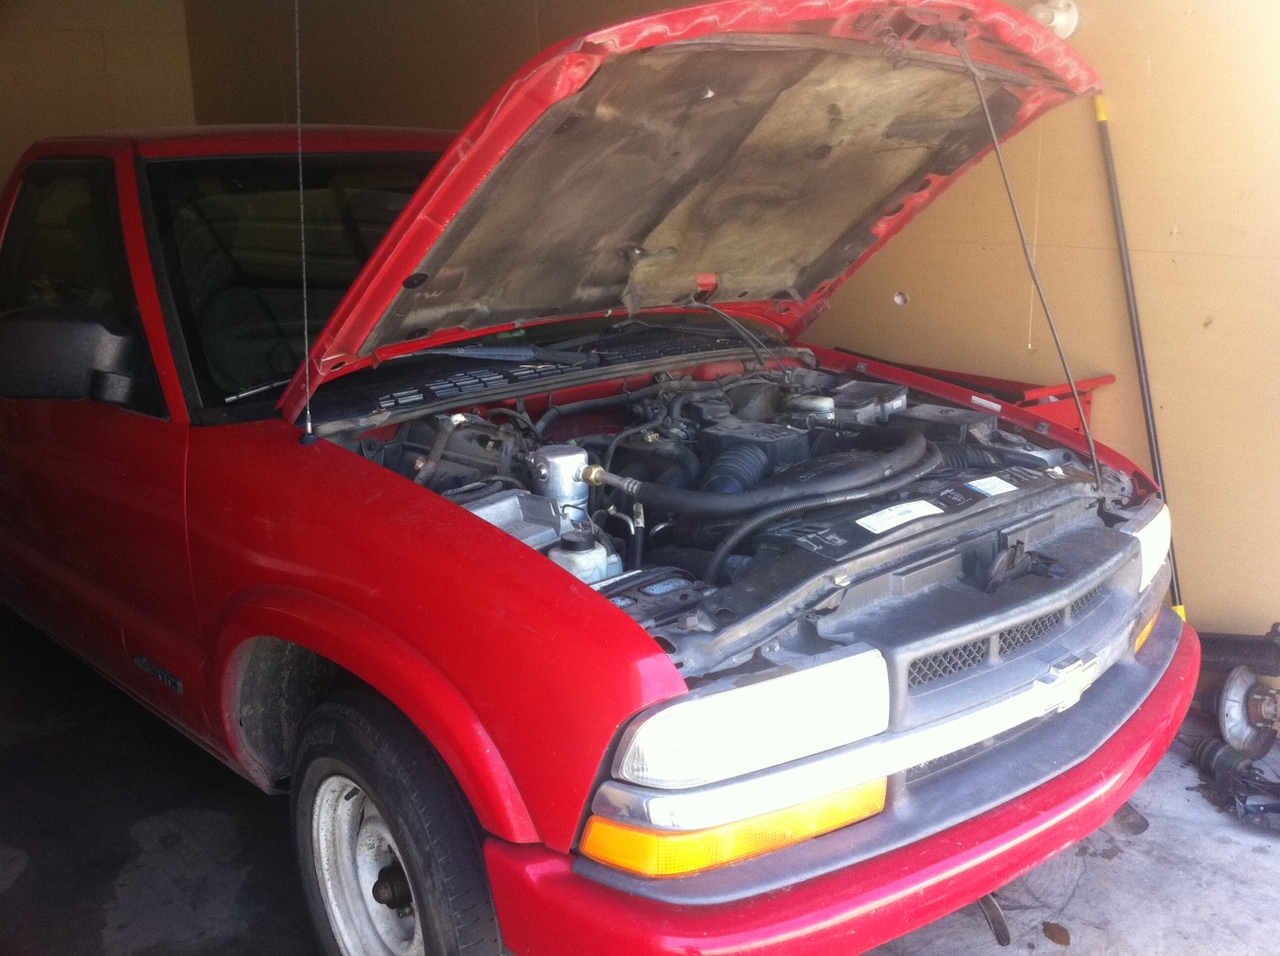
Now not only am I doing this in a storage unit... but this POS is parked in front of it...
Got some stuff done before that though..
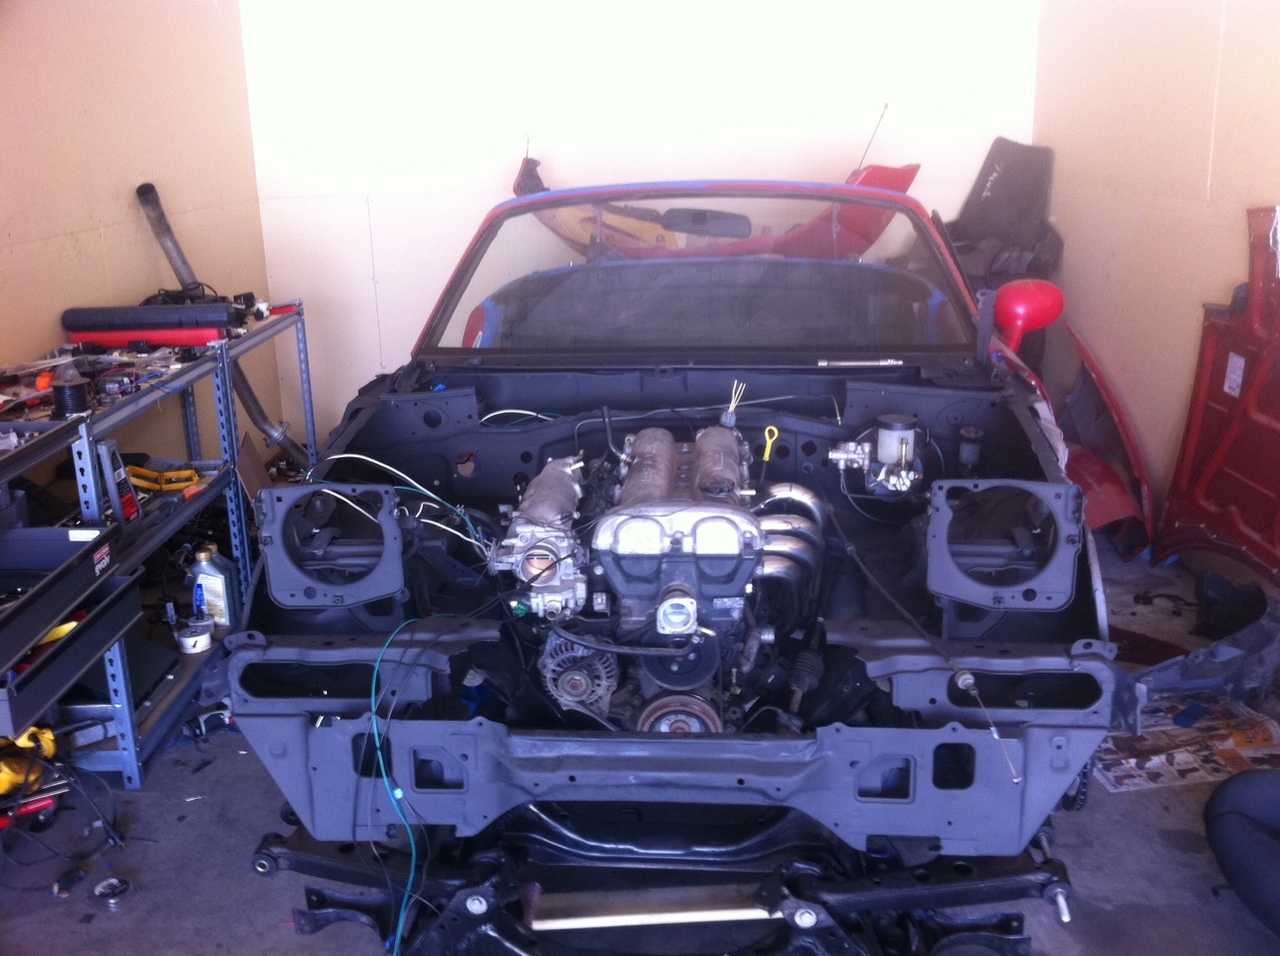

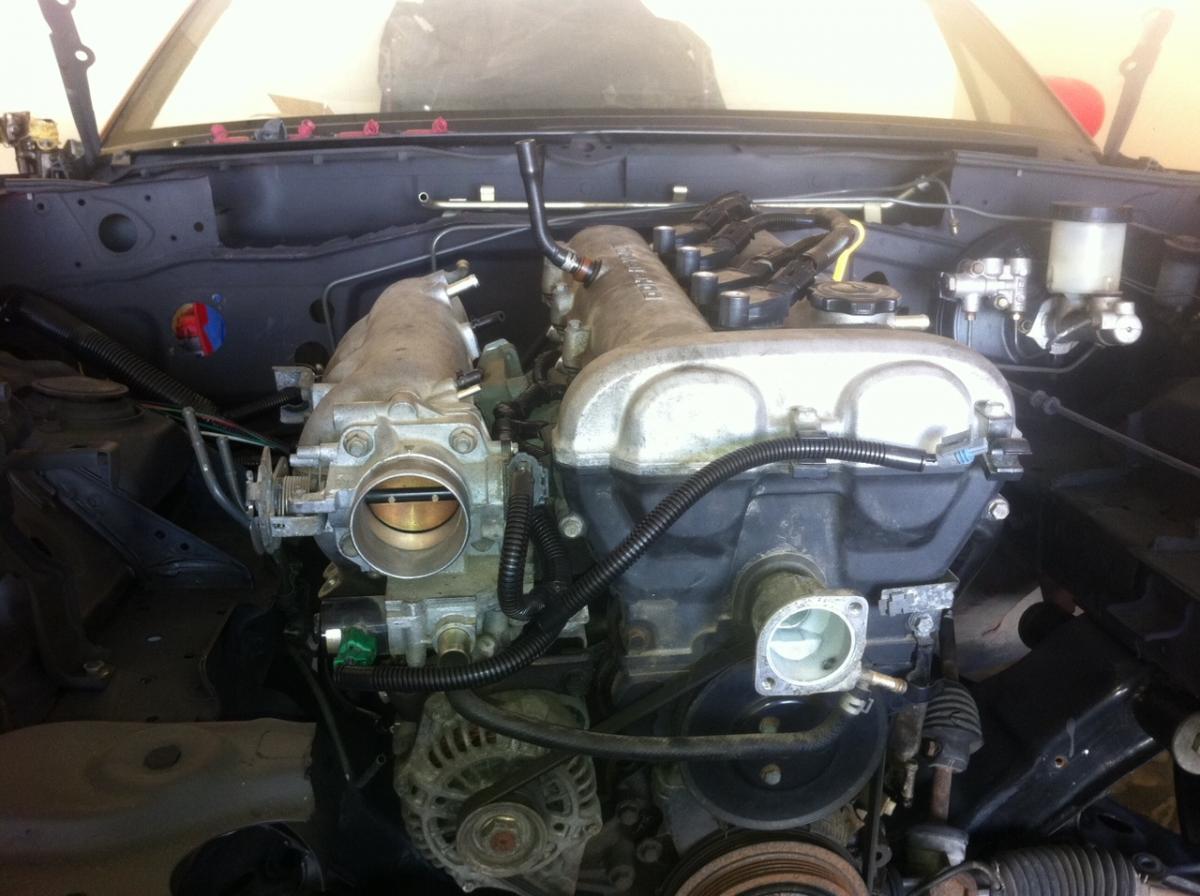
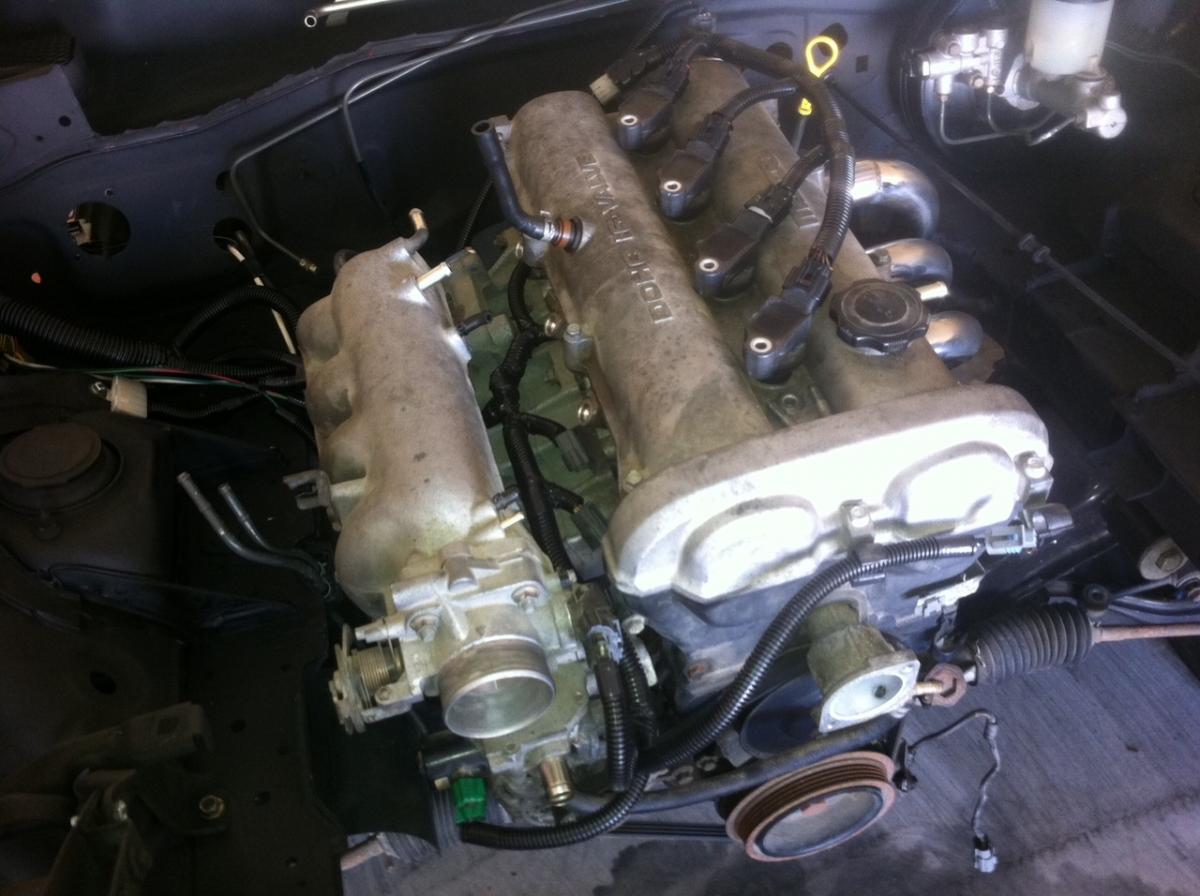
Basically all engine sensor wiring has been run, now I need to solder/shrink to connector and I'm DONE with engine wiring. Still need to tuck/protect it after that, but won't be doing that until I know the wiring is good
I know I"m going to get a face full of haterade when I mention this... but headlights will be fixed in the up position.. yea yea aerodynamics, it looks ugly, blah blah blah... I like it FFFFUUUUUUUUUUU
Got some stuff done before that though..
Basically all engine sensor wiring has been run, now I need to solder/shrink to connector and I'm DONE with engine wiring. Still need to tuck/protect it after that, but won't be doing that until I know the wiring is good
I know I"m going to get a face full of haterade when I mention this... but headlights will be fixed in the up position.. yea yea aerodynamics, it looks ugly, blah blah blah... I like it FFFFUUUUUUUUUUU
Reply
0
0
Thread Starter
Joined: Apr 2009
Posts: 7,174
Total Cats: 180
From: Arizona
Just ordered a massive amount of small **** to help get my car moving forward. Sadly (not really) I've already reserved this weekend for shenanigans, so not much will get done. I have to finish up the S10 on Sunday, and Monday depending on how long it takes to do everything. So who knows.
Reply
0
0
Thread Starter
Joined: Apr 2009
Posts: 7,174
Total Cats: 180
From: Arizona
**** I'm so lonely in this thread. I know I don't have shiny ****, but the man hours invested could be considered slave labor.
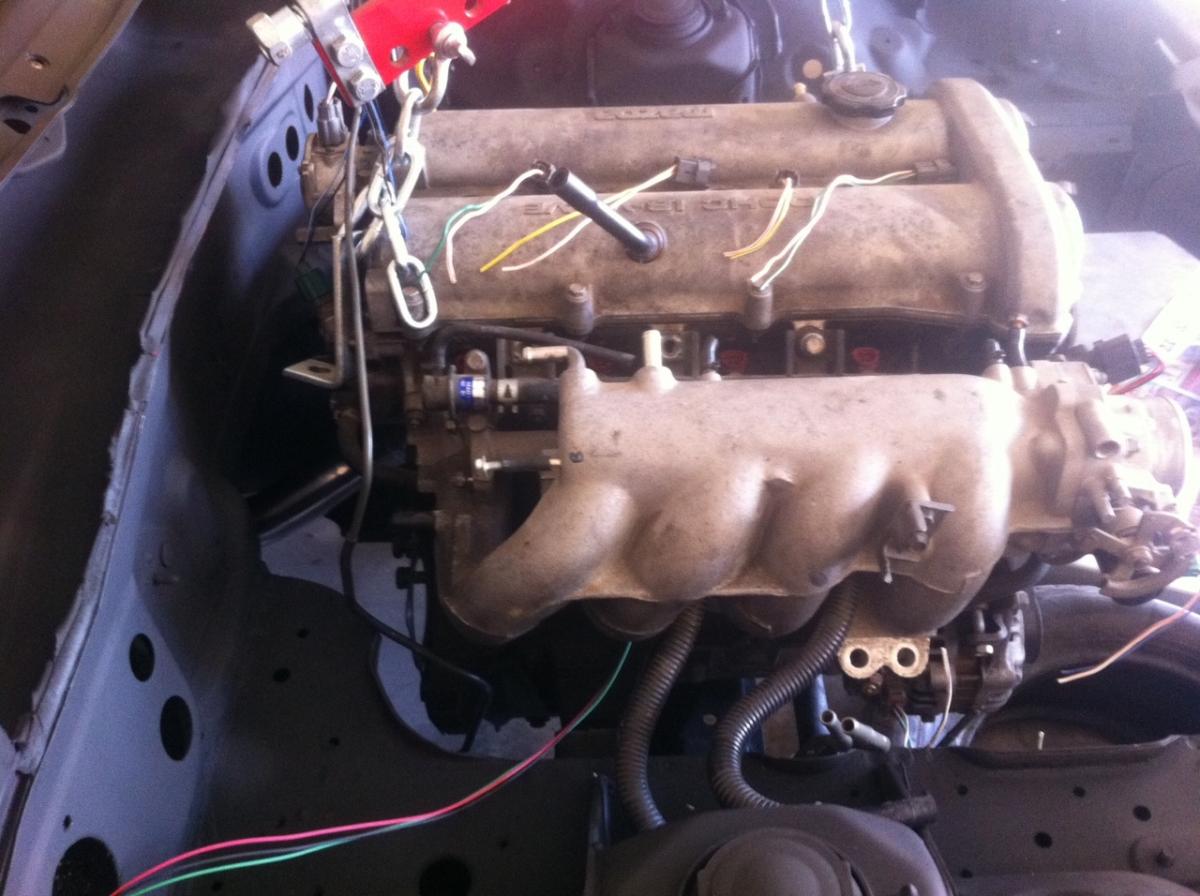
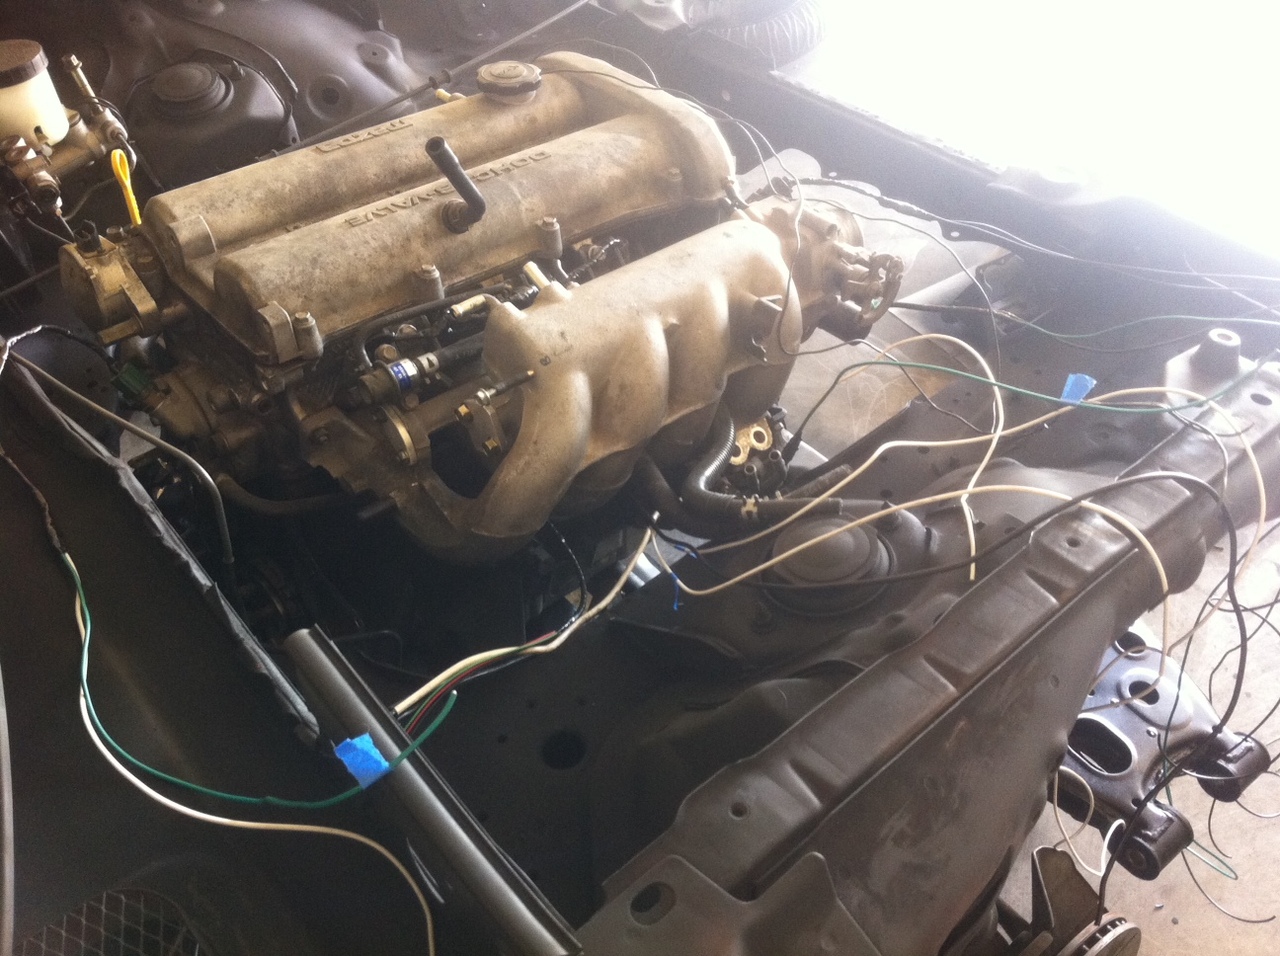
Not perfect, but simple. Only what is needed is there. I added two extra wires for my oil temp and eventual EGT stuffs.
I know they are on the exhaust side. Not too worried as there will be some heat shielding on the exhaust. I may flip them, but need to get this B running.
Coming together. Once I get the diff installed, and put the subframe back, all I need to do is hook up the driveline and battery and it should ruN!
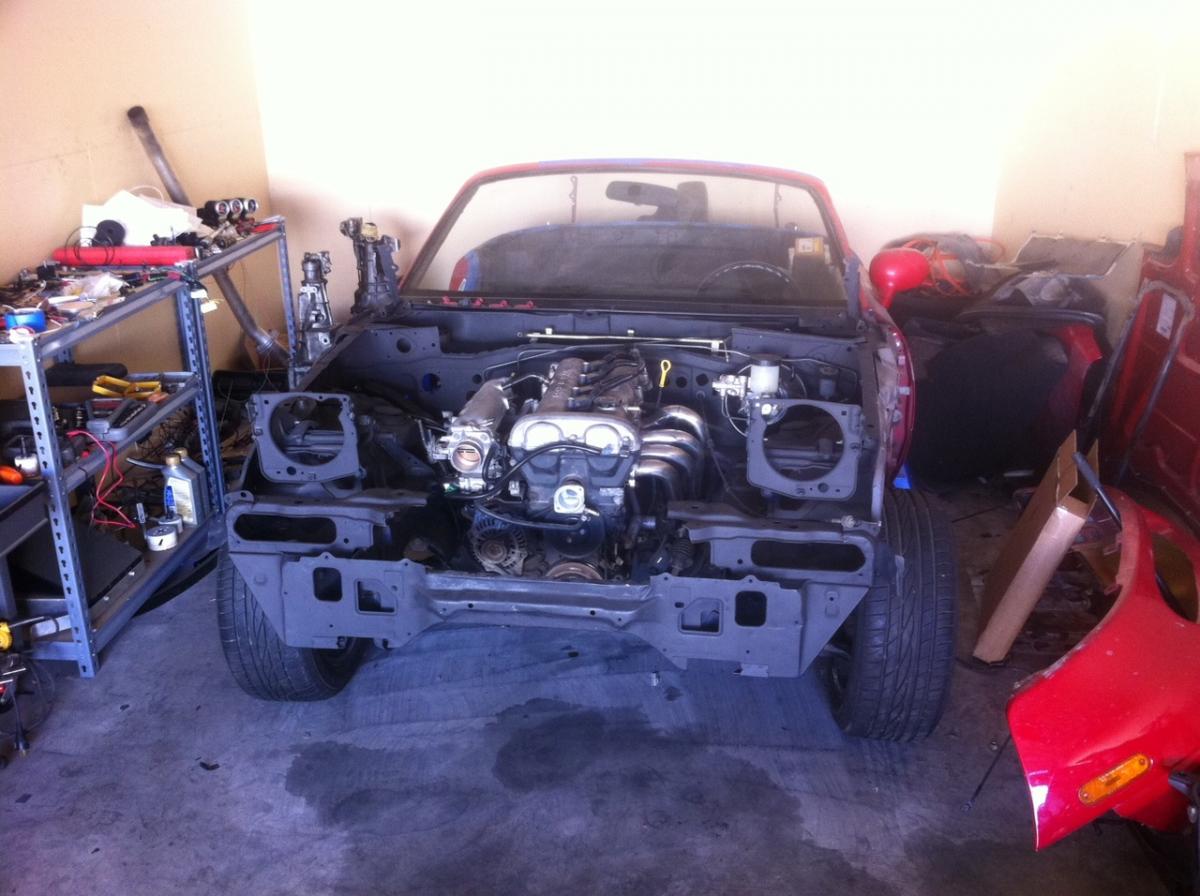
Once it's running I still have a ton to do. But getting it running will be a huge step forward.
Not perfect, but simple. Only what is needed is there. I added two extra wires for my oil temp and eventual EGT stuffs.
I know they are on the exhaust side. Not too worried as there will be some heat shielding on the exhaust. I may flip them, but need to get this B running.
Coming together. Once I get the diff installed, and put the subframe back, all I need to do is hook up the driveline and battery and it should ruN!
Once it's running I still have a ton to do. But getting it running will be a huge step forward.
Last edited by FRT_Fun; Sep 18, 2011 at 12:37 AM.
Reply
0
0

Another harness from scratch ... nice.
Every thread like this makes me want to ball up and do the same - until I pull out the diagrams and start realizing the man hours involved.
I wish, like the Honduh boys, we had a vendor who sold 'stripped' harnesses.
-Zach
Every thread like this makes me want to ball up and do the same - until I pull out the diagrams and start realizing the man hours involved.
I wish, like the Honduh boys, we had a vendor who sold 'stripped' harnesses.
-Zach
Reply
0
0
Thread Starter
Joined: Apr 2009
Posts: 7,174
Total Cats: 180
From: Arizona
**** just got real.
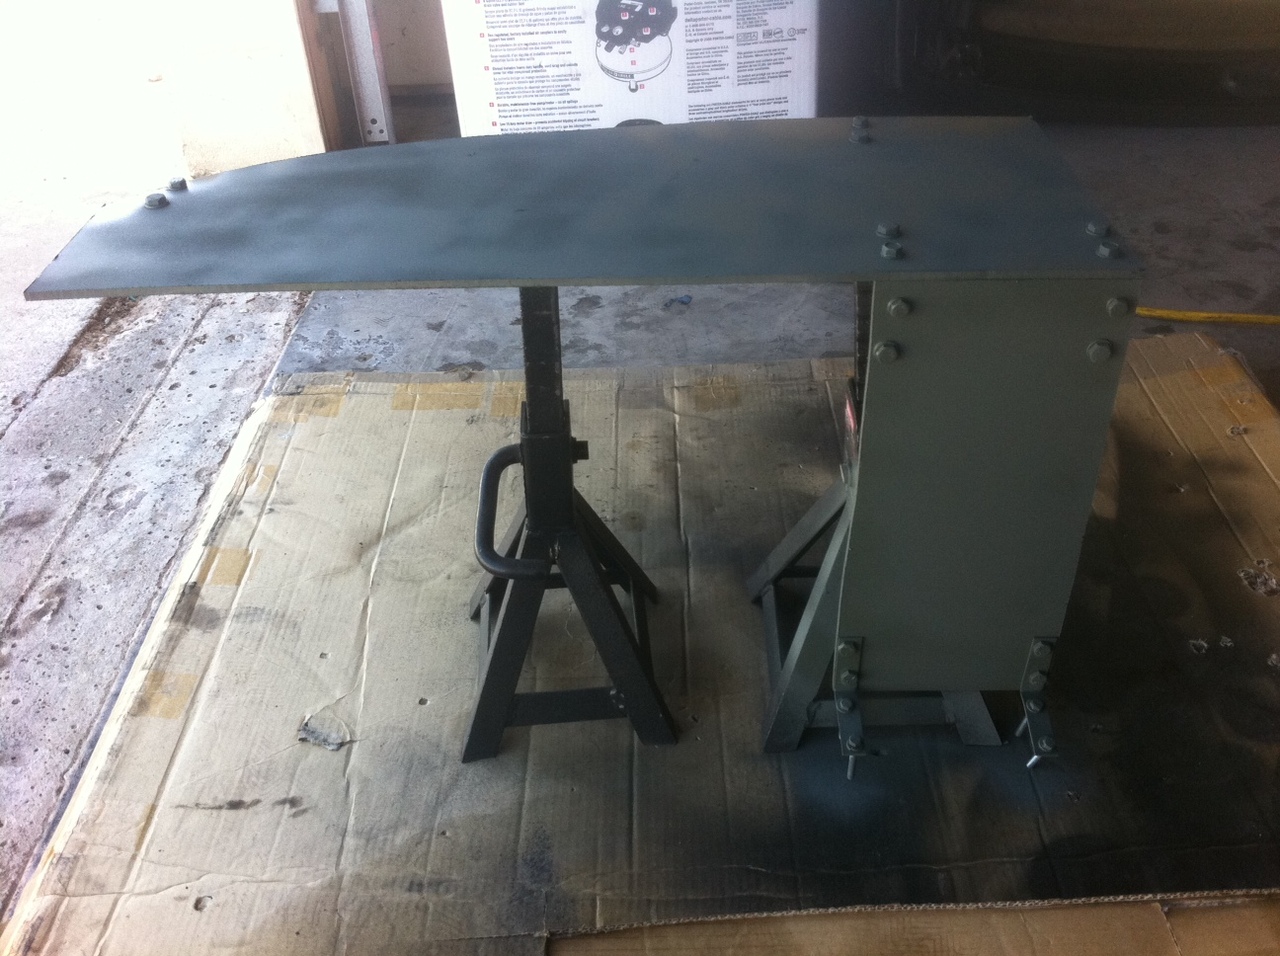
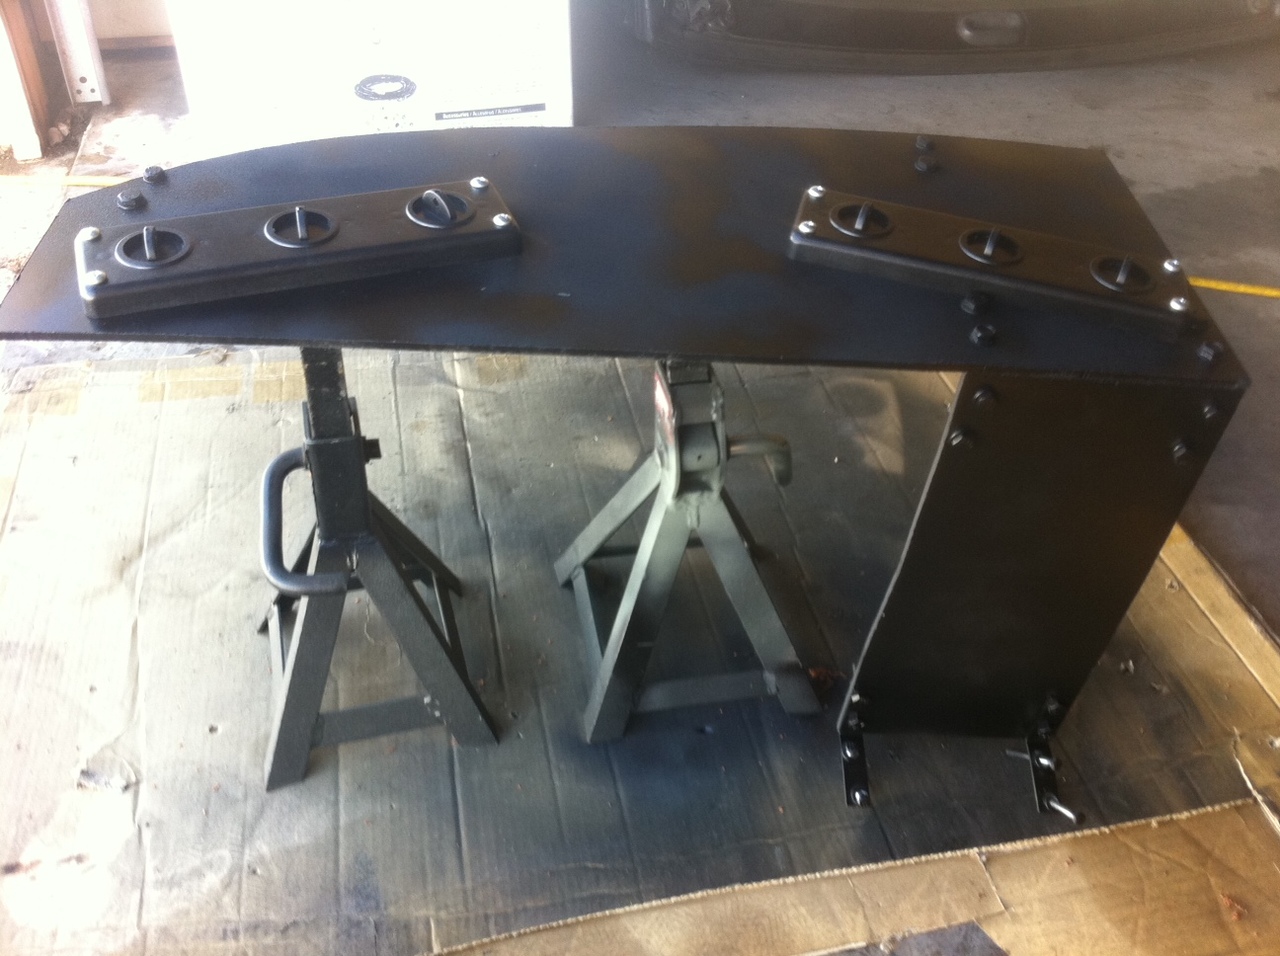
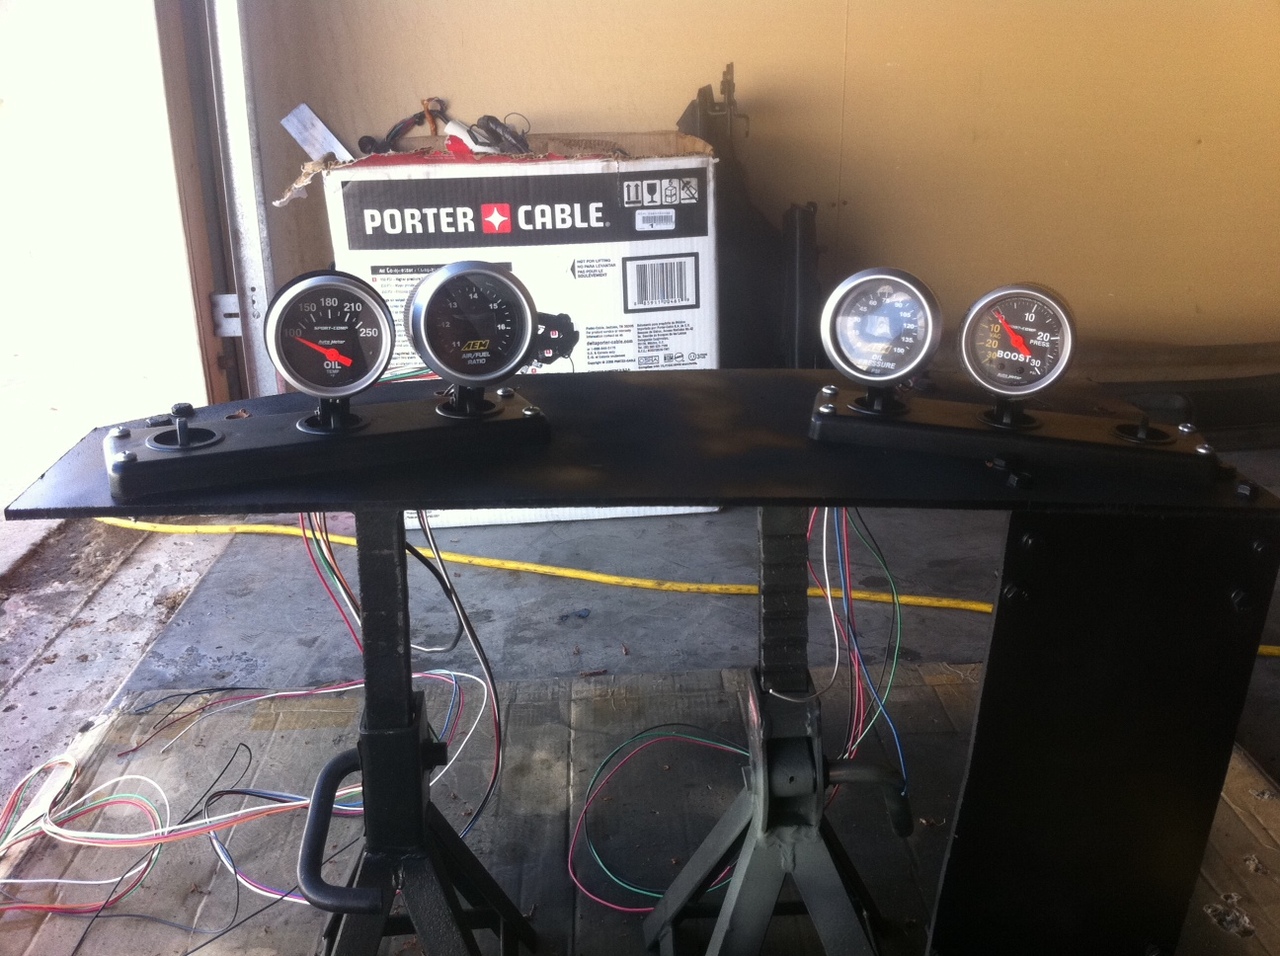

Tach will go in the middle. Have not decided where my speeedo will go. The two empty spots will soon be coolant temp and EGT. And by soon.. I mean after it's running.
Panel on the right will house my Ignition switch and push start. As well as accessory switch. Probably lights and turn signal (turn signals will go down by the shifter so it will be easy to reach... thinking about doing a time delay type deal with just a button... press it and the signal goes on for 20-30 seconds. Might get annoying at left turn lanes at stop lights.)
Reply
0
0
Thread Starter
Joined: Apr 2009
Posts: 7,174
Total Cats: 180
From: Arizona
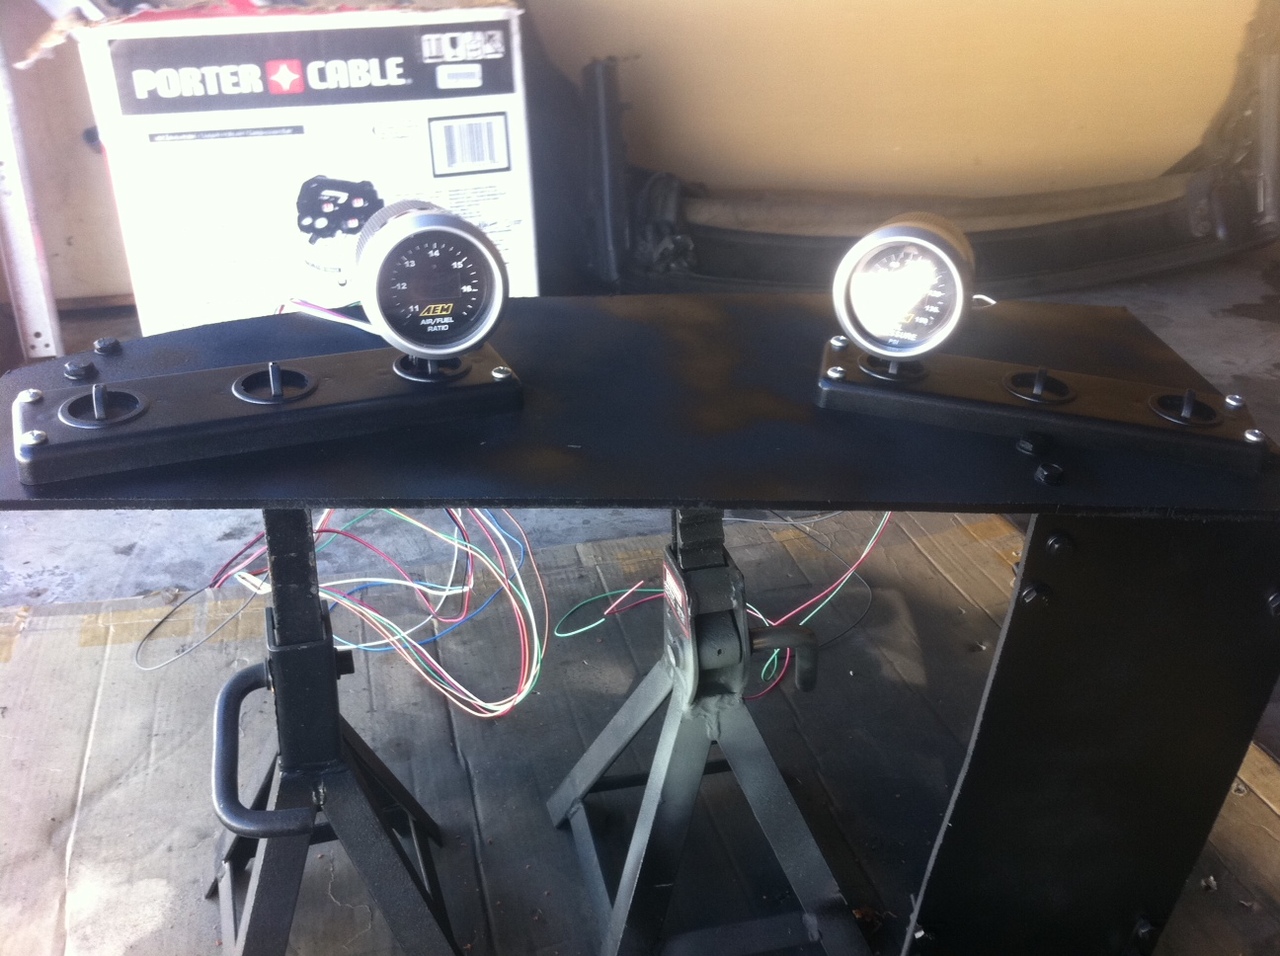
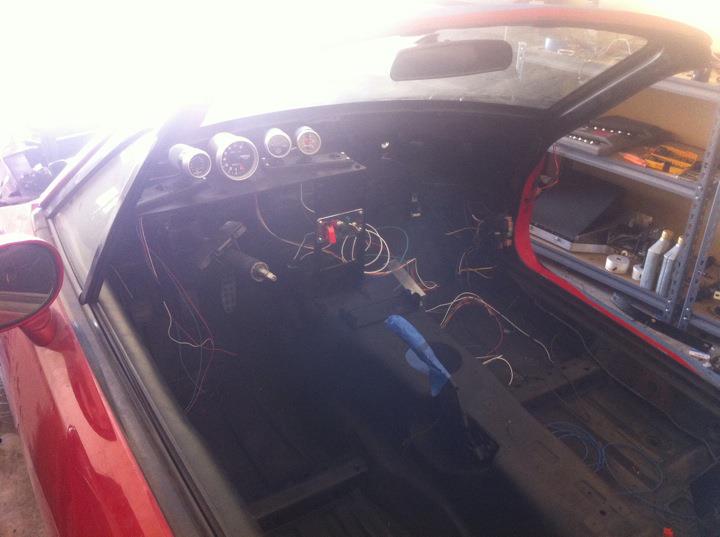
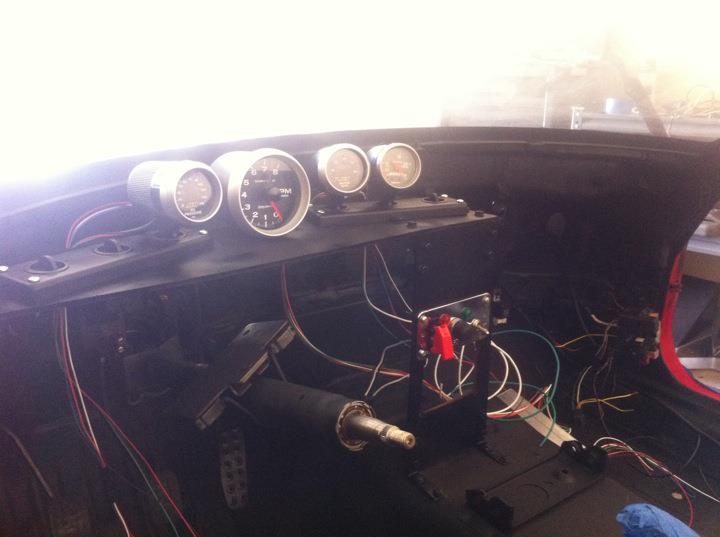
I've got some pictures of the dash mounted in the car with some of the gauges. Looks pretty damn good IMO. I still need to add some bracing to make sure it doesn't vibrate too much. But I need to find a dash bar first. I just got in my tach mount today, so I can mount the tach on the dash. My water temp gauge will be in any day.
Dial indicator and Mic should be in today, I'll set backlash and preload this weekend, install the new mounts, and get the subframe in. Also hoping to pull the engine, install clutch + flywheel, attach trans and get the whole drive line in this weekend as well.
That means MAYBE a running miata by Monday. That is assuming my second hand MS works as advertised.
New steering wheel should be in, as well as my ebay quick release/mount.
Reply
0
0

Thread Starter
Joined: Apr 2009
Posts: 7,174
Total Cats: 180
From: Arizona
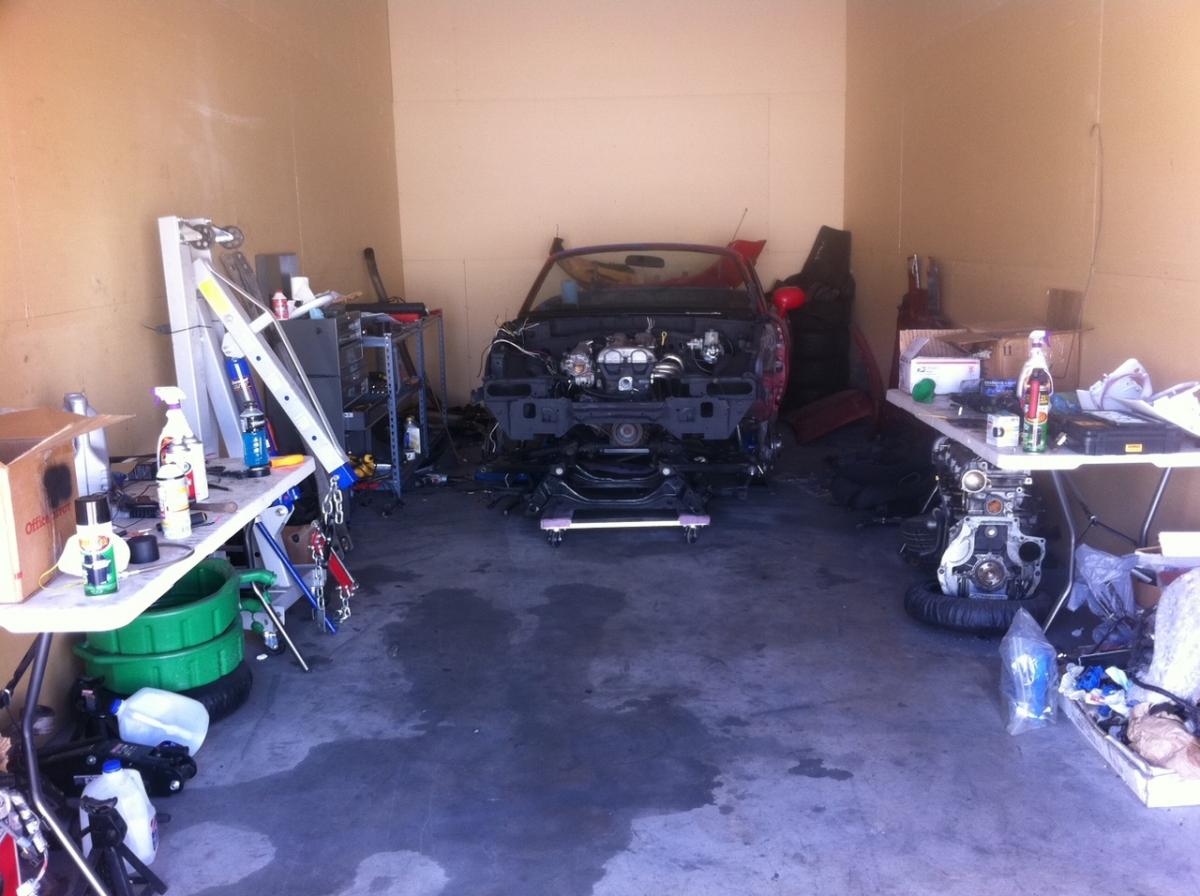
**** moved slow today. But I did reach a big milestone. For the first time in over a year I have a rolling chassis... with both subframes attached.
Here are a few pics of the diff going back in... so much easier to install with the subframe out lul
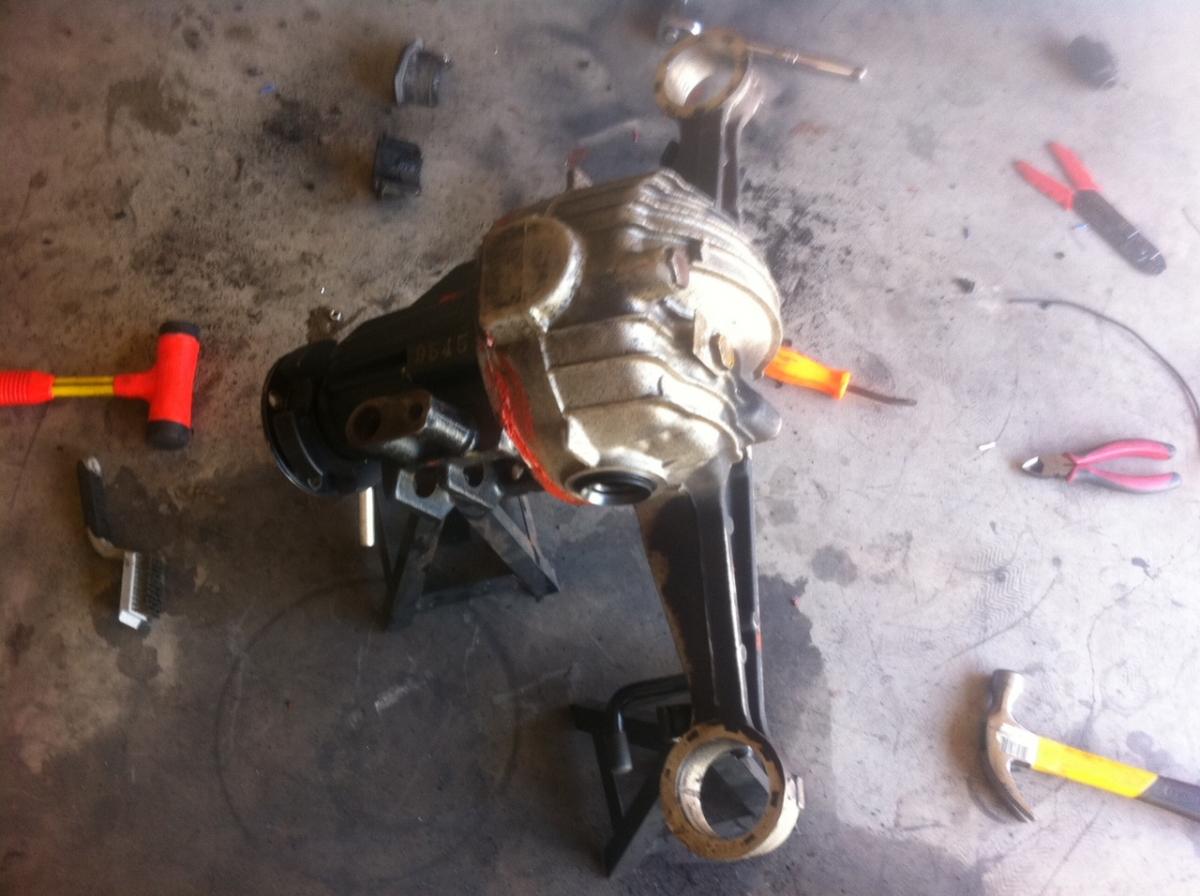
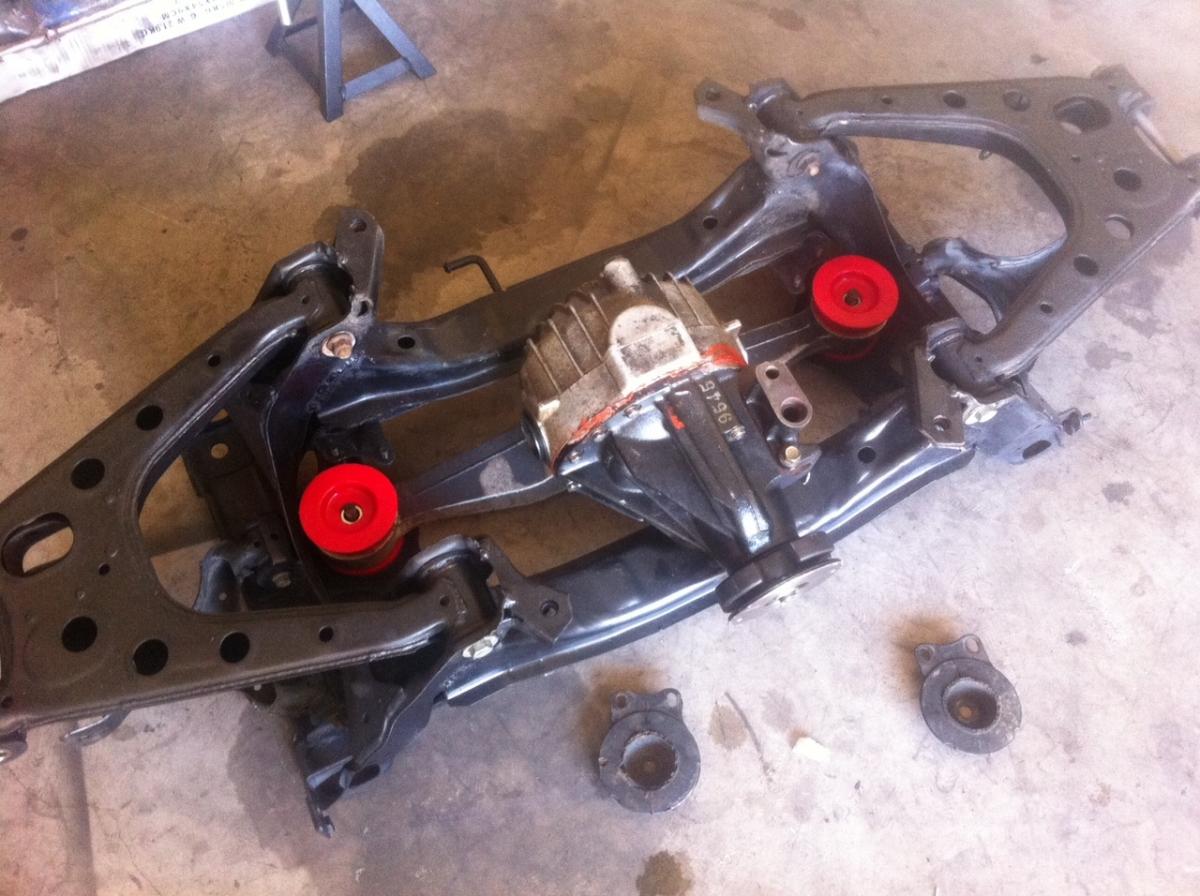
Moar pics tomorrow after I get some stuff done. Don't mind my messy gasket job
Here are a few pics of the diff going back in... so much easier to install with the subframe out lul
Moar pics tomorrow after I get some stuff done. Don't mind my messy gasket job
Reply
0
0

Thread
Thread Starter
Forum
Replies
Last Post


