Notices
Build Threads Building a motor? Post the progress here.

CHR NC EFR Turbo Build

Thread Tools
 
Search this Thread
 
Old Apr 17, 2018 | 10:29 AM
  #41  
ridethecliche's Avatar
Elite Member
iTrader: (2)
 
Joined: Aug 2016
Posts: 3,890
Total Cats: 146
From: New Fucking Jersey
Default

Oh man, I really wonder what it's capable of without that restrictor!
Old Apr 17, 2018 | 11:50 AM
  #42  
RalliartRsX's Avatar
Junior Member
 
Joined: Jun 2015
Posts: 278
Total Cats: 22
Default

Coming to VIR??
Old Apr 17, 2018 | 12:38 PM
  #43  
charliehayes22's Avatar
Thread Starter
Junior Member
 
Joined: Feb 2016
Posts: 120
Total Cats: 82
From: Walnut Creek, Ca
Default

Originally Posted by RalliartRsX
Coming to VIR??
I will be there next week for the PWC race. I work with Kpax on the Bentley’s.
Old Apr 17, 2018 | 01:45 PM
  #44  
charliehayes22's Avatar
Thread Starter
Junior Member
 
Joined: Feb 2016
Posts: 120
Total Cats: 82
From: Walnut Creek, Ca
Default

Since pictures are needed. One of the most important things done this week was tinting the tail lights. Here is a compare shot.
Old Apr 19, 2018 | 12:04 AM
  #45  
charliehayes22's Avatar
Thread Starter
Junior Member
 
Joined: Feb 2016
Posts: 120
Total Cats: 82
From: Walnut Creek, Ca
Default


Only got got a few hours in today.

Installed the RB 14108 front ARB
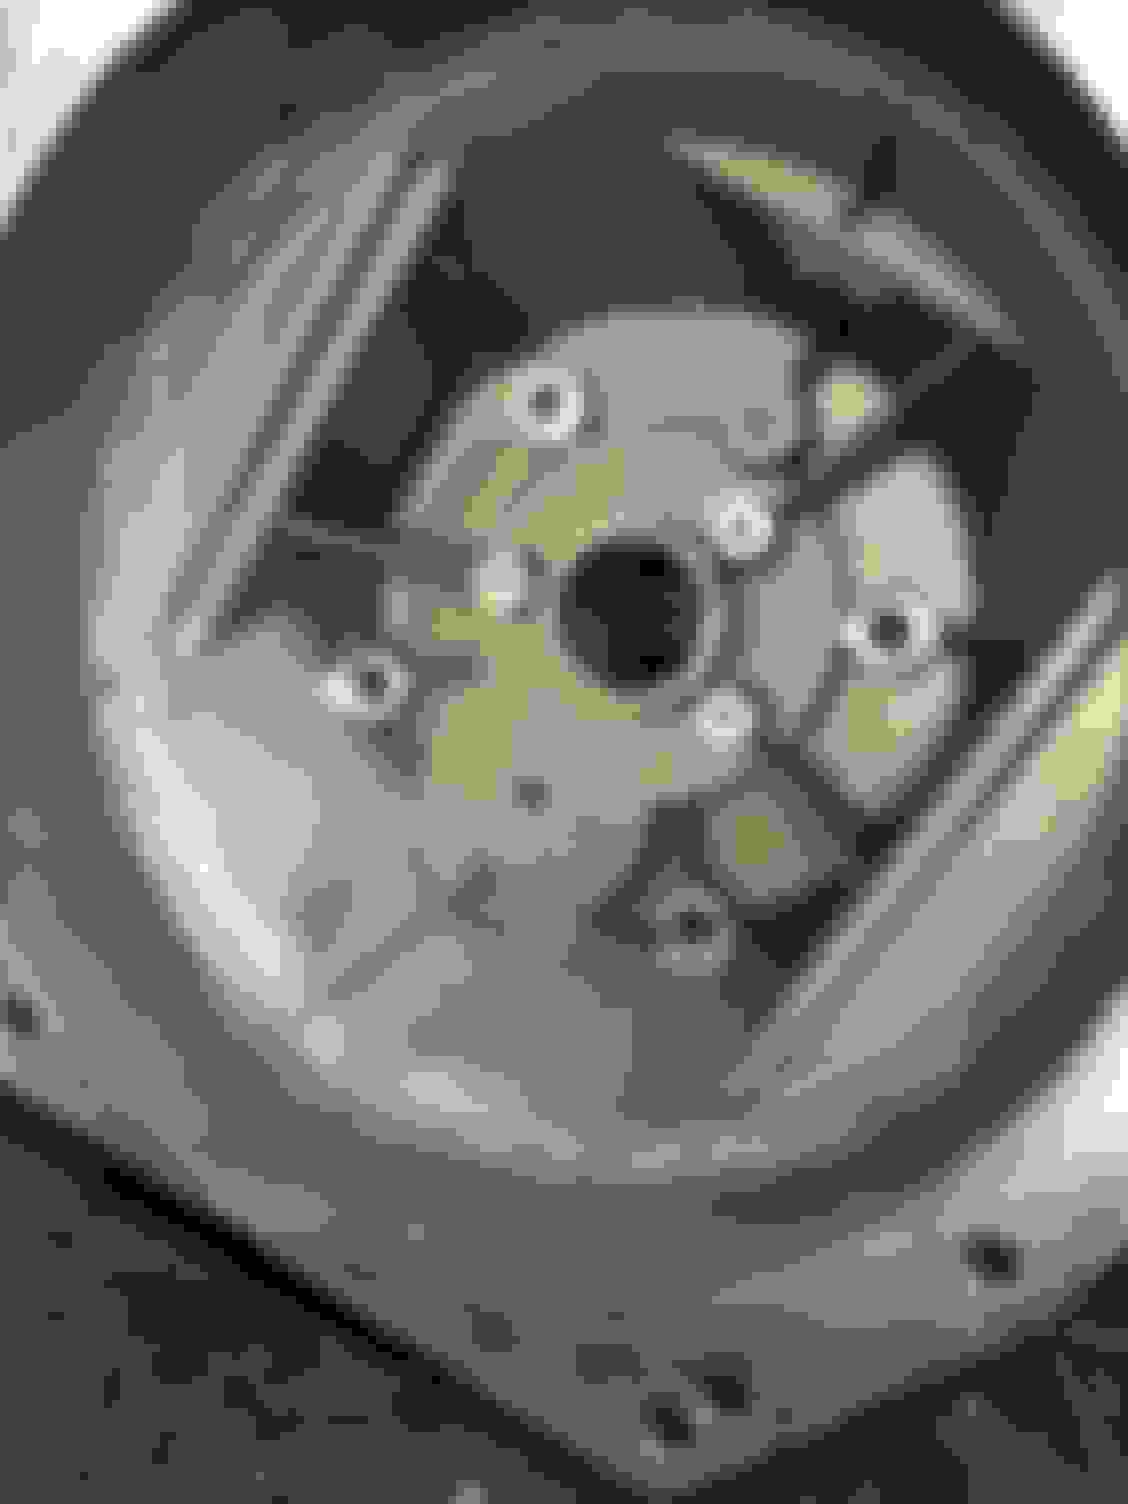
Mocked up the Stoptech front brakes and ordered some spacers to clear the wheels. The brakes look big for the car but are smaller than all GT rears.
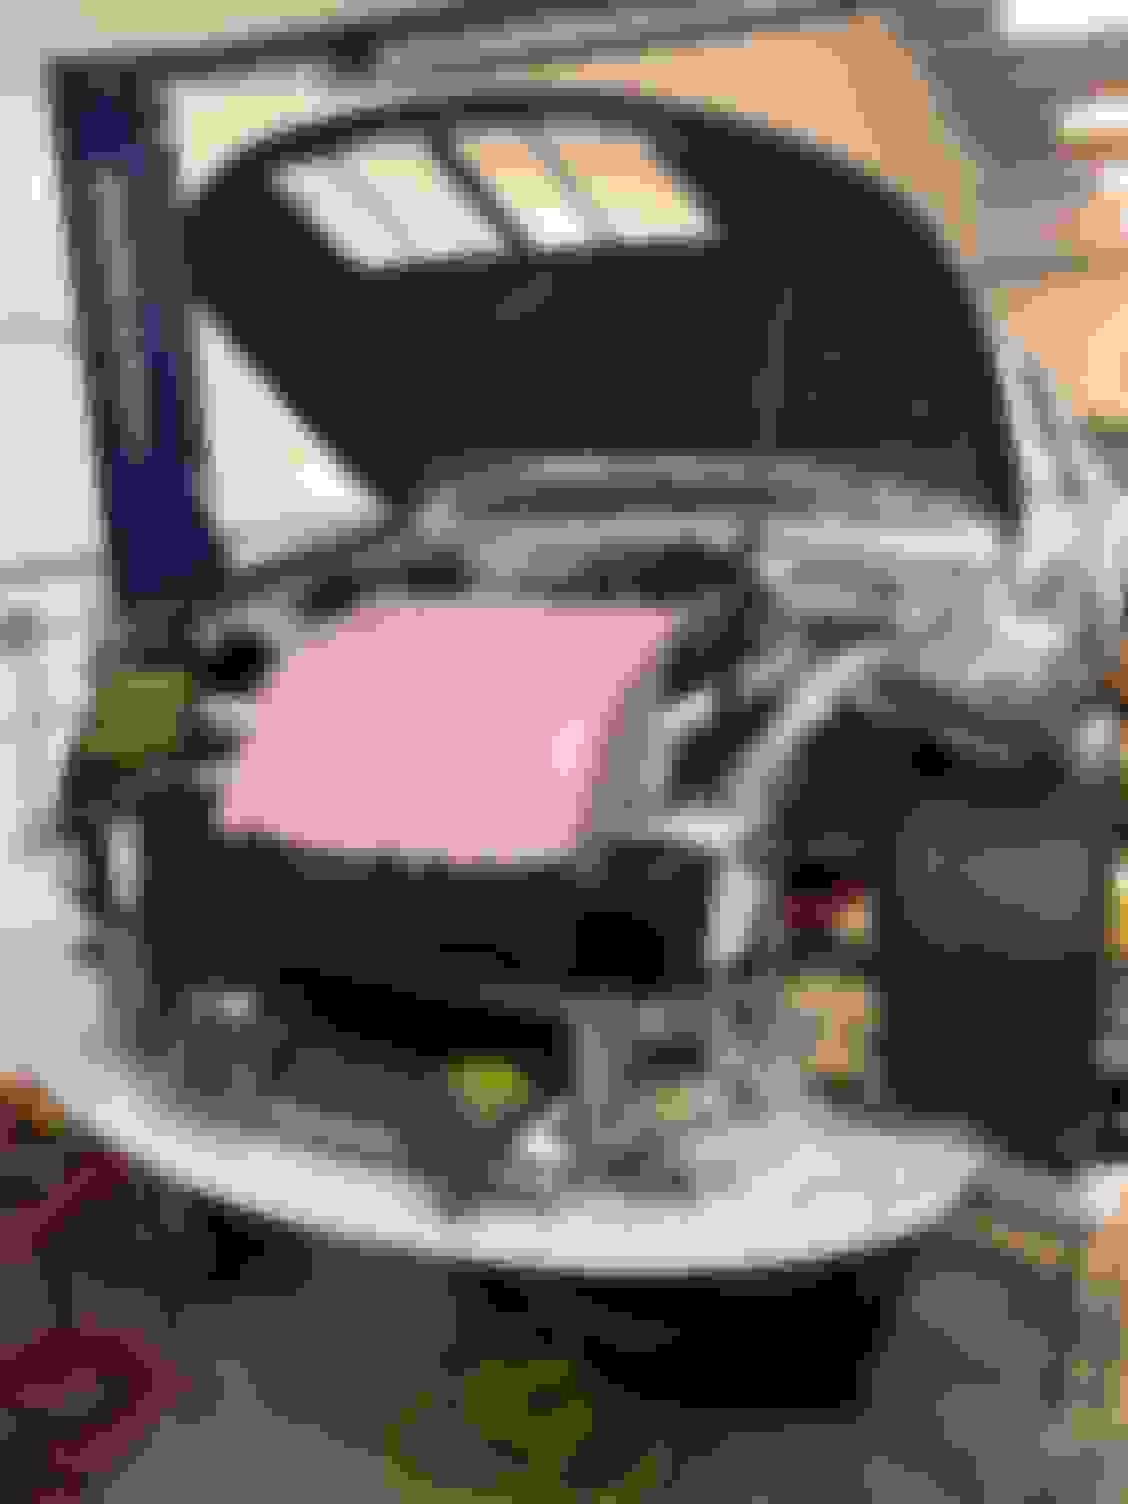
Started working on the rad ducting. Going to finish it up in the morning then start on the inlet duct with the splitter. Also ran out of argon so it’s a good stoping point.
Old Apr 21, 2018 | 08:58 PM
  #46  
charliehayes22's Avatar
Thread Starter
Junior Member
 
Joined: Feb 2016
Posts: 120
Total Cats: 82
From: Walnut Creek, Ca
Default

MoTeC dash mounted with a carbon panel.

Old Apr 21, 2018 | 10:22 PM
  #47  
miataman04's Avatar
Senior Member
iTrader: (1)
 
Joined: Apr 2011
Posts: 553
Total Cats: 25
From: Jonesboro Arkansas
Default

Awesome build! Looking at the engine bay reminds me of how much I hate NC engine bays there is so little room.
Old Apr 27, 2018 | 10:23 PM
  #48  
charliehayes22's Avatar
Thread Starter
Junior Member
 
Joined: Feb 2016
Posts: 120
Total Cats: 82
From: Walnut Creek, Ca
Default

Originally Posted by ridethecliche
Oh man, I really wonder what it's capable of without that restrictor!
My guess is about 425whp based on the torque numbers it produced with the restrictor.

Originally Posted by miataman04
Awesome build! Looking at the engine bay reminds me of how much I hate NC engine bays there is so little room.
The engine is actually very serviceable, nothing is very hard. The worse thing so far is removing the intake cam. I did not clearance the firewall enough without some more steps than normal. Oh well, things you get when you complicate it...
Old Apr 30, 2018 | 09:36 AM
  #49  
Joseph Conley's Avatar
Junior Member
 
Joined: Jan 2016
Posts: 417
Total Cats: 67
From: Wadsworth, Ohio
Default

Originally Posted by charliehayes22
Since pictures are needed. One of the most important things done this week was tinting the tail lights. Here is a compare shot.
That looks so good!
Old Jun 28, 2018 | 09:59 AM
  #50  
charliehayes22's Avatar
Thread Starter
Junior Member
 
Joined: Feb 2016
Posts: 120
Total Cats: 82
From: Walnut Creek, Ca
Default

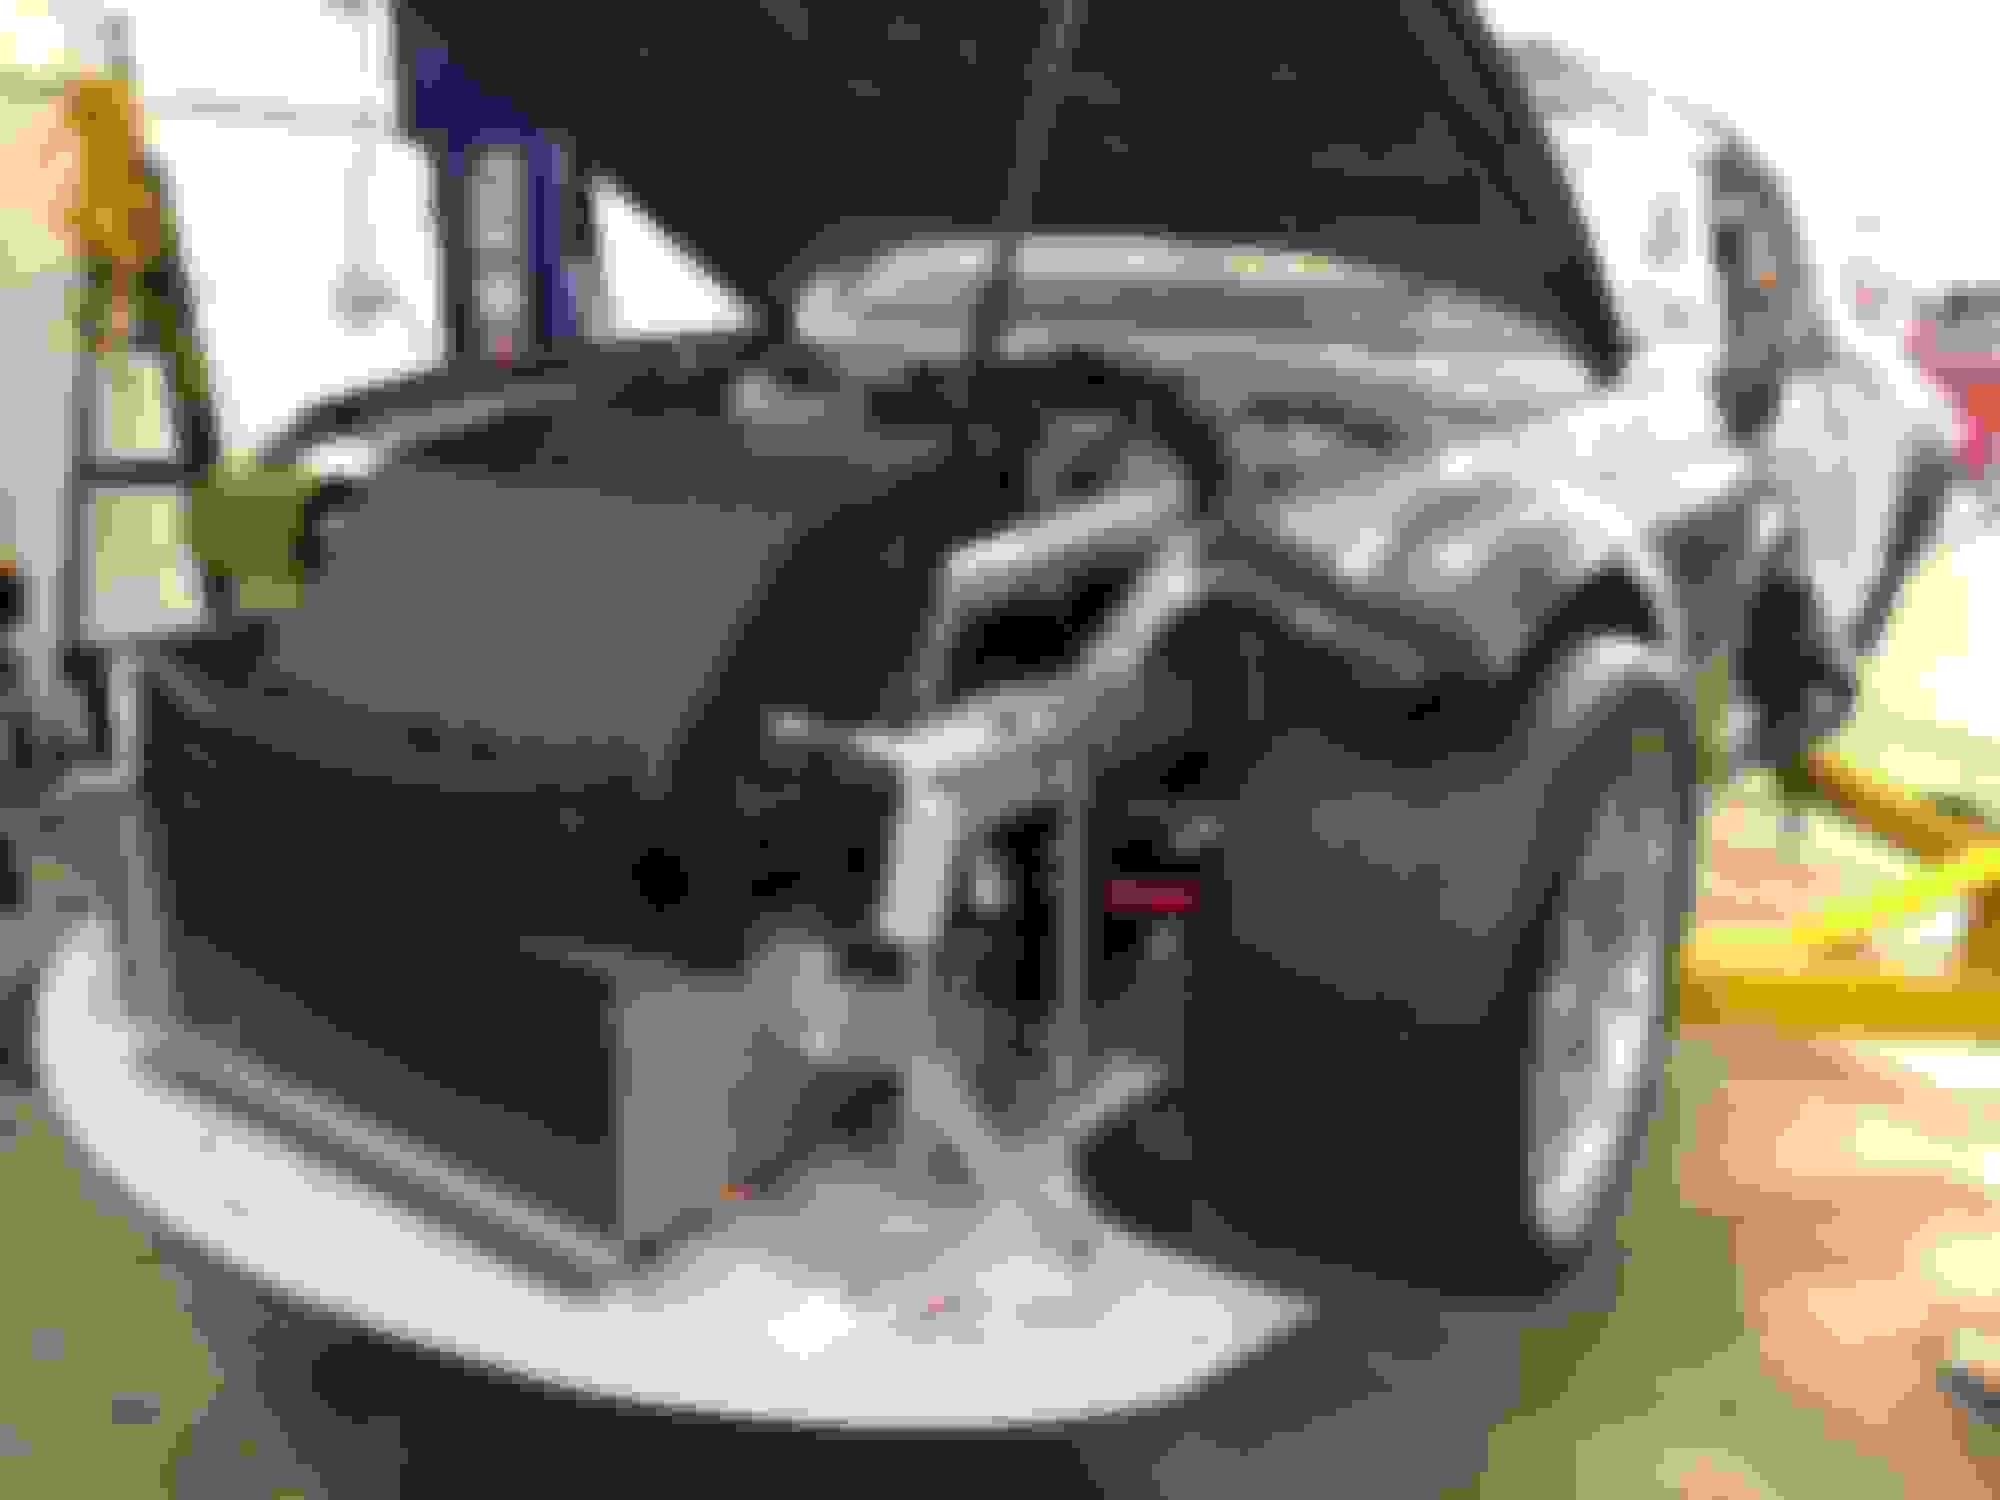
Well finally got around to test fitting the gearbox. Came across a deal I could not pass up.

brand new 15G sequential. Everything seems to be really close. I need to get a hydraulic release bearing and make a modification to the bell housing. The drive shaft needs to be made but all in all smooth so far.
Old Jun 28, 2018 | 03:15 PM
  #51  
andyfloyd's Avatar
Senior Member
 
Joined: May 2017
Posts: 1,164
Total Cats: 97
From: Louisville,KY
Default

Sick build man, really impressive all around.
Old Jul 31, 2018 | 01:34 AM
  #52  
charliehayes22's Avatar
Thread Starter
Junior Member
 
Joined: Feb 2016
Posts: 120
Total Cats: 82
From: Walnut Creek, Ca
Default

Past week has been very good for progress.

Fixed the intake pipe and cold side charge pipe. (not pictured)
Modified the bell housing to make the gearbox sit straight in the car.
Made the carbon exit duct and added the track spec hood vents
Had a custom driveshaft made for the gearbox
Re vamped the power steering (not pictured)
Got a couple parts to get water jetted.
Figured out the rear suspension and ordered some parts for that.
Next up is the ABS install, body work, some numbers, a lot of testing, and a big trophy.


Old Sep 7, 2018 | 01:58 AM
  #53  
charliehayes22's Avatar
Thread Starter
Junior Member
 
Joined: Feb 2016
Posts: 120
Total Cats: 82
From: Walnut Creek, Ca
Default

Work has been taking a lot away from the project. I have been put on the back burner with some manufacturing of parts. I still need my clutch release bearing adapter, hope to get that this week or early next...

I calibrated the gear pot and the load cell for the sequential. We will have flat foot upshifting and blipped downshifts with the drive-by-wire.

I have finished the Teves Mk60 wiring harness. Need to do the wheel speed sensors and the brake lines to finish it up. I had to do some goofy things to make the wheel speed sensors work.

Got the rear SPL bump steer adjustable toe links and the lower link. I then added bearings to the other 3 links. Rear suspension is all rod ends at the subframe. Waiting on some bearing inserts for the front upper and lower control arms.

I added the transmission brace to the stock forward crossmember and made some ghetto differential braces for the RX8 differential housing. Doing this I had to redo the exhaust. Only thing not pictured is the saddle for the exhaust.

Got bigger flares for the Hoosier 275 A7s. May try 295s if the grip is needed. The rear flares are a little bigger than I would like. (makes me want more tire..) The car is extremely light. About 2200lbs currently. Going to have to add a ton of weight to the car. I have a few places in mind to get the car closer to 50% front.

Still have a few days left of work. Depending on this clutch situation will determine when it hits the track....


Old Sep 27, 2018 | 12:55 AM
  #54  
charliehayes22's Avatar
Thread Starter
Junior Member
 
Joined: Feb 2016
Posts: 120
Total Cats: 82
From: Walnut Creek, Ca
Default

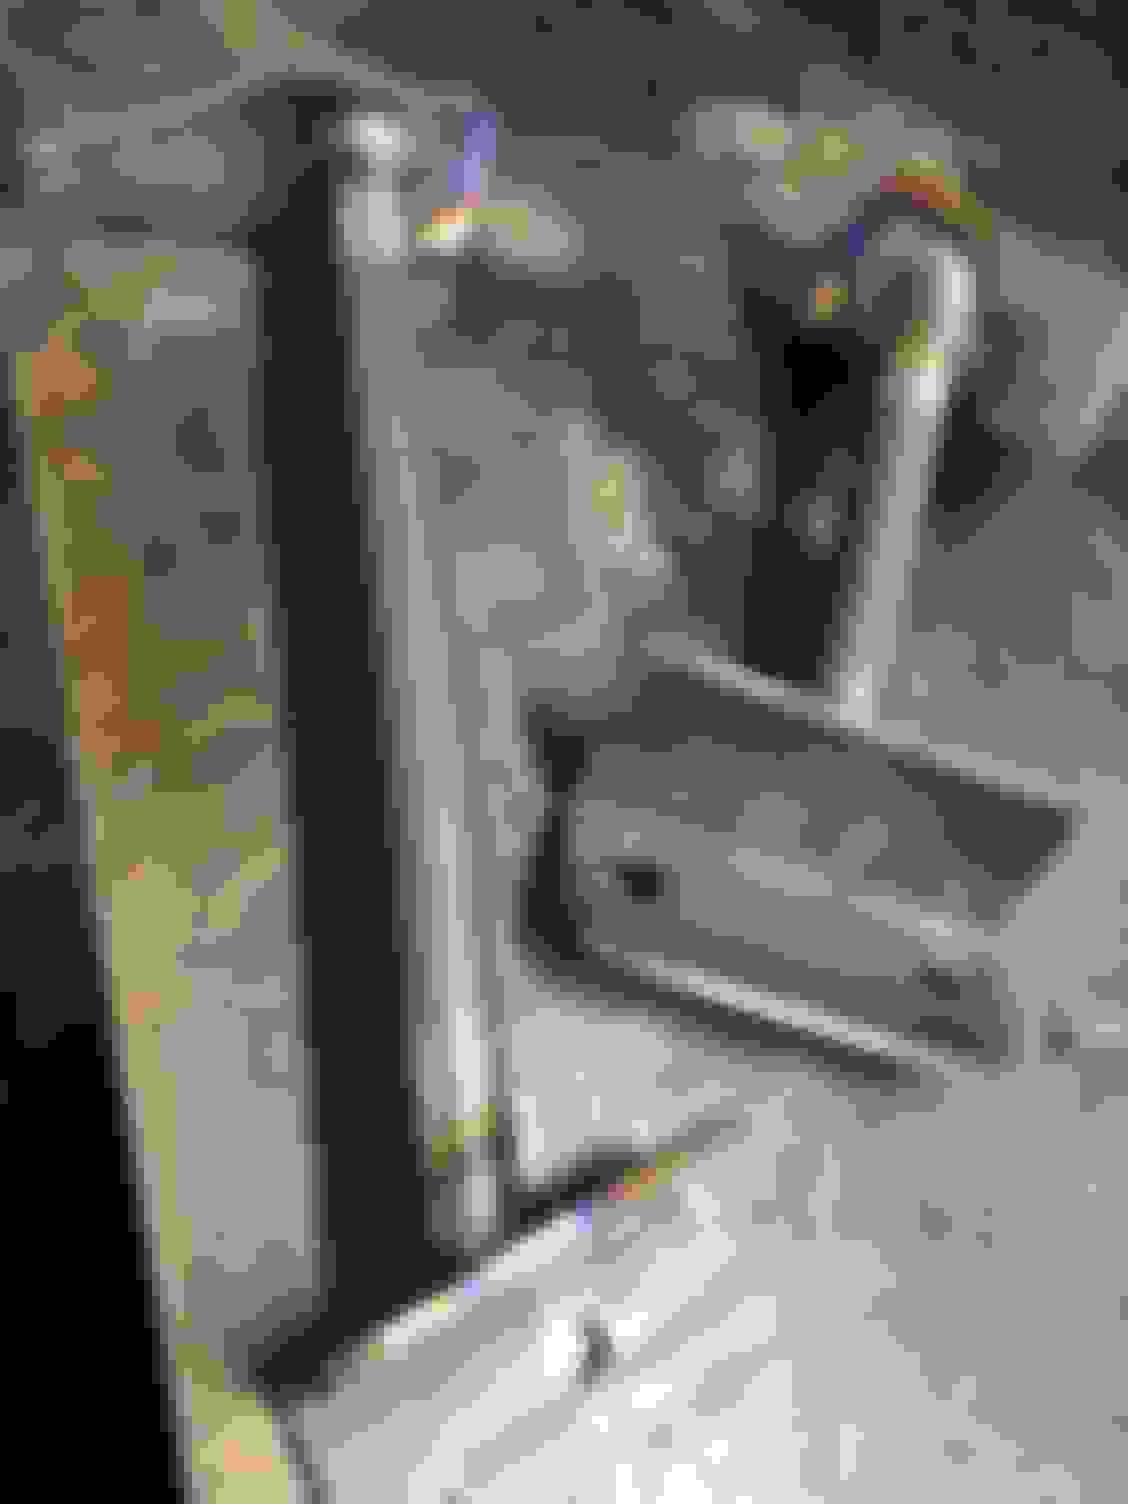
Clutch release bearing adapter got machined today. Installed and bled the clutch tonight. Going to work on the alignment tomorrow and planning on a shake down Friday.

Old Sep 27, 2018 | 12:39 PM
  #55  
shlammed's Avatar
Elite Member
iTrader: (8)
 
Joined: Dec 2008
Posts: 2,910
Total Cats: 51
From: Kingston, Ontario
Default

will having the hoses like that make it hard to bleed the clutch?
Old Sep 27, 2018 | 06:50 PM
  #56  
2slow's Avatar
Senior Member
 
Joined: Jul 2016
Posts: 557
Total Cats: 54
From: San Diego
Default

You know what I love about this? How clean the build looks. Only the functional things are in, everything else is out or minimized and cleaned up.
Old Sep 27, 2018 | 08:29 PM
  #57  
Blkbrd69's Avatar
Junior Member
 
Joined: Jul 2016
Posts: 434
Total Cats: 76
From: Orlando, FL
Default

Awesome job and great write up.

Love the wet layup carbon duct.

Originally Posted by shlammed
will having the hoses like that make it hard to bleed the clutch?
I was thinking the same thing? You would think a couple of 60*-90* fittings would be a cleaner install?
Old Sep 27, 2018 | 09:25 PM
  #58  
Leafy's Avatar
Elite Member
iTrader: (1)
 
Joined: Jun 2012
Posts: 9,491
Total Cats: 105
From: NH
Default

Originally Posted by shlammed
will having the hoses like that make it hard to bleed the clutch?
And its just more hose in the hot bell housing for heat to transfer into the fluid. I'm sure it doesnt matter, but it bothers me.
Old Sep 27, 2018 | 11:10 PM
  #59  
charliehayes22's Avatar
Thread Starter
Junior Member
 
Joined: Feb 2016
Posts: 120
Total Cats: 82
From: Walnut Creek, Ca
Default

Originally Posted by shlammed
will having the hoses like that make it hard to bleed the clutch?
The top line is actually the bleed line so it pushes the air out. No issues for bleeding, had a clutch within the first few pumps.

Originally Posted by Blkbrd69
Awesome job and great write up.

Love the wet layup carbon duct.

I was thinking the same thing? You would think a couple of 60*-90* fittings would be a cleaner install?
The space is a little tighter than it looks. Tried some other fittings, I didn’t like that it wasn’t a straight shot out of the holes for chafing the lines. The crimps for these lines were longer than I wanted.

Originally Posted by Leafy
And its just more hose in the hot bell housing for heat to transfer into the fluid. I'm sure it doesnt matter, but it bothers me.
Yea, not worried about that with good fluid. When you have a hydraulic release bearing sitting on the clutch and in the bell housing, the fluid will be warm regardless. If the fluid boils you just have a lazy clutch pedal. I won’t be using the pedal besides leaving the pits and getting back into neutral.
Old Sep 27, 2018 | 11:13 PM
  #60  
k24madness's Avatar
Senior Member
iTrader: (6)
 
Joined: Jun 2010
Posts: 1,421
Total Cats: 95
From: San Rafael, CA
Default

Charlie, Why do you gotta build stuff like this? You really ruin it for those of us with less talents and resources.


All times are GMT -4. The time now is 09:09 PM.