When you click on links to various merchants on this site and make a purchase, this can result in this site earning a commission. Affiliate programs and affiliations include, but are not limited to, the eBay Partner Network.
Great build, and amazing fabrication skills. I'm jealous.
Seeing those shots of the damaged pickup tube sent a shiver down my spine. I was so worried about doing that when I was drilling my oil pan, and took every extreme precaution I could think of to avoid it.
Great build, and amazing fabrication skills. I'm jealous.
Seeing those shots of the damaged pickup tube sent a shiver down my spine. I was so worried about doing that when I was drilling my oil pan, and took every extreme precaution I could think of to avoid it.
I can't take nearly half the credit for the fabrication as I have had some great help from friends on this project.
I've designed all the custom bits myself but DiMartino Fabrication has been great to fill in with his welding skills and we trade his work for me doing vinyl stuff on his drift car so there isn't a whole lot out of pocket for me in the end.
He also taught me a great deal so I can weld on my own in a pinch.
Without the ECU and IQ3 dash I may have not noticed the oil pressure was gone on first start up until the lifters started sounding funny. It could have been real bad and I'm thankful I went through with the install of all that.
Great looking car. I saw it at Grid Life. I was there is the loan Miata (grey) in Time Attack group.
For your overheating, I would suggest adding some ducting between the upper core support and your radiator (if you haven't already). With the radiator tilted back for the intercooler piping, a lot of air is by passing the radiator and going else where. You could use some of the cloroplast to make a duct to make sure you get more air through the radiator. The hood vents will drop the under hood temps, but its not going to help much with radiator air flow.
It has ducting over the radiator. I just recently sealed up the sides as well so there is very little area for air to escape and go around the radiator.
Temps were great at Rd 5. I think max was 215� or so. It also helped that Rd5 was only like 75� ambient.
The astute among you will notice in the picture above that the wiring is non-OEM, the throttle body looks weird and many other things are... simplified.
Well here starts my breakdown on the project I overtook this past winter.
My goals:
Remove Haltech Elite 750 and Plug and Play adapter.
De-loom wiring harness and remove OEM engine wiring.
Simplify chassis wiring as necessary (remove Auto-Trans, Air bag and other un-used wiring)
Re-wire engine with Haltech Elite Premium Harness to suit a new Haltech Elite 1500.
Convert to Toyota COP setup.
Convert to Drive-by-Wire to facilitate auto-throttle blip on-downshift.
Removing the Elite 750 and accompanying Plug and Play adapter was fairly simple.
I removed the dash and started cutting into the OEM harness. Before I knew it I had a situation that would cause a heart attack in most automotive enthusiasts:
The process I used was pretty straight forward. With the help of an OEM wiring diagram I would identify plugs/connectors that I no longer needed, I would then trace them all the way back to their origin and prune them from the harness.
And the end result was a chassis harness that was pruned down significantly. I even removed the OEM engine fuse box and moved the remaining fuses I needed into the cabin.
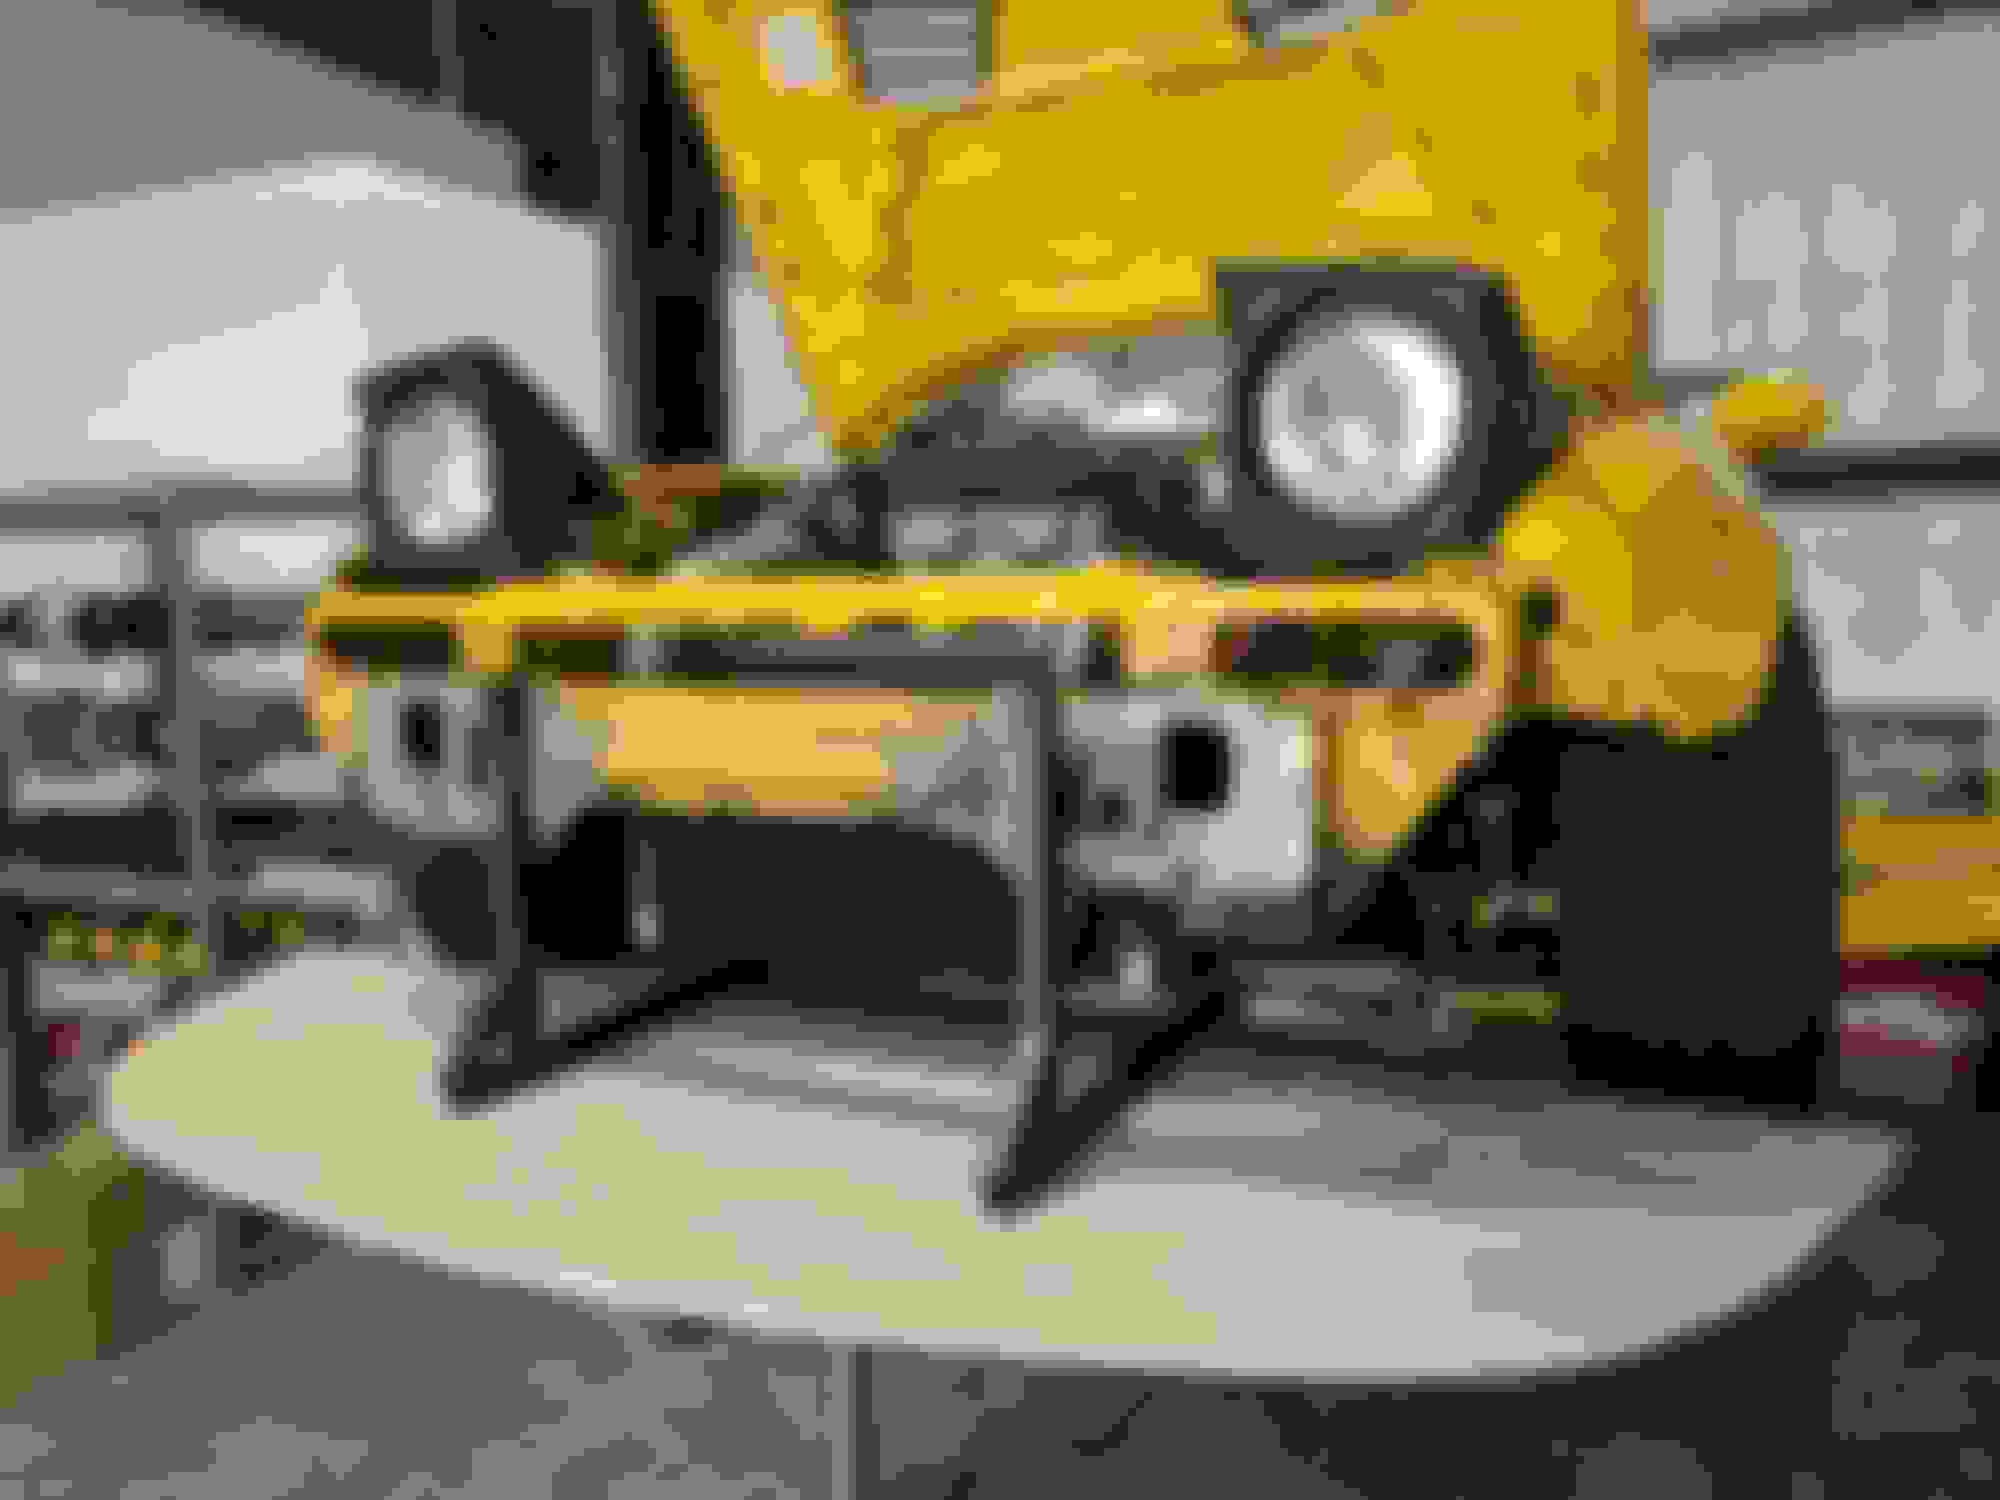
This is a good shot that shows you just how much was removed from the harness. That circular hanger/clip was completely full with OEM wiring before pruning.
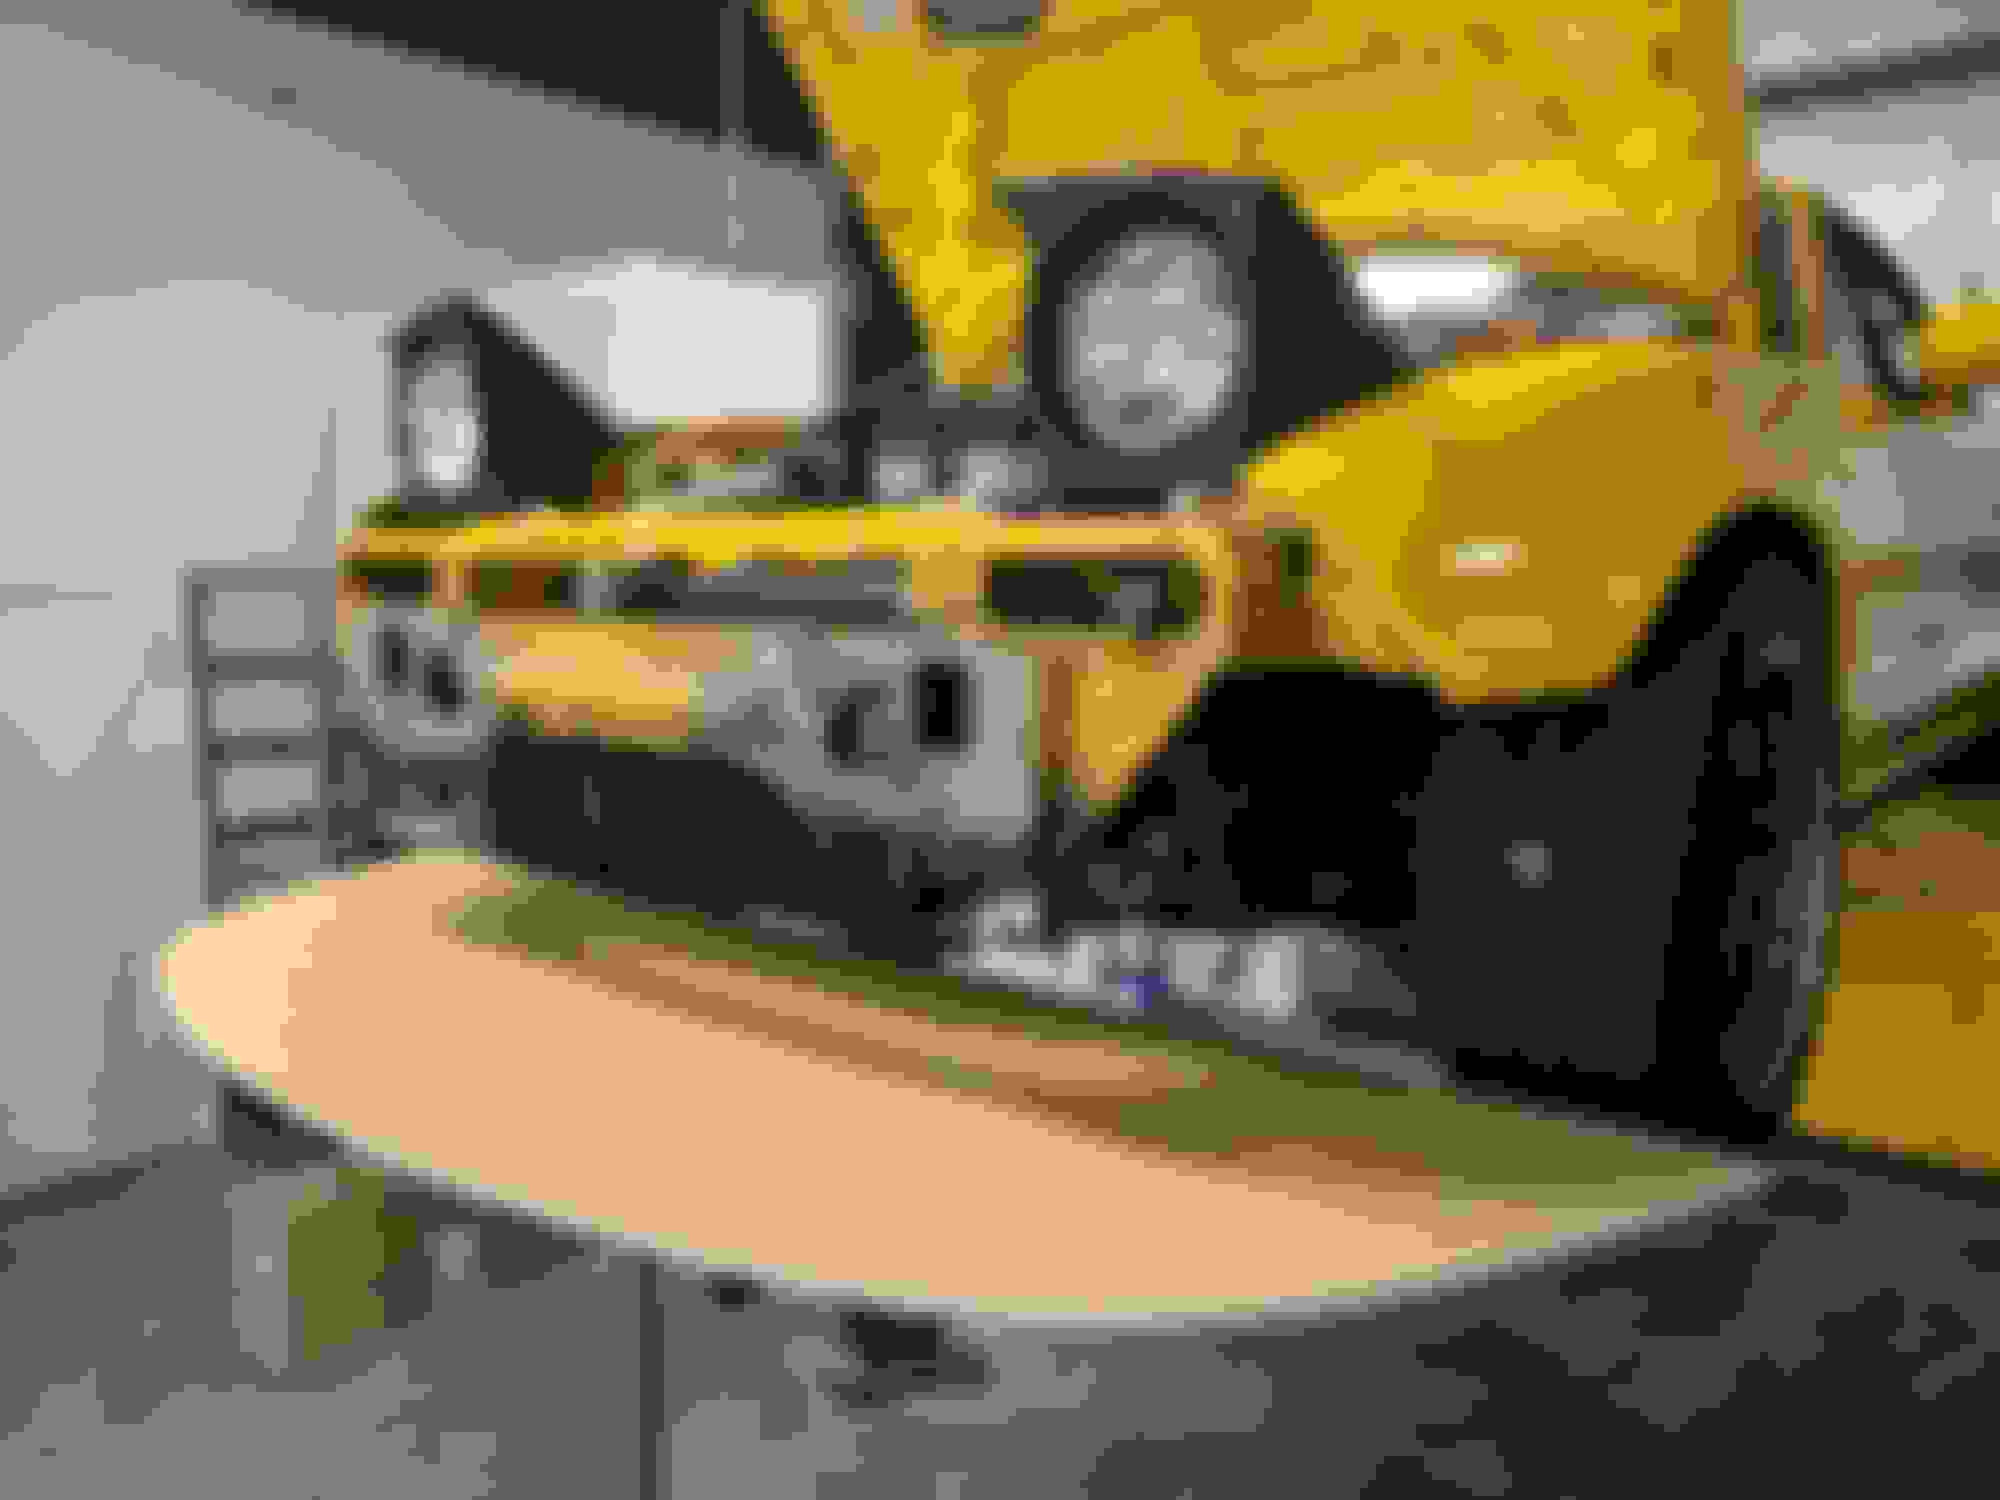
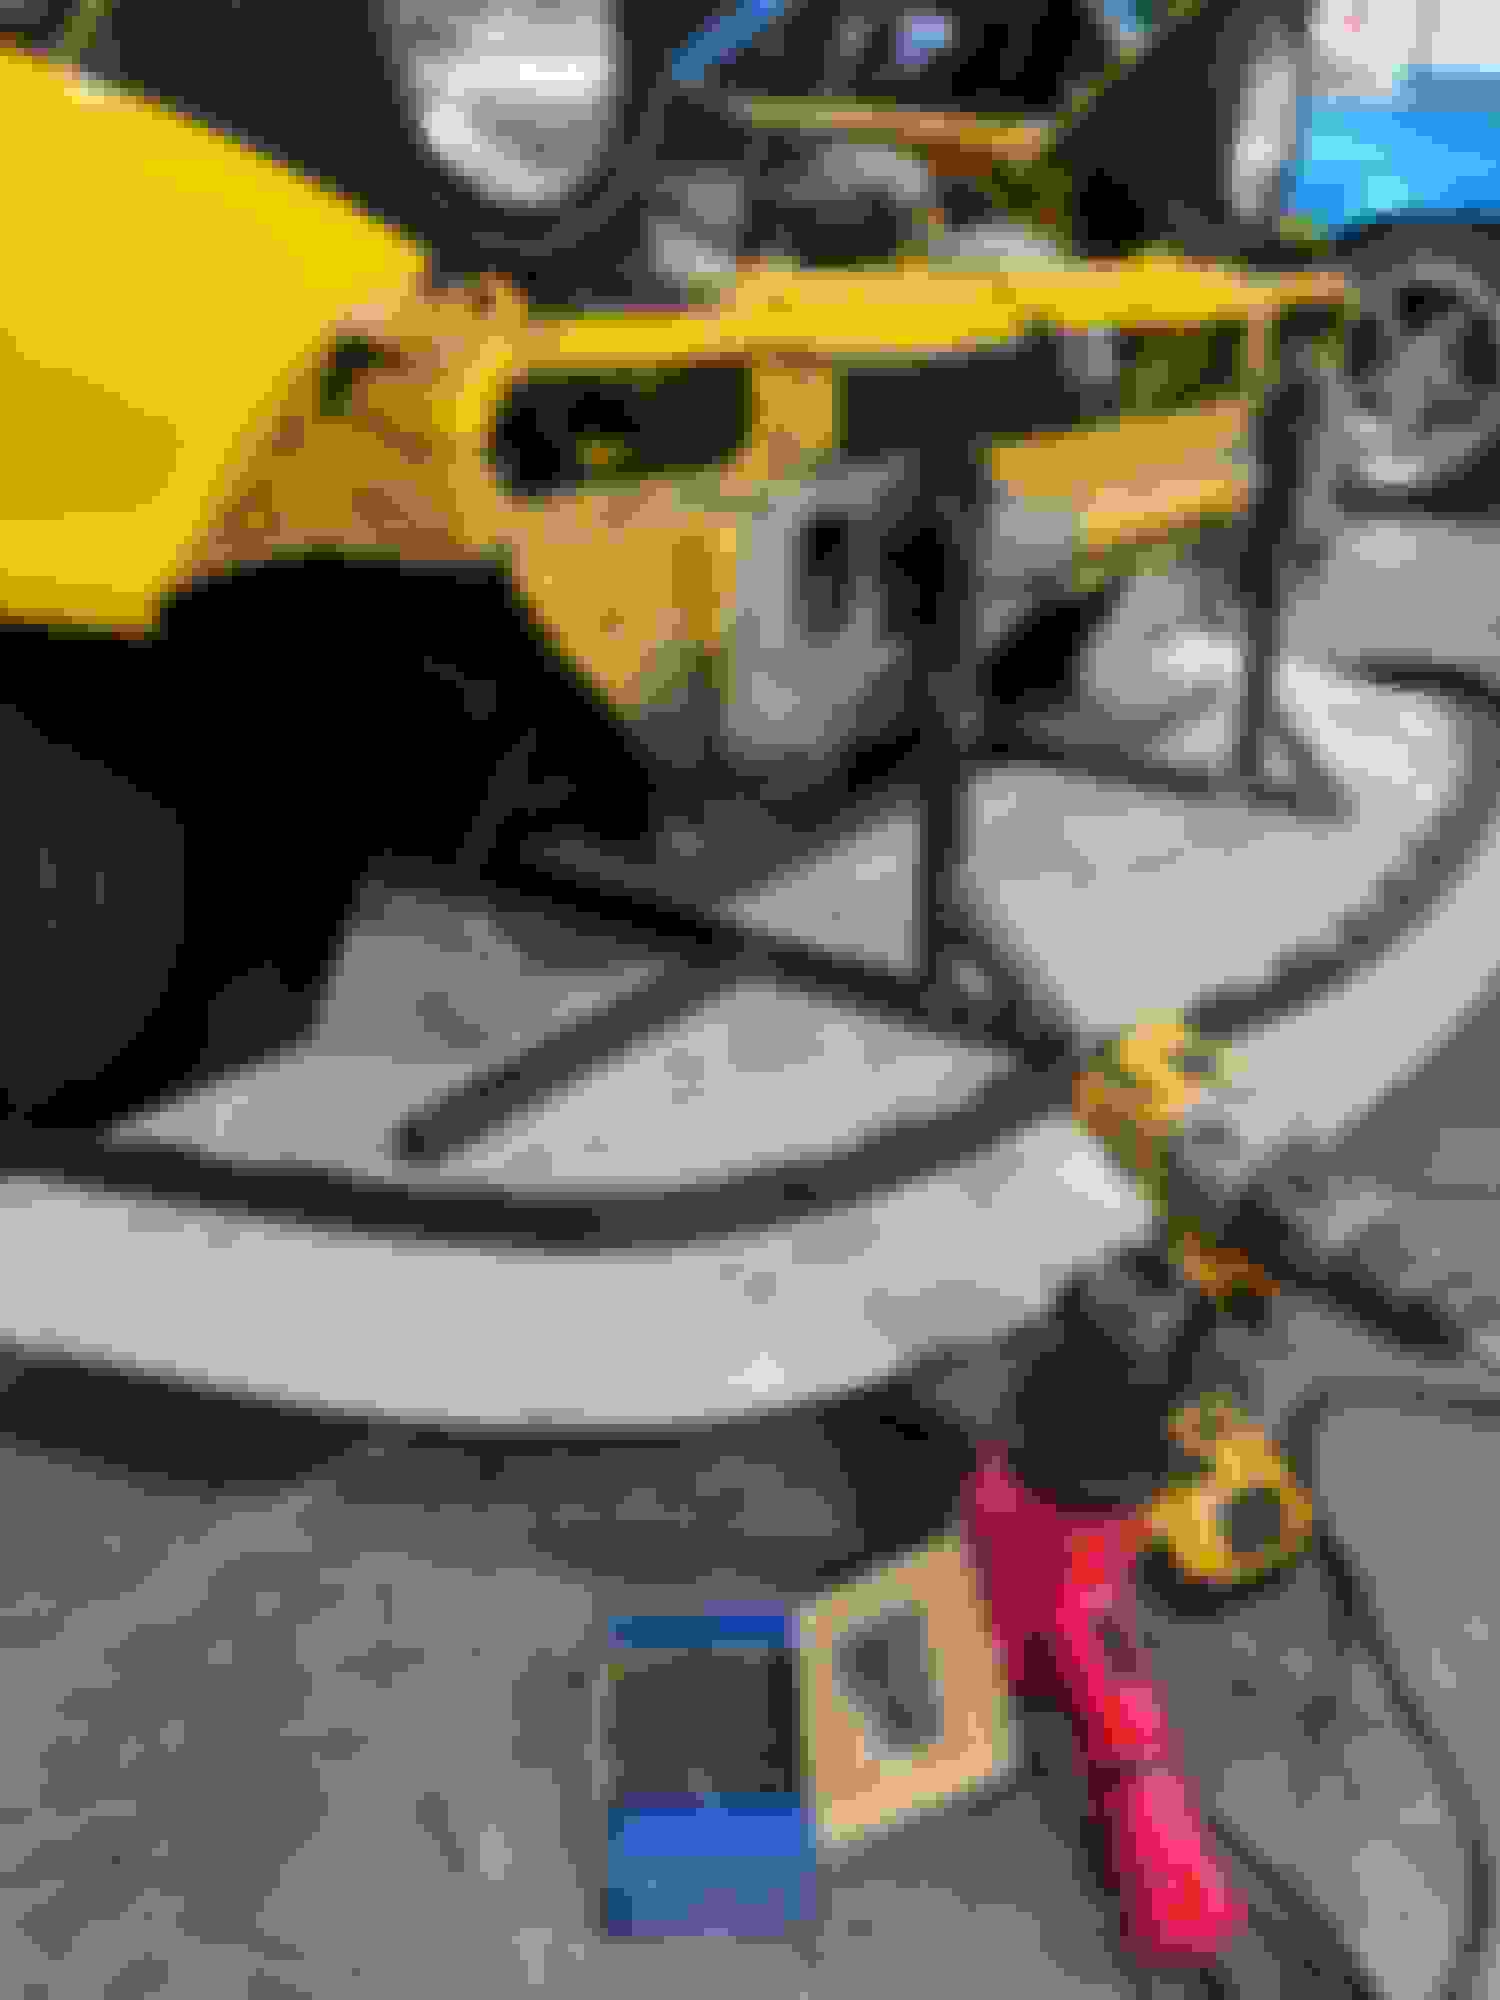
Here is a pic of the passenger side of the engine bay after pruning and removing the OEM fusebox. Clean.
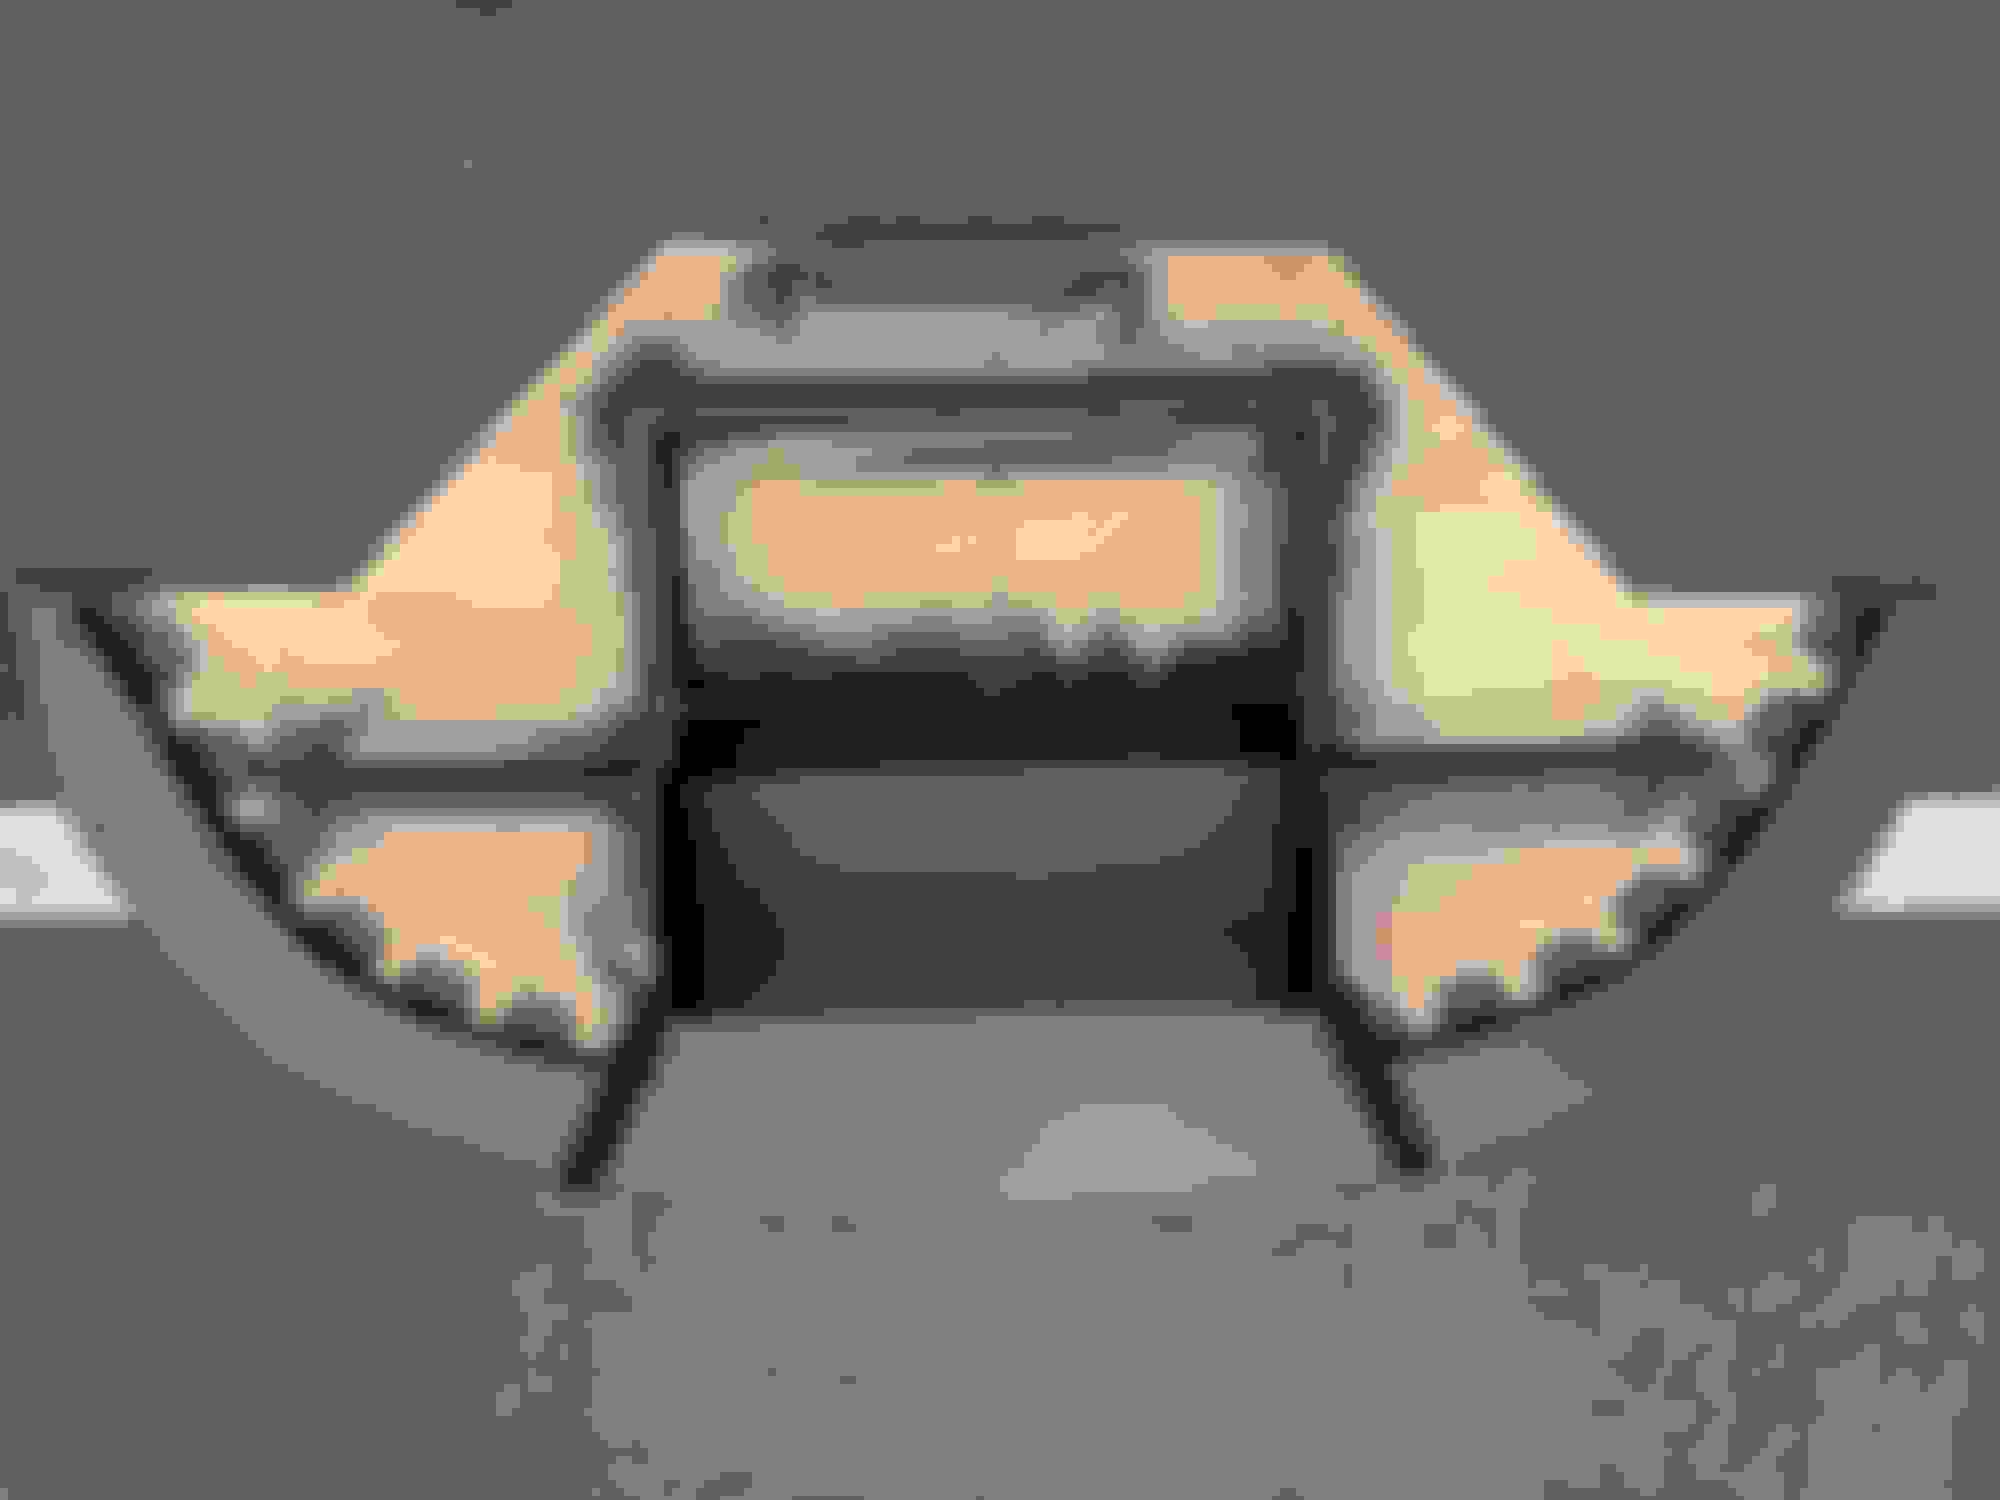
Here is a close-up of the new fuse panel I made to hold the few fuses from the OEM fuse box and move them inside.
The next job on the list was to replace all of the engine wiring that I had just removed with new wiring. The new ECU would be a Haltech Elite 1500 with DBW capability.
I didn't take any pictures of this process. What I did was take some measurements, test-fitted the harness a few times until I had all the lengths I wanted, then I built the majority of the harness off the car, on the bench.
Below is the finished interior harness. This includes the ECU, DBW pedal, brake, clutch, rolling anti-lag and VSS connections. The coiled bundle of wires with the mil-spec connector is the engine bay harness in raw form.
I've mounted everything to the glovebox and the ECU is accessible inside the glovebox.
And here is the new ECU interior harness installed along side the OEM chassis wiring. The Haltech fusebox holds the fuses and relays for the ECU, Ignition, Injection, Cooling Fan, Fuel Pump and Wideband Heater Circuit.
Installing the Toyota coils is pretty straight forward. I chose the Trackspeed coil mount but ended up having to replace the studs with something stronger and metric because I snapped one of the puny studs it came with.
Moving on to the DBW install. First I wanted to get the pedal situated. I used a Cadillac pedal and everything was pretty straight forward.
Pedal seems like it'll be a good fit.
A little cutting...
... to remove the factory pedal mount
A little welding...
...to add the new pedal bracket in place. (After test fitting this into the car I removed it and finalized the welds. Everything you see here is just tack welds.)
The next order of business was the DBW throttle body. I knew I wanted something of similar size to my current throttle body and I settled on an Audi/VW unit as it was roughly the same size (58mm) and I could purchase a mounting flange for it rather inexpensively.
Since I had to cut the OEM flange off the intake manifold I was going to have to do some welding to seal up the old coolant activated air valve passages. However, once I started down that rabbit hole **** got out of hand REALFAST. LOL
Started by attacking the air valve mounting boss with a step drill.
Decided the best way to patch everything was to cut a big rectangle hole for a simple piping patch.
Started hacking up the air valve passage and then I got carried away with the air grinder and a dual flute bit...
Started sanding off all the rough bits and welding/grinding off any of the coolant and vacuum ports I didn't need.
Half-assed polished the inside of the plenum. Here's a view from the new 1/8" NPT port on the back of the plenum...
DiMartino fab welded the patch in for me. (I can't take credit for these fat dabs)
Then blasted it with a coat of wrinkle grey.
Finished product in the engine bay was shown in previous post...
You're 4 hours from me, we need to get together (mostly for my own selfish reasons).
Anytime friend. I'm a busy guy but catch me somewhere and I'm game to have a chat.
Originally Posted by concealer404
Yeah seriously. Let's be friends! I think we have mutual friends in Tuner Tools, actually...
Brian is good people. One of the best new friends I've made over the last couple years. I convinced him to get another Miata. I'm disappointed he'll be moving further away.
Originally Posted by skylinecalvin
Do you have a part# or what chassis and year the throttle body and pedal came from?
Edit, I think the the TB#06A133O62D / 06A133O62Q / 028O75006 and the Pdeal#10379038
Also over the winter I completed a few small projects to make the car more competitive.
My Sparco Pro2000 from last year was horribly out-of-date (15 years old) so I either needed to brace it or replace it. I chose to replace it.
Murray motorsport shipped this Sparco Grid II across the Atlantic for less than I could ship one domestically and the price was insanely cheap.
With a small amount of trimming on the left shoulder bolster it fit right in my lowered seat pan.
I made some friends at NRG last year and ended up with NRG's new FIA spec harnesses as well so everything would be in-date and good for 5 years.
Something I never mentioned before was that, practically since I've owned the car, it has had ABS door cards installed instead of the OEM stuff.
They cleaned everything up very nice when I deleted the armrest and speakers/stereo. Until now I had not really finished that project so I decided to do that this spring also.
Here's the finished product:
Here is a list of the parts I ordered from McMaster-Carr to complete this project.
1 - 3510T83 - Nylon Webbing, High-Strength, 1-1/2" Wide x 5 Feet Long, Yellow
2 - 13155A24 - Dull Plastic Recessed Pull Handle with Unthreaded Through Holes, 1.75" Diameter Cutout
3 - 92715A620 - Drilling Screws for Joining Fabric to Metal, Black Zinc-Plated Steel, Number 8 Size, 3/4" Long, Packs of 25
4 - 90183A311 - Washer for Blind Rivets, 18-8 Stainless Steel, for 1/8" Rivet Diameter, 0.134" ID, 0.375" OD, Packs of 100
5 - 97447A220 - Aluminum Blind Rivets with Aluminum Mandrel, Flush-Mount, 1/8" Diameter, for 0.1880"-0.25" Material Thickness, Packs of 250
My door panels are 1/8" ABS and were made by a gentleman in Akron? named Jim Marazita. Jim@MGIsigns.com I found him via some other Miata forum thanks to random google searches.
I specified with him that I was deleting the speakers and door handle and only needed the interior door latch and window crank holes and he sent me some door cards made to my specification. Top notch work, everything fit great.
I scored some AWR Racing motor mounts for a 1.6 from a friend and installed those. I must say, since this is quickly becoming a race car, I am very happy with these mounts. With that said, the NVH increase is *noticeable* and I would not put them on a daily'd street car.
The same friend that sold me the mounts also sold me a wrecked 1996 M-Edition as a parts car. I only wanted it for the Torsena nd ended up recouping almost all of my investment parting out everything else from the car.
I swapped the torsen into my car at work on the lift and then did a quick clutch dump to verify the diff was working...
I made a friend at Powerstop and ended up with a whole 1.8L front end brake setup using their "Track Day" compound pads which I have been very happy with so far.
I sourced 1.8L rear brake setup from the parts car so now the car is fully outfitted with 1.8L brakes.
Added ARP extended studs because why not? Also added ELBJ hiding behind the rotors now.
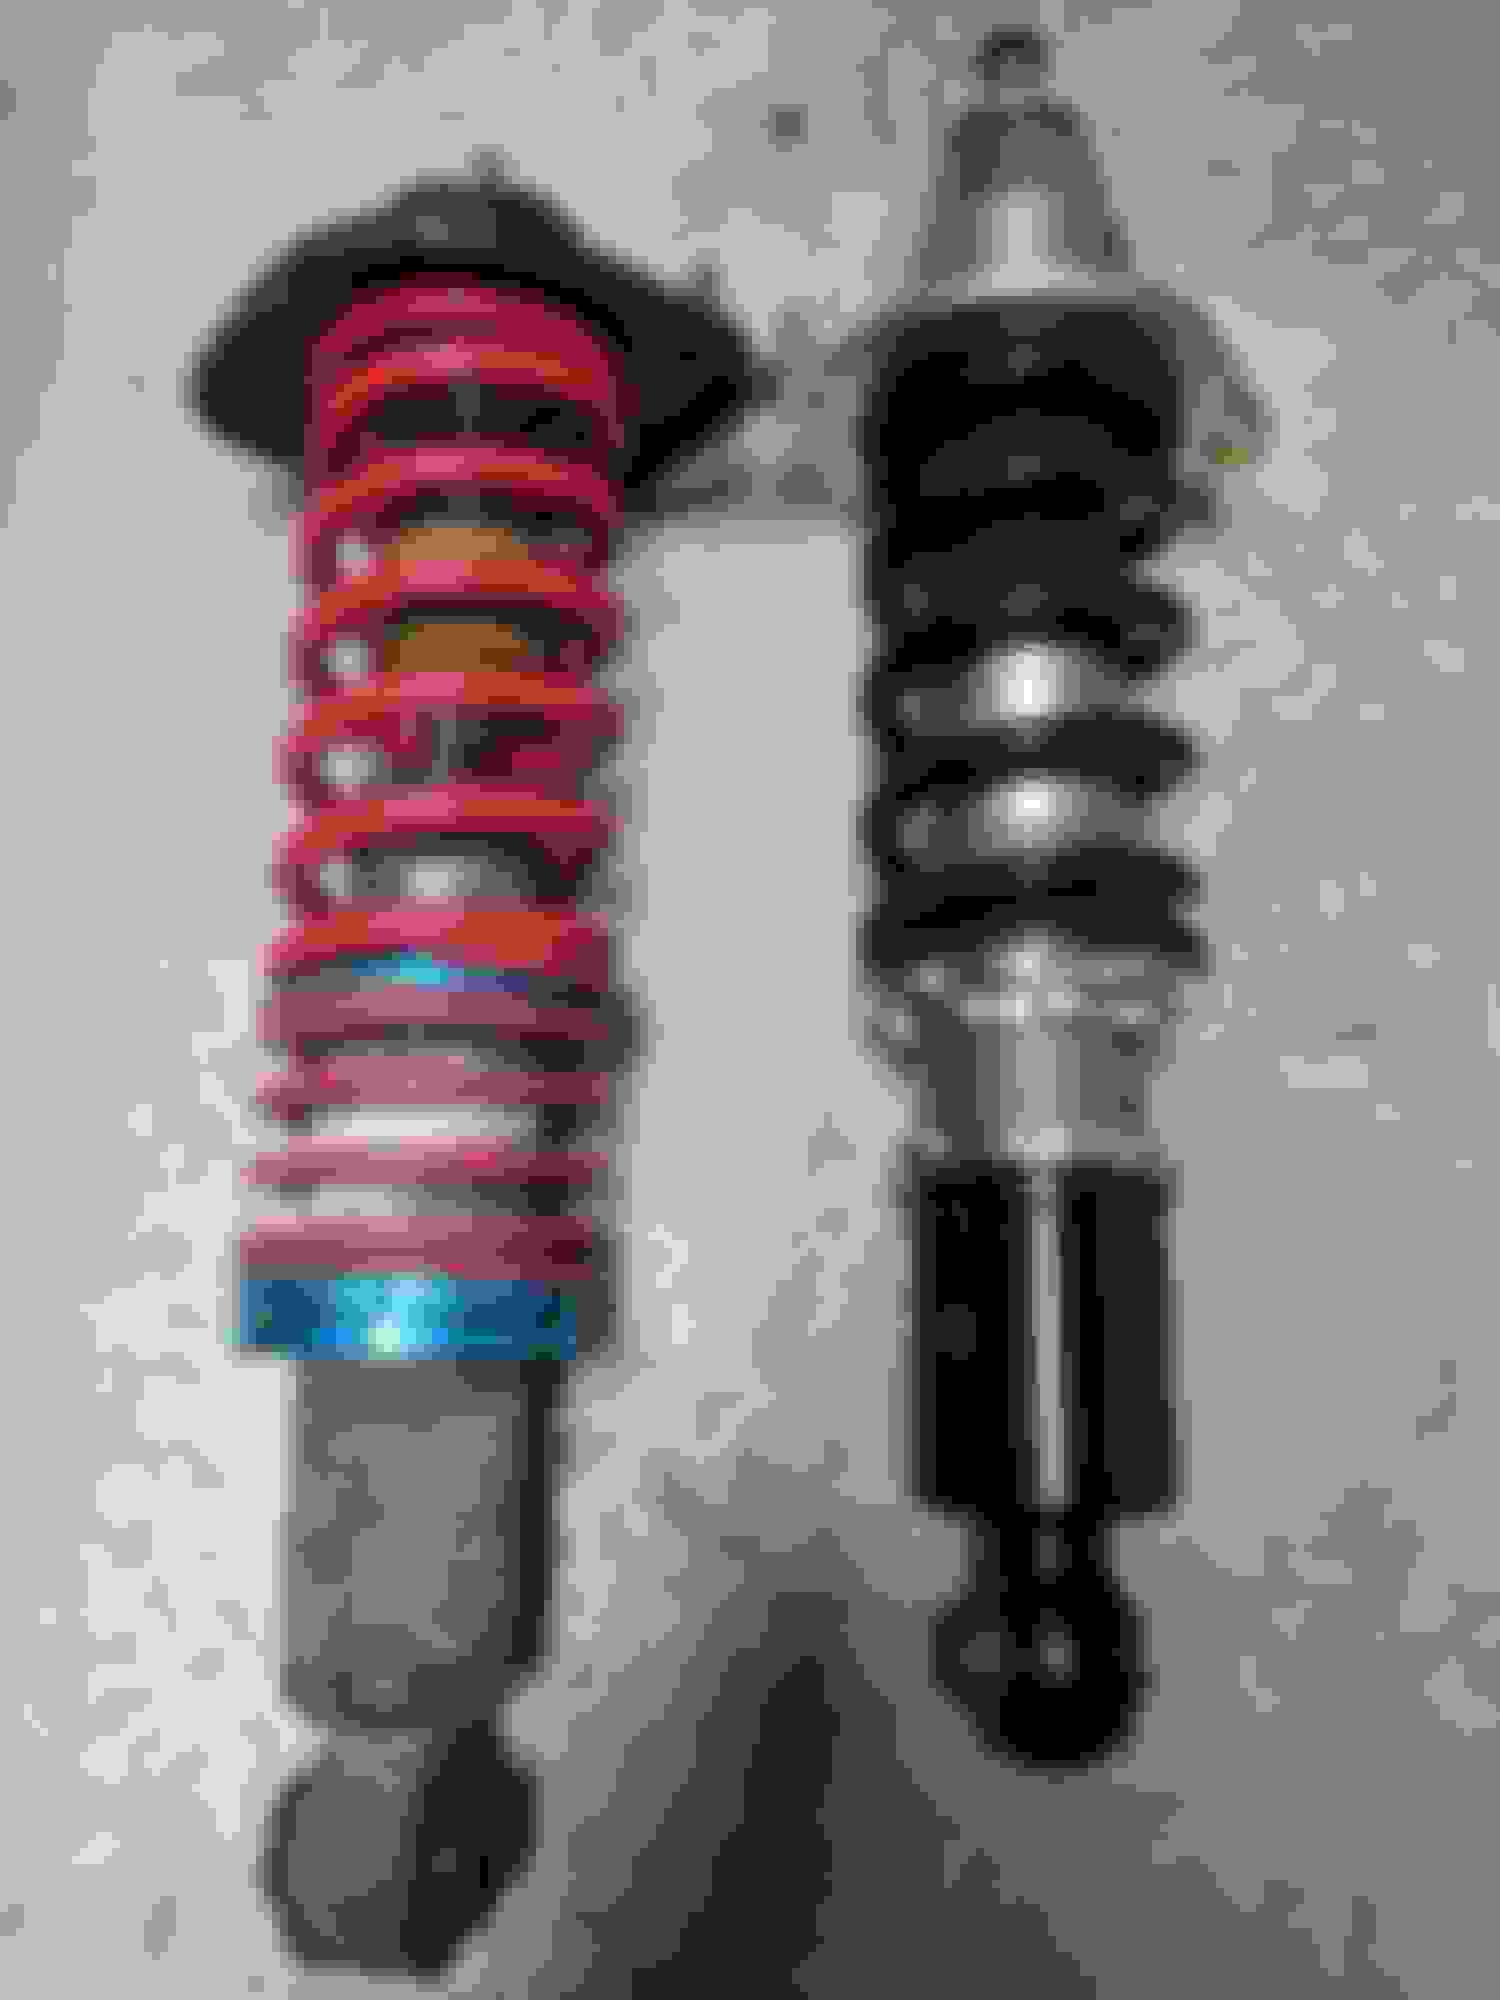
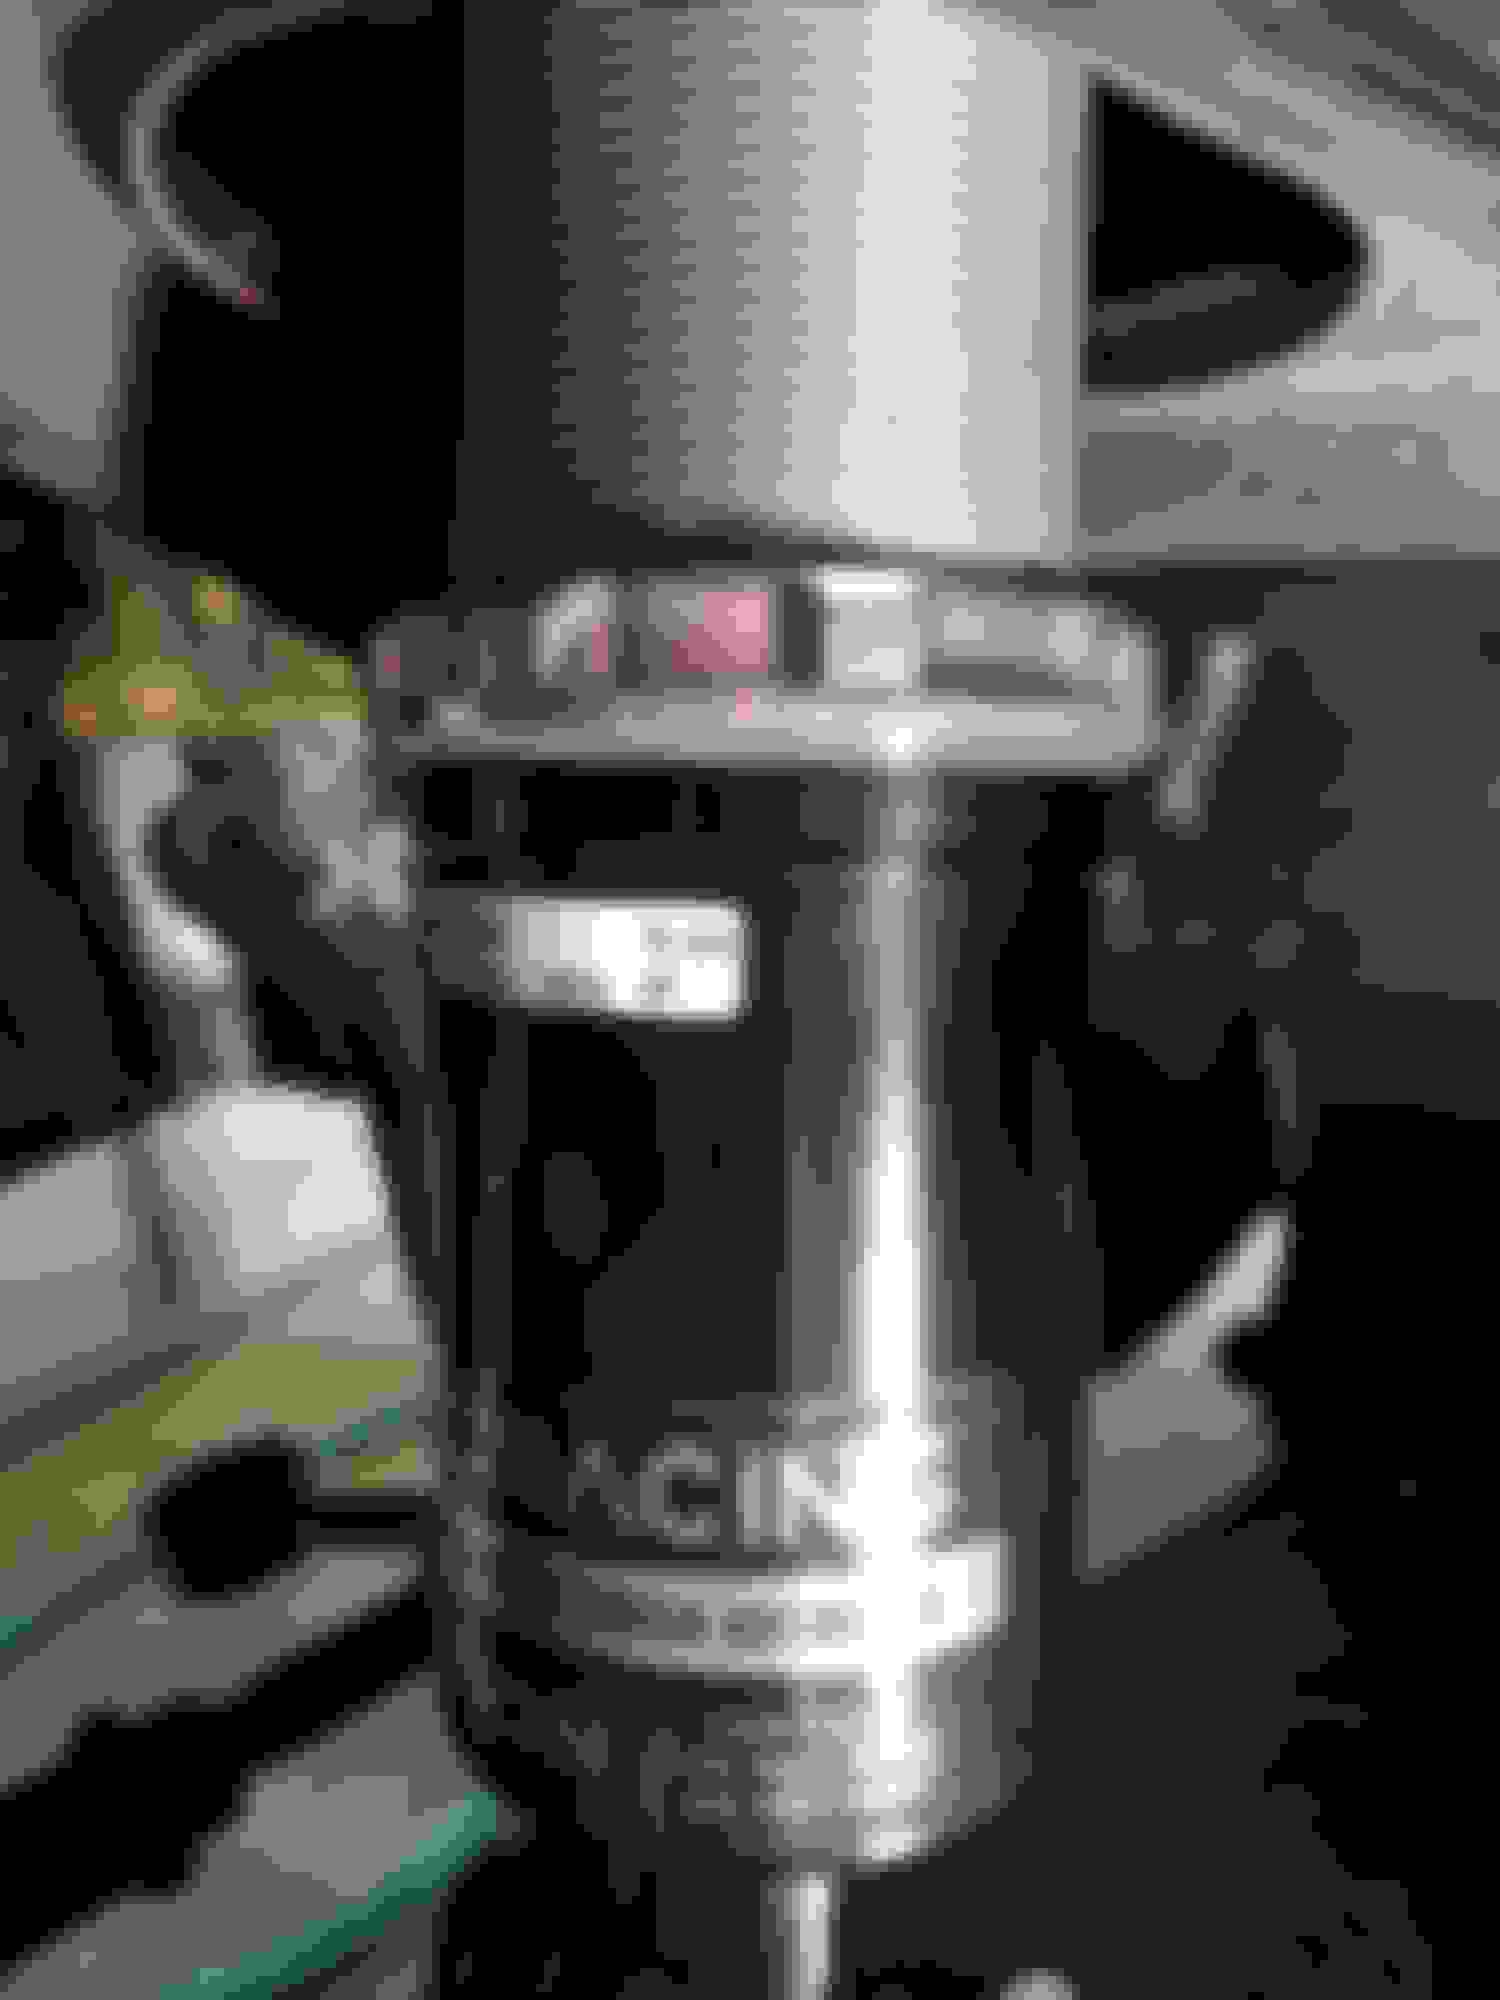
Made another friend at BC Racing NA and ended up swapping the tired, old FM V-Maxx setup out for a fresh set of DS Series (Digressive) Coilovers from BC Racing with prototype extended top hats courtesy of some measurements I provided.
These new top hats should be going on their production kits moving forward now that we've verified fitment. We still might play with damper length. At my ride height I do have some room to add to it.
And finally pulled the trigger on a Treasure Coast Miata lightweight hardtop which is going to be wrapped in gloss black vinyl.
Shoutout to Paco Moto :P
Sold my 2.5" Exhaust and welded up a full custom 3" exhaust with V-Bands and a Vibrant Race Muffler:
Also, I cut a hole in the trunk floor and patched it with a panel. Because my OCD dictates the rear end must be symmetrical without the bumper on.
I don't know how things are getting out of hand so fast... This thing was a streetable car just months ago. LOL
Next up: AERO
I started out with a Nine Lives Racing 64" DIY element and a rough idea about how I wanted to do this.
The mounts had to be swan neck because I like to overcomplicate things.
I wasn't a fan of the extrusion slots for the screws to hold the endplates on so I fabbed some end caps and put rivnuts in them.
I bought a 4' x 1' slab of 3/8" aluminum plate and used a bandsaw to cut the rough shape. Then, using a handheld router, I trued up the straight edges. Then round the leading edge and chamfered the trailing edge.
That's right, just a standard household wood router and wood bits took on the aluminum like a champ. The key was shallow, quick passes and TONS of lube. I actually used paste wax because it made less of a mess.
So here we are jigging everything up to the car to make sure I like the positioning.
Here I've made a wood jig to hold the two uprights perfectly parallel to each other.
In the void between the upright and the rain rail I shoved in a bunch of epoxy putty and let it harden. This was how I created my spacers to keep the uprights... upright.
Here we have DiMartino Fab doing his thing adding the mounts to the wing. Special thanks goes out to Paco Motorsports for cutting the mounts and endplates for me based on my CAD files.
Then I just had to trim the trunk to fit the uprights and I was golden.
My files are my favorite tools. Rough cut and then file to fit is my M.O. and it's why this **** takes forever. LOL
Next step: Make template using cardboard, trace cardboard cutout onto scrap mdf, rout and sand to perfection.
Take a picture to visualize completed product for motivation.
Take MDF template and trace onto 1/2" birch plywood. Rough cut and rout/sand to finish. Hoist splitter into position for more motivation.
Buy 12ft of square tube and cut it to pieces in a fashion such as this:
Weld all the tubing together, weld tabs on the bumper bar and mount the splitter to the frame. Test fit and mark where garden edging should go. Screw garden edging to splitter and cut off exposed screw length on bottom of splitter.
Finished splitter and frame:
Add paint to splitter and dibond to frame to act as ducting:
I wish I could show you some of the crazy stuff we make at work using the file to fit method. I do optics stuff and for prototyping, regularly had to make things to 0.05mm tolerances using a hand jig saw, files, and a $100 drill press used like a turret lathe....
Dude wtf, this is amazing. How did you mount the ABS to the garden edging and also to the miata bumper?
The HDPE (plastic) air dam is not attached to the splitter's garden edging.
The HDPE just sits against the garden edging and that keeps the air from pushing the HDPE back.
The HDPE sheet is mounted to the bumper with 3/16 wide area rivets and backing washers.
The NLR "Schwan" kit was JUST released. I've had the wing done for a month now. I sent Johnny the first pic of the swan mount and he told me about the "Schwan" kit then but I had already bought the 3/8" plate. Oh well.
A couple pictures for posterity. It's been fun but it's time to go 1.8L.
Needing to step down to a Naturally Aspirated engine for classing reasons and the VVT makes the most sense.
My entire 1.6L turbo setup and Engine are going up for sale. PM if interested.


 0
0