When you click on links to various merchants on this site and make a purchase, this can result in this site earning a commission. Affiliate programs and affiliations include, but are not limited to, the eBay Partner Network.
**** I am so doing this....I figured.. there's no better time for me!
Here are my plans.
Take the 94 Block, Tear off the head and hope i can find a 99+ to throw on. If not i will most likely not touch the head until i can do so..
Bring the block to a local machine shop after i have pistons and rods / bearings (Sometime next week)
Manley Rods (Purchased $356.38)
Supertech Pistons 8:6:1 83.5mm (Purchased $469.99) Fab 9
Boundry Engineering BILLET OIL PUMP
ARP Main studs (Purchased $106 FM)
ARP head studs (Purchased $136 FM)
ACL Race Rod Bearings (Purchased $49.95 FM)
ACL Race Main Bearings (Purchased $79.95 FM)
ATI DAMPER PULLEY KIT (1996-05) (Purchased $575 FM)
Already Have
Flow Force Injectors
FM LVL 1
MS3X
MKTurbo
Goal is 350HP
I have a spare tranny 6spd when if i can source one
Will Update this when i can with my progress, I hope to have this completed before October.
I bought this black 94 Miata with a few goodies for my car that i wanted... (Spare engine, AC(bad condenser), rollbar, headrests speakers, power everything, horrible attempt at converting tan interior to black etc.)
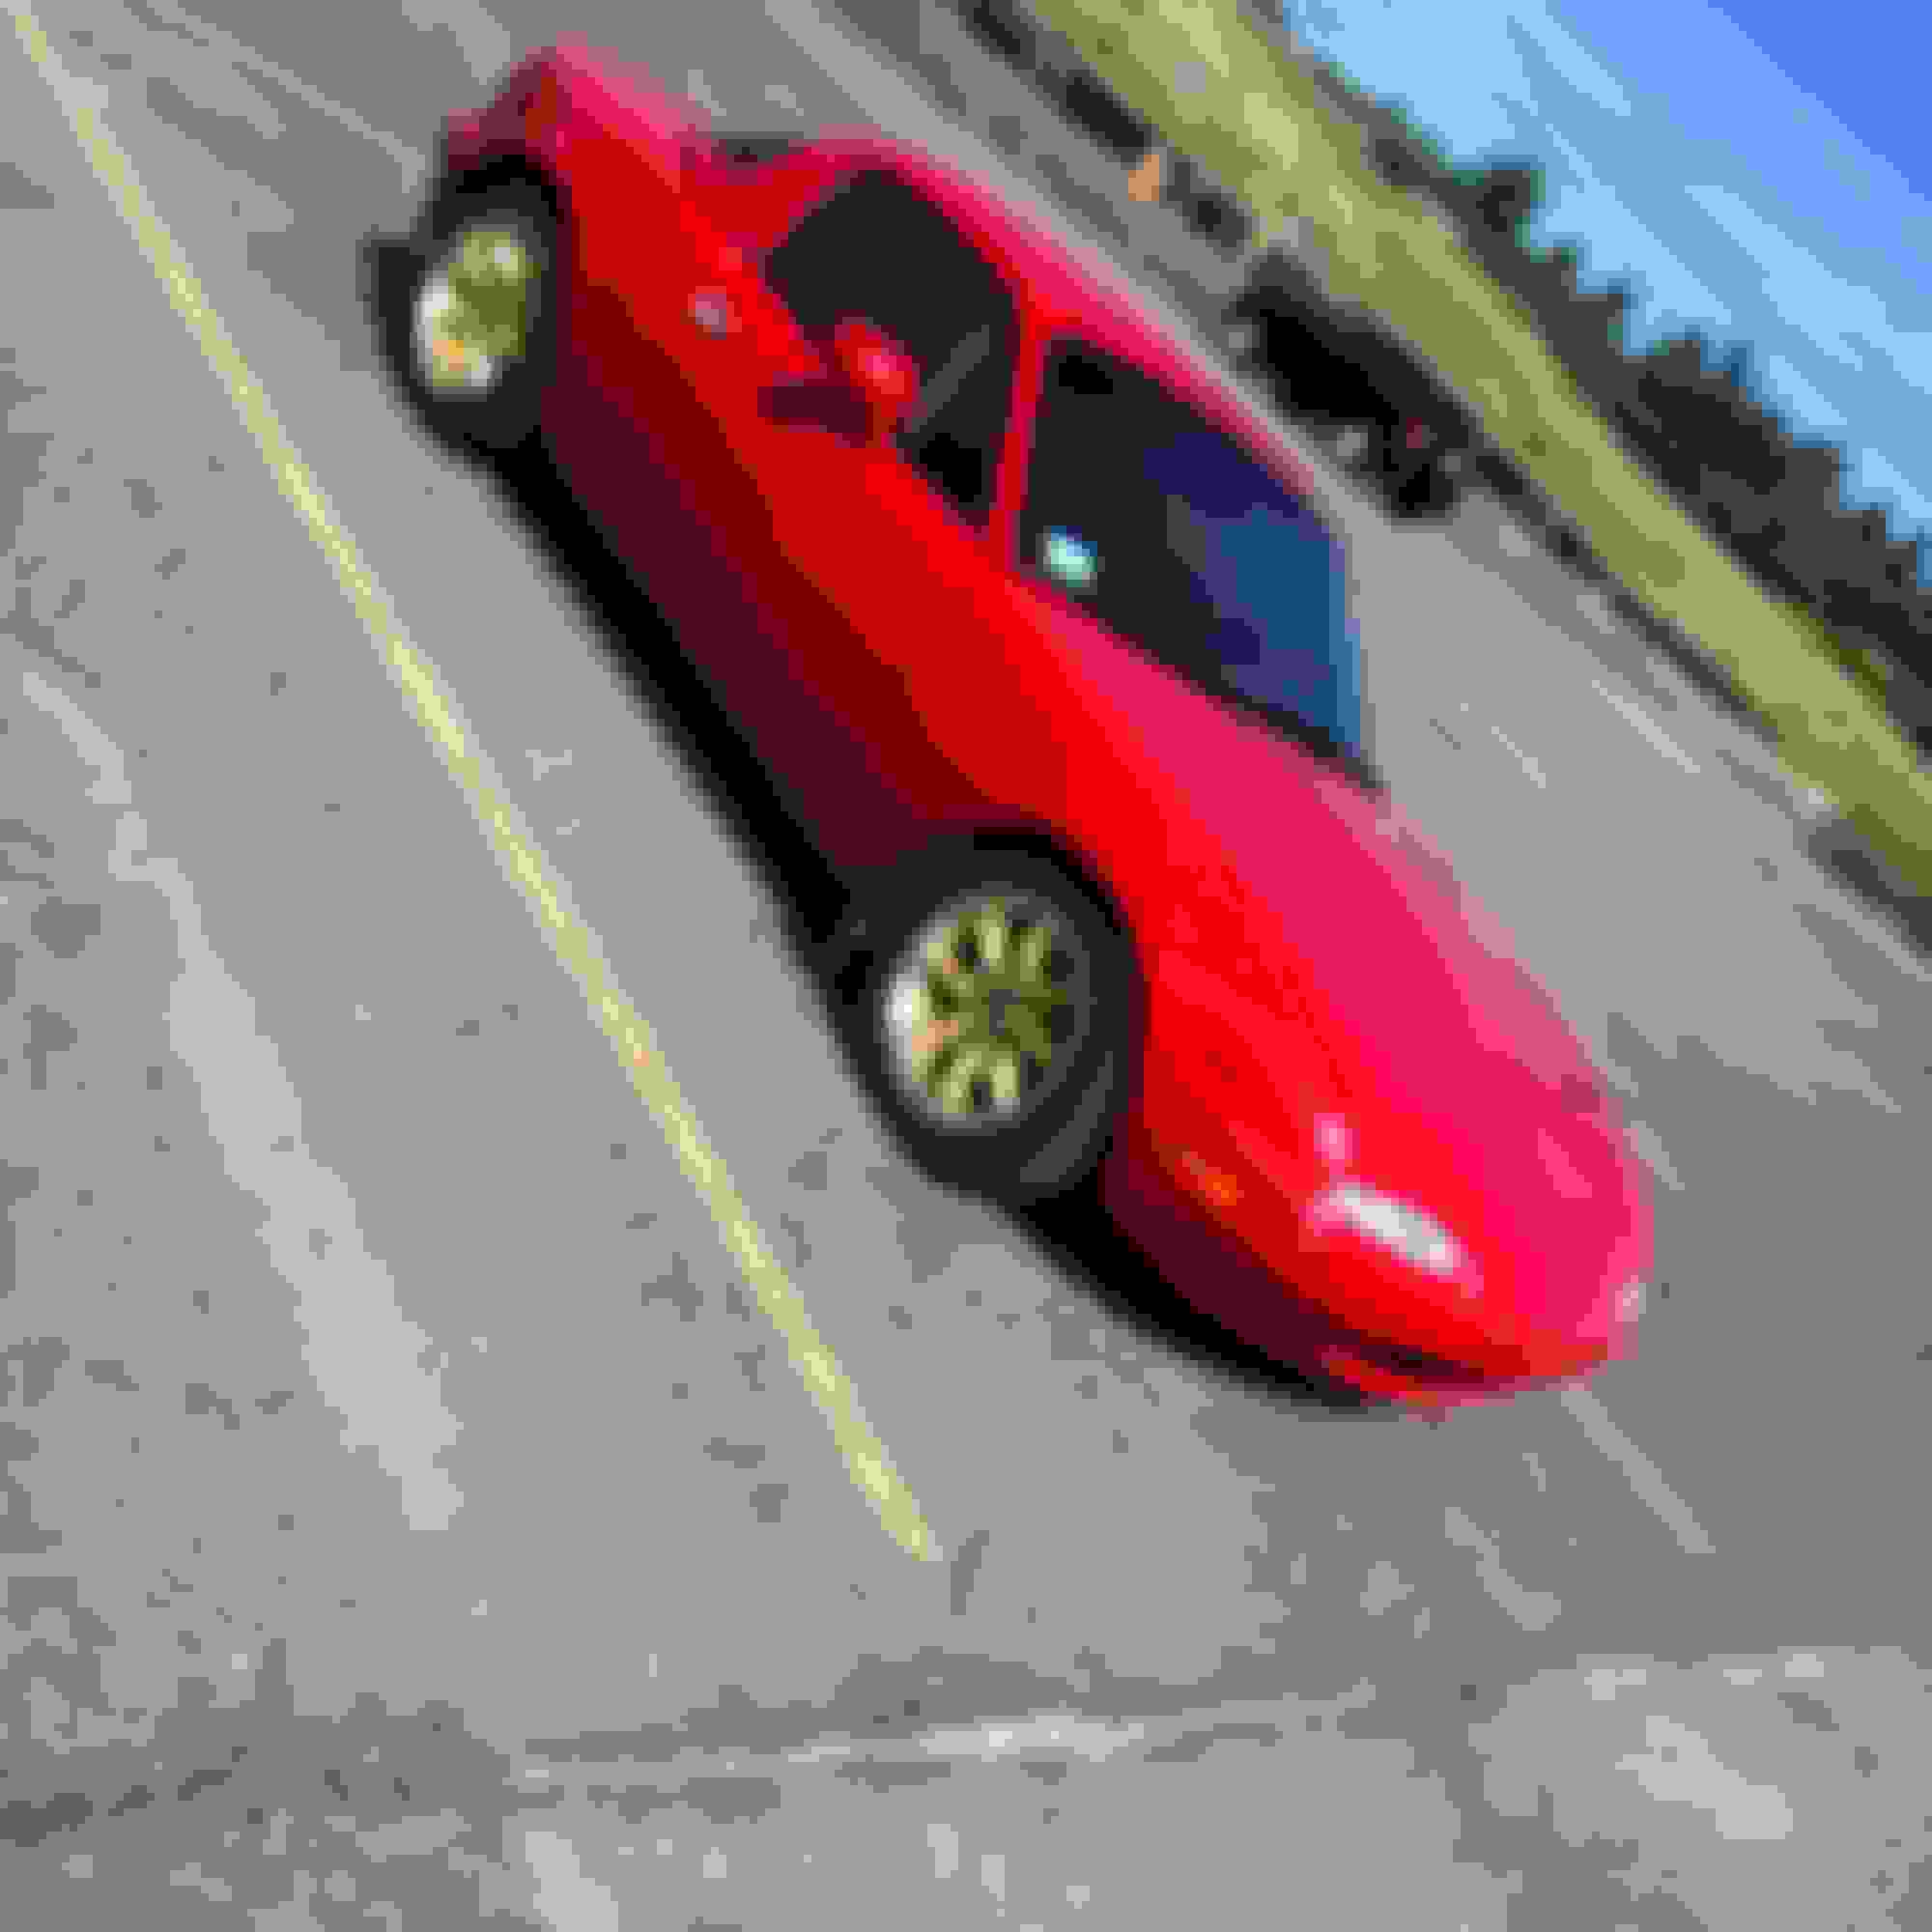
My red Miata (96) is base with only power steering... So i'm looking to change that soon.. My goal is to have a reliable daily street car that i can take to the track on weekends..
Car will be converted to black using whatever i can from the 94.
So here's my progress so far....
After some mishaps with the small turbo...
I went bigger and realized how much i hate it..
How she sits at the moment... Far from perfect.. I've had a pair of Advanti Racing Storm S1 15x9 Grey sitting just waiting for the perfect time.... It will be soon...
Fast Forward a few months... Started taking apart the black car
Came with v maxx classic coilovers, still in great condition which i will be posting up since i have no need.
The sway bars though (Racing Beat, I'll be keeping those after i replace the bad bushings
Finally got my crane! 2ton from HF (didnt think i'd ever make it this far..)
After a long weekend.. Took the whole front end in prep to switching my car from red to black.. The fenders are actually fiberglass which is nice, however they came with a shitty paintjob.
Finally.. engine and transmission removed...
Will be doing a tear down of the block this weekend....
Will Update this when i can with my progress, I hope to have this completed before October.
Last edited by Colipto; Aug 26, 2016 at 12:35 PM.
Reason: crossed out a few purchased items
Our engine build plans are looking very similar, you're just a couple of months ahead of me. I'll be watching this.
Was the bigger turbo not as you liked?
I personally hate the bigger turbo just because of the slower spool, it feels like im a snail until 4kish. It clearly has more top end though so this would actually be better for my built engine goals. I will most likely purchase another big turbo to see what power it can put out once i have it running good on this smaller turbo that came with MKTurbo Kit.
For daily driving and the way i drive - Small turbo is the way for me - the 3k rpm spool is too fun
Yep, the small one has died twice on me.. and the bigger one once. I have no idea what's causing it, but that's why i went all out on this build.
I will be receiving my assembled shortblock tomorrow with the head that has been confirmed good by the machine shop. With that out of the way I can begin pulling my engine in my current car to see what the hell happened to the 3 turbos.. besides a cracked mani (thanks for the quick replacement Lars)
My room is becoming car part city - More pics to follow tomorrow as i go through things.
Lots of stuff in pic.. starting from top left
Timing Belt Kit
Spark Plugs
New Belts PS/AC WP/ALT
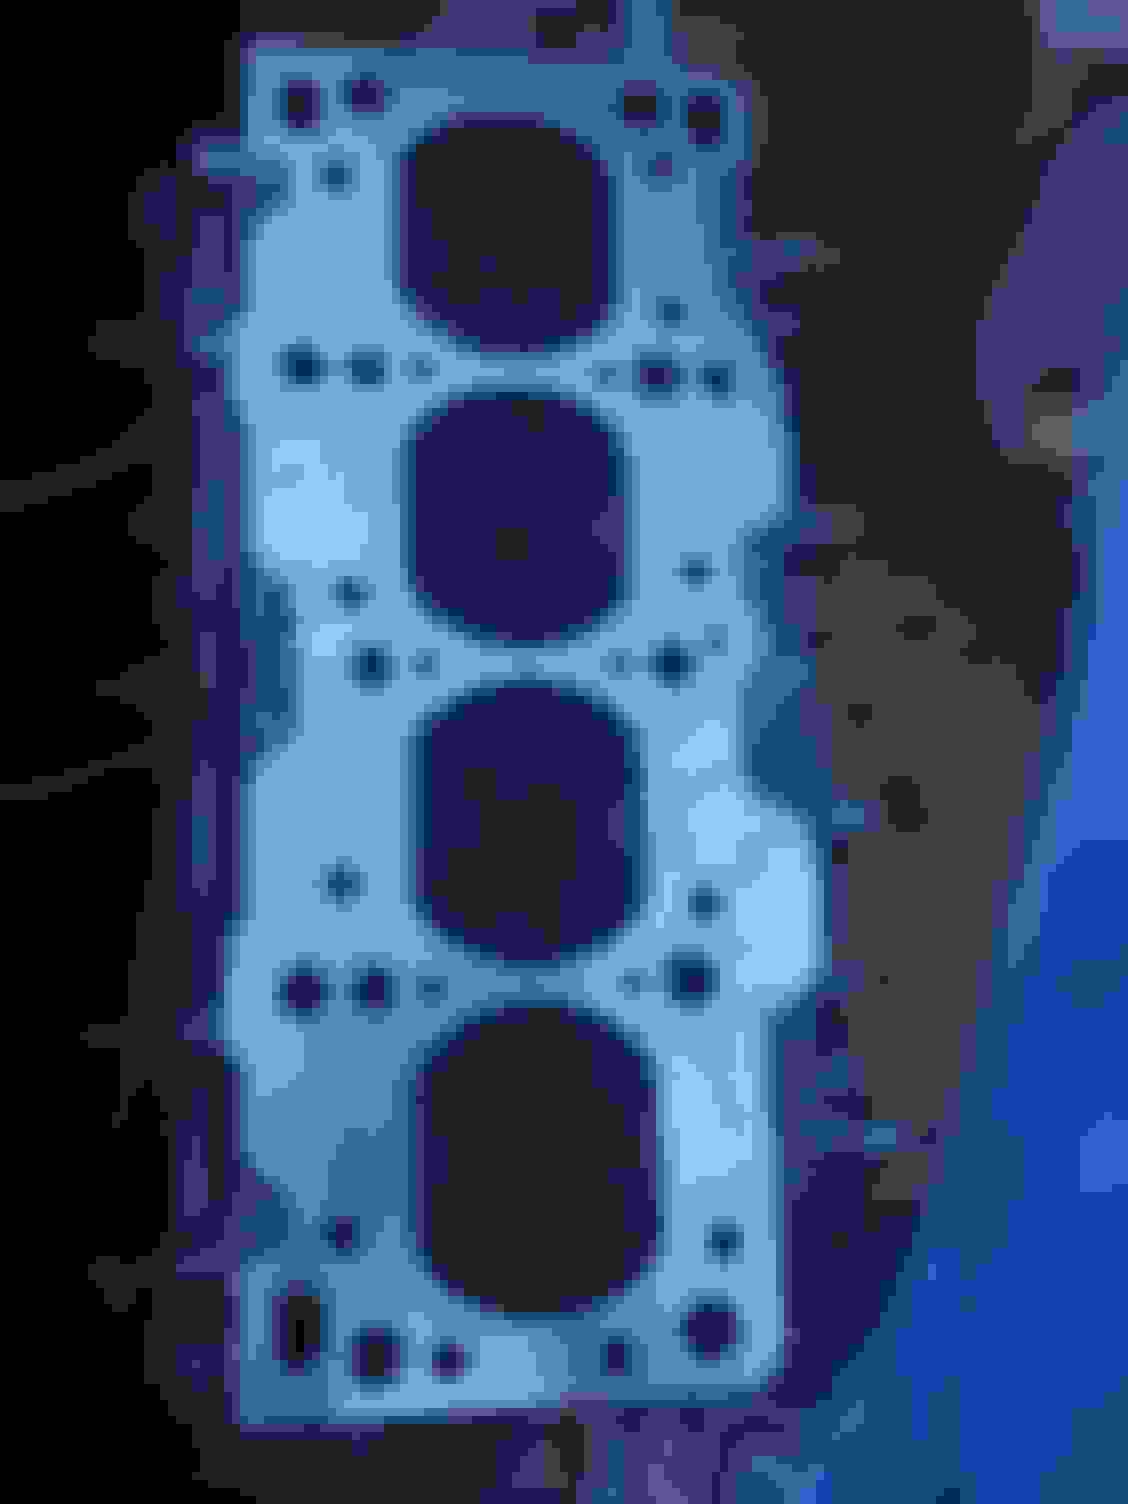
Evergreen gasket set (I'm rolling the ball on this, looks good.)
Seal Puller
ARP head Studs
MKturbo T3 Manifold
Gates Water Pump
Clutch Alignment tool
pcv valve turbo
pcv grommet
Rear Main Seal
Clutch pilot bearing
Oil pan gasket set
Timing Belt tensioner
Coolant Reroute
1.6 Oil sender (the Old 1.8 from the black was super rusty and tore apart during engine tear down.
Boundary Engineering Billet Oil Pump
ATI Super Damper 96-05
Front, Rear Sway bar bushings
Differential Bushings /w replacement brackets to add to the Torsen I pulled off the Black car
Turbo has been ported again, no pics of that but i Had some time today to mess around with the filthy valve cover, got some decent progress before the drill died.
I quit my job.. to work on my car... Its time to get this done and I have about 2 weeks until my new gig starts. I want to have a clean engine compartment instead of a gunkey mess. by the end of this
Tried starting her up and had to run to get a new battery from Advanced auto, Luckily i had a warranty and got another one quickly to turn the car around and put her on jacks.
I wasted no time and started labeling all the connections while my friend started tearing down the intercooler piping (Thanks EG)
Got the mid pipe / dp removed in prep for removing the engine, living in new england sucks.... I'm thinking about painting these black with high temp paint
ignore the hole in my sneakers, due to the amount of money invested in this build i am too broke to buy new shoes.
Too low problems... this was scraped down pretty hard.. i will most likely sand it down and paint it to protect from the rough winters.. this being my daily and all
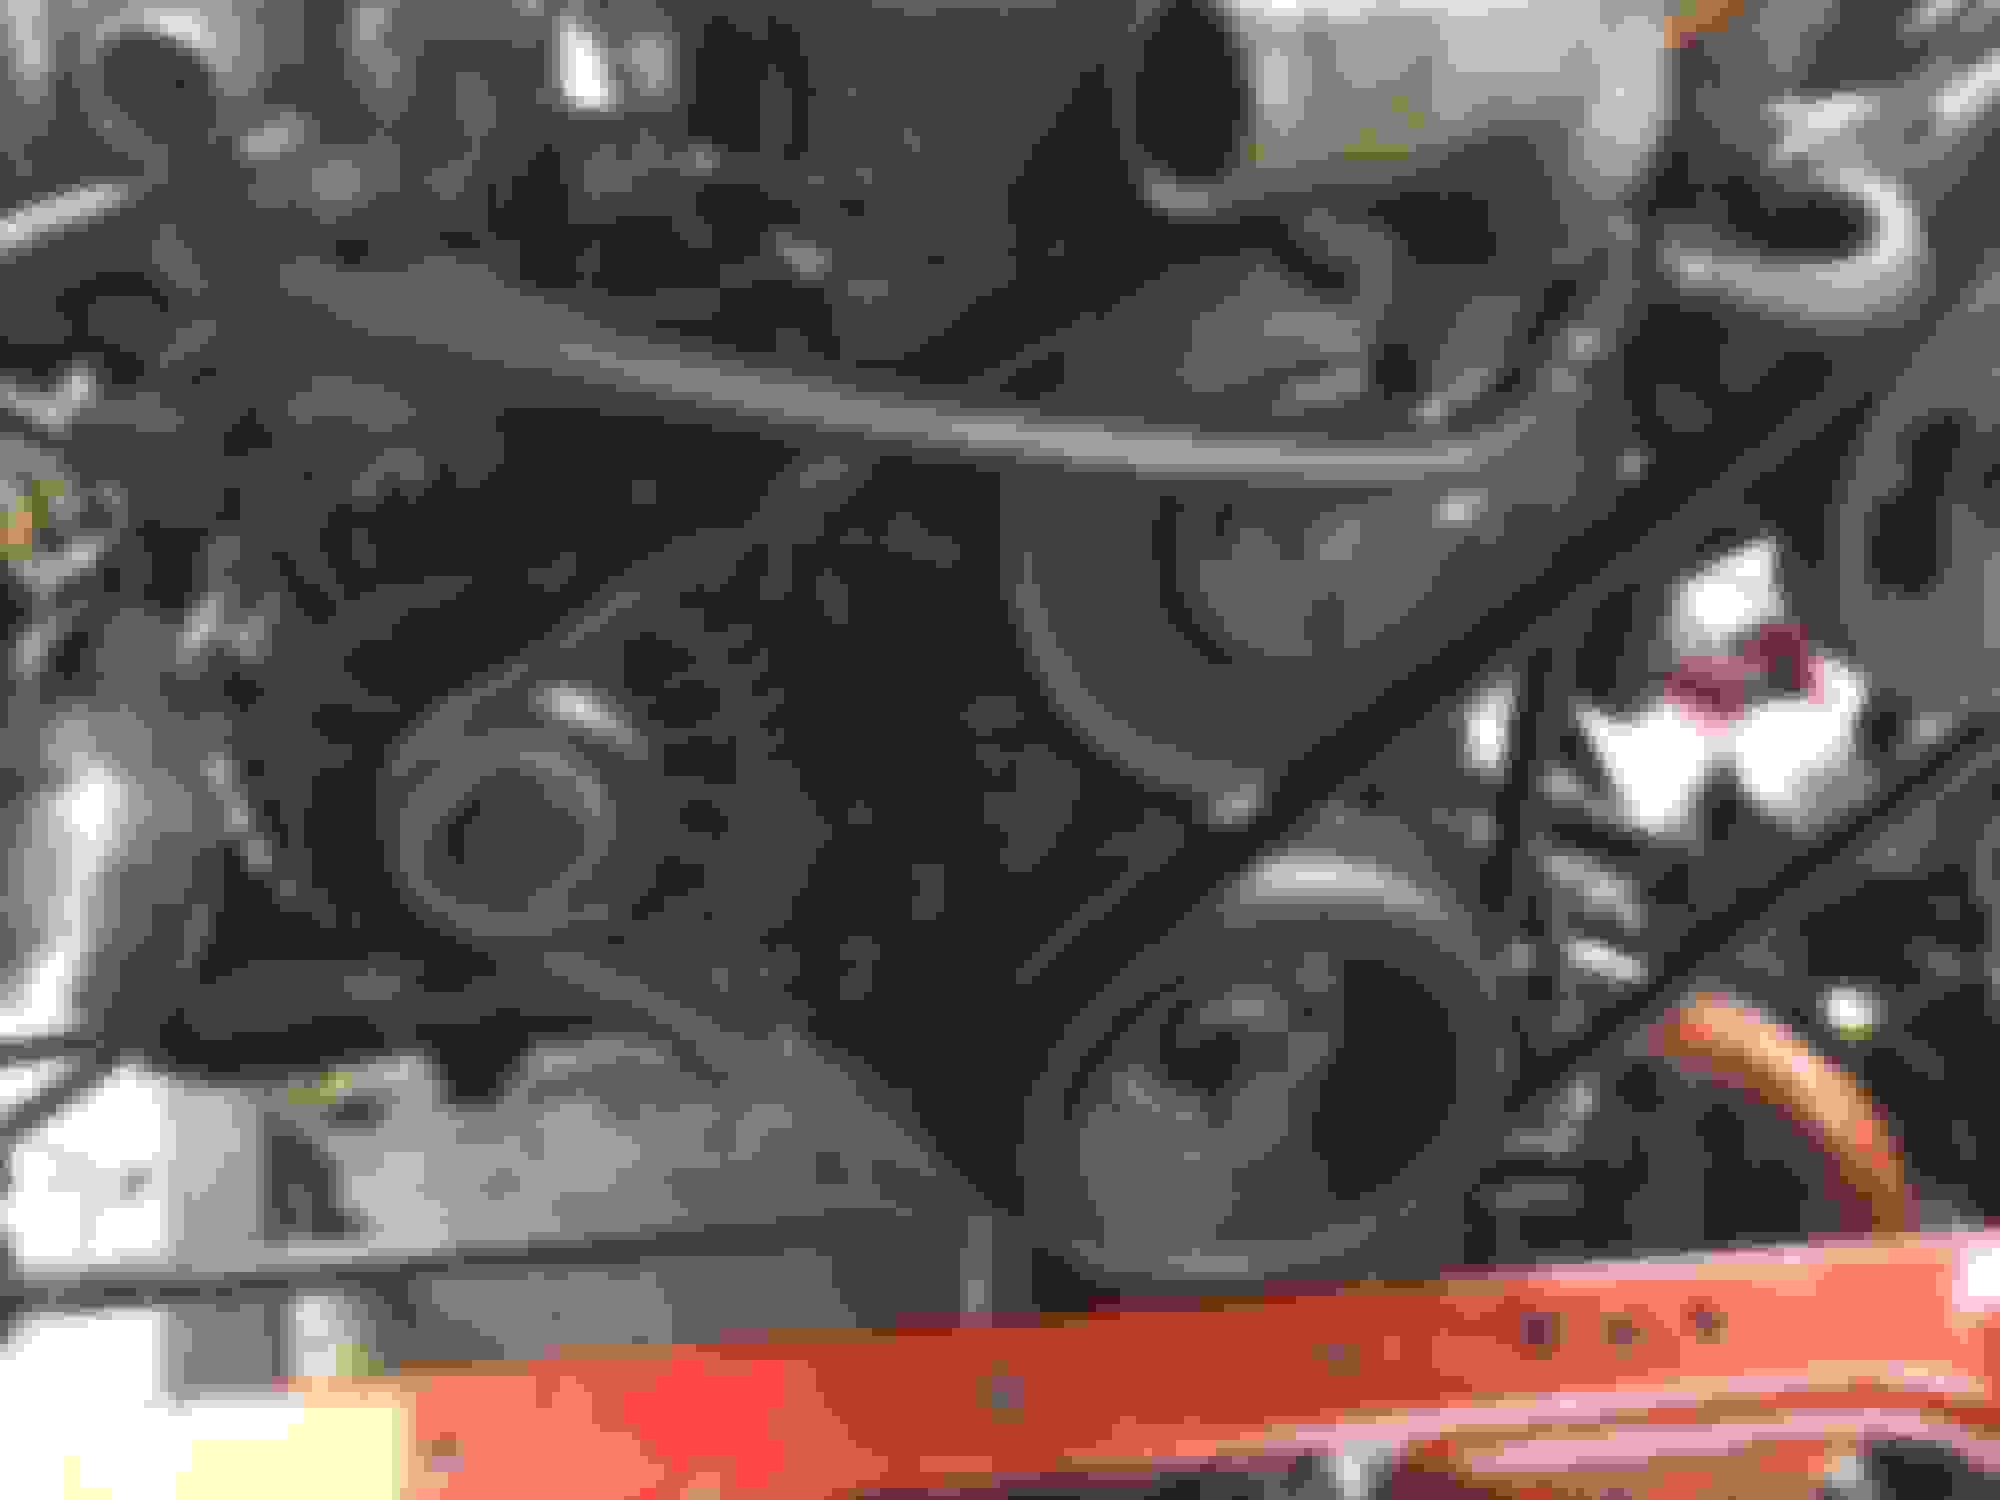
pics of leaky engine.. i have set it aside for now - i found a bad driver side mount and im pretty certain whatever was used to seal the pan was non existant
Finally got the engine pulled, Swapped the oil pan, removed my clutch / flywheel and injectors.Had some help from my other friend (Thanks Levid)
I spent hours cleaning the inside of this oil pan. also found a Bad engine mount... ..
Cylinder head resurfaced, new seals, staying with the 94 head.
Hours later spent cleaning the oil pan - i decided to remove my oil drain fitting and add new sealant - It was sort of loose and i didn't like the job done by the shop.
Oil pump install
Ran into some slight issues..
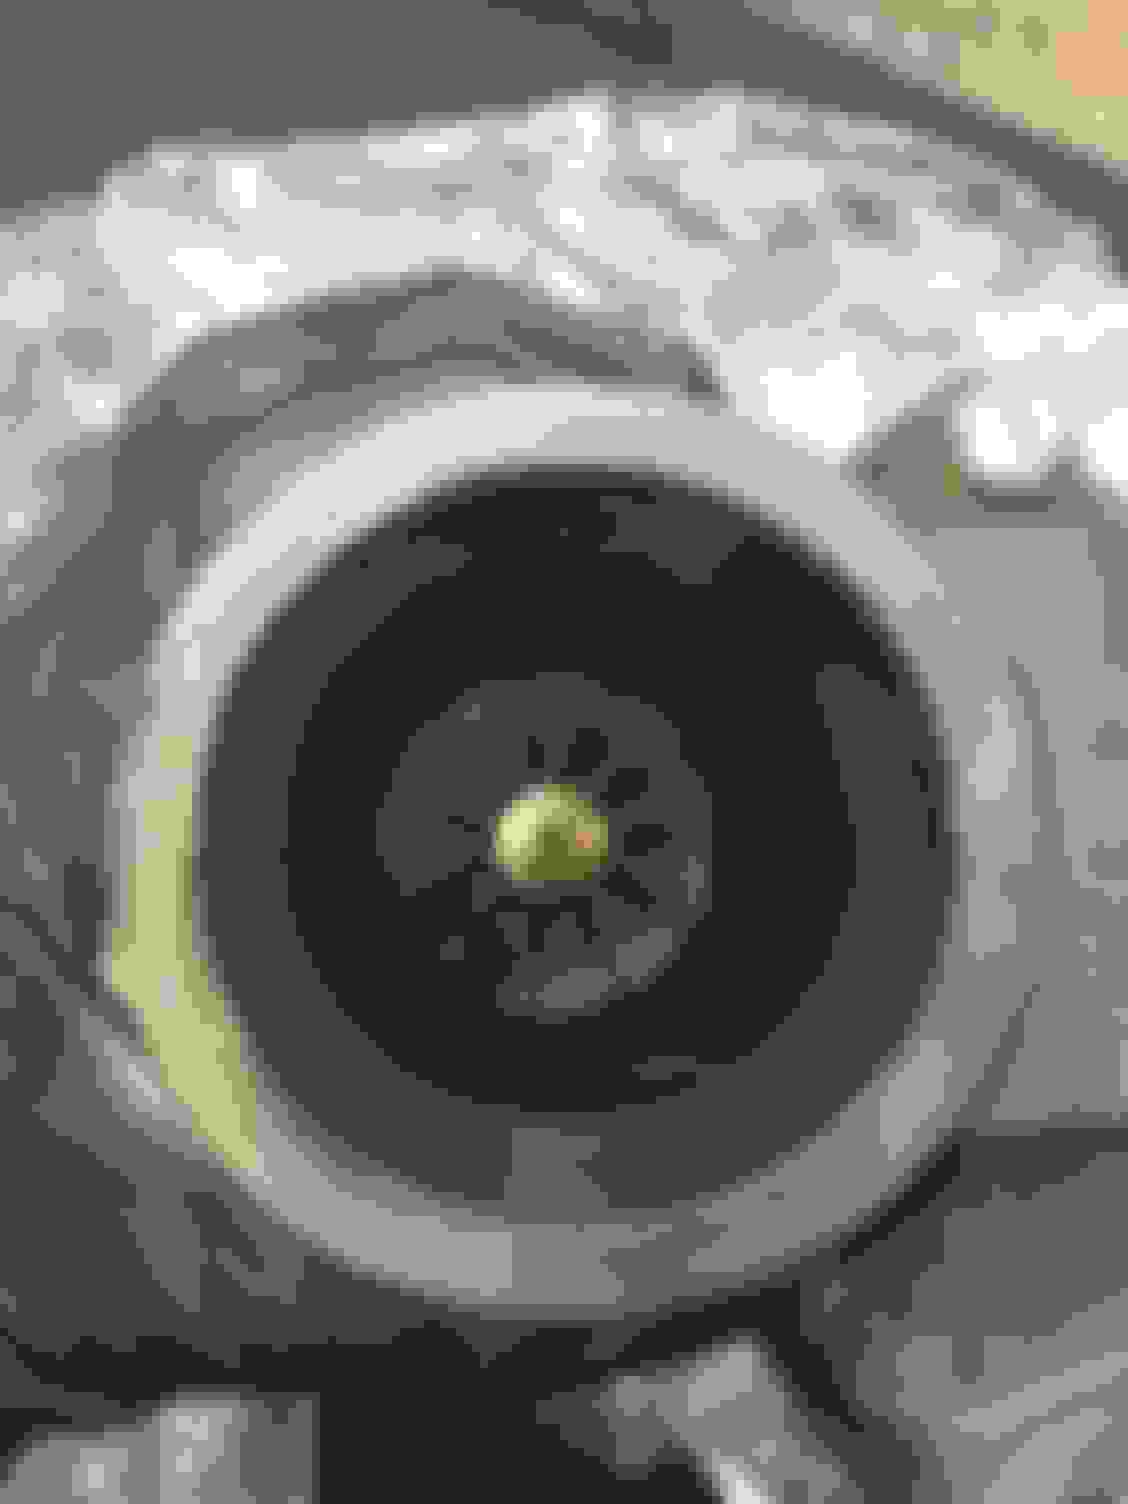
Broken bolt due to being a noob at using a torque wrench.
pic of broken bolt
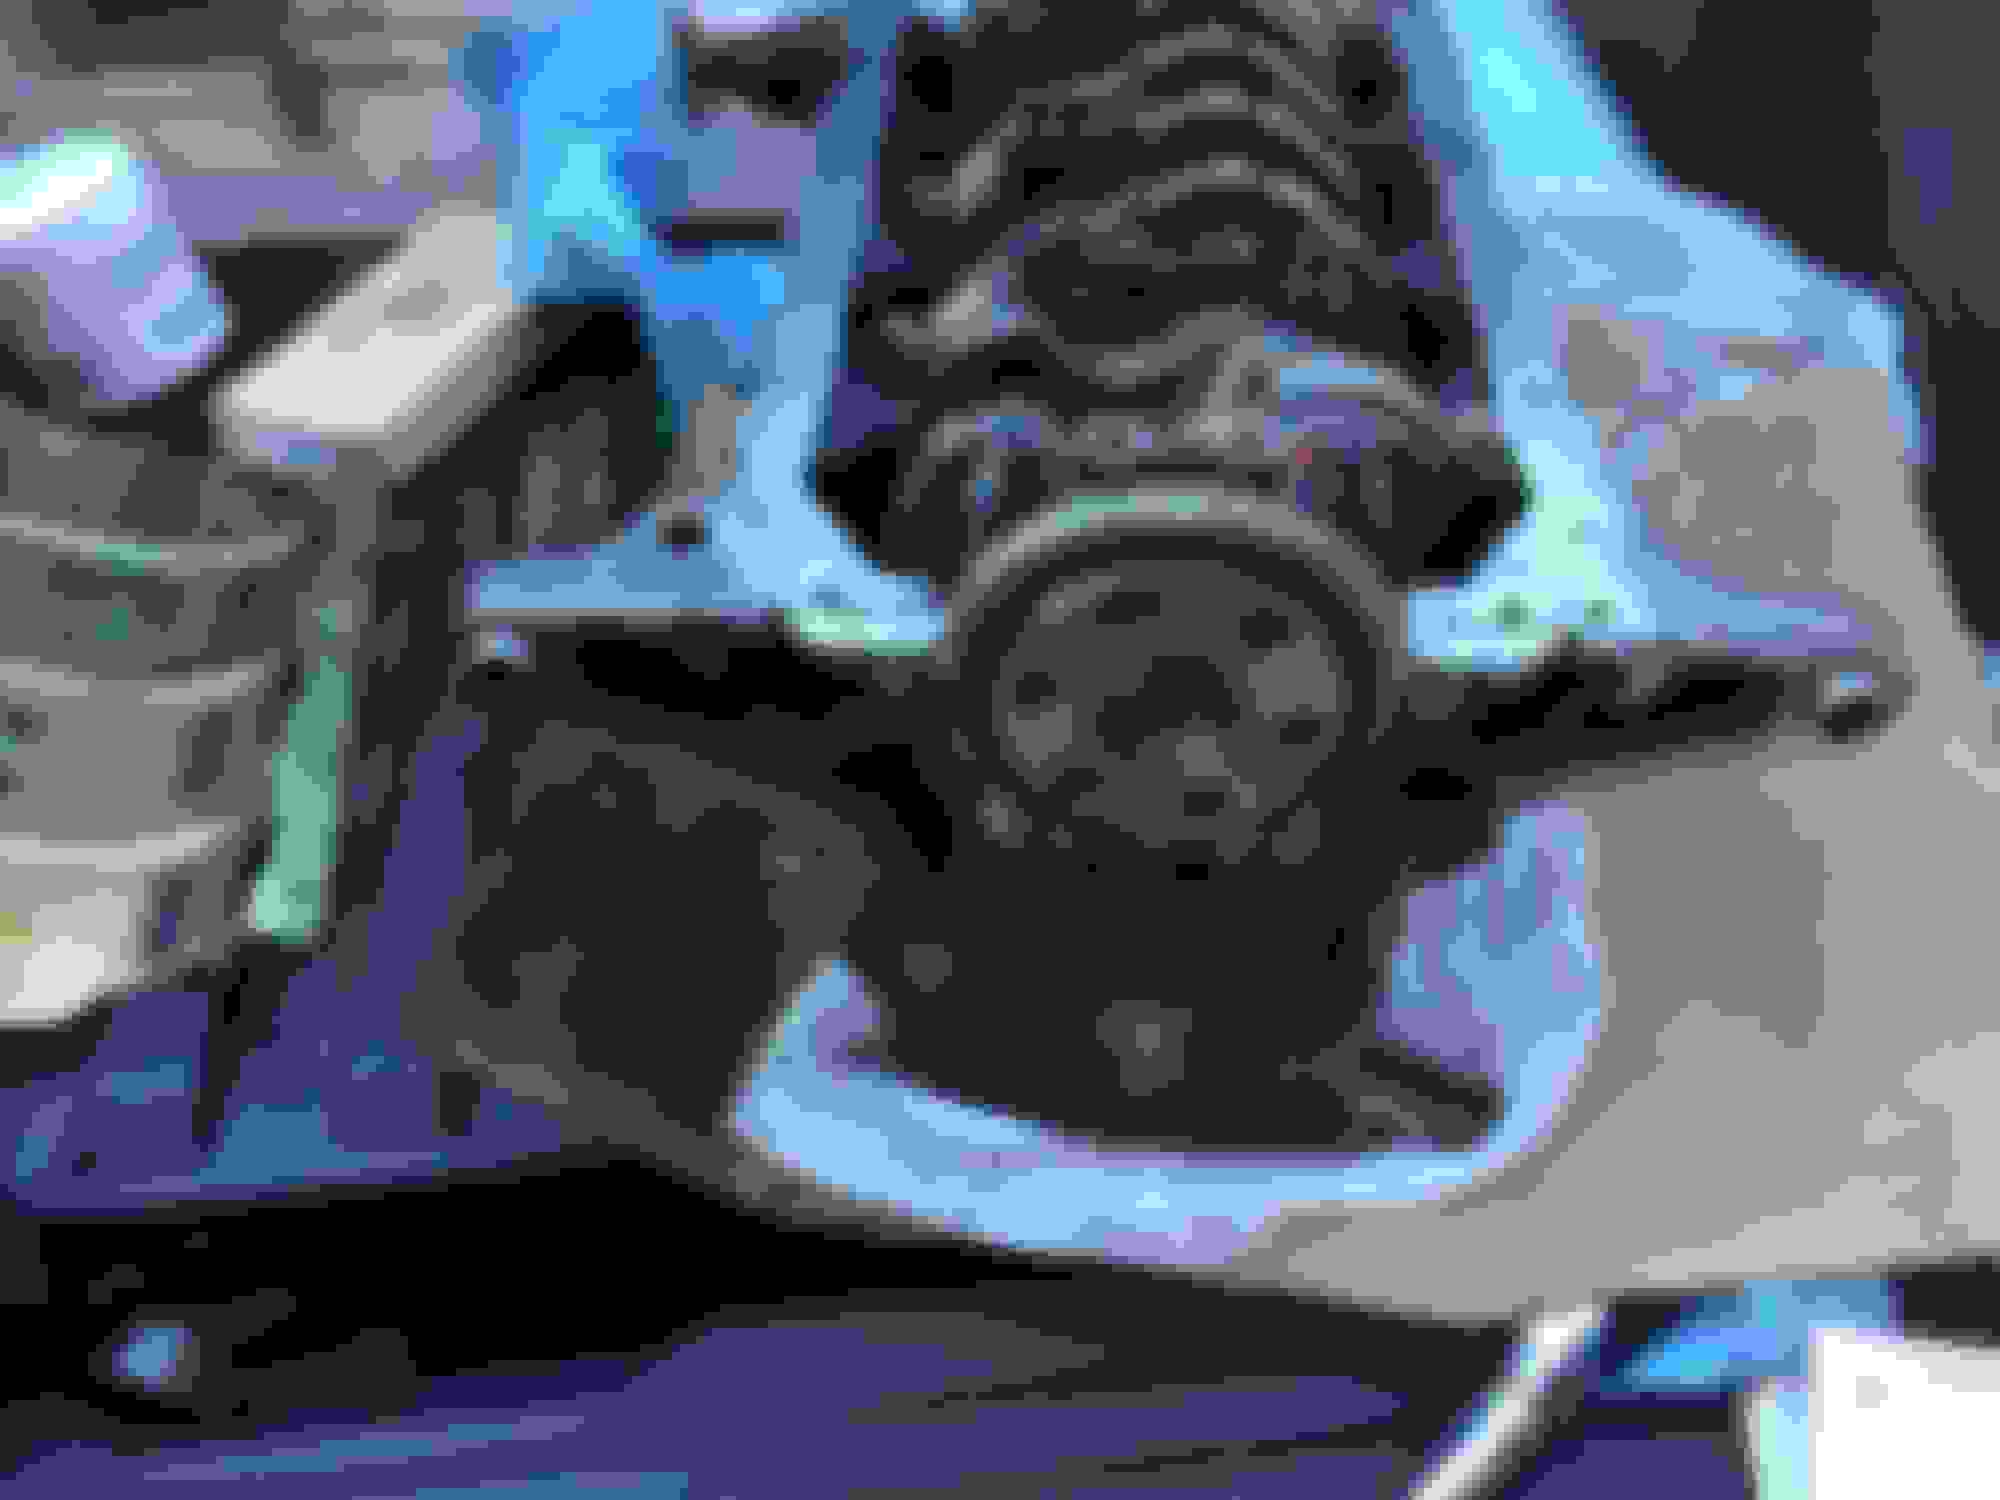
Bottom side of the block. New rear main seal installed
This is where i currently stand, i f'ed up a bolt on the oil pump so im thinking im either going to leave it as it or remove it and re-install the oil pump with RTV again. I lost the o ring and had to get a replacement that fit just perfect
planning on picking up the oil pickup tube gasket tomorrow morning and put on the pan... Not sure if i should risk that one bolt in there.
I wouldn't. It's there for a reason and you already have everything apart. You'll be kicking yourself in the *** when it leaks down the road and you have to take off everything to get back to it. Remove the pump, clean everything really well, re-install.
where does said o ring go? I'm replacing my pump and lars was talking about one, does he mean the fat rubber bushing on the block? or it there another oring I am missing?
The oil pump outlet near the prime hole has an oring. Also, the oring that is shown in the picture above shoes the location. The fat *** incorrectly sized oring is over the hole.
Drill that **** out. If I can do it, you can too. Center punch, drill, dremel, and keep drilling until you meet the minimum drill size for that size bolt. Chase original threads. This is one thing you DO NOT WANT TO RUSH because you'll breach the waterjacket. I ended up putting a stud in place with some extra heavy duty thread sealer since I didn't want to apply torque on already tender threads.
How low do you have your car, or how big are the speed bumps? Sorry the end of the exhaust drags a little bit. I try to keep them up sort of high, but trying to avoid the 2 piece axles, diff, and rear bar make it sort of hard. Don't feel to bad about those scrapes. My Enthuza exhaust that I ran for years would occasionally scrape in the same spot.
How low do you have your car, or how big are the speed bumps? Sorry the end of the exhaust drags a little bit. I try to keep them up sort of high, but trying to avoid the 2 piece axles, diff, and rear bar make it sort of hard. Don't feel to bad about those scrapes. My Enthuza exhaust that I ran for years would occasionally scrape in the same spot.
I use hose clamps on my exhaust hangers to raise the muffler back up because it's kind of heavy. Keeps things from scraping.
I use hose clamps on my exhaust hangers to raise the muffler back up because it's kind of heavy. Keeps things from scraping.
I also use hose clamps on my hangers to help hold the weight. You are unlucky with your first setup as I figured out the extra exhaust hanger after I already sent yours out.


 6spd when if i can source one


 0
0