
Gutted Rusty Beater (with a Heater) Build


Thread Starter
Senior Member
Joined: Jul 2014
Posts: 1,407
Total Cats: 760
From: Milwaukee, WI
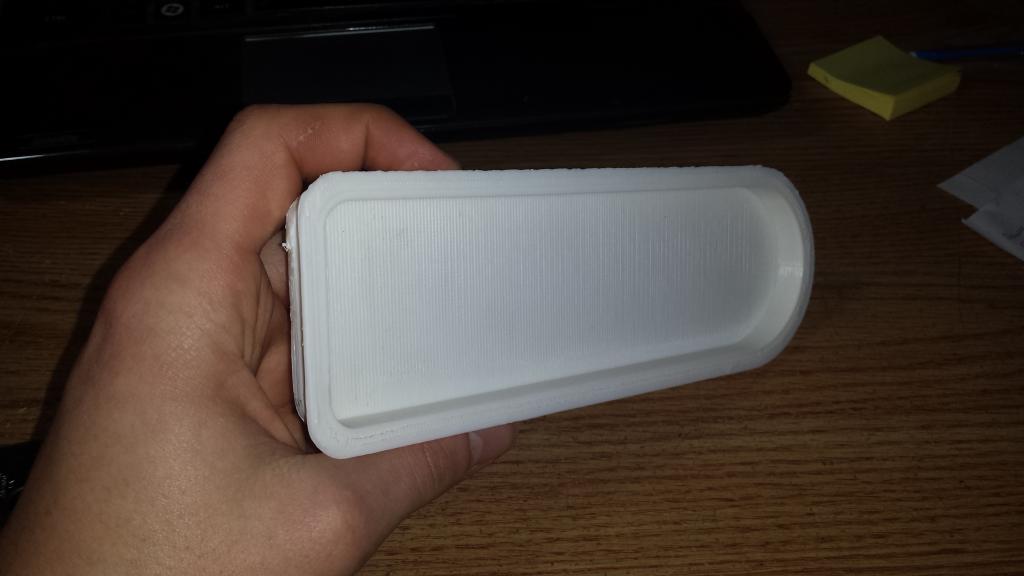
Got my first prototype HVAC blanking plate printed off last night. Need to tweak a few dimensions just a couple tenths of a mm to make it a perfect fit right off the printer, but the prototype itself will work great after I sand off a little bit of material. A little bit of acetone smoothing and some paint and it will look pretty awesome. I intend to have it almost be a press fit, but if need be I should be able to toss a dab of epoxy on it from the back to keep it in place if its a little on the small side. Its going to make a great switch panel

Reply
 0
0

0


Joined: Apr 2014
Posts: 18,643
Total Cats: 1,870
From: Beaverton, USA
Got my first prototype HVAC blanking plate printed off last night. Need to tweak a few dimensions just a couple tenths of a mm to make it a perfect fit right off the printer, but the prototype itself will work great after I sand off a little bit of material. A little bit of acetone smoothing and some paint and it will look pretty awesome. I intend to have it almost be a press fit, but if need be I should be able to toss a dab of epoxy on it from the back to keep it in place if its a little on the small side. Its going to make a great switch panel
Reply
0
0
Thread Starter
Senior Member
Joined: Jul 2014
Posts: 1,407
Total Cats: 760
From: Milwaukee, WI
I could potentially post the file once I finish up tweaking the dimensions.
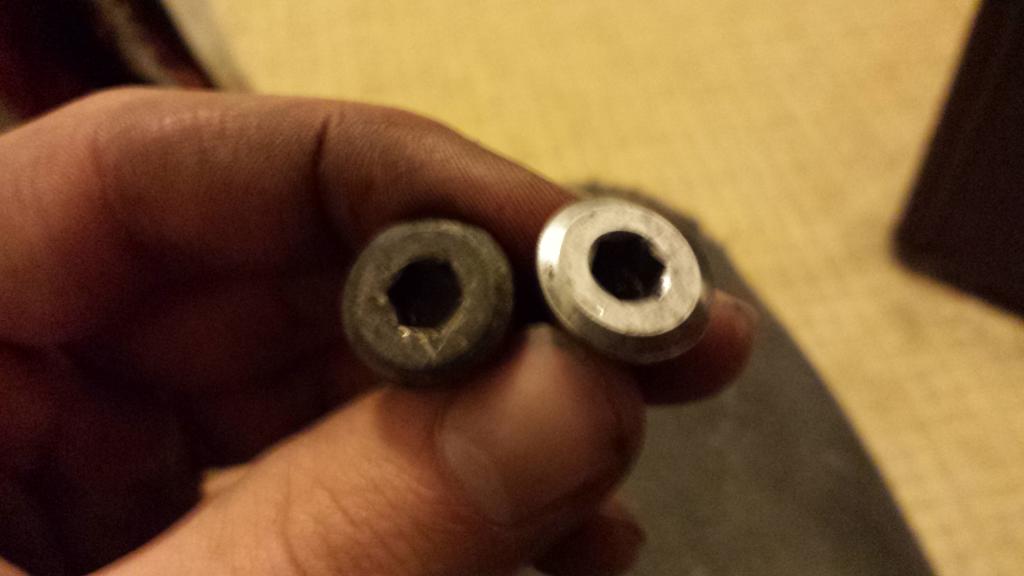
Got these in today

Also got the starter replaced so it runs once again. It's so stupid easy to get at the bolts with the wire tuck I have done on the car. I got the whole project done with a 14mm 3/8" long socket, a 14mm ratchet wrench, and about an hour of time. Simple!
Got these in today
Also got the starter replaced so it runs once again. It's so stupid easy to get at the bolts with the wire tuck I have done on the car. I got the whole project done with a 14mm 3/8" long socket, a 14mm ratchet wrench, and about an hour of time. Simple!
Reply
0
0
Thread Starter
Senior Member
Joined: Jul 2014
Posts: 1,407
Total Cats: 760
From: Milwaukee, WI
its currently like 0 degrees in the garage.. so the ambition to work on the miata is at an all time low until it gets tolerable to be working in the garage again. The turbo build should go pretty fast once that happens as i have a pile of parts waiting to be put on.
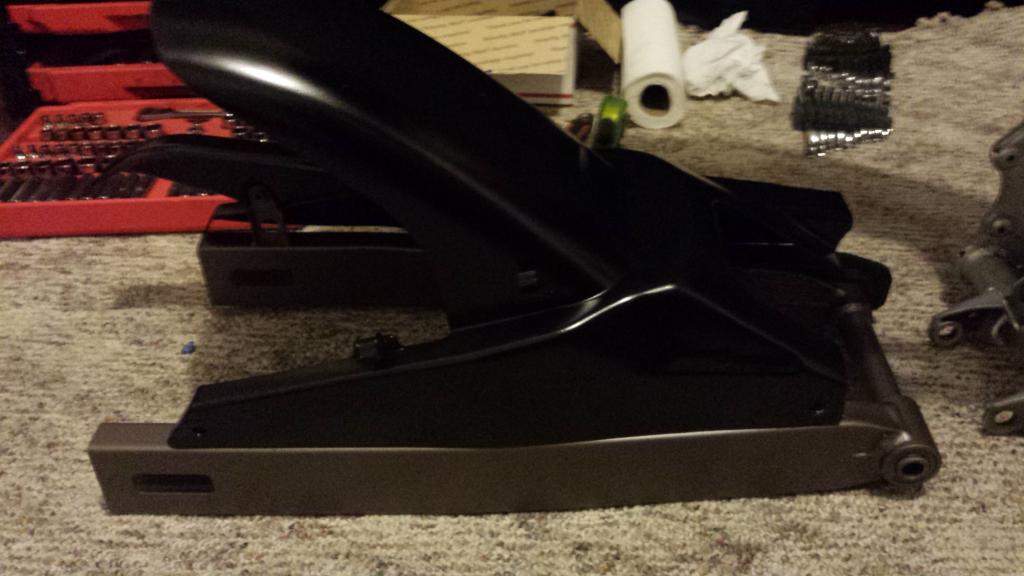
in the meantime, I've been working on my faster project. Picked it up wrecked for cheap = perfect streetfighter candidate. Completely repainting everything and making it look pretty on top of doing a mild build on a few components. here's how it sat a few days ago (front forks, brakes, wheel were done with new bars and clip-on's installed)
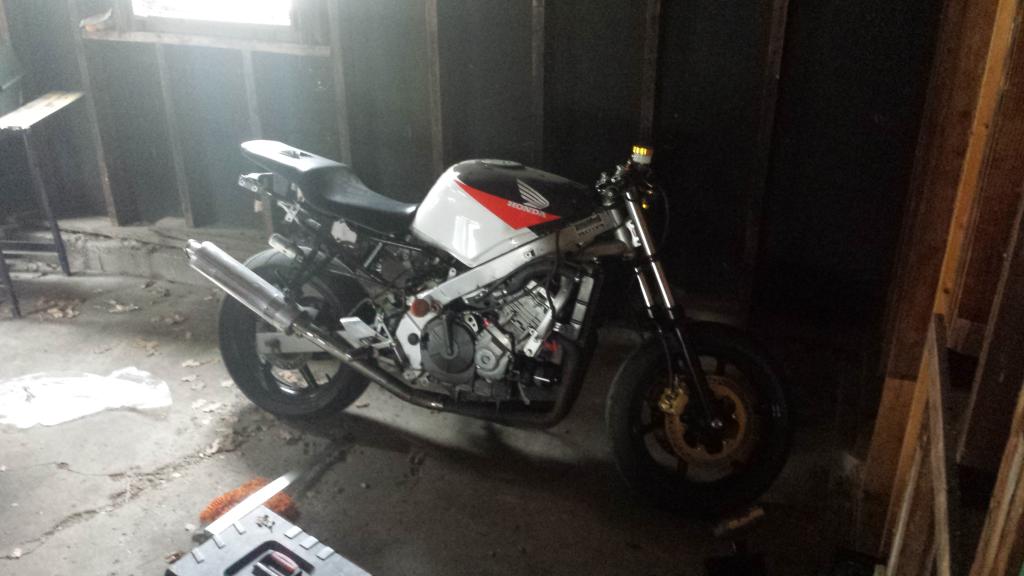
then i decided to bring it in the house where its nice and warm to work on this build when its freezing outside. I may have gotten a little carried away
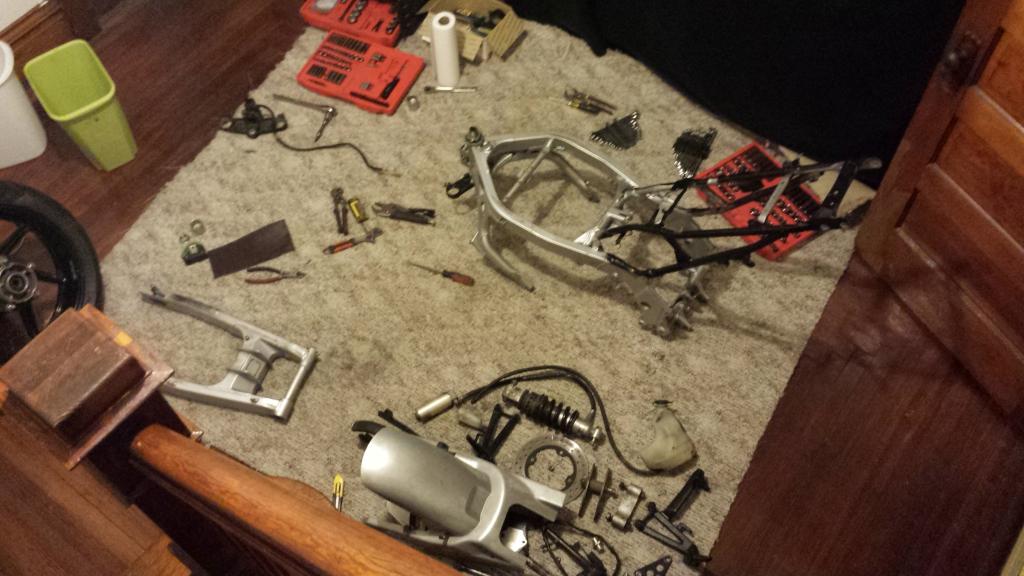
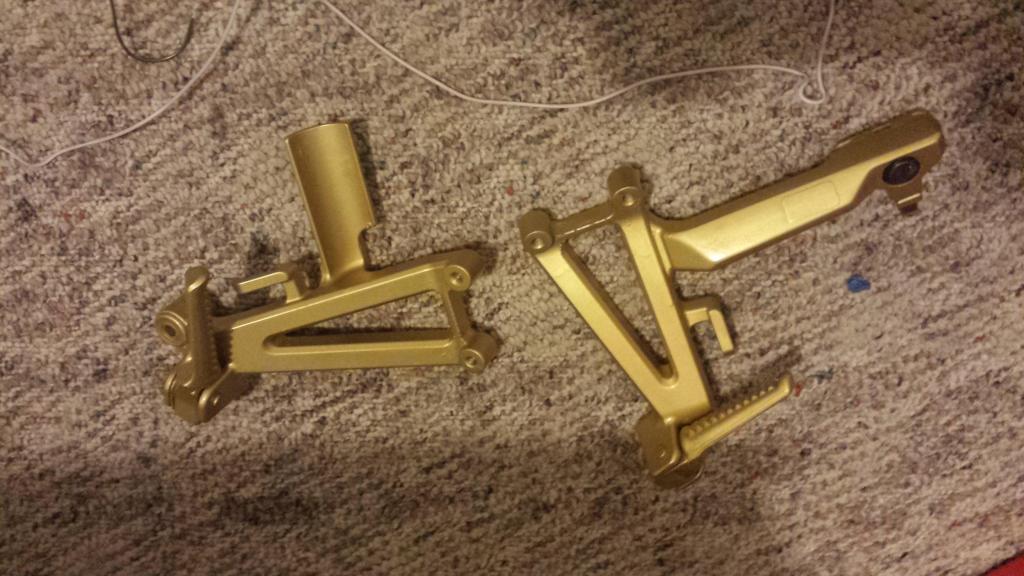
figured out another reason to love mothers polish.. before and after
degreased everything and just got to repainting pieces.

hoping to have it completely back together in a week as I have all the needed parts sitting on another pile. I'm literally waiting on paint to dry.....
in the meantime, I've been working on my faster project. Picked it up wrecked for cheap = perfect streetfighter candidate. Completely repainting everything and making it look pretty on top of doing a mild build on a few components. here's how it sat a few days ago (front forks, brakes, wheel were done with new bars and clip-on's installed)

then i decided to bring it in the house where its nice and warm to work on this build when its freezing outside. I may have gotten a little carried away

figured out another reason to love mothers polish.. before and after

degreased everything and just got to repainting pieces.


hoping to have it completely back together in a week as I have all the needed parts sitting on another pile. I'm literally waiting on paint to dry.....
Reply
0
0
Thread Starter
Senior Member
Joined: Jul 2014
Posts: 1,407
Total Cats: 760
From: Milwaukee, WI
not to let the thread die, not much progress has been made due to weather conditions.. rather difficult to work on your car without getting completely soaked when it looks like this LOL

Reply
0
0
Thread Starter
Senior Member
Joined: Jul 2014
Posts: 1,407
Total Cats: 760
From: Milwaukee, WI
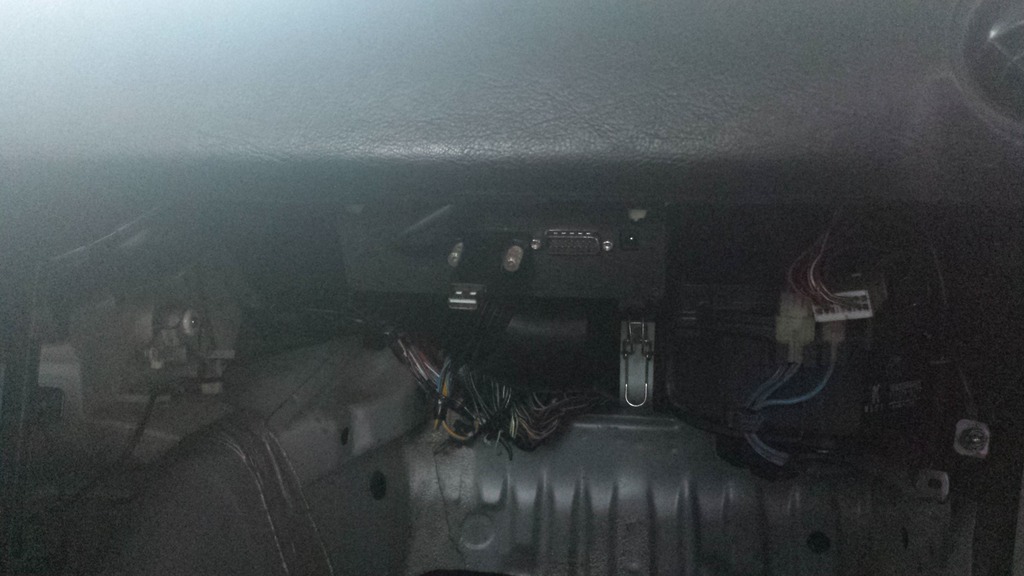
budgets are getting tight with college graduation coming up in a month, so progress has slowed..
that said, I found a nifty spot to mount my MS so its finally off the floor
that said, I found a nifty spot to mount my MS so its finally off the floor


Reply
0
0
Thread Starter
Senior Member
Joined: Jul 2014
Posts: 1,407
Total Cats: 760
From: Milwaukee, WI
spent some time working on some FREE.99 projects today.
Finally committed to deleting the AFM and making an intake with a bunch of intake pieces I had just laying around. Its short and has a slight bend to it but it's effective (exactly what she always said). I just put breathers on both the IAC and PCV.
Also, I never deleted the Air Bag from the steering wheel even though the entire air bag harness has been removed for the last year. So between the steering wheel air bag delete and AFM delete I probably took another 8 lbs or so off the car. I'll take it! Don't mind my terribly exposed picture and plastic hood prop. Damn does my engine bay need a cleaning. The winter was not nice to it.
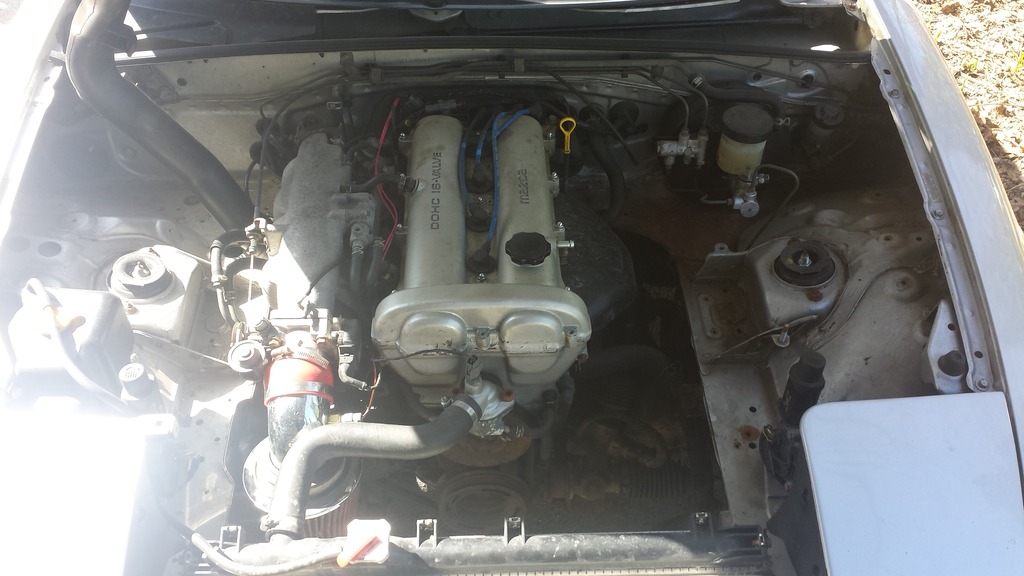
Drove the car over one of the local farm scales. It is not an accurate way to measure but it is really all i have. Its resolution is only every 20 pounds and who knows the last time it was calibrated.
That said, it weighed in at 2040. I'm thinking I have to be hovering very close to the <2000 pound club.
Reply
0
0
Thread Starter
Senior Member
Joined: Jul 2014
Posts: 1,407
Total Cats: 760
From: Milwaukee, WI
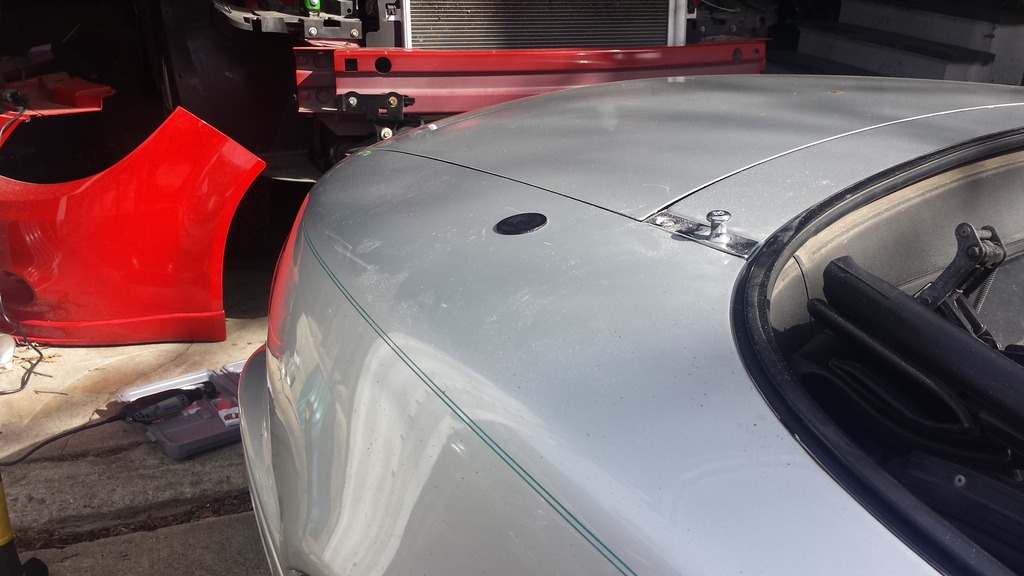
Deleted my antenna and 3D printed a plug to cover the hole and the section of worn paint that the antenna base use to cover. Got all the dimensions right on the first prototype, not bad for a 15 minute print! It sits about 1mm tall above the body

Reply
0
0
Thread Starter
Senior Member
Joined: Jul 2014
Posts: 1,407
Total Cats: 760
From: Milwaukee, WI
went to put the top up on a cool evening and this happened.. the 24 year old top finally quit at life
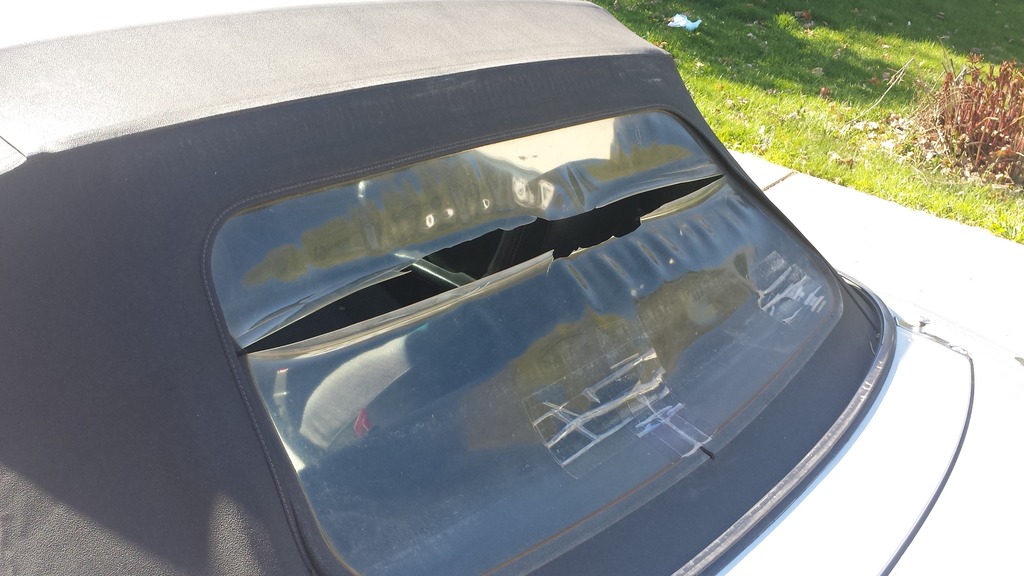
so i did what anyone would do in this scenario.. made the car a hardtop only car!
then just because little racecar

so i did what anyone would do in this scenario.. made the car a hardtop only car!

then just because little racecar

Reply
0
0
Thread Starter
Senior Member
Joined: Jul 2014
Posts: 1,407
Total Cats: 760
From: Milwaukee, WI
Life has taken over a bit..
Graduated college
Started my new job
Found a duplex to live in
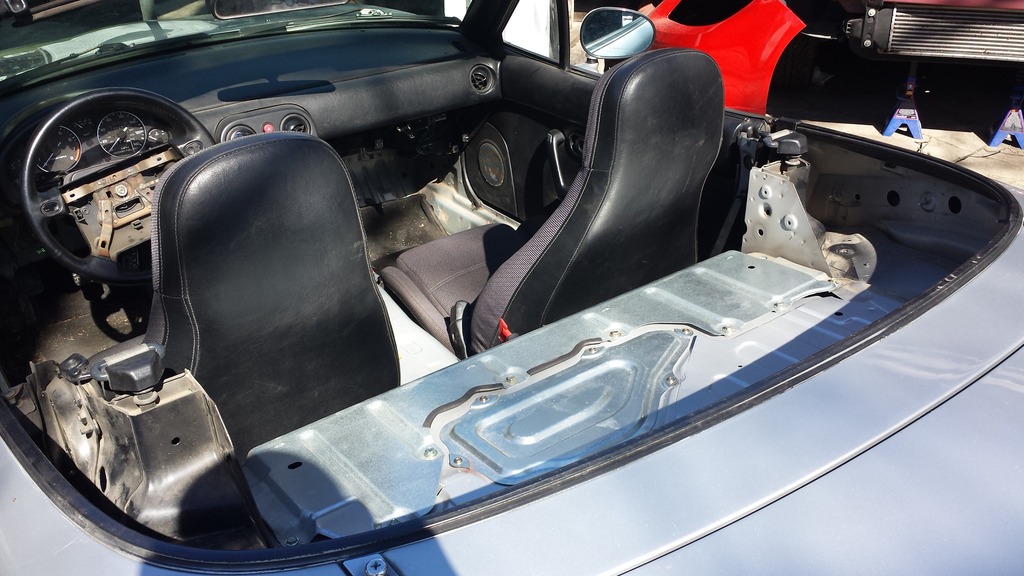
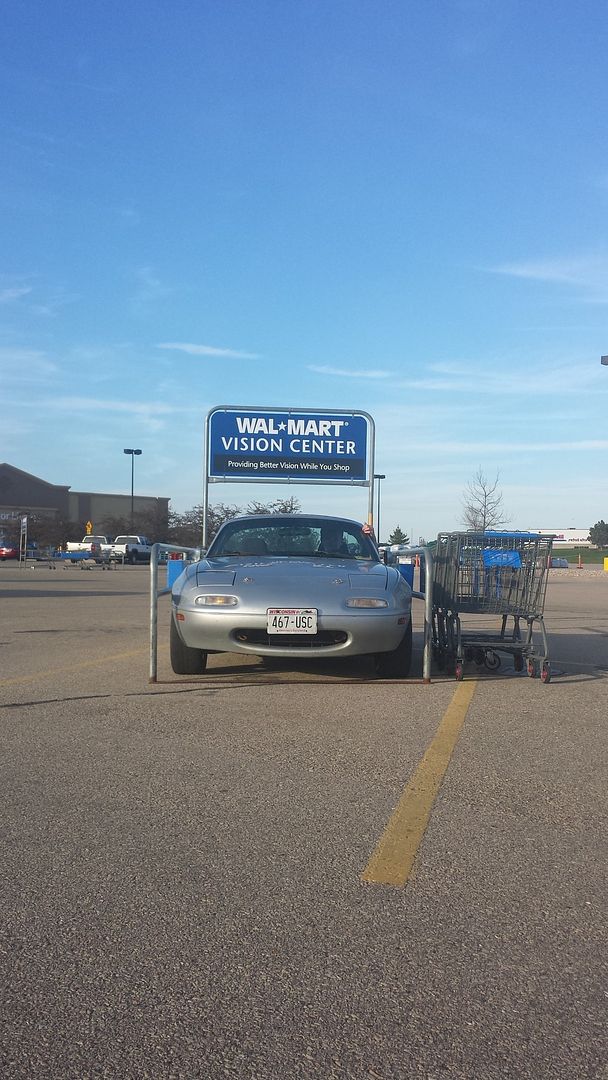
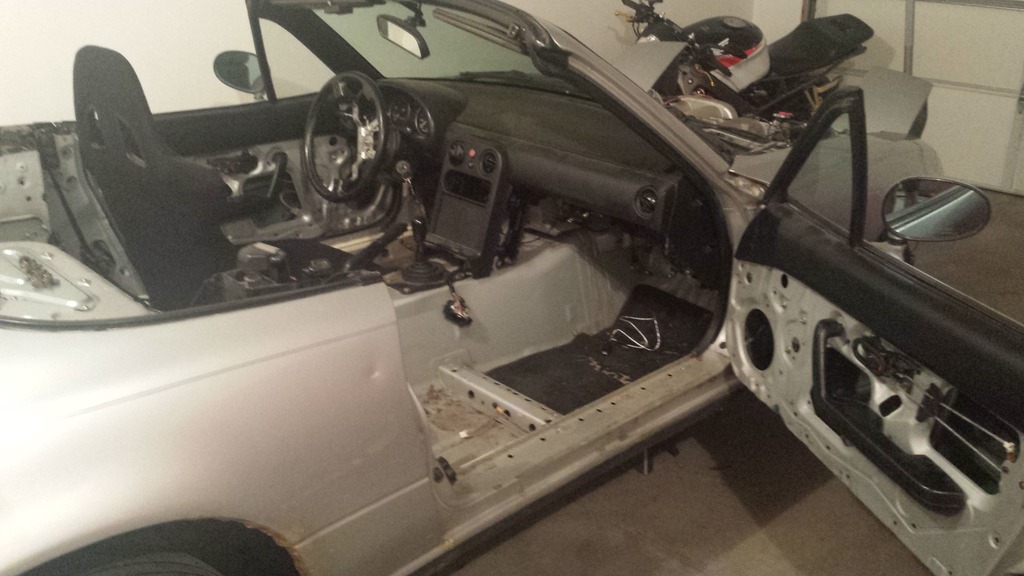
So heres the picture out of all of that which really matters.. LOOK AT ALL THIS ROOM FOR ACTIVITIES!!!!!!

Graduated college
Started my new job
Found a duplex to live in
So heres the picture out of all of that which really matters.. LOOK AT ALL THIS ROOM FOR ACTIVITIES!!!!!!

Reply
0
0

Thread Starter
Senior Member
Joined: Jul 2014
Posts: 1,407
Total Cats: 760
From: Milwaukee, WI
well the build is well underway! car is up on jack stands since last Saturday
I scored quite a few additional bits to add to the build last-minute that I still have to install:
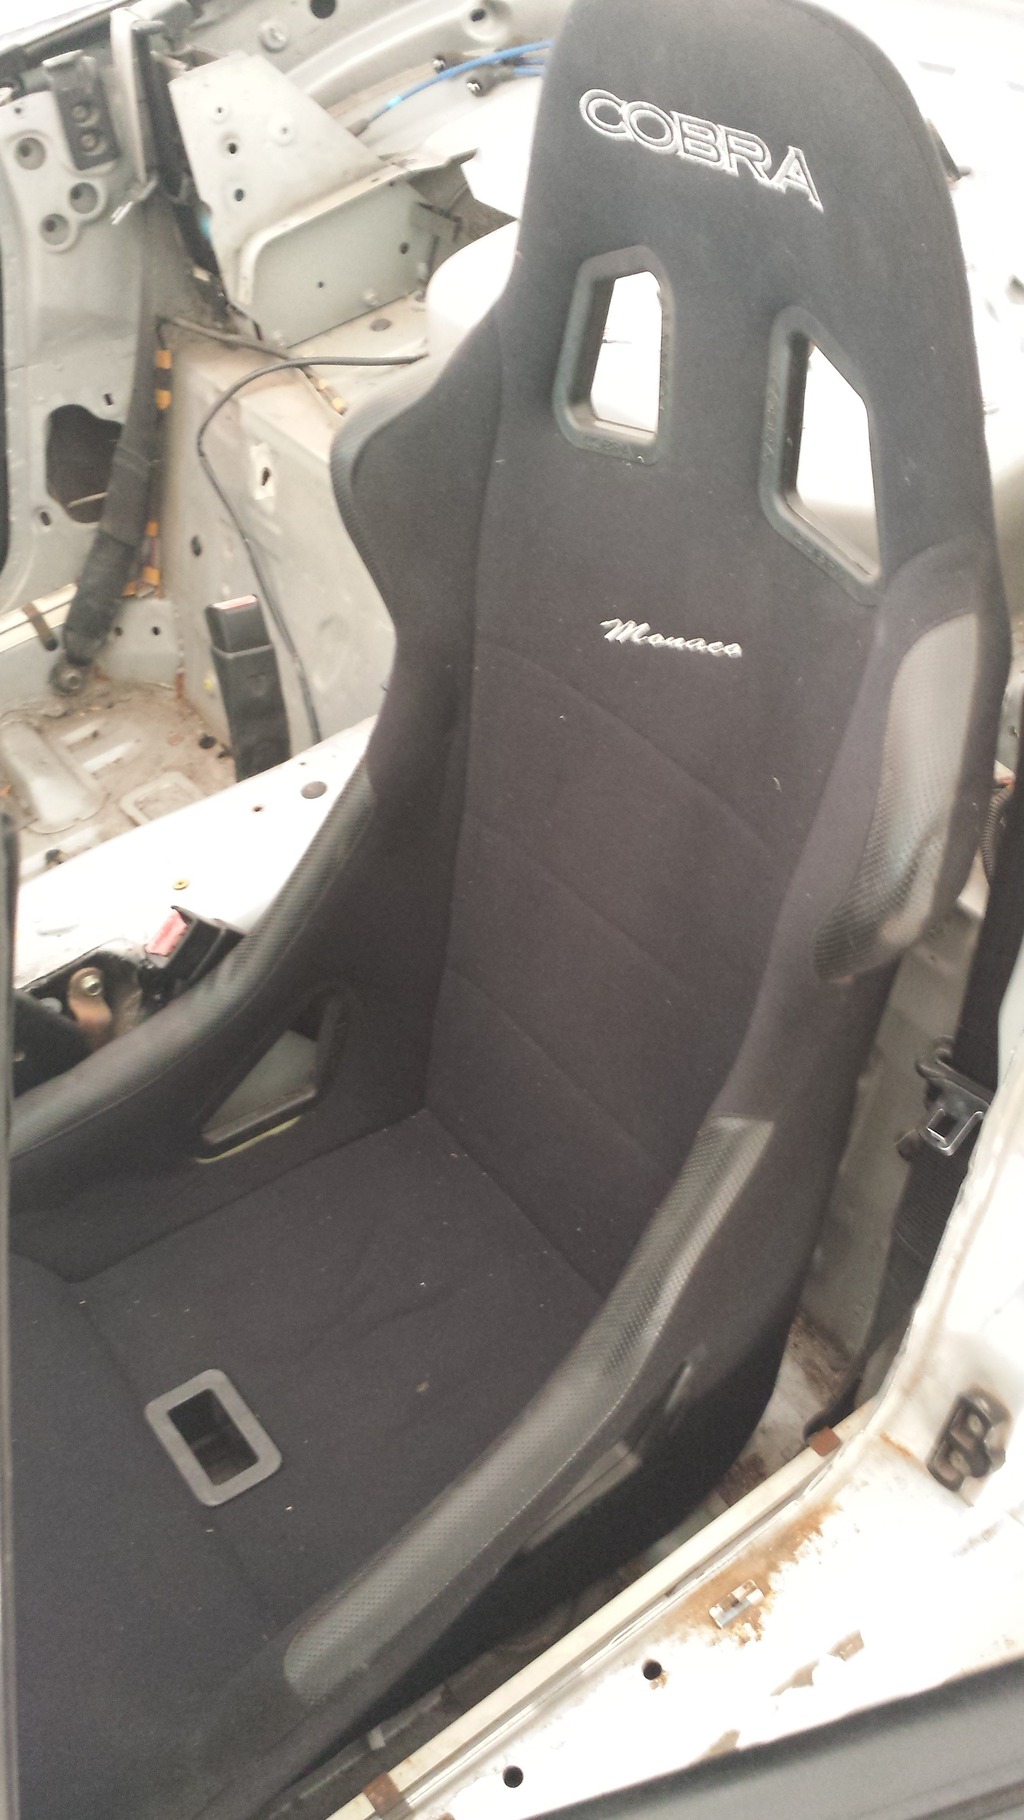
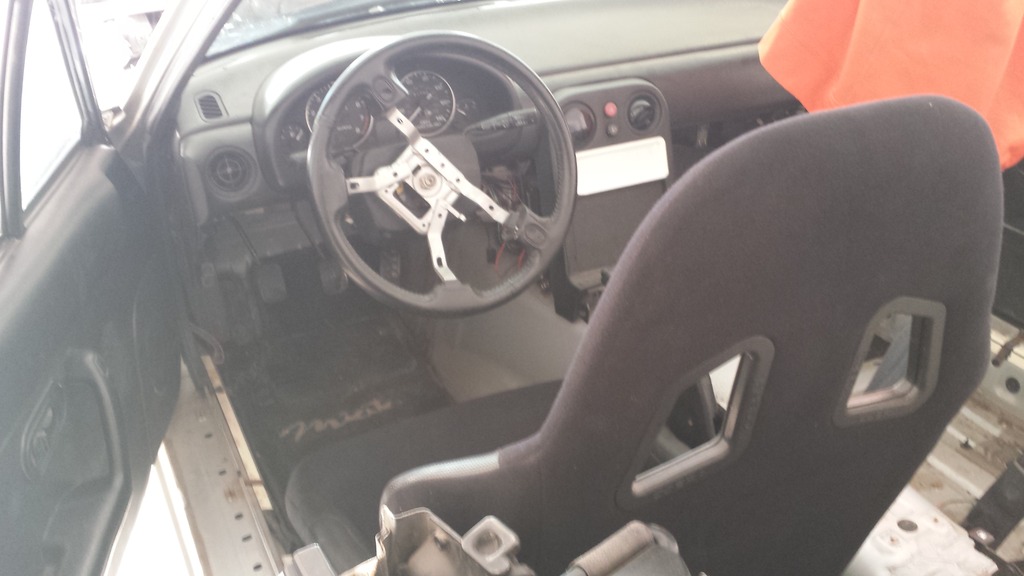
Cobra Monaco driver's seat
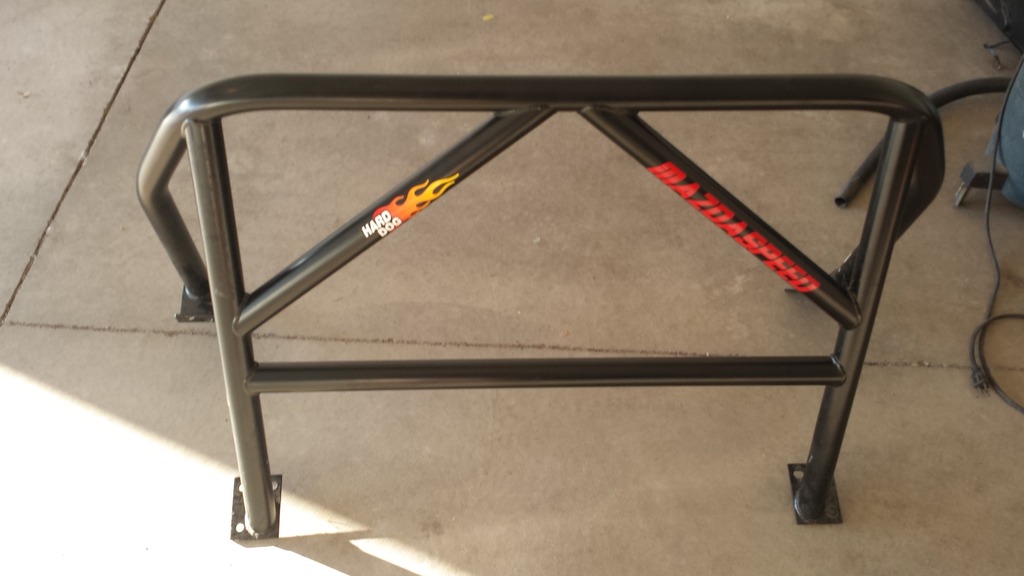
Hard Dog Hardcore Double Diagonal Roll Bar
Progress:
turbo manifold installed
460cc injectors installed
universal IC kit almost completely installed
T25 is clocked and good to go
What needs doing:
install oil and coolant lines (in shipping)
install new turbo gaskets (in shipping)
WG and BOV line routing
lastly, some misc exhaust work
I scored quite a few additional bits to add to the build last-minute that I still have to install:
Cobra Monaco driver's seat
Hard Dog Hardcore Double Diagonal Roll Bar
Progress:
turbo manifold installed
460cc injectors installed
universal IC kit almost completely installed
T25 is clocked and good to go
What needs doing:
install oil and coolant lines (in shipping)
install new turbo gaskets (in shipping)
WG and BOV line routing
lastly, some misc exhaust work
Reply
0
0
Thread Starter
Senior Member
Joined: Jul 2014
Posts: 1,407
Total Cats: 760
From: Milwaukee, WI
I dont plan on this car seeing anything past a short time interval lapping day or ice racing event anytime soon (besides its typical AutoX events). If the gaskets end up leaking, it is what it is.. I can at least say I tried. they are cheap
Reply
0
0

My T2 flange and V-band off the back of the turbo both leaked. I bought stainless steel gaskets off of ebay, and coated them in copper gasket spray. Stopped the leaks. Went through an autocross, track day, and 5 months of hard daily driving before i had to take them off to work on the car. Gaskets were fine, cleaned them off, more copper gasket spray, and I reused them again. Still doesn't leak.
Reply
0
0
Reply
0
0
Thread Starter
Senior Member
Joined: Jul 2014
Posts: 1,407
Total Cats: 760
From: Milwaukee, WI
progress is slowly being made
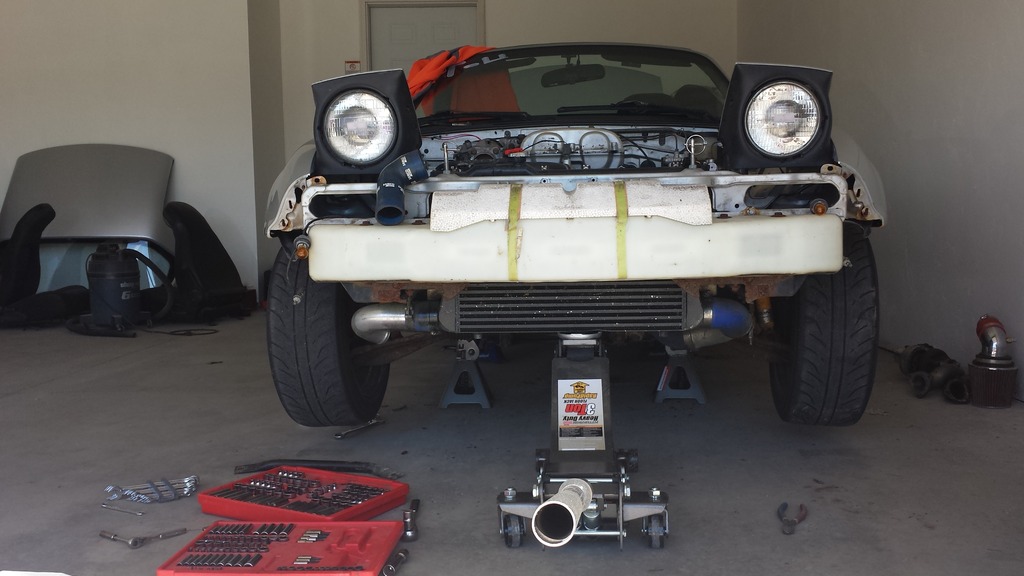
universal IC kit is coming together nicely. rough mounting position was tested
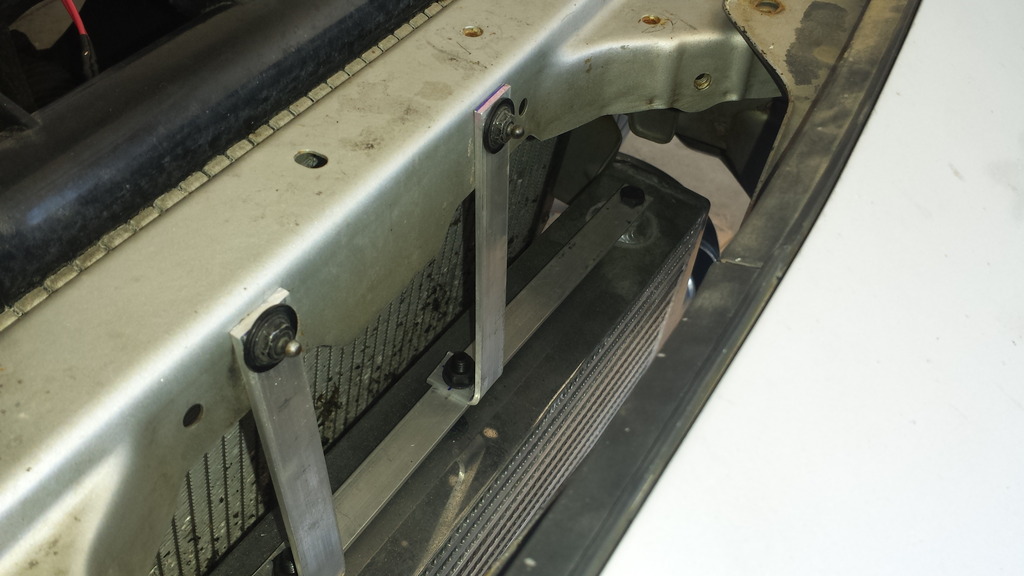
made up a fancy $8 IC bracket out of aluminum with just a drill, dremel, and a set of pliers because I dont have fancy tools at my new place yet
looking pretty
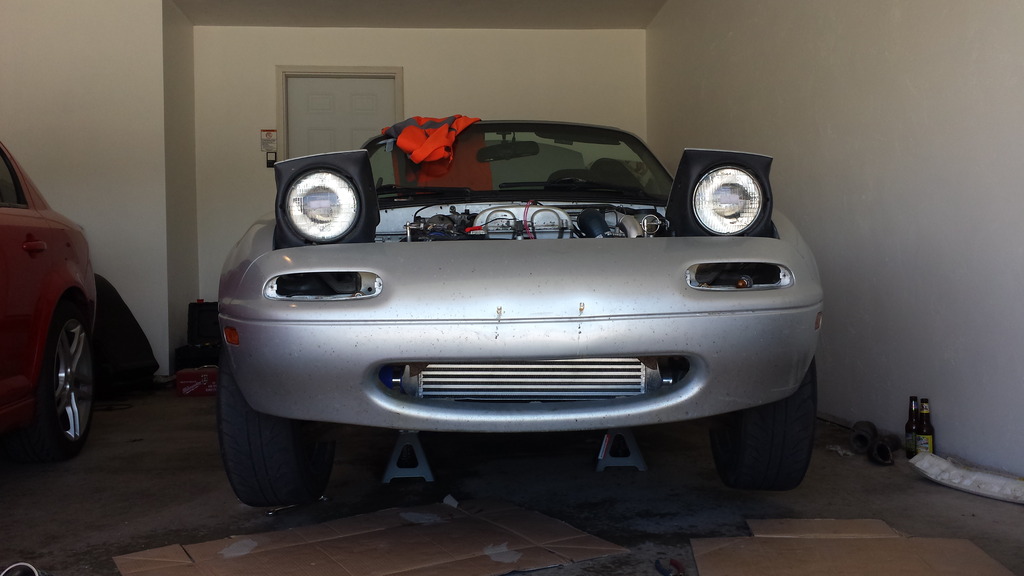
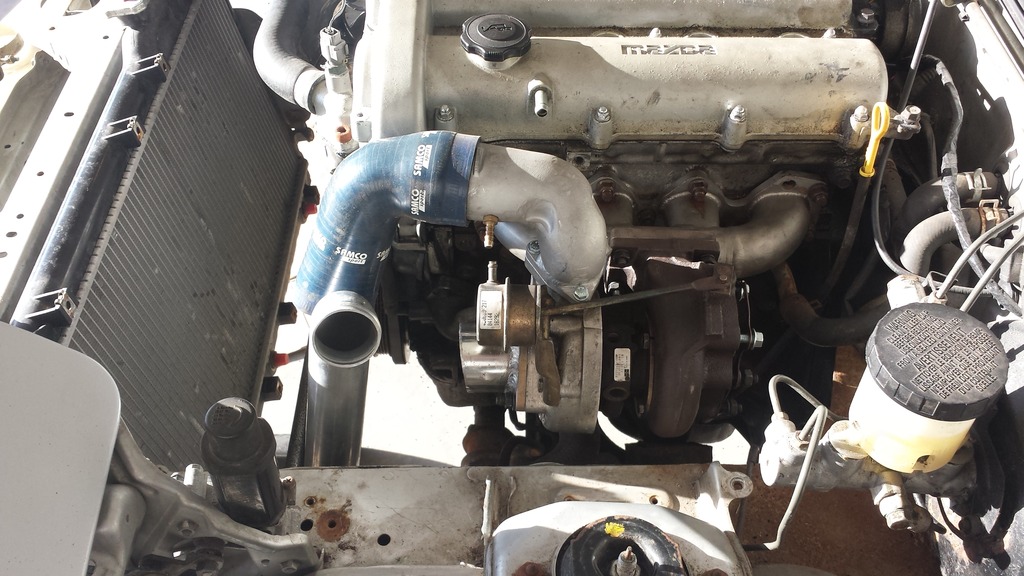
got the turbo and mani mounted up in position. need to cut the bend off the charge pipe and it should connect right up. NOTE: the WG actuator is currently a work in progress and wont be at an angle when i'm done
got this.. just need to take the decals off of it yet
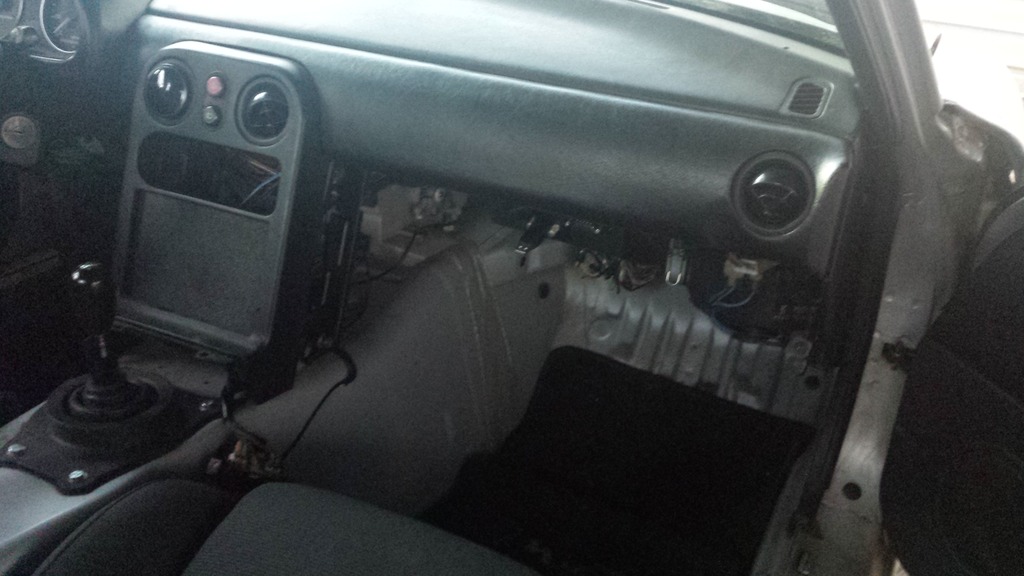
then last but not least, the last few nights have been spent working on my wiring harness on the interior to minimize it and clean it up.. not a lot to take pictures of, but I'm deleting everything (including plugs and associated wiring) not essential to making the car function. door buzzer wiring, speaker wiring, cruise control wiring, door switch wiring, horn, etc. It's tedious, but it's nice in the end of things. Yes, I still have floor matts in the car
you can see a bit of the new addition in that picture already. still need to finalize the mounting position
universal IC kit is coming together nicely. rough mounting position was tested

made up a fancy $8 IC bracket out of aluminum with just a drill, dremel, and a set of pliers because I dont have fancy tools at my new place yet

looking pretty

got the turbo and mani mounted up in position. need to cut the bend off the charge pipe and it should connect right up. NOTE: the WG actuator is currently a work in progress and wont be at an angle when i'm done

got this.. just need to take the decals off of it yet

then last but not least, the last few nights have been spent working on my wiring harness on the interior to minimize it and clean it up.. not a lot to take pictures of, but I'm deleting everything (including plugs and associated wiring) not essential to making the car function. door buzzer wiring, speaker wiring, cruise control wiring, door switch wiring, horn, etc. It's tedious, but it's nice in the end of things. Yes, I still have floor matts in the car

you can see a bit of the new addition in that picture already. still need to finalize the mounting position


Reply
0
0


