When you click on links to various merchants on this site and make a purchase, this can result in this site earning a commission. Affiliate programs and affiliations include, but are not limited to, the eBay Partner Network.
I have lurked forever here, asked less questions than I should, and bought a few things on the classifieds. I figured it was time to give back a bit to the community and document my build. I am hopeful this will help someone down the line. I tried to do things in the right oder, and only do them once and proper the first time.
This is my first Miata, the only RWD car I have ever owned or driven, the first car I have heavily modofied and the first time I have spent so much money on a new hobby. It all started by going to a HPDE in my wifes stock WRX and destroying her stock brake pads, and severly shortening the life of her tires. She was worried I would crash her daily driver. At this point she agreed to let me buy a cheap Miata for a track car. Cheap did not last long.
I originally purchased this pretty much stock 1999 NB about at year ago in August 2019. Picked it up for $3000 and it came with a spare 5 speed. 80k on the engine and 170k on the chassis. Not in great condition, not in terrible condition but I didn't care. It was affordable, ran well, and I knew I would be basically changing everything out on the car at some point. There is a few rust spots, but nothing too terrible.
Stock Miata upon purchasing Stock Miata upon purchasing
At this point I was pretty worried about the safety of the car and knew I needed an actual roll bar/racing seat/harness etc. to be safe on the track.
Purchased a new Rollbar, new seats, harness, helmet, Hans device, and new break pads and then decided **** it, I'm going all out on this car and dropped another couple thousand with Supermiata. Ended up doing a big grip kit, poly bushings on everything.
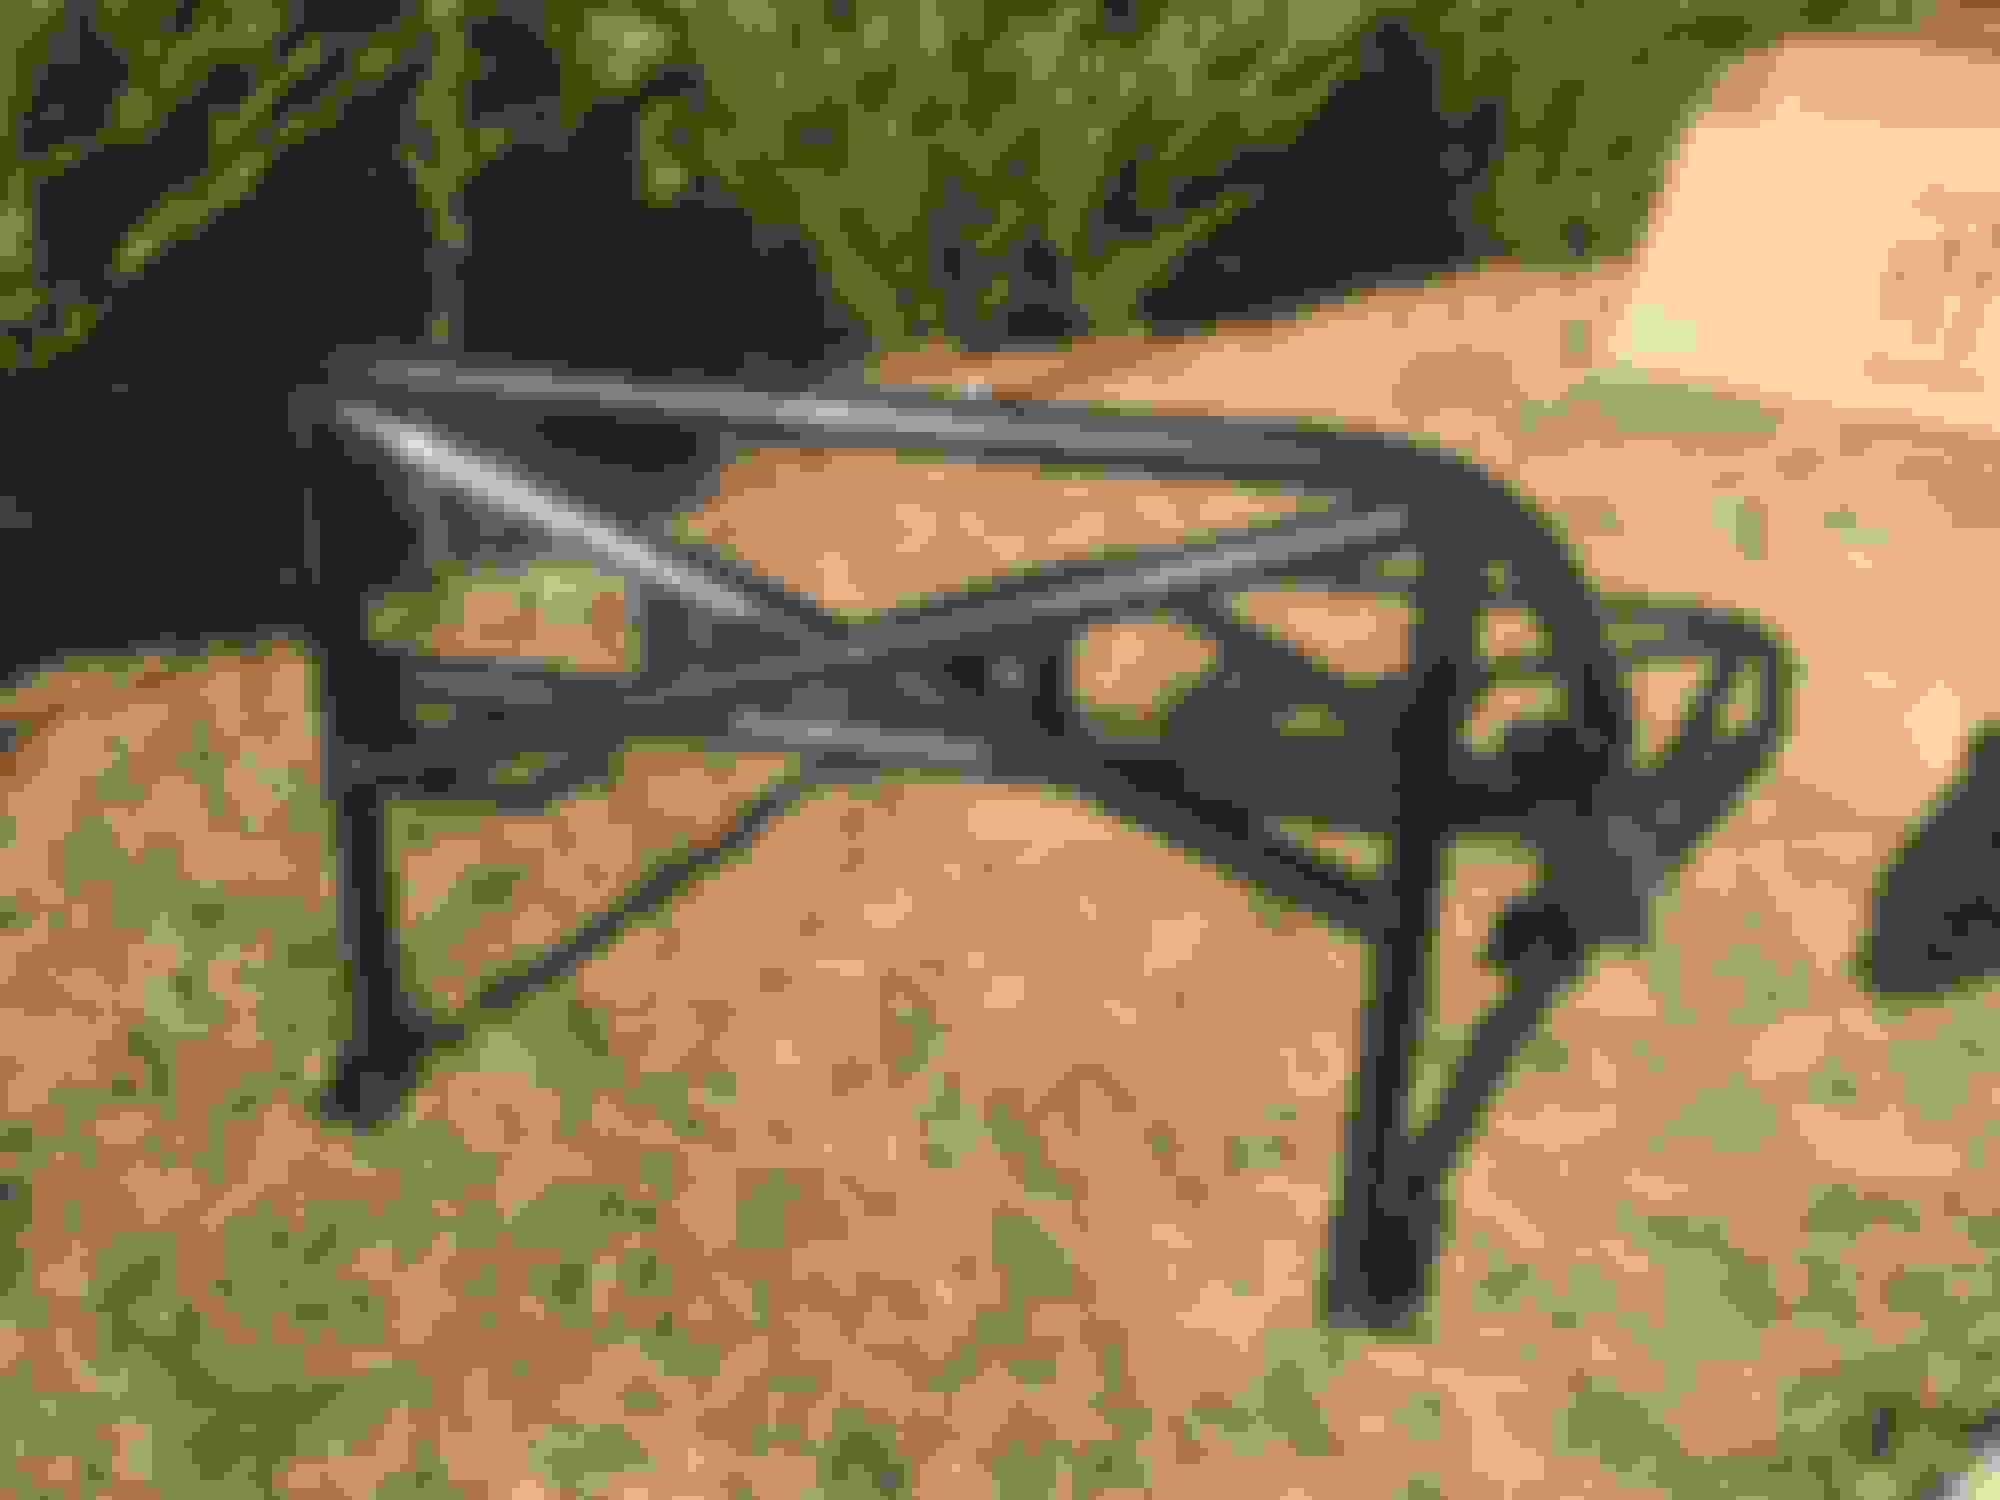
New Blackbird GT3 Rollbar
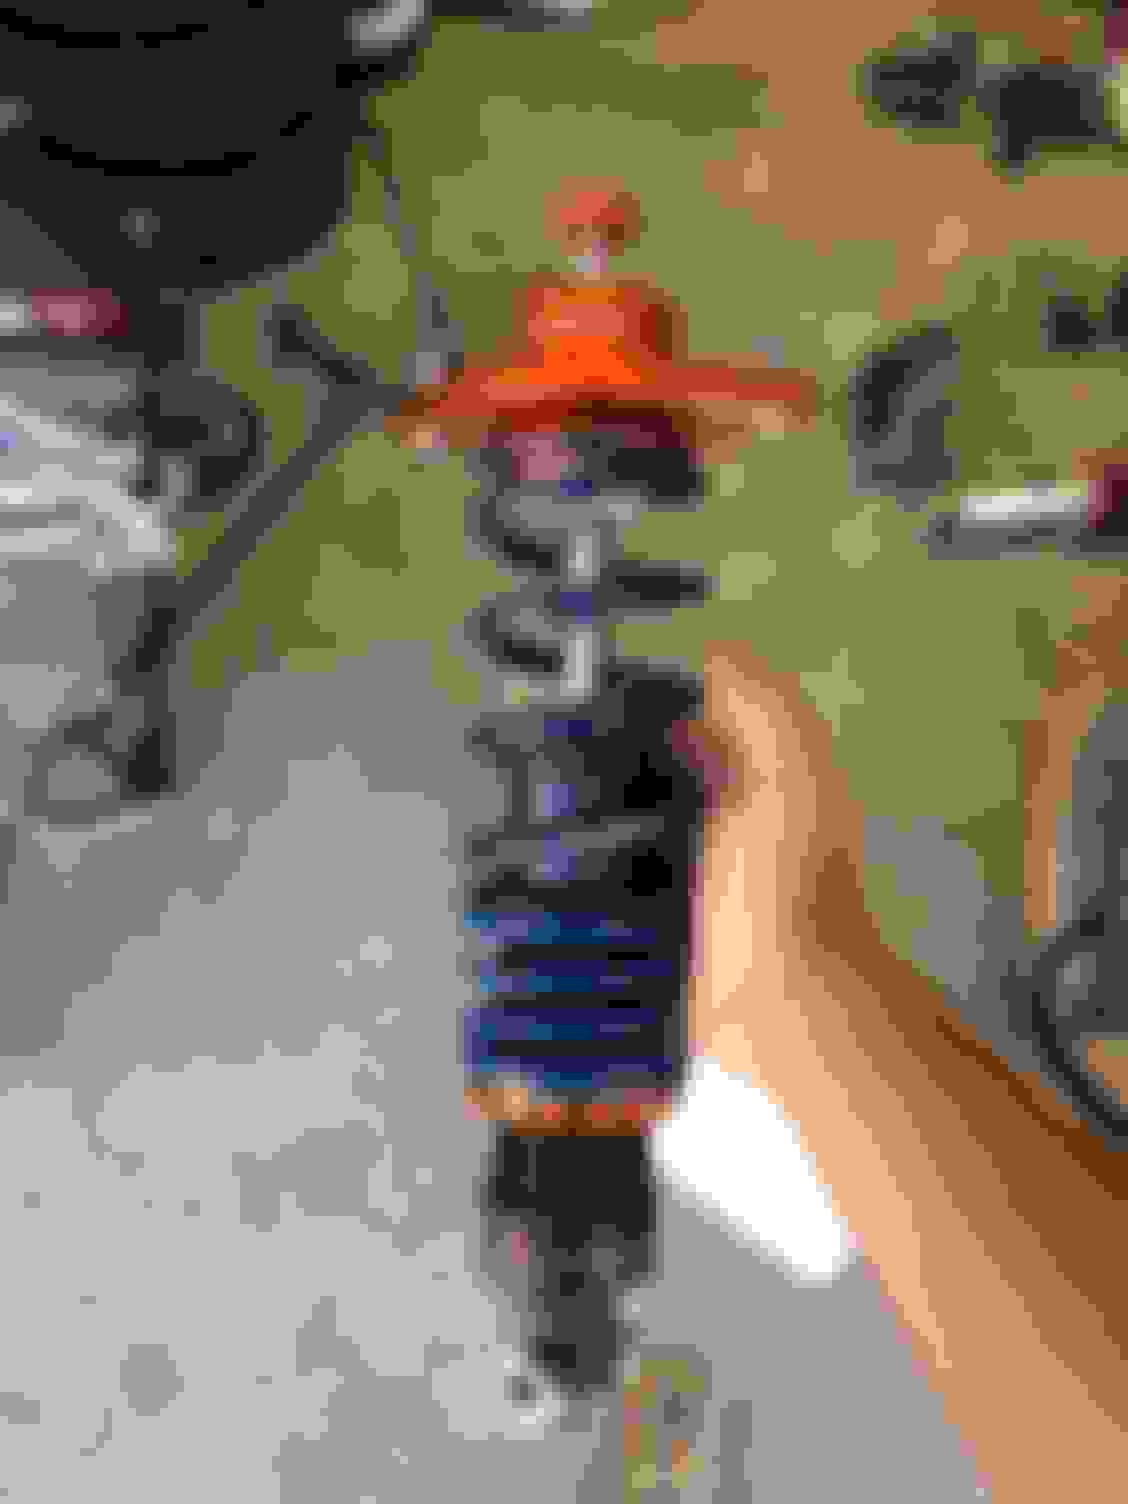
Supermiata Big Grip Kit Falken Azenis (cheapest tires I could find that had decent ratings) Strip it out. Last owner was NASTY! Bye bye wrecked carpet Old Blown out Coils, trashed boots, bad bushings. XIDAS
With all this re-installed I took the car to a race shop here in Denver and had it aligned with Supermiata dual duty alignment and corner balanced.
At this point I was ready for my first track day in this slow clown car that corners harder than a hooker on east Colfax.
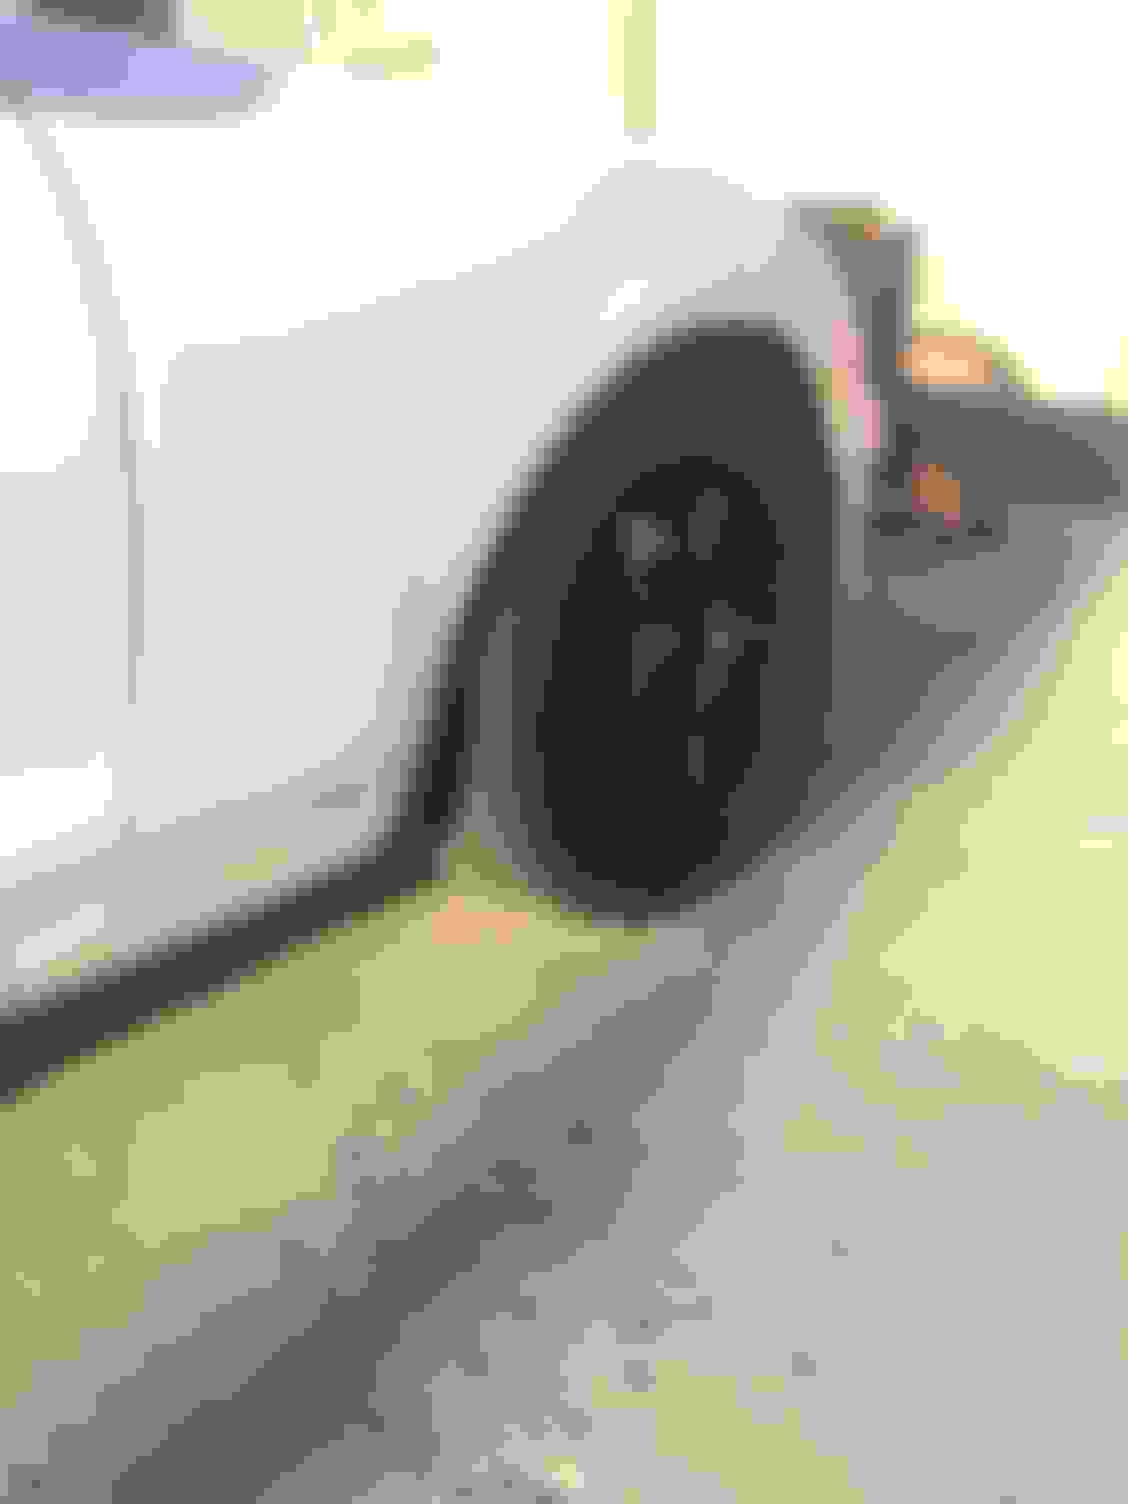
Except the car was NOT. Giving the car the once over before the track day, I found two, yes two, cracked wheels. No bueno. Time for new wheels.
That is Not what you want. Anyways, went with the cheap *** tire rack 15X9's and had to pay for a new tire job (yes that is different than a tug job) about 2 days after the first one. Lovely. Had to roll the fenders quite a bit for the wheels to fit, and i DO NOT own or know anyone with a fender roller. So I used a heat gun and a large hammer. Worked wonderful (if you give NO ***** about how your car looks)
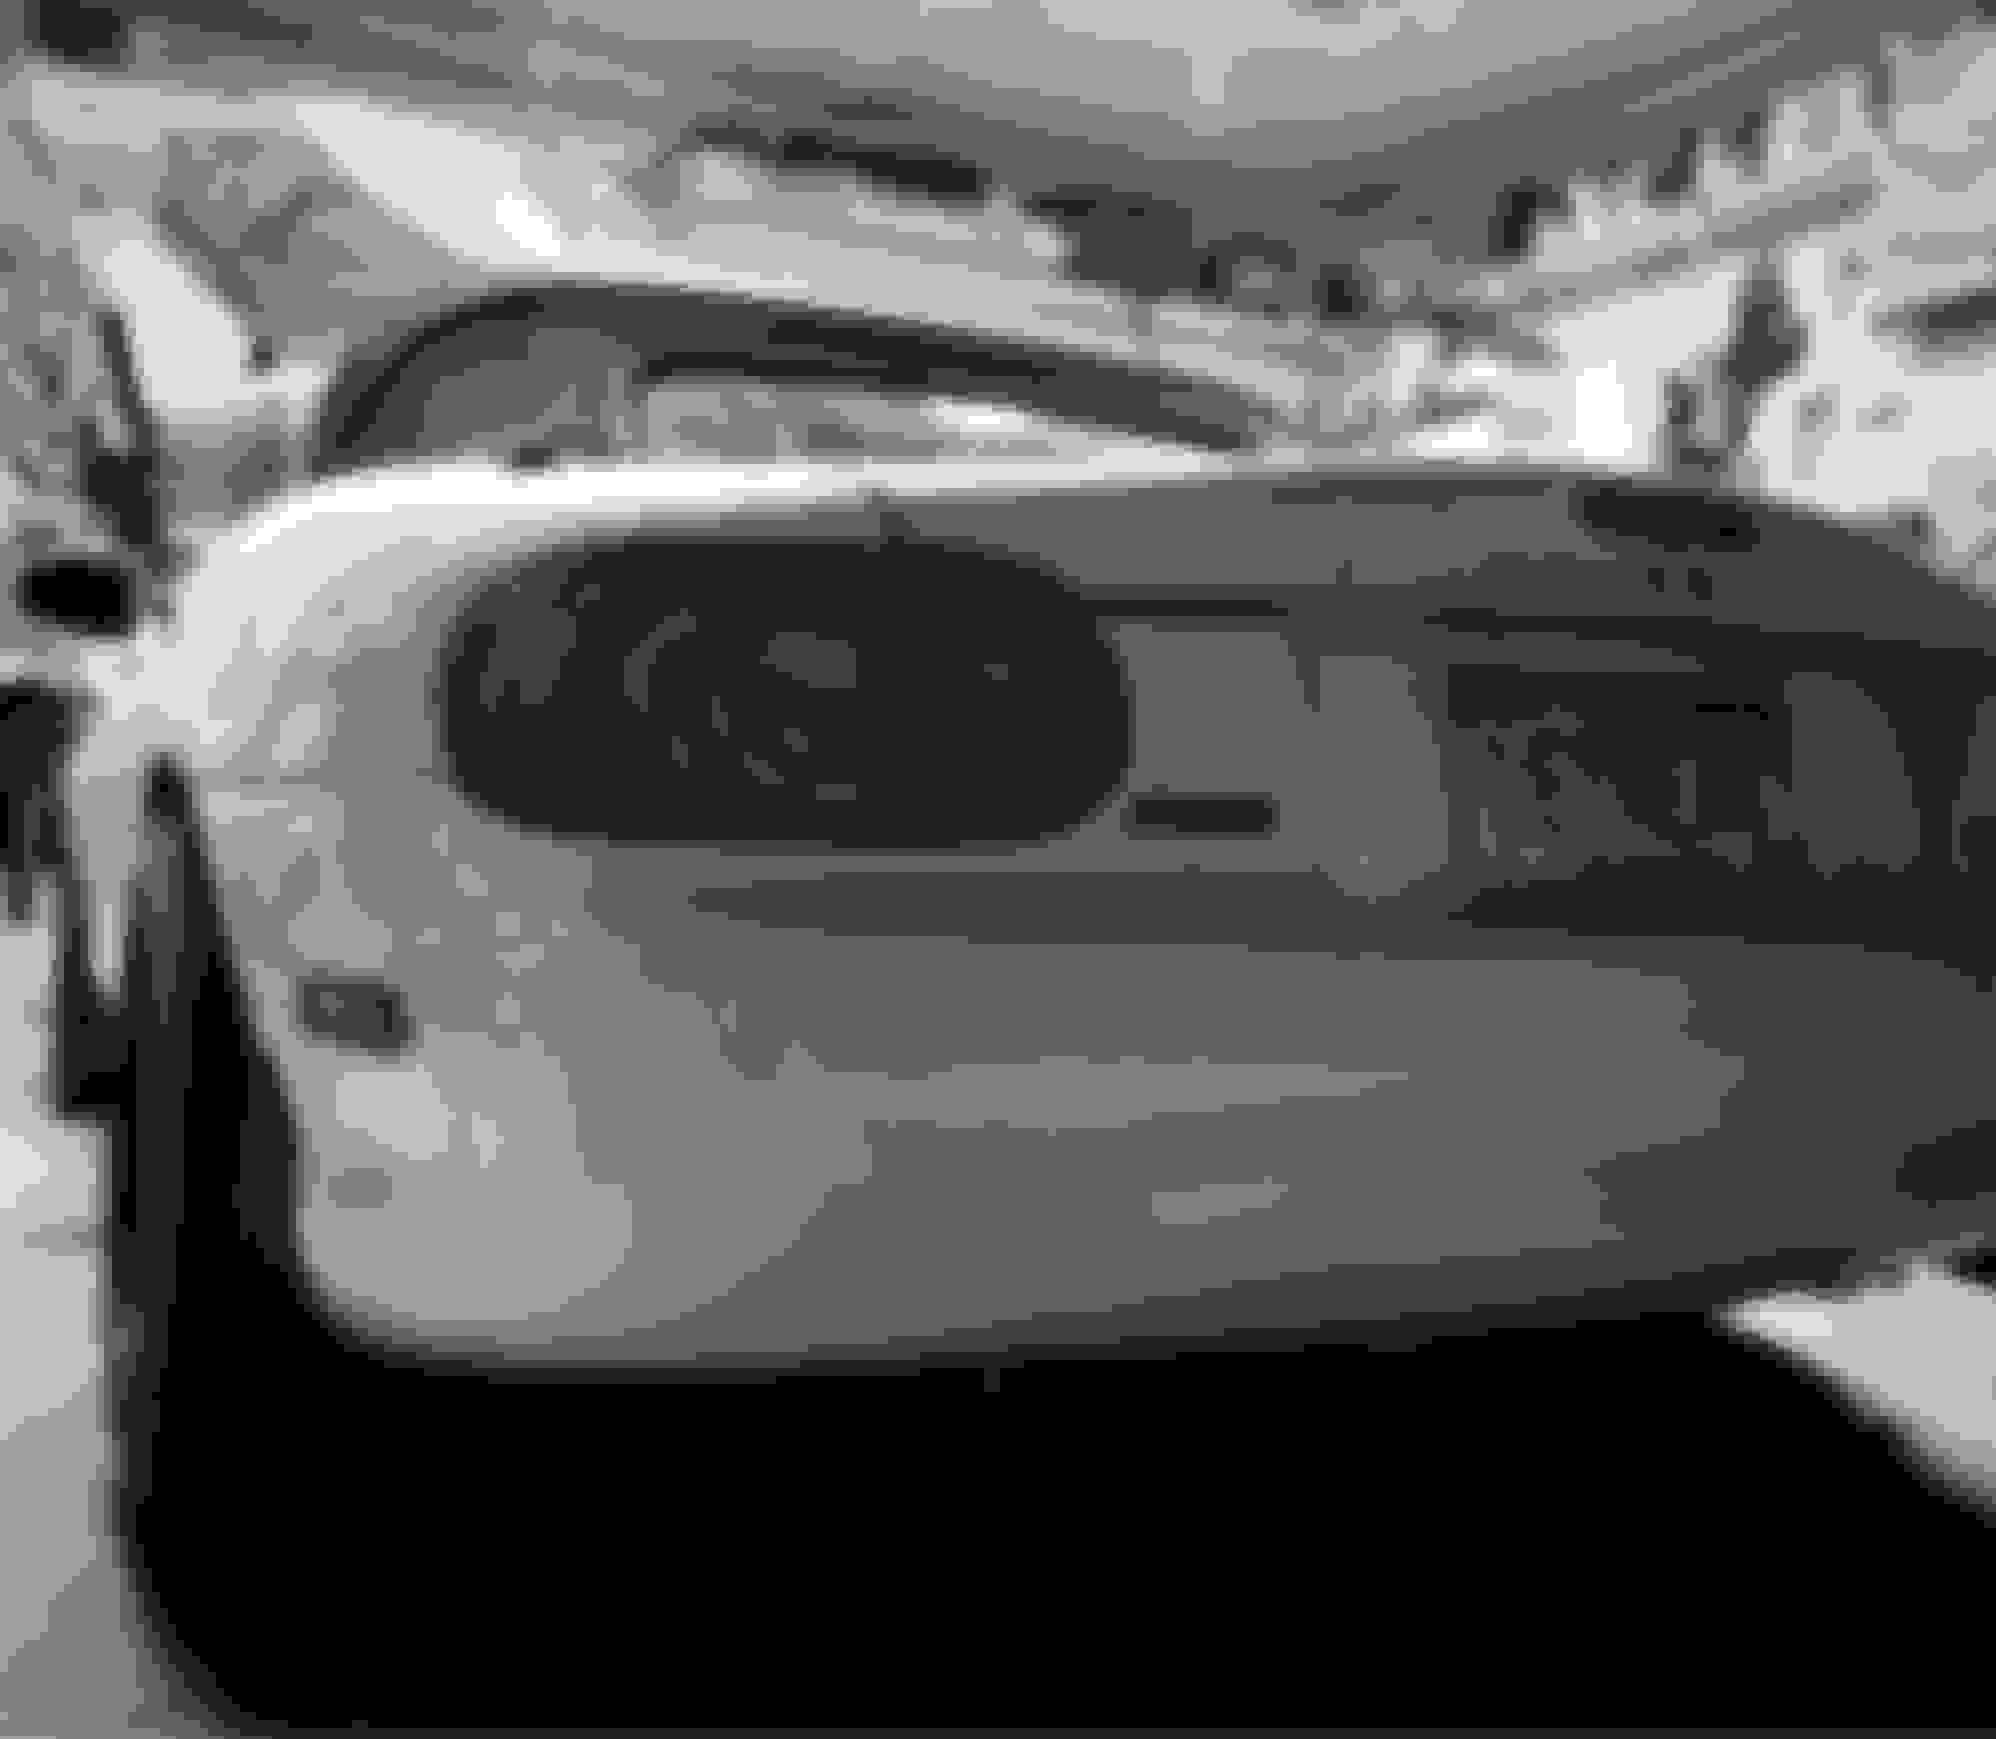
Got the car plated. Went with the absolute most DB thing I could come up with, because why not?
LET 'ER EAT!!!! although my wife now likes to point out it looks like le' treat. French clown car it is then.
At this point I finally got to drive this thing at a track. I have literally driven a car at a track once before, but I didn't crash, and ran somewhat respectable lap times. I was braking WAY too early.
After that day I was hooked. I got out one more time and a more experienced driver rode with me for two laps. His small tips HIGHLY improved my braking and speed through corners.
And this made me decide I need a bit faster car. I was stuck behind people ALL day that were slow in the corners and fast in the straights. Should I wait and do more track days with a slow car? Yes. Am I going to? No. Too obsessed with tinkering and building something stupid.
That just about brings this to where the car sits now. Except that the car currently looks like this.
Motor build and all those goodies are going to be updated regularly. Updates to follow.
I have NO, none, zero experience working on car motors. Strictly snowmobiles and motocross bikes. But a Miata is basically an oversized go cart so it should go off without a hitch? HA.
All my info comes from you people and my hundreds of hours of research on this site. This will be interesting and most likely cost me way too much money. I can not wait.
Work on the car was slow for a while, but I am back into making headway. Will update with progess pics soon.
Before I pulled the motor I installed a MS3PNP and practiced tuning/installed a Raceland header while it was NA for the last year. Now the car has been sitting for a WHILE (3-4 months?) while I have been super slow getting the motor built/turbo parts sourced.
Recent News:
Block is back from the machine shop after bore/hone/align hone/quick head job.
This week I got the block built and the head on, block has the following installed in it now.
Supertech 8:6 pistons
Manley Rods
ACL bearings
Arp main/head studs
Vavle job was done, and for now to keep things in budget I am running the stock valves, machine shop said they look great. I did do a angle valve job and new valve seals and valve guides as required and sadly NONE of my shims were small enough from the valves slightly moving up in the head. After a test 2.75 MM shim was bought I tested every bucket individually with that shim and did all the math. New shims should be here this week, but that was A LOT of extra dough I was hoping not to spend. Once the shims are here I can get the valve cover on and actually close the motor up.
Over the last several months I have been slowly snagging deals and buying stuff as I get a burr up my ***. Currently in the garage I have the following items waiting to be installed;
6 speed tranny to replace my current 5 speed (picked up from Yossi on the forms, great seller)
3.6 torsen diff (picked up from Yossi on the forms)
poly diff bushings
supermiata coolant re-route
miata source de-powered steering rack (picked up for $100 never used on craigslist from some guy that sold his miata before he spent all his money on it)
supermiata clutch/lightweight flywheel
new master cylinder
new slave cylinder
heater crossover tube (deleted AC a while a go and never put a tube in, need that defrost when its cold)
radiator support bar (from Matt Russell on the forms)
DW200 fuel pump
all kinds of seals/gaskets etc. for everything to be replaced in the motors and the new (used) parts
and probably other stuff I forgot about.
The turbo plan was to buy a used 6258 setup that another member on this form ran for a bit before he blew a ringland. Sadly he is swamped with personal life and that deal fell through after a long time (7 months) discussing it with him (no hard feelings Ryan, you seem like a good dude and perhaps I will still pick some of that stuff up in the future!)
This leaves me with a built motor and a shitload of work and no turbo components, so I said **** it and bought a bunch of stuff this week.
Items purchased this week that I hope show up before the weekend/start of next week.
kraken 6528 low mount kit (mani/dp)
FlowForce 960 injector kit
Flow force LS coil kit
ATI super damper
This leaves me with a few things to order still, and if anyone has this stuff laying around that they want to get rid of, please PM me. I am a very motivated buyer right now.
EFR6258 turbo
Oil/Coolant Lines for turbo
Oil pressure gauge/sender
Boost gauge
Boost controller (thinking manual cause its cheap/easy. But really like the idea of a multiport electronic so I can run low spring pressure and do boost by gear/low boost setup for track etc with control through megasquirt)
intercooler / custom piping setup
catch can setup (need to revisit "the official catch can thread" and decide how I want to plumb it all)
hood vents
custom 3" exhaust (probably going to run DP only to get the car running etc. then have a shop in town build a custom DP back) I have 1 more year before I need to pass a rolling sniffer test for emissions.
Anyone have thoughts on the following;
Built motor and I want to break it right. I know the car runs pretty well on the tune I have in it now (N/A / stock injectors). If I were to install all the turbo stuff, new inejctors etc. I am not sure its going to run well initially (if hardly at all until I get it somewhat sorted).. I am worried I may have to go to easy on it/figure out how to get it idling before I can actually drive it and It may glaze the rigns/walls. Am i worrying too much? Should I put it all together N/A with stock injectors etc. to break the new motor in properly (easy yet hard driving) how I would like without worring about re-tuning right away?
I would prefer to built it all up with the turbo/new injectors etc. since its so much easier with the motor out, but super concerned with the inital tune for break in, thoughts?
Anyways. Hopefully this thing will be officially turbo and tuned before mid November.
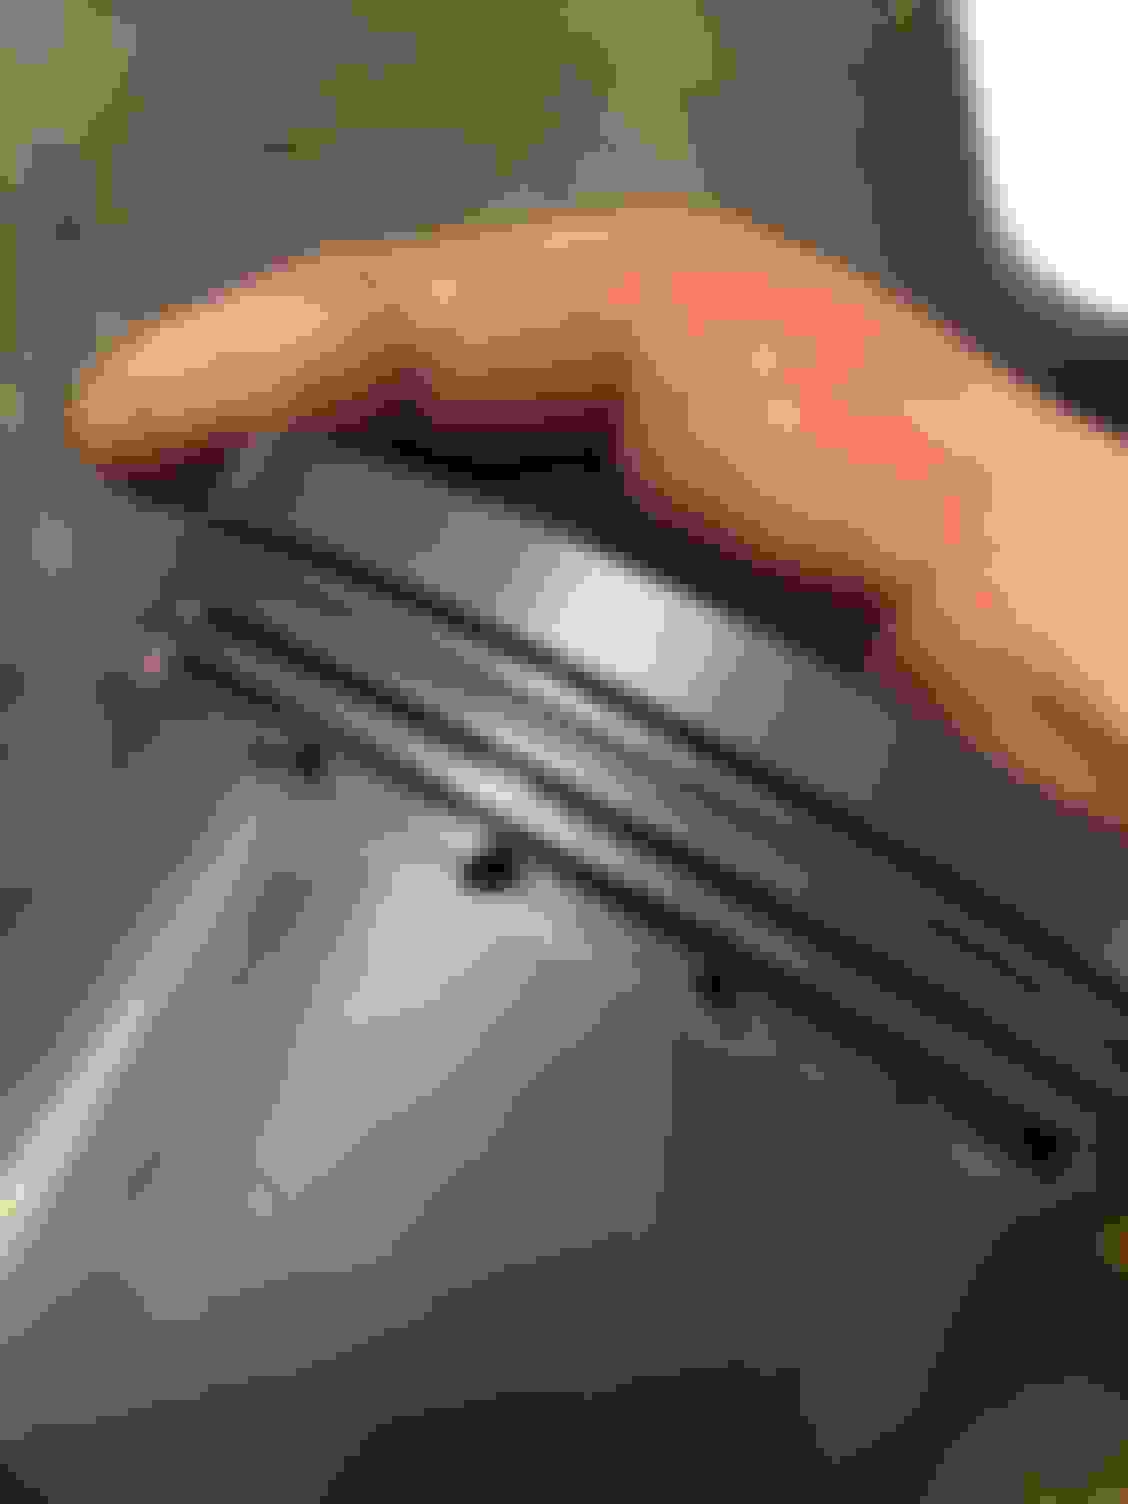
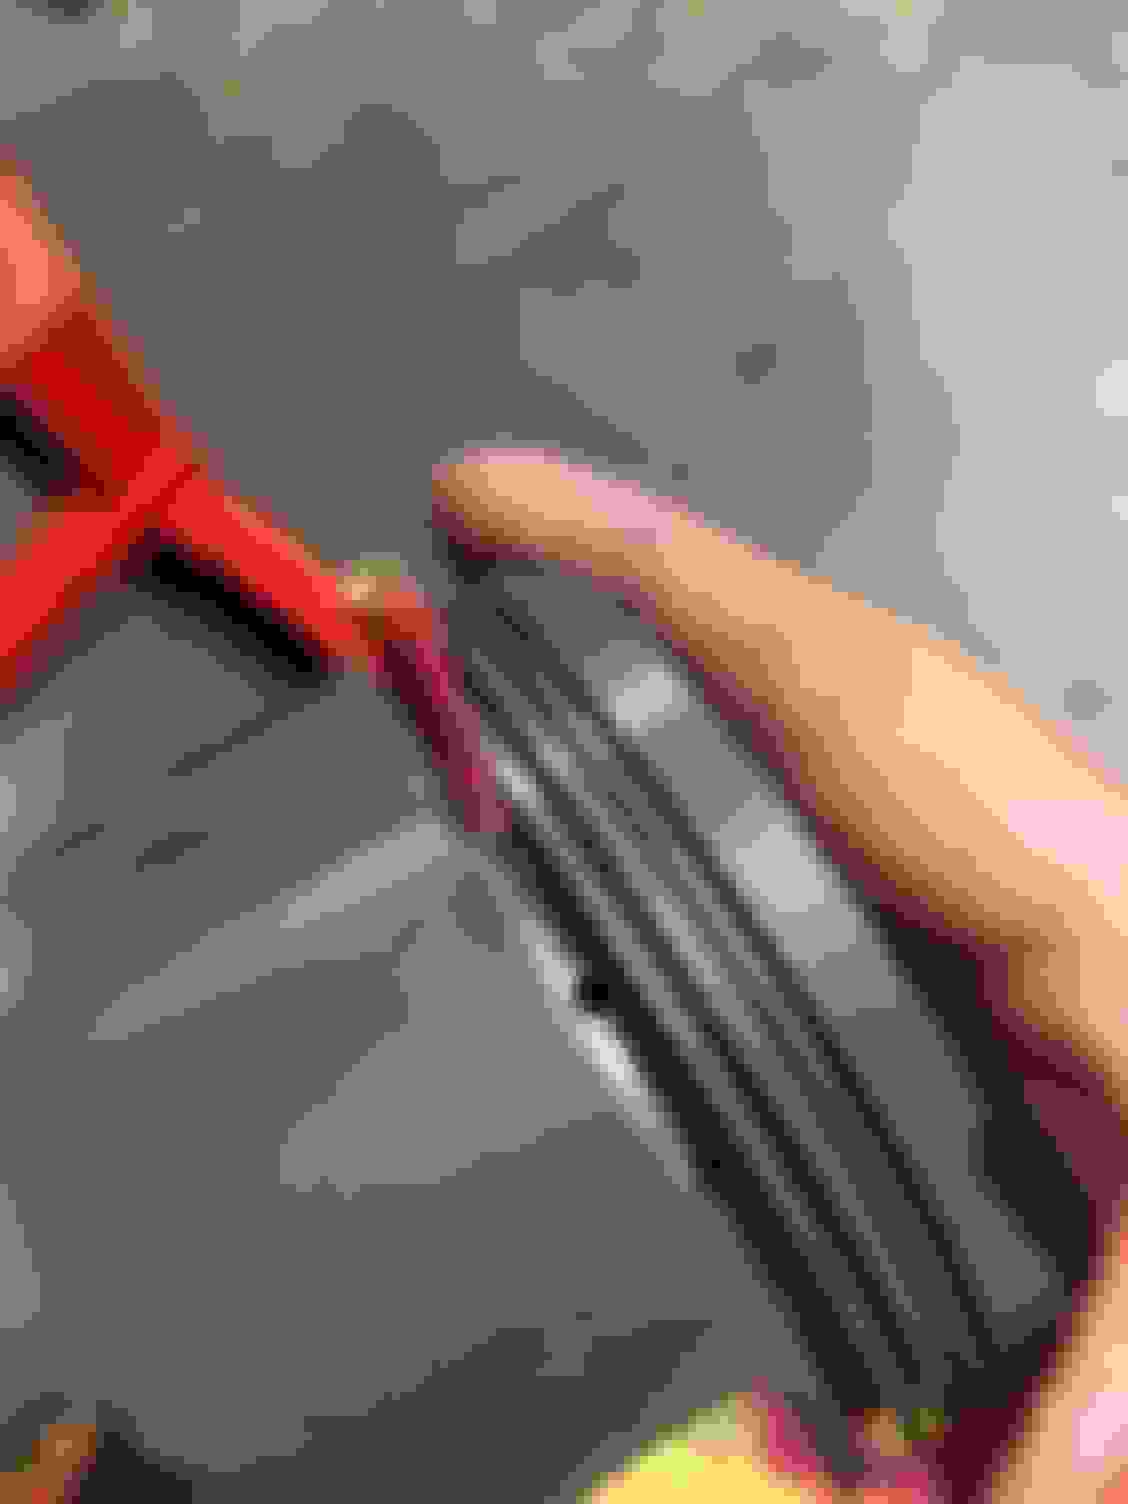
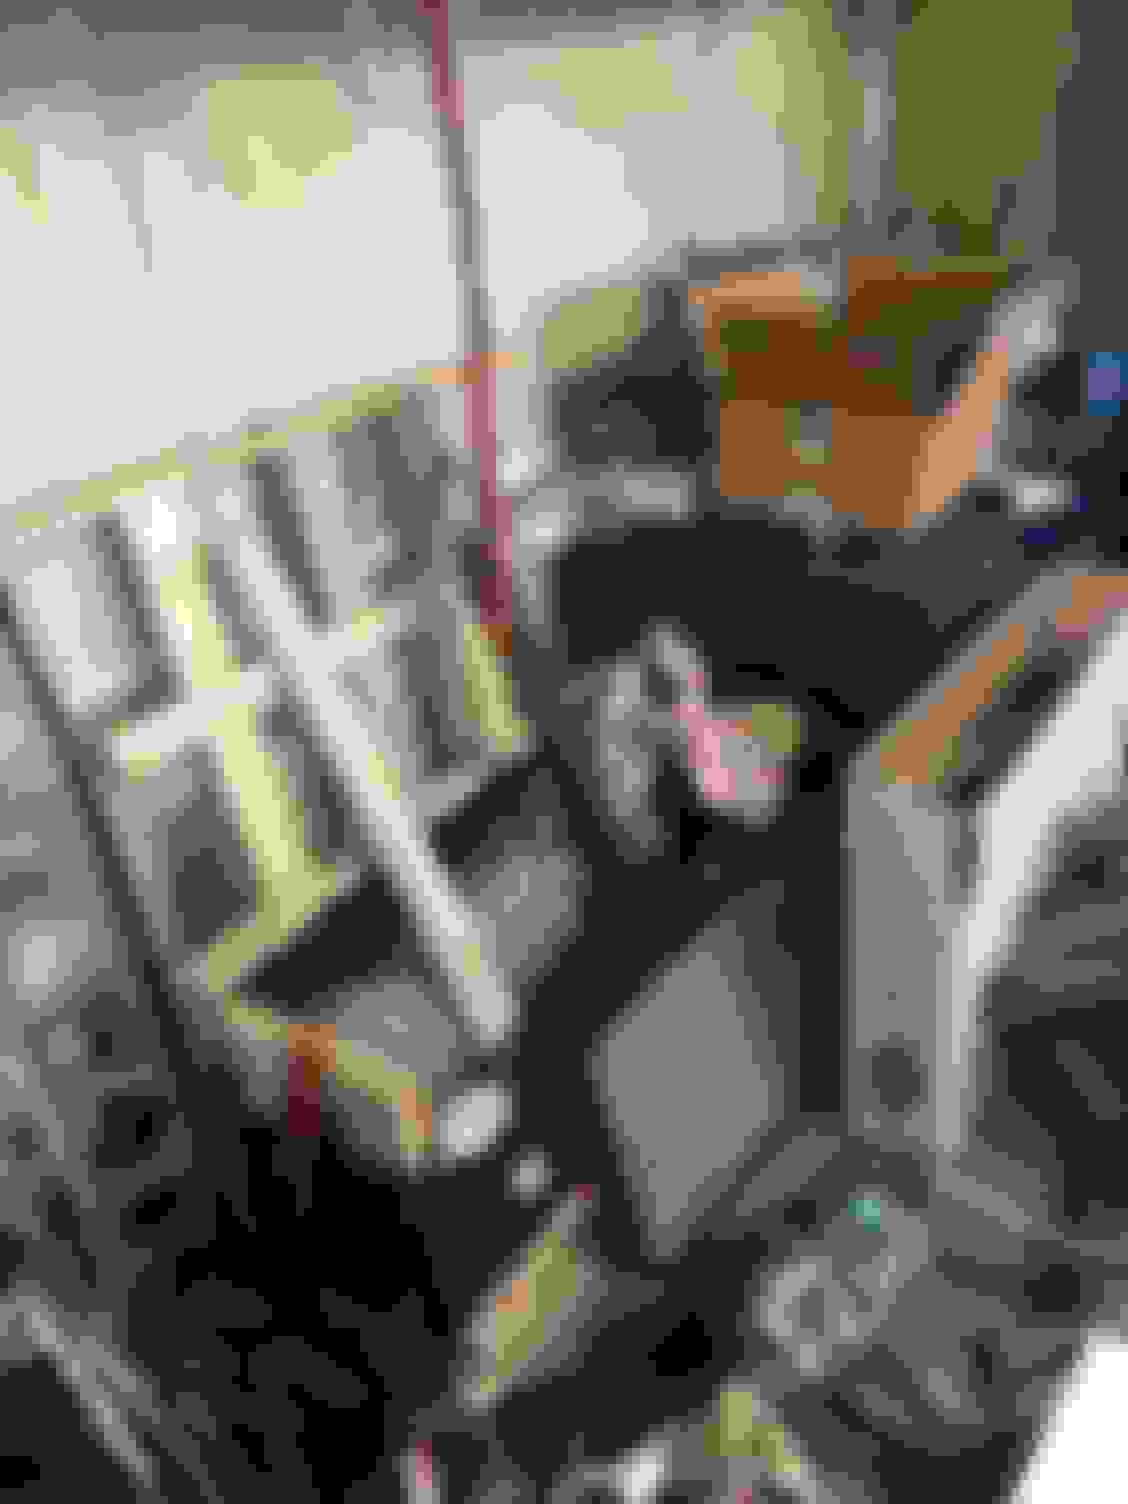
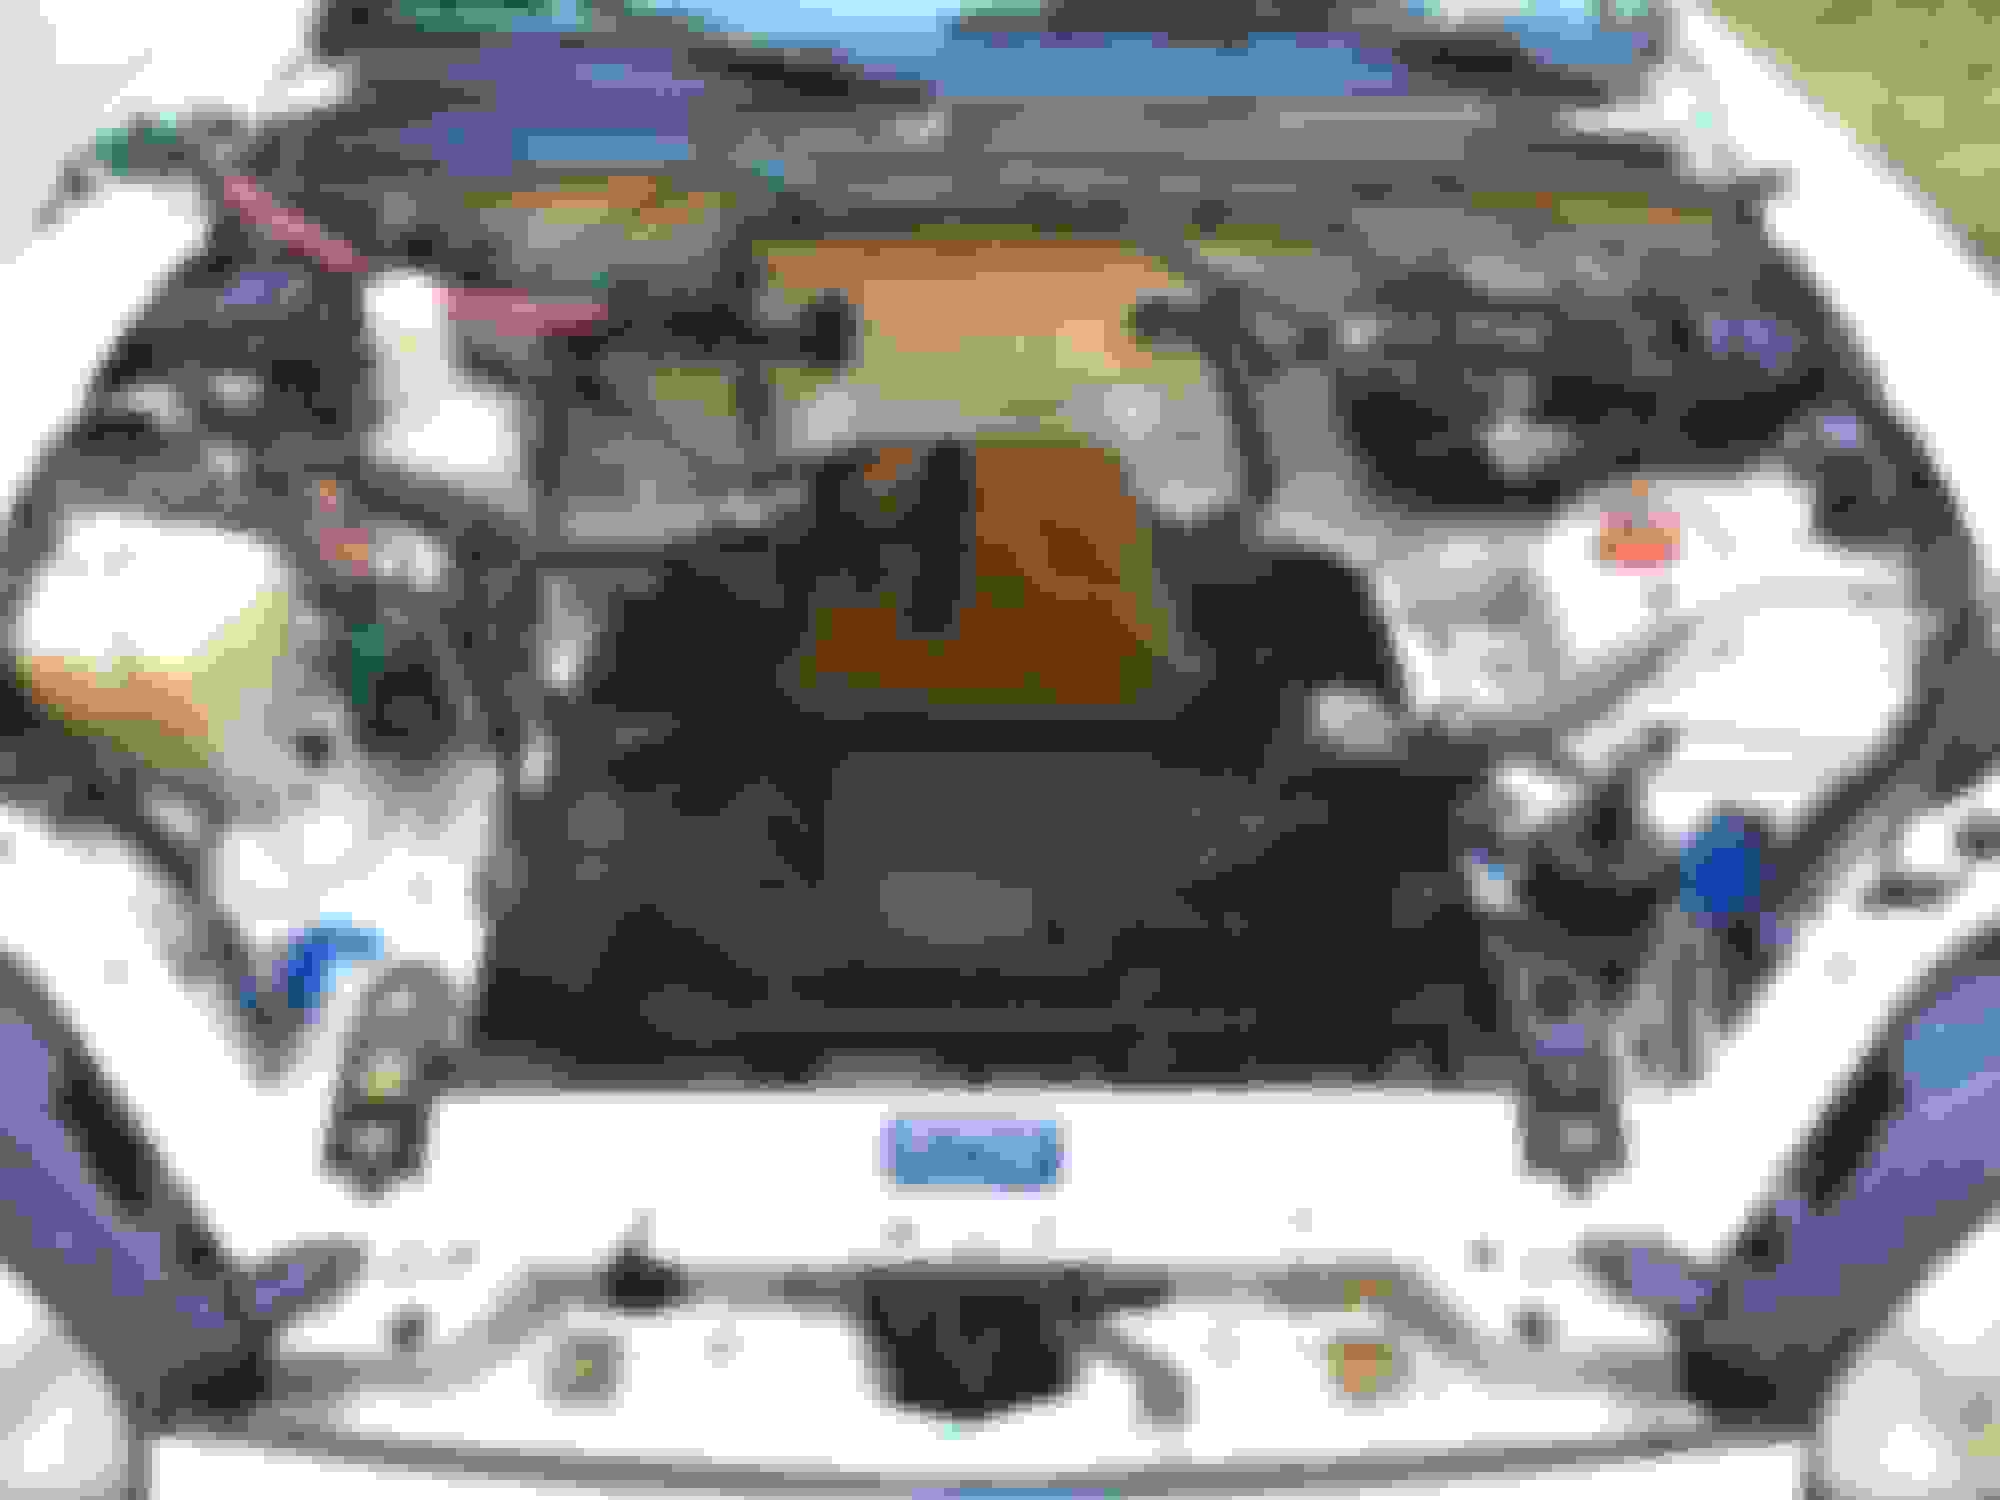
Here are some photos of pulling/stripping the motor. I also pulled the tranny and rear diff. Pulling the motor solo. Thank god for the engine leveler Not too dirty for never being washed. Motor getting stripped down in my stuffed garage. Head wasnt too bad Block looked pretty good. All good here. No chunks. Stripped to the bare block
Last weekends progress. Now just waiting on a bunch of parts to show up to move forward. I wish I had ordered more of this stuff ahead of time.
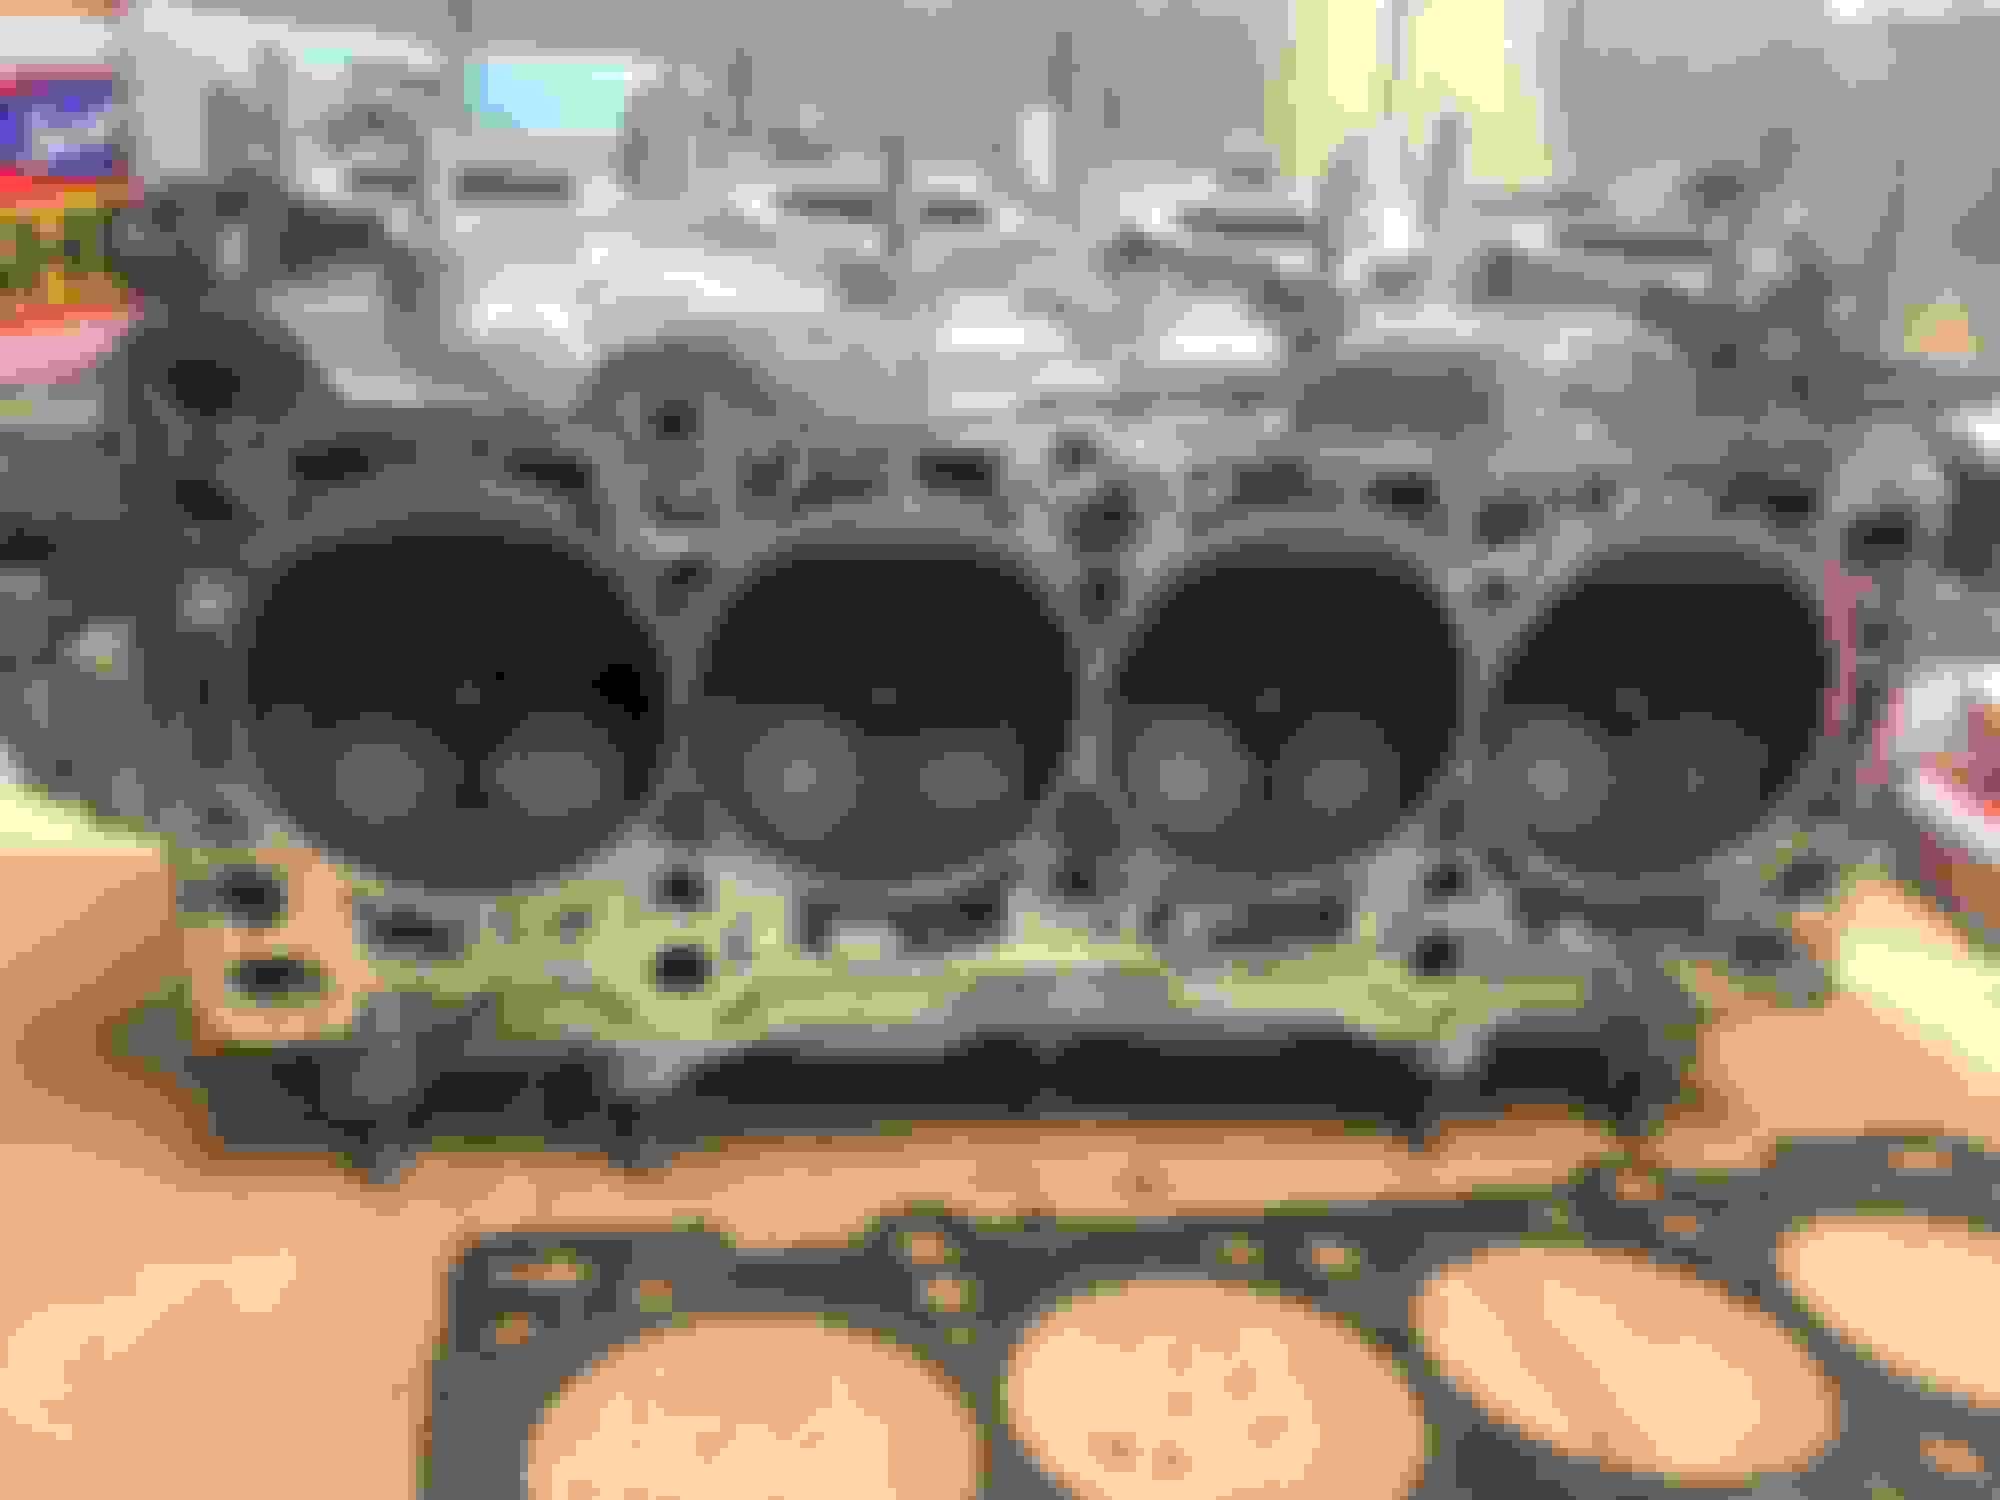
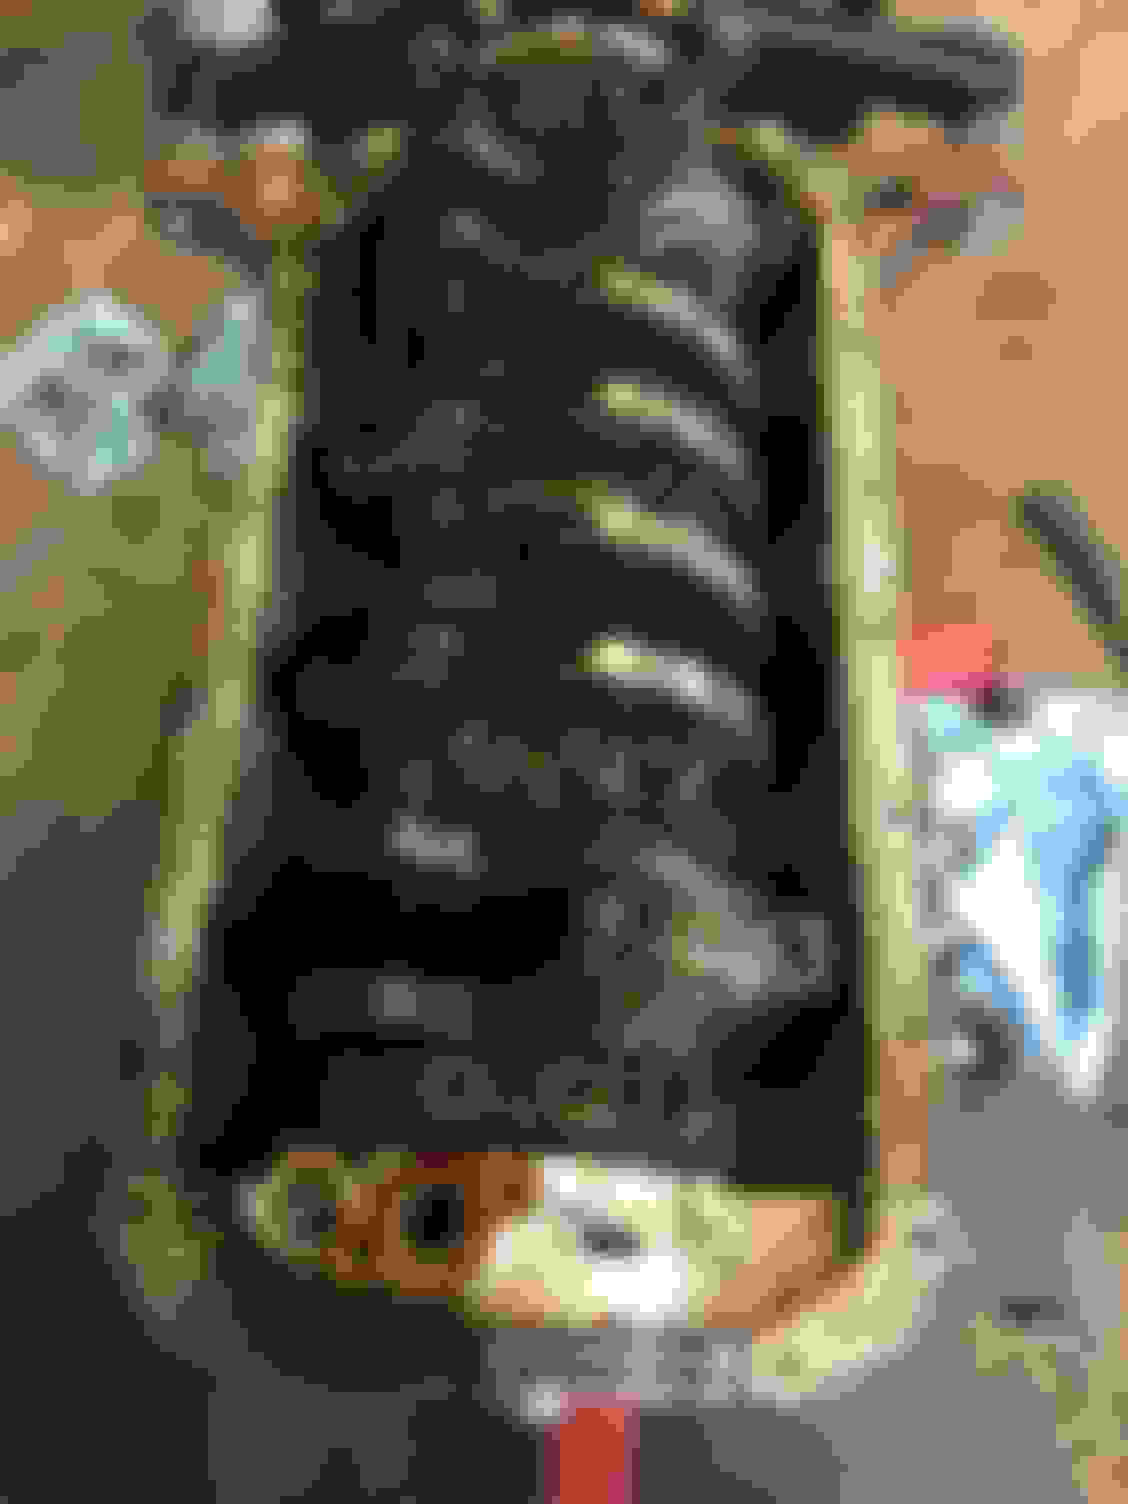
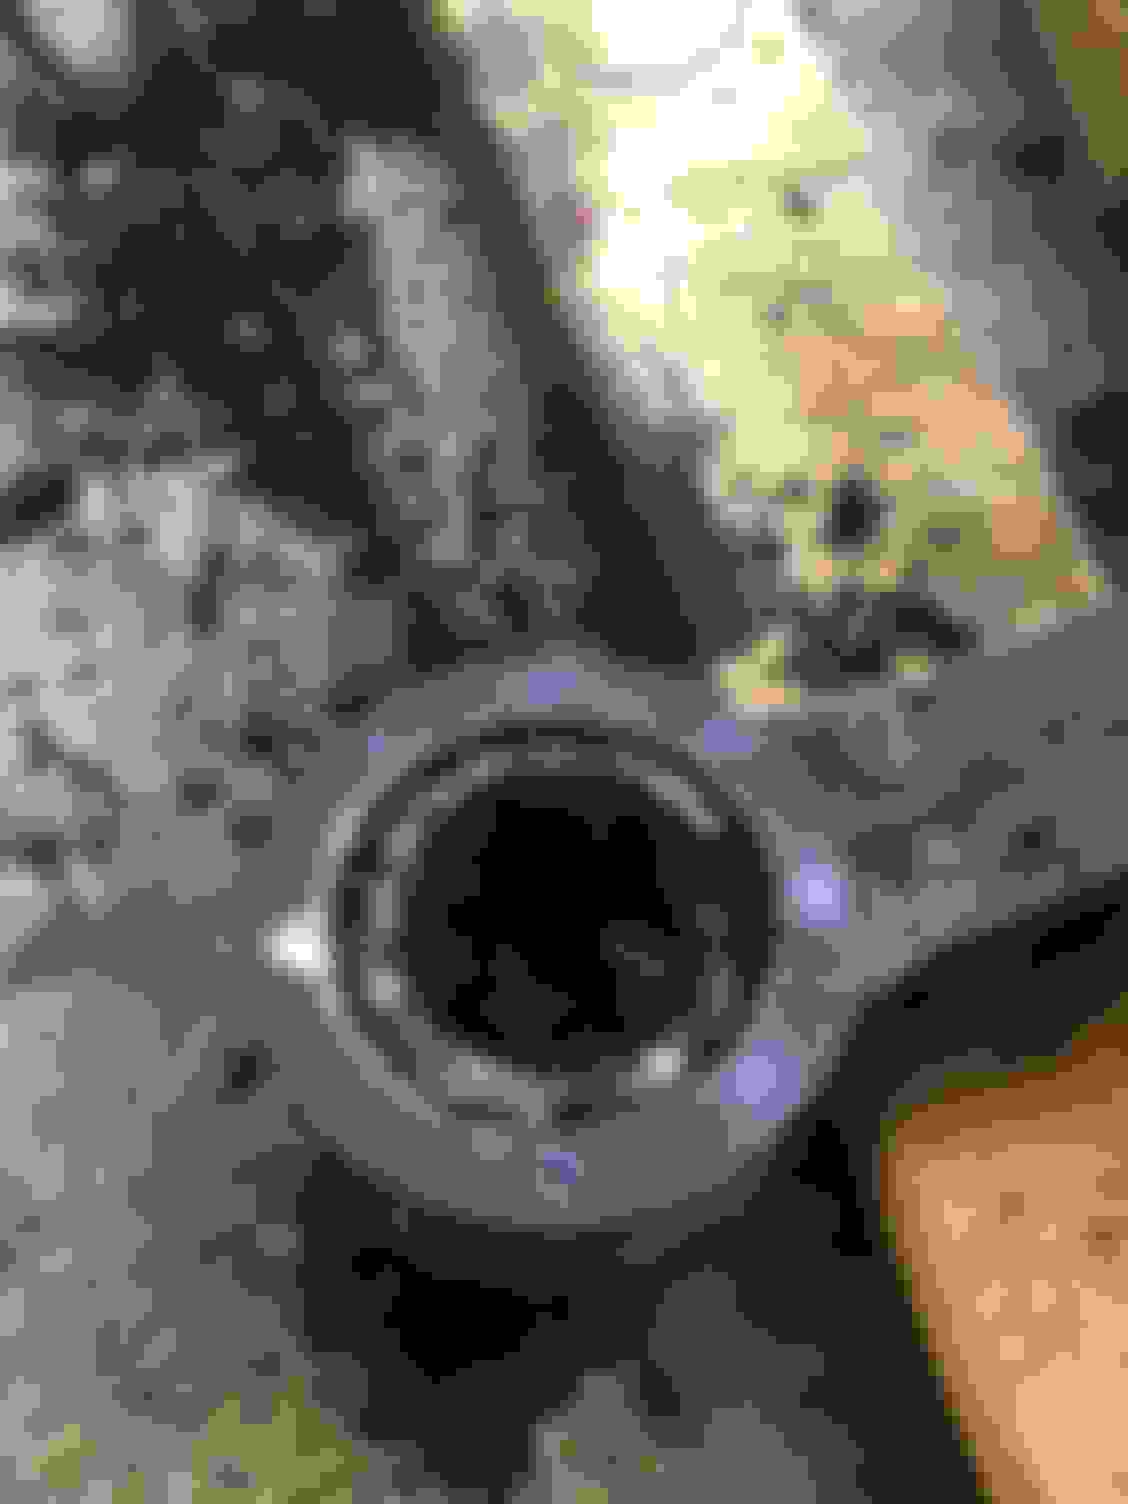
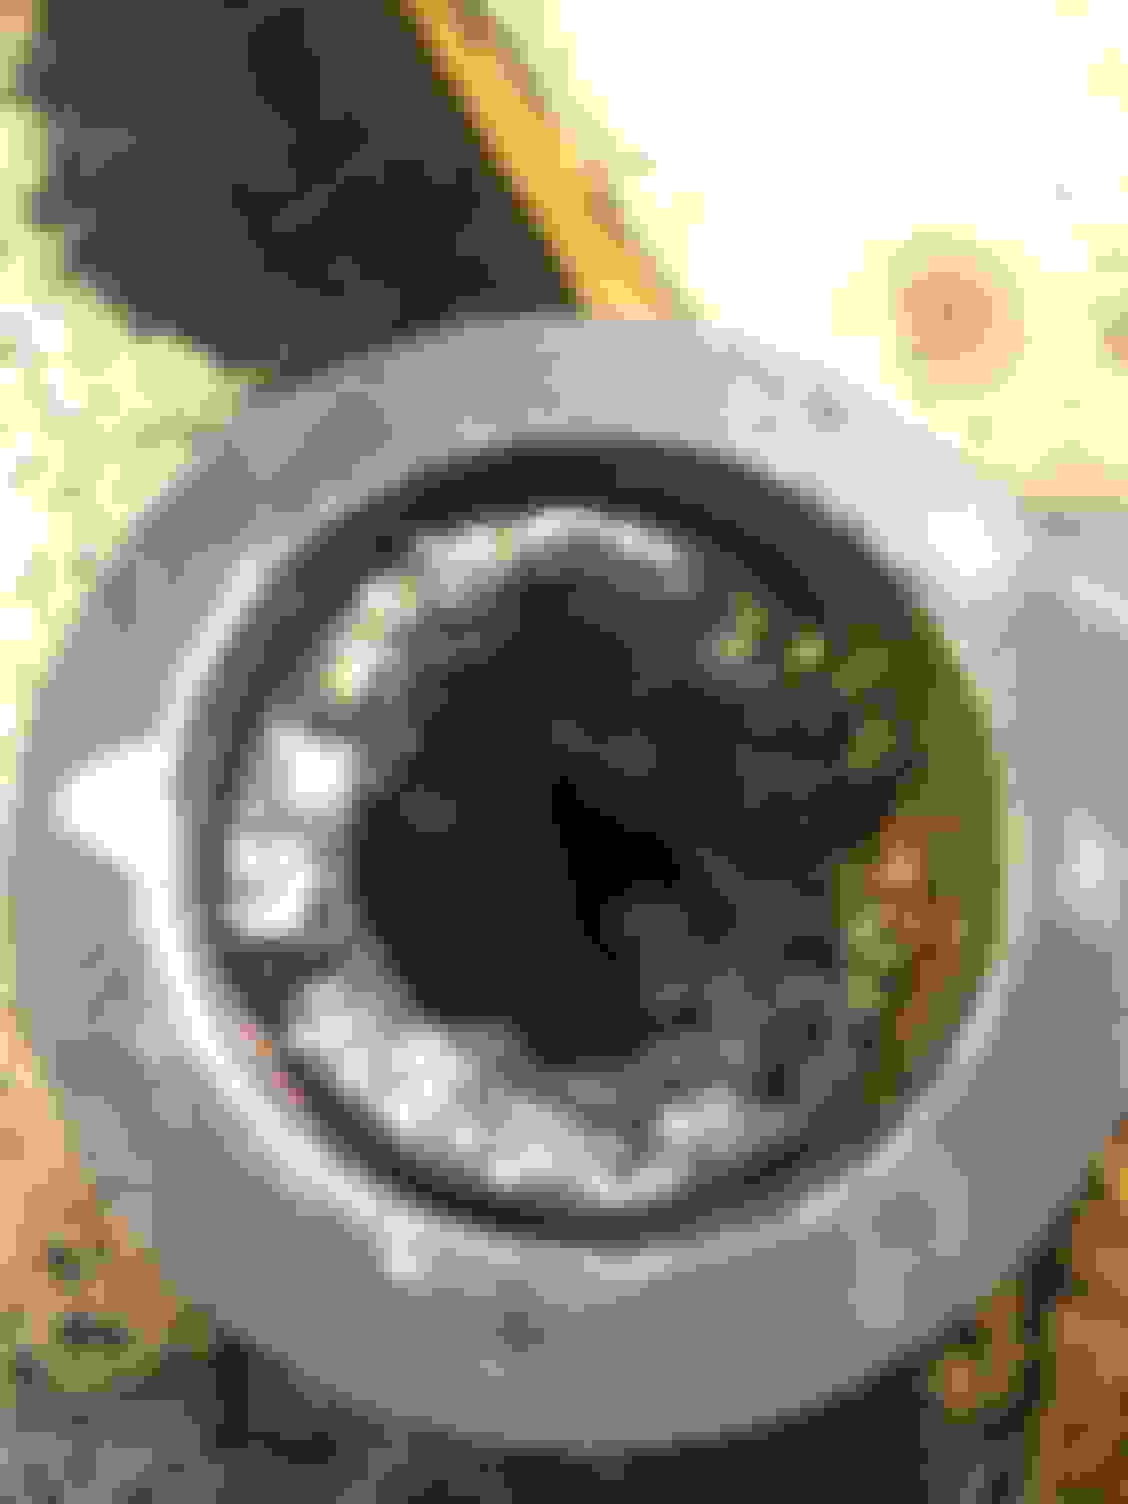
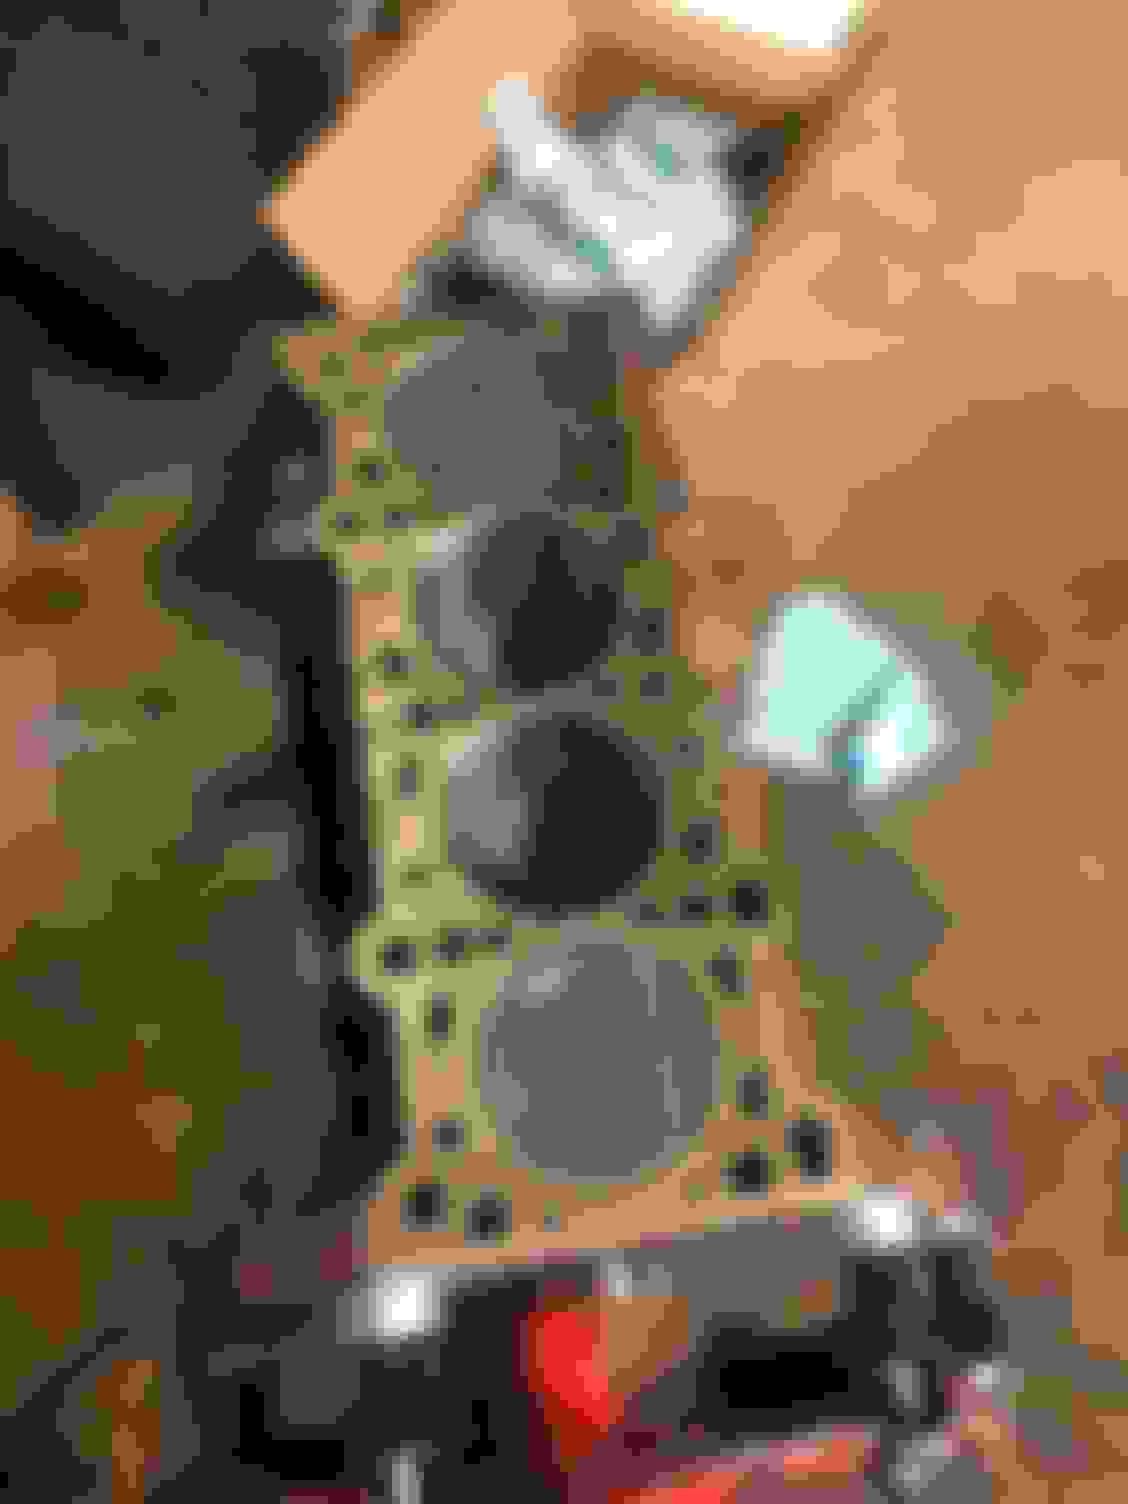
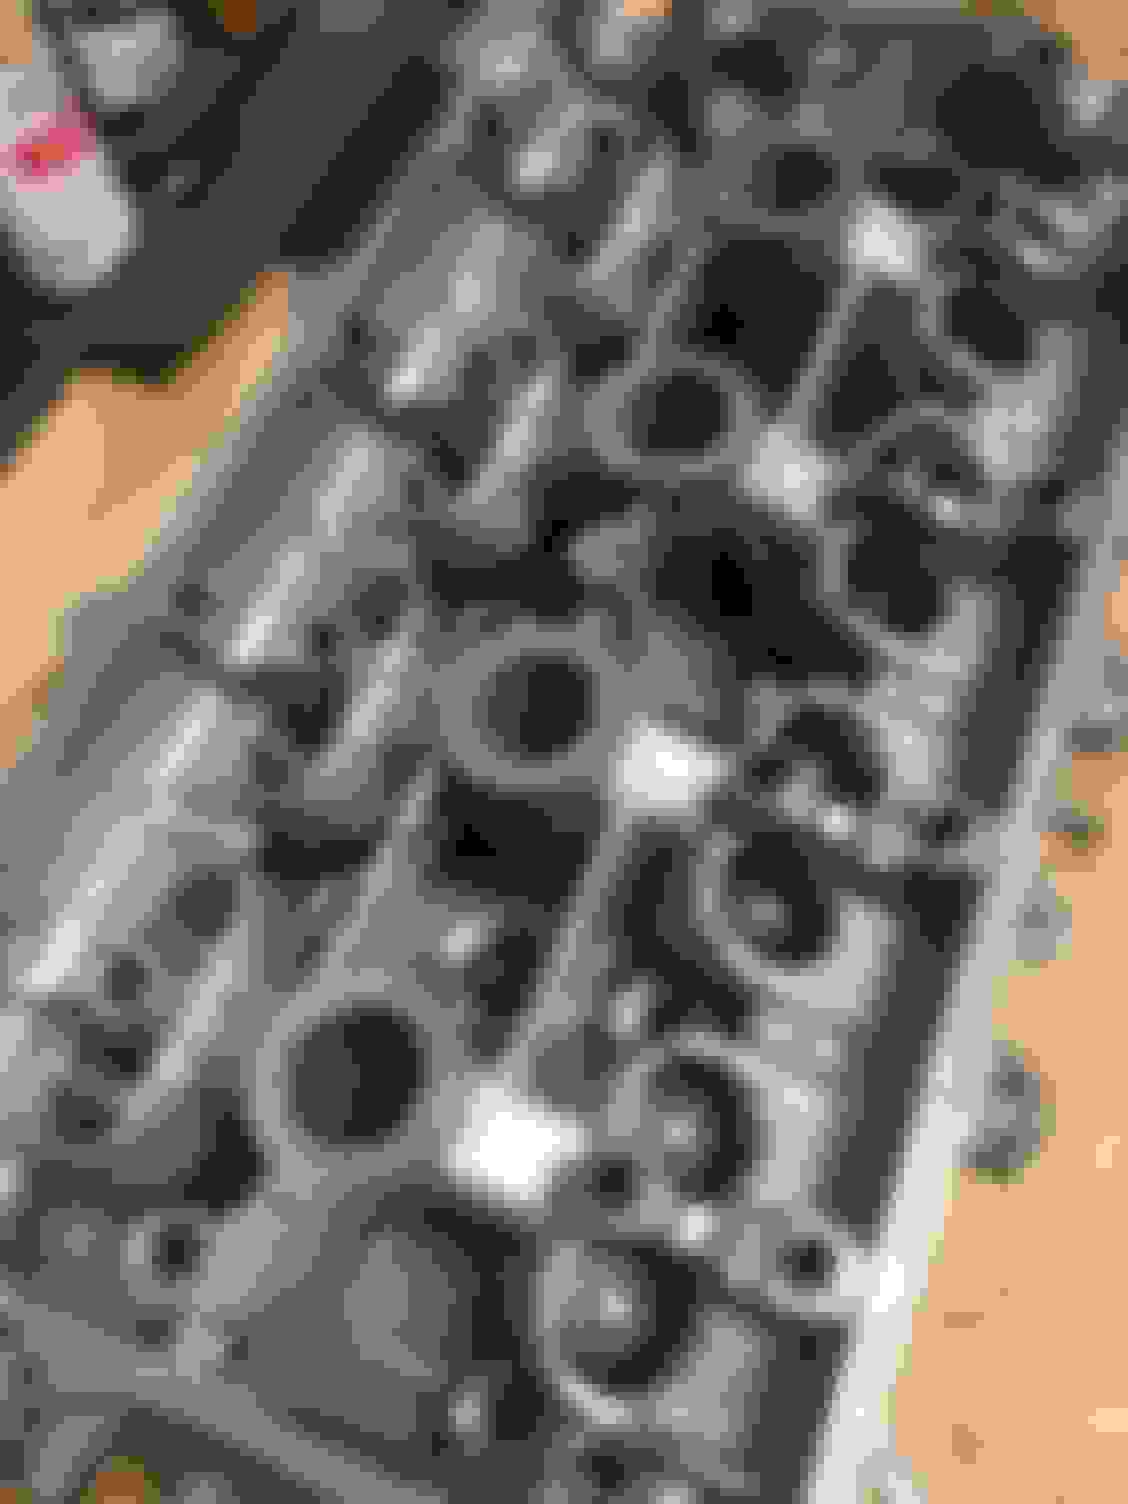
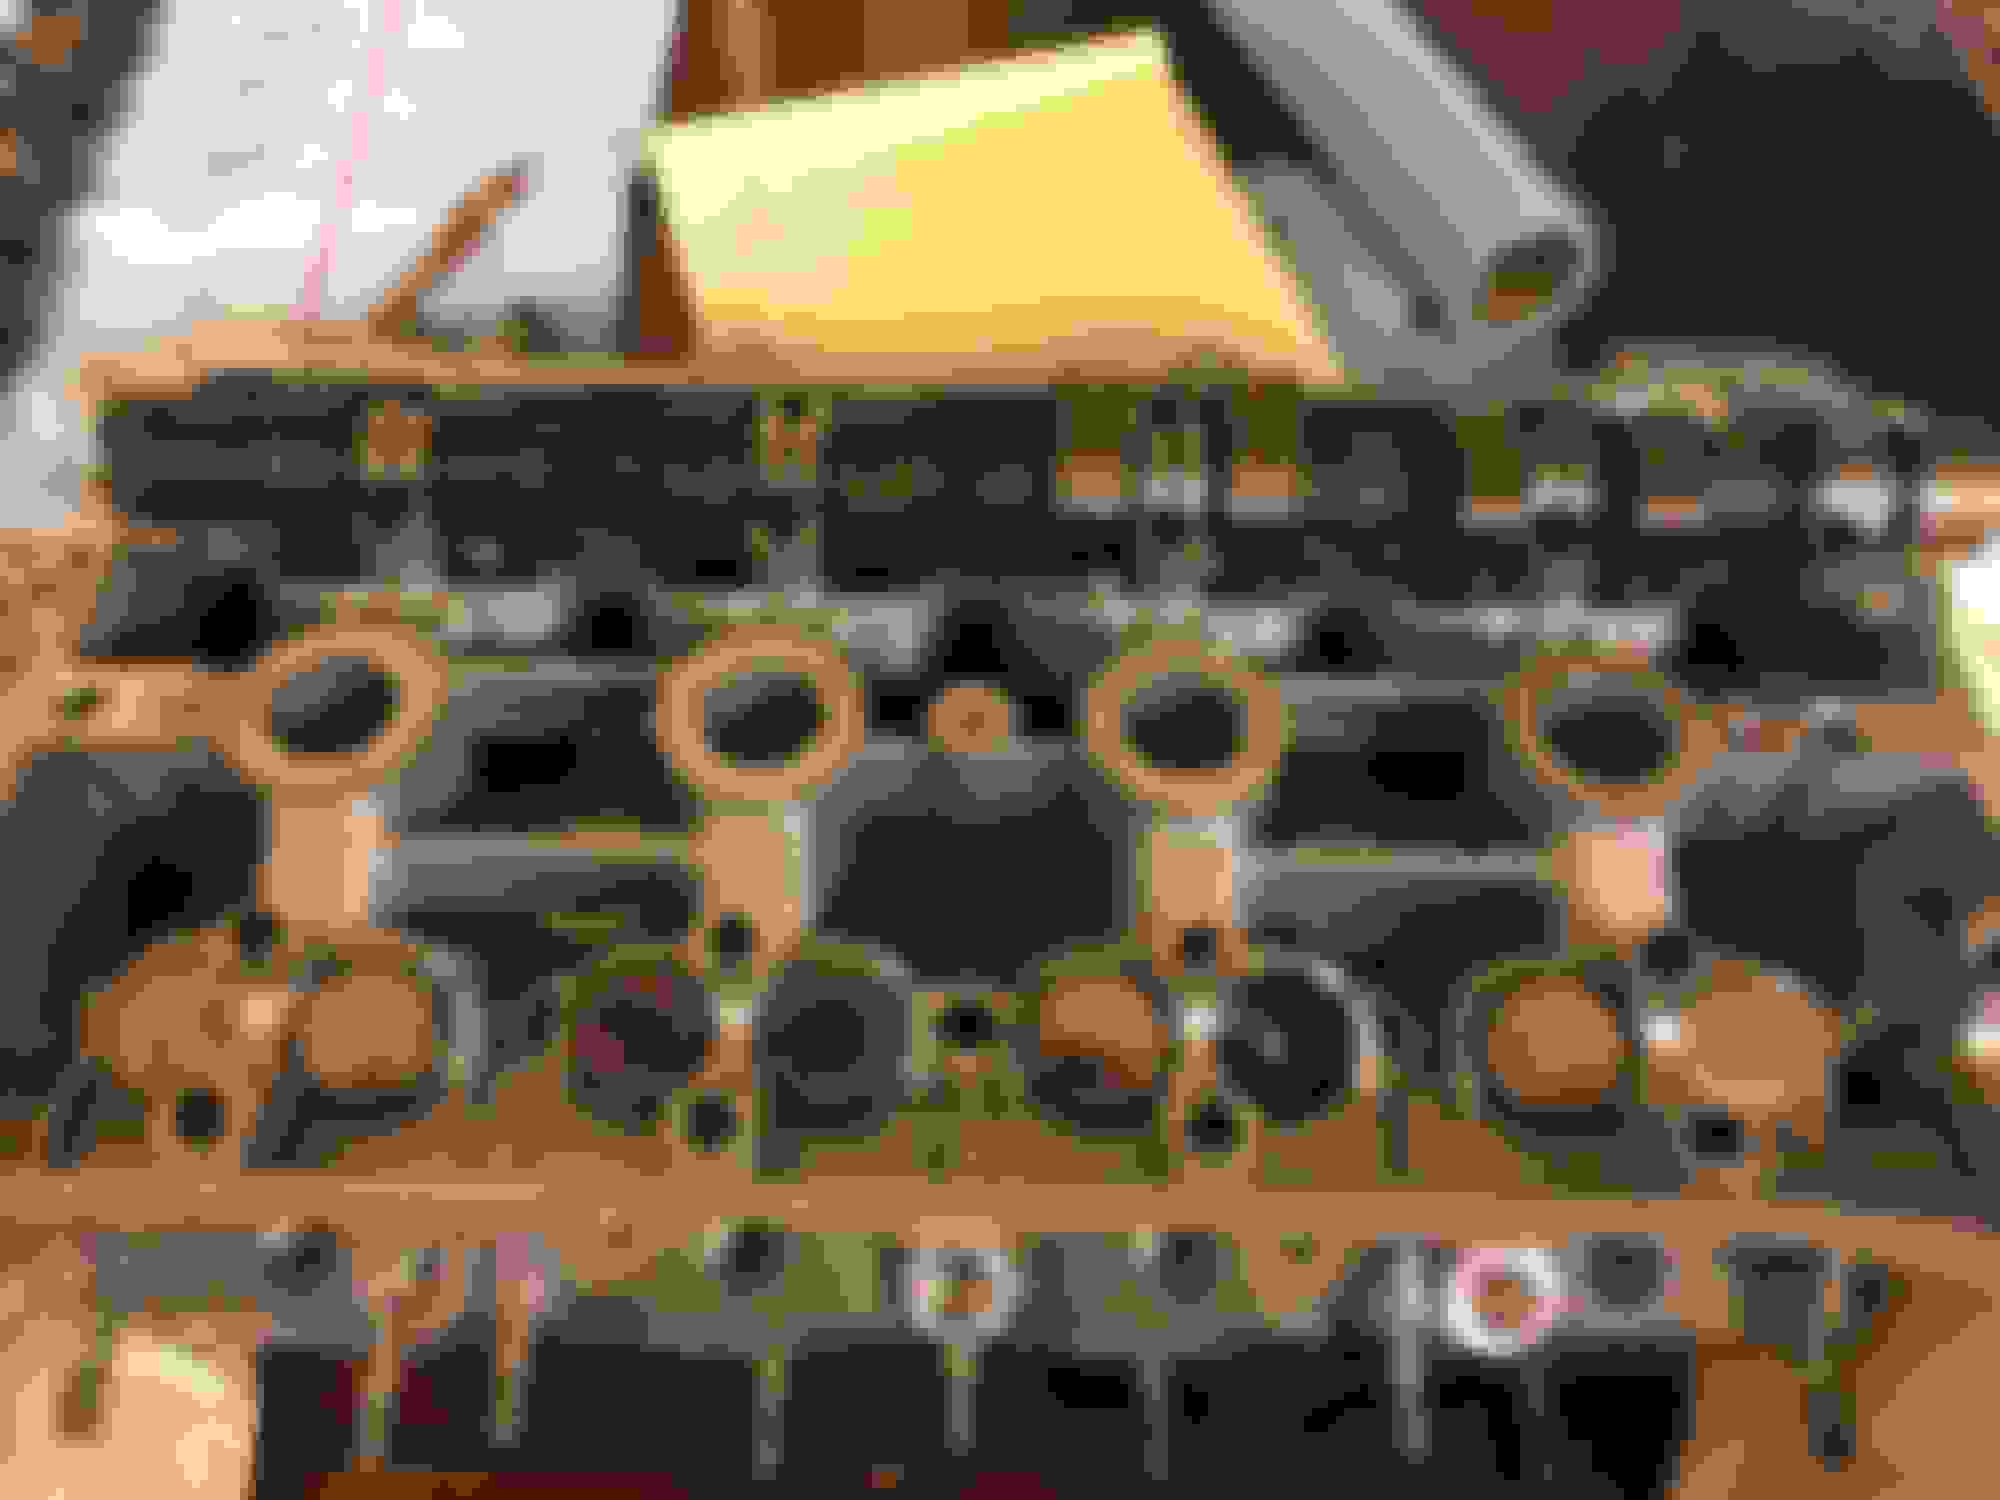
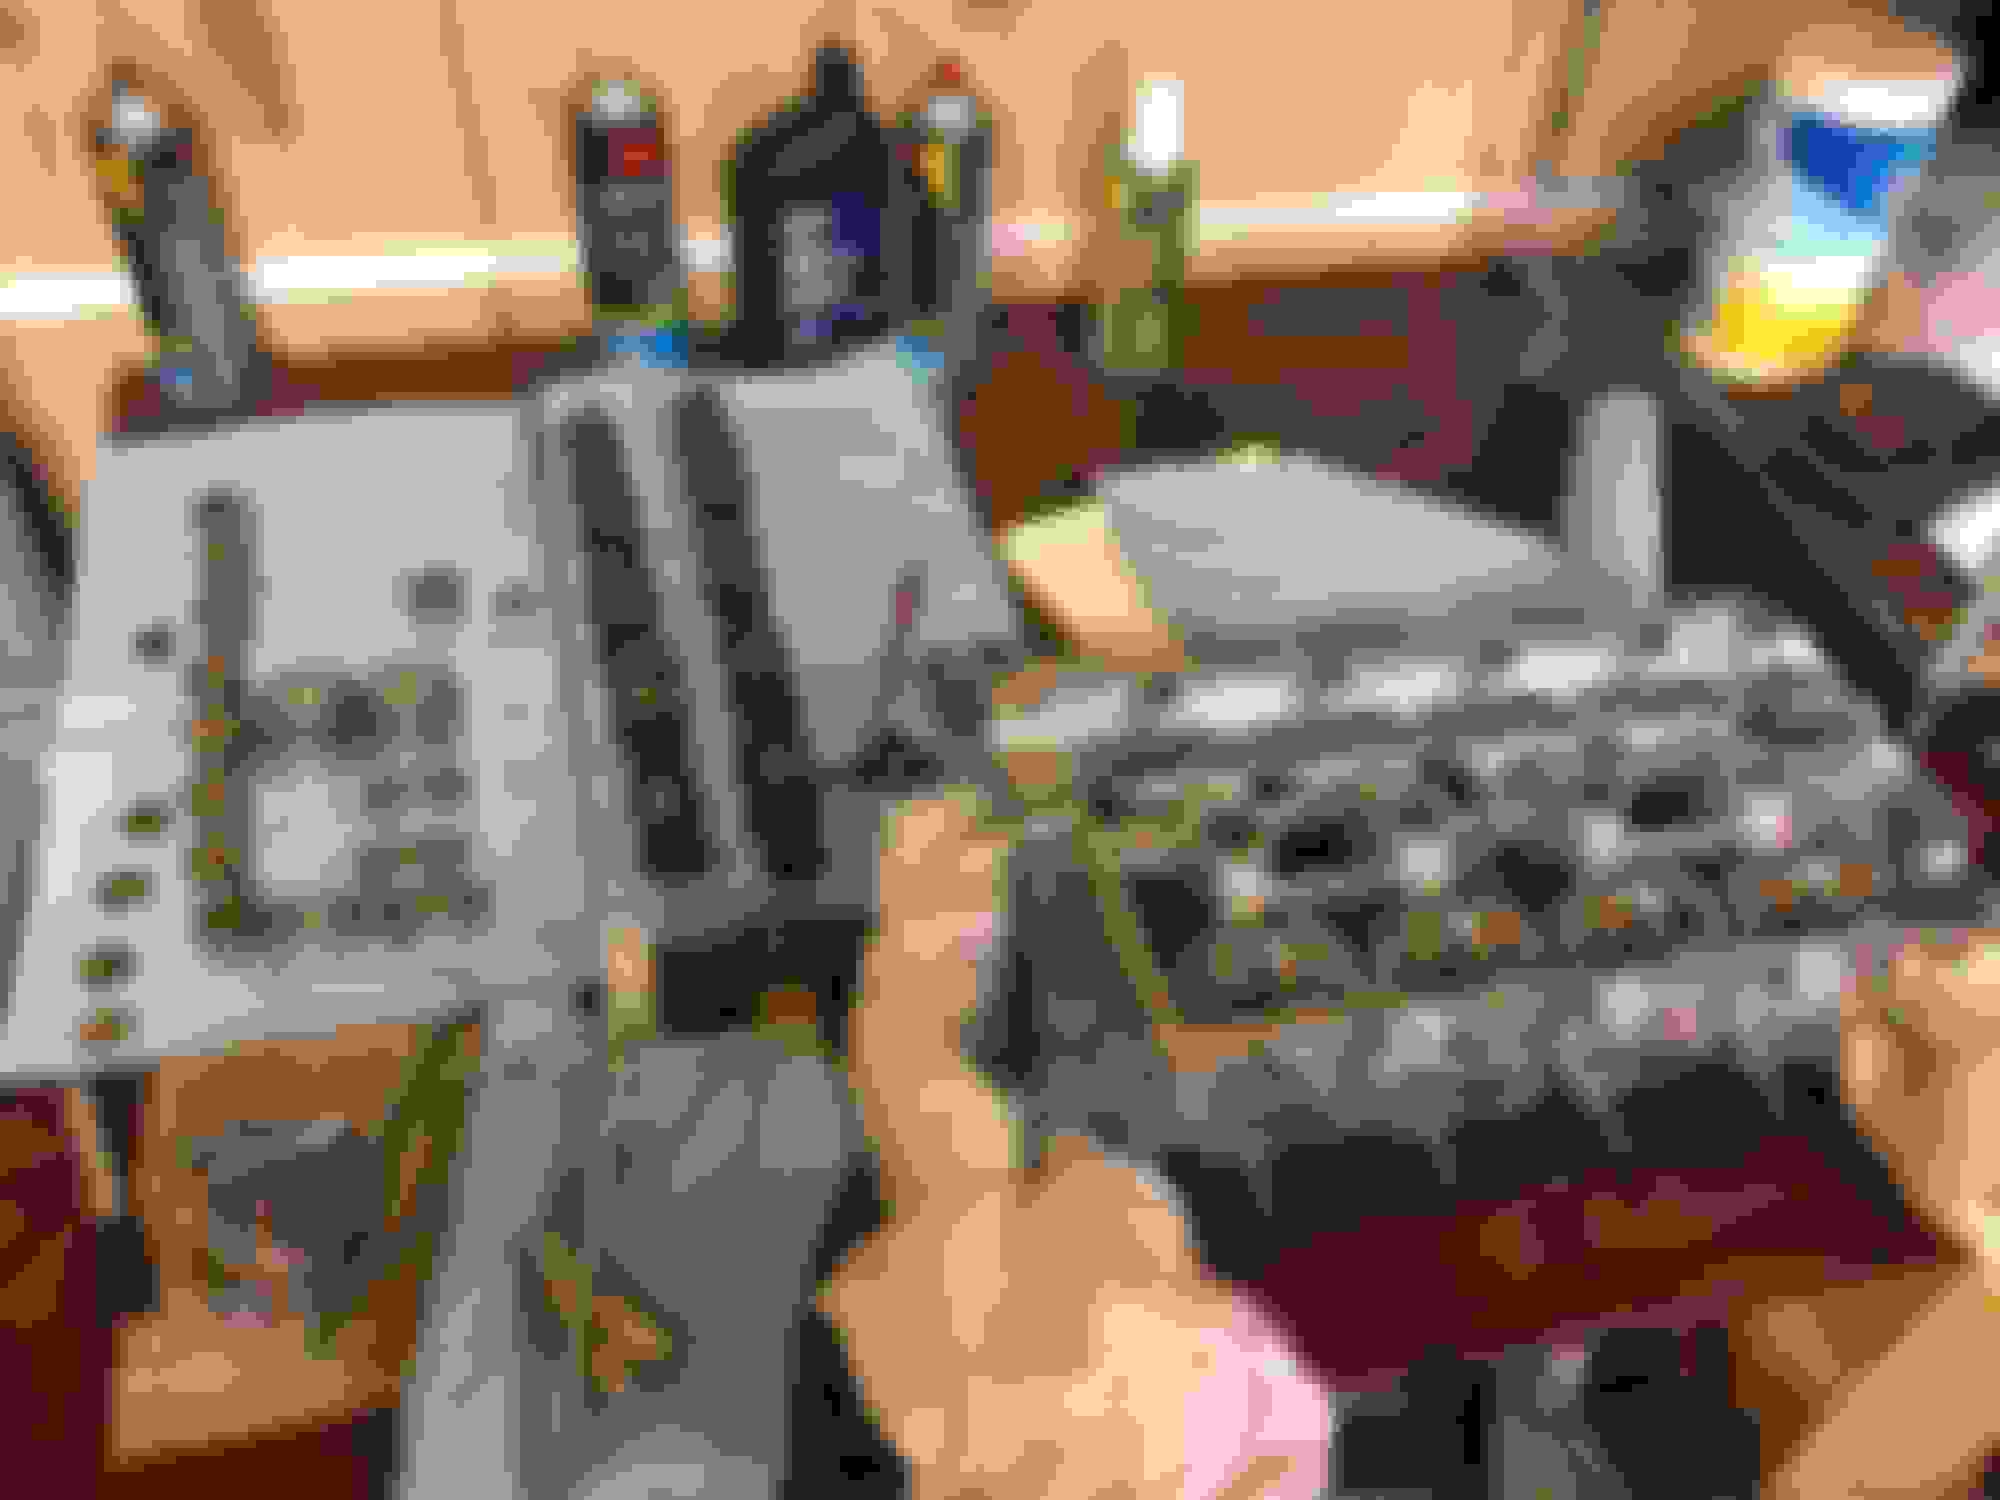
The bushing in the used diff I recieved DID NOT want to come out. Fire Sledgehammer and chisel. Post Carange Fucked up once with the drill bit when drilling the rubber out. Hopefully this is ok. Ready for poly bushings. The used 3.6 was nasty, used a brush and polished it all up. Supertech 8.6:1 pistons. Heads up if you install supertech pistons. The oil holes were not cleaned up after they were drilled at the factory. Used some fine grit sand paper rolled up to clean them out. Chunks of metal were just barely hanging onto the interior of the oil holes. Sandpaper worked great to clean it up and get rid of the metal pieces. Parts all weighed/matched up ready for install. Fresh from them machine shop/ Align hone, 94mm bore/hone/slightly decked. Just installed the ARP mains. Pistons/rods/crank installed. Fresh stock rebuilt head. New valve guides, valve seats re-cut. FUCKKK. Every single valve is just a TINY bit high for any of my shims. Intake had enough space to measure off of existing shims to figure out what new shims to order. Exhaust was touching on EVERY shim, no room to measure! Ordered the thinnest miata shim from the dealer, used (1) shim to go around to every valve independanetly and meaasure with its respective bucket. I did install the cam caps for every shim and then remove/remove bucket, move shim to new bucket, install, install cam camps. Extremely tedious work, but after that and a bunch of math I have all the shims on order. Laid out for measuring Head/pan etc. installed. The garage setup for the engine assembly. DW 200 Fuel pump going in. Pile of **** to install still. The existing rack/frame was COVERED in oil/crap. Much better. New Miatasource steering rack installed Old power steering stuff out.
Good work. Who did your head and block work? They could have helped you out with the shims. If the valves were slightly long, they could have ground them to fit.
I had HiPro engines to the machining. I am a bit new to this motor building stuff, and gave them the head without cam shafts. I wish they would have let me know that they needed them for shimming purposes. Lesson learned on my end, but I am also a bit disappointed they did not help me out with that knowledge. Either way it is going to work out, just a bit more time consuming for me, but at least this way I know it will be done correctly now.
Finally recieved all the shims I needed. Just waiting on the damper to finish the motor up. Wiring in the new gauges. Not stoked on the large Jegs logo, but they were cheap. 6528. Shotout to Industrial Injection and TCS automotive for both working together and helping me out with this. Ended up with this baby brand new for about $1300 Ready to cut out the radiator support Heres where the intercooler ended up at, it is getting a bunch of ducting. Supermiata crossflow rad behind it,. Lower mounting brackets Upper mounting setup, thinking about narrowing those upper aluminum supports to help with a bit of air flow to the rad. Also need to do hood latches and get rid of the factory bracket.
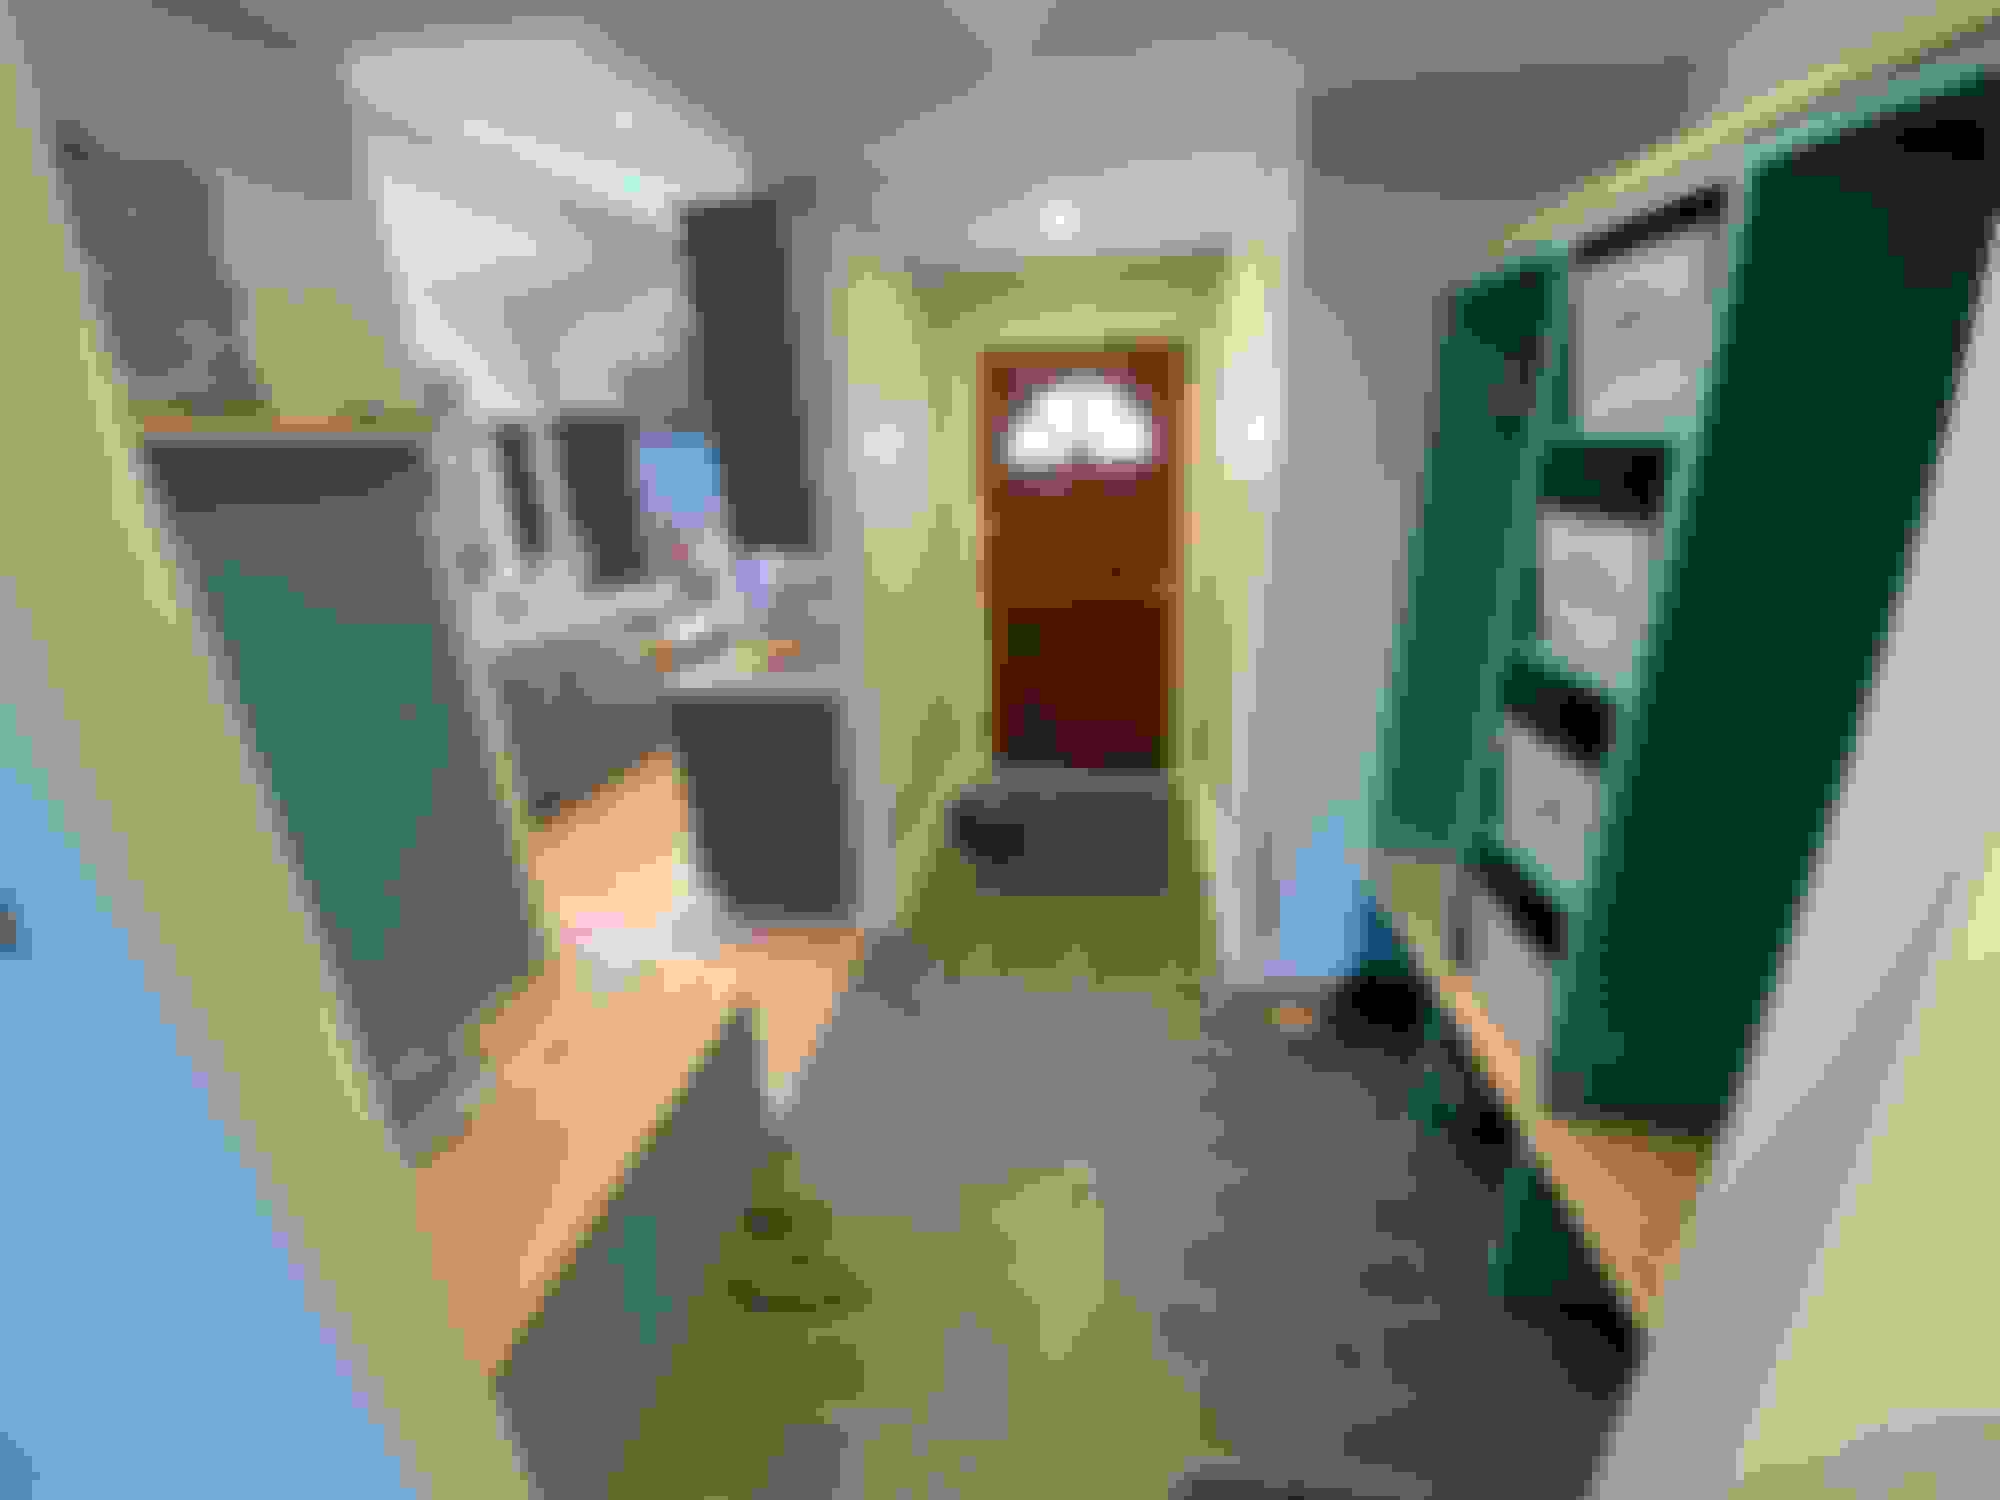
So life got the better of me and I forgot to do any updates. Did a pretty massive self performed home remodel over the winter..... Kitchen Before Kitchen After Entry. Used to be a hallway with closets.
I have a bunch of info and photos to post of the build, and will follow up wit those, but for now the car is running on boost. Still rocking stock exhaust and only taking her up to about 12psi until I can get some things sorted out, but overall it is running pretty well.


 4
4