When you click on links to various merchants on this site and make a purchase, this can result in this site earning a commission. Affiliate programs and affiliations include, but are not limited to, the eBay Partner Network.
3400 round trip with -4 degrees sounds like a bad idea to me. ISC Racing also sells non-eccentric front upper inner delrin bushings, which is what I plan to swap into mine when I get around to installing my ELBJs.
There is a case to be made that relocating the upper arm inboard results in a better camber curve than lengthening the lower arm does. Whether that's enough to make up for the annoyances of rubbing & spacers I don't know.
Thanks Ian. I'll probably get the correct bushings and redo everything. After my track day yesterday, I'm pretty amazed with the capabilities of the car. But, I'm getting ahead of myself. First, I received a snap of my corner-weighting results:
On Thursday evening, I received a care package from Trackspeed Engineering (thanks for expediting everything once you received the hats on Tuesday, Andrew). I was biting my nails because, you know, UPS. Luckily, the doorbell rang at 3:30 in the afternoon, which gave me time to double-check everything and then head over to a club member's house to install the BBK. He has a hoist in his garage, which makes everything much easier. Having a hoist is a blessing and a curse, I would think. Much like a pick-up truck owner who gets the call whenever a passing acquaintance is moving, the hapless hoist owner is roped in whenever a fellow car junkie has any project more difficult than an oil change.
Out with the old... Note how my track shenanigans have discoloured the stock caliper.
Have to trim the dust shield. Make sure to clean up the edges afterwards. I didn't and punctured the palm of my hand when installing the new caliper bracket. Good thing there's a drip tray, because there was blood everywhere!
Mmmm, shiny!
If you pay extra for directional-vane rotors, so make sure they're rotating the correct way
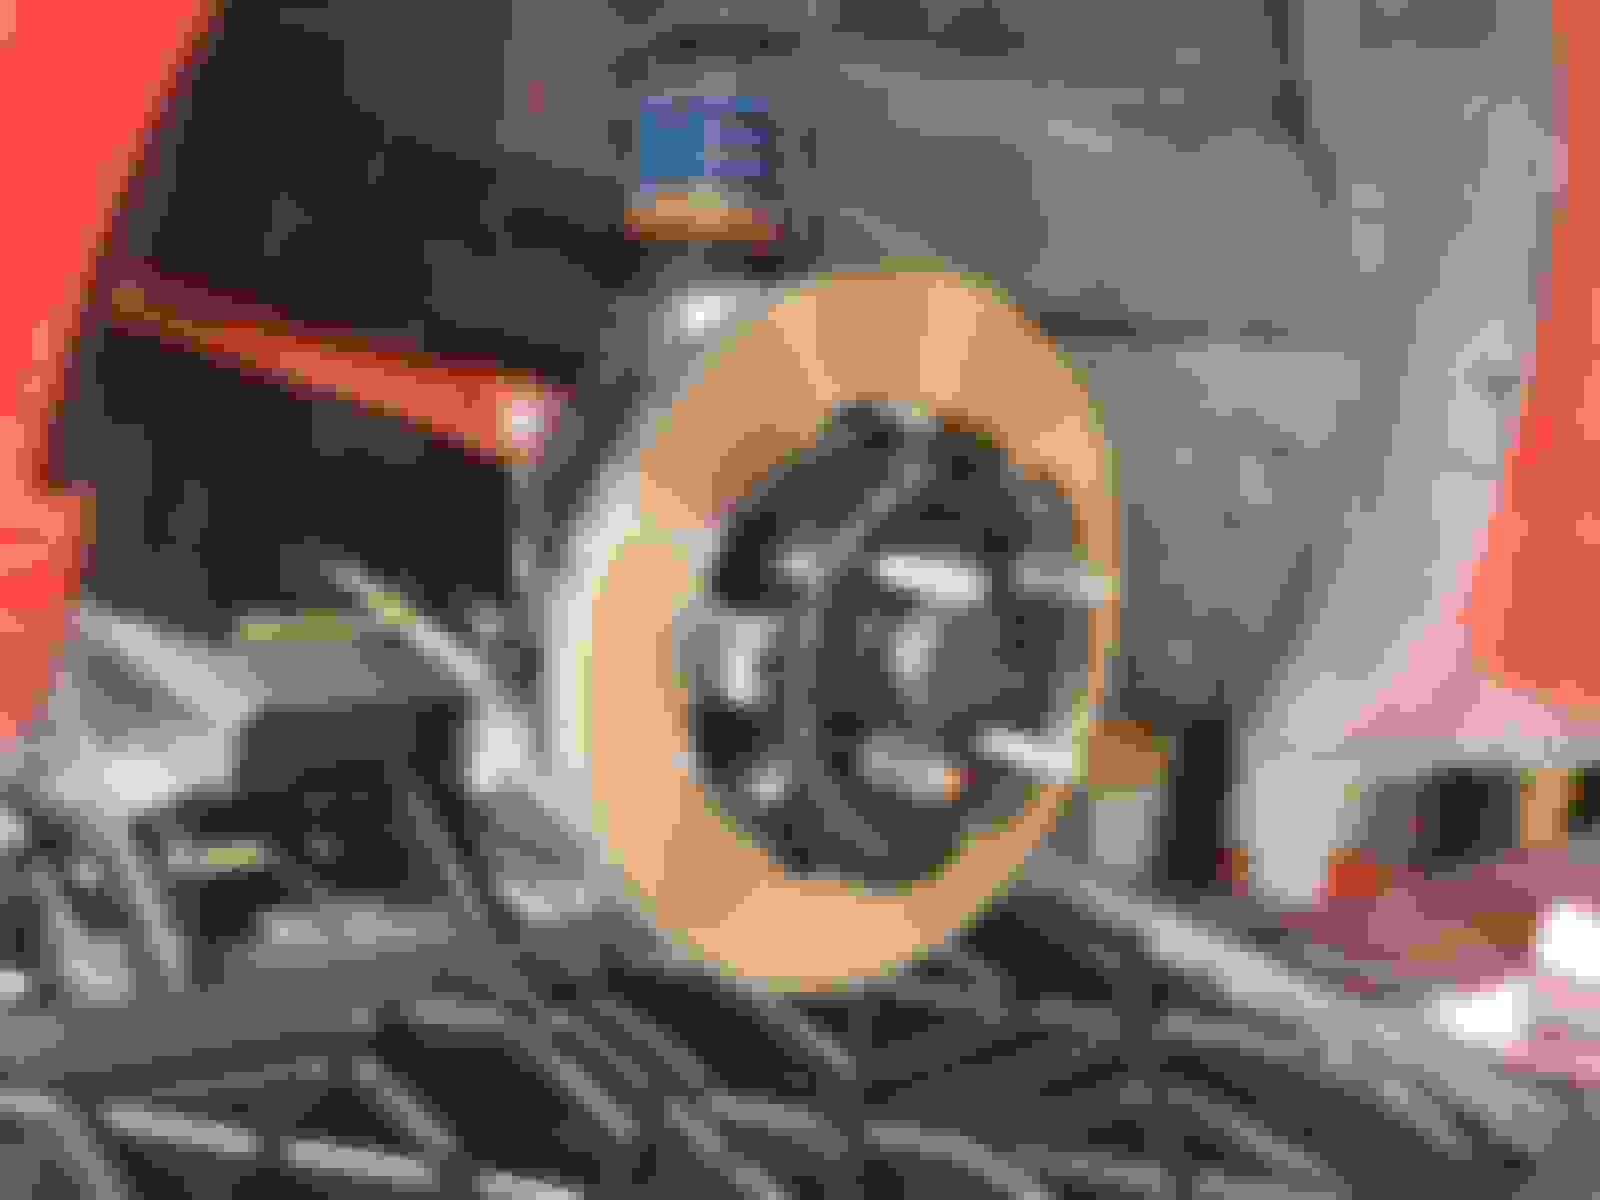
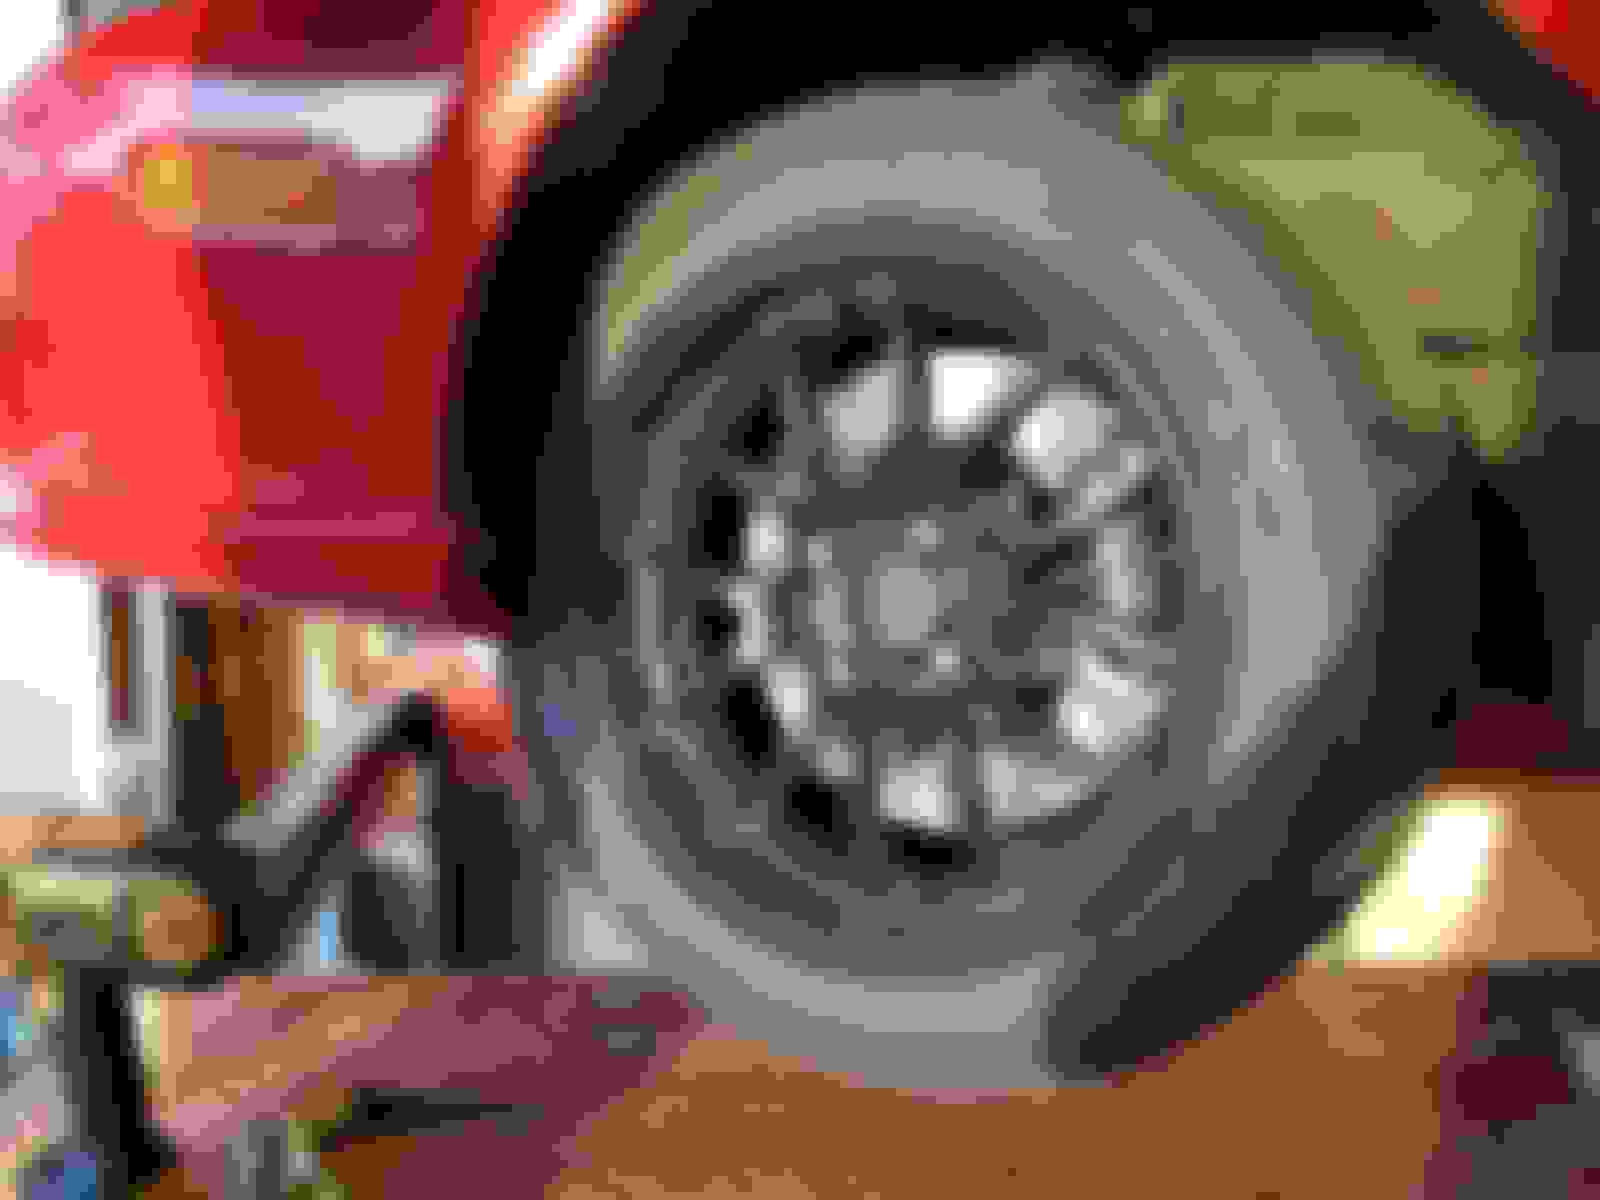
Test-fitting the wheel. The wheel weights are extremely close, but a 5 mm spacer ultimately fixed that issue.
I have stock of XP12 pads for the Dynalite calipers. They need to be trimmed down to work with the Dynapros, which turned out to be the most tedious part of the whole job.
A bandsaw would have made short work of things. Since we didn't have one, we used an offset grinder, hacksaw and beer.
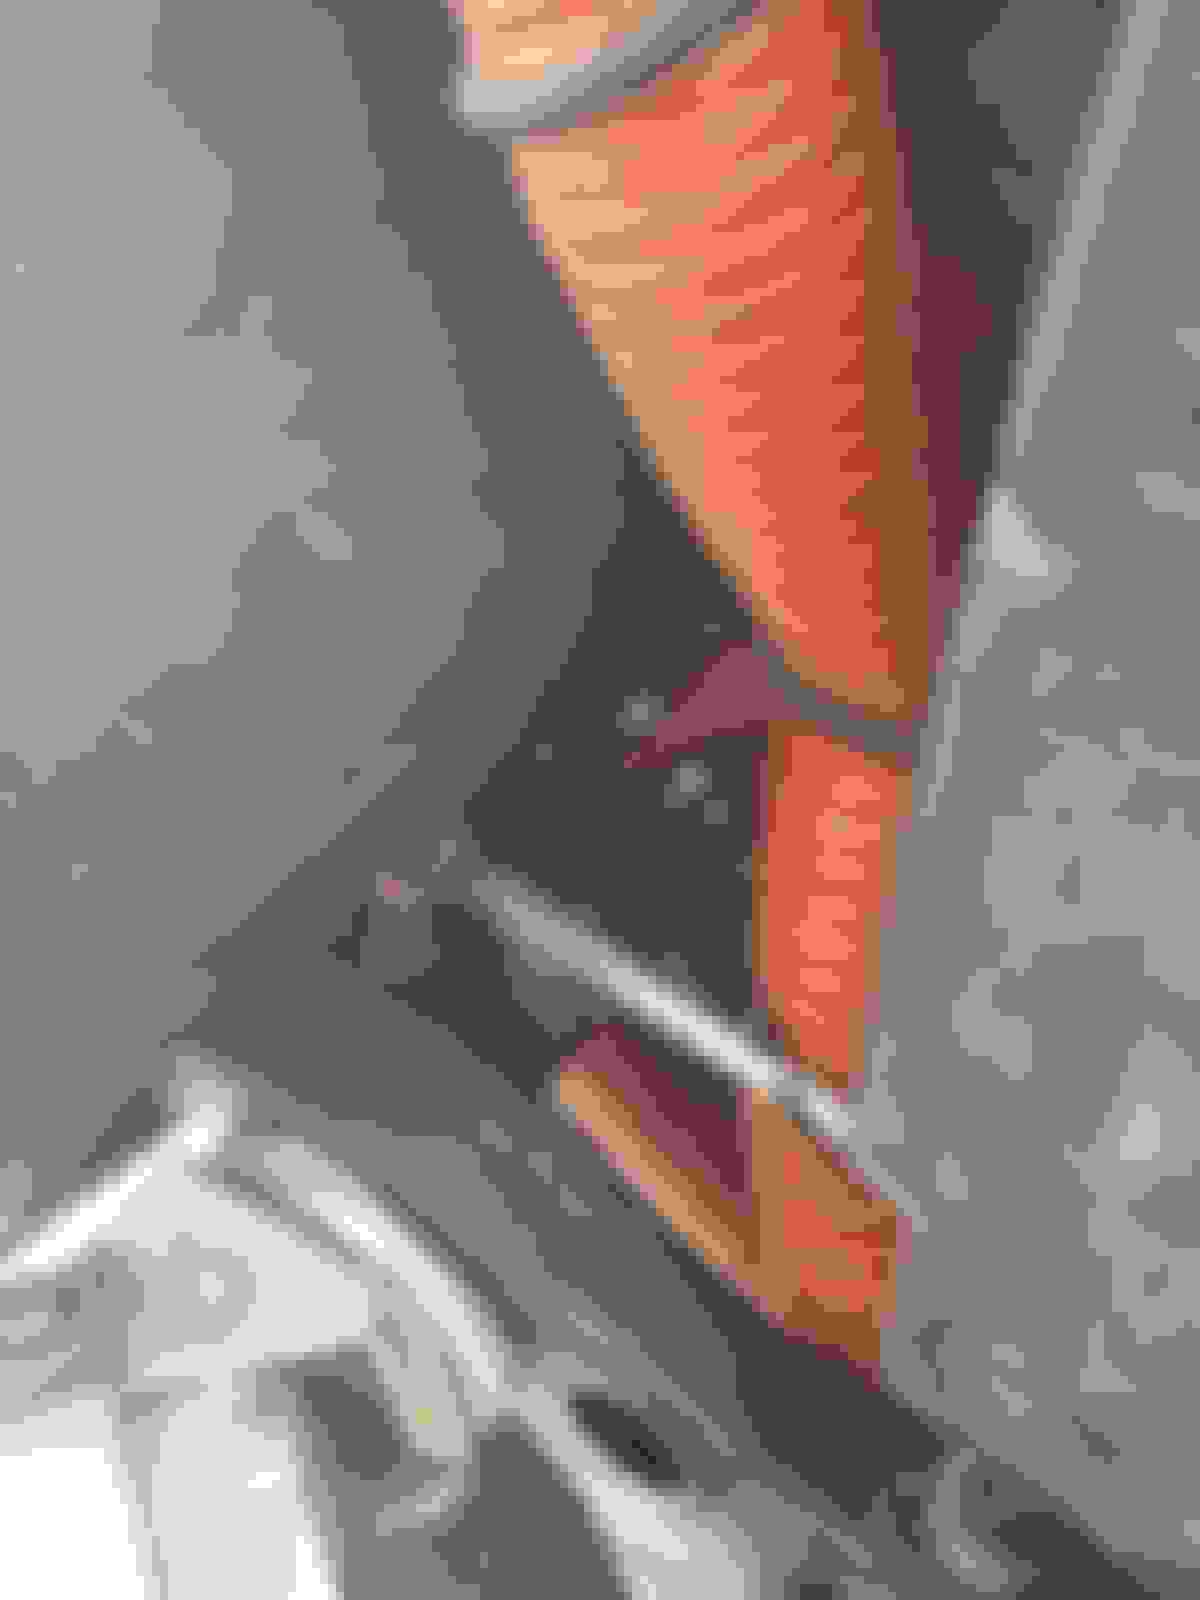
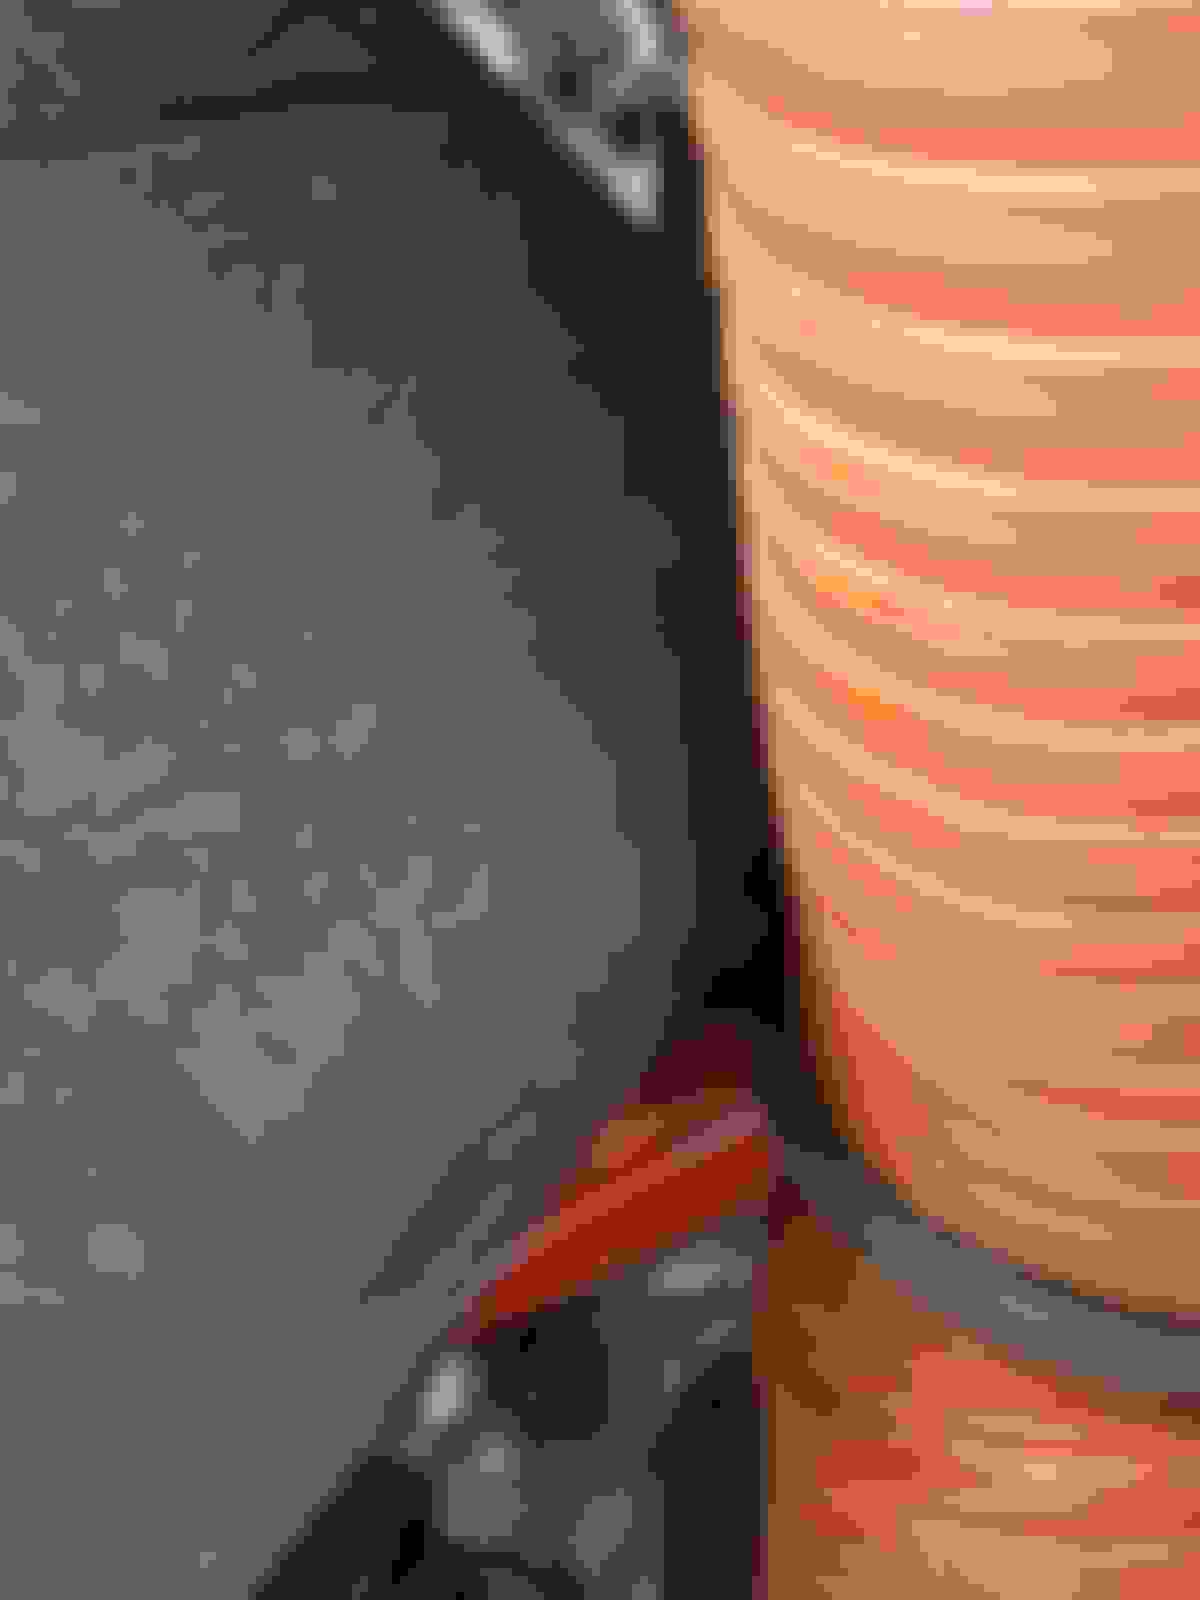
Since nothing can go without a hitch, we found that the driver-side wheel will make contact with the inner part of the bumper cap at full lock/full droop. It's a combination of extreme caster and a poorly-fitted bumper cap (see the gap between it and the fender).
Unfortunately, we only discovered this after it had torn a flap open
The passenger side was close, but no interference
A quick zip tie fix (after adjusting the lip in as much as we could) and we're back in business. I don't think it will make contact under normal use (i.e. not at full droop).
After this, we did the bleeding, which went smoothly. The brake reservoir didn't empty when doing the brake line changeovers, so we didn't have to worry about the rears. The pedal ended up good and hard.
All done and (mostly) ready for my track day the next day
Total cost: Parts, beer, a can of brake cleaner and about 100 cc of blood.
A few pictures, post-alignment but before the front brakes installation:
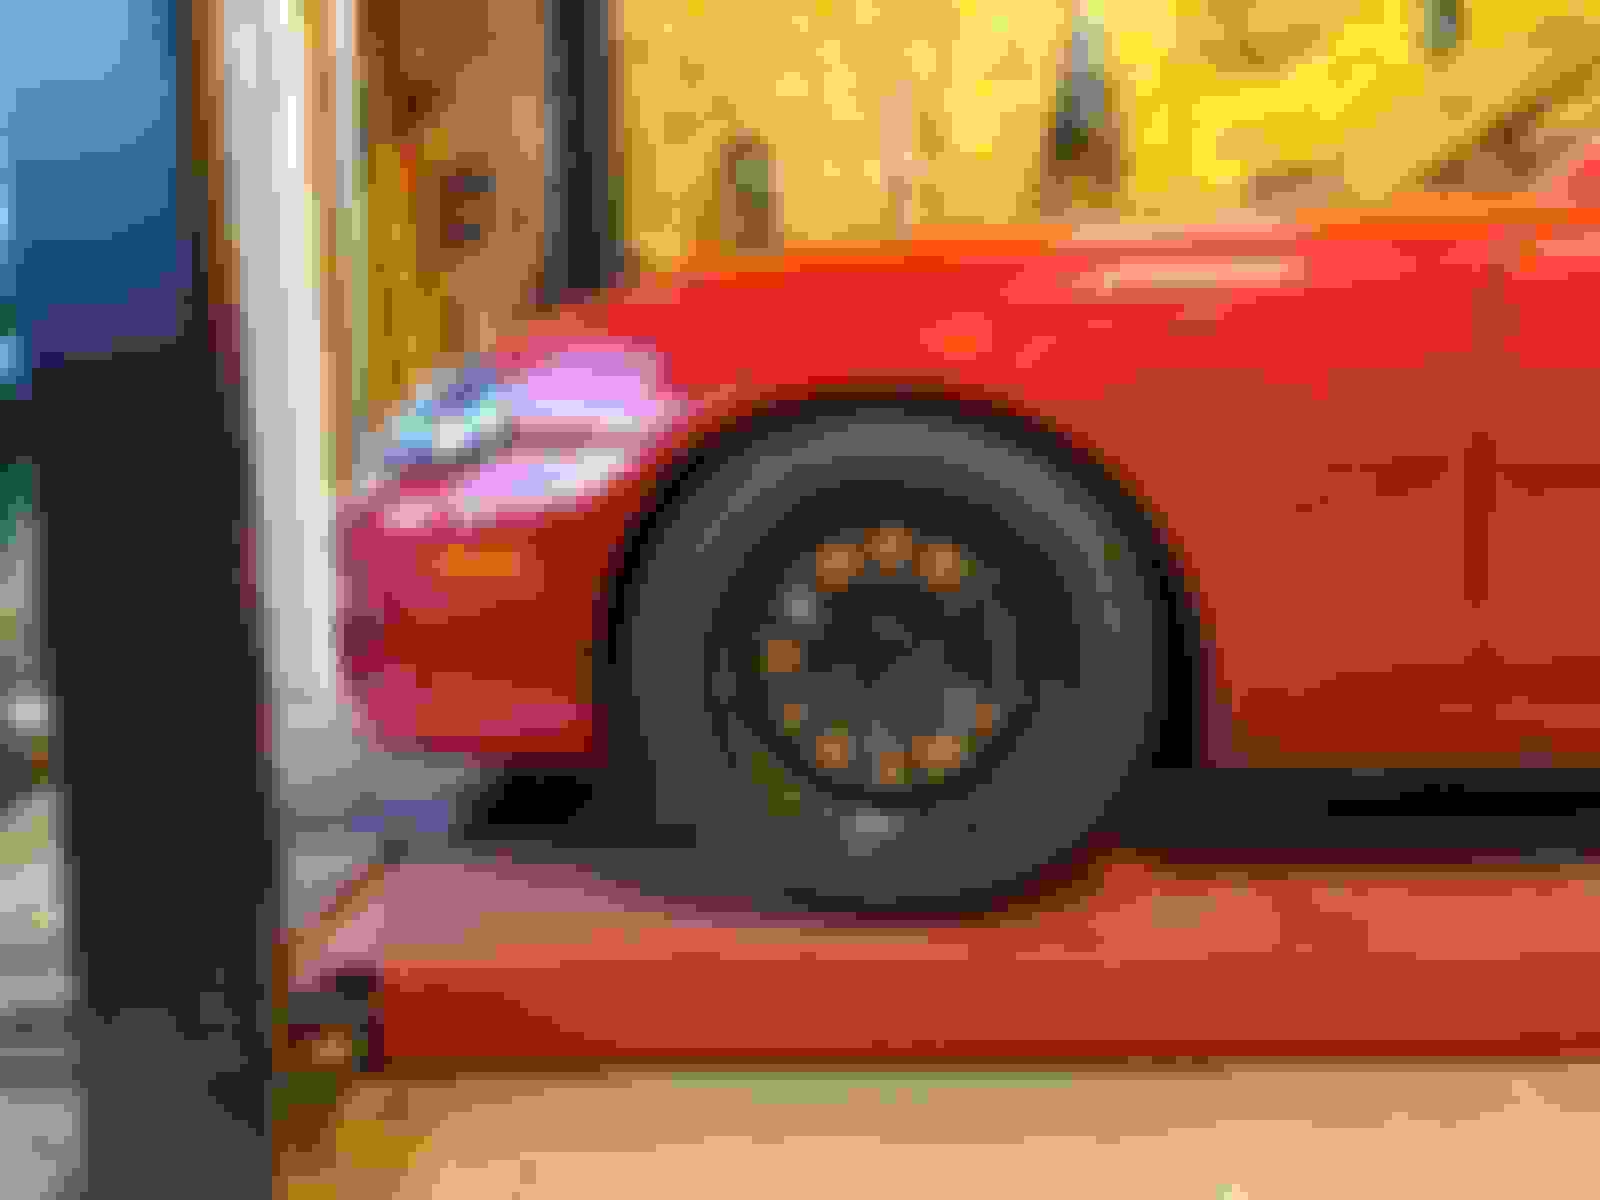
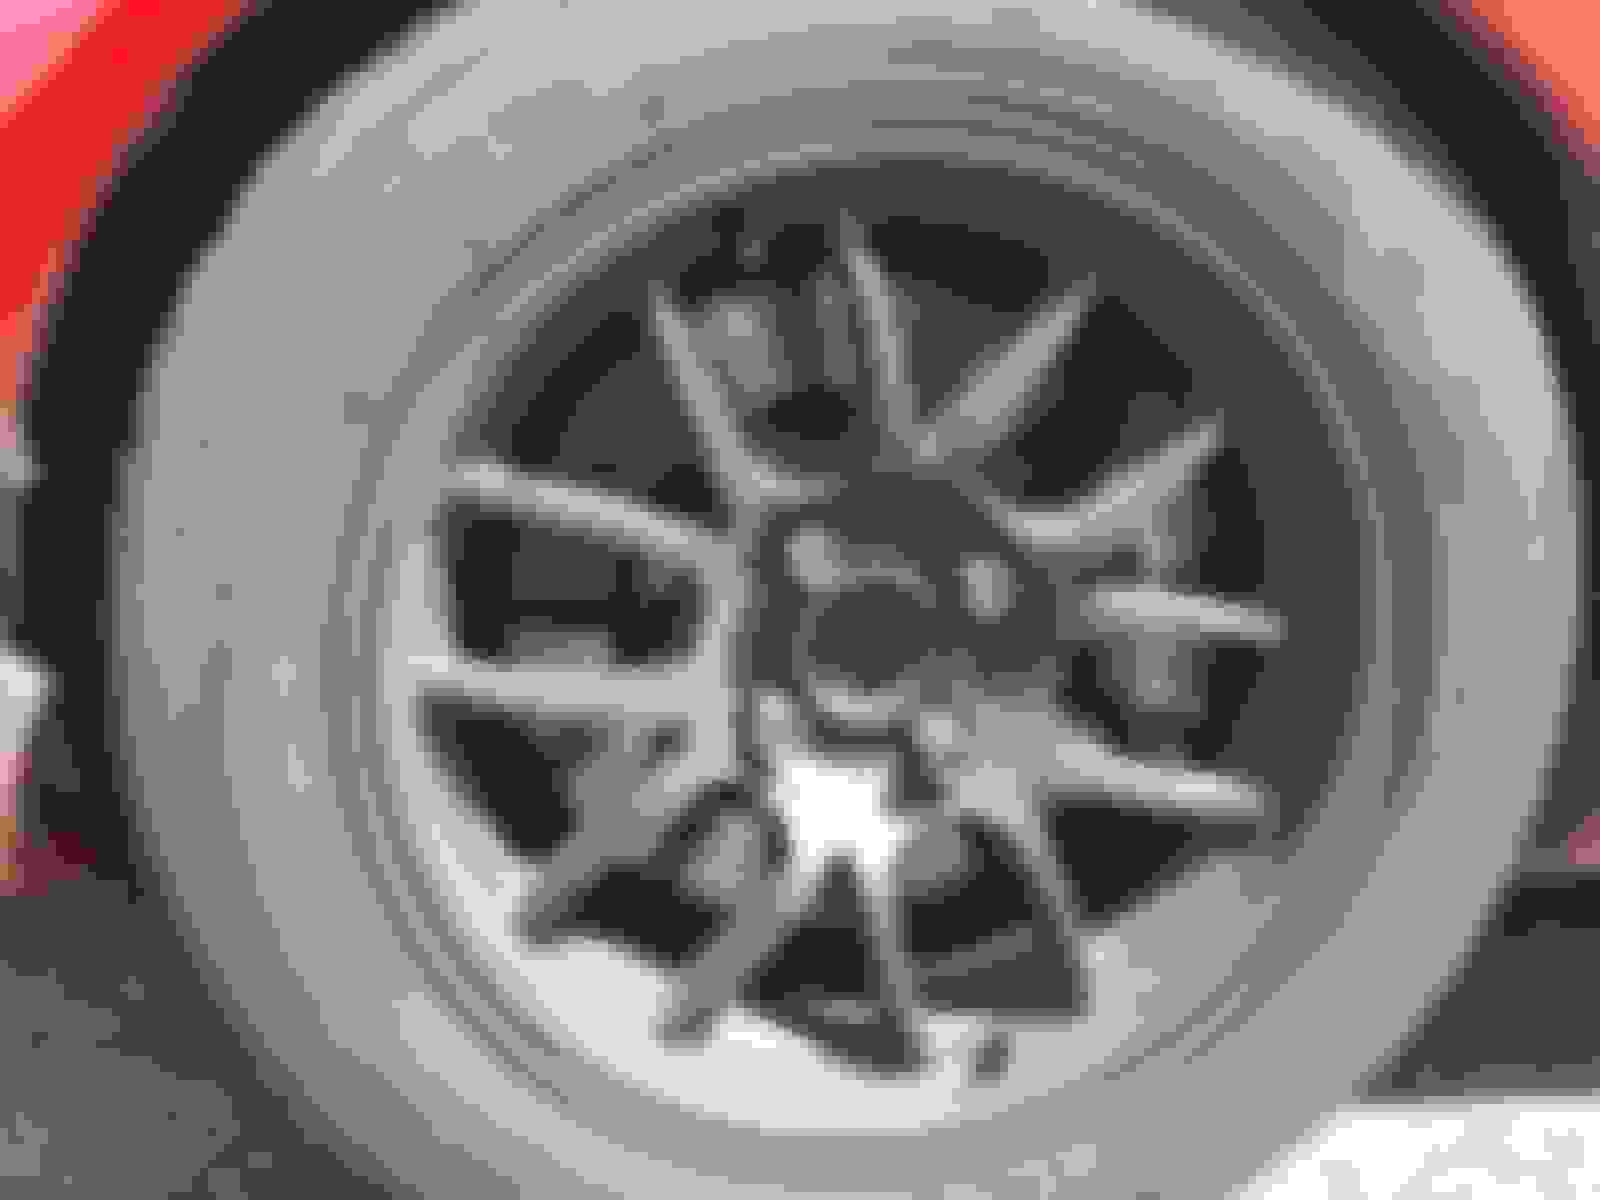
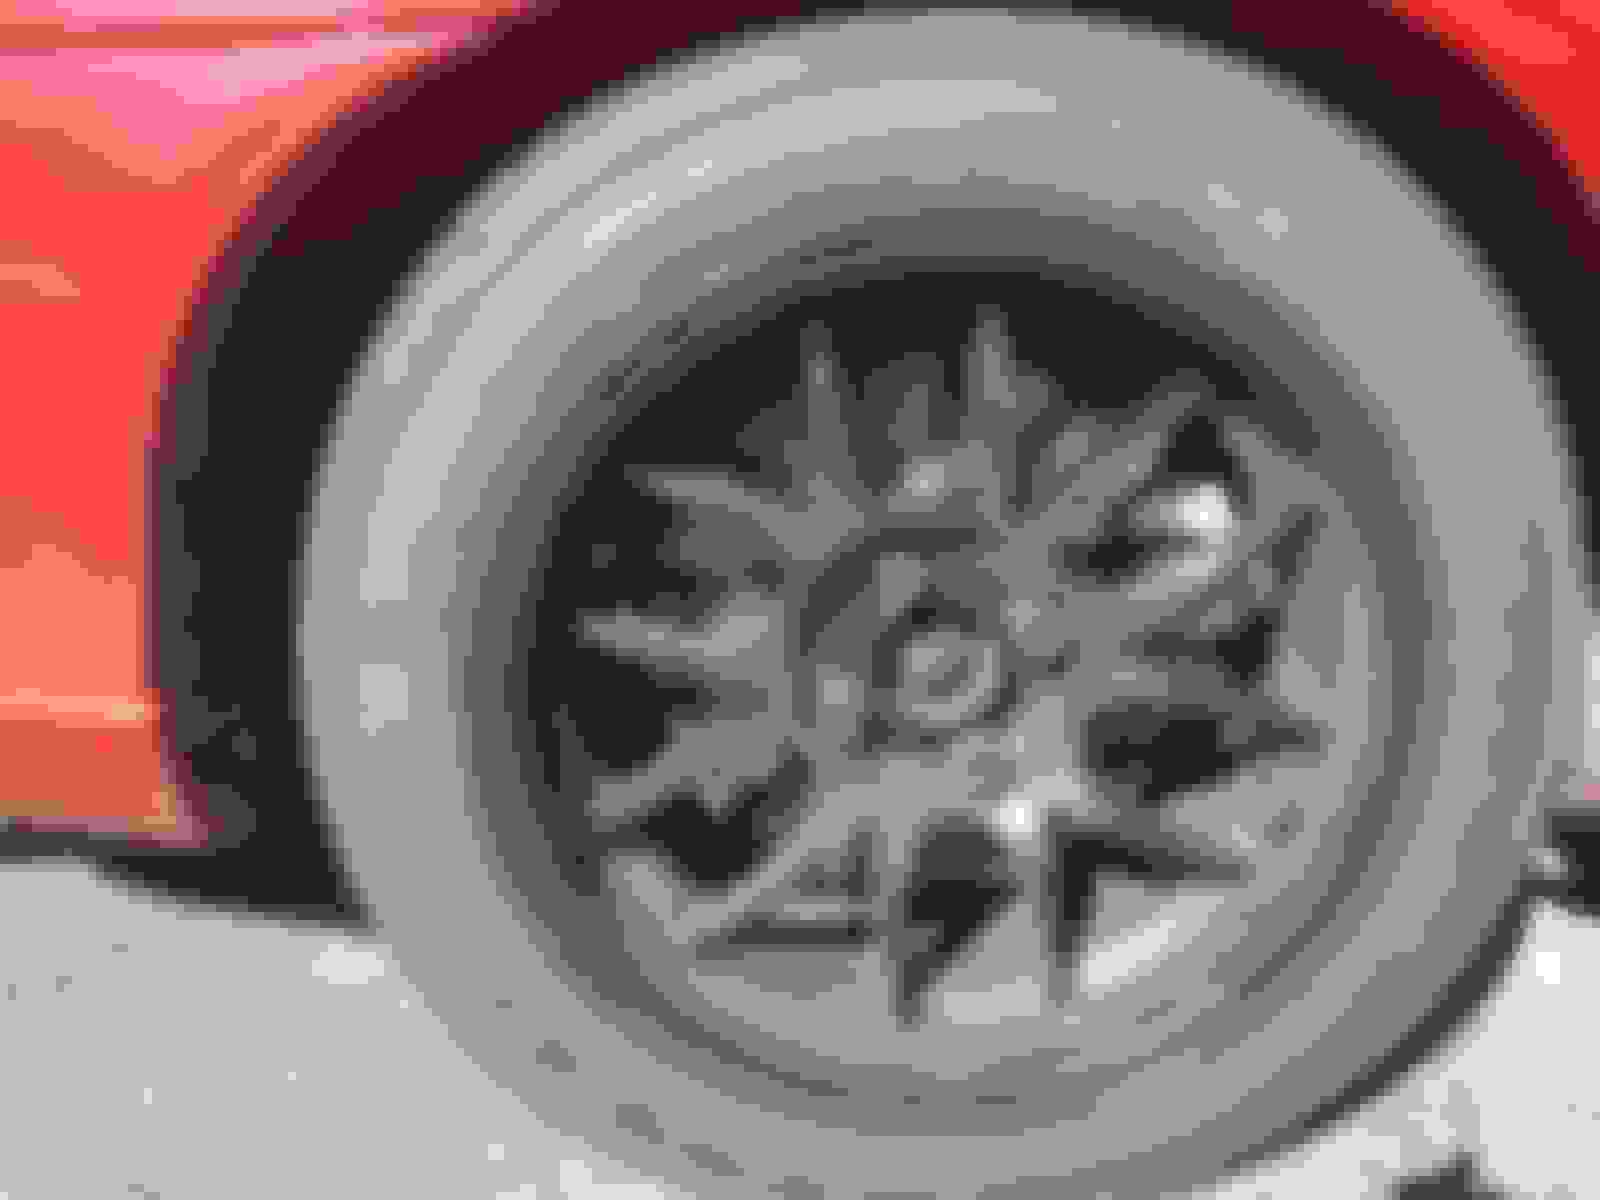
Extreme negative camber. Note how much the offset bushing pulls in the top of the wheel (15x9 6UL).
Driver-side wheel looks like it has less camber than opposite side. Since the alignment says otherwise, I put it down to fender variation post-crash repair.
Front ride height is much more reasonable now
Rear ride height hasn't changed as much, if at all.
With the forecast calling for copious amounts of rain, plus a possible thunder storm, I decided to be cautious and change my 225 Toyo RRs (80% worn, although they don't have a lot of tread even when new) on 15x9 wheels to 225 Nitto NT-01s (50% worn) on 15x8s. Then it was off to the track for an afternoon/evening session (at this time of year, it gets dark around 10 pm, so evening sessions are completely viable, even sans track lighting).
The first session was dedicated to bedding in my pads, so it was only at about 80%. The car felt good, although I experienced a bit of tail wag for the first time. The chassis became more neutral as the tires warmed up, so concerns about the alignment specs abated. Once again, I was taken with how much of a difference an inch in wheel width makes. On 8s, performance is not as accessible and confidence-inspiring as with the wider wheels. All in all, I was taking it easy and was essentially a moving pylon in the advanced group. After the initial bedding-in:
Driver side. Looks like a nice transfer layer to start.
Passenger side
The second session started with a big, black, ugly-looking cloud heading in from the west. Sure enough, as we were being waved onto the track, it started to come down. About five minutes in, it was steady rain and puddles were forming. Nonetheless, the NT-01s were providing decent and predictable grip, the brakes were biting well and I was pushing harder. I was surprised to be waved by by an experienced driver in a 991 GT3, and then a 991TT. I had a great dice with a stripped-out 240SX with an LSx conversion (about 2,600 lbs, I later learned). He tried his hardest to catch and pass me, but wasn't able to until I did a cool-down lap in deference to the brakes and deteriorating conditions. A really fun session.
By this time, it was really coming down, and I parked the car, raised the roof and ran for shelter. After lunch, the storm had passed and things were starting to dry up. I took a couple more pics of the brakes:
The Time Attack cars did a decent job of drying off the line, so I was finally cleared for take-off for my third session. I had to brake conservatively on the main straight (lots of standing water) but almost everywhere else I could give the car its teeth. To say I was pleased is an understatement - it was fast, fast, fast! Once again, I was "teamed up" with the GT3, GT4, 911TT, 240SX, various Mustangs (including a GT350) and was able to hold my own. While lacking the outright power-to-weight ratio of most of my track-mates, I was able to carry much more speed through the corners. The brakes are absolutely fantastic - firm, responsive pedal (very Porsche-like, I would say) and the chassis is superb. If I overcooked a corner or used a touch more power than prudent on the exit, any wriggle was eminently controllable. Definitely a car that punches about its weight class.
Of course, I can't get through a track day without an issue. After my third session, I noticed a sheen in the left-over puddles, emanating from the front of my car. I checked (almost) everything carefully and all fluid levels were nominal. I went out for my final session but came in soon after as I could hear some protestations from my power steering pump, just before I found myself without any power assist. Oops, guess I forget to check that particular fluid.
This time, it was sprayed all over the engine compartment (shades of the earlier issue with the leaking ABS unit):
Yuck!
Epicenter of the whole mess
I'm thinking the leak is here...
...where this hose clamp is contacting the power steering return line
That was it for my day. I checked the PS reservoir (better late than never) and it was bone-dry. I had someone drive me into town to pick up some ATF, refilled and nursed the car home. Next week I'll dig under the hood and straighten out the problem. Hopefully the pump isn't damaged from running dry briefly.
Still, even with the bad joss at the end, I'm really happy with how the car performed. It may not be as quick as my now gone (and lamented) GT4, but it's close. If I can sort out these teething pains, my running costs should be more palatable. Plus, it's nice to show up some high-buck hardware with a Miata. I can't wait to try it with the 15x9s.
Any objection to removing the p/s and depowering the rack? I saw you don't have a/c so you could just take the pump and the lines right off.
I'm not sure. I've never driven a depowered Miata and am concerned that the steering effort will be too high with the wide tires and large caster numbers. Also, I'd have to remove the rack and then redo all my alignment work. I guess it's an option, but not Plan A.
I'm not sure. I've never driven a depowered Miata and am concerned that the steering effort will be too high with the wide tires and large caster numbers.
I have 4.5deg castor and 8" wide 0 offset wheels and find it very easy to drive on the street and Im definitely not a 'strong' guy. Although I put in a factory manual rack not a depowered P/S one.
I have a few updates. In the middle of June, I installed my G-Loc rear pads (equivalent to Carbotech XP-10s). I now have XP-12s in front and 10s in the rear. I also changed the rear rotors so that there's a fresh surface for the pad material to bed to. Per Andrew's direction, I took it easy on my first session, lapping normally but braking earlier. The transfer layer looks clean enough. With the Sport Brakes, is it normal for the swept area to encompass only the top two-thirds of the rotor area?
Driver side
Passenger side
Once I let the brakes cool between sessions, I was able to use them to full effect. In short - very nice! The car hauls down smartly with good modulation and zero fade. I diced with a GT3-RS for a few laps (he had a hard time passing me) and, while chatting afterwards, he commented that he was amazed at how late and deep I was able to brake into corners. I'm sure relative experience played a part in his perceived disparity, but it was a nice compliment all the same. I have some GoPro video from this day and, given enough time, I'll eventually edit it into something watchable.
The other thing that came in the care package from Trackspeed Engineering was his brake duct hose kit and foglight adapter rings sourced from Aircraft Spruce. I installed them this week and should be able to fully test them tomorrow at our next track day.
Removing the OEM foglights is easy enough once the front inner fender liner is loosened or removed. Feed the hose through the inlet and then attach the adapter. The nw-pp bags, in case you're wondering, are my ghetto way of blocking air from bypassing the radiator.
Here you can see the poor crash damage repair. I don't think this is structural so, while I'm annoyed, it shouldn't cause any long-term harm (other than perhaps some corrosion).
Hose is attached to FM intercooler tubing, using vacuum hose over the zipties in order to prevent the duct hose from wear (thanks to a suggestion in another thread, from BBundy, IIRC).
Then attached to tie rod arm
And then the upper A-arm. I've elected to aim the duct at the caliper, per Emilio's suggestion, rather than use Singular brake ducts. The theory is that it's better to cool the caliper than the rotor, as that's where the fluid is.
In order to test clearance at full lock, I had to raise the wheel, as it tests differently at full droop
It's tight...
...but viable, I think. Probably not going to be using full lock on track.
Due to differences in intercooler hose length, I had to bridge the longer gap by attaching to the anti-roll bar
I should probably put some kind of sheath over the brake line to prevent rub-through
View from underneath
Full lock test
Perhaps even a little tighter clearance on this side, but still workable (I hope)
Finished view from the front. The ducts are loose. Perhaps I'll silicone them in place if I get around to it, but perhaps not.
That's it for this update. Even though I wasn't getting any fade on my home track, I'm hoping the ducting will improve pad life. Also, it looks very racecar.
I'd hardly consider starting a new build giving up
I agree. It's a reference to all the woes I had trying to keep a transmission (with Quaife gearset) intact when tracking my summer DD (along with a myriad of other, relatively minor, problems). I fixed pretty much everything except the weak transmission and there's no off-the-shelf solution on the immediate horizon. Rather than miss this season, I gave up and bought a less radical car for the track (at least in terms of power and general gearbox friendliness).
Other than a relatively minor hiccup with an on-track flat (*), today's track day went very well. The car is a giant-killer, taking on machinery costing many multiples of what I've paid (including upgrades). Here's a video of me chasing down a GT4:
This GT4 is a recent acquisition by a frequent attendee to our track sessions. His previous car was a Cayman S, so he's not a newcomer to the mid-engined Porsche family. Nonetheless, he was still learning how to exploit the capabilities of this uber-Cayman. All else being equal, I would say the GT4 is ultimately the quicker track car (longer gearing gives it an advantage on our track), but I still think my MSM acquits itself very well. There were even better track battles in the afternoon, but my GoPro had a depleted battery and none of the really good stuff was captured on video.
* People running 6UL wheels or wheels using 949-style alloy valve stems should double-check that the retaining nuts are tight before each track day. One was only finger-tight on my driver-side front and it let all the air out in very much of a hurry. On the plus side, it was less of a problem than a nail in the tread. On the other hand, it's completely preventable.
I have noticed that my car is pulling timing ten to fifteen minutes into a 20-minute session. Since the idiot temp gauge doesn't tell me anything useful (and I haven't yet rigged up a switch to datalog on demand), I'm just going to assume that things are just getting a tad hot under the hood. The best advice on mt.net seems to be to do the rad and then hood vents. First up, the radiator:
It comes very well packaged and mostly ready to install. There are some fitment caveats for an MSM that can be ignored if the stock turbo has been turfed for an FMII. The biggest preparation required is to trim the fan shrouds to fit. Some trial-and-error is required and one must be careful not to bend any fins in the process. There's also a 3/8" NPT plug in the side of the rad (for a temp sensor, if so desired) that we almost forgot to install. That would have been embarrassing, when we eventually tried to fill the rad and had to figure out where all that leaking coolant was originating.
Radiator, with fan shrouds cut to fit (sorta) and ready to install
The drain plug is pre-installed by the manufacturer
The 1/8" NPT plug goes in the other side, or so we thought
We installed the rad and then scratched our heads as there are two bleed holes in the top, but only one spare 1/8" NPT plug to plug it with. After some pondering, we pulled the rad out again to have a closer look at that second threaded hole.
Turns out that it's actually a blind hole and doesn't require plugging
Well, that takes care of that then. We removed the bottom anodized plug and put it up top, where it belongs.
Finally have it figured out. Some gasket foam added to help direct air through the radiator.
The rest was a breeze. The dual holes in the top make burping a piece o' cake and it worked perfectly without any fettling. Fans turned on, we topped up the overflow tank and drove home.
Next up were the Speed Holes (hood louvers). I created a separate thread here for those interested in the installation process. Here's the finished product:
Last edited by DeerHunter; Sep 25, 2017 at 01:47 AM.


 1
1