When you click on links to various merchants on this site and make a purchase, this can result in this site earning a commission. Affiliate programs and affiliations include, but are not limited to, the eBay Partner Network.
I'm just gonna throw a turbo on here and call it good.
Alright everyone, so I've been lurking here for a while and have finally decided to share what I've been up to with my Miata. Let's start it off with the car. I picked up a very well cared for, one owner NB2 (2002 LS) from a tiny little car lot in WV. It was a one owner, for the most part garage kept (judging by the impressively clean underbody), and completely unmolested car with 124k miles on it.
Just left the lot and stopped for a quick picture of my new toy.
I will admit, the purchase was an impulse buy of mine. About a decade ago I used to take my RX-7 to autocross events and I would see Miatas show up and kill it. From then on, I always desired to buy one to play with myself. The test drive had me hooked. While the car did provide a good, comfortable ride, albeit it's higher mileage, I knew a turbo would turn it into so much more. From there I set out to get myself a prefabbed kit to save me some time and headache, or so I thought. After much research, thread after thread, I decided that Begi would be the direction I'd go due to the competitive price and comprehensiveness of the kit. Now the fun begins...
I placed an order for the Begi S3 kit and about a day later received a call from Stephanie. The phone call was to explain that they were replacing the S3 kit with a new kit that was still under pre-production and that it offered the same goodies of that of the S3 kit, but included an external gate and a few other odds and ends. I eagerly agreed and had it set in stone. This is where the fun begins, I was originally quoted a lead time of 6-8 weeks. I was good with that as I still had to source some other supporting mods to support my power goal of 250whp. On with the show...
I got with Rev to put in an order for his MS3. Considering the logistics of International business, I was happily surprised with the 3 week wait on his ecu.
From reading on here, I learned that the preferred way of doing things is to get the ecu in the car and start learning the thing before the boost comes. I heeded the advice and set off to install it while I was still boostless. Thanks too Rev's excellent instructions that he included in the box and the base map, I had the car back up in running in about an hour from start to finish. The tuning fun then began and my need for knowledge was a never-ending thirst that couldn't be quenched. My reading led me to discovering many injector options. Do I want to do the Mustang injectors? Doesn't seem to be much fanfare there at the time and the talks of the fuel dispersion being lackluster for the Miata, I moved on to ID750s instead.
Again, many thanks goes to an outstanding product that was furnished complete with the necessary specifications for my fueling data so it truly was a plug and play install. Oh, I almost forgot. I need a way to monitor all these tuning shenanigans so I threw in my wideband as well.
After several months of waiting, countless emails and phone calls, my parts started to arrive in the mail. Once they arrived, I did a full layout inventory so I could assess everything and see if anything was missing. (Caution treated me well on that decision) Of course, in a perfect world I would've had everything I needed to start putting everything on, but I had numerous missing parts, but not to worry, Corky and crew got me all fixed up.
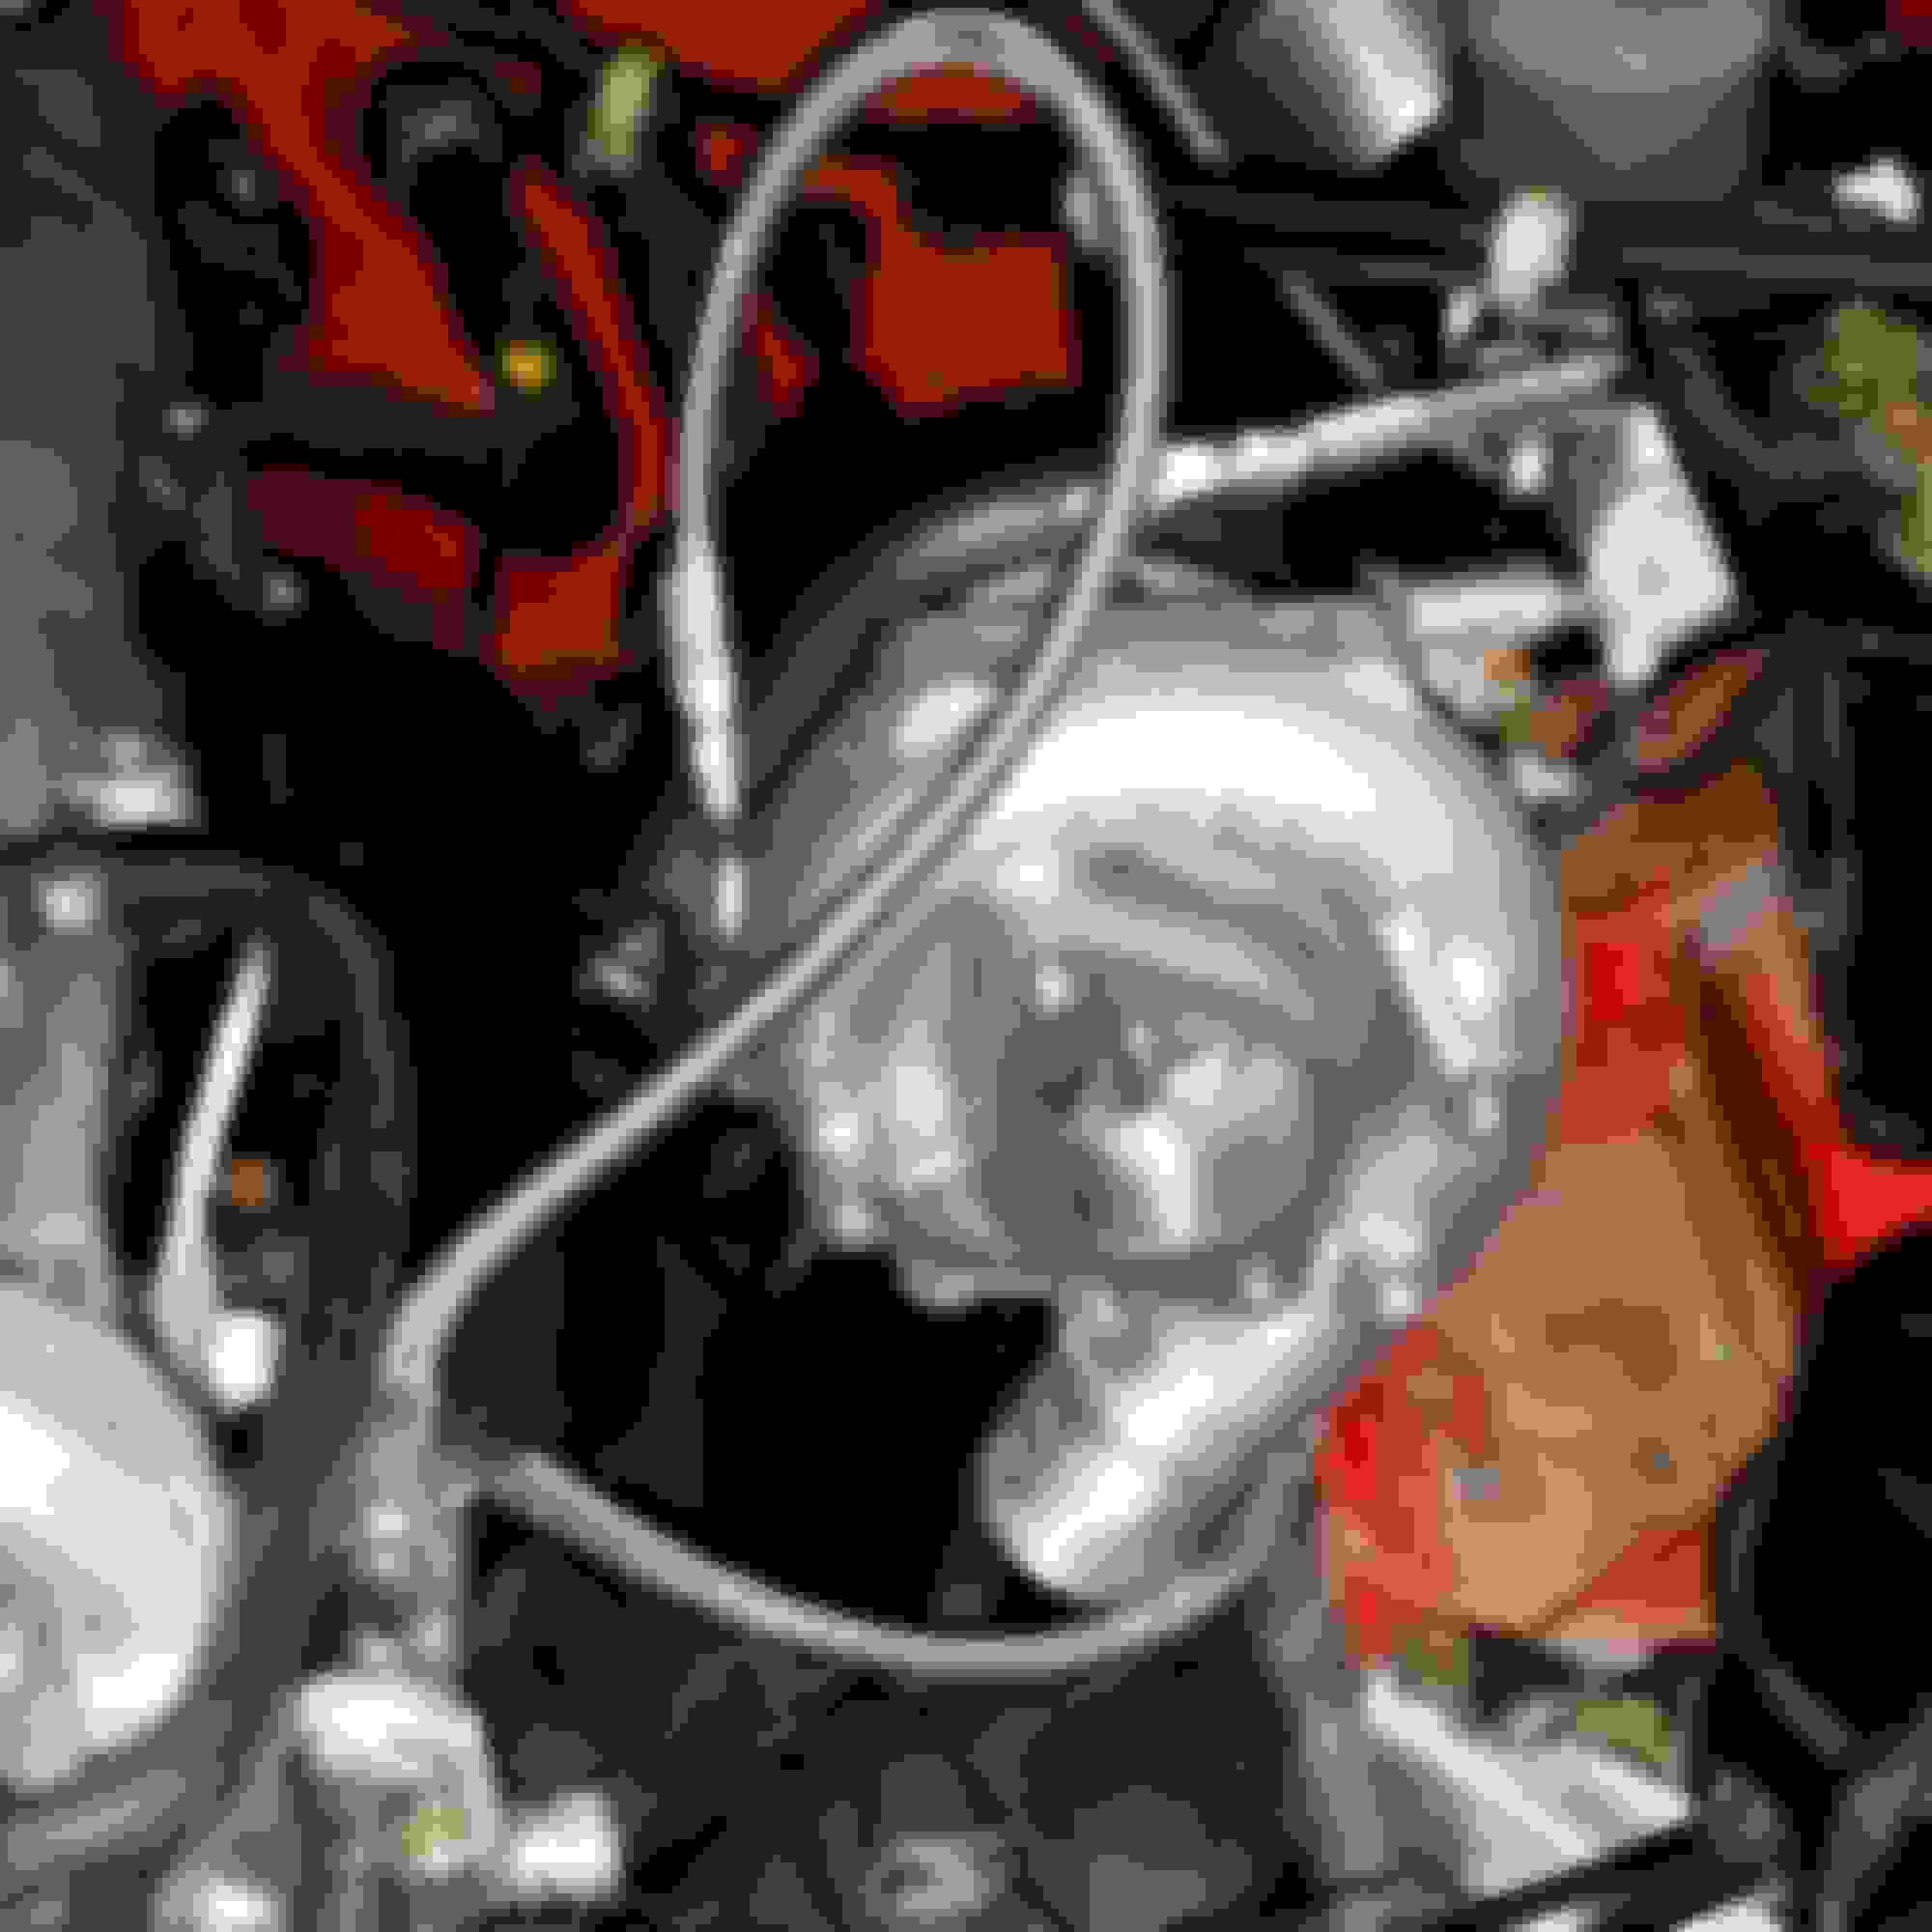
Ladies & gentlemen, the Alpha Omega kit
Went with their biggest core just in case..
Now disassembly can begin.
A little more behind the scenes, I also got with Flyin' Miata and picked up a Happy Meal so I could actually put some power to the ground. Sorry everyone, didn't get any pictures of that stage, but the purple was a nice touch.
Final assembly complete
The install ended up taking me about a month due to some missing parts I overlooked, a busy work schedule, and the fact that I was using a buddy's garage to do it all in. This is how the car has been up until recently. The car has been a lot of fun. I converted it over to E85, got the tune nailed down pretty good, but not perfect, and got some miles put on it. Still need to lean it out a little more in some areas and enrichen some areas, but all in all, the tune is fun and safe. Now that I've got the car where I want it, I decided it was time to start tackling some other projects that needed addressed.
The TSE BBK was too pretty to pass up, and the Tein Flex was what I ended up going with due to a great price that I couldn't pass up.
Better ride height now. Ignore curb rash...
I've got the ride height sorted out, a tighter suspension in place, now onto some pretty new rollers.
Elected to go with the ever popular 6UL in Tungsten with a 15x8 dimension.
In my purchase frenzy I also picked up a Hobart Handler 140 so I could add to my capabilities in my garage. Since I made that purchase, I felt I would do a little welding. I then set out to ruin my 3" Enthuza exhaust by cutting off the muffler. Crazy, I know, but I wanted to create a modular exhaust so I could swap out the note depending on what mood I'm in.
V-band on the muffler. Not real good with the welder, but it's been serving its purpose.
Piece of 3" straight pipe with awful cut.
Filled in the nastiness with a little extra material.
All of things brings up to current day. I set out to create a Miata that had a turbo on it and made somewhere in the 250whp range. I'm not sure where I'm at on the power goal, but it definitely holds its own, here it comes, BUT, I want MOAR. This is where the fun comes in. When I get back from my next deployment, I will be embarking on an engine build. Right now the direction I am heading is to do the build with a minimal budget. I've been getting some inspiration and think I can pull it off for right around $1800, less the machine work. The coming months will prove whether or not that will come true. Stay tuned for more.
P.S. Sorry for the lengthy first post. Got a bit carried away with the reminiscing. Hope you all enjoy.
You did real good with this project IMO. Grabbing a very clean example and then sticking with only premium and quality parts. That brake package looks absolutely phenomenal. I really like the braided turbo lines and the external wastegate set up provided in the Alpha Omega kit. Very nice set up. Just curious, did you have a look at Trackspeed's EFR kit?
I am excited for you to get the project to the next level after your deployment. Keep up the great work!
This is indeed my first Miata and I appreciate the positive feedback. I've most definitely gazed over the TSE EFR kit. Once I get the forged goodies for the insides, that's the route I'd like to go, the only factor for that is the time it will take me to save up the $$$ for it. I'm currently in the process of picking up additional components as well. I've got a 6 speed to throw in it now, but I need a new gearset to get a more useful powerband. Not too much of a worry in its current state with the 2560, but I'd really like more gear for a bigger turbo.
Nice brakes. I"m still trying to decide what vendor sells the best brake kit. V8 roadsters, 949racing, Flyin Miata, Trackspeed... Maybe I'll just be smart for once, and see what the stock brakes do with race pads before upgrading lol.
I couldn't be happier with the Trackspeed setup, although, I would definitely recommend a proportioning valve. They bite so hard the rear gets light and starts to lock up if I'm not careful. In addition, his customer service is really good.
Nice brakes. I"m still trying to decide what vendor sells the best brake kit. V8 roadsters, 949racing, Flyin Miata, Trackspeed... Maybe I'll just be smart for once, and see what the stock brakes do with race pads before upgrading lol.
Garagestar came out with a gorgeous set as well.
Look at these beautiful calipers
I don't have any experience with them as they just came out last week, but Ken and I have been talking over the past month discussing them and from what he's shared with me a lot of solid R&D has gone into making them. Might be worth a look, as it is in the price range of the comparable set ups.
OP I think you are one of the first people to post a review of the A/O setup. So far how was fit and finish?
So far the kit has been really great. The only issues I've actually had was with the coolant feed line. The original line sent to me was just too long, which caused it to basically ride on the mani. It held up that way for quite some time, but eventually the heat was the demise of the nylon lining. I contacted Stephanie and she got me hooked up with the correct length line and shipped out right away. While an extra cost option, I opted for ceramic coating on the mani and turbine housing, and whoever they work with on that did a splendid job. The IC piping, which they switched over to aluminum for on this kit, was all very easy to fit. I had a really hard time getting my big hands underneath the compressor to get the elbow on it, and nearly considered ordering a different elbow with a longer leg size to help me out, but I changed my angle of attack and the supplied elbow worked perfectly.
The only other issue that I ran into was the intake horn. I elected to go with the 2560, and the air horn that I was sent wasn't compatible with the it. What I received:
The proper piece that should've been included.
I let them know that it was wrong, but since I was one of the very first people to receive the kit, Corky had to fab something up to make it work. I think it took him a couple weeks to get me the new part, but after that, I was back in business.
As for longevity and durability, I've had the kit installed since February '15 and have put about 5kish miles on it. Everything is still holding up great, albeit the recirculating valve that they include in the kit. It worked great at 8psi, but as soon as I started pushing up towards the 14lb arena, it would start to leak, limiting me to about 11lbs.
I think this the first AlphaOmega kit experience that I've seen that actually looks to have gone........smooth? for the most part.
Great start.
The install went pretty smoothly aside from having to source the rest of the parts. It was a bit tedious at times, but constant contact with Stephanie ensured that I got the parts that I was missing in a timely manner. Although, the 6-8 week lead time was more like 7-8 months. While the wait was much longer than anticipated, their customer service was sterling, and I thank them for that.
I appreciate the positive feedback. Your build threads provide me with a lot of inspiration and a bit of envy as well. There's an immense amount of knowledge on this forum, and I have to give the credit to the many contributors that make this site my go to.
Calipers are good, with that brace in the top center, but the rest of the kit is not appealing to me.
It really bothers me that they only offer the slotted rotors.
If those calipers are better than the rest of the market offers, maybe I'll get the stoptech calipers, trackspeed rotors, v8 roadster master cylinders.... piece together a kit with the best stuff.
I do like the prolite calipers or other quick pad change calipers. that is really nice option to me.
That wont work. You will need custom brackets to fit the stoptech calipers on the rotors. You might as well build a full custom kit at that point.
Alright everyone, I went to the dyno and got my feelings crushed (Dyno Dynamics), so naturally I decided I needed to make another upgrade that I had the money lying around for. As it turns out I was only able to put down 220whp @ 10lbs and when we tried stepping the boost up, I ran out of fuel. I wasn't totally surprised by it because up until now I have been running the factory system (pump included) to drive the IDs with E85. After having seen FM's Big Fuel Kit, rather than forking out the big money for what they offer, I decided I would just build my own version. A few online orders later, viola, I have what I need to make it happen.
Rather than doing a step by step of pulling the fuel pump, replacing it, and doing the entire install, due to a surplus of other threads I was able to easily find, I'll just keep it to what we all love...pictures. To start off we'll cover a little before of the EVAP and original fuel line setup and after of its removal. Before removal
After removal
Now onto the crappy part that no one really wants to deal with, but seems to save a few hundred bones by the end of it all. Cutting and terminating the -6 AN braided stainless line.
Note for those of you wondering: I bought a cheap roll of tool box liner ($5) and cut it up to cover the jaws of my vice to keep it from marring the fittings while I was putting them all together. Cheap and effective.
Measuring and cutting begins
Feed and return lines cut and fitted to the regulator.
Most people, or perhaps those with this kind of experience will notice that I used the factory location of the charcoal filter just as FM does in their own kit.
Regulator mounted to the underside of the chassis.
EVAP cover now reinstalled to protect everything from any debris.
View from behind to see fit and finish (Disregard that small fuel leak I discovered..)
Finally, for those of you curious about my $6 mini cone filter on the end of the original vent hose running to the charcoal filter, I rather easily managed to use a CCV type filter that just so happened to fit perfectly into that hose. Thus far, I haven't noticed a real strong fuel vapor smell in the garage, but there is a hint of a smell present. While I didn't put the filter there to eliminate the smell, more so because I didn't want to plug the hole in the tank and then worry about venting my gas cap to keep pressures happy and the filter does the job of keeping contaminates from getting into the tank.
I just took the car out a little bit ago to collect some data. I have the static pressure on the regulator set to 55 psi and am running a vacuum reference to ramp up the pressure 1:1 with manifold pressure. Thus far, I have had to pull a lot of fuel out of my VE table just to get to 10lbs without completely rinsing my cylinder walls of all oil with E85. I'll take my current rich state as a success at this point and hope that I can continue to increase the boost without maxing out my VE values like before.
Last edited by ksmart5; Aug 28, 2016 at 08:26 PM.
Reason: Corrected some formatting cause OCD


 1
1