When you click on links to various merchants on this site and make a purchase, this can result in this site earning a commission. Affiliate programs and affiliations include, but are not limited to, the eBay Partner Network.
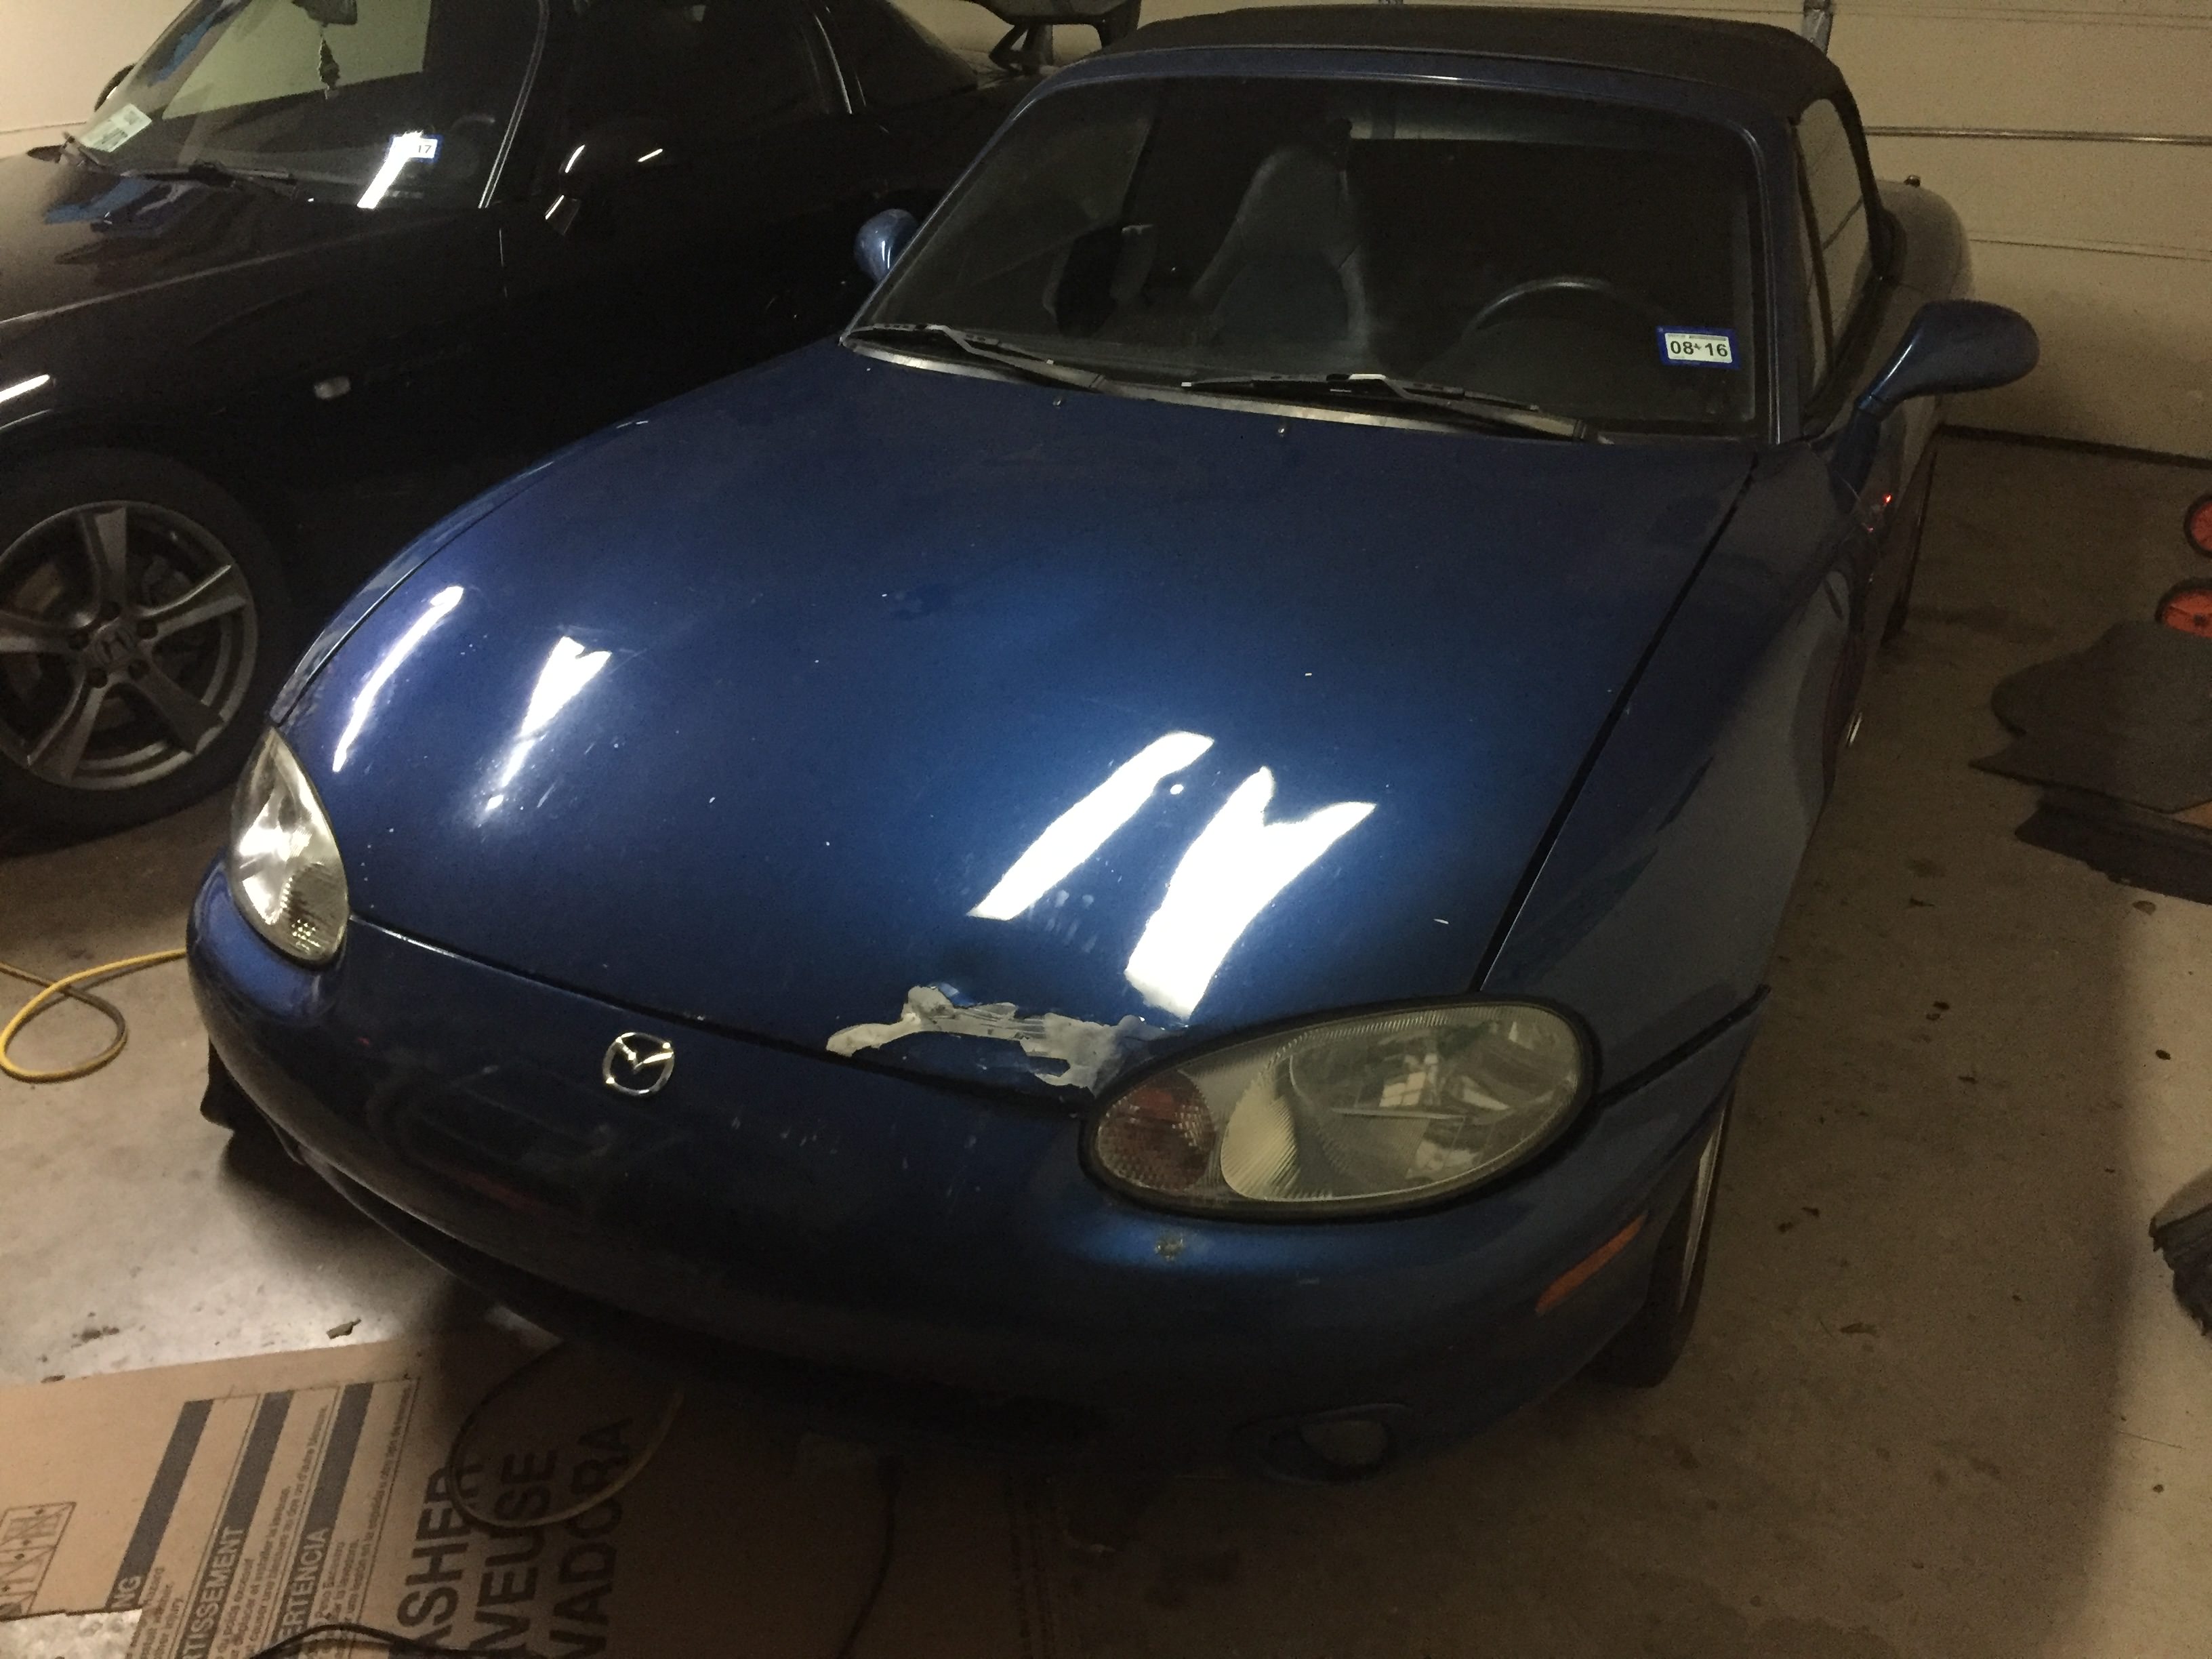
Hello everyone, I have been working on this 10 AE miata for awhile and figured it was time to start a build thread. A little back story on me and the car, I have owned a multitude of Hondas over my 12+ years of driving, everything that any proper Honda fanboy would want to own with the exception being an NSX. The last of which was an S2000 CR that I bought with the intention of being an autocross and track toy, but I could not bring myself to hack up such a car for this purpose. After owning it for 2 years and doing some autocross and a couple track days with I decided i needed to get into something i didnt feel bad destroying at the track so i put the CR up for sale and started hunting a miata. I came across this car on craigslist for cheap, it had been in a minor bump up and looked to have a busted headlight and maybe needed a new bumper but nothing to serious, it was a perfect car for me as i dont mind doing a little handy work to bring a car back to glory and ot had 3 things i was looking for, Bilstein suspension, LSD and a 6 speed. So i rode over to the owners house to take a look and to my dismay this unbelievably hot chick comes out of the house... 10 minutes later i was the new owner of a this car. Never drove it before i bought it, didnt even look inside the car. She dropped it off at my office 3 days later and i drove the car home that evening in a true state of disappointment, i had bought a complete turd.
After this the car sat for about 3 months while I sold the S2000, when it sold I had the money to start fixing up the miata finally, my plan all along was to pull the k20 from my DD RSX and shove it in the miata, but one day after work i got sidetracked into a ford dealership and used the money i had made on the S to buy a focus RS, another impulse buy on my part, there seems to be a trend here...
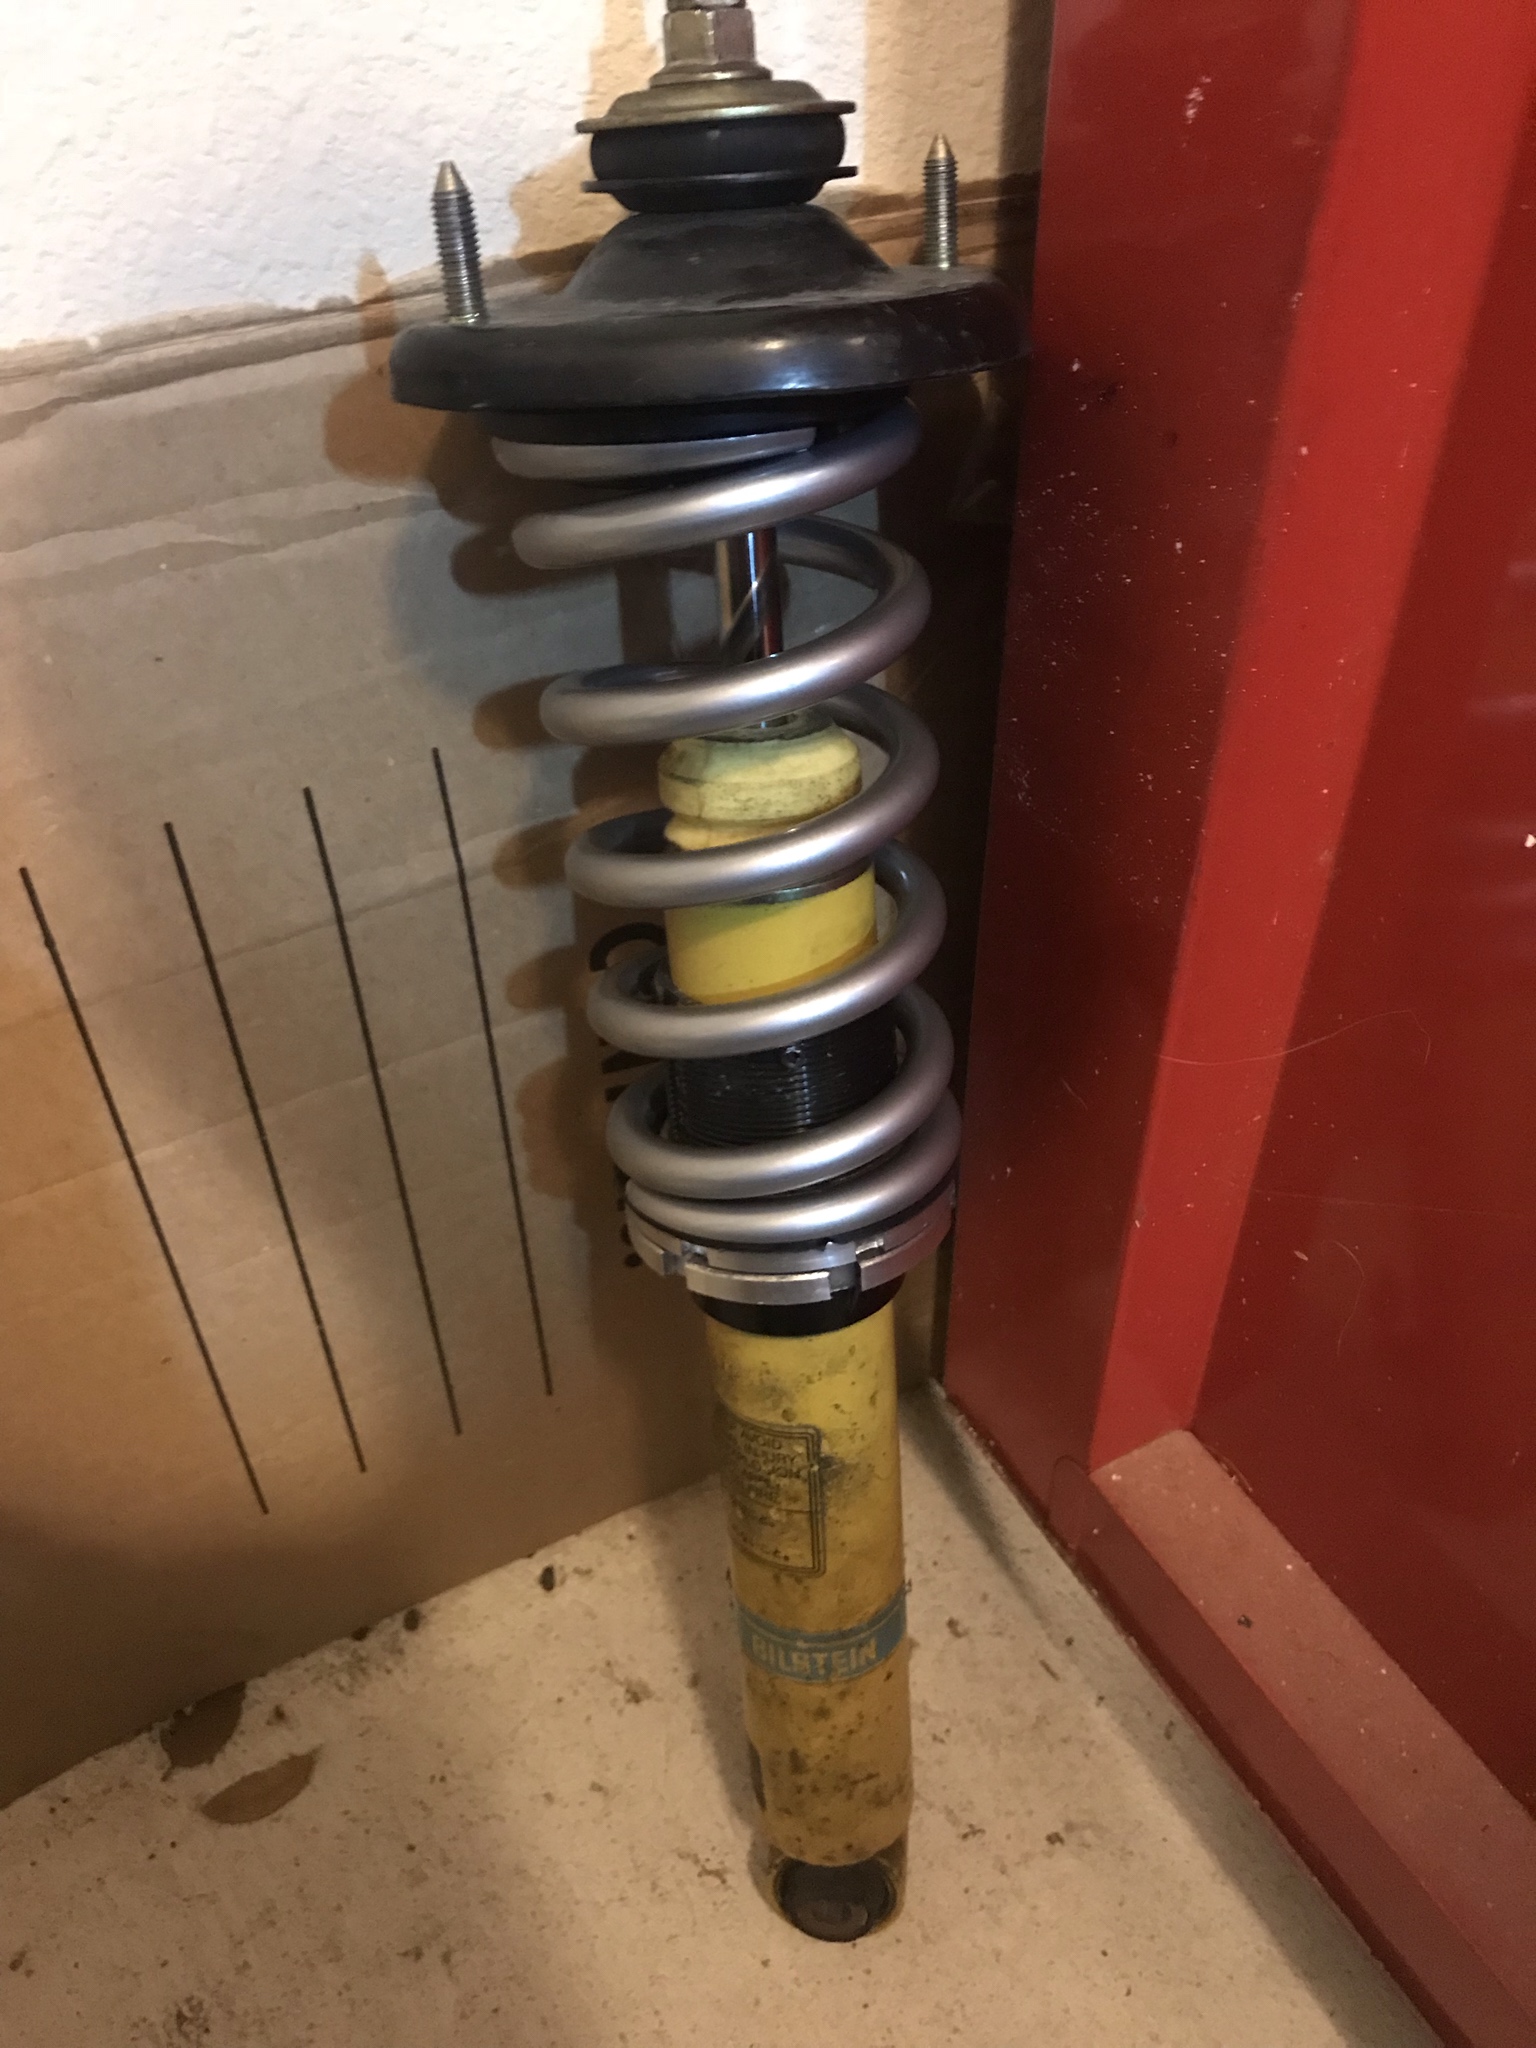
So after this the Kswap was out for awhile and i started putting a little money in the miata, fixed the headlight and got the bumper and hood back to functioning, i replaced all the bushings with ES bushings, replaced all the ball joints and eccentric bolts, did a budget billie setup and installed braided brake lines. This made the car exponentially better, i have several photos i can post later of bolts not tight in the suspension, a tie rod that was basically coming apart and one of the billies had been replaced with a normal shock along with one of the front brakelines rubbing on the tire... scary ****. Finally this spring I was ready to pull the trigger on he k swap kit and this happened:
To be continued, gotta get off this plane....
Last edited by golfandcars; May 6, 2018 at 06:51 PM.
Ok, its time to get this caught up, I am sorry for the major delay, i got this car running and driving in early June but hadn't had time to update this as I have been crazy busy at work and dealing with a move from Dallas to Austin.
Let's go back to the beginning:
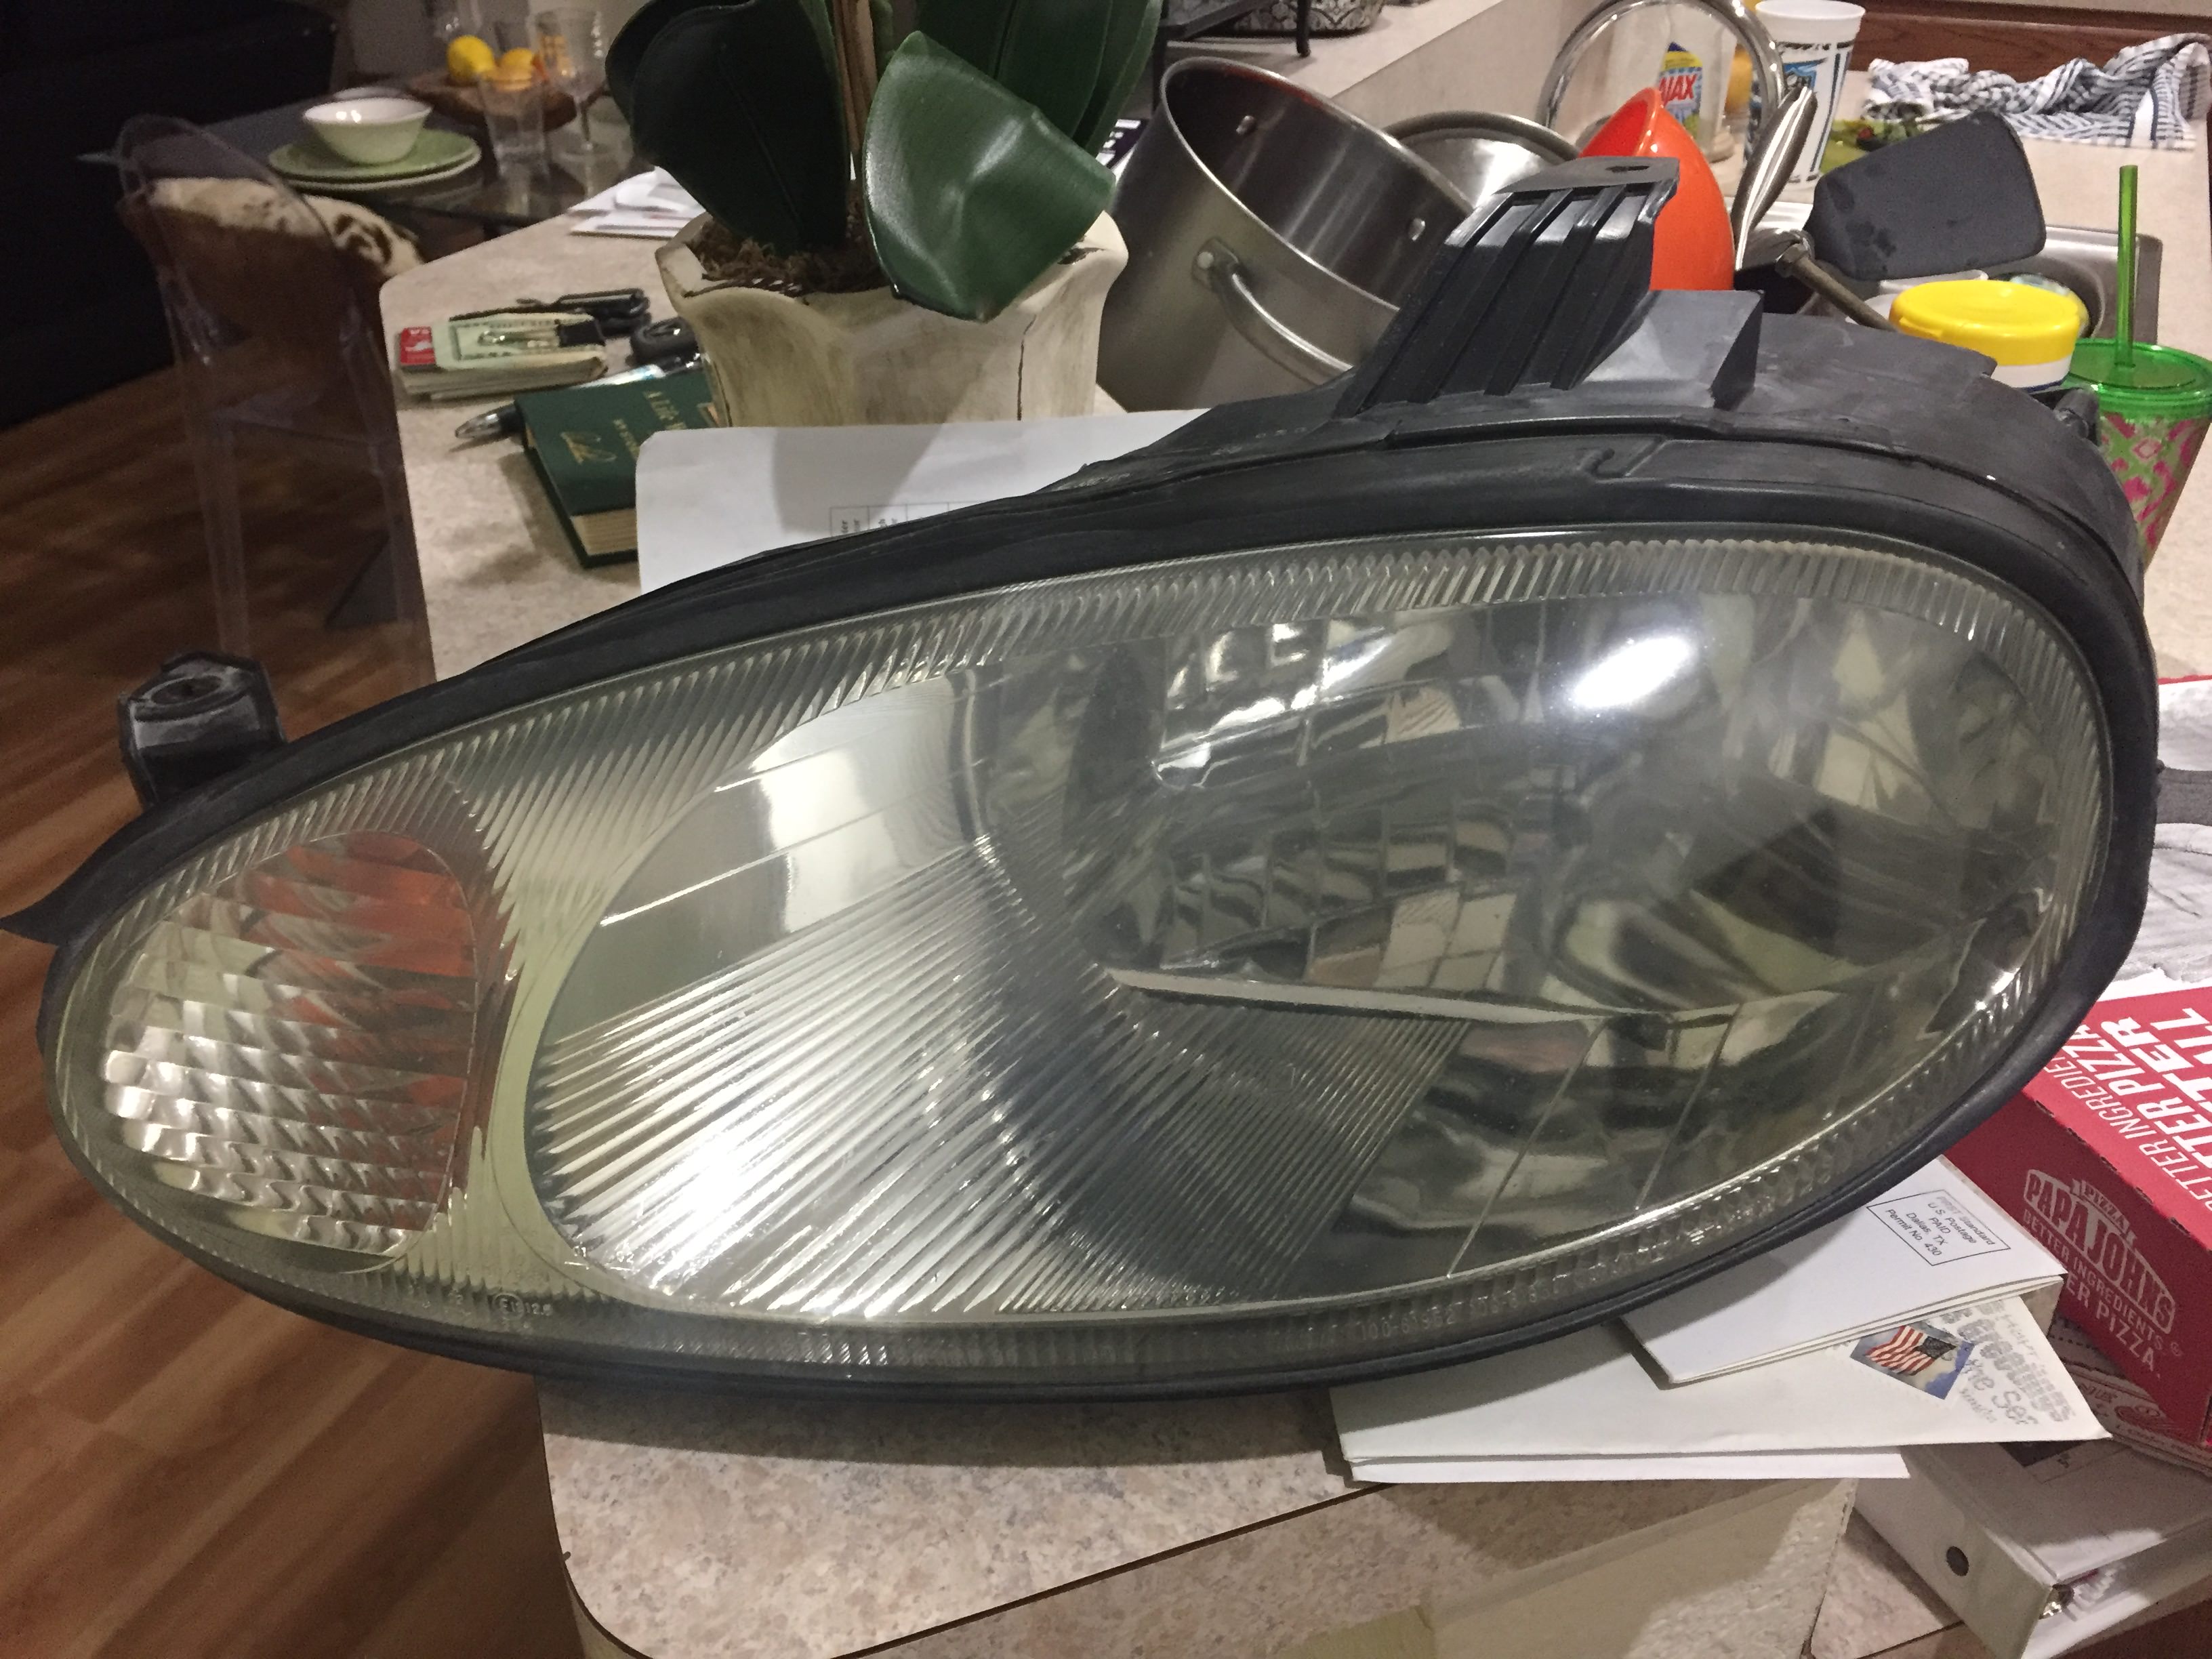
When I got the car I the driver head light was busted so my first order of business was to get that fixed, sorry i dont have a photo on hand of it before, all of my photos from the first year or so are on Photobucket...
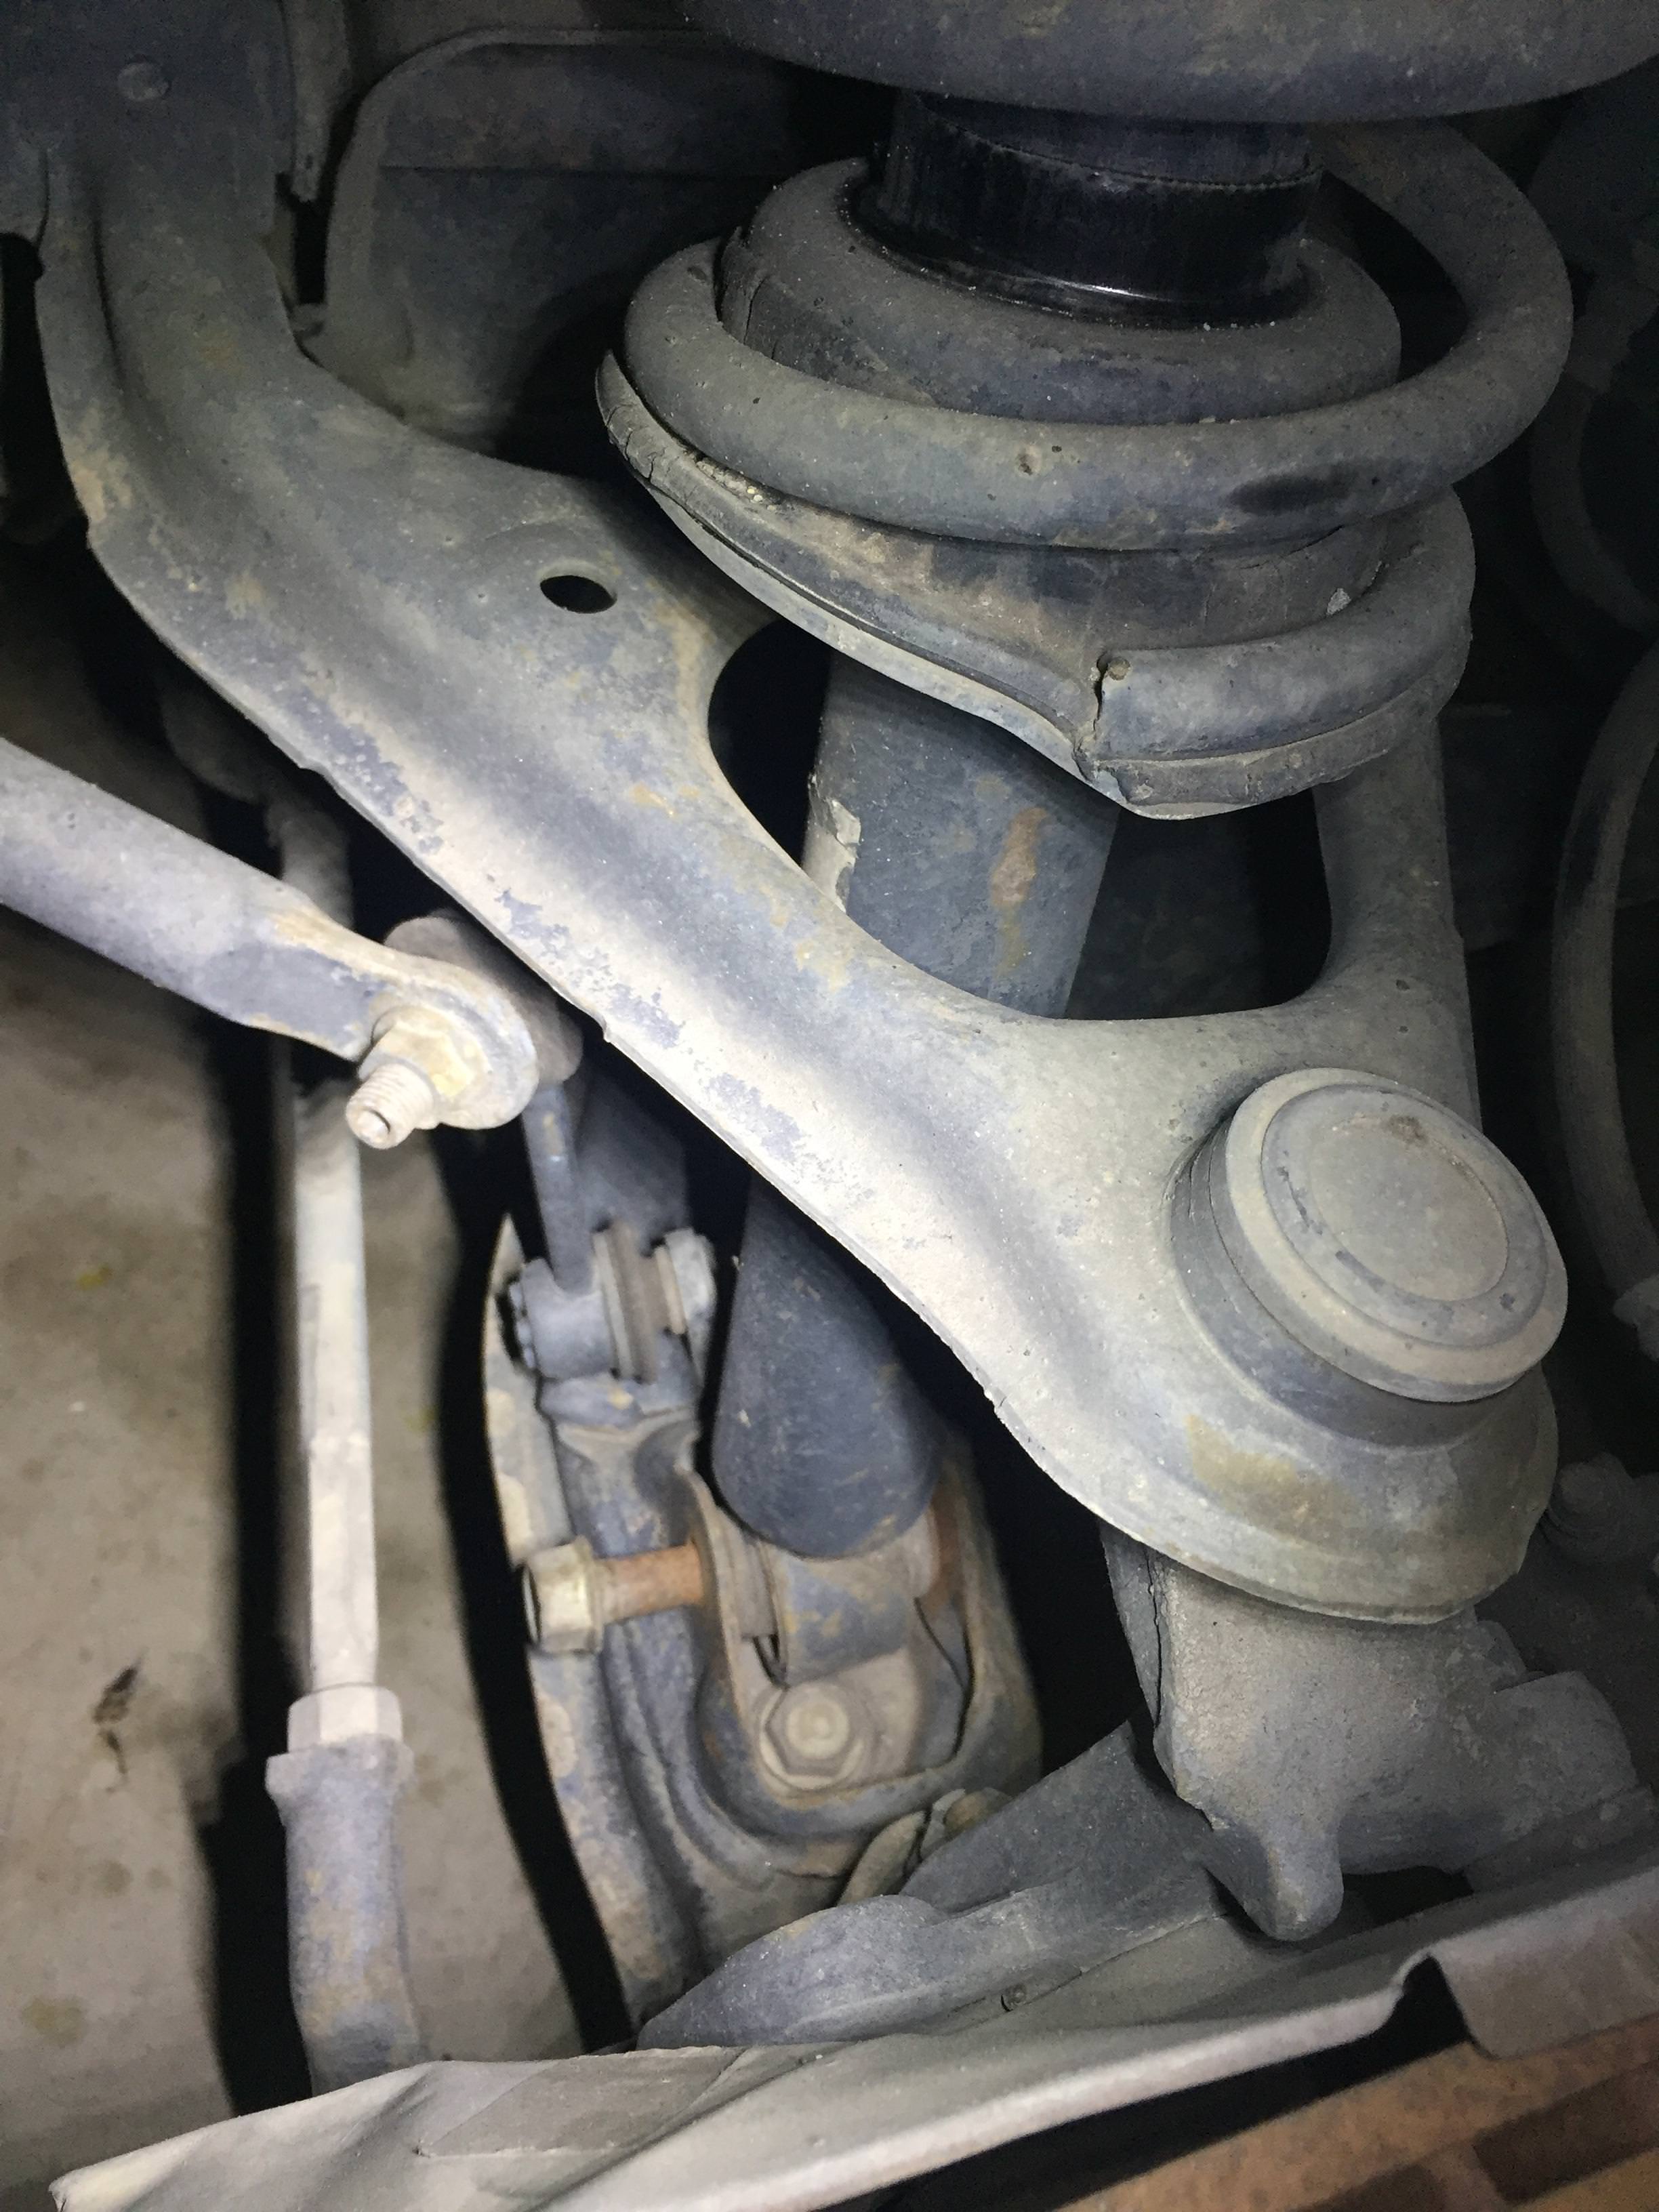
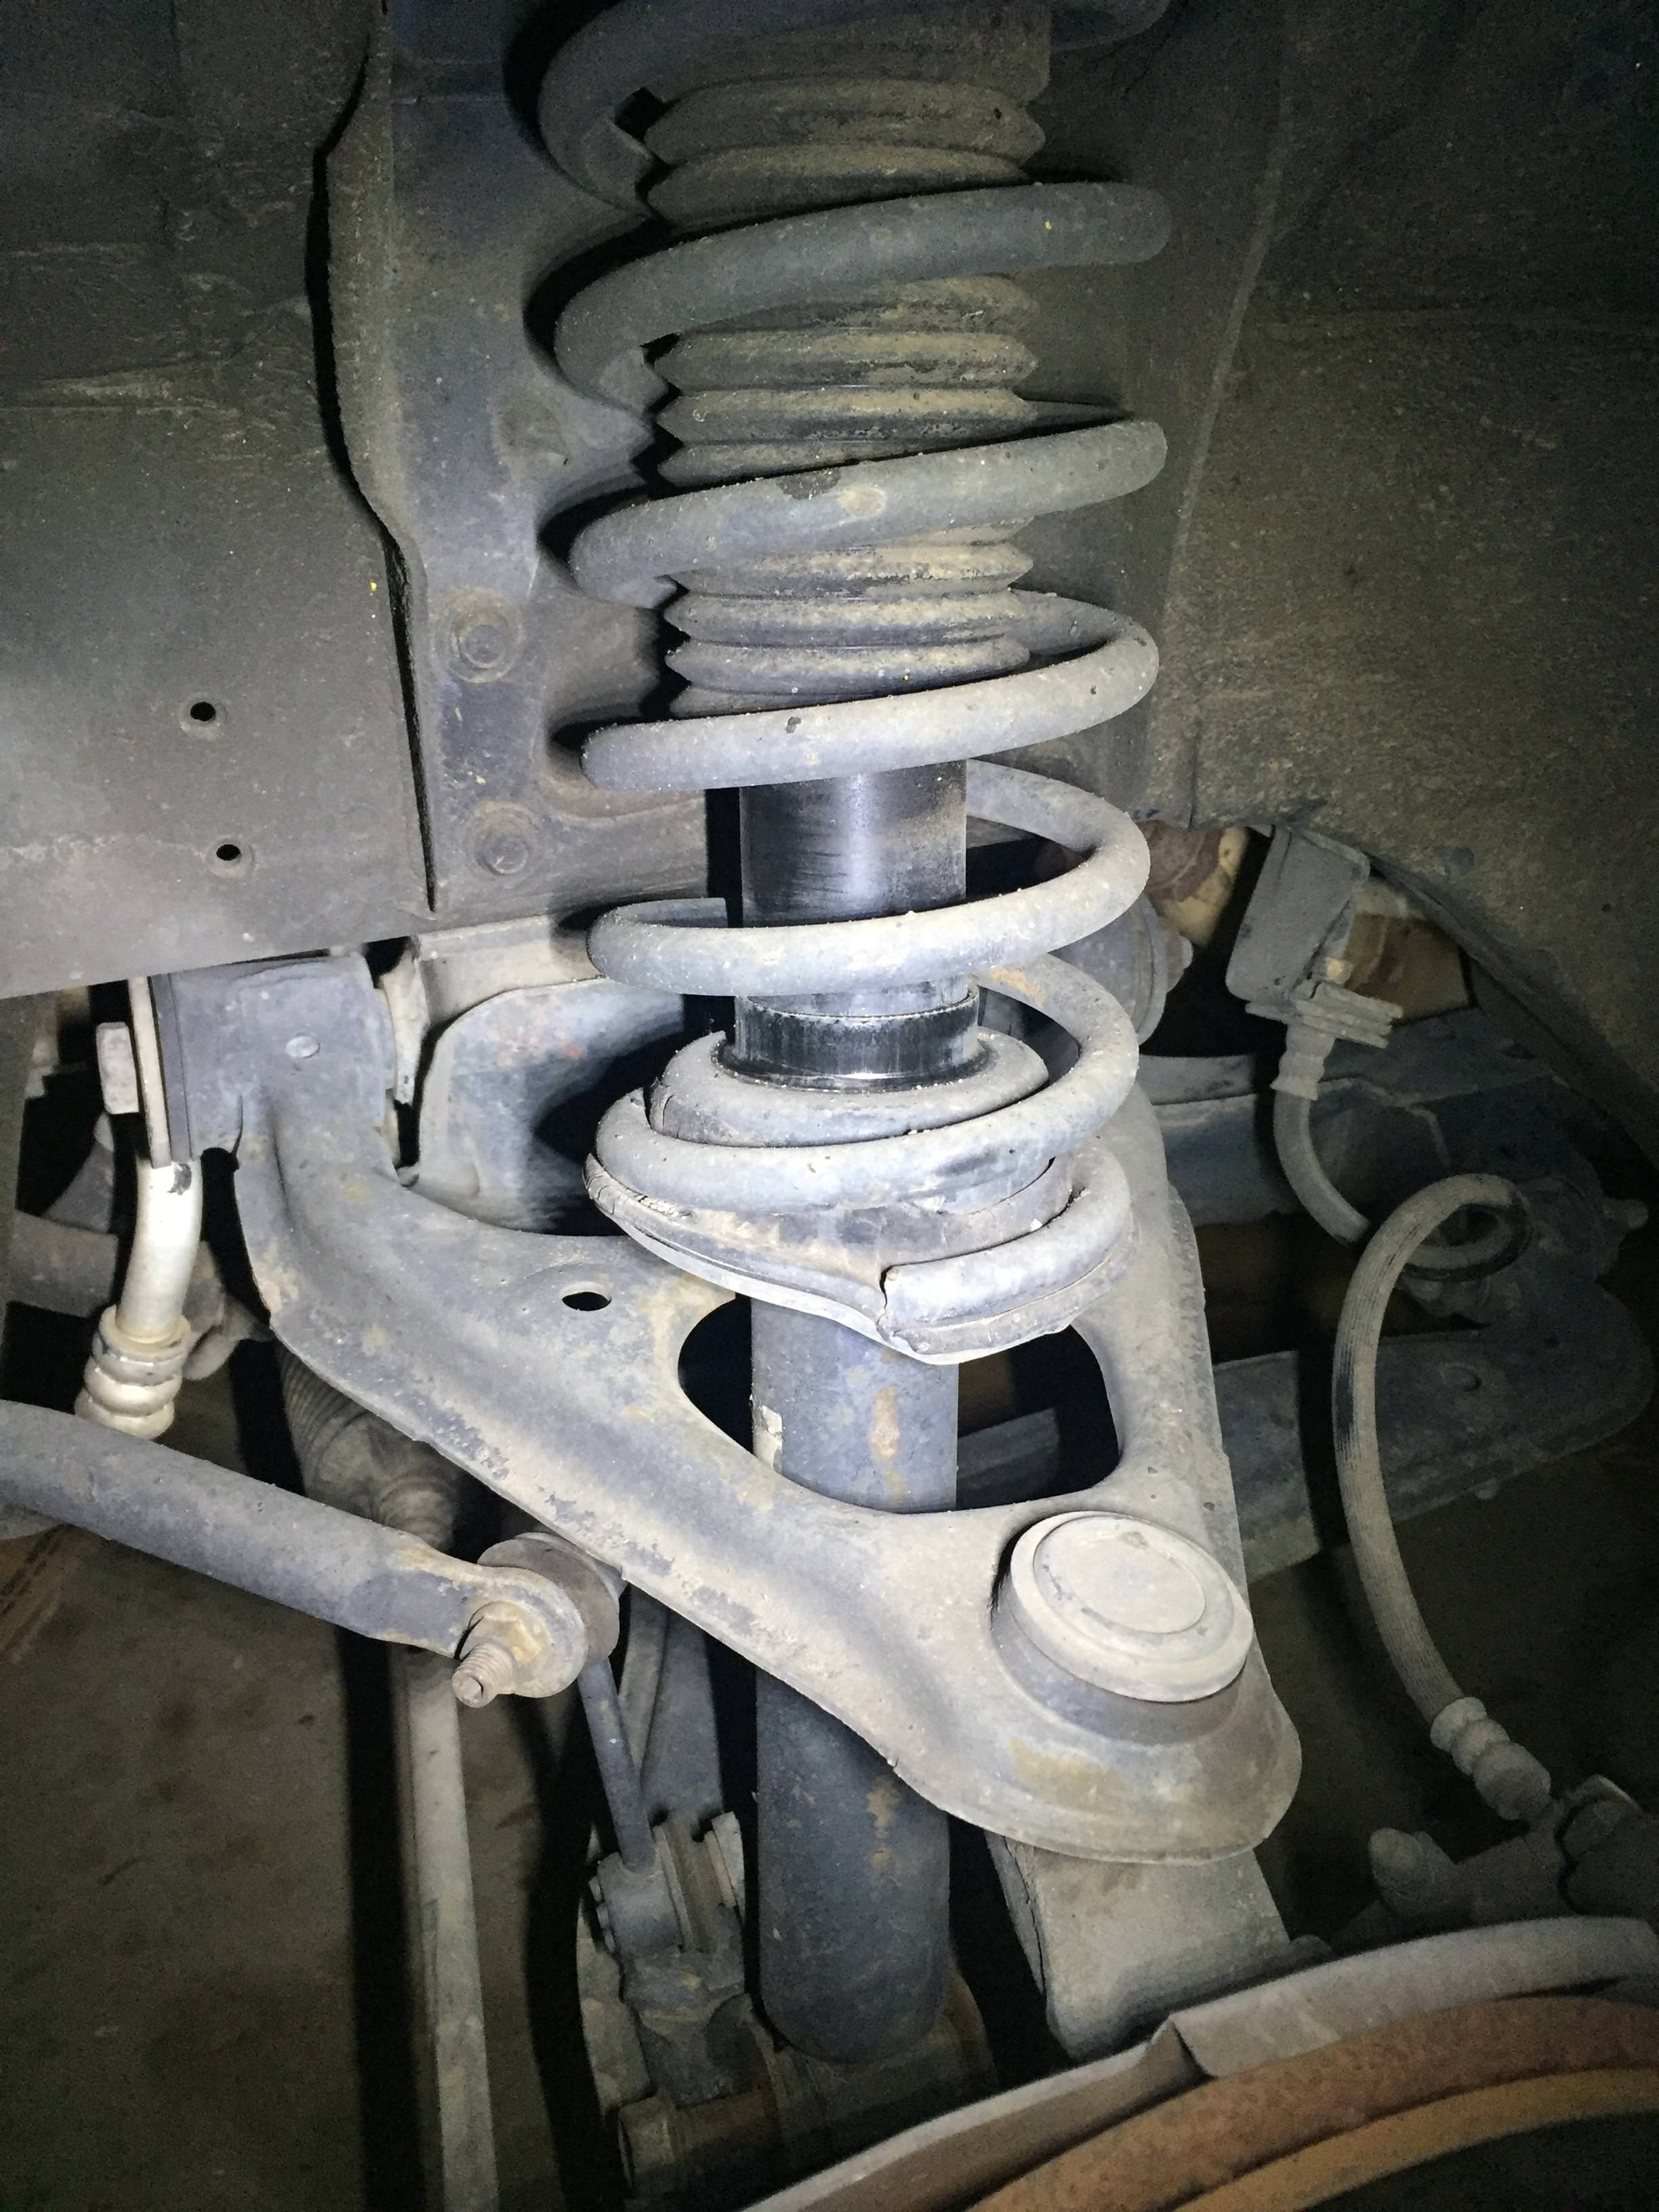
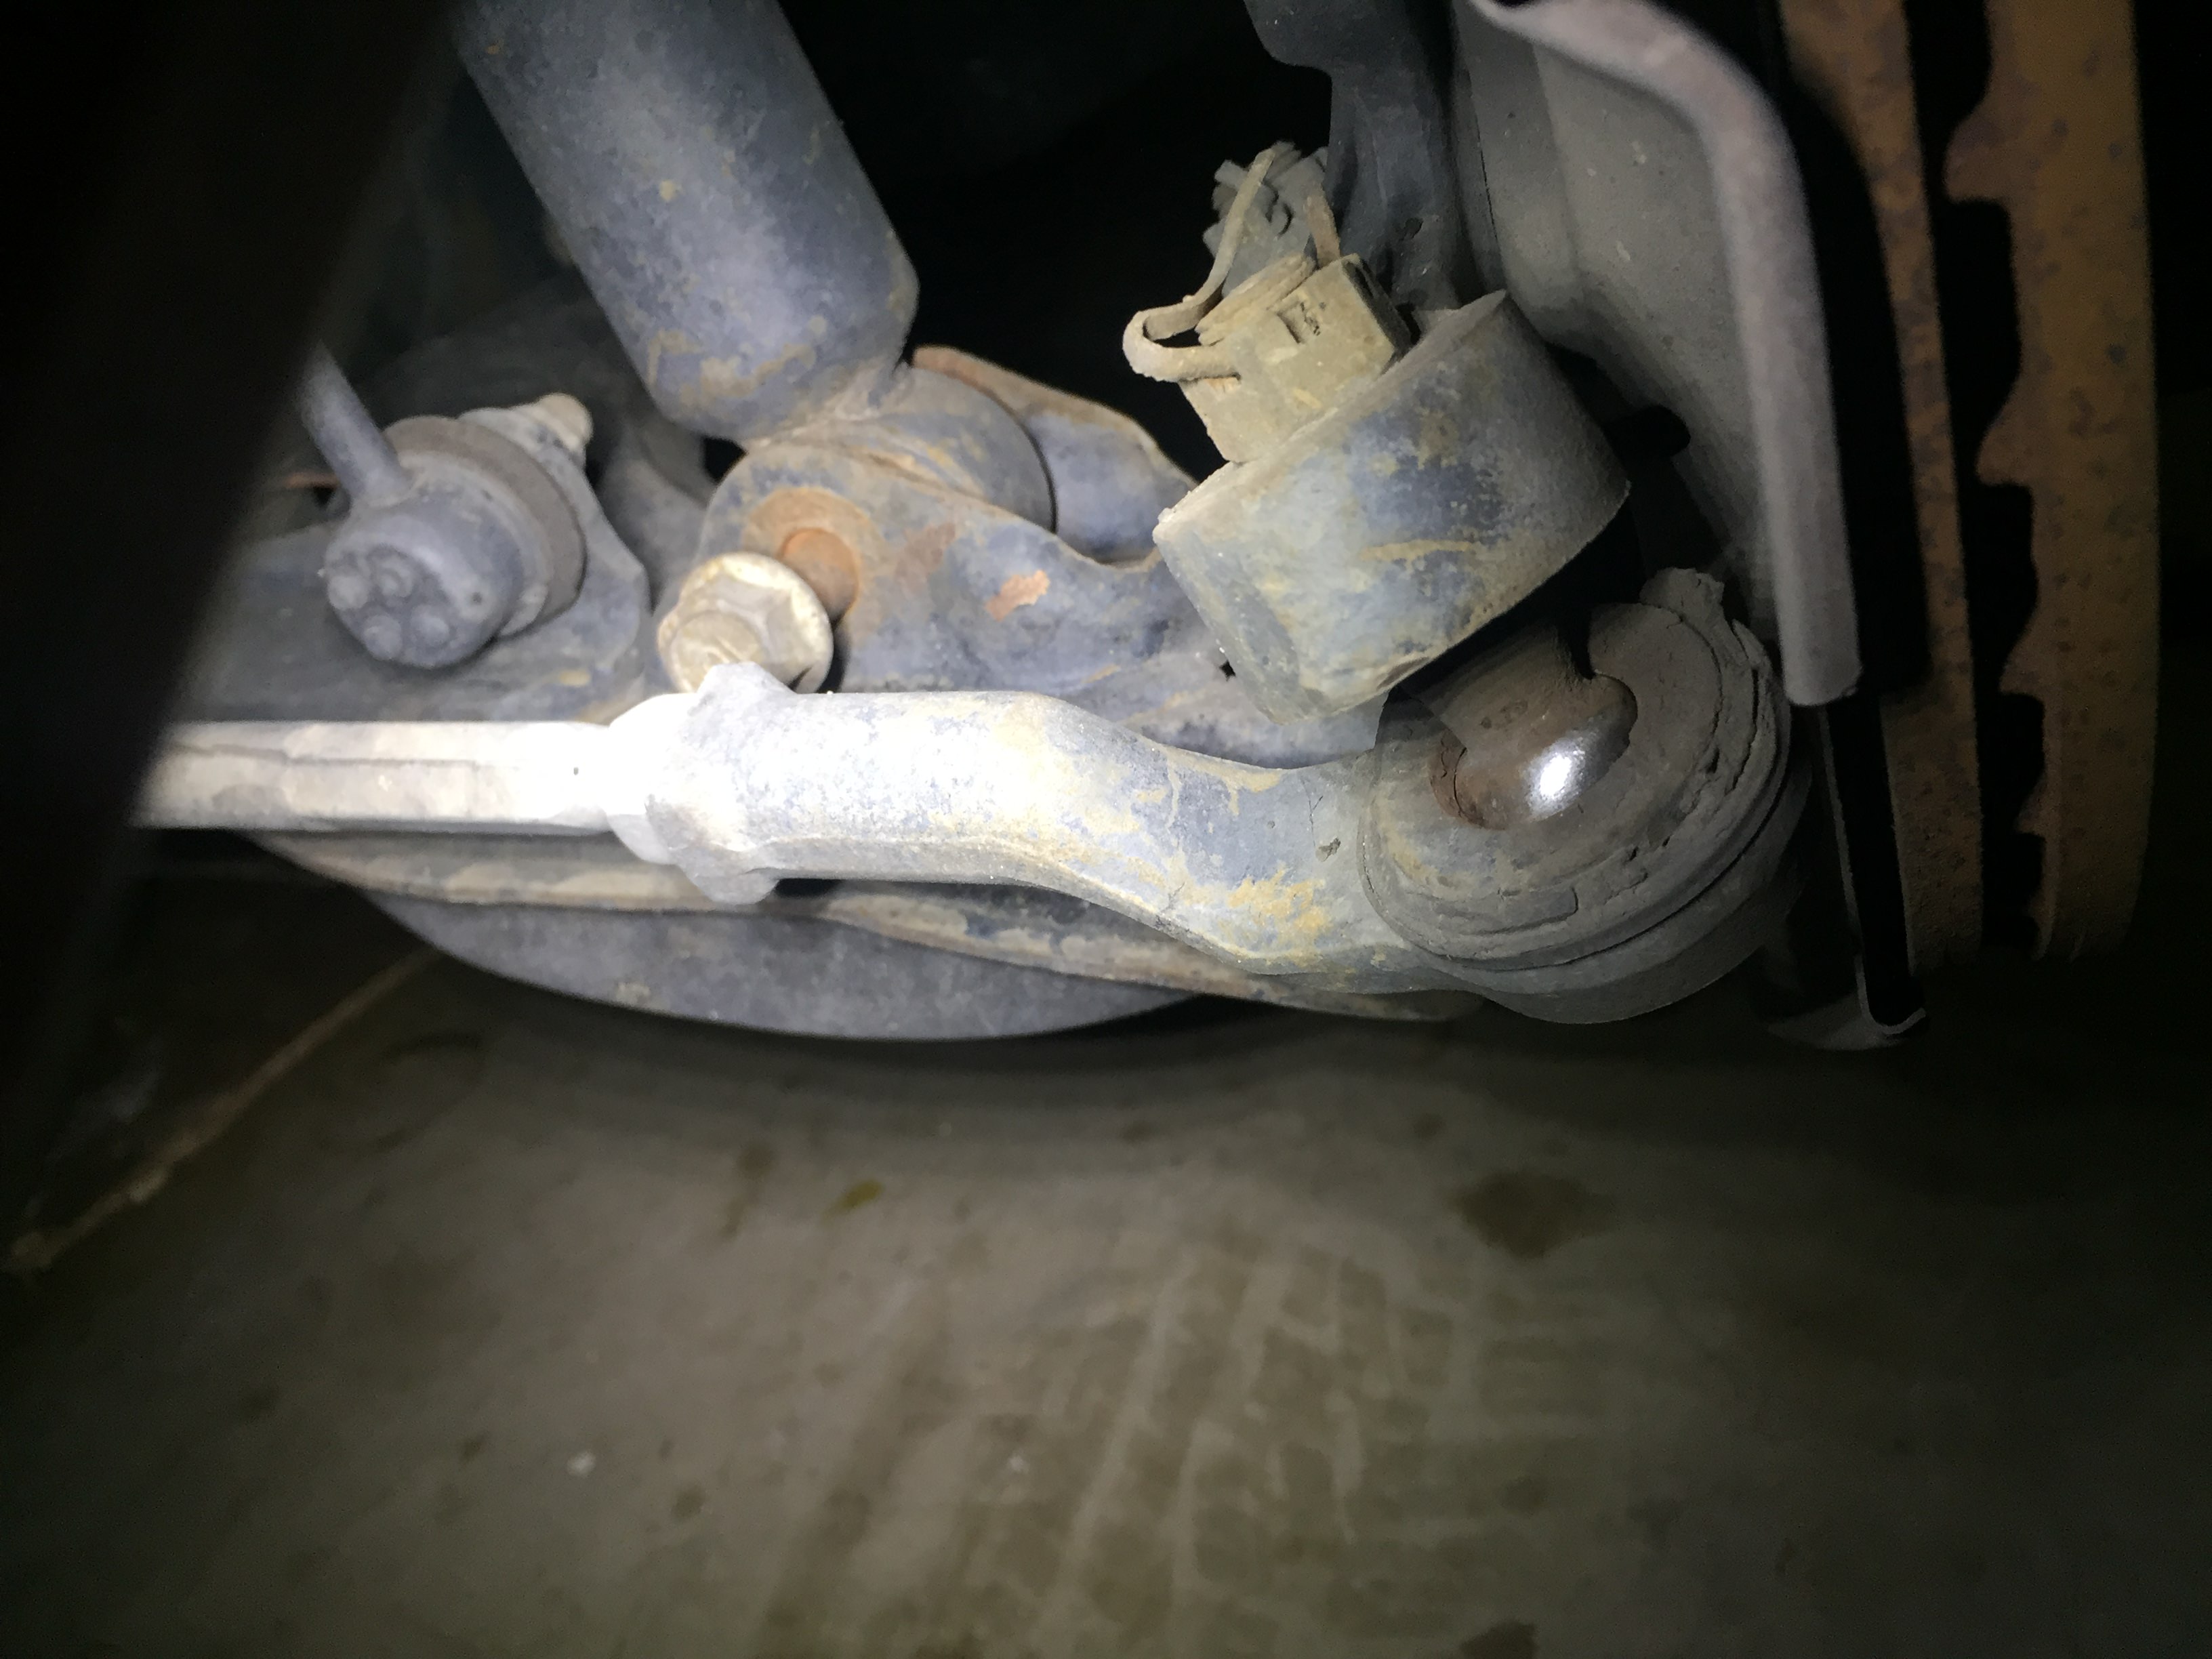
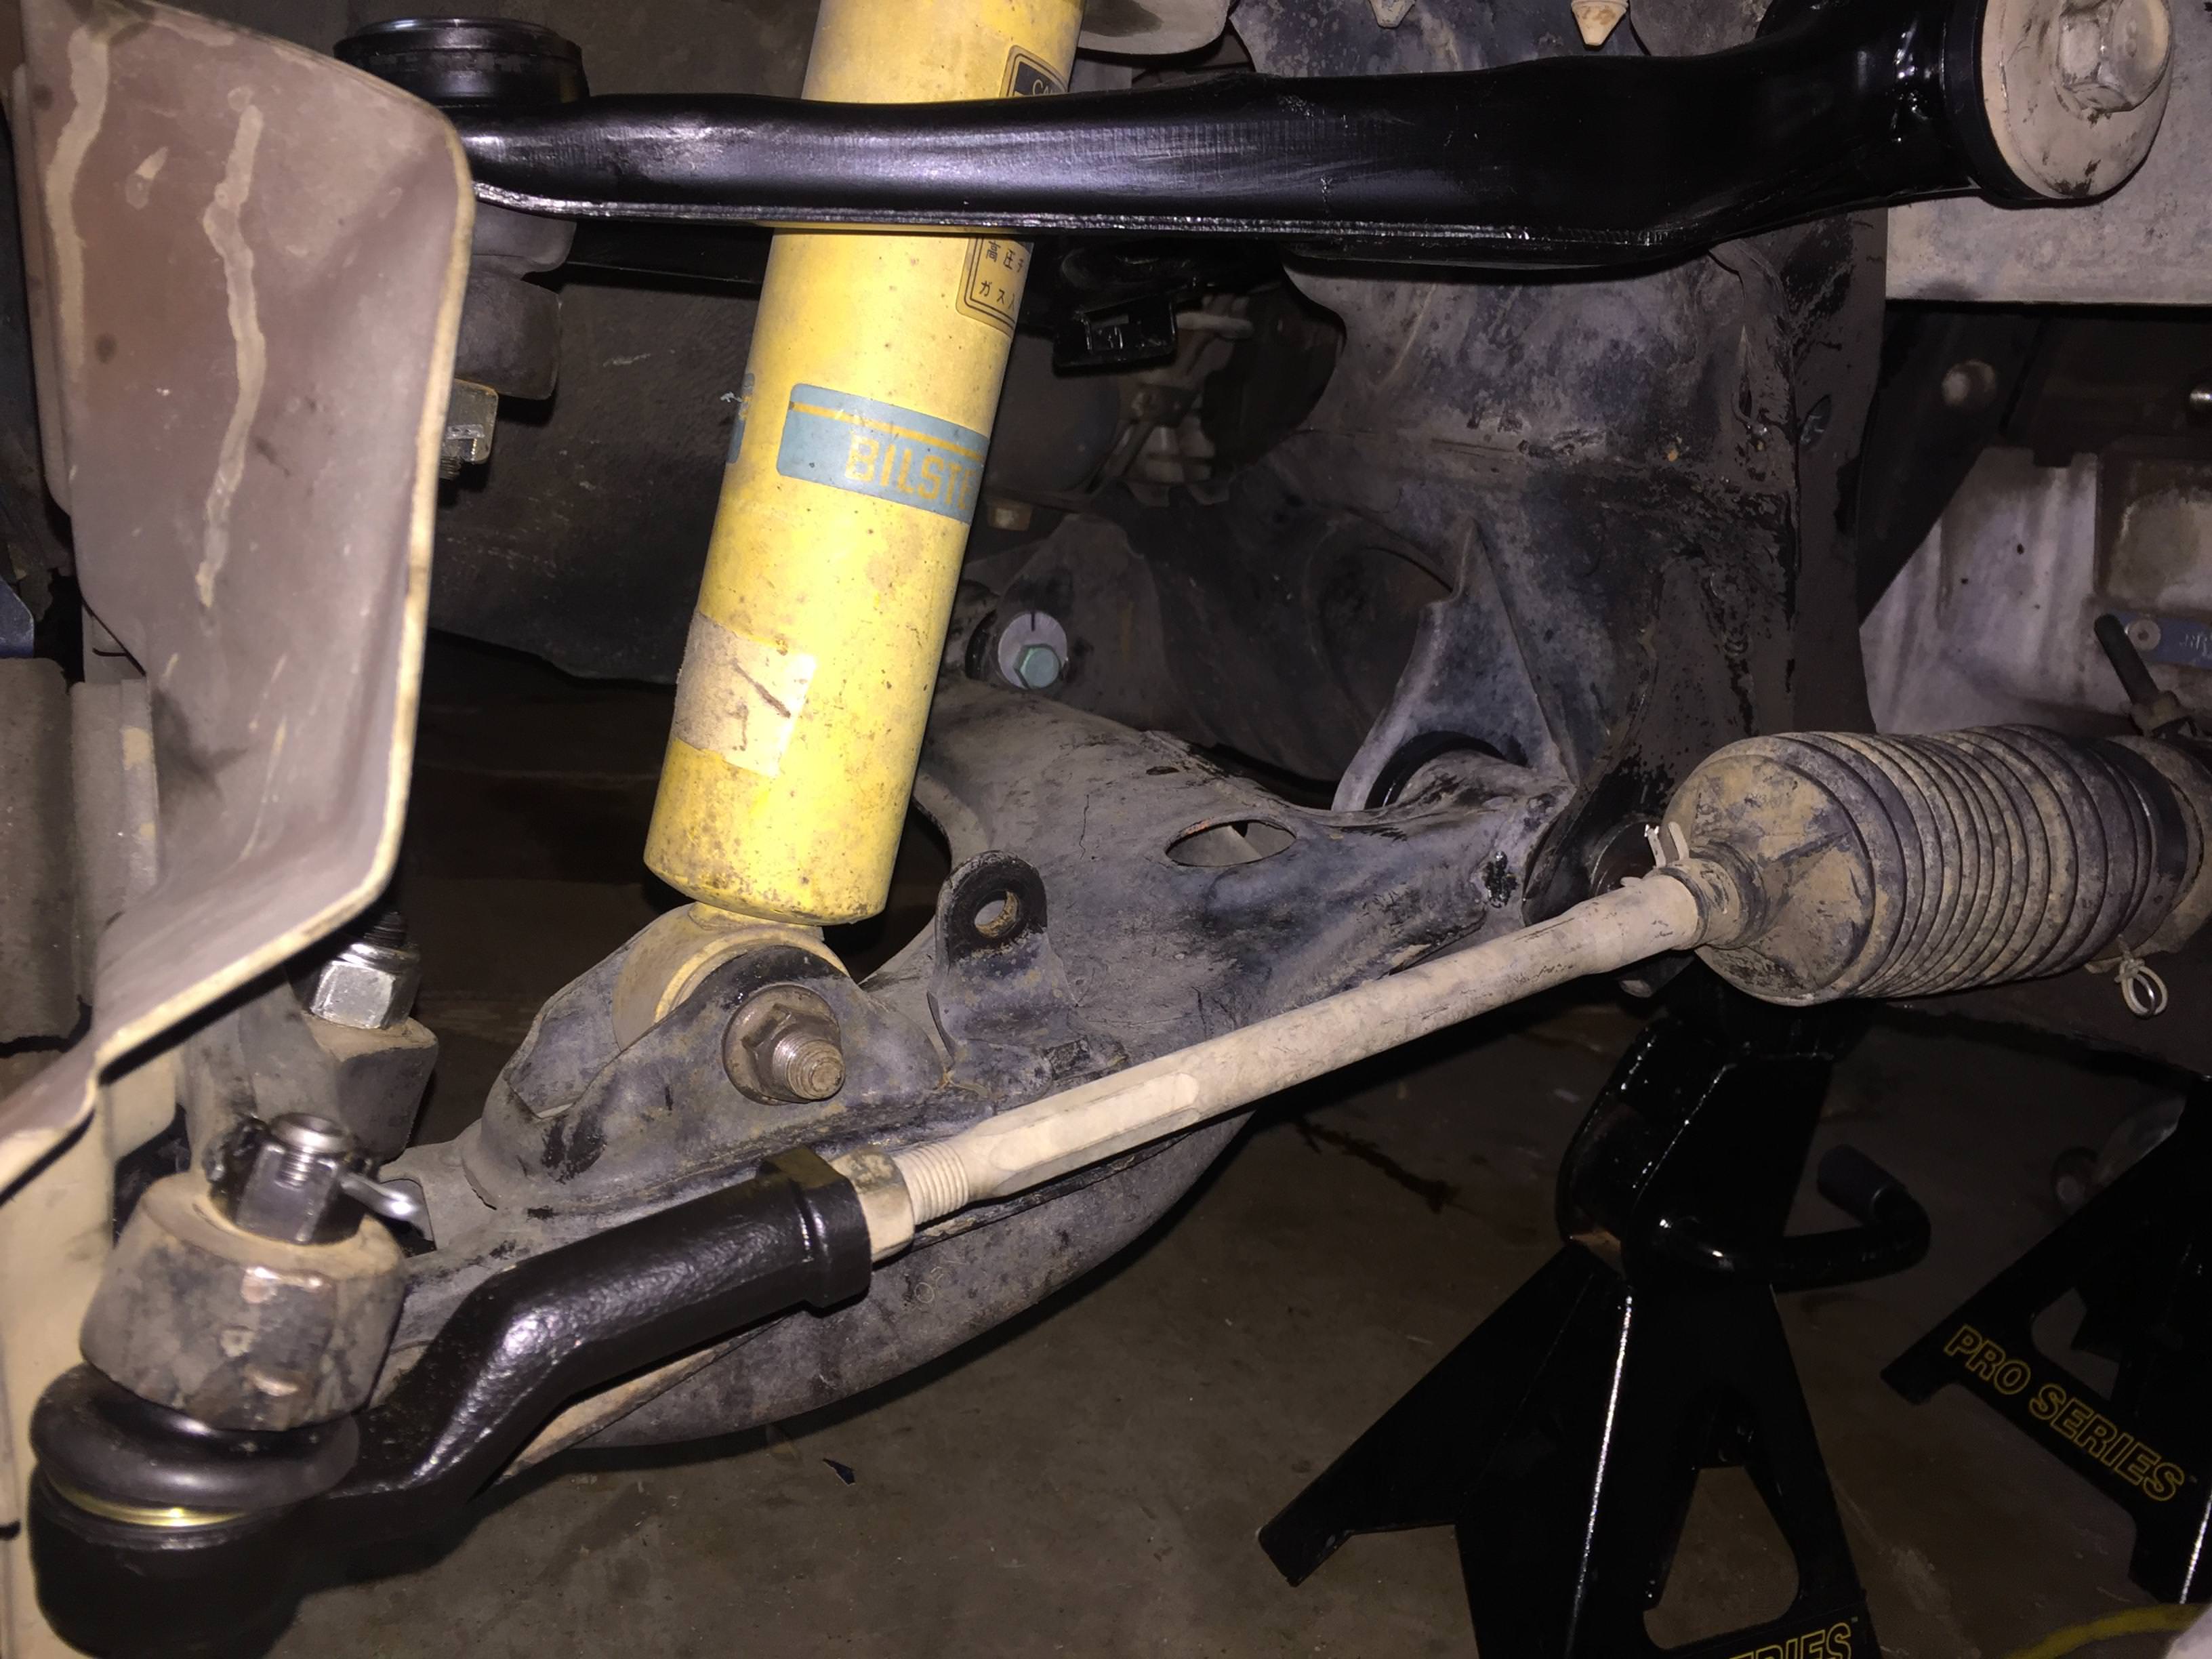
After that i rebuilt the shifter with a 5X racing kit and brass bushing, photos are lost somewhere in internet world... the next item to address was the suspension, driving it home i noticed some play in the steering and felt some clunks when i went over bumps so i started digging and found some pretty concerning things. The car was obviously hit on the driver front because the suspension was a mess oh that corner, the bilstein shock was missing, bolts were falling out or missing and the brake line had been rubbing on the wheel. The car was a rolling death trap...
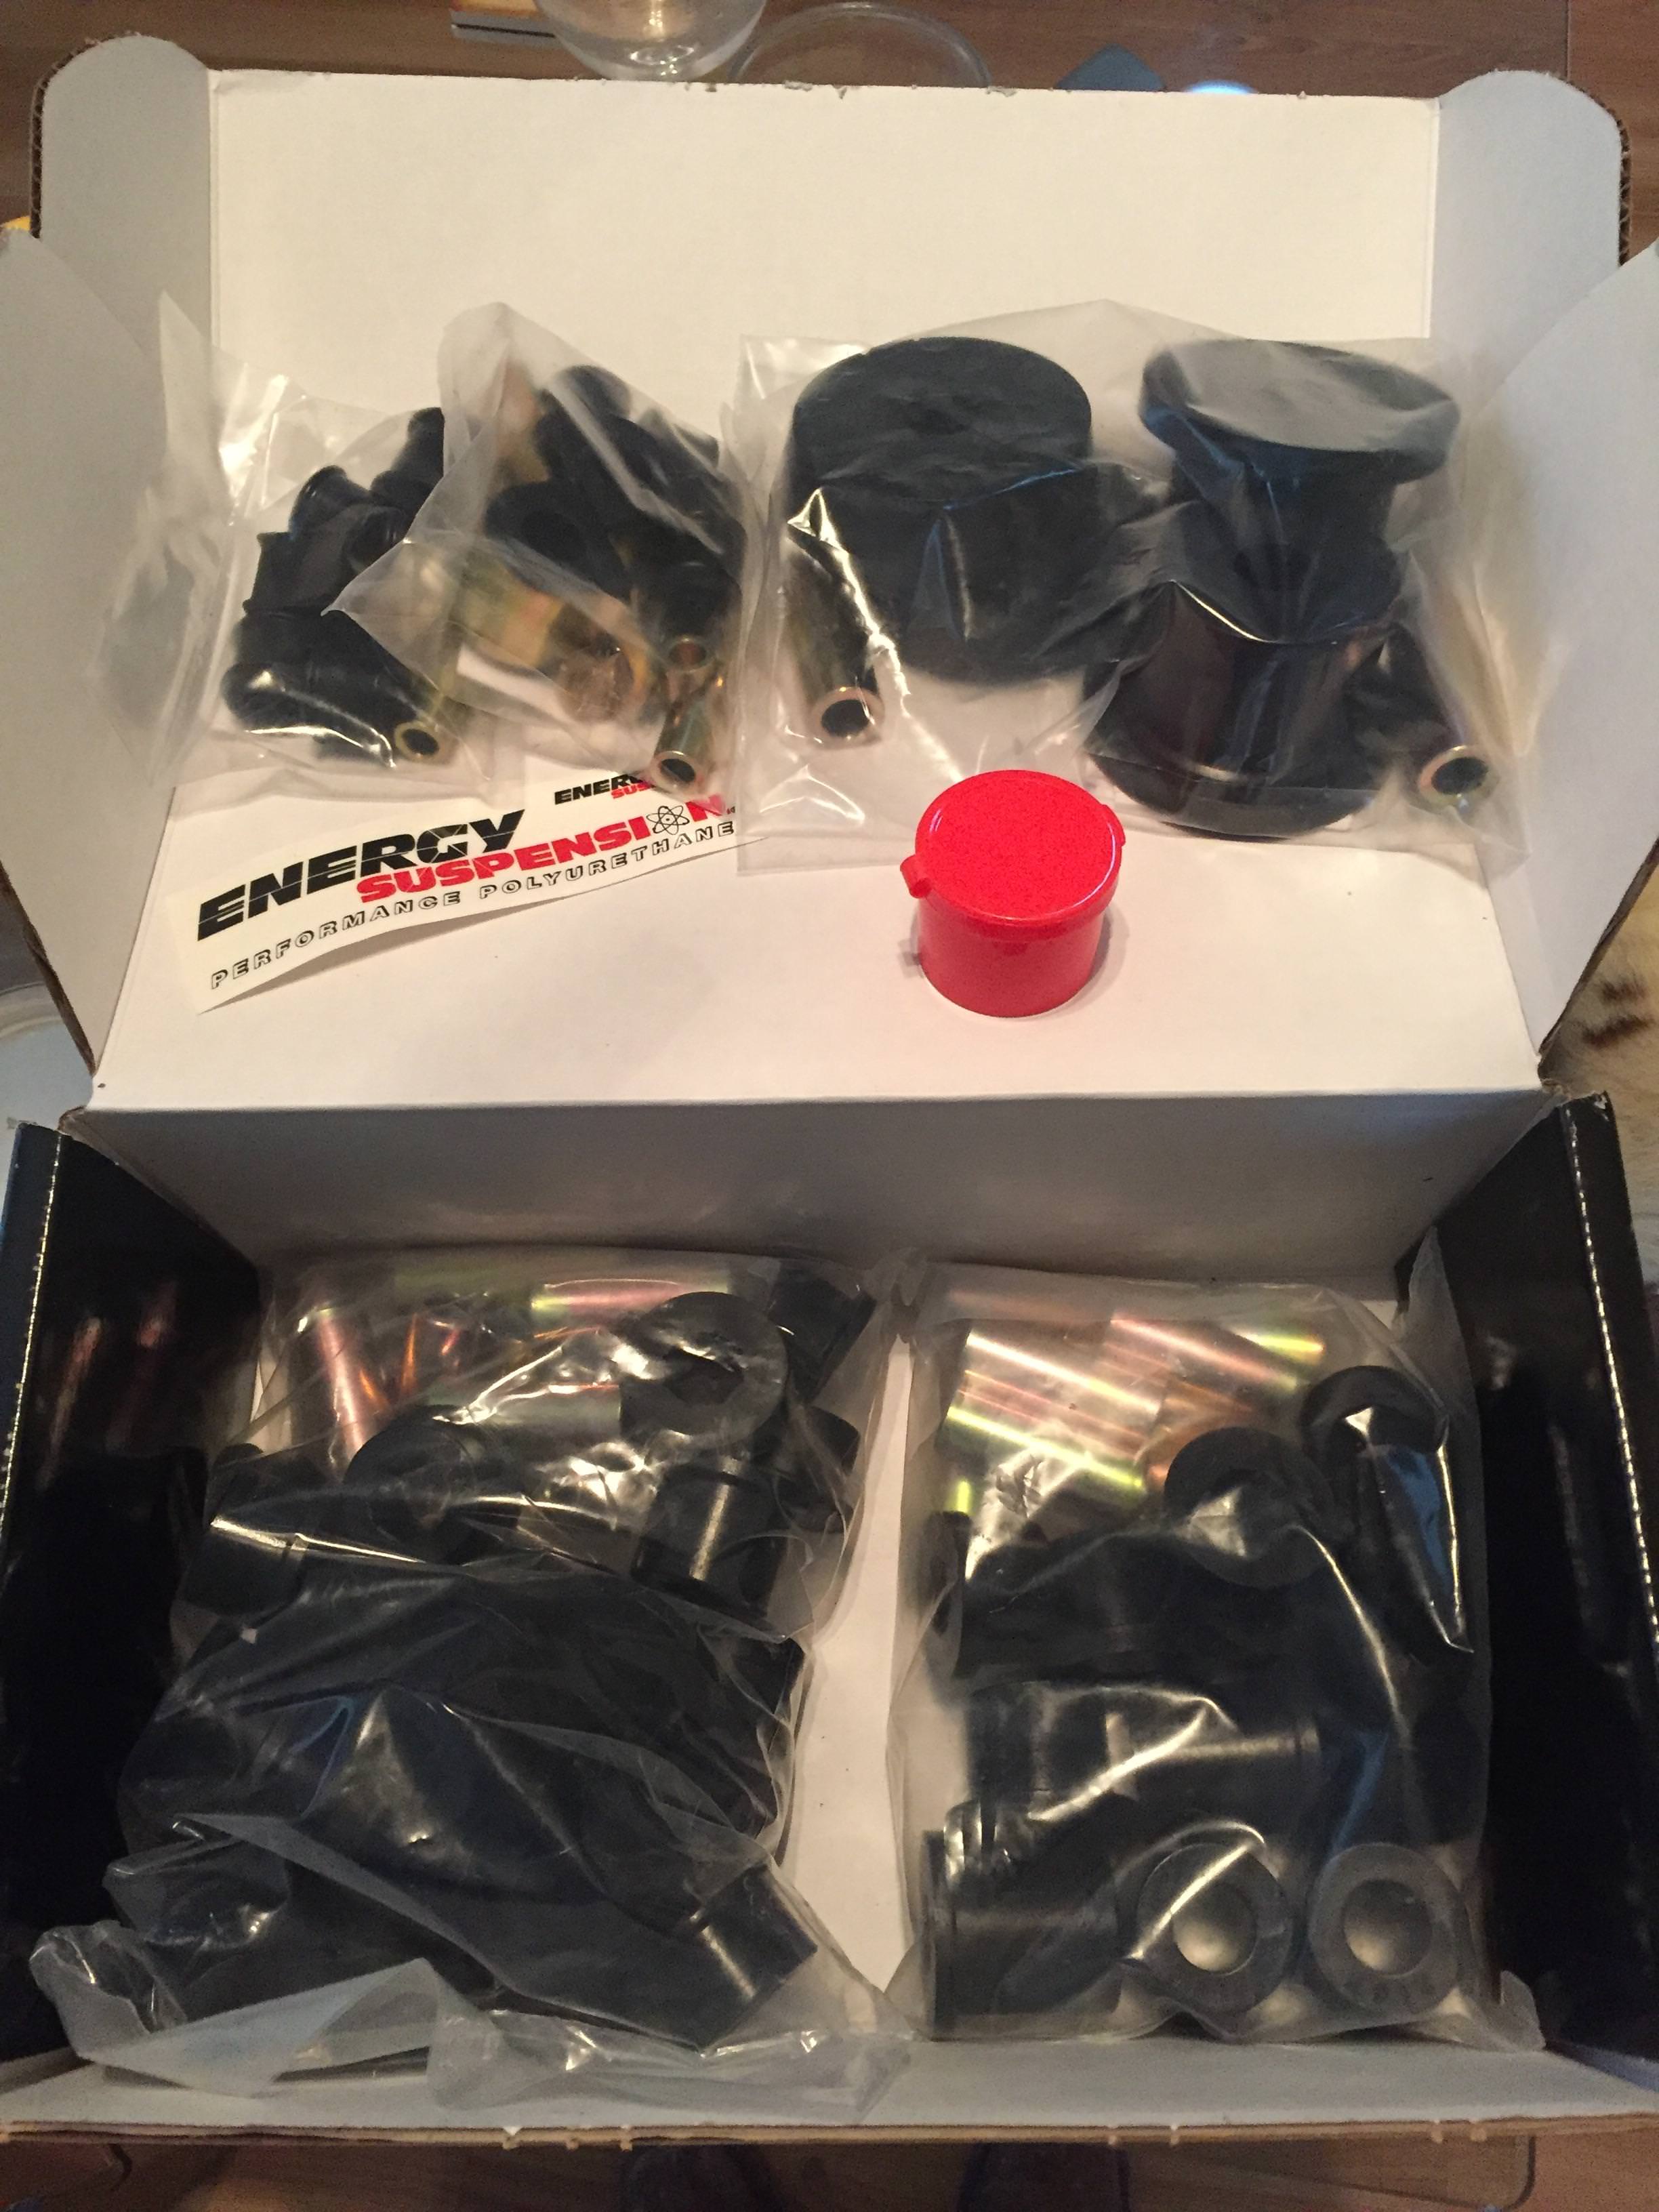
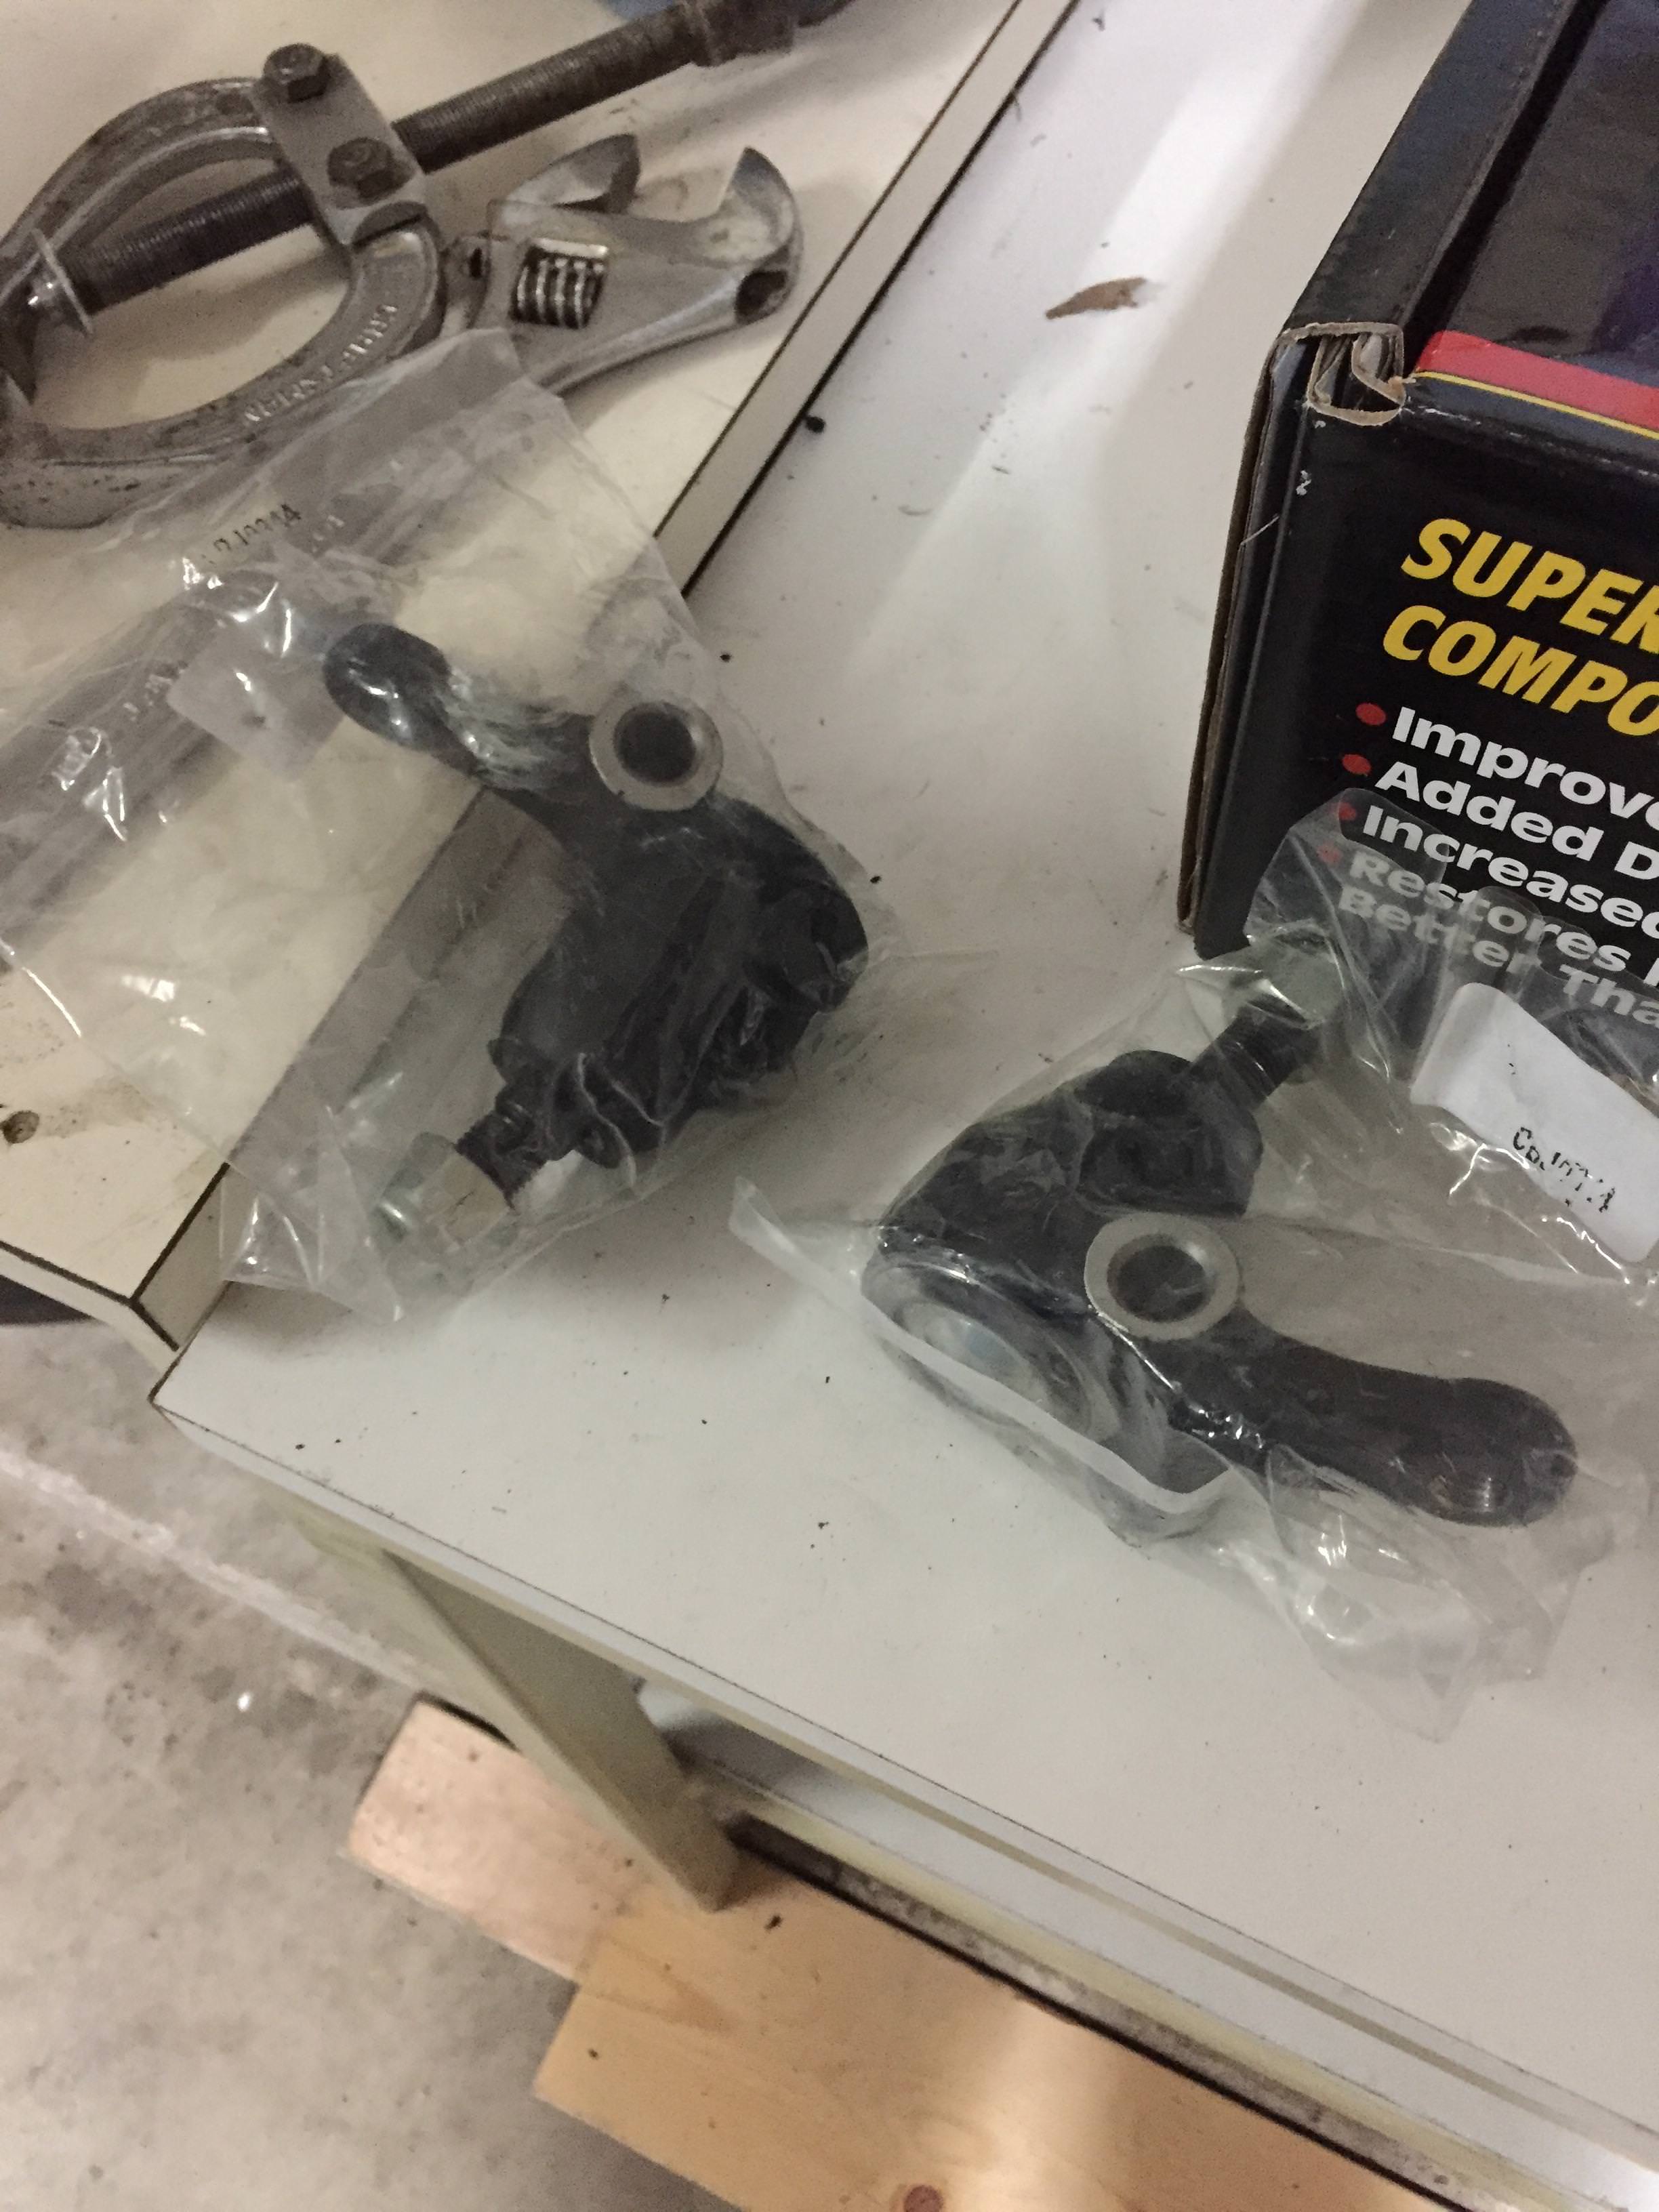
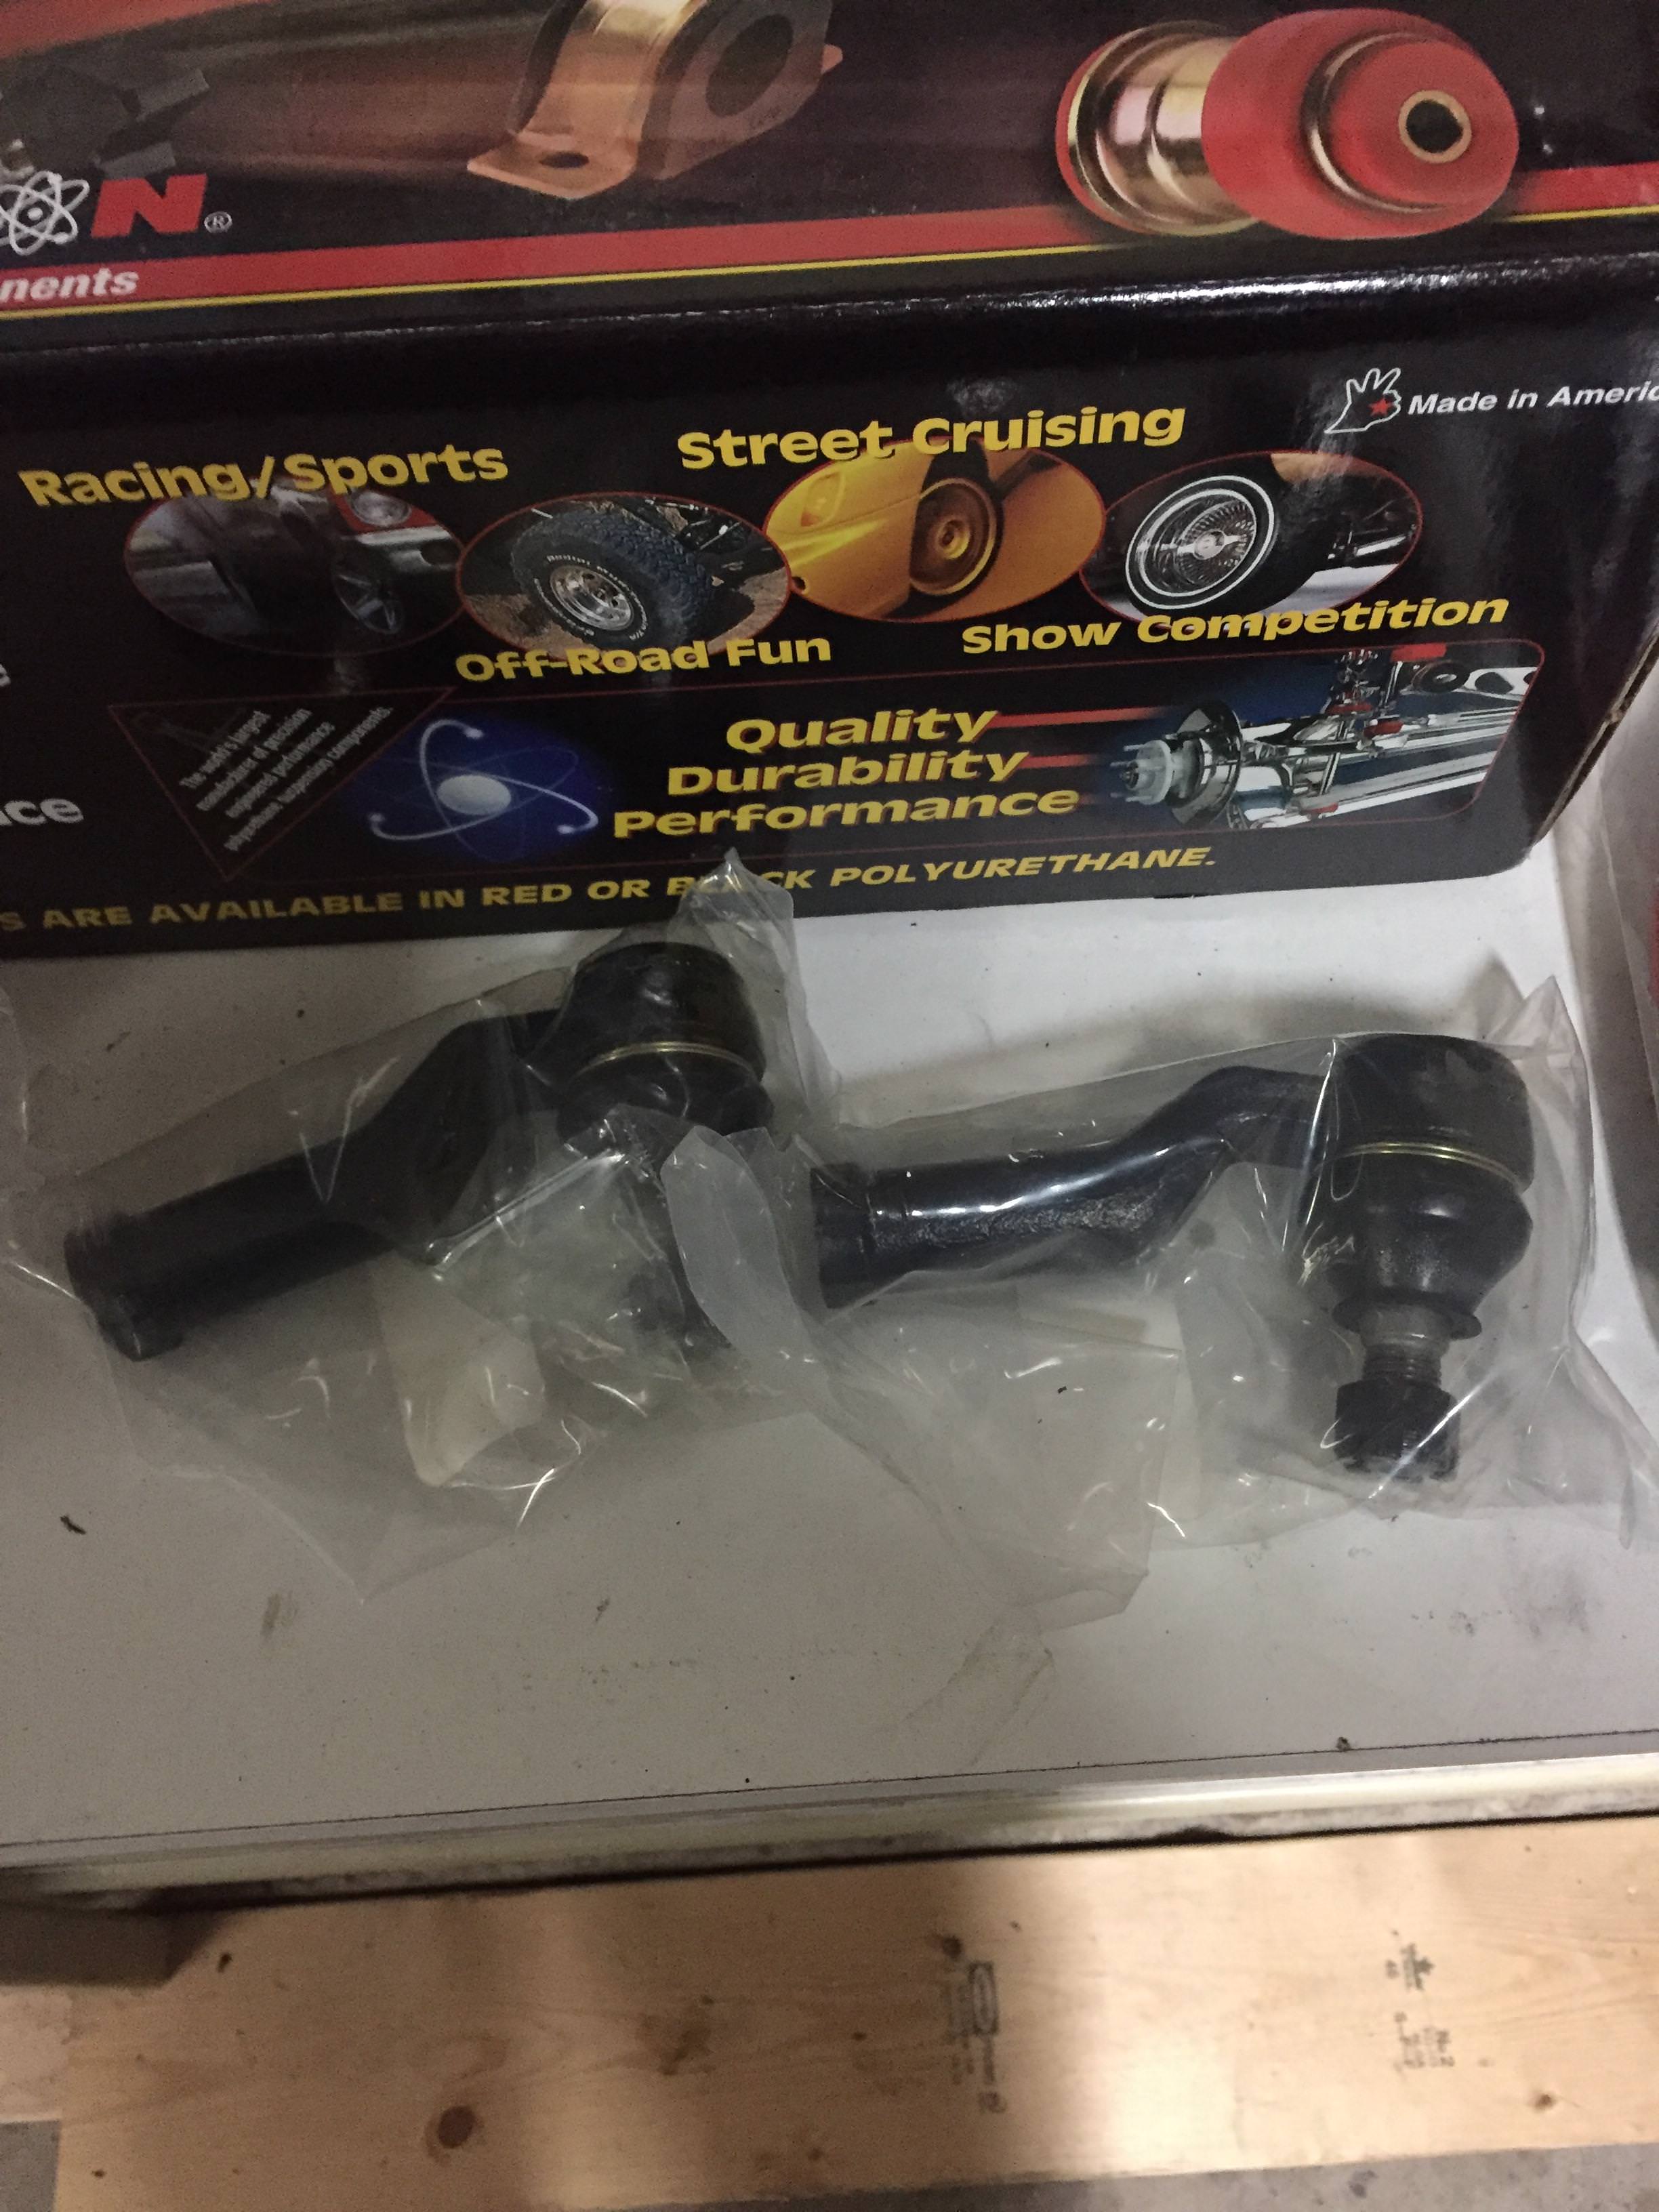
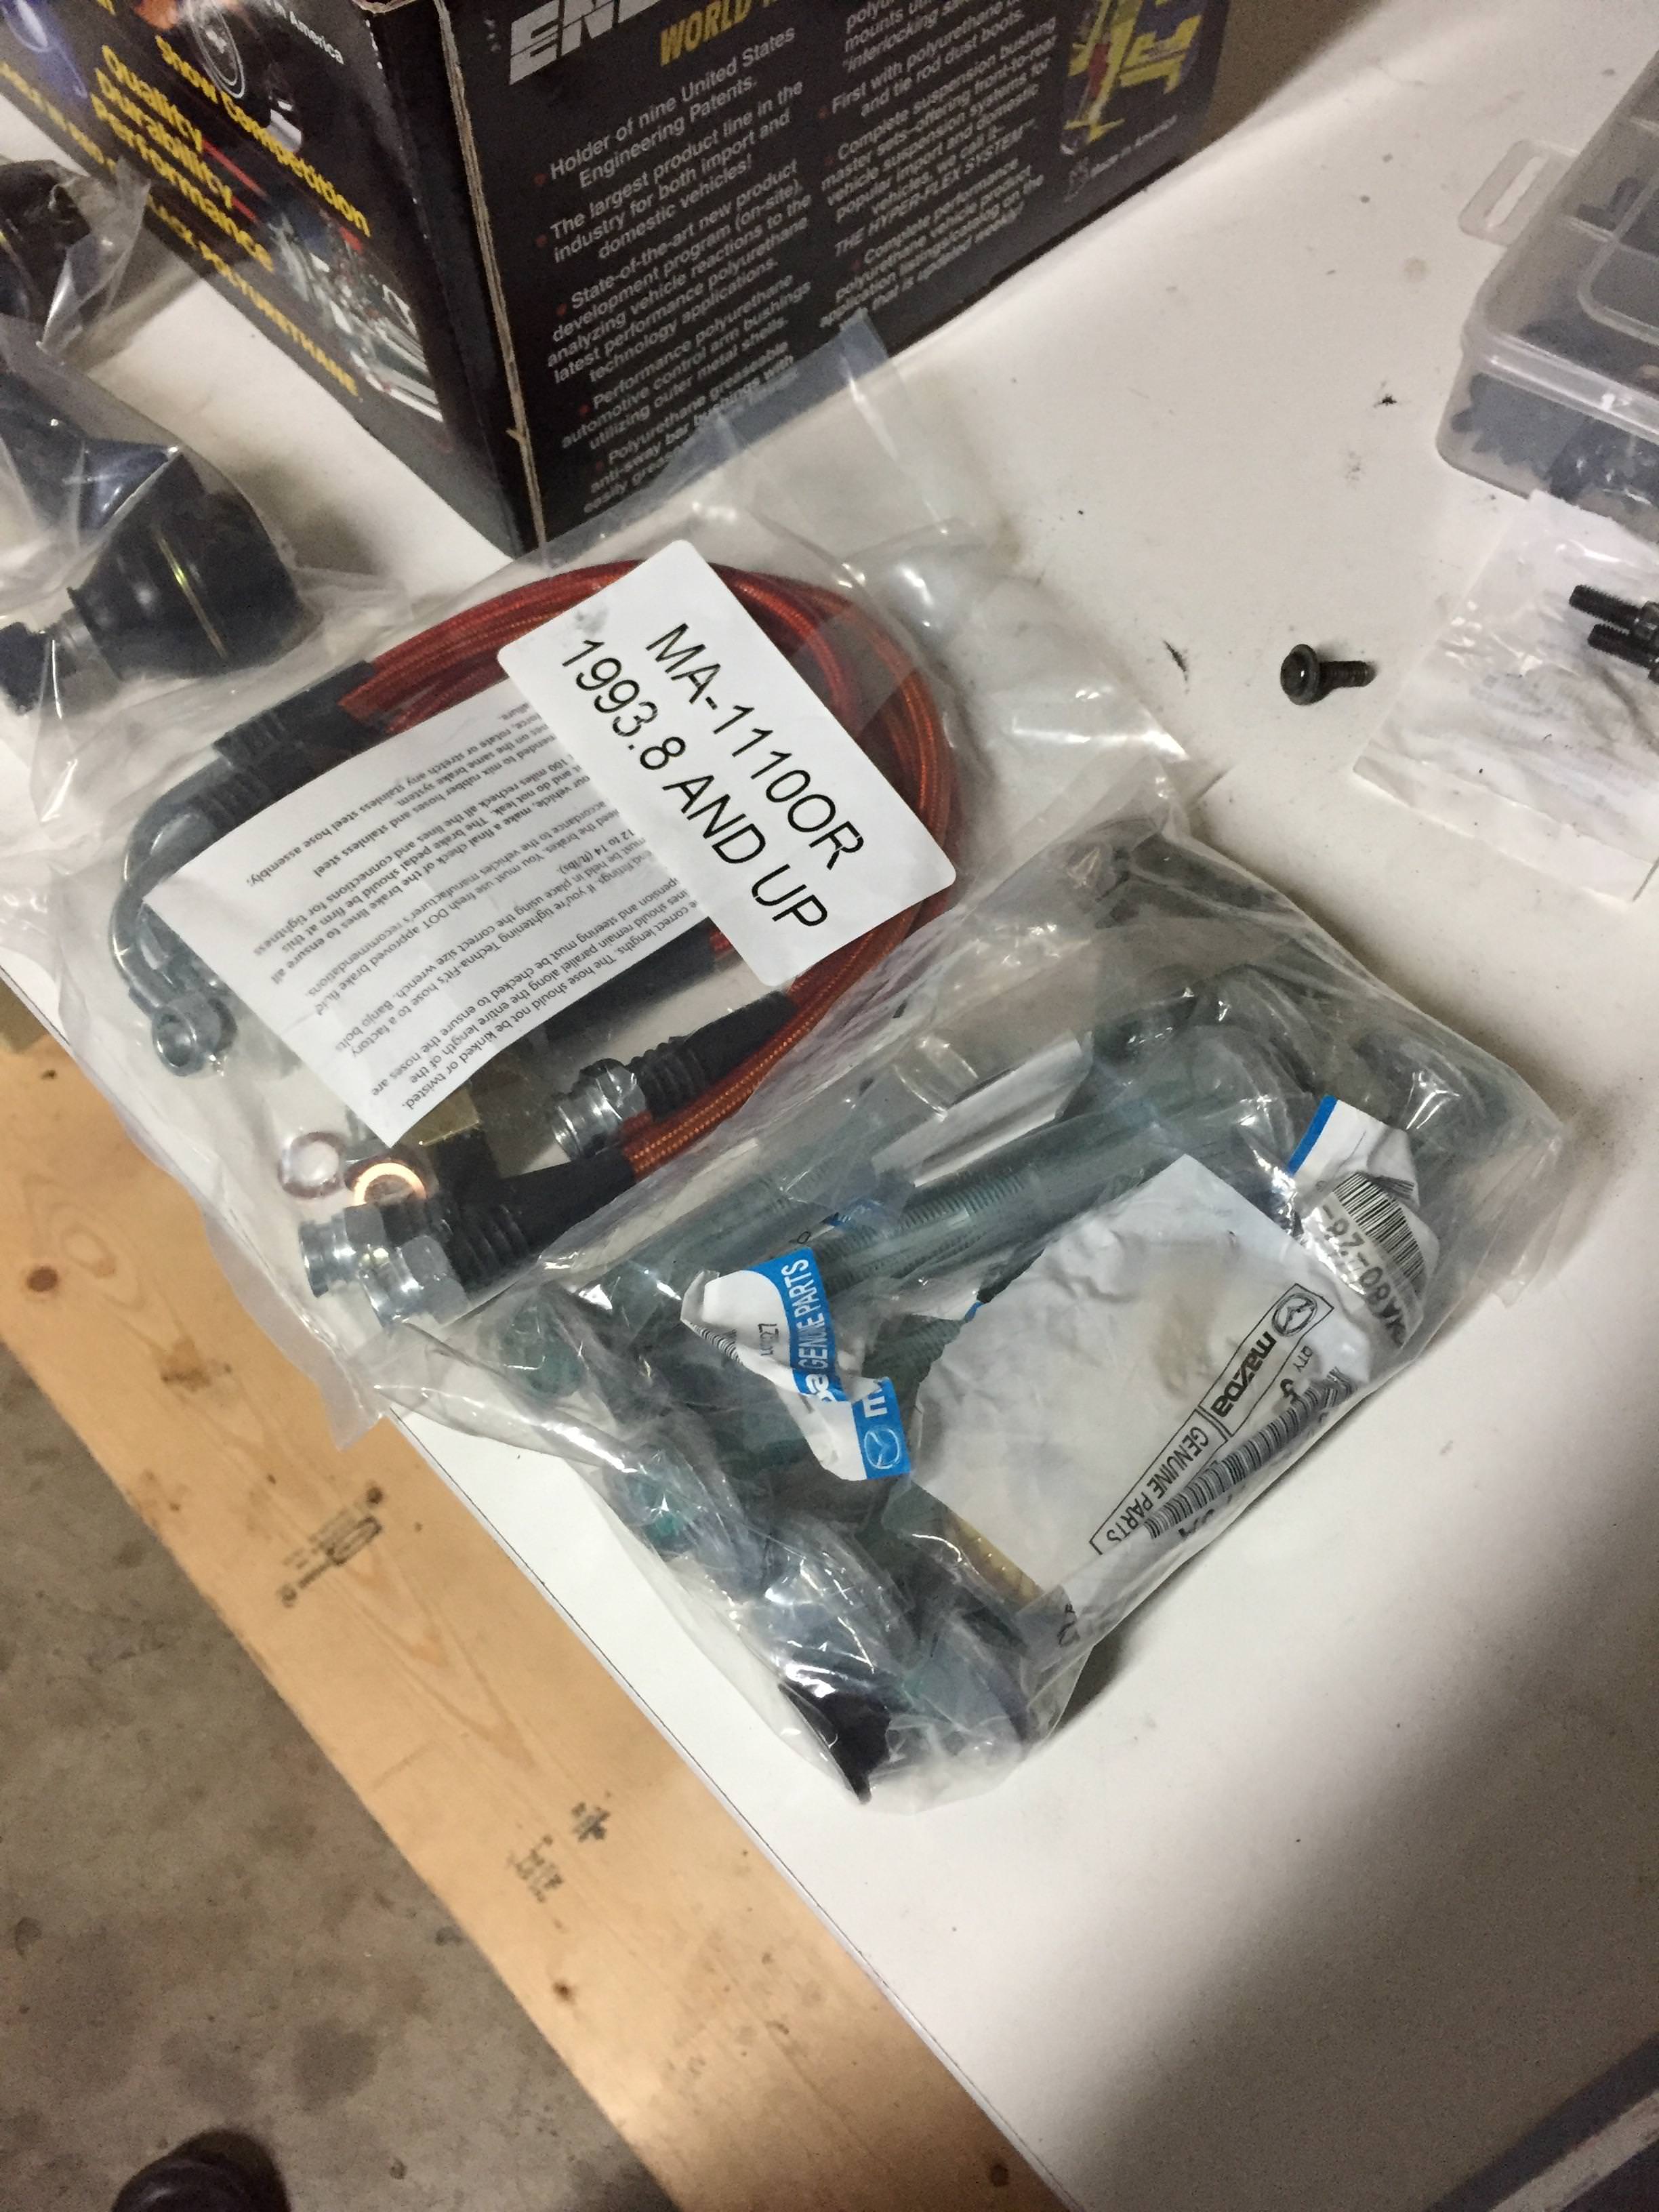
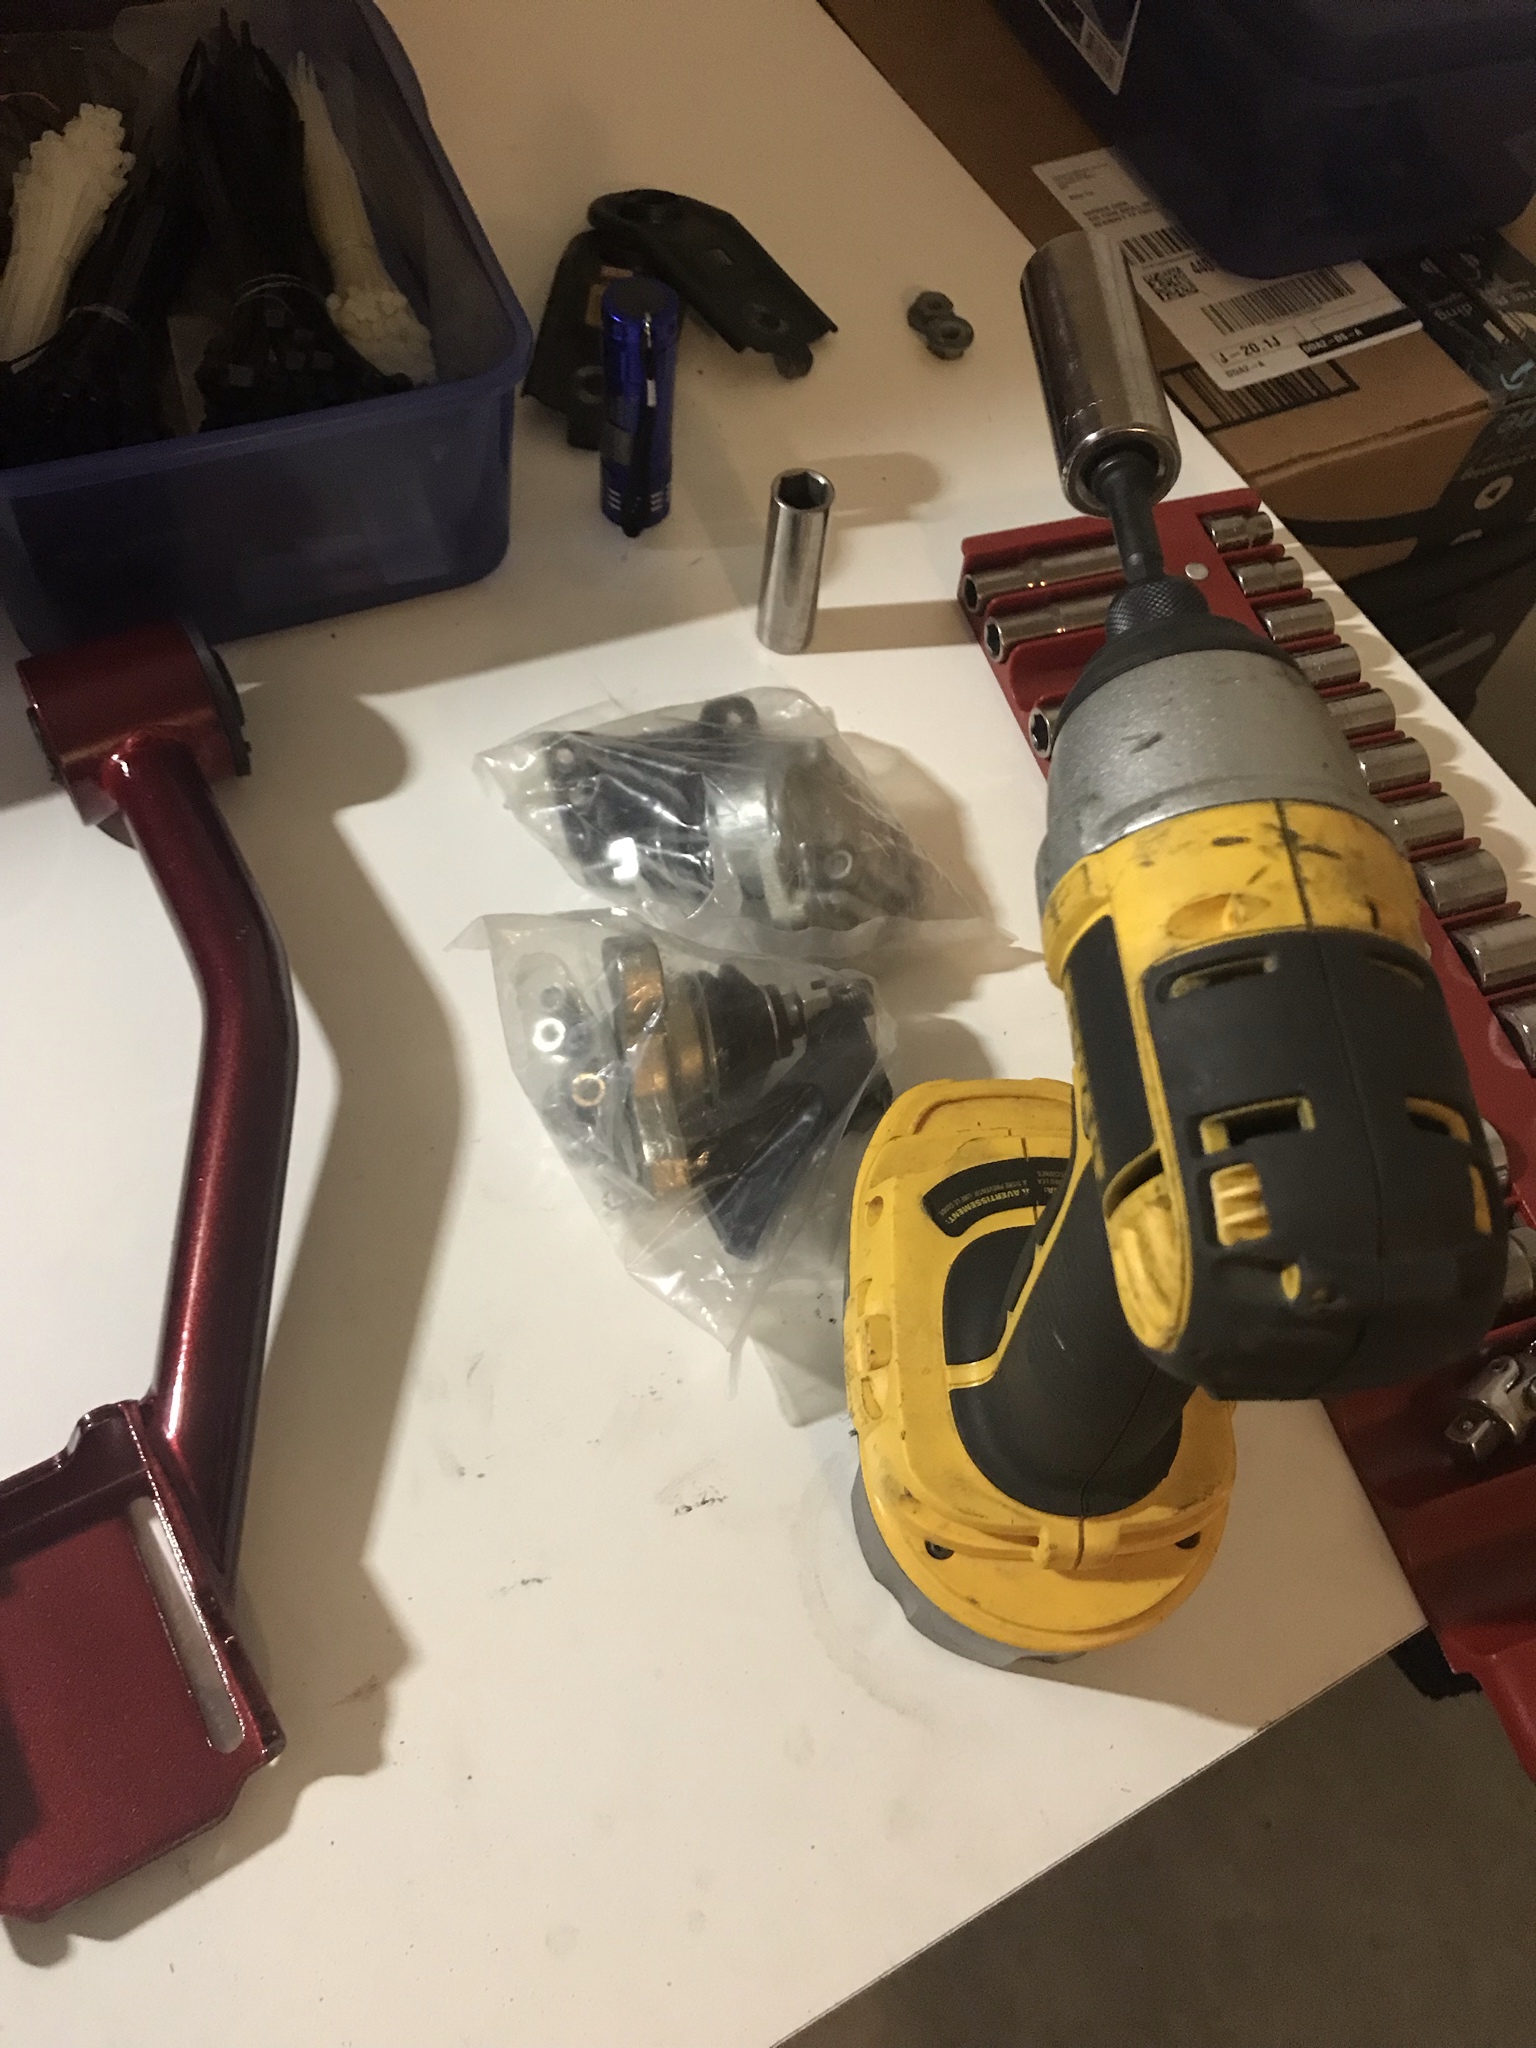
After seeing all that, i ordered an Energey Suspension bushing kit, new tie rods and ball joints and snagged another Billy off ebay to replace the missing one. I also picked up new eccentric bolts, brake lines, and Hawk HP+ all around (I hate these pads because of dust but they perform OK so I will make due until i need to step up to something better).
Suspension torn down
pressing out bushings
New Parts
And all back together
All of this was done within the first 6 months of owning the car, after all of this the car basically sat for another 6 months or so, it was not even registered. I was busy tearing down and parting out my old RSX and I couldnt make up my mind what i wanted to do with the MIata...
Finally in Feb. of this year i decided to pull the trigger on the KMiata kit and the parts in my first post started rolling in, i also picked up some other things.
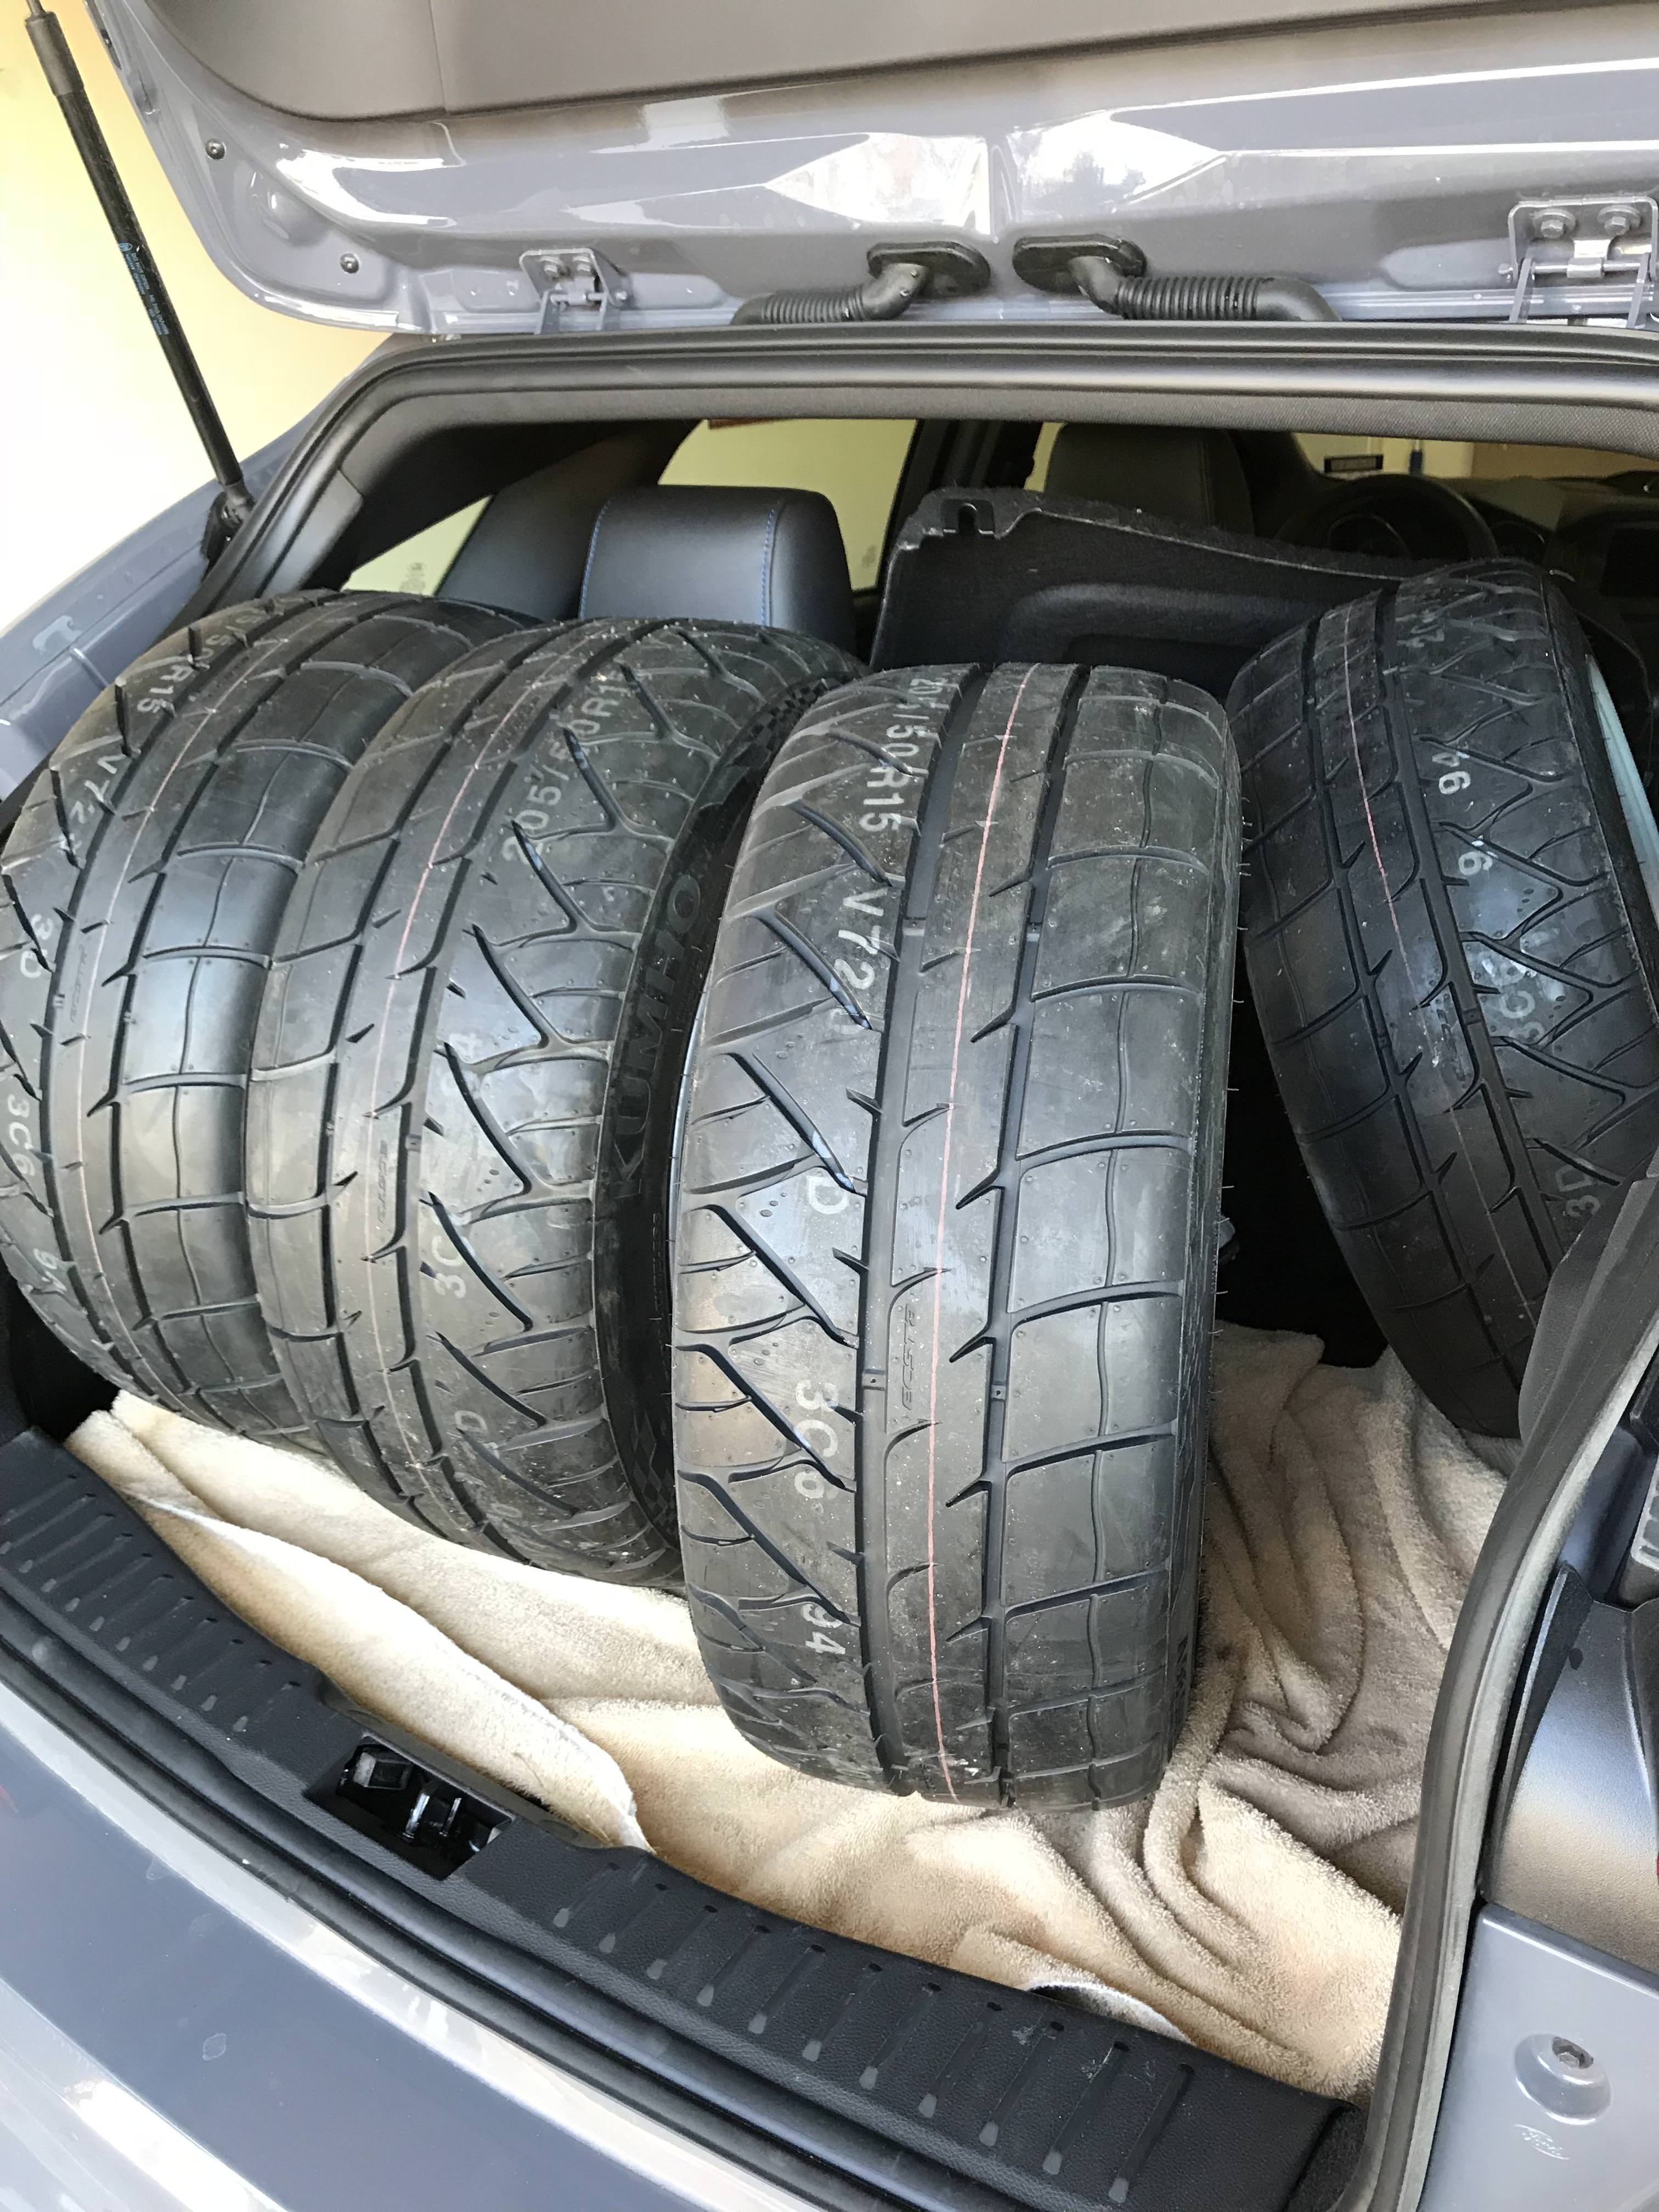
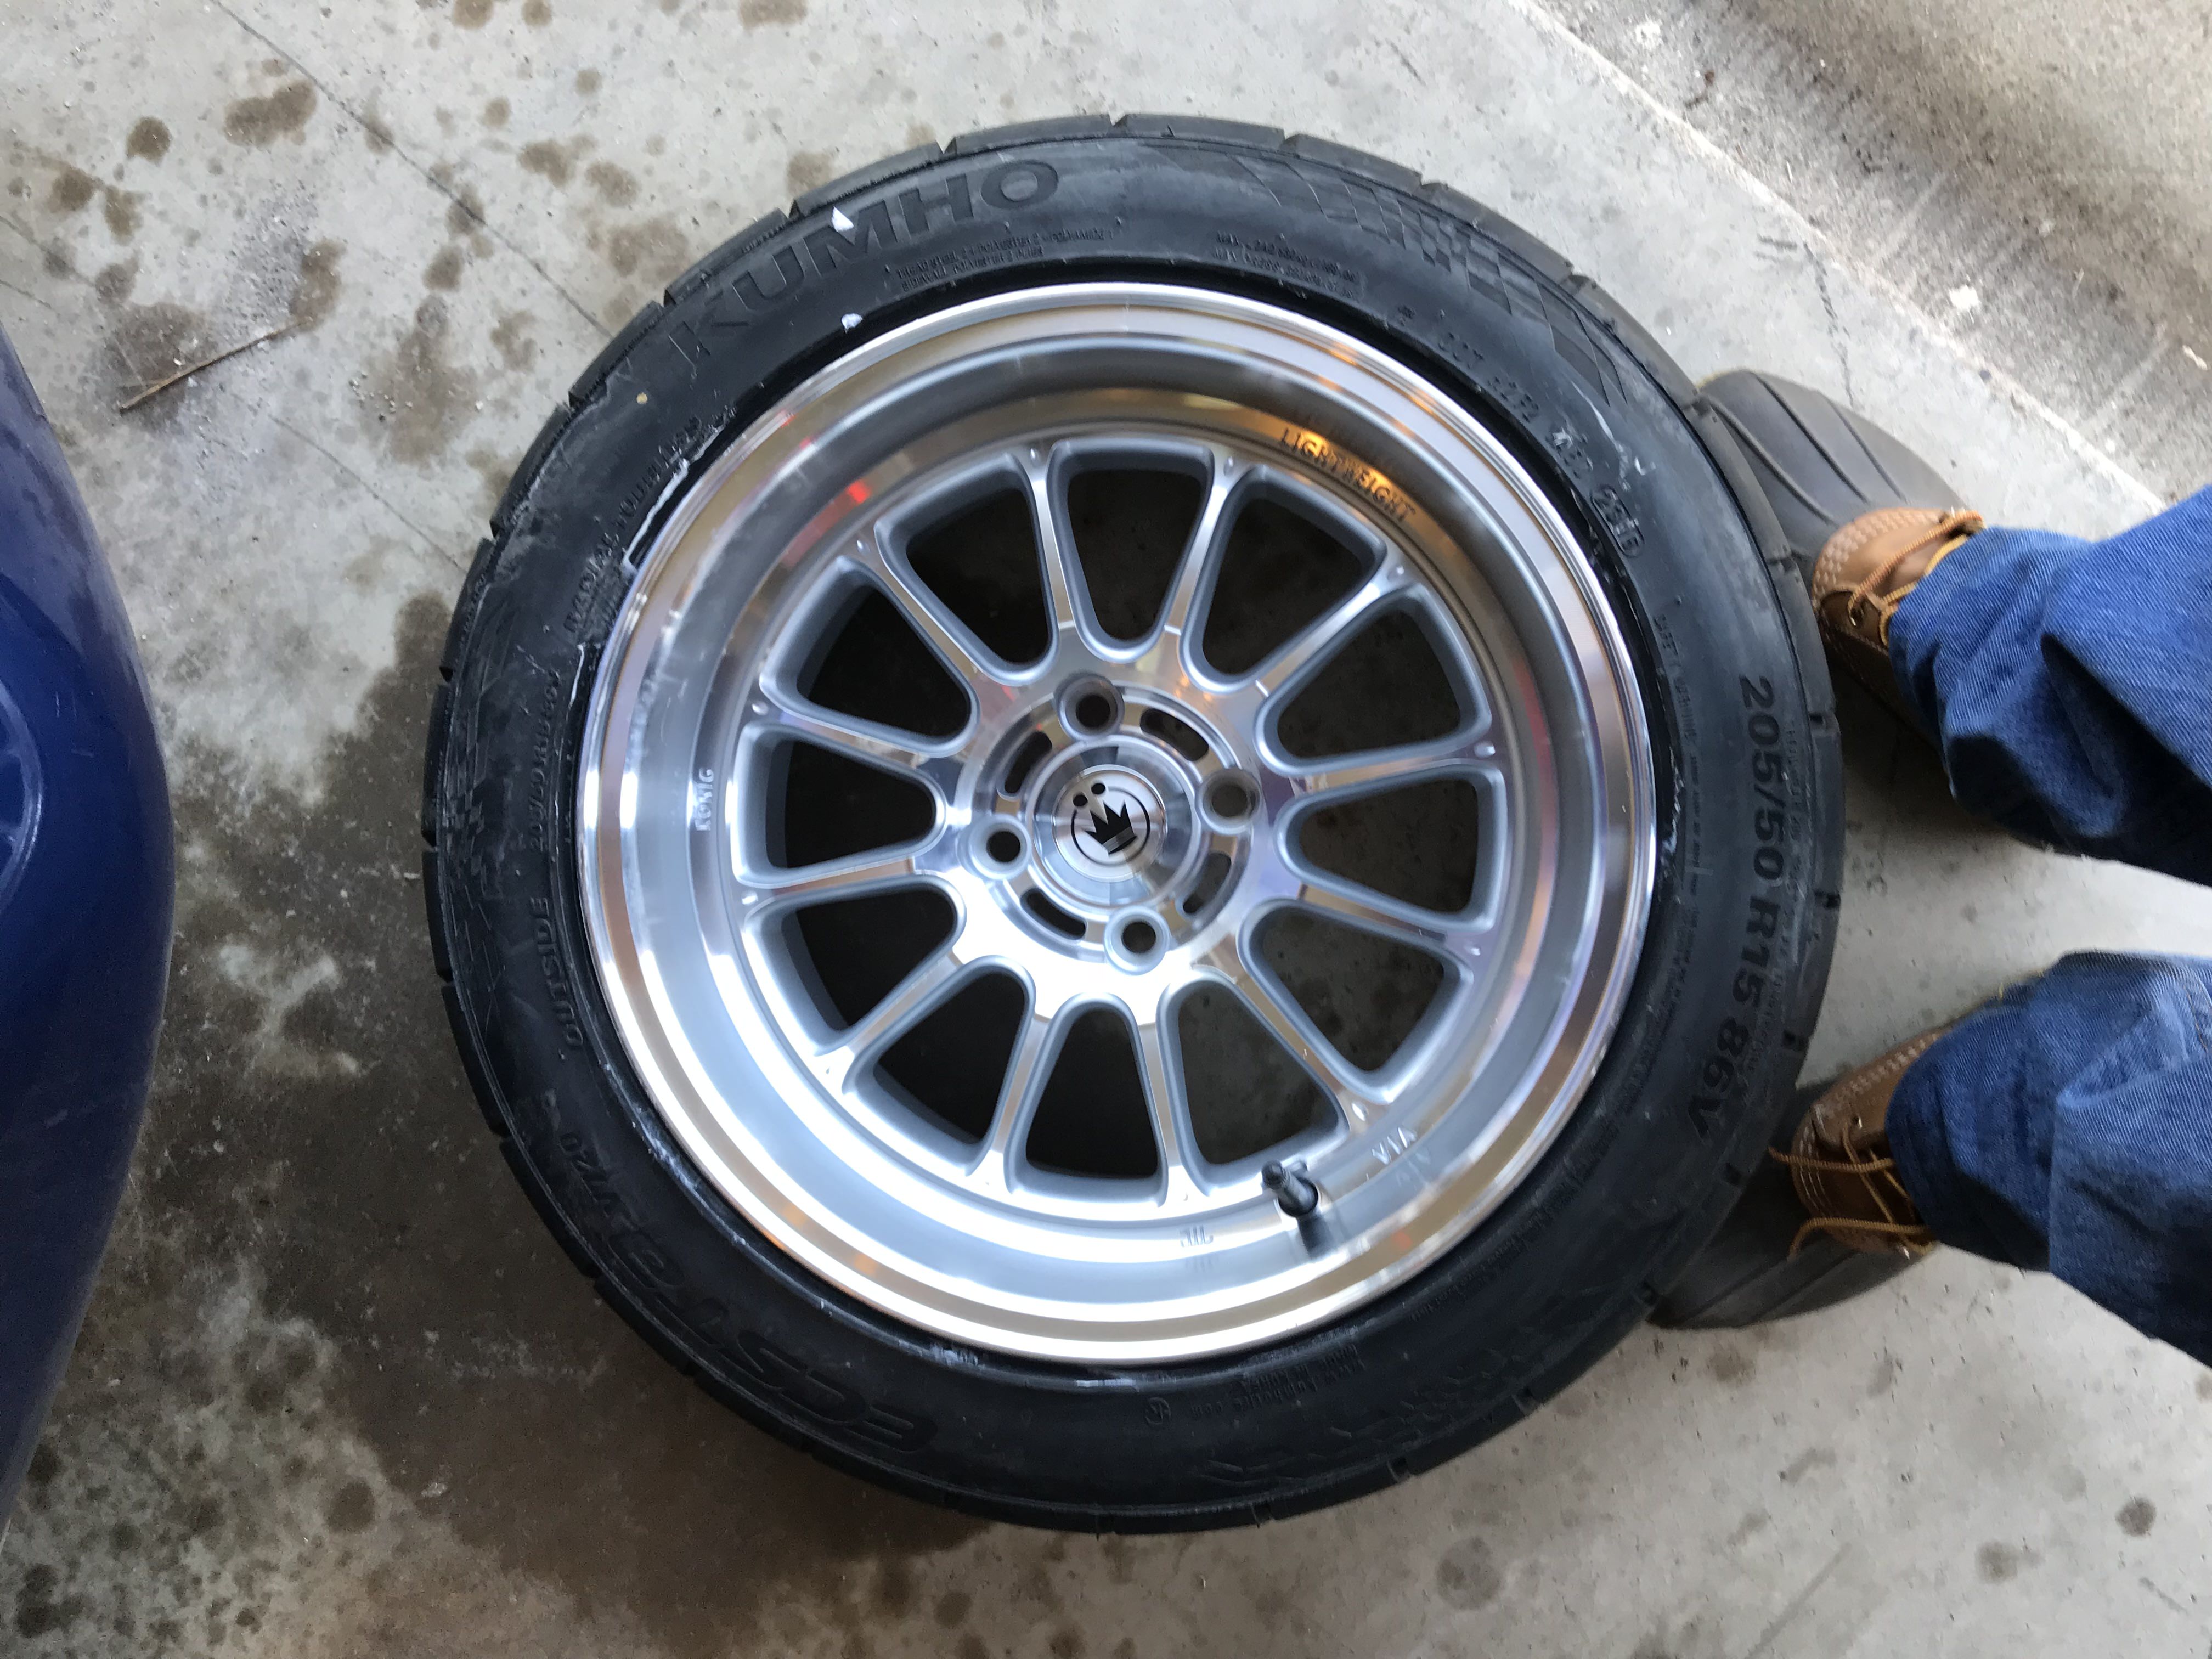
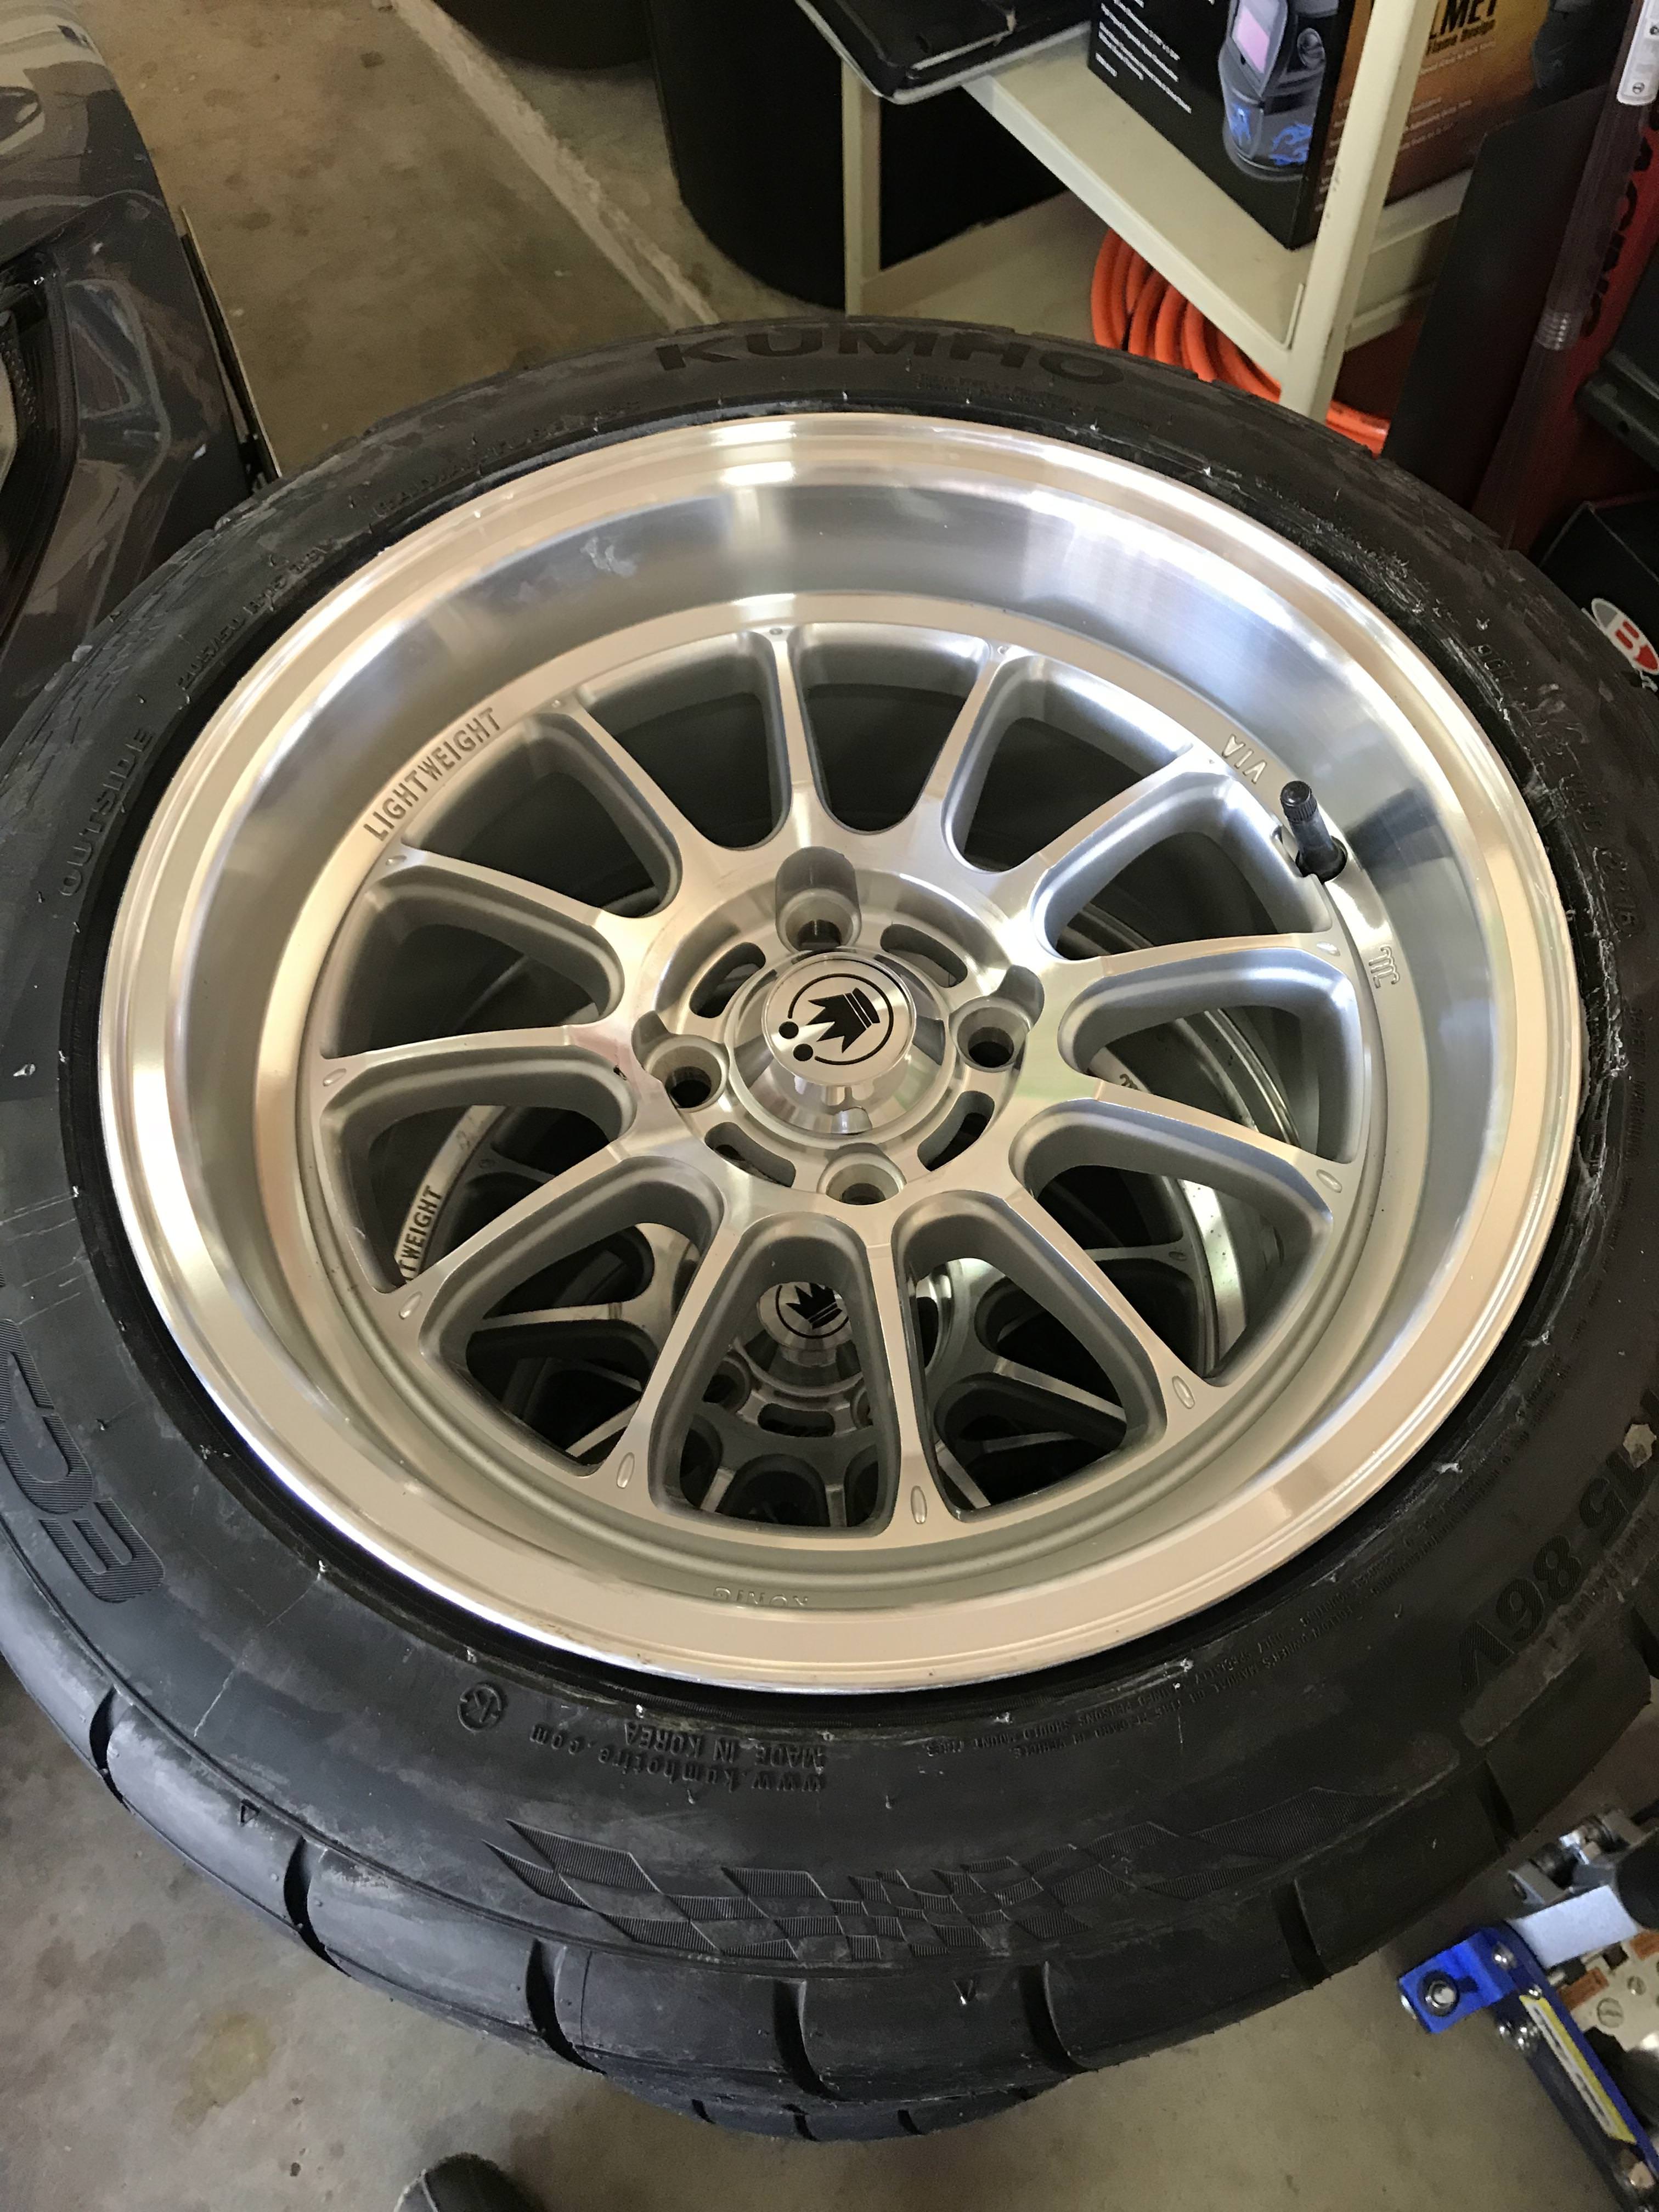
A set of Konig wheels, the actual name escapes me but they were dirt cheap off Amazon, 15x8 with some Kumho V720 that were on closeout on tire rack for a steal, i know they are not the greatest tire but I will burn them up while i sort out and learn the car, then i can snag some real good rubber once things are settled a bit more.
These have been test fit but i have yet to drive on them LOL but i am hoping in the next couple weeks to get the alignment squared and put these on for good, for now i am rolling the stock 10AE polished wheels.
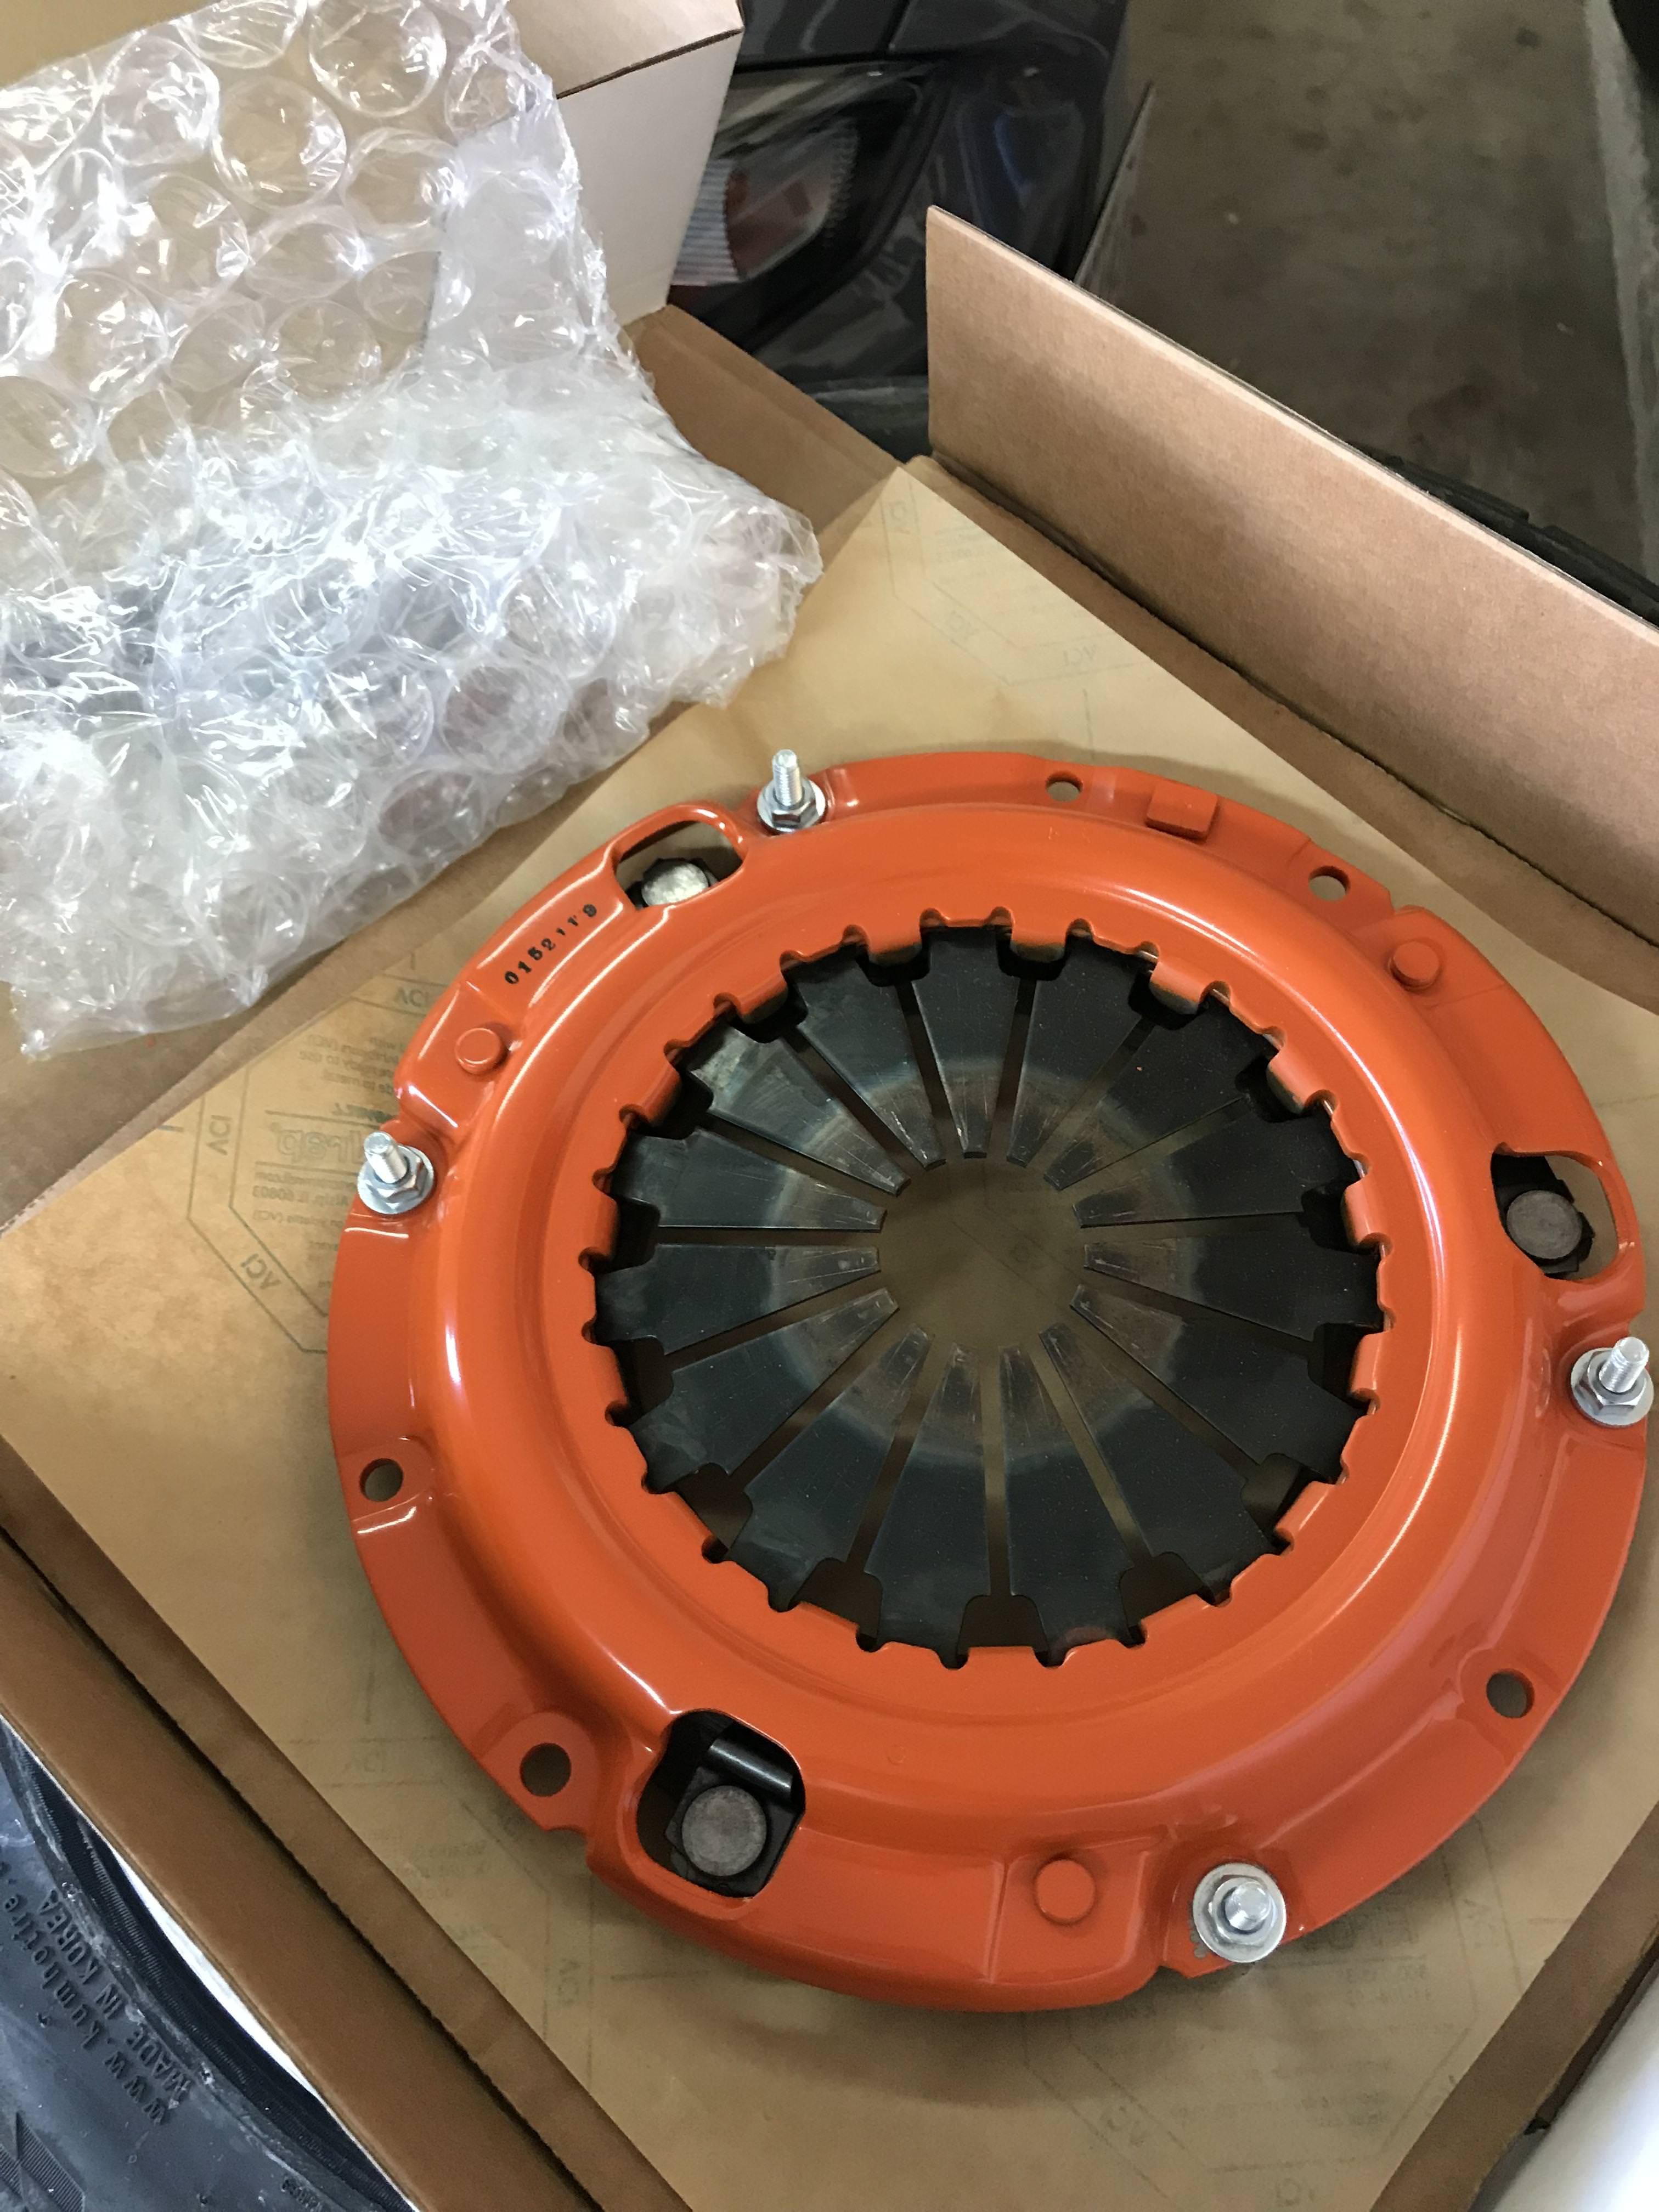
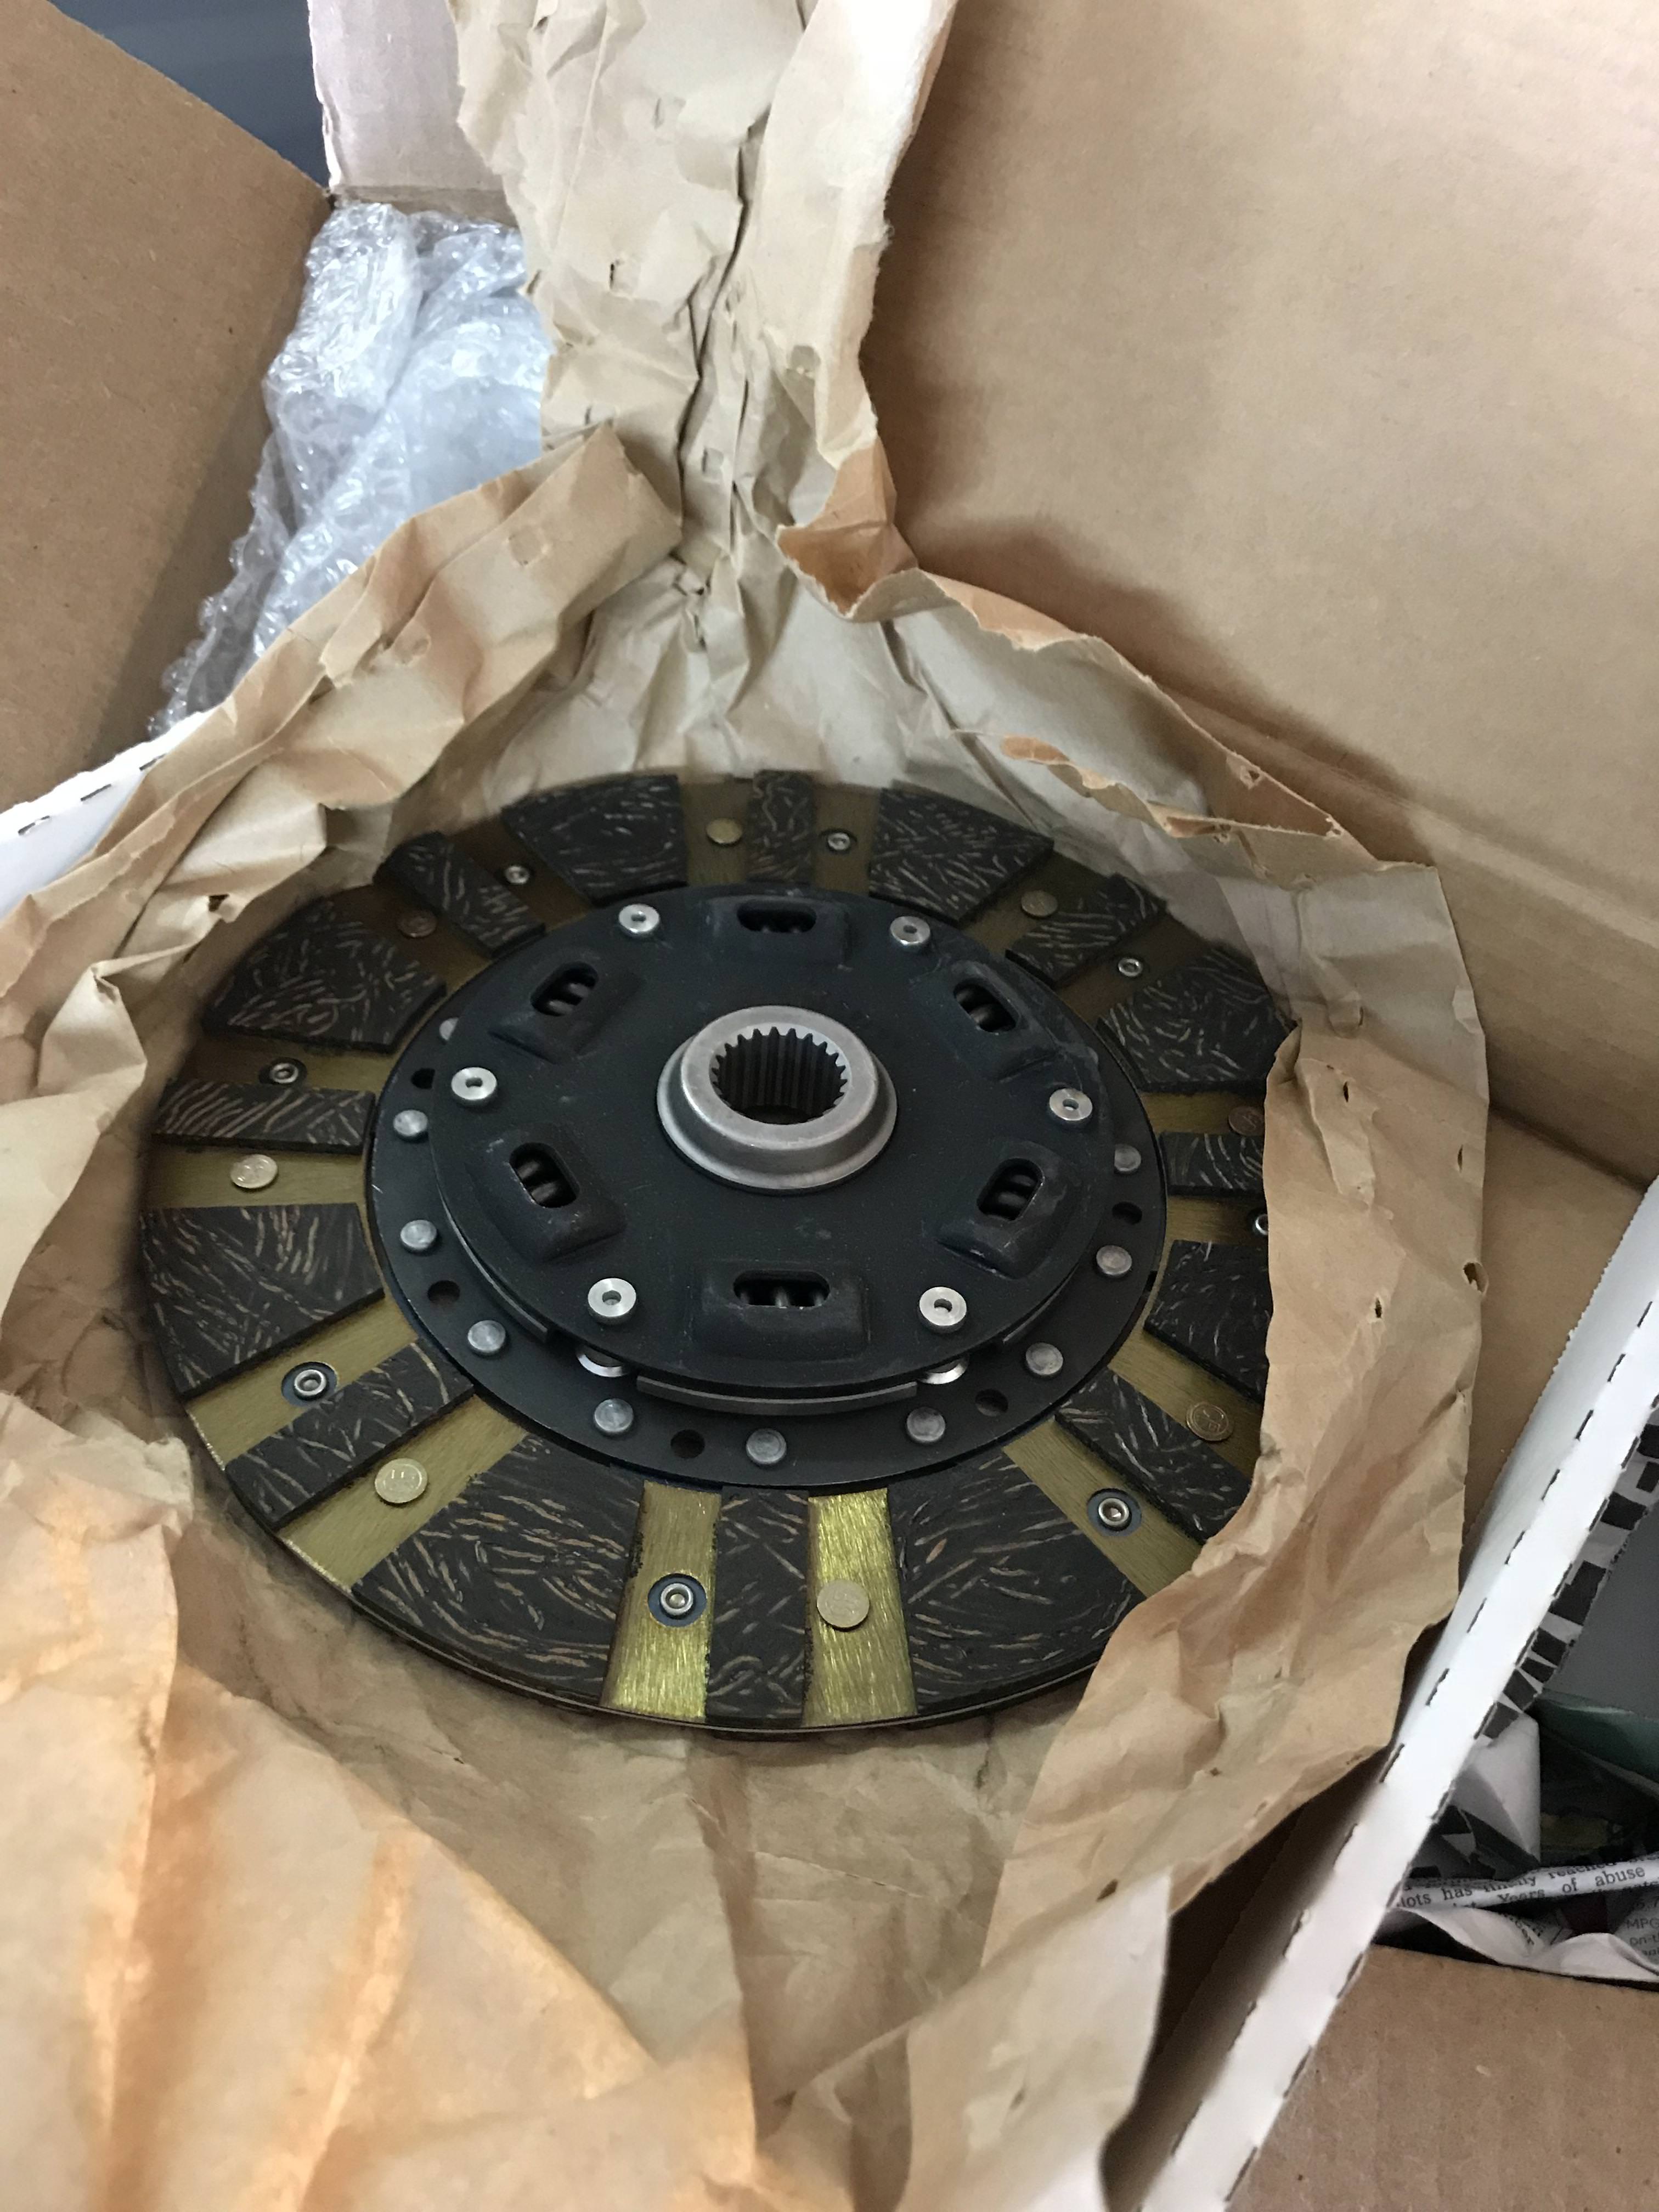
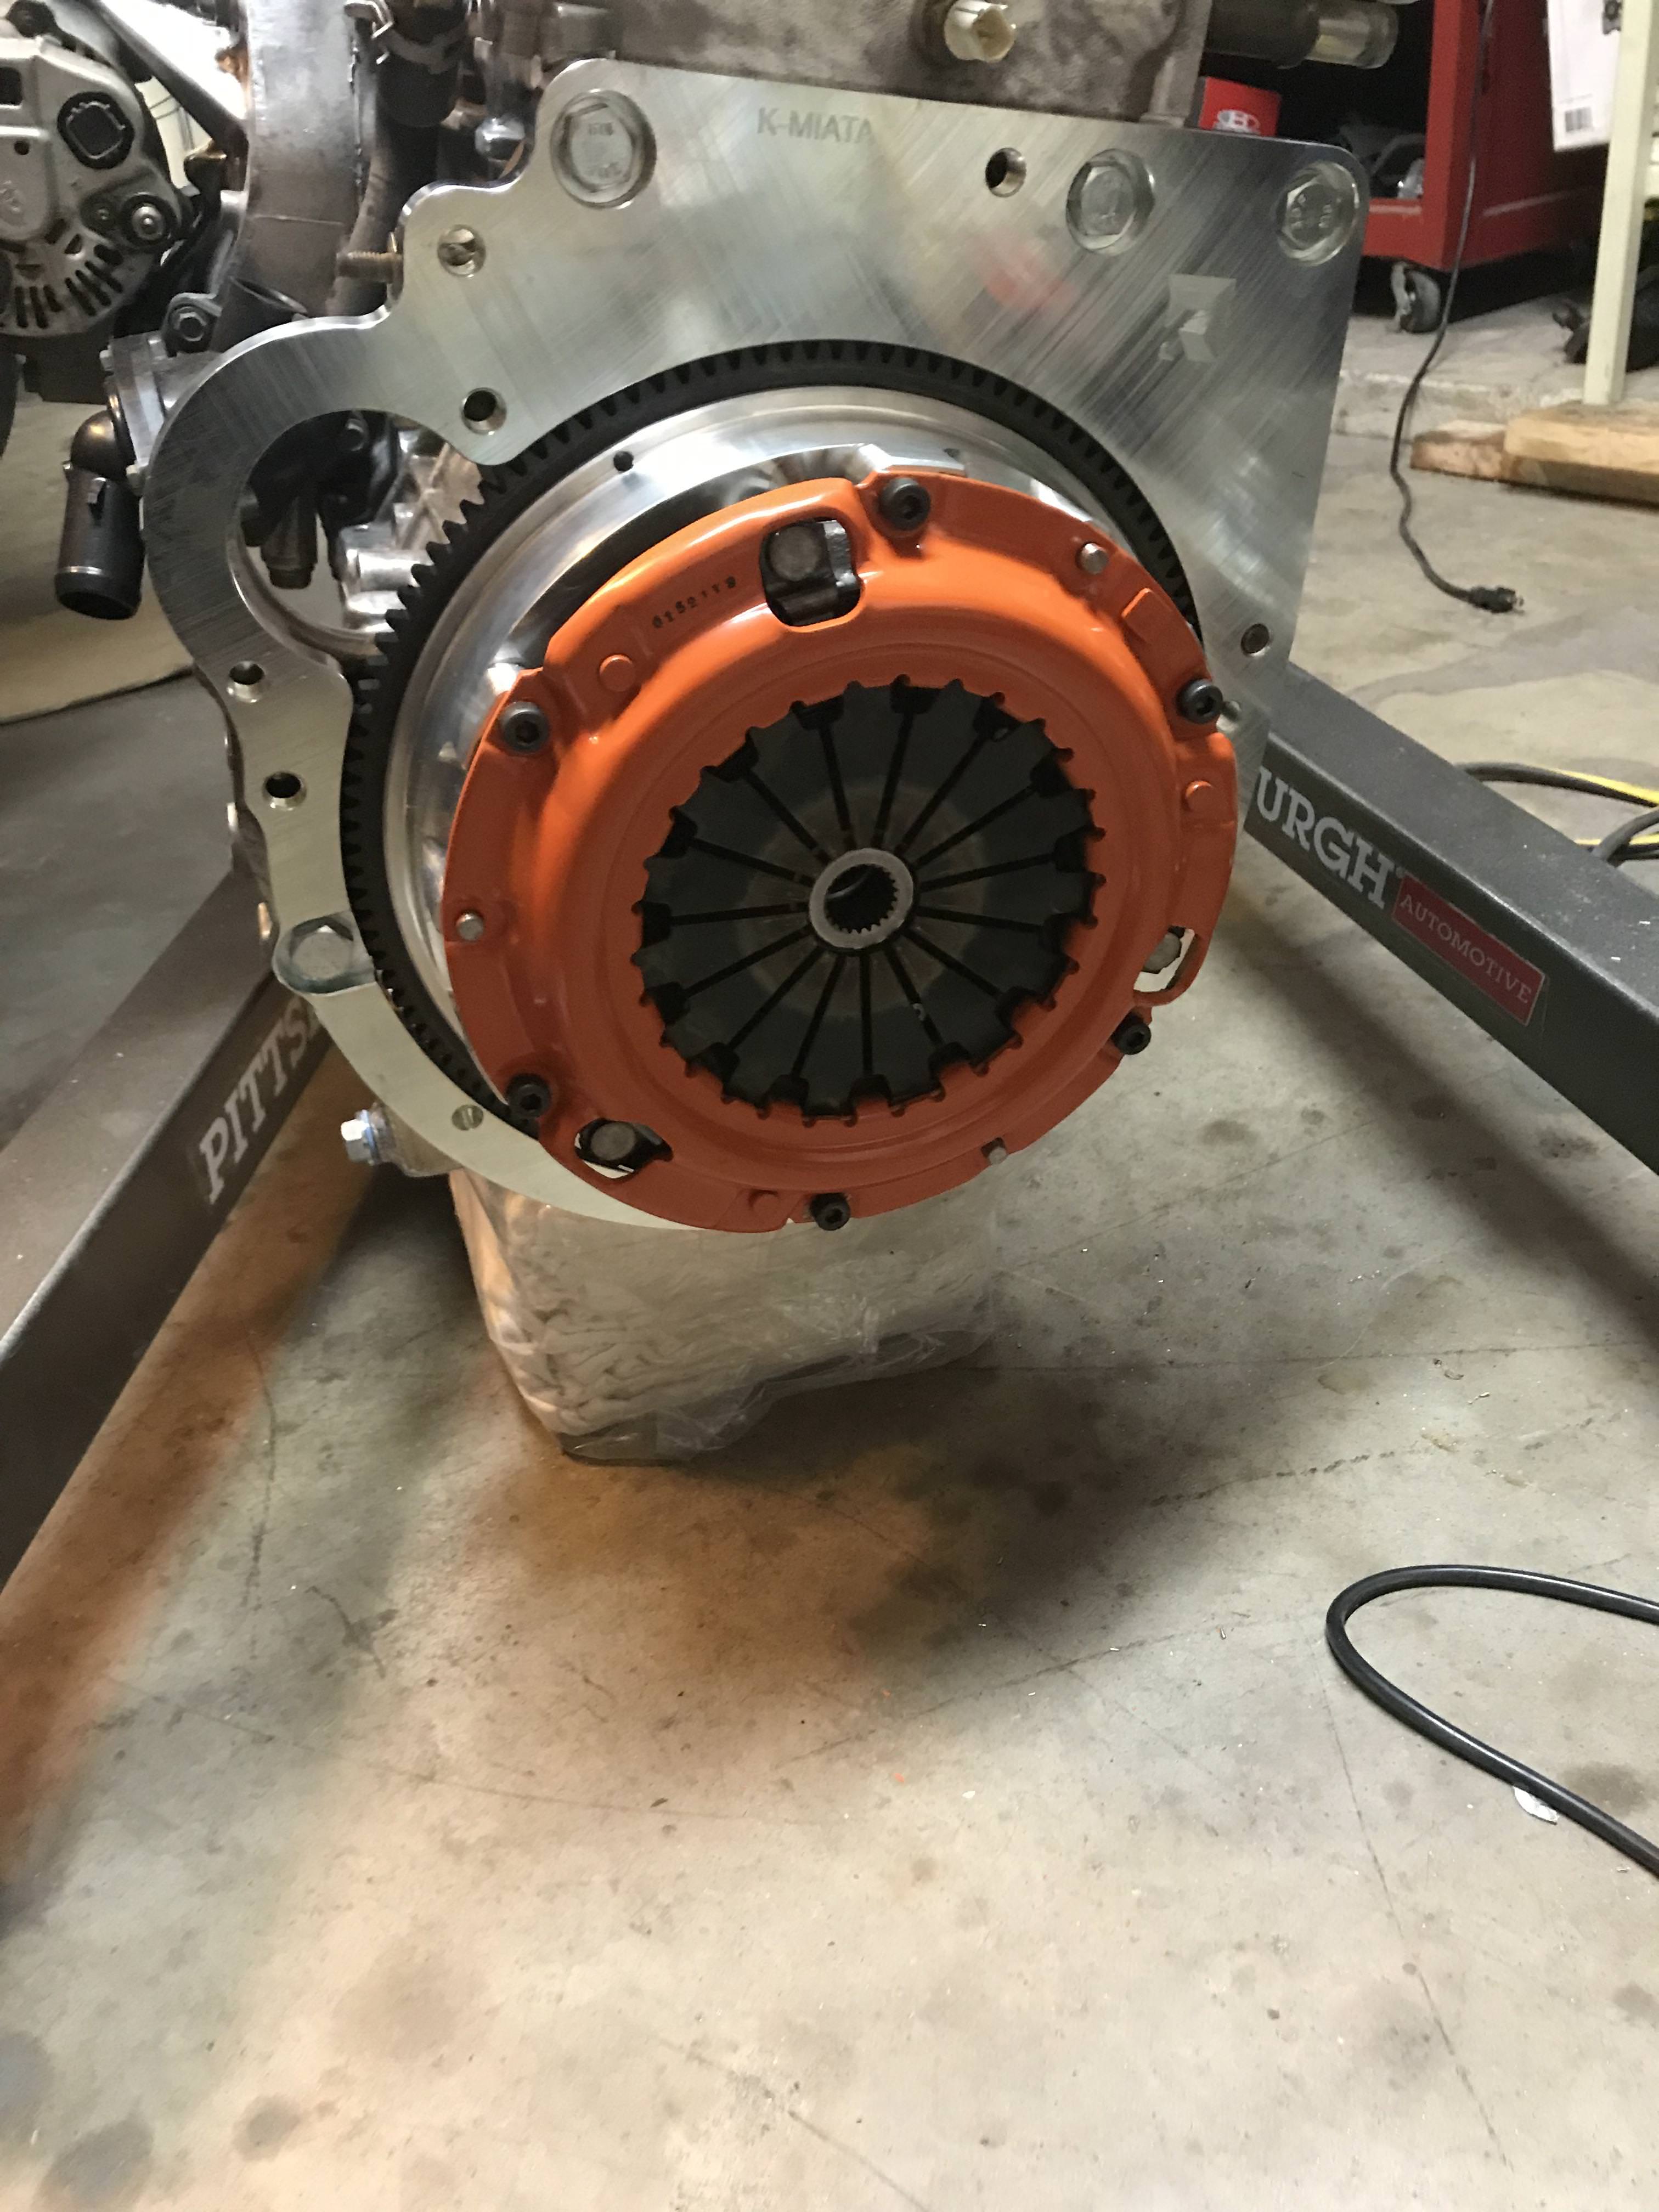
949 Clutch
So far i love this clutch but i wouldnt recommend it for this swap, more on this later...
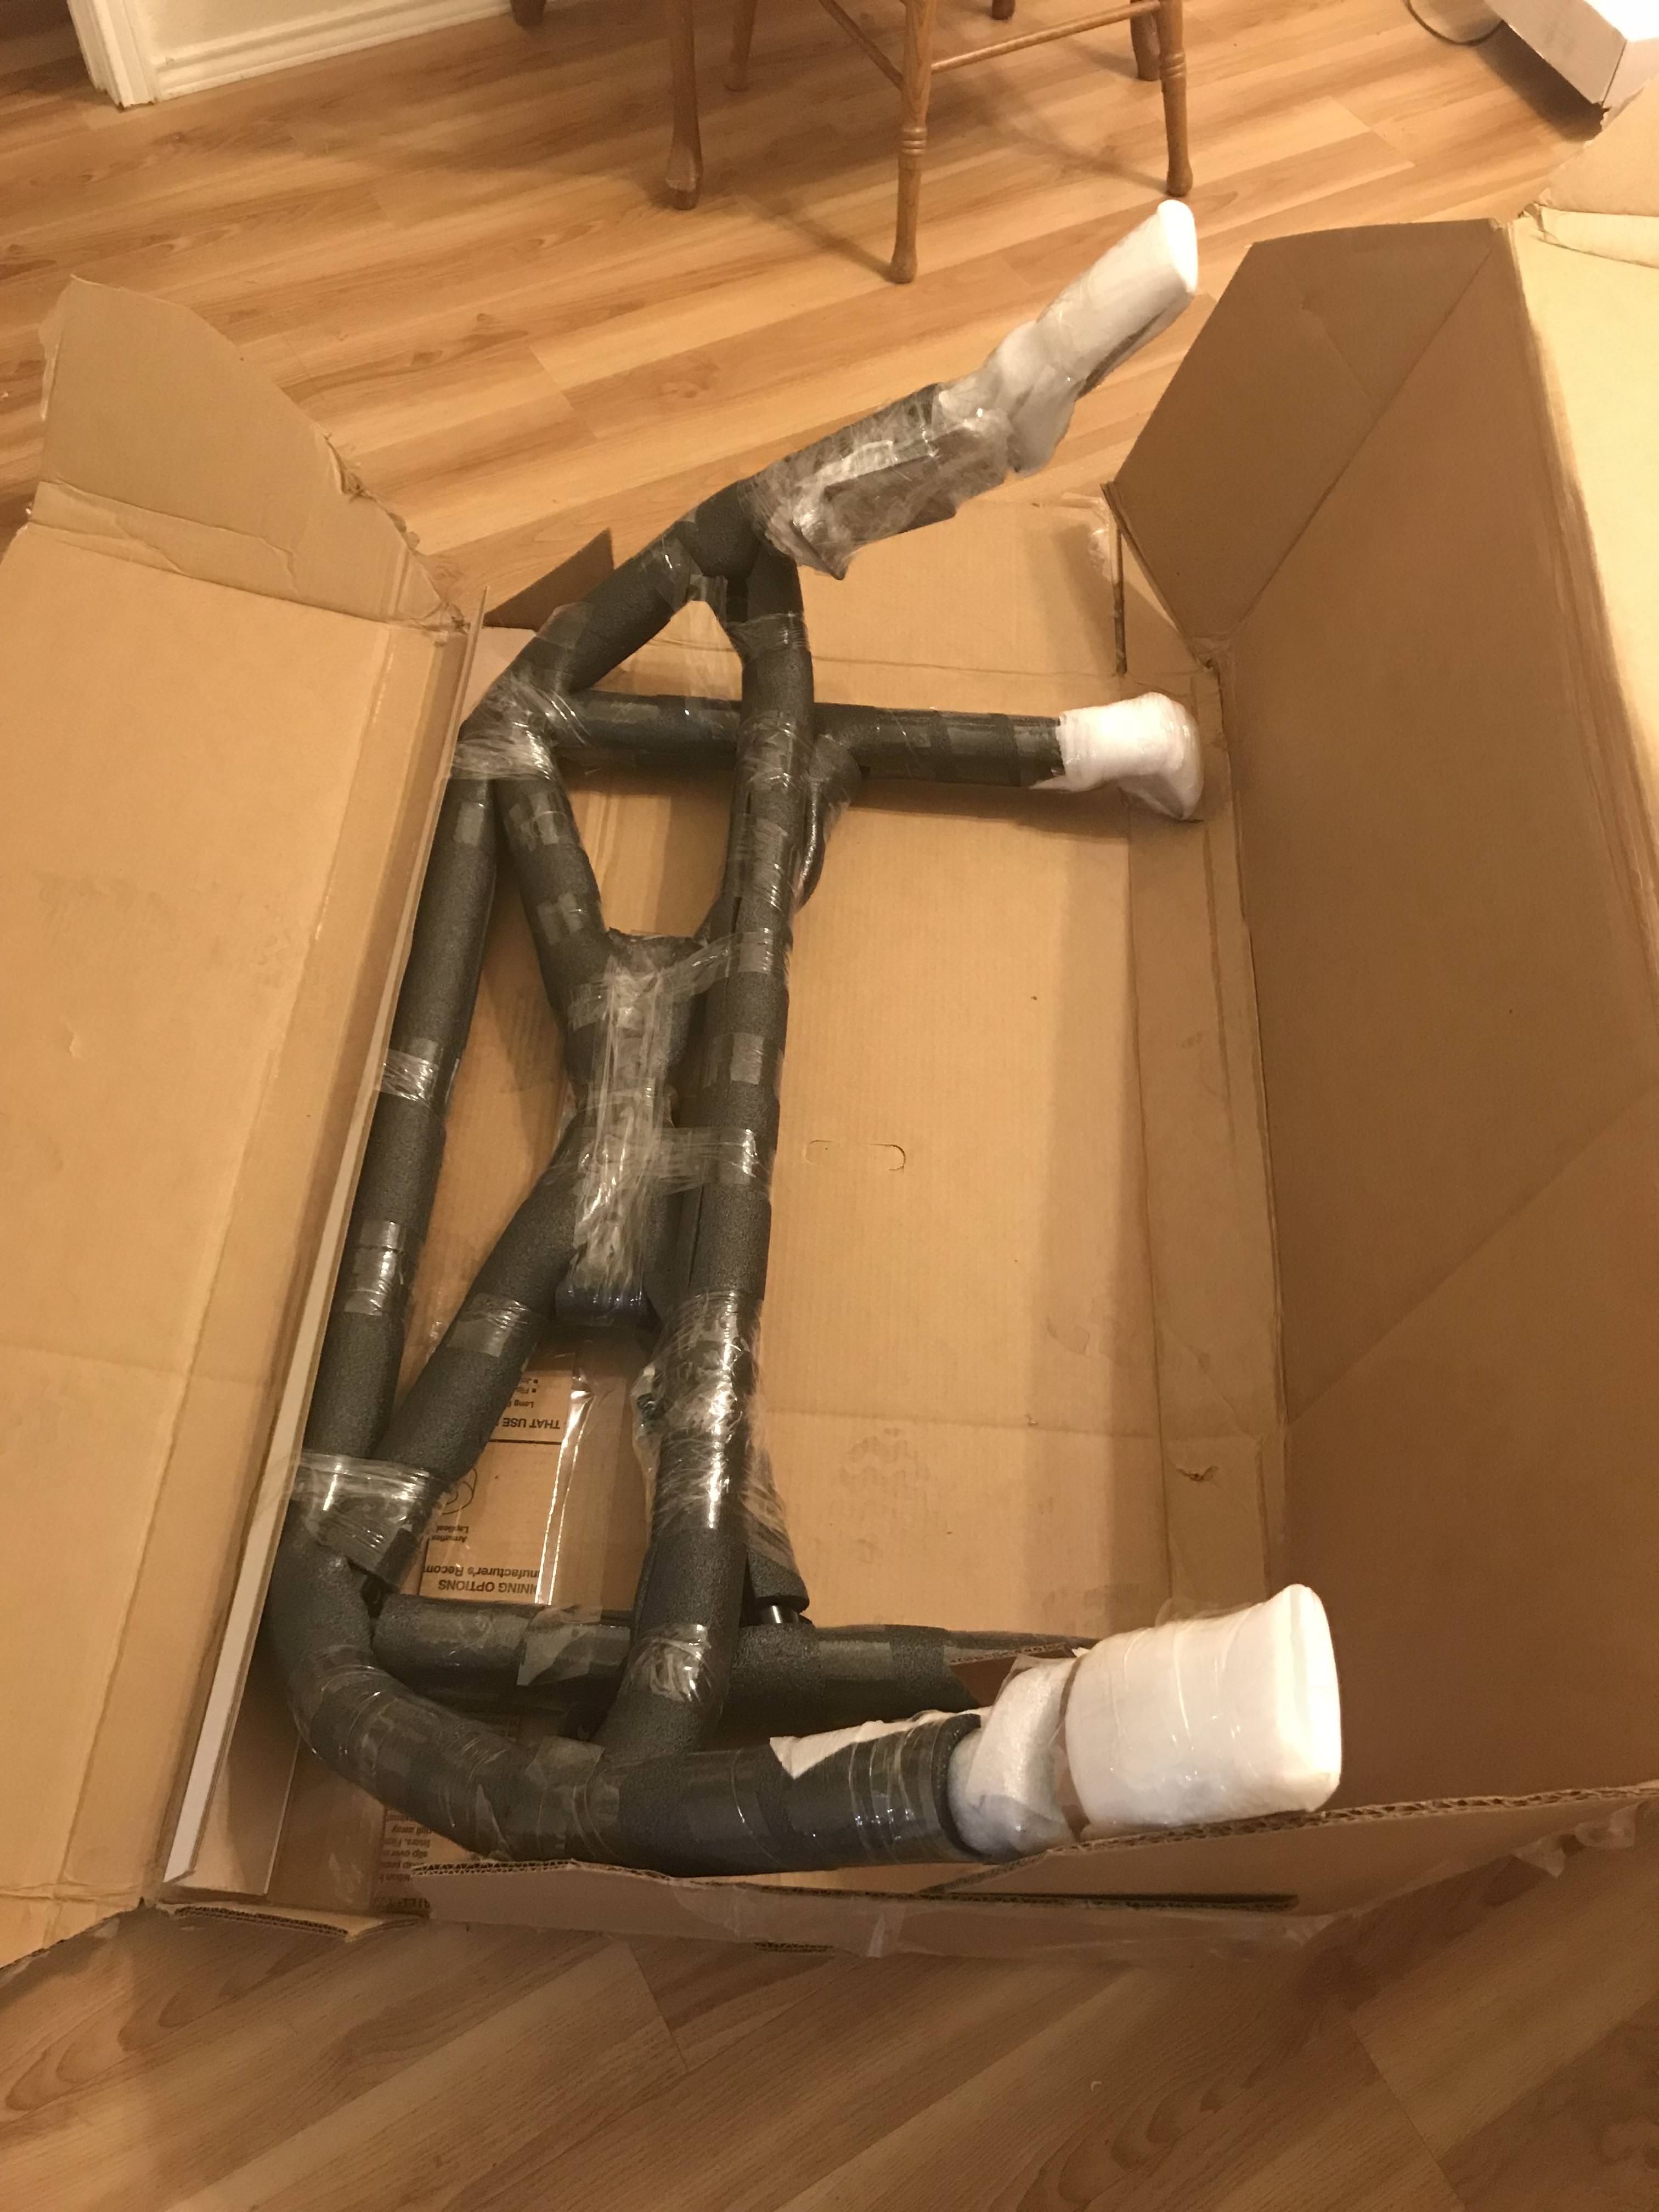
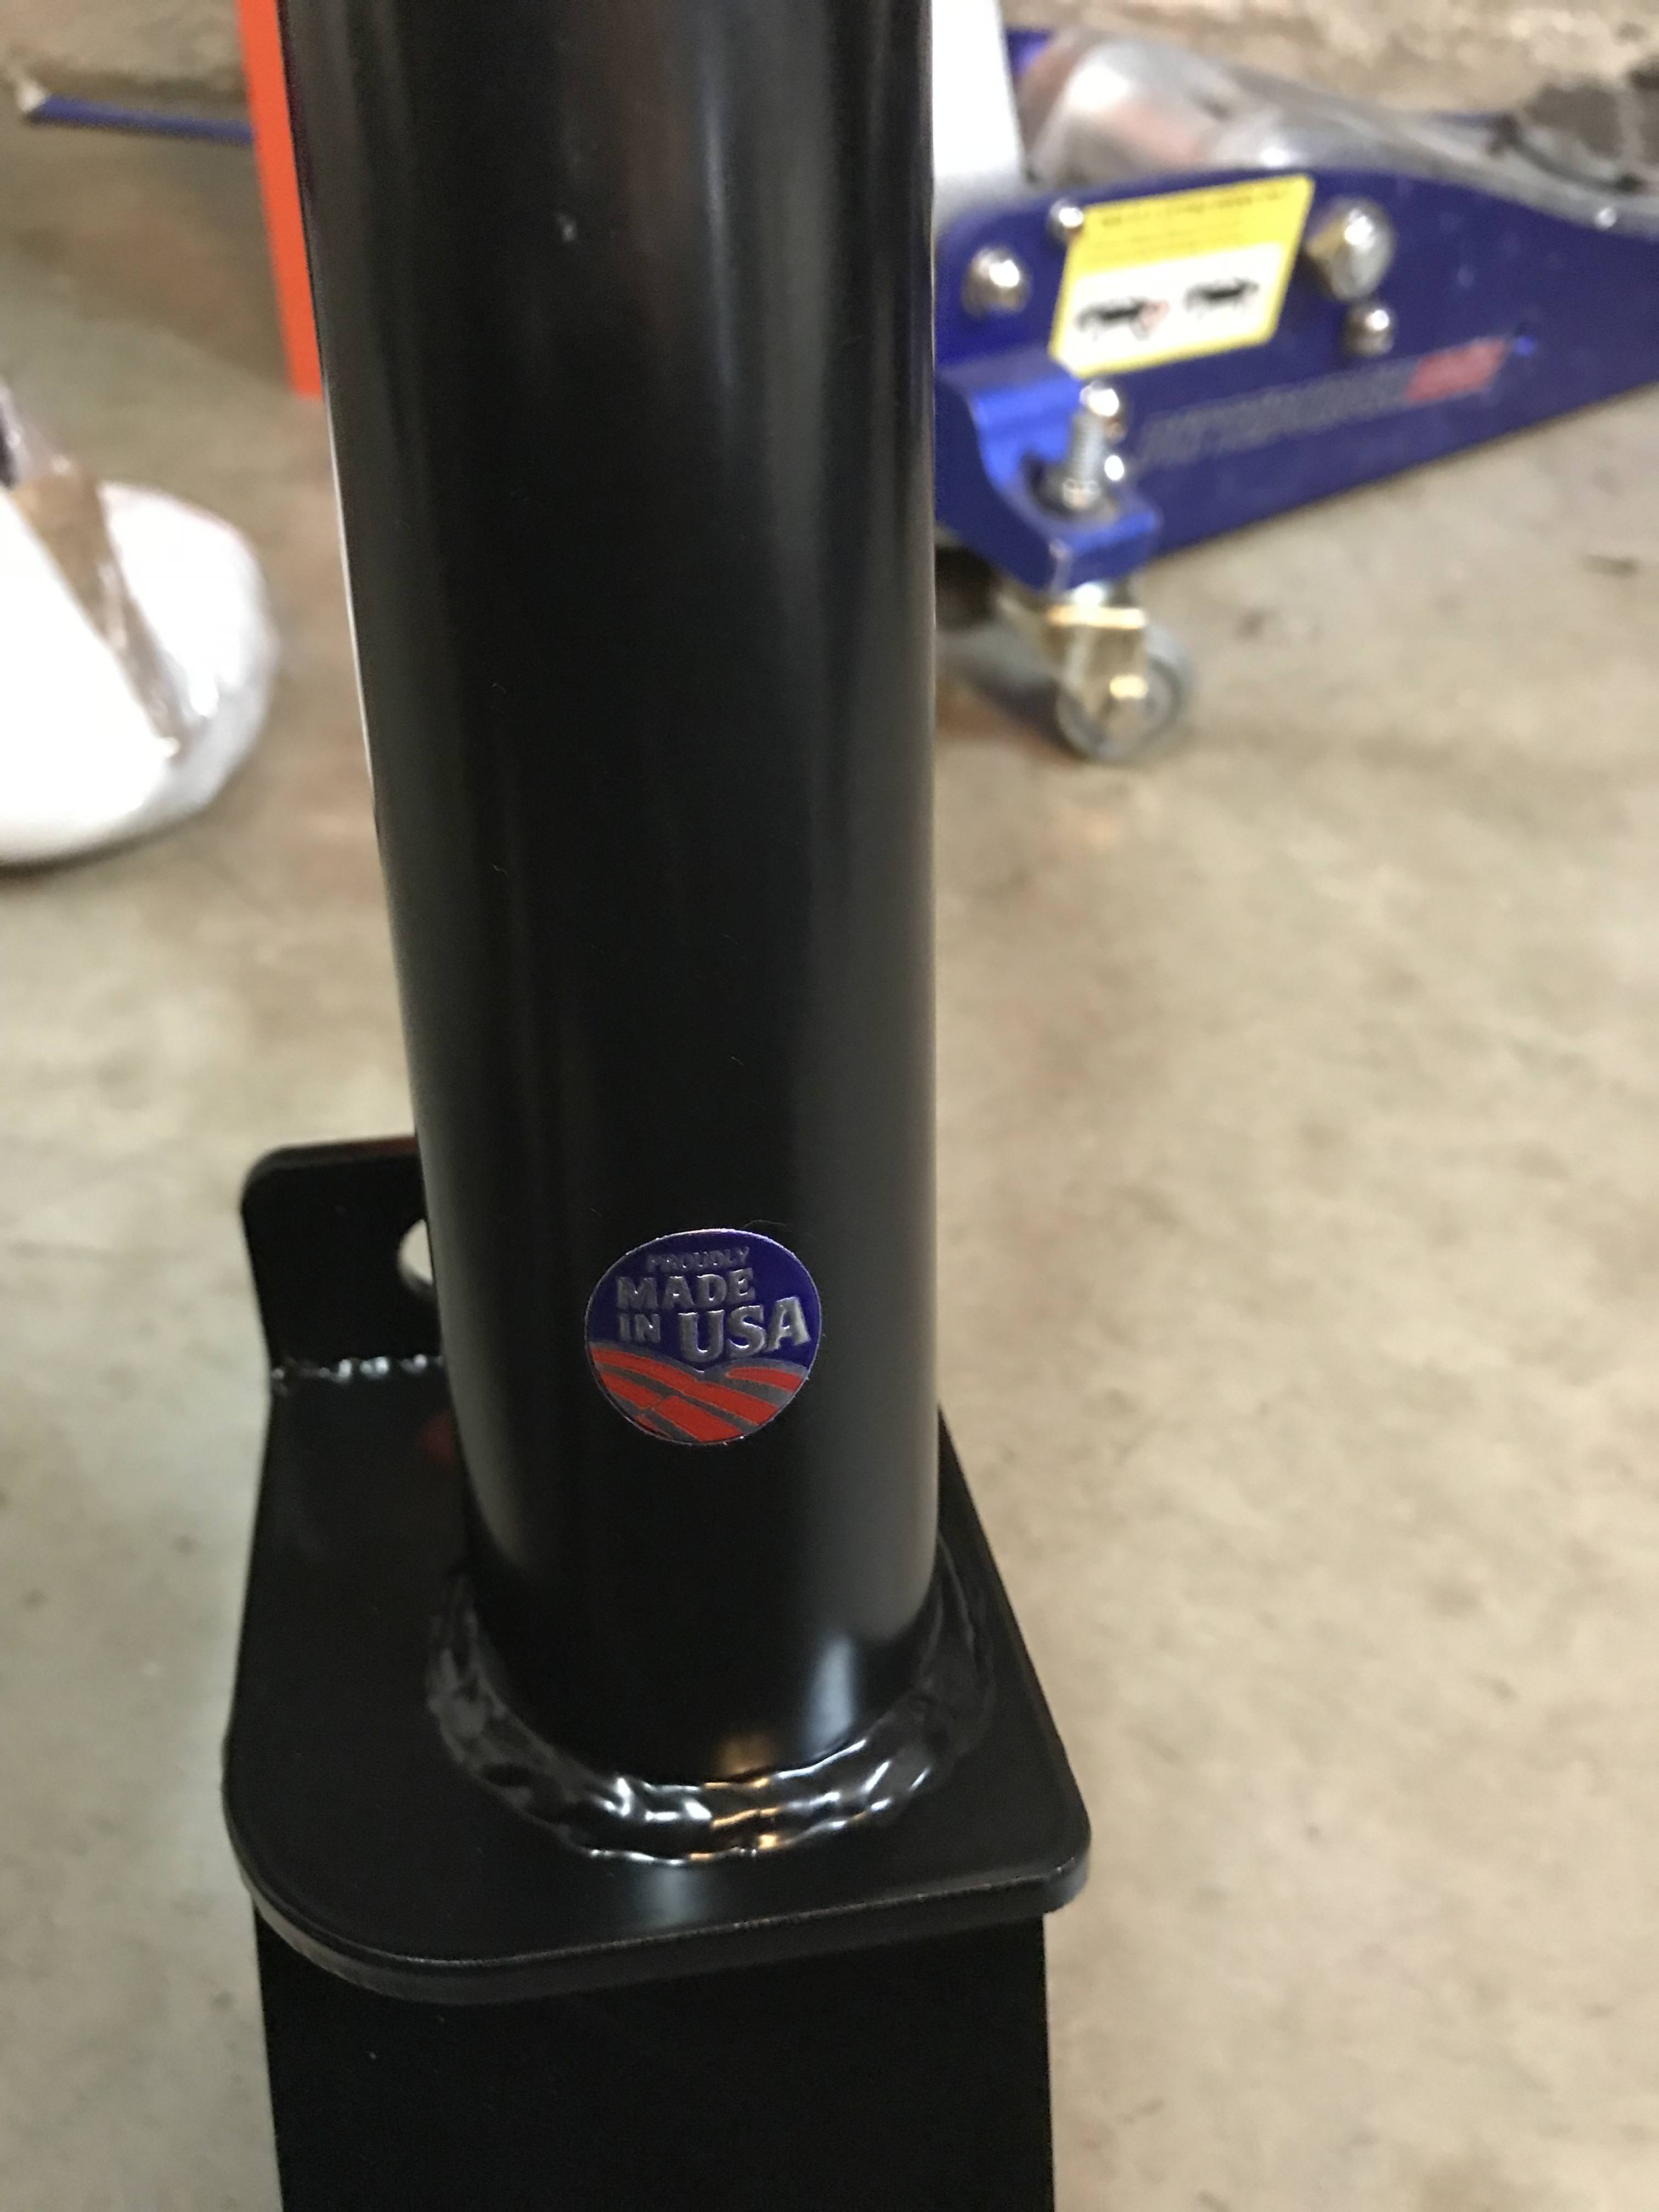
Blackbird Fabworks GT3 Roll Bar
Had this little sticker on it which i loved, 'MERICA
B series TPS, if you have owned a K series Honda you know how big a turd the k series TPS's are...
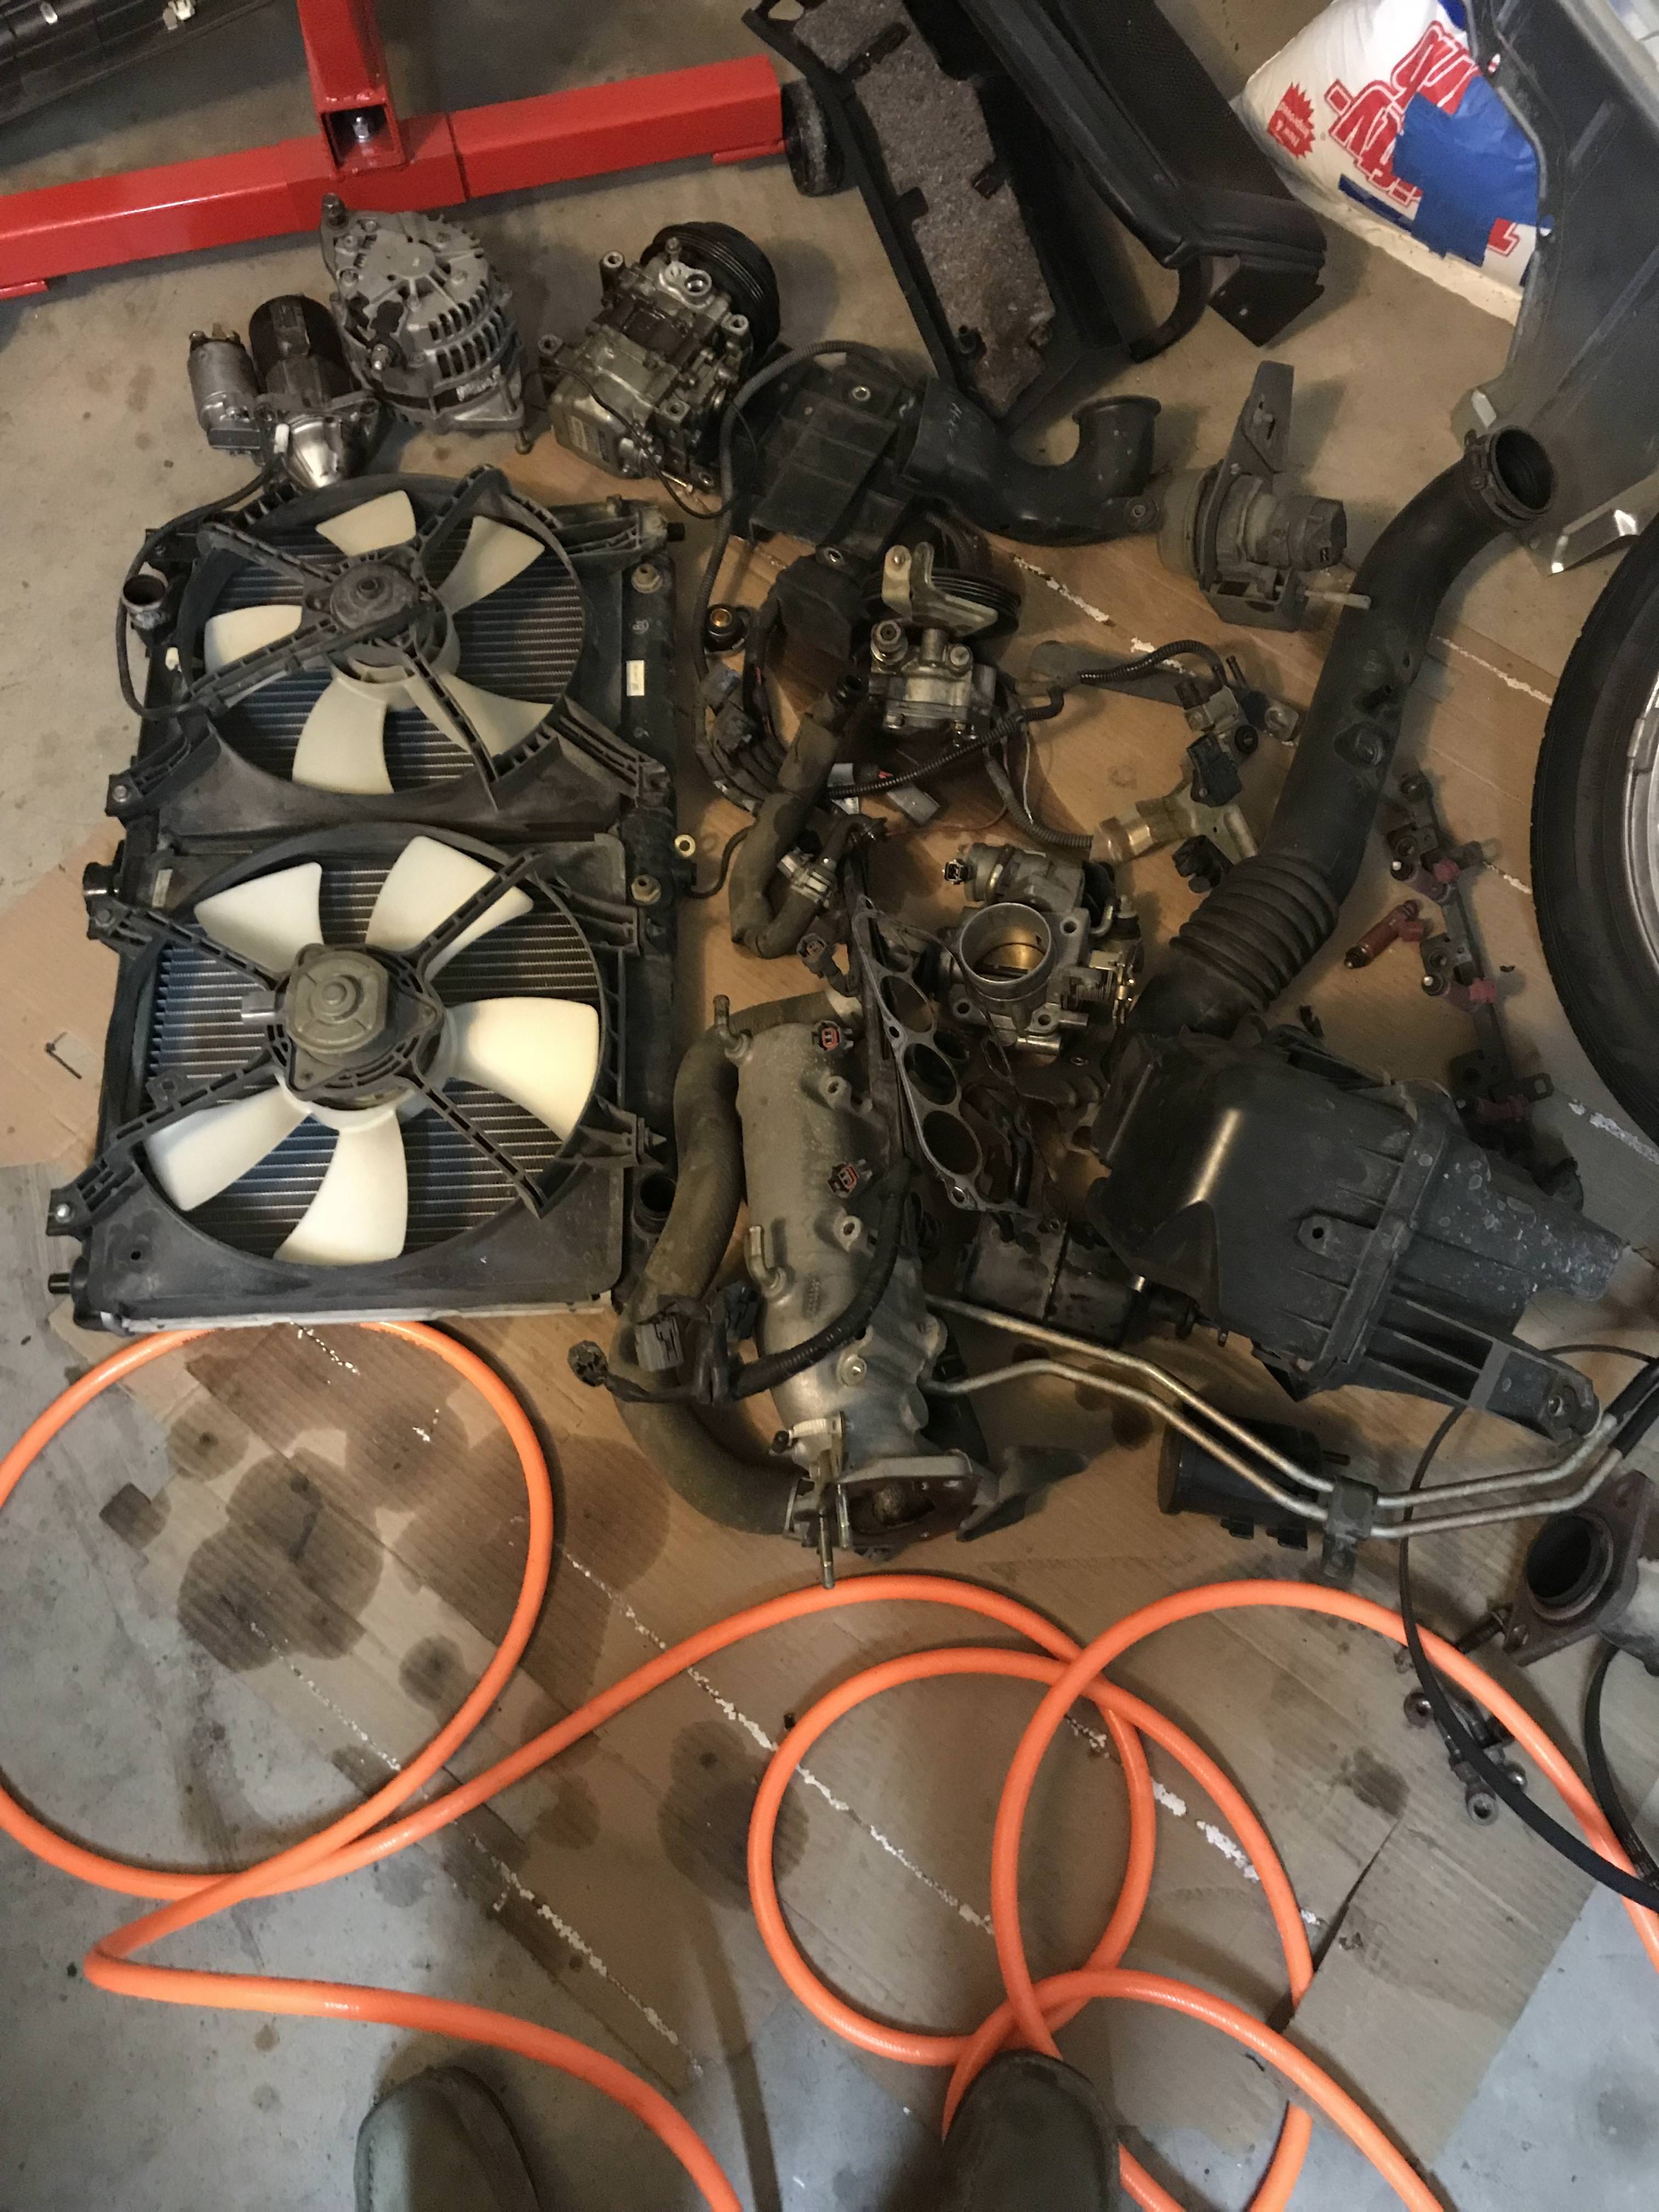
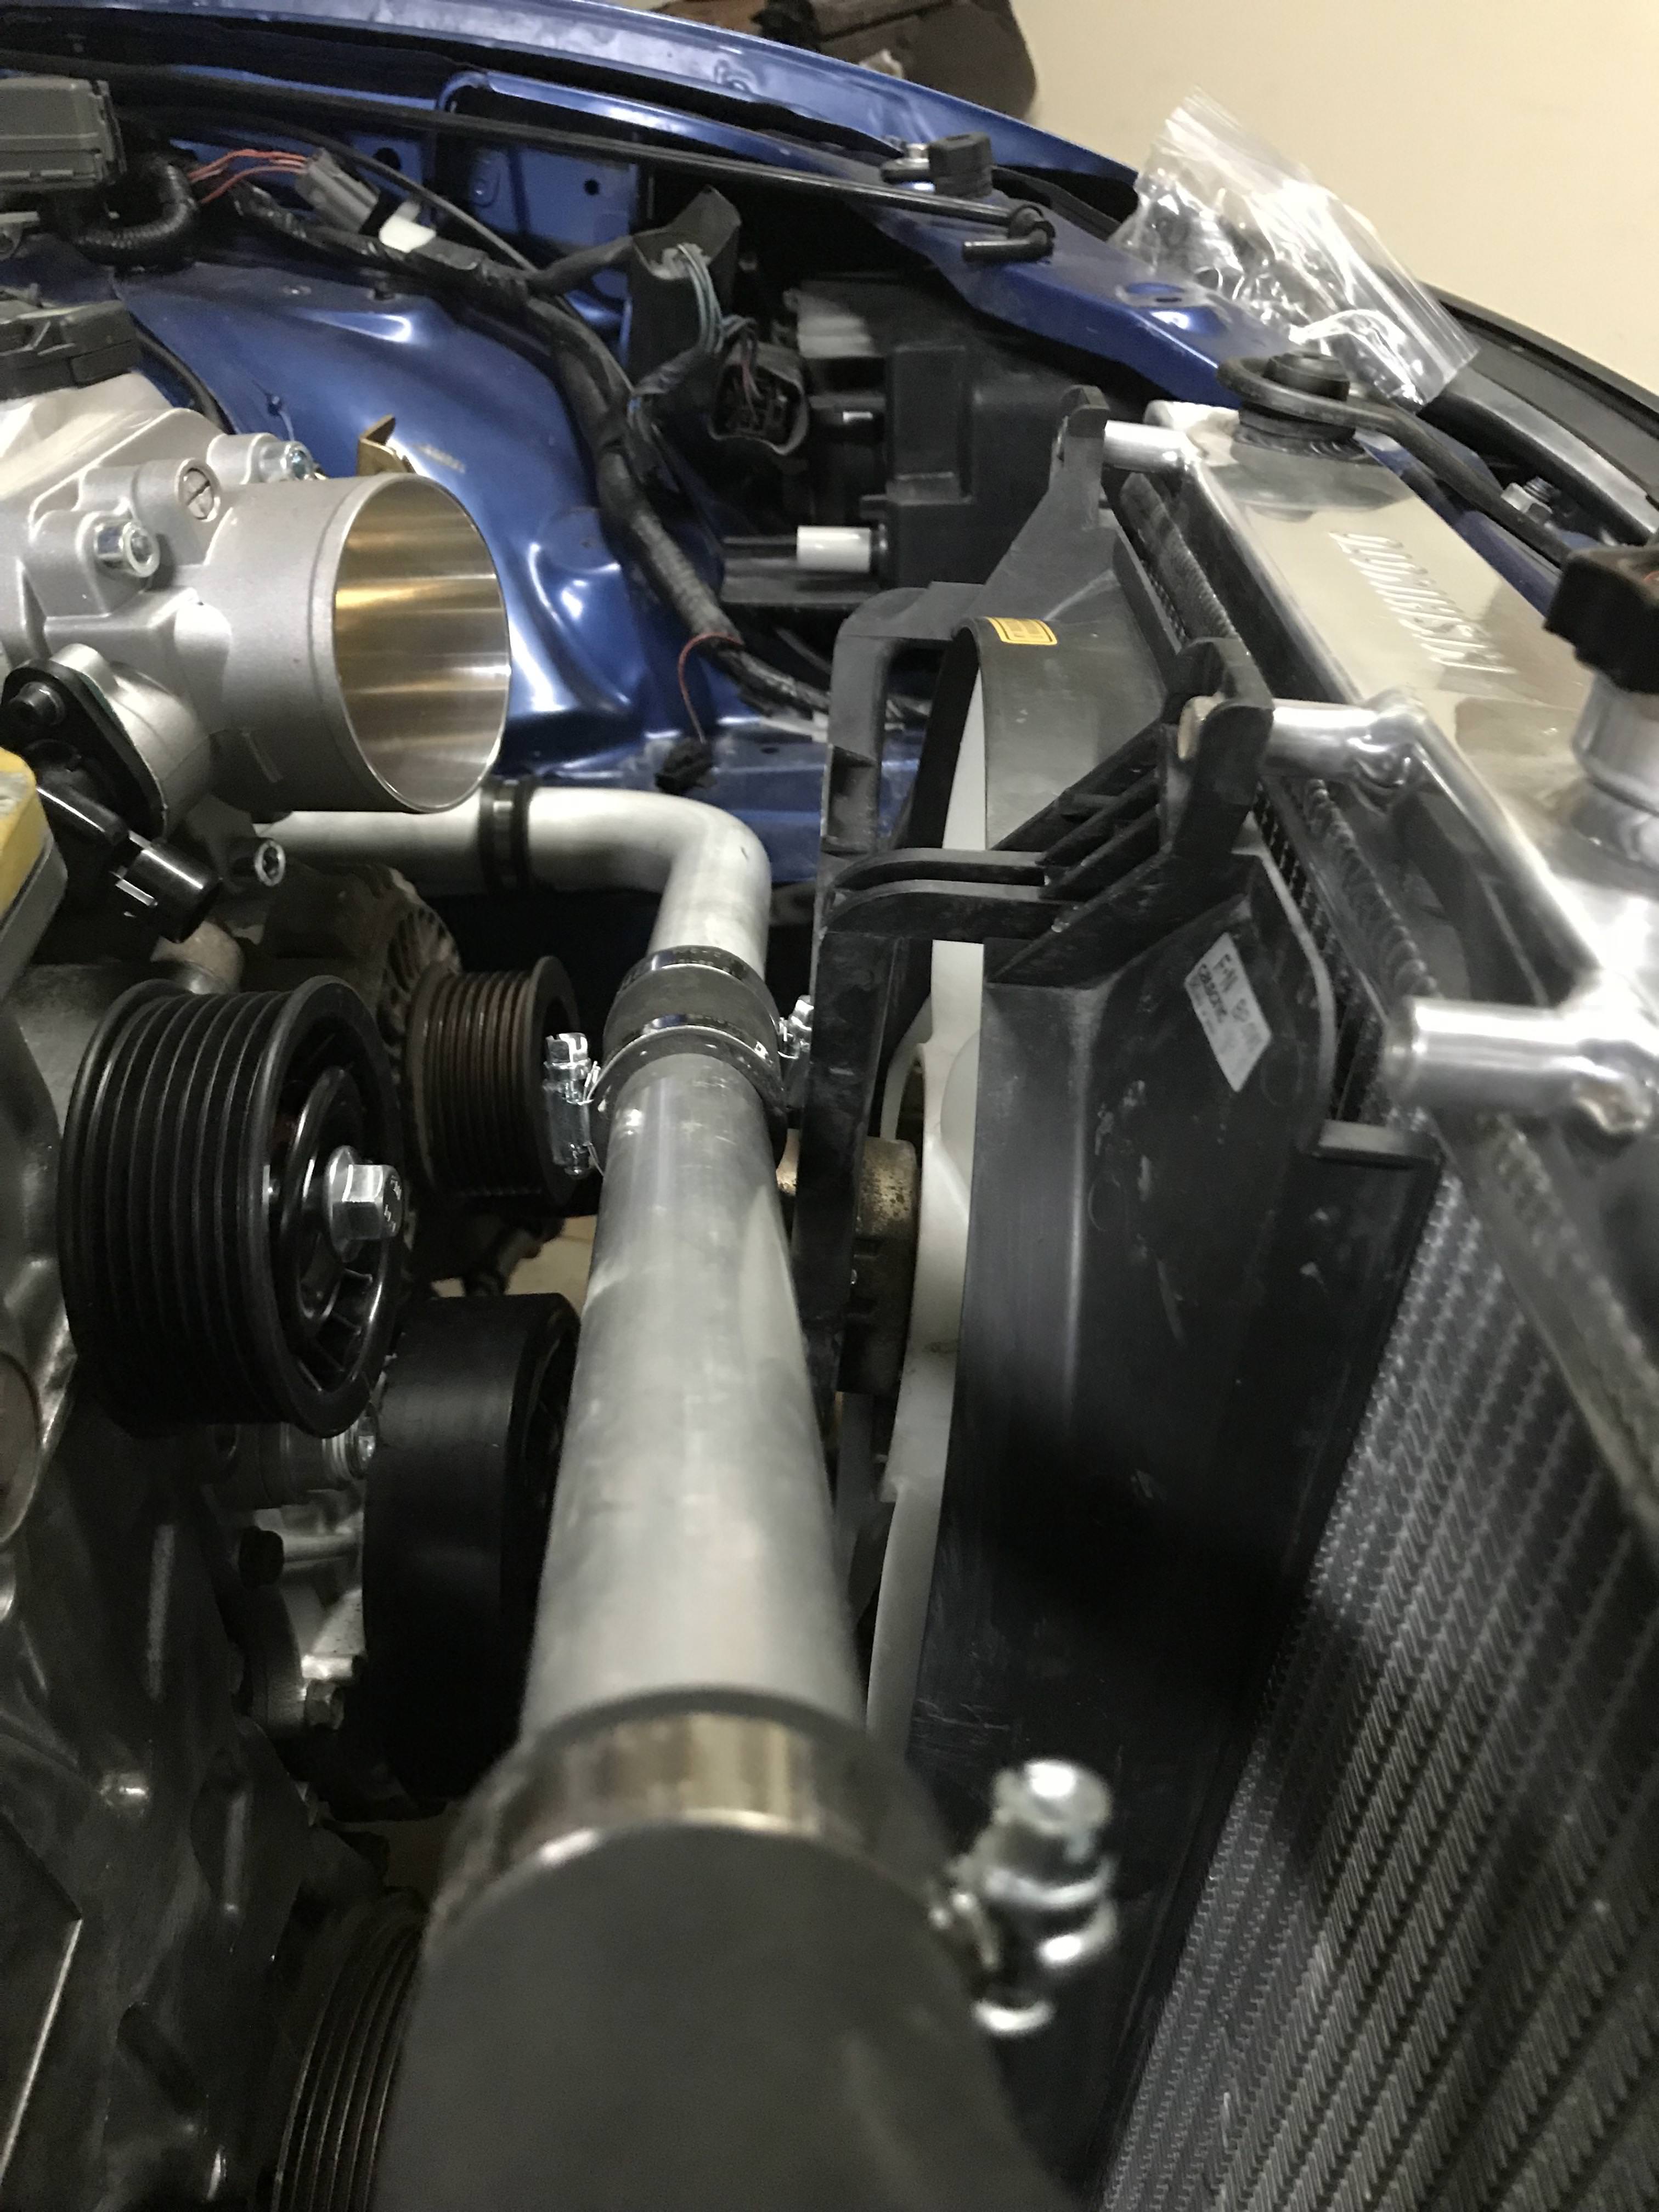
Mishimoto Radiator, not pictured are the slim fans and shroud which i also ended up purchasing because there is not enough room to use the stock fans and actually have an intake.
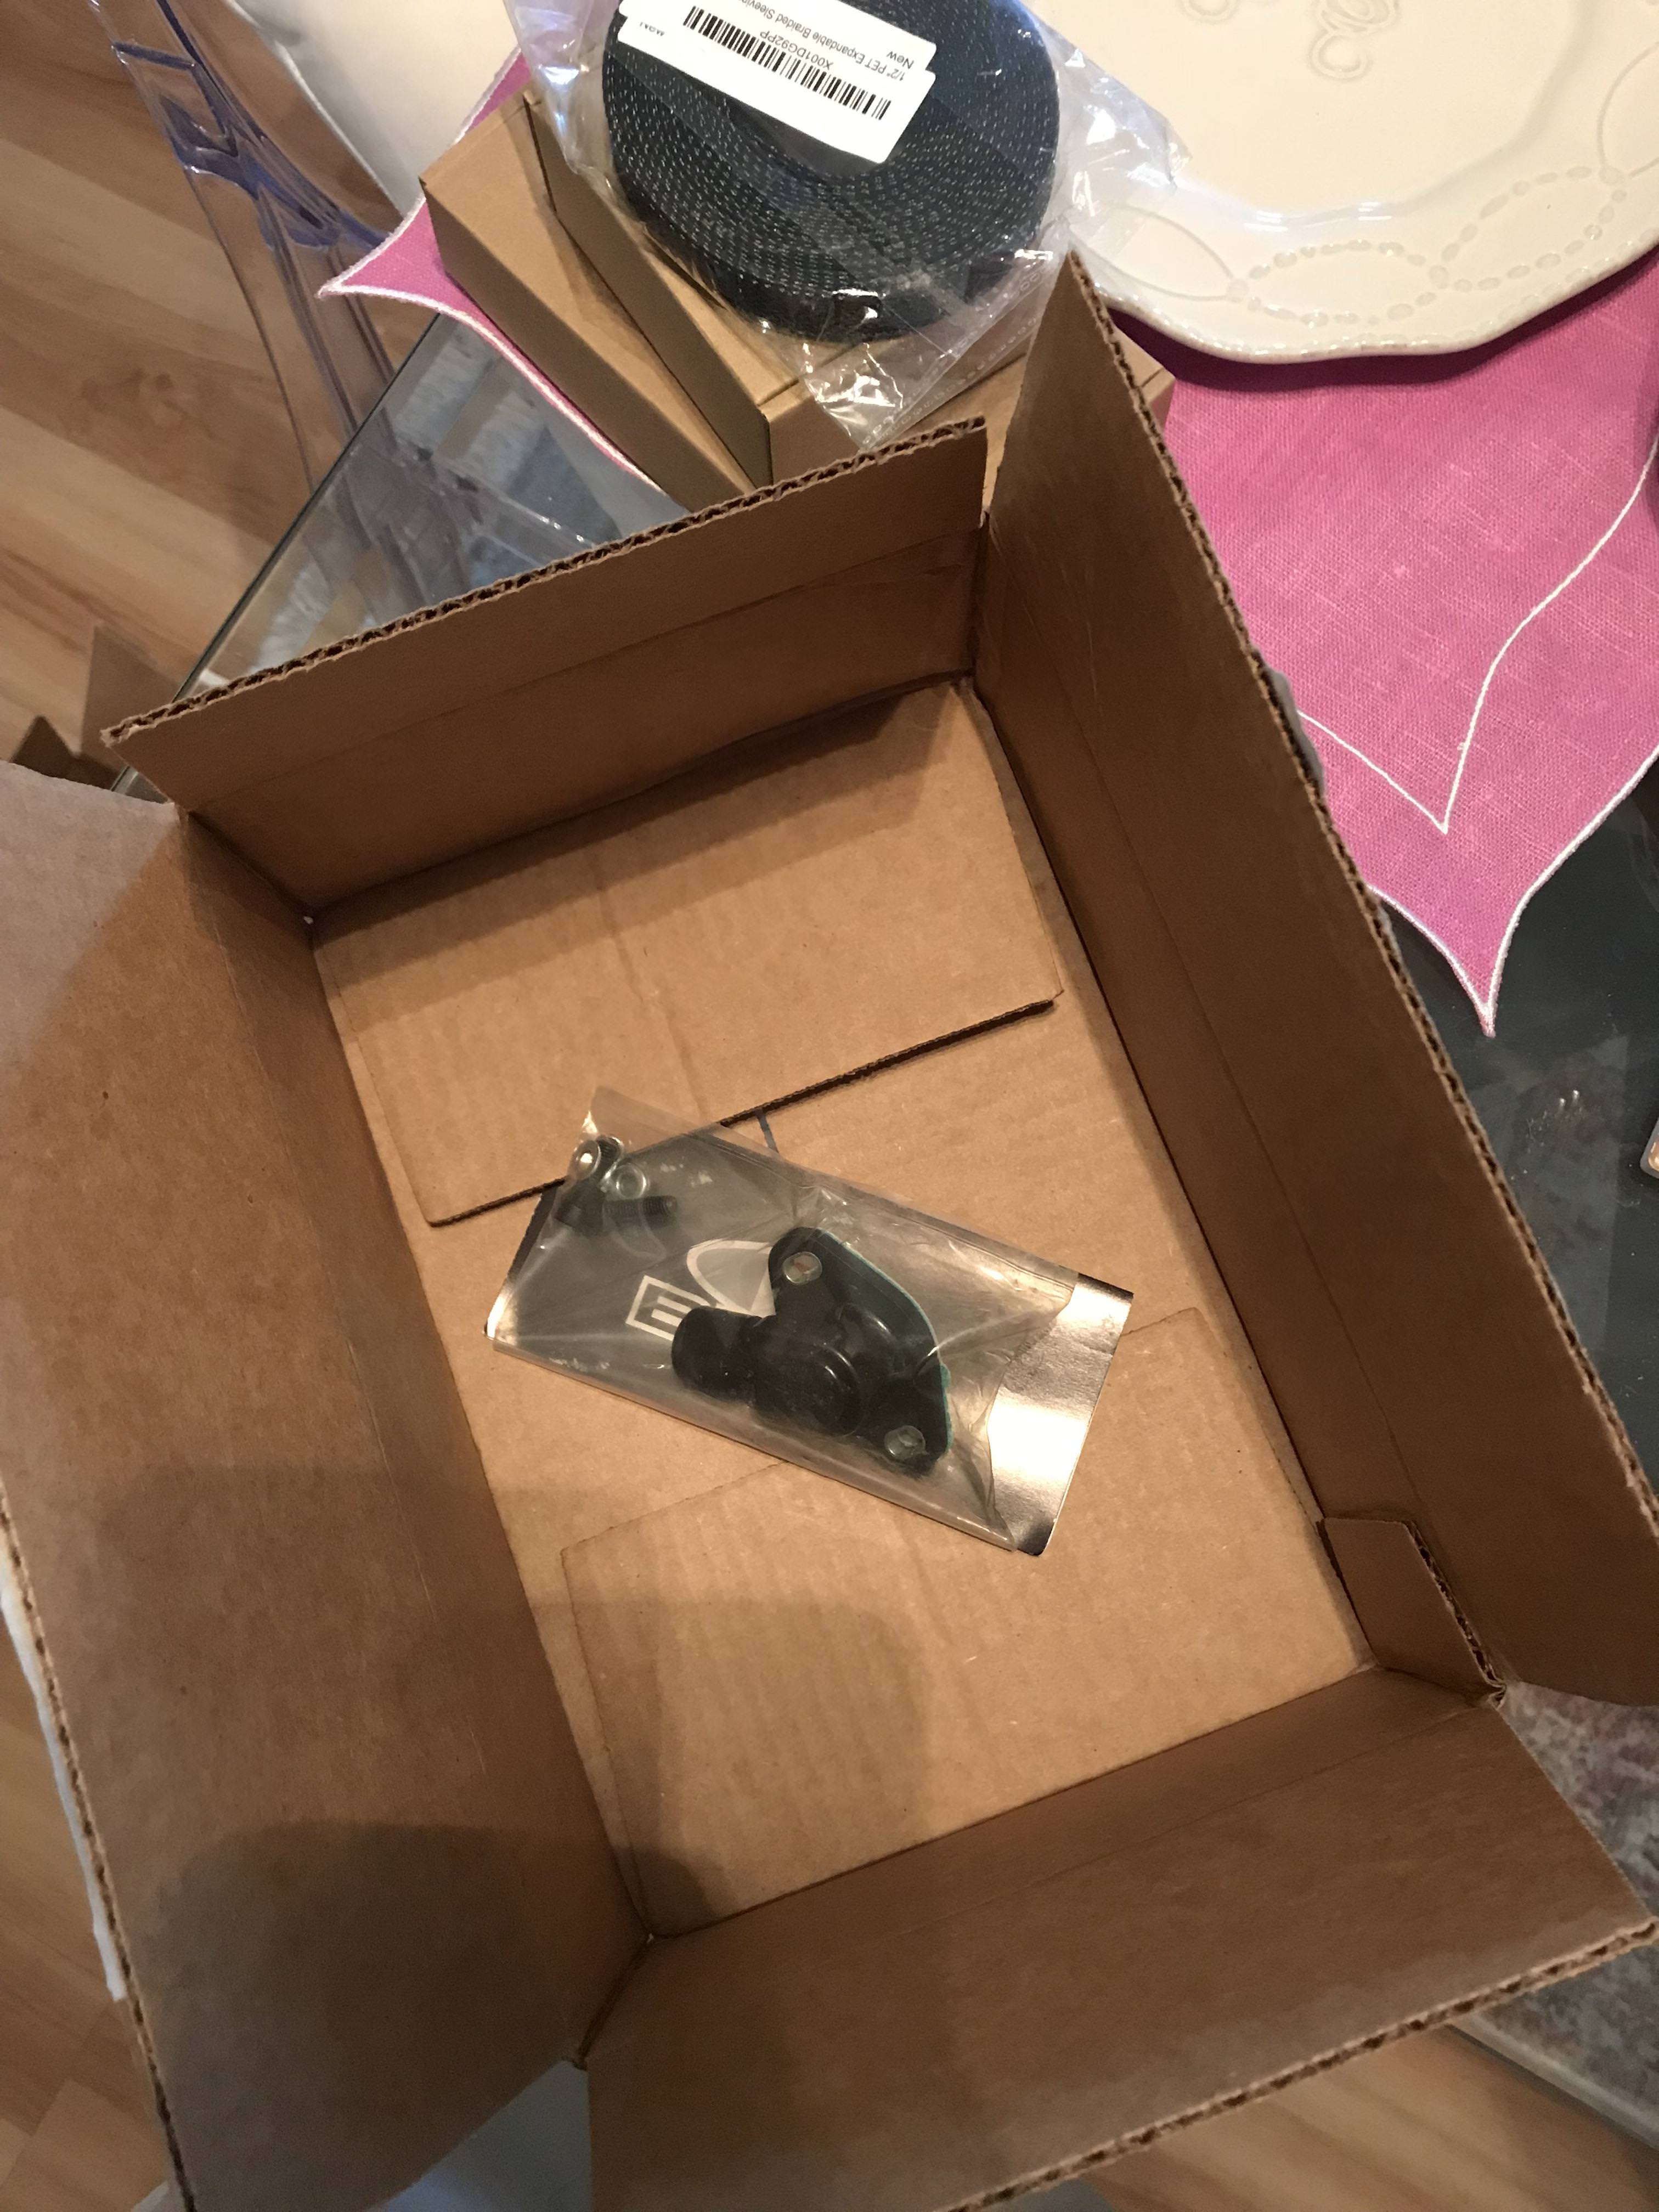
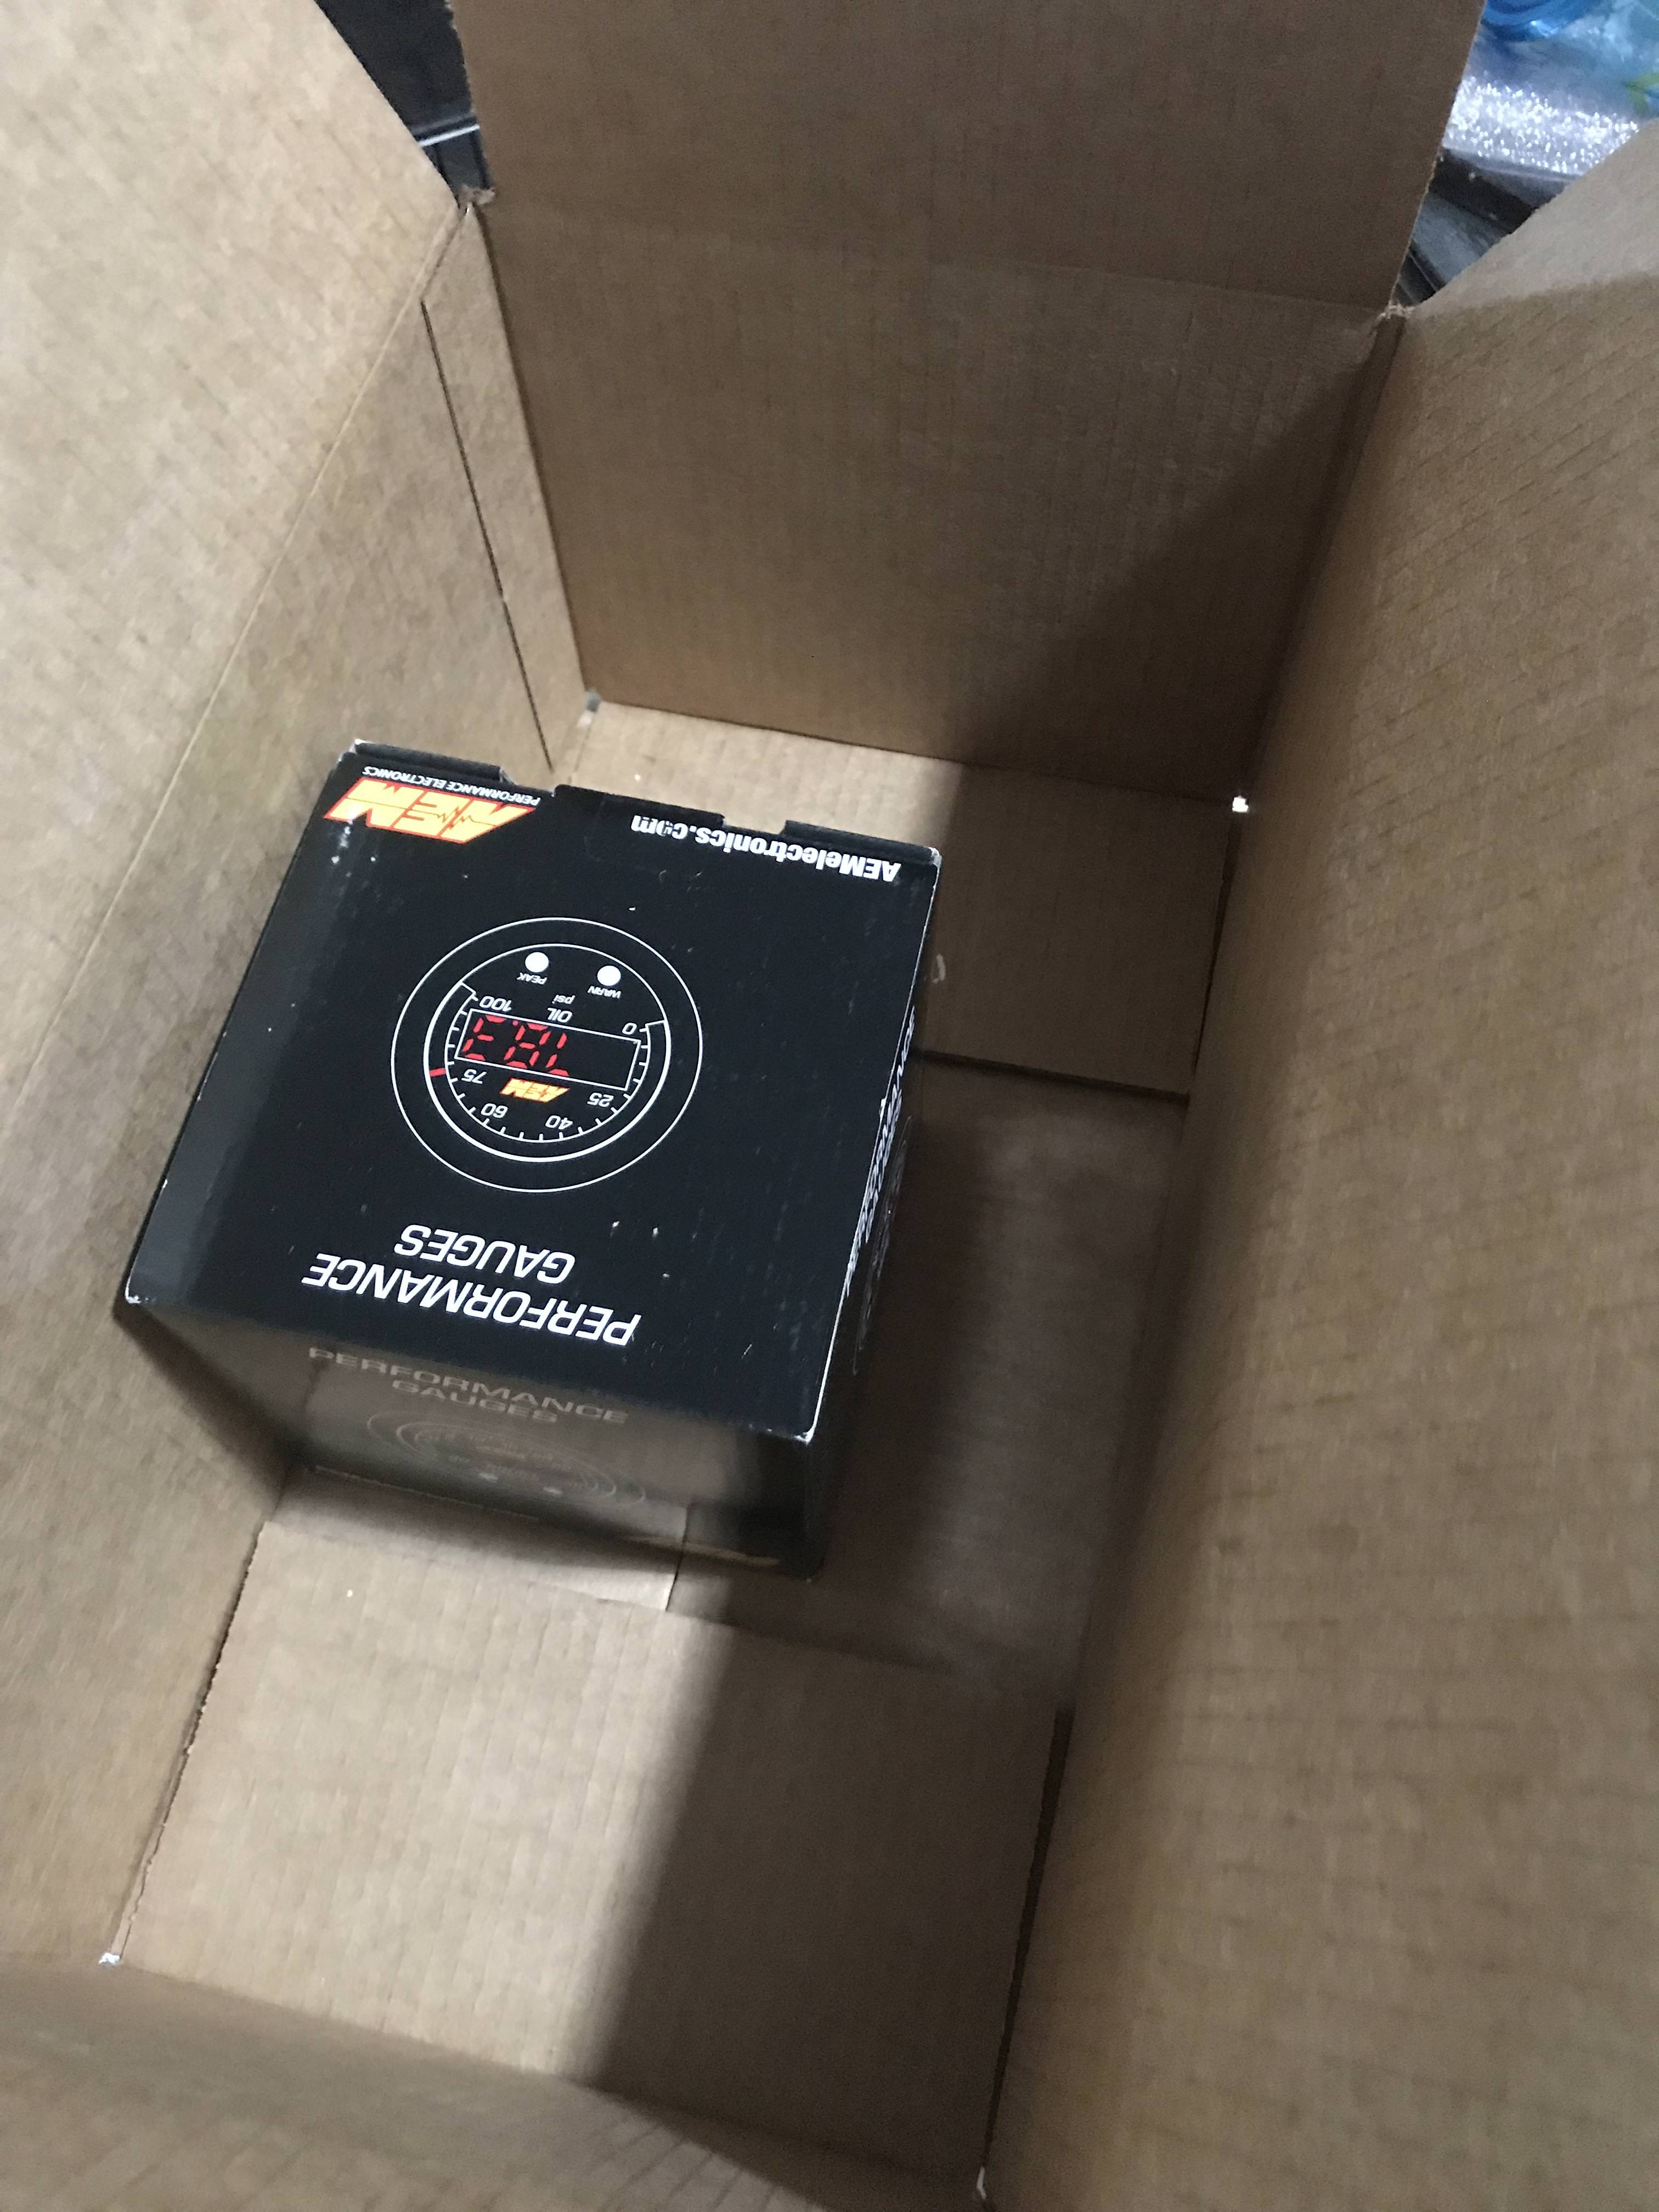
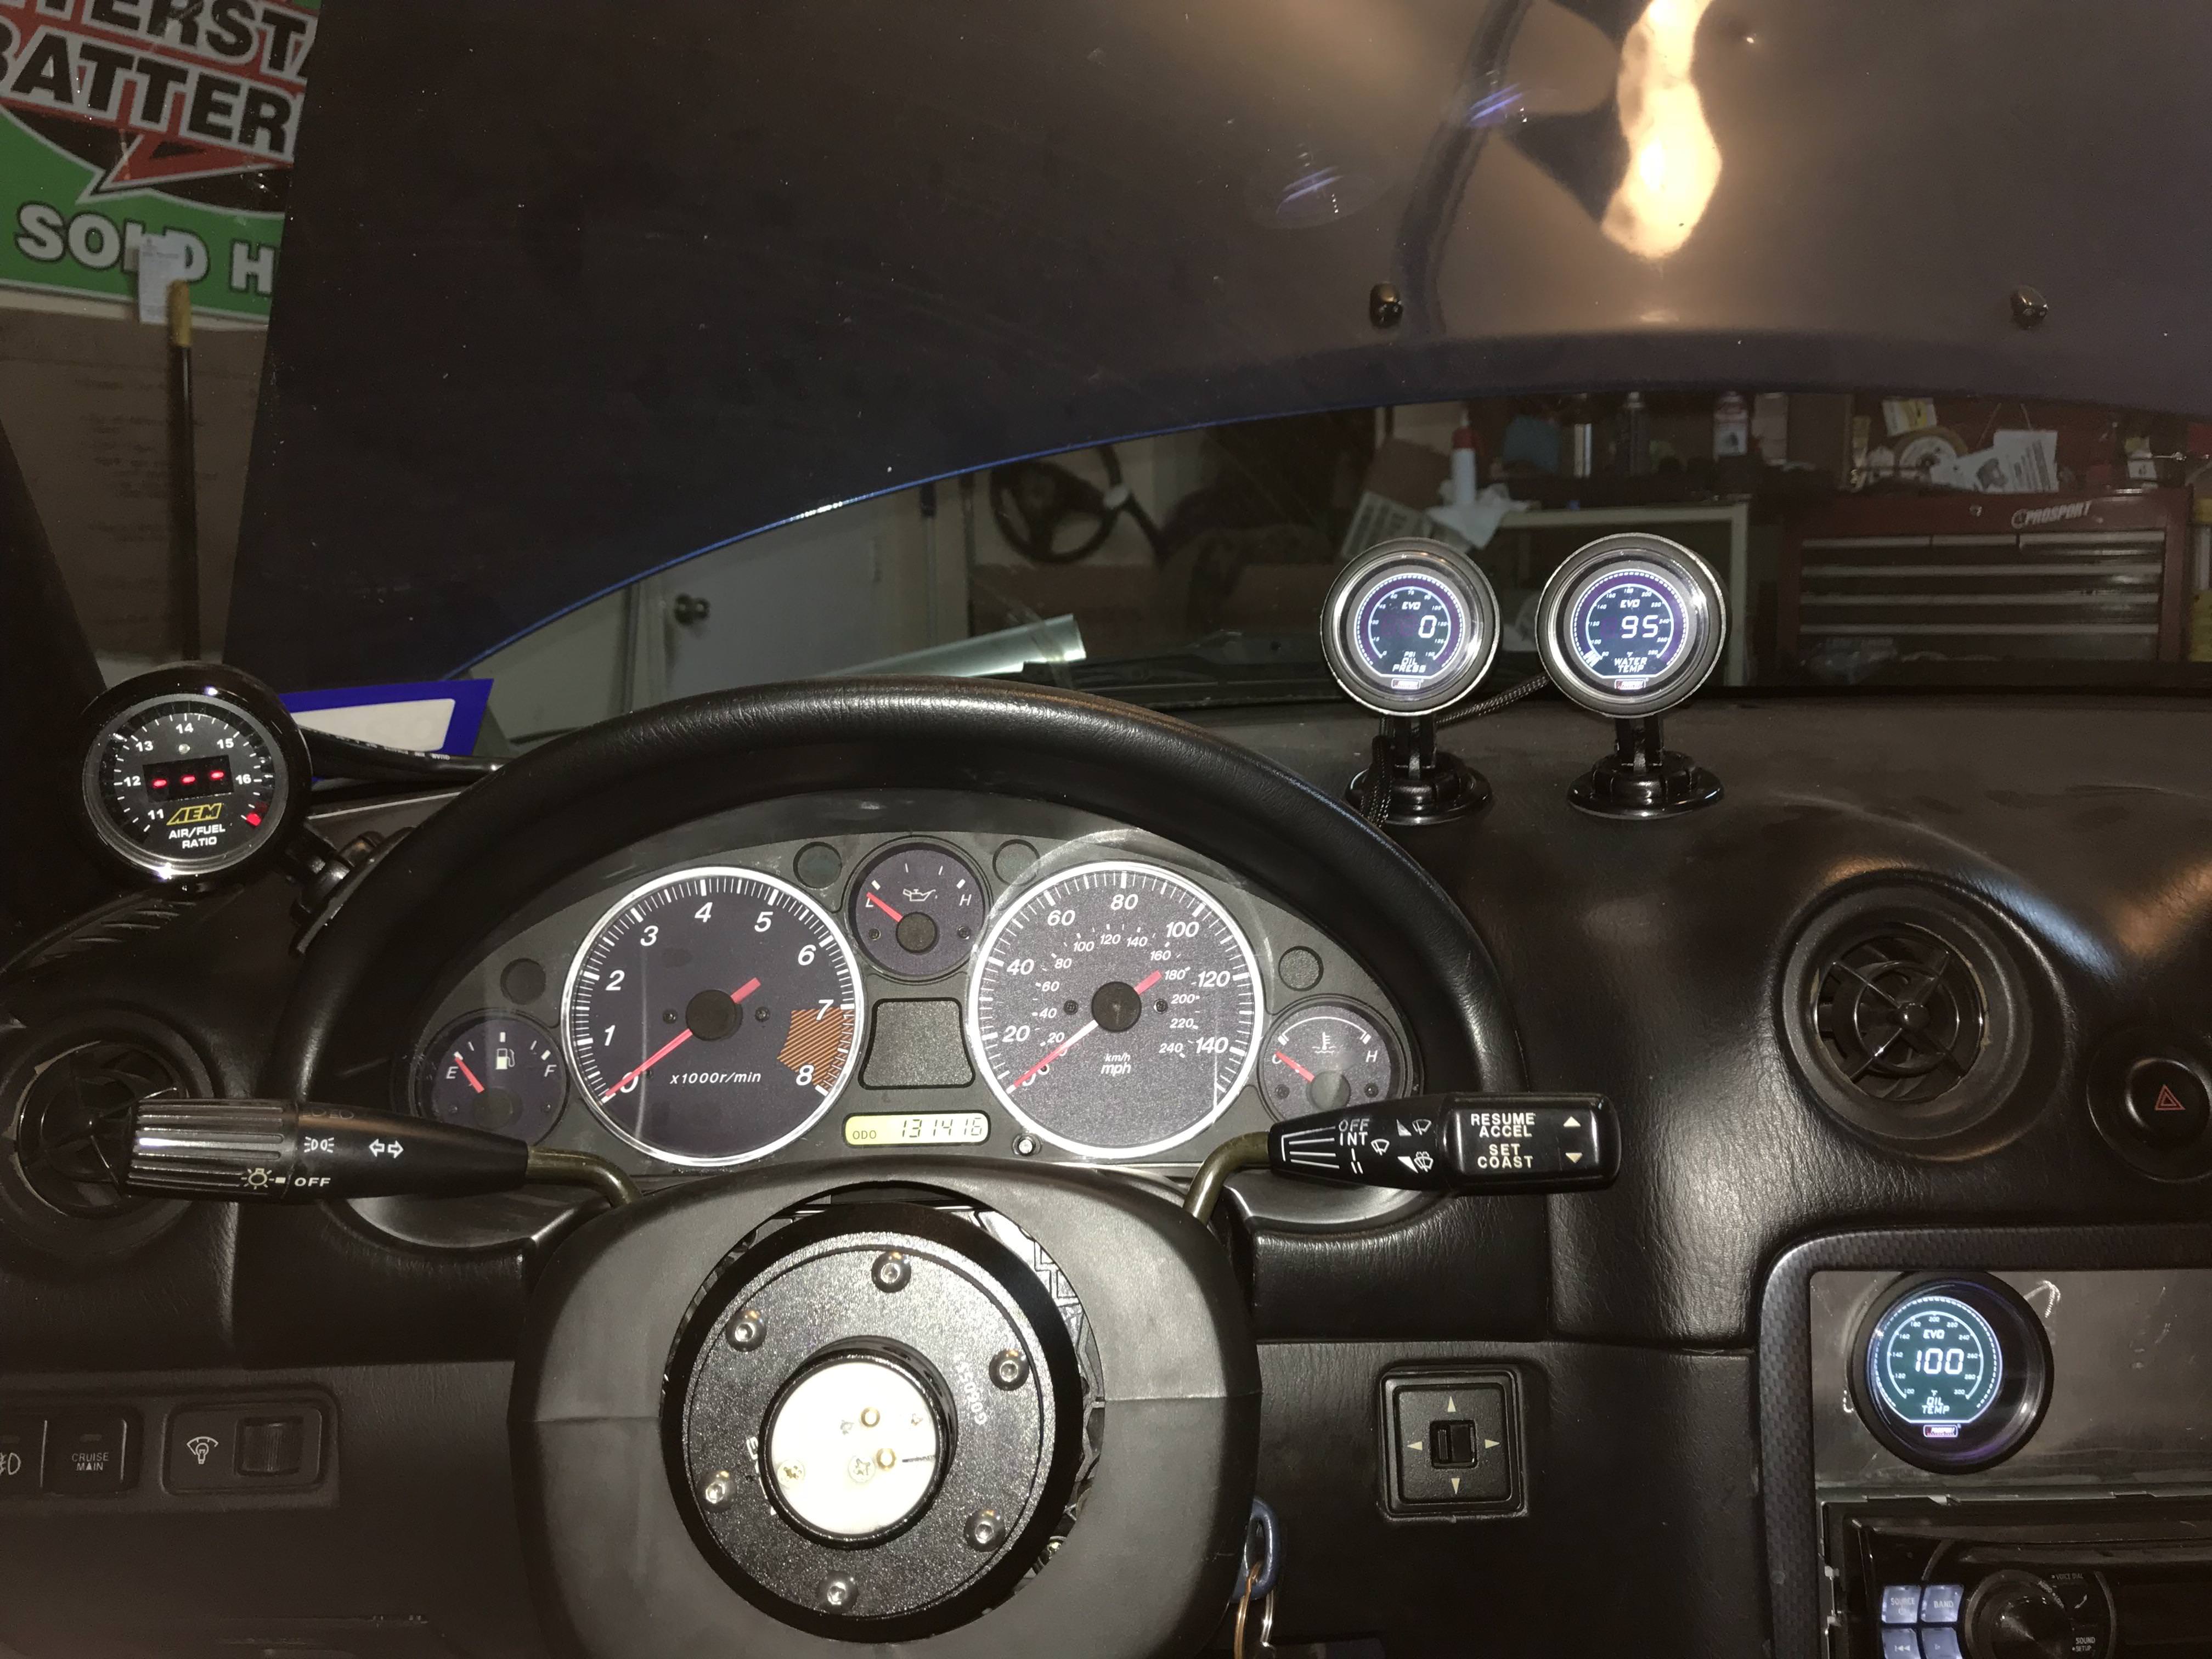
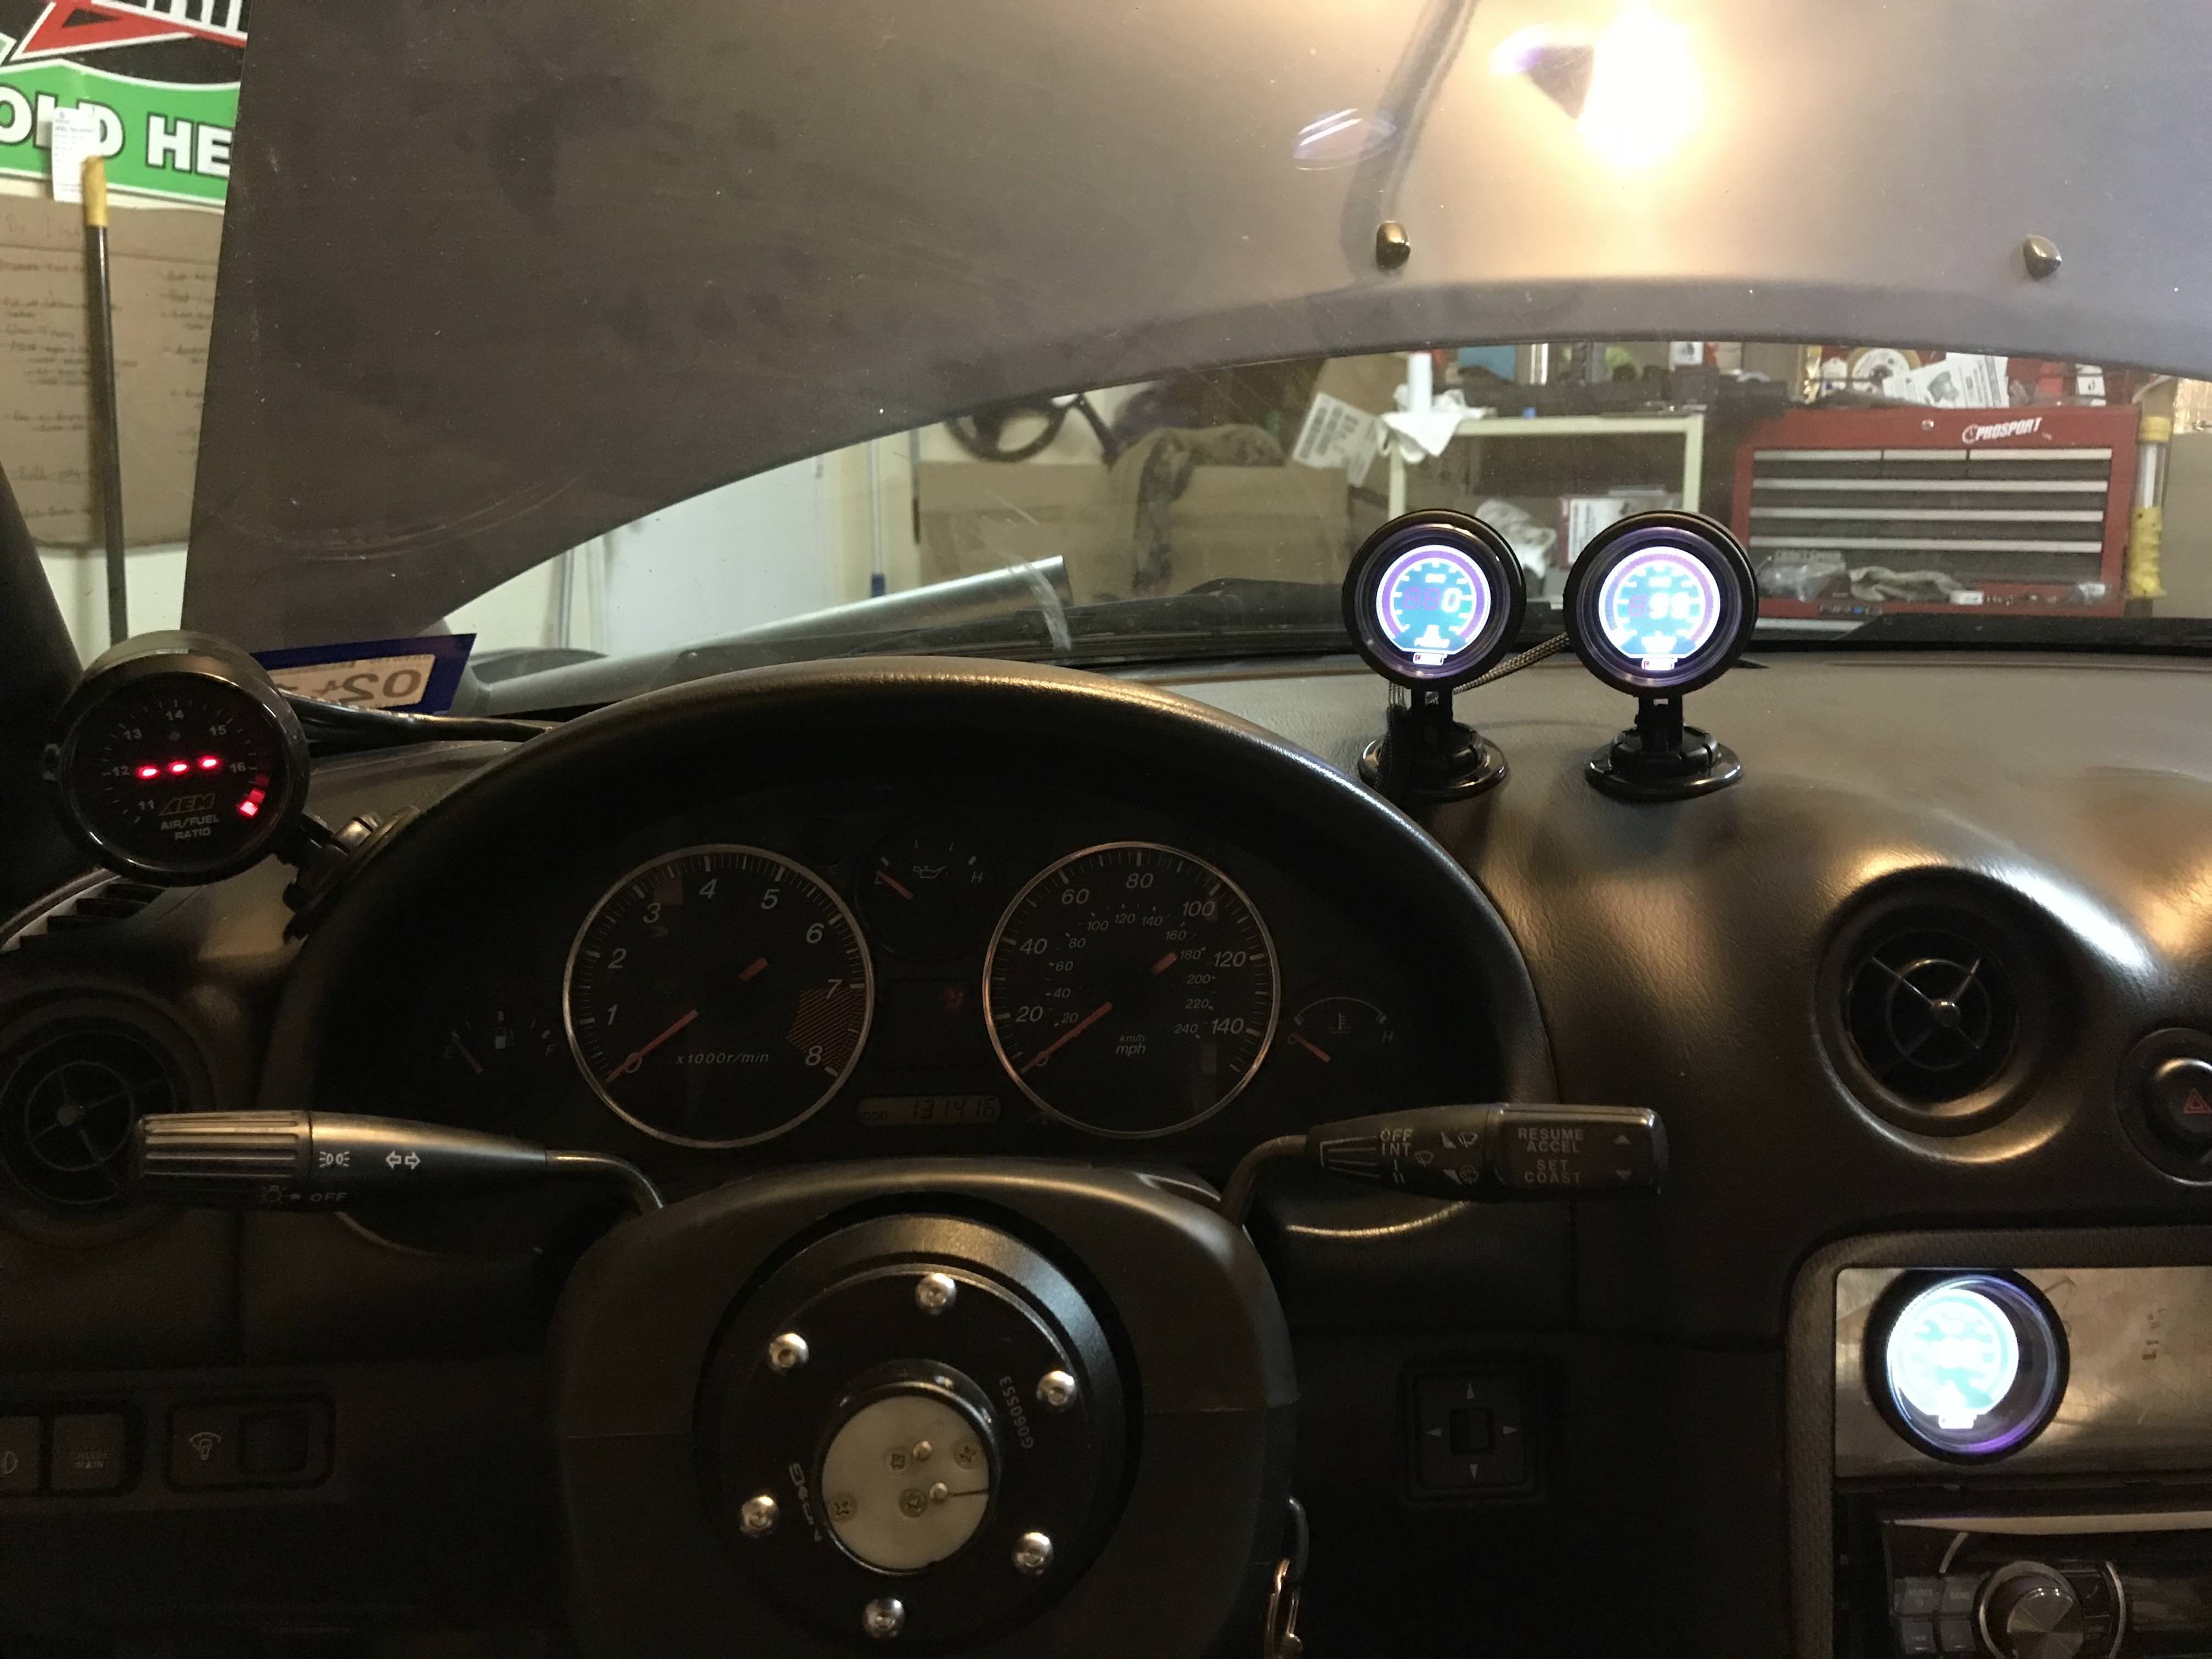
AEM wideband, also picked up oil pressure, oil temp, and water temp gauges, you will see them installed later on.
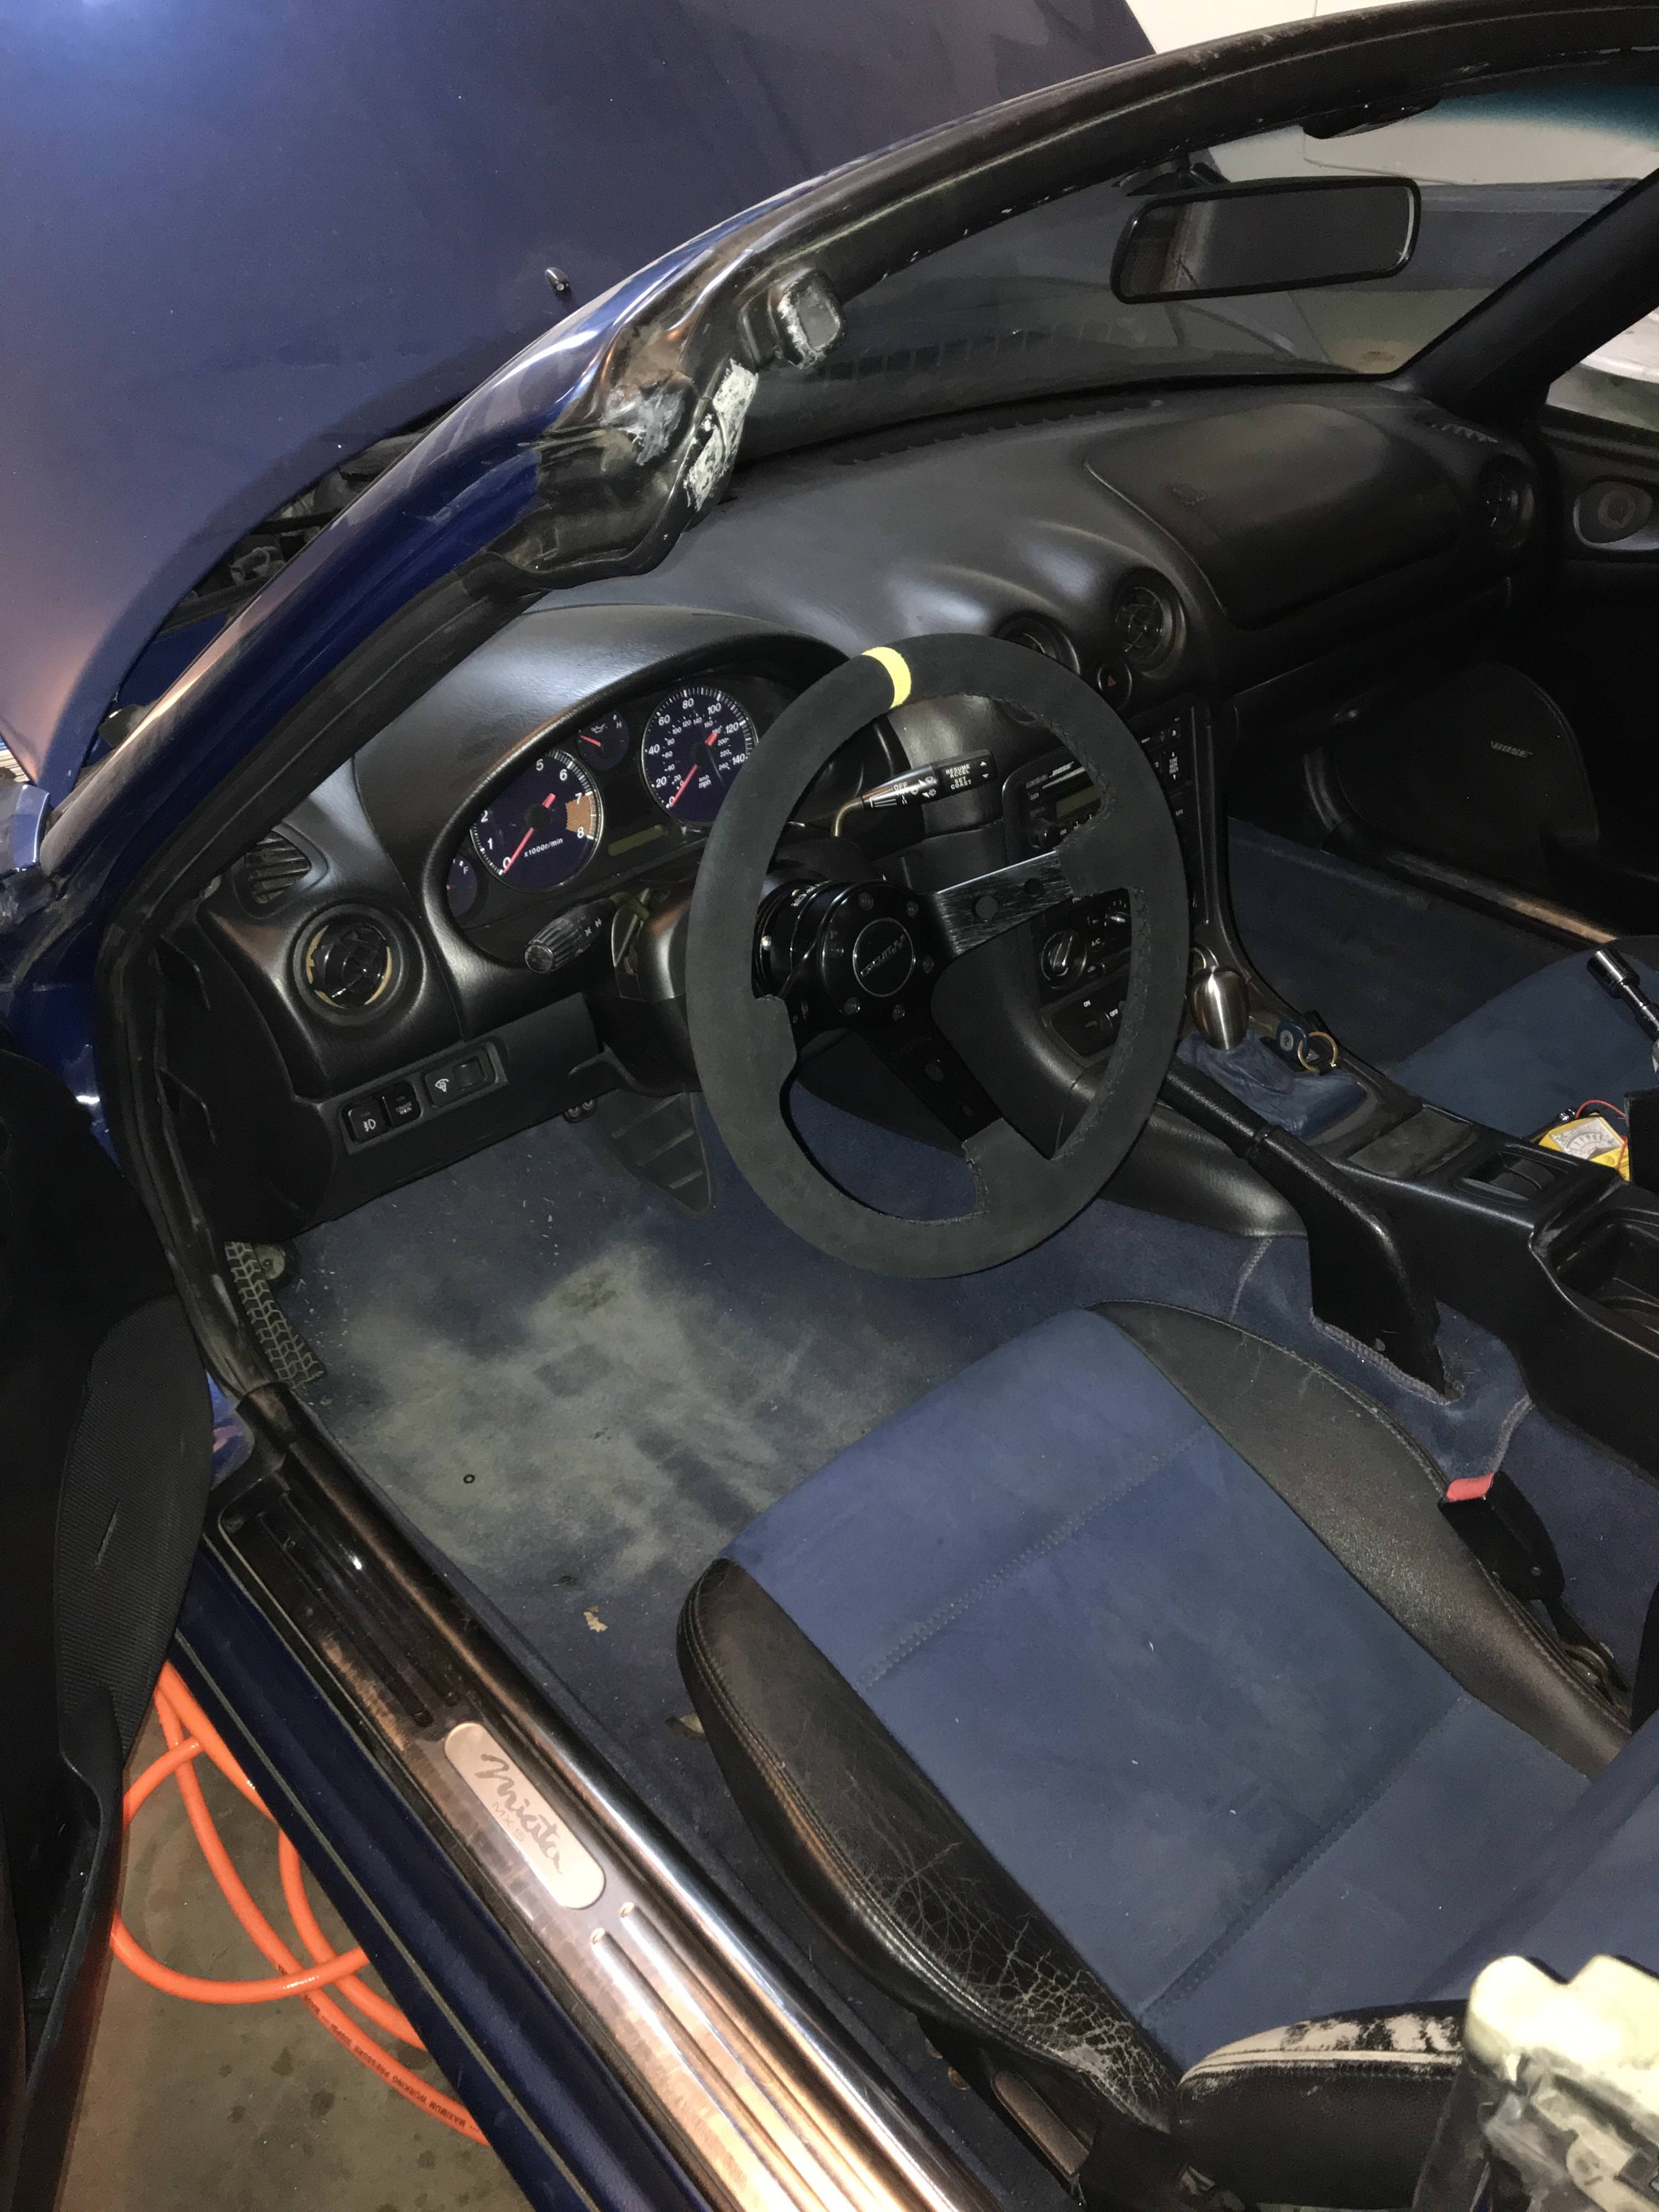
Sometime before i actually started the swap i tossed in this steering wheel and NRG quick release, it was a christmas present from my parents or my brother i cant remember which.
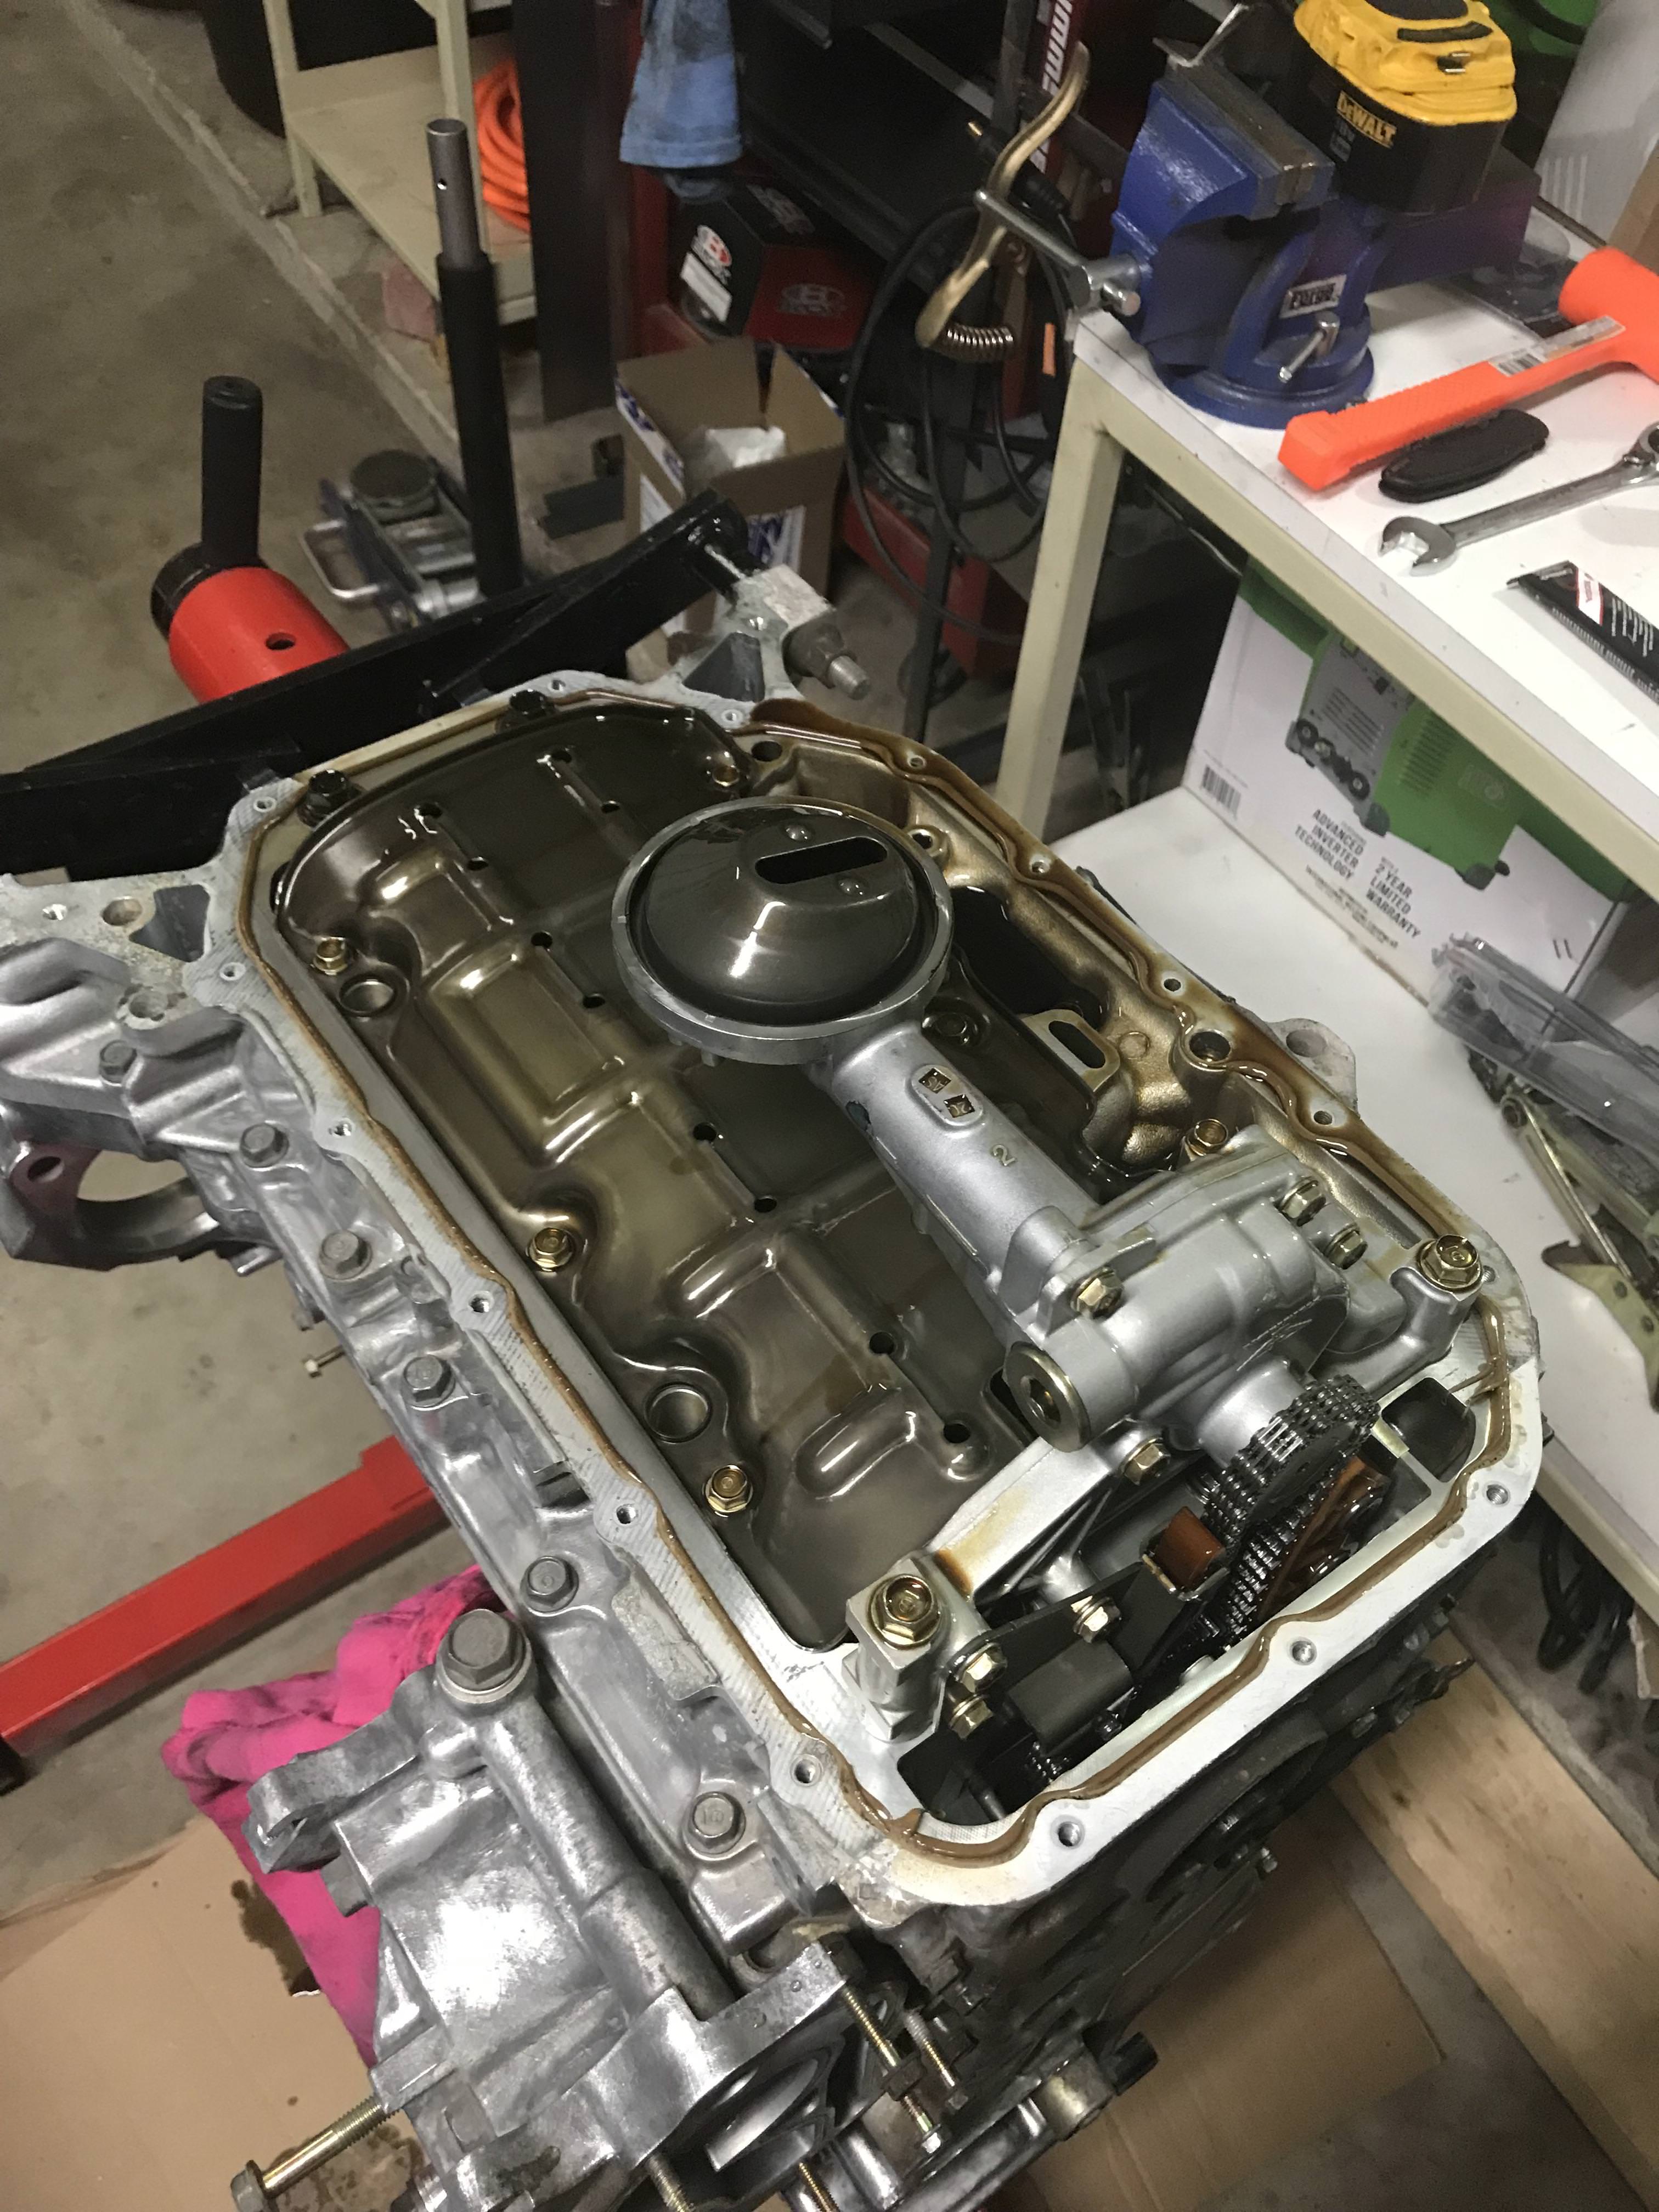
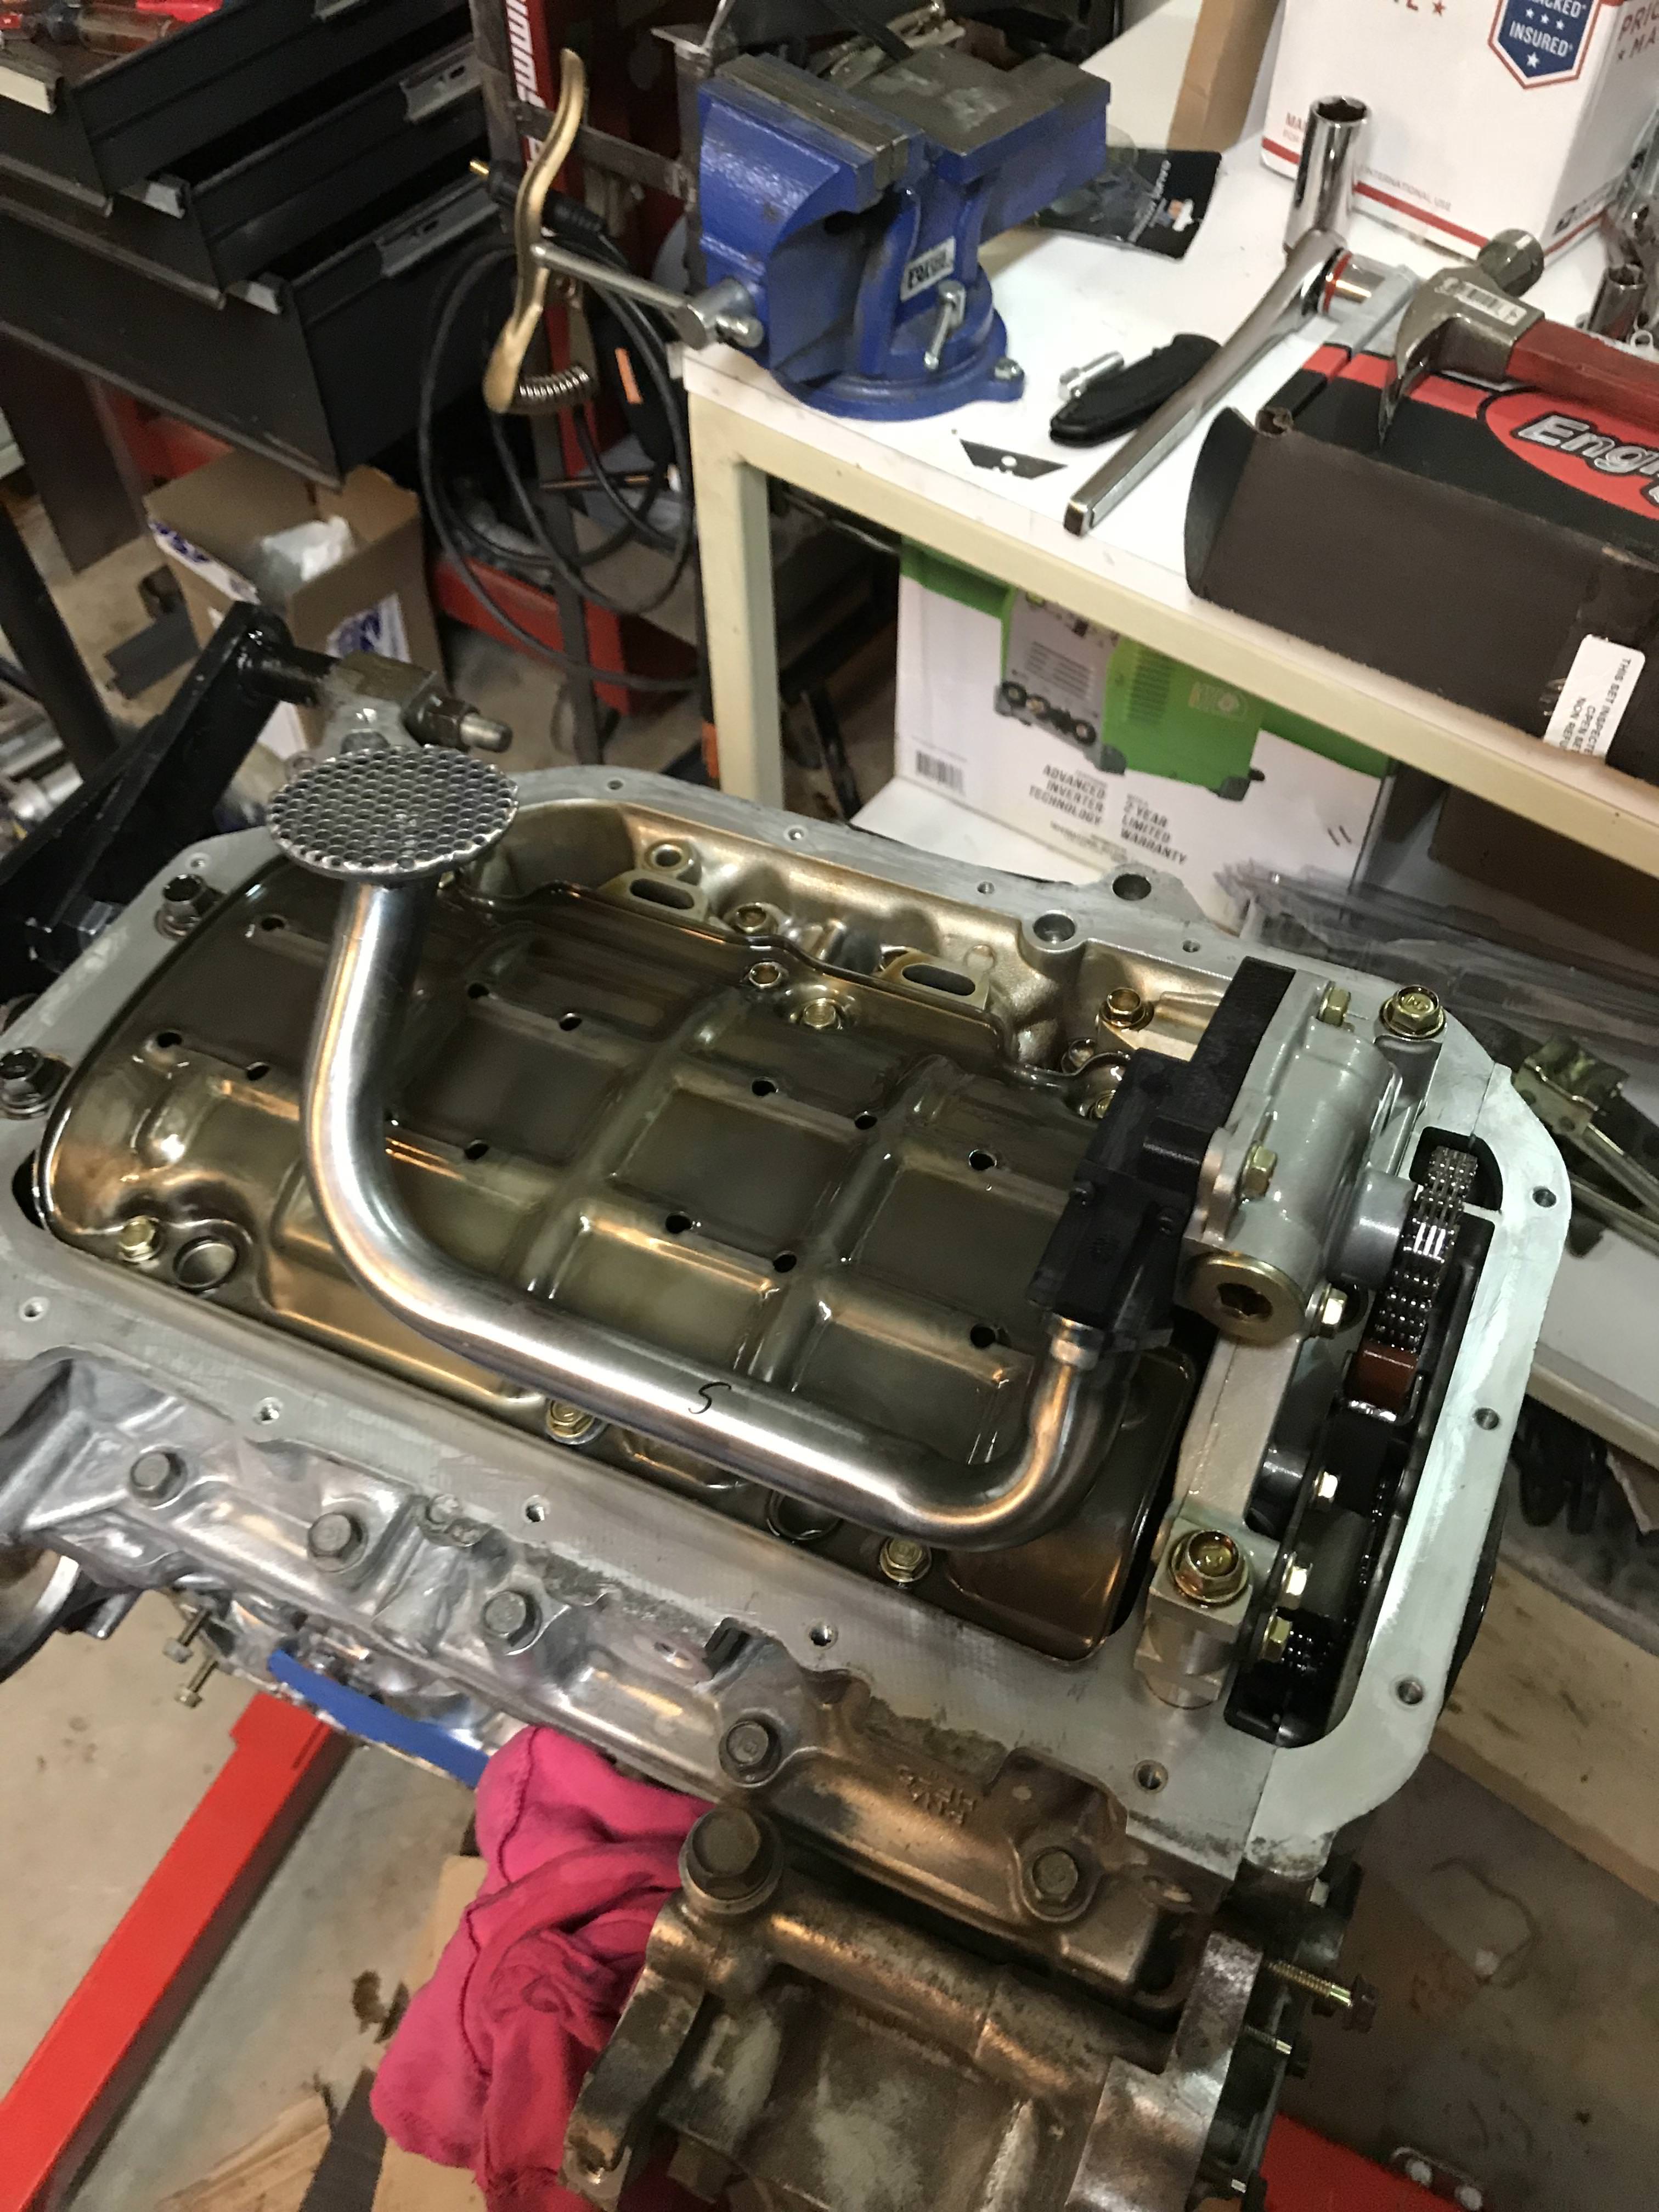
2 weeks after placing my order i had all parts needed EXCEPT the subframe, so i decided to go ahead and start prepping the engine. Pulled the pan, swapped out the oil pump housing and the pickup tube and installed the new pan.
New chain, tensioner and guides also installed
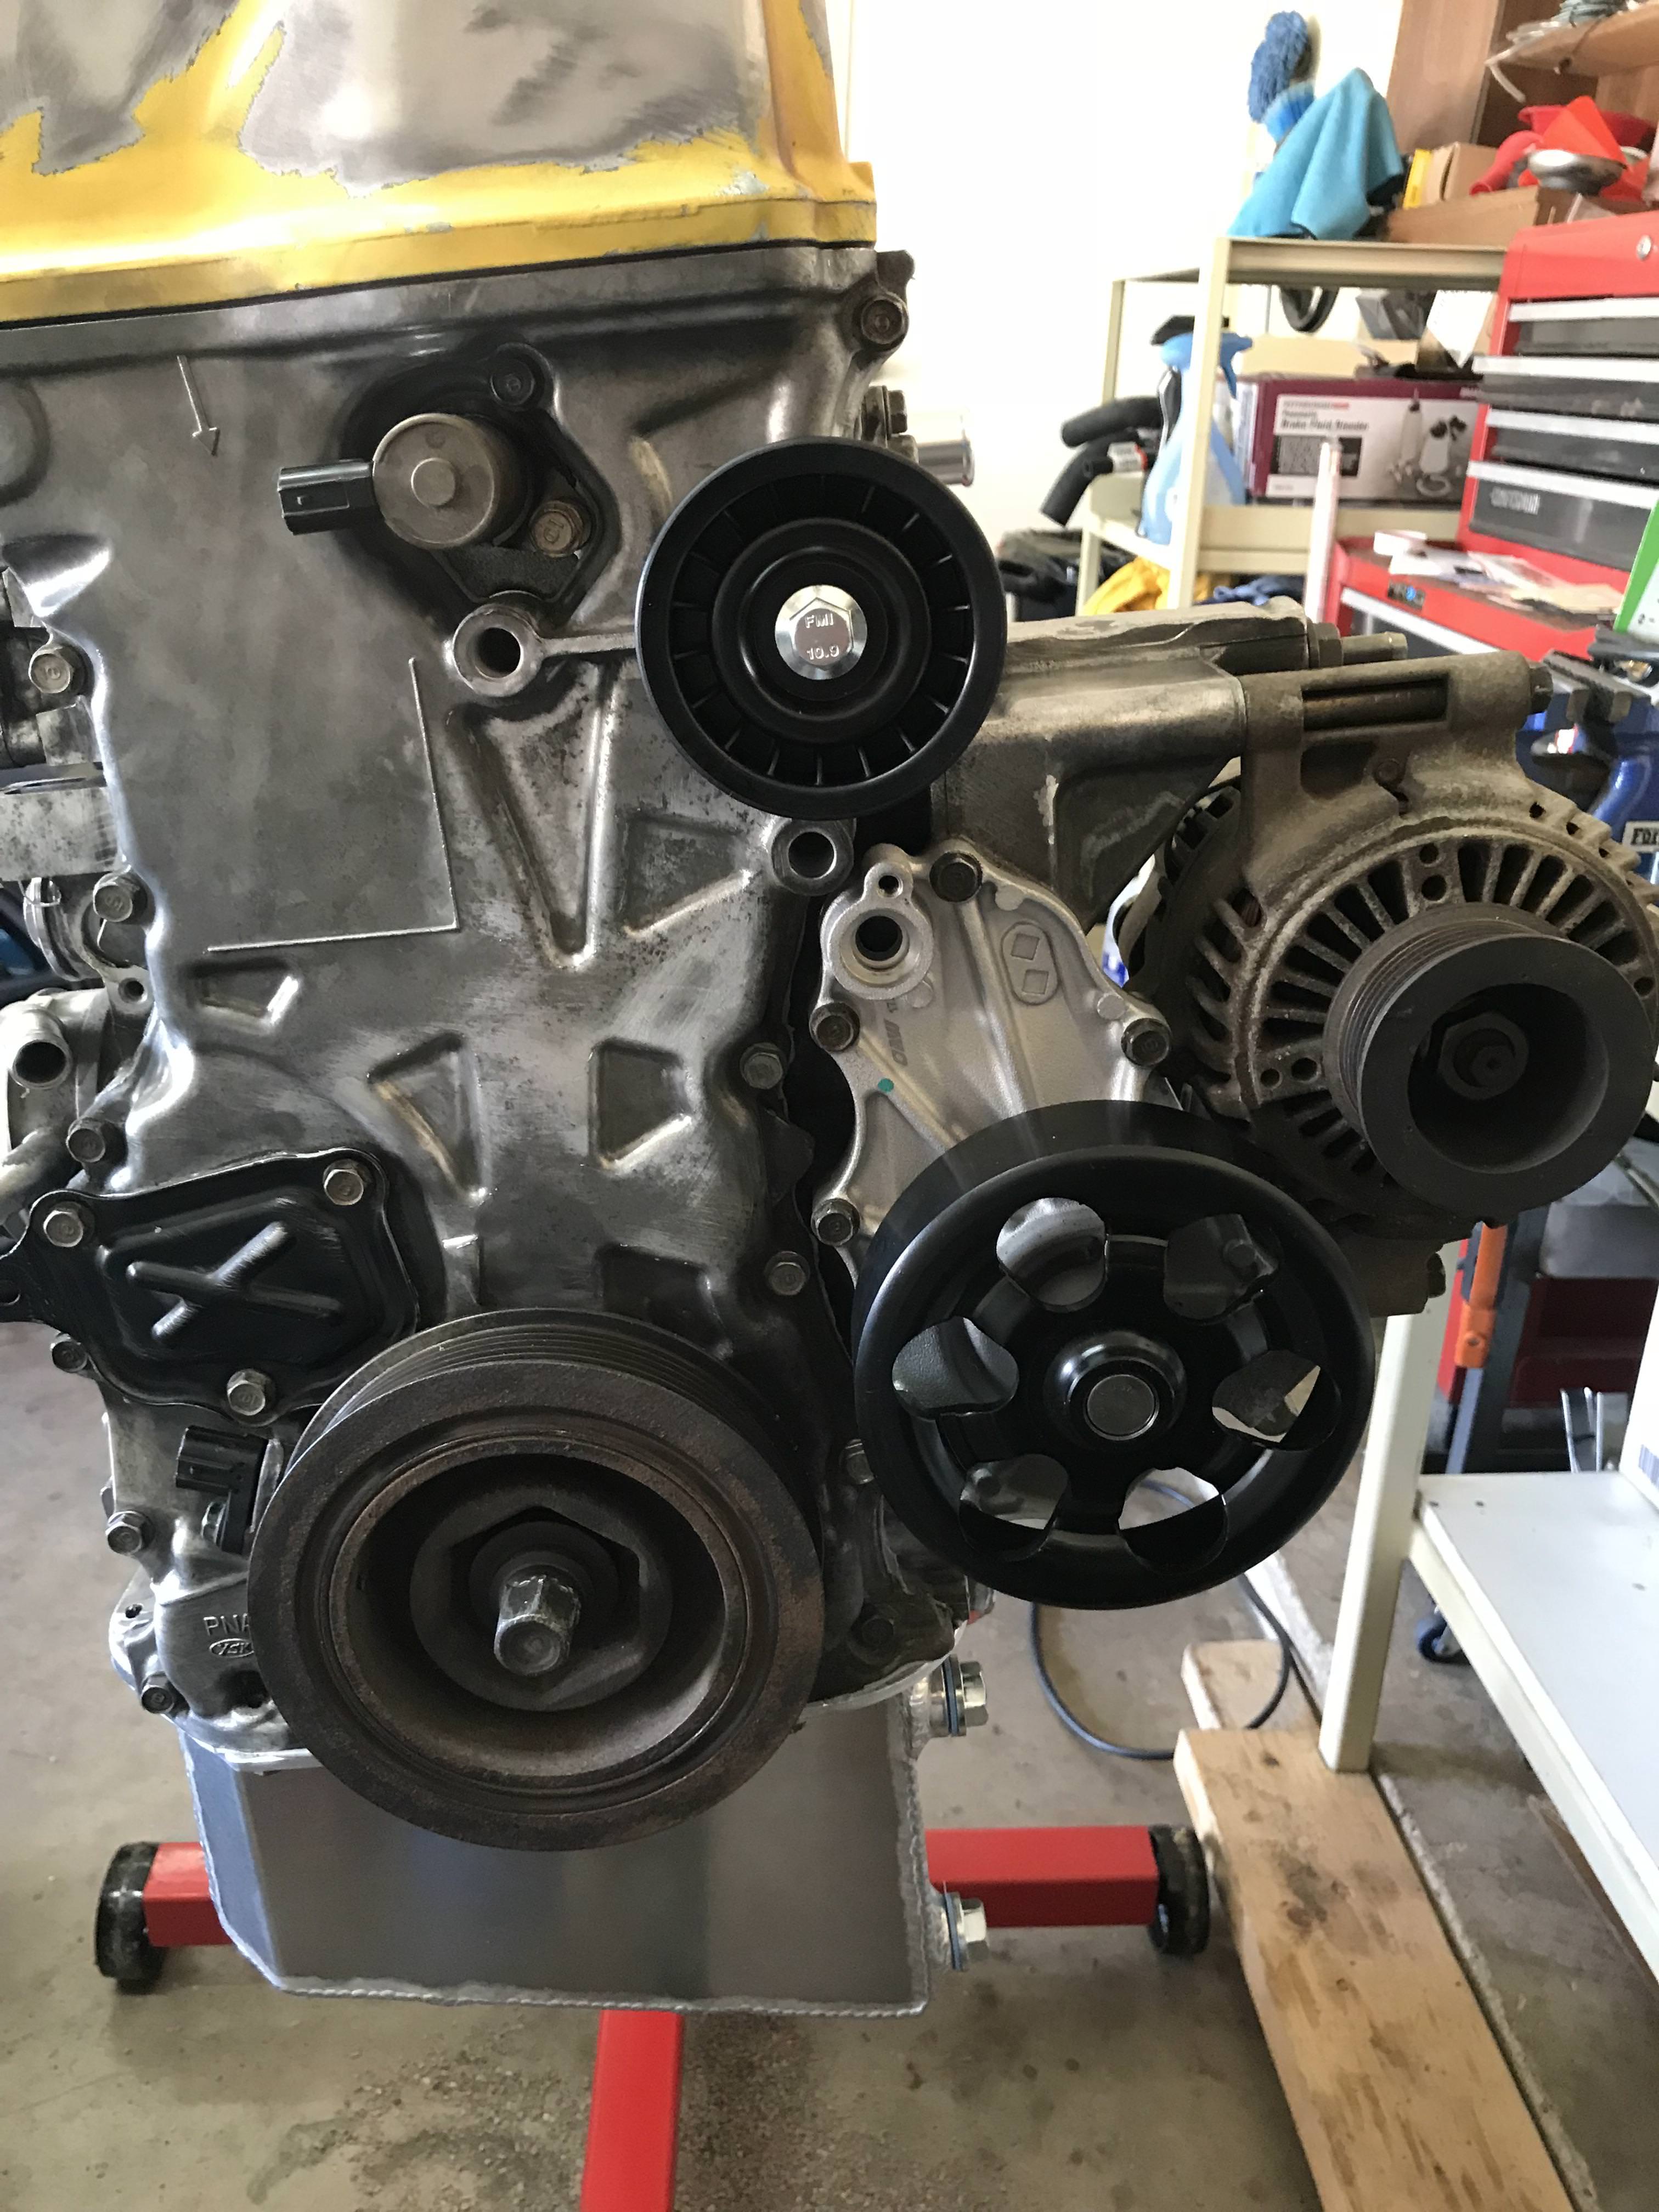
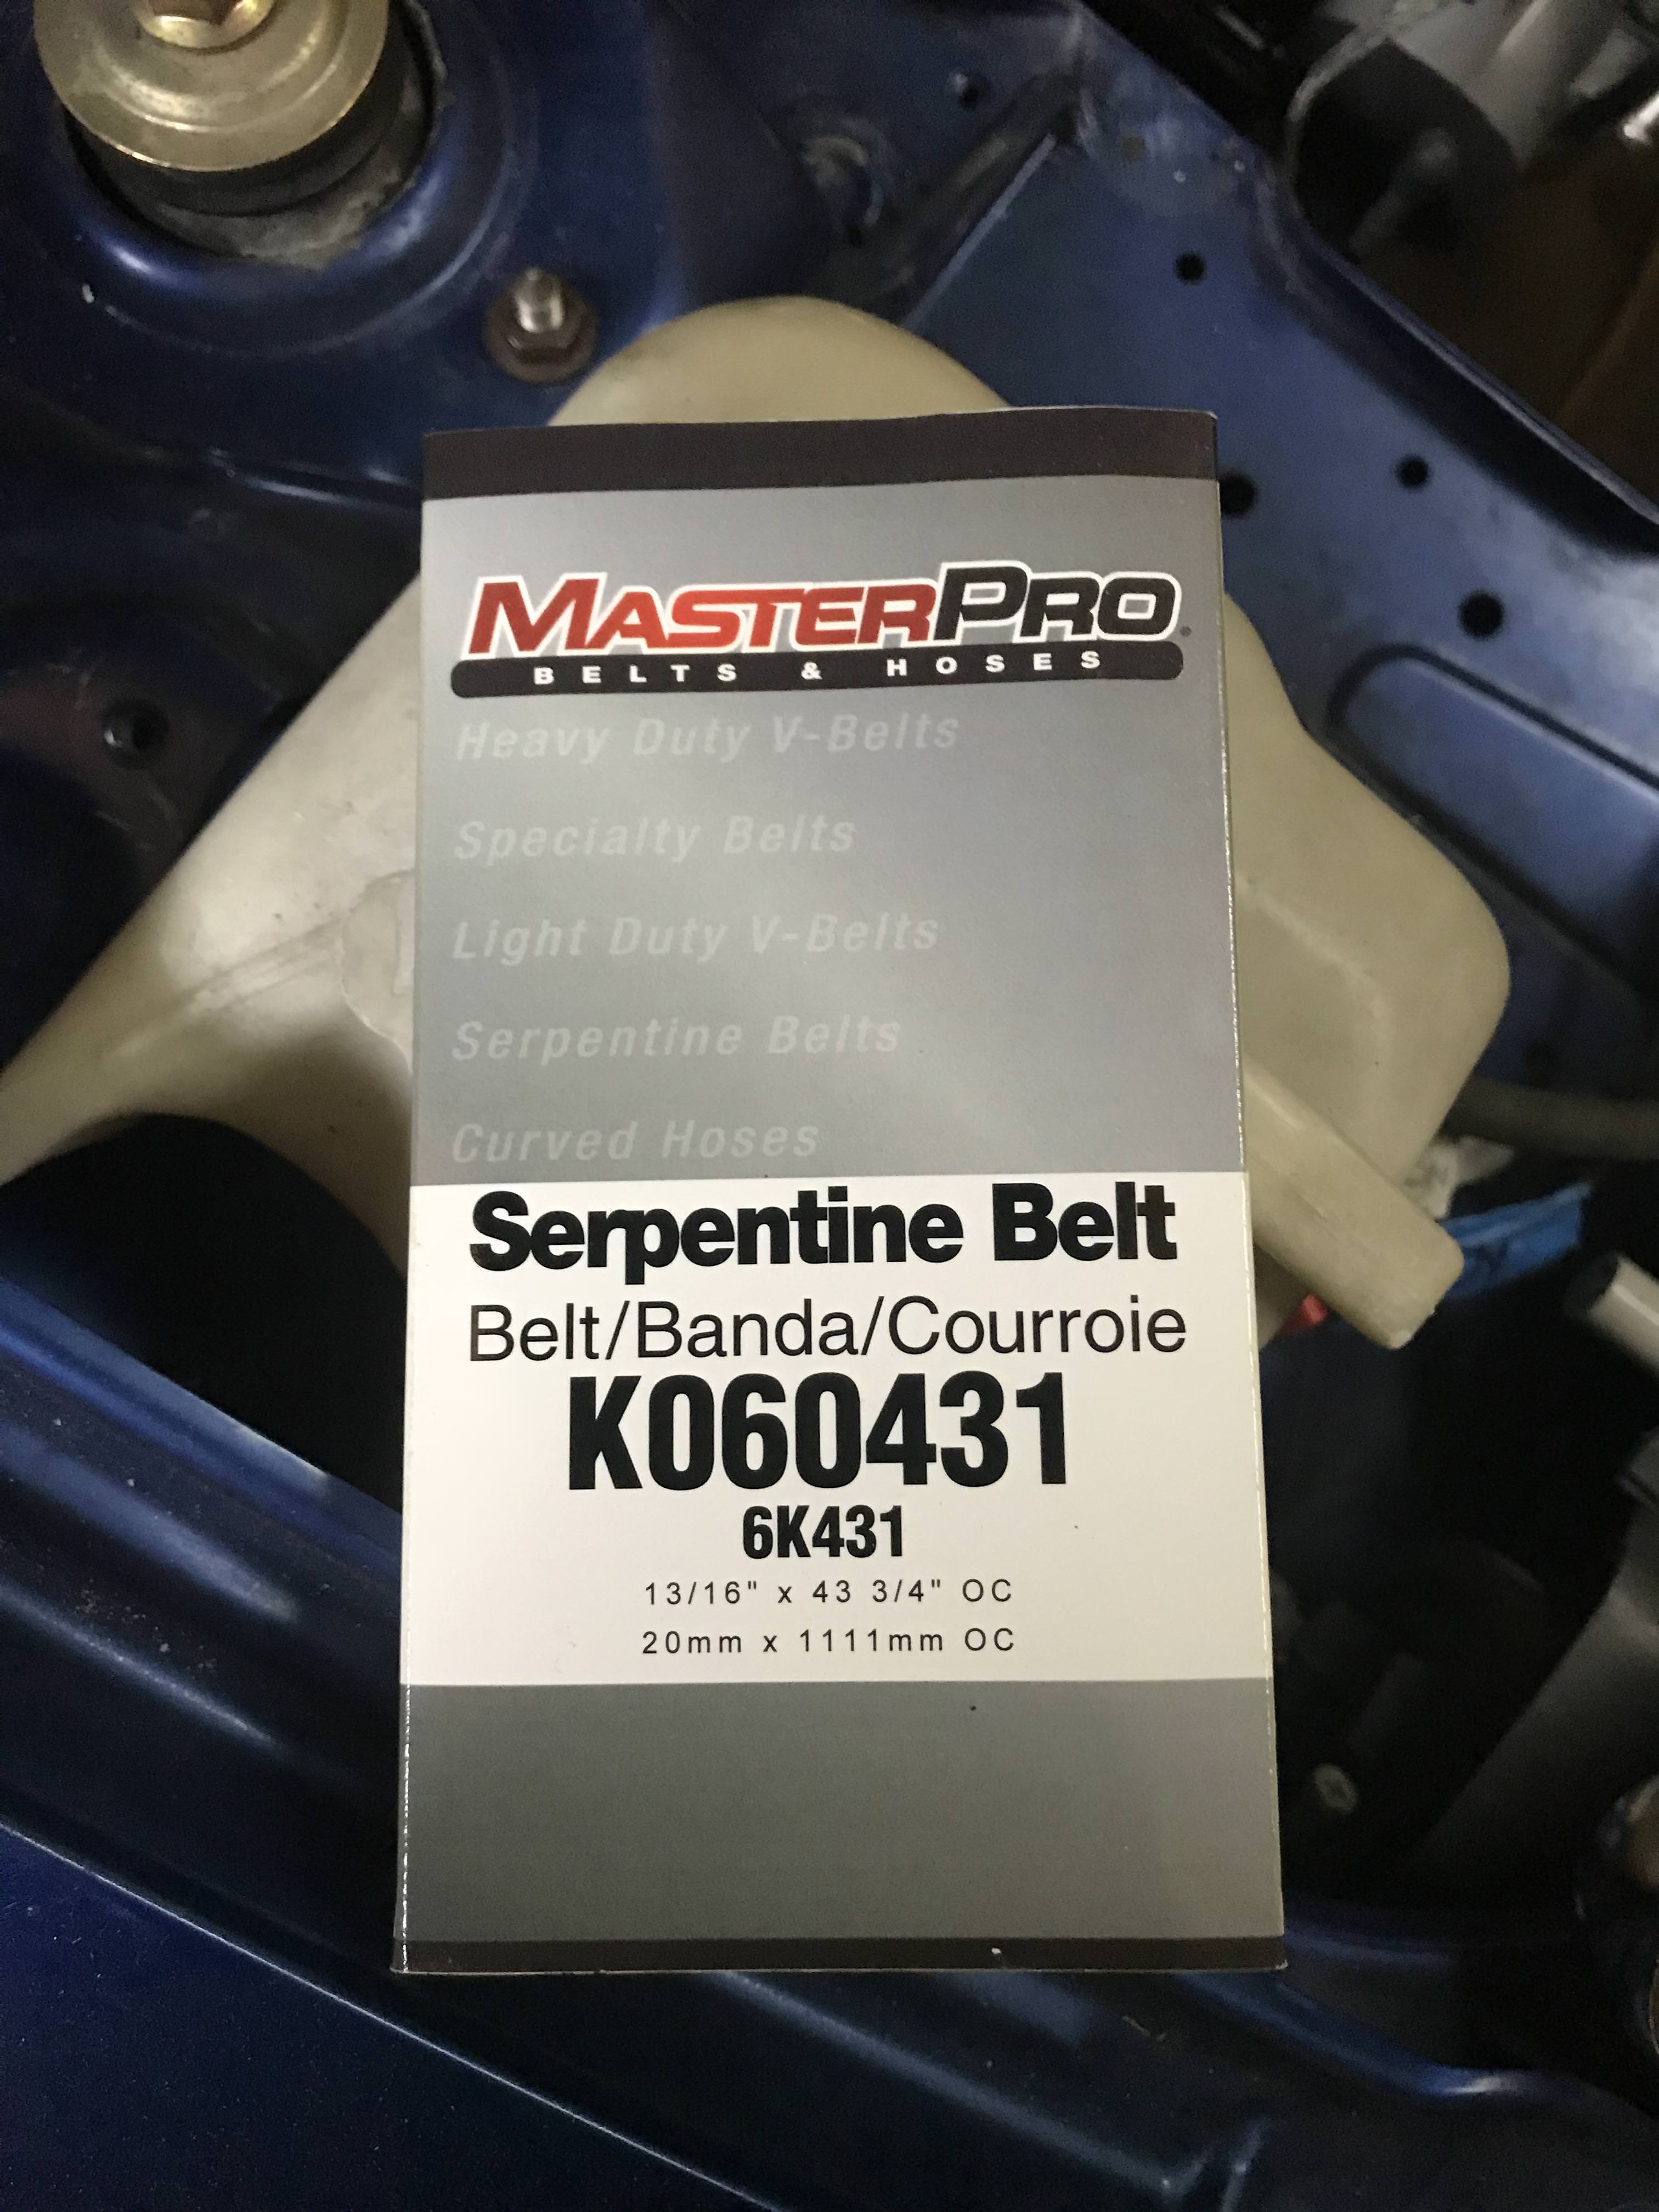
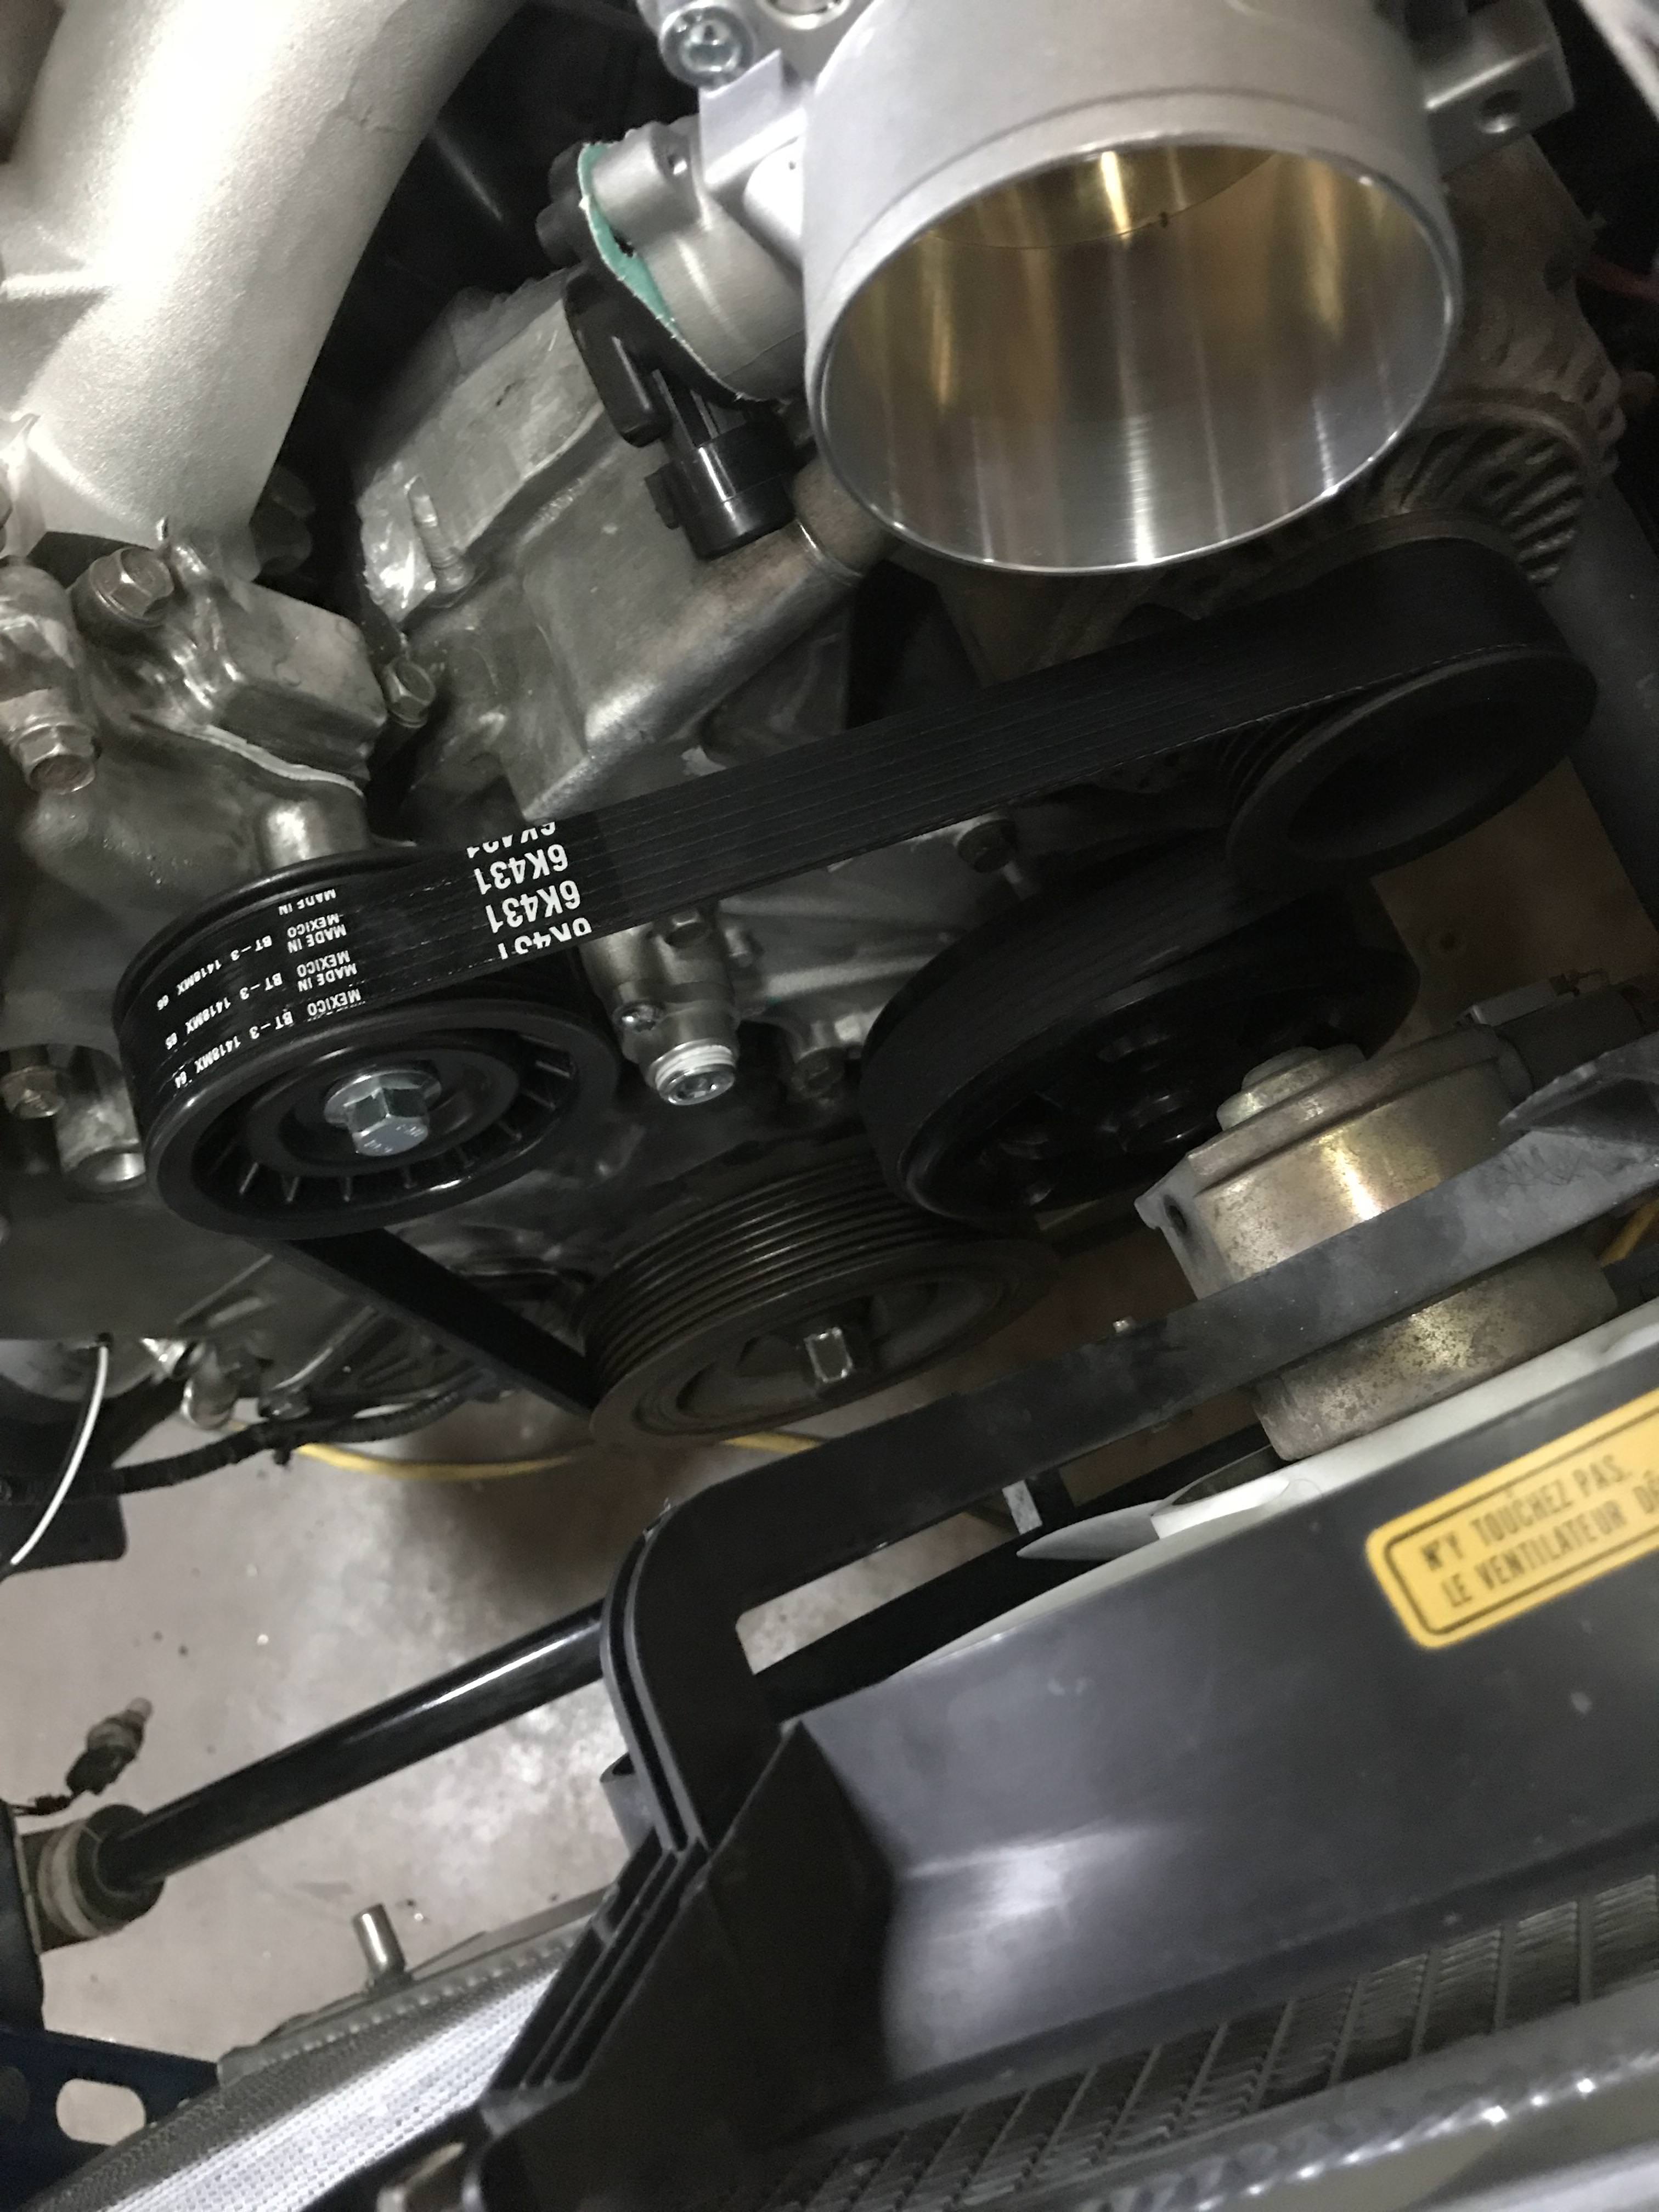
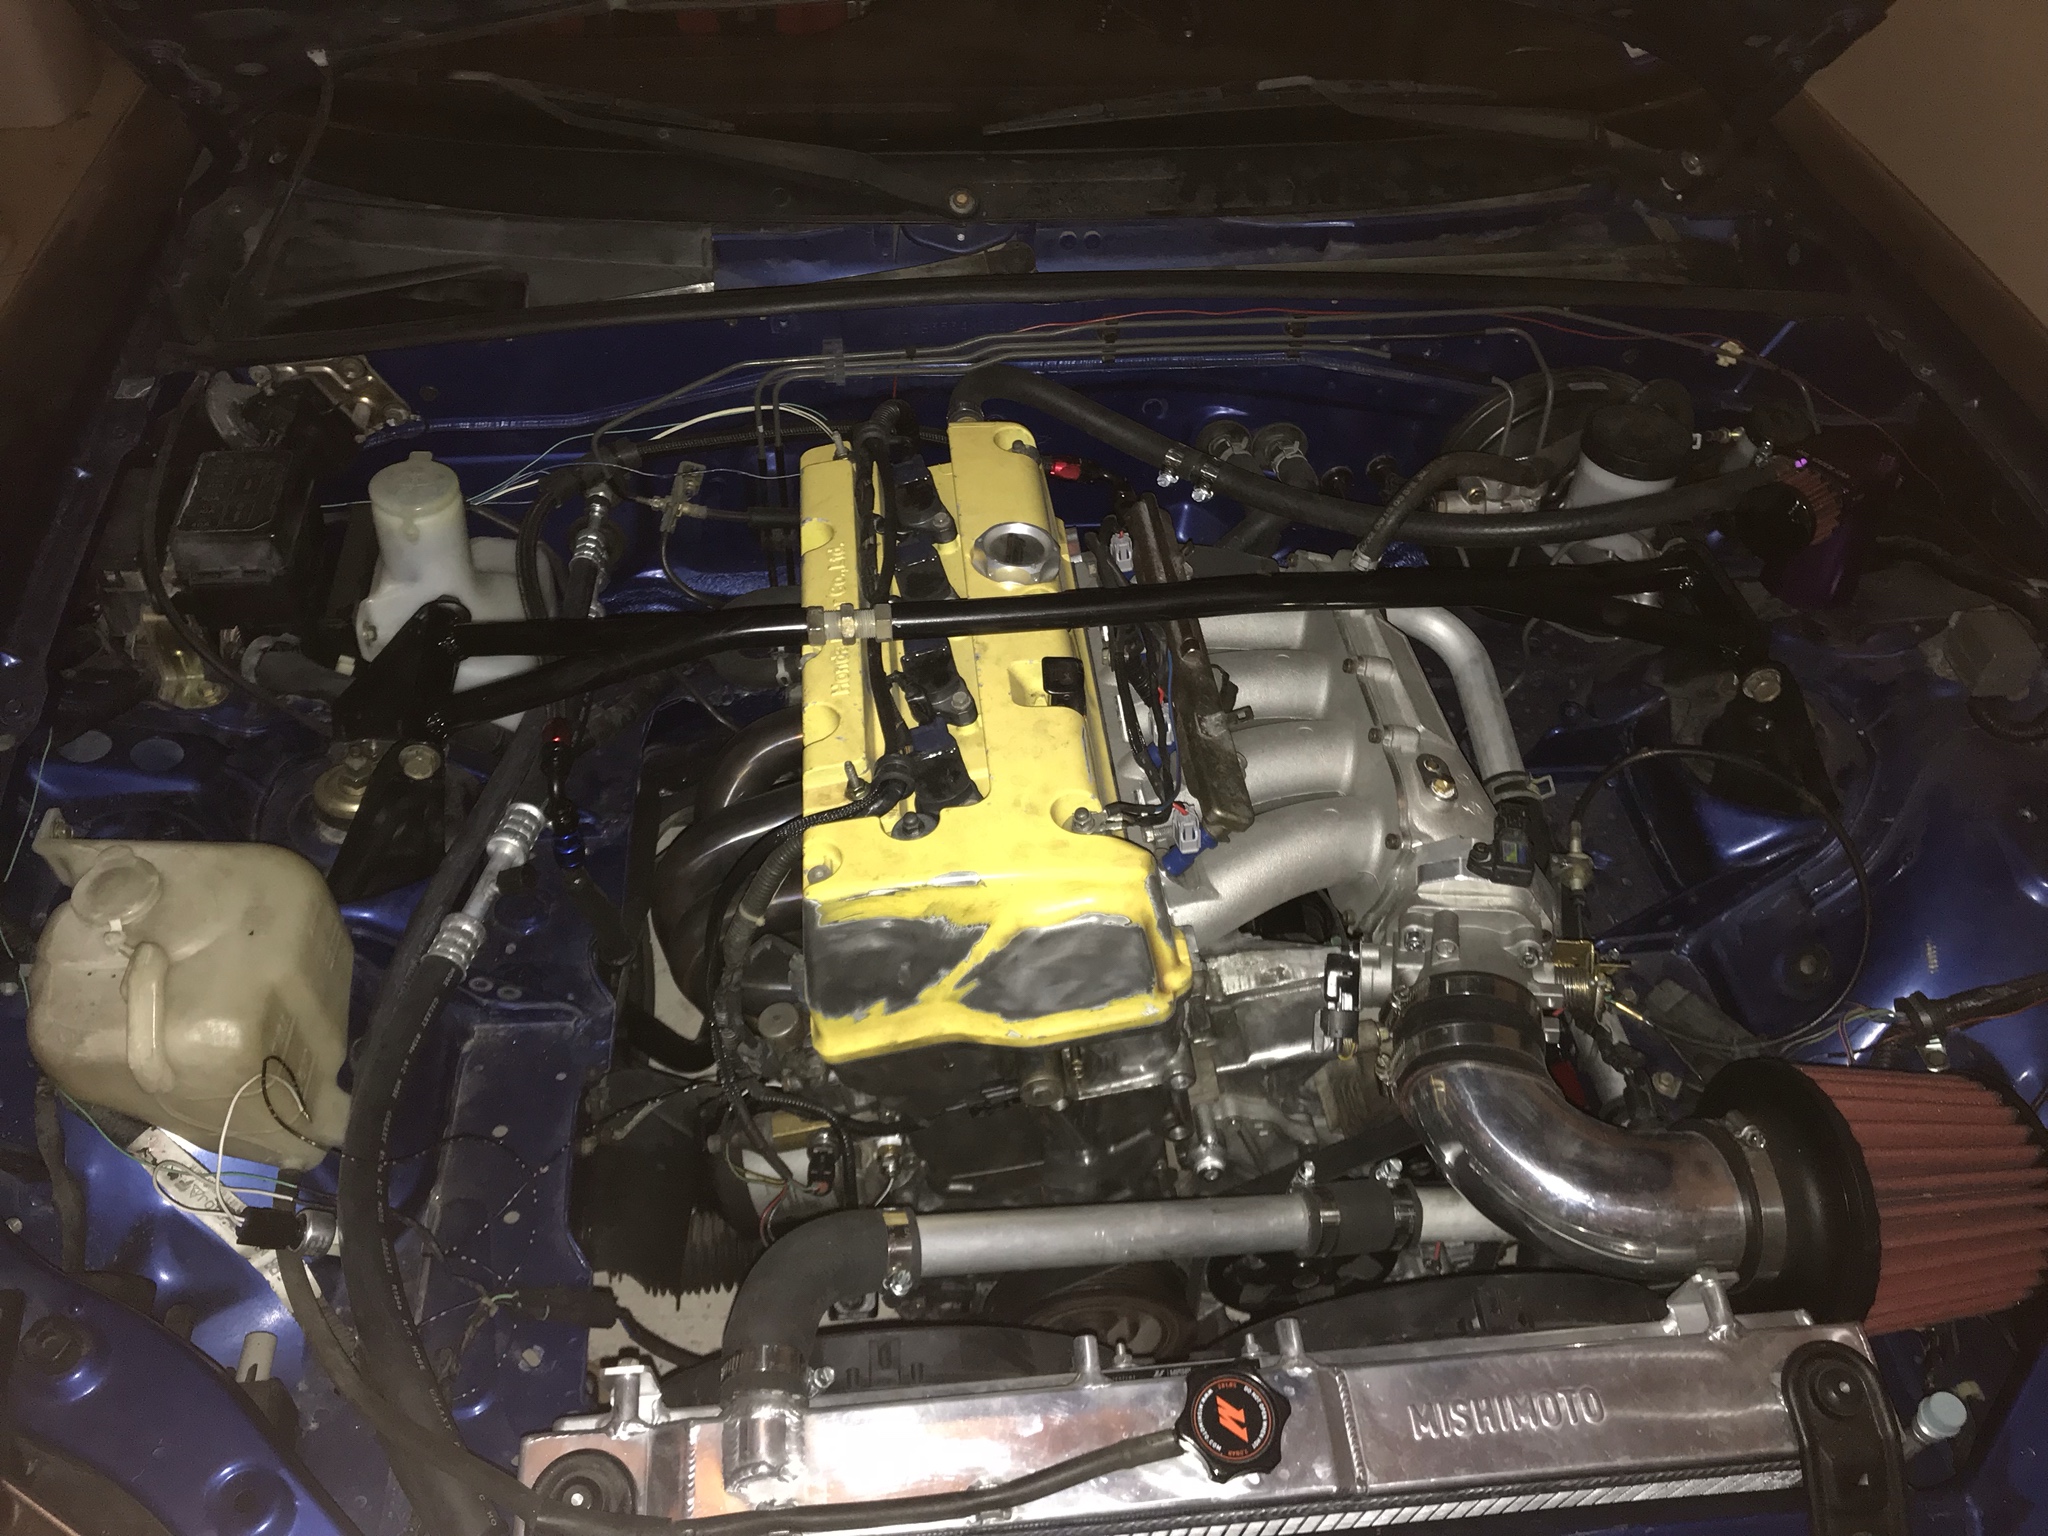
New water pump, note the location of the pulley above the pump, I ran into several issues with the swap kit, mostly because i was using a K20, not a K24, i will try to document as much as i can so that others will know going into it as i had several setbacks that had i known, i could have been prepared for,this was the first one. That pulley is supposed to be in the hole right below it that you can see, but the Type S has the factory oil cooler similar to Miatas and one of the lines for this runs out to the top of the water pump and clashes with that pulley. I moved the pulley up to another motor mount hole here, but this caused me to have to use a different accessory belt, the party number is posted later in this post.
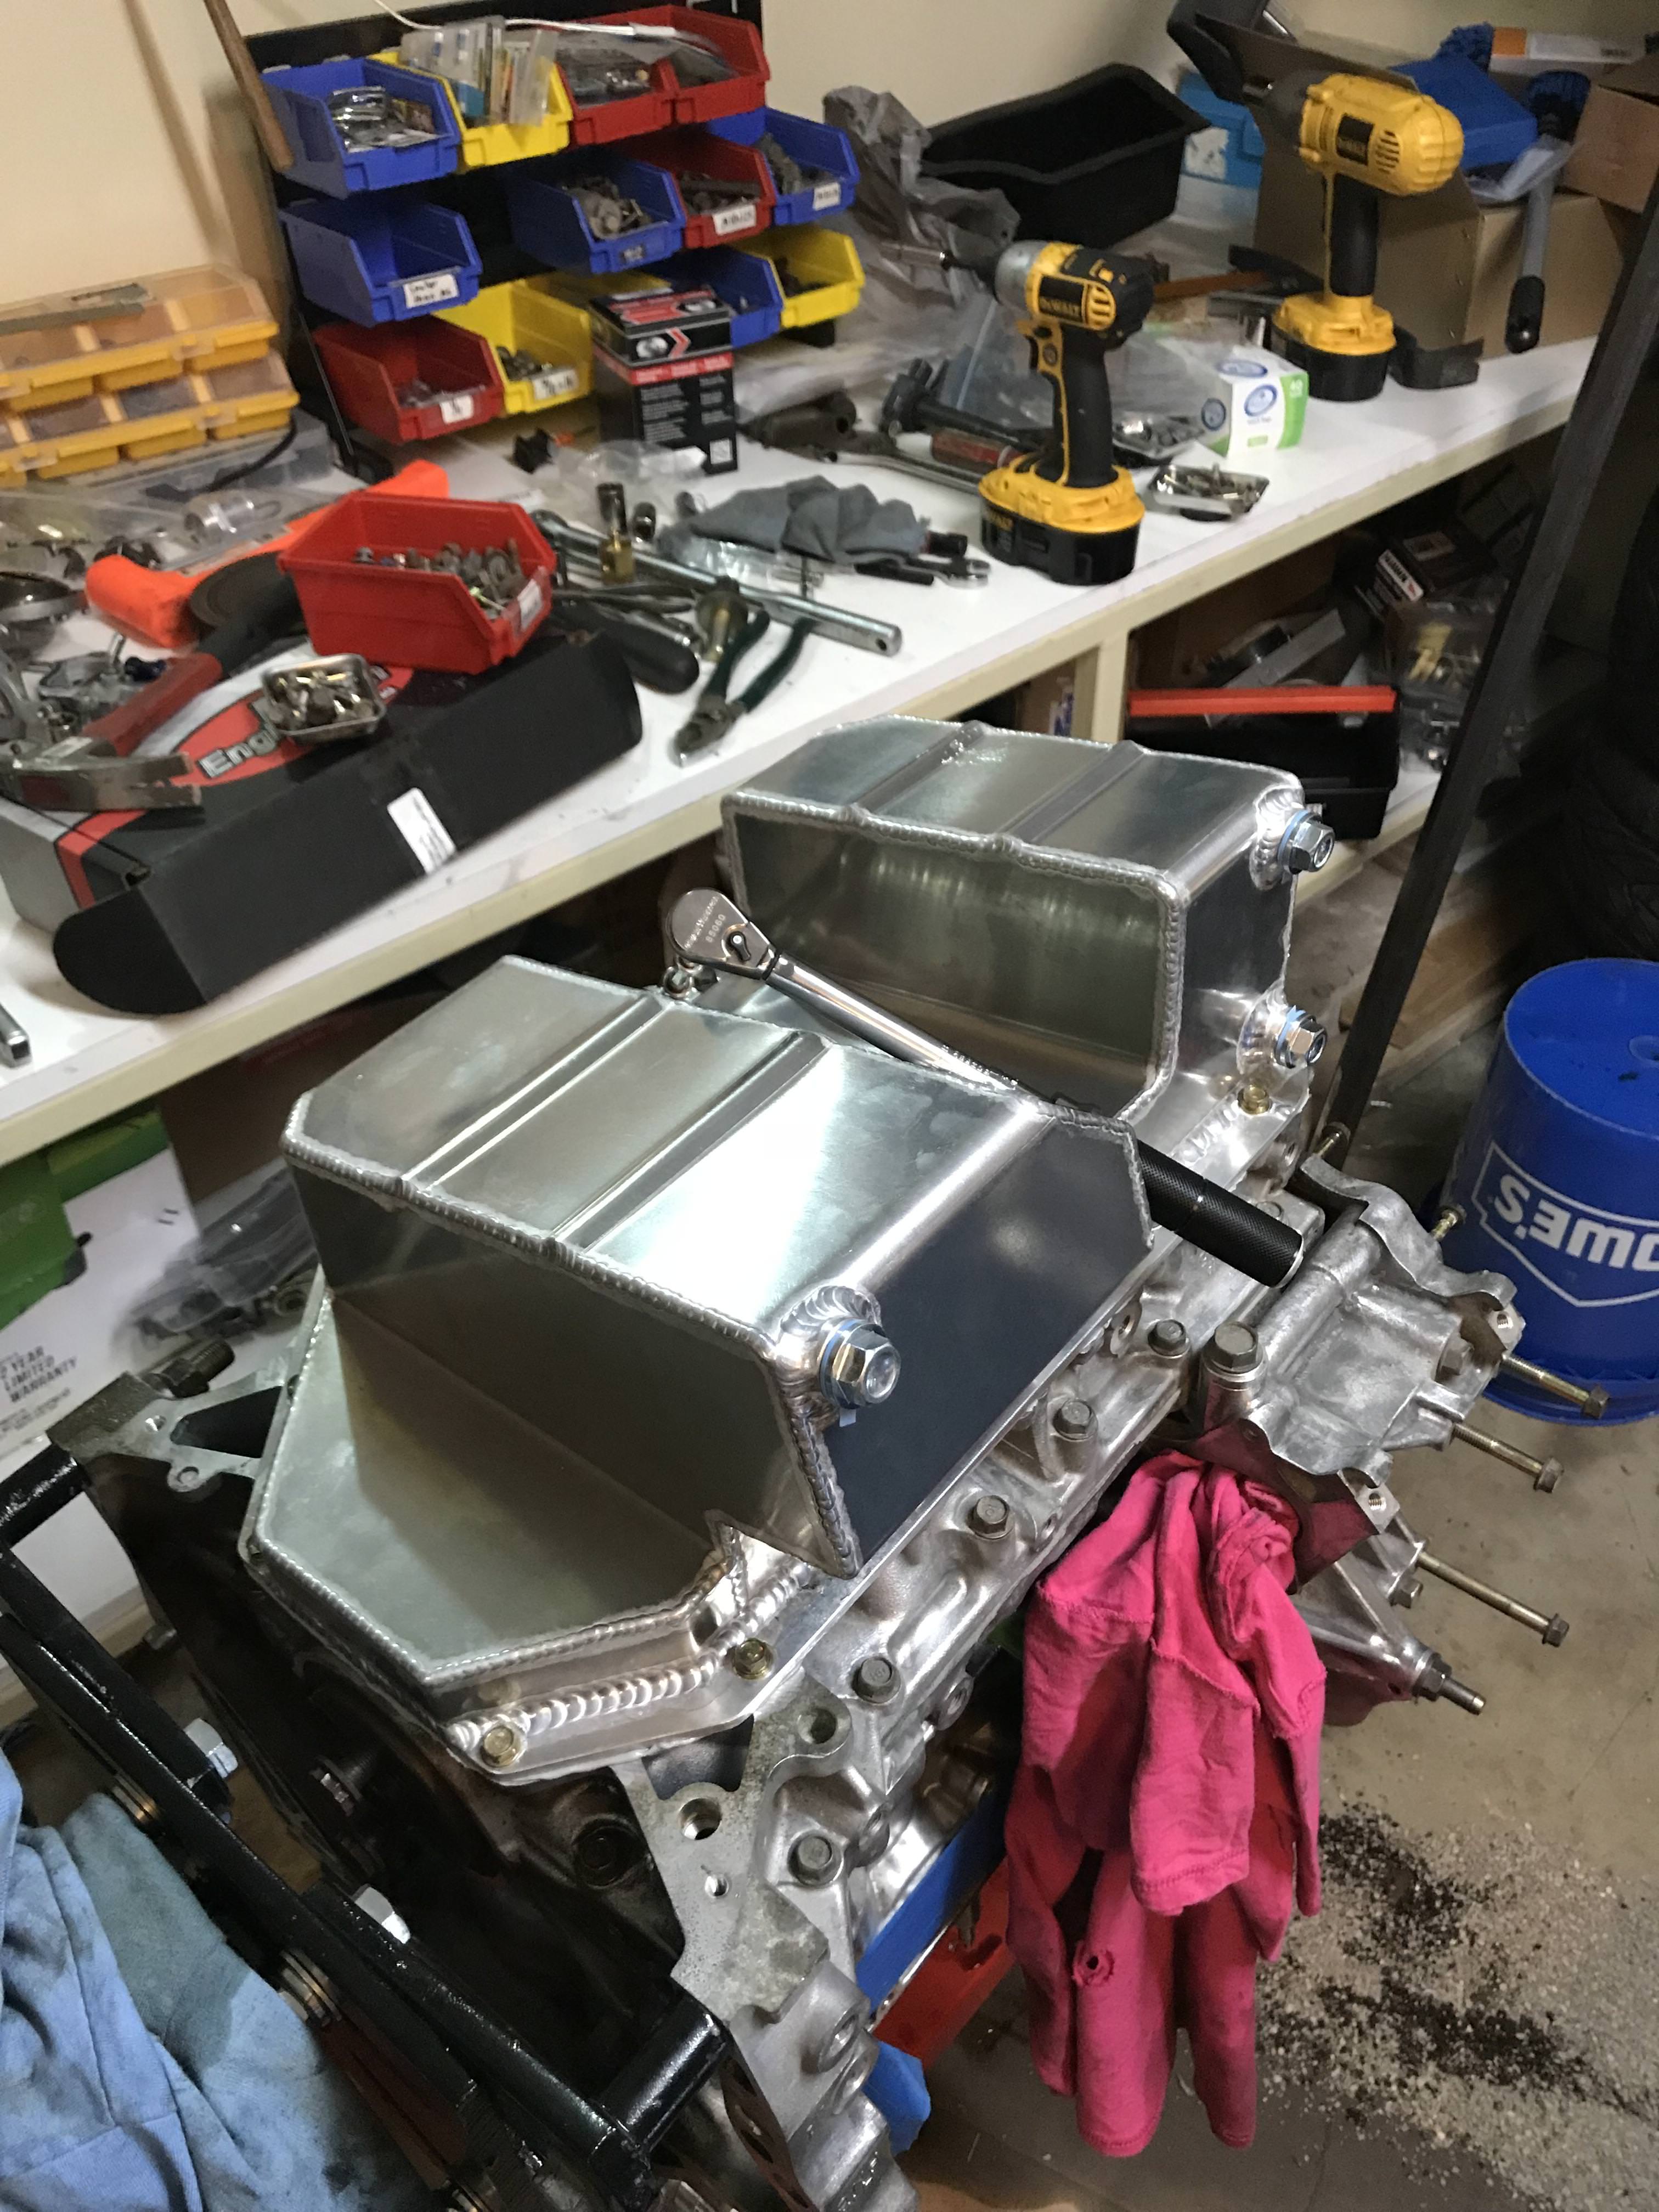
Cutting off stock RSX tensioner mount
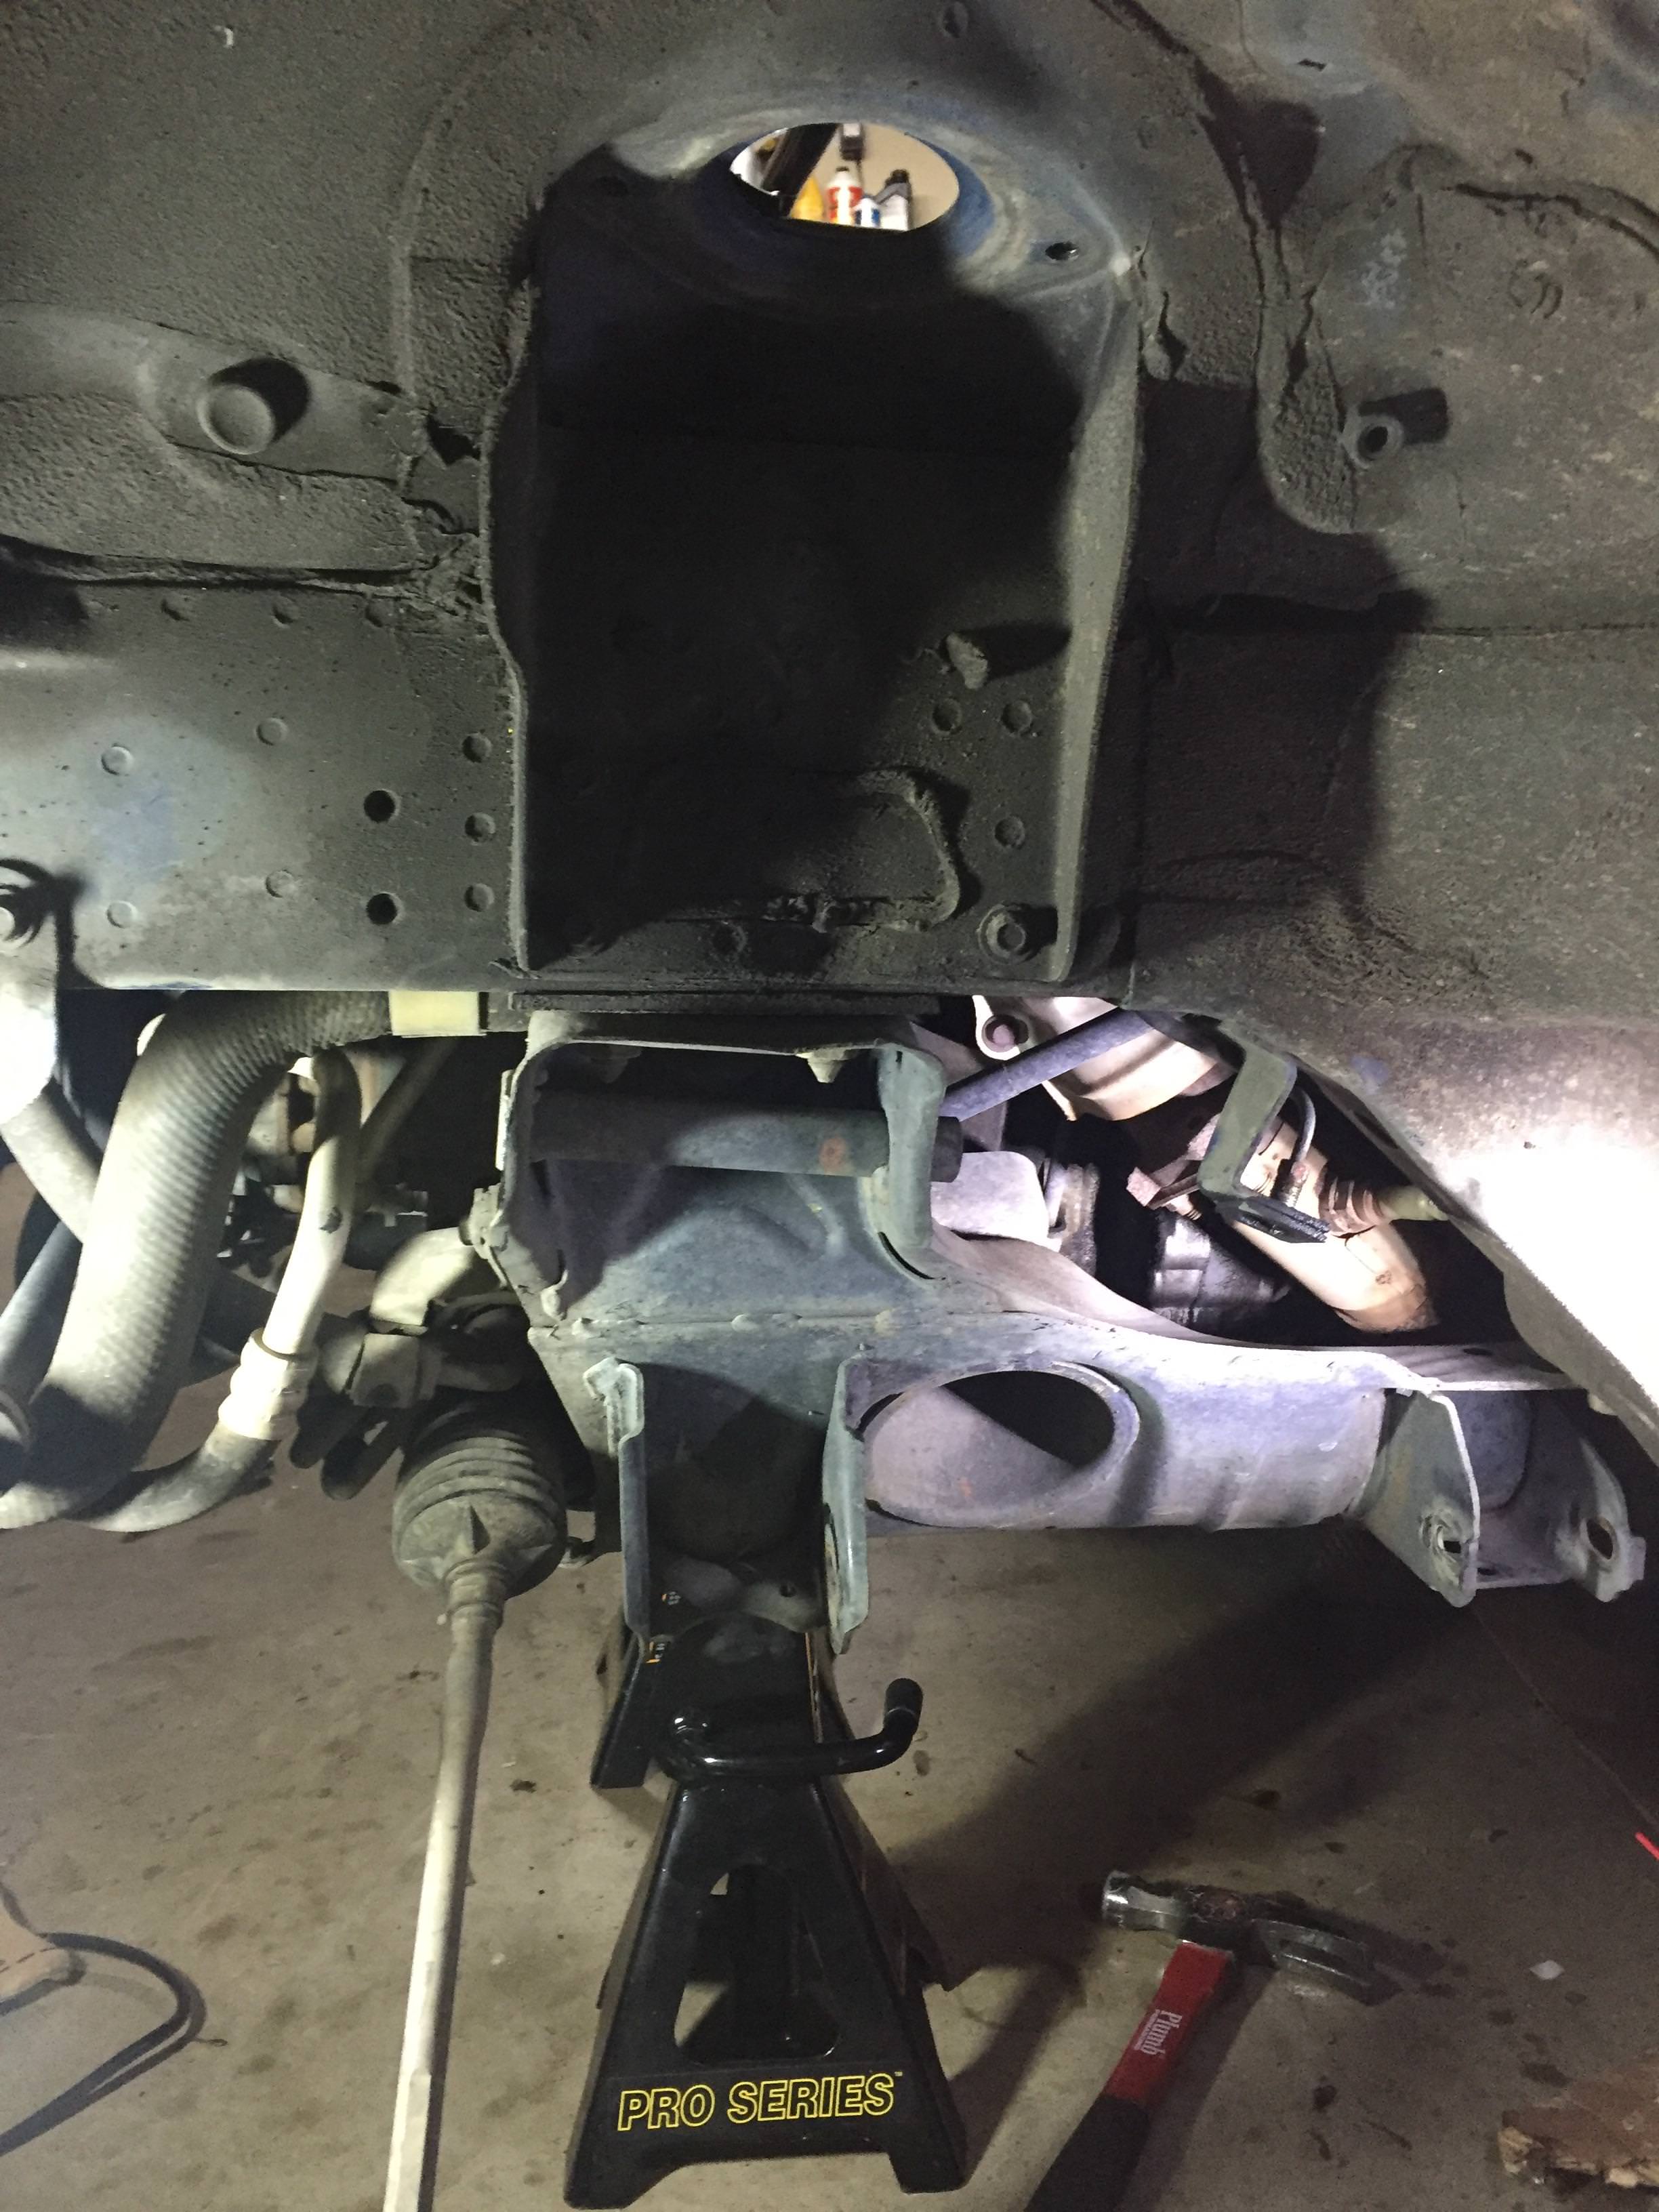
After a 2 month wait, the subframe finally shows up... I was pretty pissed about the wait on this because now instead of doing this swap in Feb/March, i was going to be doing it in late April/May, which in Texas that is the difference between 70-80 degrees and it being 100. Its part of building cars like this using small batch custom parts and it looked to be a quality piece so I rolled up my sleeves and dug in.
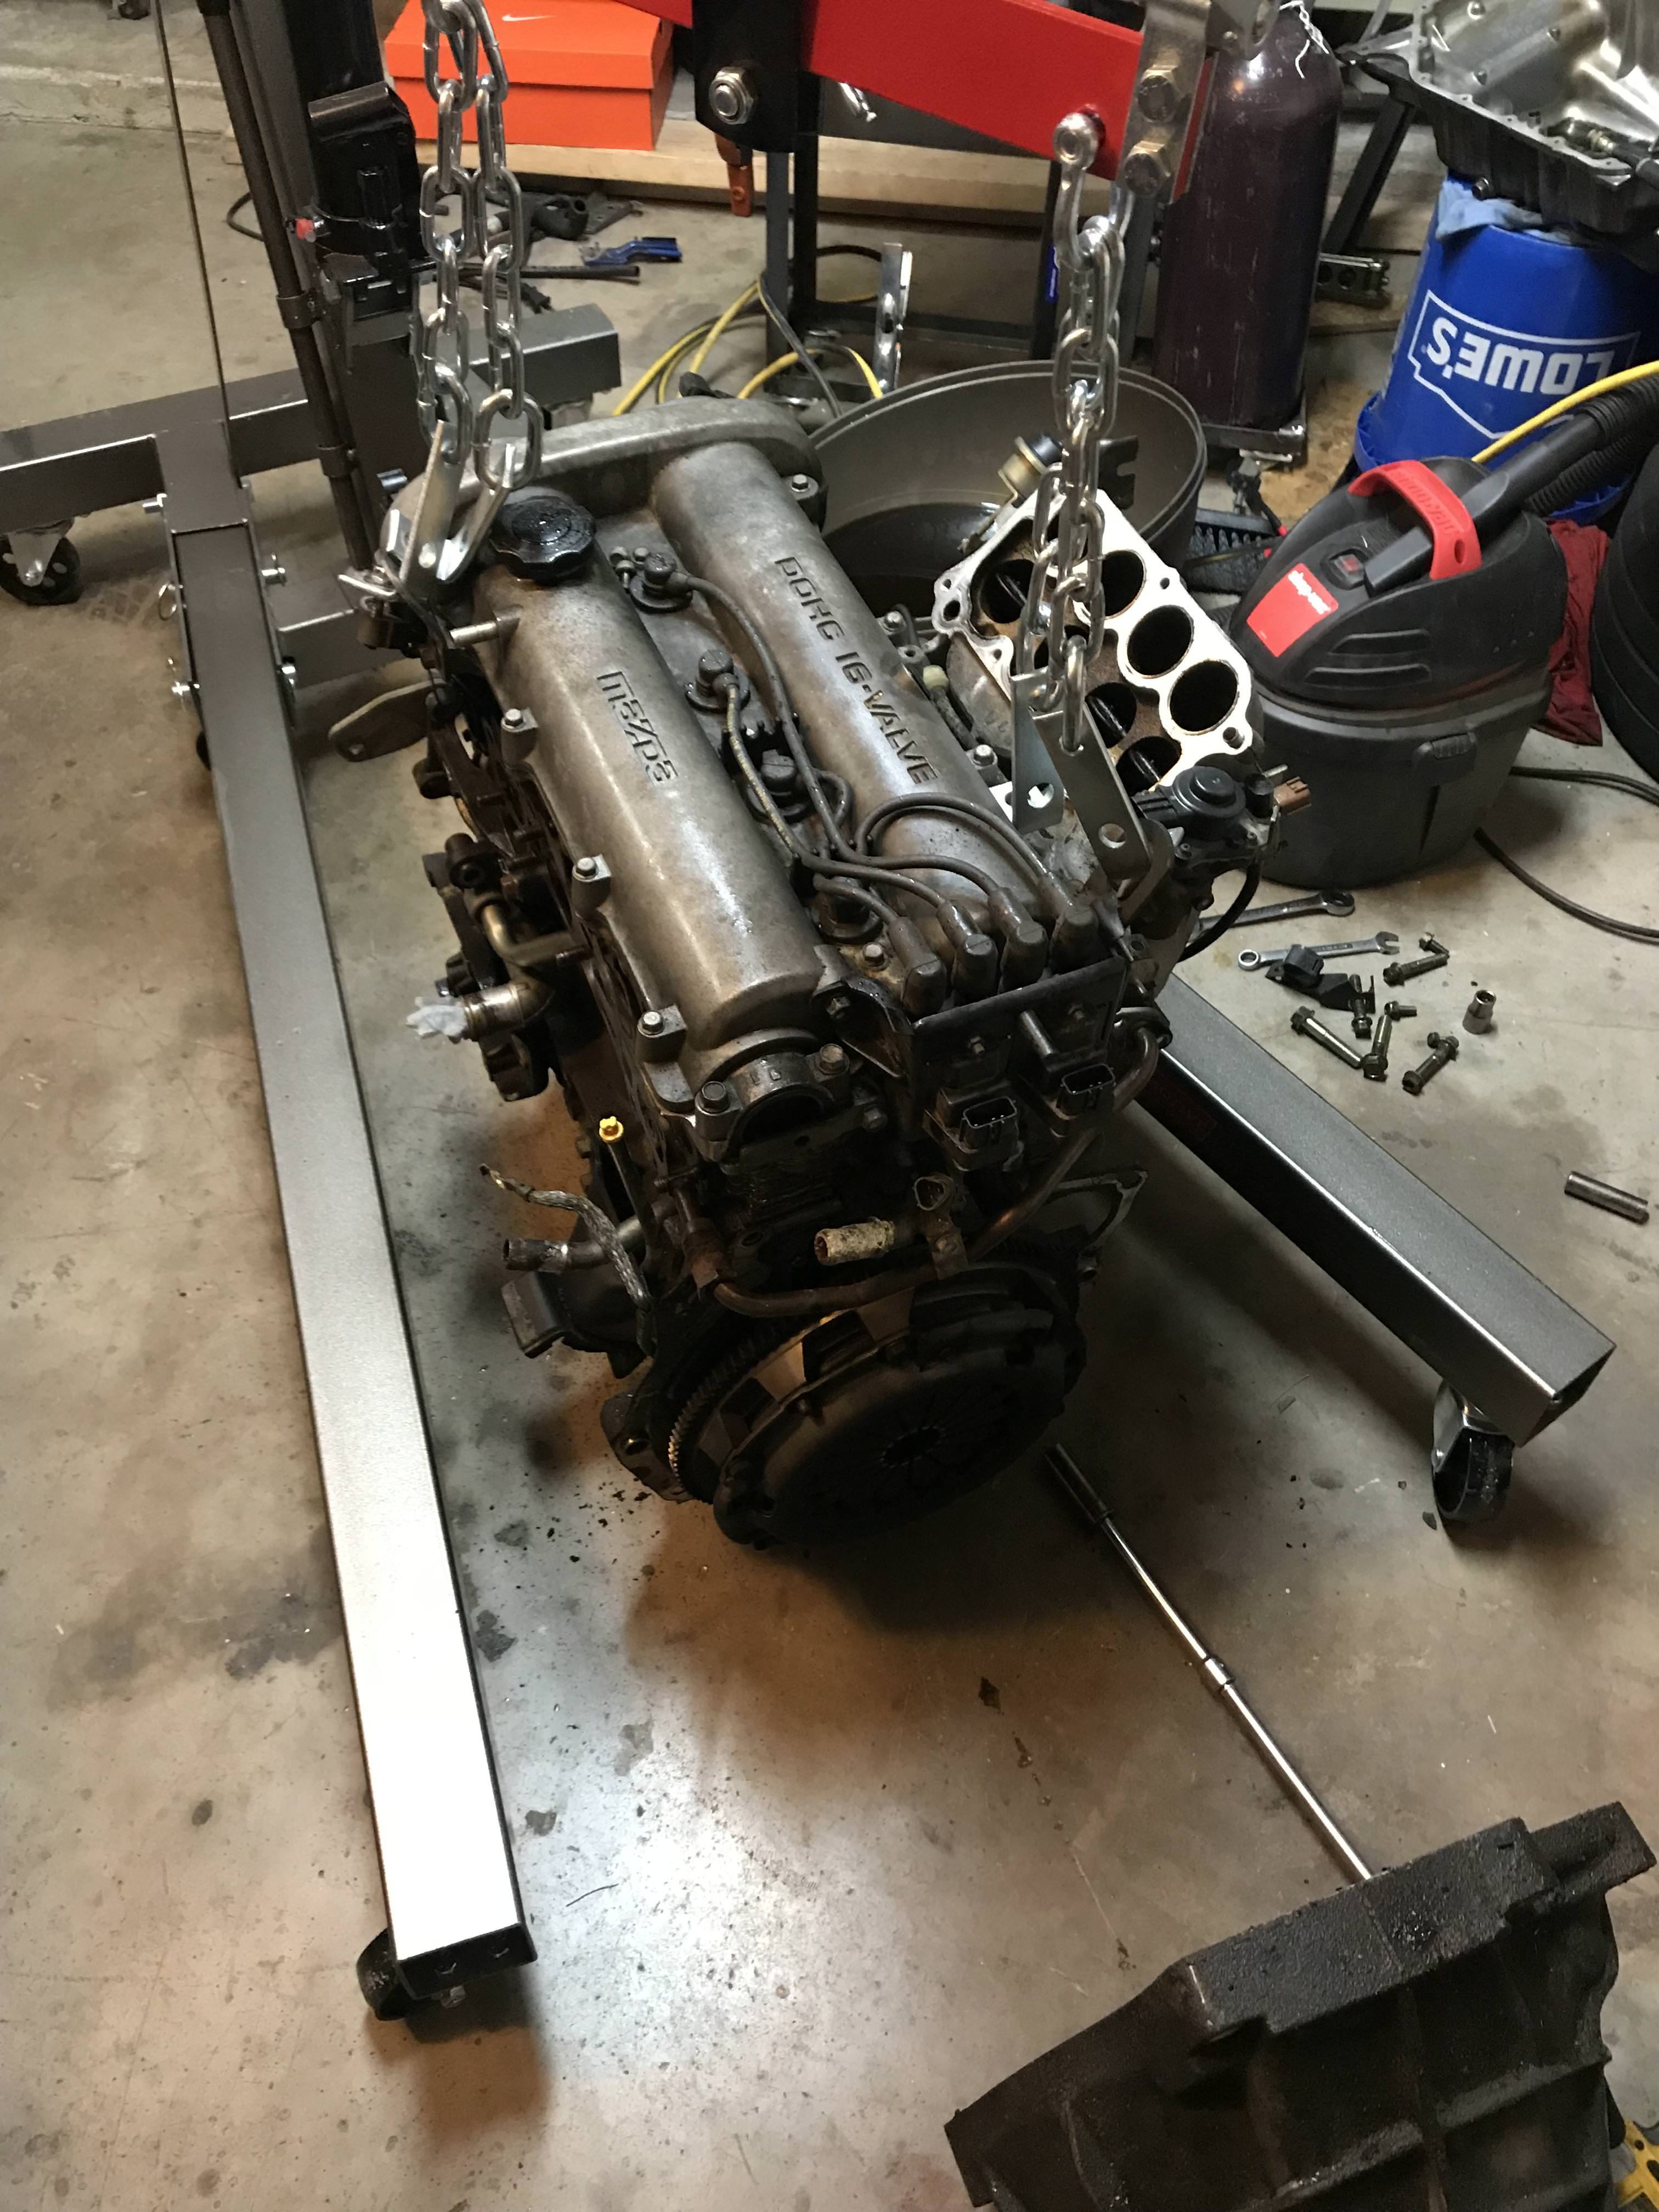
Out comes the stock 1.8, good riddance. Take note how dirty that tranny was...
Pulling that engine was by far the dirtiest i have ever been in my entire life, my RSX had 165k miles and there was barely a whisper of oil in that engine bay when i tore it down, this thing had 130k and it looks like a oil bomb had gone off in this engine bay.
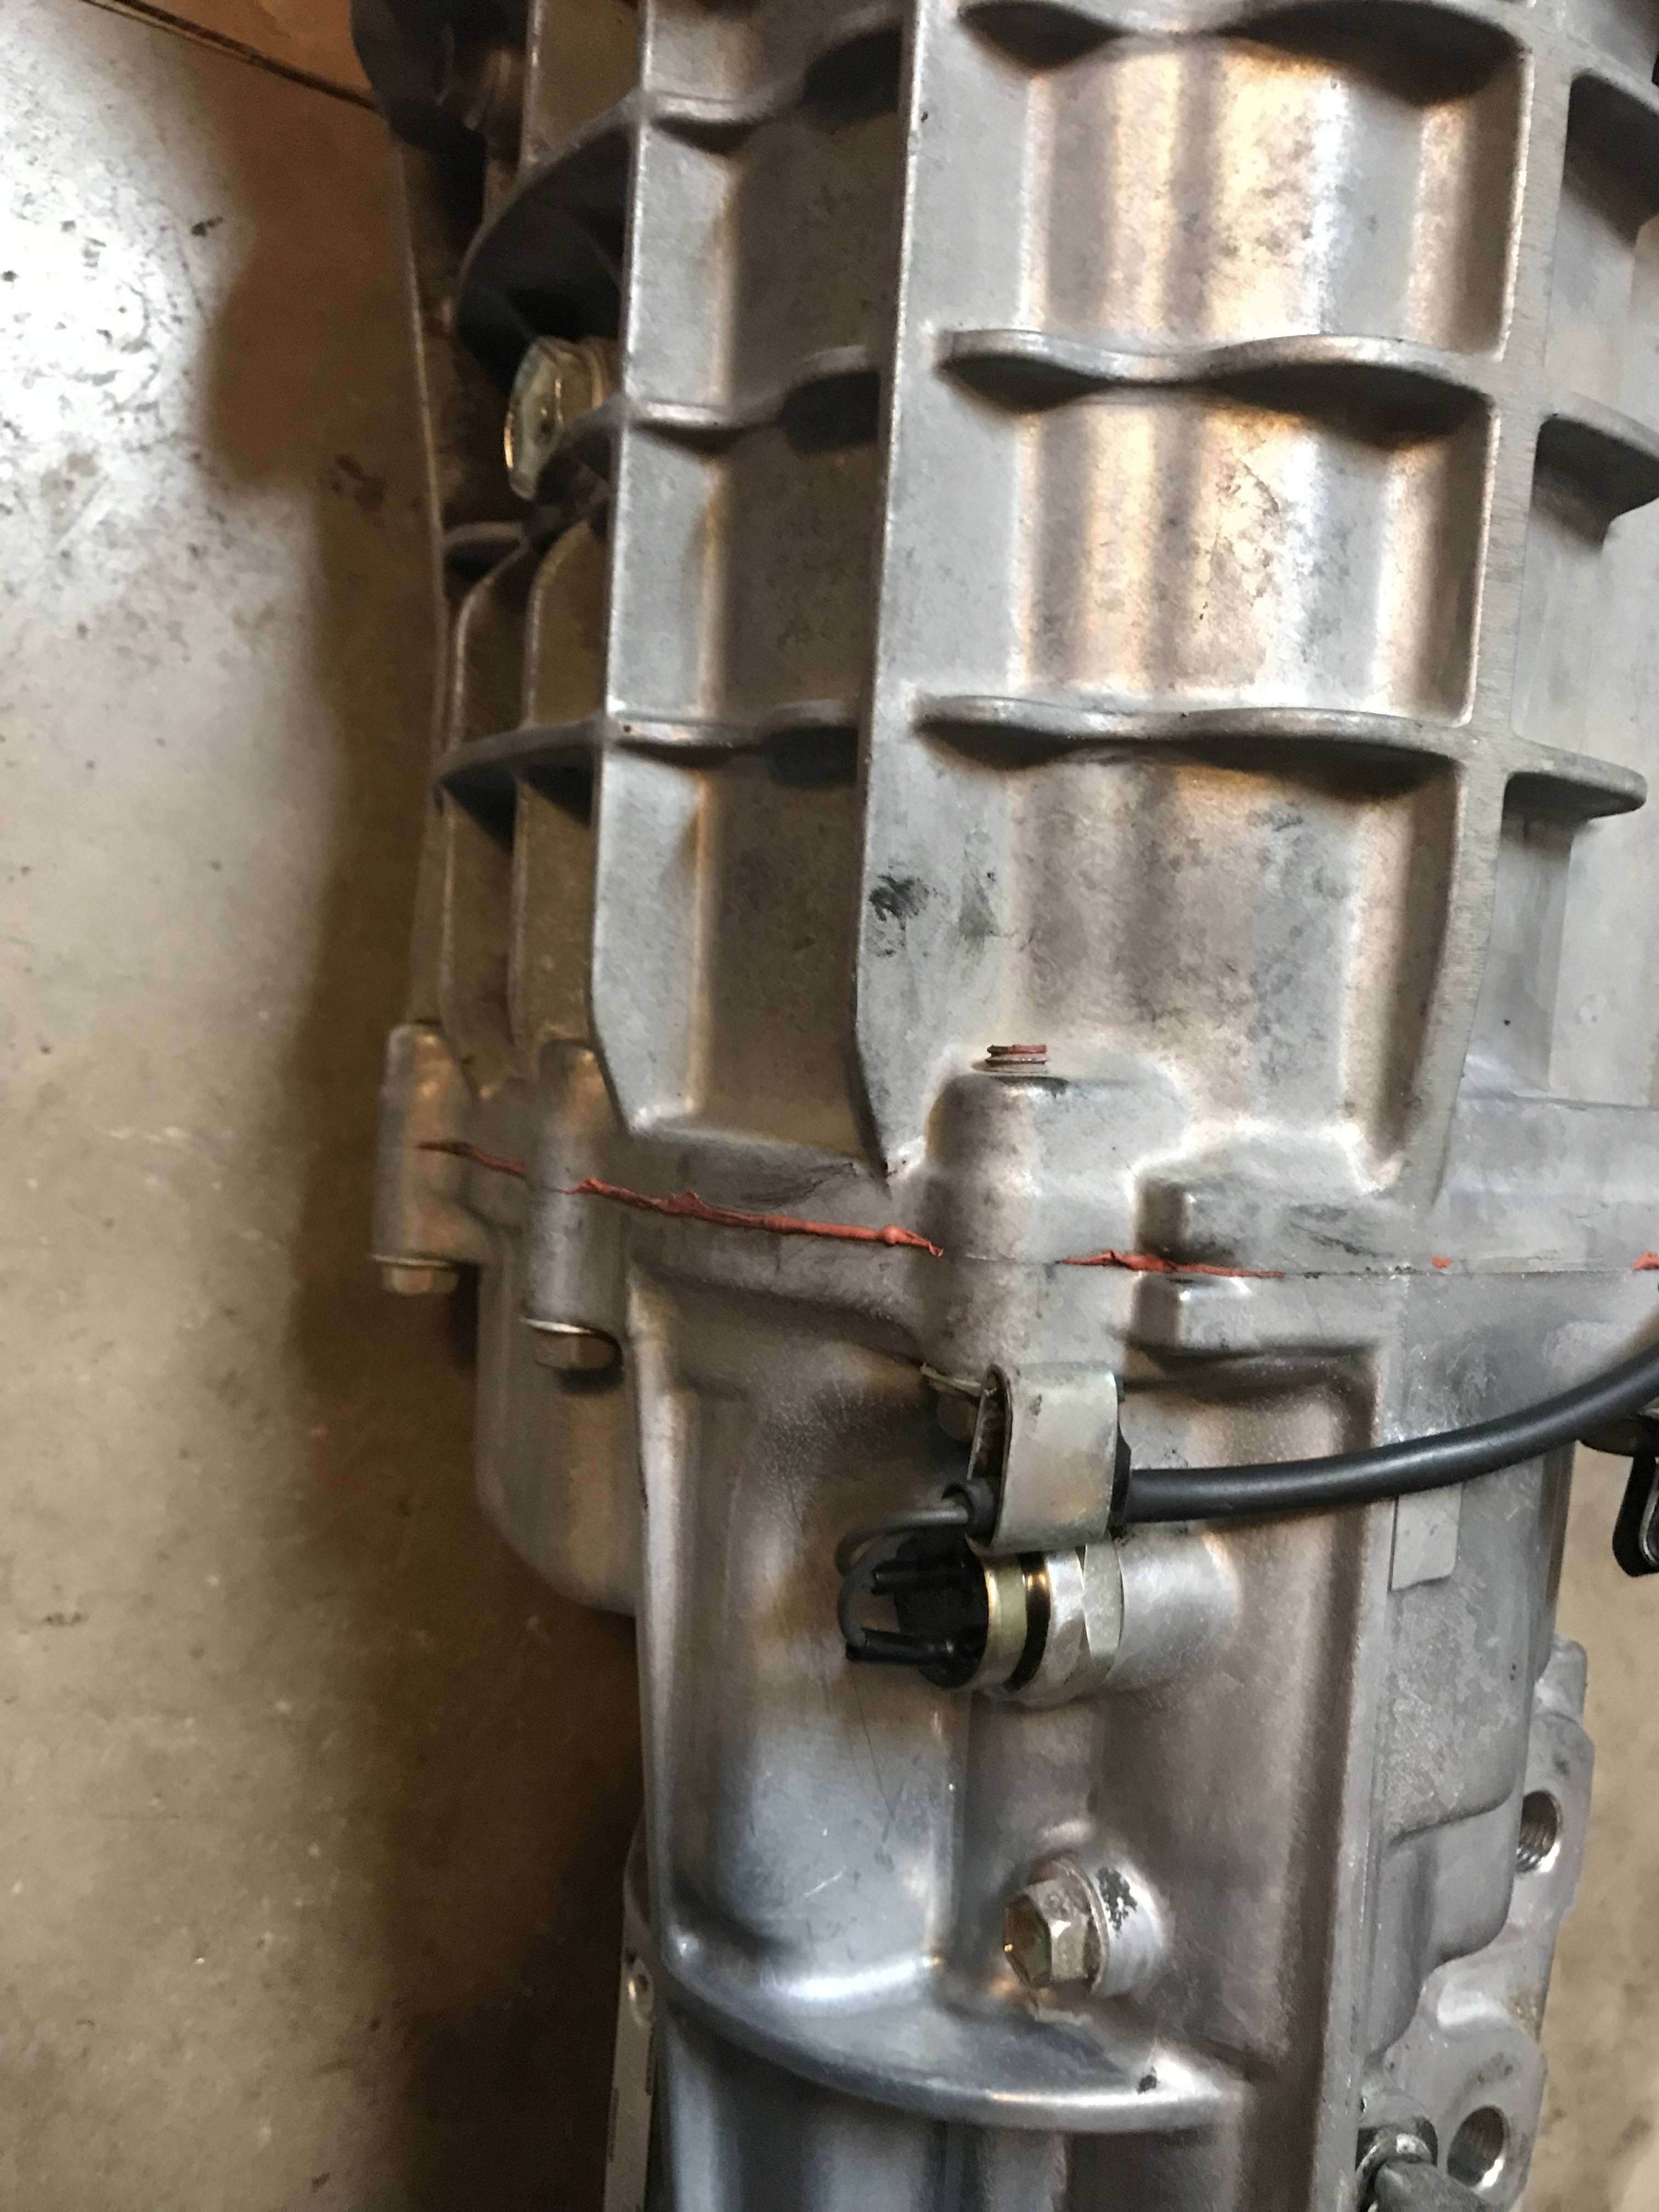
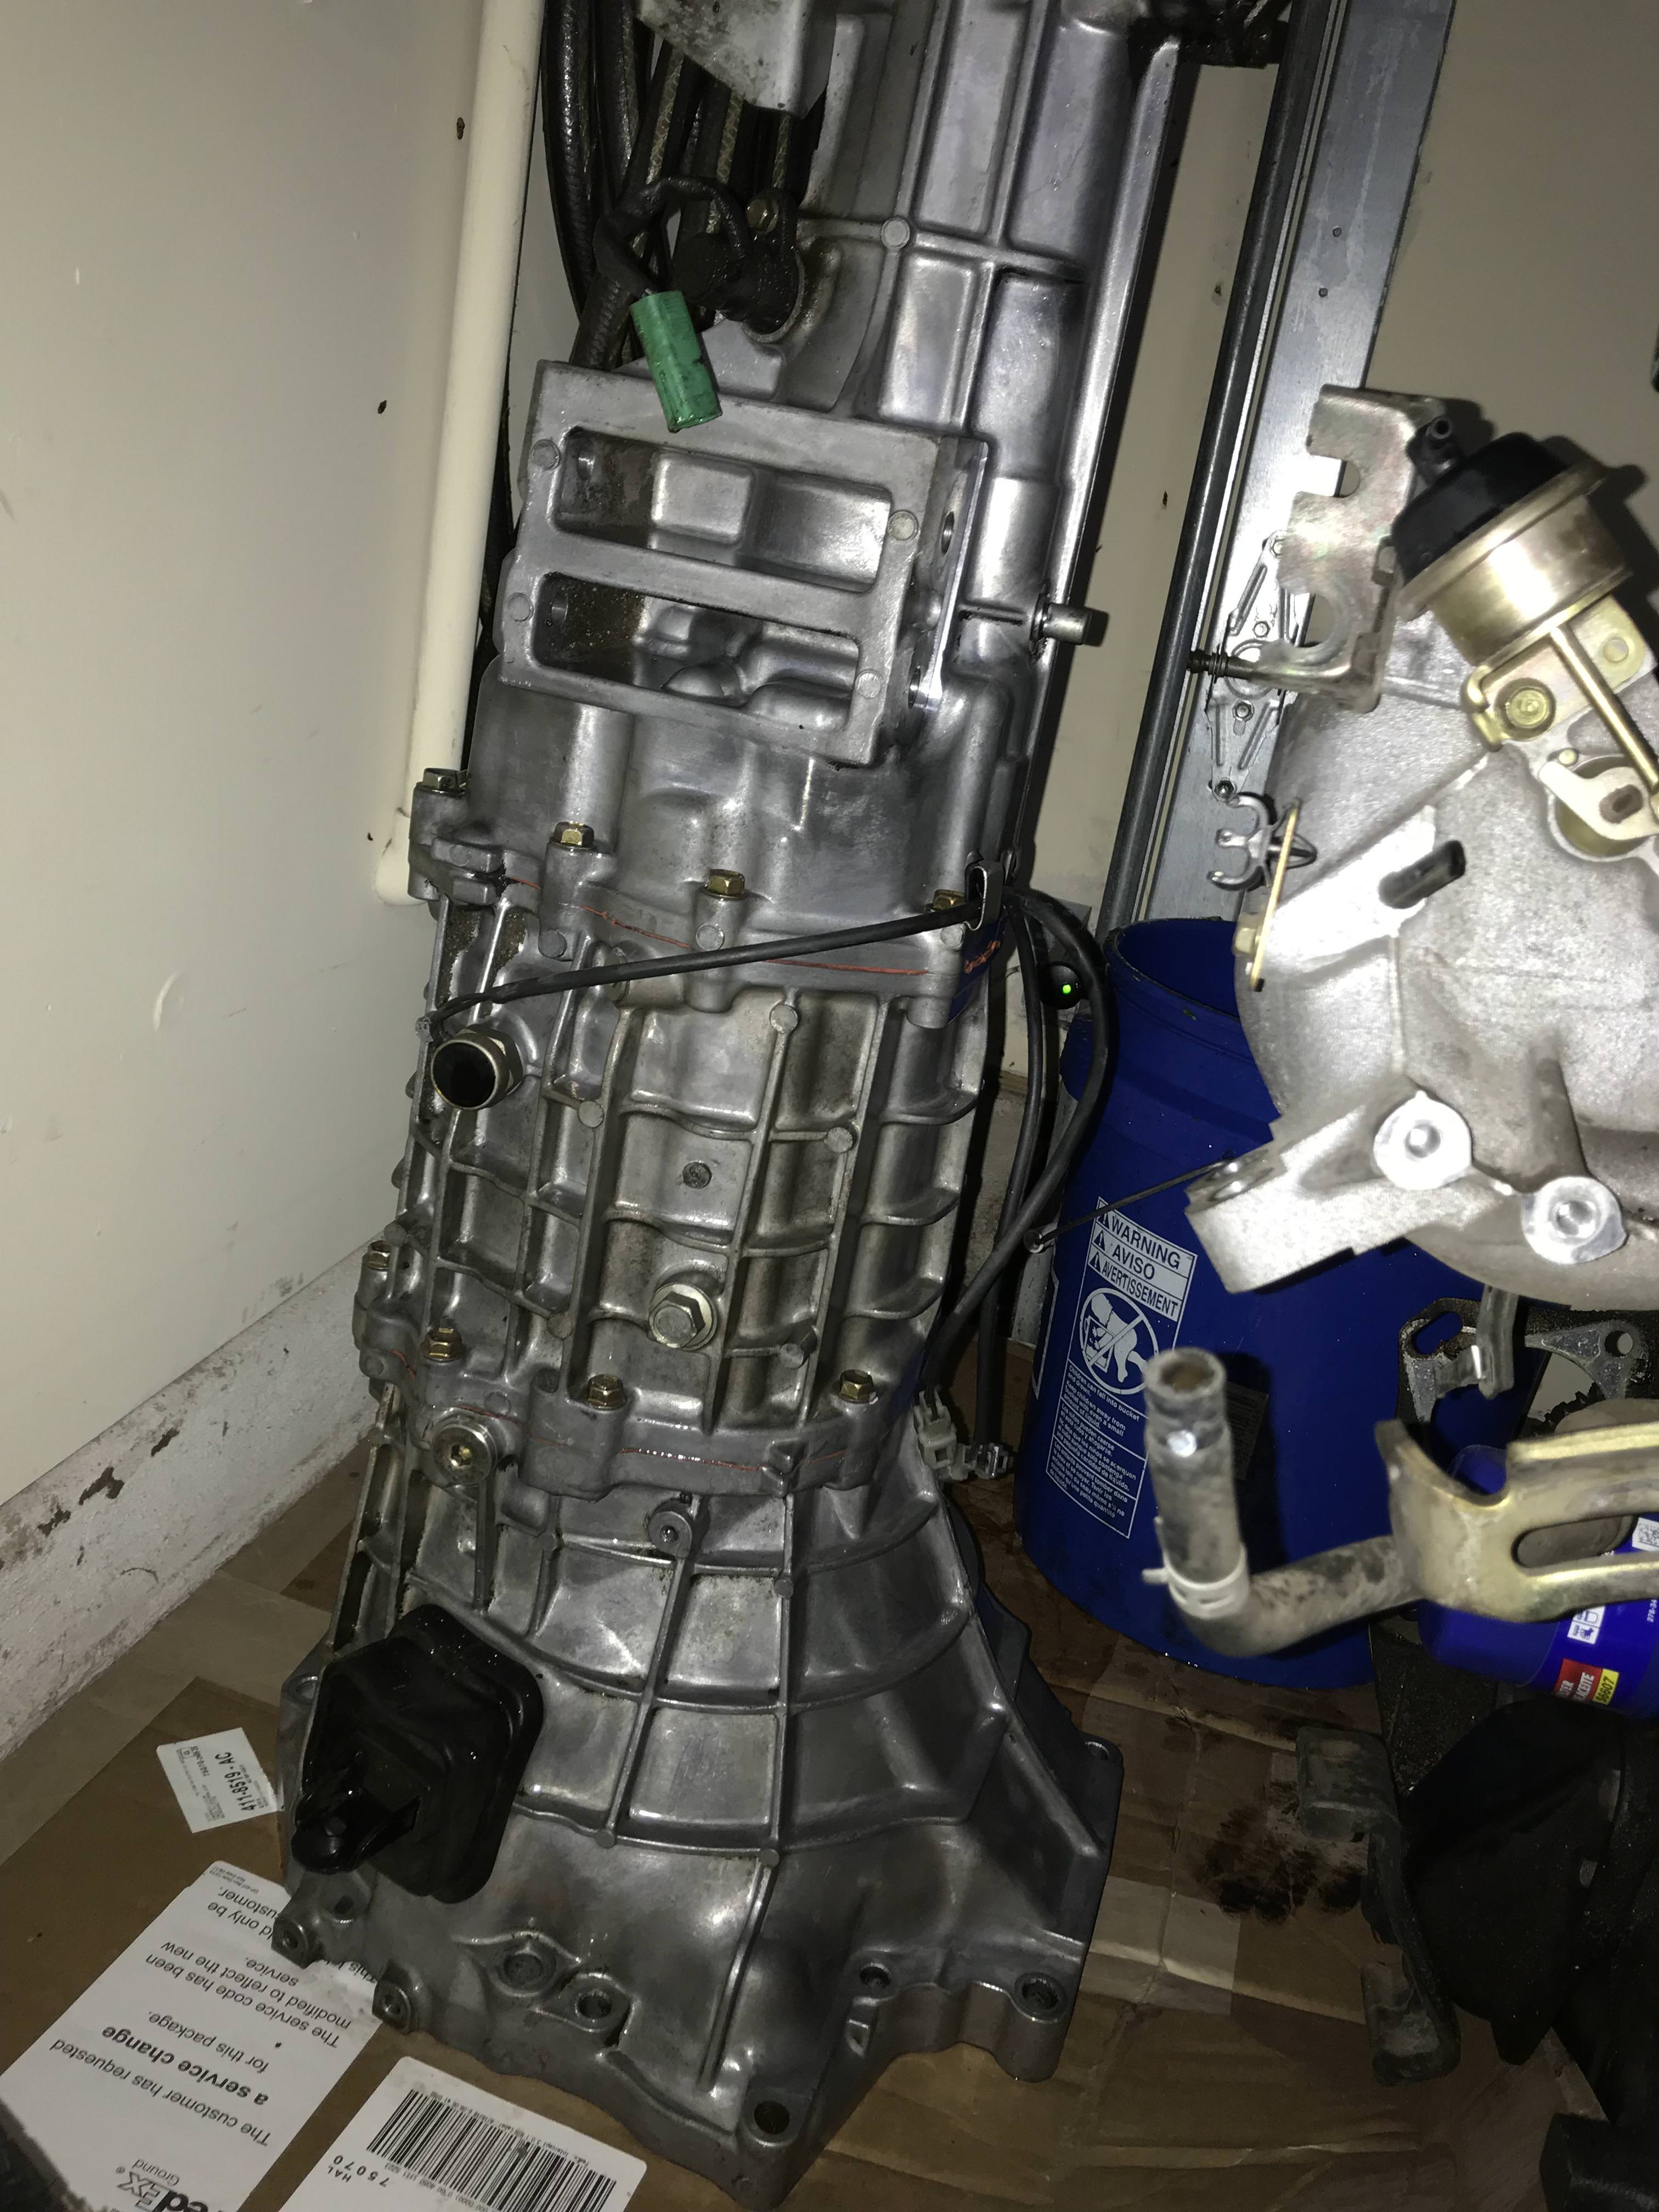
Tranny all clean
I did about 3 cleaning passes on the engine bay and it was finally time to start putting stuff back on it, starting with the subframe. This seems so simple, only 6 bolts, but both of the bolts towards the rear of the car were not lining up correctly so after taking it in and out 3 times it was finally installed.
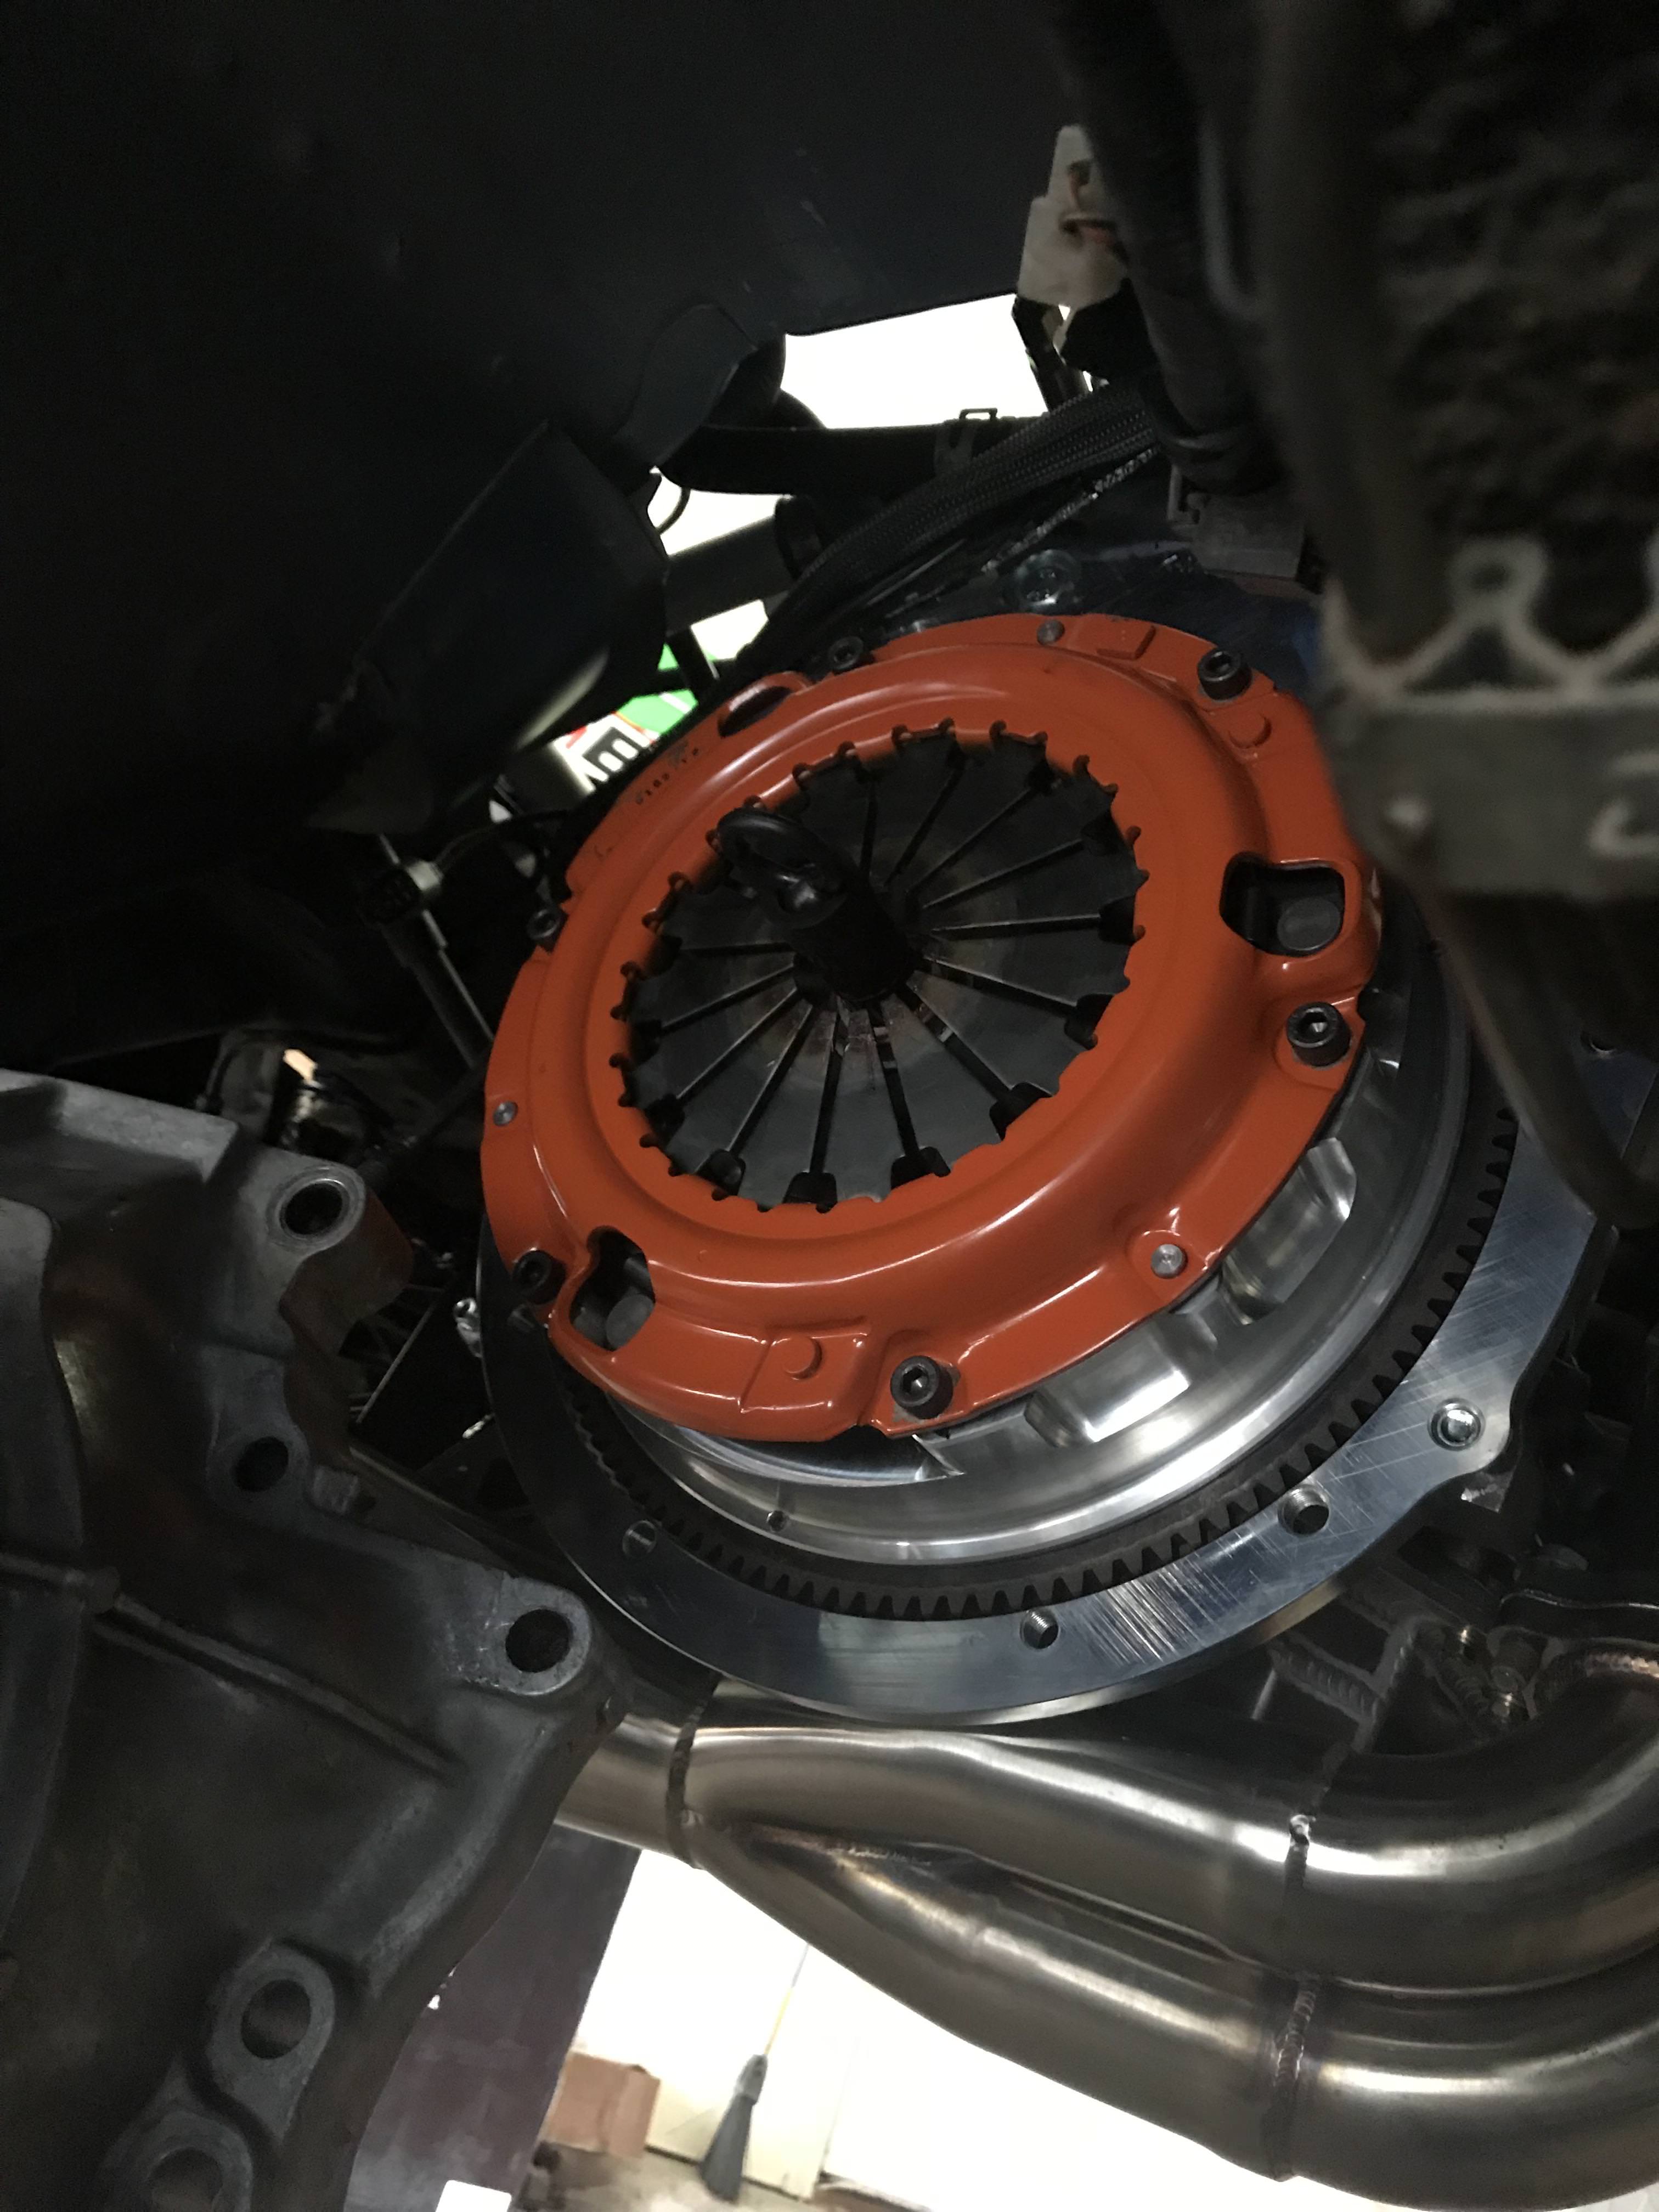
Clutch and flywheen installed
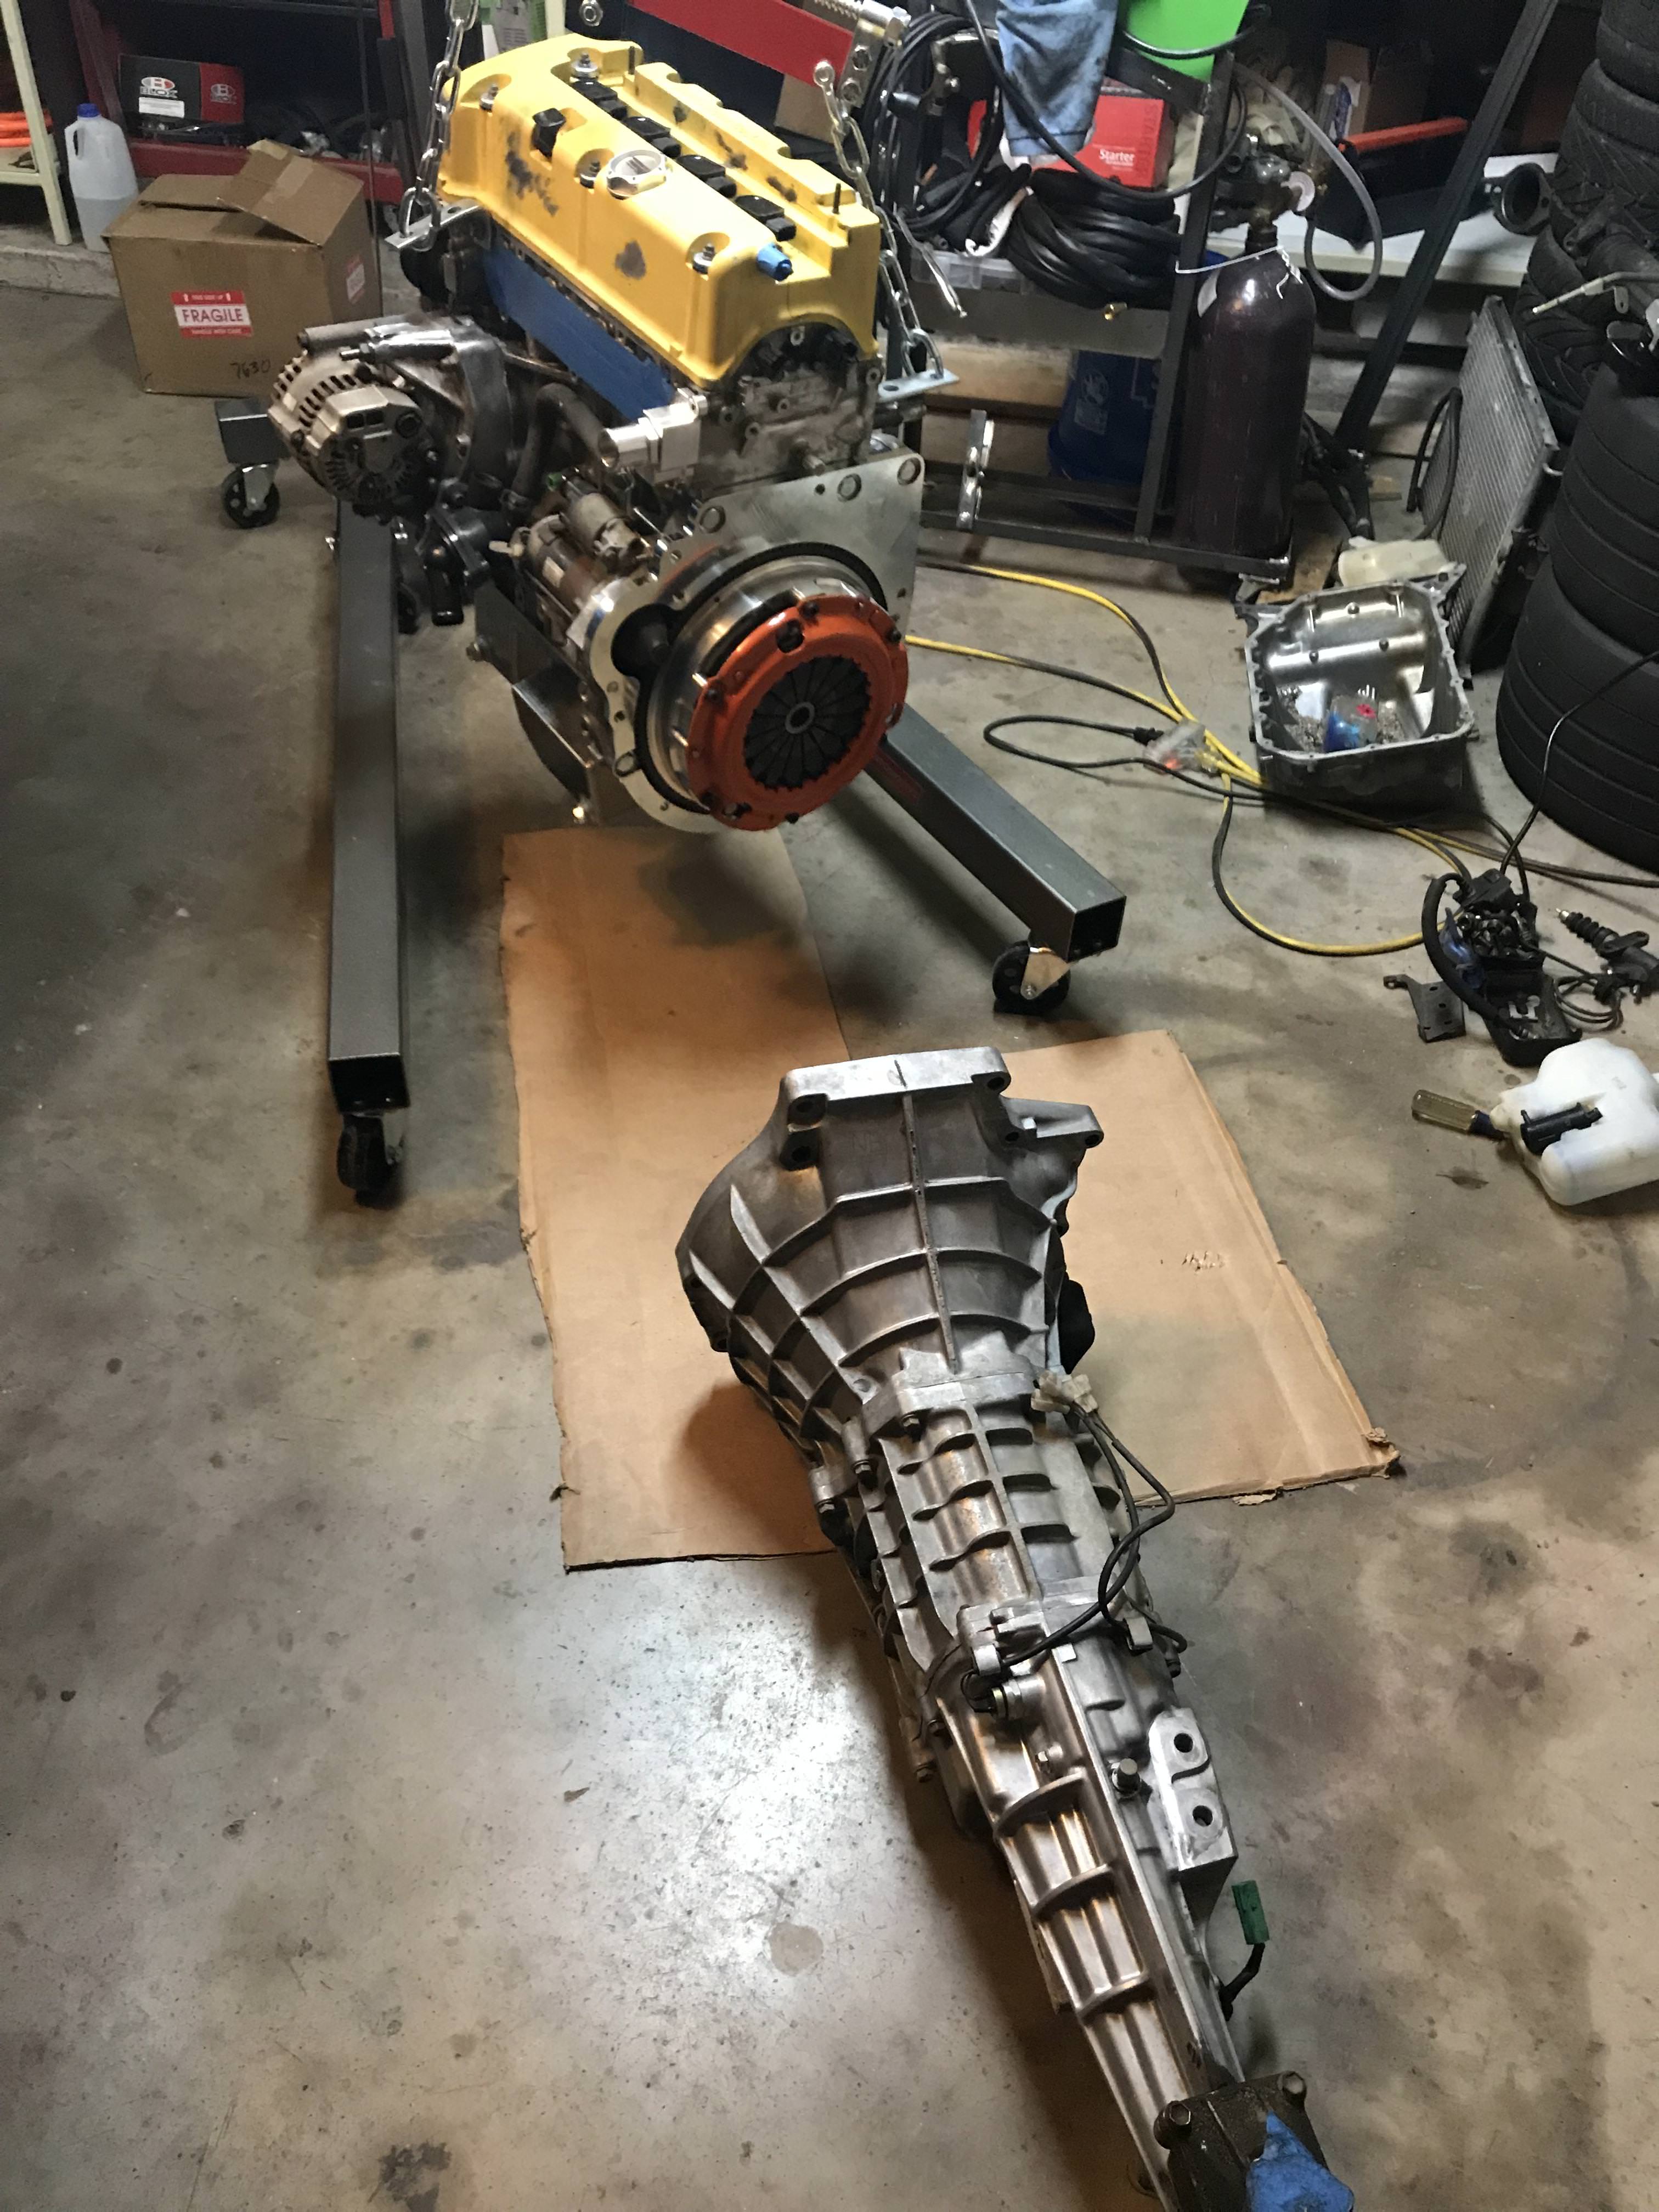
Miata tranny sneaking up on the Honda
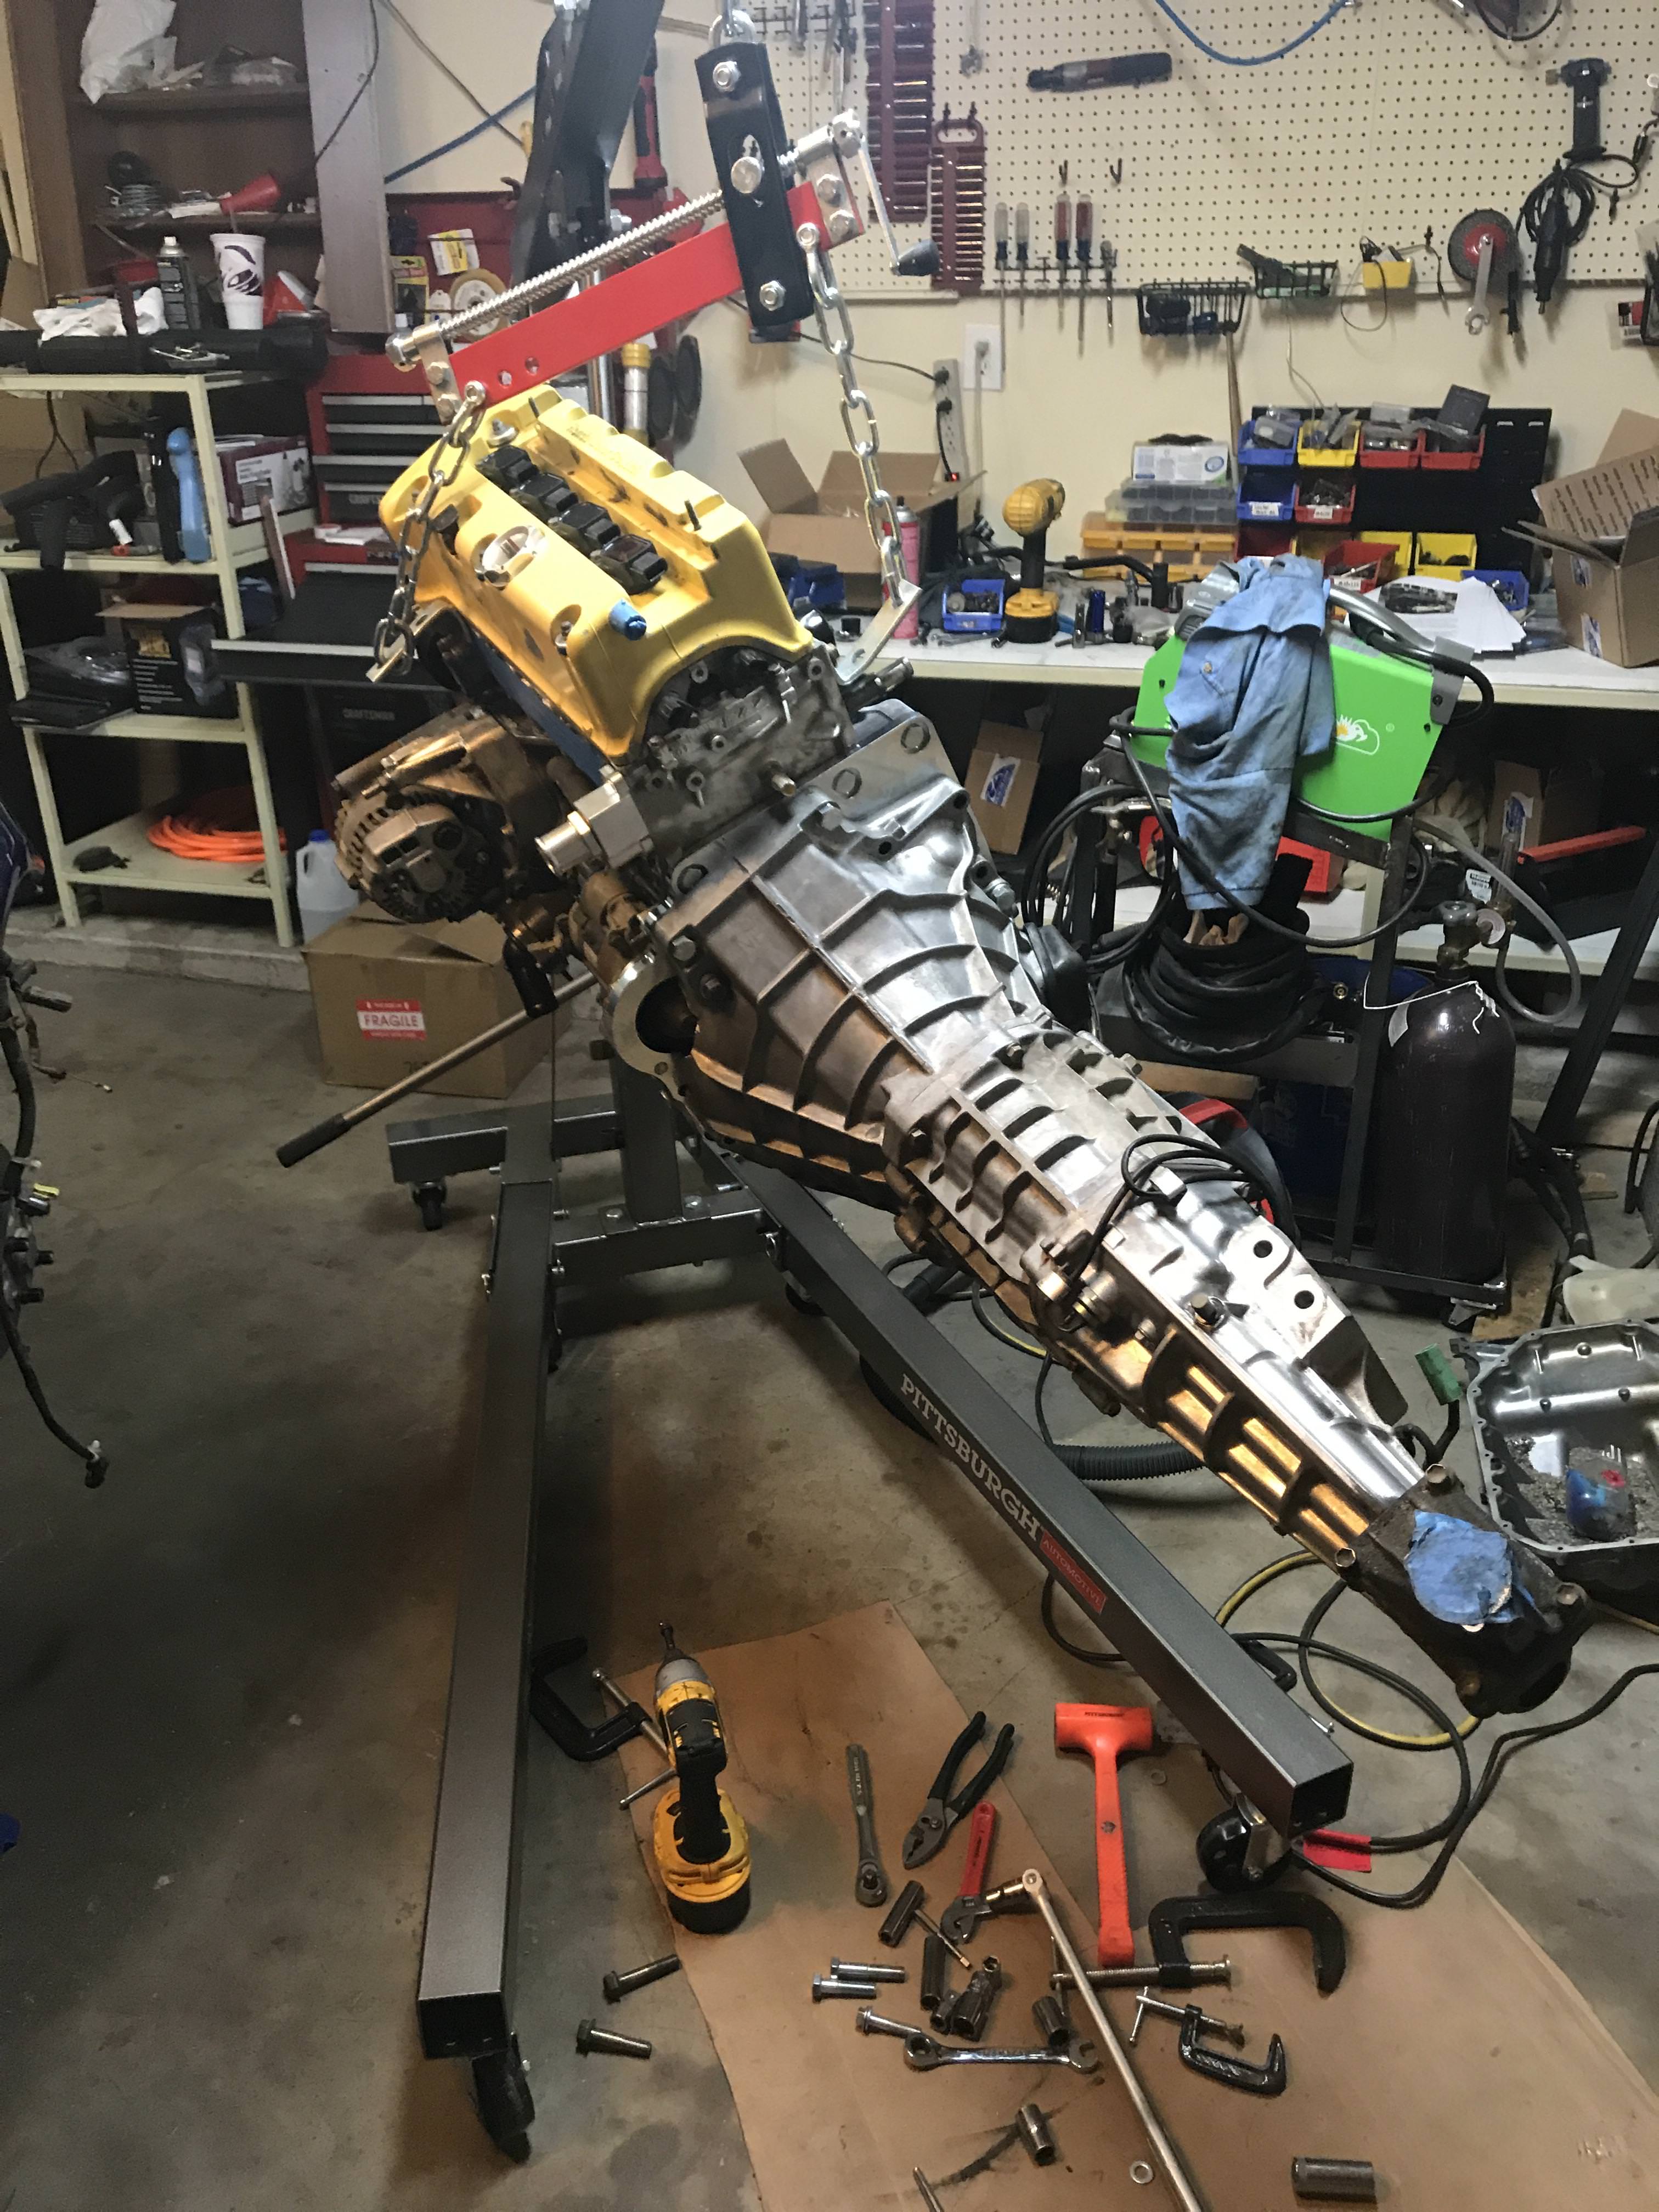
and together
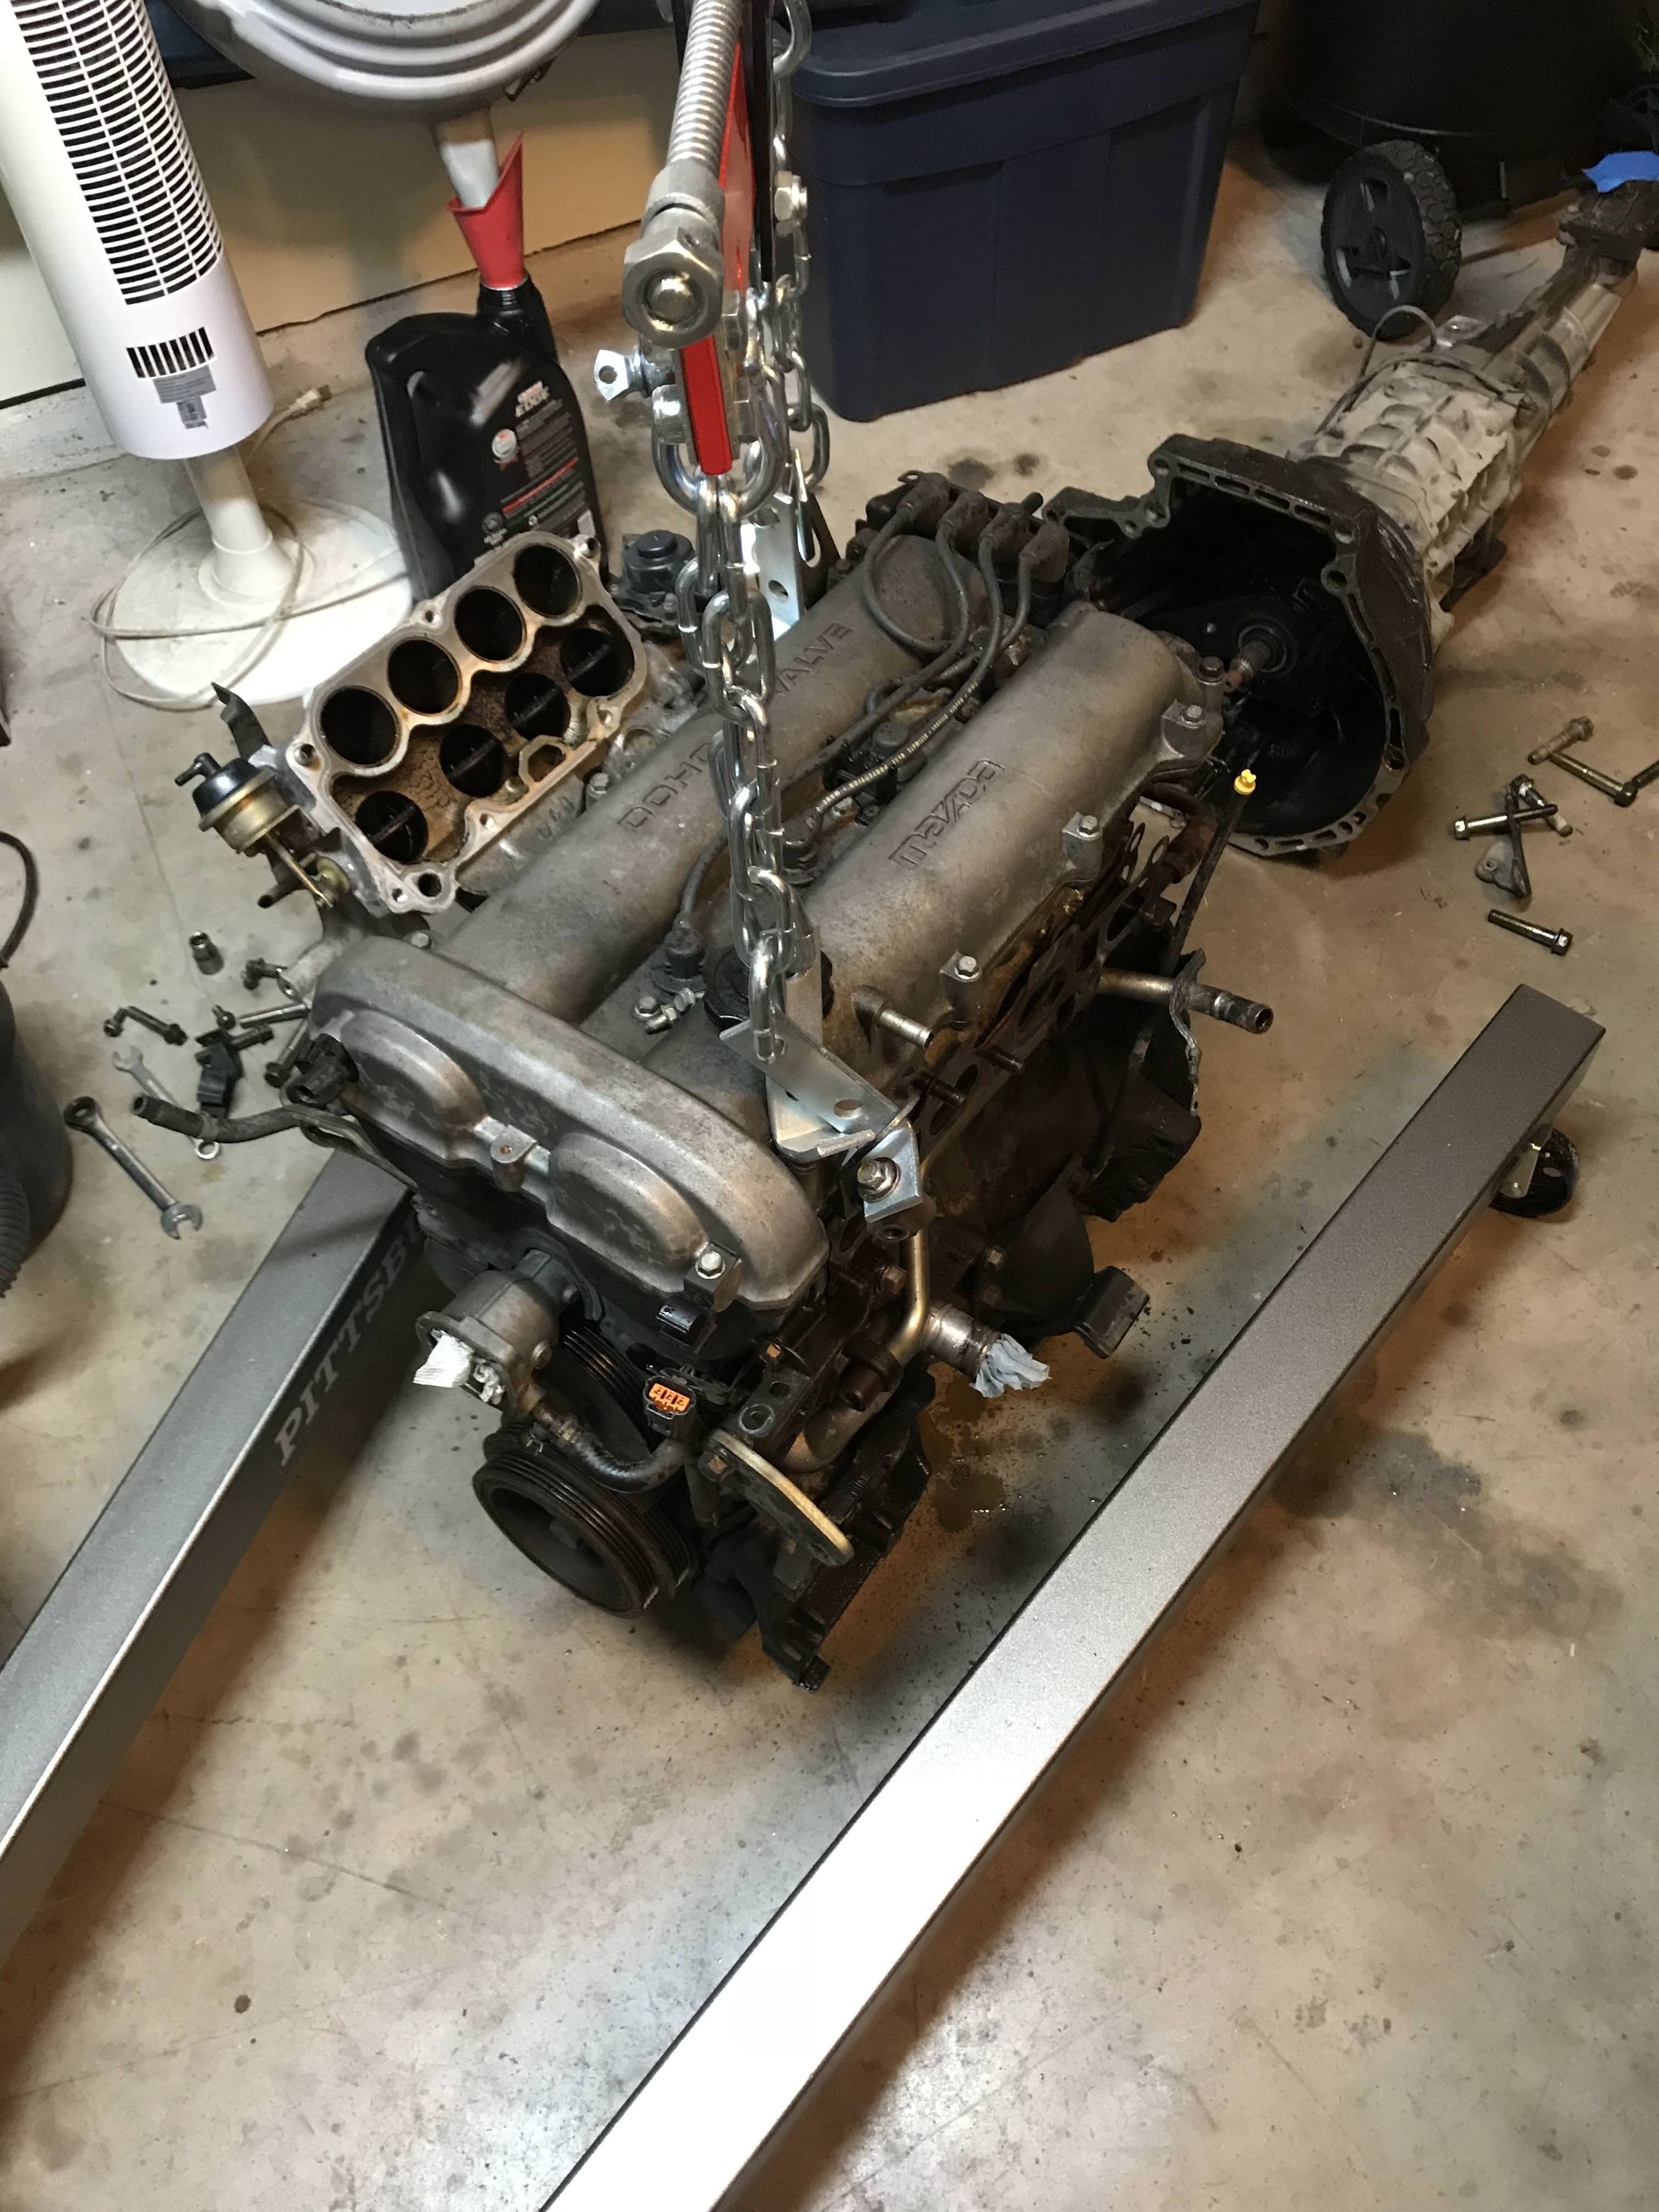
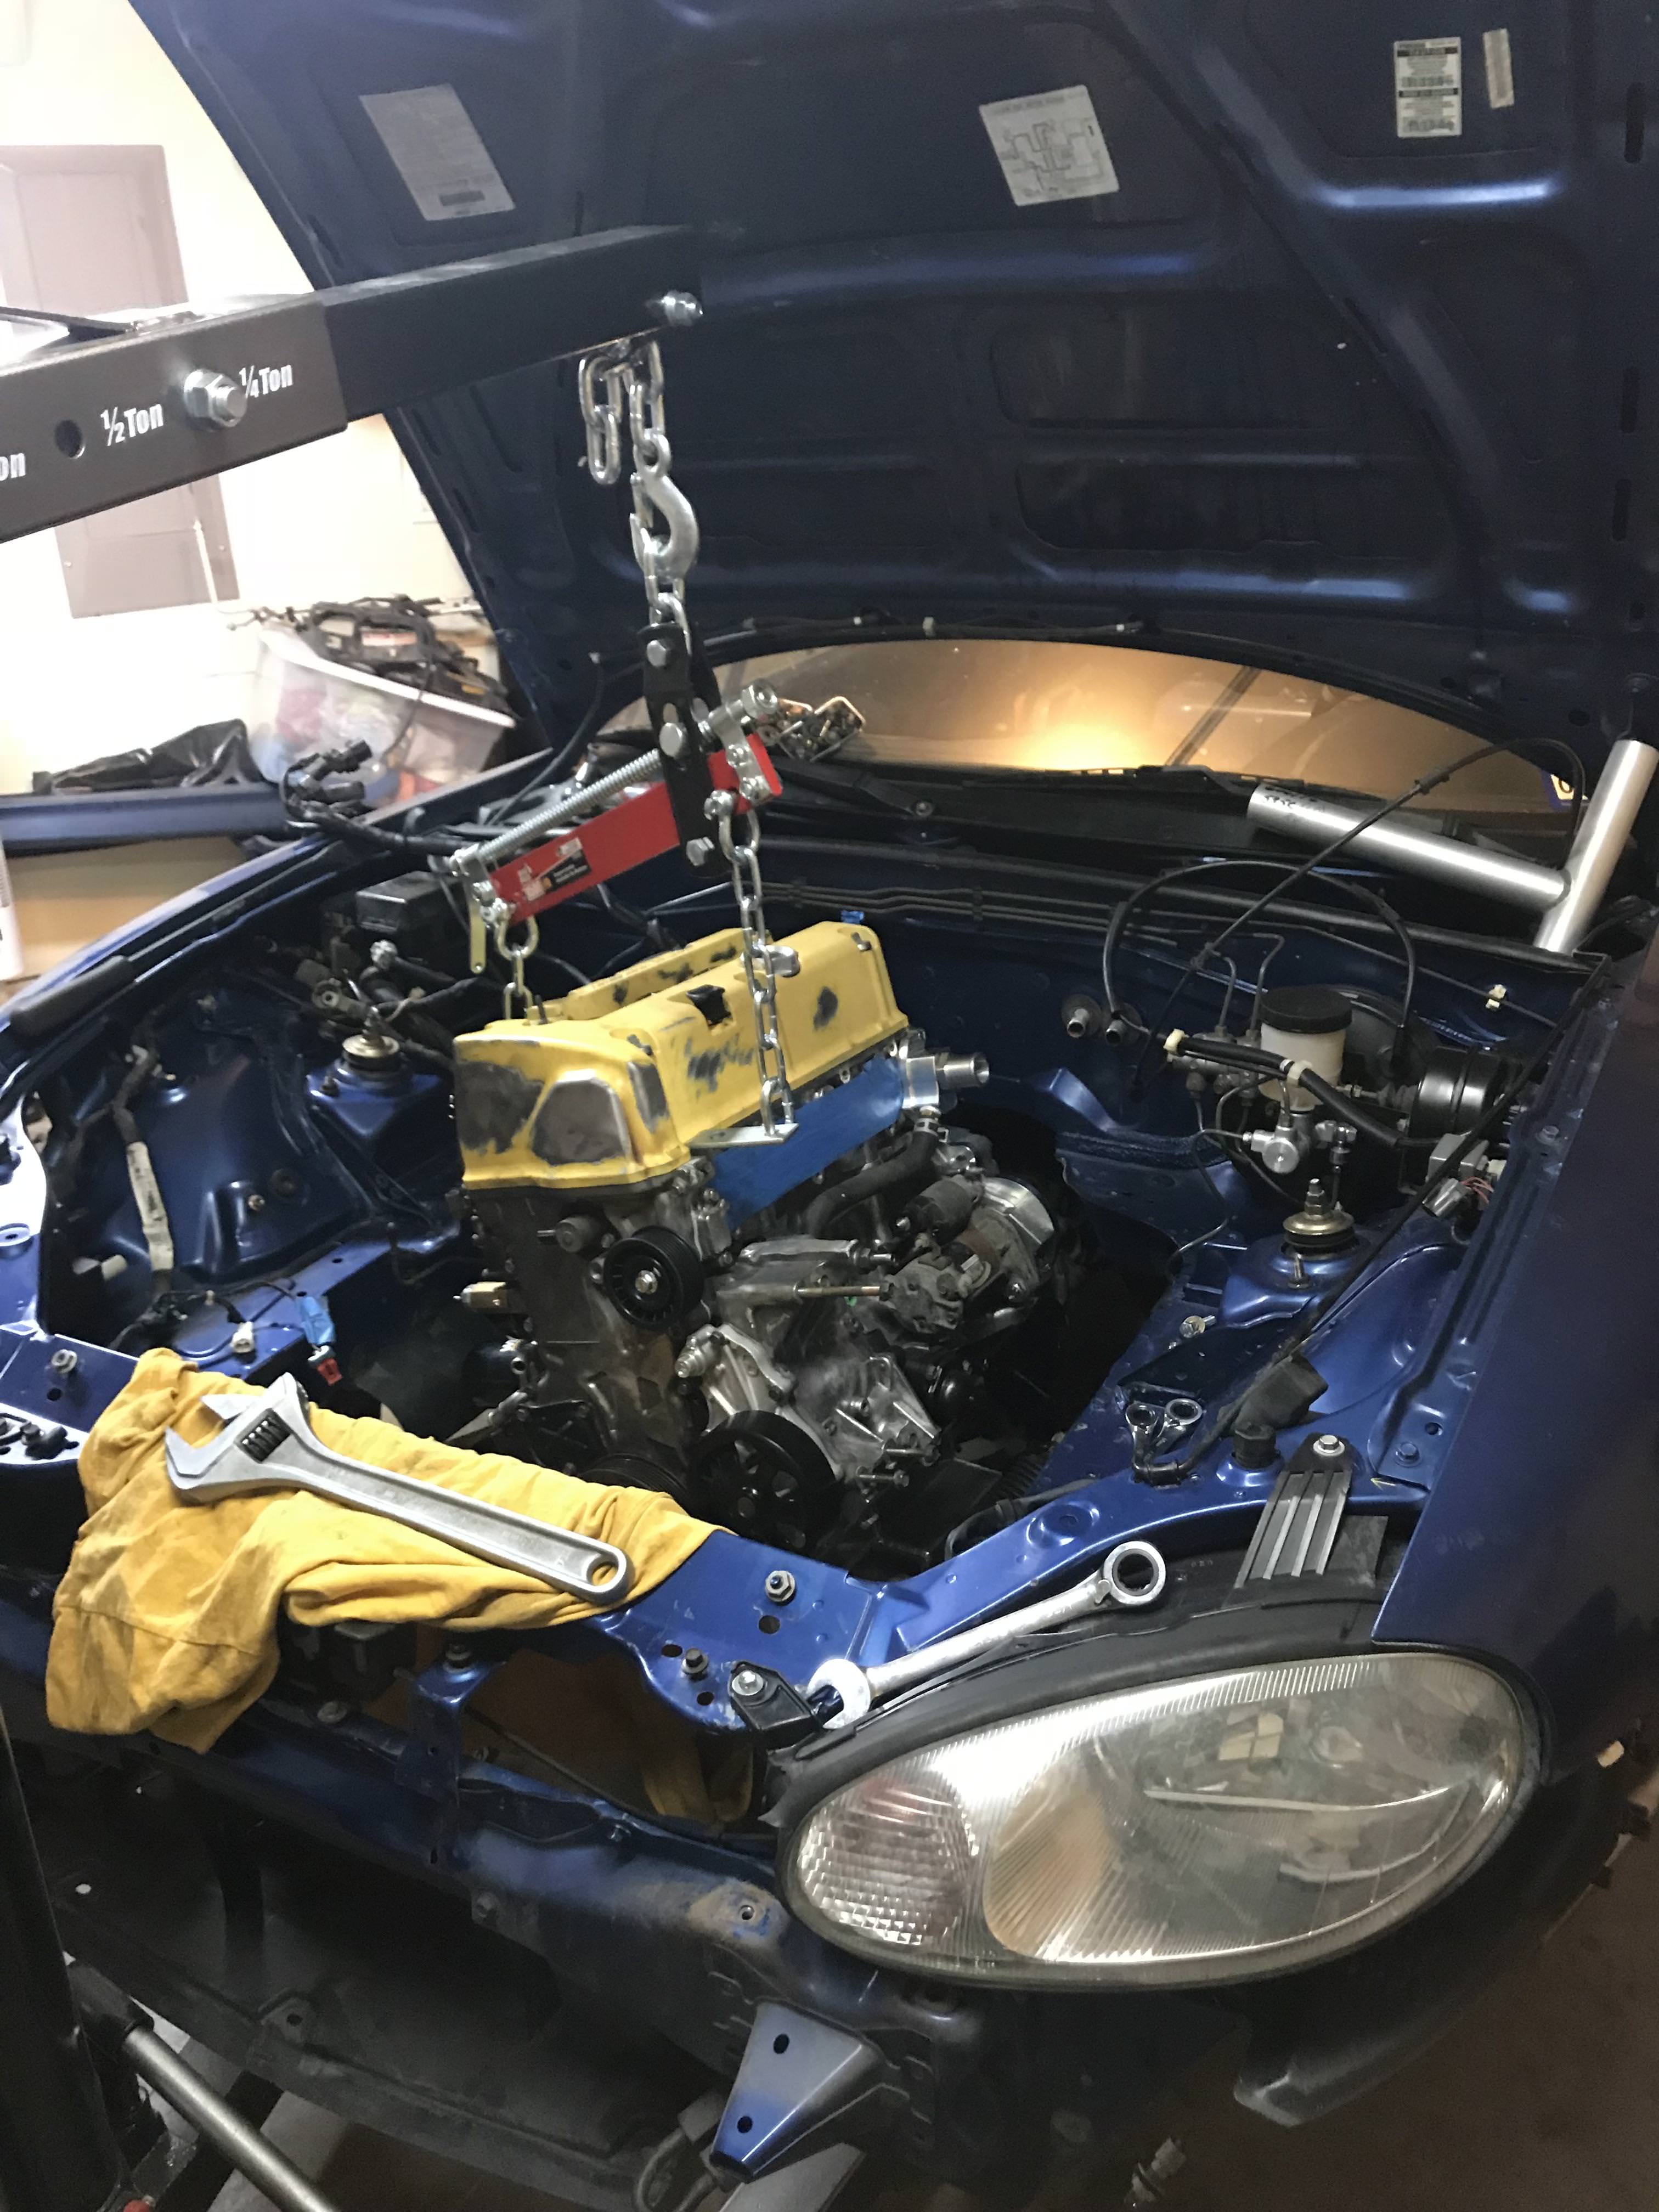
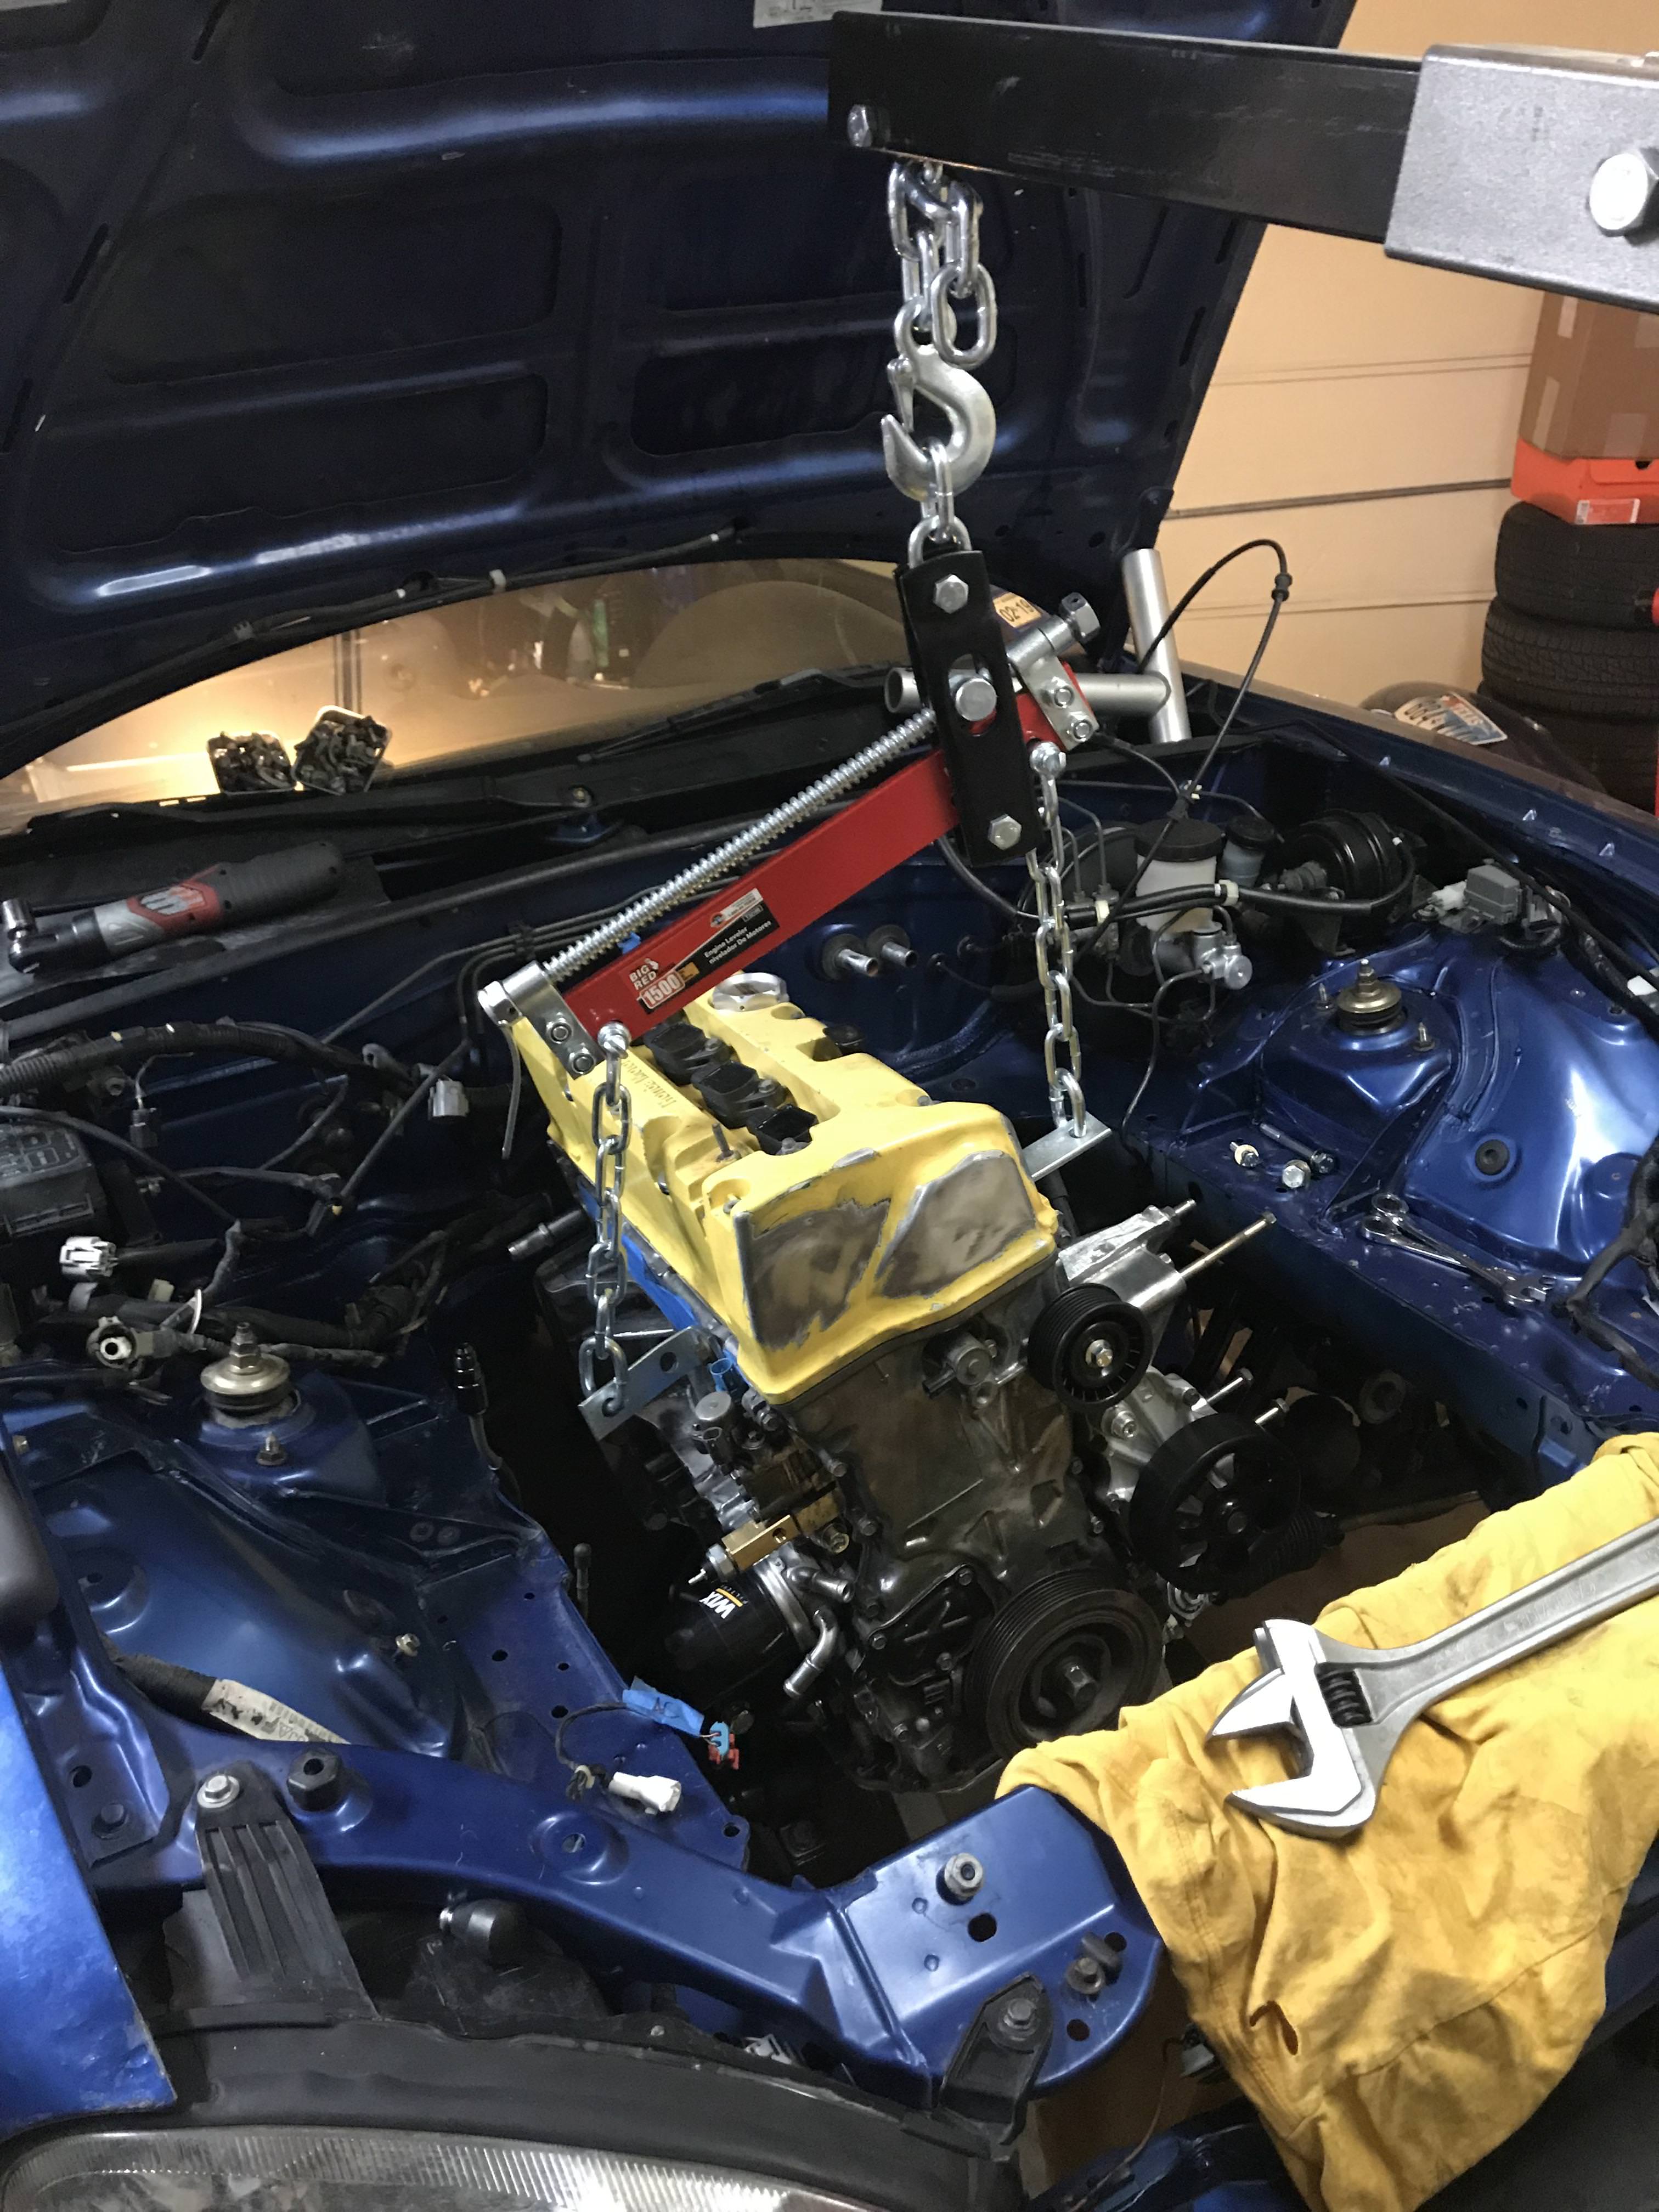
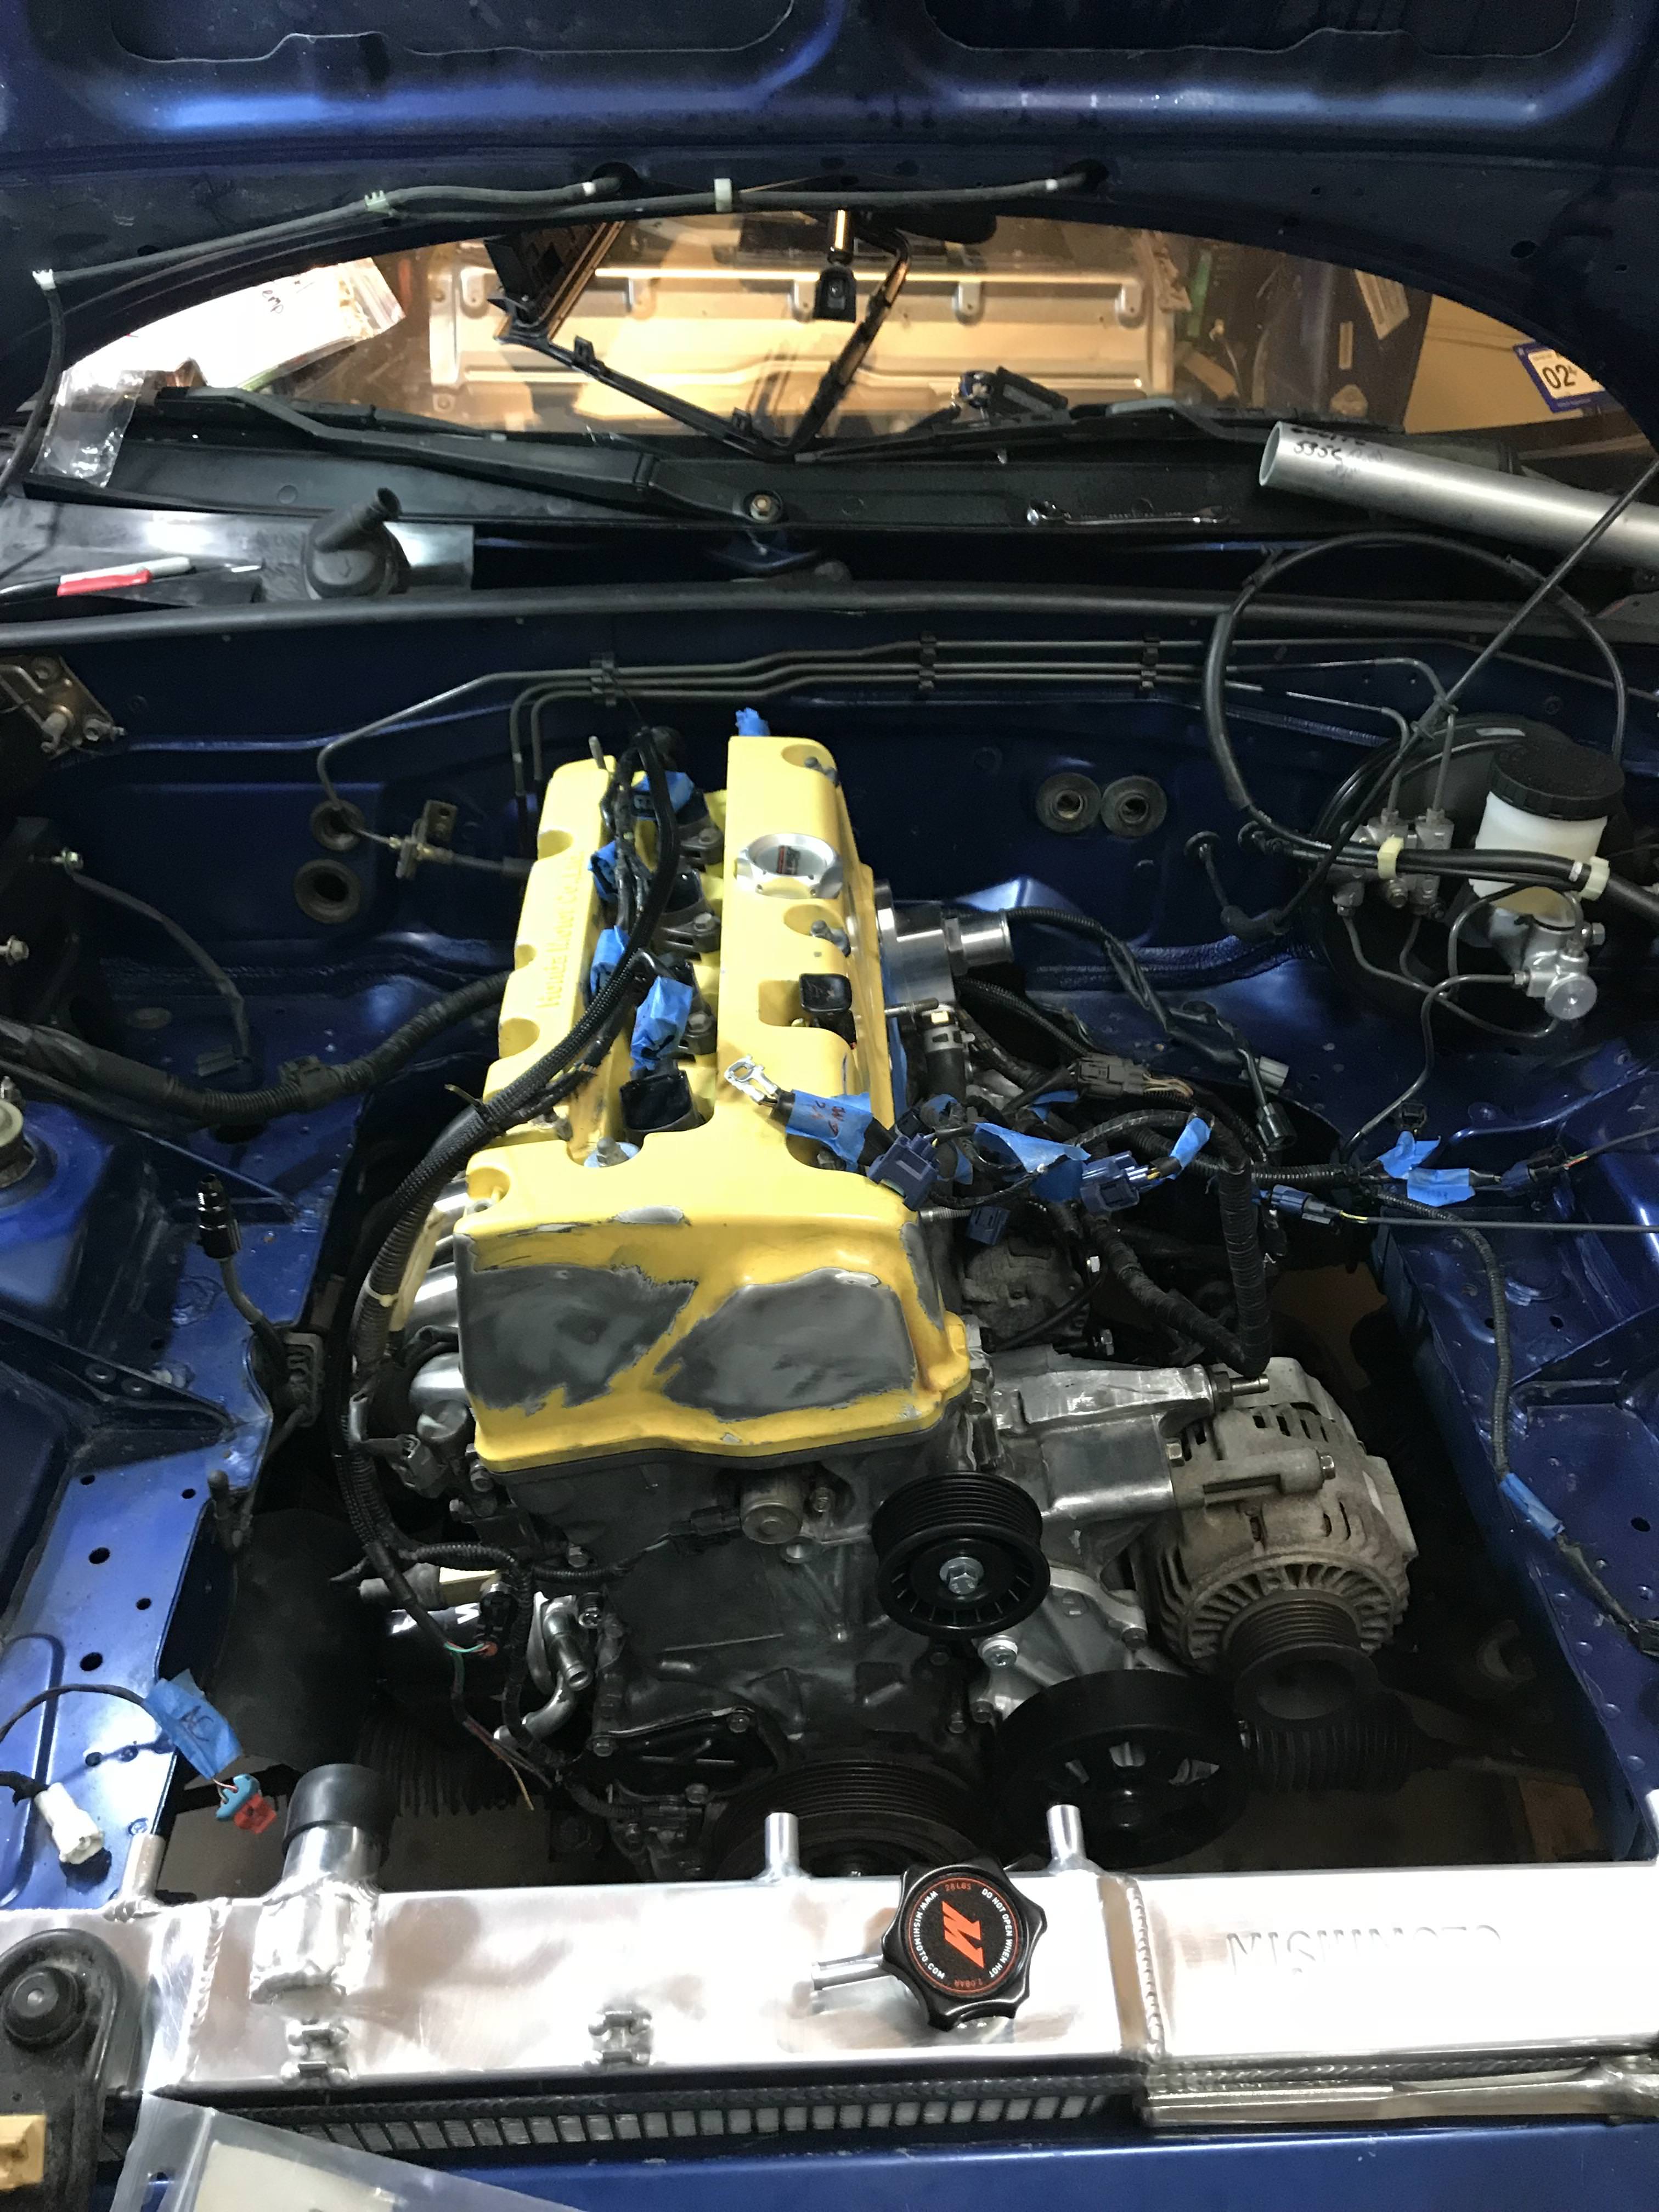
Just like that engine drops in
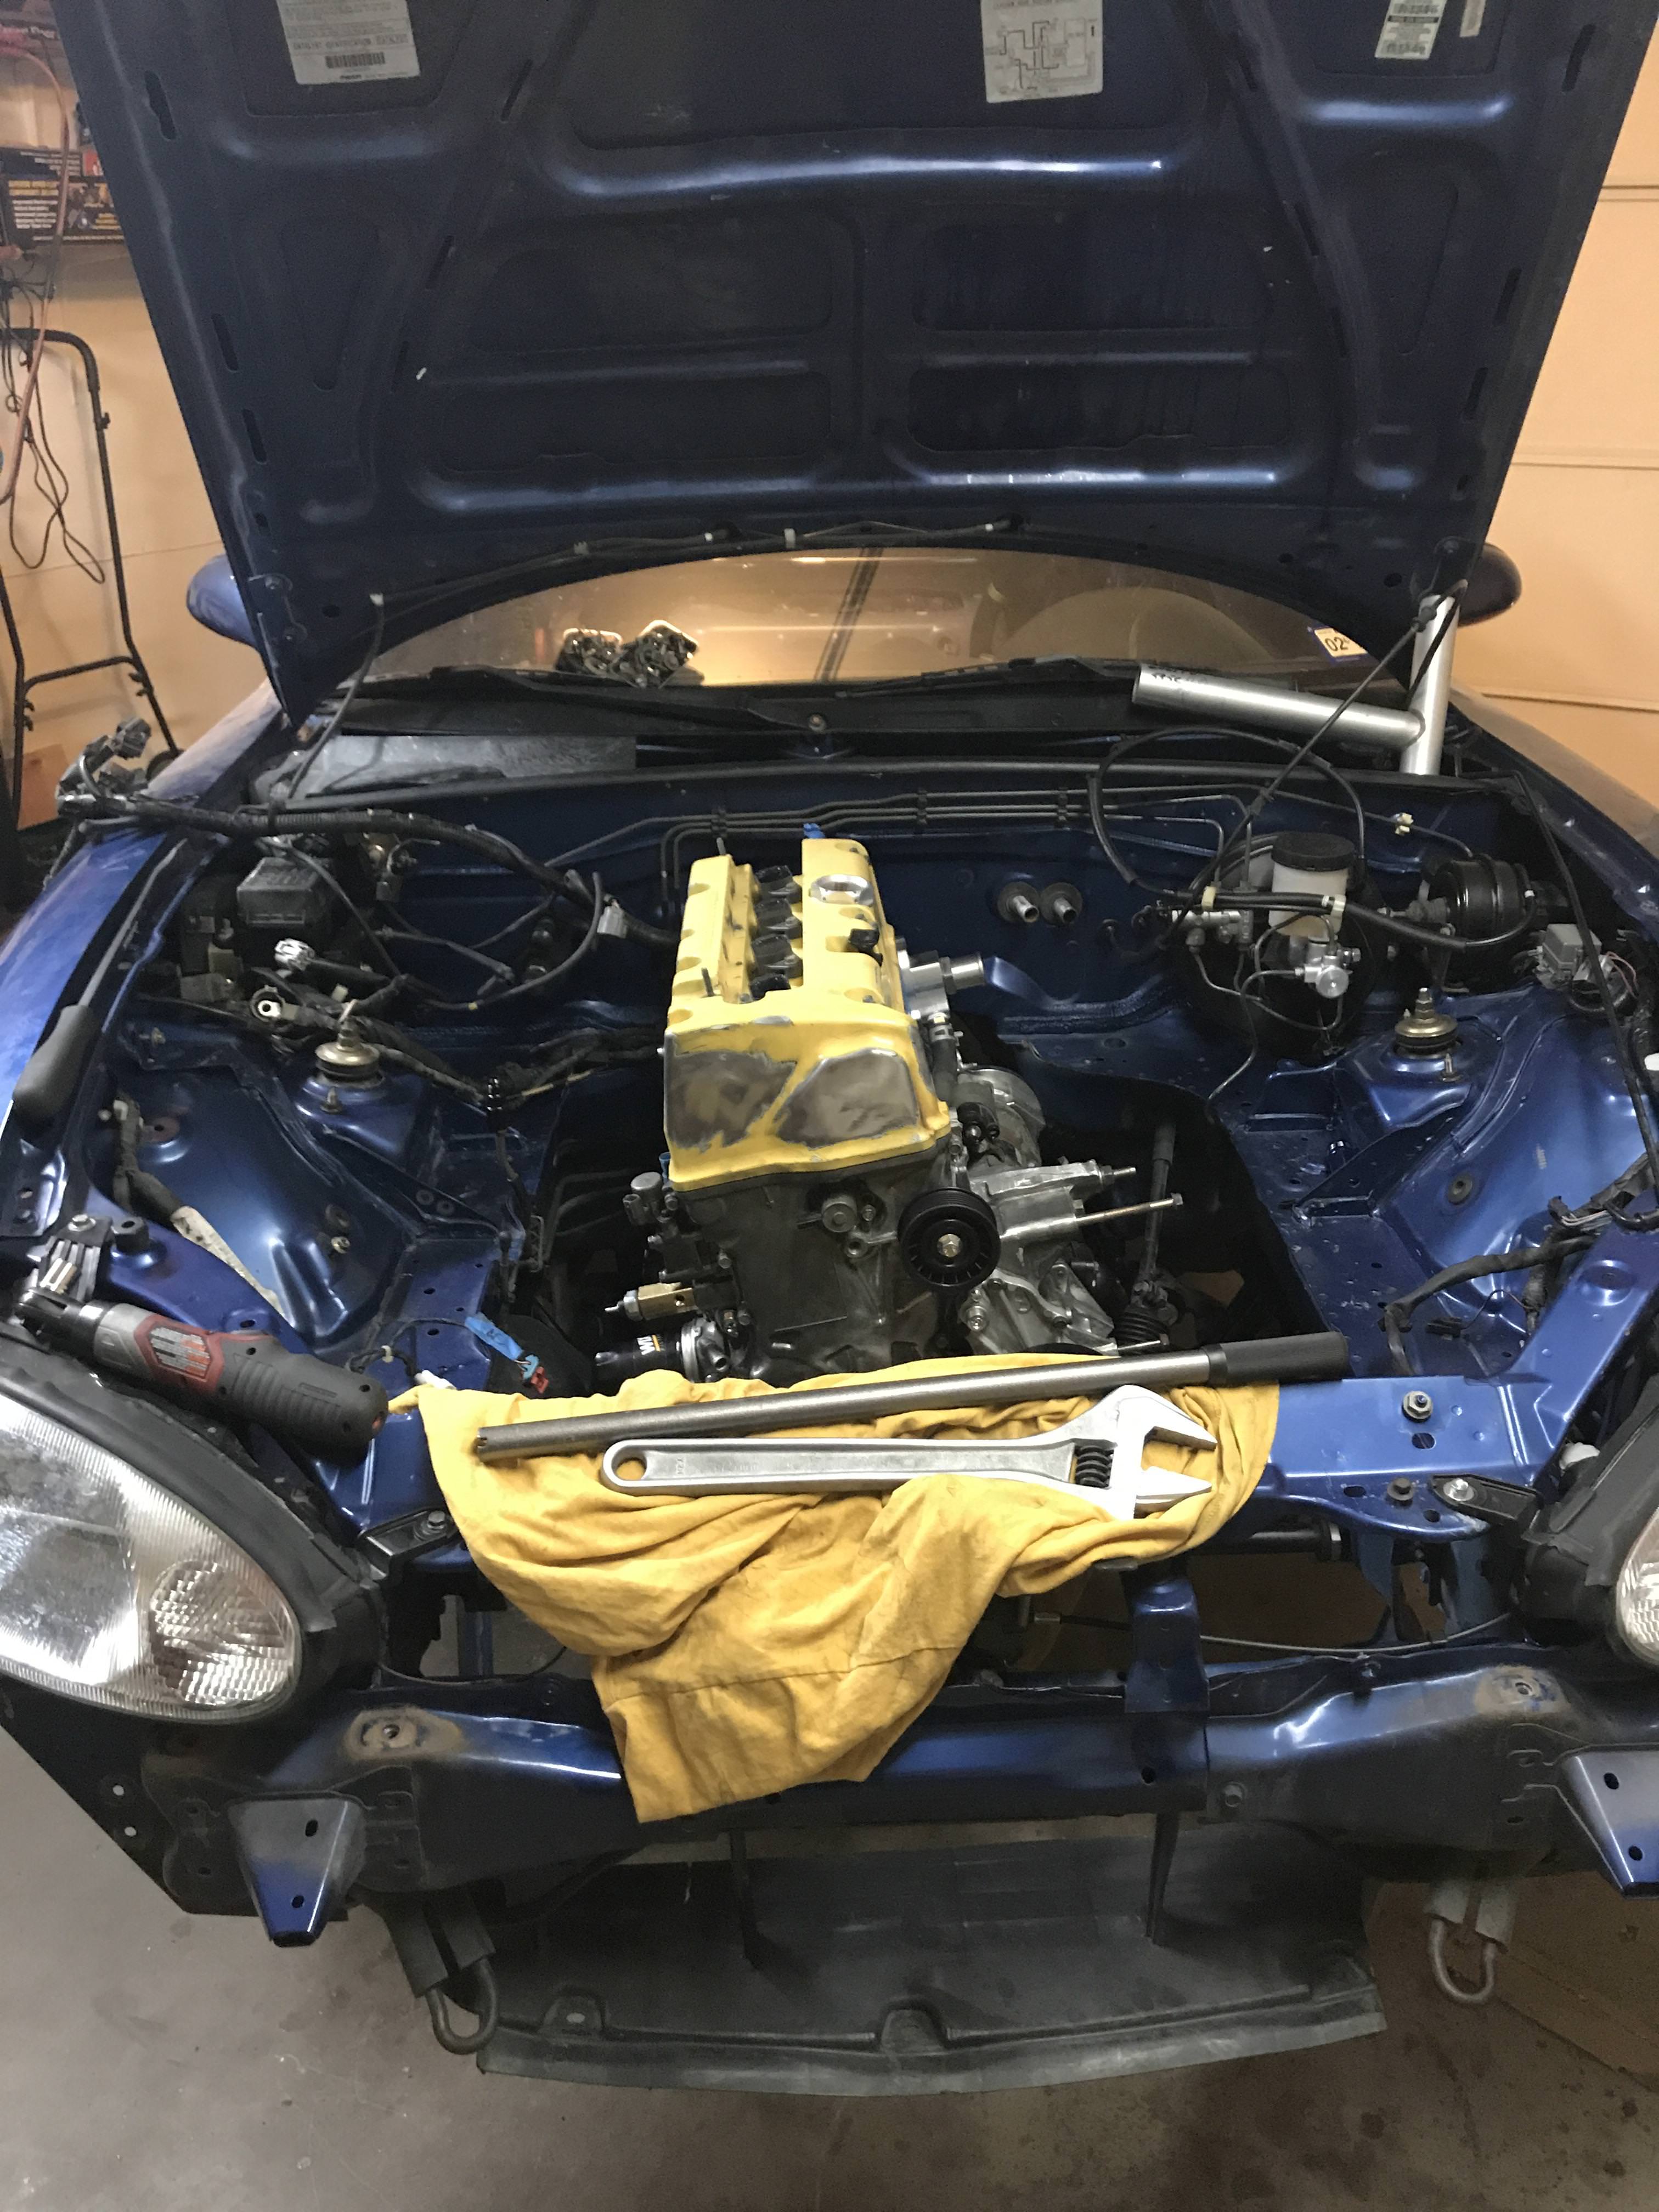
Bolted in and off the cherry picker
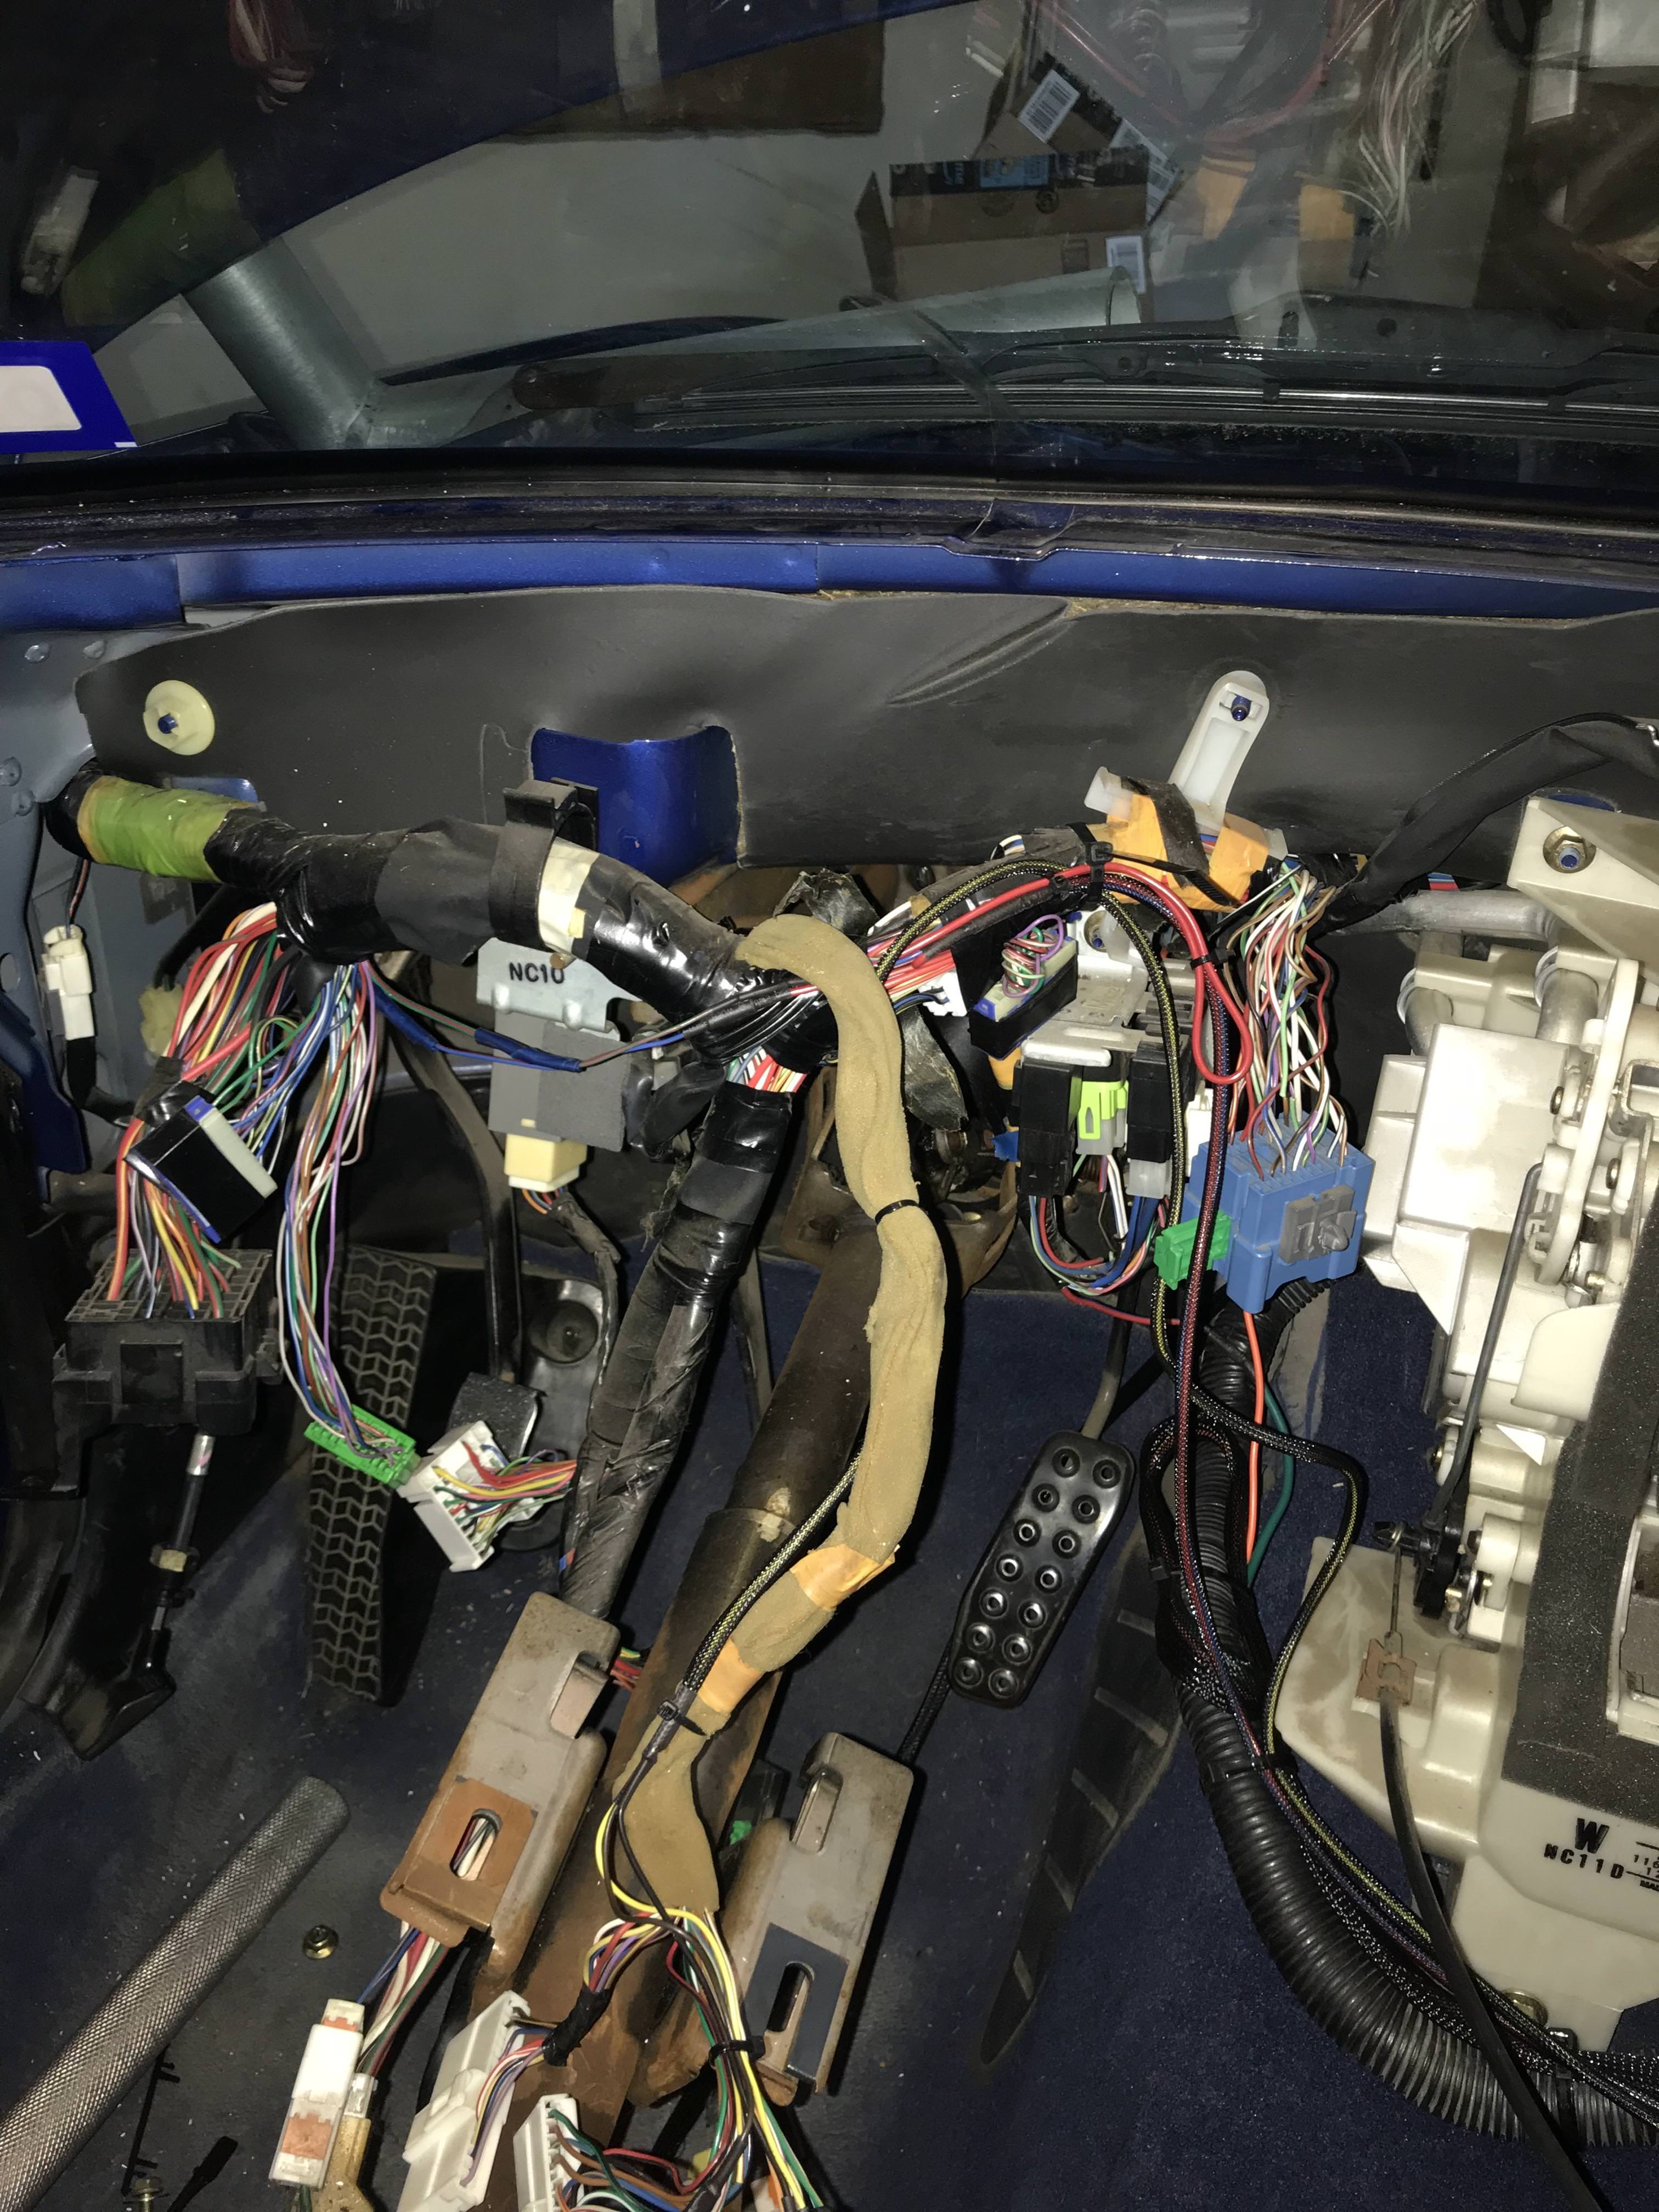
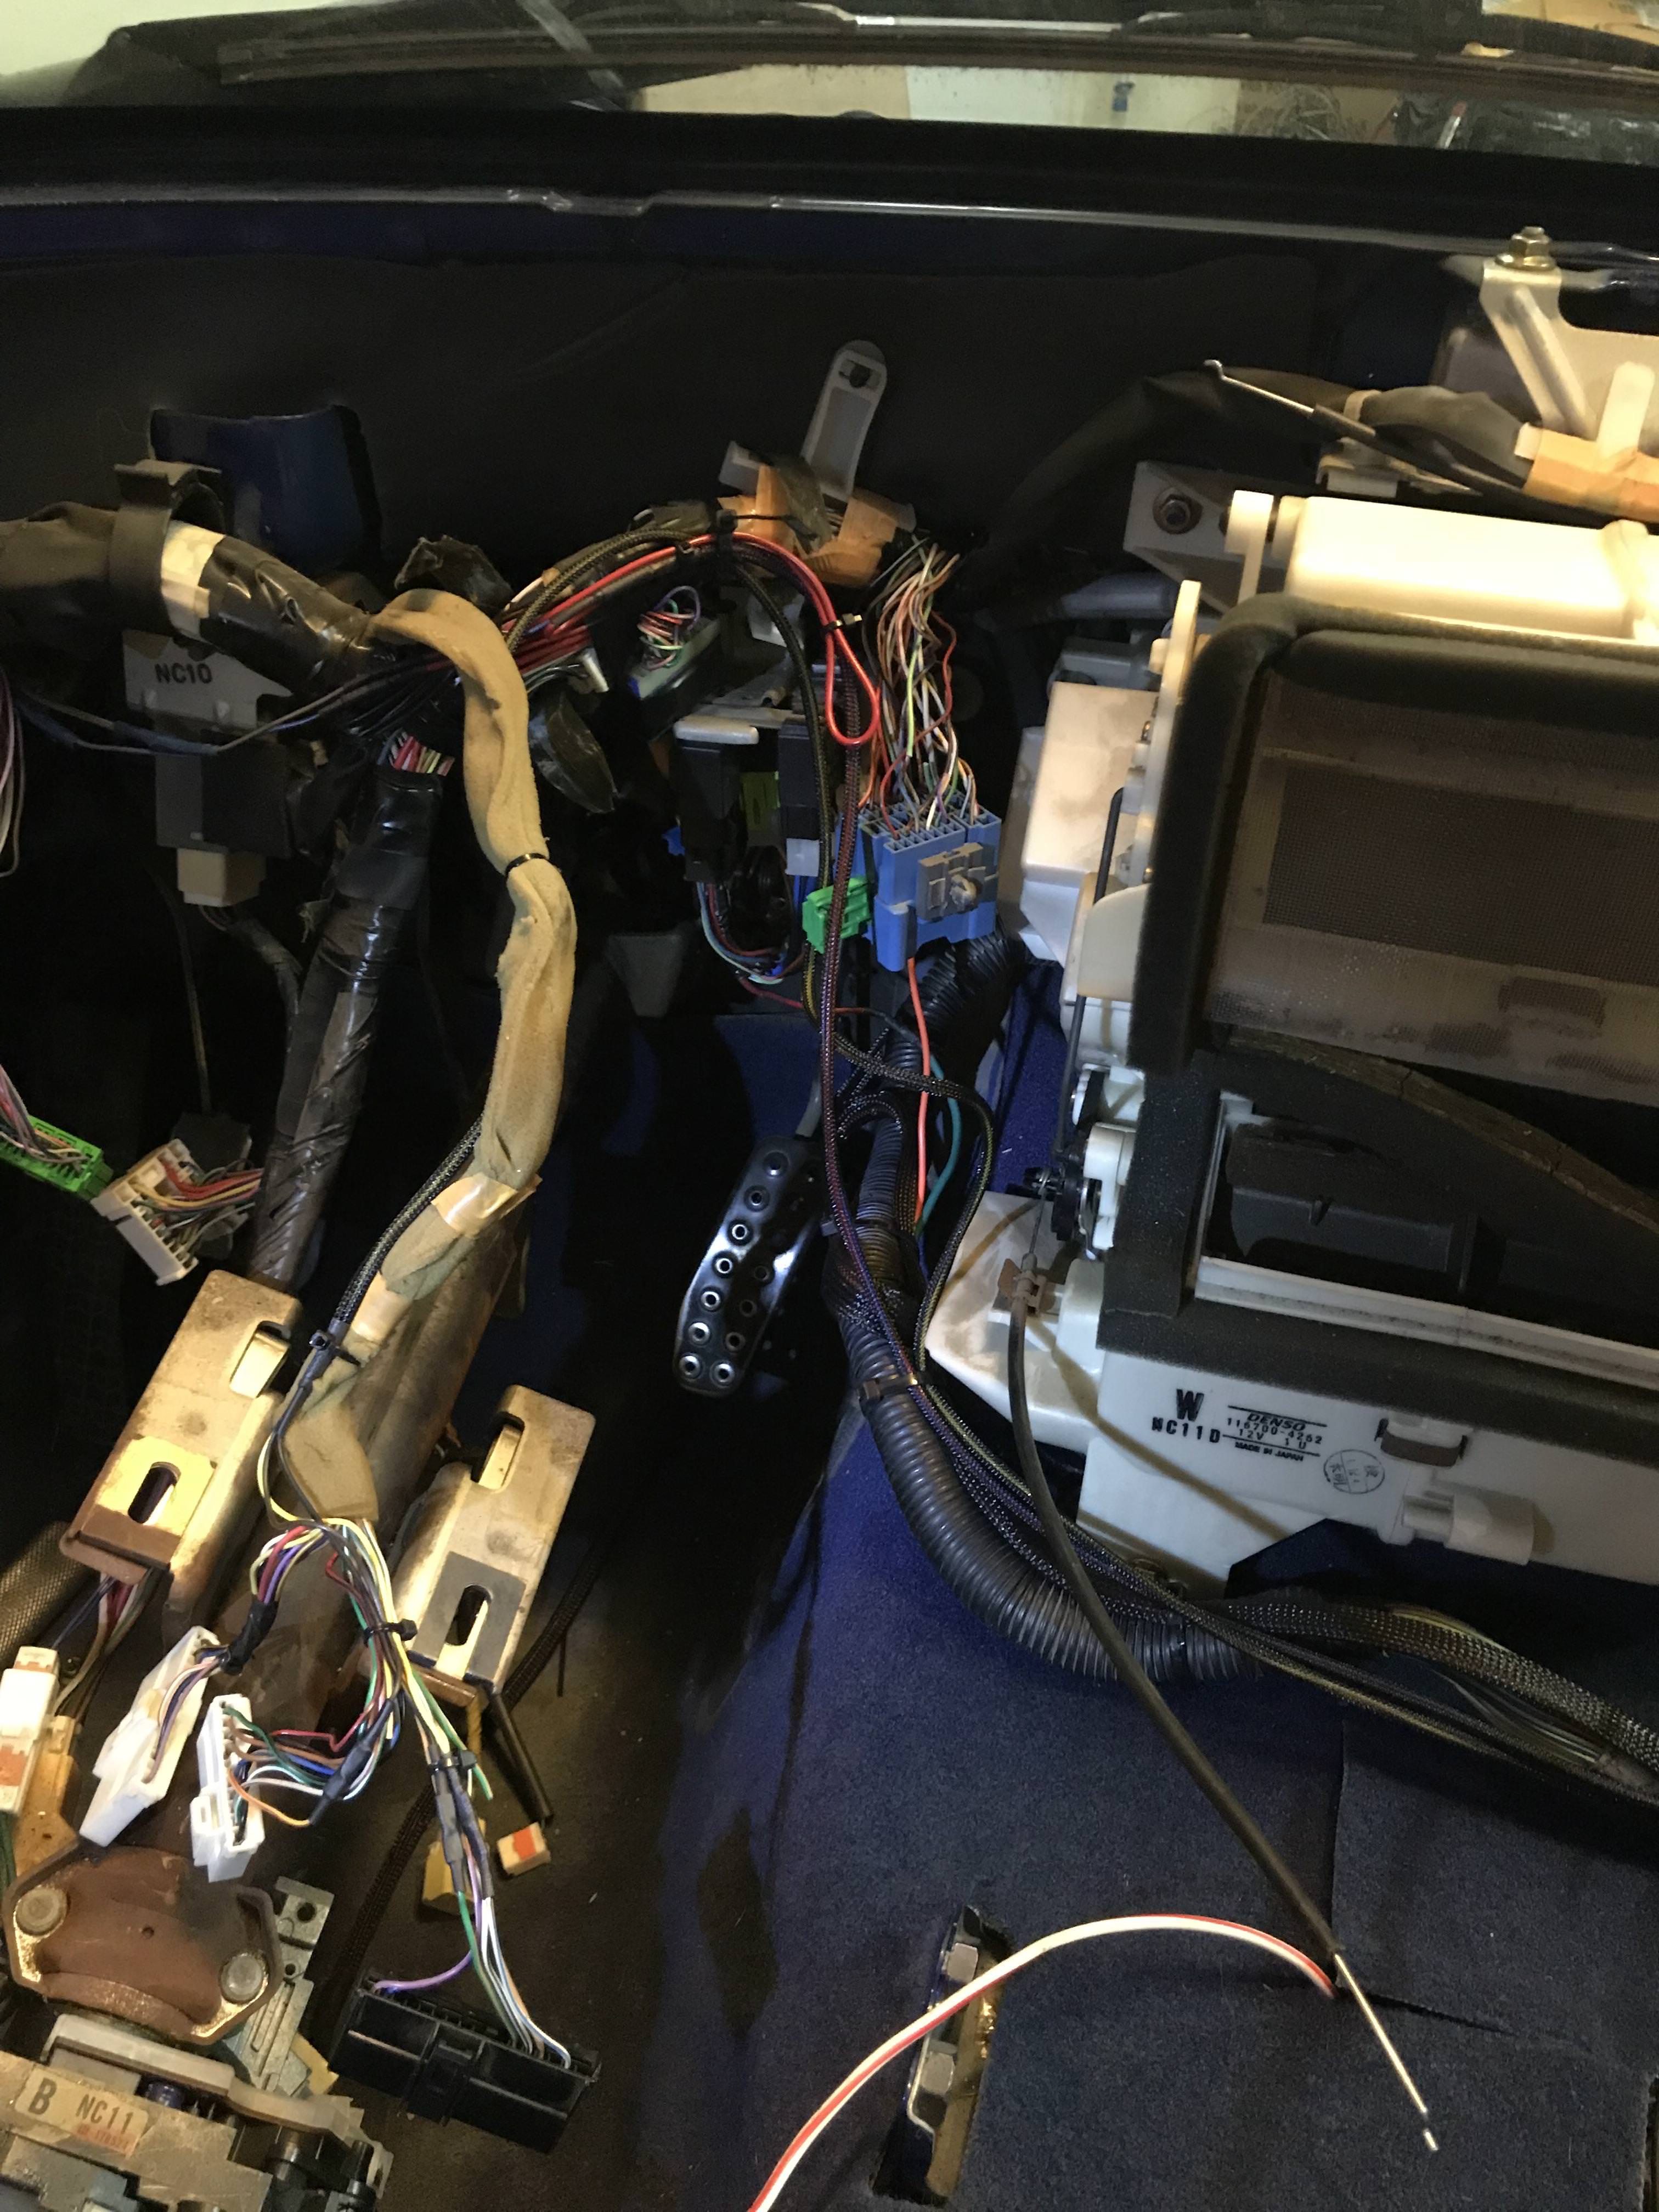
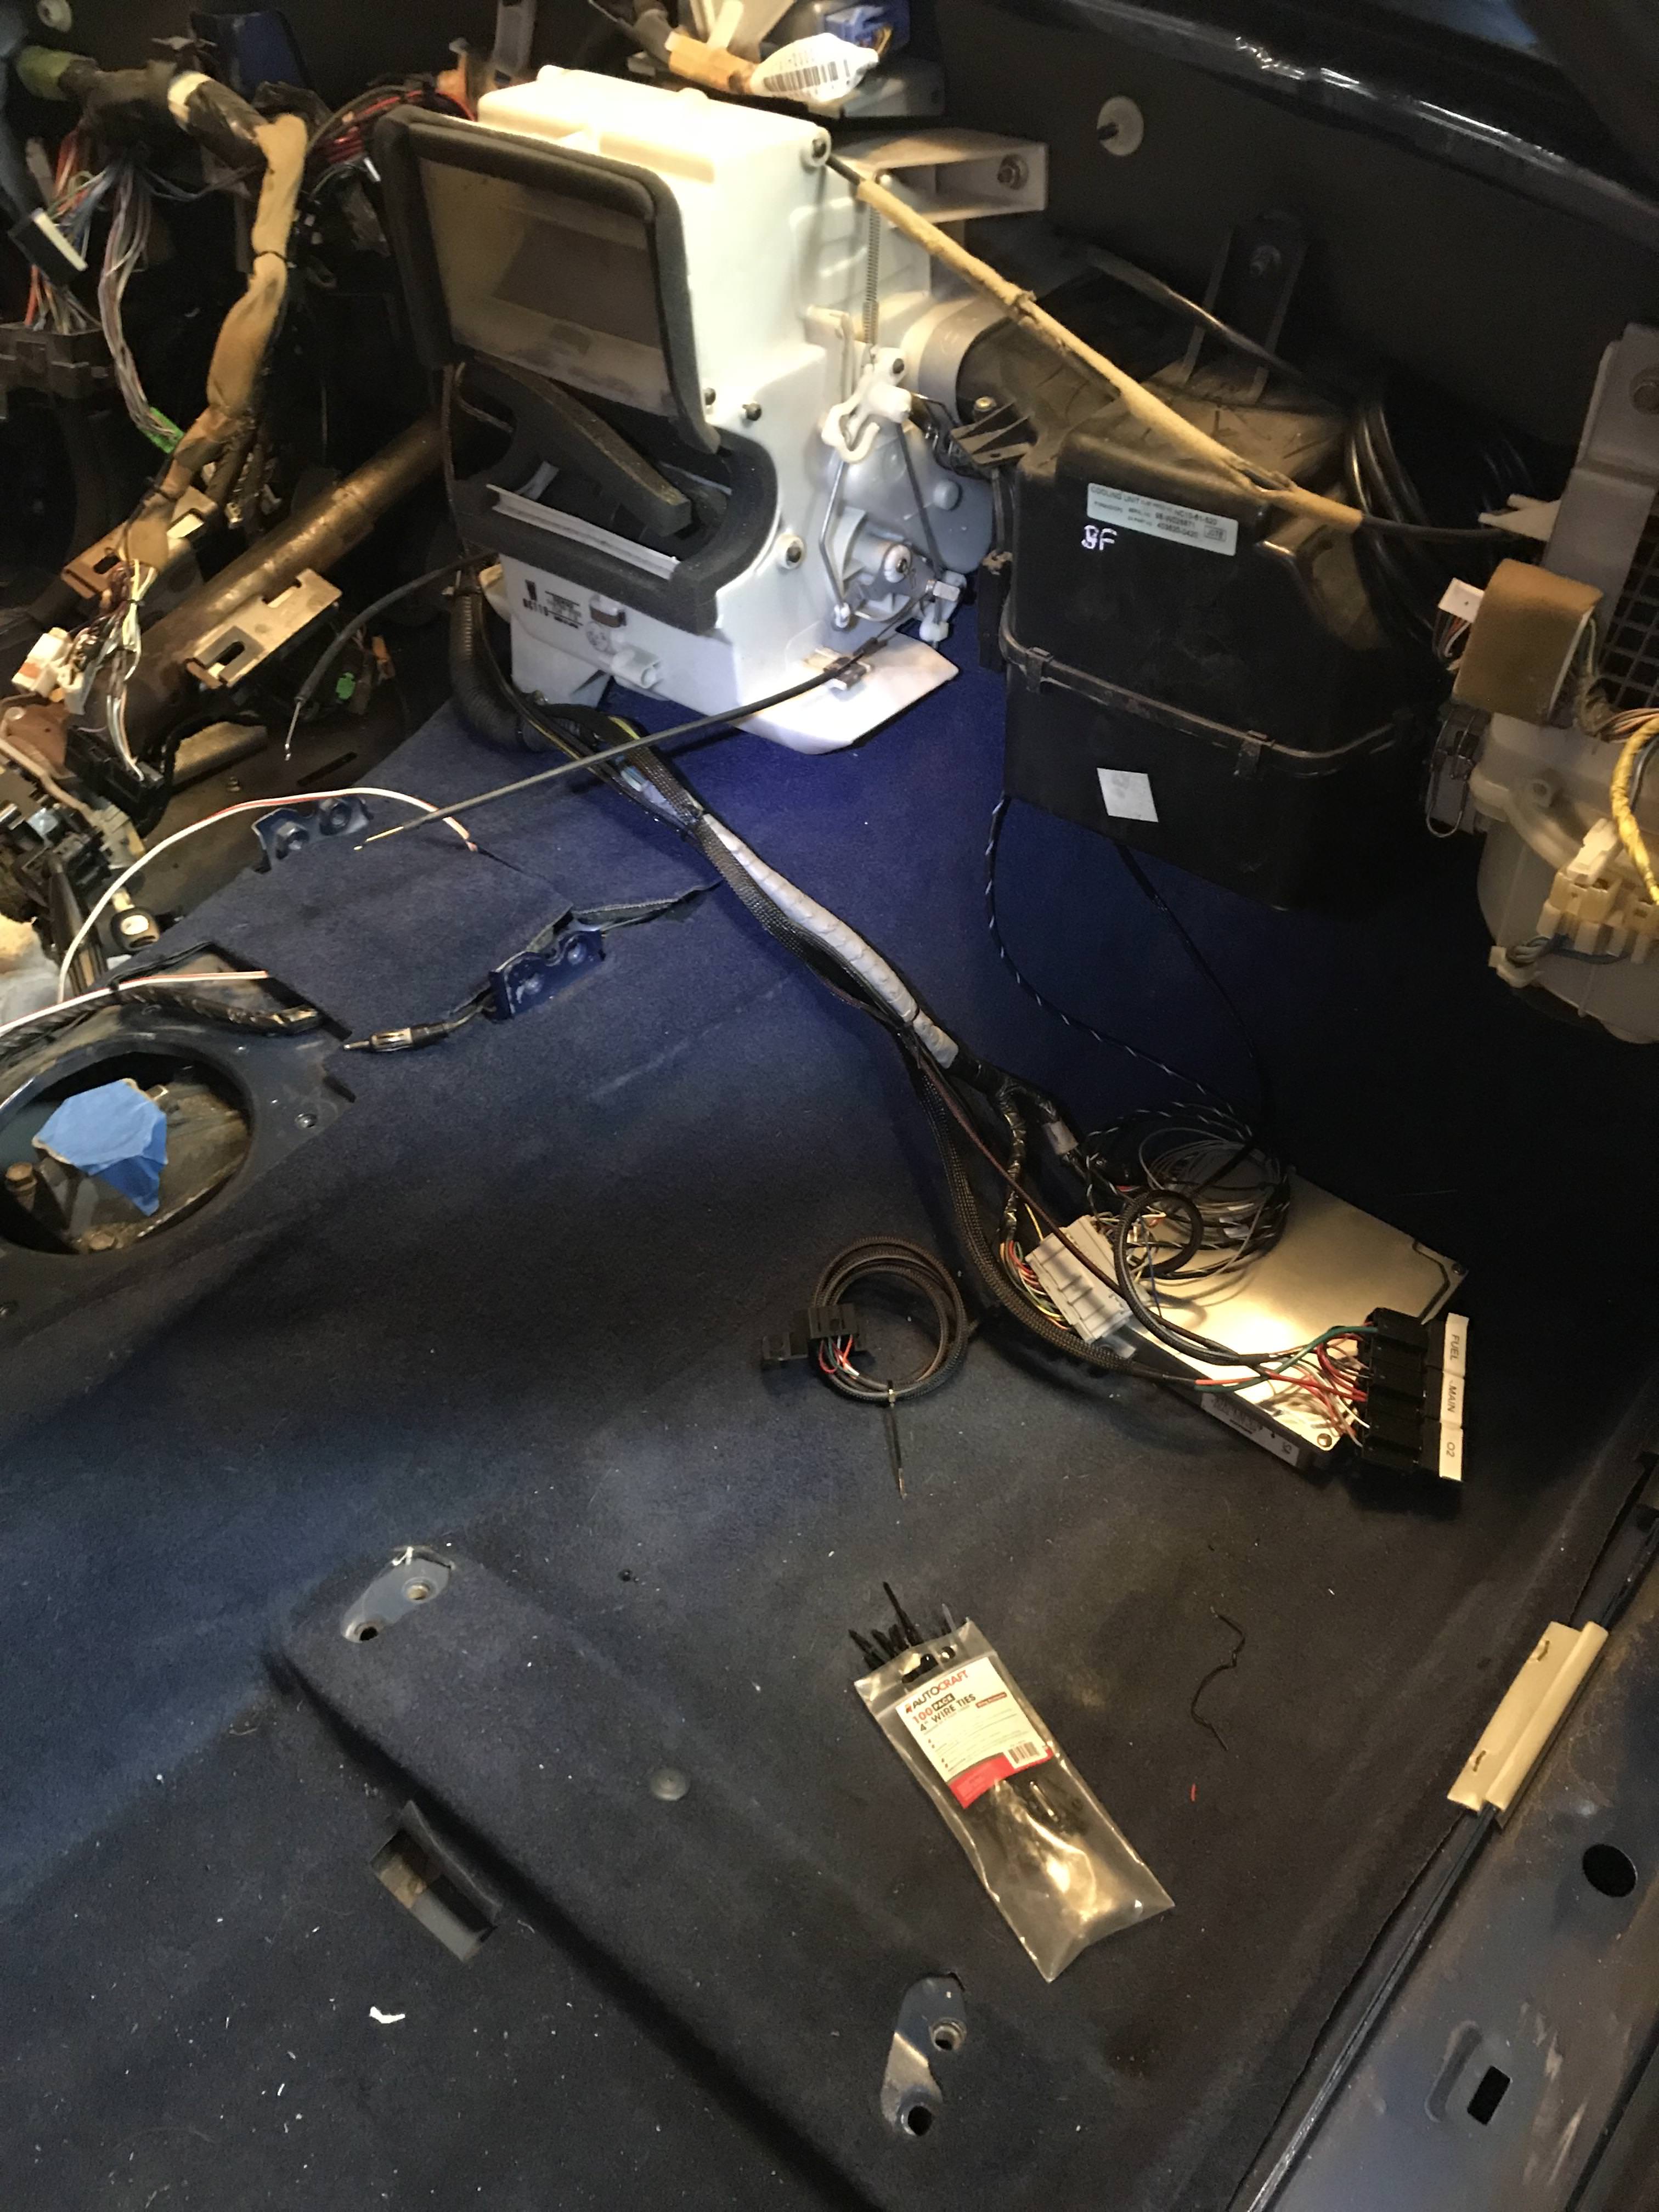
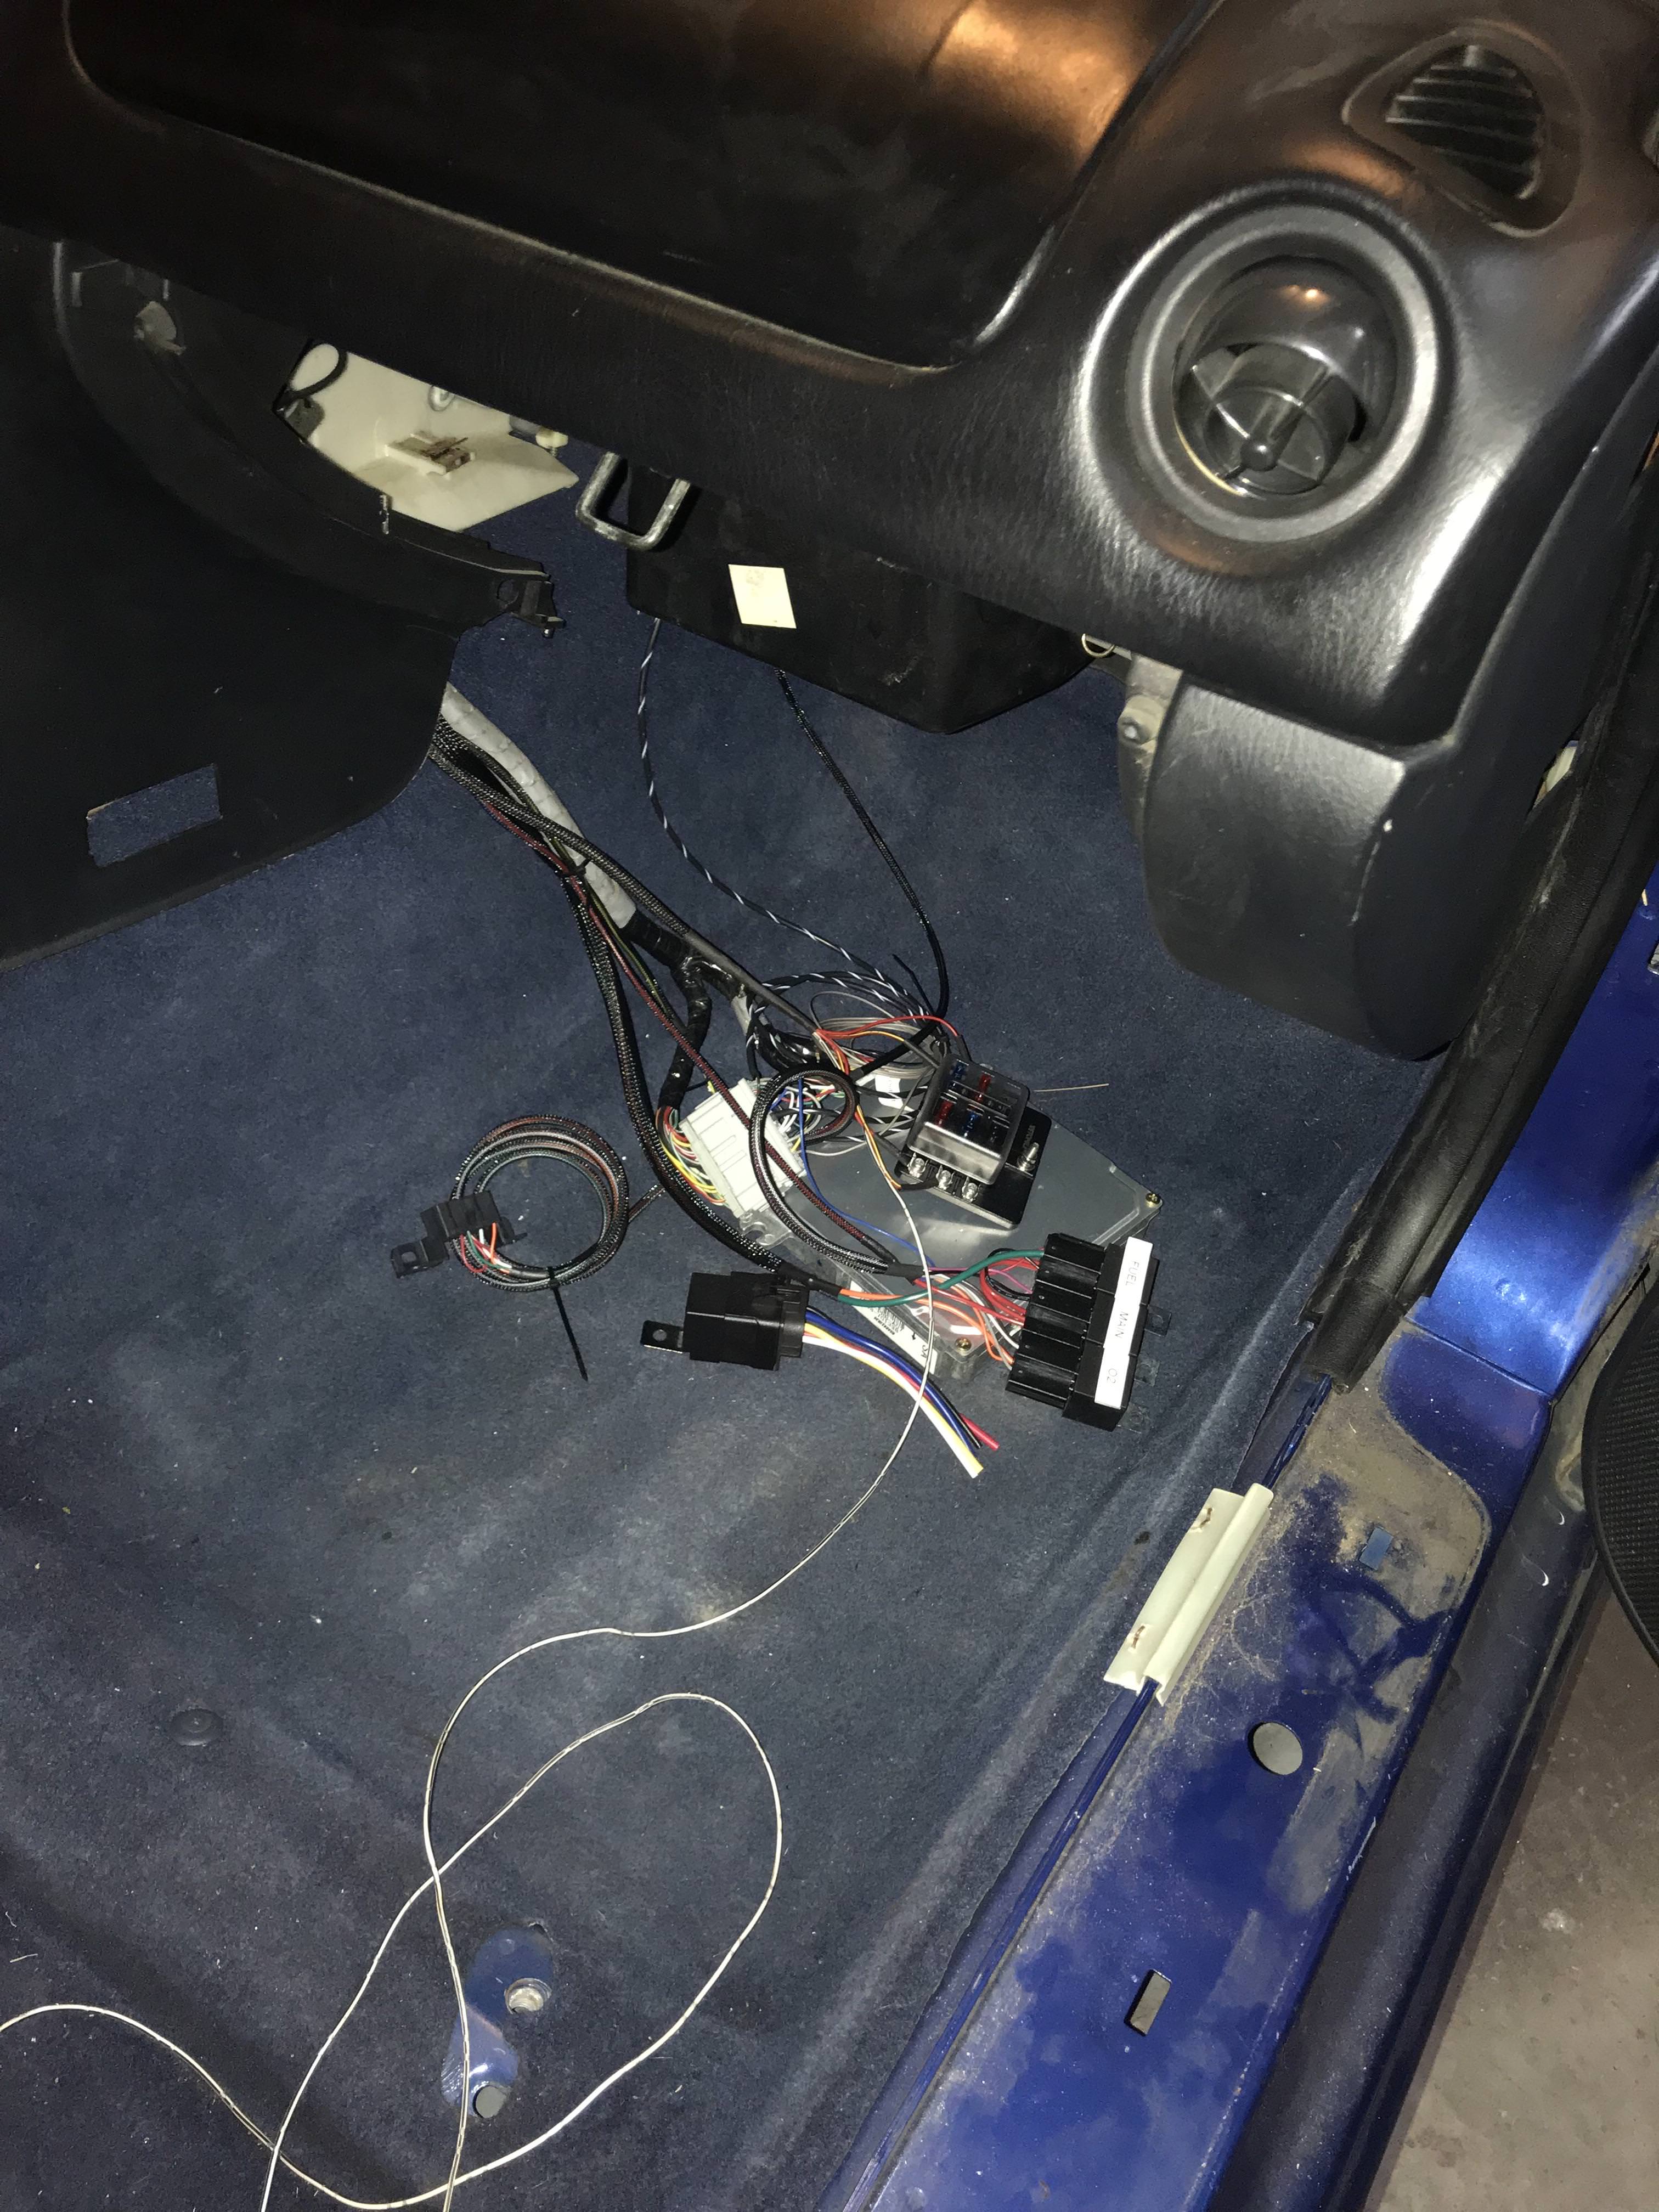
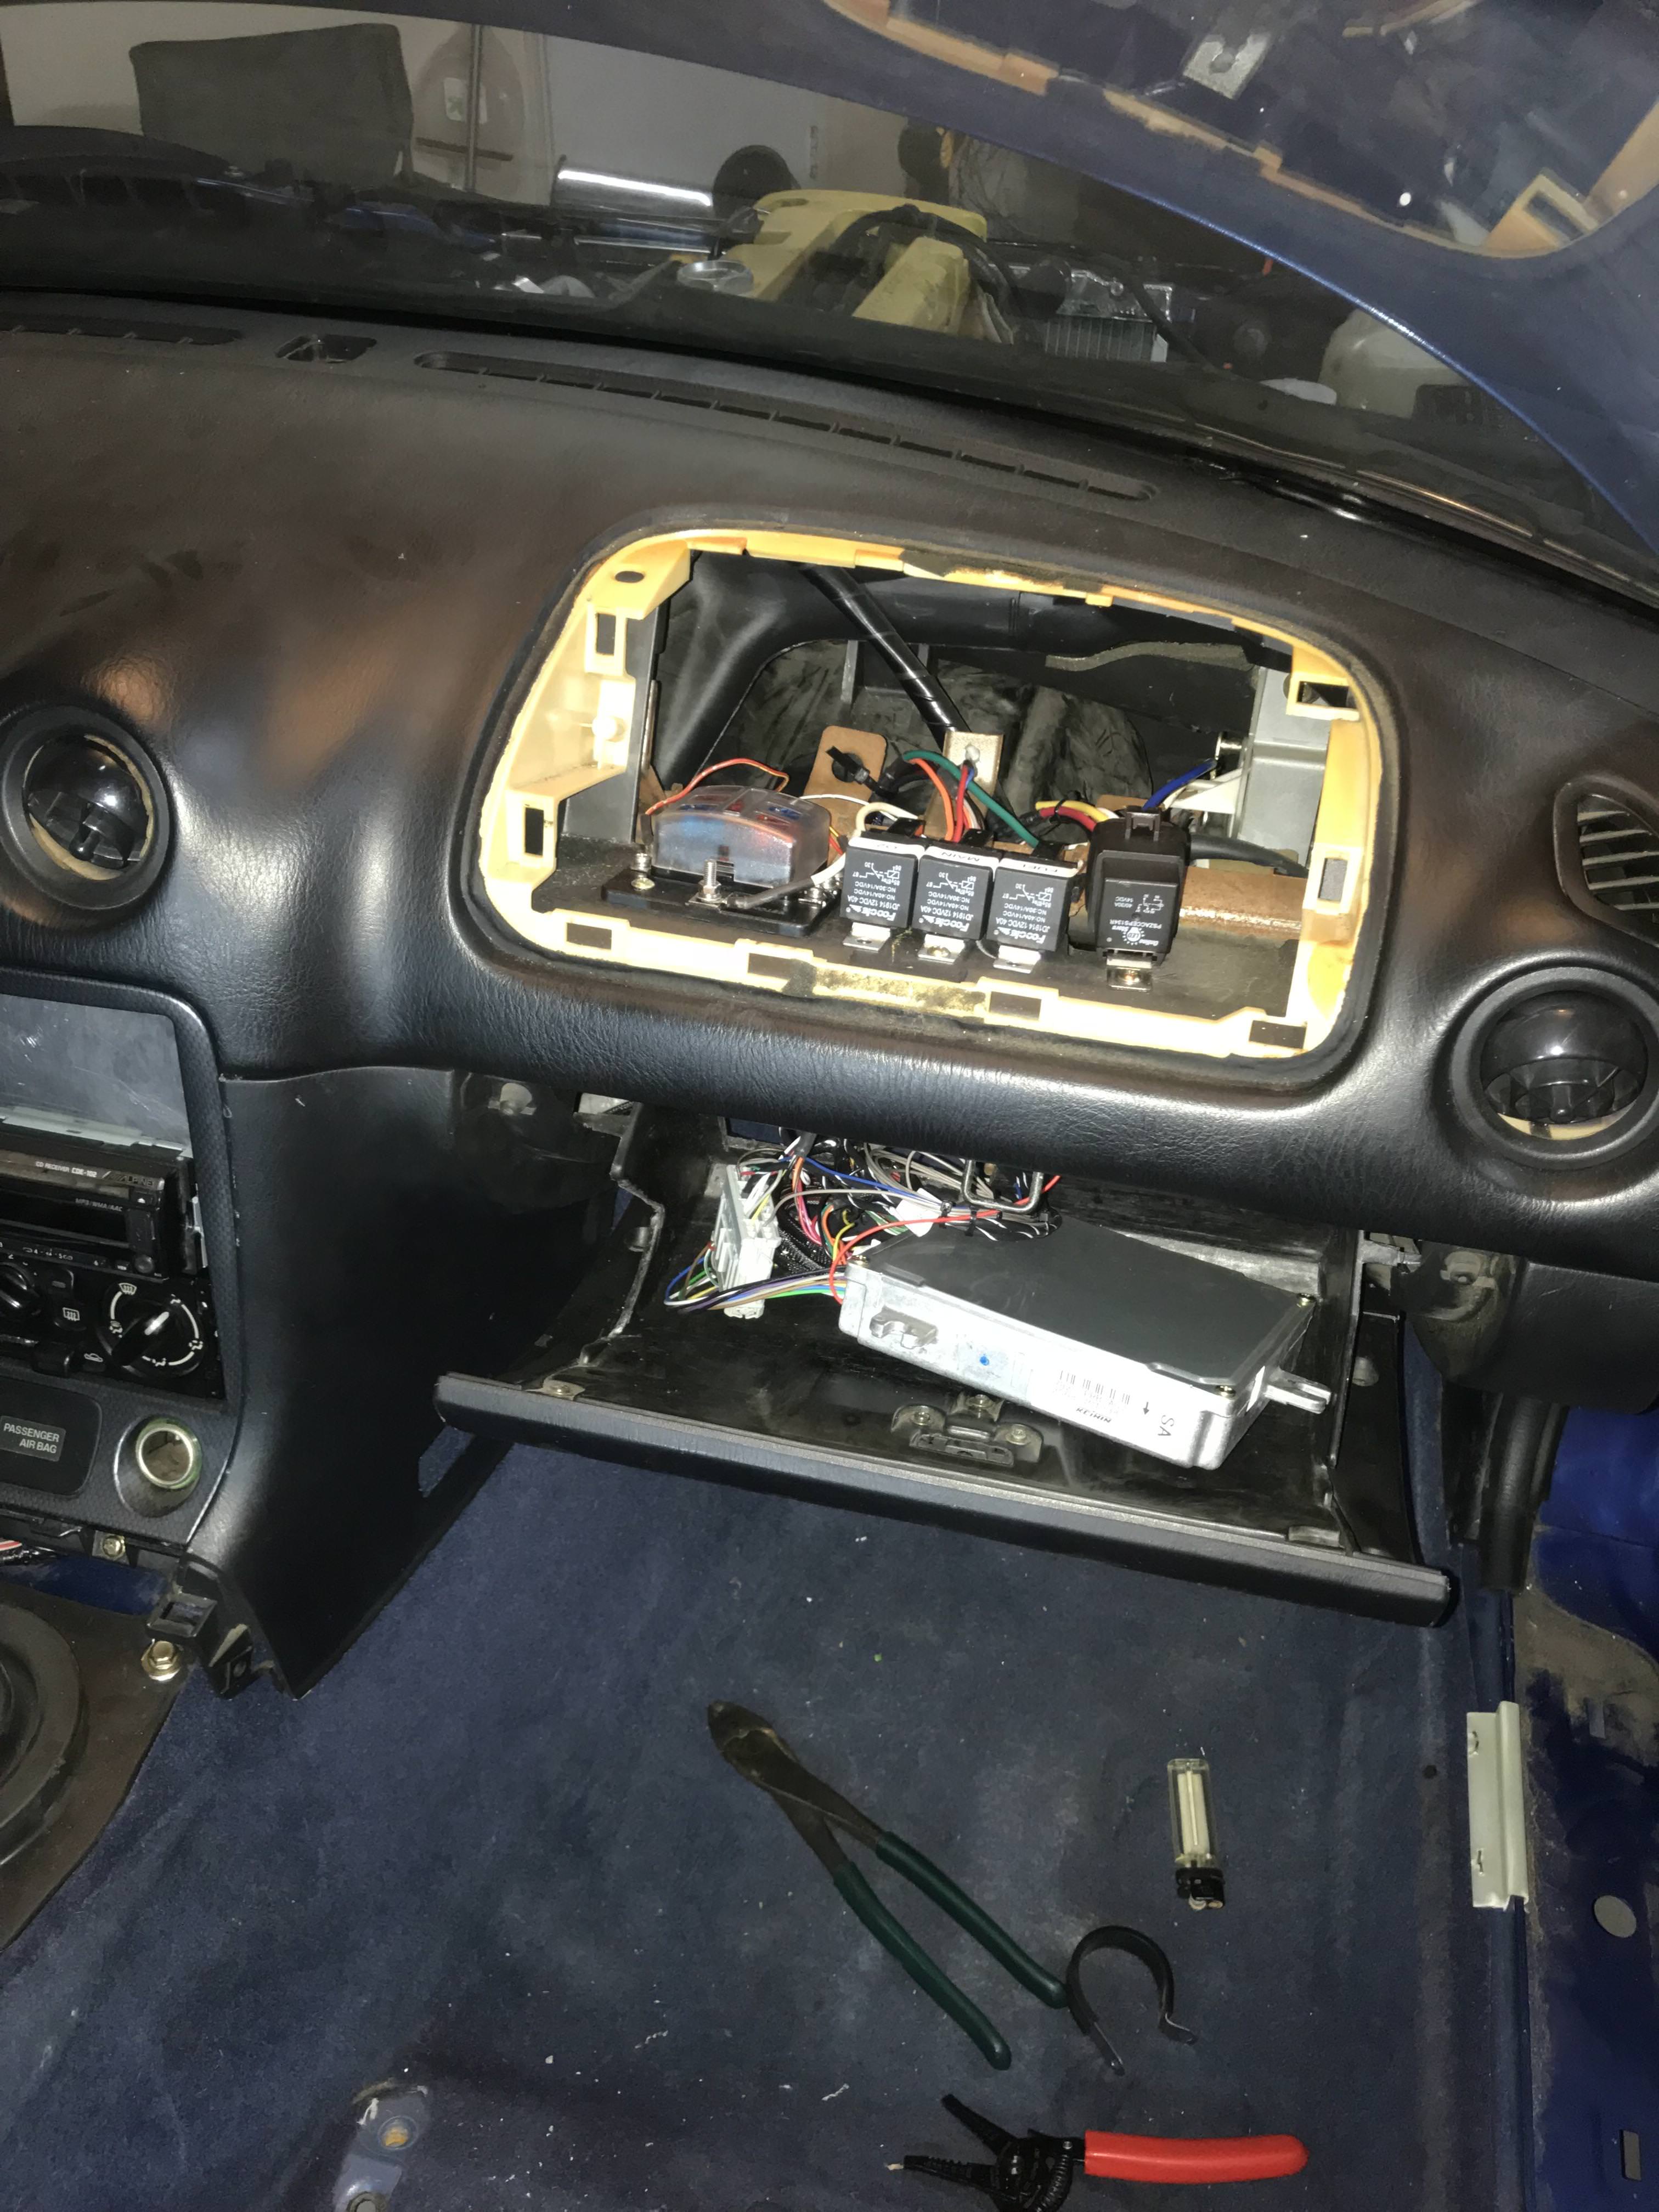
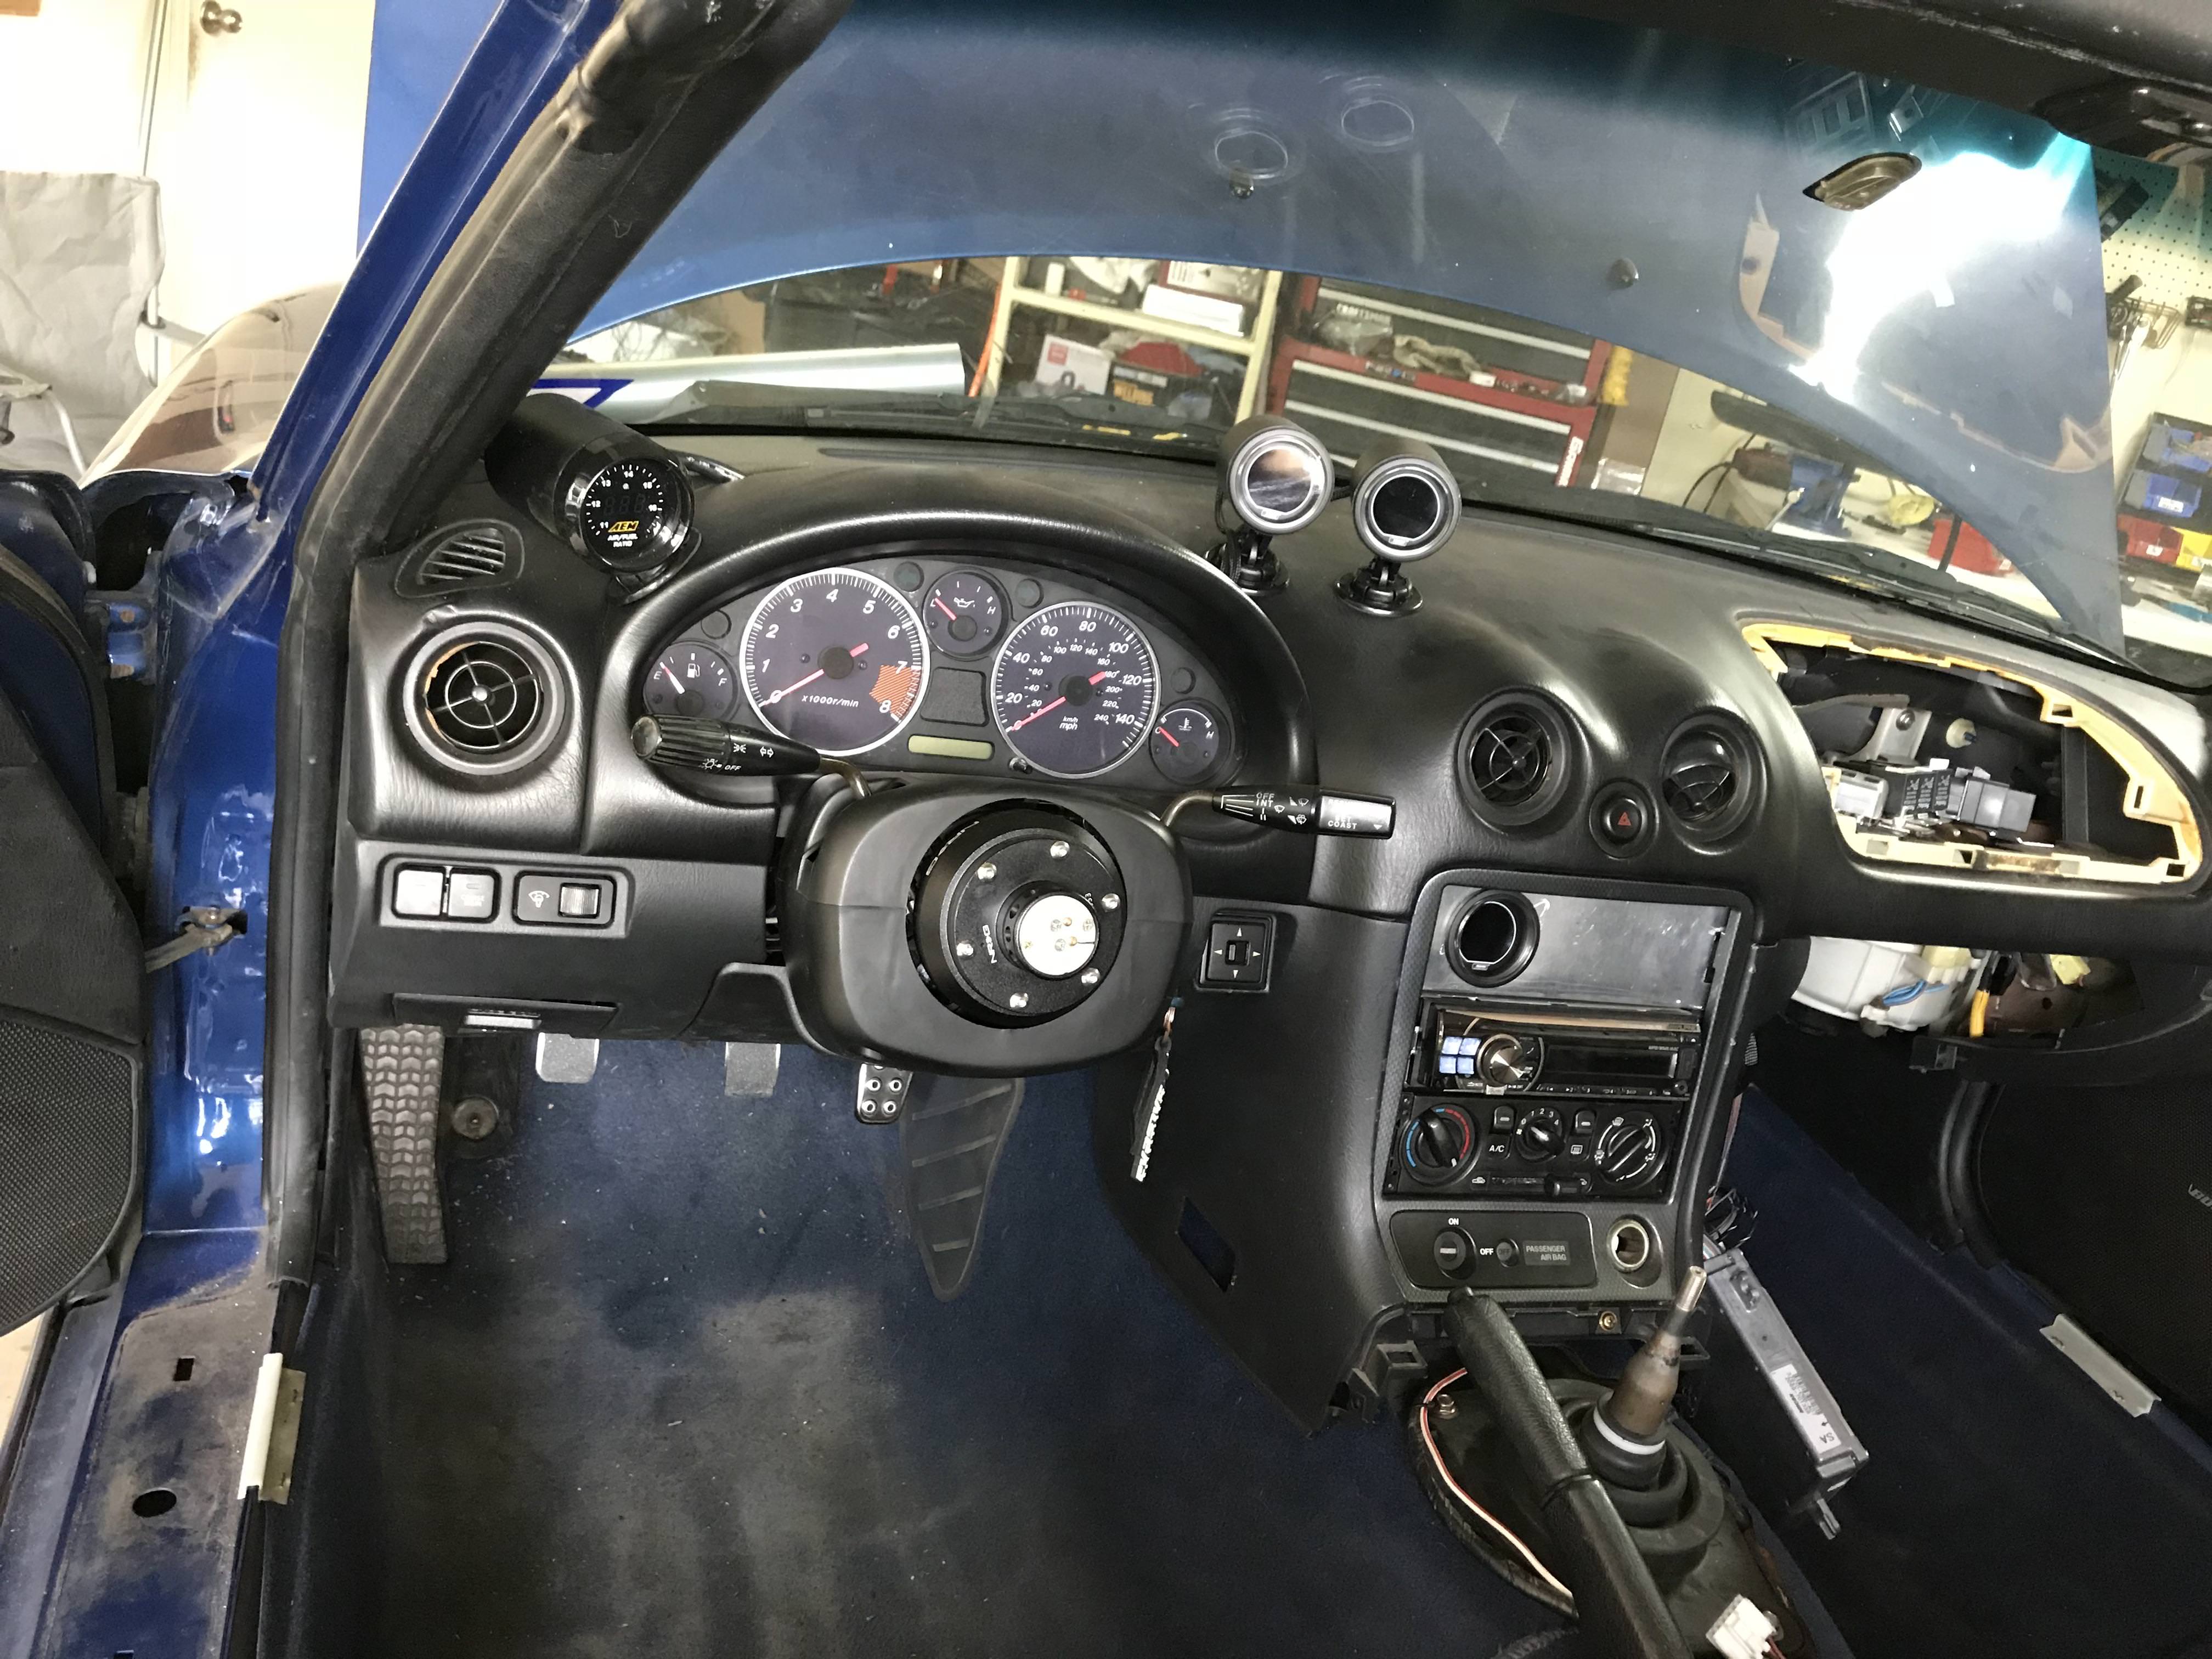
At this point you gotta move into the cabin and tear out the dash for some wiring
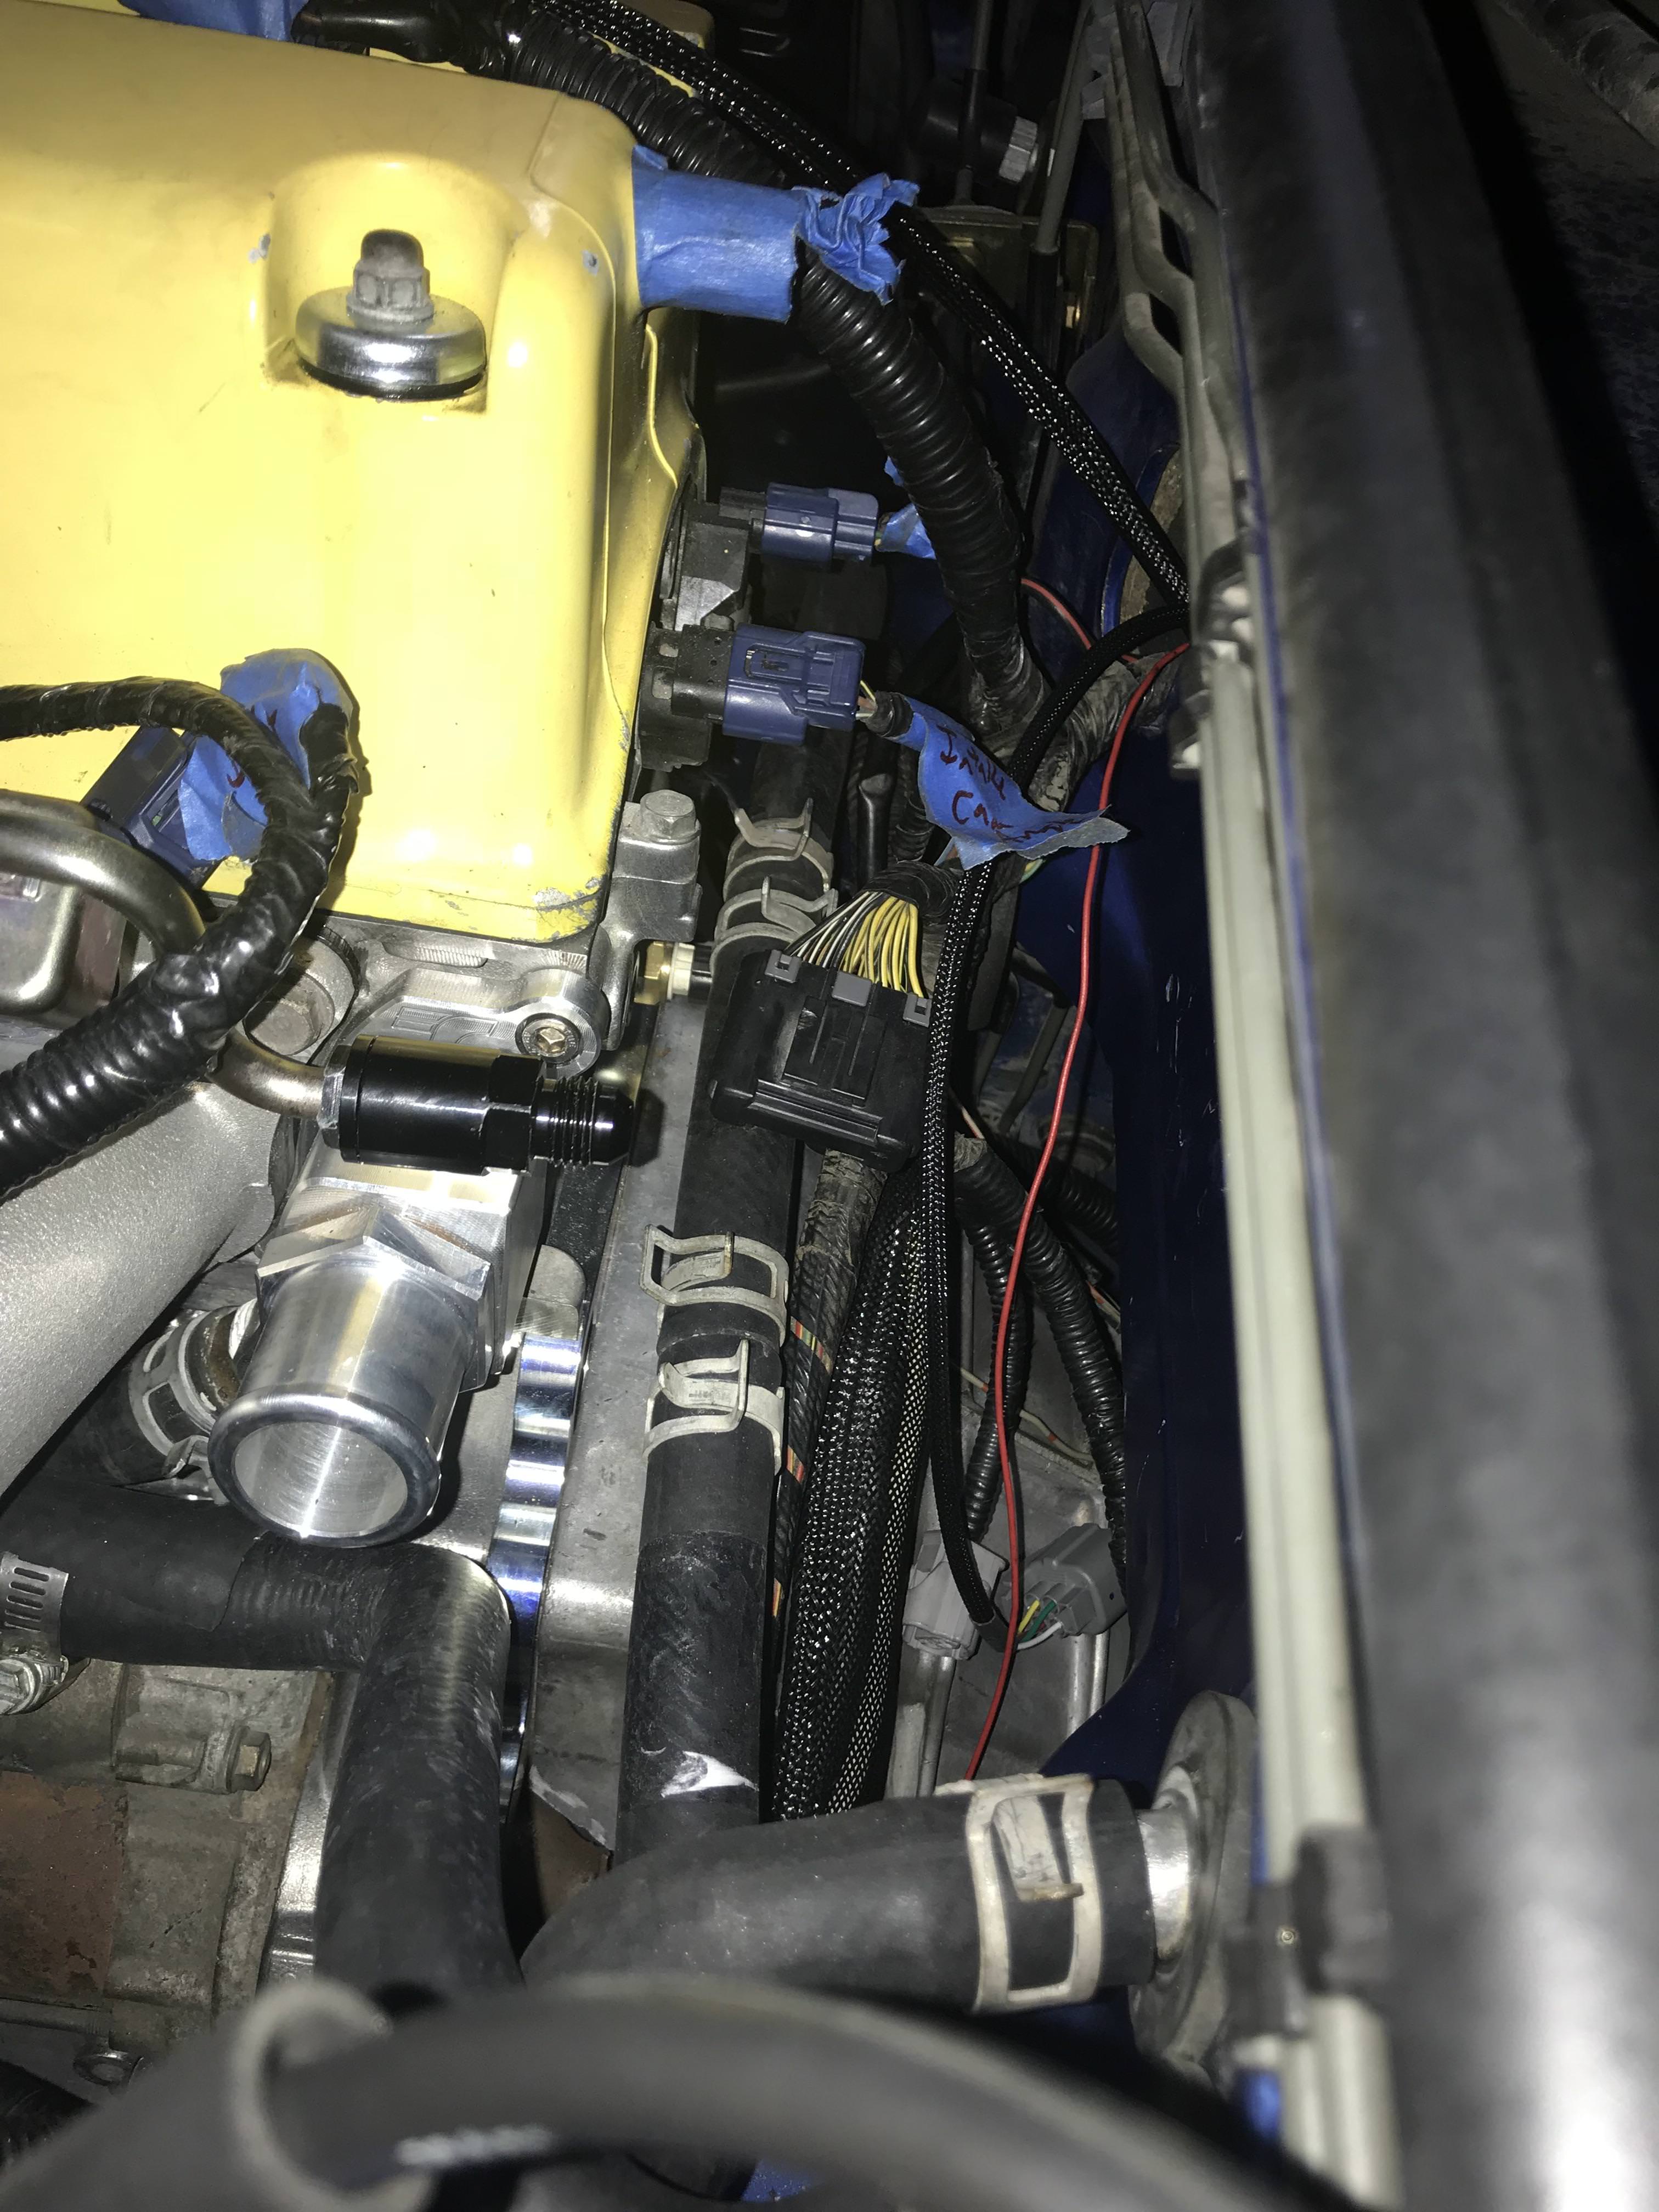
Pulling the harness on the engine, also wiring in my gauges
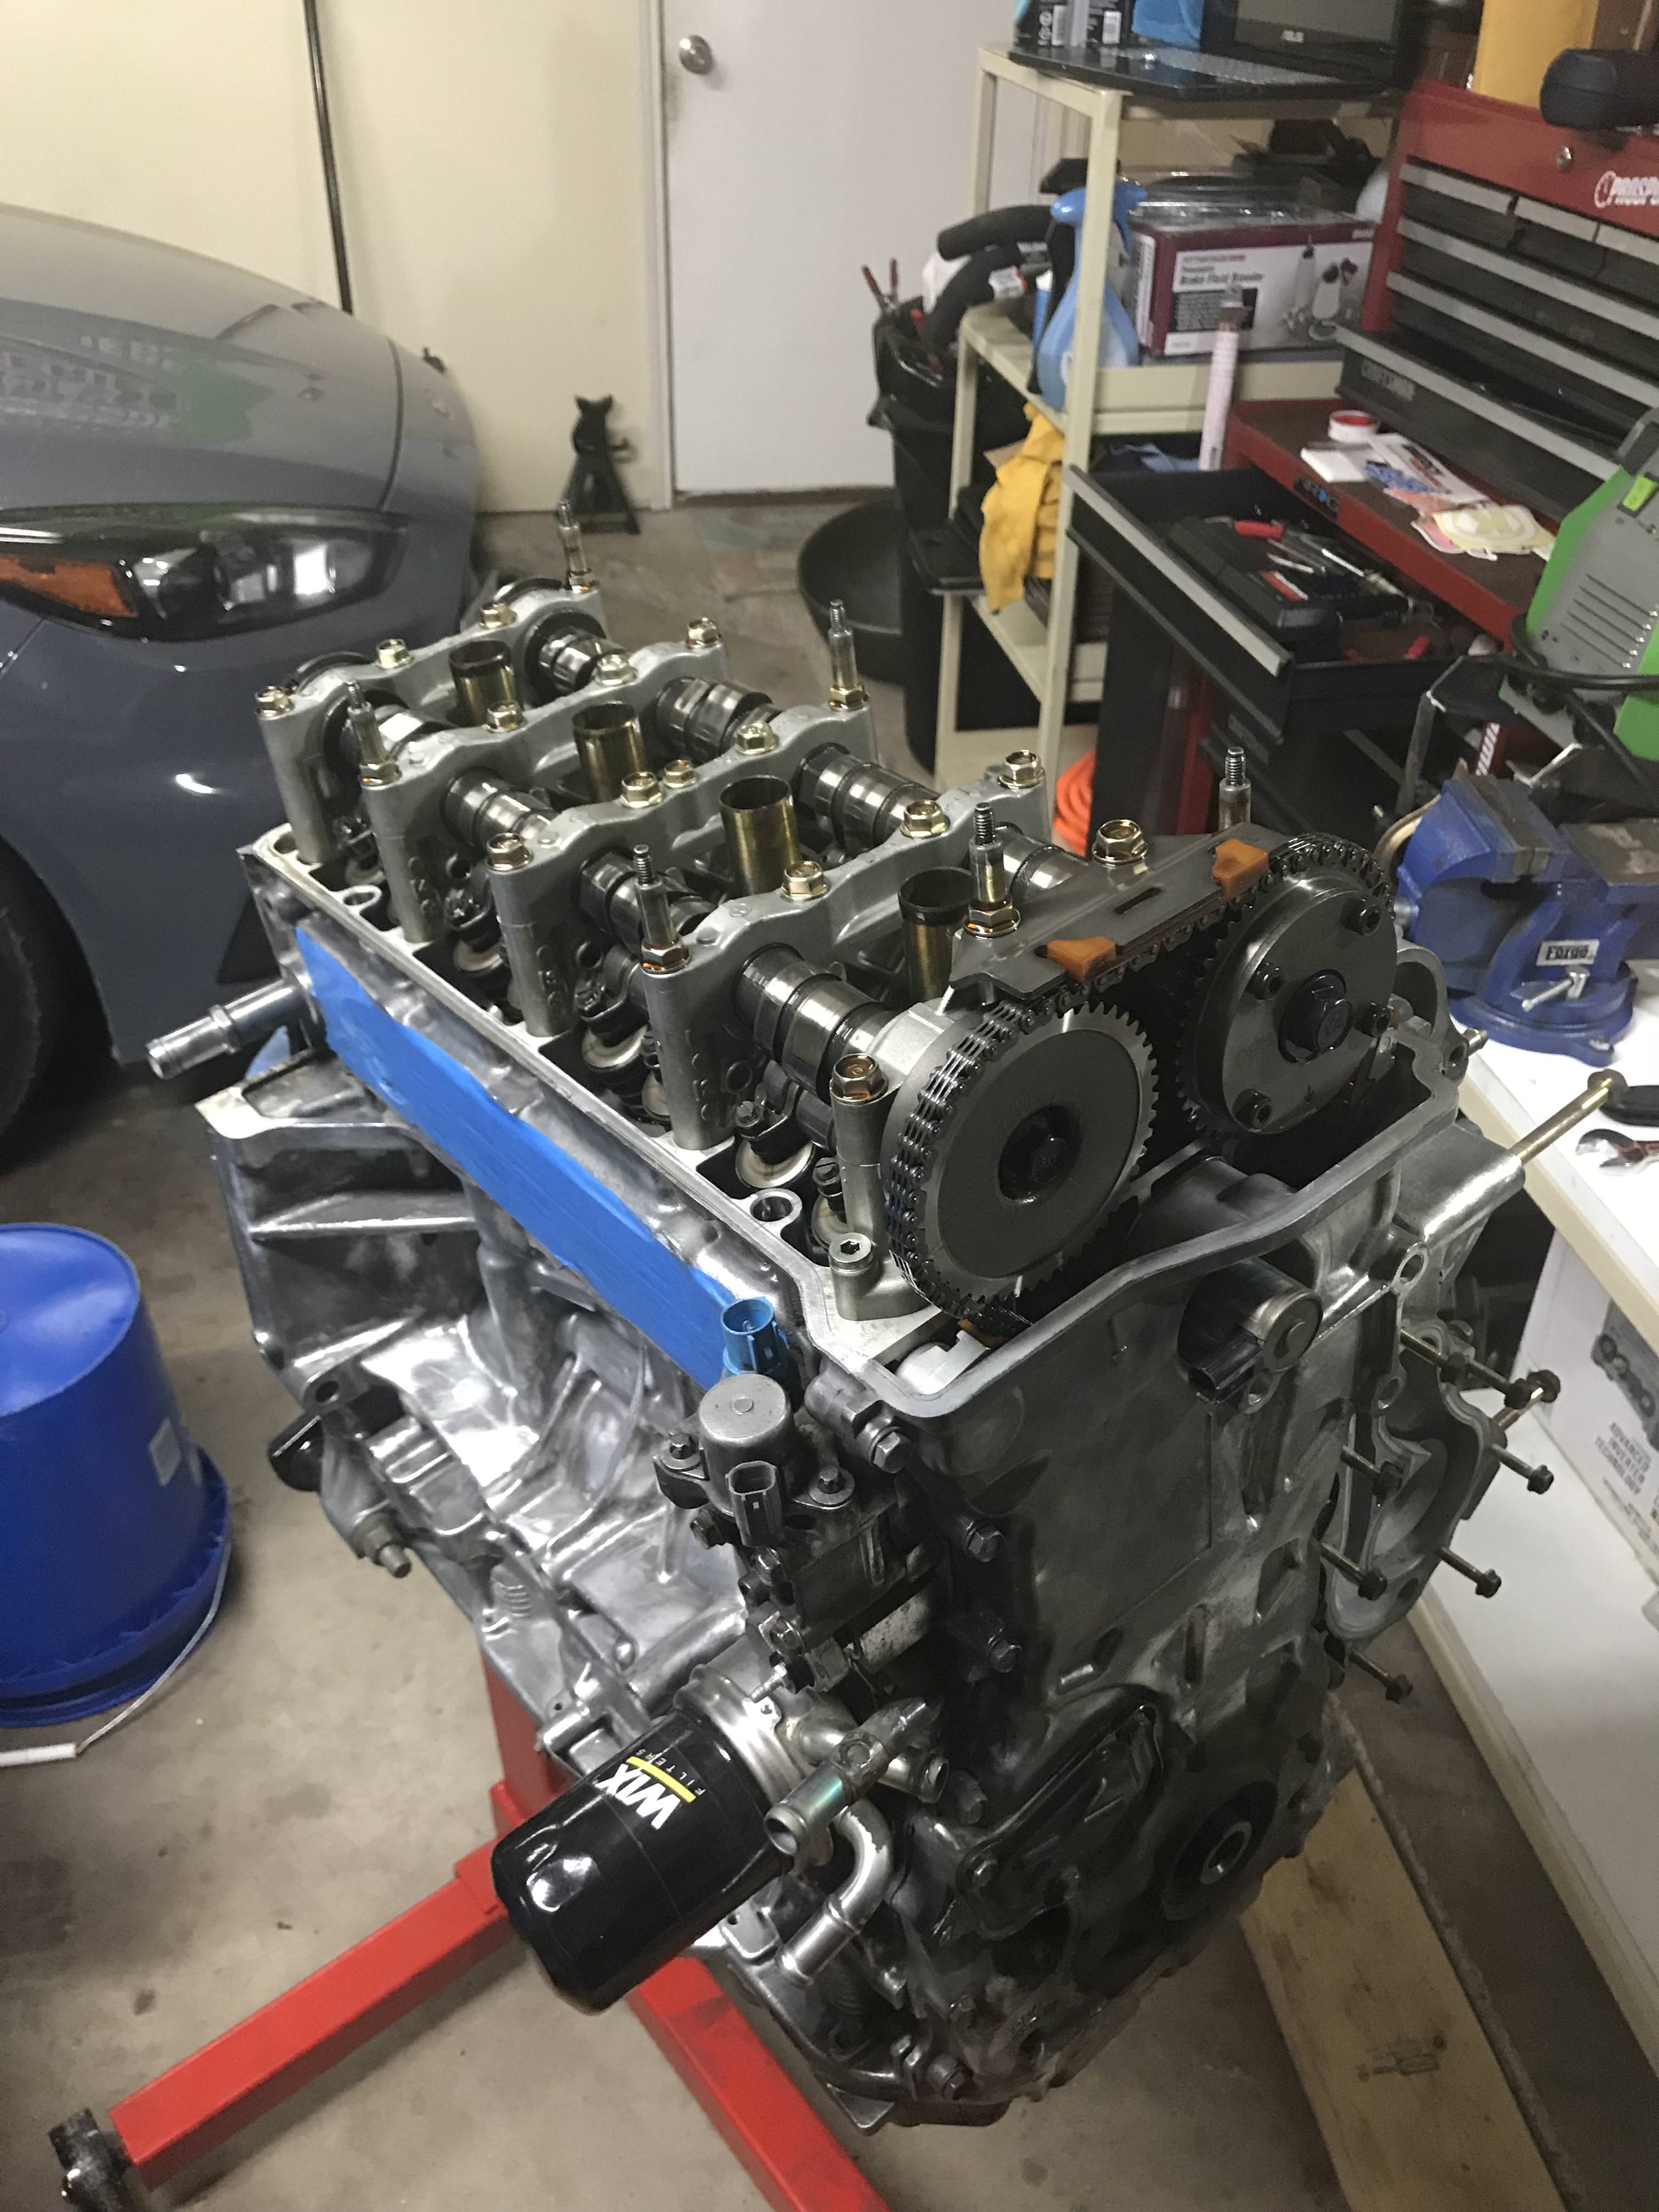
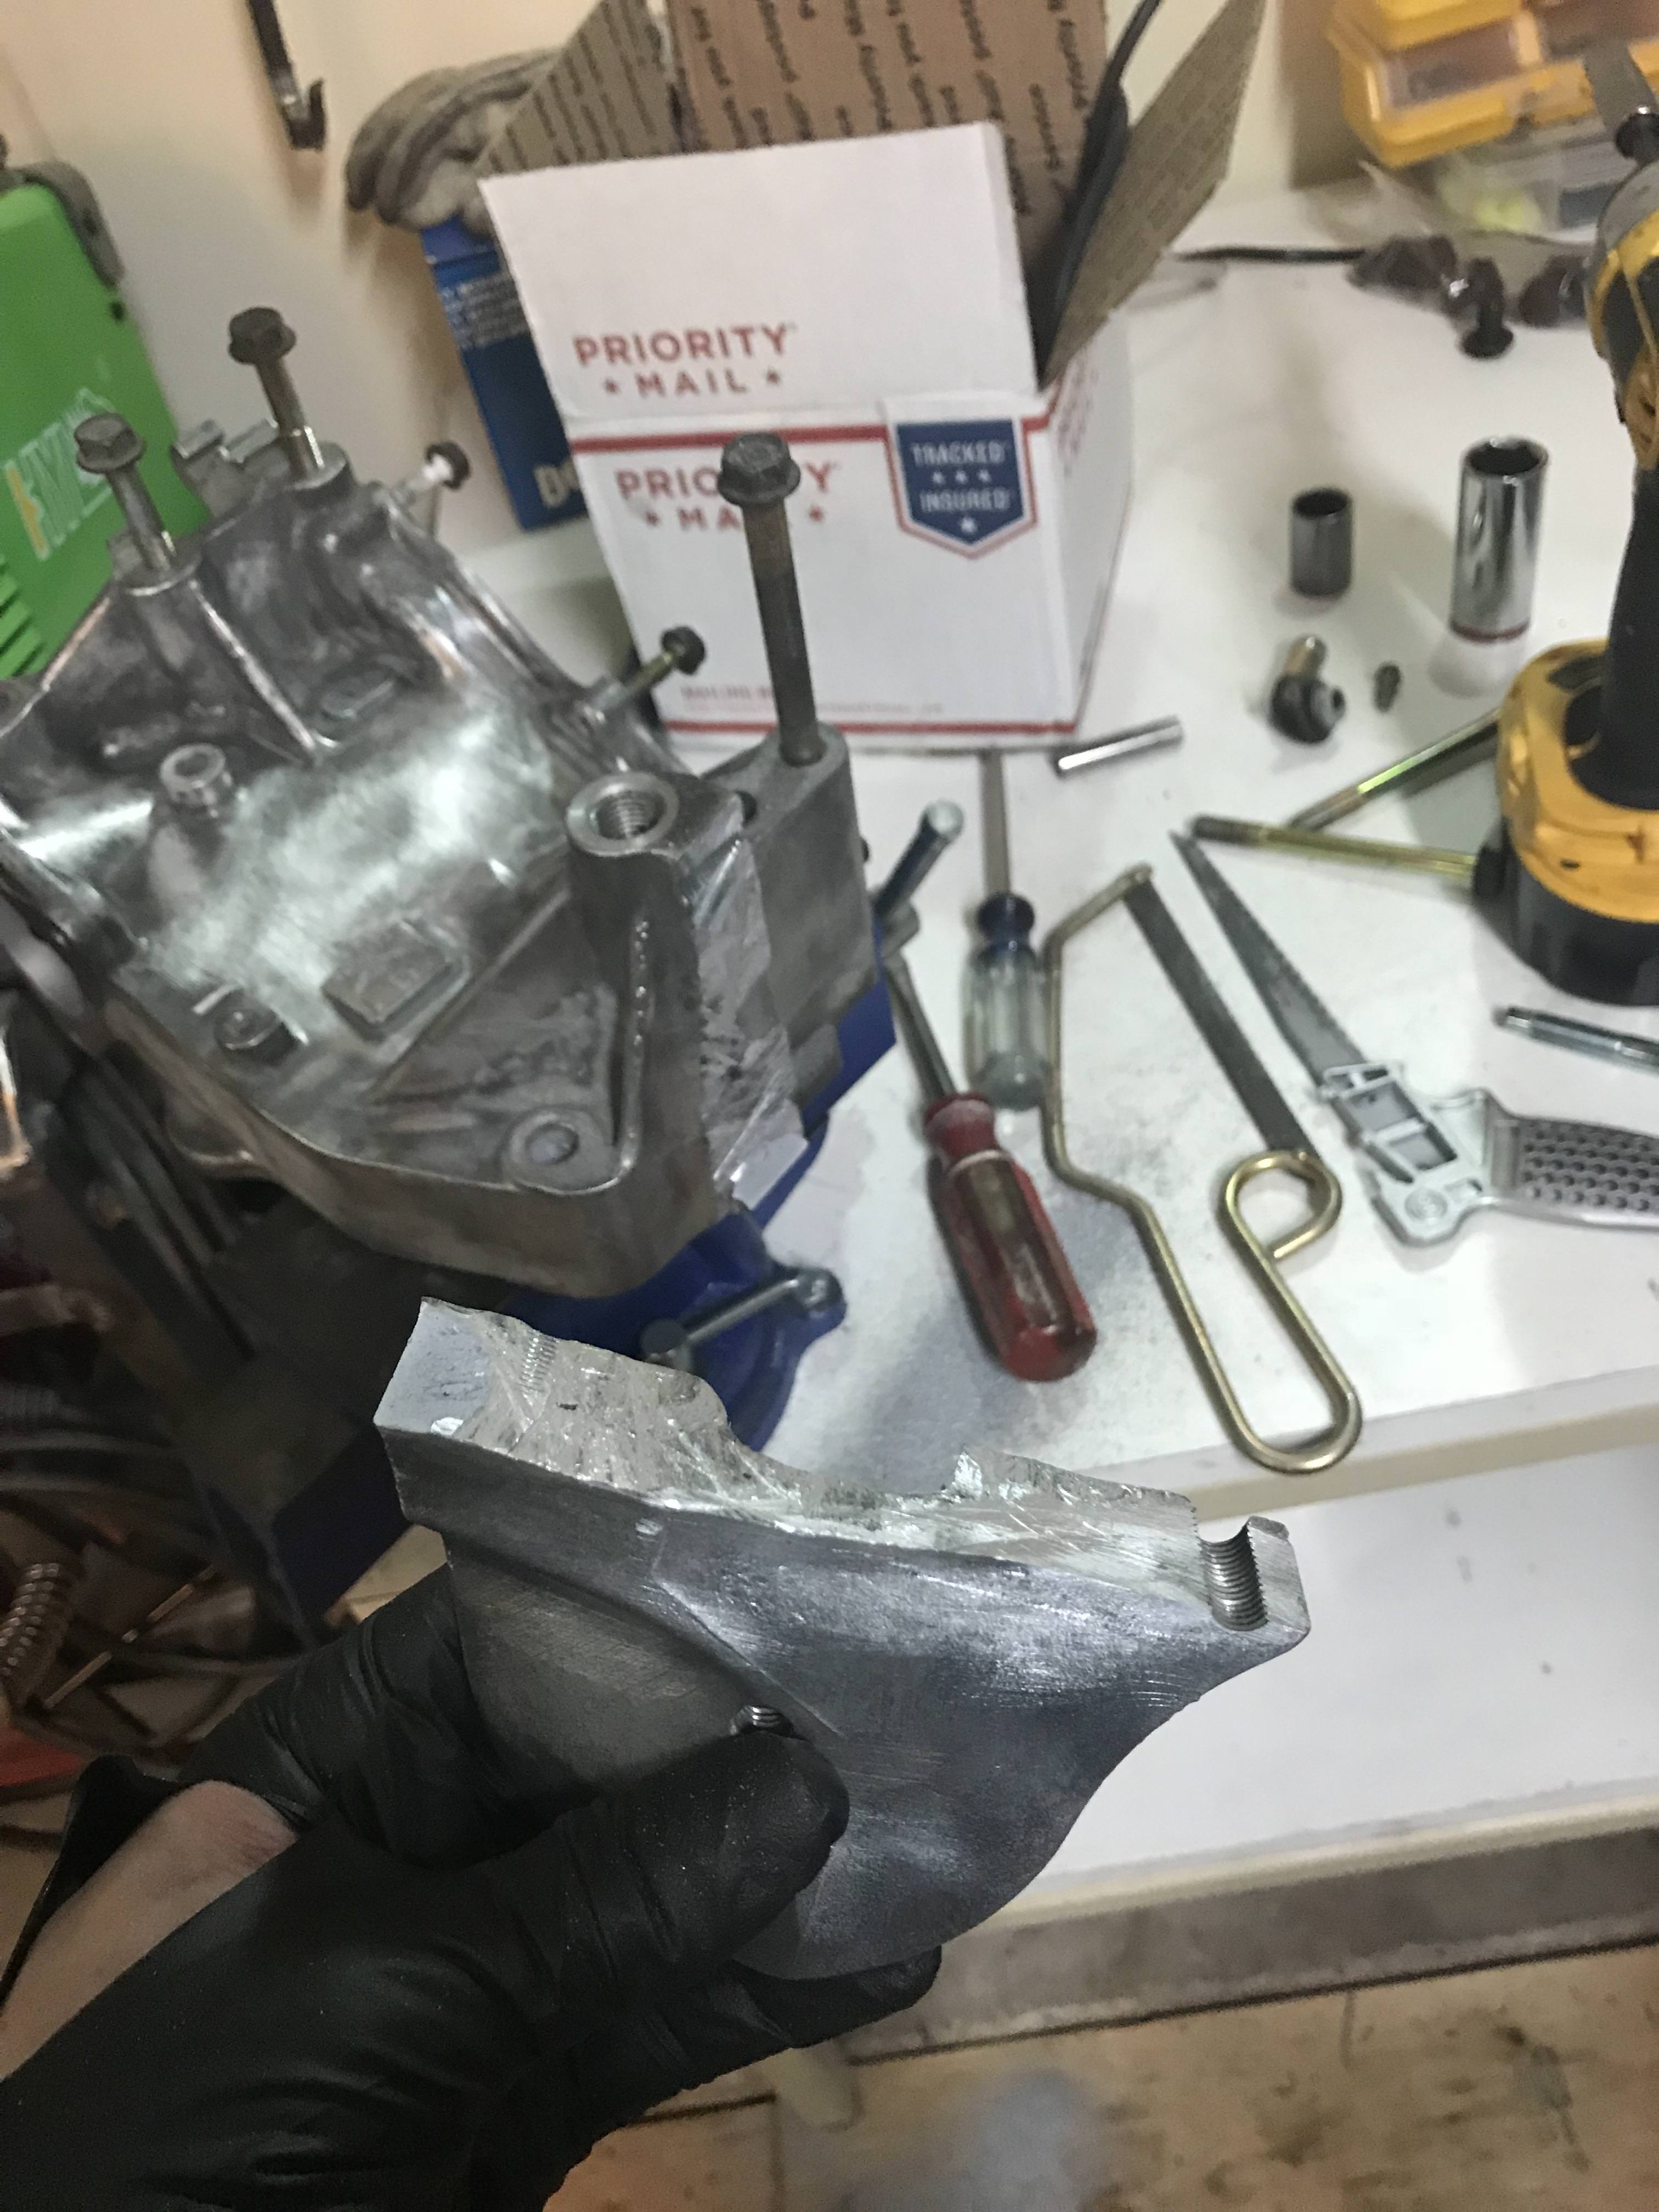
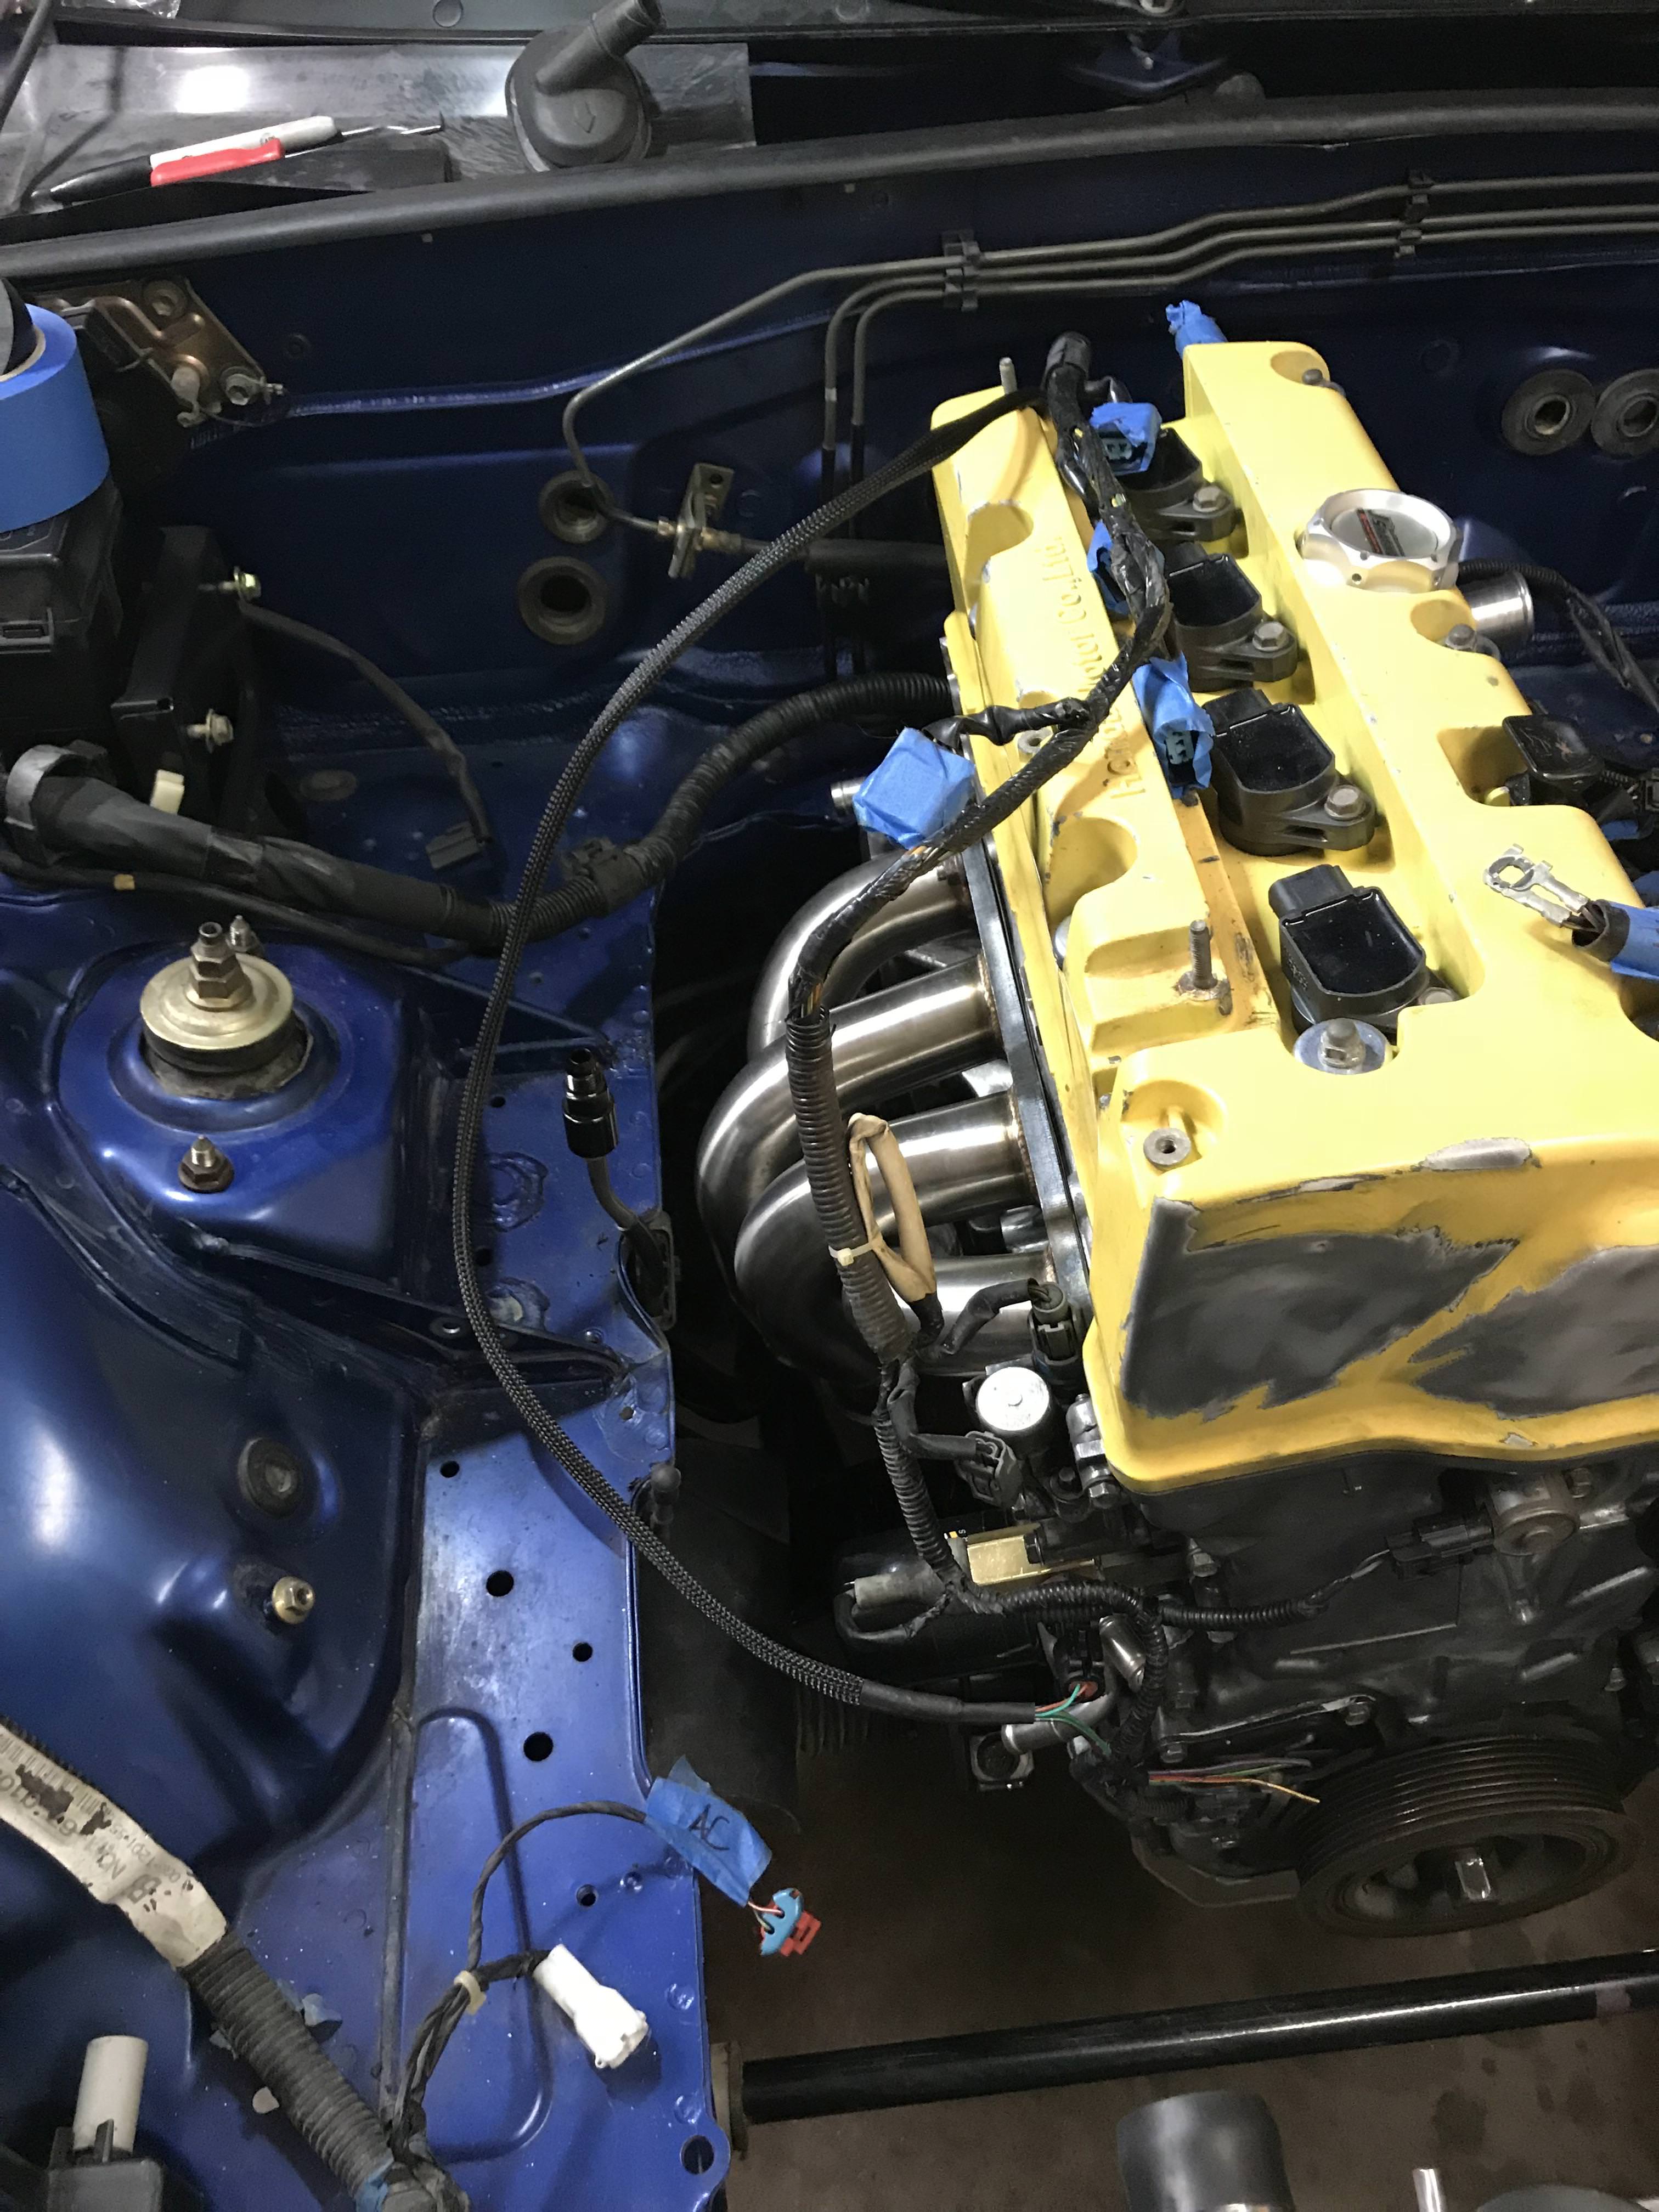
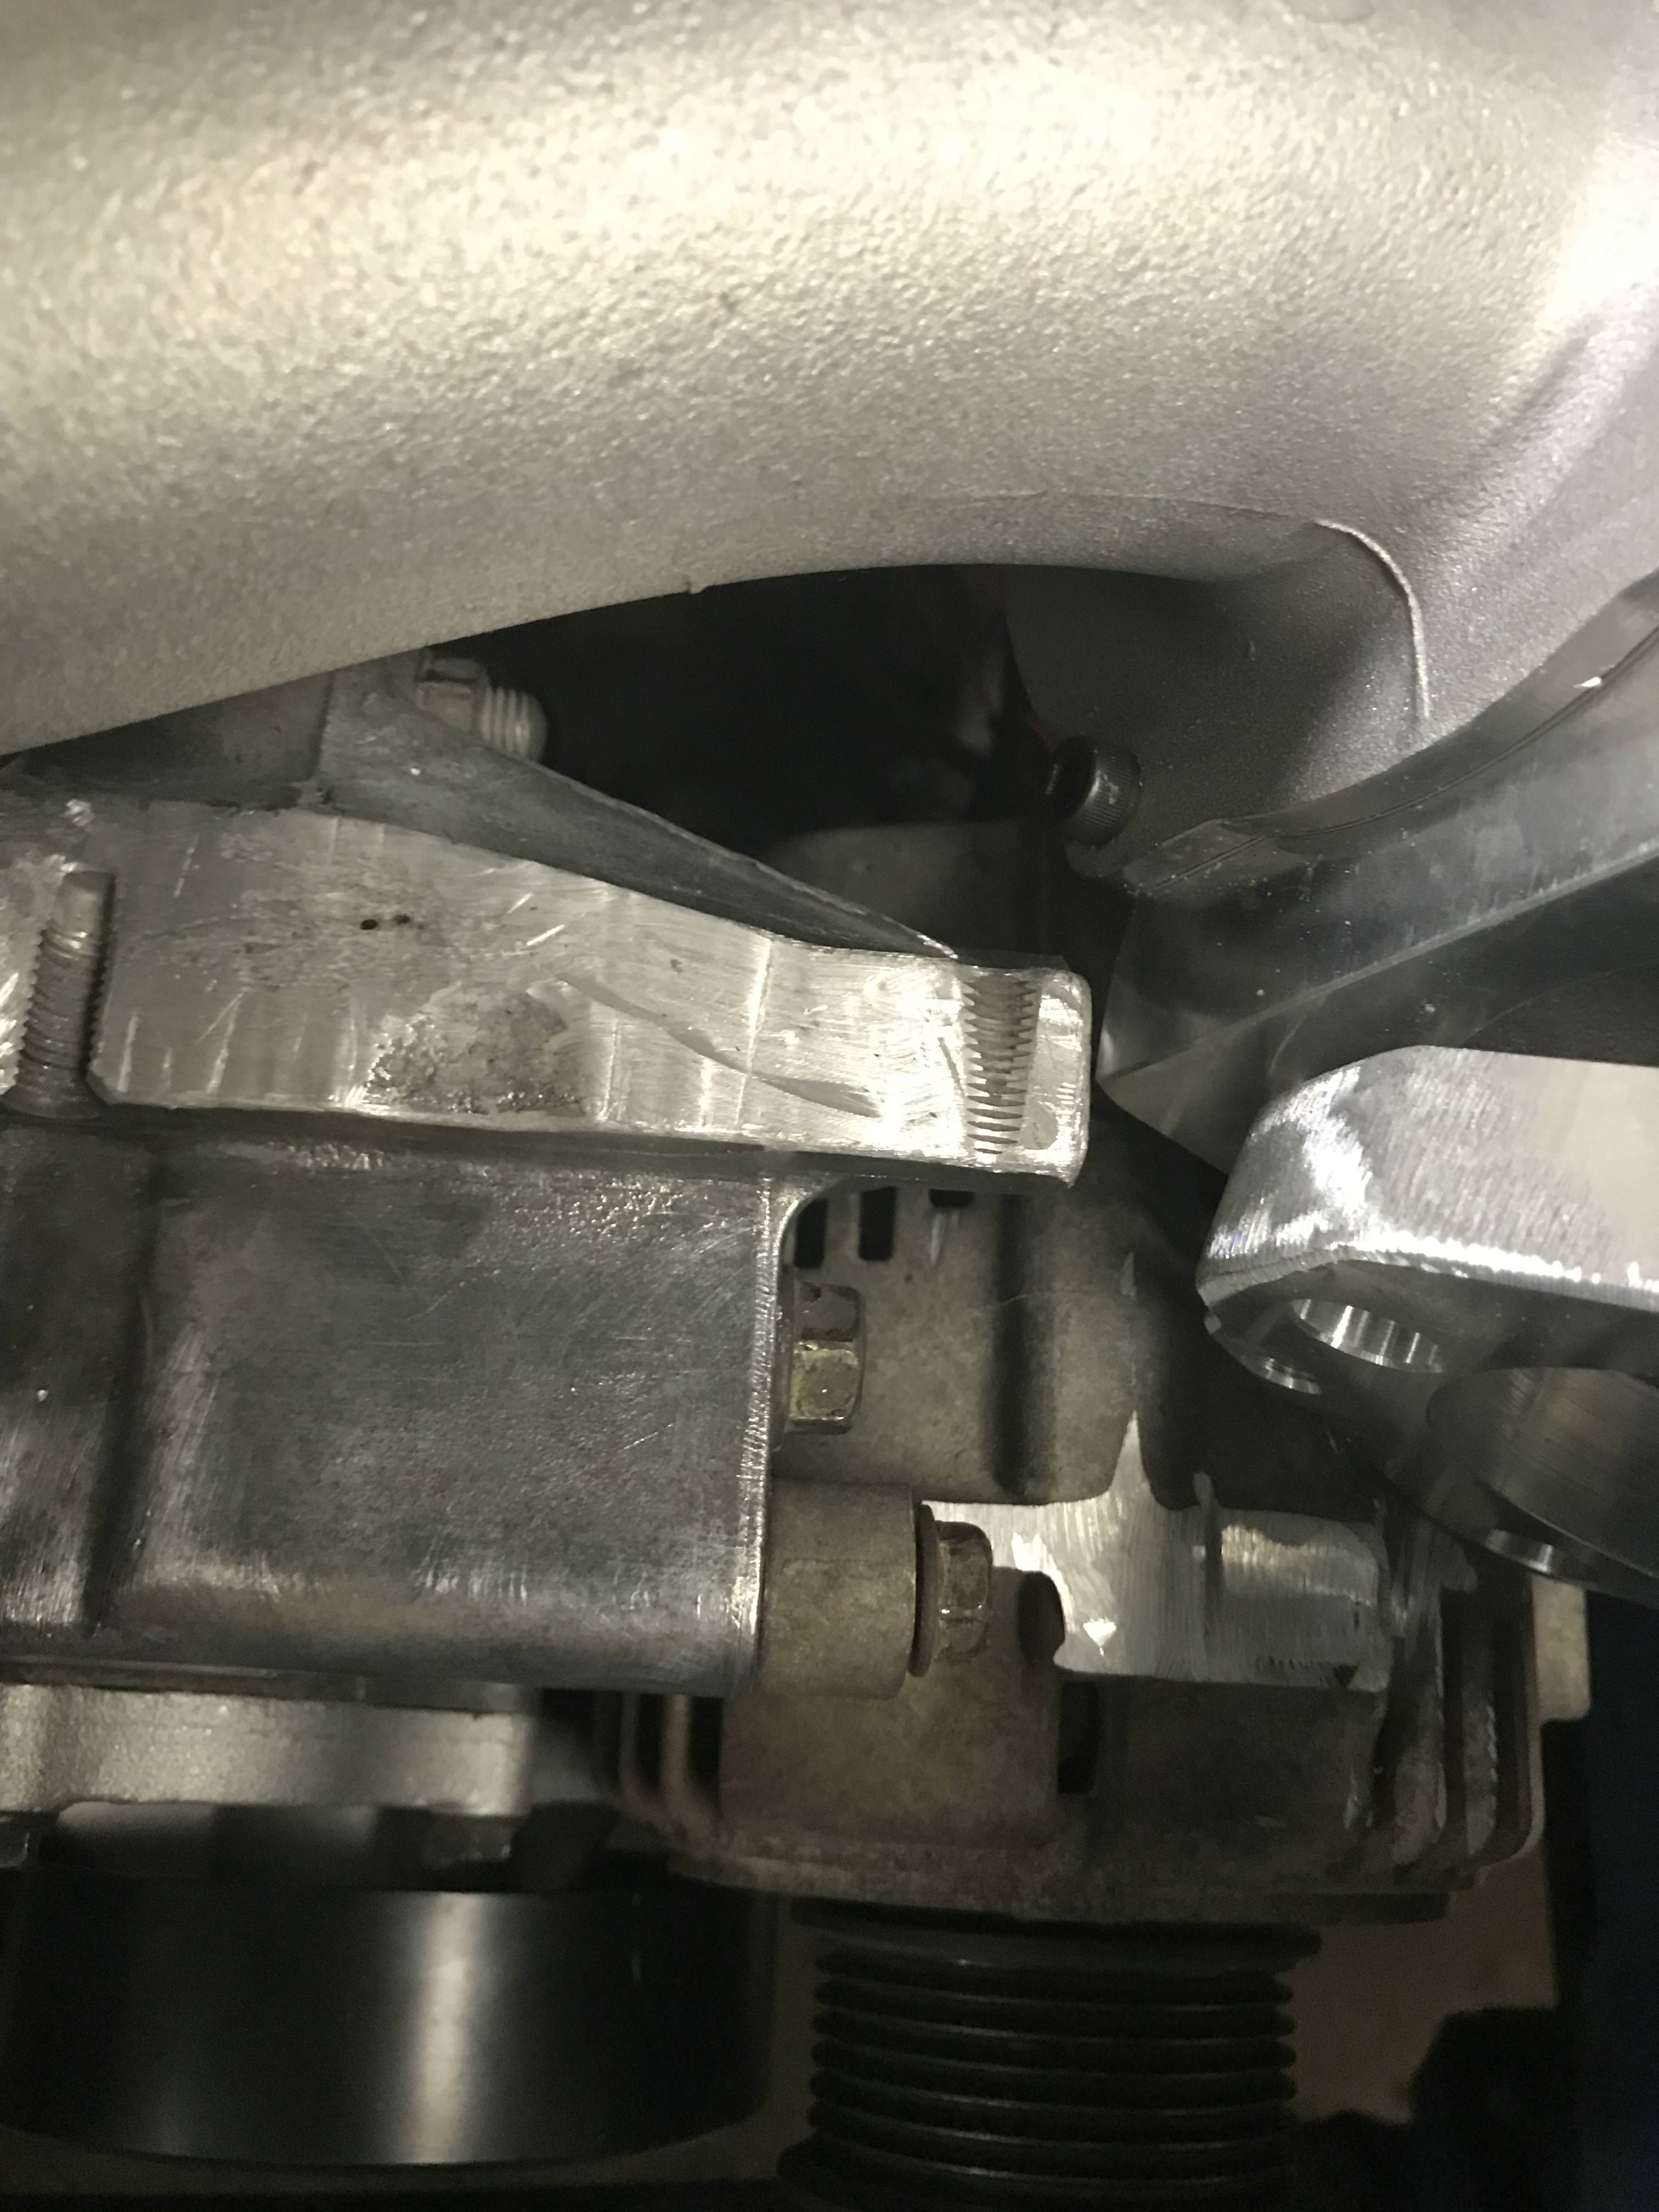
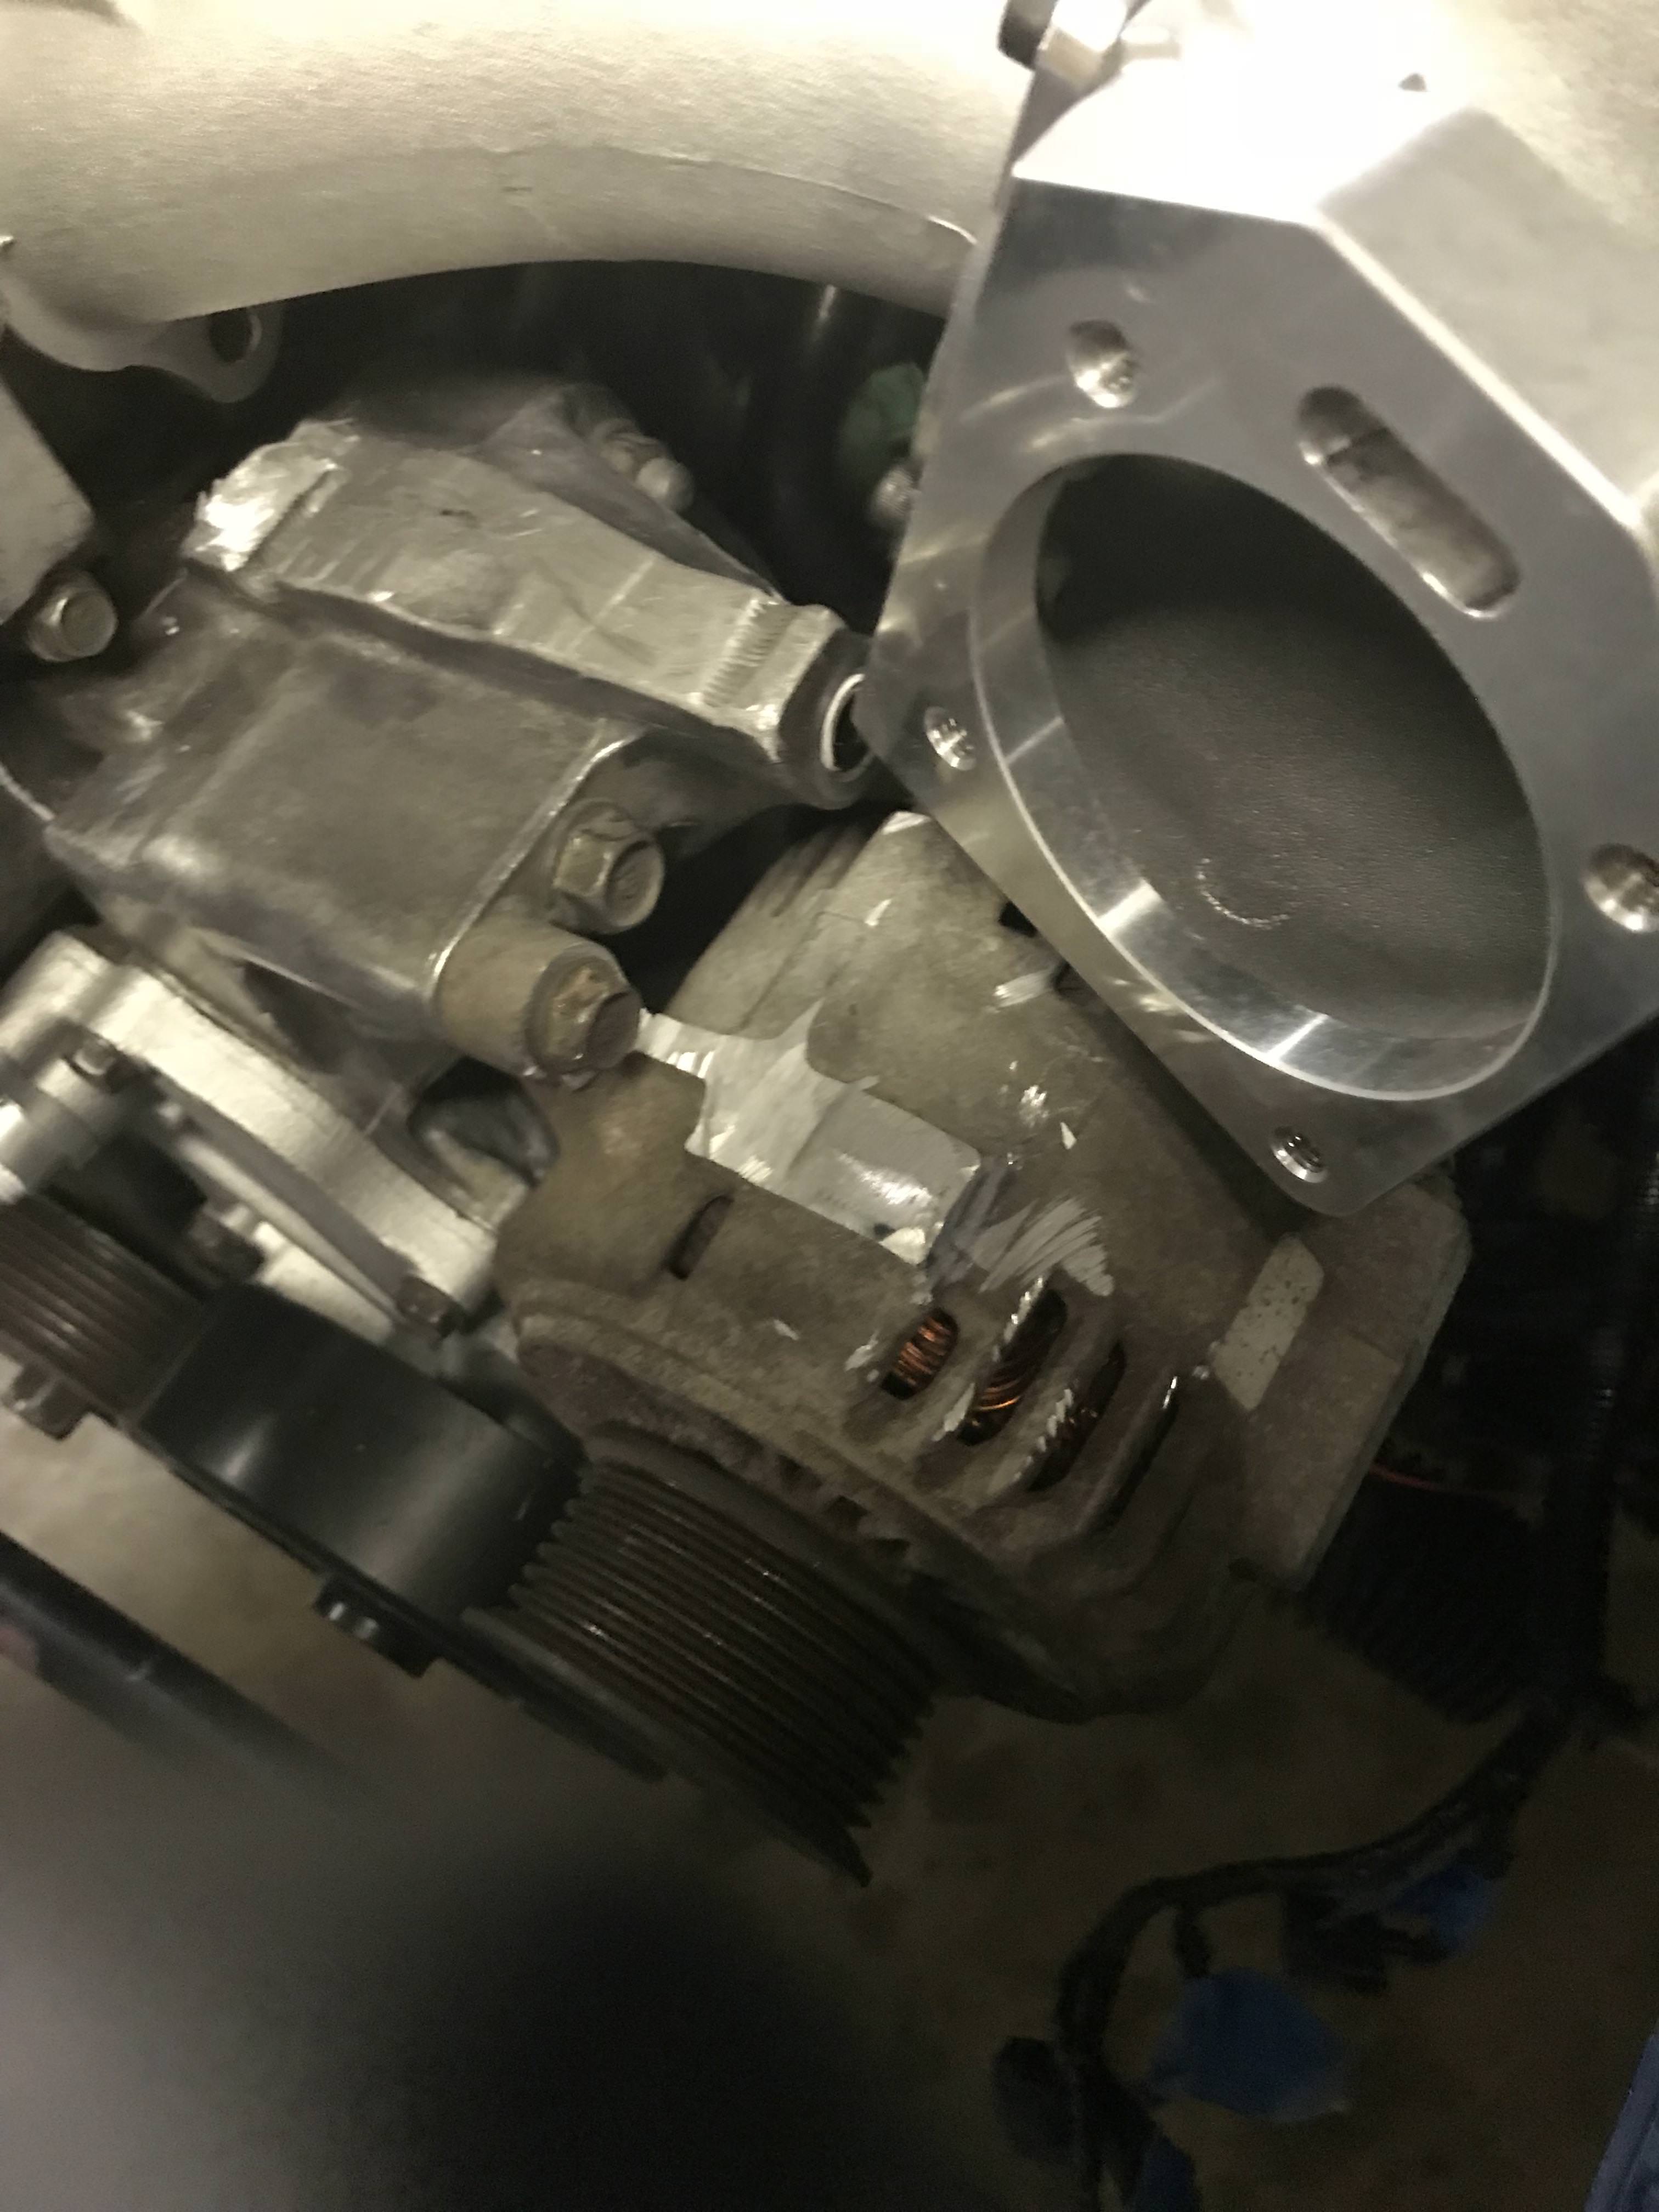
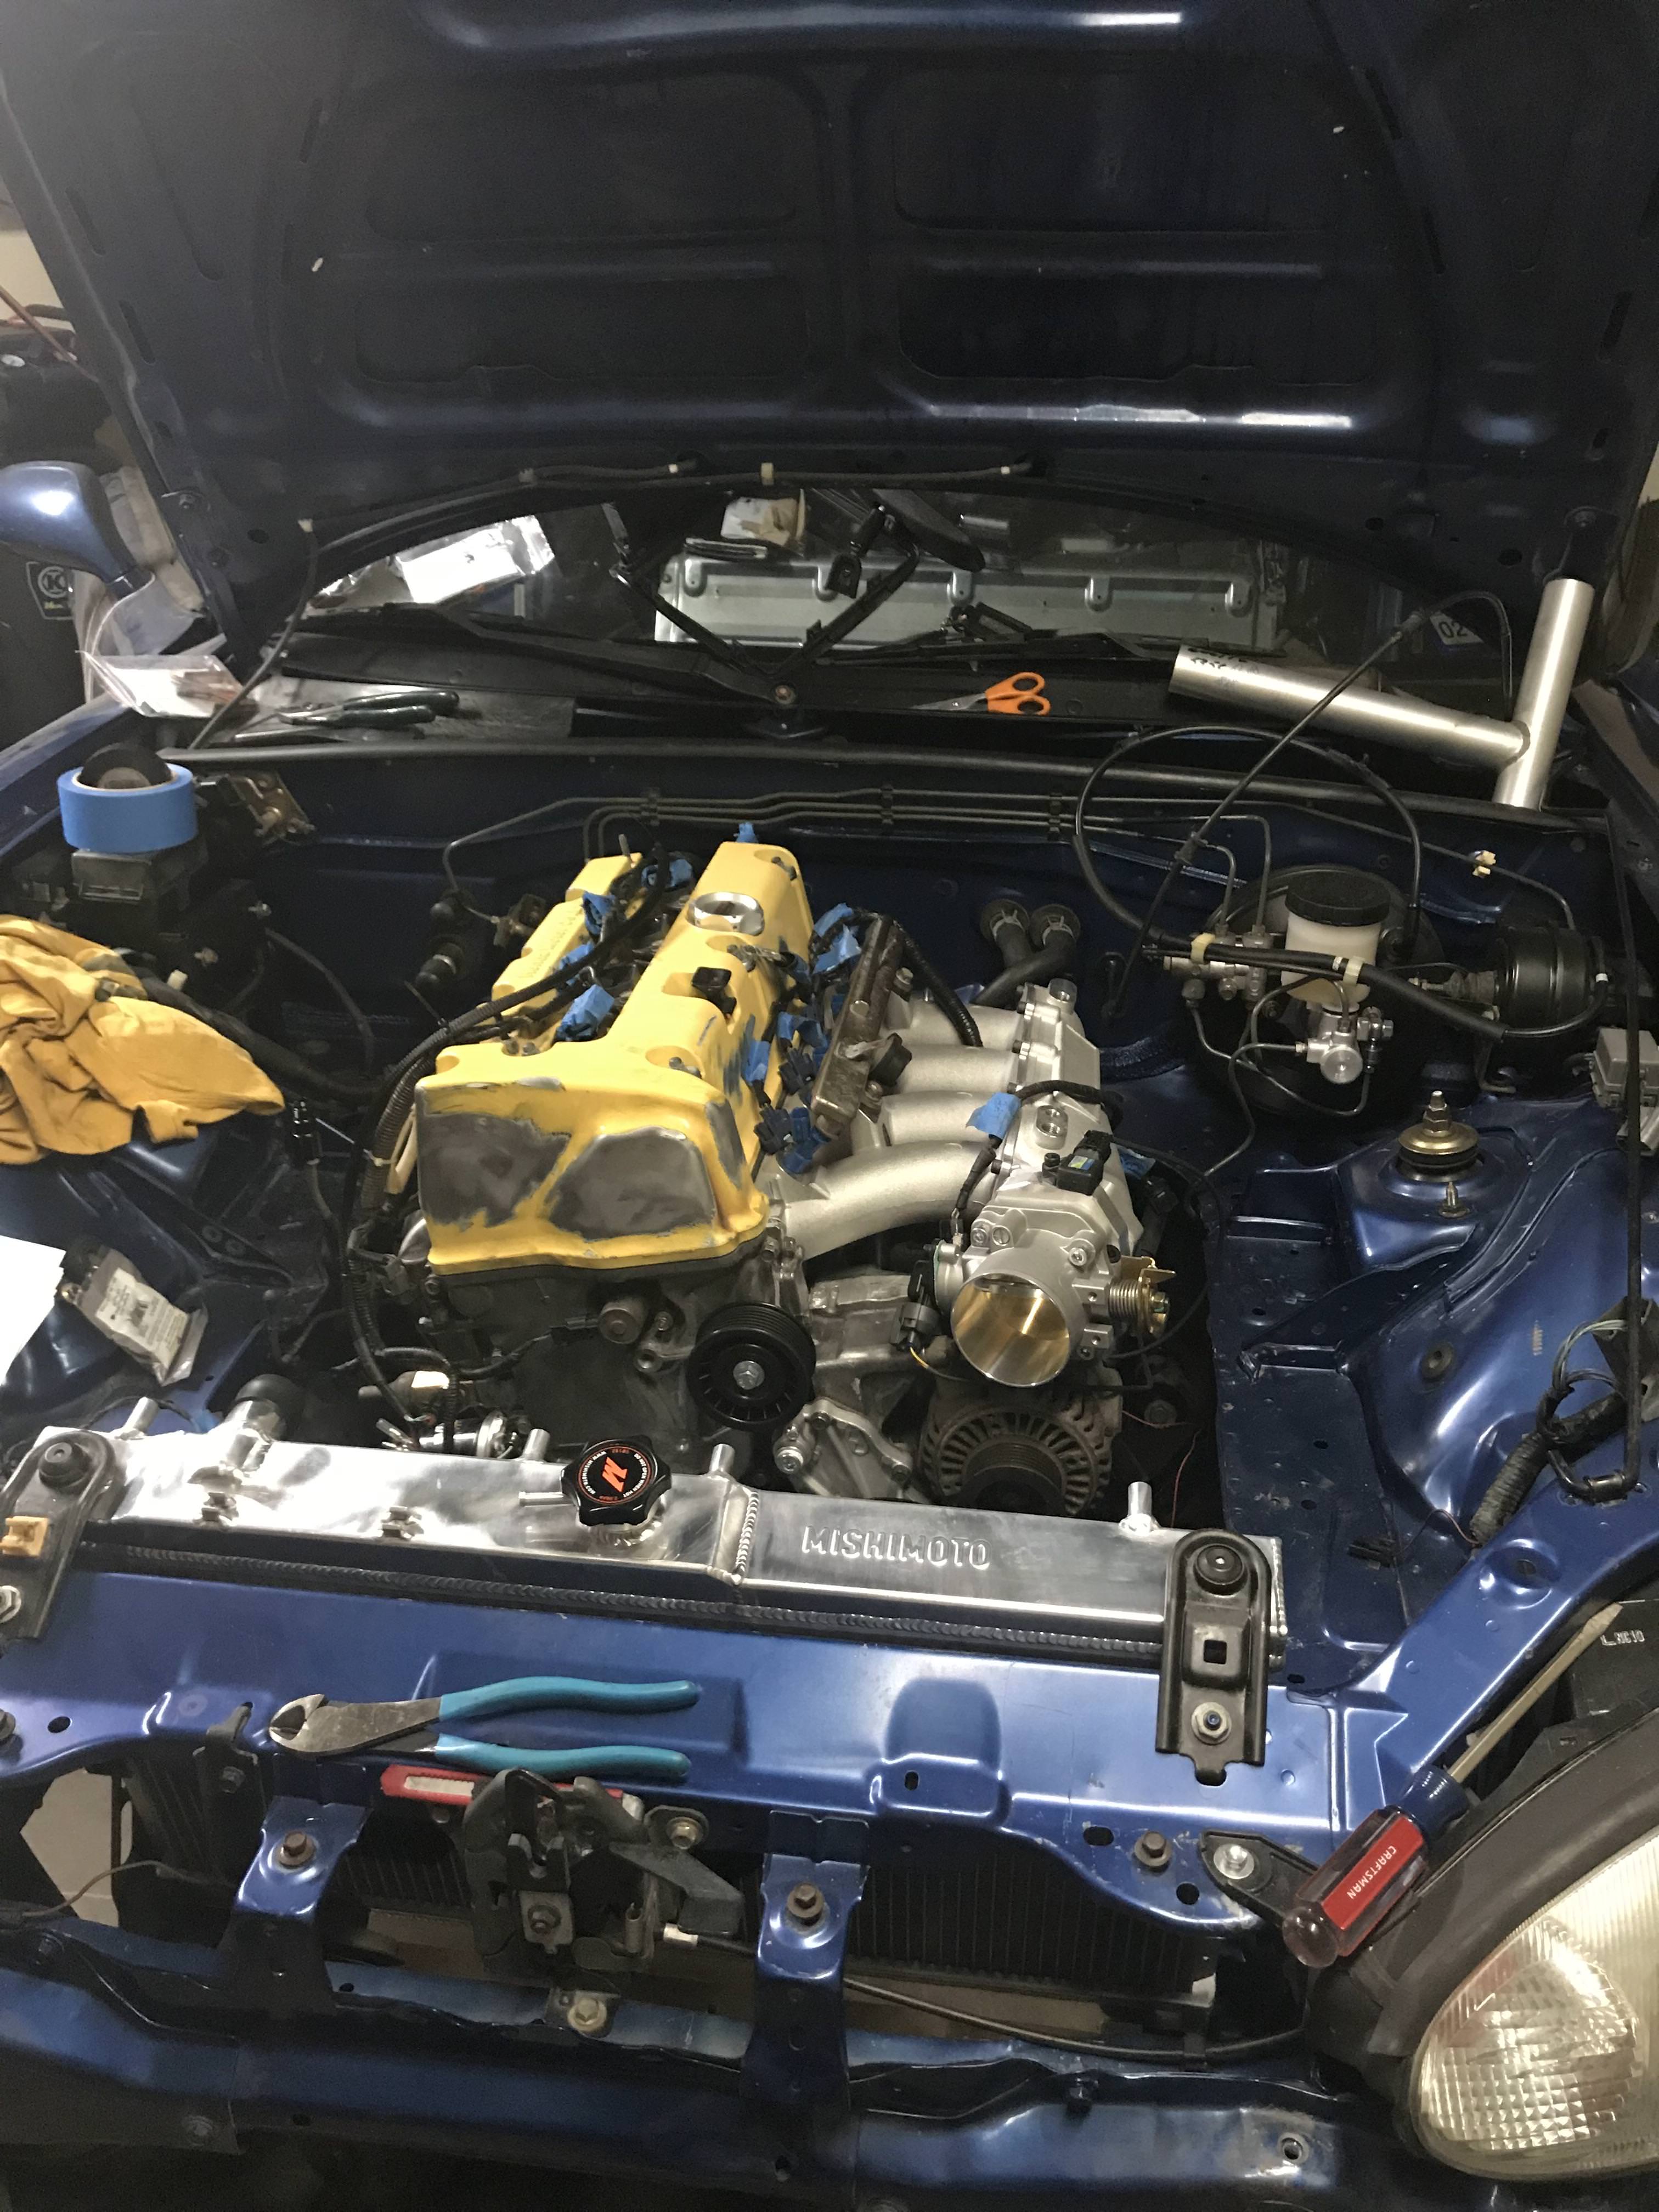
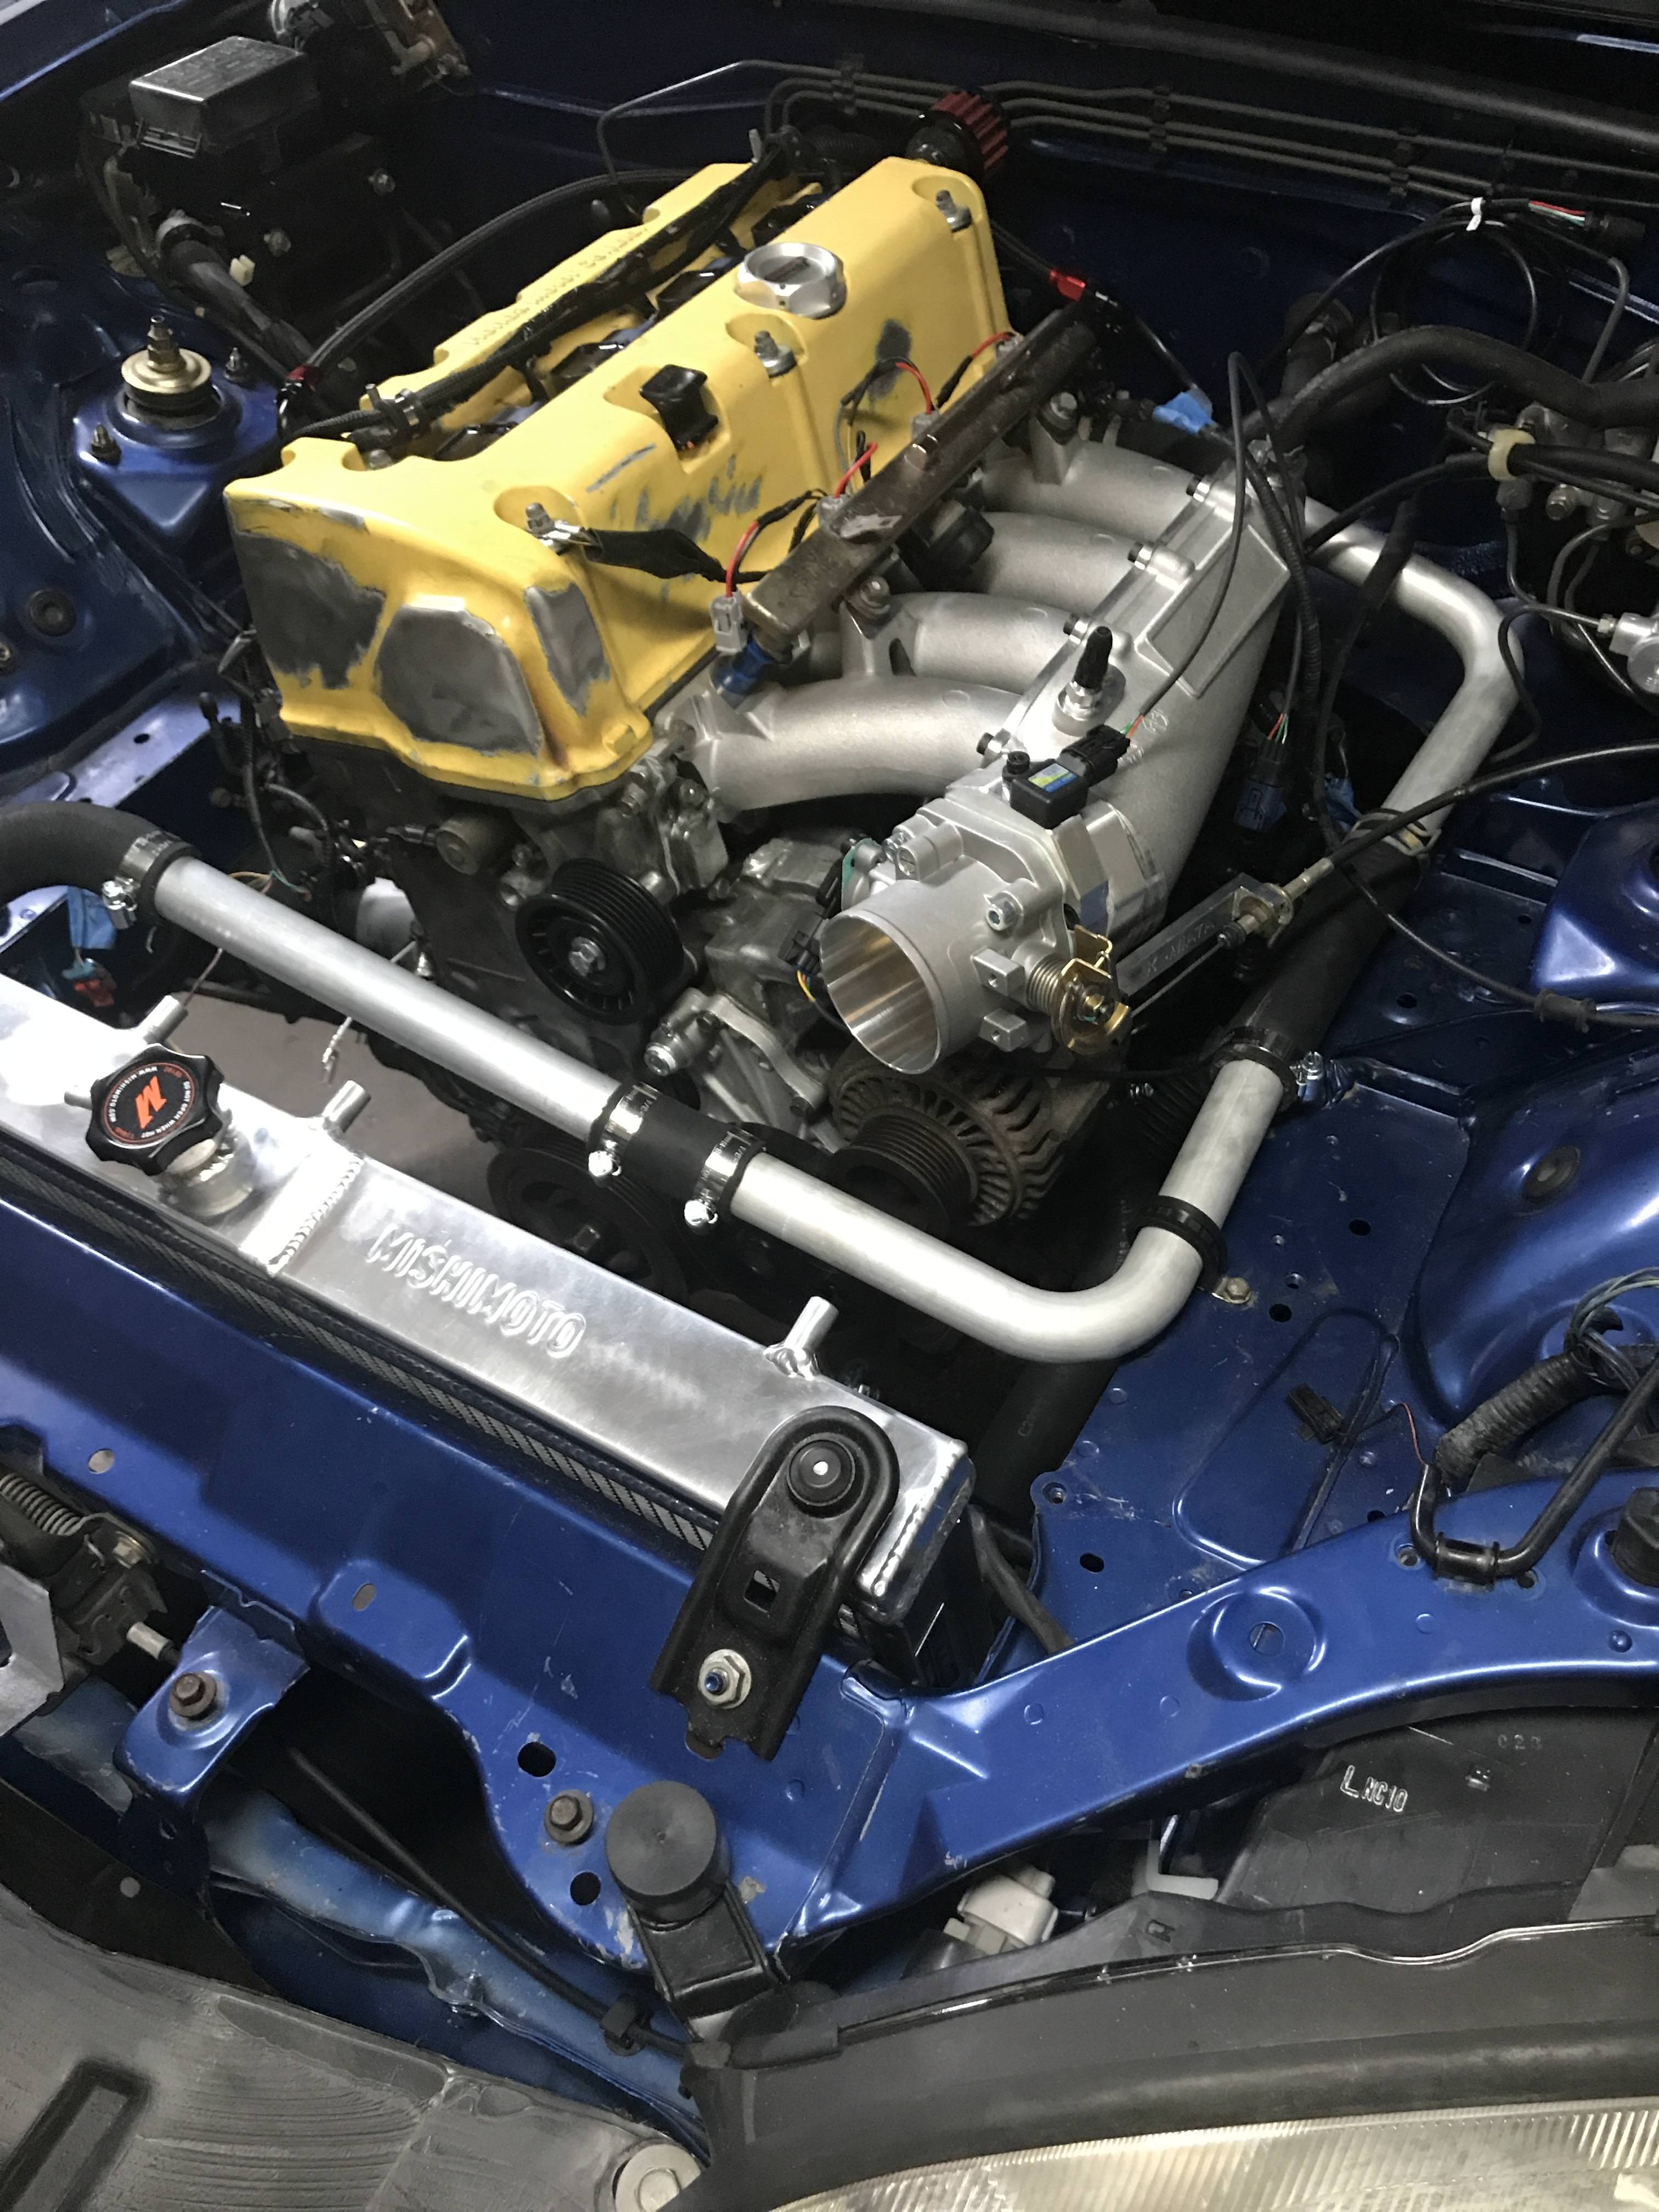
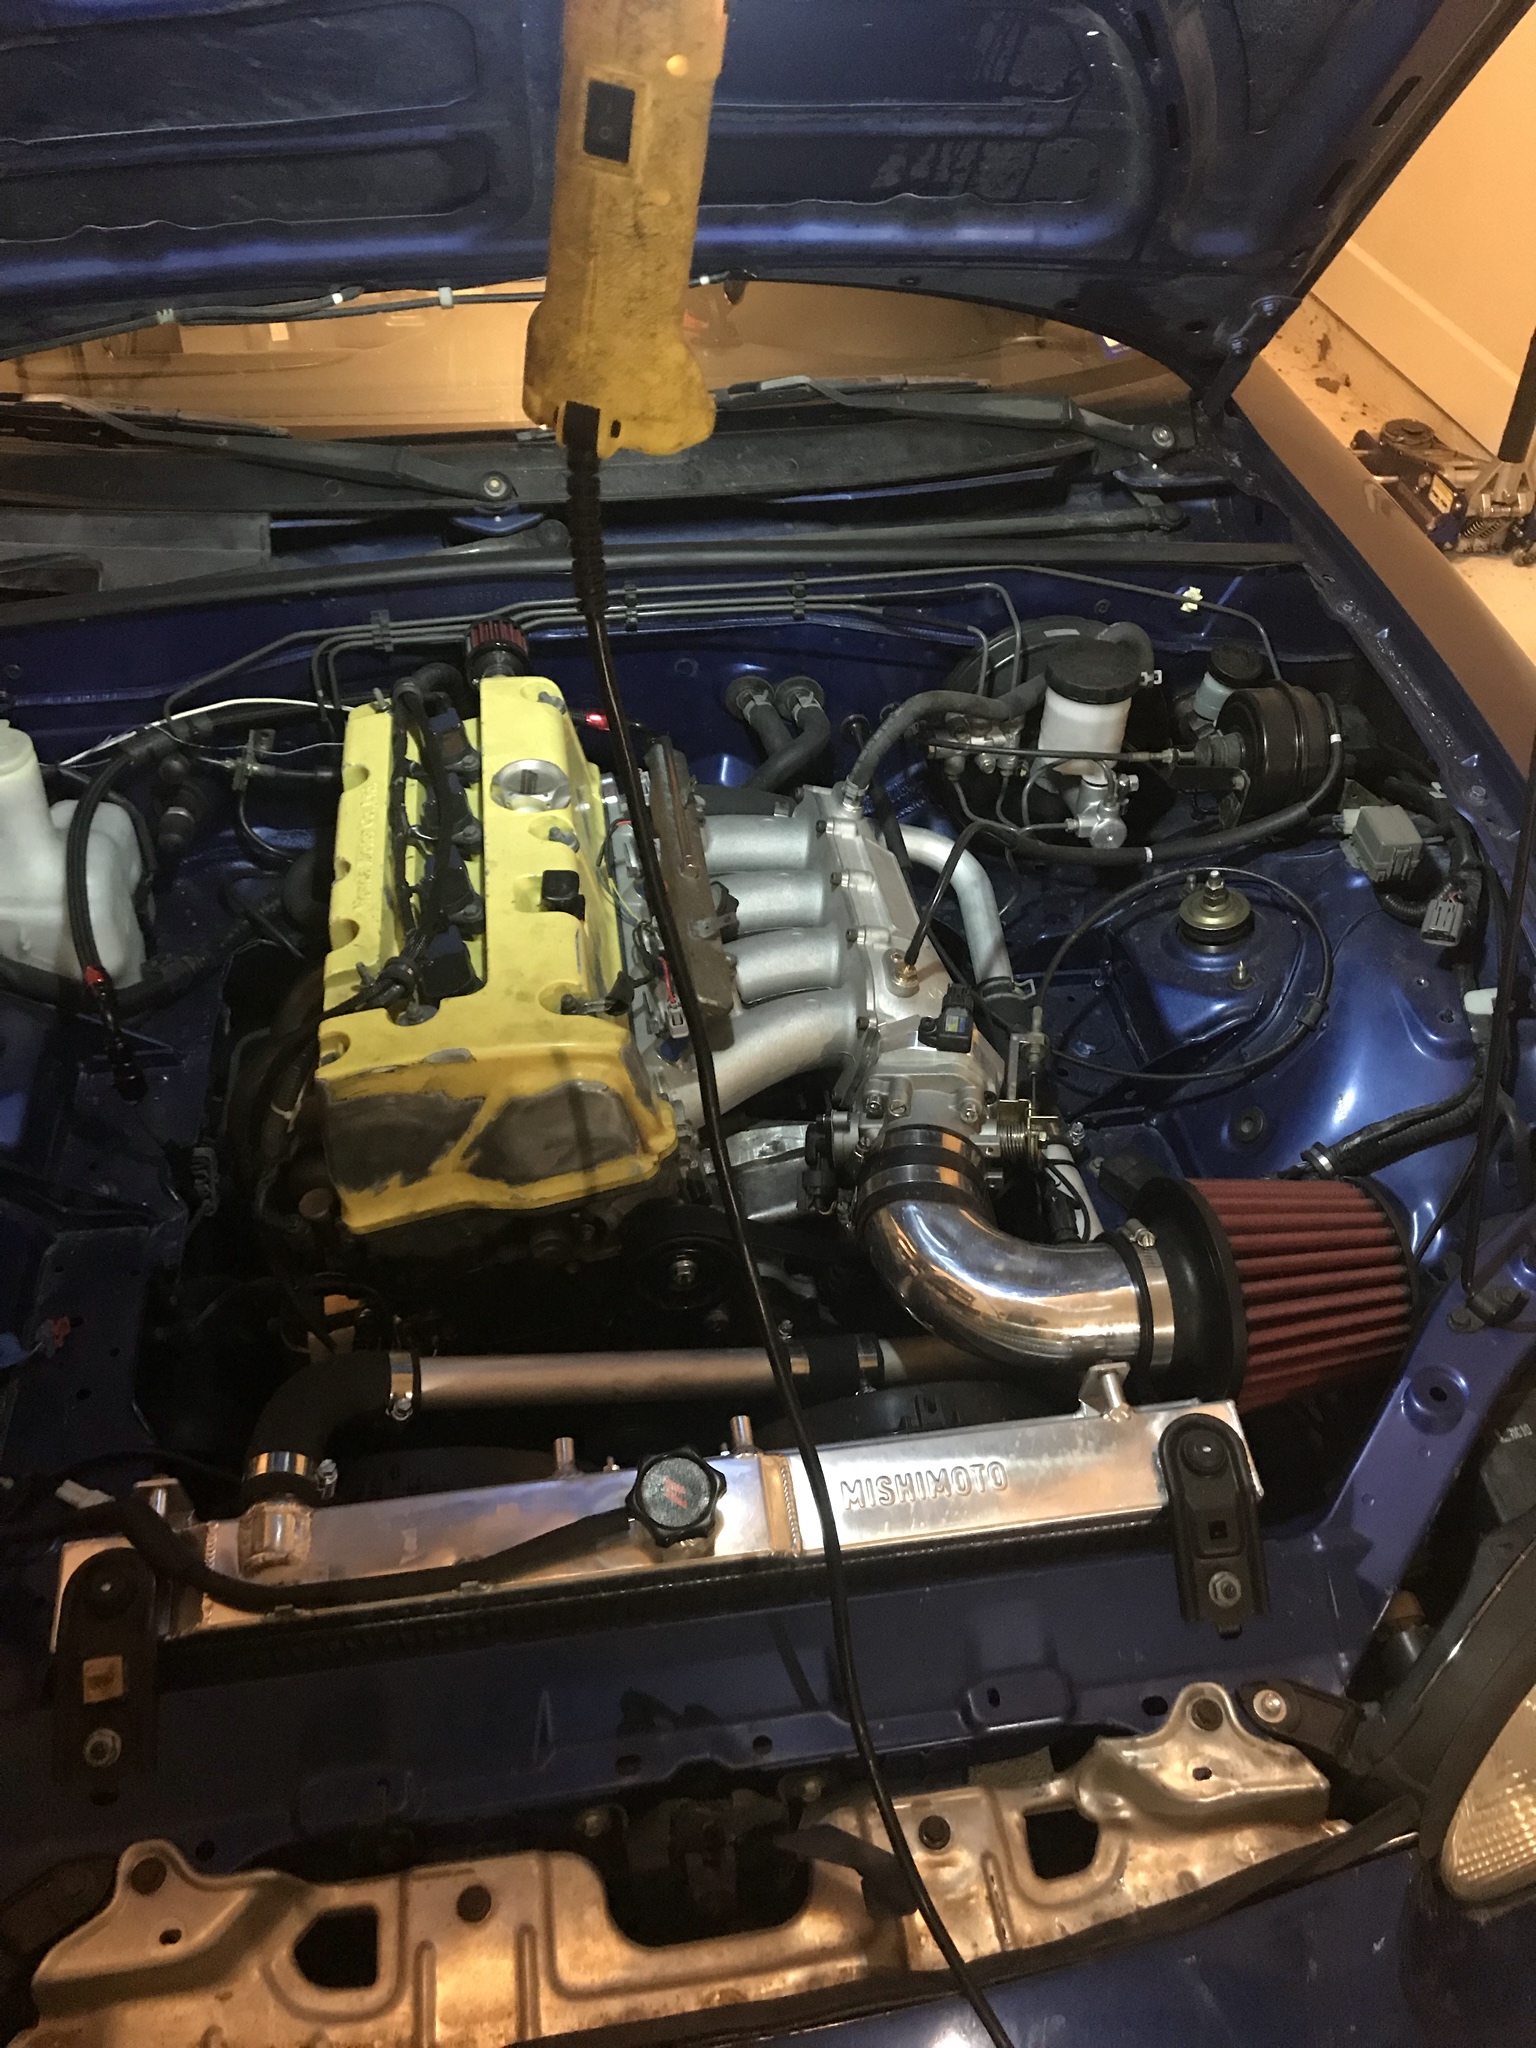
With wiring roughly in place, it was time to install the intake manifold and throttle body, this is where i ran into another issue. The throttle body and adapter foul on the PCV for the K series, i had to take out the PCV and plug the hole as well as grind down one of the corners of the adapter to aleviate the issue. You also have to trim part of the alternator, if you look back at the pictures of the engine on the stand you can comepare that to the photos below and see what has to be trimmed, honestly i am a bit concerned about this, but if it breaks alternators are pretty cheap. This is using the Skunk2 Manifold that comes with the KMiata kit and is more than likely another by product of using a K20 not the K24 the kit is designed for.
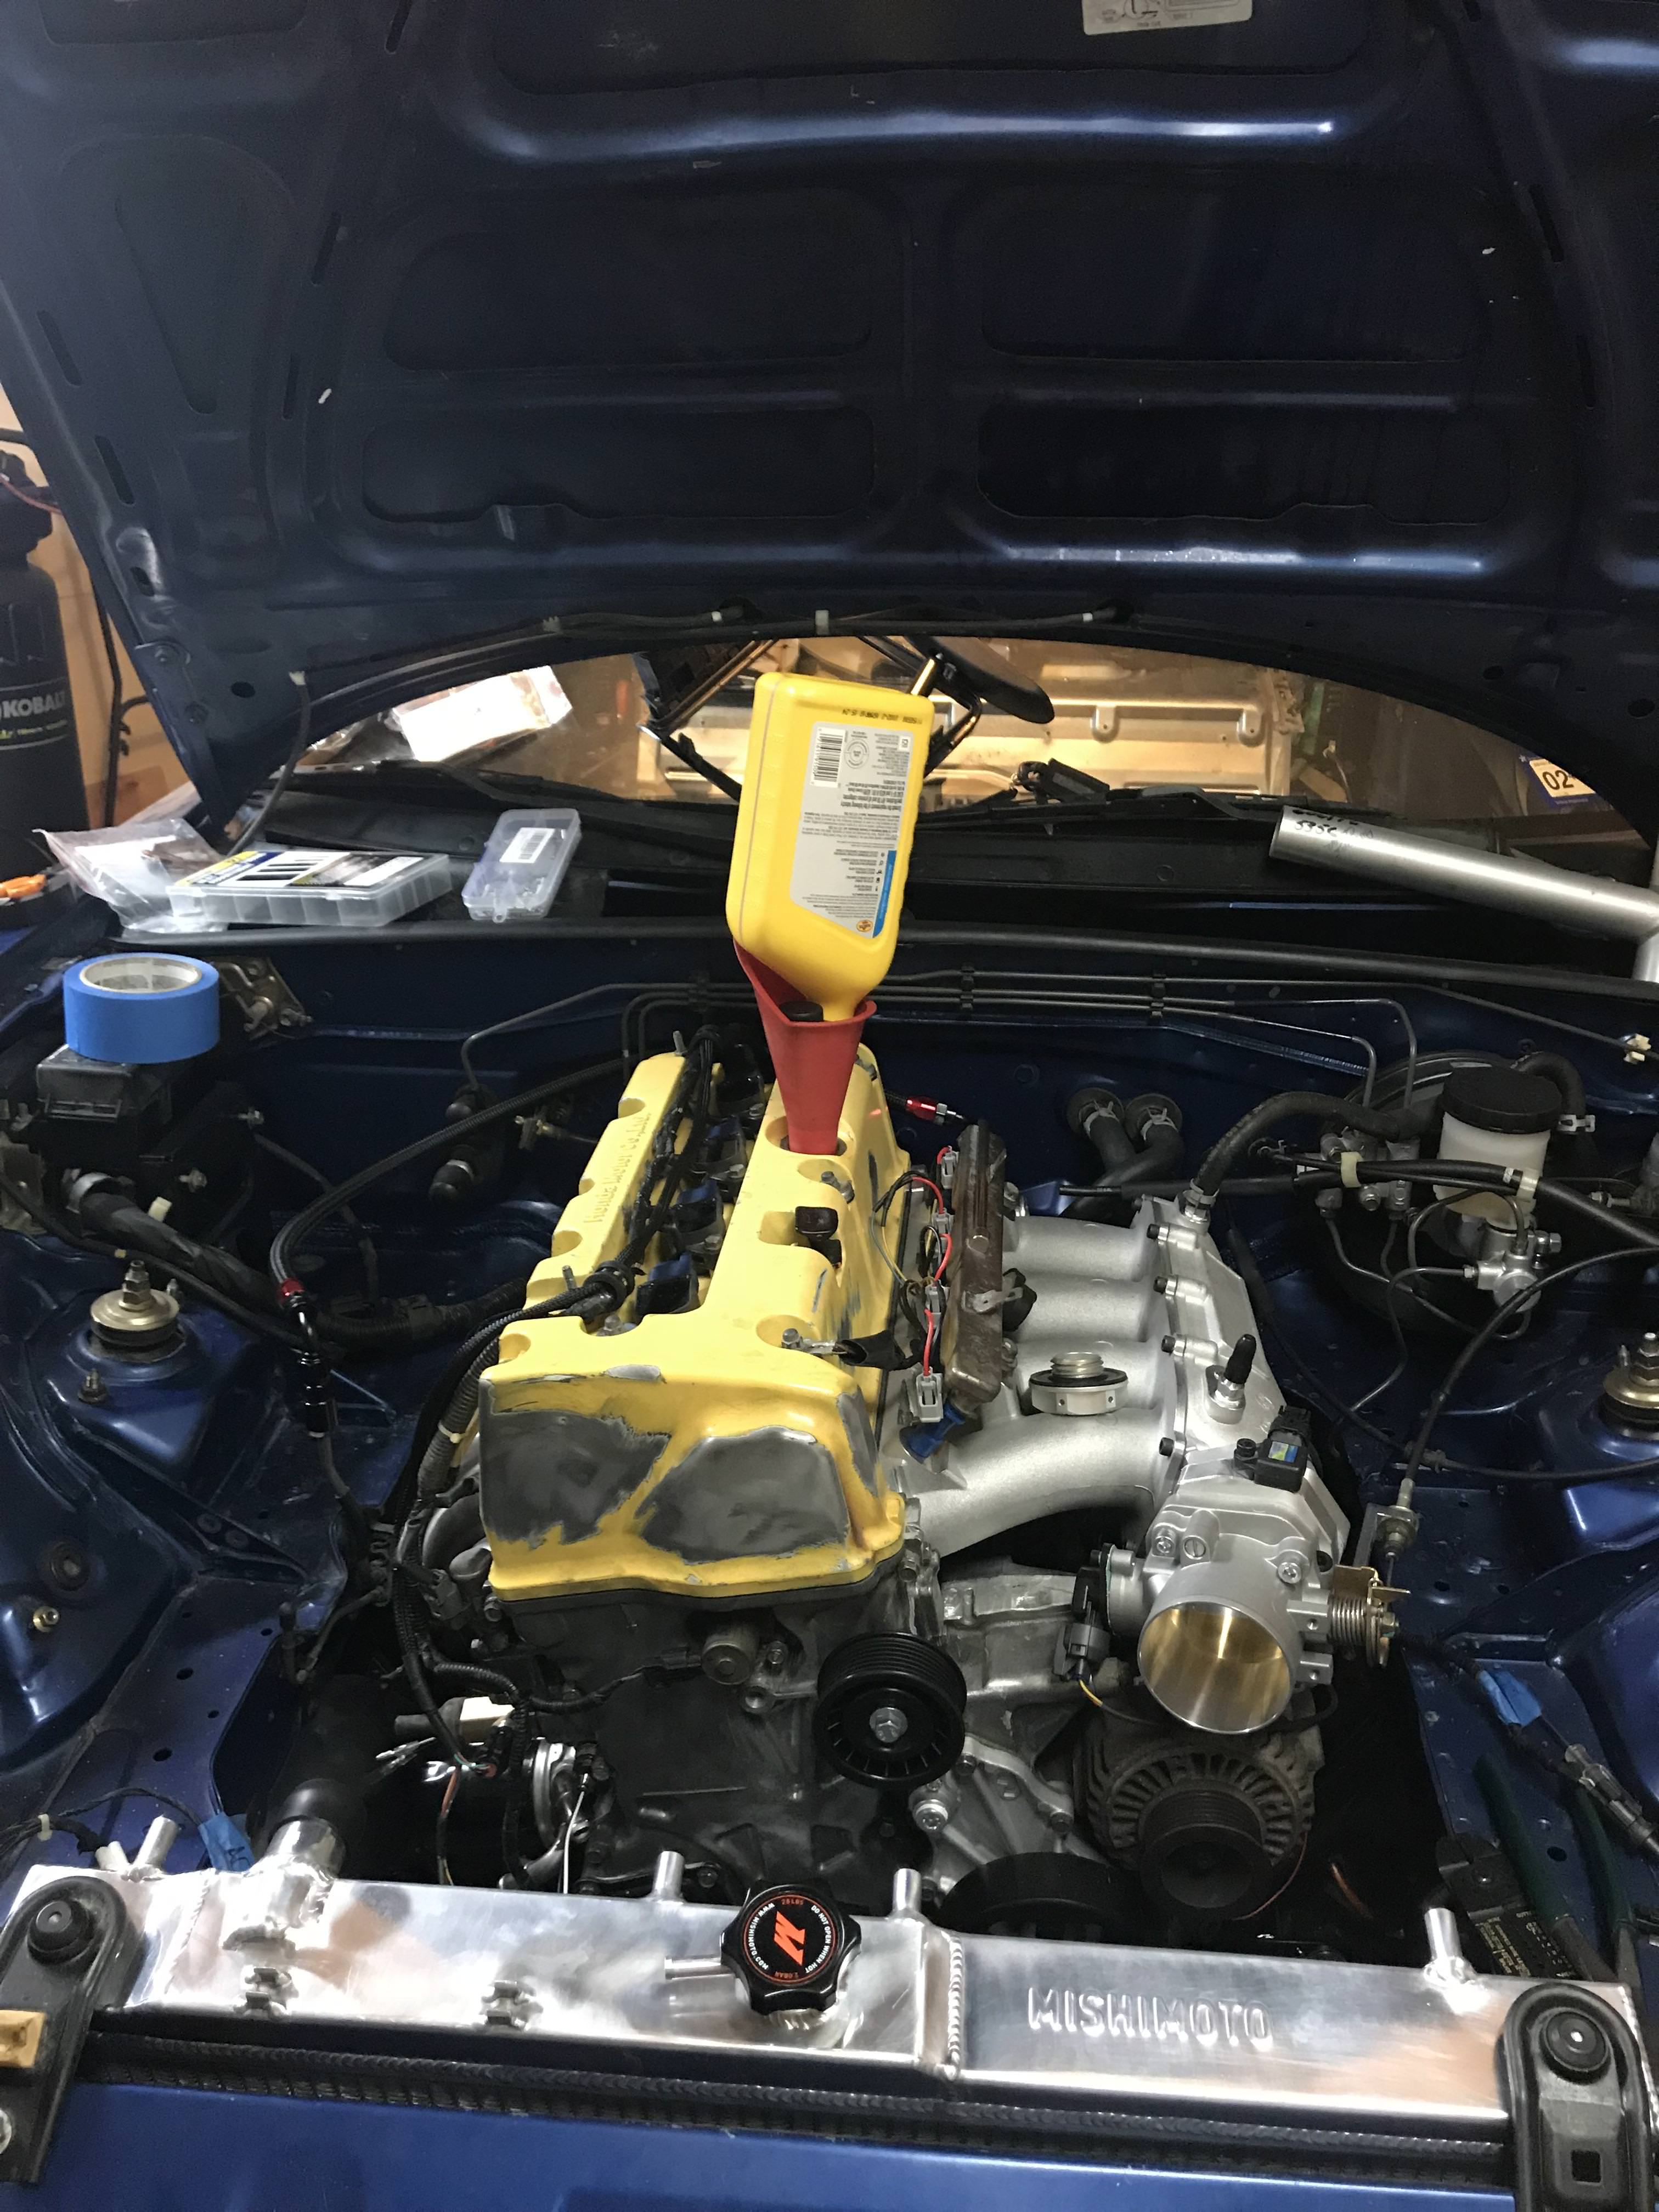
At this point it was ready to fire
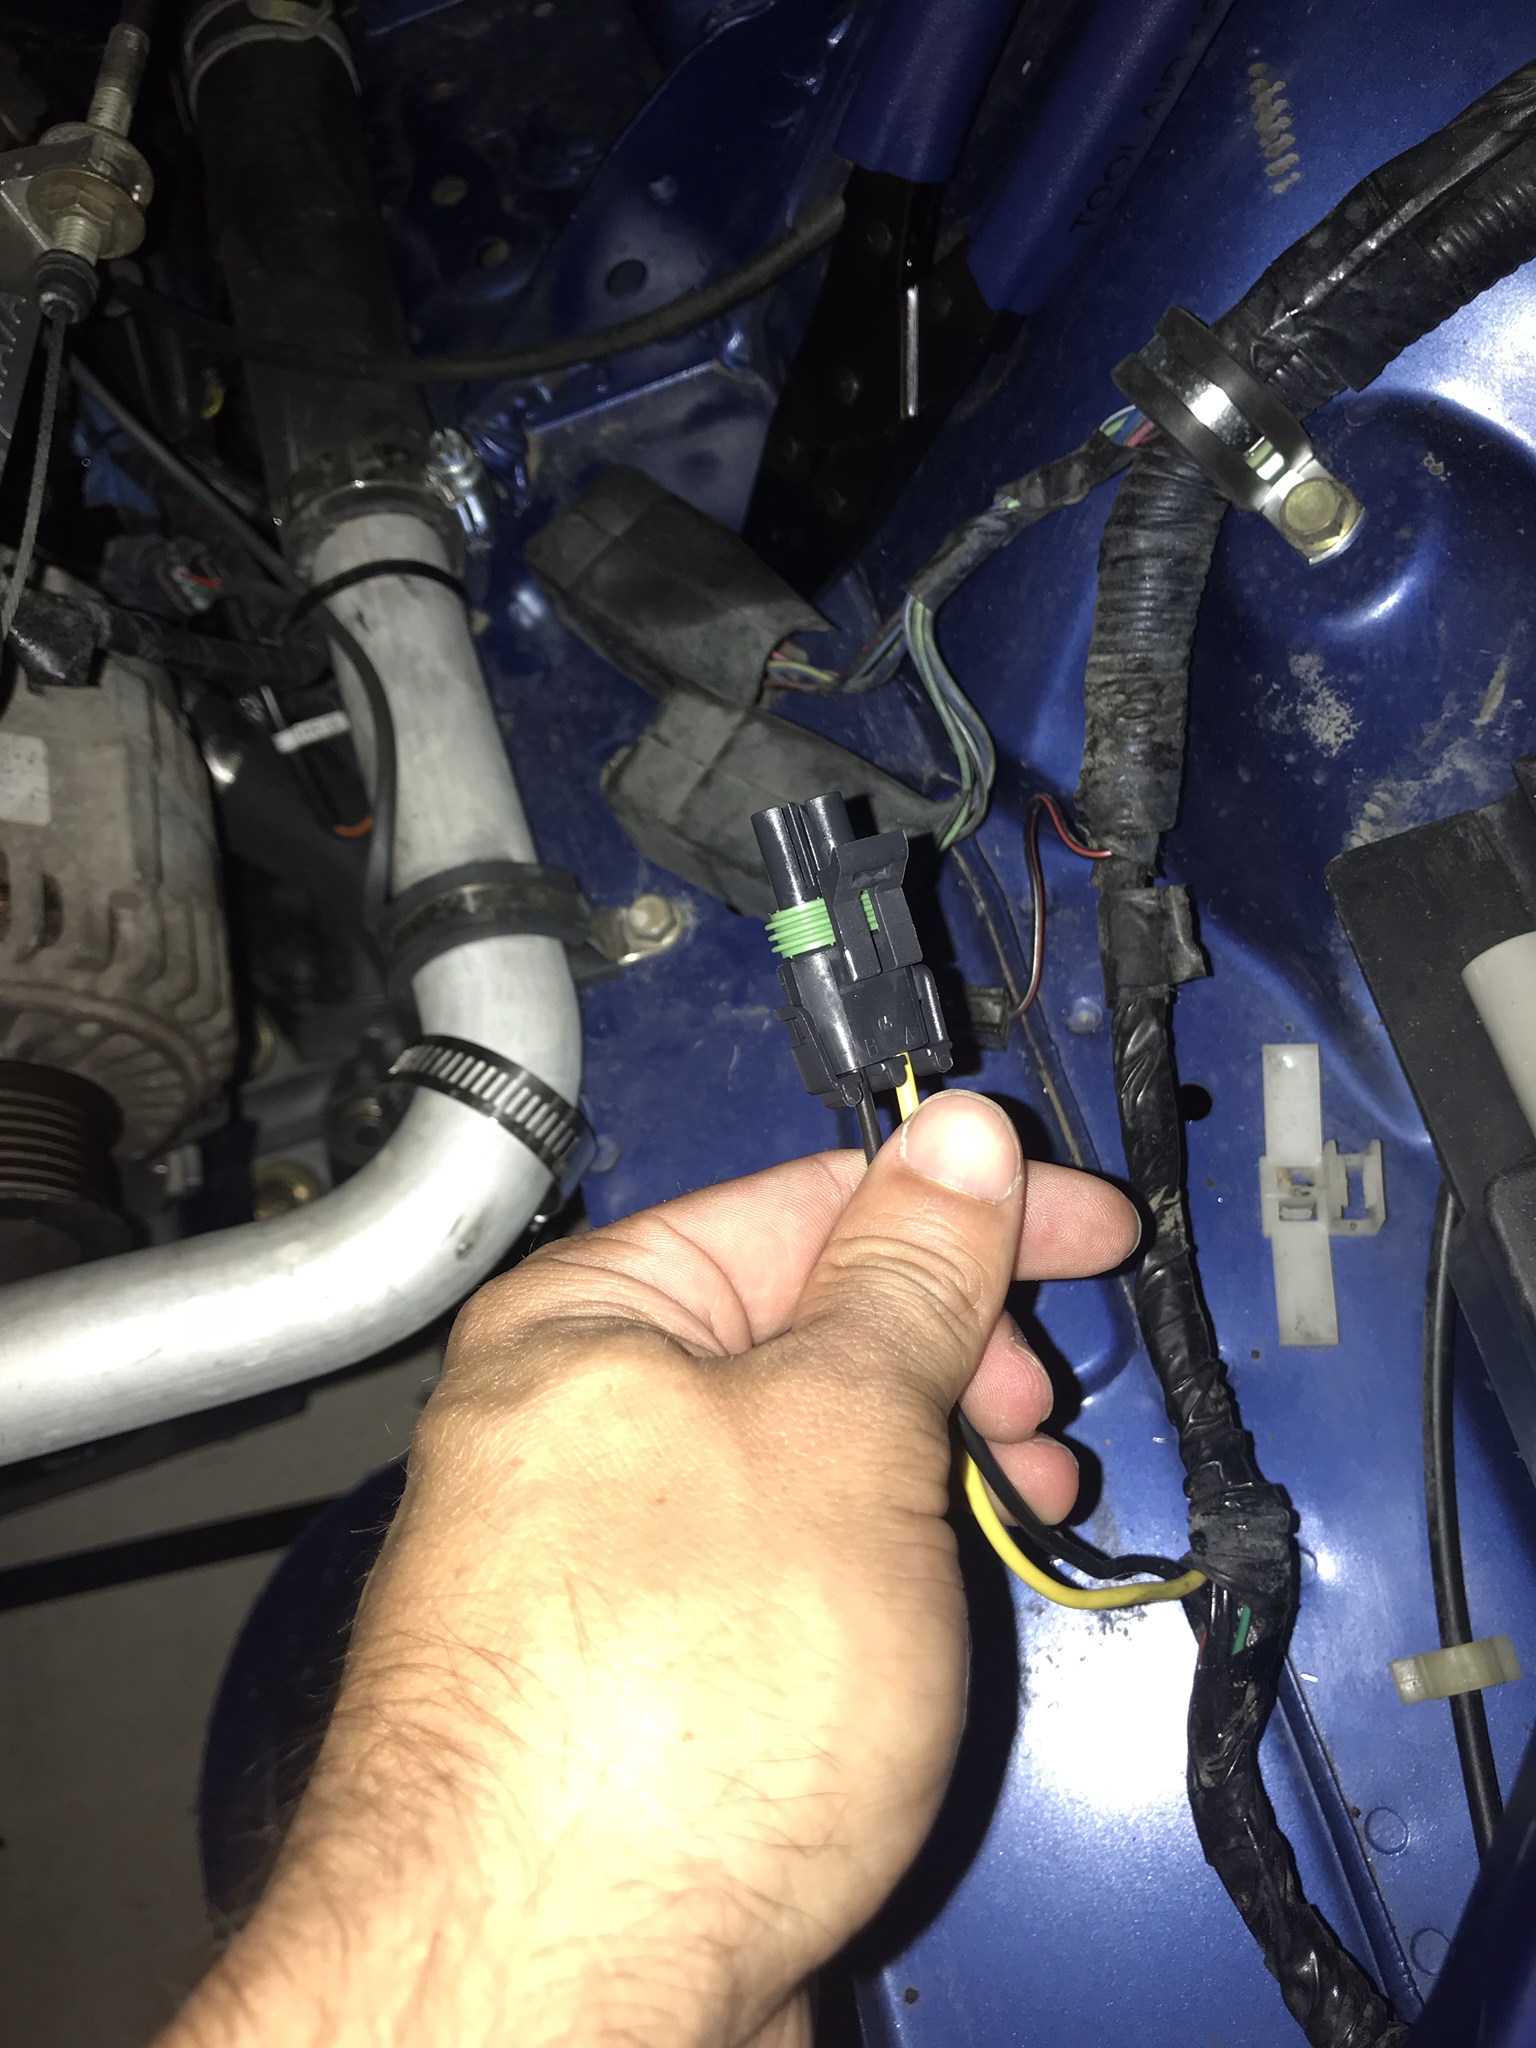
My initial attempt to start it the car didnt run, after some observation my fuel pump wasnt running. Having some knowledge of the Miata wiring going into this helps tremendously, i didnt have that and had spliced the fuel pump wire into the wrong wire on the Miata harness, the instructions with the kit are pretty vague, i think this is probably by design as it could vary so largely based on what year car you are using so i highly suggest going through everything and finding all the wires for your specific car the first time around, for the fuel pump i would suggest finding the relay and then determining which wire runs to the pump from there, that is the wire you need to splice into, the kit includes a new fuel pump relay so the stock one is no longer utilized. Also, the directions make this pretty clear but if you are upgrading to anything larger than the walbro you need to run a larger gauge wire to the pump. After i figured this out, it fired right up and idled perfect. At this point it was running but there is still alot of work left to get the car on the road.
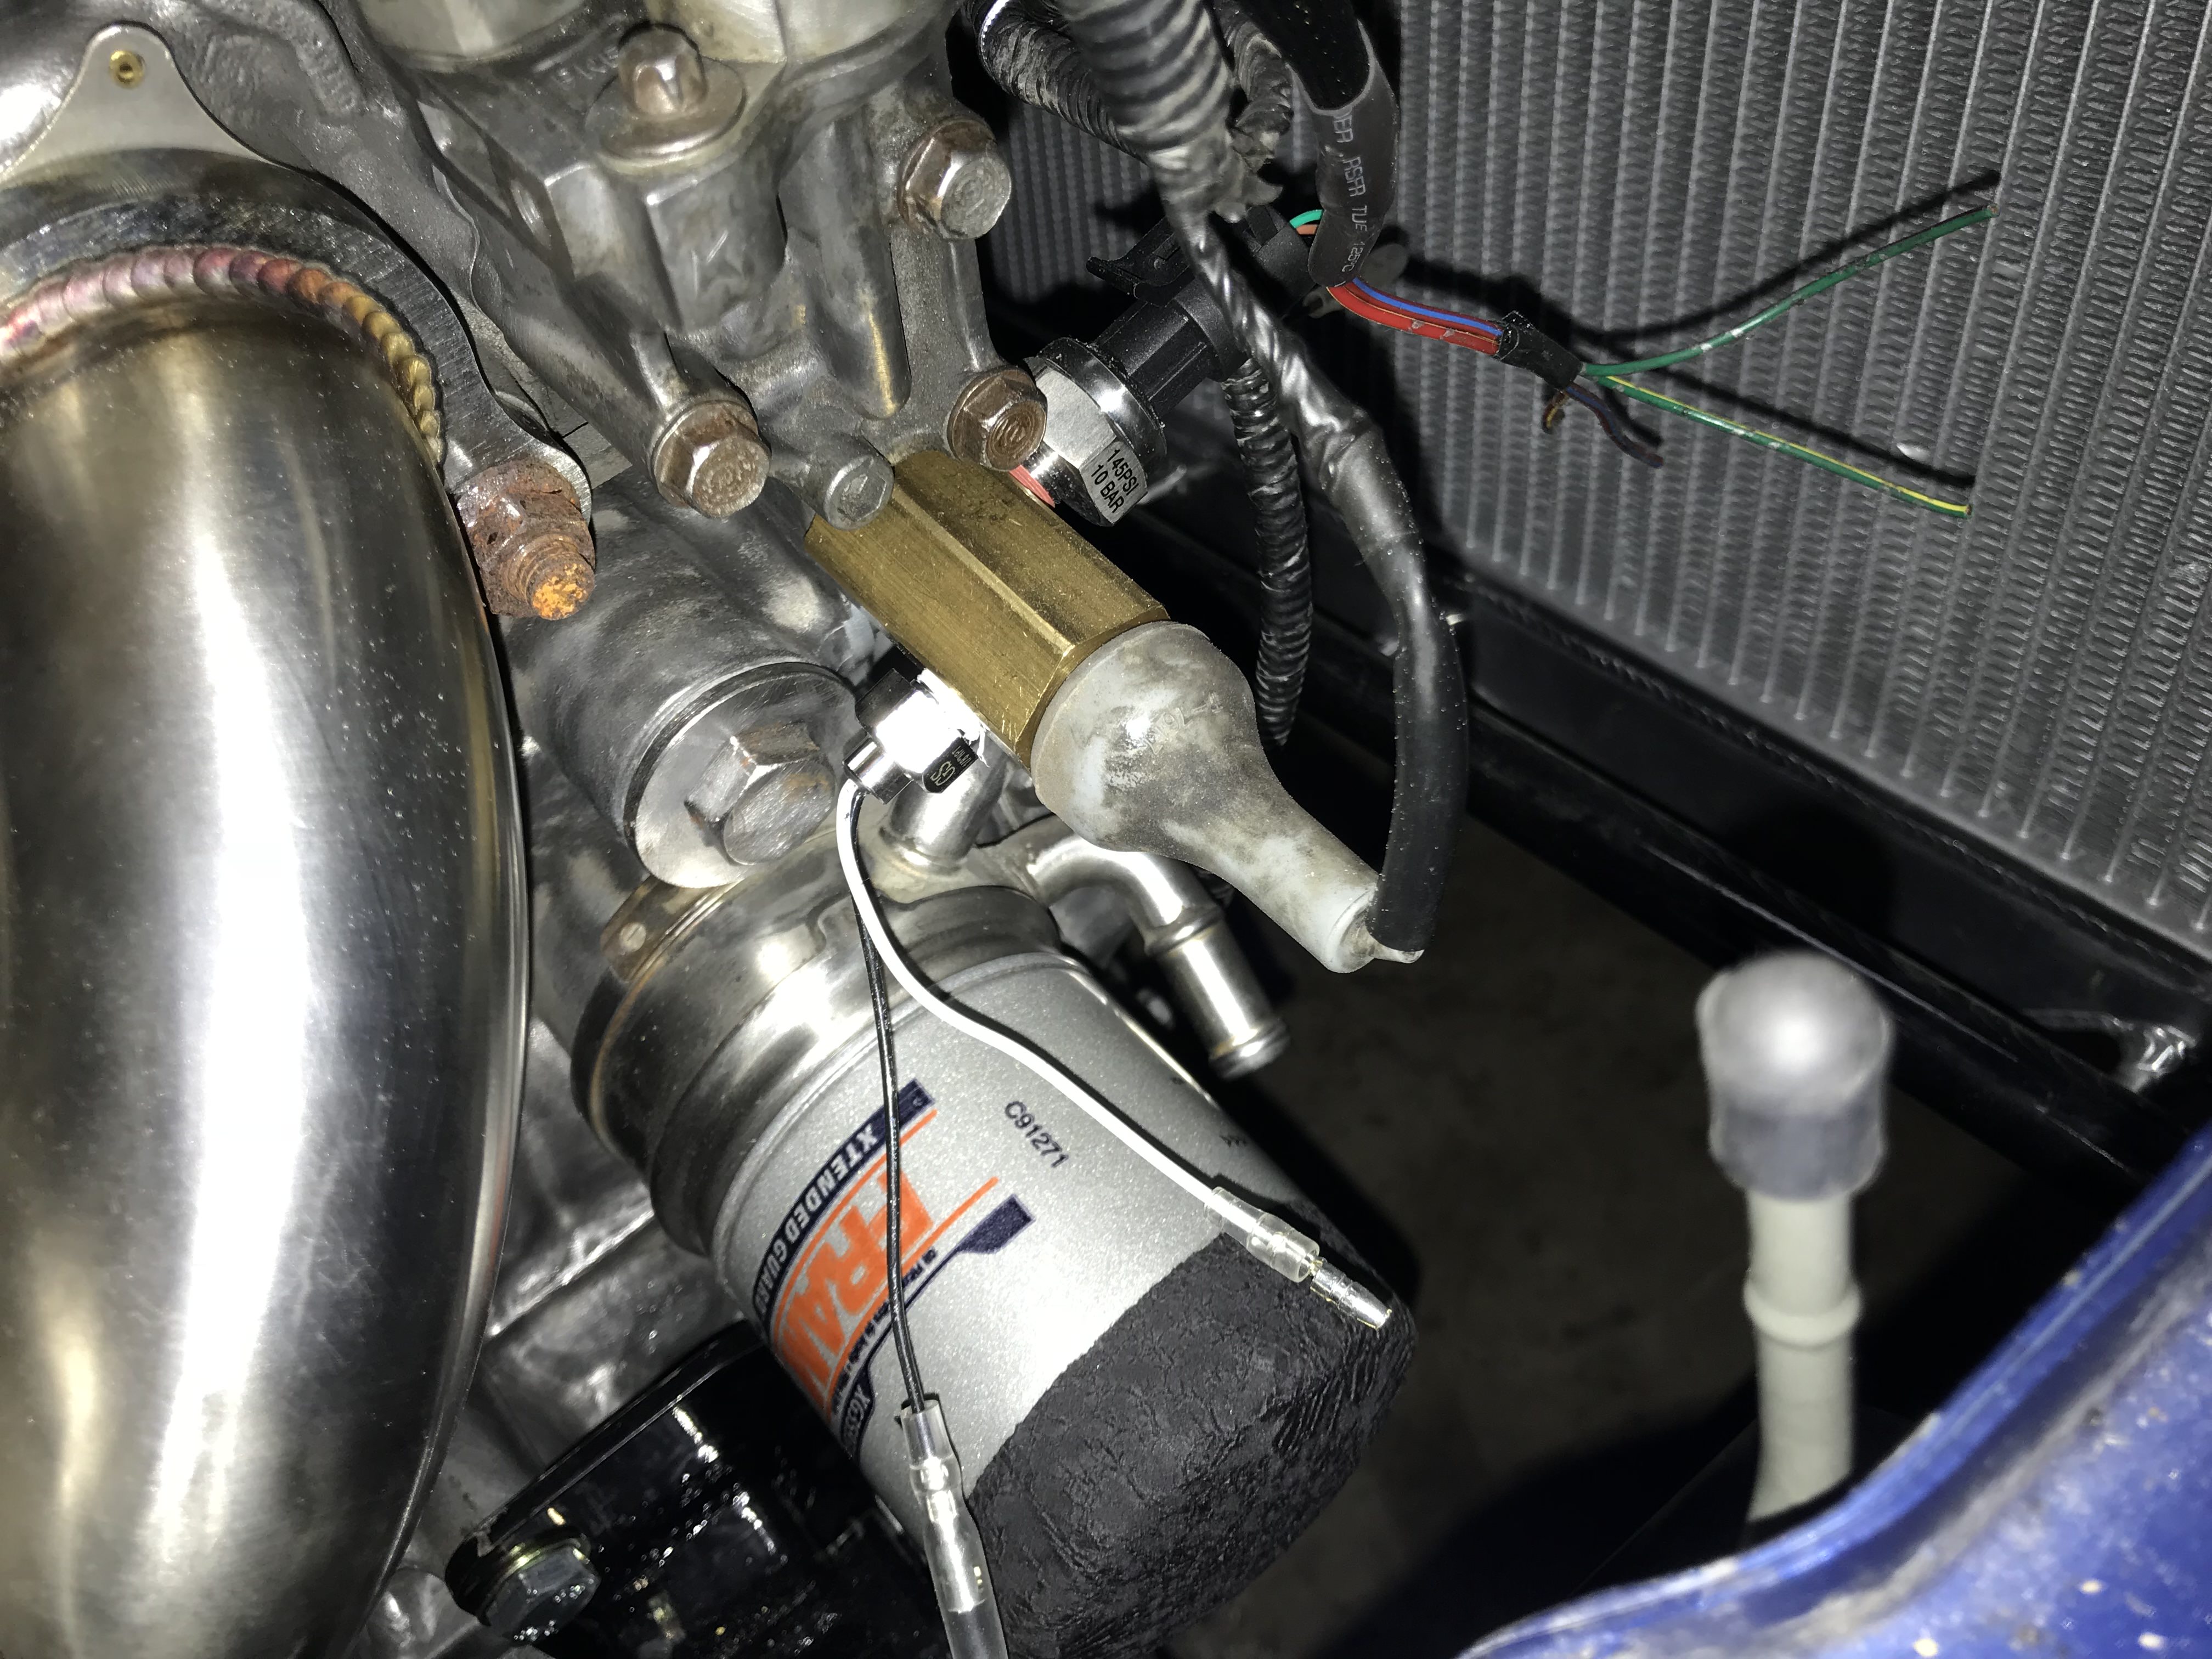
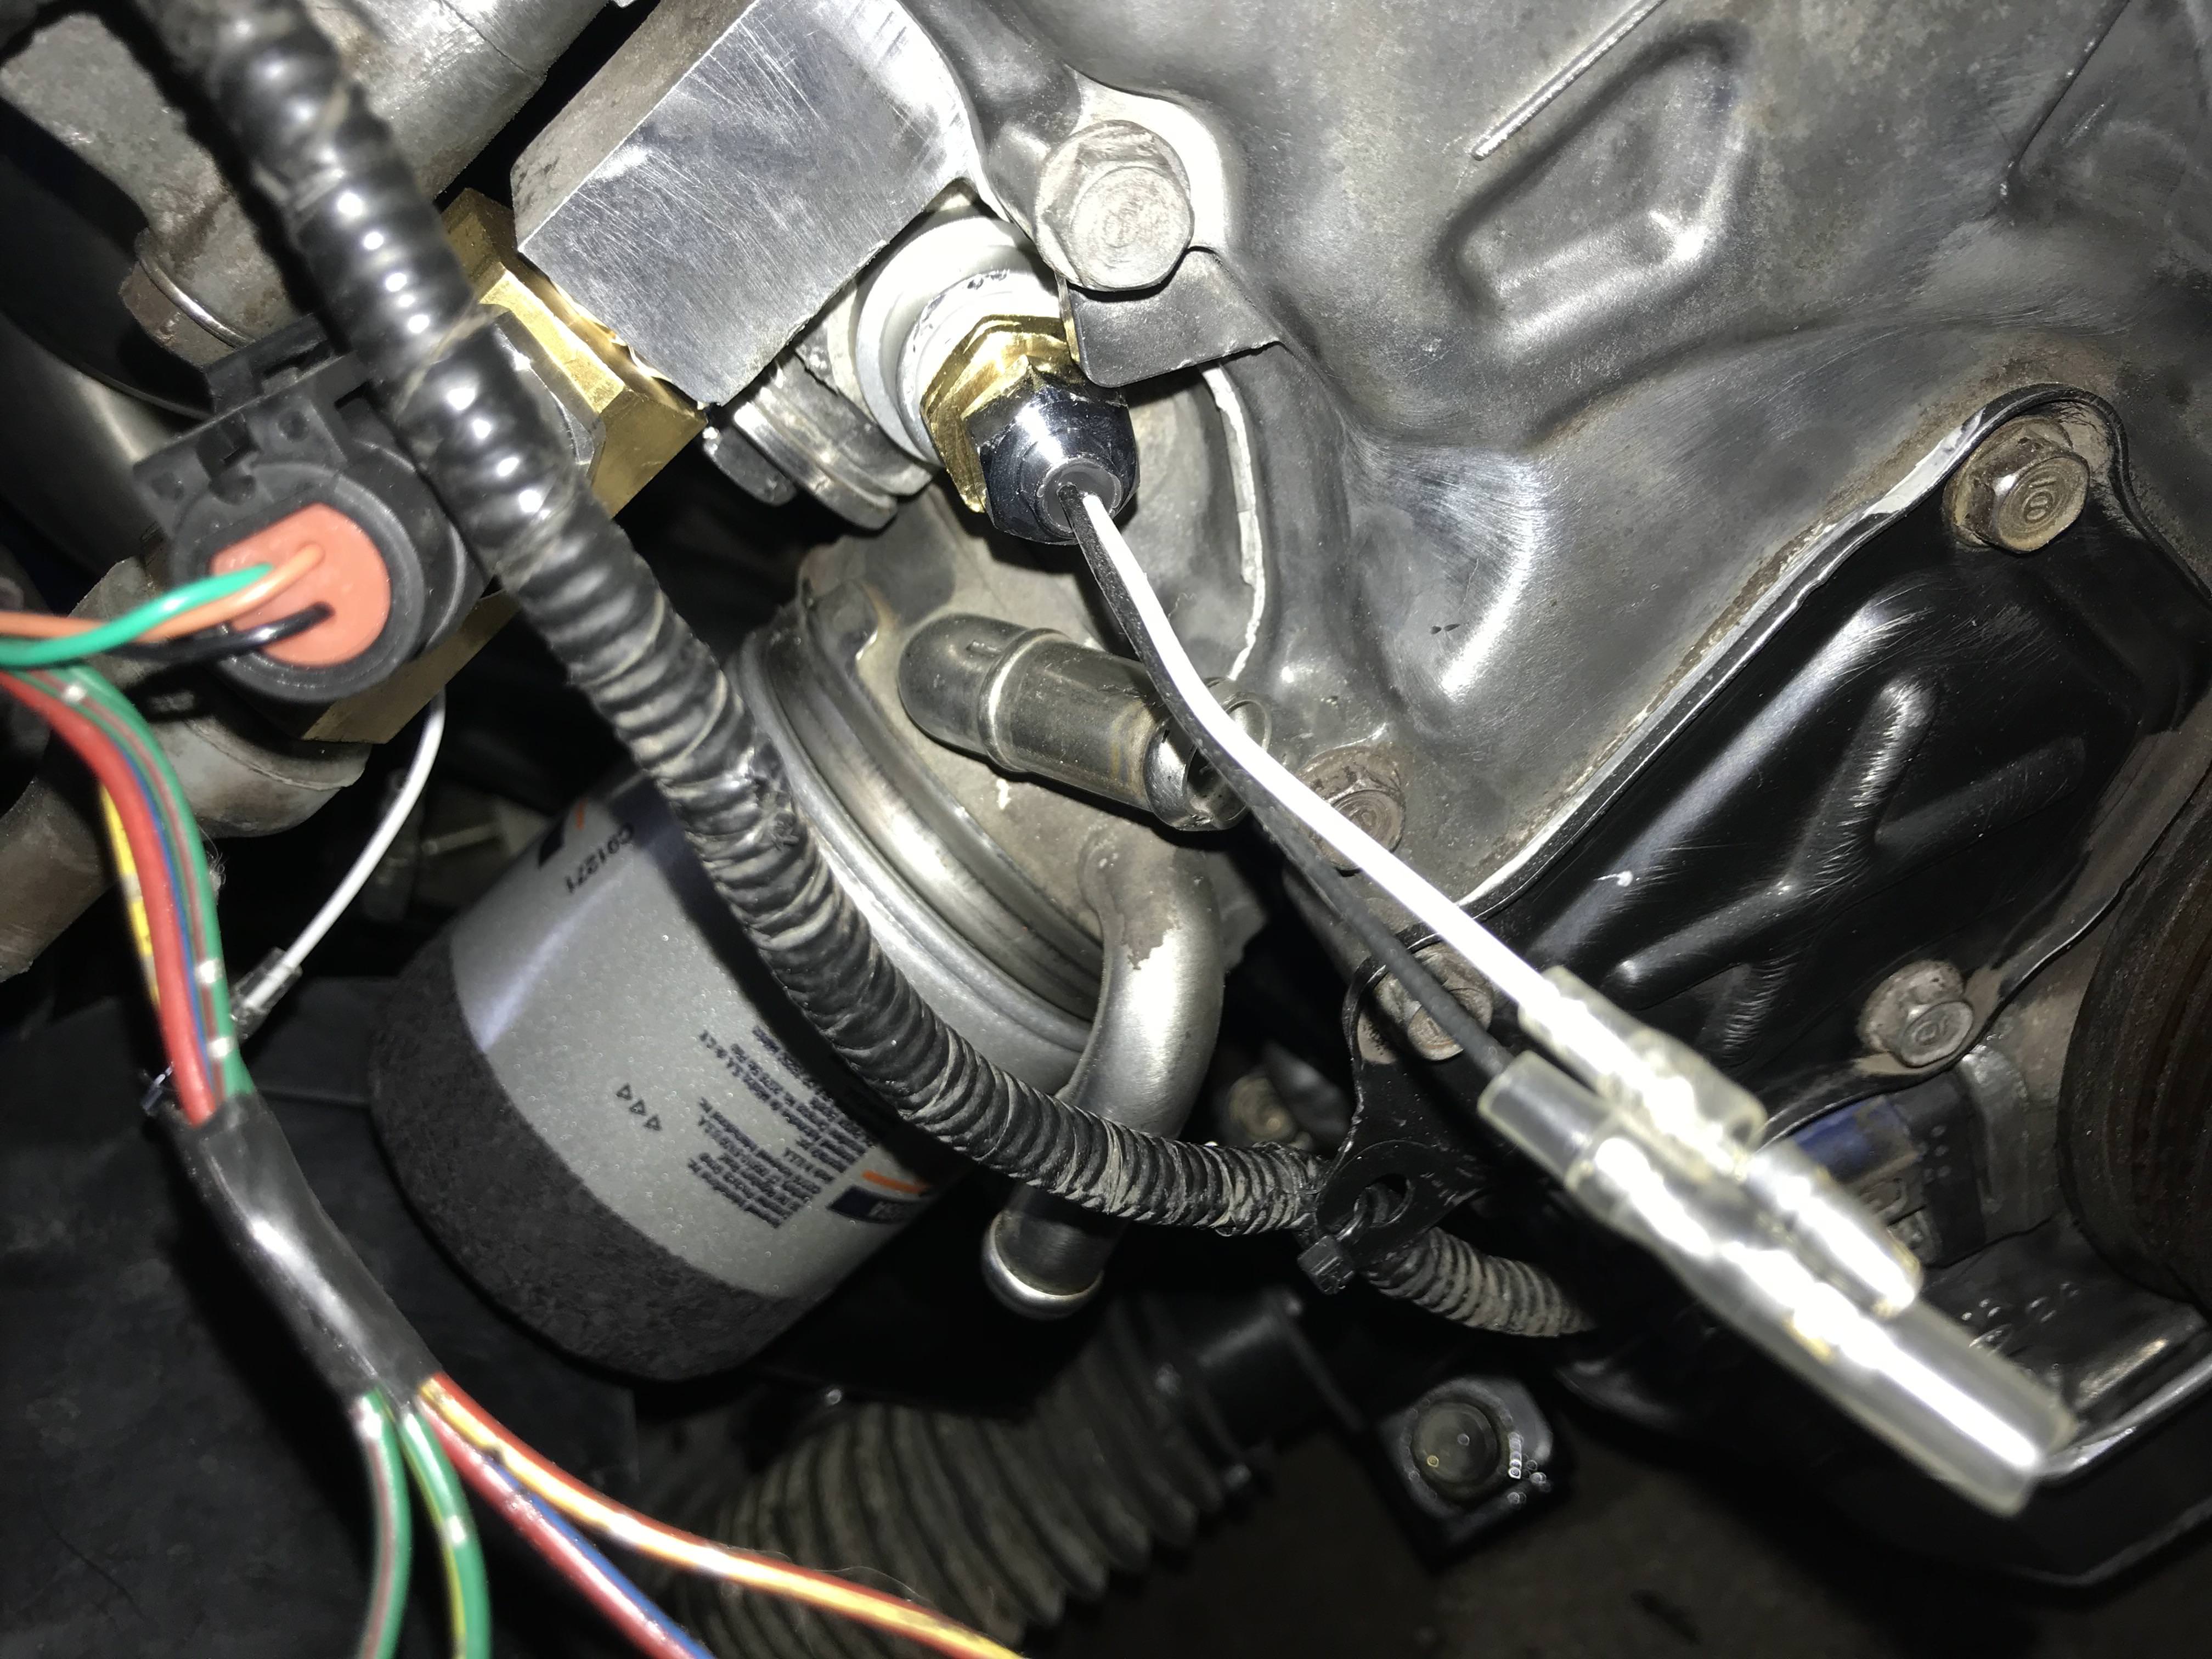
Nifty little adapter made by glow shift, if i remember correctly it was made for a FR-S/GT86/BRZ so you can install gauges on those cars, but it works perfect for the K series as well, it fits in between the block and the stock dummy oil pressure gauge, note that piece is actually BSPT, luckily so is the GT86/BRZ. If you go this route you will also need to buy the "stubby" oil temp sensor, the one that comes with your gauge has a "nose" on it that is probably 1/2" long, this will not fit in the brass piece, you have to get the stubby one which is like 1/4" long.
I mentioned earlier the issue i was having with the stock oil cooler, i did not see any way to run this so i picked up a couple of these nifty things from K tuned to block off the holes, you will need 2. They bolt in where the "barbs" for the lines bolts and have a plug that screws into them, i used this hole on one of them to install the water temp sensor.
part number for the belt i mentioned earlier and installed
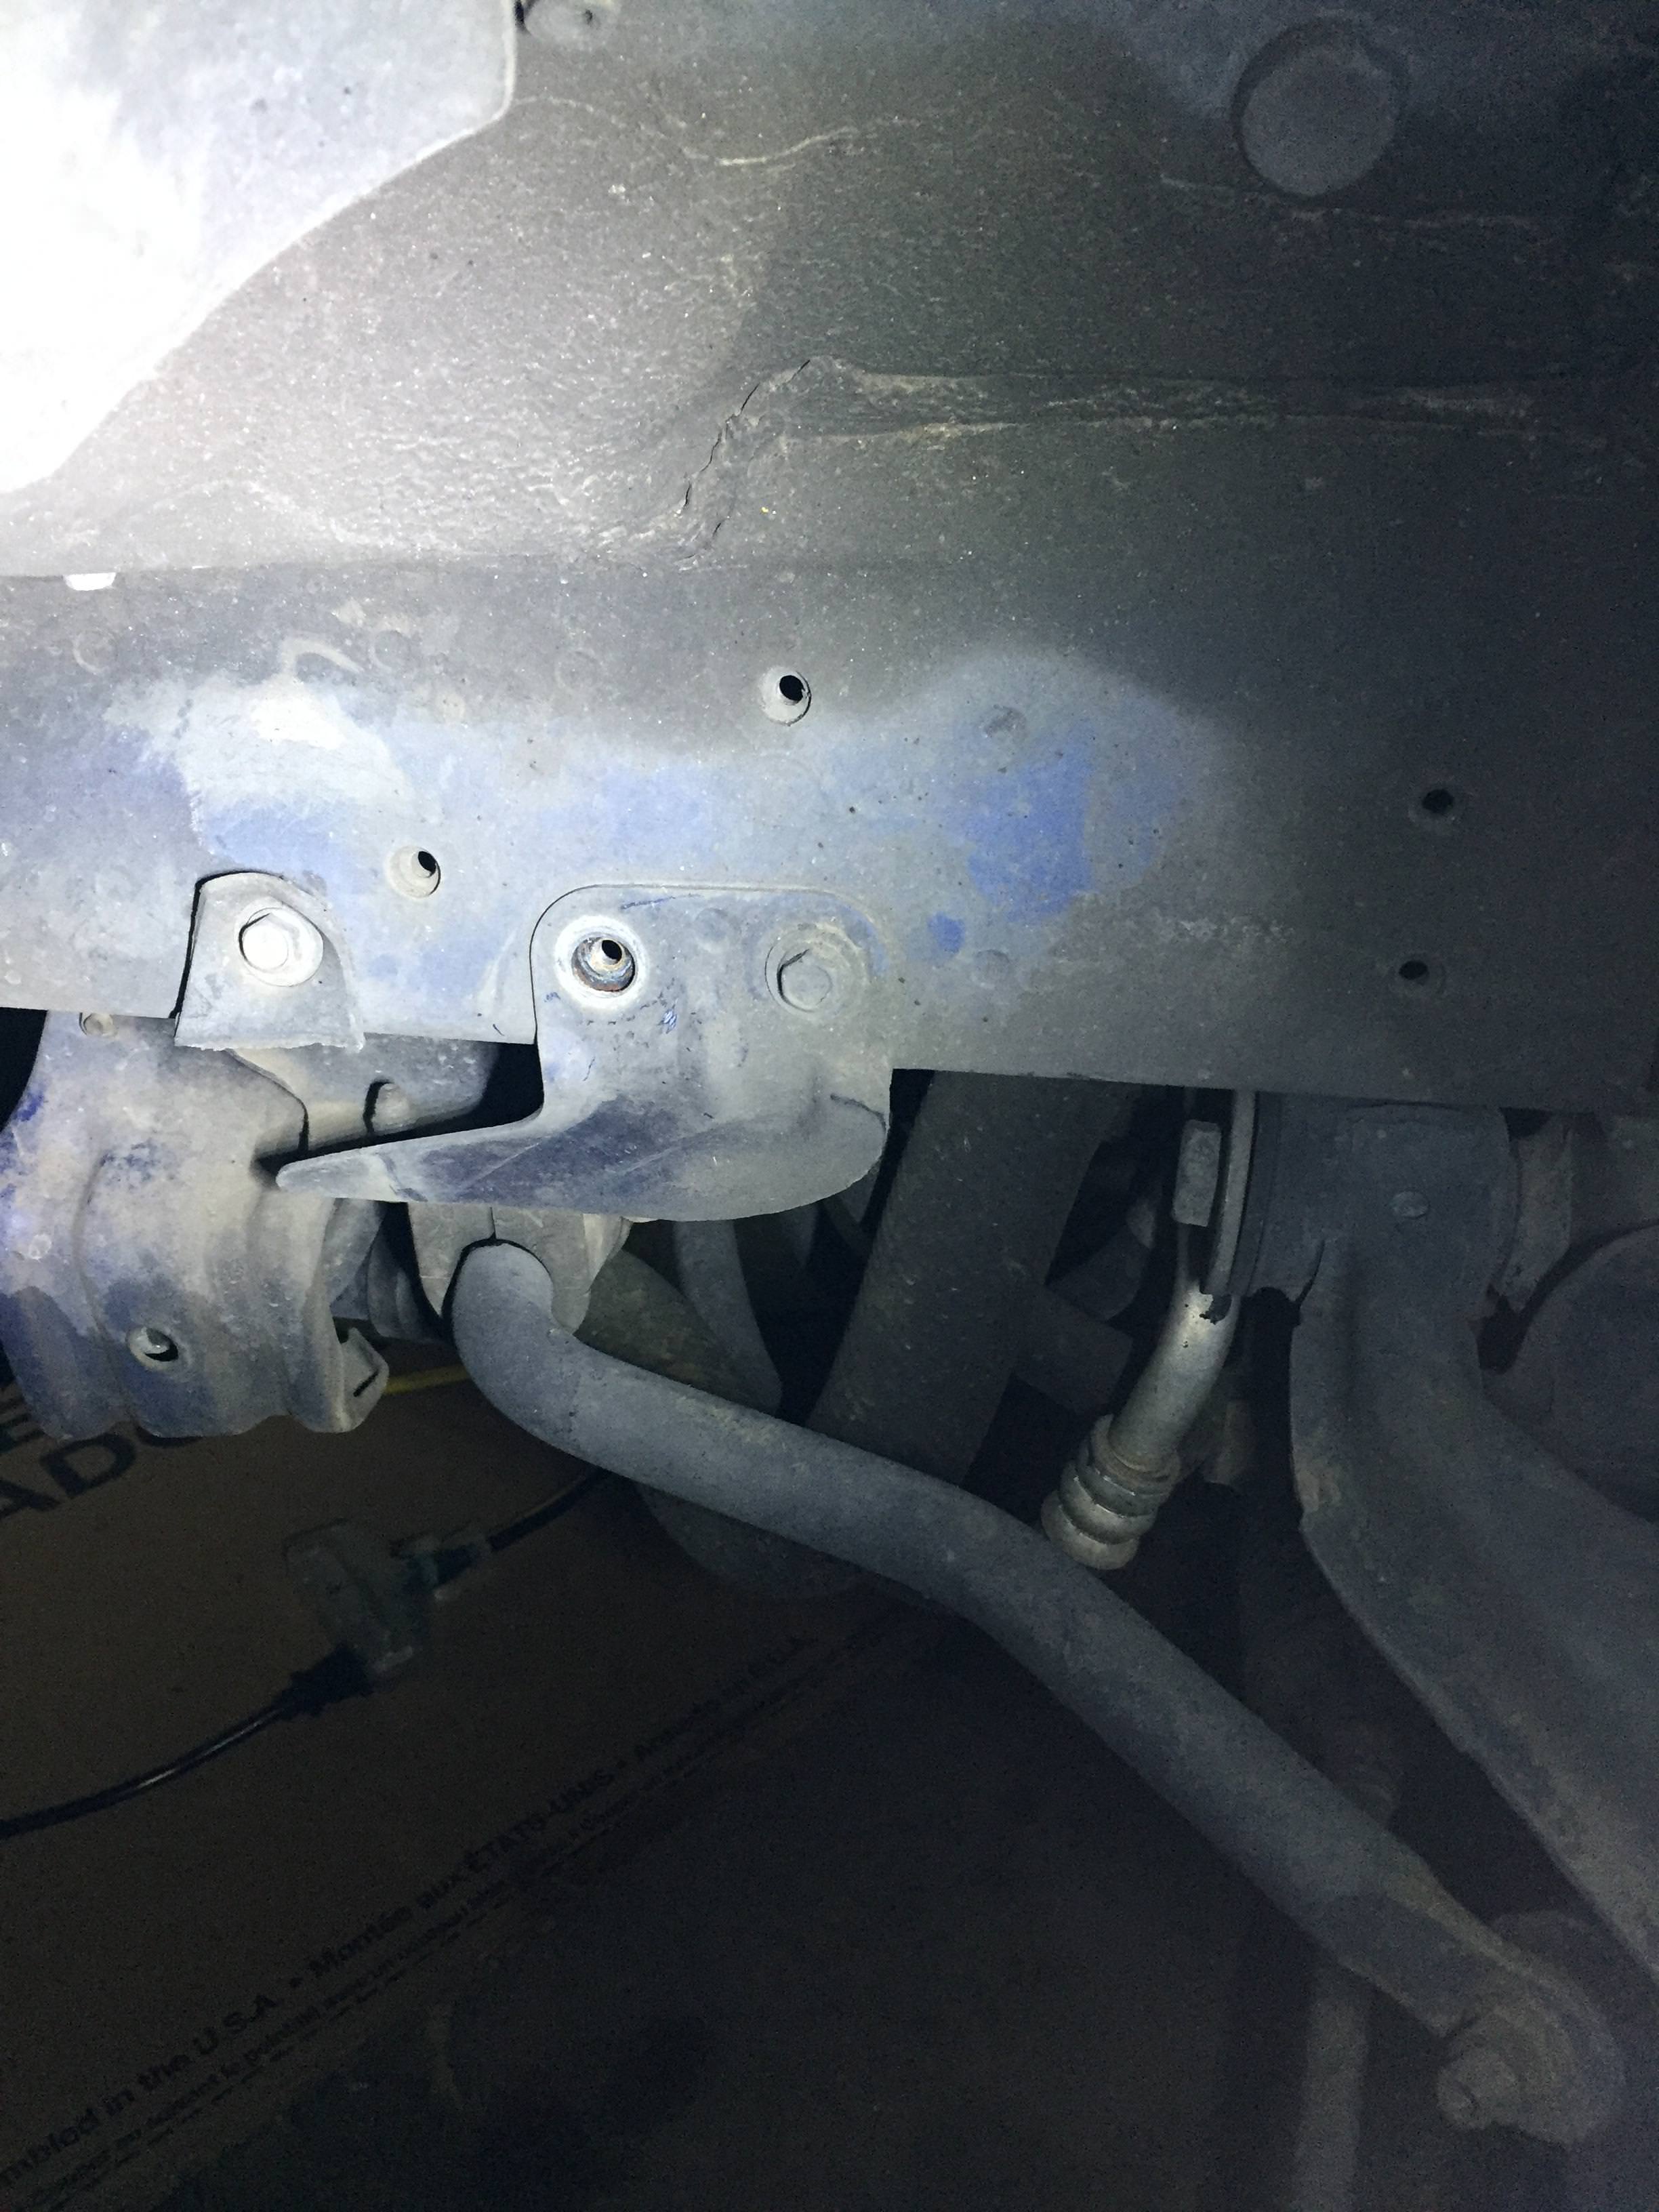
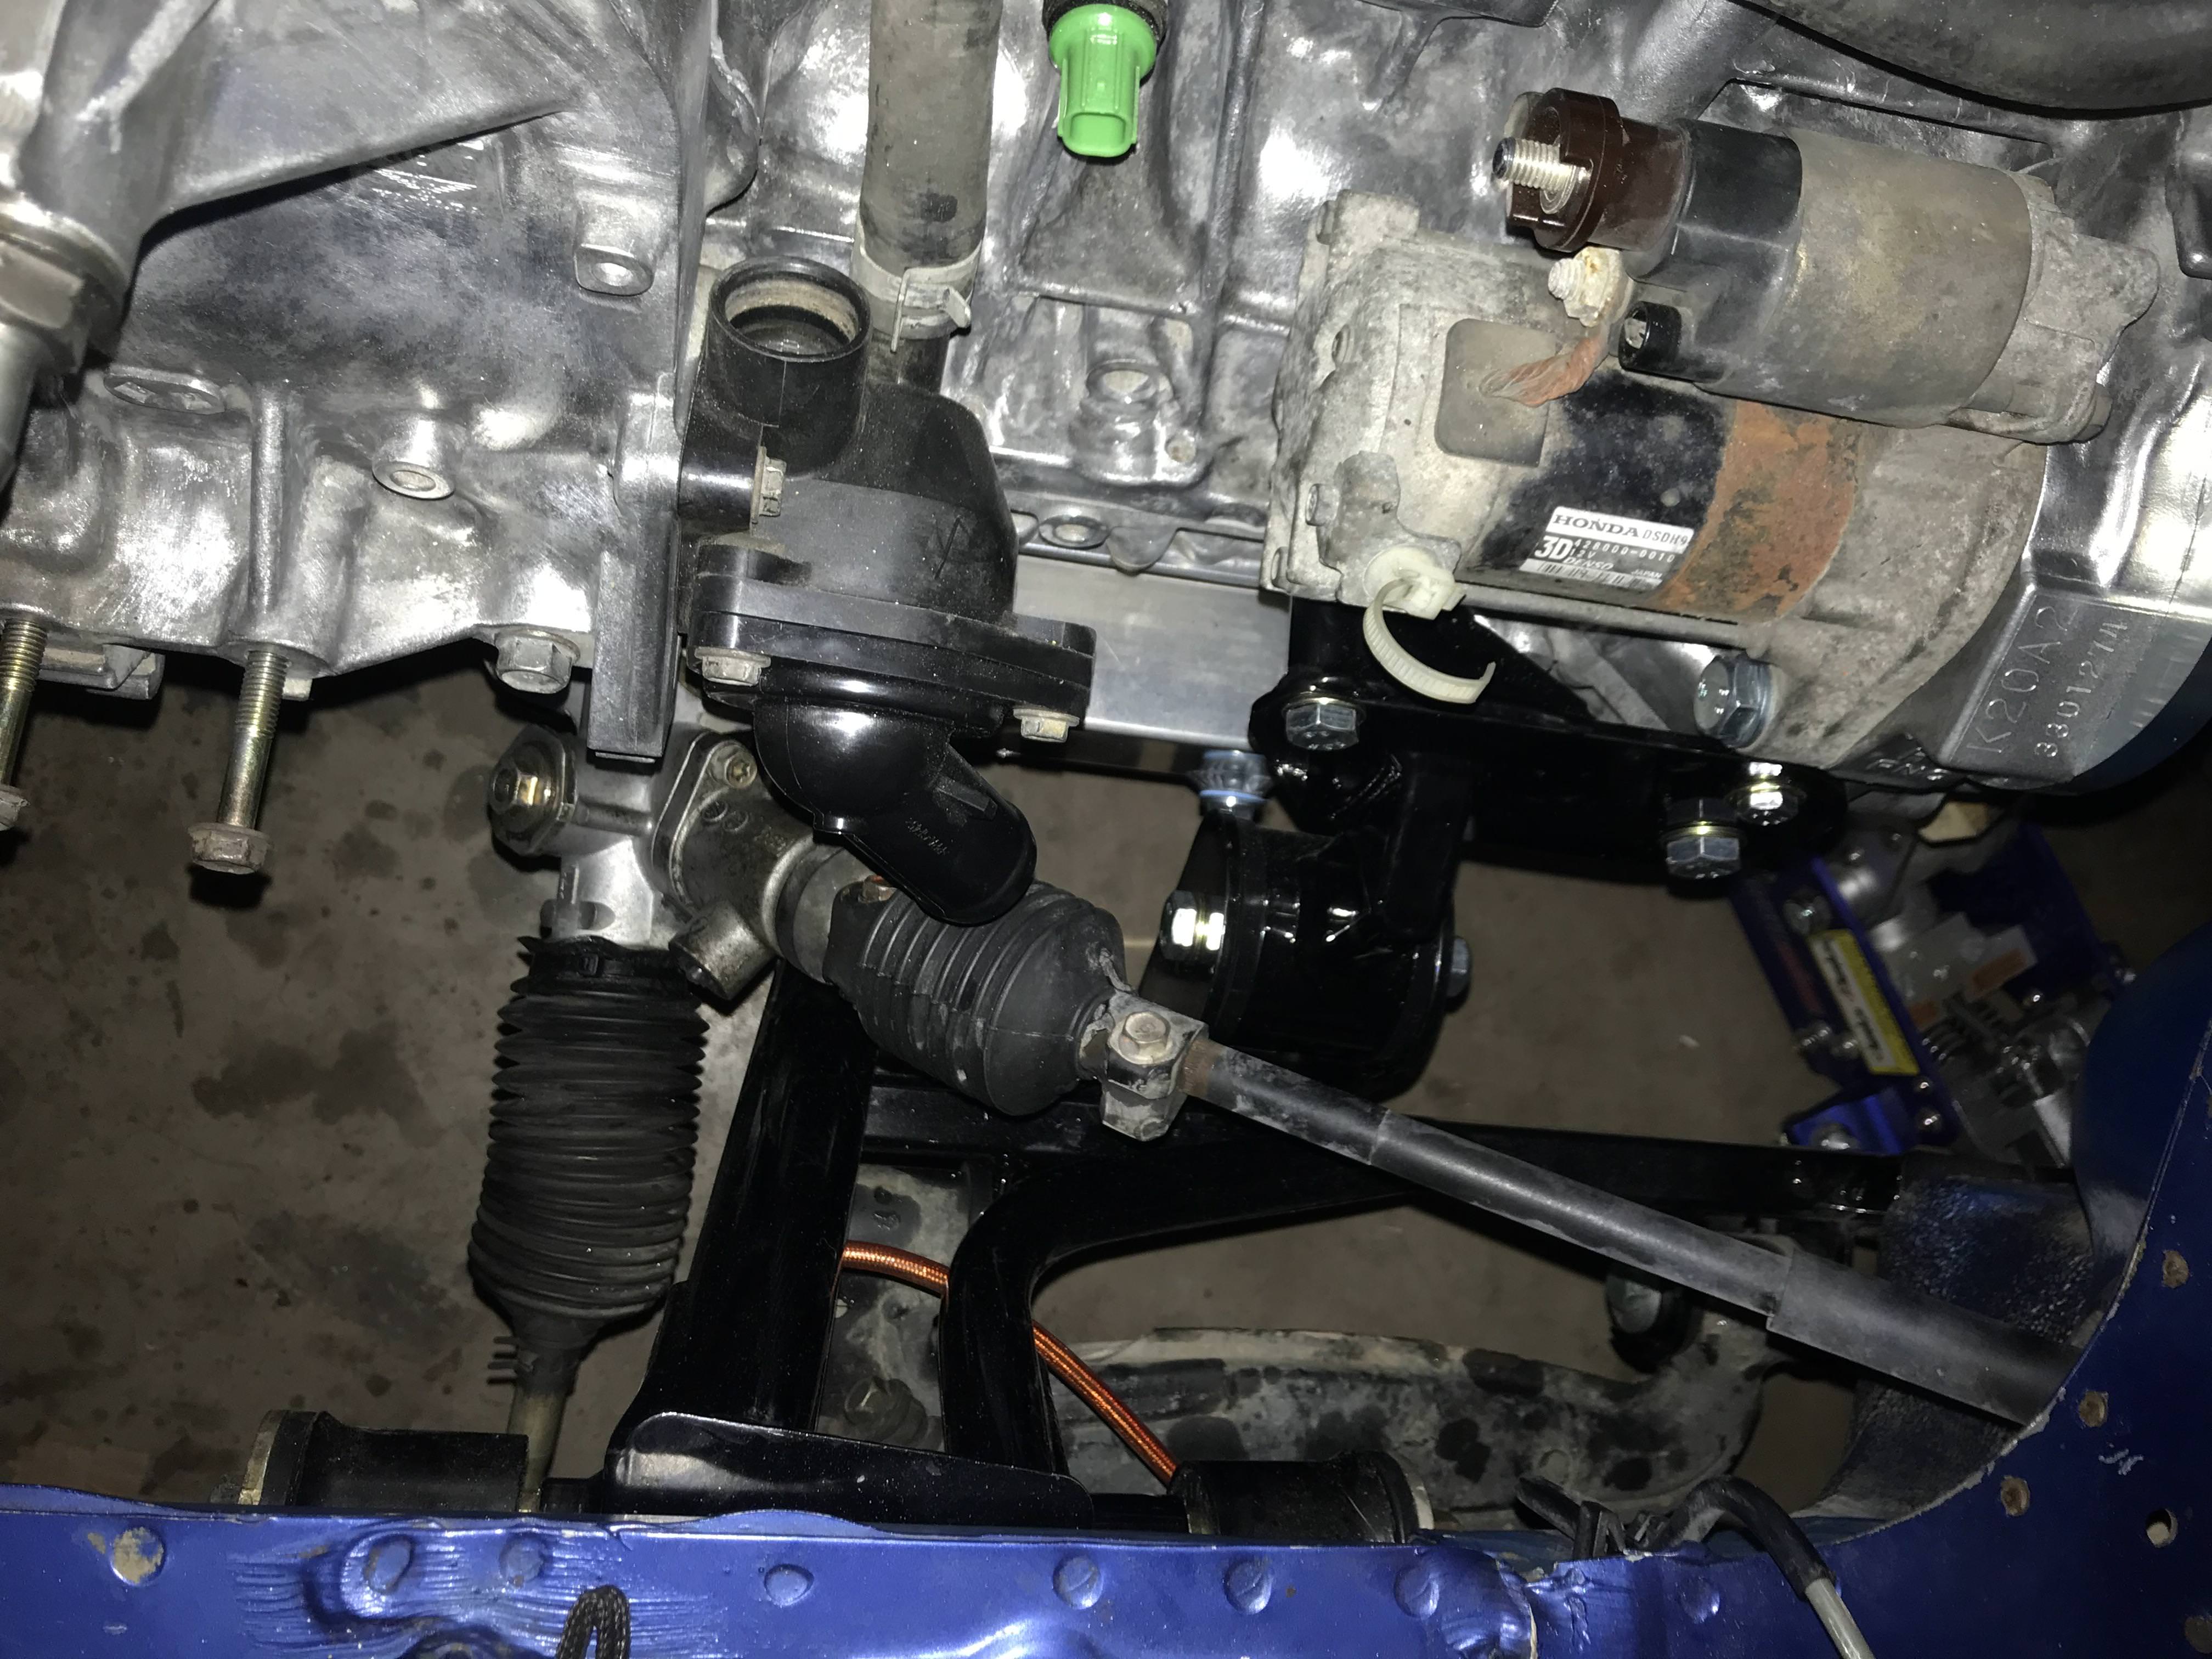
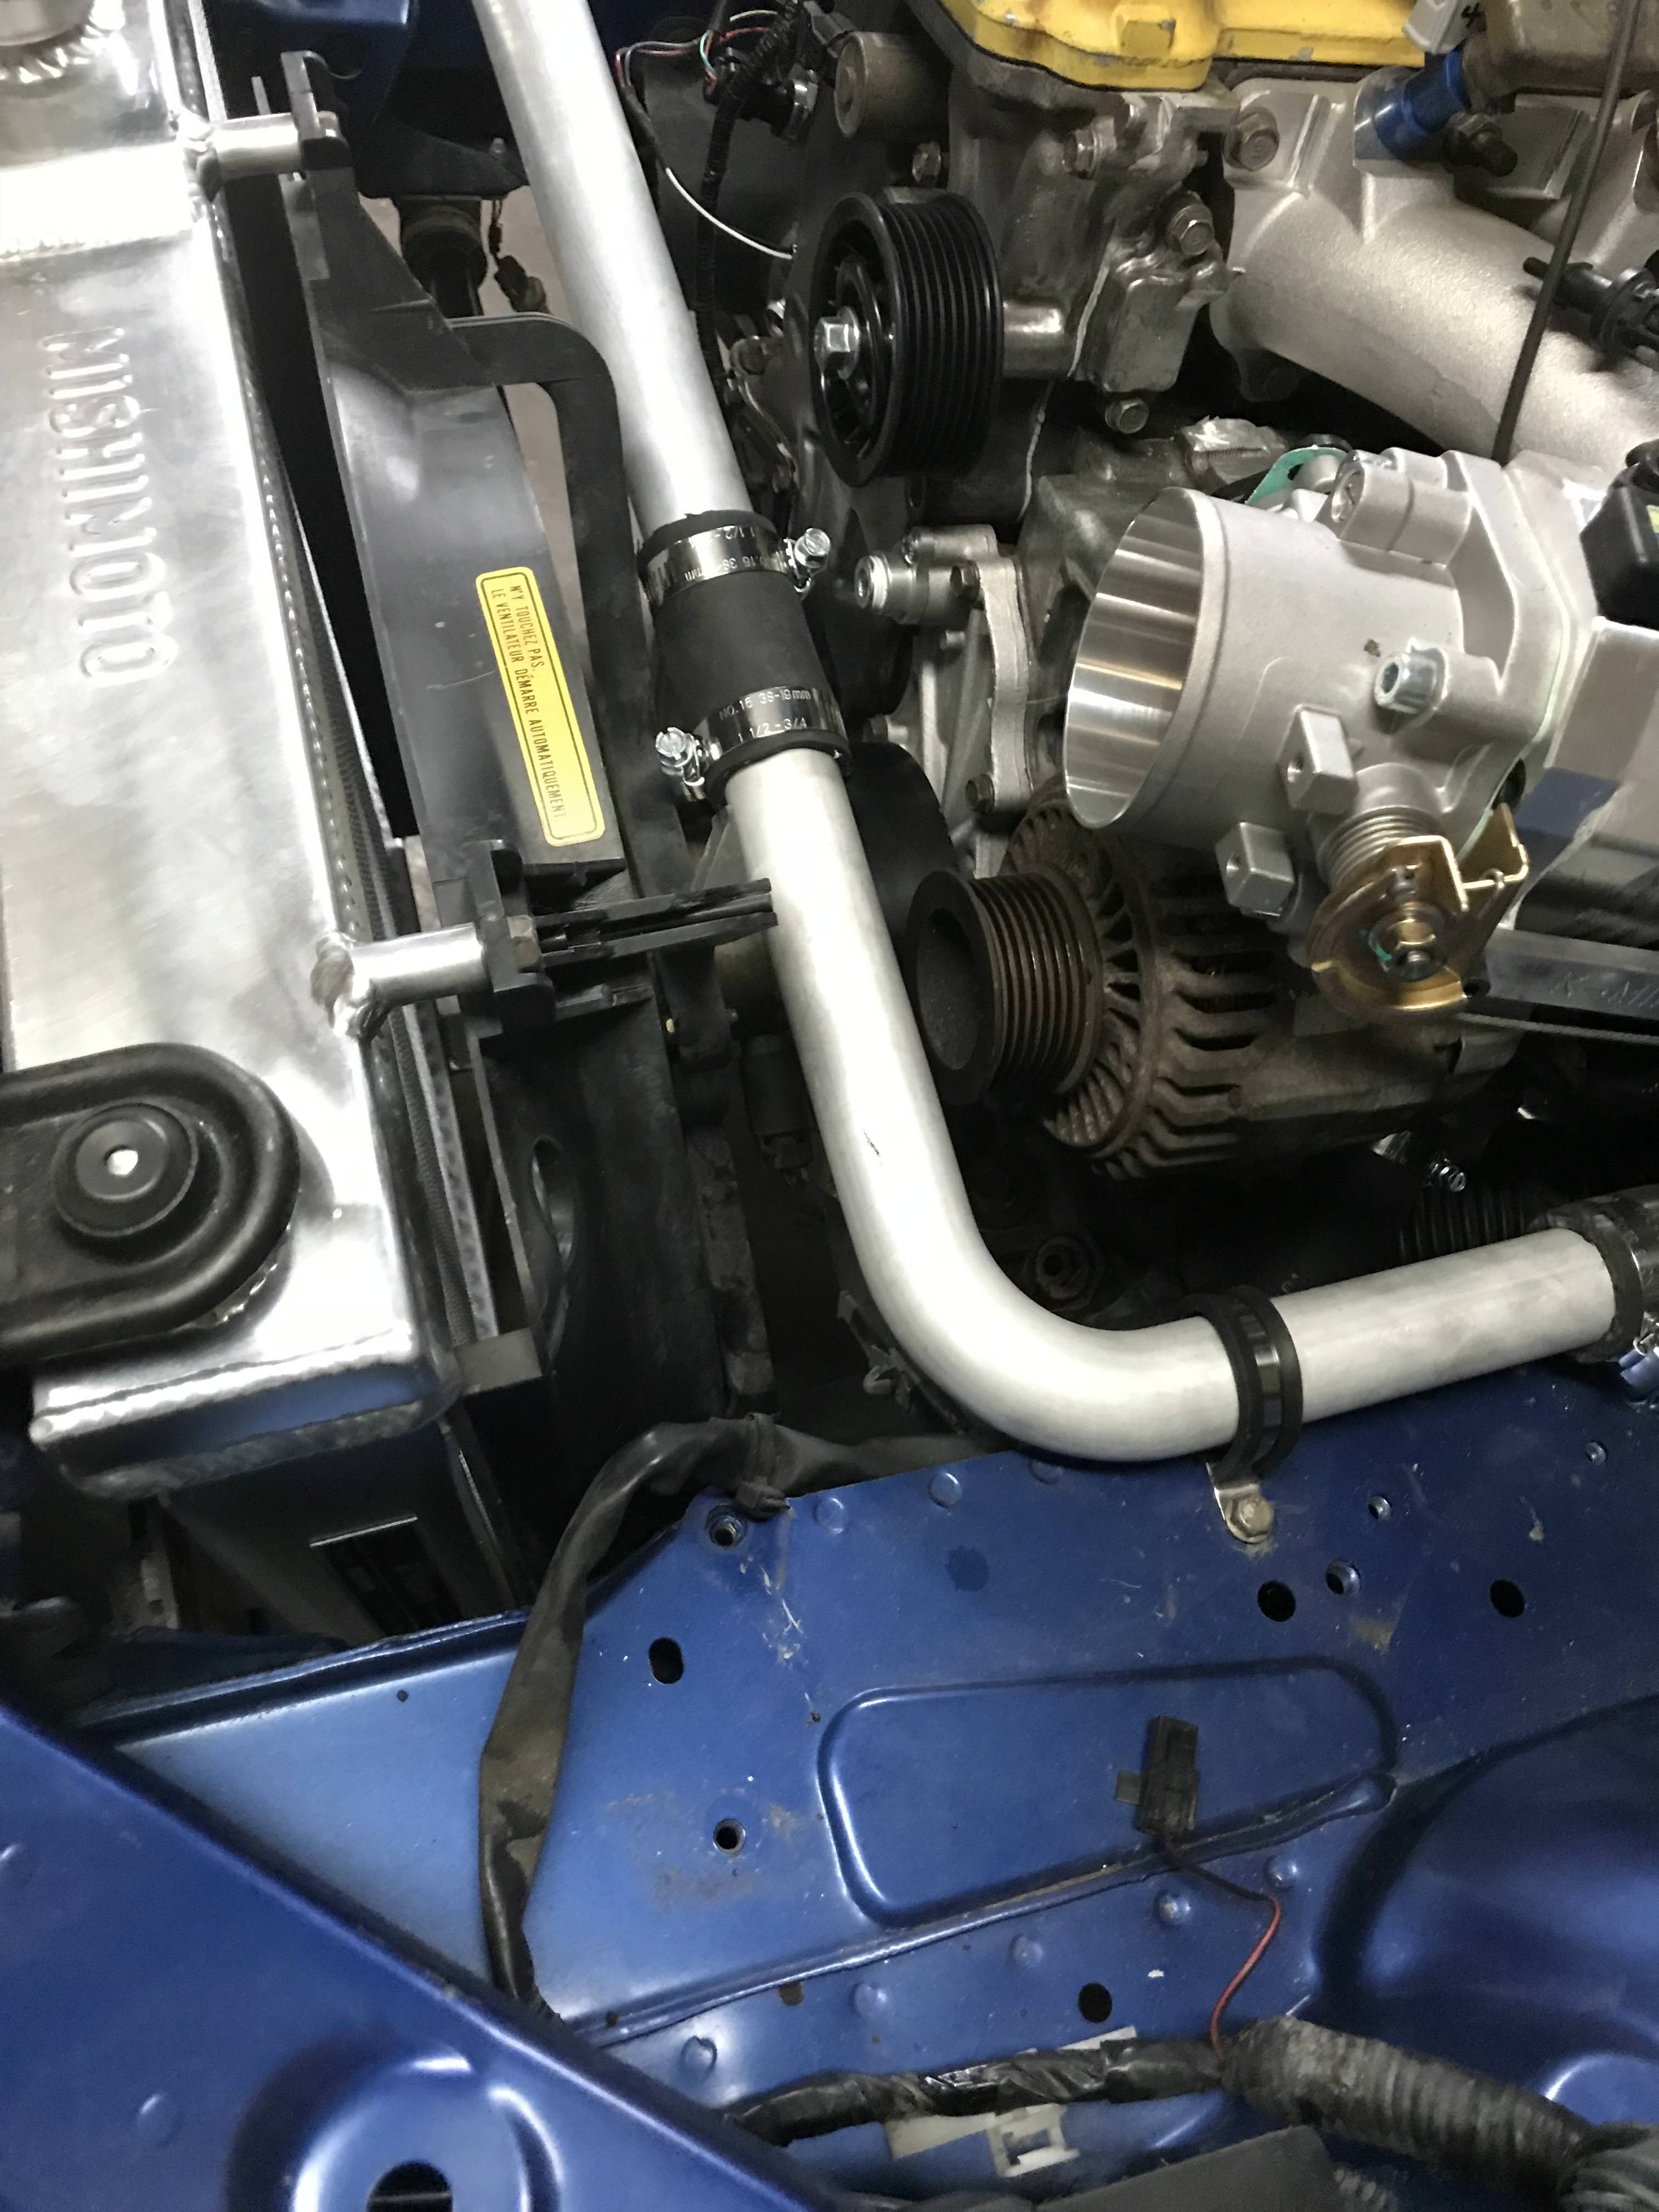
After the car was running it was time to build radiator and heater hoses, and I ran into another issue, there is no way to use the stock thermostat housing as it causes the lower rad hose to conflict with the steering rack/column. I am not sure if this is an issue that is exclusive to the K20 as i have not seen any good photos to compare to a K24. I assume the K24 must be different as i am sure it would have been addressed in one of the K swap threads out there. Anyways solution was to snag a K tuned swivel T stat housing, and for some reason i have no photos of this but you can see the stock one and the issue it presents.
The upper hose has to travel a long distance and i copied the routing that Andy Hollis used with aluminum pipe. Also did some home made bead rolling LOL crimping tool from harbor freight FTW
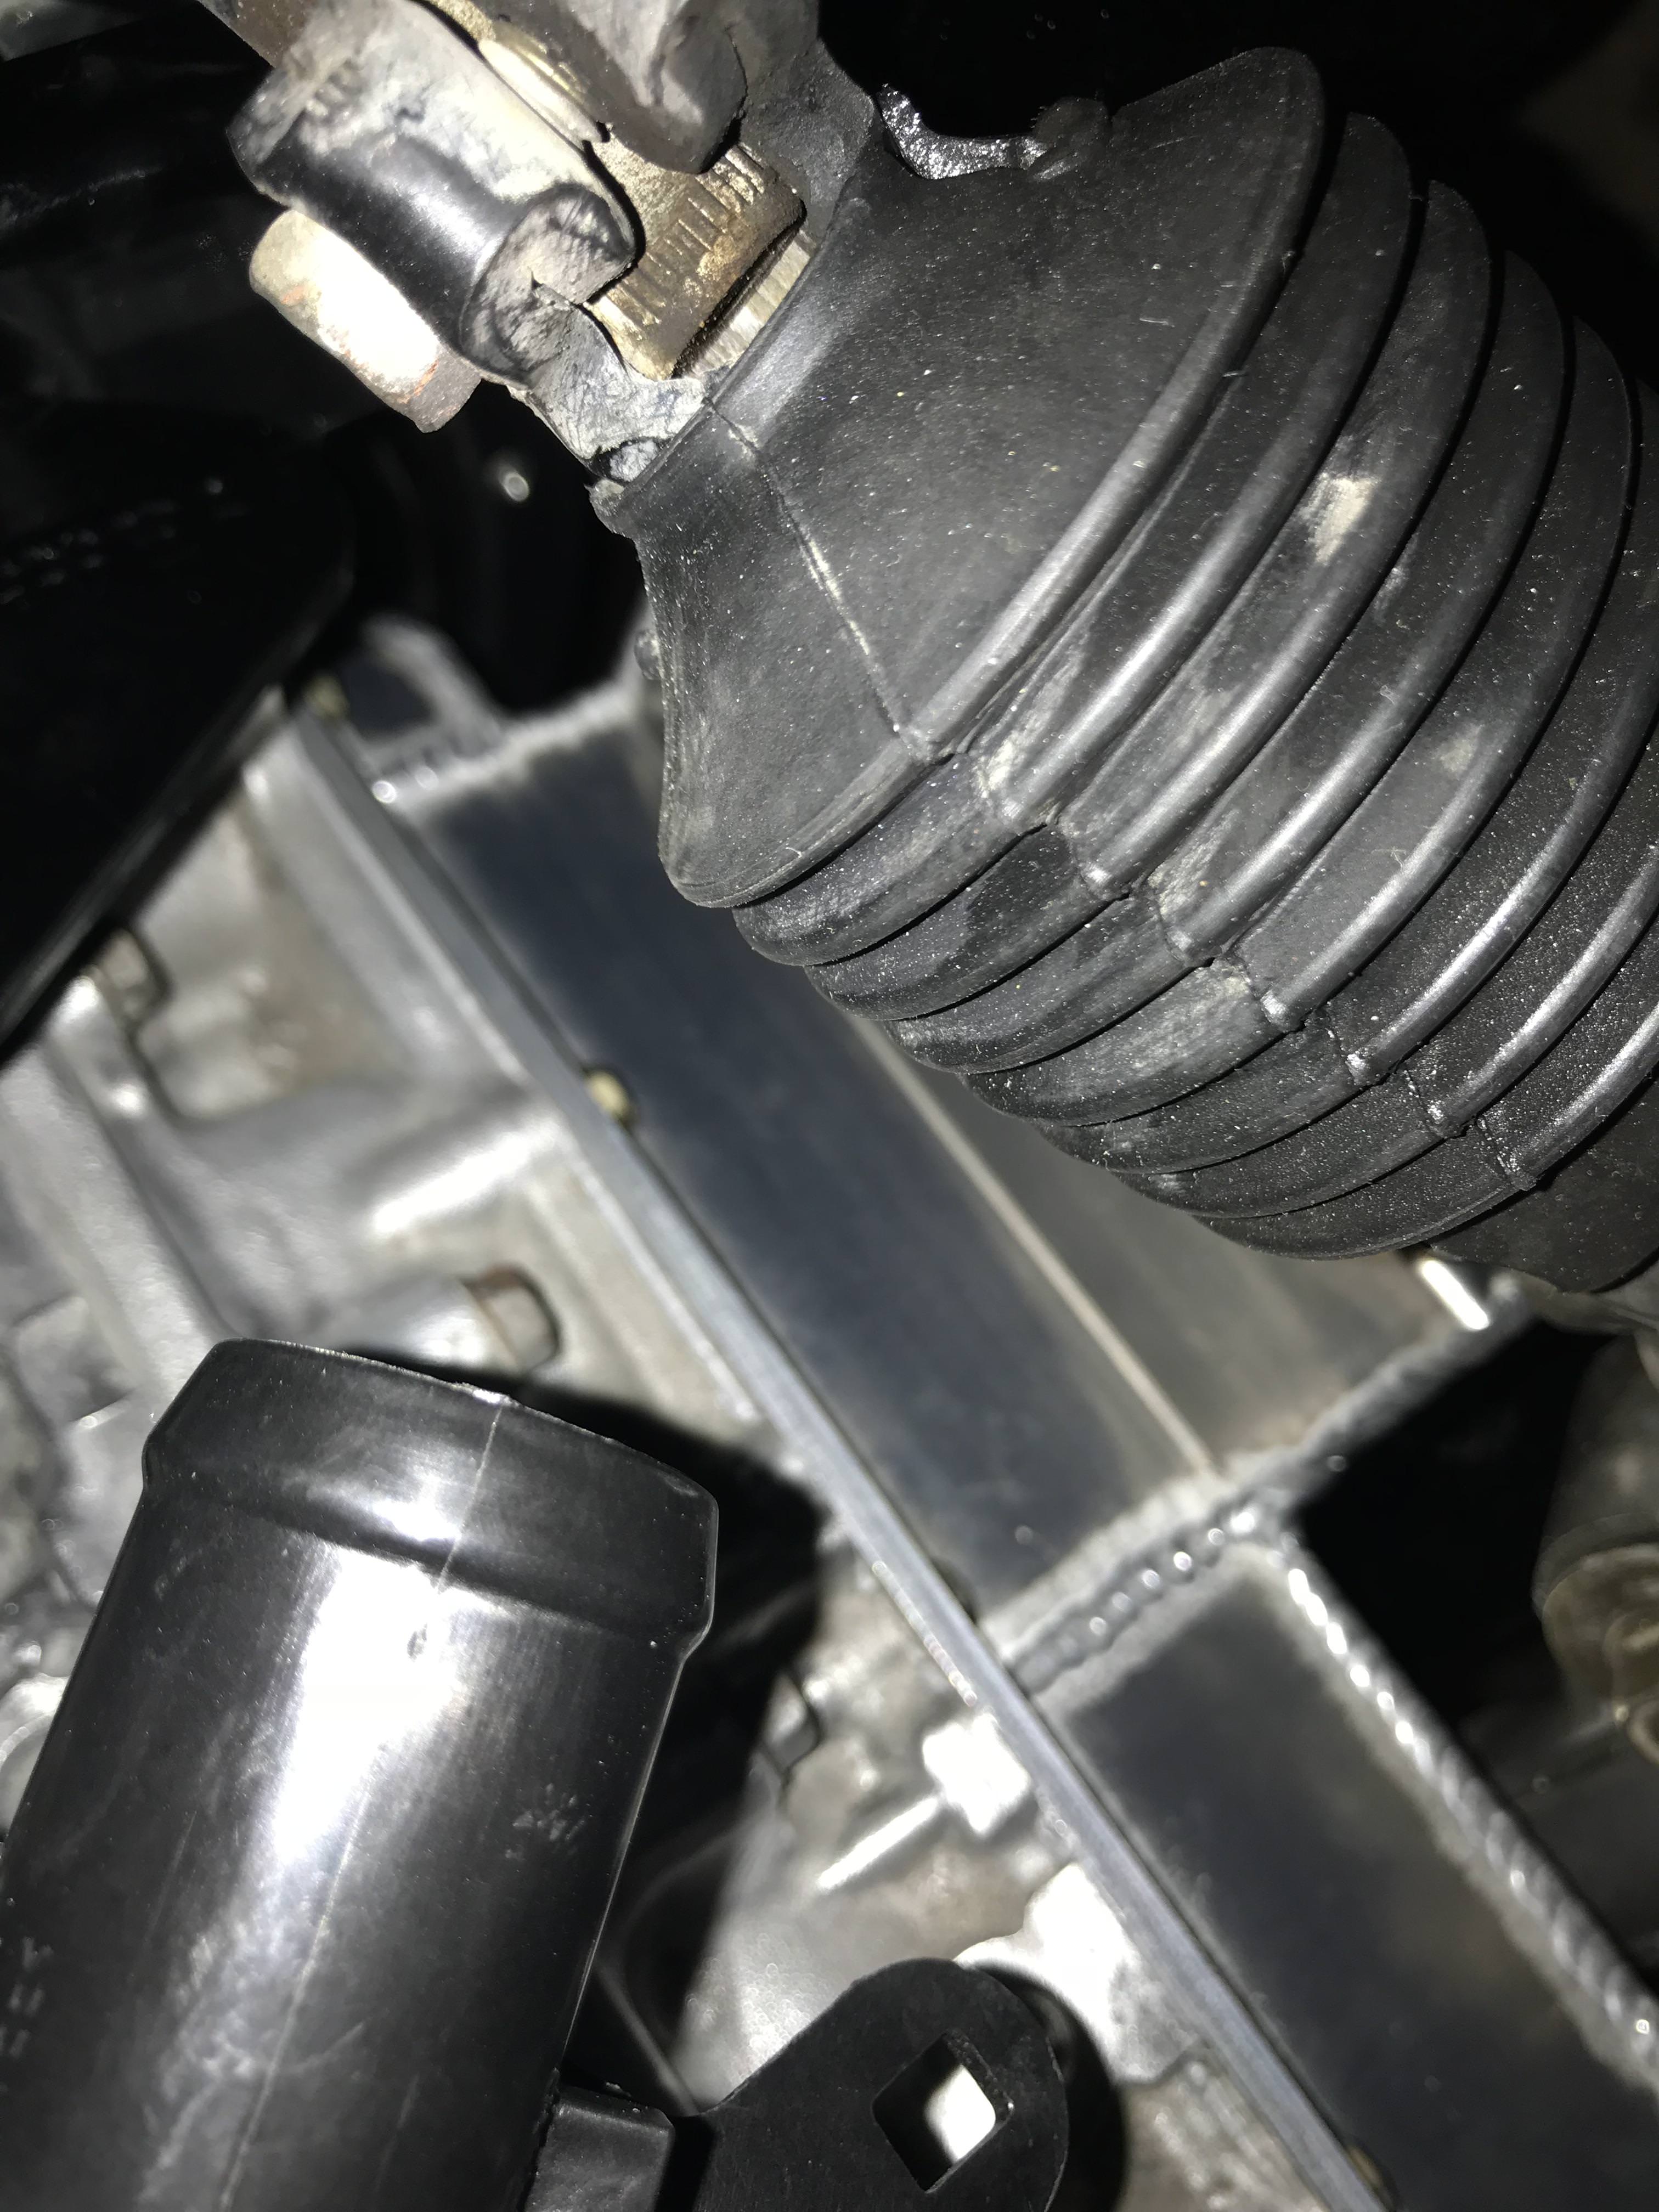
one of the heater hoses is a bit sketchy, 3 pieces, but it doesnt leak...yet.
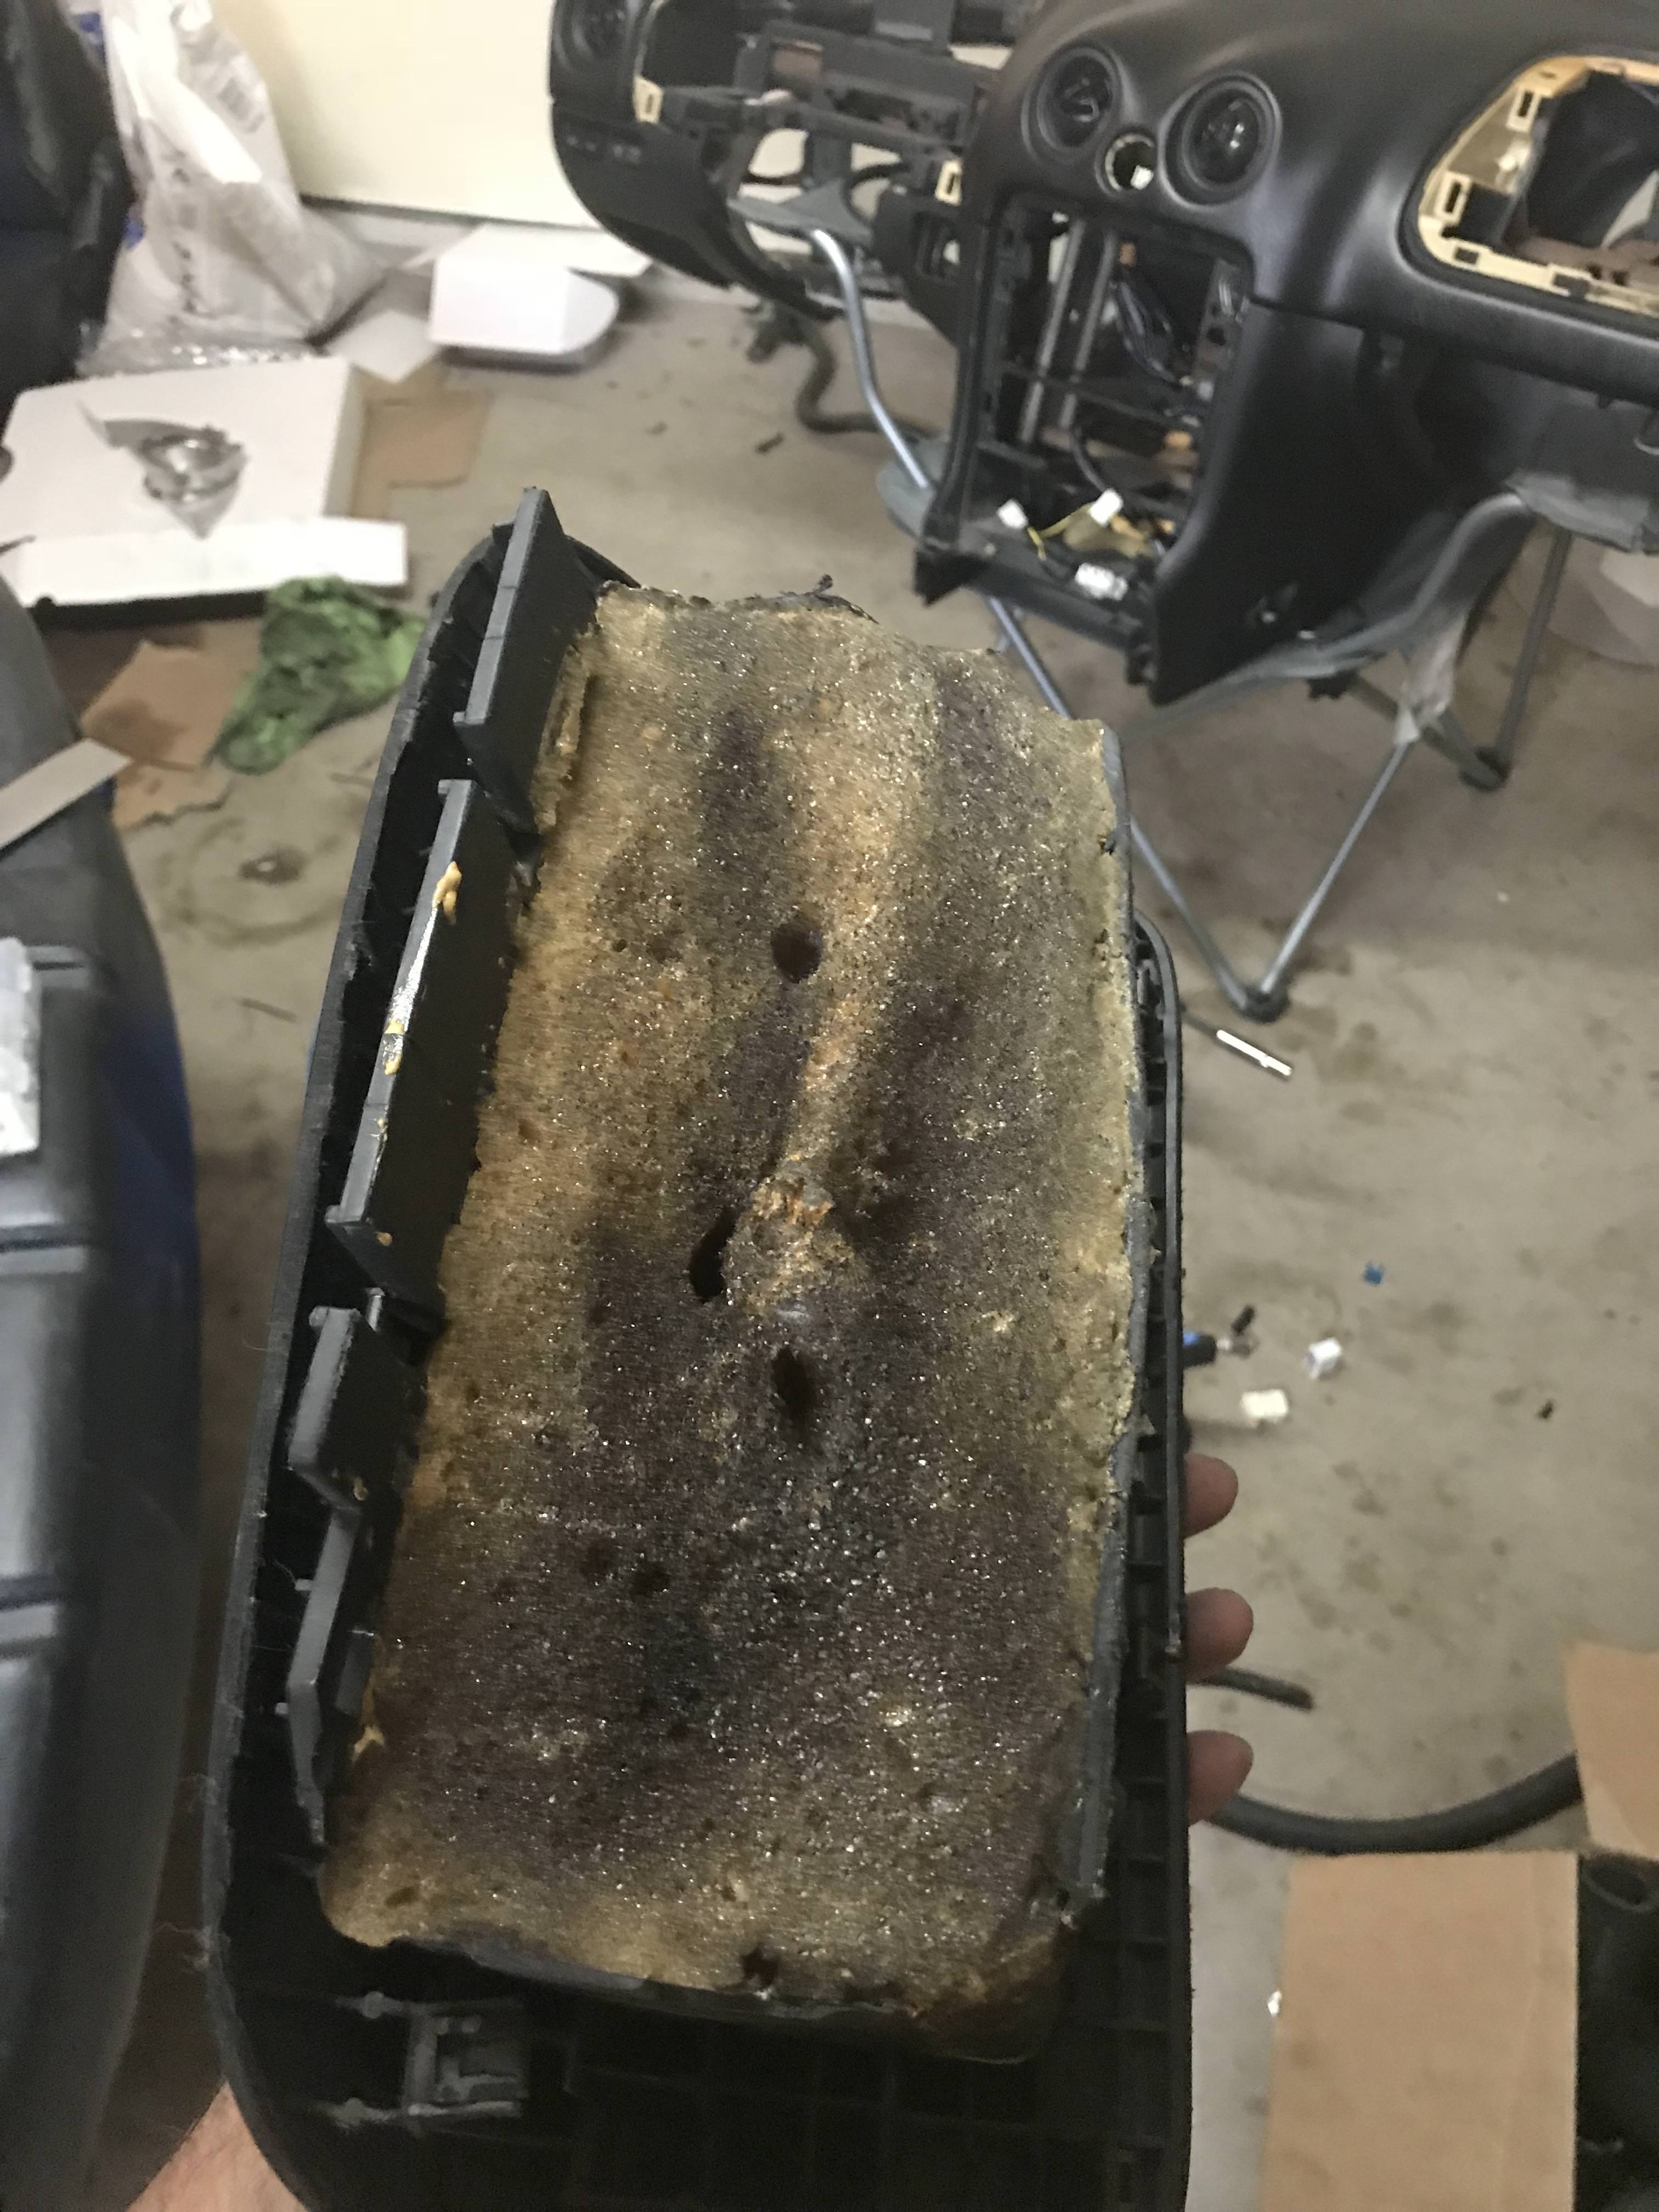
Buttoning up the wiring, got the dash installed and stuck the relays and fuse block for the gauges in the passenger airbag, previous owner had filled the hole where the airbag should have been with foam...
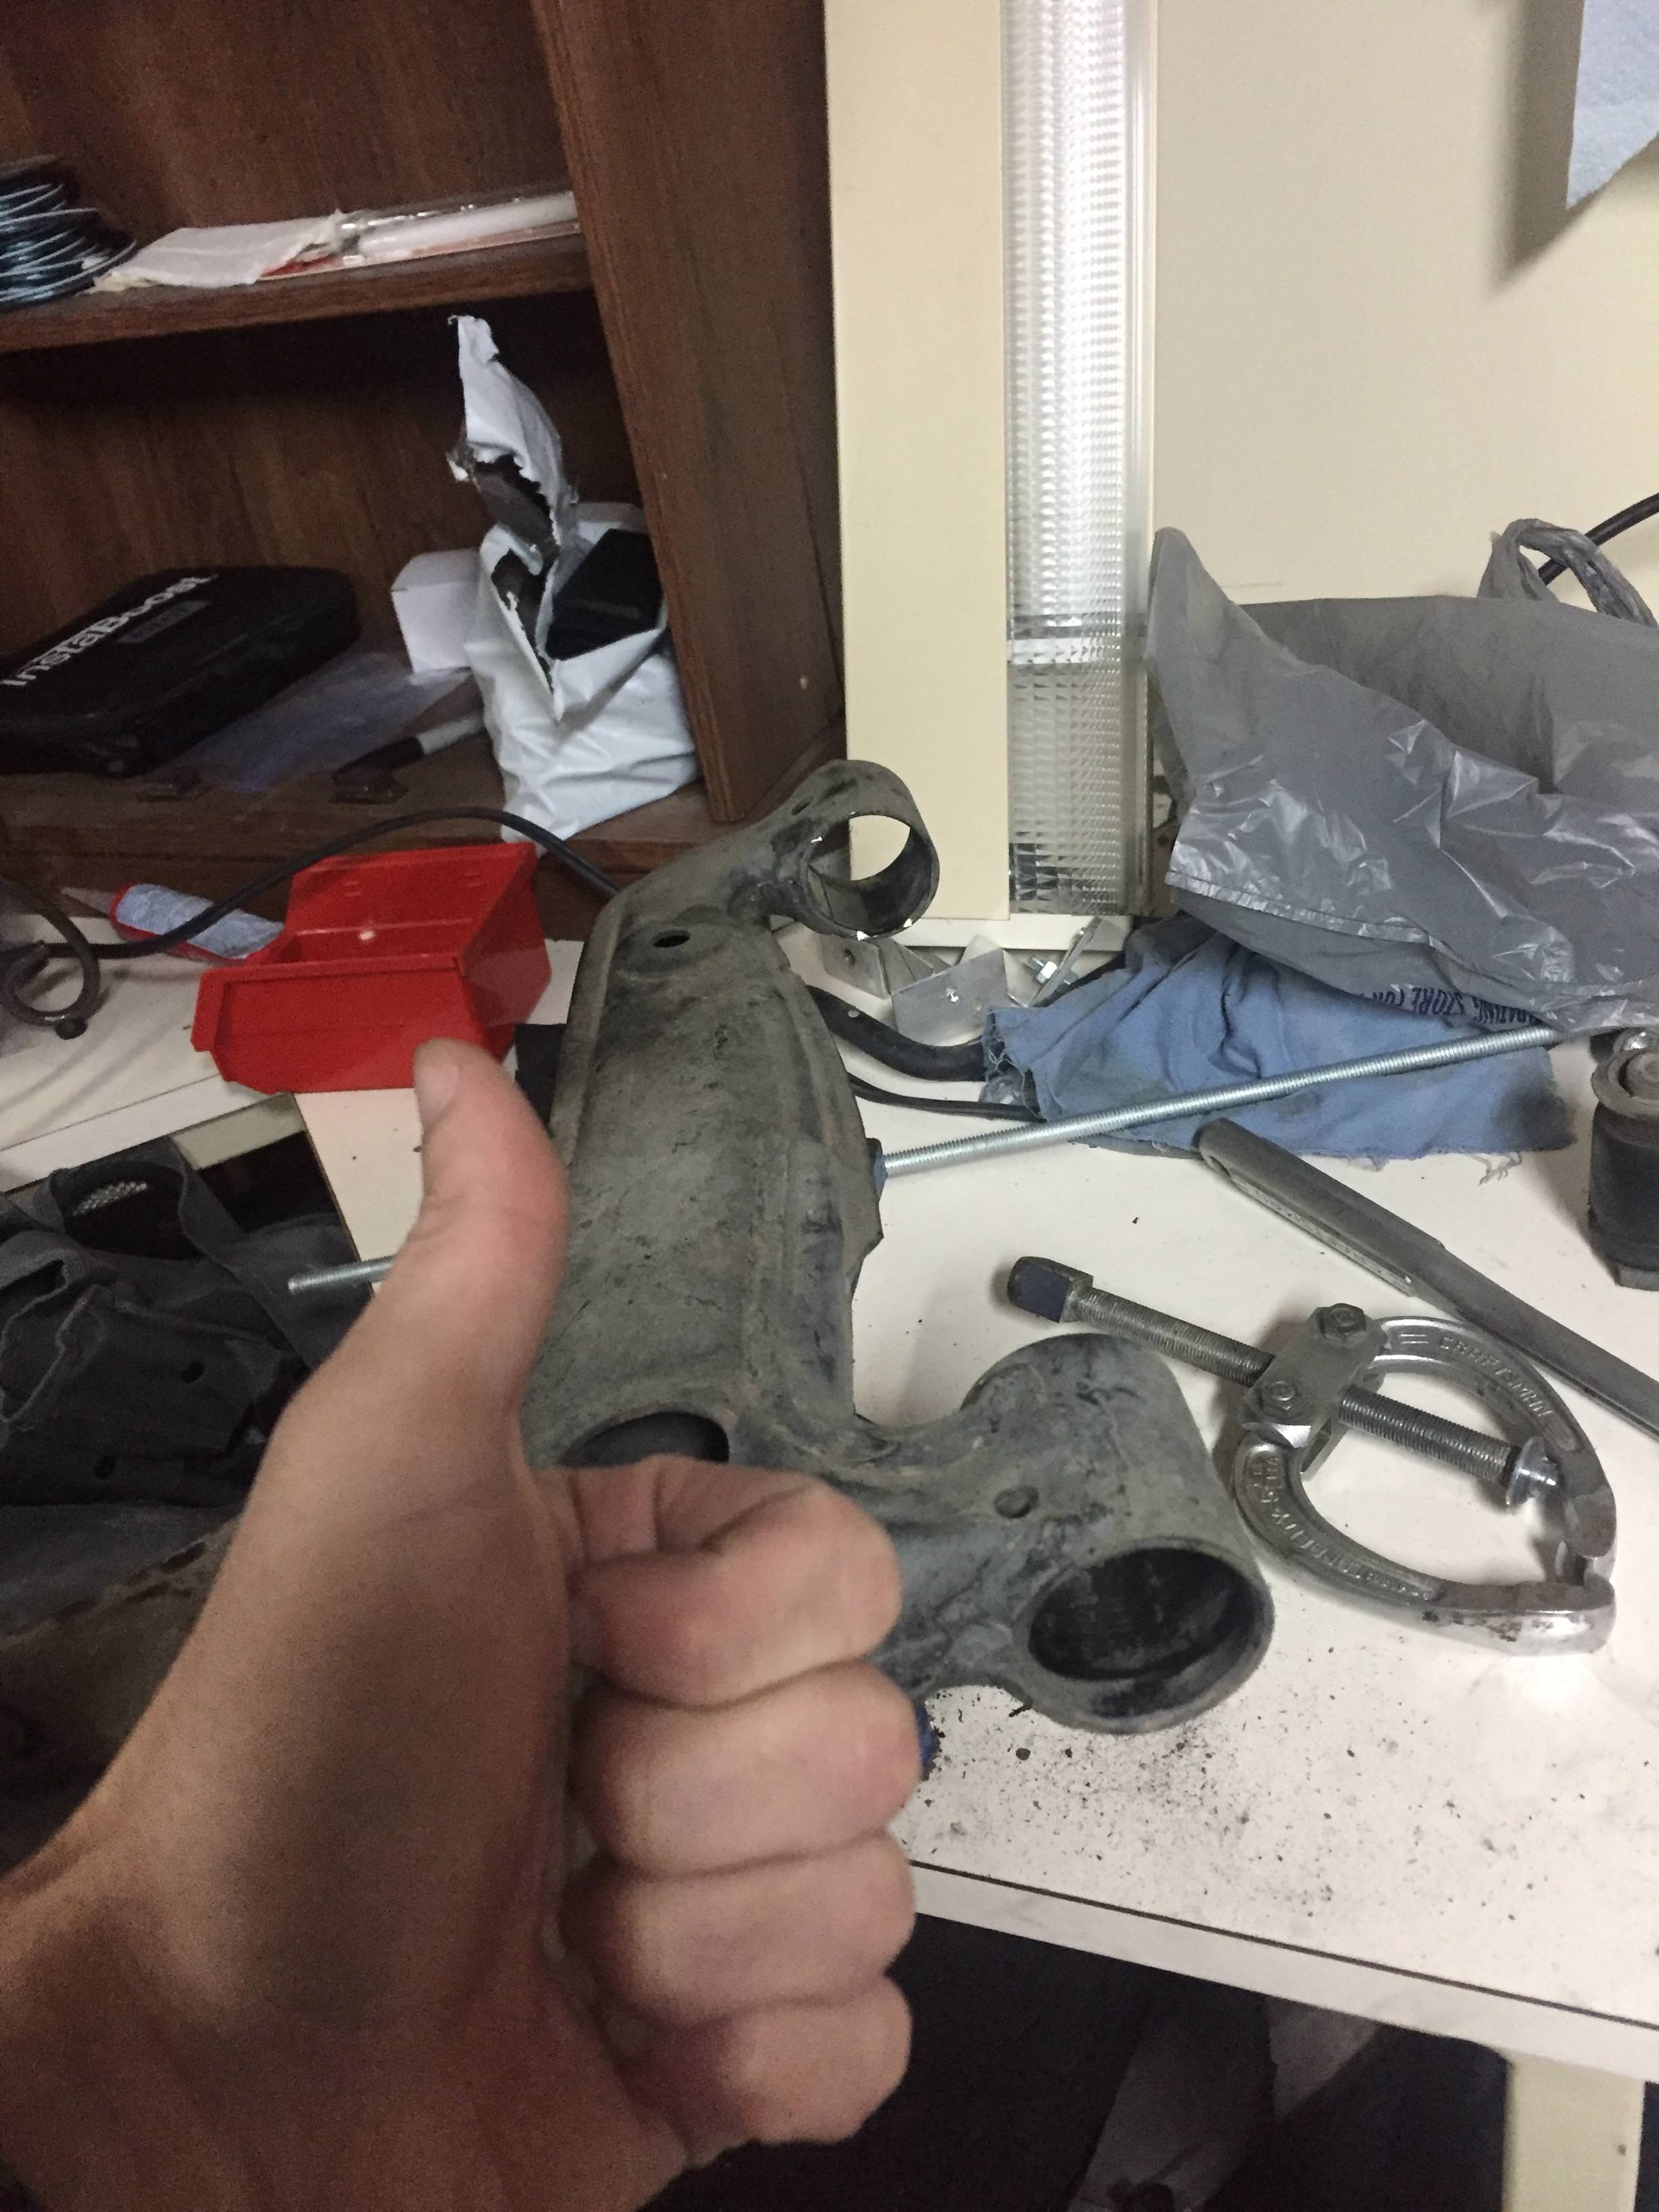
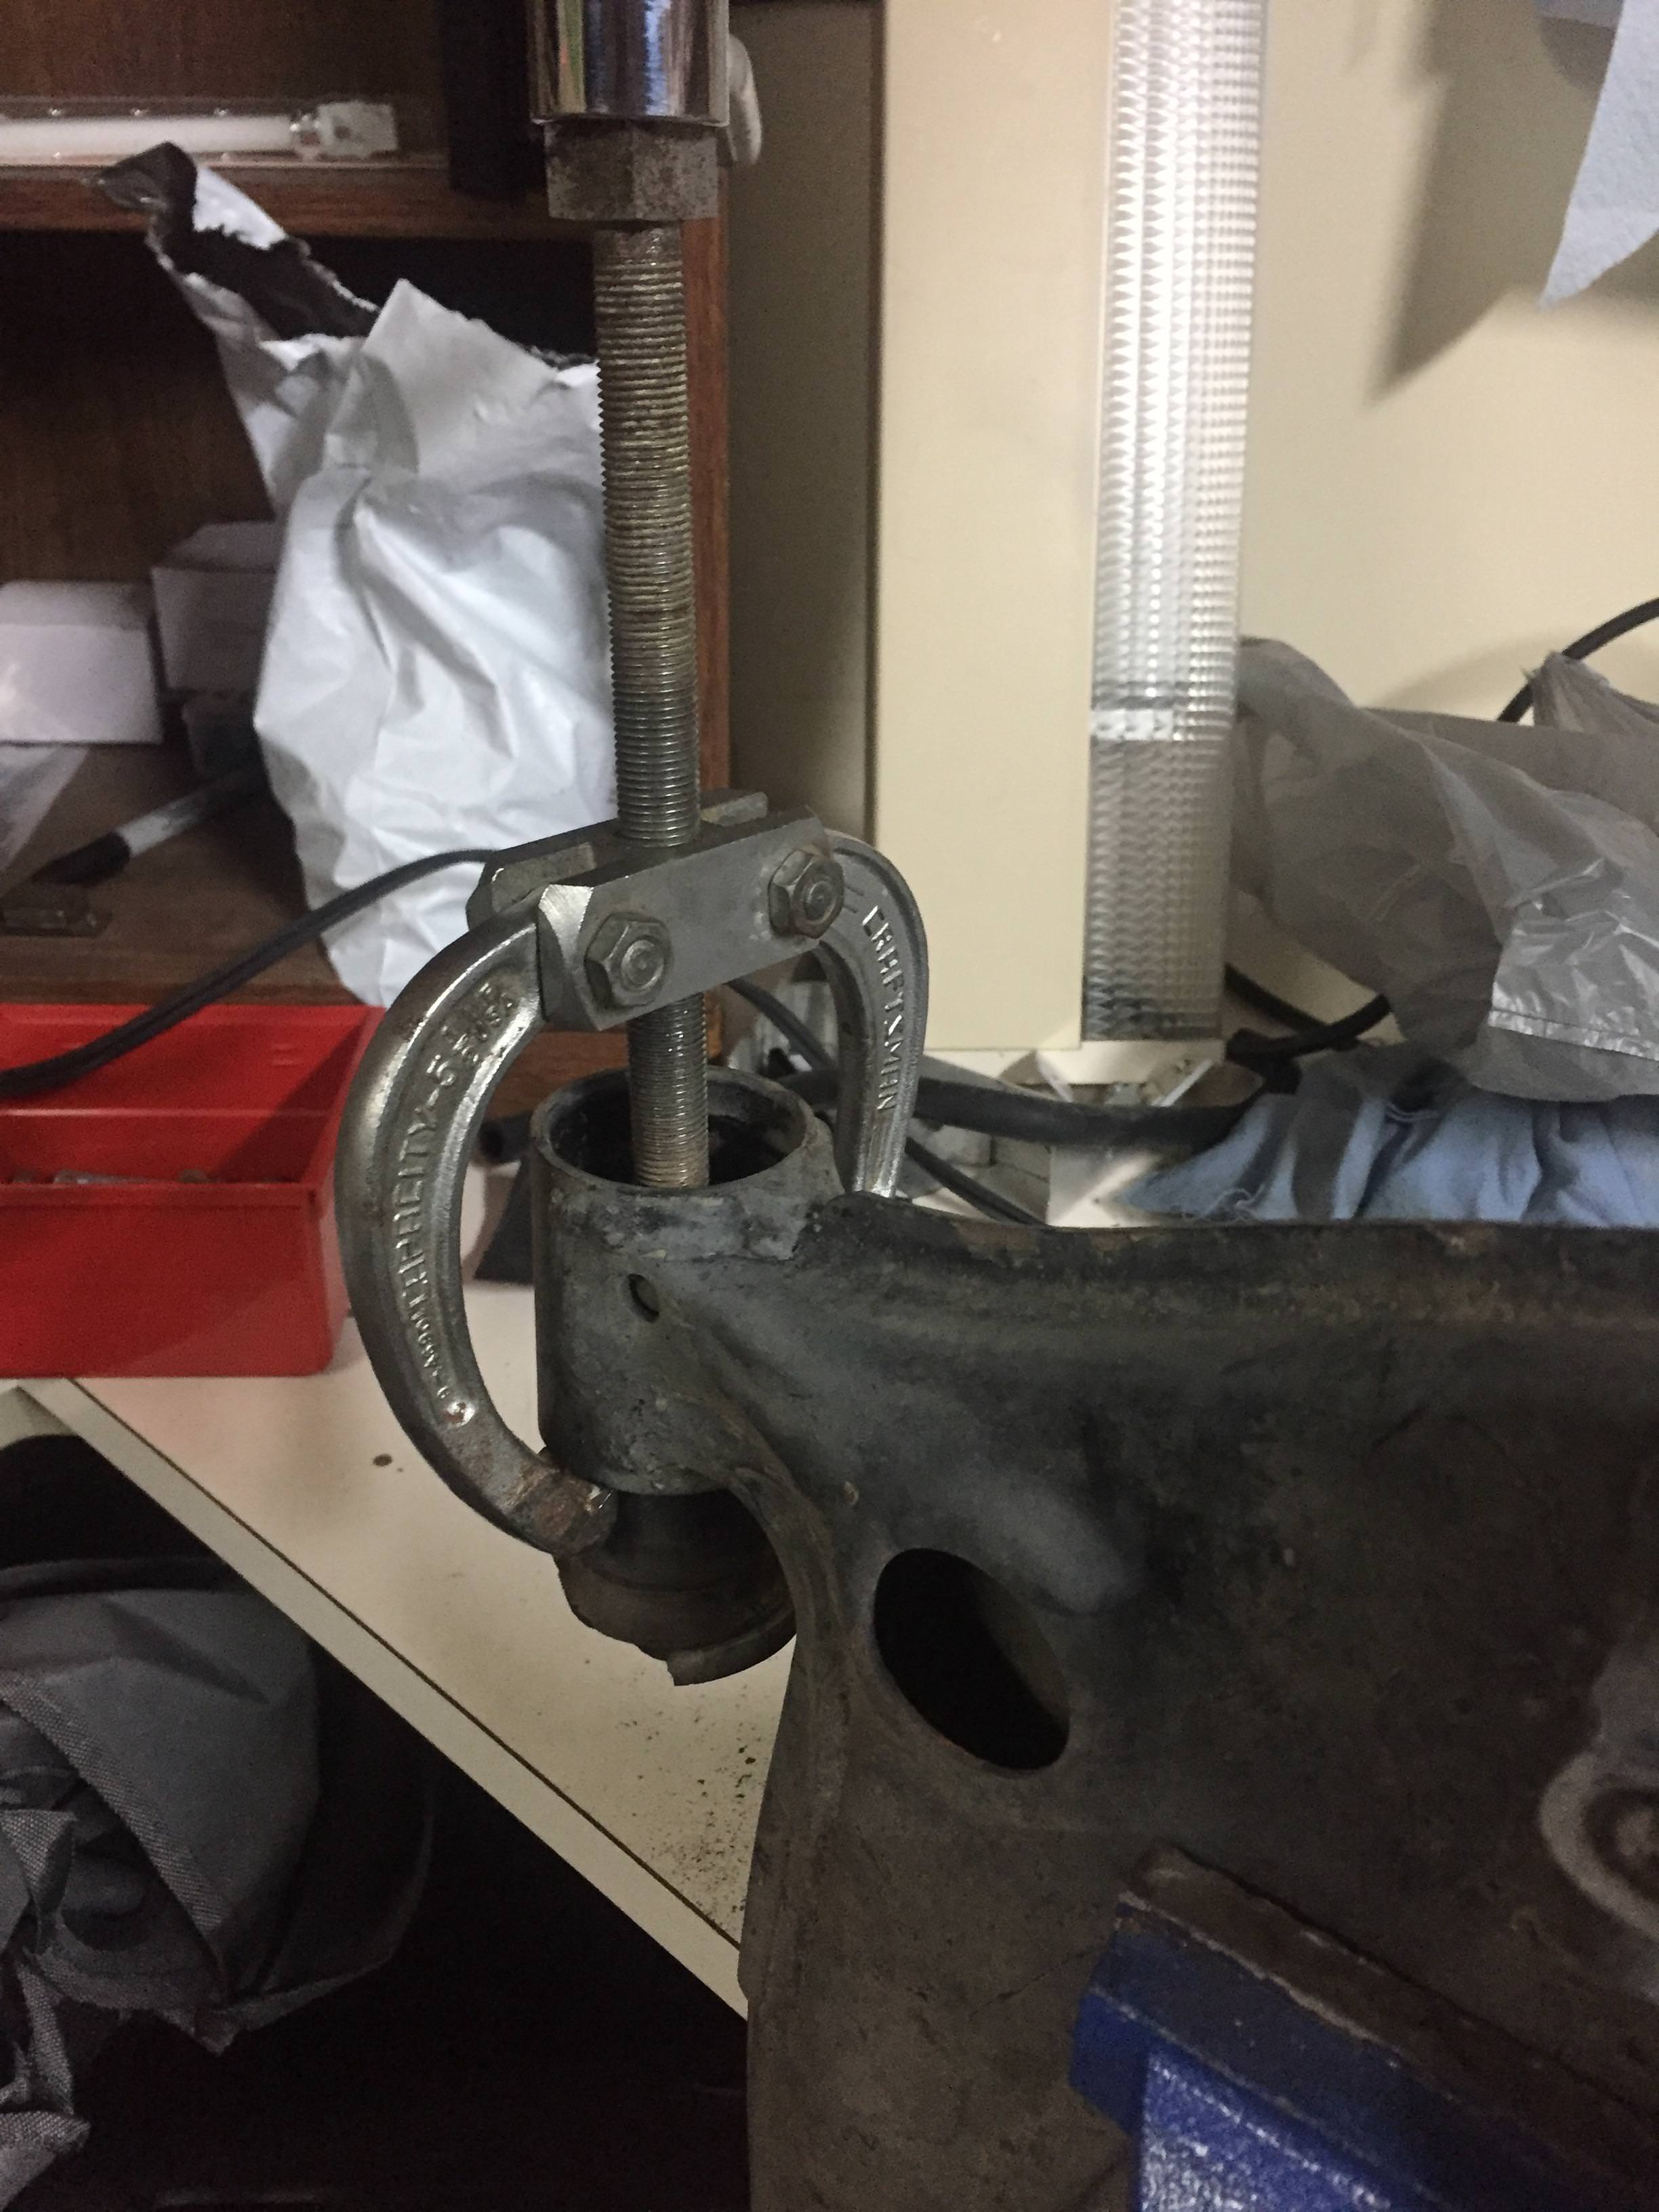
So at this point i was ready to drop the car off jackstands and actually drive it finally, but when i did so the clutch was not fully releasing no matter how much i adjusted it. Luckily i read every k swap thread on this forum about 9 times before i started my swap and i remembered seeing in one of these that someone had an issue with this clutch and the k miata flywheel so i dug that back up and sure enough they had to shim the pressure plate to get it to release correctly, the name of the guy who had this issue escapes me right now but i could dig it back up if someone needs it, if it was you, thanks for posting that up, i would have never been able to figure that out.
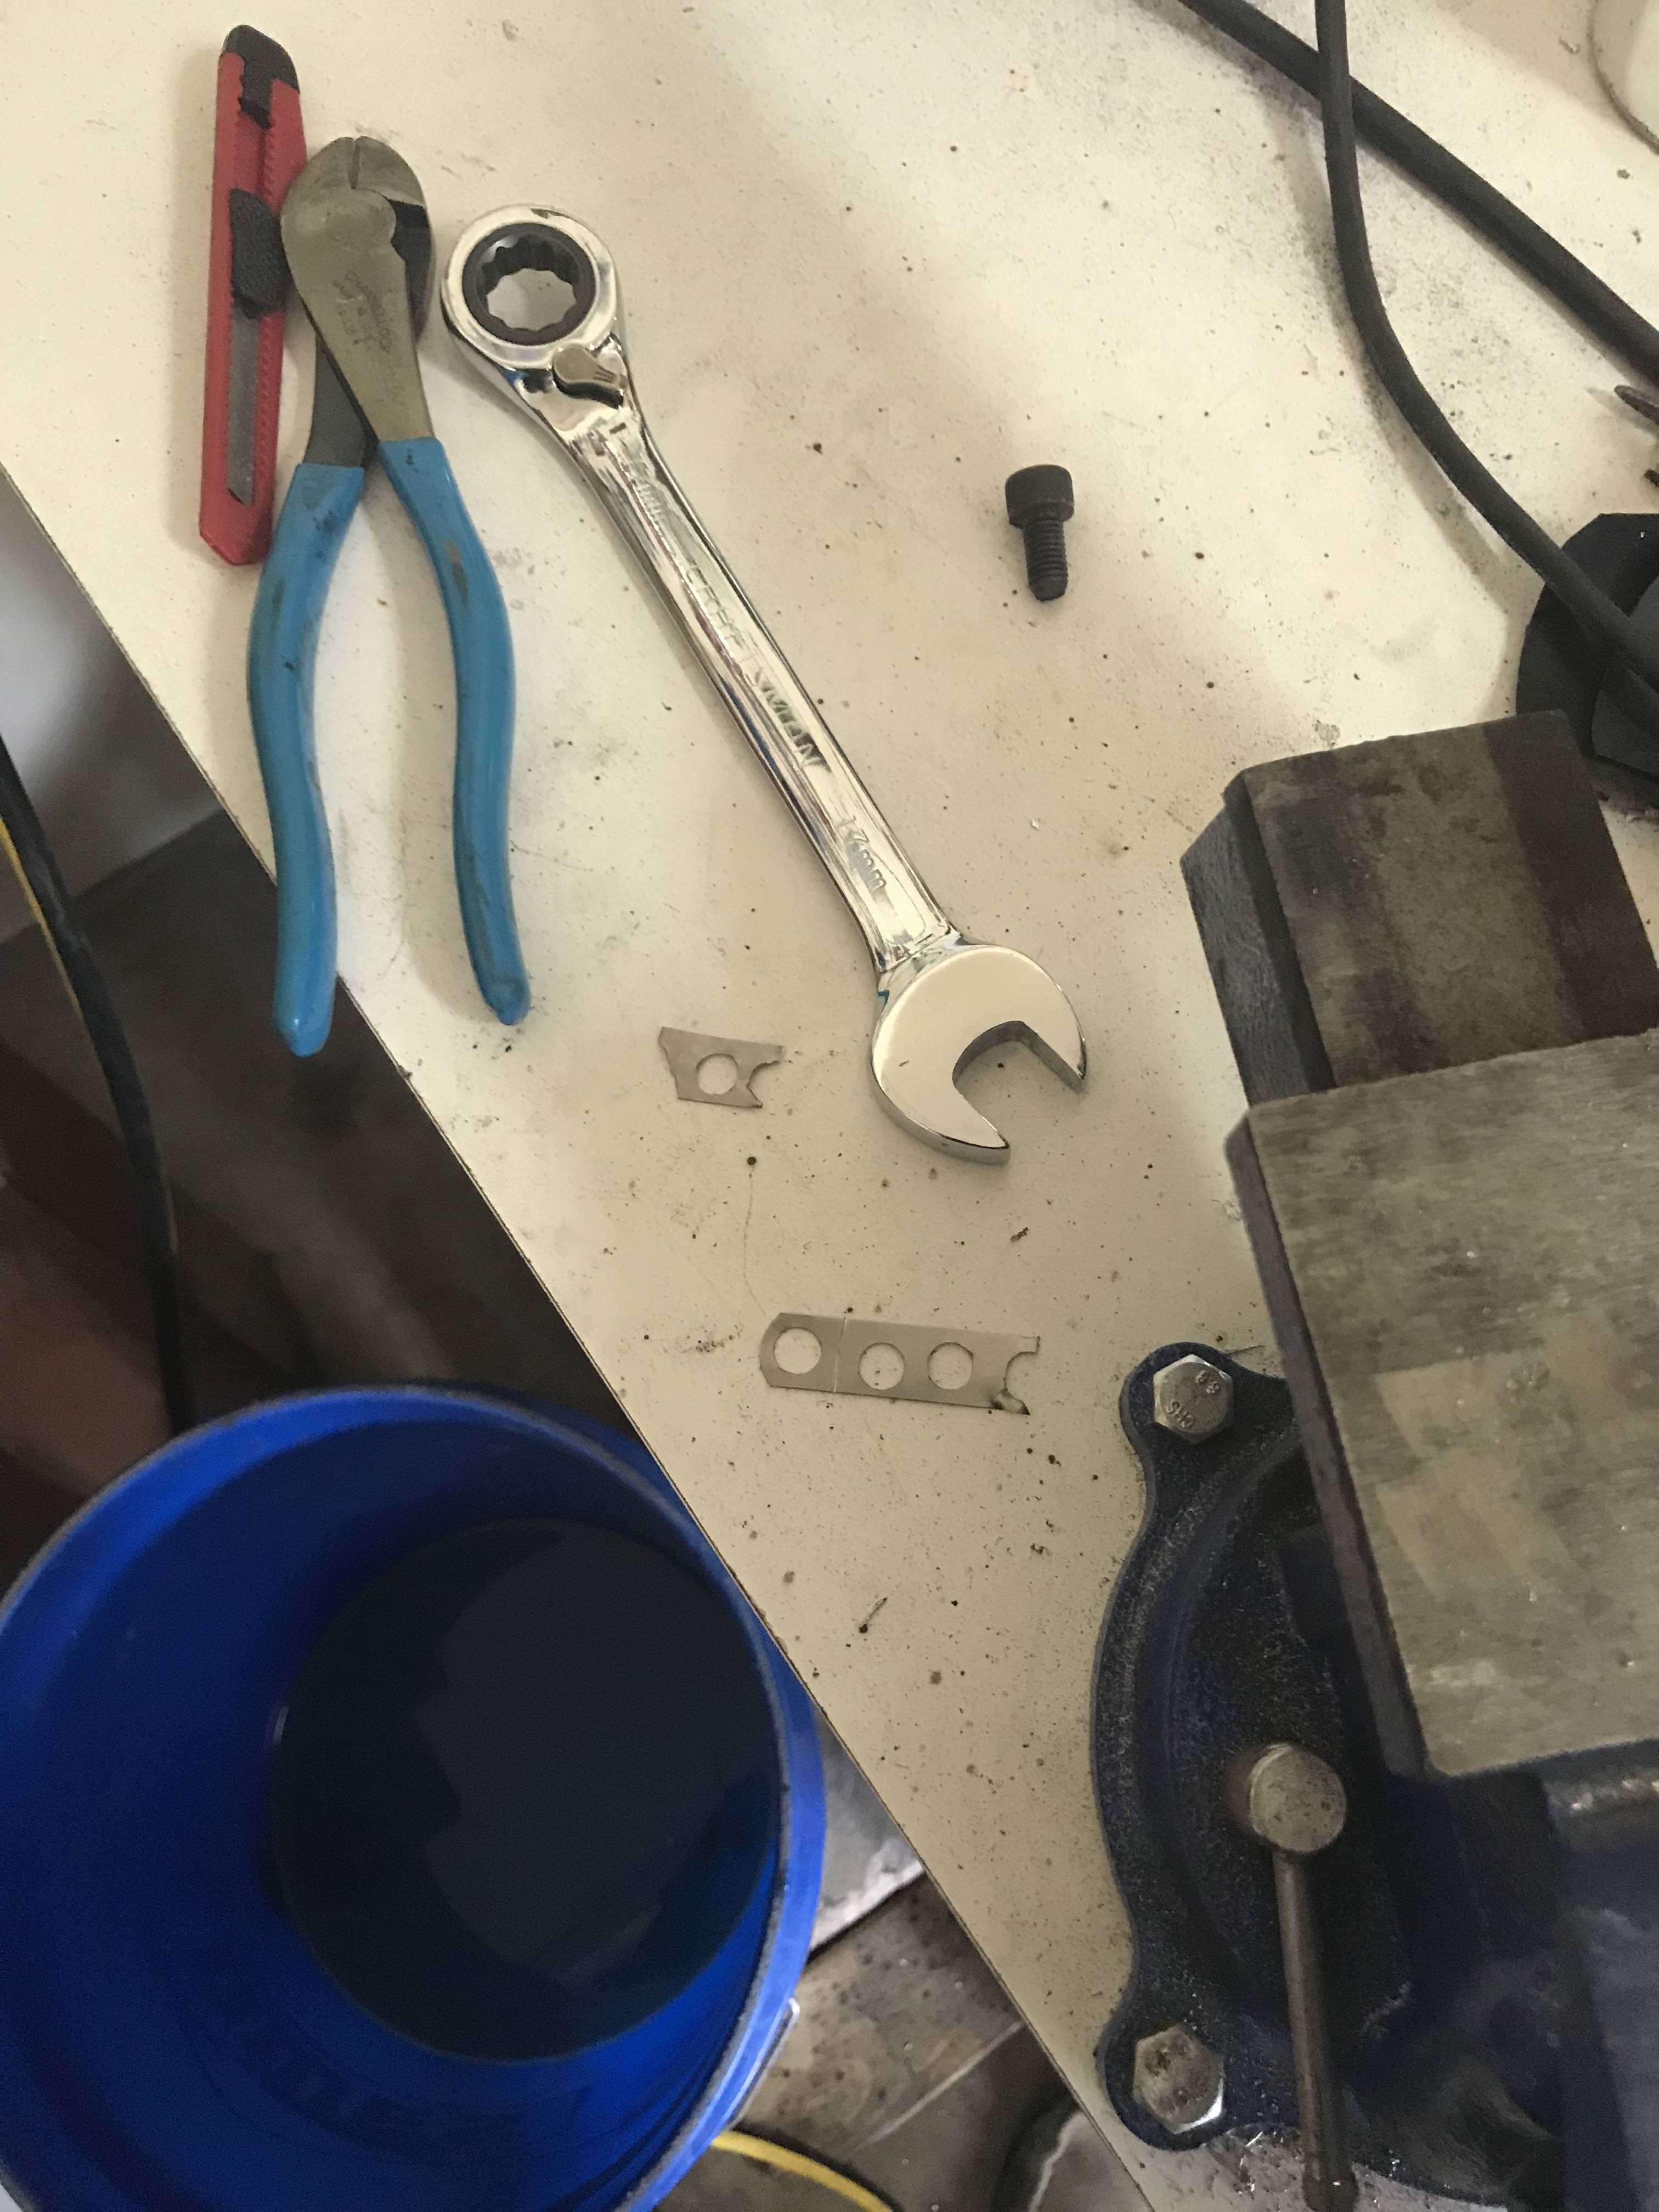
So to fix it i made some shim washers out of some feeler gauges, i know janky as s h i t but it works. Drilling feeler gauges is a major pain in the *** though, they are made of very brittle steel.
At this point it all went back together and with some adjustment the clutch functioned perfectly, again shout out to the guy who figured this out, totally saved my ***. I buttoned up installing my gauges and finally drove it for the first time. Note, do not buy glow shift gauge cups, i have already swapped one of them out for an Auto Meter 2205, do yourself a favor and just start with this.
Oh also since everyone here seems to like Cats, here is Lucy.
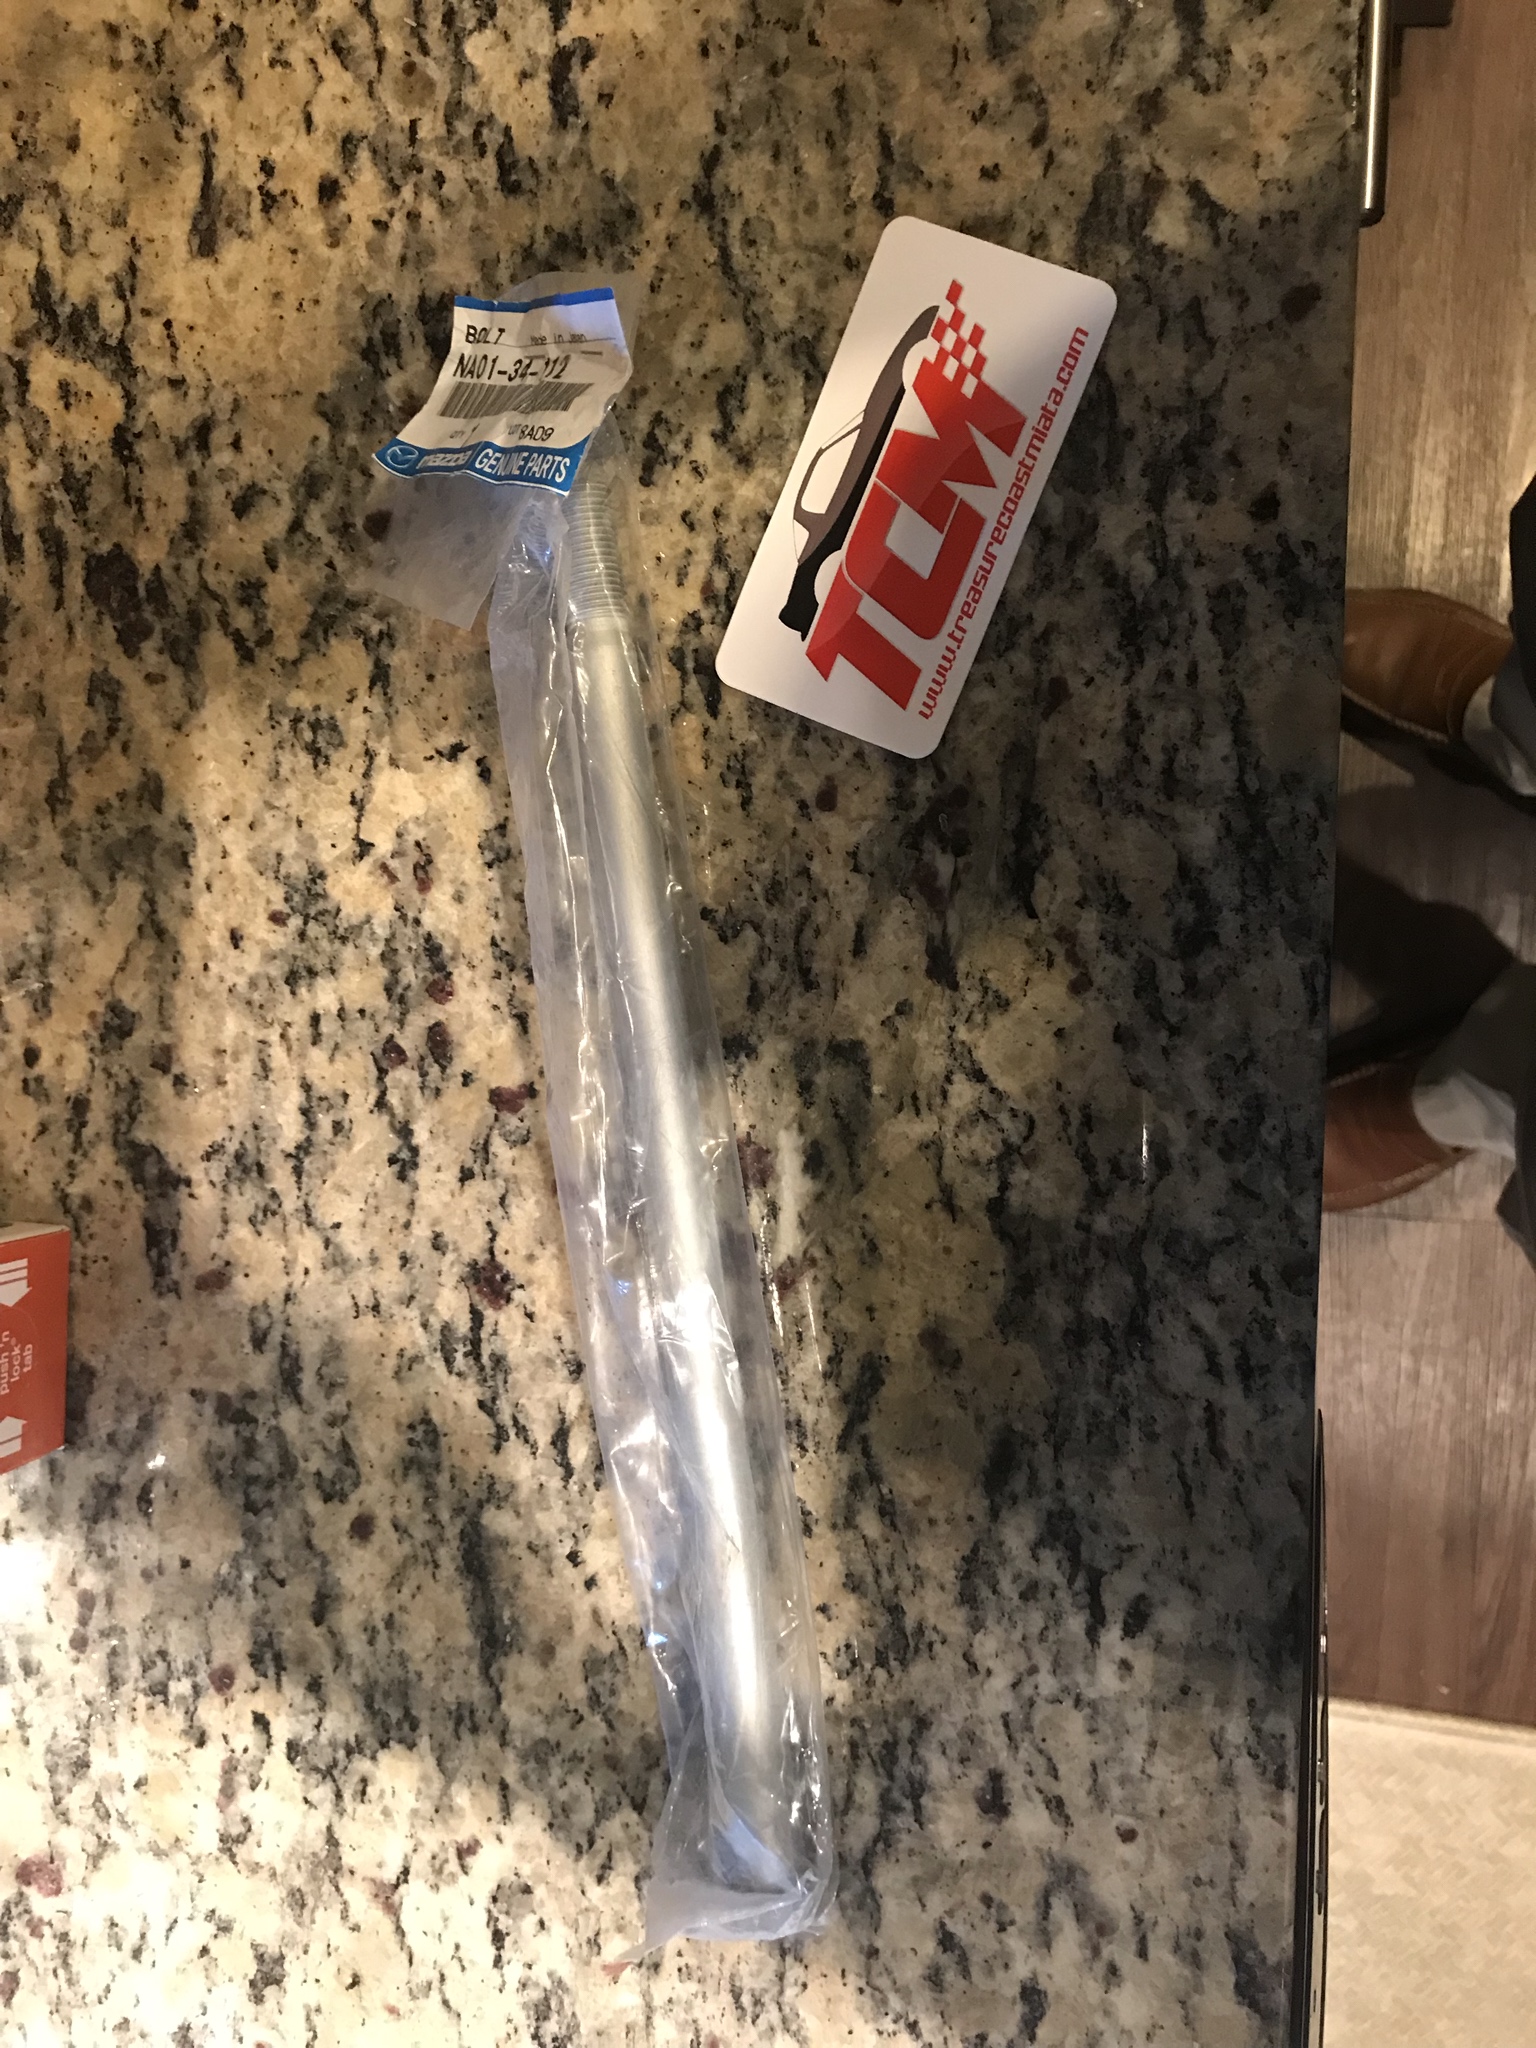
That gets me caught up to about a month ago some things have happened in the last couple weeks. I am waiting on a long bolt for the upper front left control arm to come in, the one that was in the car is bent, go figure... once i have that i will get it aligned and can really get cracking on the tune, then hopefully some track time. I did drive the car from Dallas to Austin when we moved and it didnt miss a beat running 80 mph for 3+ hours.
I will have another update in the next few days hopefully.
Hope you guys enjoy and if anyone has any questions let me know, i am more than happy to help.
Quite the update! Looks good. Yes, definitely some K20-specific hurdles that aren't present on the K24 swaps.
Will you be modifying the lower section of the header for more ground clearance? It sits 3/4" higher up with a K24, and unfortunately we can't justify the expense of producing a K20 specific header because by far most customers use a K24. So some guys have modded it and that's been helpful.
Keep up the good work.
__________________ KPower Industries
Home of the original KMiata Swap
Quite the update! Looks good. Yes, definitely some K20-specific hurdles that aren't present on the K24 swaps.
Will you be modifying the lower section of the header for more ground clearance? It sits 3/4" higher up with a K24, and unfortunately we can't justify the expense of producing a K20 specific header because by far most customers use a K24. So some guys have modded it and that's been helpful.
Keep up the good work.
Ya it was time to get this up to date lol I do not plan on modifying it because more than likely in the next year or so a K24 will get put in this car, this engine has 165k miles on it and it was nearly hydrolocked twice, once there was water in the oil and everything, but she is still running 80k miles later. I honestly dont expect for this engine to last very long, i mostly wanted to use it to work out the kinks in the swap, learn the tuning side of it, and shake out the car, it was never the final solution.
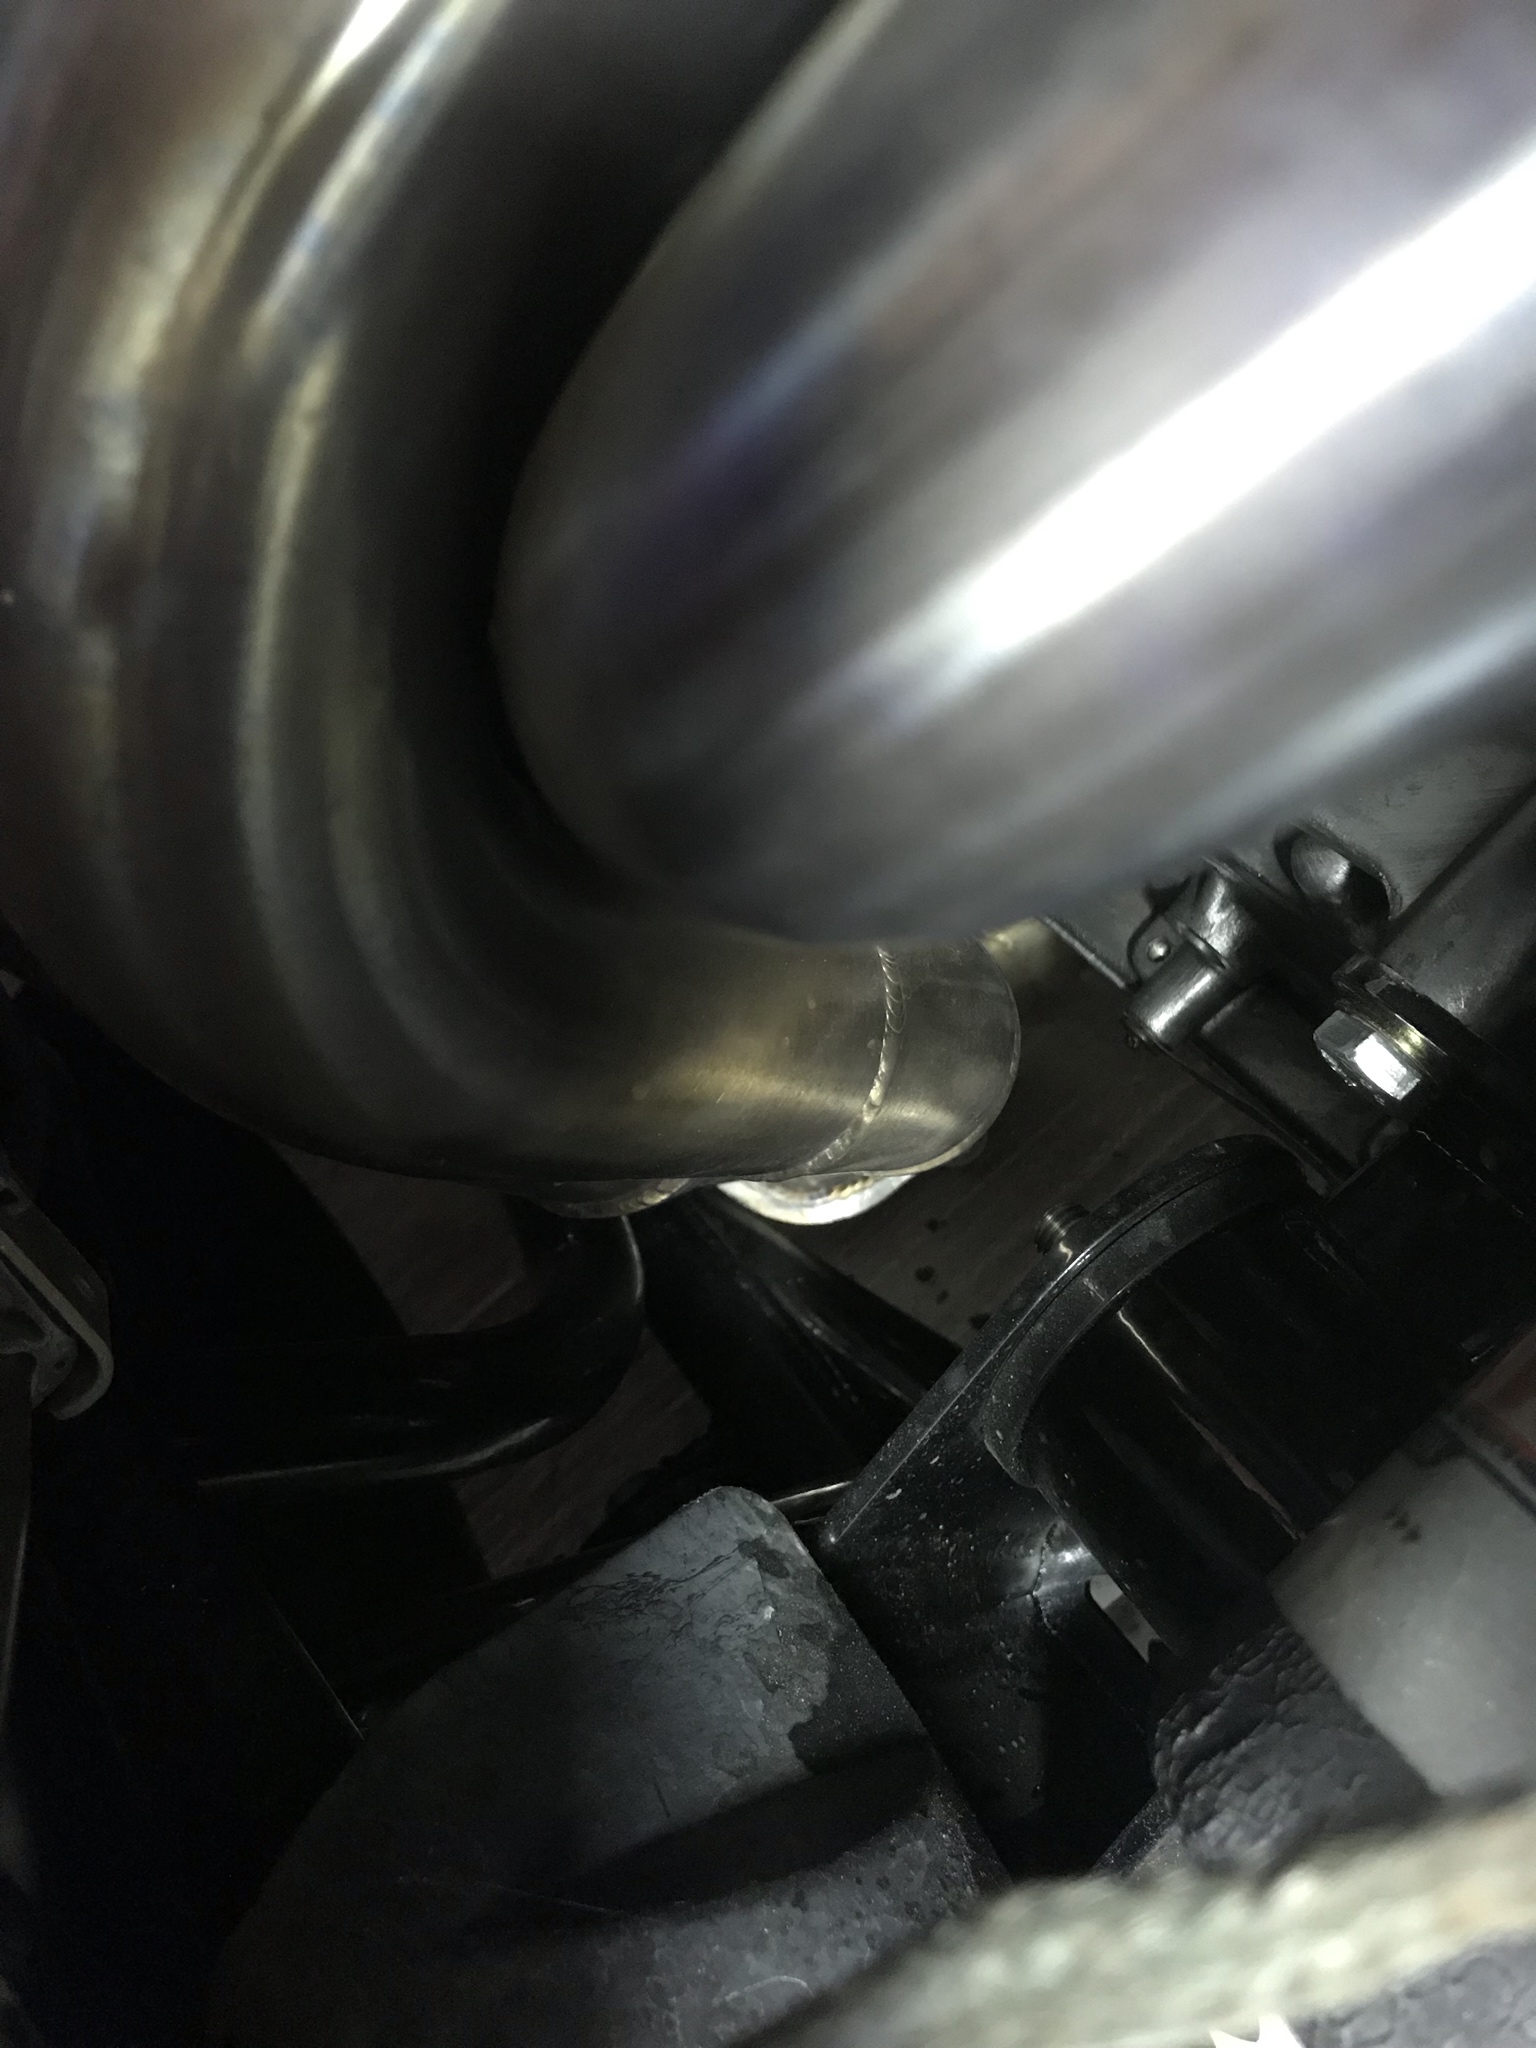
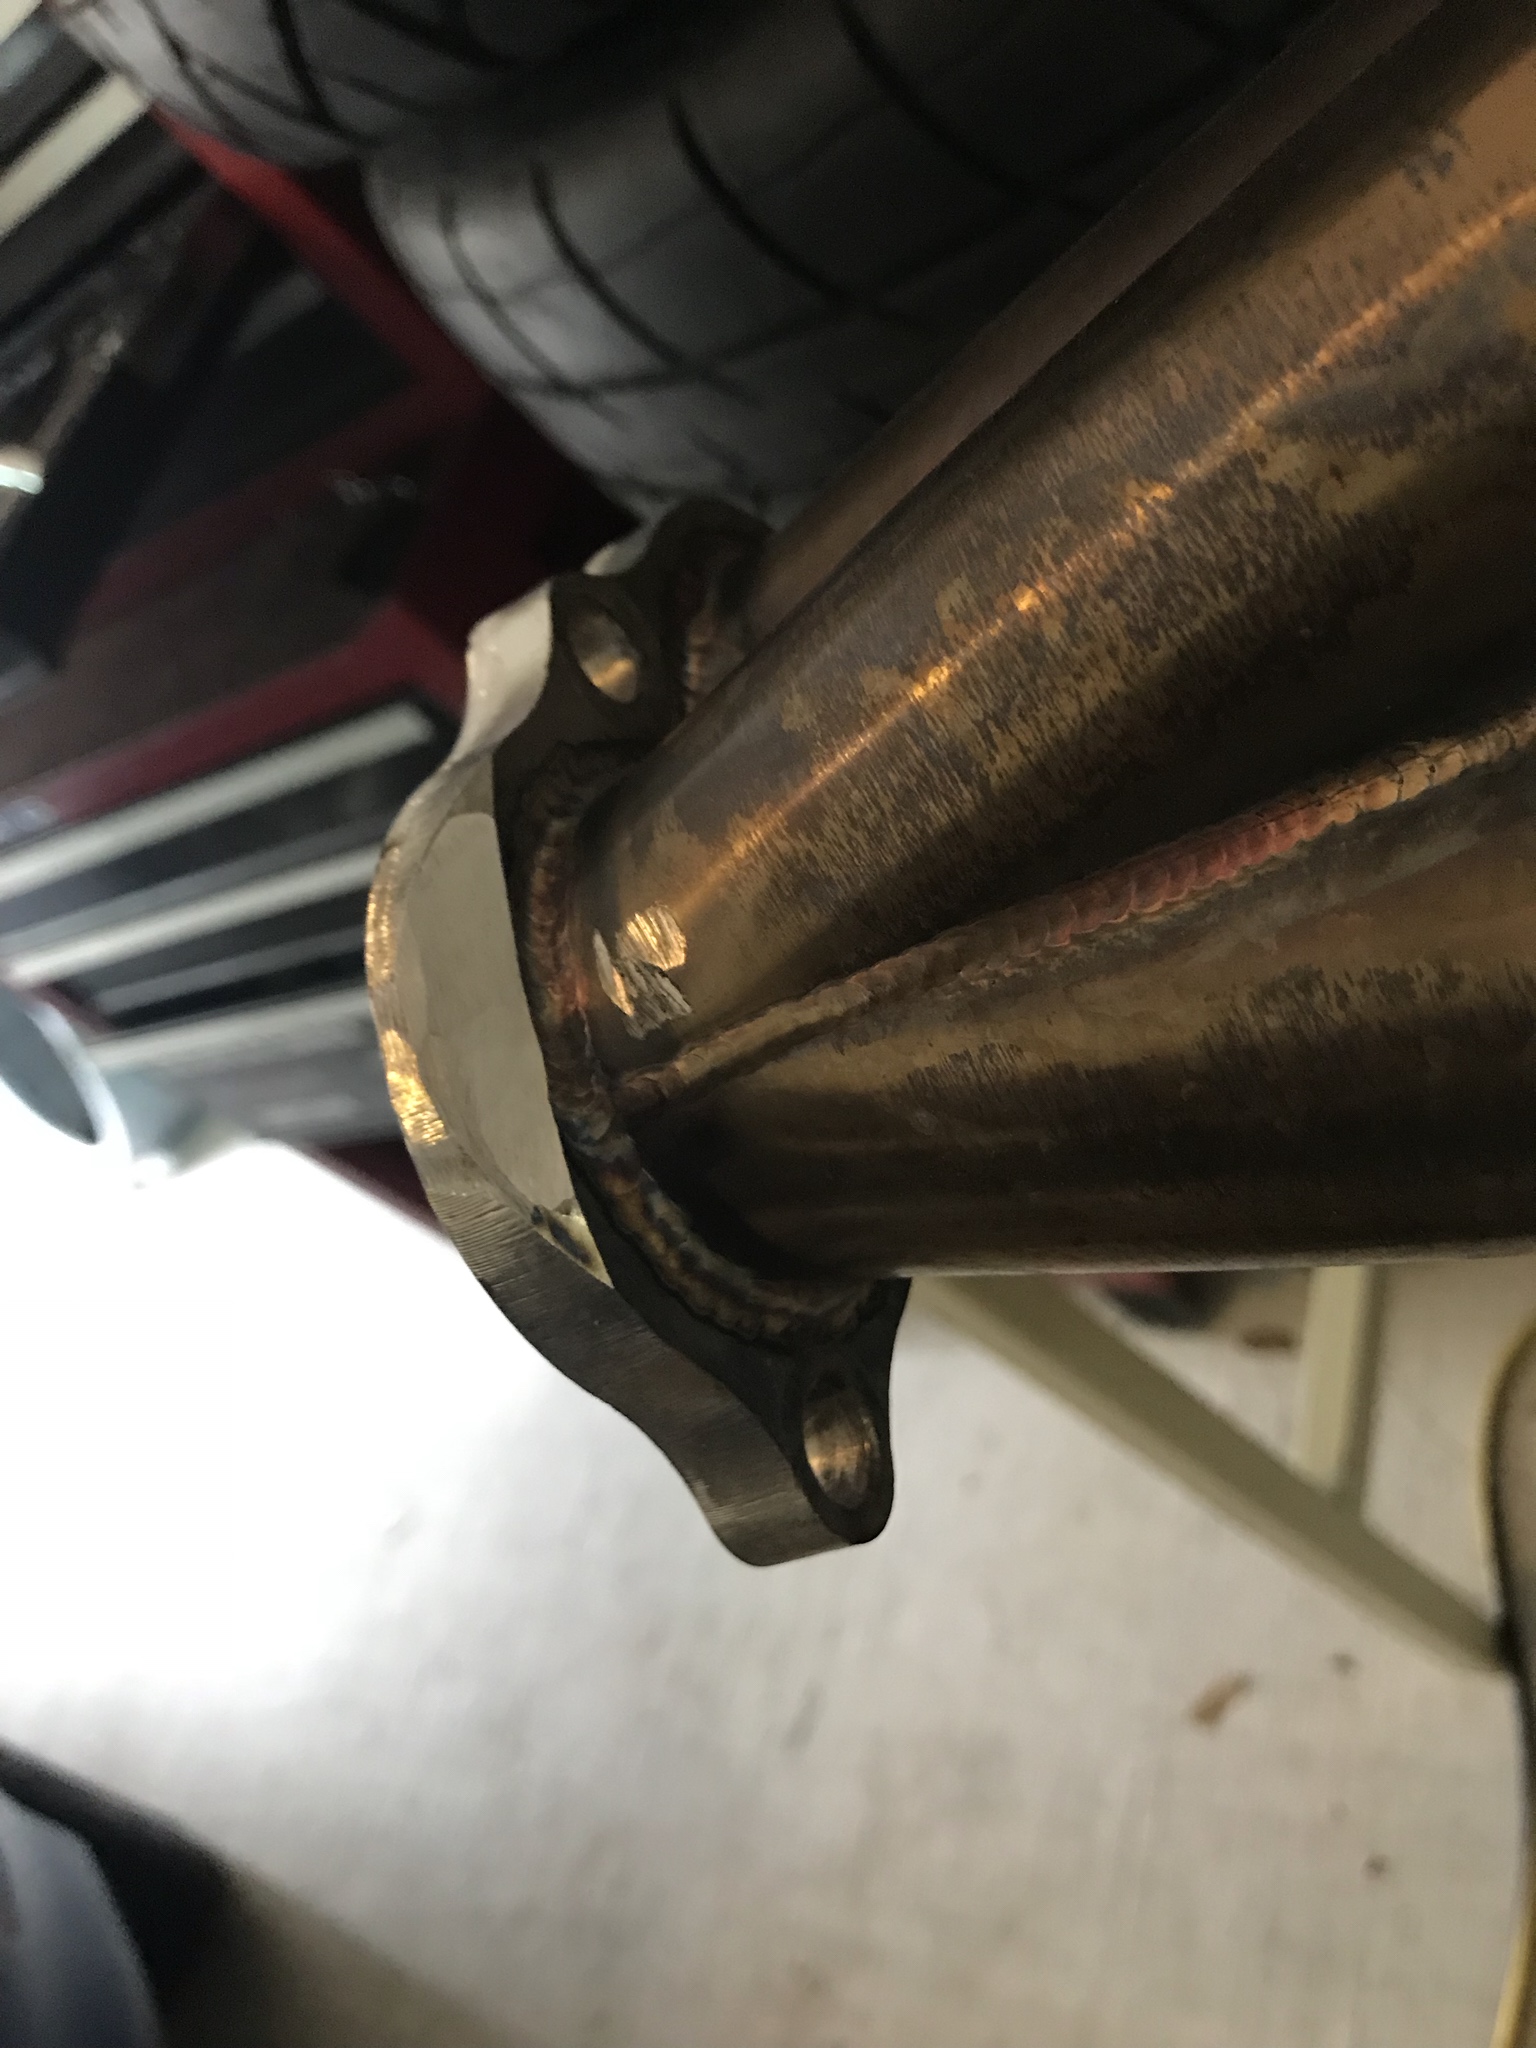
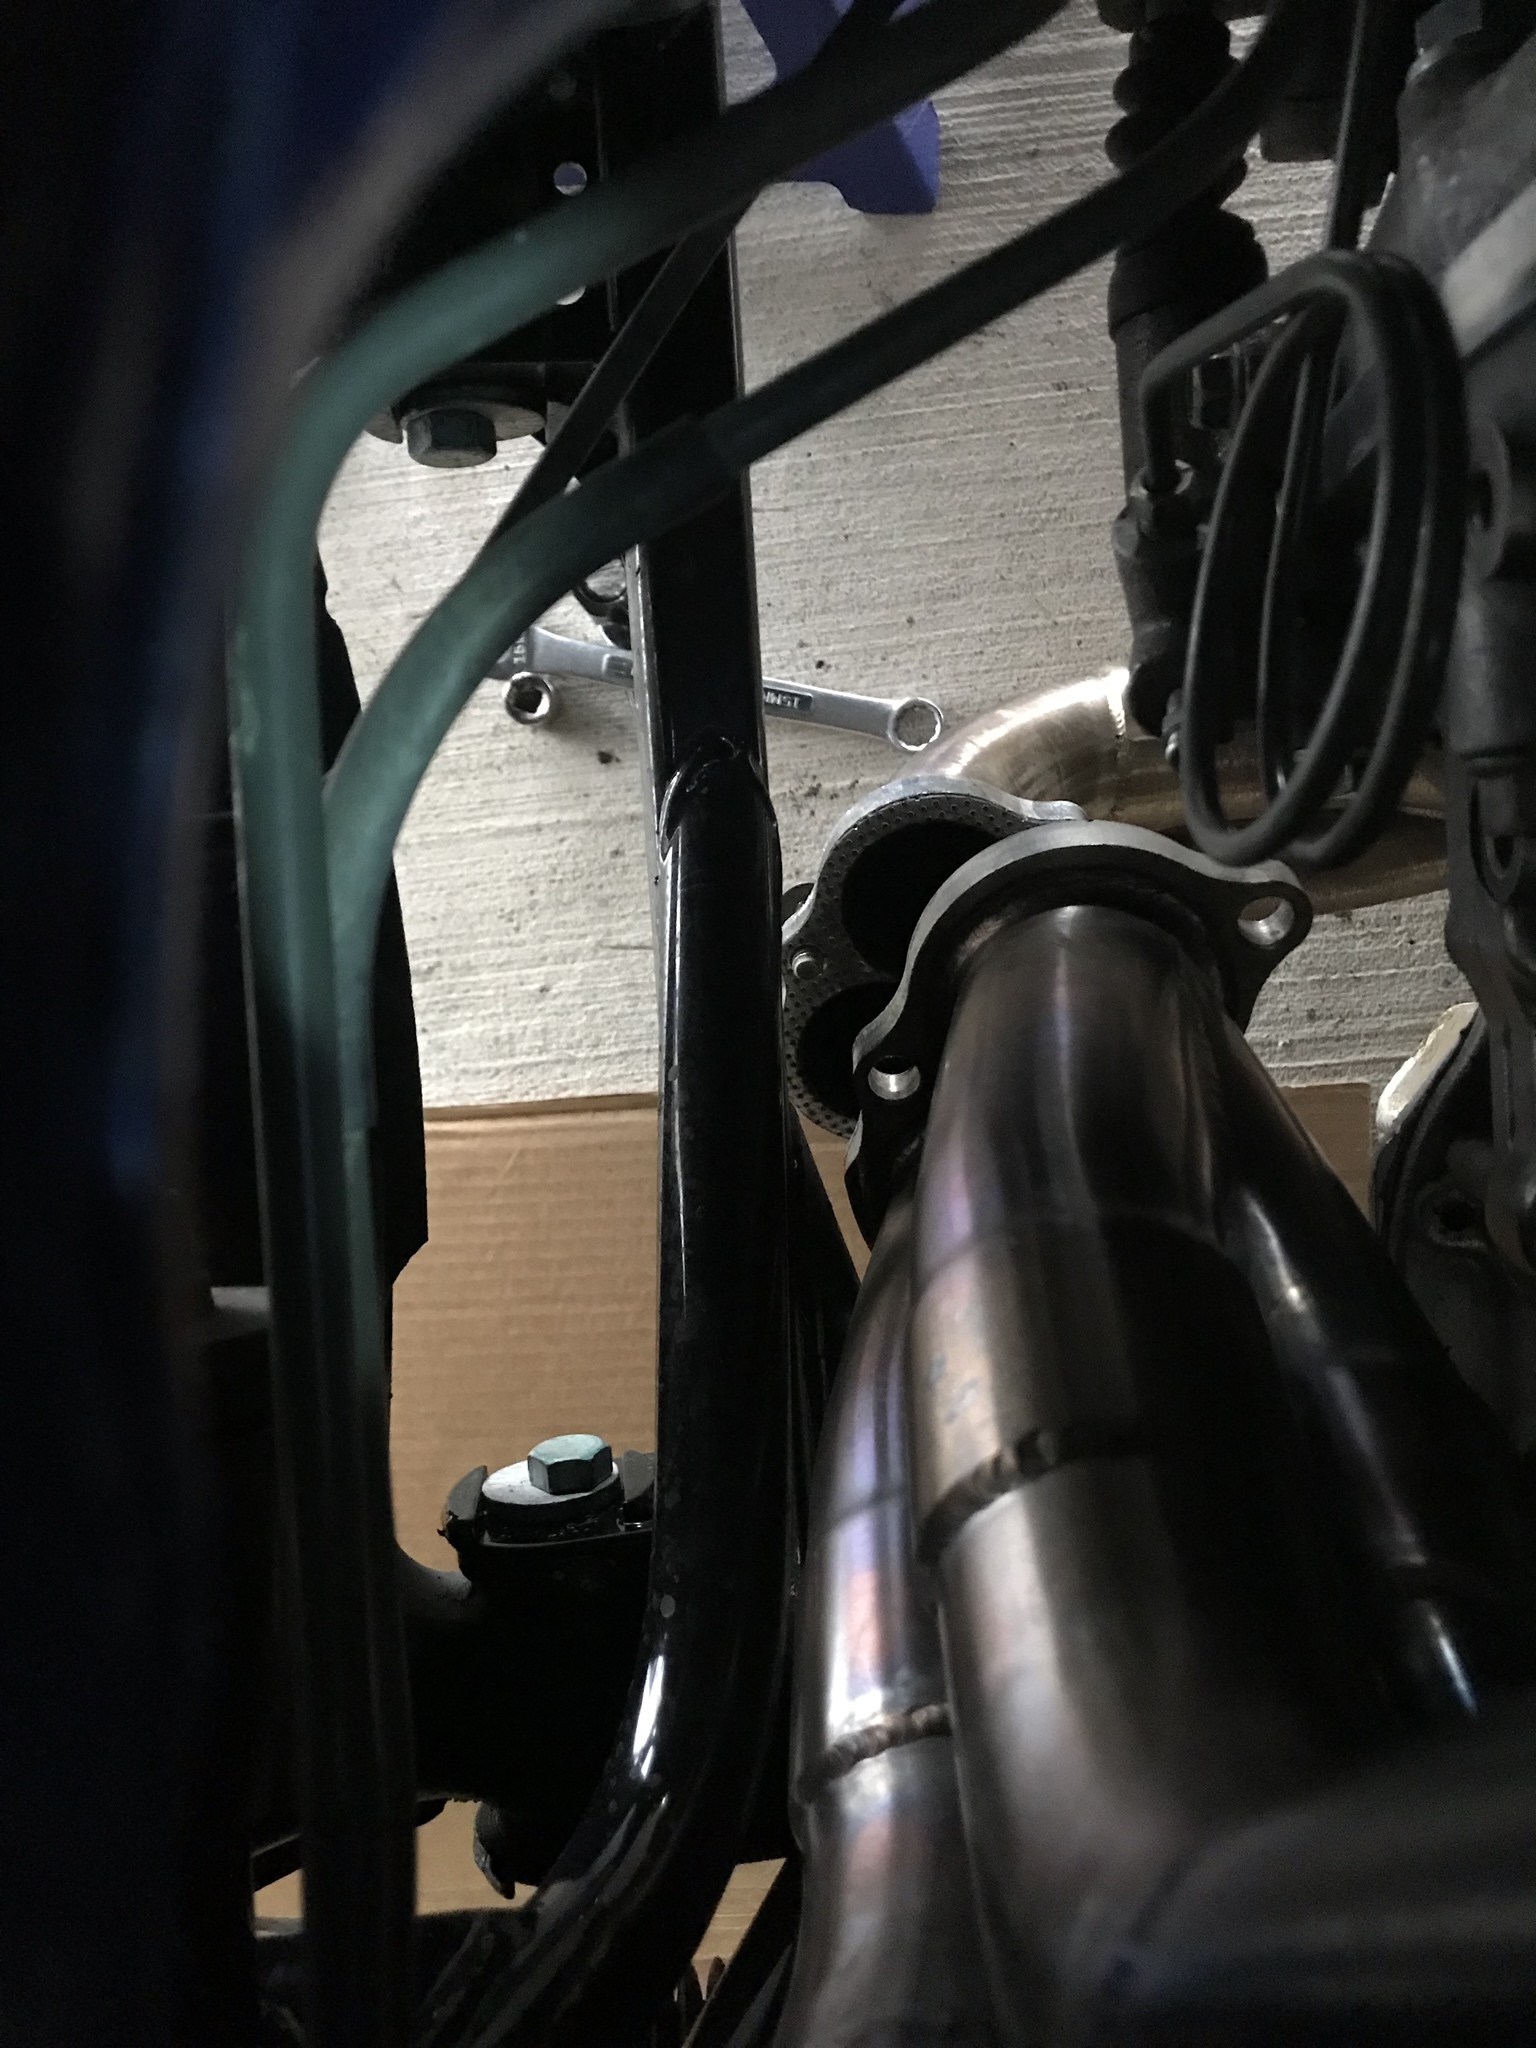
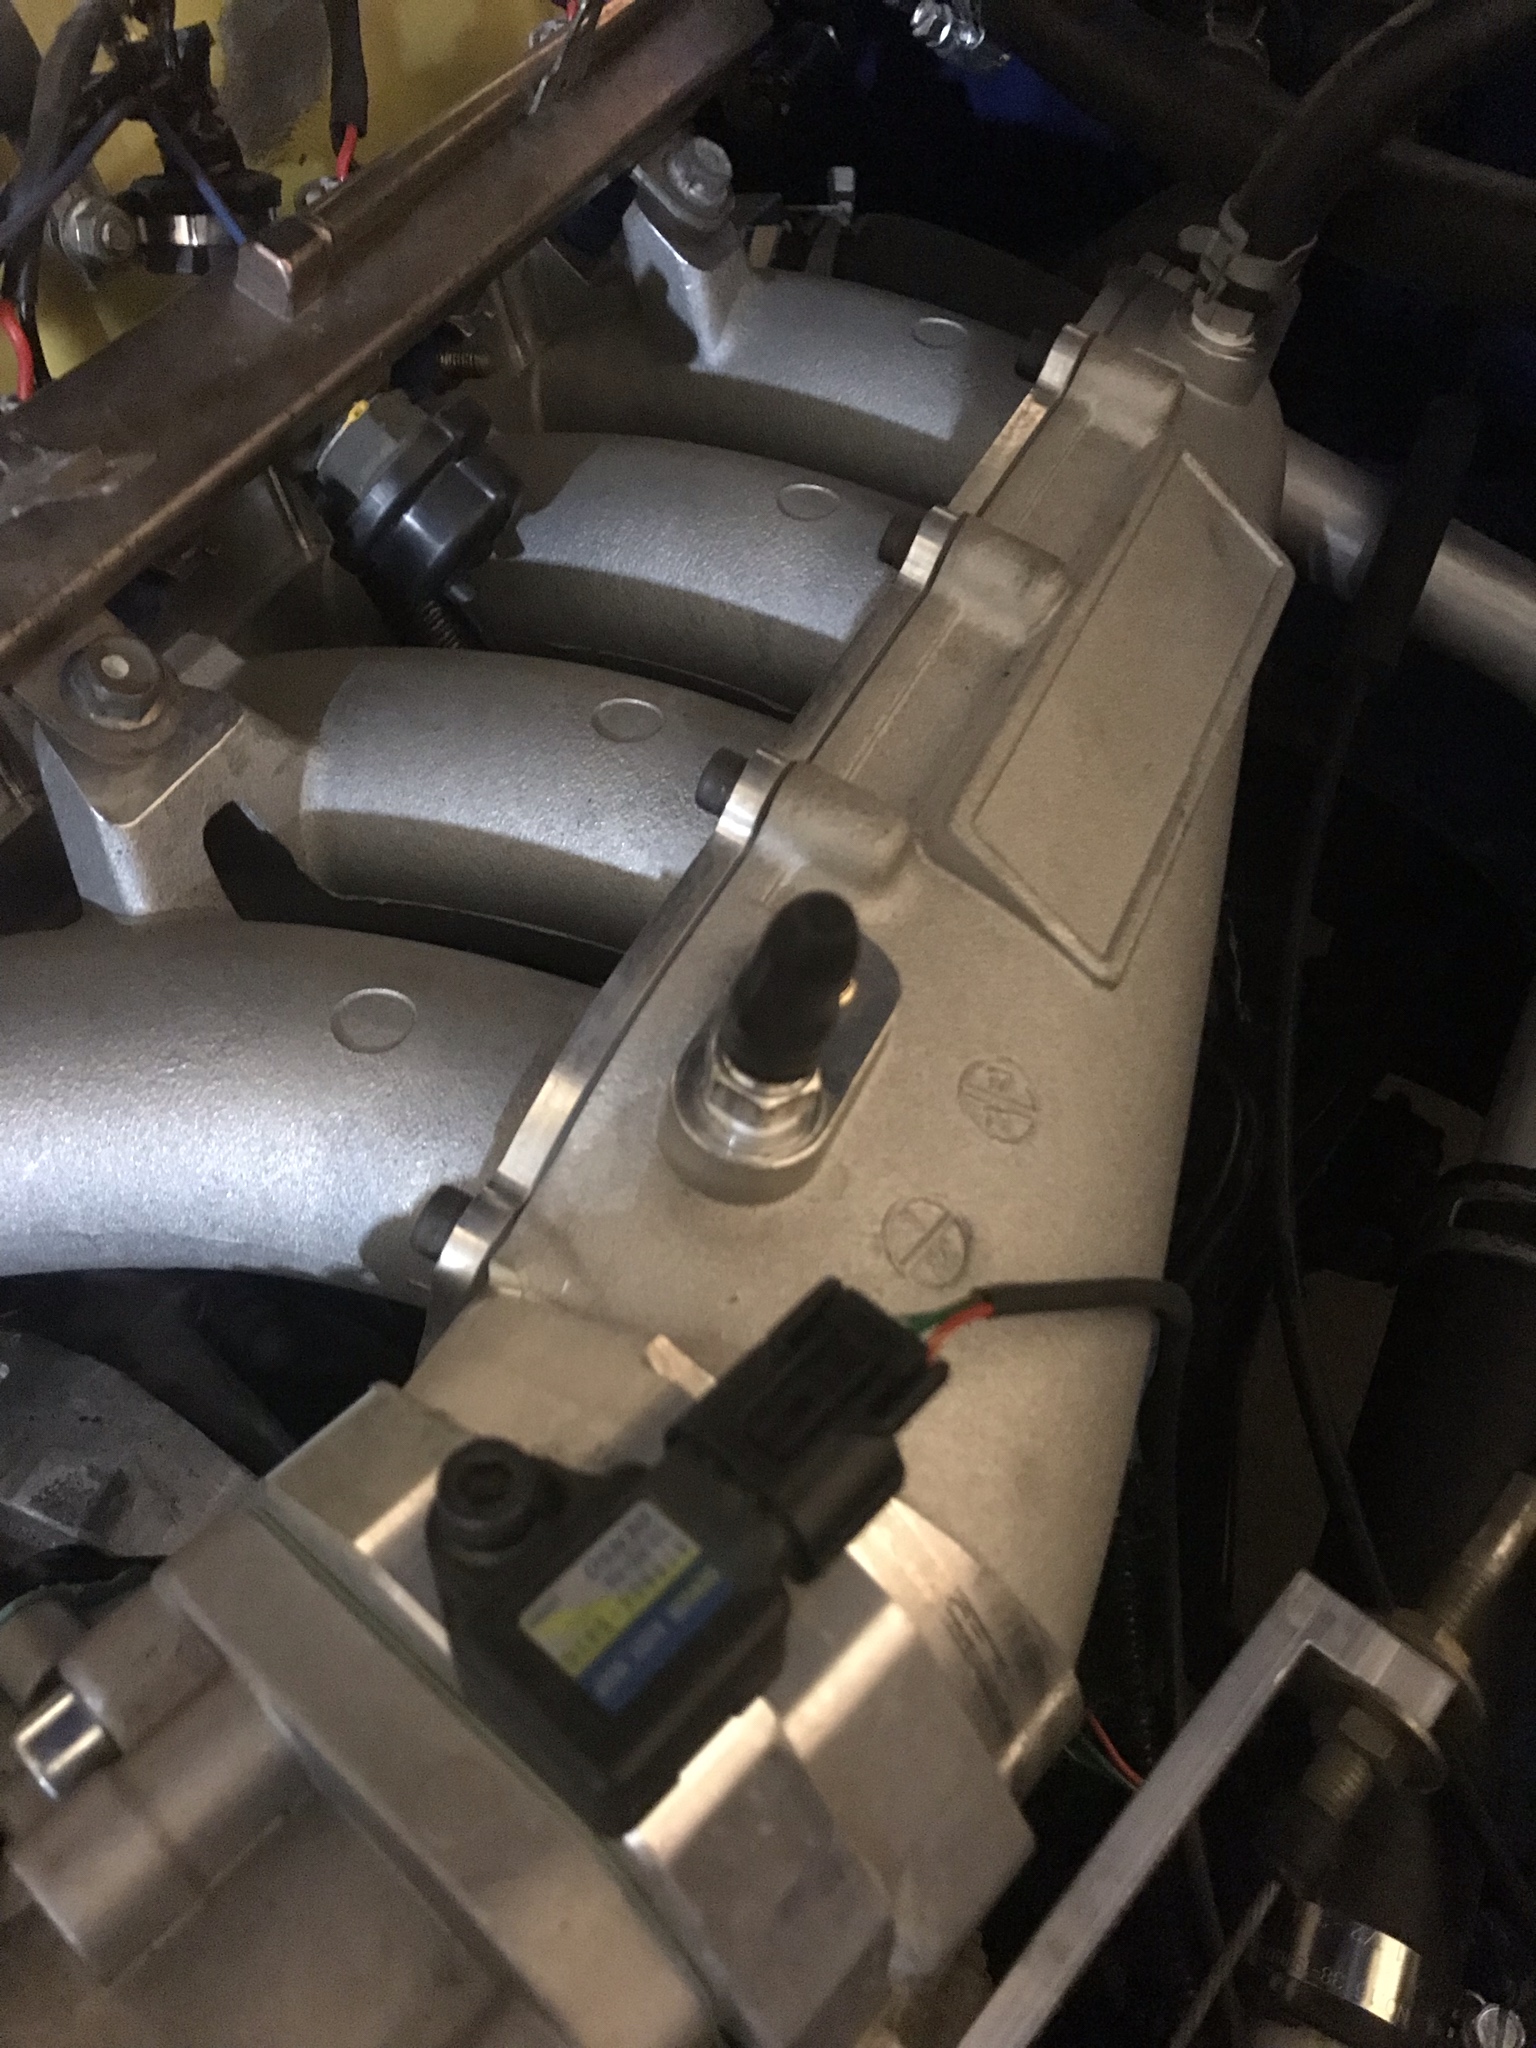
Its funny you should mention the header though because another k20 specific issue arose involving it, the flange for the top half of the header at the 4-2 collector rattles on the sibframe terribly with a K20, at least mine did, so I had to take it off and grind it back a little.
You can see how close they are here.
and ground down some, this was not the final condition, i had to take a bit more.
and the finished product
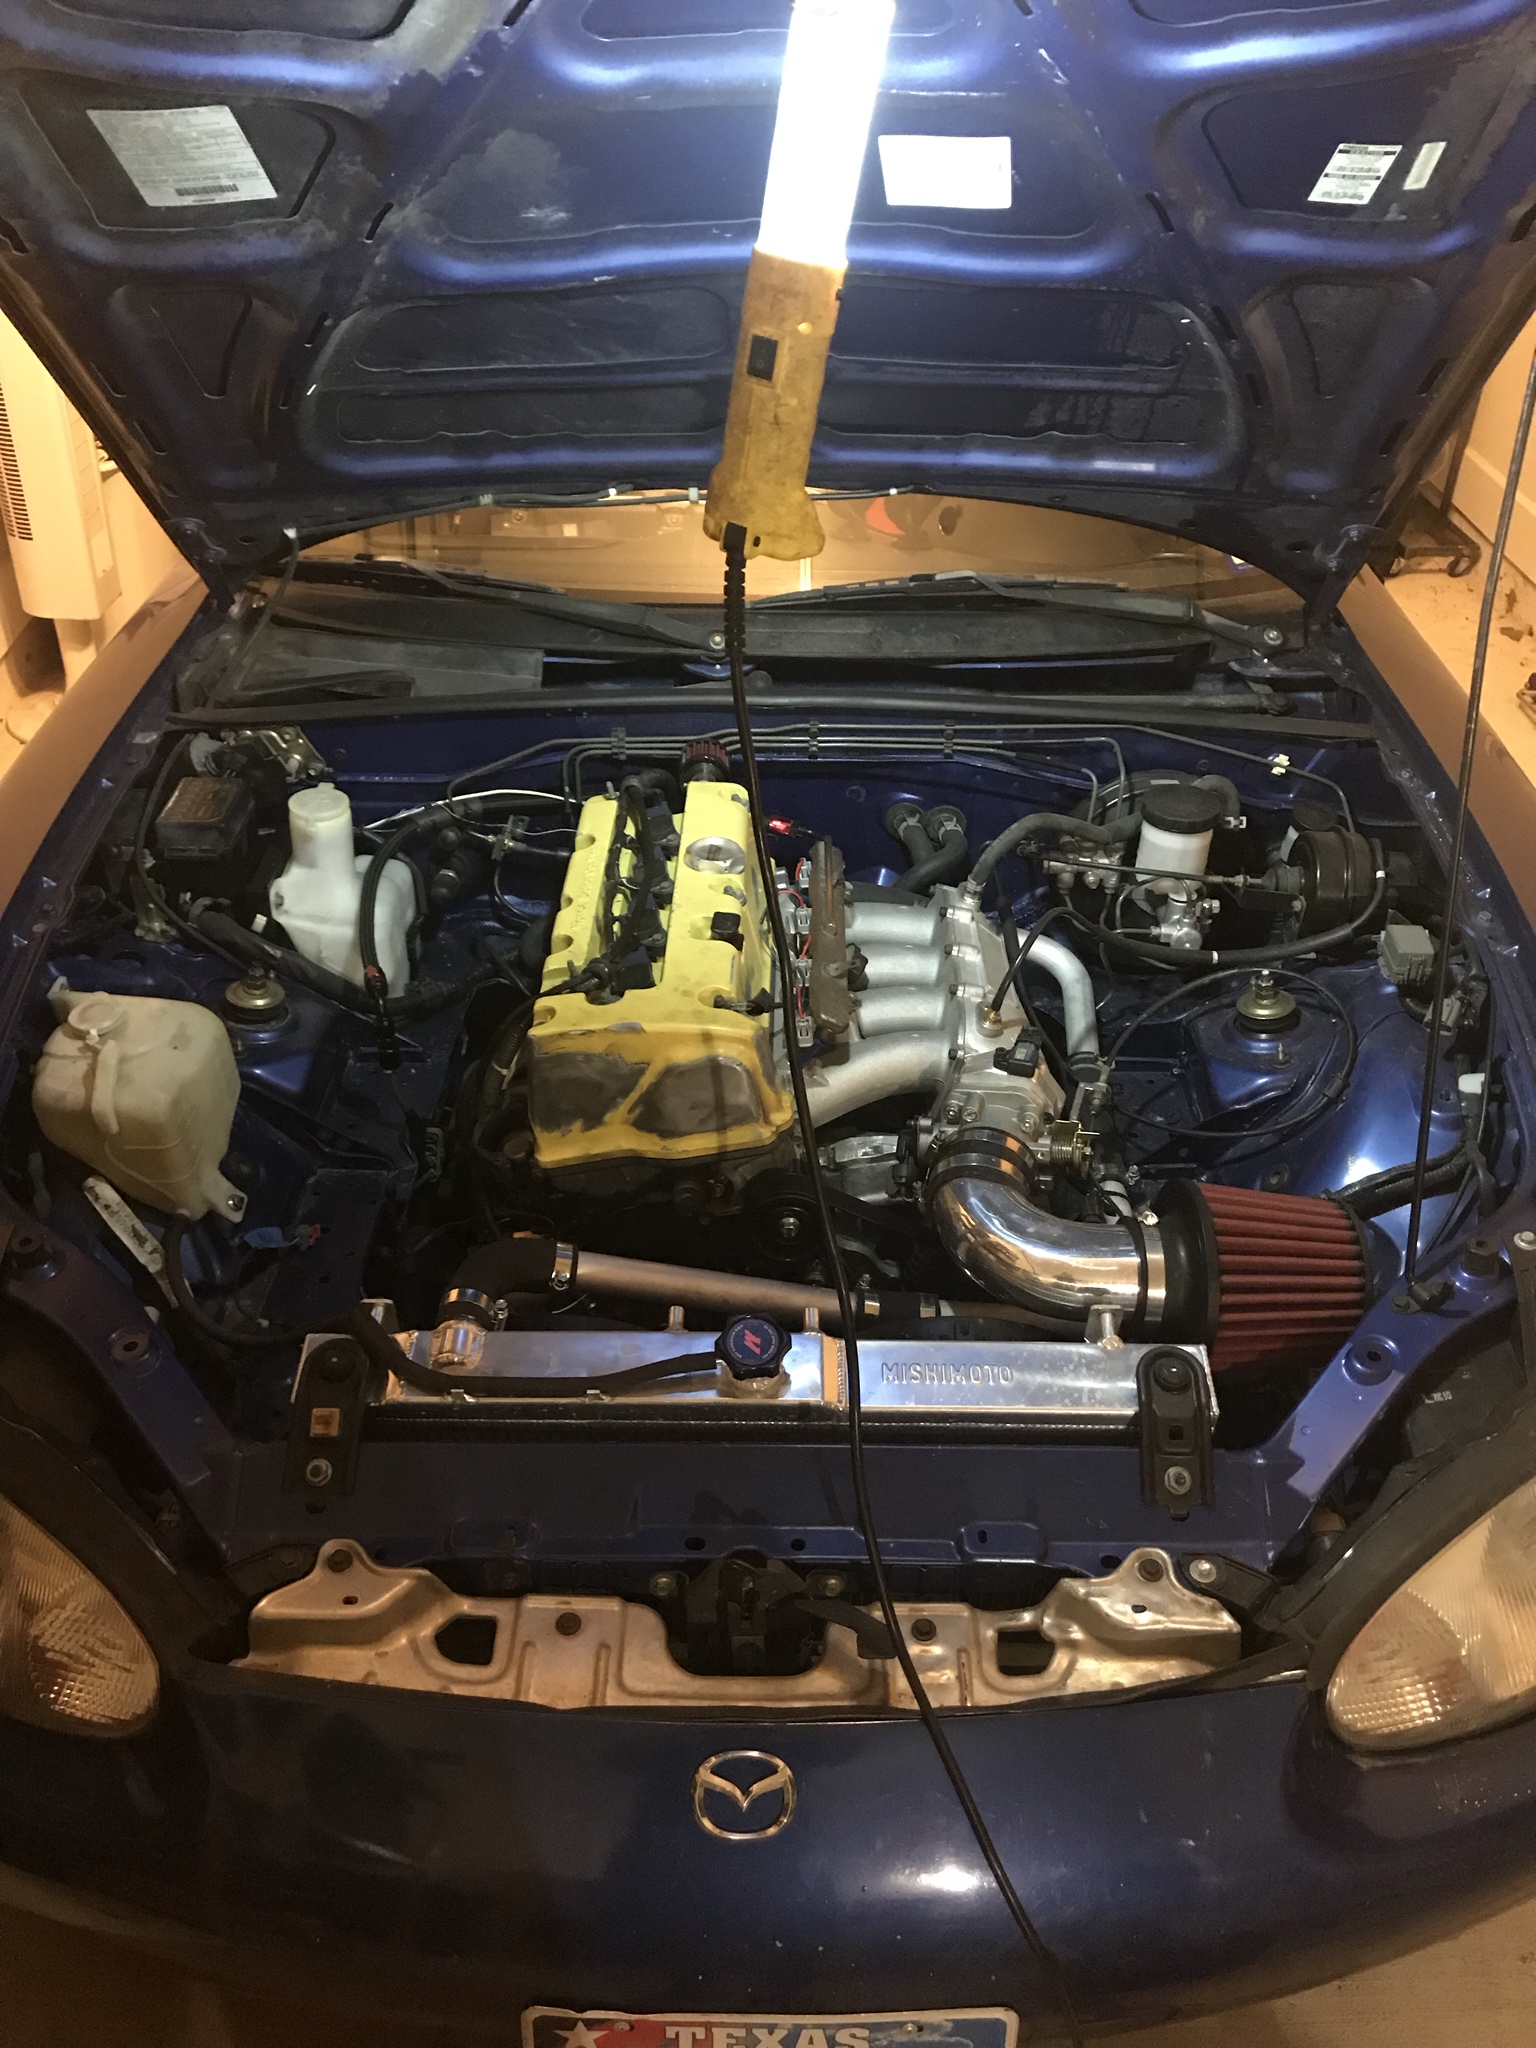
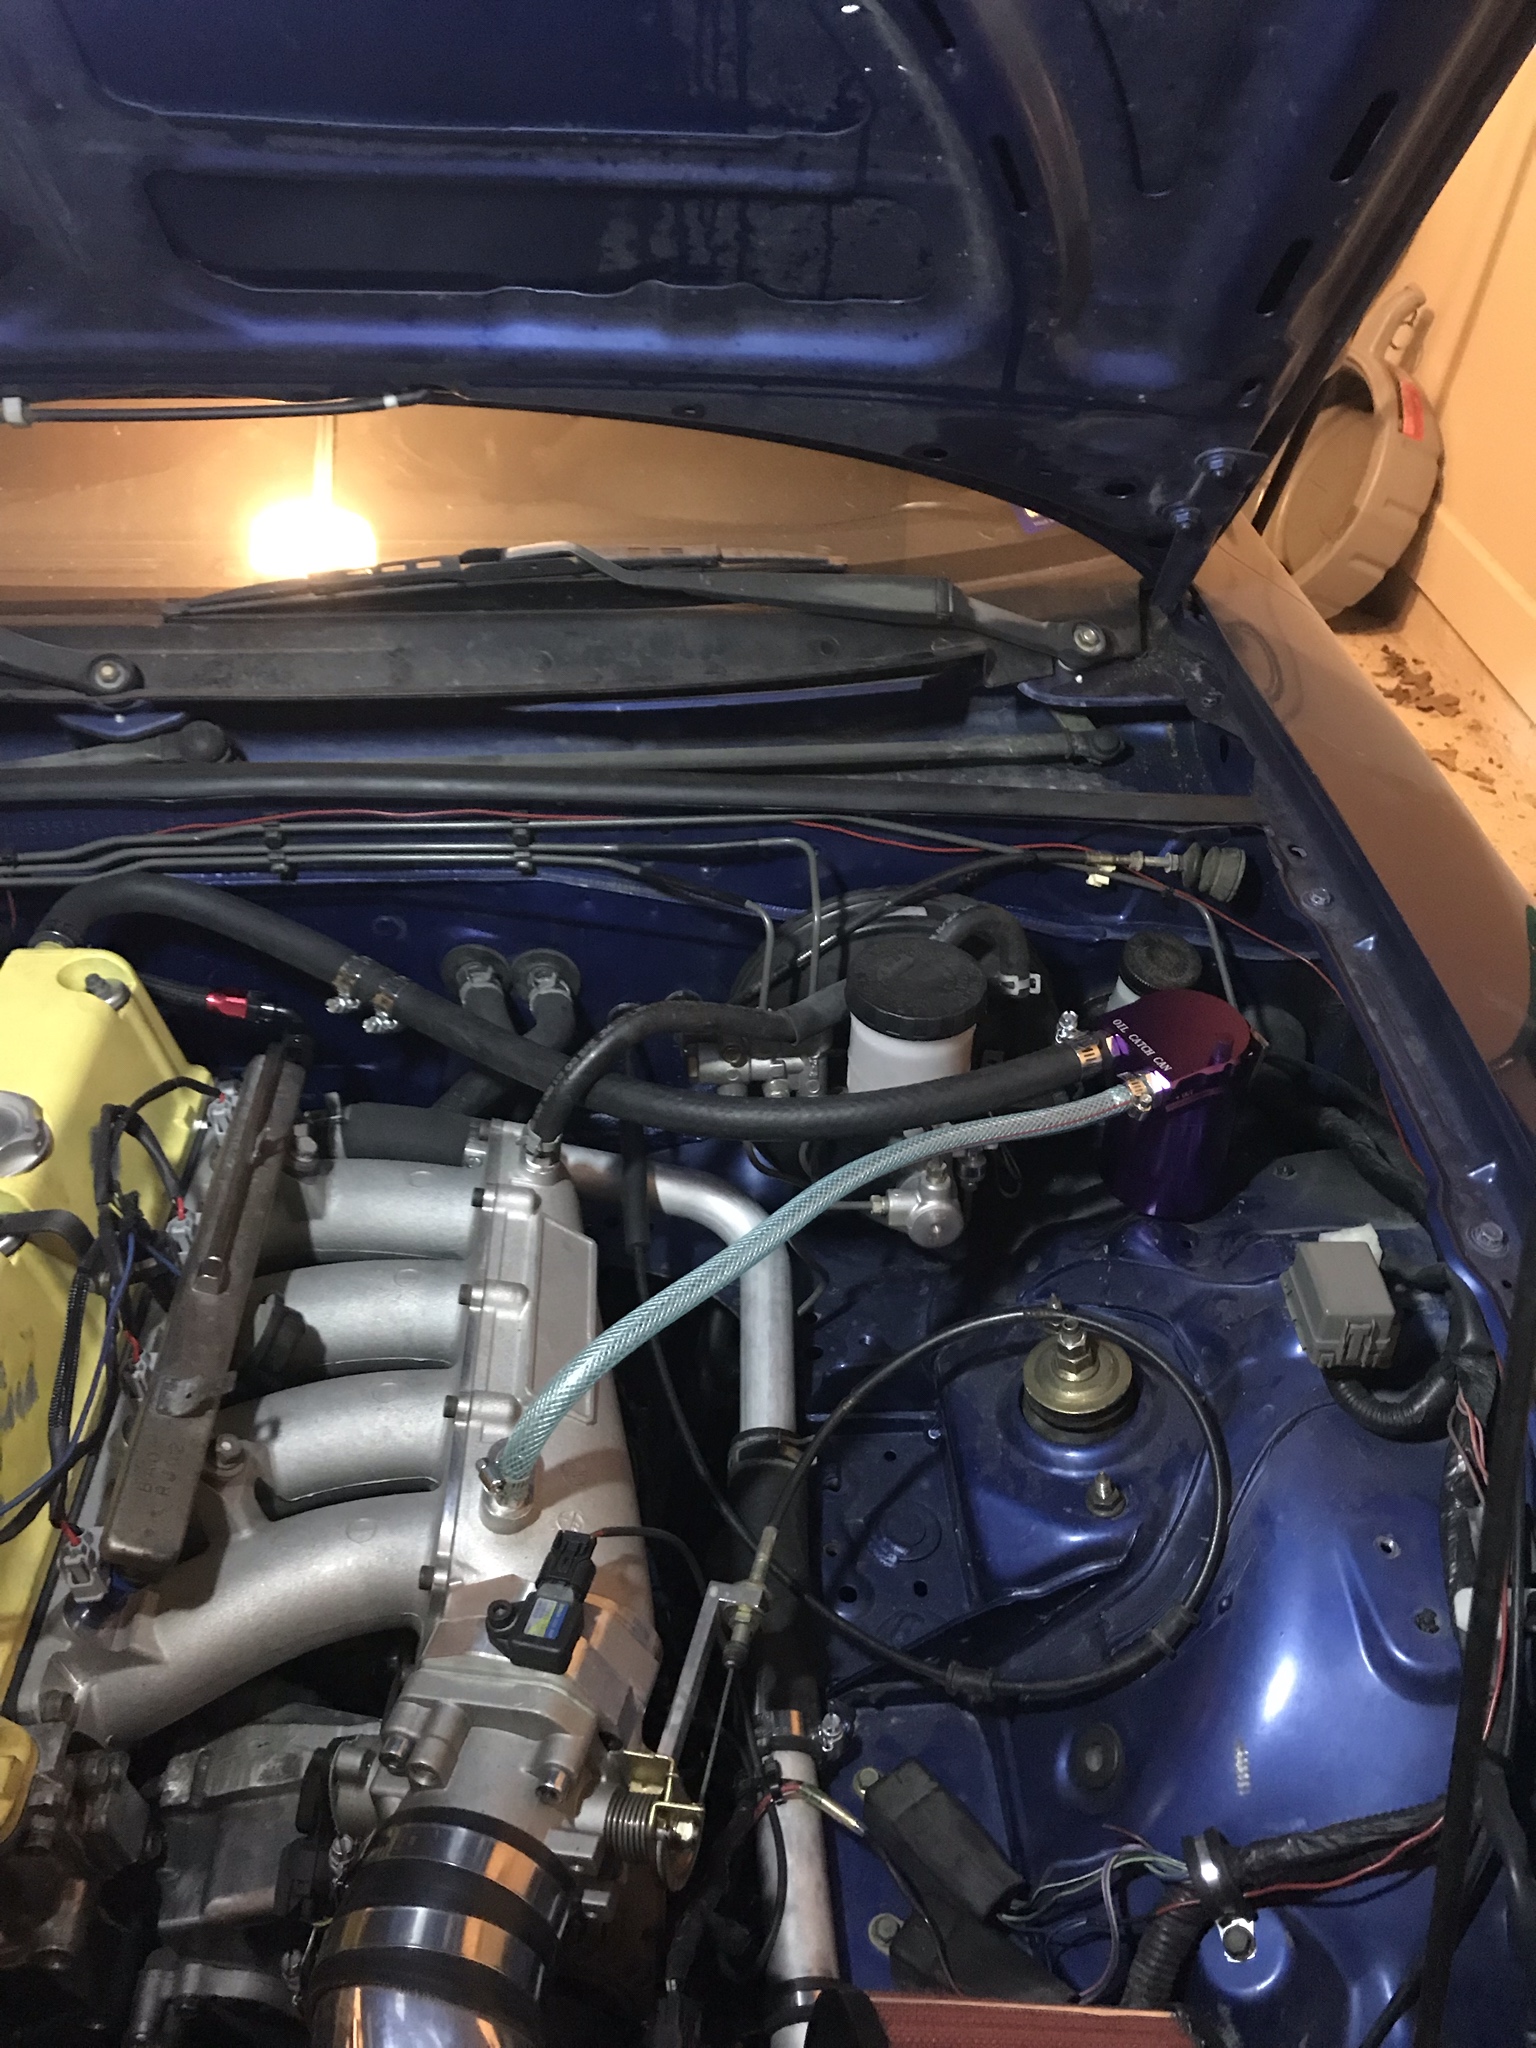
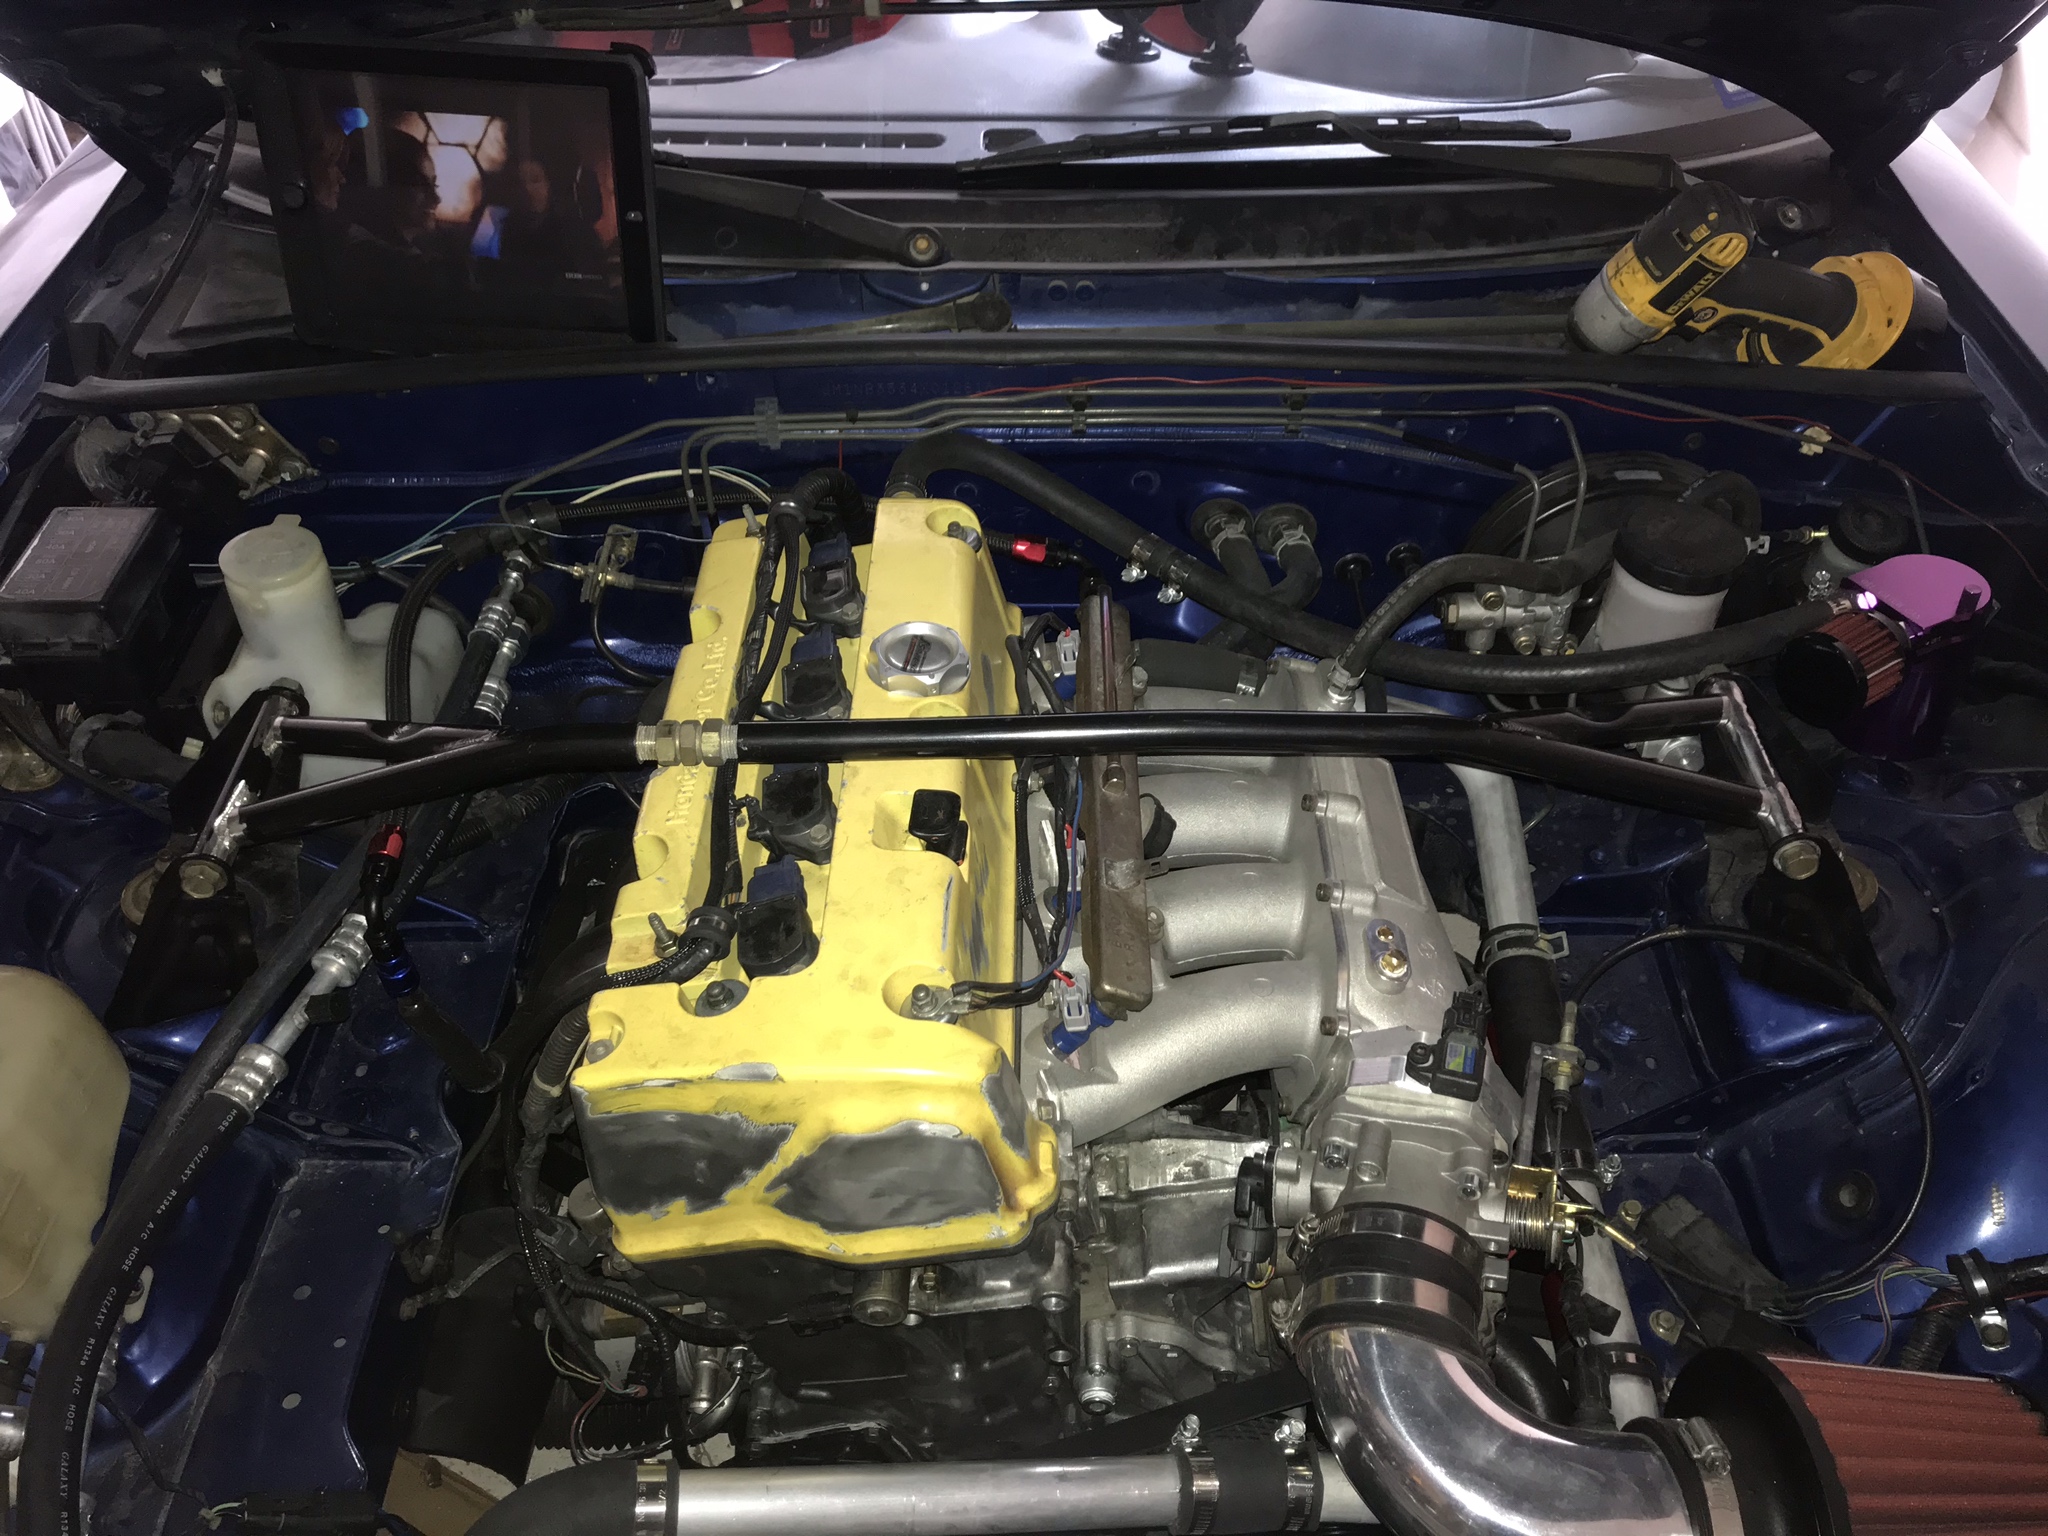
when i was putting together the post last night I realized i didnt really have any good photos of the car in its current condition so i snapped some tonight.
List of things i still need to get worked out under the hood:
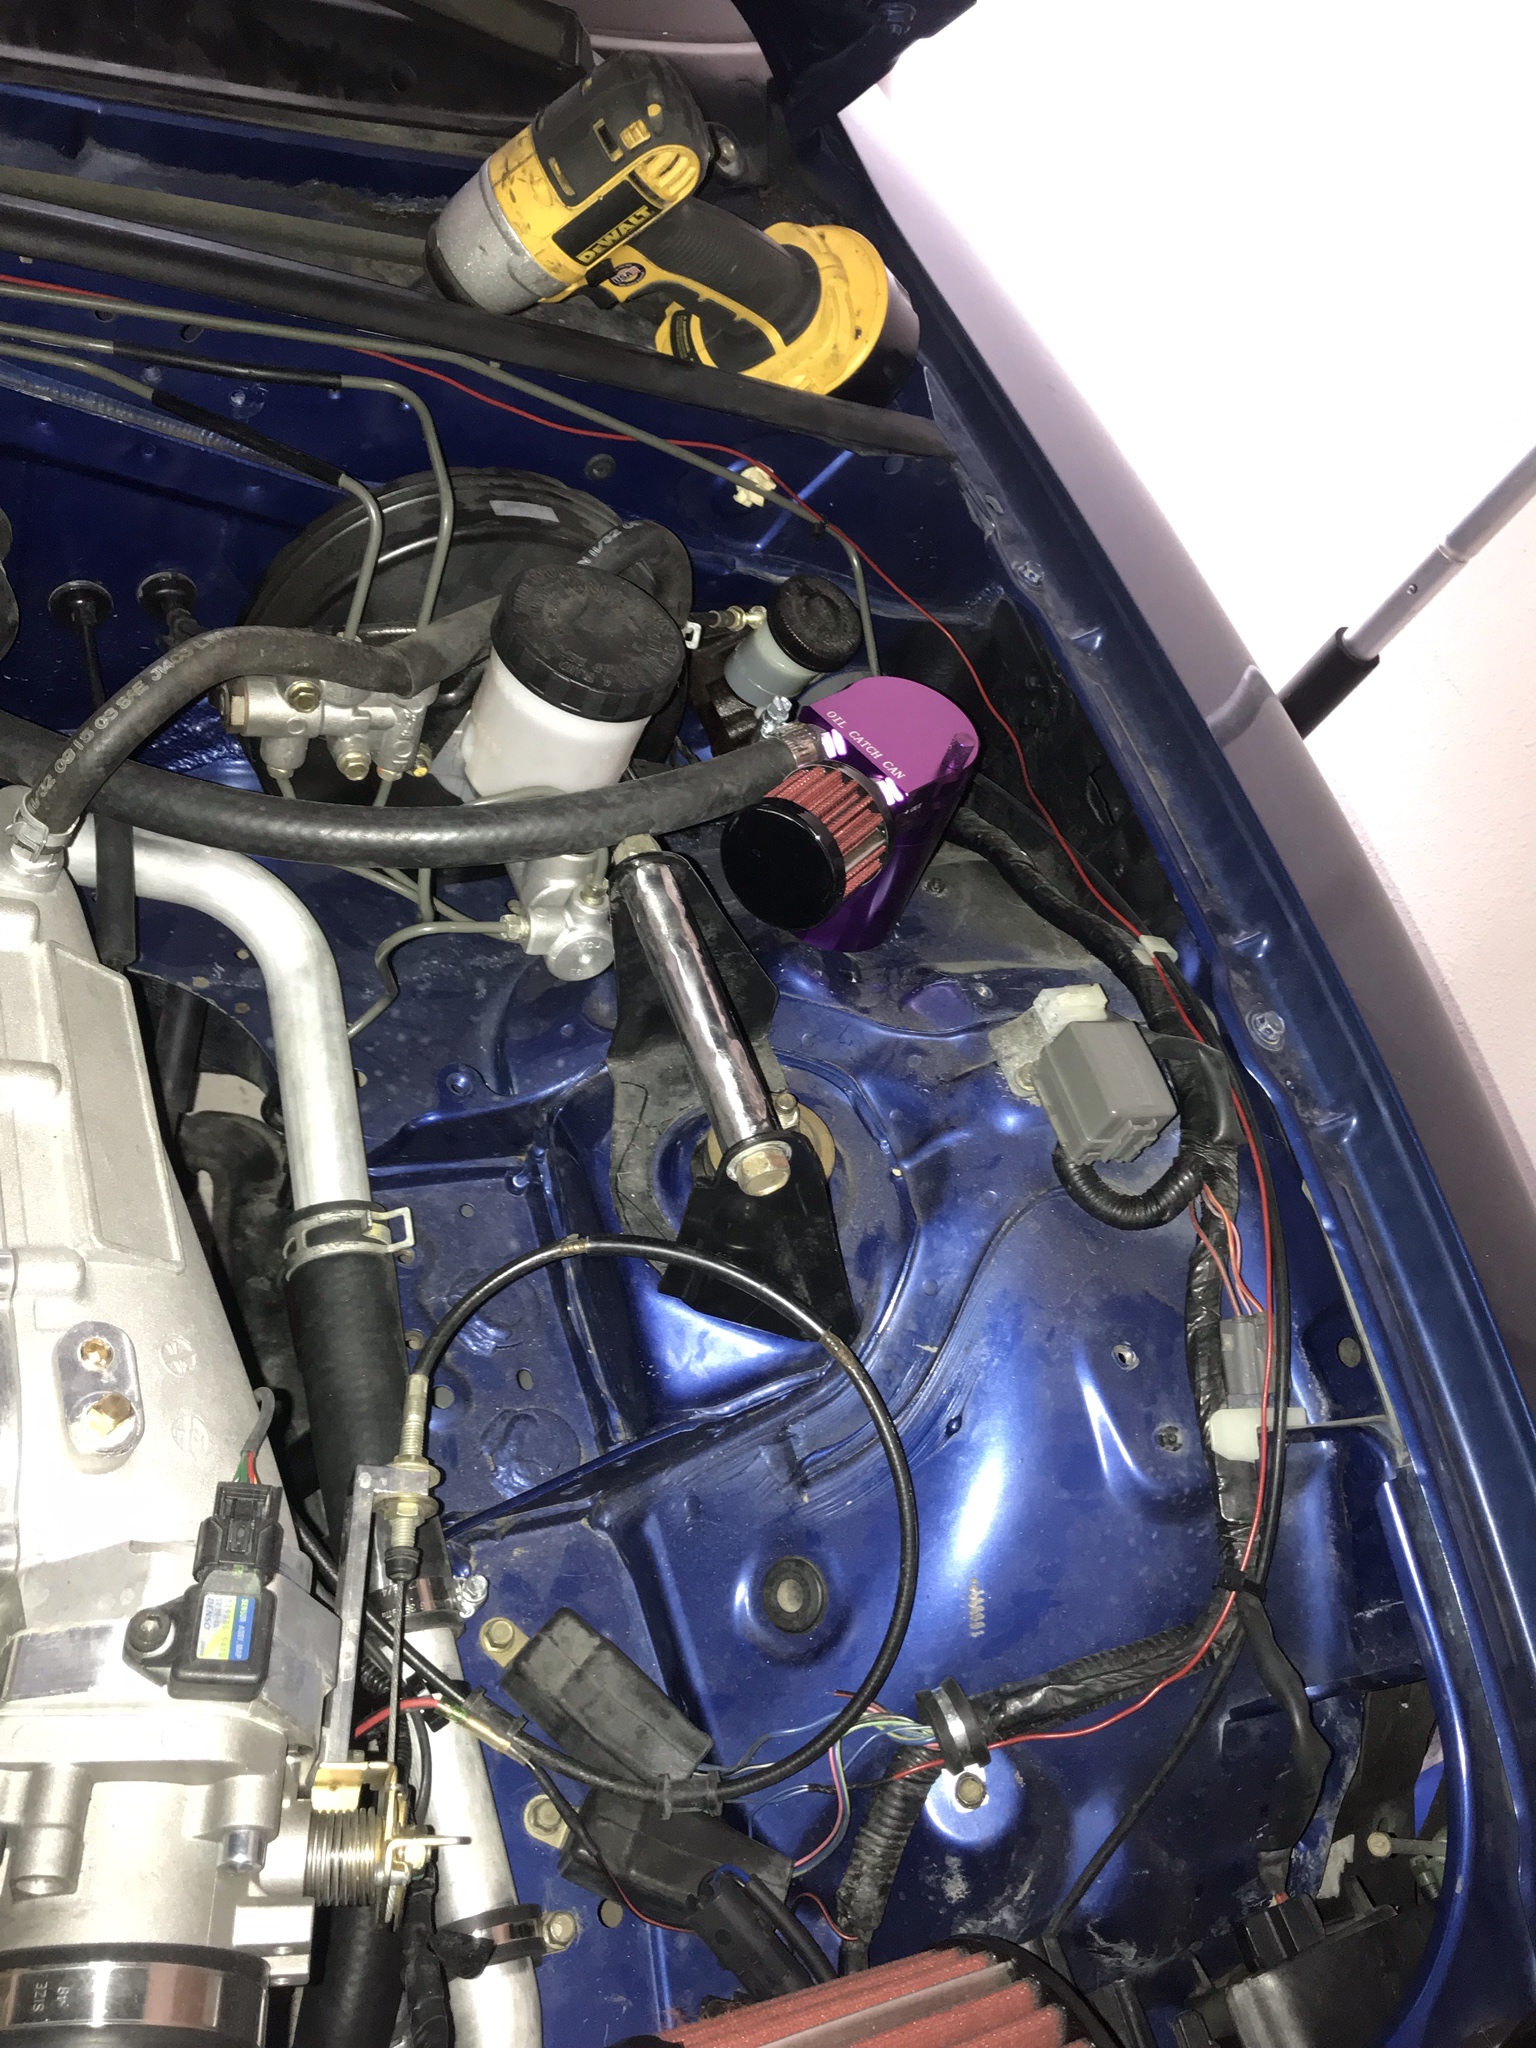
- Catch can (have the can just need to get it installed)
- A better intake, anyone who has messed with a K series before knows that they hate short intakes like this, it makes an unbelievable difference when you get some length on the intake.
- Need to get braided wrap on the injector wires, the car is running RDX injectors so i had to swap out the connectors on my harness and just hadnt tidied this up because i will have to depin the connecters to get the braided loom on there.
- A heatshied and guard for the fuel line, i made a mistake and didnt bend this back around to the back of the engine bay before i dropped the engine in so it is currently in the stock location. My plan is to build a shield for it and put some heat reflecting tape on it. Also need to swap out the EFI fitting for a screw on type instead of the push on type that is currently installed, i have a screw on one on the fuel rail, but i needed a second one for the stock line and a push on type was all that was handy, i have pulled pretty damn hard on it and cannot get it to come off but with it right next to the header, i really dont want to take any chances there, to many horror stories on here. Thoughts on this situation would be appreciated, i am curious about some of your guys experience in a situation like this, if i am freaking myself out or if this is actually an issue.
- Last major thing to get done is getting the AC kit installed,i have all the parts but just hadnt been able to get it installed yet. I started to install it before I moved but ran into a clash with my lower rad hose and it is most likely going to require remaking that hose. At the time i did not have the time to go through all that so i abandoned it until i was moved and had a little more time to mess with it, i am going to try and get it done in the next couple weeks.
- Need to paint the valve cover as well,it looks awful. I have destroyed so many valve covers pulling and installing engines that i always wait until i am done with that process before i paint them these days.
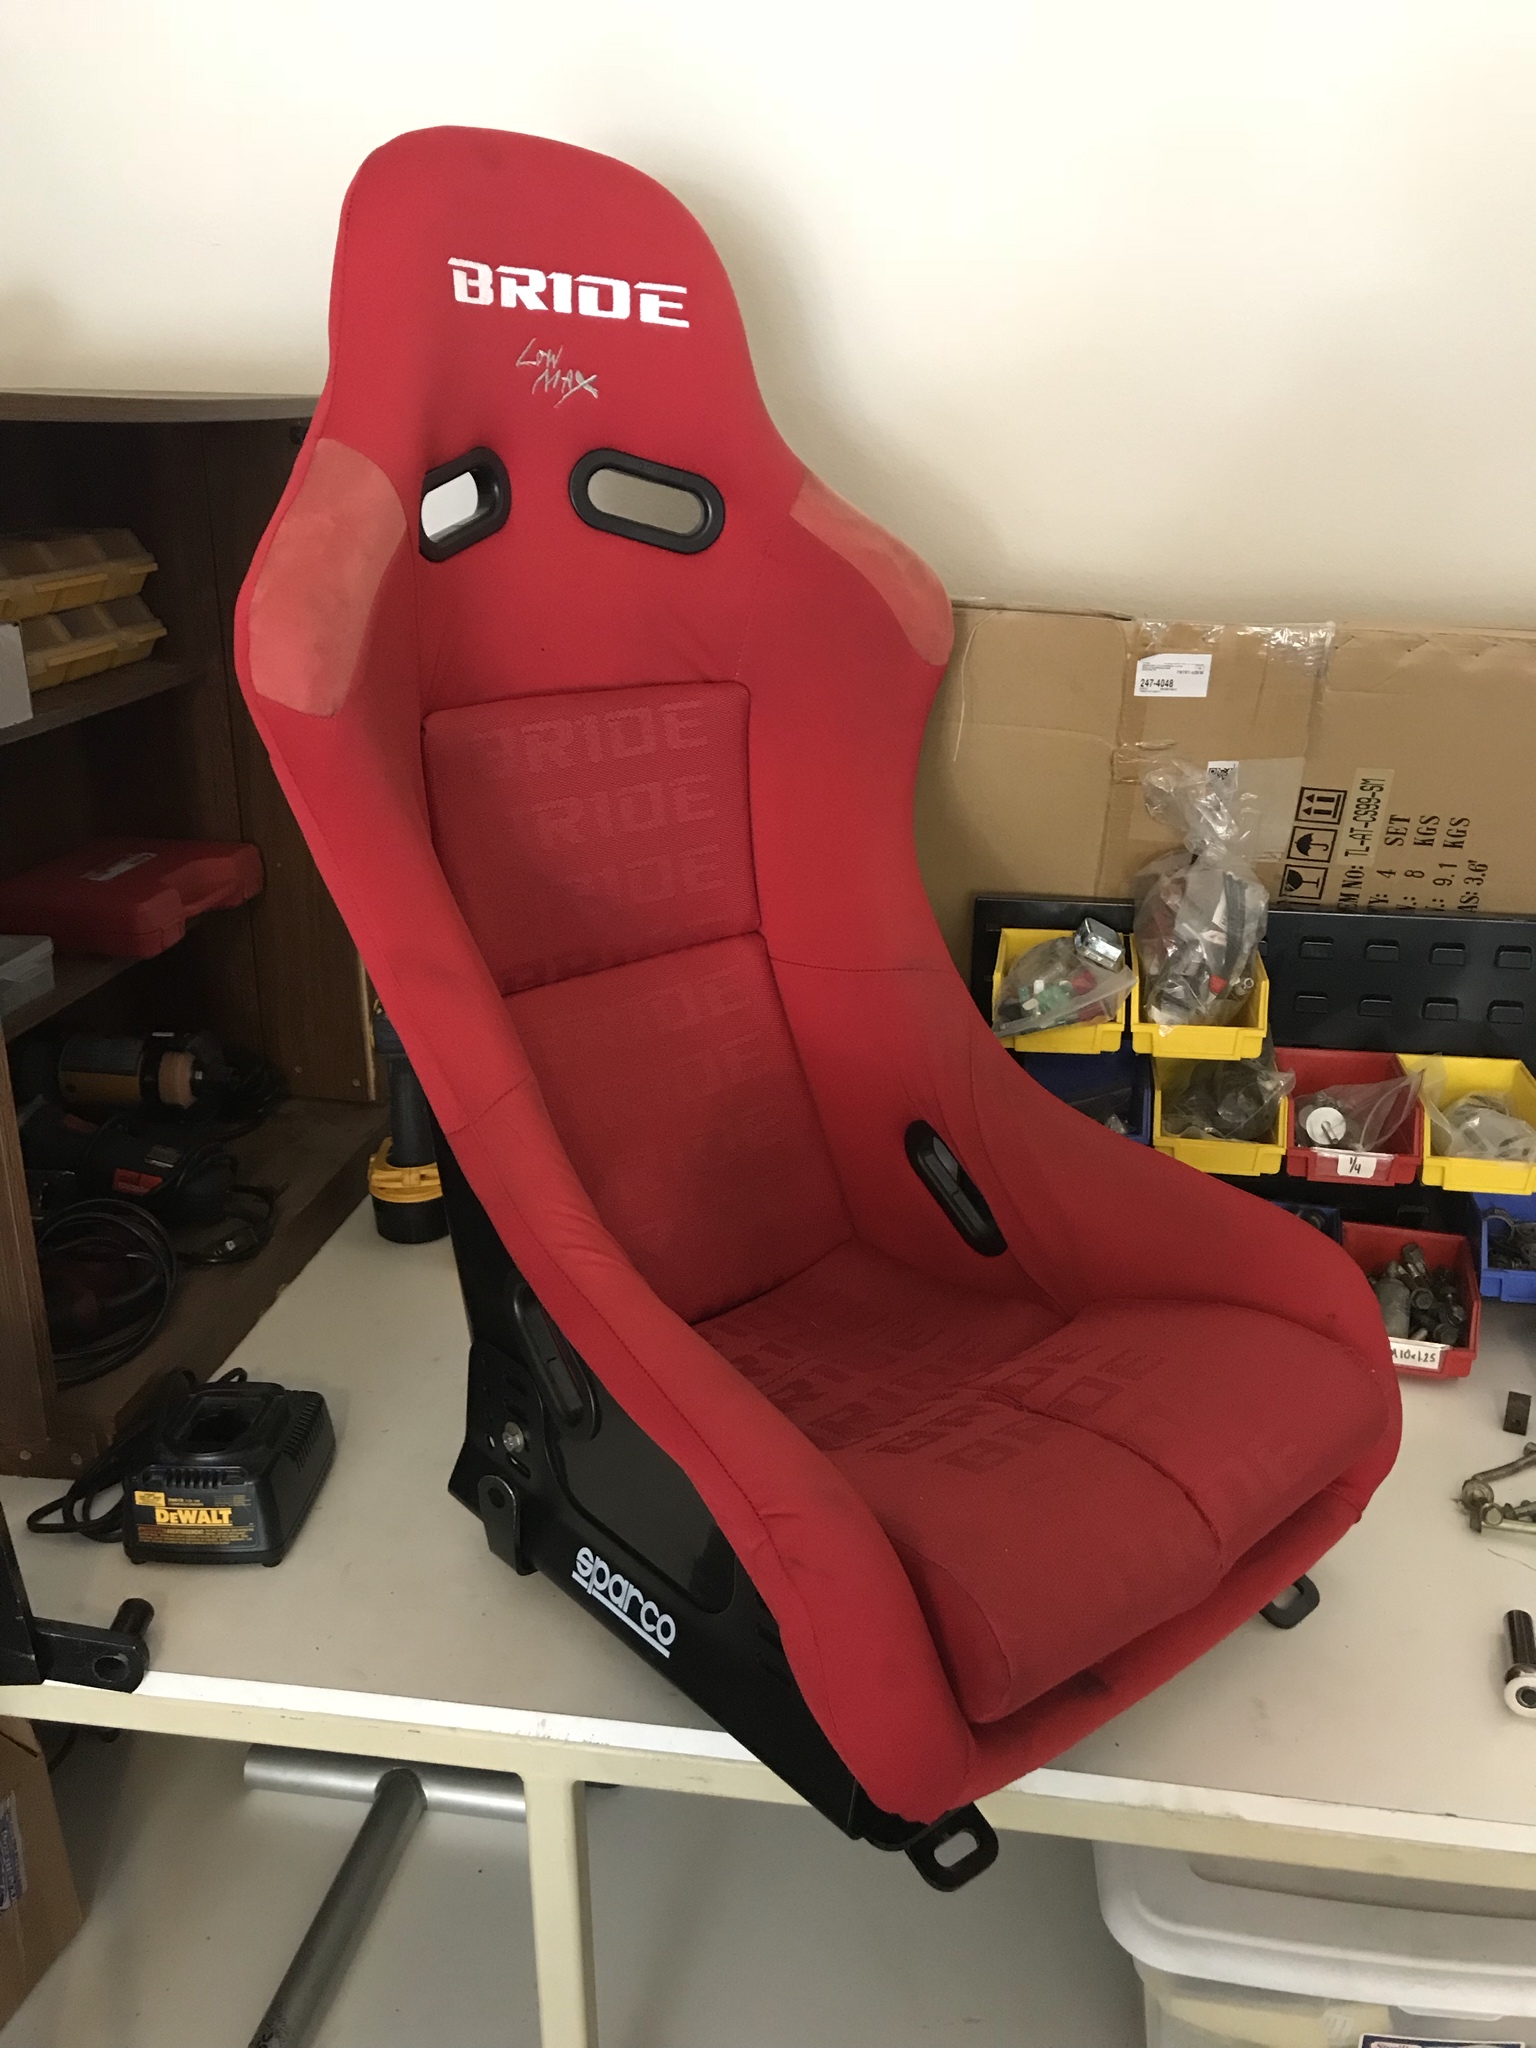
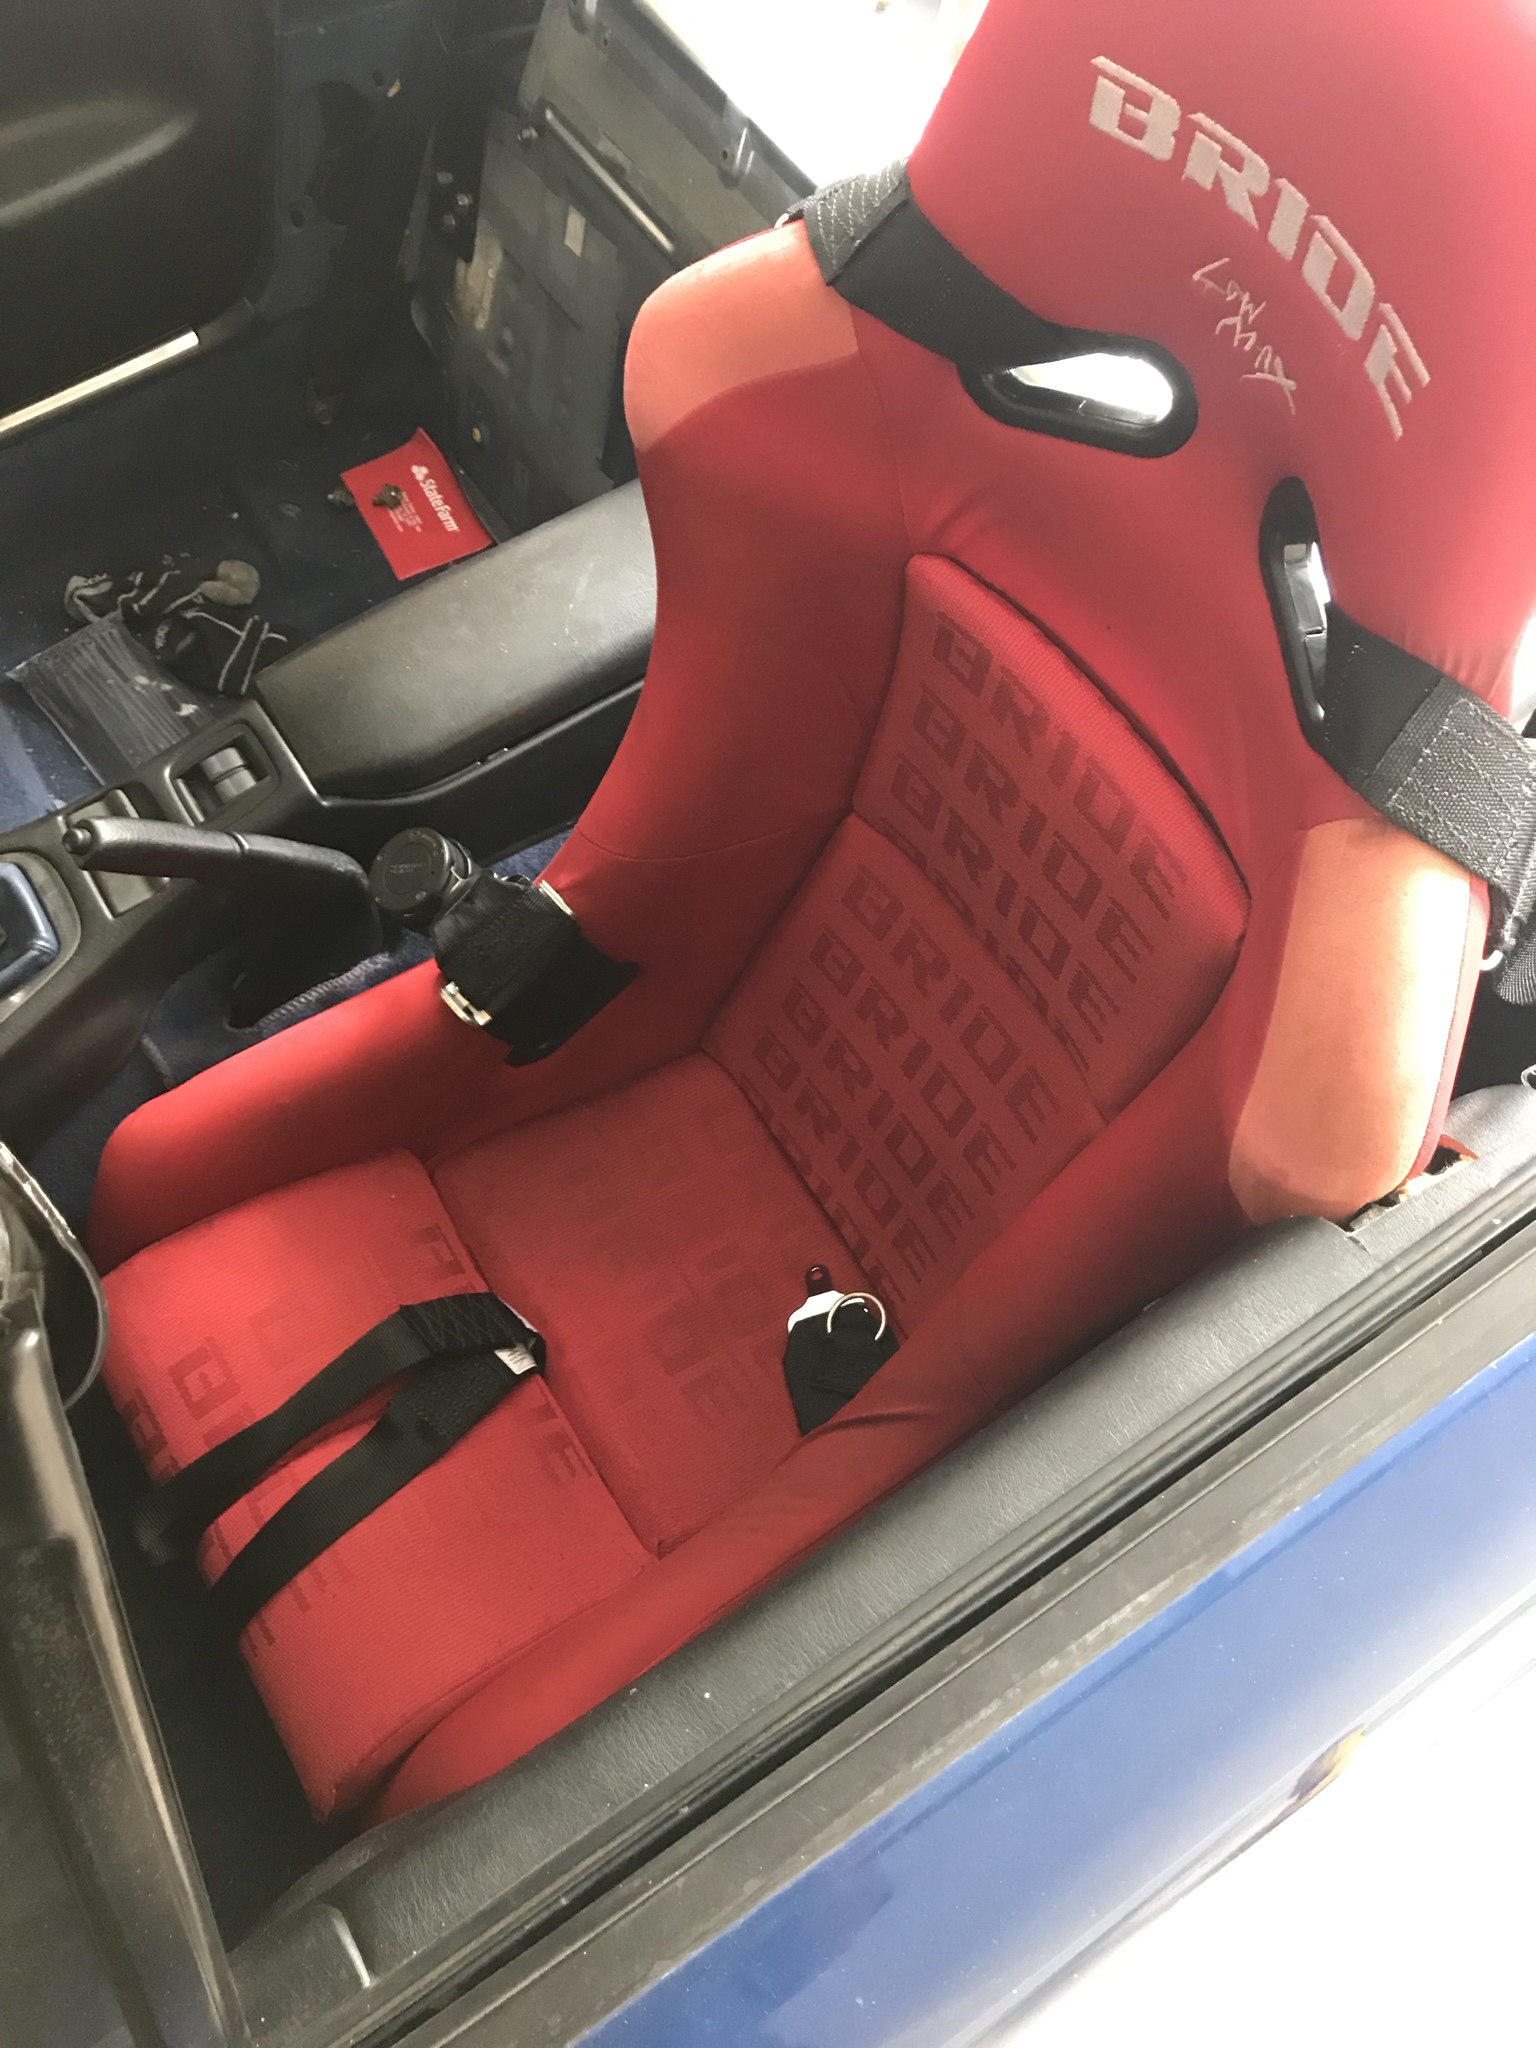
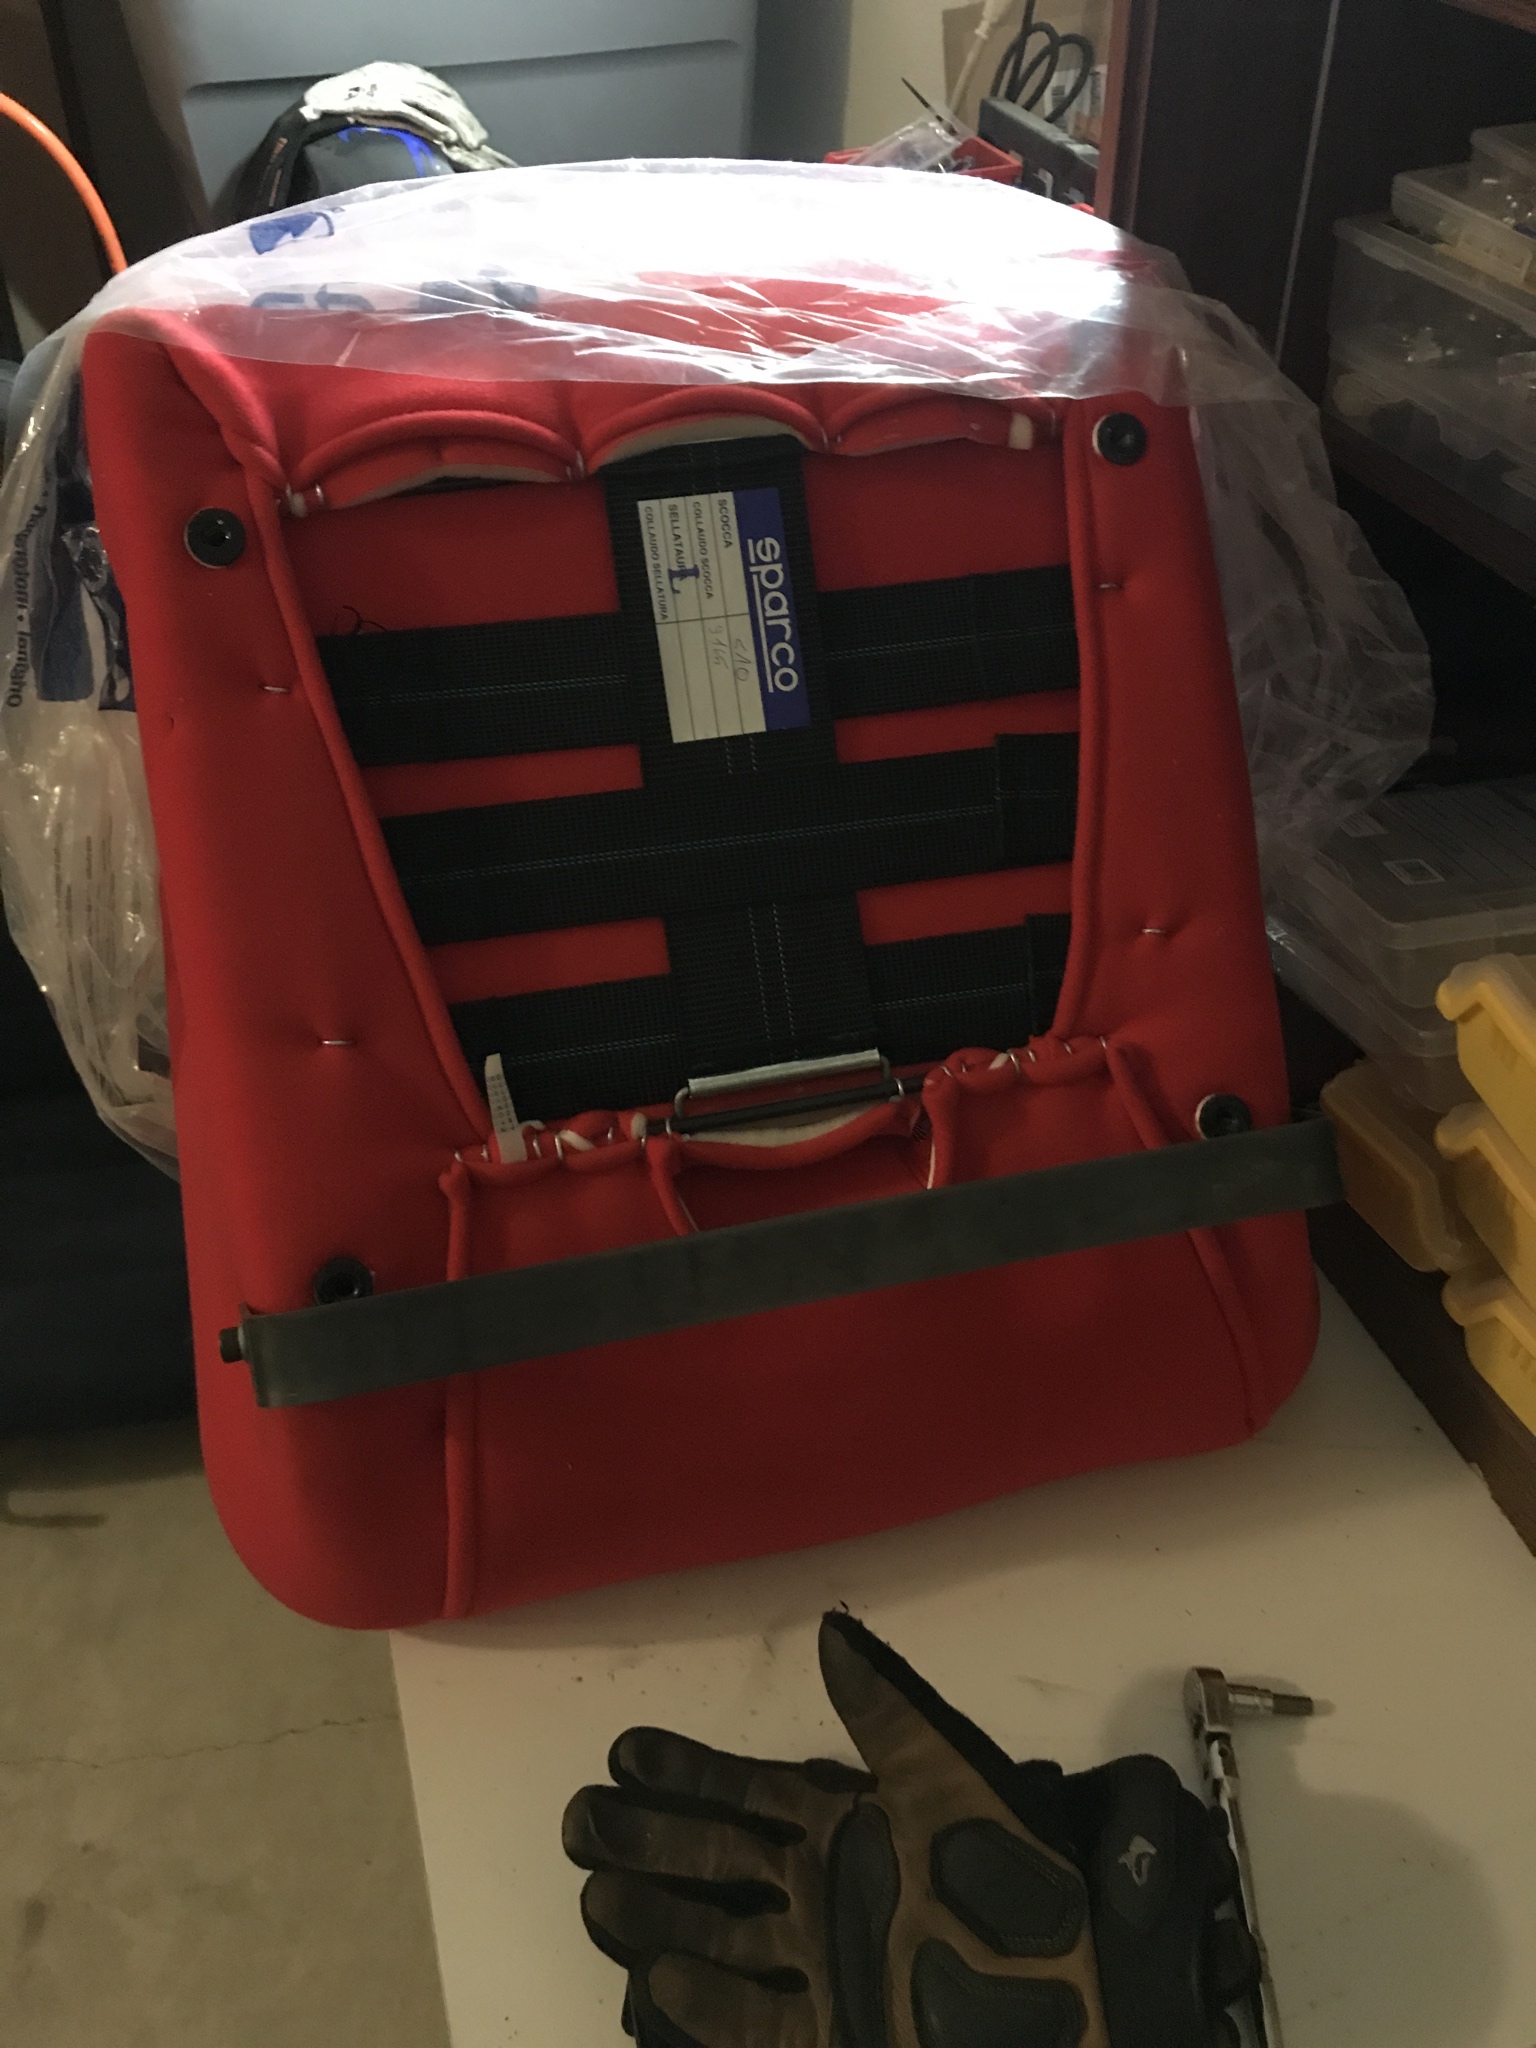
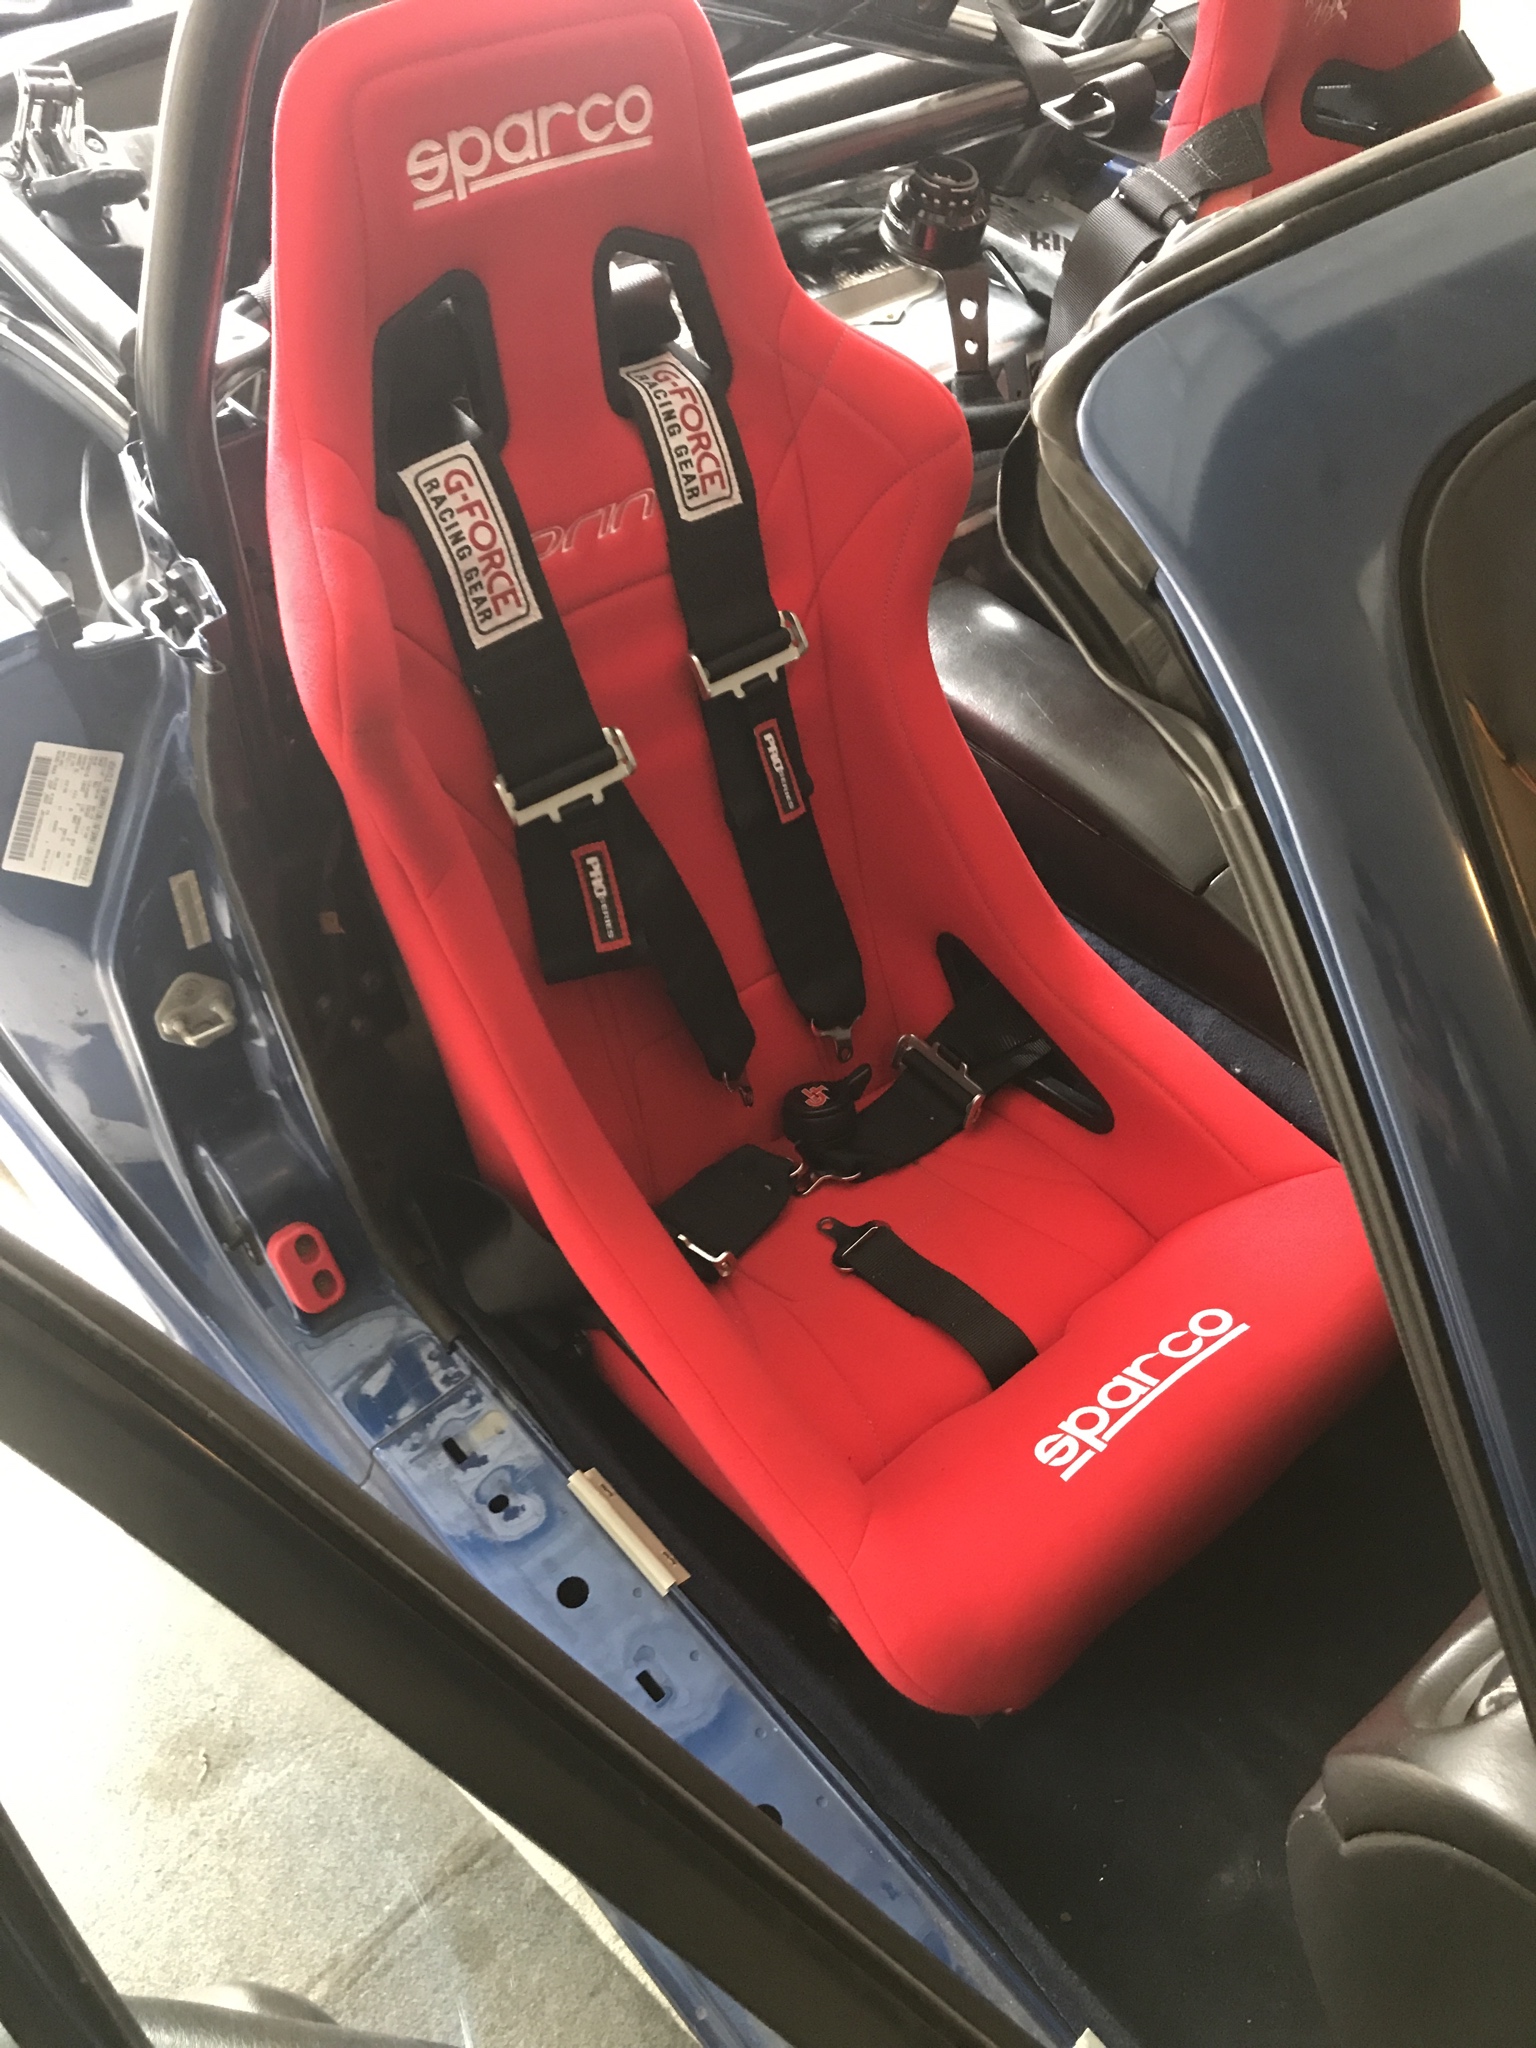
And some bonus content, got my bride seat and 6 point harness installed over the weekend as well, i am pumped about this, this is the 4th car this seat has been in and it is by far my favorite mod i have ever done. I am a small guy and OEM seats never really hold me in place well. Might have to replace my steering wheel though, the dish makes it a bit cramped but we will see.
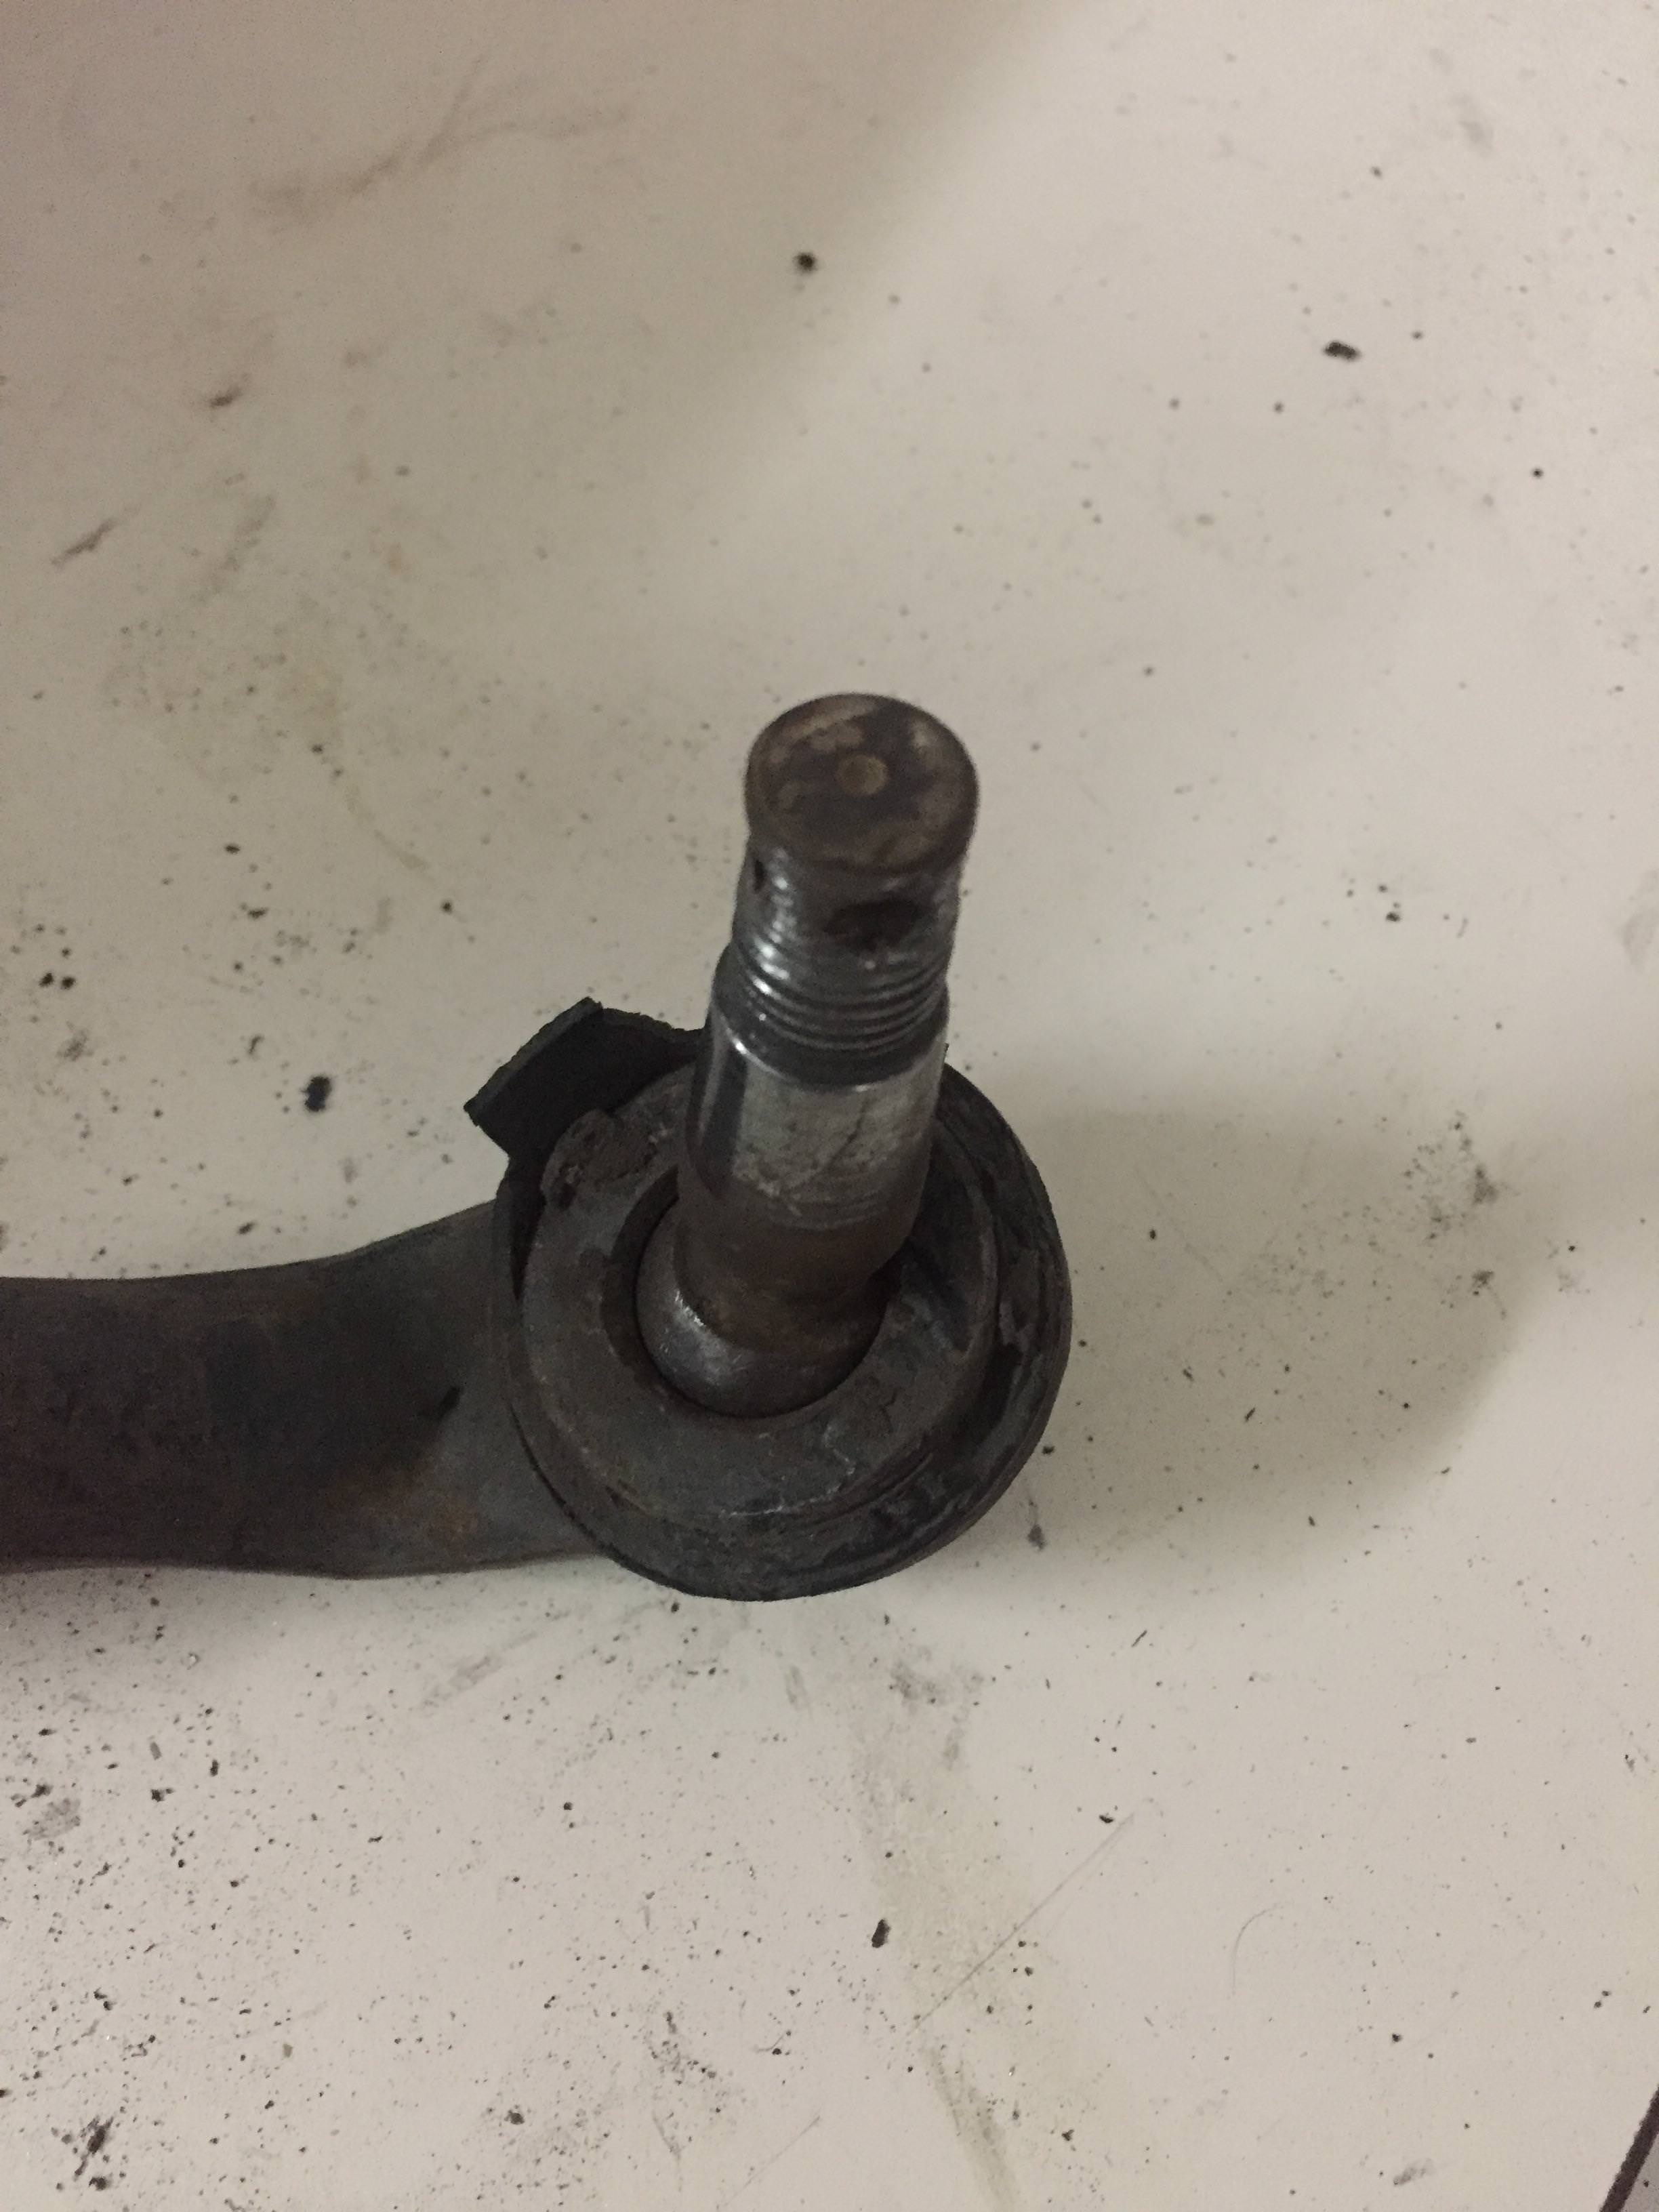
swapped out that bent upper control arm bolt on the driver side.
Old:
New:
You can kinda see the bend in the old one, it took me an hour to get it out.
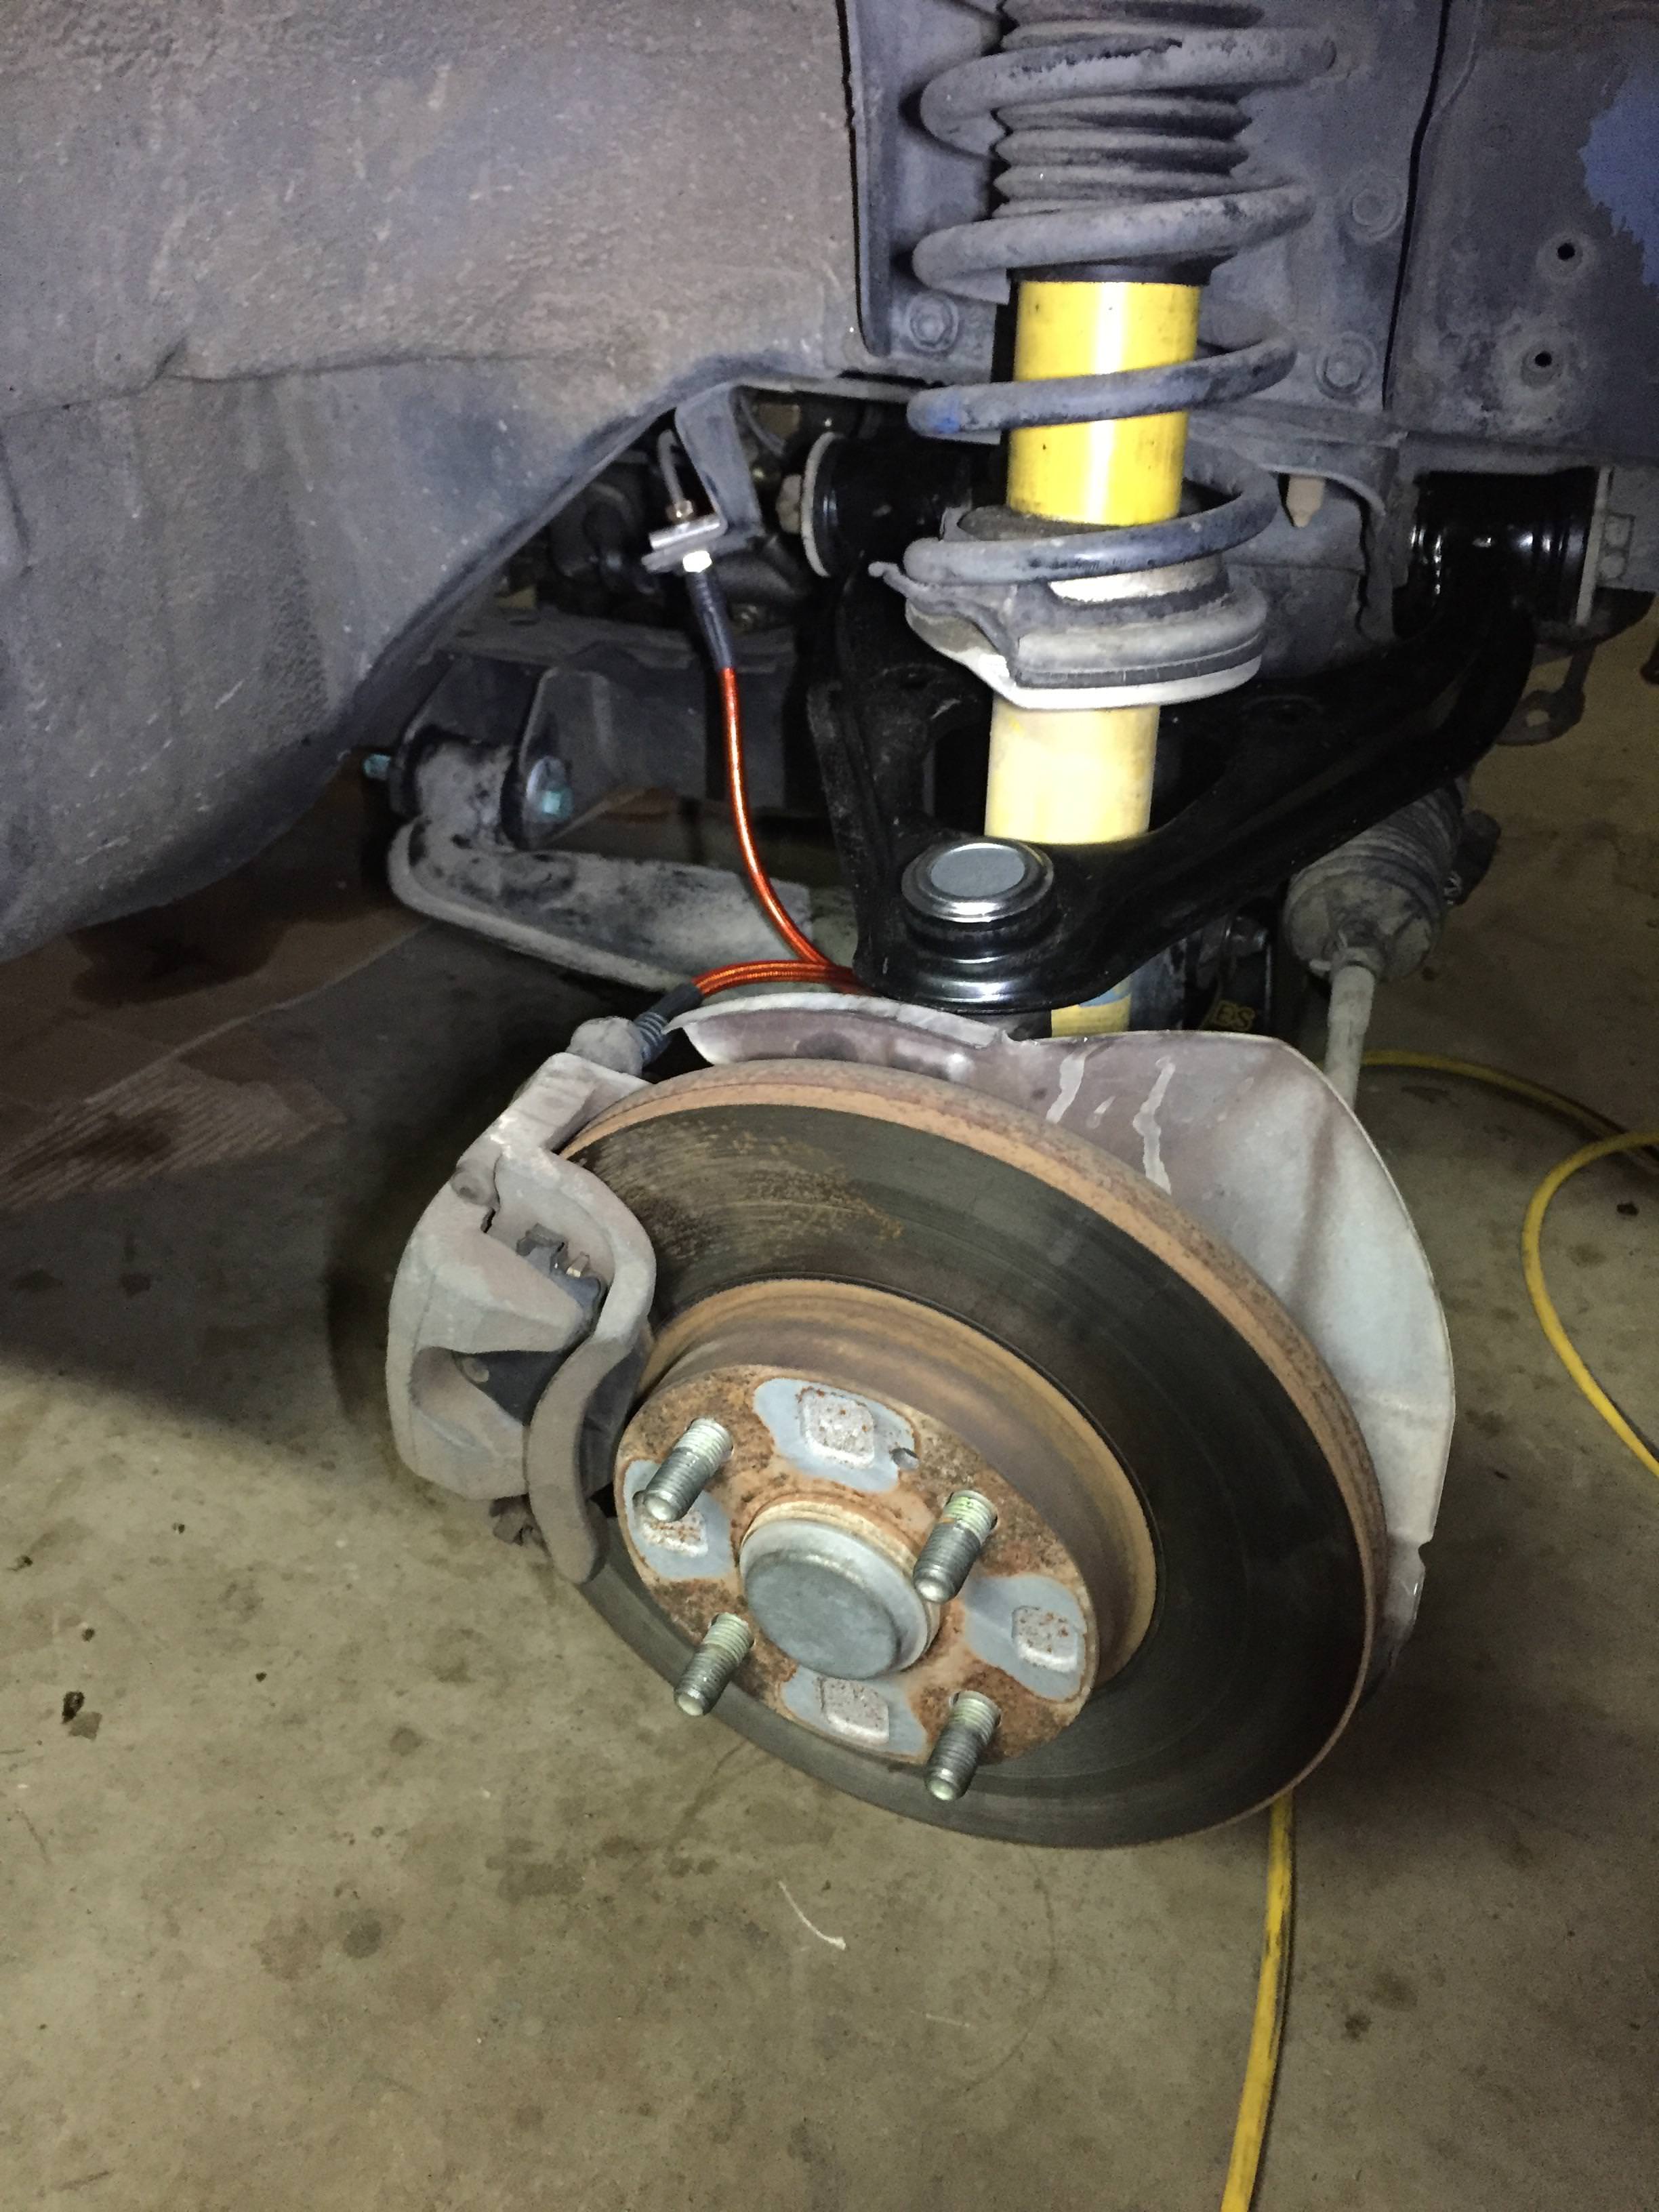
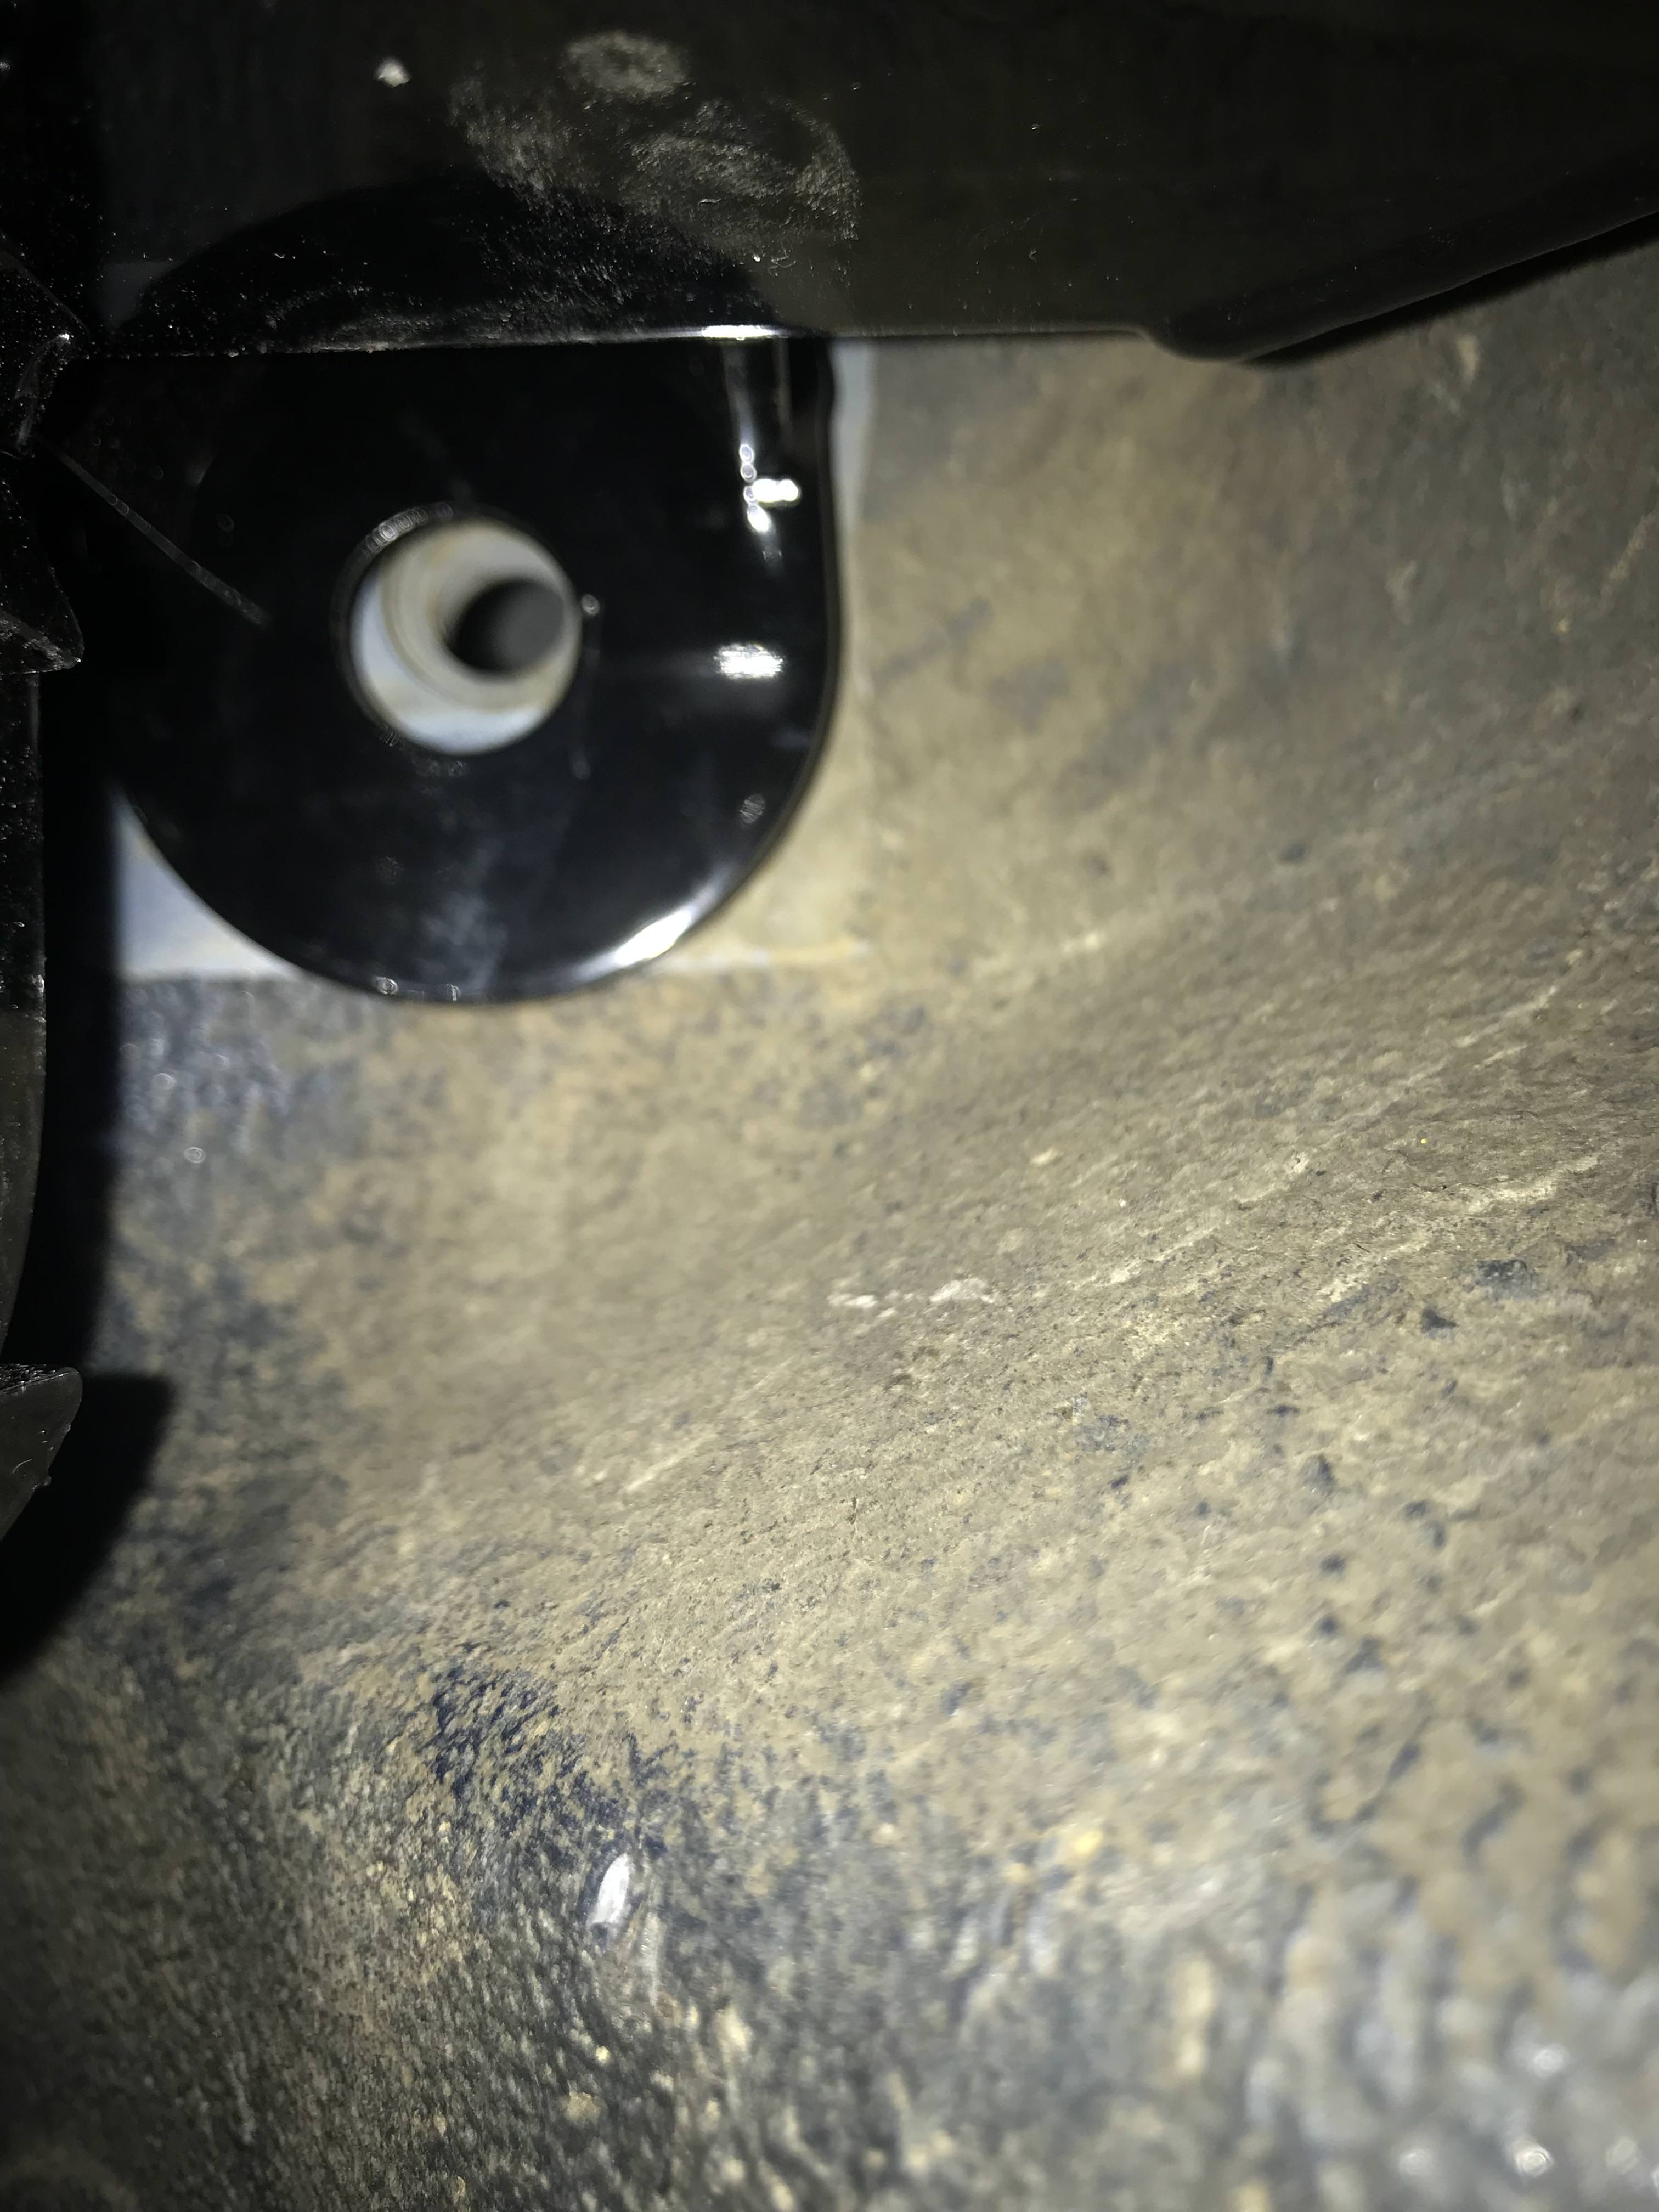
Also, i am a bit concerned because the front left wheel has like 4-5* negative camber, this is just eyeballing but before i did the swap the front driver side had 5* after i got it aligned. I didnt think this was possible without ELBJ's, which is why i am concerned something is up. The car is lowered, pinch welds are at about 4.25 inches up front and 4.5 at the back.The passenger front side seems to actually have positive camber...
Anyone have any insight on this? Should i be concerned or should I just get it aligned by someone with a brain and move on? Is this even possible with stock LBJ's and eccentric bolts?
I mean, with a stock chassis I'd say check for a bent arm, torn bushing, bad eccentric, ball joints, cracked subframe, etc.
Still relevant, but..
In your situation I'd probably just go over the subframe, didn't you say you had trouble lining up a few holes? And mess with the eccentrics to bring some positive camber to that wheel.
I originally suspected the subframe as well but it was like this prior to the swap on the stock subframe and it is the same on the new subframe.
Basically everything that moves in the suspension is new, i did replace the upper control arms because i didnt realize the stock uppers were serviceable, the only thing i can figure is there is something wrong with the new upper control I installed.
K20 and K24 have different thermostat housing outlets. I think even the k20a2 and k20z3 are different from each other.
I believe they are all swappable though so for others reading this, one could likely just buy a k24a2 thermostat and outlet thingy instead of splurging for the fancy one OP purchased.
I was curious if this was the case, I have never held a K24 one in my hand so I wasnt sure. Just to futher what you are saying, I bought a new OEM T stat before i knew this issue, it came with the housing and all. You may be able to just buy a T stat for an accord or TSX and it may come with the housing and everything, maybe David at Kmiata can confirm the K24 one is different.
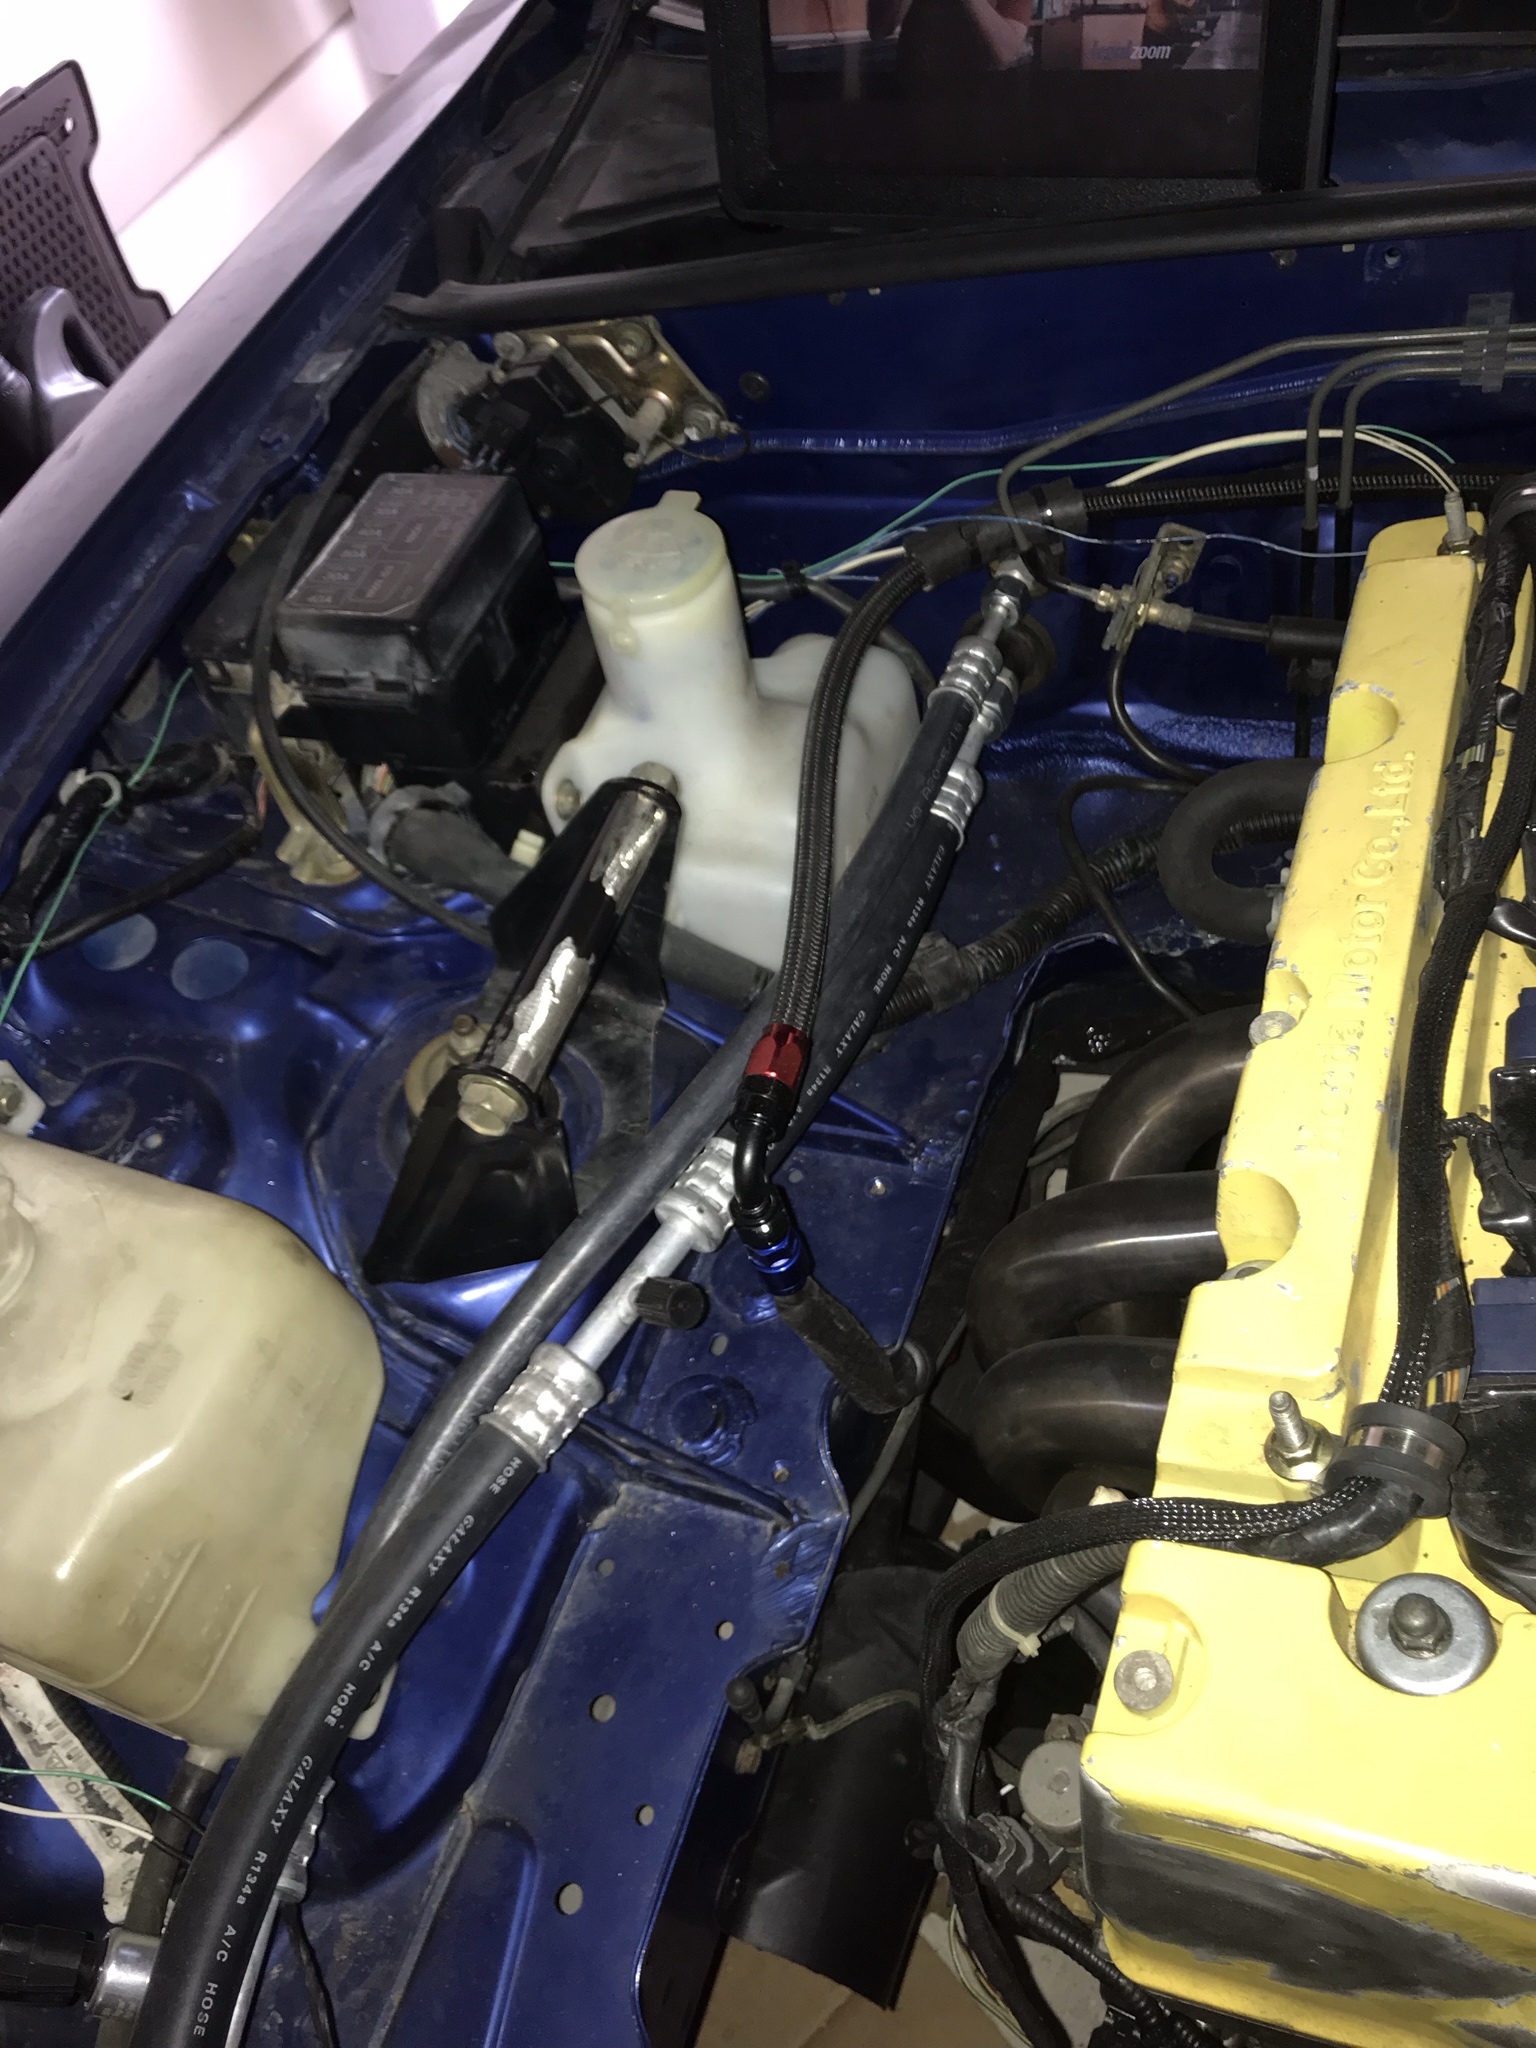
One issue I am having at the moment though, when I went to install the AC kit, the compressor is fouling with my lower rad hose and i am going to have to swivel my T stat and point it pretty much straight down and redo my lower rad hose accordingly, i wonder if the K24 T stat housing would also solve this issue? Would be good information for anyone who is considering this swap with AC regardless of whether they are using the K20 or K24.
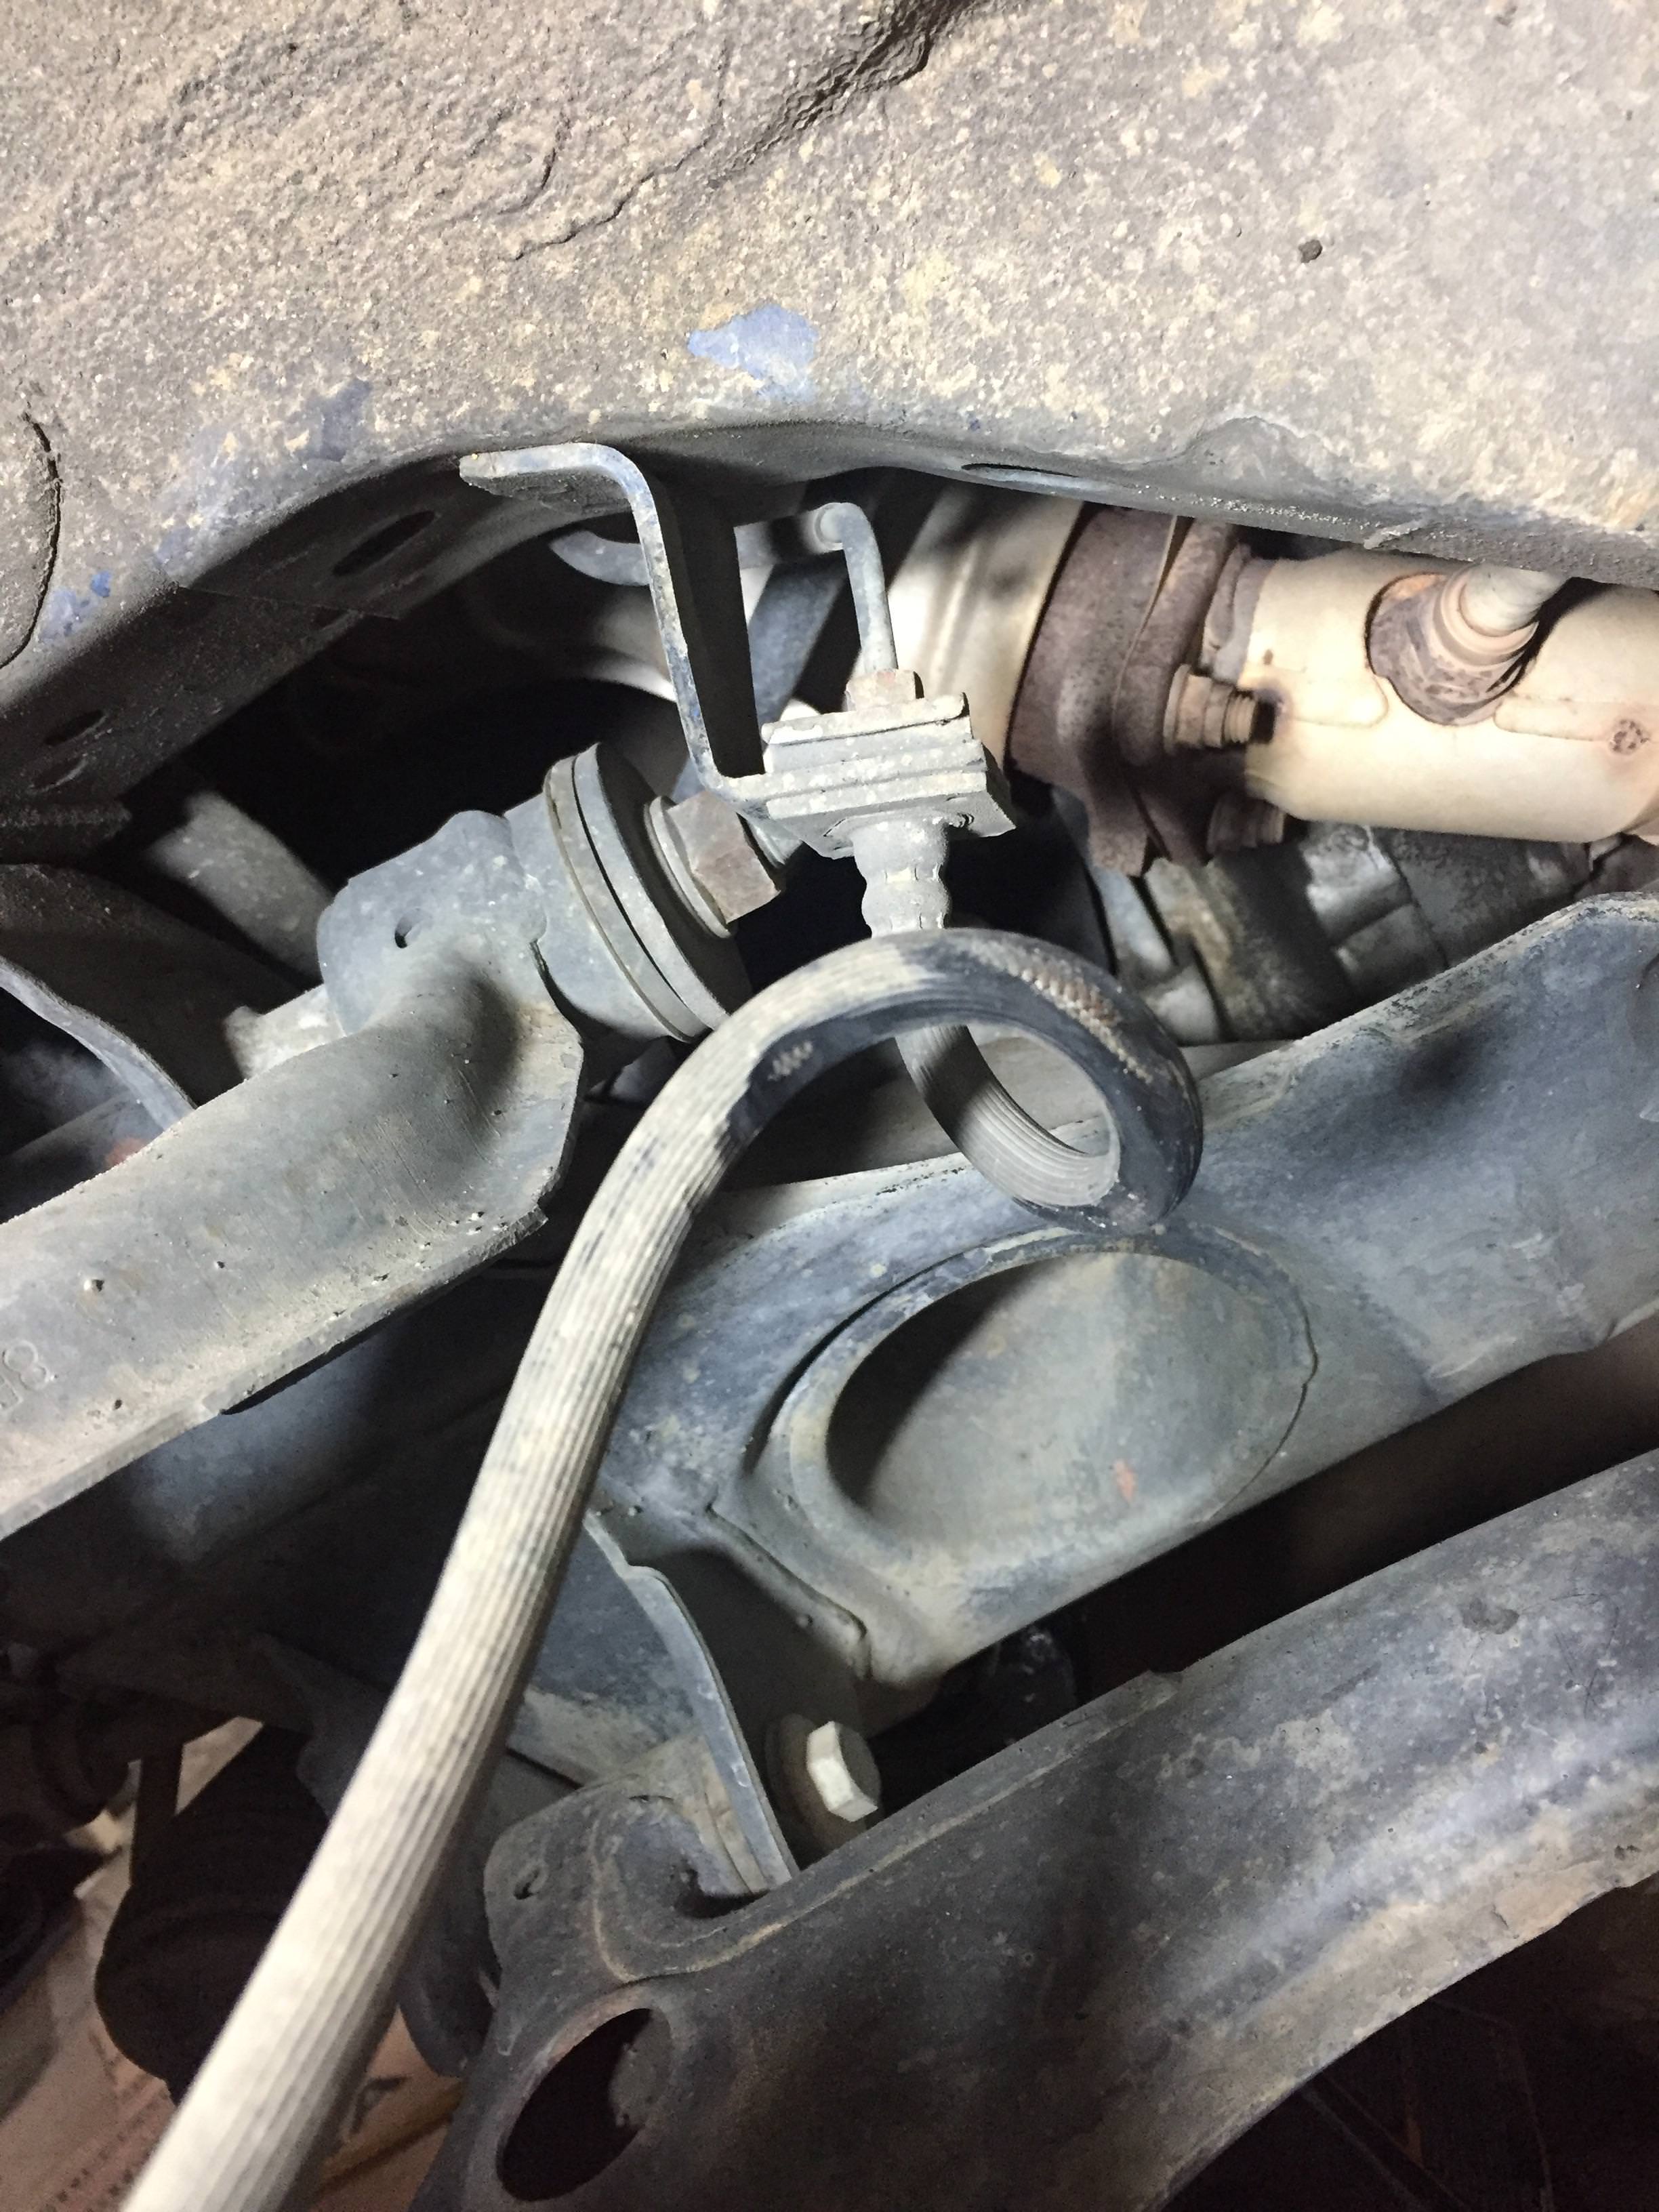
So i have a lead on the camber issue at the driver front, i took some things apart and discovered this|
It looks like my upper control arm is marked with an R, I assume this means right. Would this make a huge difference? Looking at them they seem to be the same on both sides.
I think 1 of 2 things happened here, 1) im a moron and installed them backwards or 2) When i bought new arms they sent me 2 rights and i didn�t realize it at the time.
I dont think i have them flipped because i would have the issue on both sides, which leads me to believe something is up with just the drivers.
Upper a-arms are identical side to side, both fronts and rears. May want to pull the other side and compare the arms side to side if no one chimes in.
The upper ball joint has to correspond with the model of knuckle being used, do your ball joints seat correctly in the tapered hole?
It should be pretty obvious if they're incorrect.
Is the long bolt straight on both sides?
Lower arms bent? (I see this more often than you would think.)
the Spindle itself could also be bent.
Been a while since i updated this thread... few updates to make on the car.
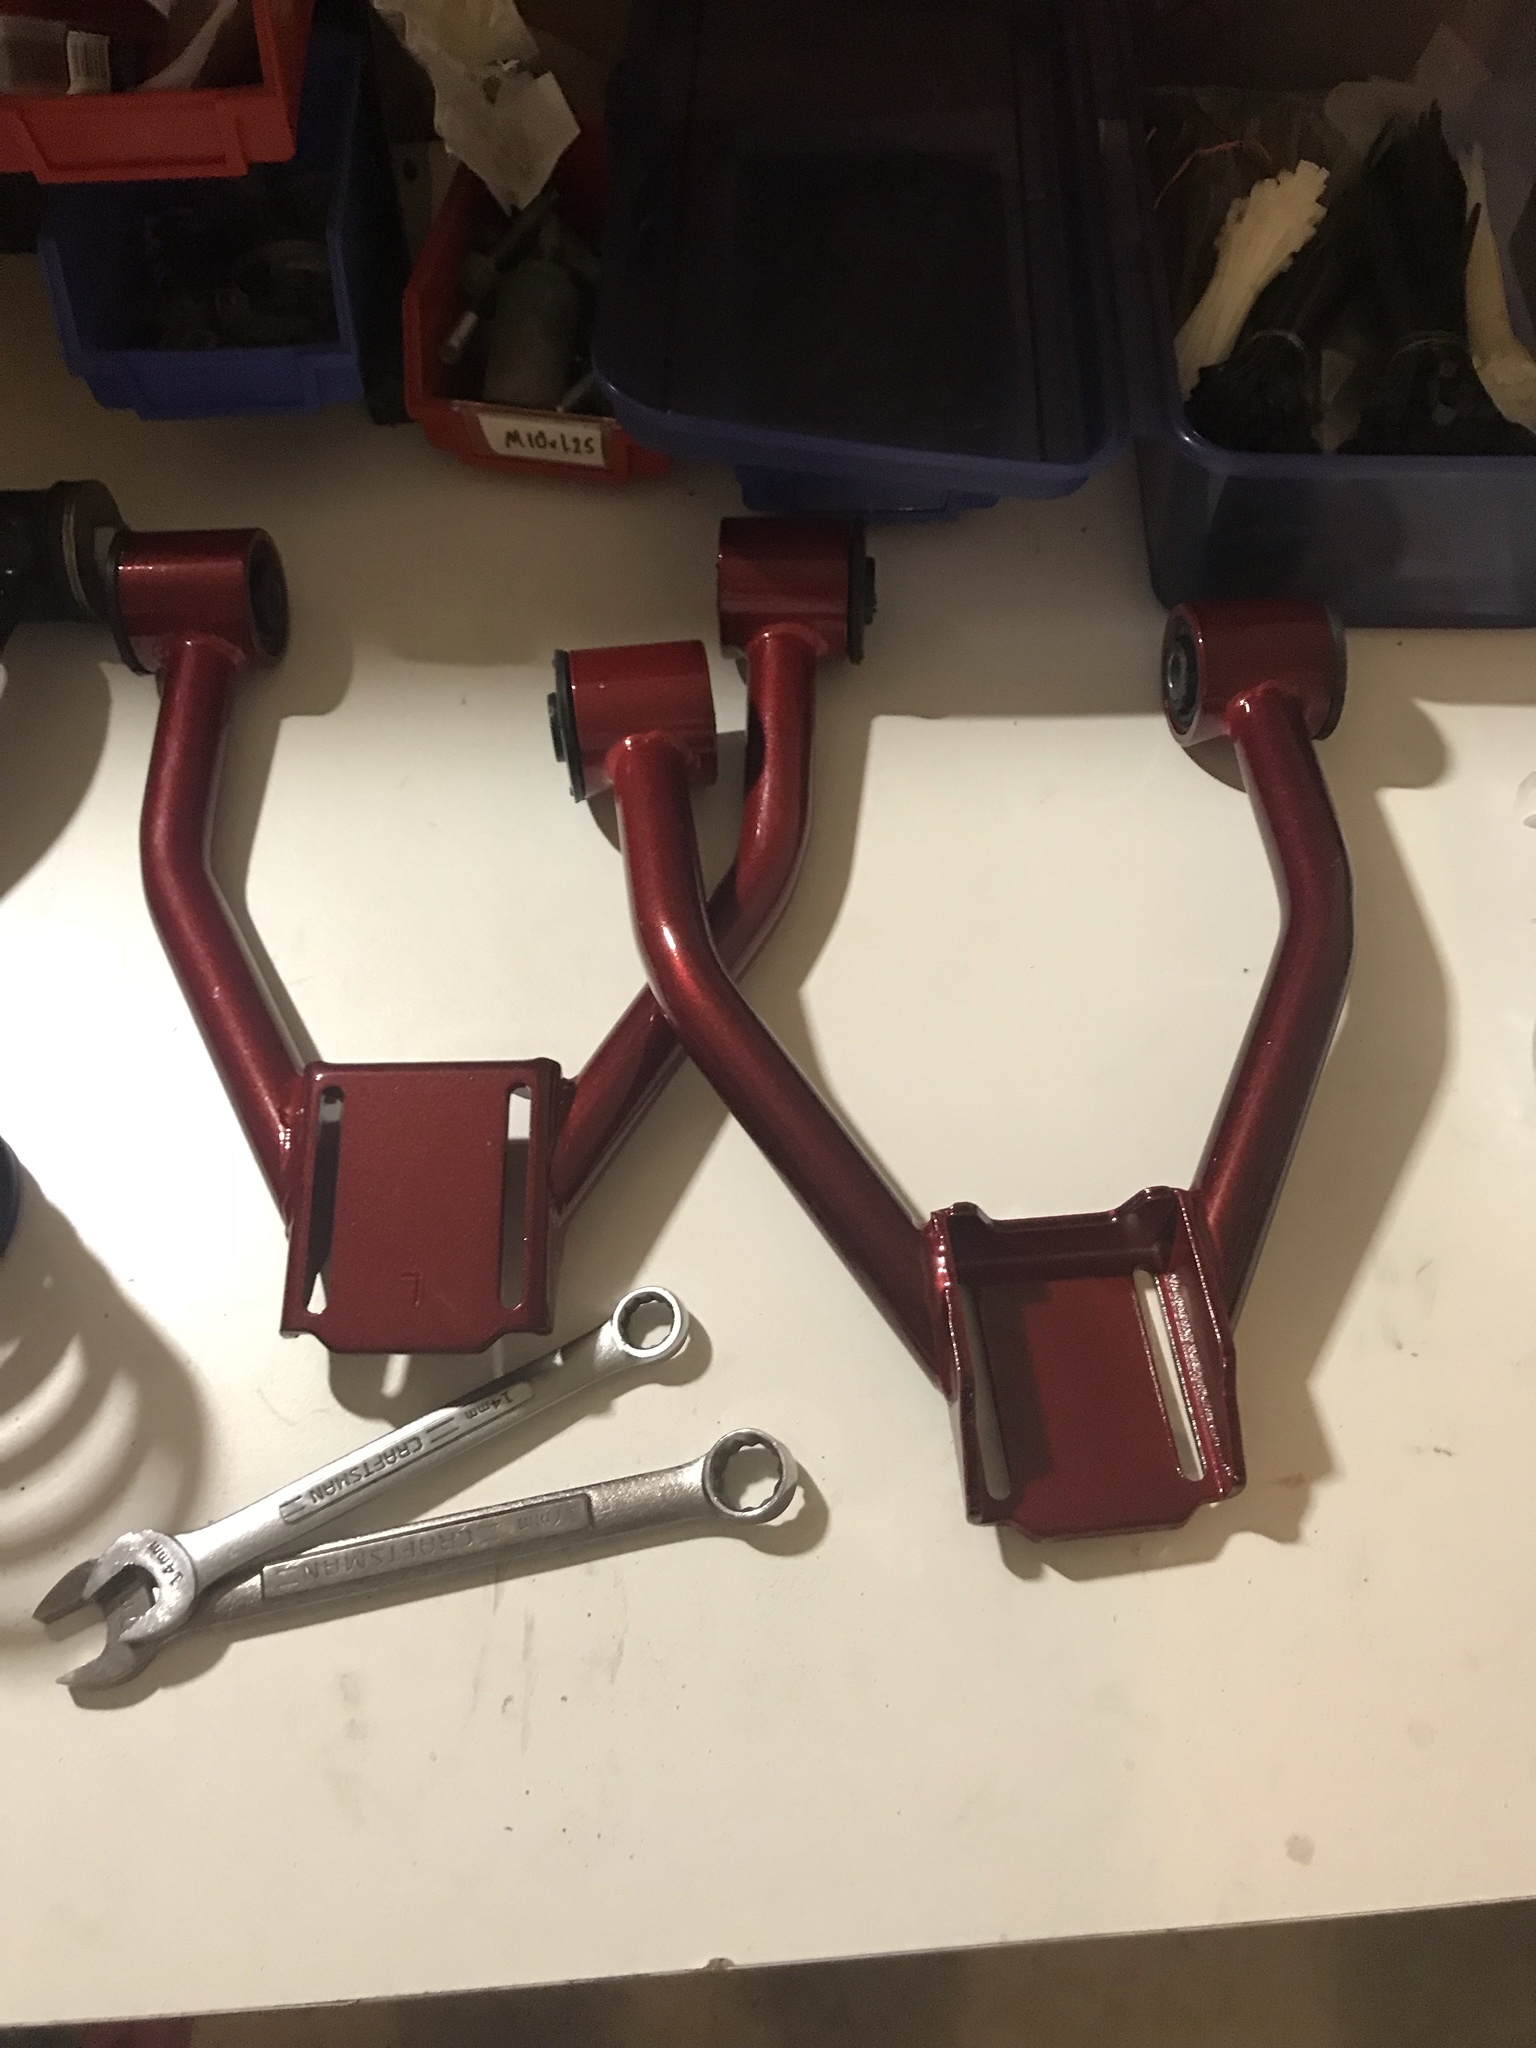
As i previously posted I was having trouble with getting the alignment right on the car, basically I was getting excessive camber on the driver front wheel, so one night i was browsing Amazon while also enjoying some adult beverages and ended up purchasing these...
Kind of regret this purchase but it gave me the adjustment needed to get everything straightened out. One note, i pushed the rubber bushing out and put my poly bushings in, while doing so the arms would bend out so i did have to correct that,just a heads up for anyone who may buy these in the future. Dont really have any pics installed but we all know what it looks like under there.
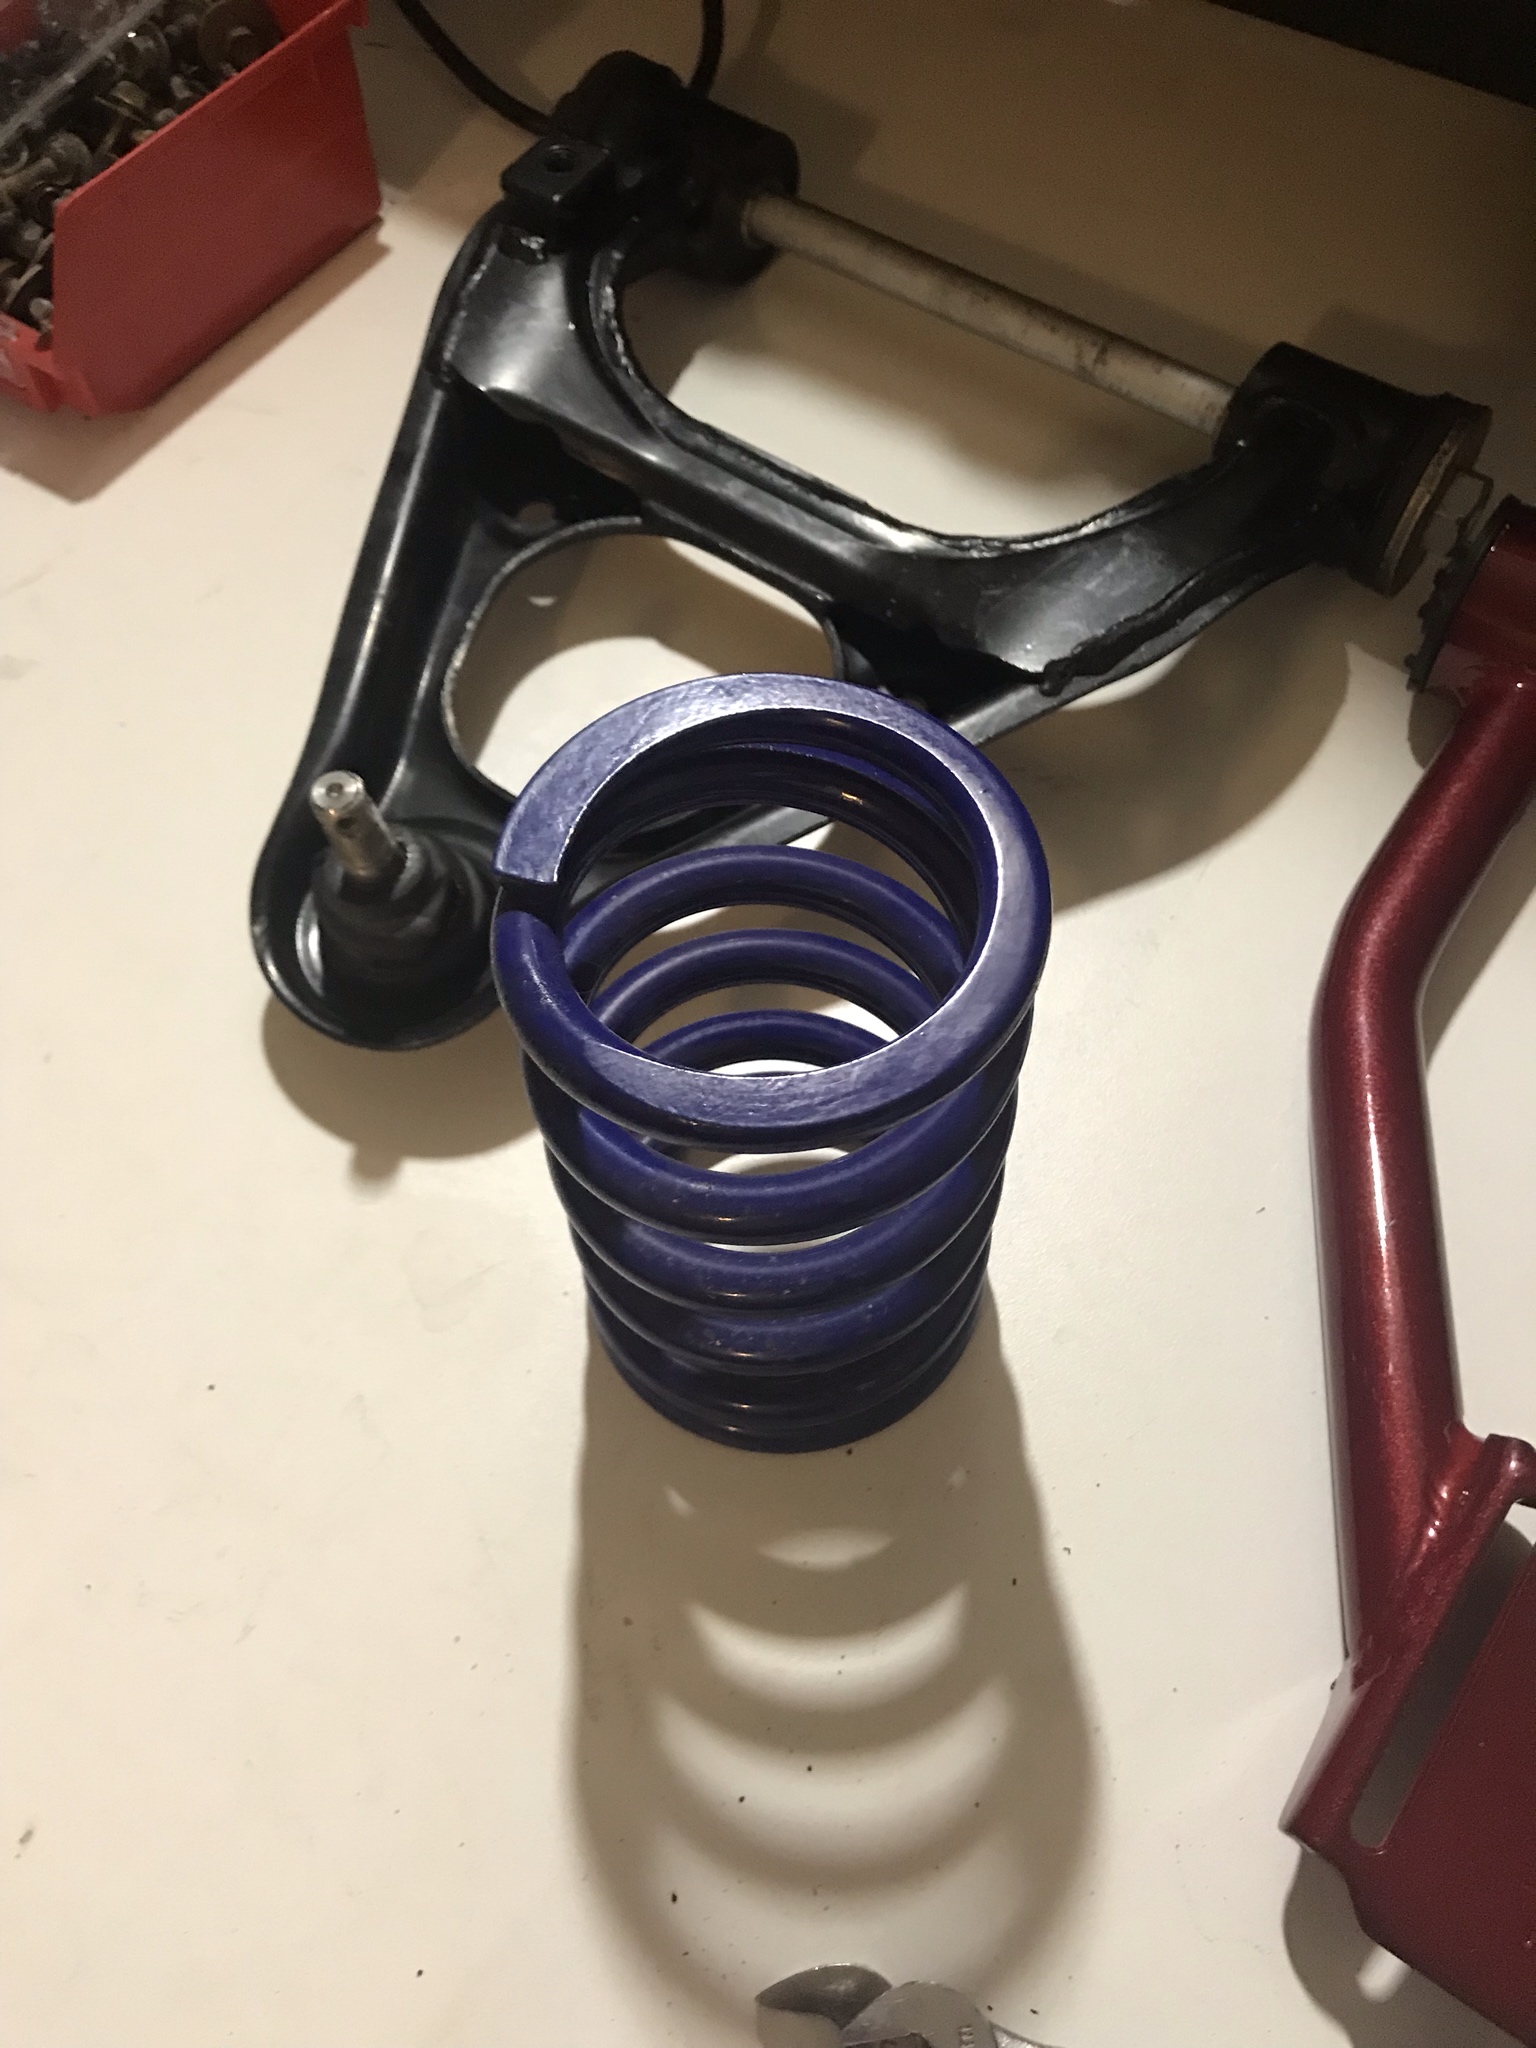
While i was swapping the control arms i swapped out the springs that came with the ebay coilover sleeves to some QA1 550F and 350R springs. I had no clue what rates those springs were and it is impossible to tune the suspension if you dont know what your spring rates are to begin with.
Old Spring
New Spring in place
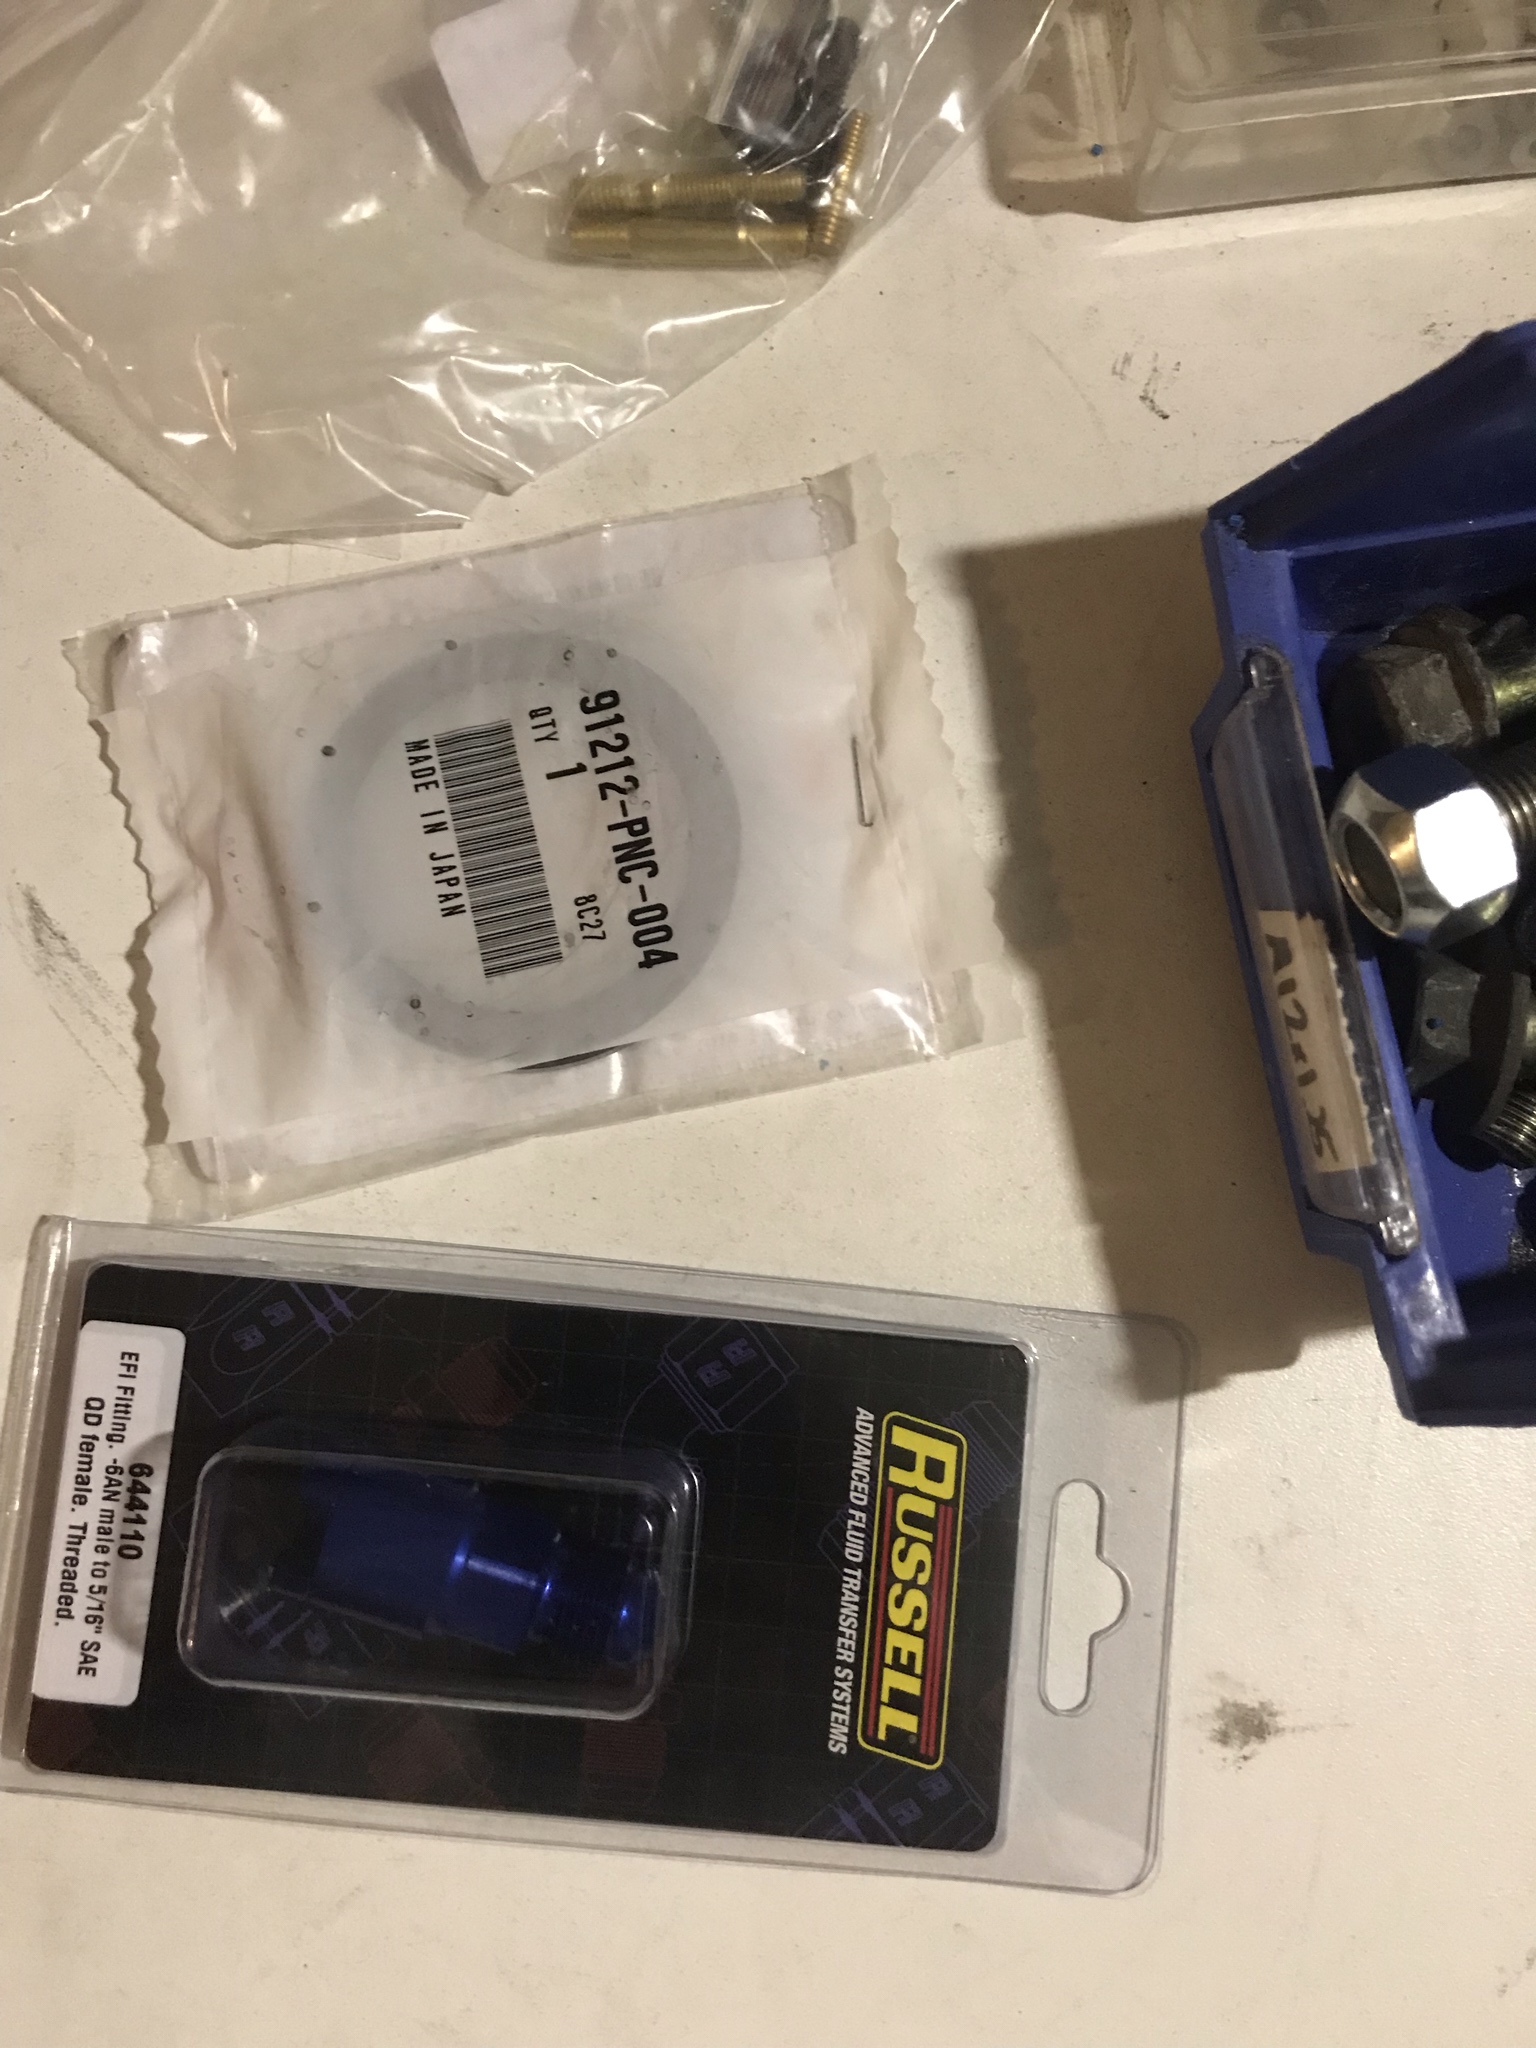
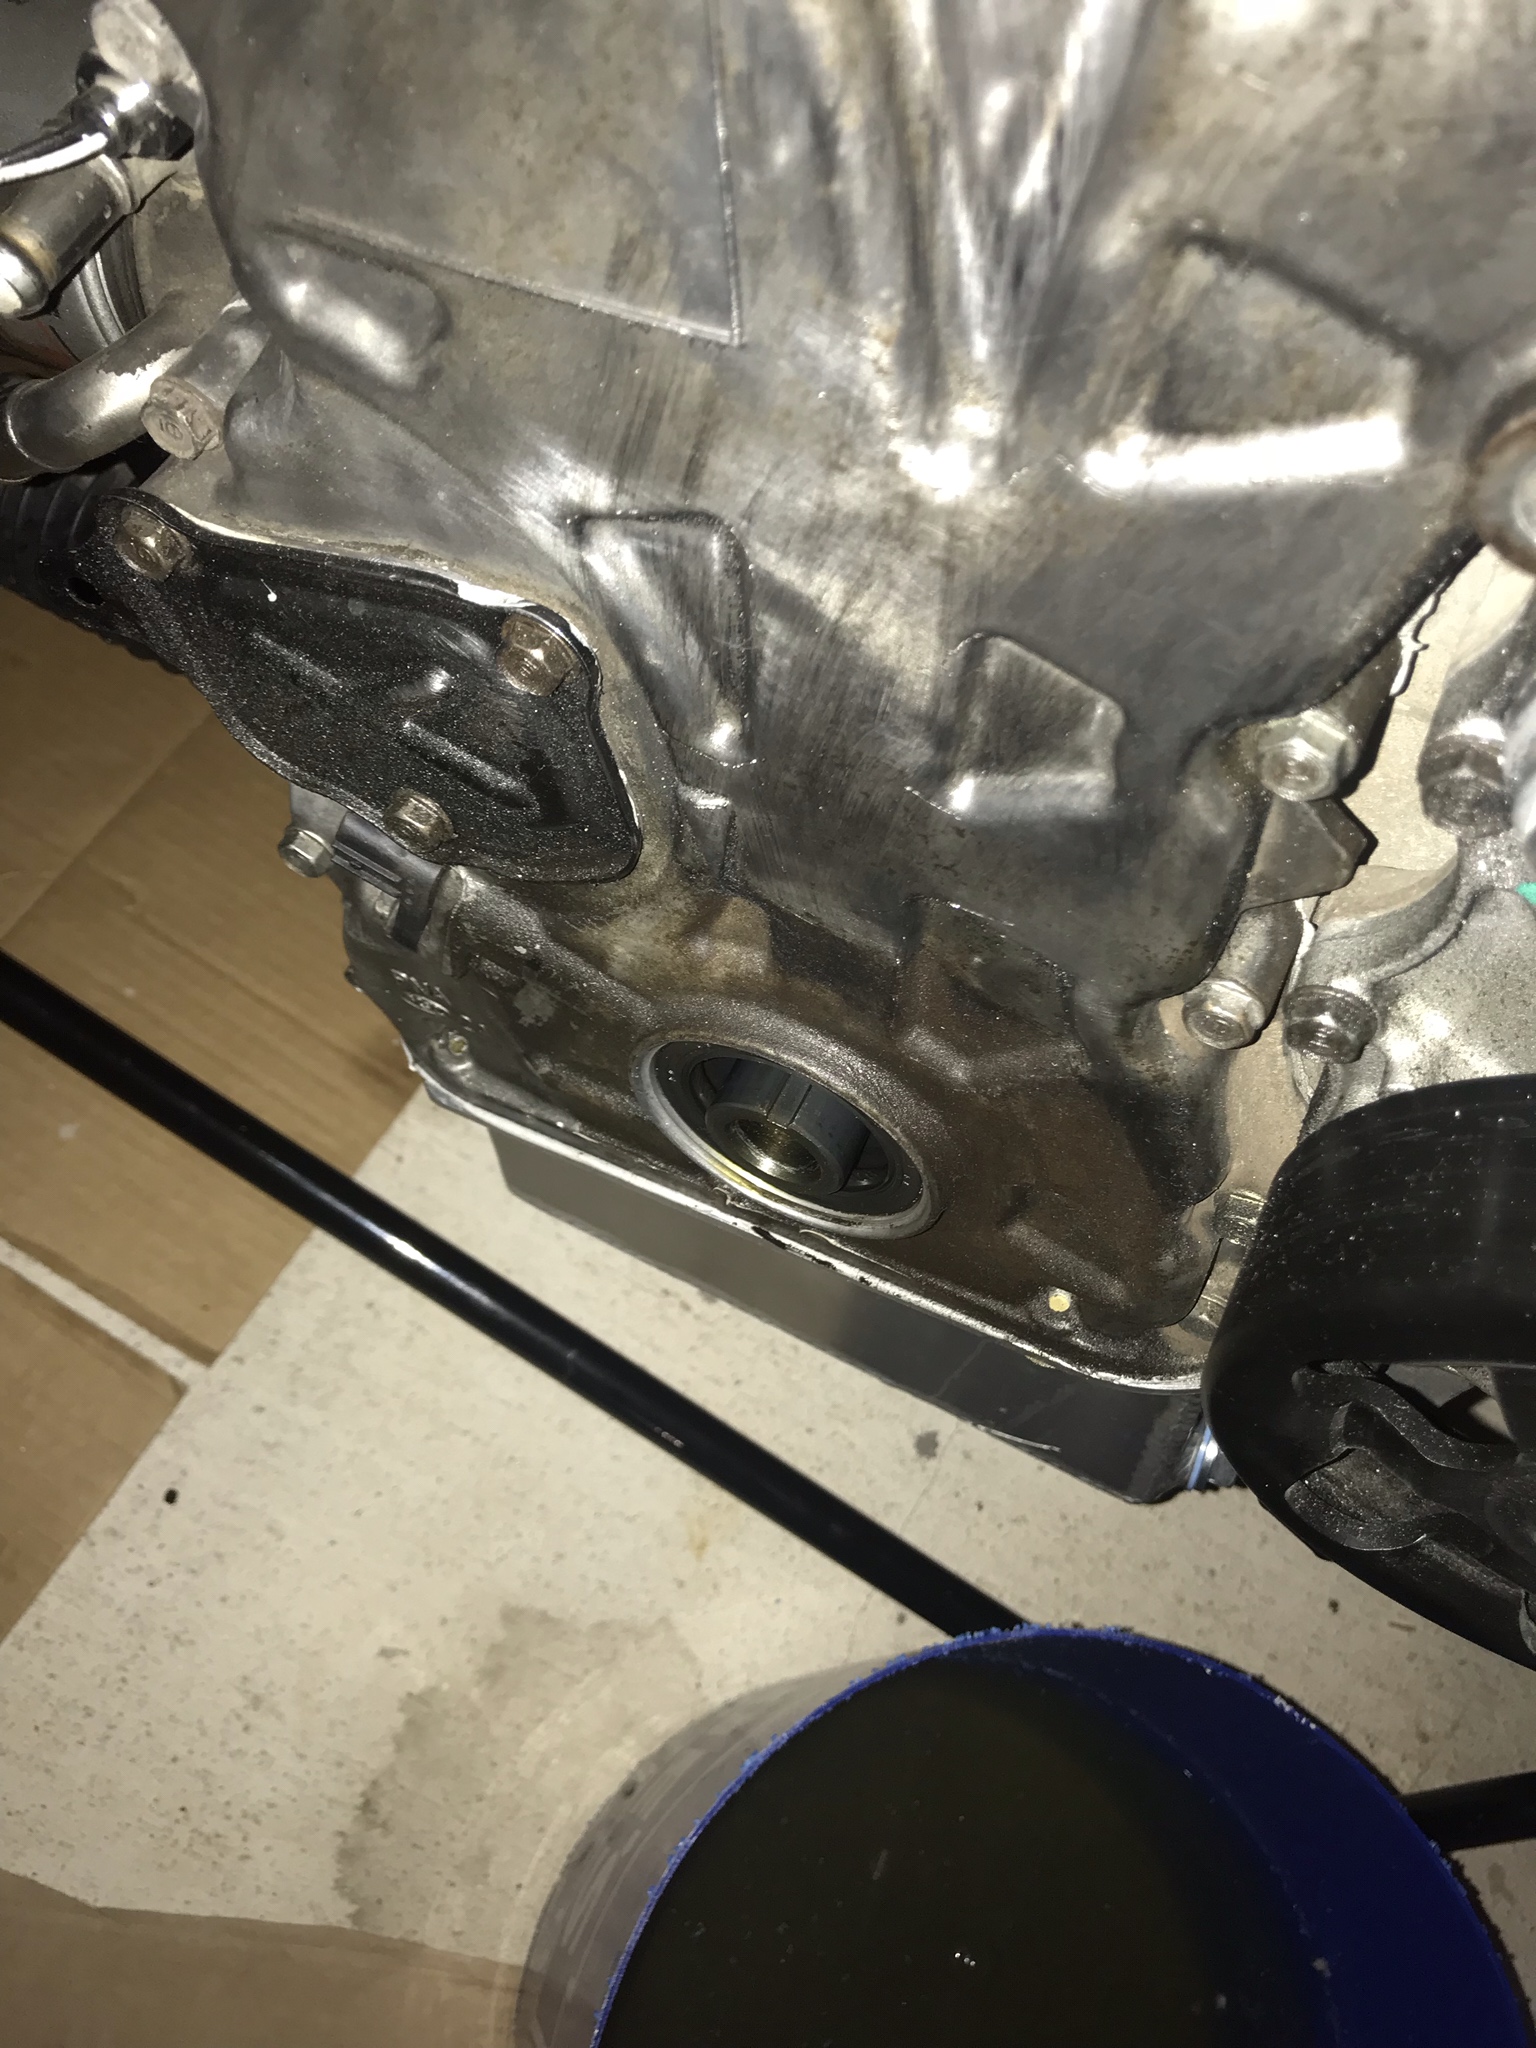
After that i noticed my front main seal was leaking so i ordered a new seal set about fixing that issue, had to order the special tool to hold the crank while i knocked the crank pulley bolt off.
New seal and new EFI fitting for the fuel line.
Crank pulley tool, worked well cost like 10 bucks on Amazon.
Pulley off
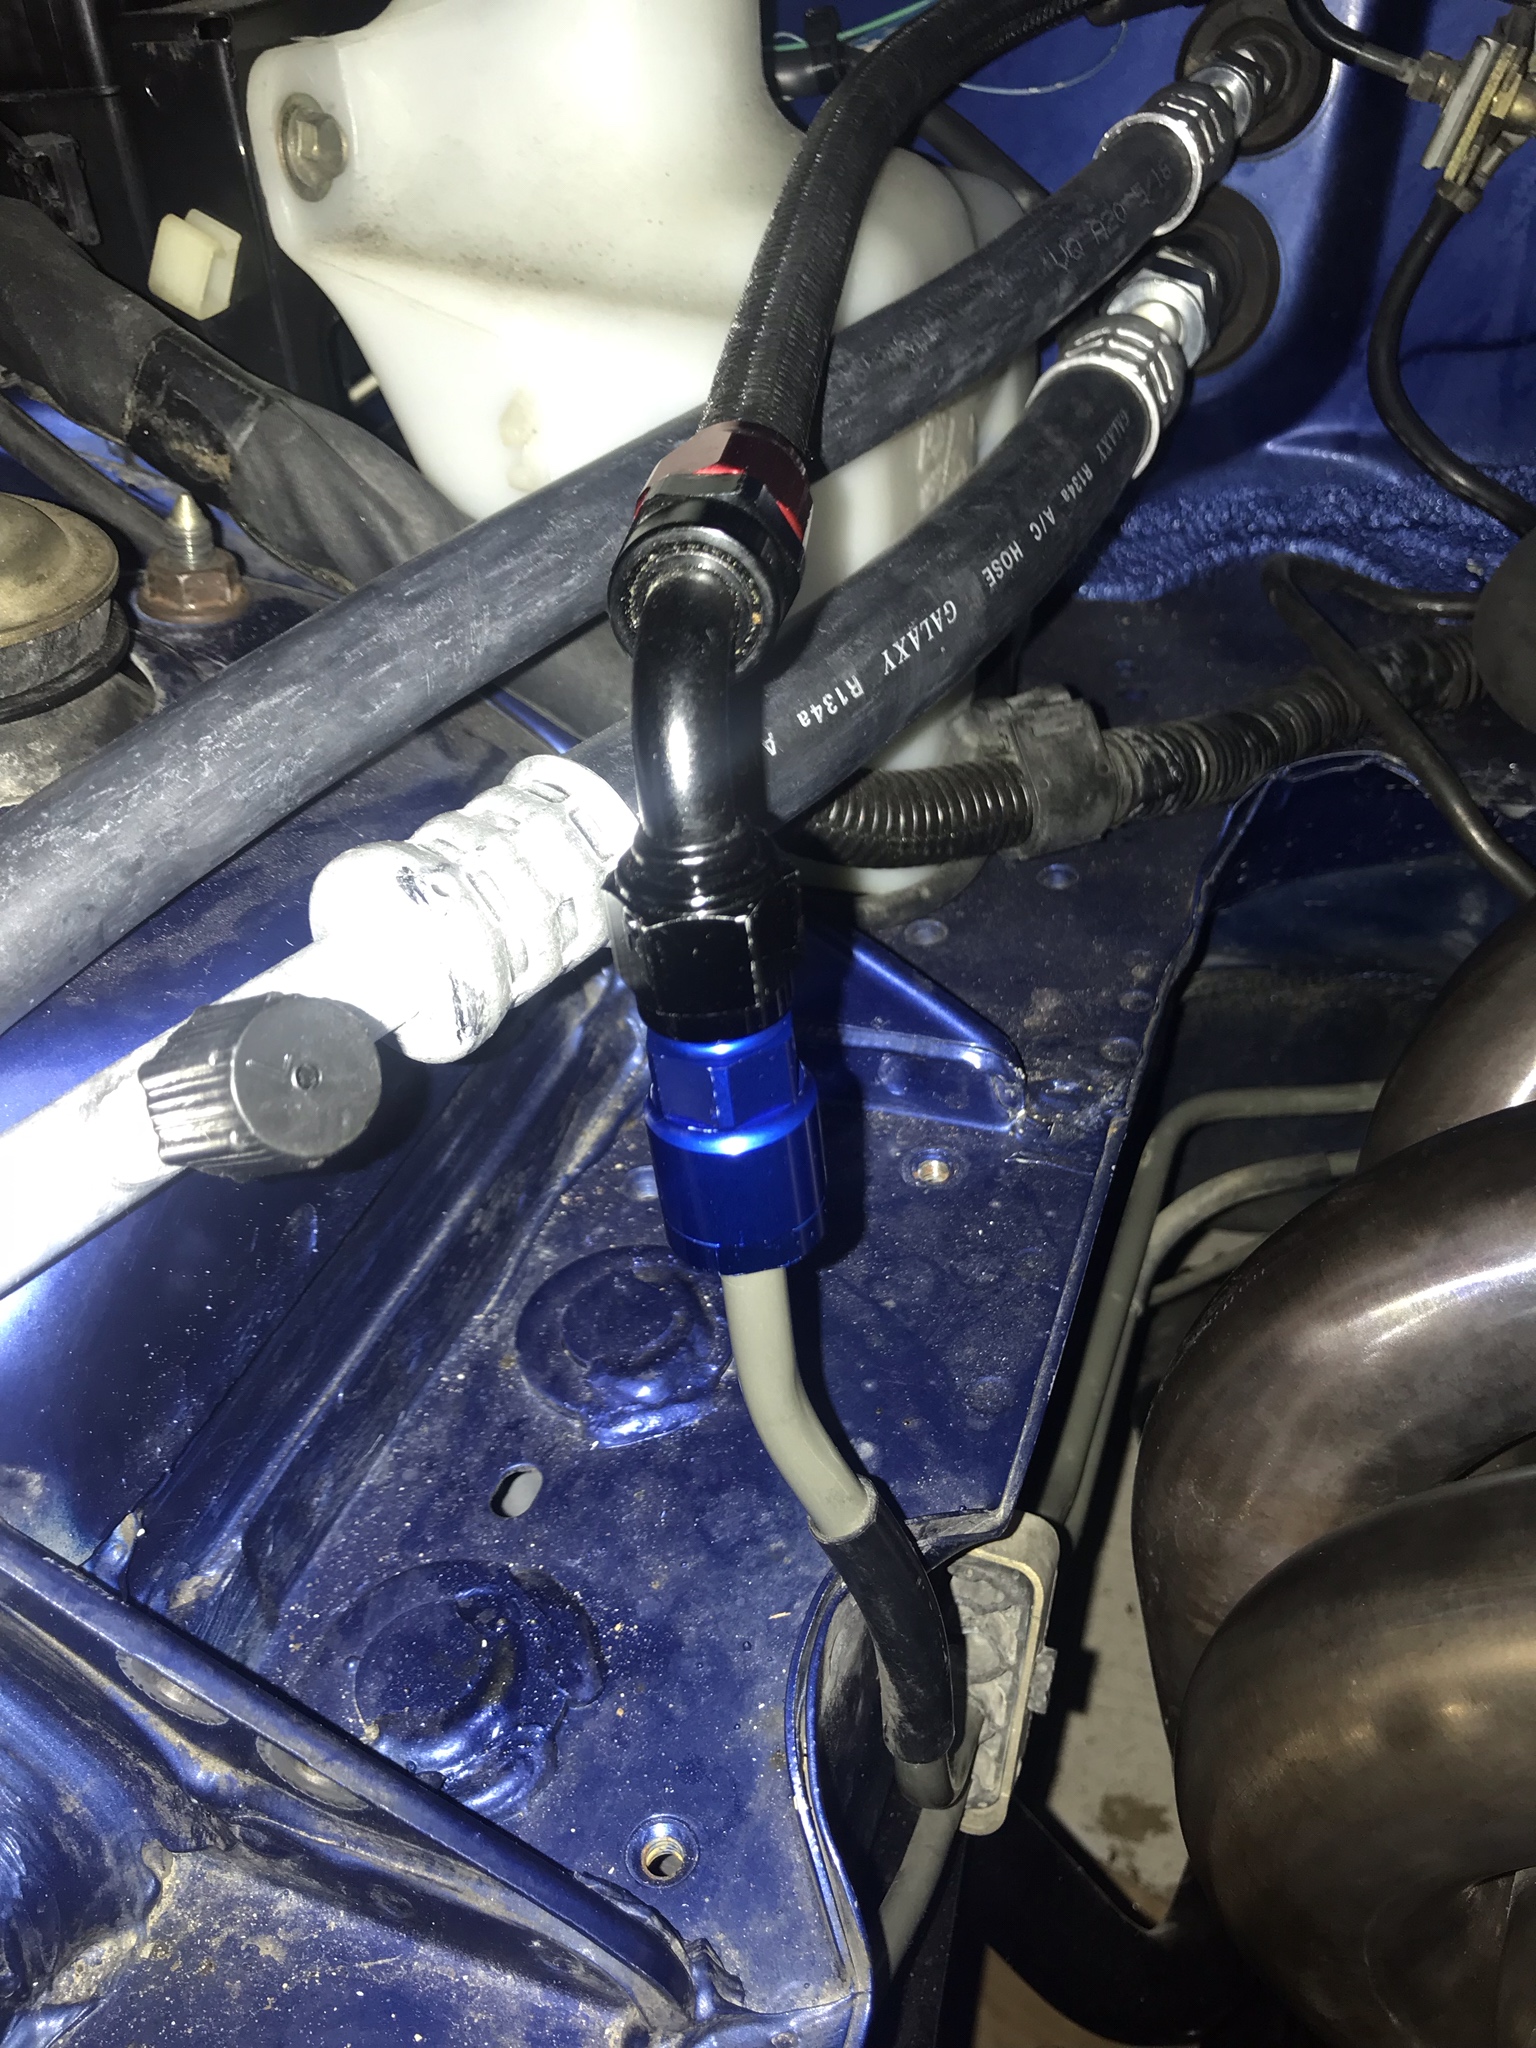
Fuel line fitting installed, had one of the push on fittings on this before and it just made me nervous right next to the header so swapped it out for the screw on type. Also put some fire sleeve on the hard line next to the header while i was there
Fire Sleeve added to hardline
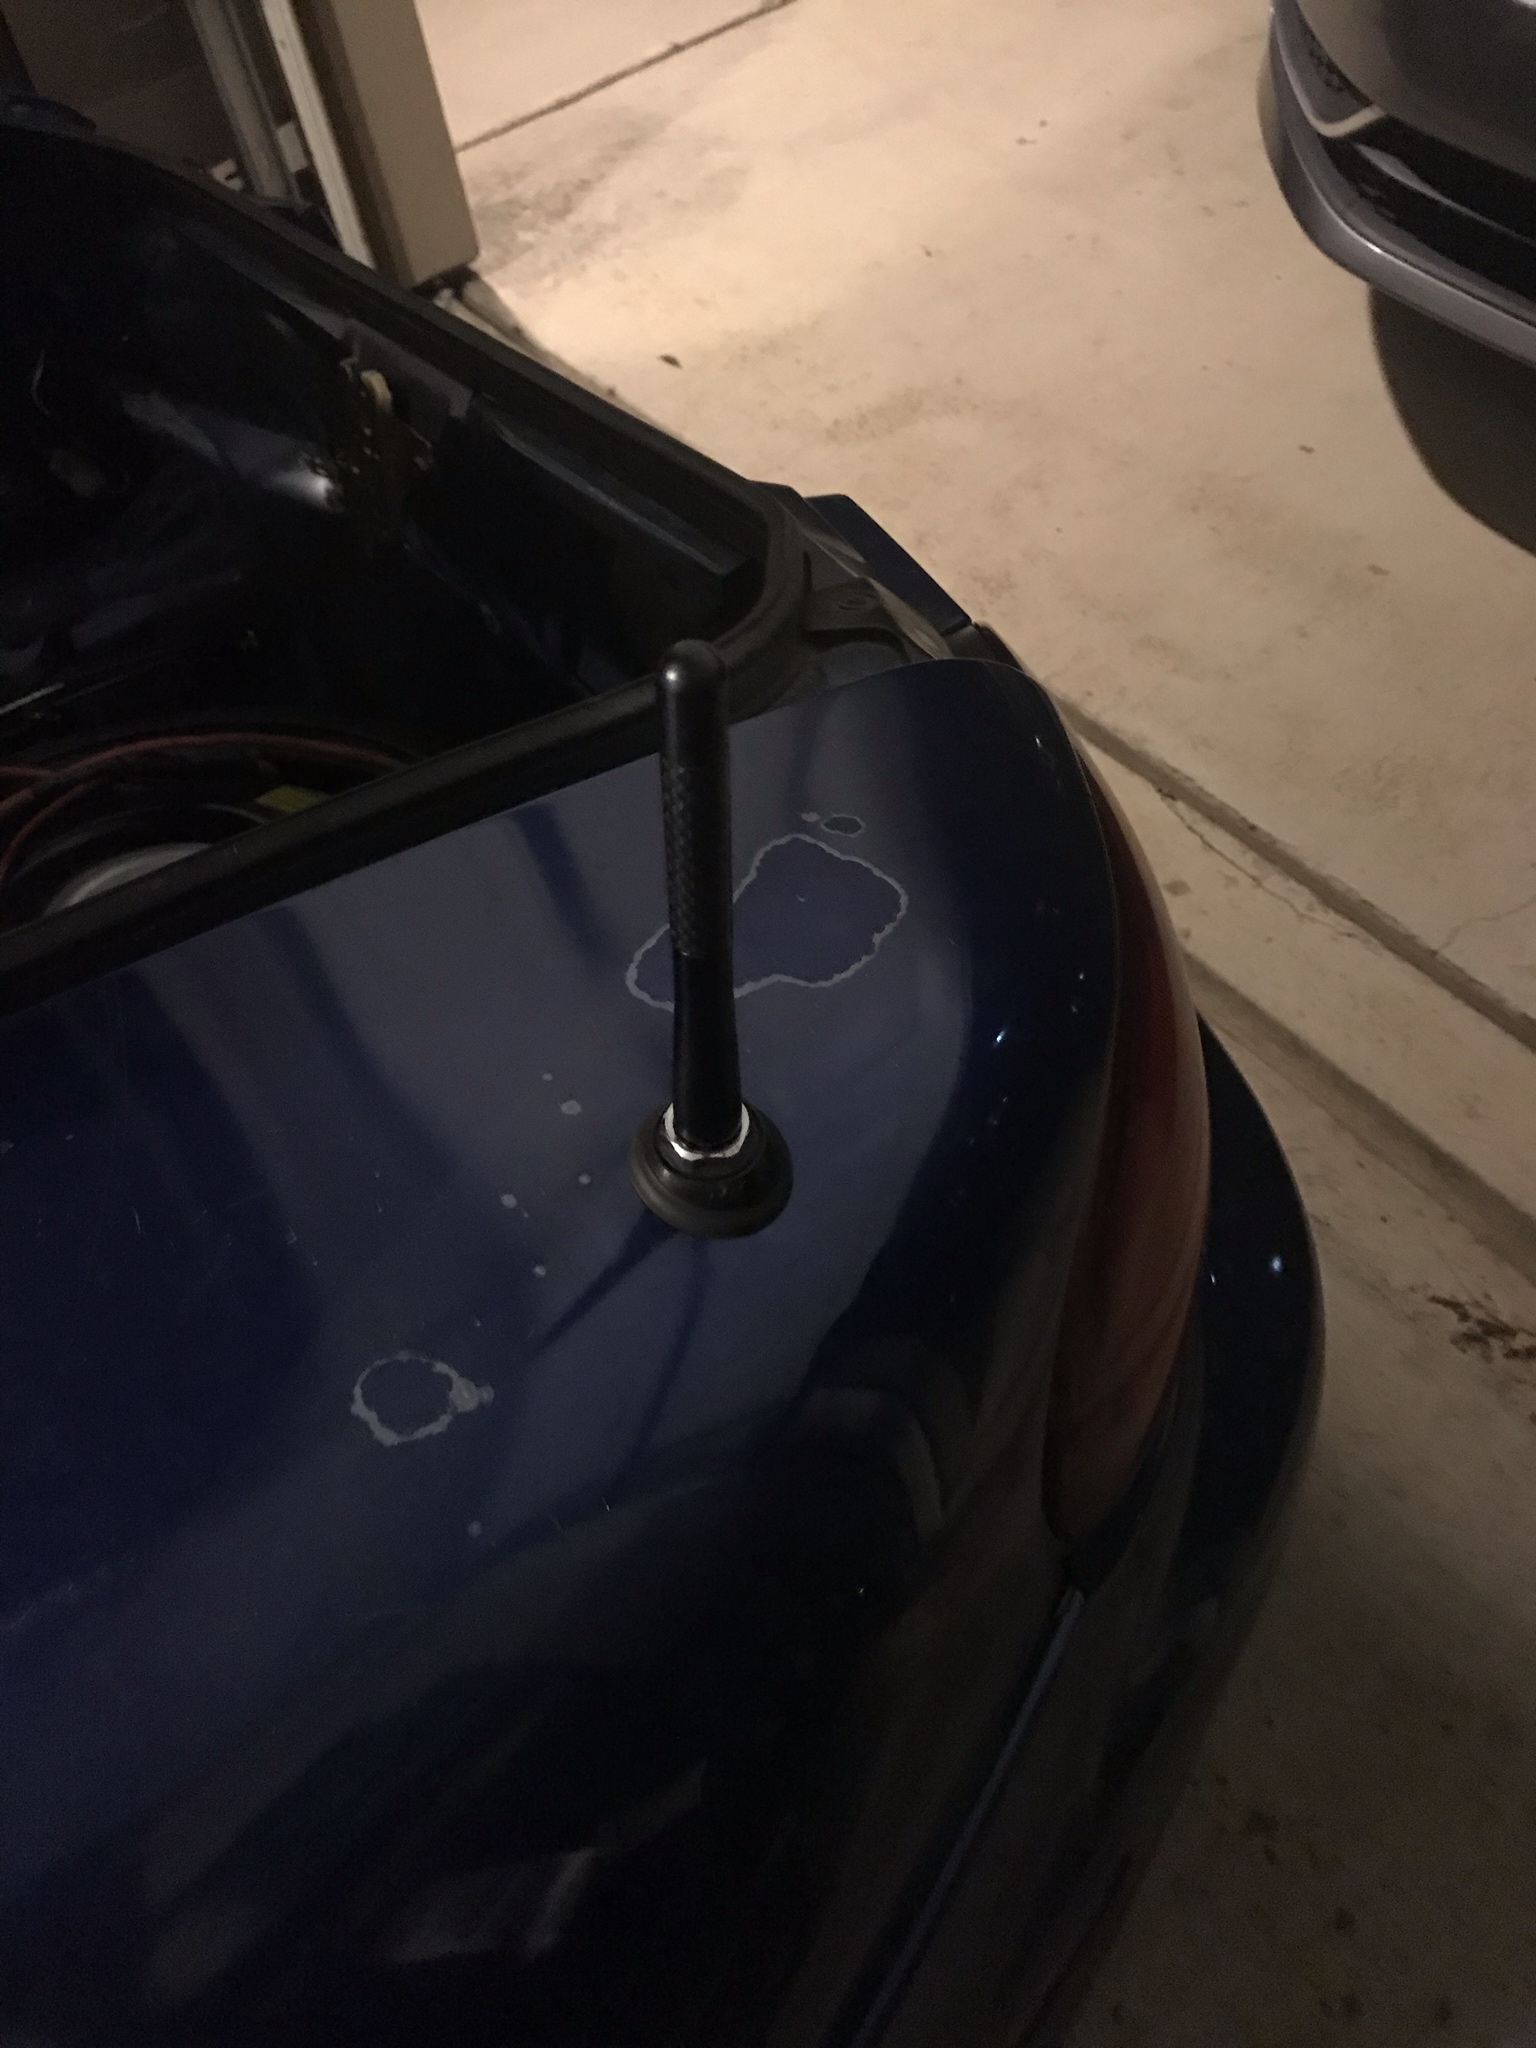
replaced the broken roll up antenna, bought a non power antenna kit then bought a carbon stubby antenna to go on it, works like a champ
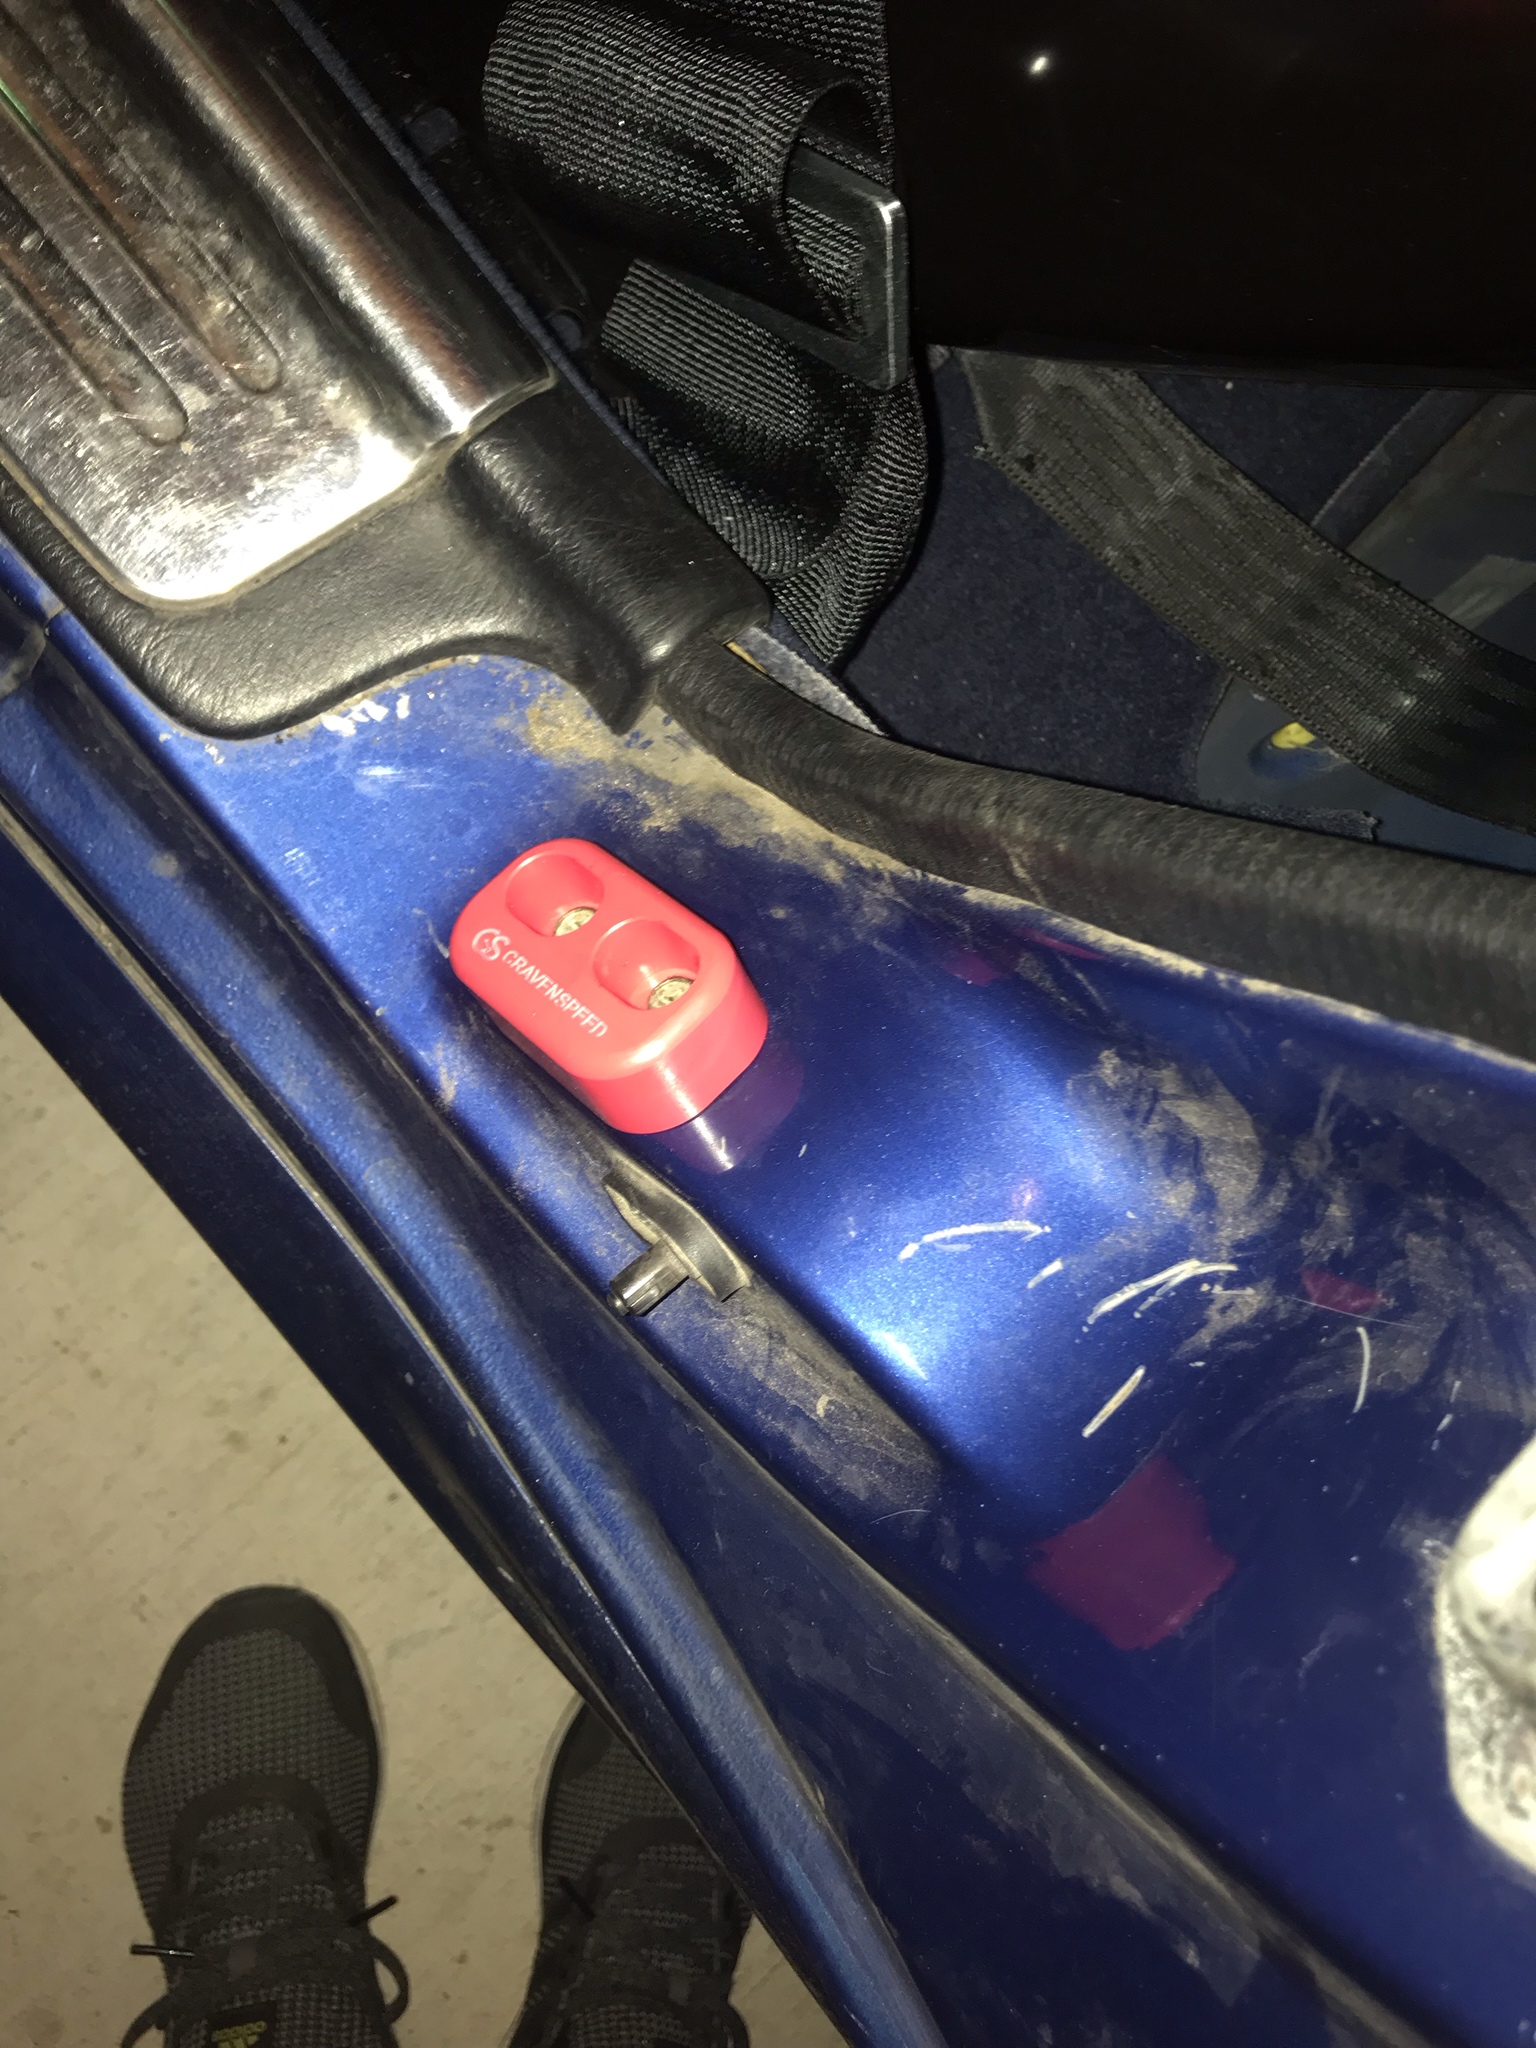
another intoxicated amazon purchase, craven speed(??) door bushings, i guess they are all the same so installed...
While i was doing the front main seal i had the radiator out so i put some 2 wire plugs on those wires to make them cleaner and much more weather resistant over time.
Fan side
harness side
After that i installed a catch can... another amazon purchase... while drinking. I dont know if i have an amazon problem or a drinking problem...
I initially installed it to that barb on my intake manifold but it caused a vacuum leak so i said **** it and just put my filter on the catch can and vented to atmosphere. I will see if i can solve that vac leak later. I think it may have been from that shitty clear hose that came with the catch can, or the shitty fittings.
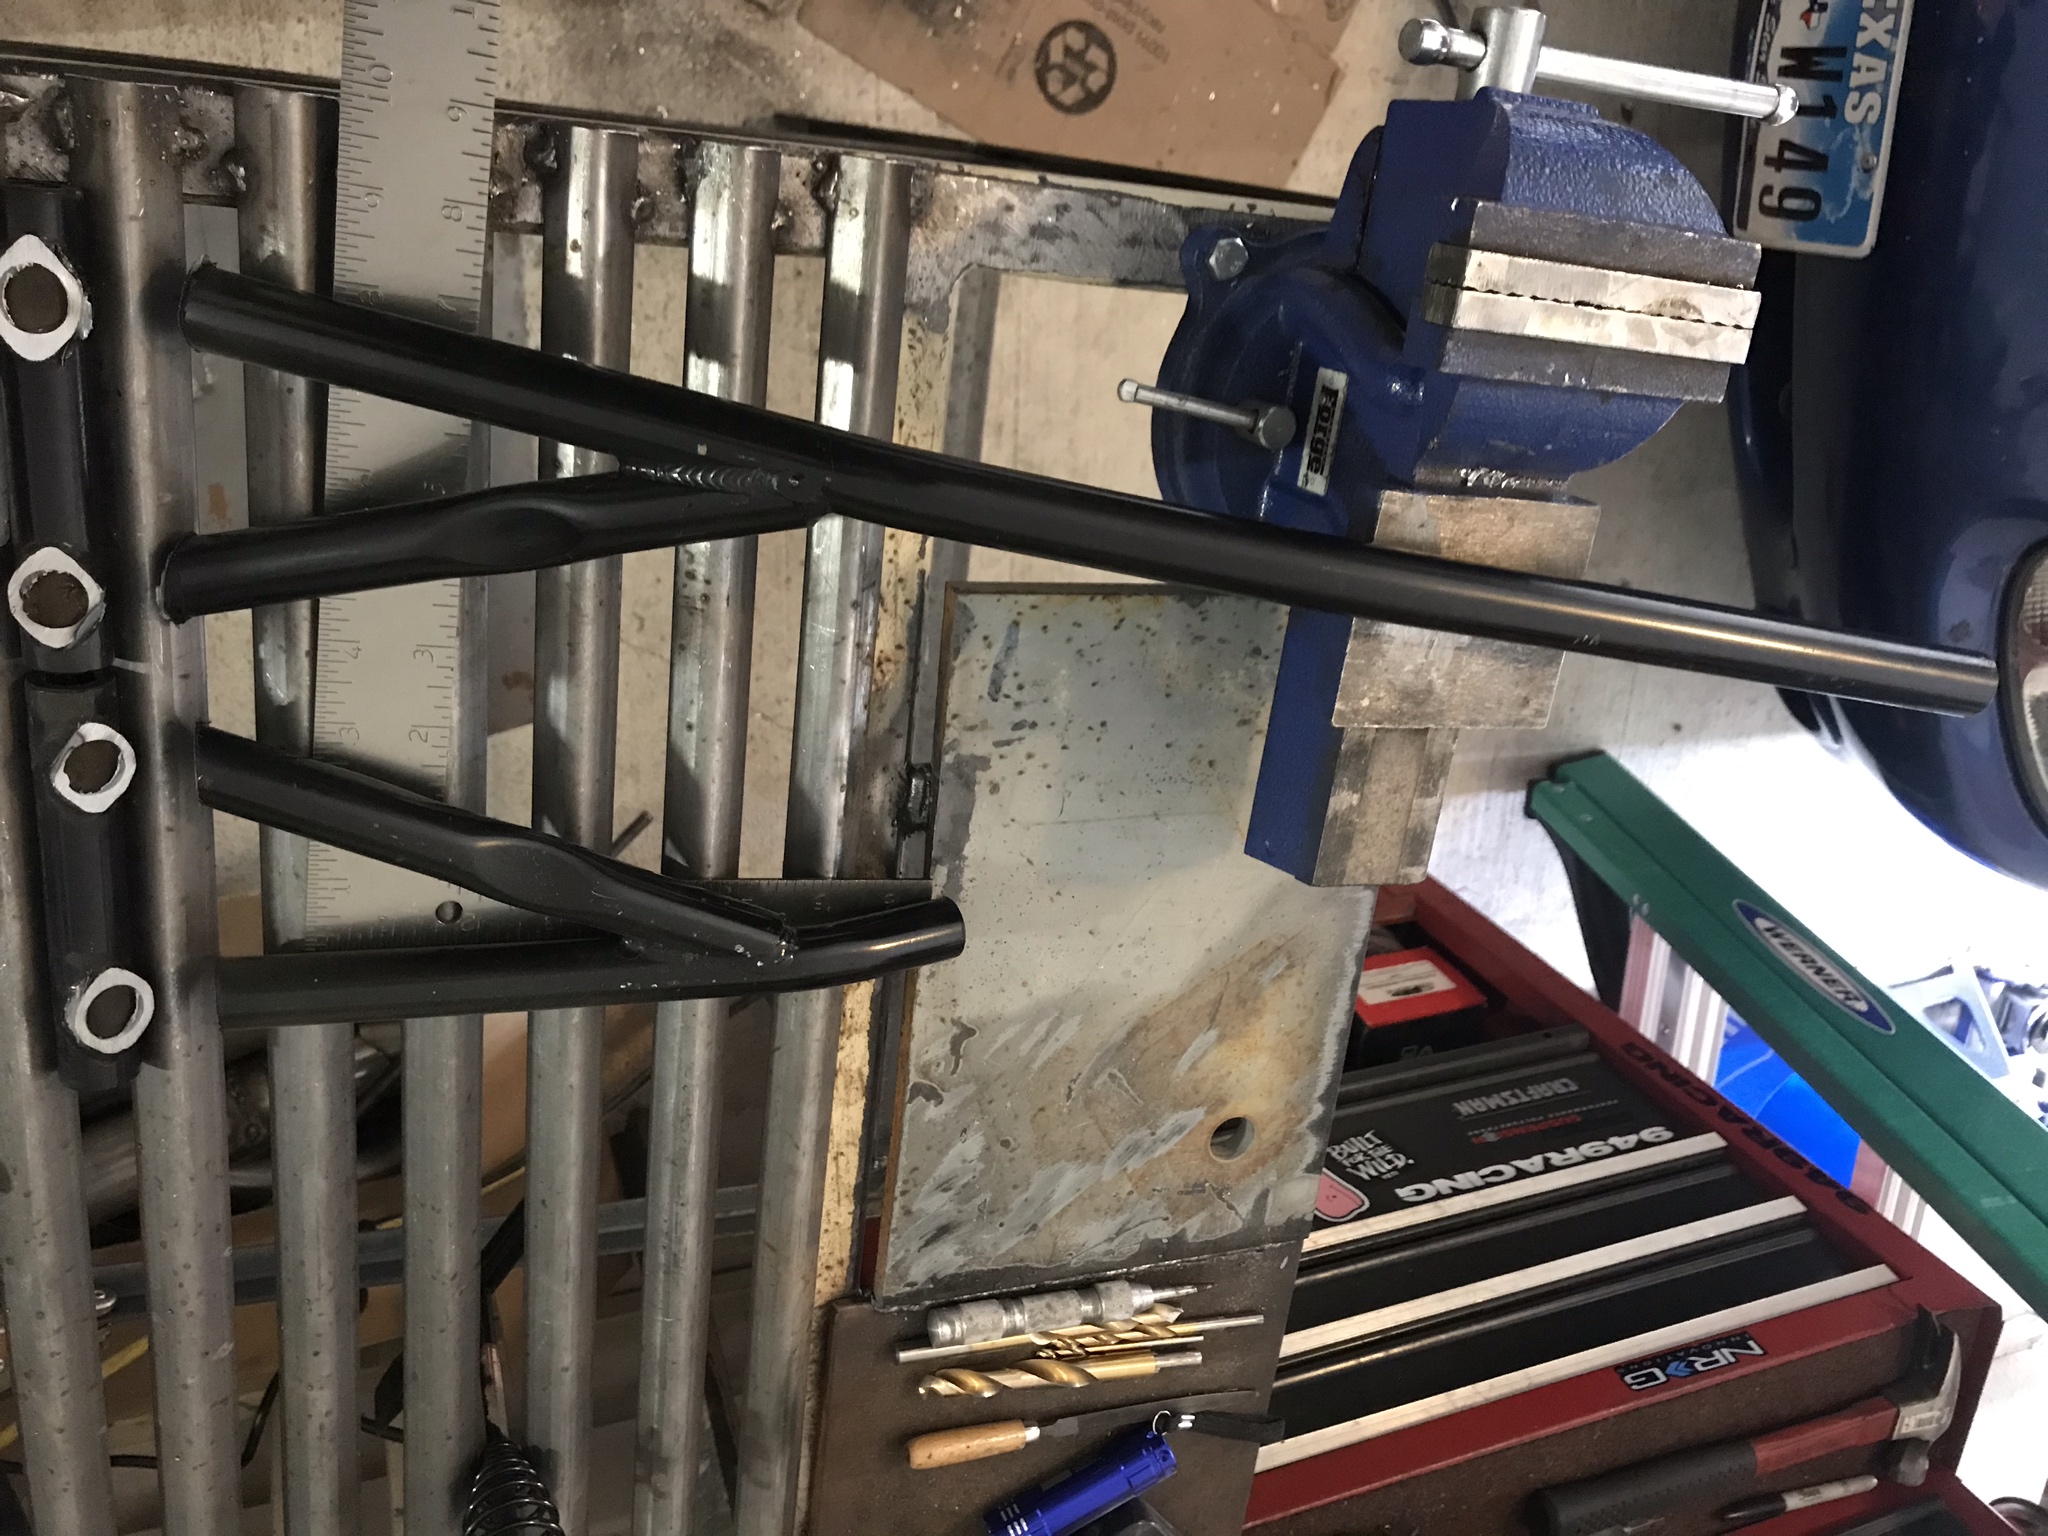
The car came with the stock strut tower brace but after the swap it landing right over the dipstick or the oil filler cap, so i decided i was going to put my welding skills to use and modify it to fit
Diassembled
Ends cut off the cross bar
tubes from the end mocked into the brackets
tacked in place on the car, it is actually pretty east to do this, you lose about 3/16-1/4" of length on the cross bar when you have to cut off the ends but there was plenty of adjustment on the tension screw in the middle so you can easily make it up there, i still have more that enough thread for this to work no problem after putting it back together.
Off the car after tacking
and welded up, not the prettiest thing but it looks about the same as it did from the factory so thats good enough for me. this car has been all function and almost no form from the beginning.
Painted and back on the car, most people would never know it had been messed with
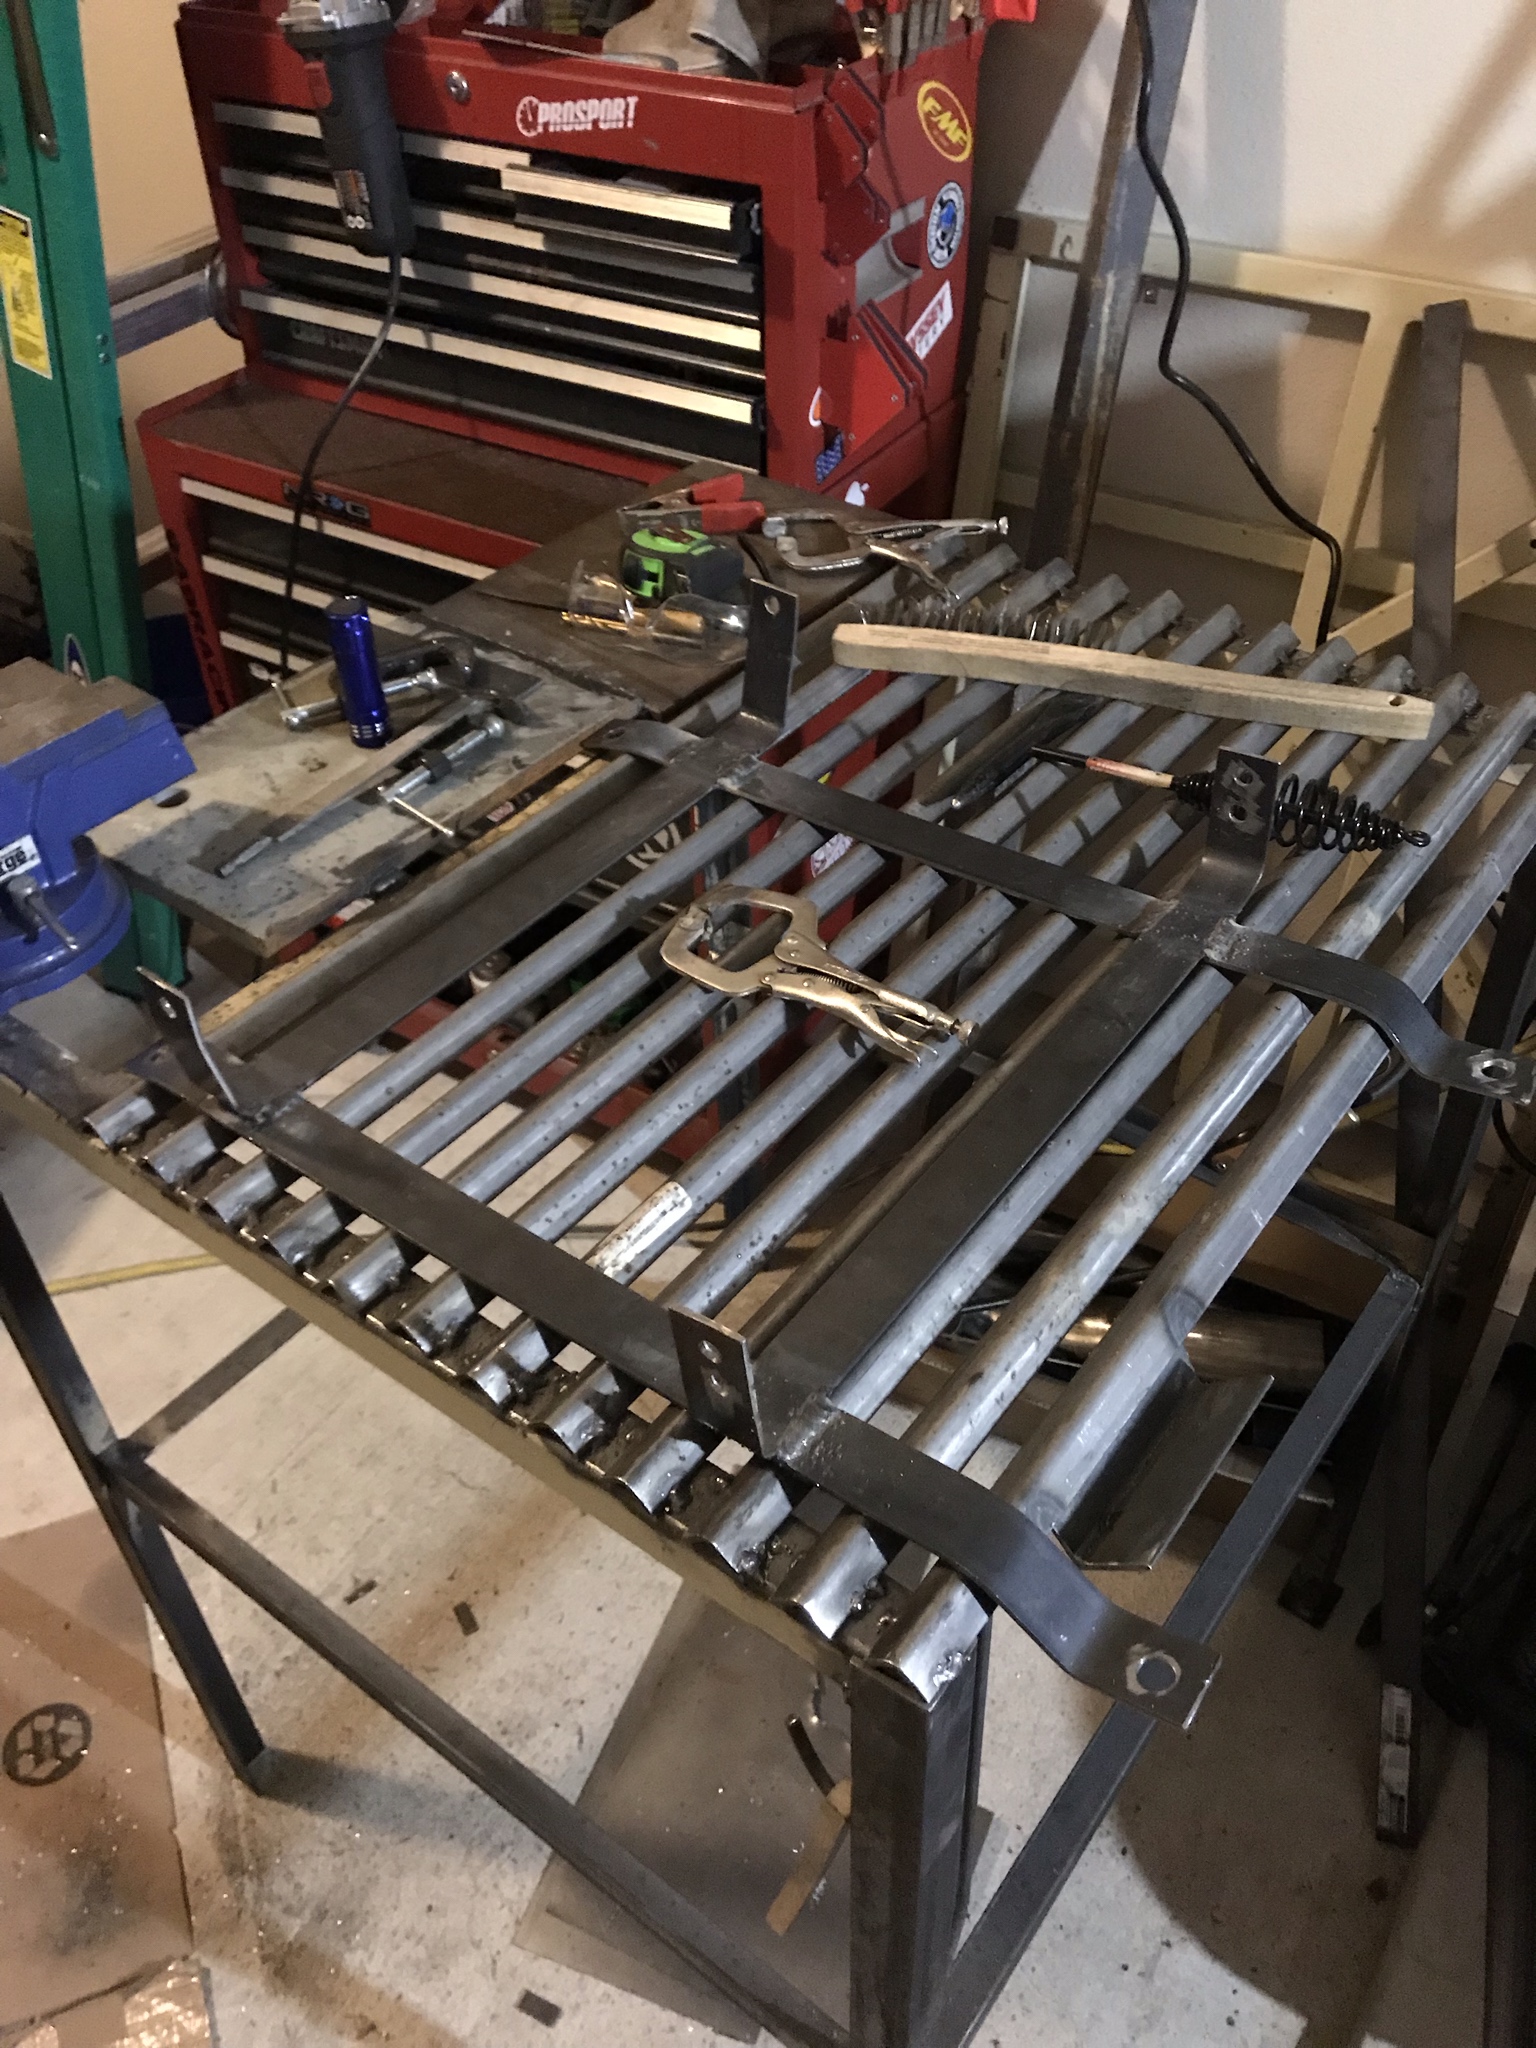
The next project I handled was getting the passenger seat mounted, it had been half *** bolted in using this shitty bracket, i bet you cant guess where it came from... yep amazon. I bought them as a pair and the driver side worked well but the passenger side didnt even come close to bolting up and with the sparco sprint was to tall to pass the broomstick test, even for my short ***. so i decided to make my own.
amazon bracket
in process
Tacked together for a test fit
welded up on the bench
and installed along with the 5 point G force harness which is a really nice piece, has a couple features i with i could move over to the simpson harness on the driver side
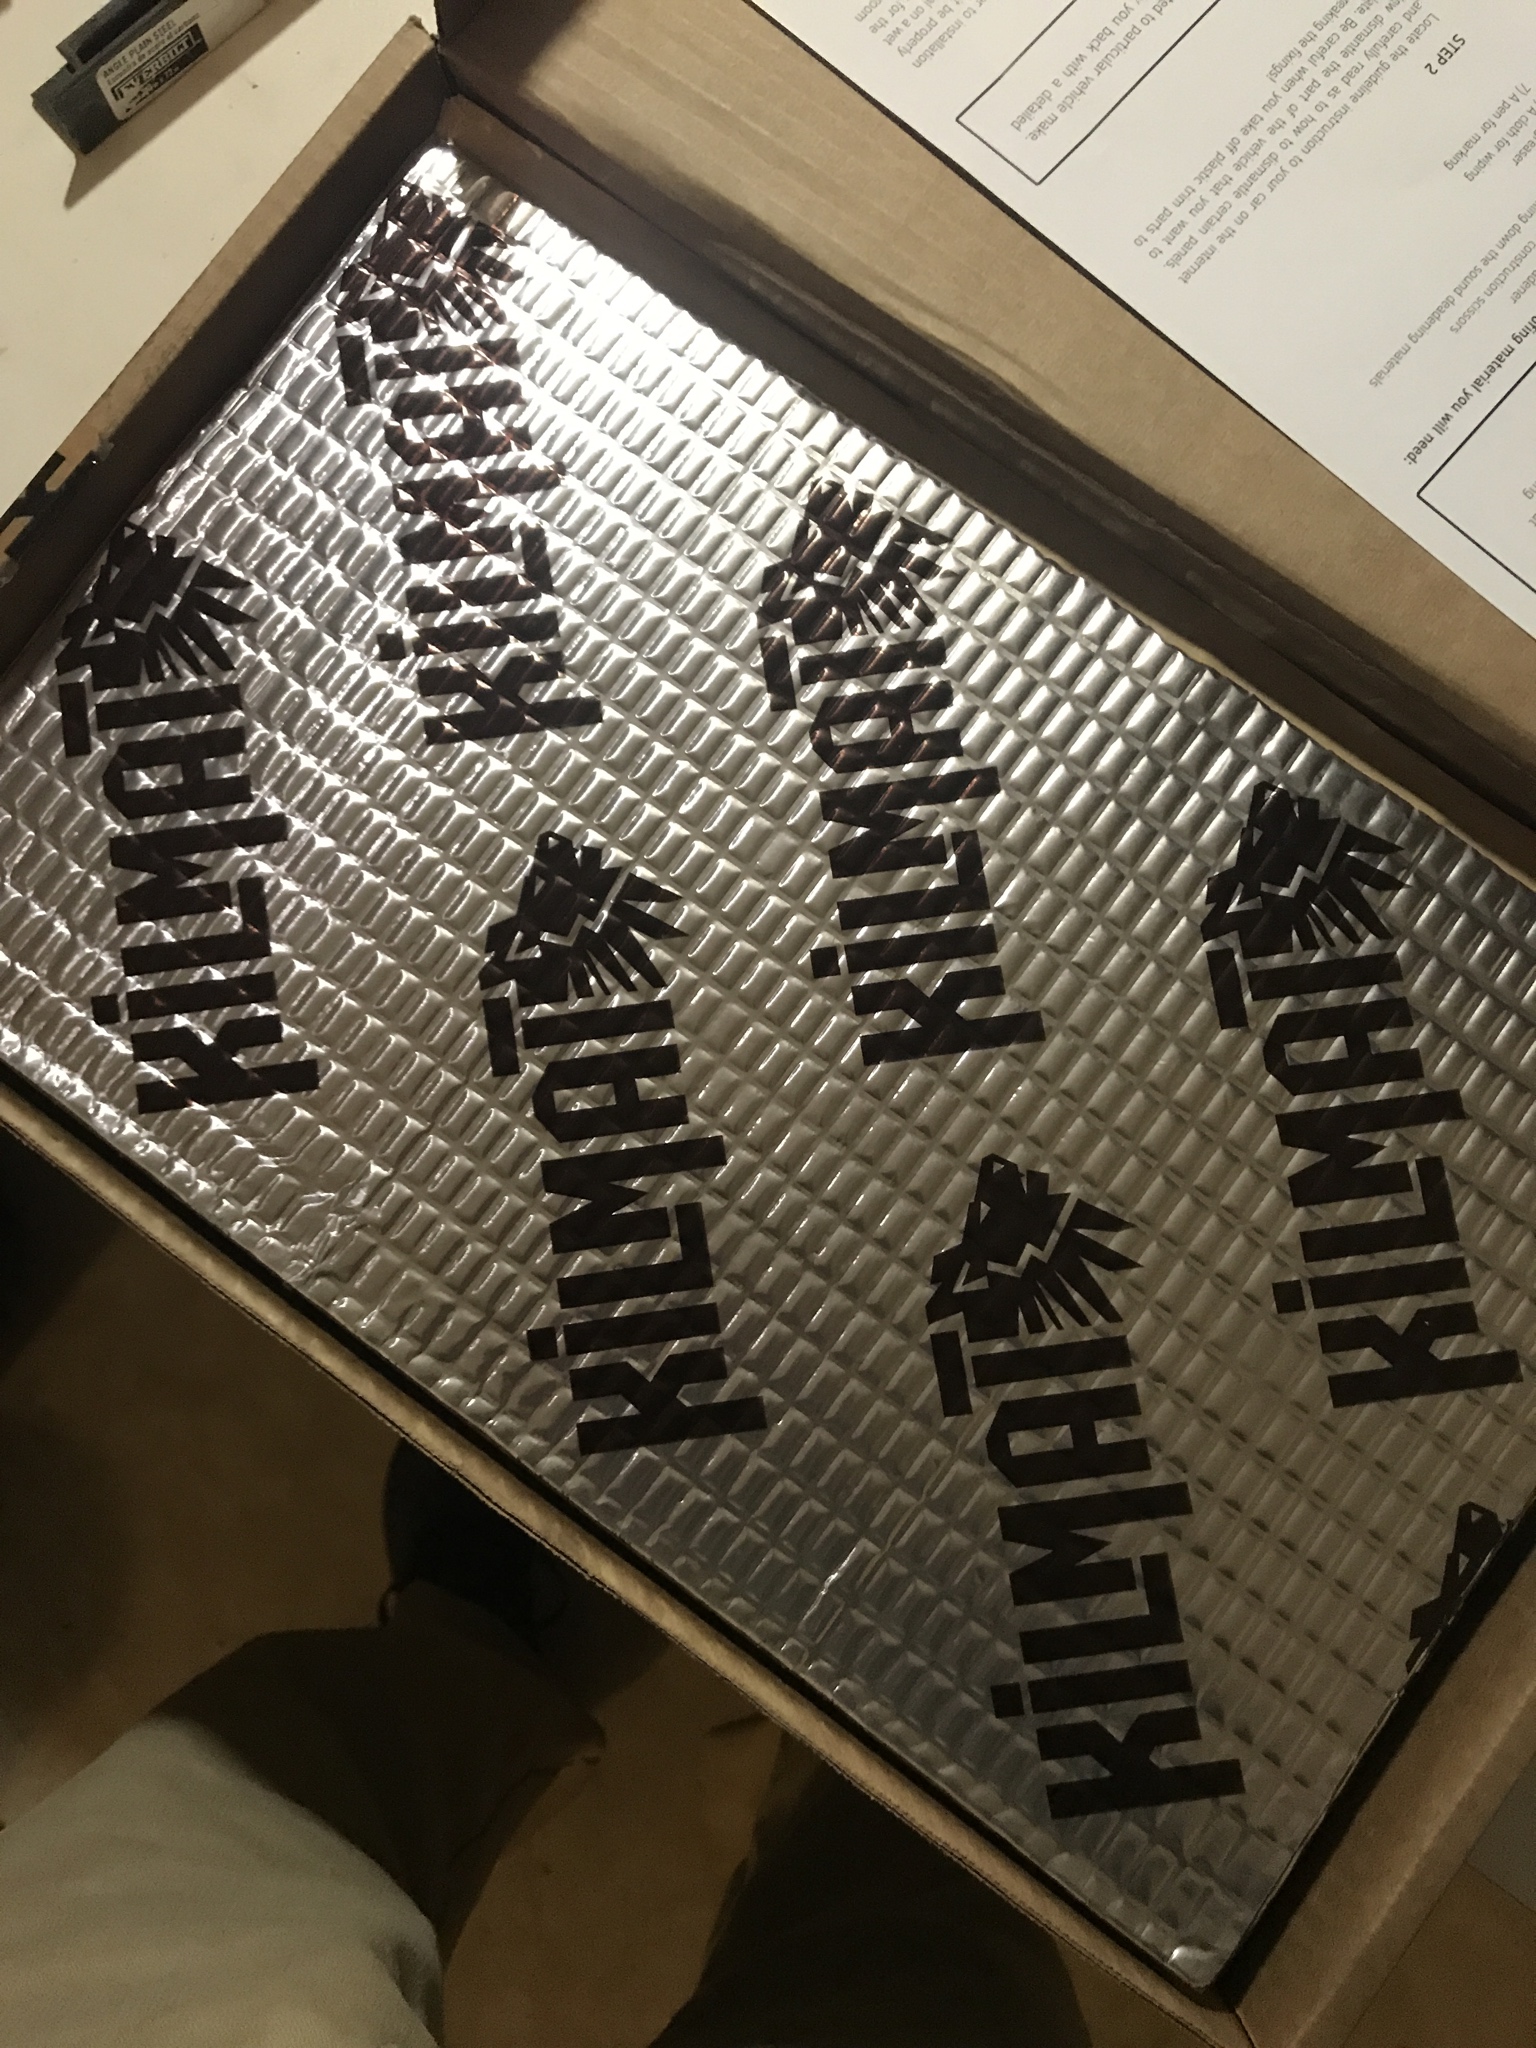
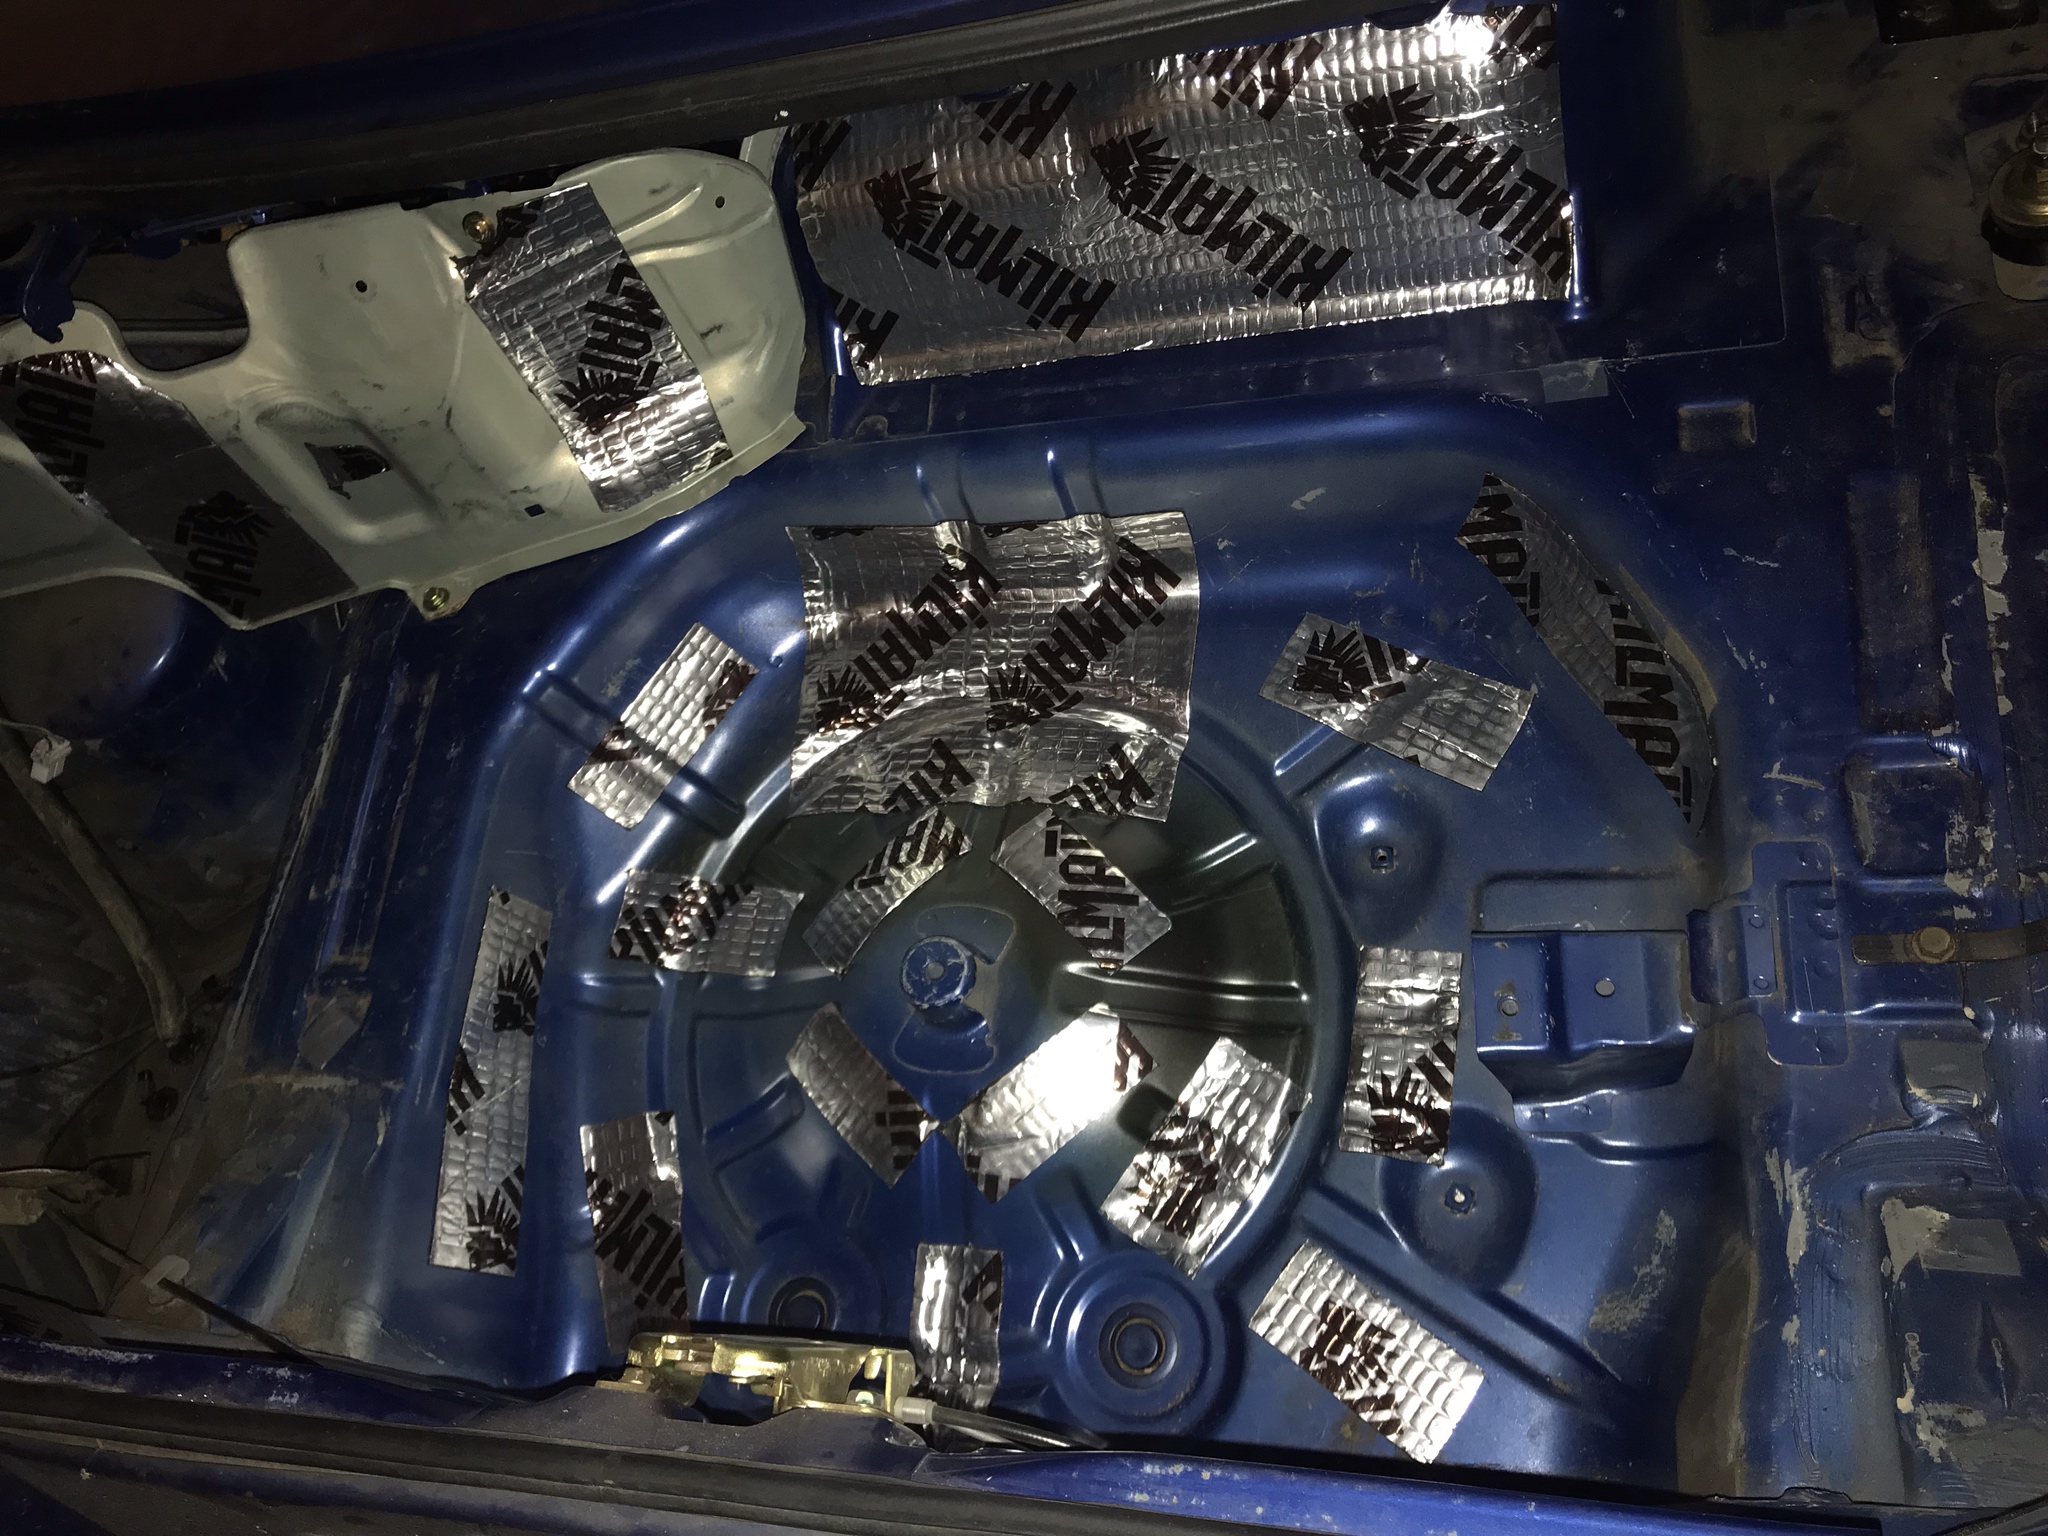
also somewhere along the way i bought some sound deadening from you guessed it amazon... knock off dynamat called Killmat. Holy **** this was a game changer, made all the rattles and noise go away when driving the car, it is simply amazing. I really could not believe the difference after putting this in some select places on the back shelf and in the truck.
Over the last month or so around doing all of the above stuff I have been working on tuning the car which is an extremely rewarding experience. I am basically done with the low cam(non VTEC tables) stuff at this point and have been working with the high cam tables (VTEC tables) It is an extremely time consuming process because you have to tune a separate fuel map for 0,10,20,30,40, and 50 degree cam angles for both high and low cam. Finding space to do this on the road is dicey at best, i have had my best results on the highway actually. about a week after i really started into it i got popped doing 63 in a 40 trying to hit the 6k RPM cells in 3rd gear lol, that was the end of tuning anywhere but the highway lol. I have gotten it to a point where it is safe to drive hard, the main thing i am cleaning up are the part throttle cells on the high cam, the full throttle stuff is pretty close. I signed up for an autocross on the 19th so i have given myself a deadline to get everything squared up.
One thing i have not really covered yet is the AC kit, all the parts are installed but something is up with my wiring and the compressor wont kick on so i need to chase that down a bit just hadnt had time, there are several issues with this i have encountered most notably getting a serpentine belt the correct length and the compressor hitting the steering rack... i will cover that at a later date though.
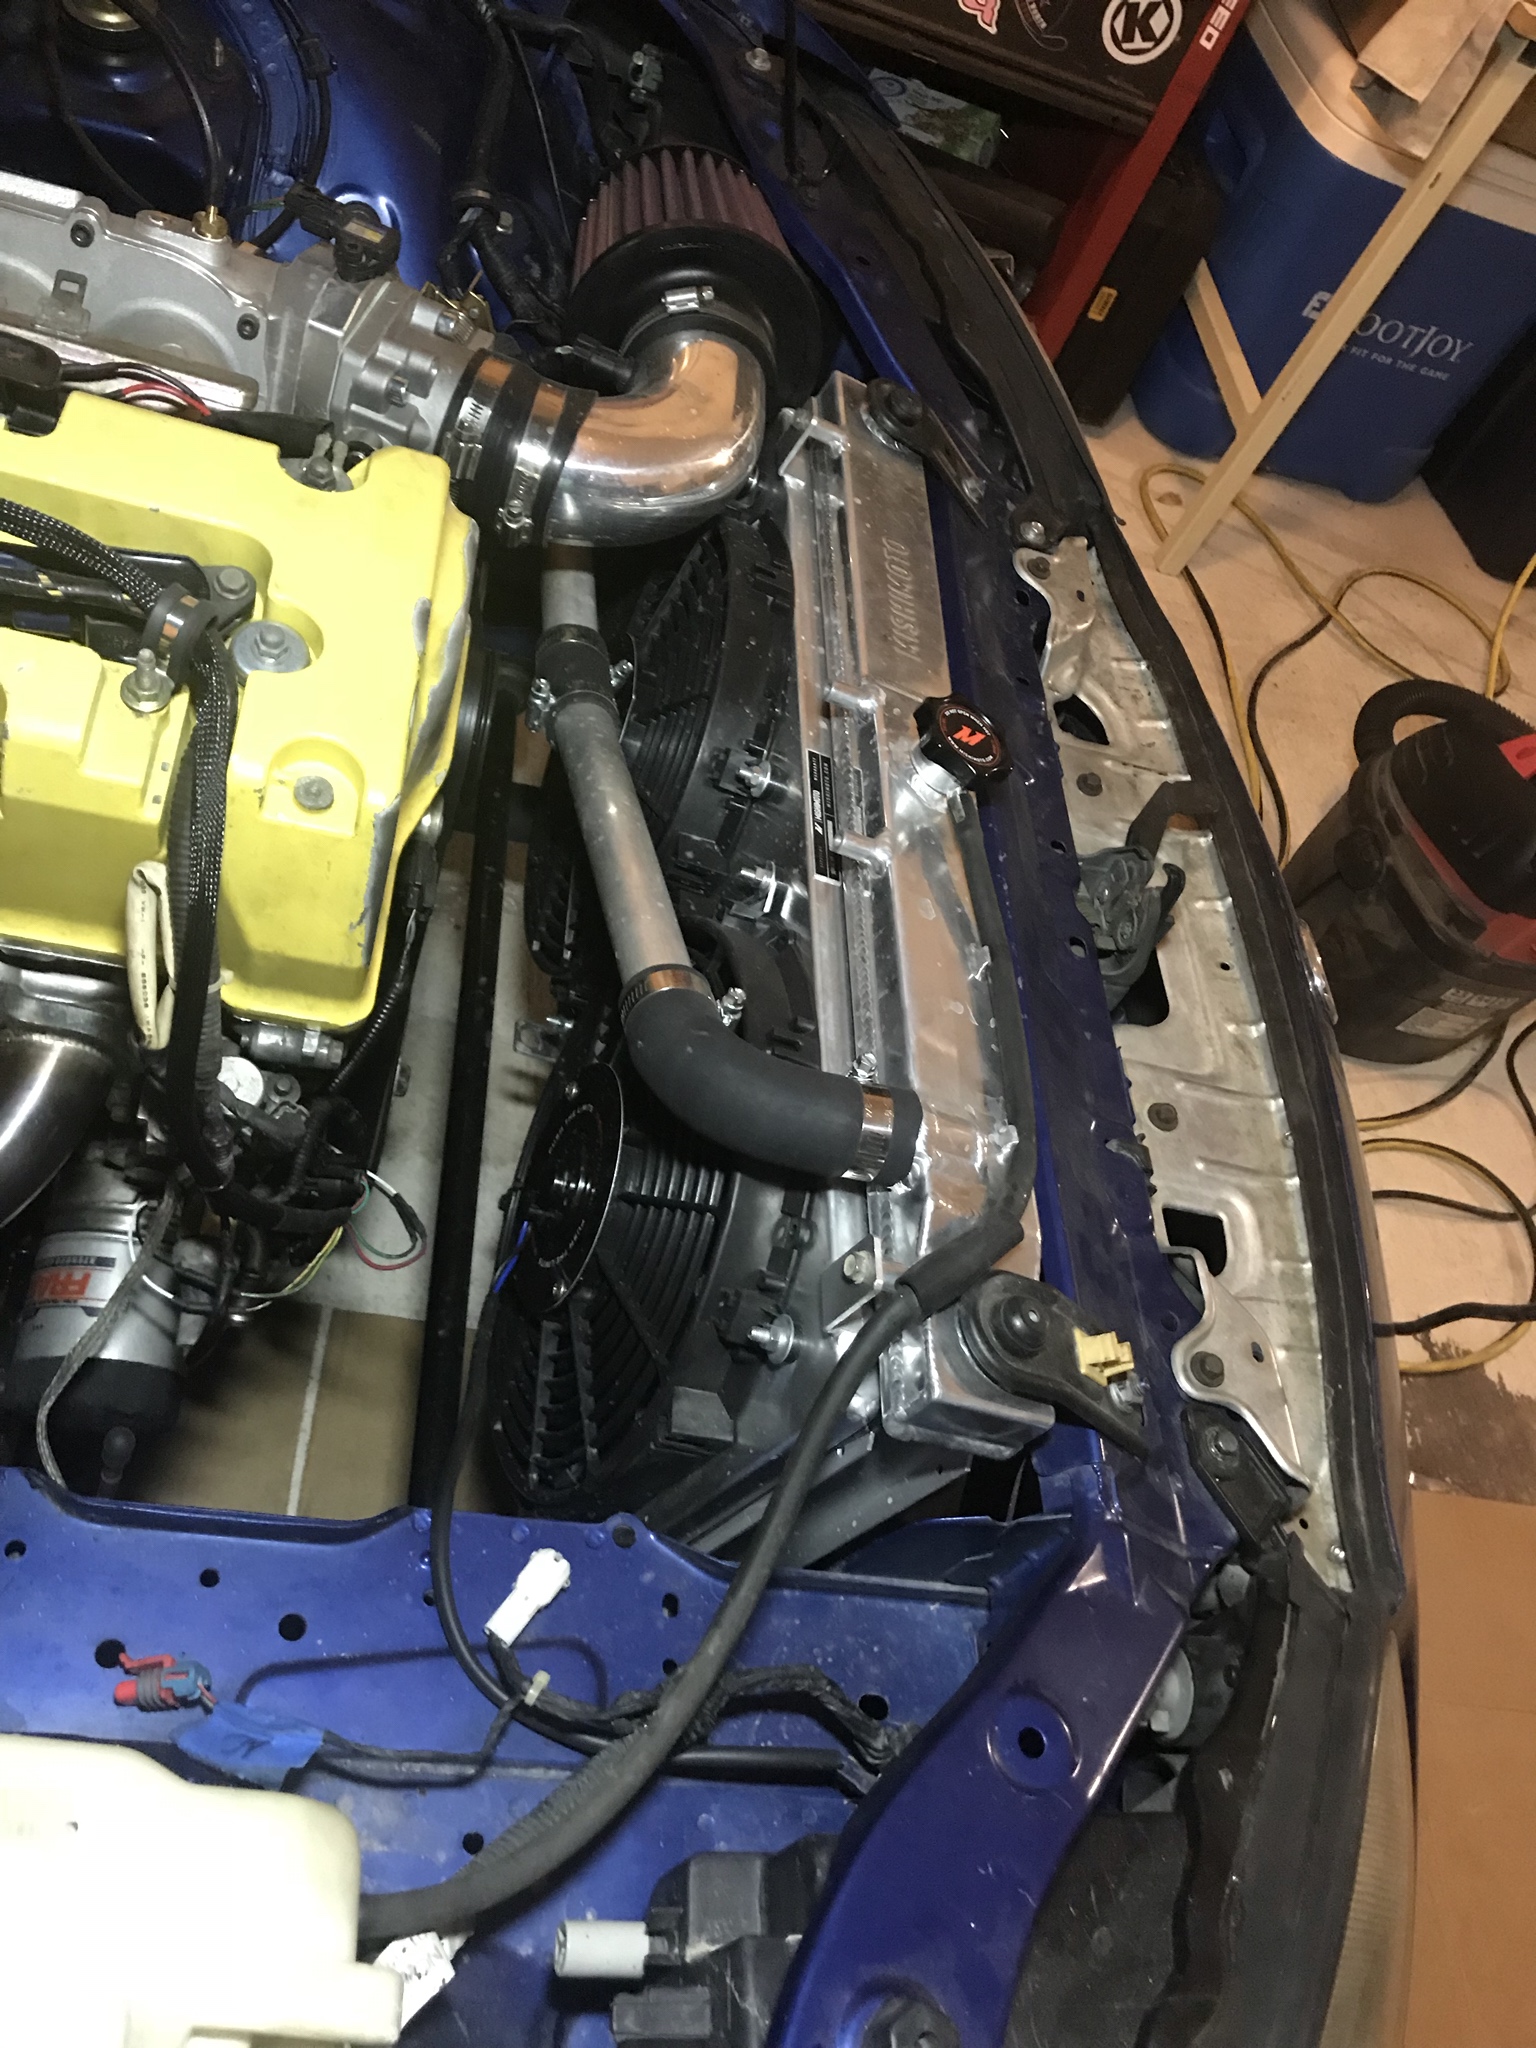
I also badly need to get the radiator ducting done, the car does not have an undertray so that is killing my cooling i think, despite the mishimoto rad, shroud and fans. I have a piece of ABS on the way to make an under tray and i have some aluminum on hand to do some shrouding as well. This is probably the only major thing left to get done that pertains to the tunctionality of the car.
Let me know if anyone has any questions about the swap, especially if you are using a K20 instead of a K24.


 2
2