
MatosMiata's build, turning a booger into something worth looking at


Thread Starter
Junior Member
Joined: Jan 2012
Posts: 316
Total Cats: 3
From: Miami
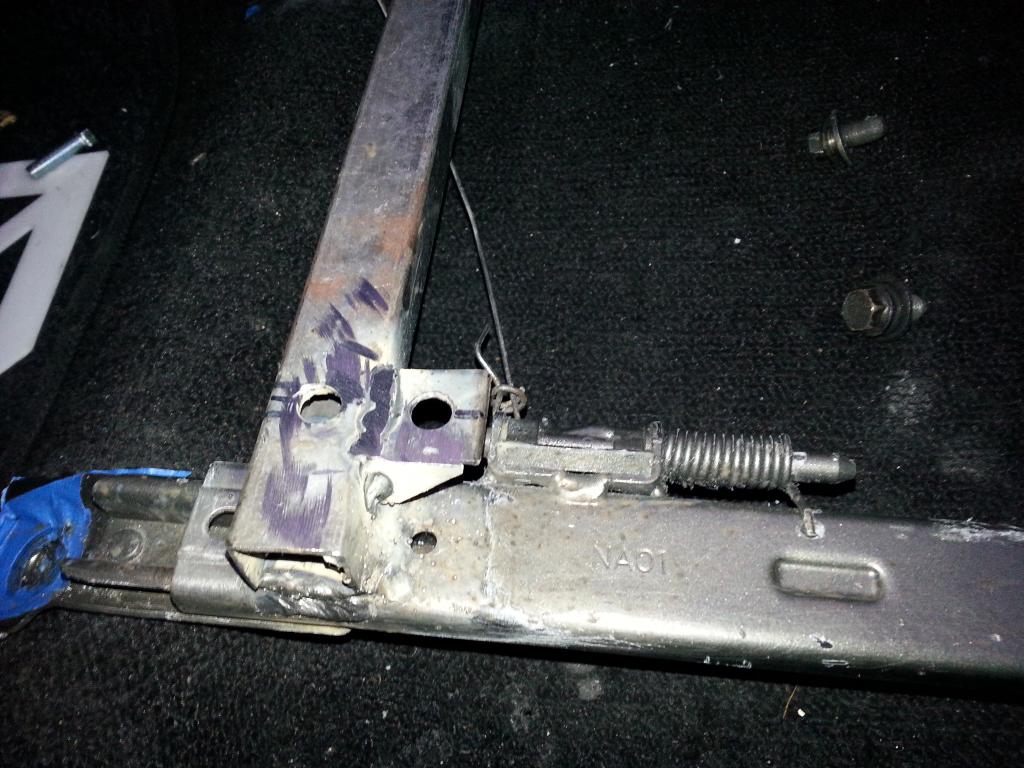
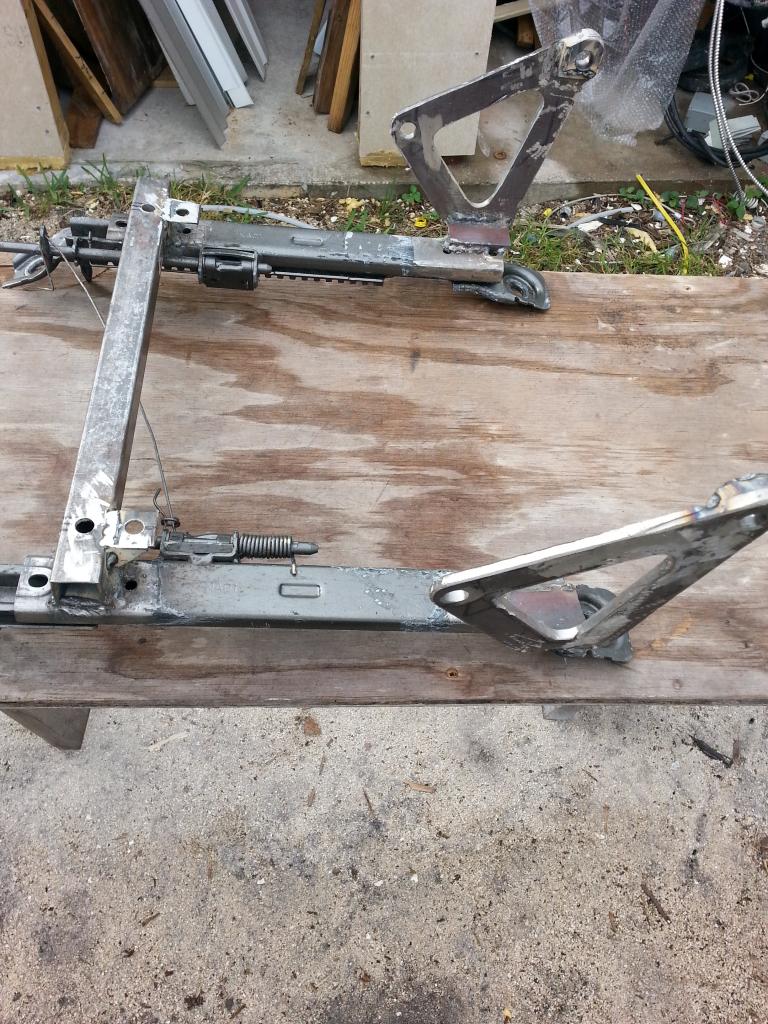
After another test fit of the seat (with the cross bar mounted this time) I felt that the seat was not far back enough at the rearmost setting of the rails. I corrected this by welding two tabs to the back of the cross bar with new mounting holes. These are gusseted for strength and and they allowed me to move the seat back an extra inch.
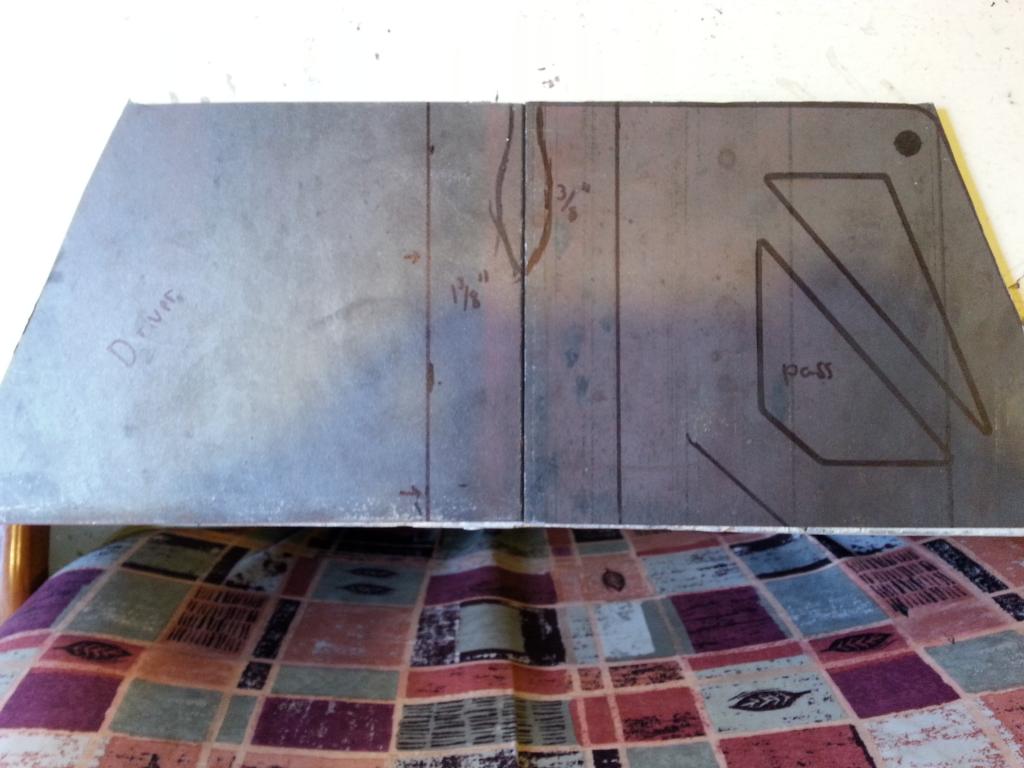
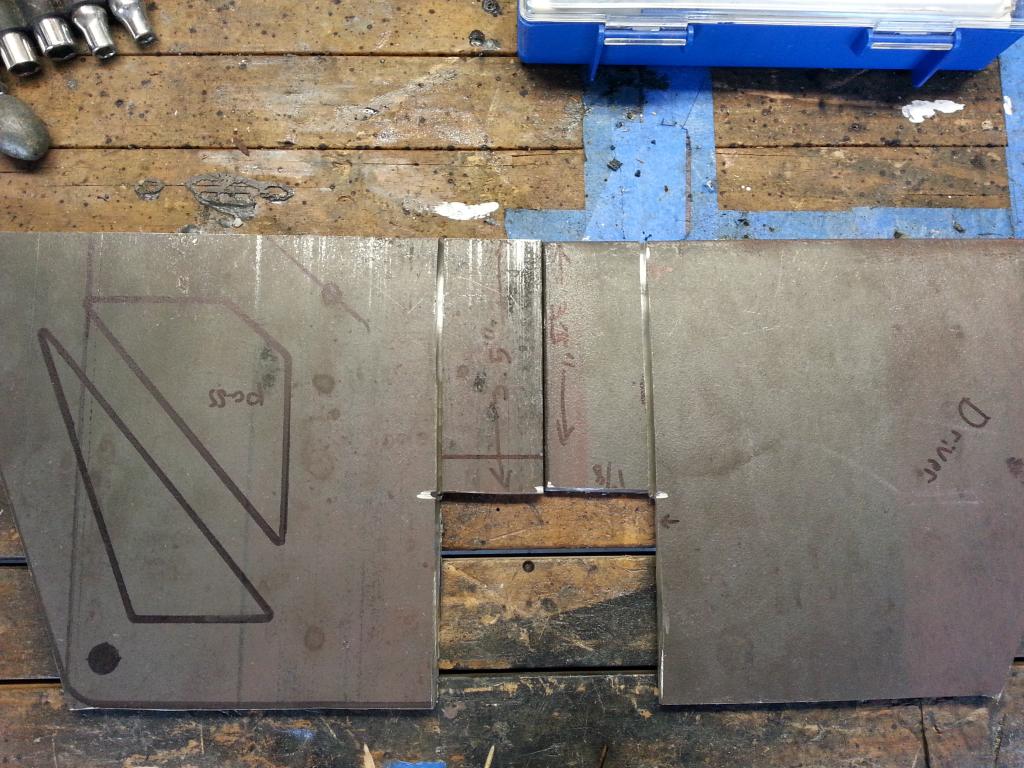
I placed the bracket templates I printed on a 12" x 12" x 0.25" plate of steel and traced them on. I then took one of the cut off wheels and cut them out. I cut the pieces so that they would be taller than the templates, leaving extra material to bend and join to the seat rail.

I placed the bracket templates I printed on a 12" x 12" x 0.25" plate of steel and traced them on. I then took one of the cut off wheels and cut them out. I cut the pieces so that they would be taller than the templates, leaving extra material to bend and join to the seat rail.

Reply
 0
0

0
Thread Starter
Junior Member
Joined: Jan 2012
Posts: 316
Total Cats: 3
From: Miami
I made some progress on my Elise seat mounting yesterday
Started the day off with the seat bolted to the cross bar. The front bolts on the seat have an M8x1.25 thread.
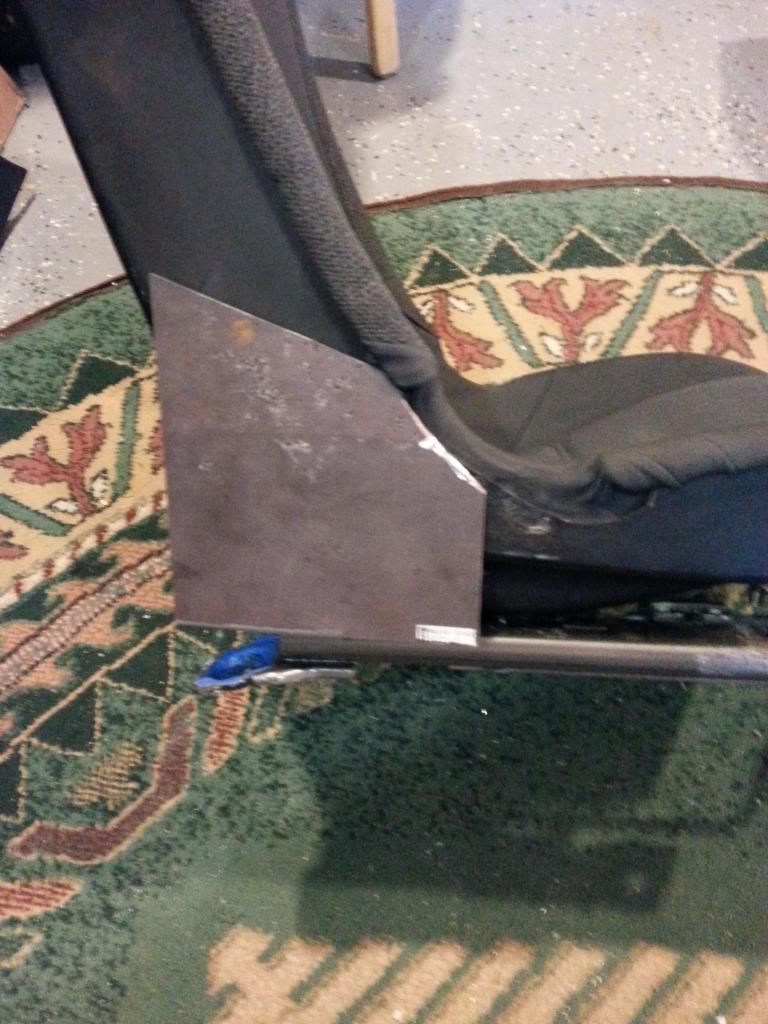
I placed these two sheets on the seat rail and up against the seat to see how much to cut off
With that cut, I slipped the brackets under the seat to see where to bend the tabs
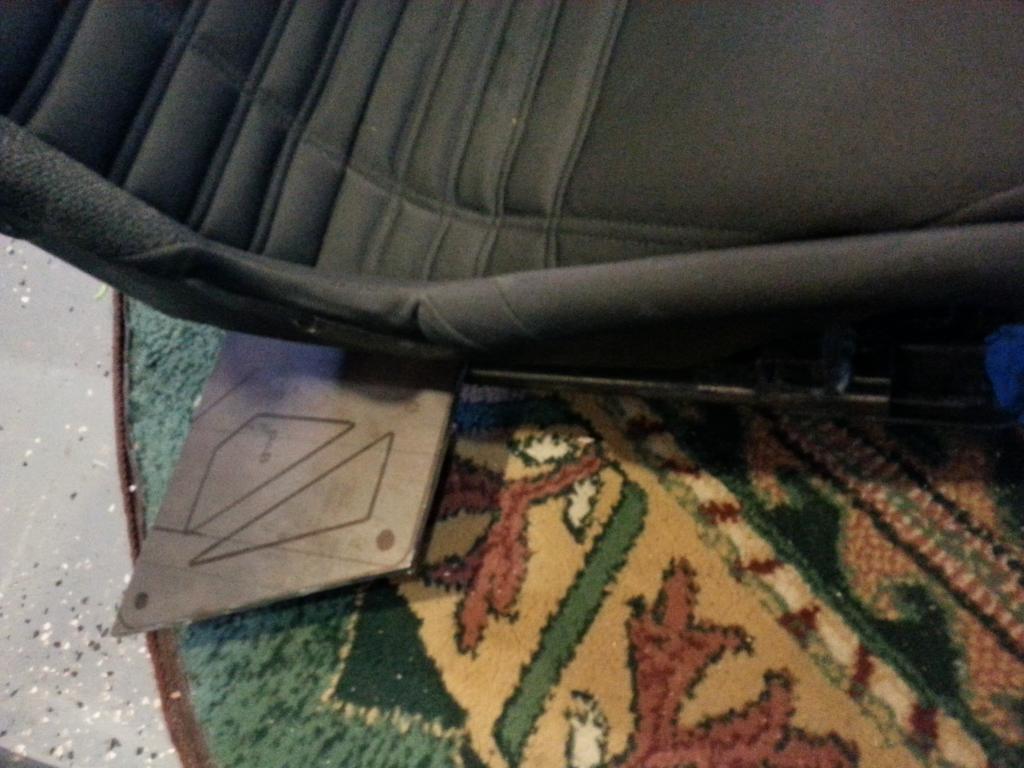
The tabs ended up being 3.5" x 1 3/8"
Started the day off with the seat bolted to the cross bar. The front bolts on the seat have an M8x1.25 thread.

I placed these two sheets on the seat rail and up against the seat to see how much to cut off

With that cut, I slipped the brackets under the seat to see where to bend the tabs

The tabs ended up being 3.5" x 1 3/8"

Reply
0
0
Thread Starter
Junior Member
Joined: Jan 2012
Posts: 316
Total Cats: 3
From: Miami
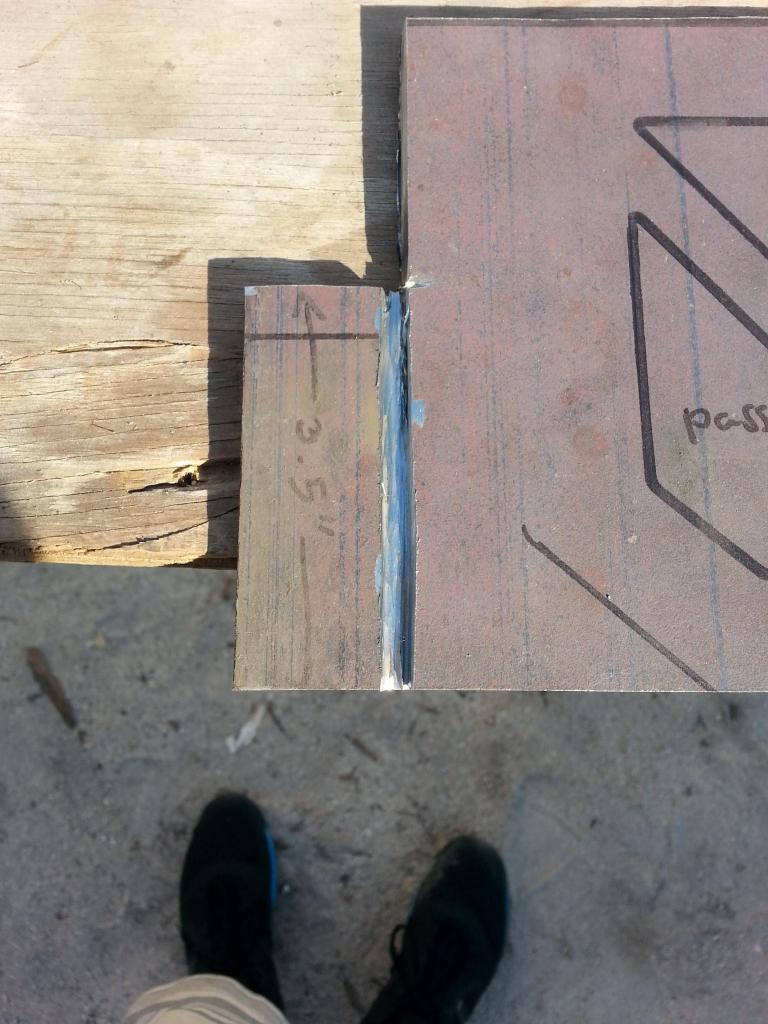
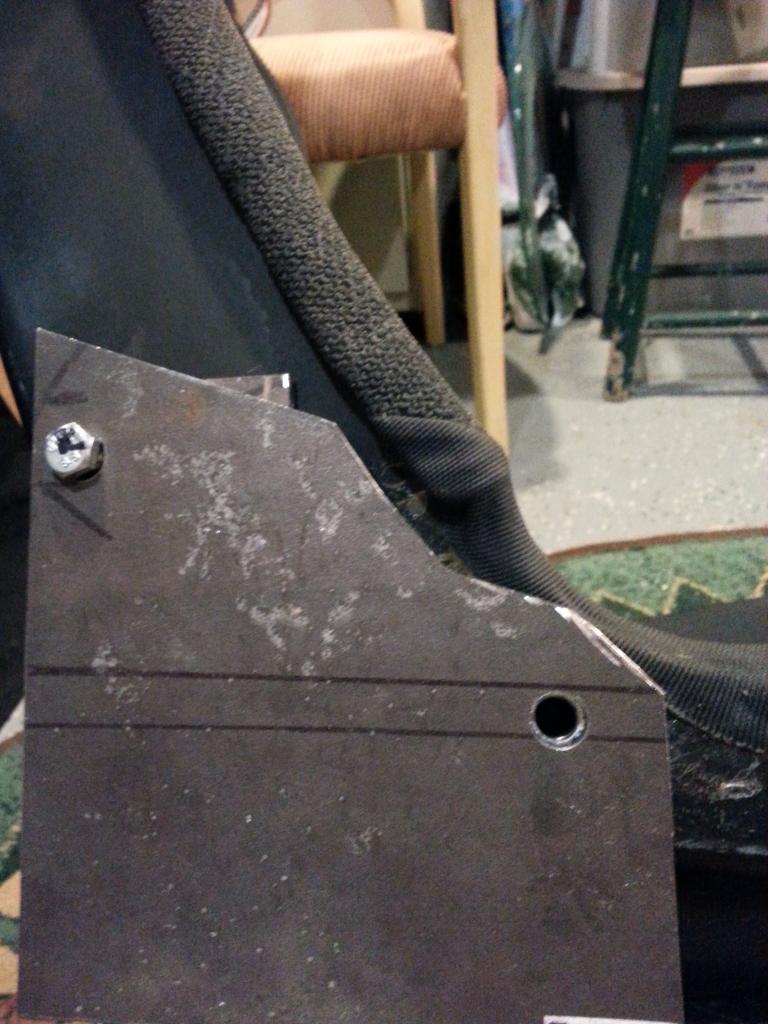
I used the angle grinder to cut a groove slightly less than 0.25" wide on each tab
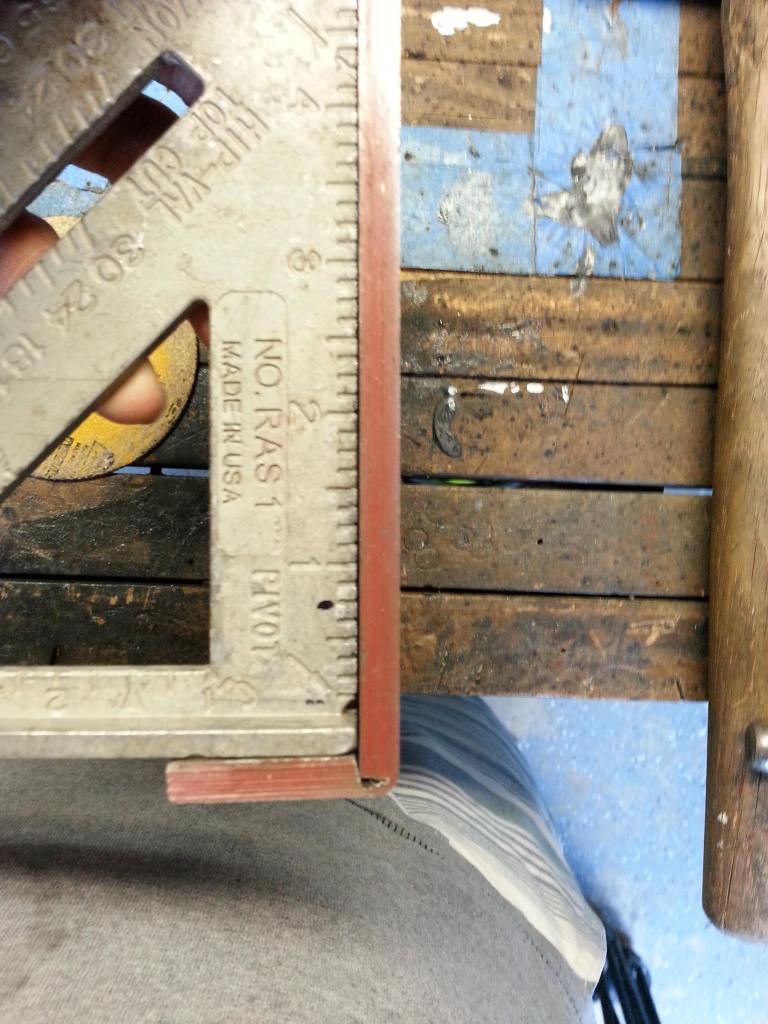
Then, I placed each bracket in the vice and hammered them until I got the tab 90� from the bracket body
Followed by placing each bracket against the seat rails and cutting some material off the bracket such that I could slide them forward, past the front hole

Then, I placed each bracket in the vice and hammered them until I got the tab 90� from the bracket body

Followed by placing each bracket against the seat rails and cutting some material off the bracket such that I could slide them forward, past the front hole

Reply
0
0
Thread Starter
Junior Member
Joined: Jan 2012
Posts: 316
Total Cats: 3
From: Miami
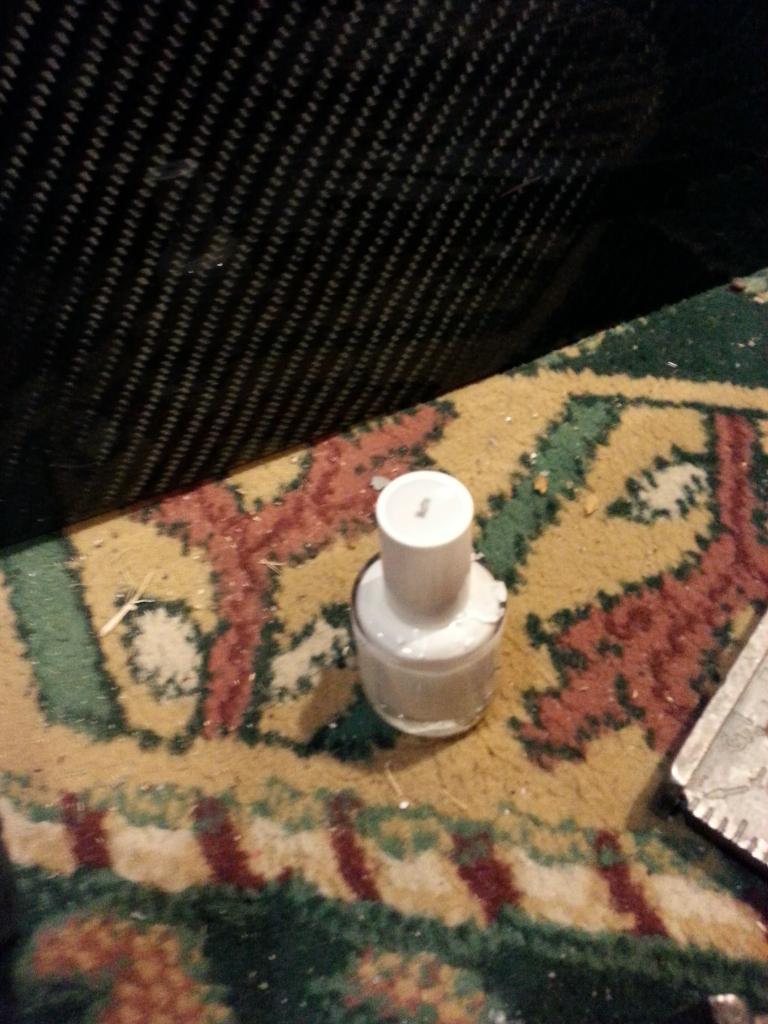
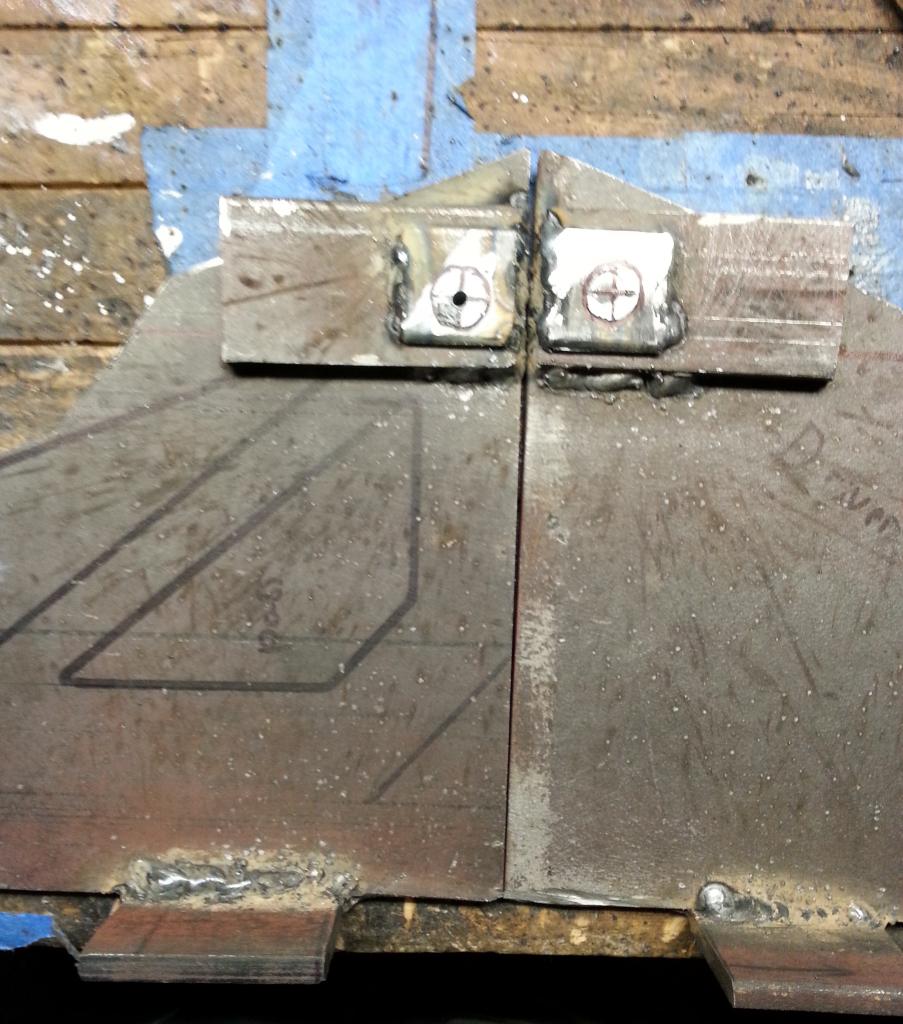
In order to mark the holes, I put white nail polish on the threaded insert and pushed the bracket up against it. Because the front and rear holes lie on different planes, I marked the front ones first (they stick out more).
Then I drilled the holes
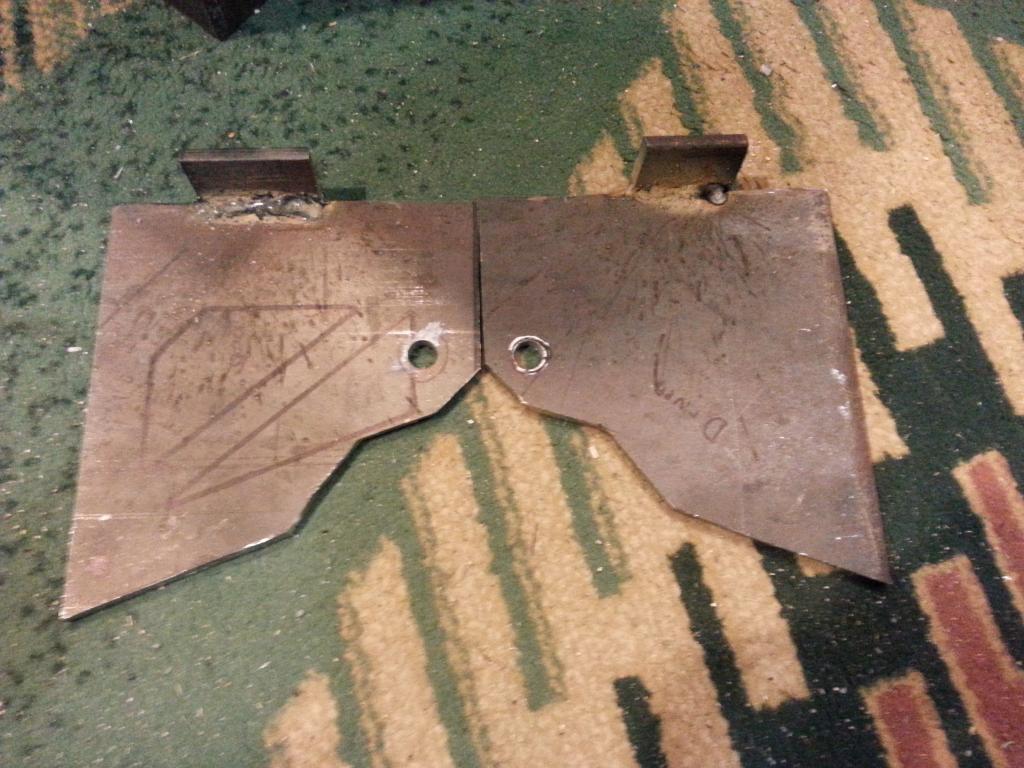
I aligned each bracket to the seat via the drilled holes and found that I had to hammer the tabs out a bit so they would reach the rails. This is because the method I used to mark is not dead on accurate, so the holes were shifted slightly higher than they should be. Once happy with the angle of the tabs, I ran a weld on either side of the bends such that the tabs would be strong and not move. I could grab a tab and hang from it and it would not move in the slightest.
Reply
0
0
Thread Starter
Junior Member
Joined: Jan 2012
Posts: 316
Total Cats: 3
From: Miami
I then welded together some 0.25" steel with a couple of thinner sheets in order to create a standoff for the upper bolts
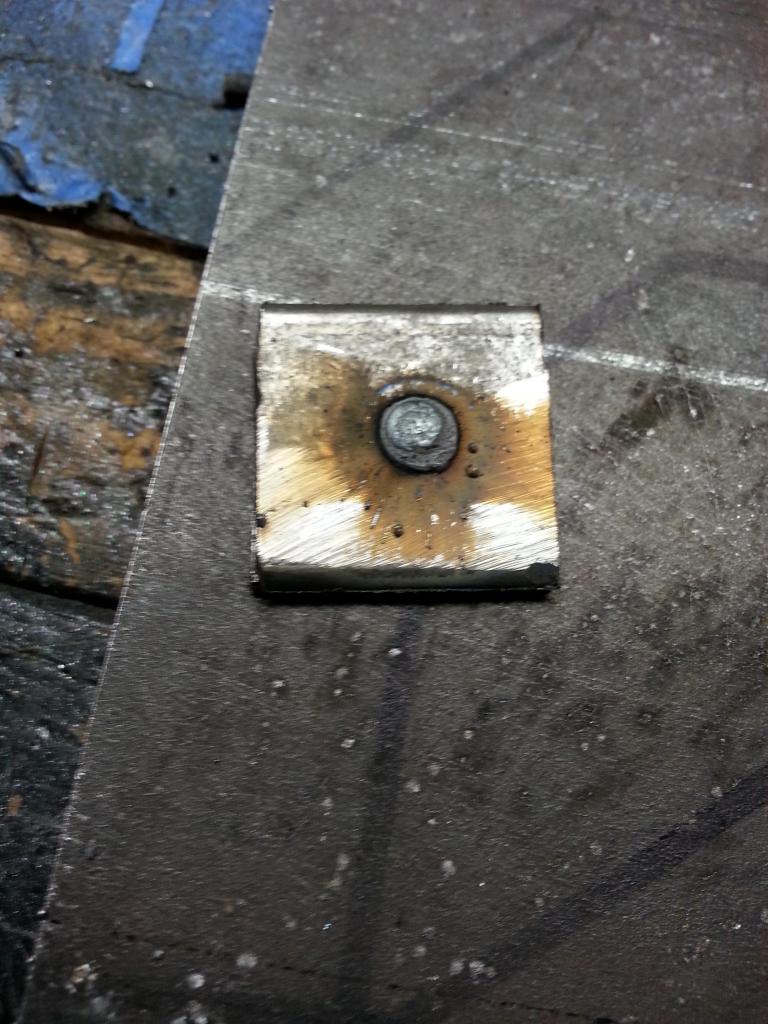
These were welded to the inside of the brackets in the general position of the top bolts. I reused the nail polish trick to mark the hole positions onto the brackets
Then I test fit the brackets (note that I drilled all the holes larger than necessary in order to allow some play)

These were welded to the inside of the brackets in the general position of the top bolts. I reused the nail polish trick to mark the hole positions onto the brackets

Then I test fit the brackets (note that I drilled all the holes larger than necessary in order to allow some play)

Reply
0
0
Thread Starter
Junior Member
Joined: Jan 2012
Posts: 316
Total Cats: 3
From: Miami
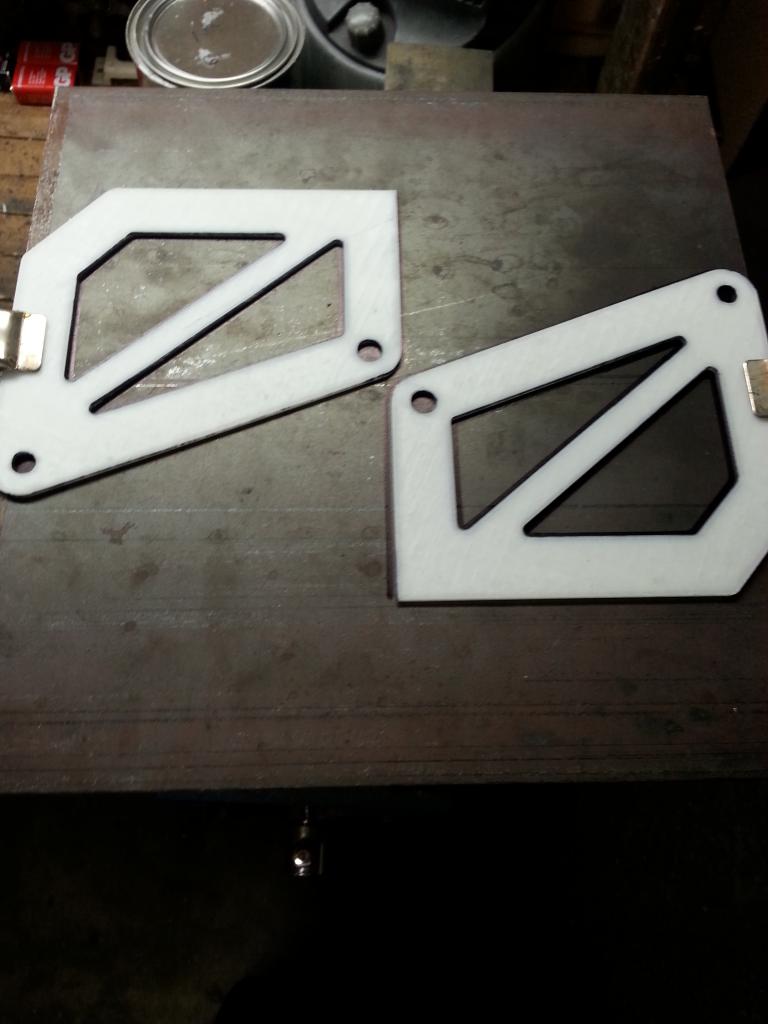
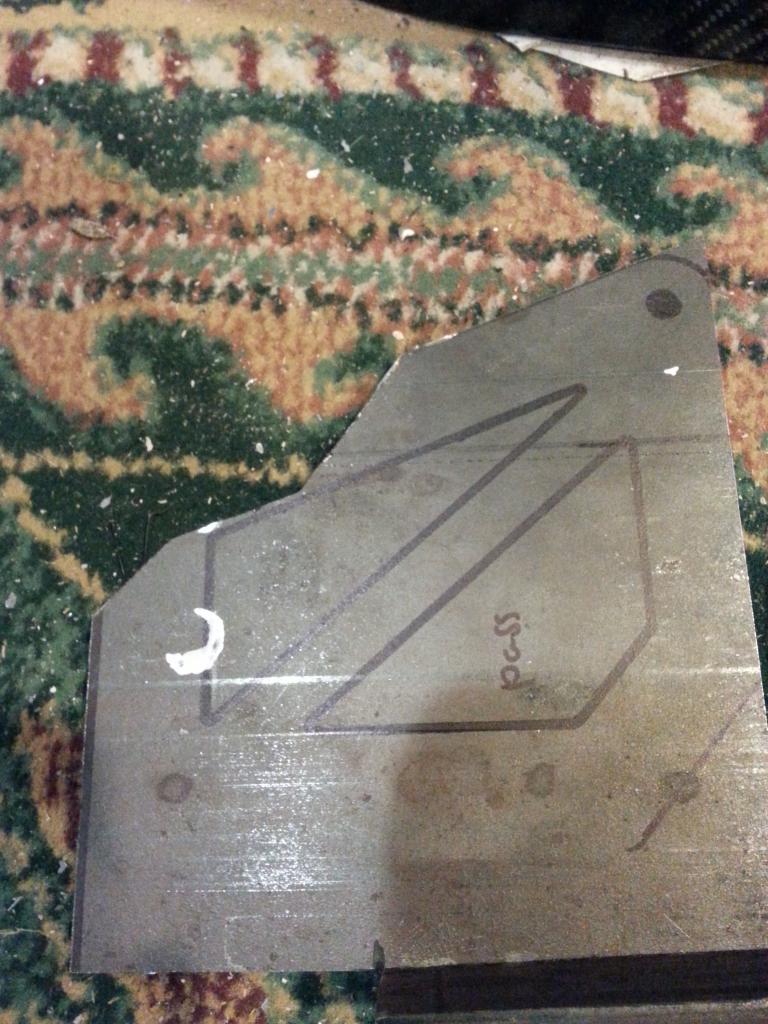
I did some weight reduction/added aesthetics by cutting out some triangular shapes from the brackets

I then bolted the brackets to the seat/rail assembly and tack welded the brackets to the rails
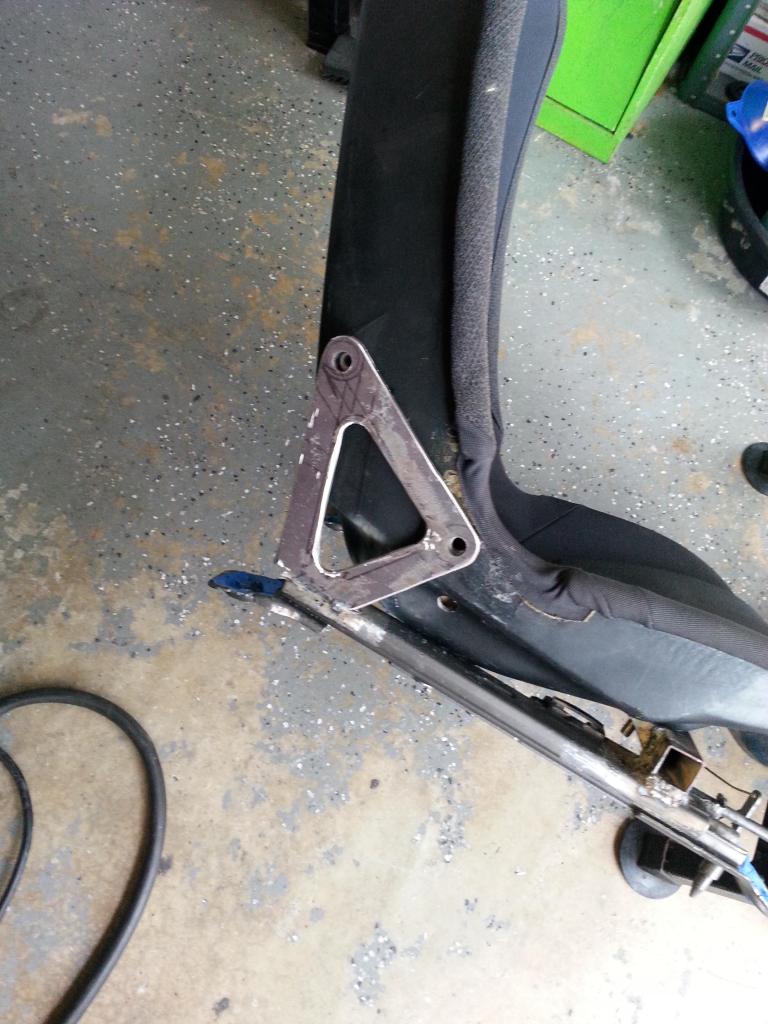
Then I removed the seat and ran some serious weld beads around the brackets so they would be solidly attached to the seat rails
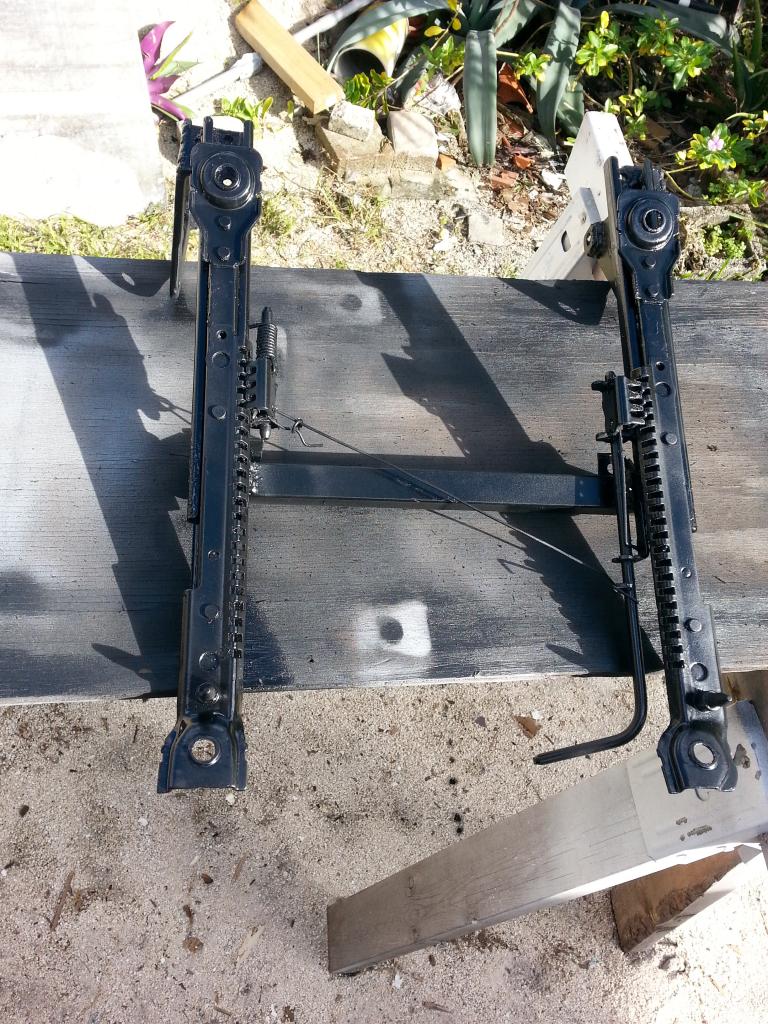
From there, I sprayed the rail/bracket assembly with primer and gloss black.
Reply
0
0
Thread Starter
Junior Member
Joined: Jan 2012
Posts: 316
Total Cats: 3
From: Miami
Here are the painted rails, I may end up aircraft stripping these and redoing the paint in the future. The weather was not cooperating with my paint efforts
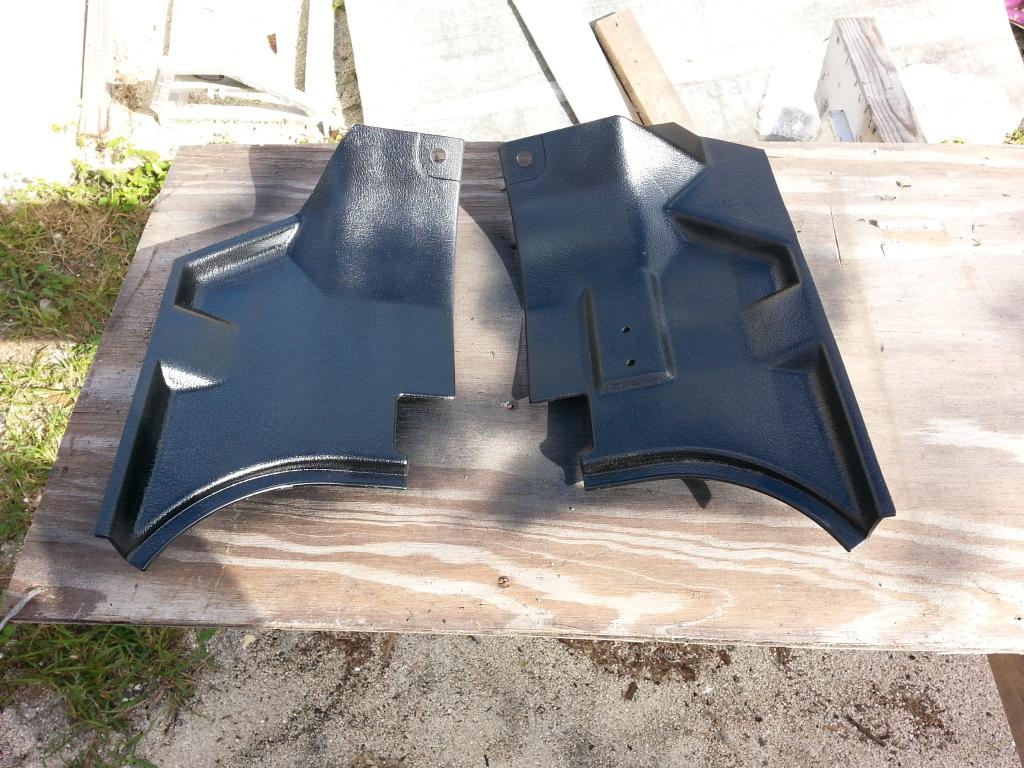
Got some sun in the afternoon and figured I would paint some other stuff while I was at it, like my kick panels that had been covered in white overspray and my door sill covers
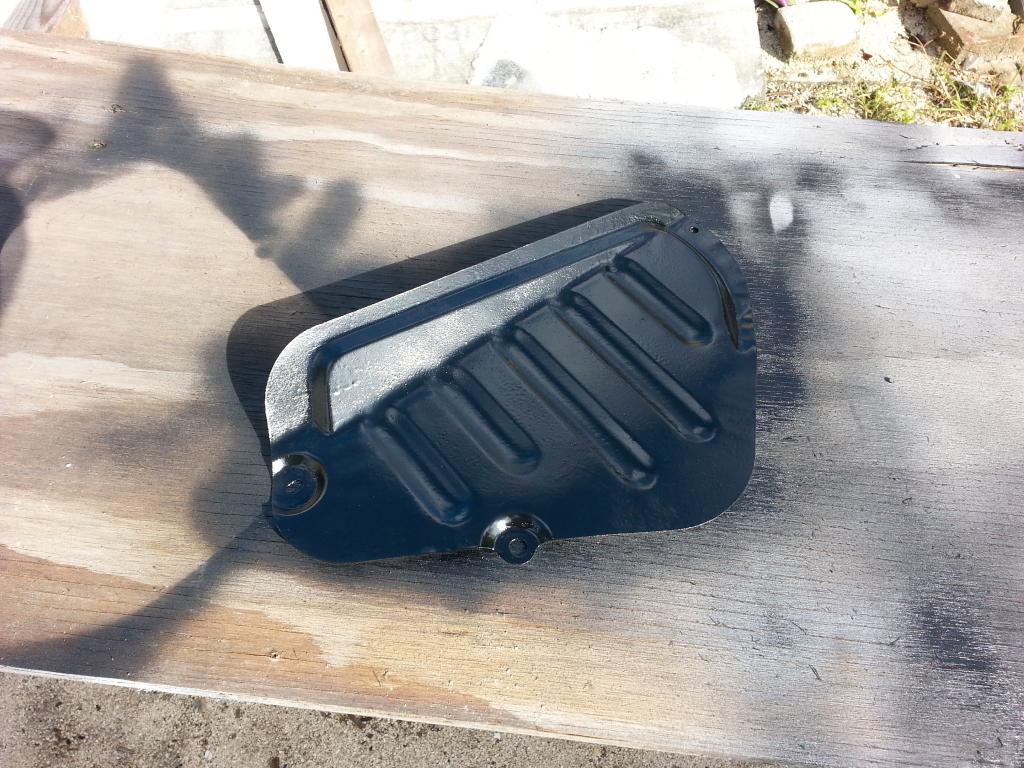
Tossed in a spare parcel shelf cover while I was at it
Also took advantage and gave the interior a much needed vacuuming

Got some sun in the afternoon and figured I would paint some other stuff while I was at it, like my kick panels that had been covered in white overspray and my door sill covers

Tossed in a spare parcel shelf cover while I was at it

Also took advantage and gave the interior a much needed vacuuming

Reply
0
0


Thread Starter
Junior Member
Joined: Jan 2012
Posts: 316
Total Cats: 3
From: Miami
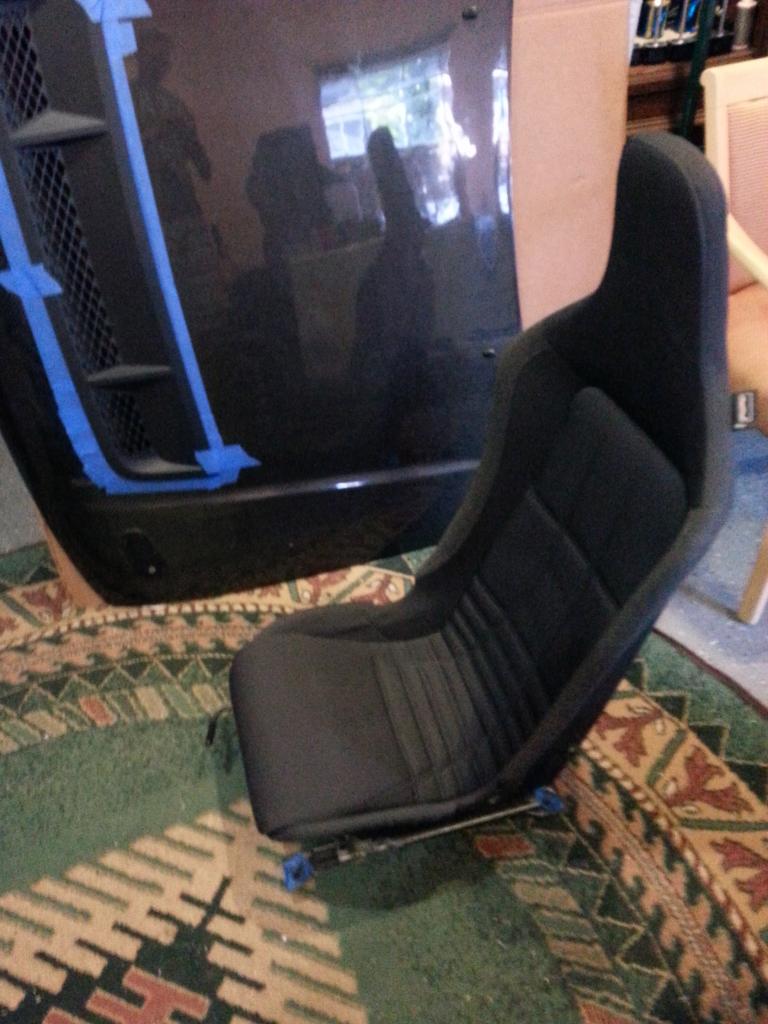
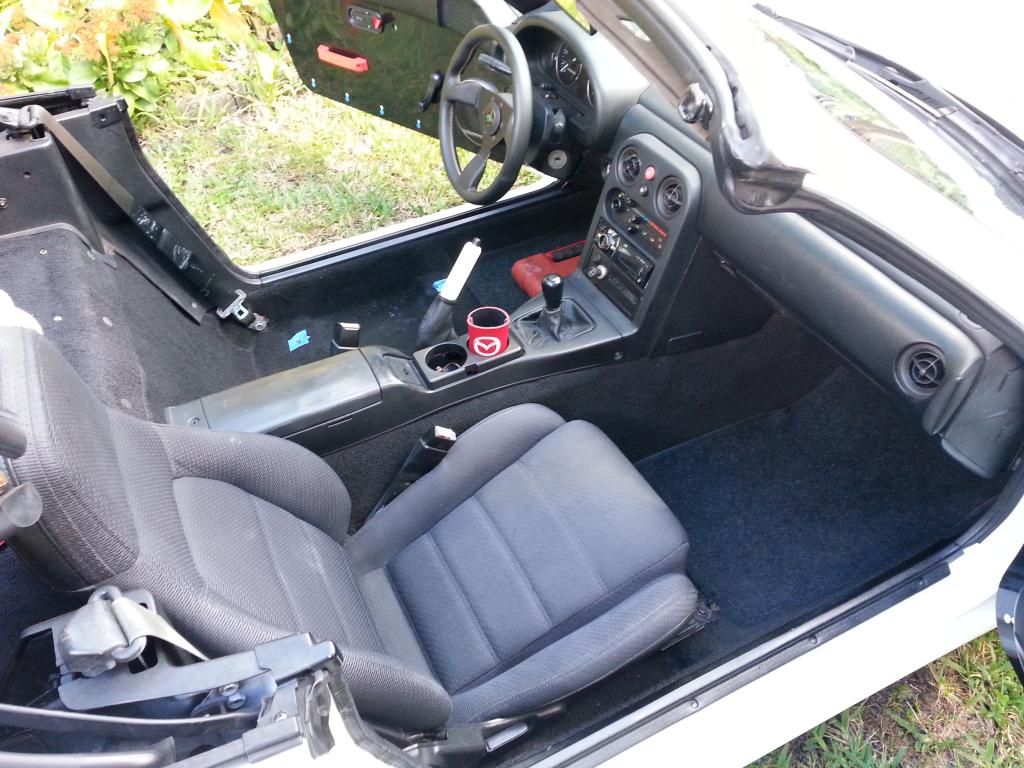
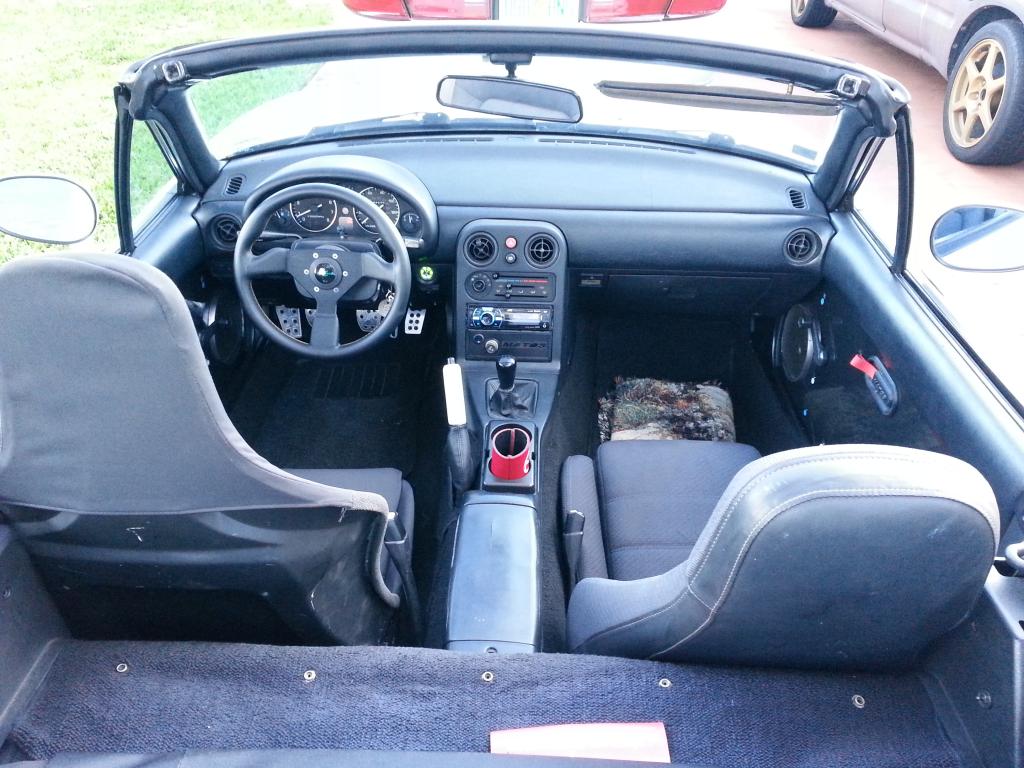
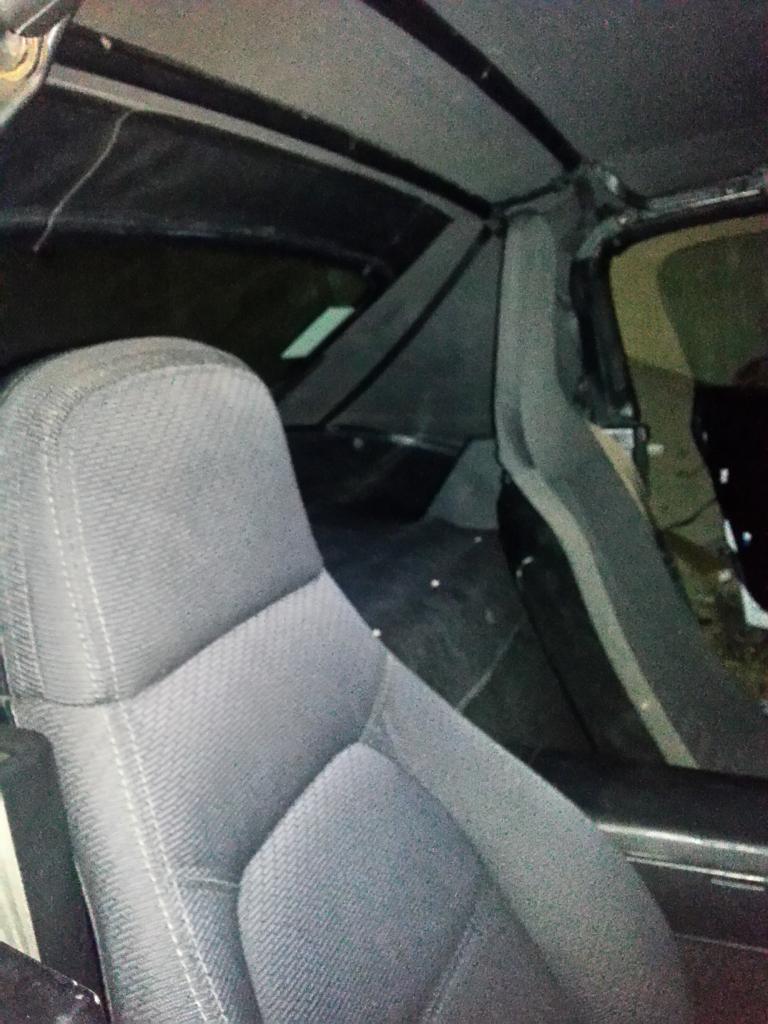
The seat matches the stock interior quite well, to the point that someone unfamiliar with the Miata might confuse it for stock if I had two of them in there. With the seat in, I was able to finally take it for a spin around the neighborhood. While it does hold me in better than the stock seat around corners, it is not very comfortable. I may have to adjust the angle to get my tailbone off the less cushioned parts of the seat rofl. It does let you sit a bit further back and lower, mostly on account of how thin it is.
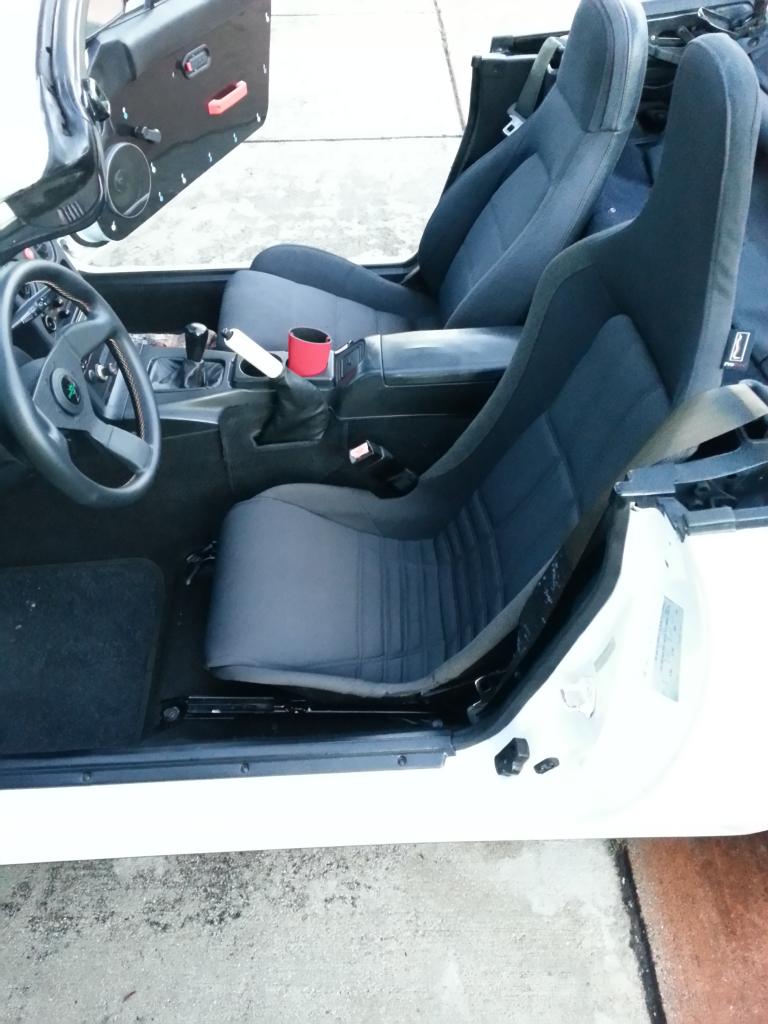
The seat ended up about 1/8" from touching the plastic cover on the seatbelt tower
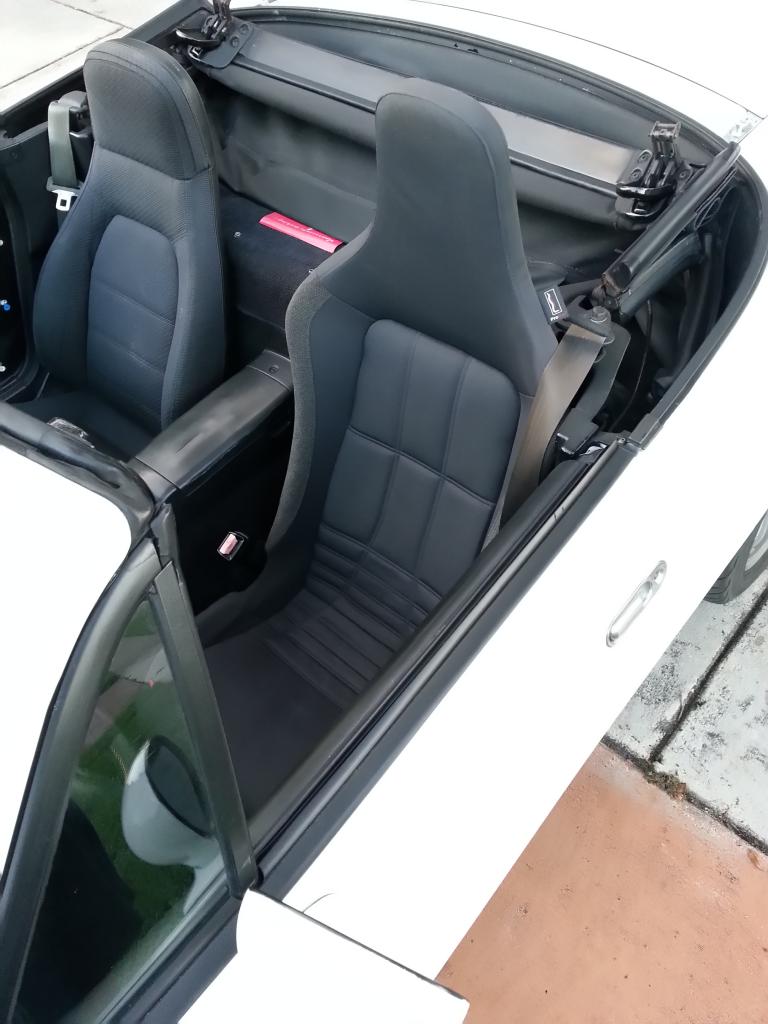
At the rearmost position, there is still a gap between the seat and the wall. I reckon that the brackets and cross bar could be welded further back in order to gain that extra inch. It would definitely come in handy for a taller driver. I'm over 6"1" so I just managed to fit comfortably, but I may explore that in the future. I would definitely have to mod the seatbelt tower cover at that point.

The seat ended up about 1/8" from touching the plastic cover on the seatbelt tower


At the rearmost position, there is still a gap between the seat and the wall. I reckon that the brackets and cross bar could be welded further back in order to gain that extra inch. It would definitely come in handy for a taller driver. I'm over 6"1" so I just managed to fit comfortably, but I may explore that in the future. I would definitely have to mod the seatbelt tower cover at that point.

Reply
0
0
Thread Starter
Junior Member
Joined: Jan 2012
Posts: 316
Total Cats: 3
From: Miami
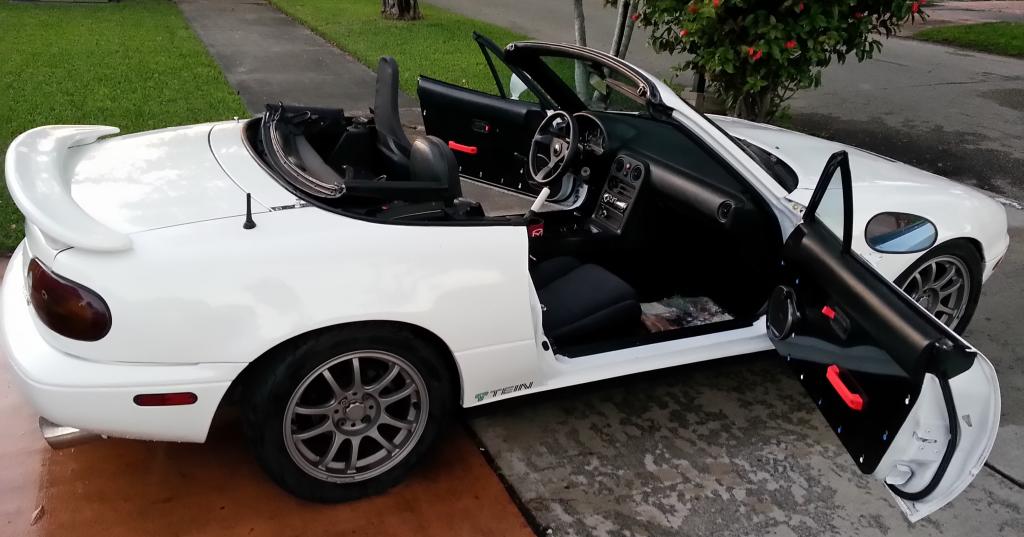
I left the car fully open for a while to vent out the paint fumes, it was also a good excuse to take pictures
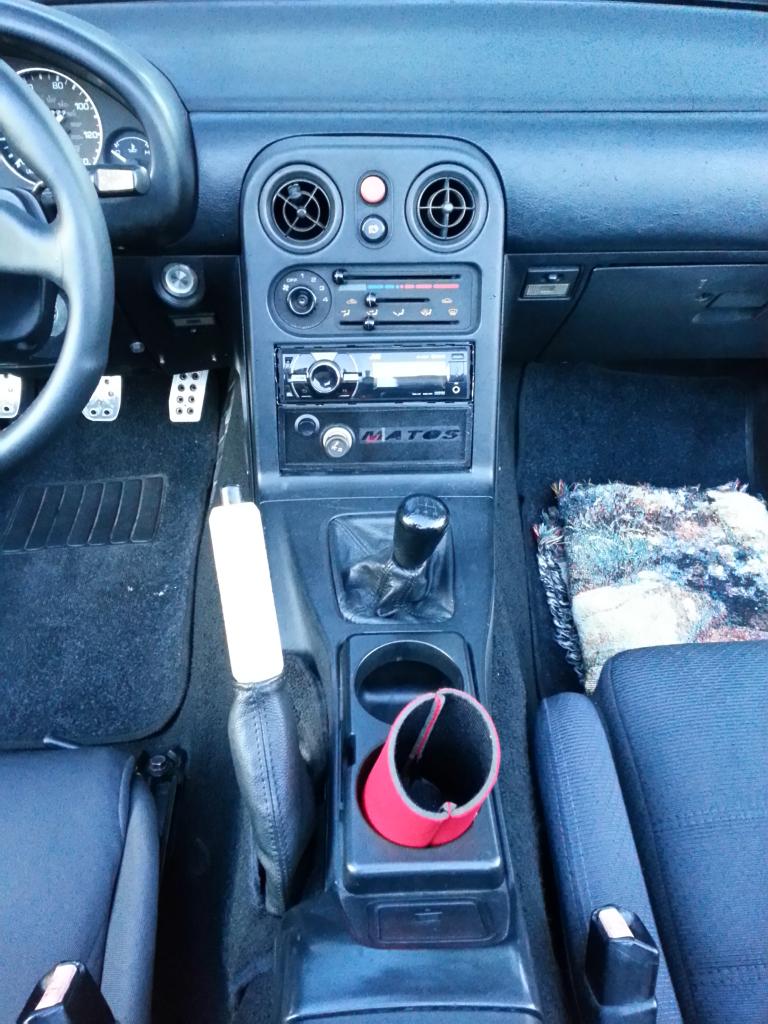
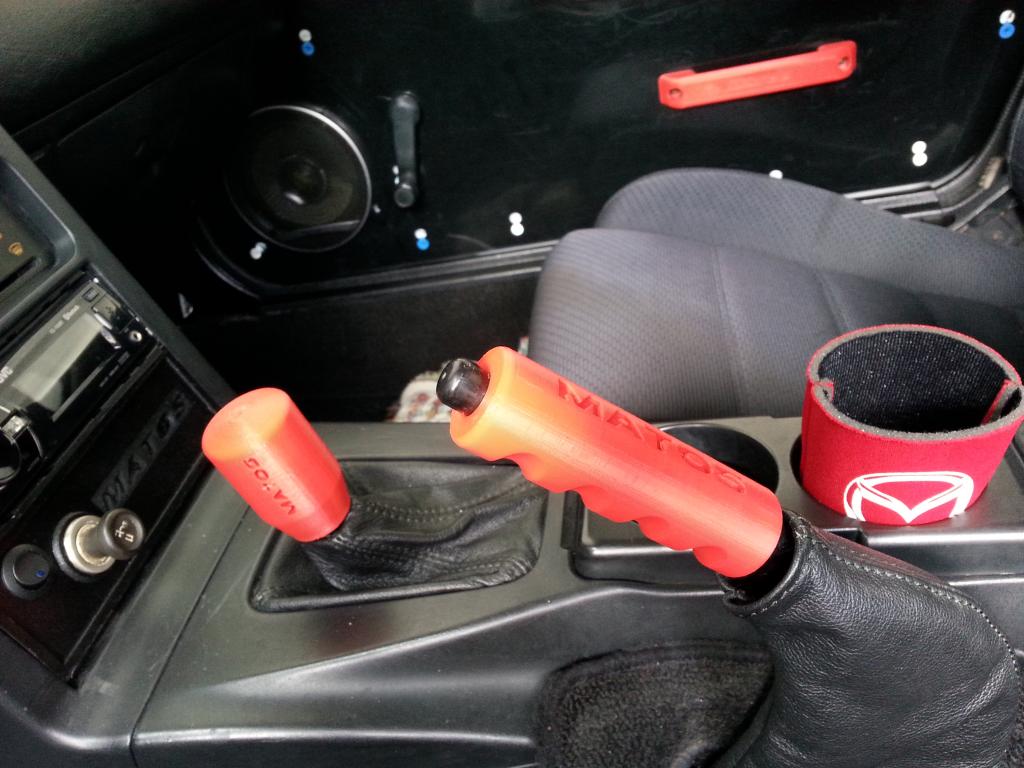
Figured I'd show off my center console again lol
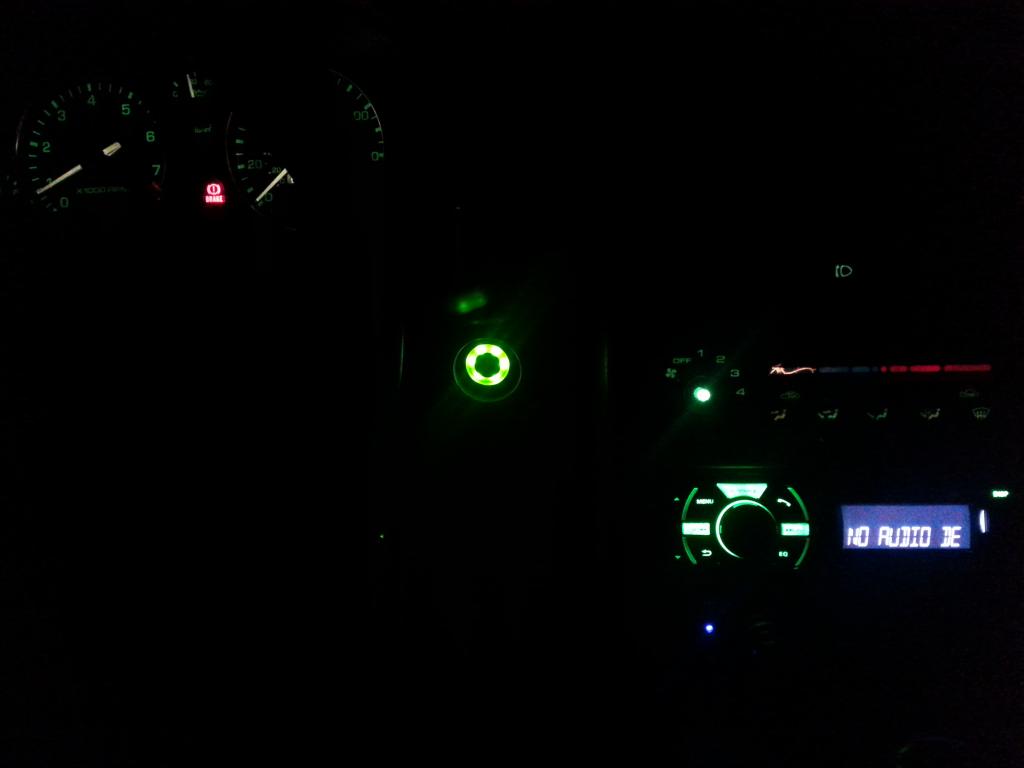
Here's a night shot of my push start button taken once I put the car away
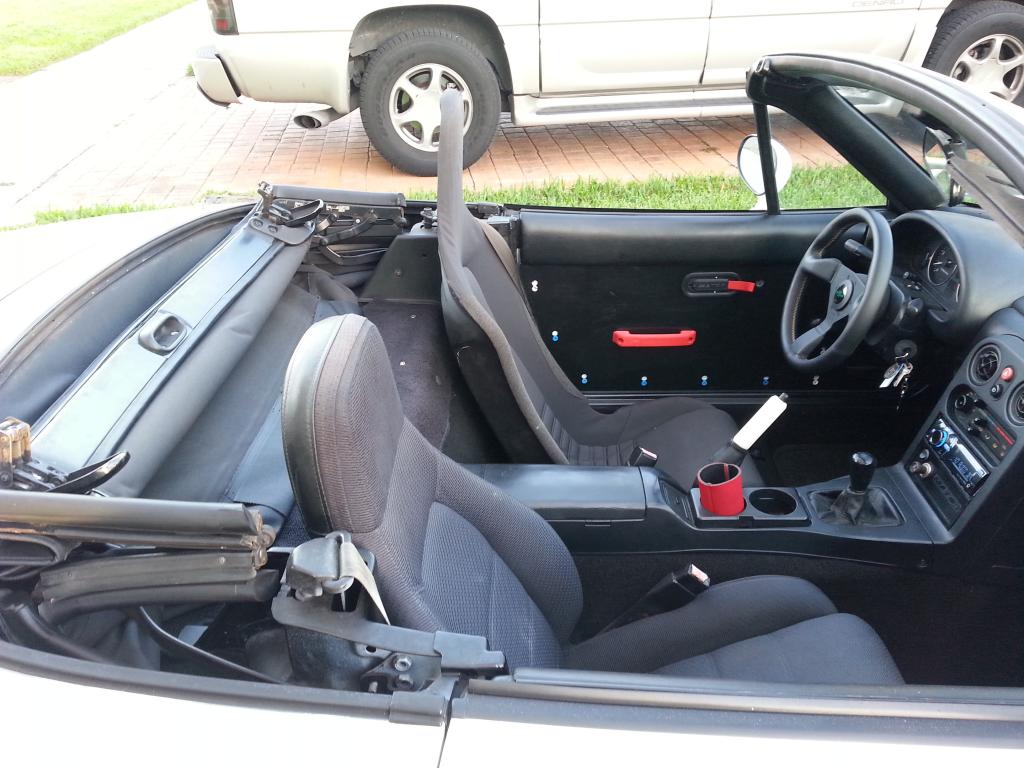
Followed by a poor quality shot of how the seat manages to clear the top

Figured I'd show off my center console again lol

Here's a night shot of my push start button taken once I put the car away

Followed by a poor quality shot of how the seat manages to clear the top

Reply
0
0
Thread Starter
Junior Member
Joined: Jan 2012
Posts: 316
Total Cats: 3
From: Miami
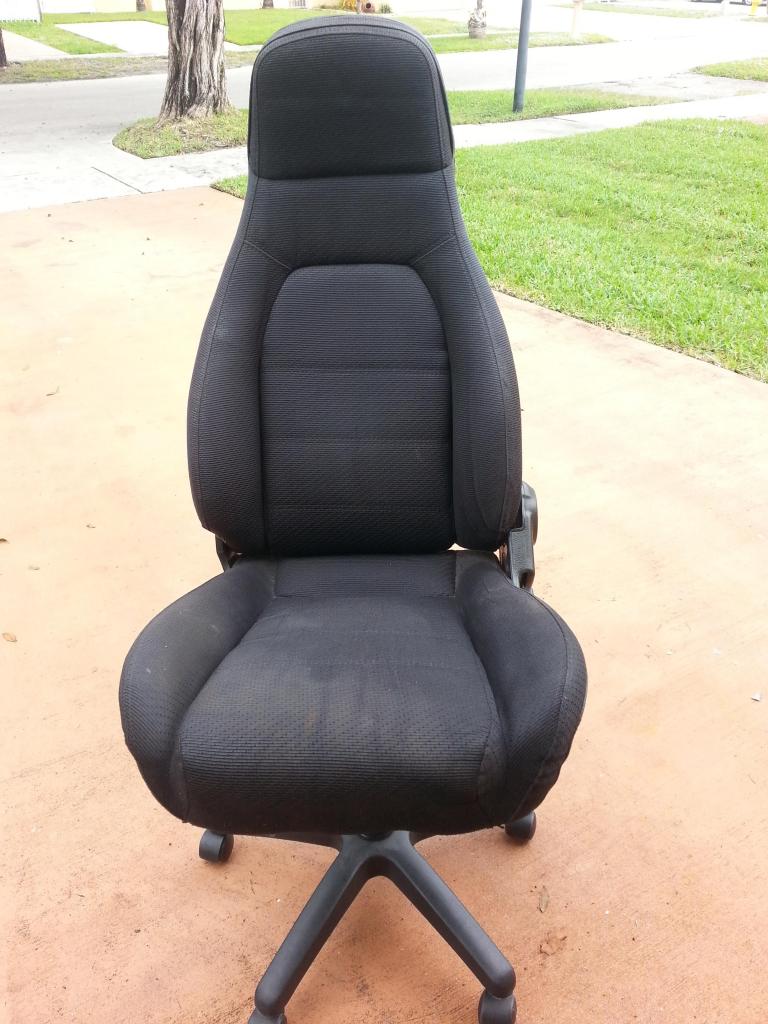
With the Elise seat in the Miata, I ran into a little conundrum, I now had a perfectly good driver's seat that I didn't want to throw out... I also had an uncomfortable office chair... I love knowing how to weld 


Reply
0
0
Thread Starter
Junior Member
Joined: Jan 2012
Posts: 316
Total Cats: 3
From: Miami
Random facts just to provide reference to other members who may want an Elise swap:
The bolts sticking out of the bottom of the Elise seats and the top bolt holes on both sides are threaded to M8-1.25 threading. The bottom holes on the sides are 7/16"-20. I know this is odd, as you would think that all the threading should be metric. However, this seems to be some kind of standard for bolts that hold seatbelt receivers. Your local, big box hardware store is not likely to carry these. Fortunately, there's Ace the helpful place I was able to obtain Grade 8 7/16"-20 bolts with the nice zinc coating there for pretty cheap.
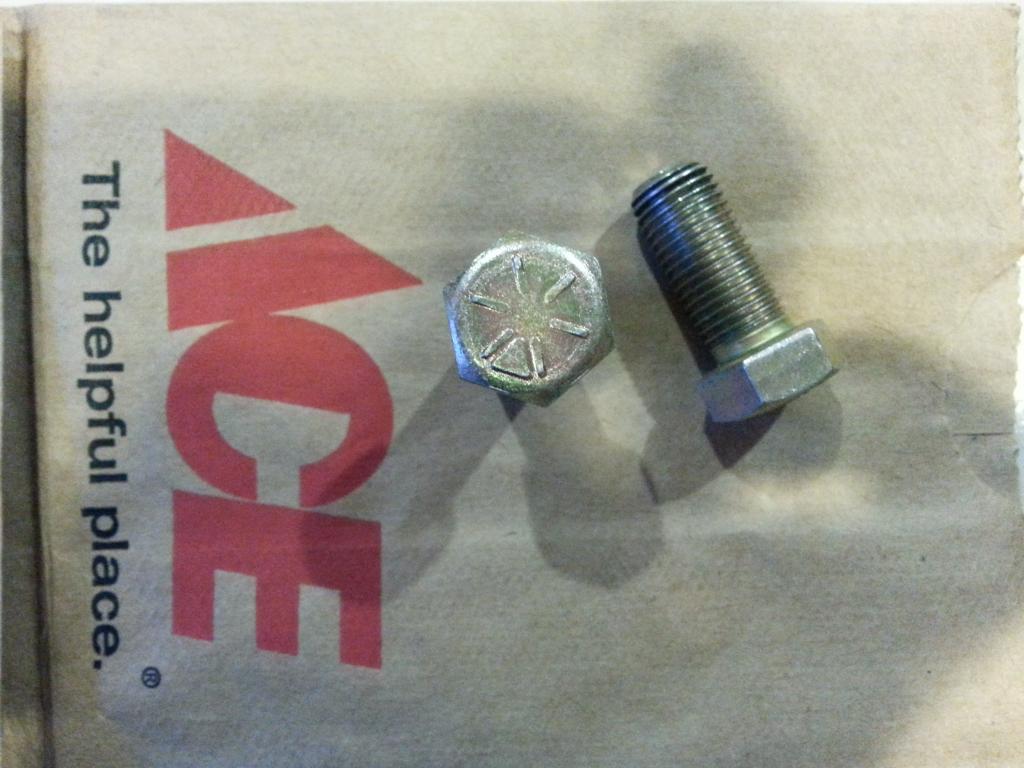
The bolts sticking out of the bottom of the Elise seats and the top bolt holes on both sides are threaded to M8-1.25 threading. The bottom holes on the sides are 7/16"-20. I know this is odd, as you would think that all the threading should be metric. However, this seems to be some kind of standard for bolts that hold seatbelt receivers. Your local, big box hardware store is not likely to carry these. Fortunately, there's Ace the helpful place
I was able to obtain Grade 8 7/16"-20 bolts with the nice zinc coating there for pretty cheap.
Reply
0
0
 [/URL]

Thread Starter
Junior Member
Joined: Jan 2012
Posts: 316
Total Cats: 3
From: Miami
A section of my yard was looking pretty beat, so I decided to build a driveway/gym in the space. I got 40 rubber pavers for free thanks to a friend of mine and I had a huge pile of sand left over from a previous project, so why not?
As you can see, this part of the yard was ugly. I tend to park a car here, so the grass was gone
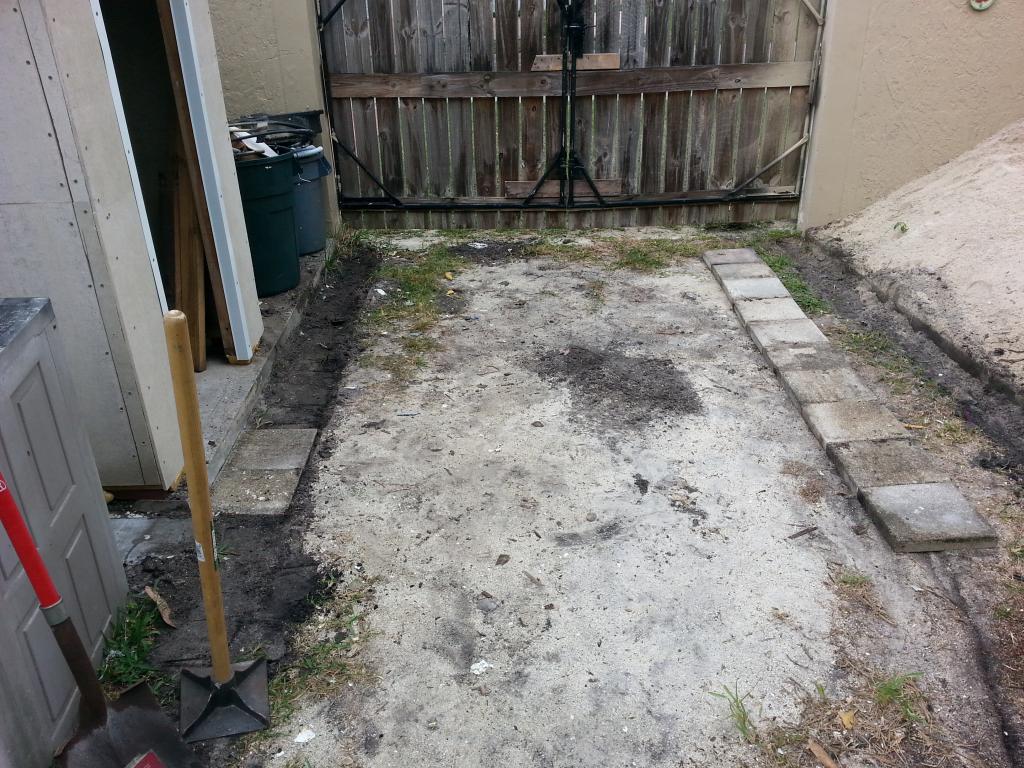
I ran two lines of concrete pavers I had laying around.
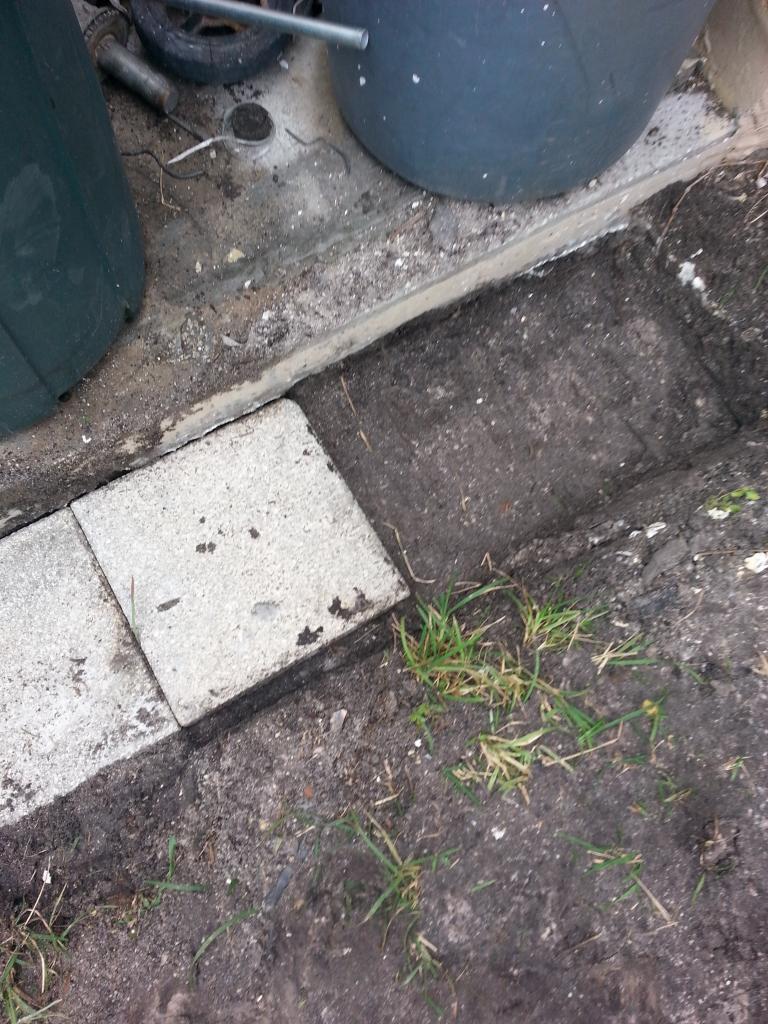
Then, I dug out an area roughly 7' wide and 16' long
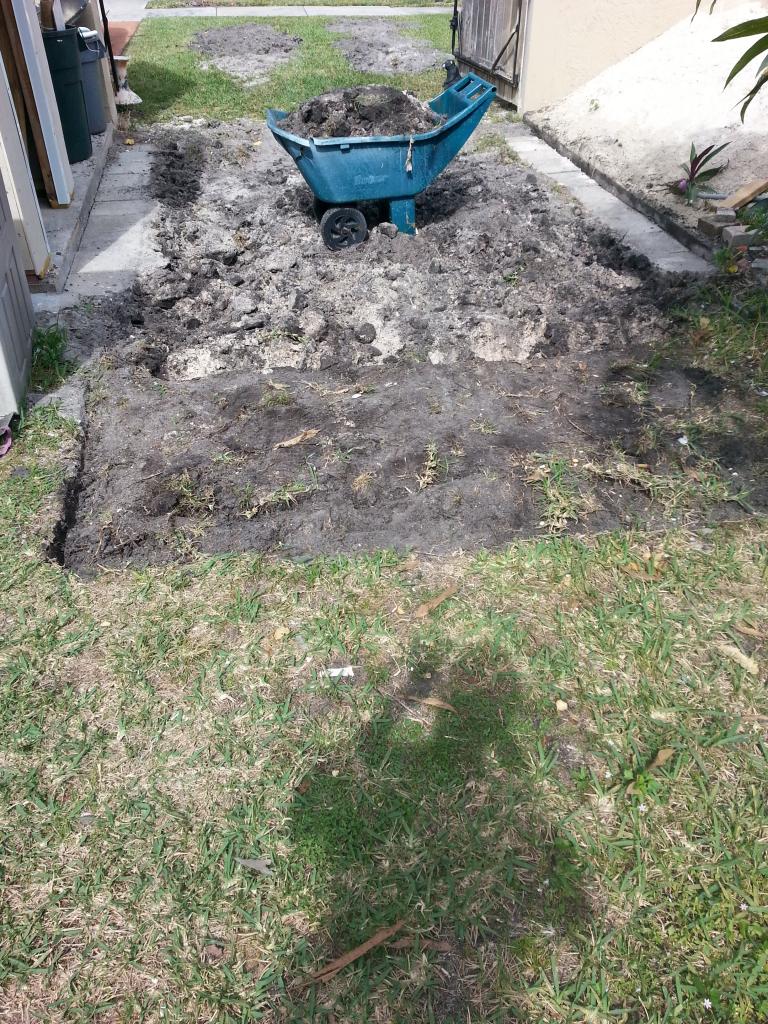
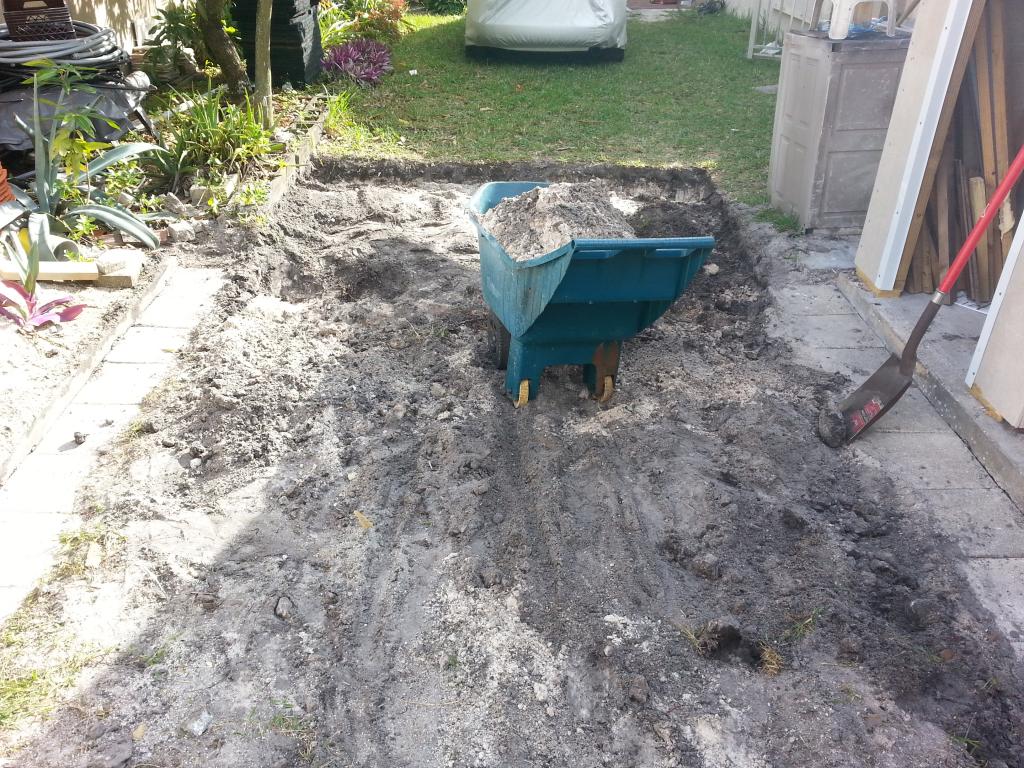
The dirt I brought up was used to level out other parts of my backyard that had dropped over the years (mostly due to flooding after hurricanes in the 90s).
Reply
0
0
Thread Starter
Junior Member
Joined: Jan 2012
Posts: 316
Total Cats: 3
From: Miami
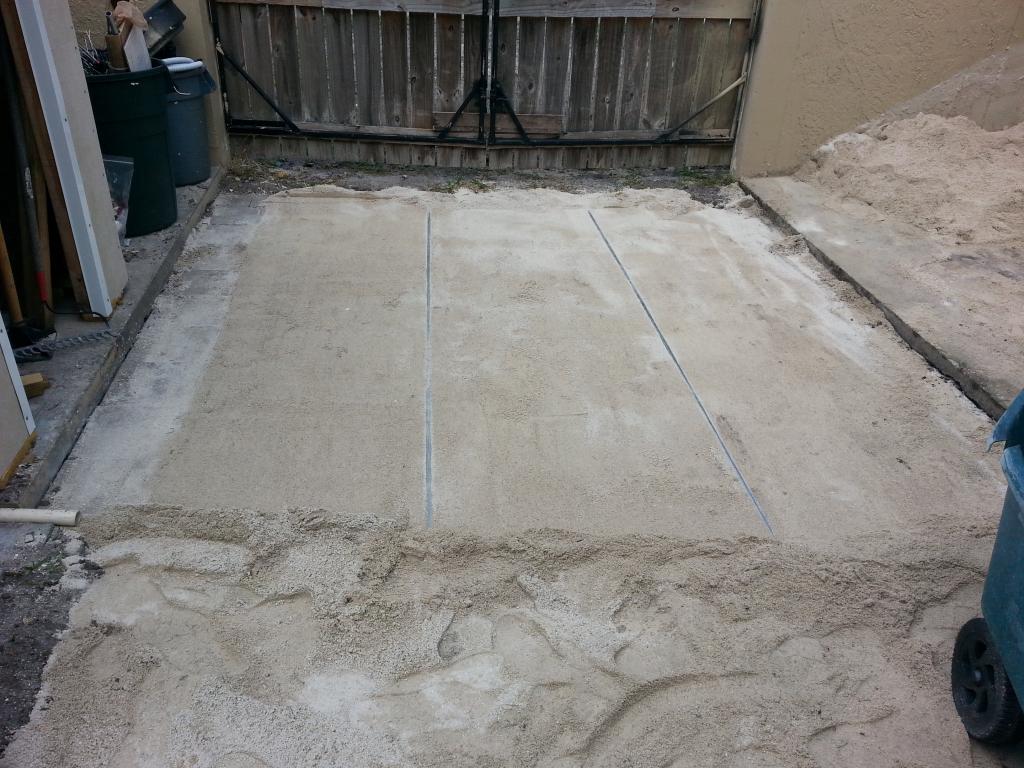
From there, I started spreading sand all over the space and patting it down. Once done with that, I lay down some steel tubes to use as screeding guides. I poured sand on either side of them and got to screeding.
I did the middle first
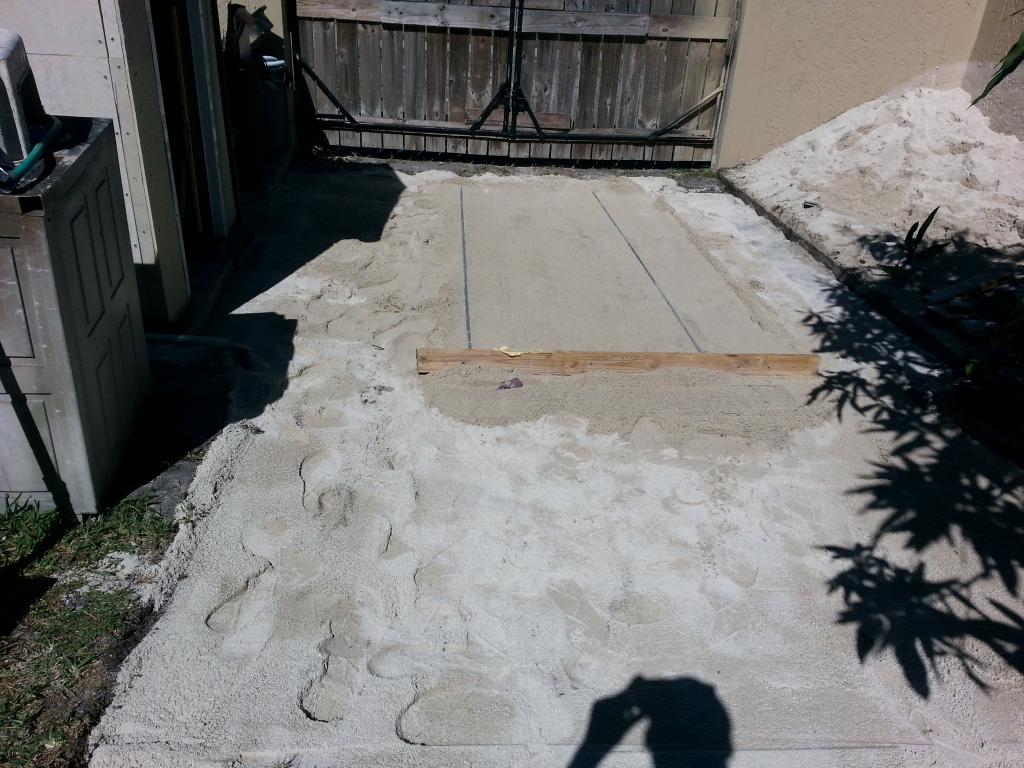
Then I did the sides
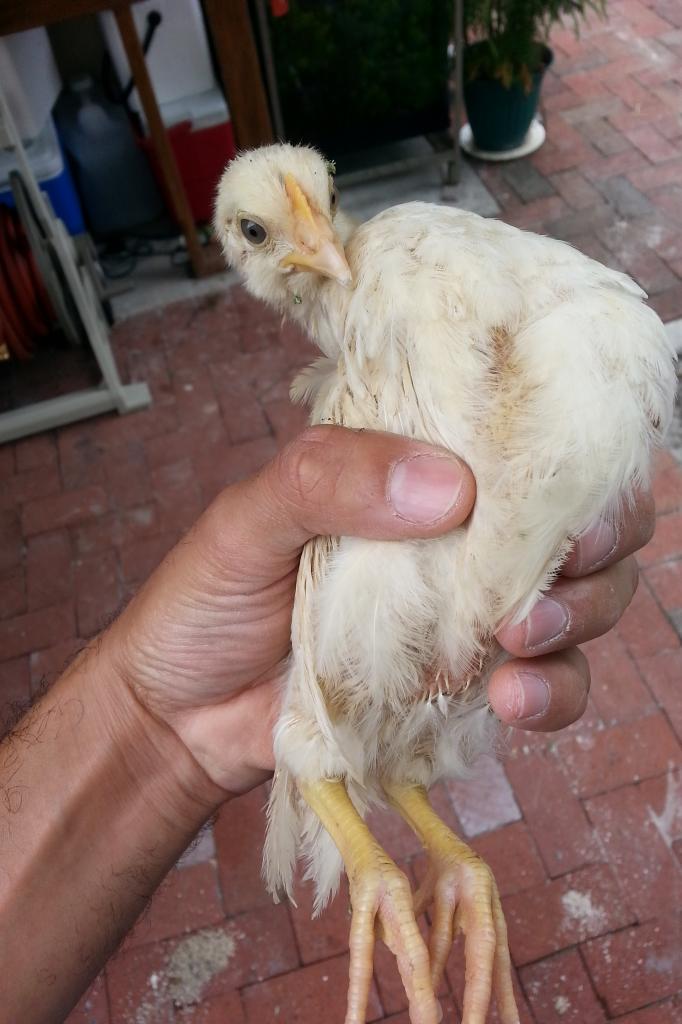
I took a break to chase out a neighbor's dog which chased another neighbor's chicken into my yard. I also had to chase down and capture the chicken, lest it ruin my garden by pecking at the plants. I knocked on my neighbor's door and returned the chicken, then I resumed my work.

Reply
0
0
Thread Starter
Junior Member
Joined: Jan 2012
Posts: 316
Total Cats: 3
From: Miami
Once I finished screeding the sand all the way to the end, I lay down the rubber pavers
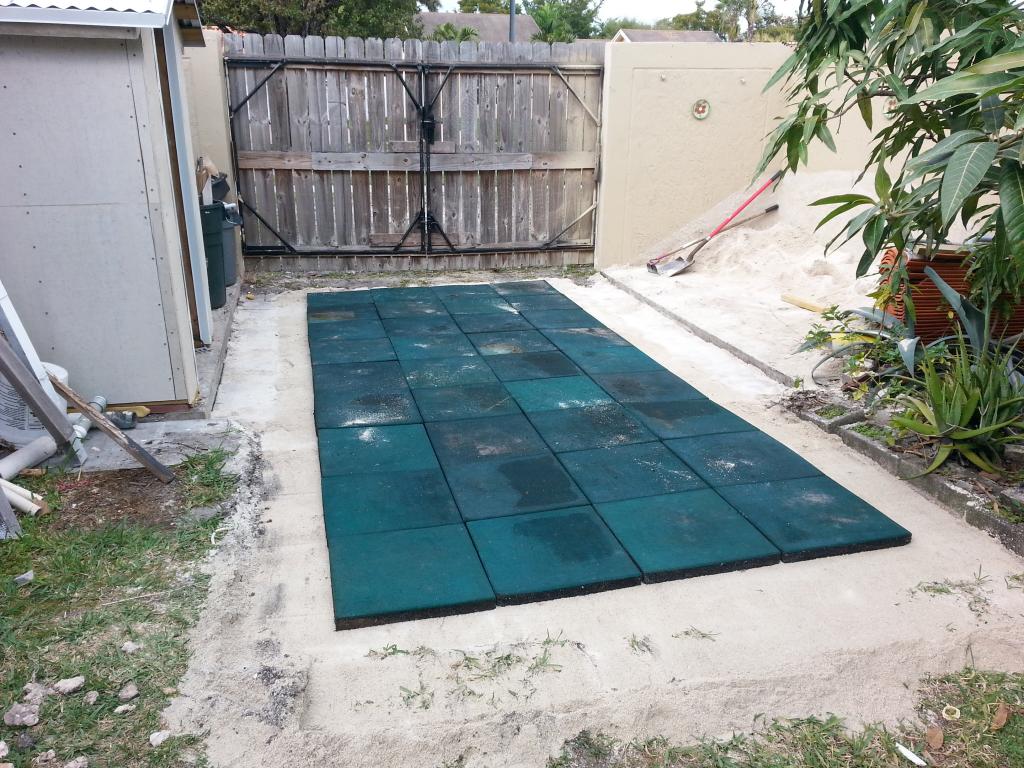
I added four extra pavers, two at the entrance to the shed and two on the opposite side for walking onto the other concrete block. At this point, I retired for the day and it began to rain... typical south Florida...
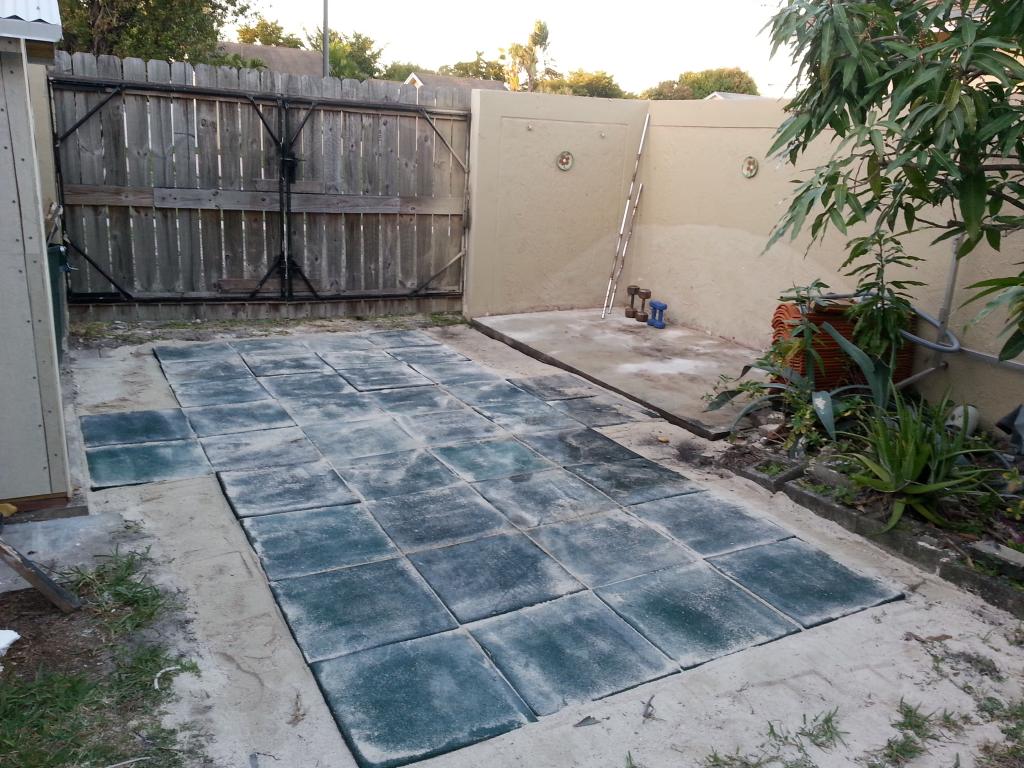
The next day, I added sand on top of the pavers to fill all the gaps between them. I also cleared out the sand that was left on the concrete block on the right.

I added four extra pavers, two at the entrance to the shed and two on the opposite side for walking onto the other concrete block. At this point, I retired for the day and it began to rain... typical south Florida...
The next day, I added sand on top of the pavers to fill all the gaps between them. I also cleared out the sand that was left on the concrete block on the right.

Reply
0
0


Thread Starter
Junior Member
Joined: Jan 2012
Posts: 316
Total Cats: 3
From: Miami
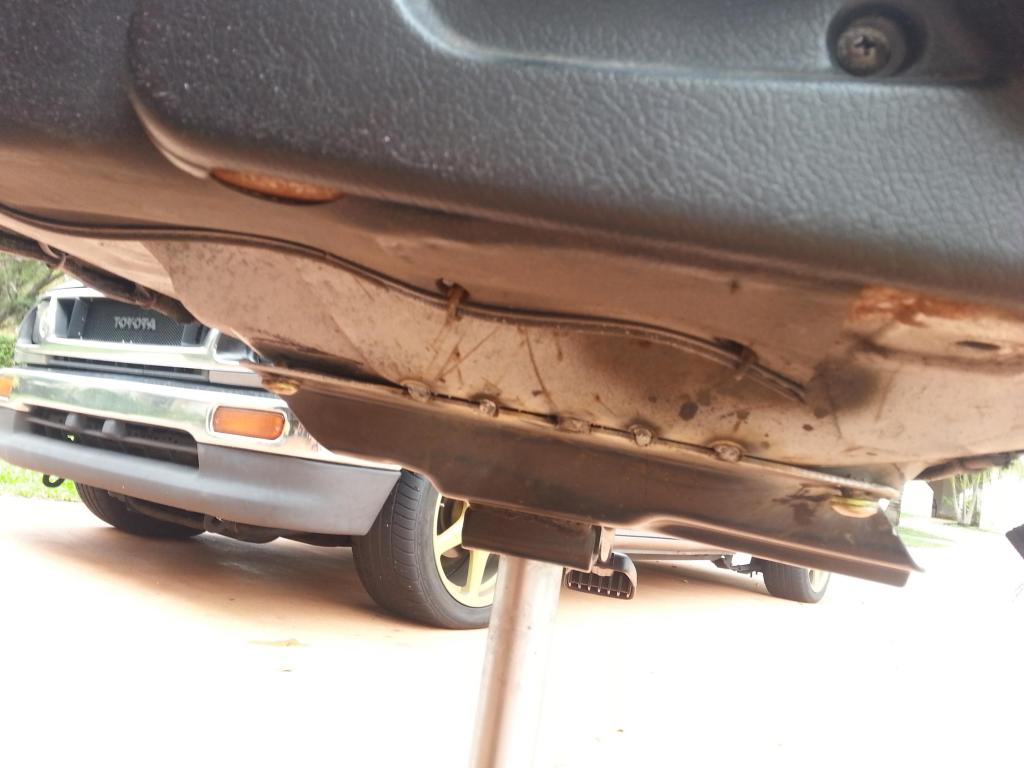
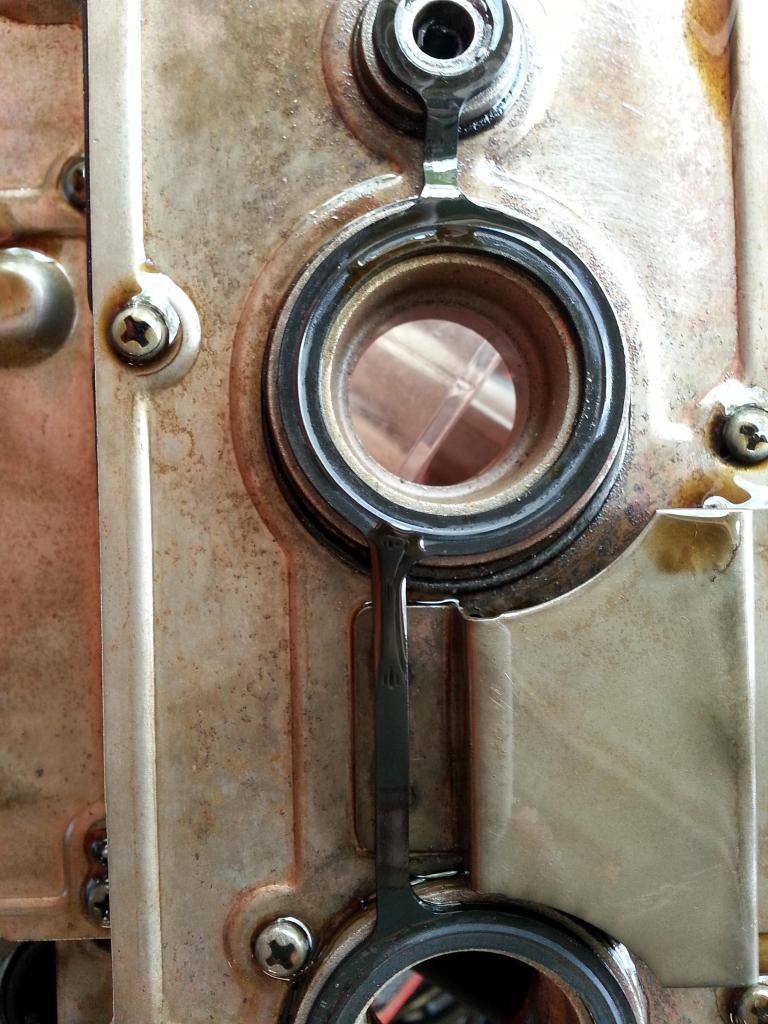
So my car had been having trouble starting. At some point, I wondered if some teeth hadn't broken off my starter. Before taking on the mission of changing plugs, I decided to check my plugs. Sure enough, they were fouled. Particularly plug #2 as oil had been leaking into it from the valve cover area.

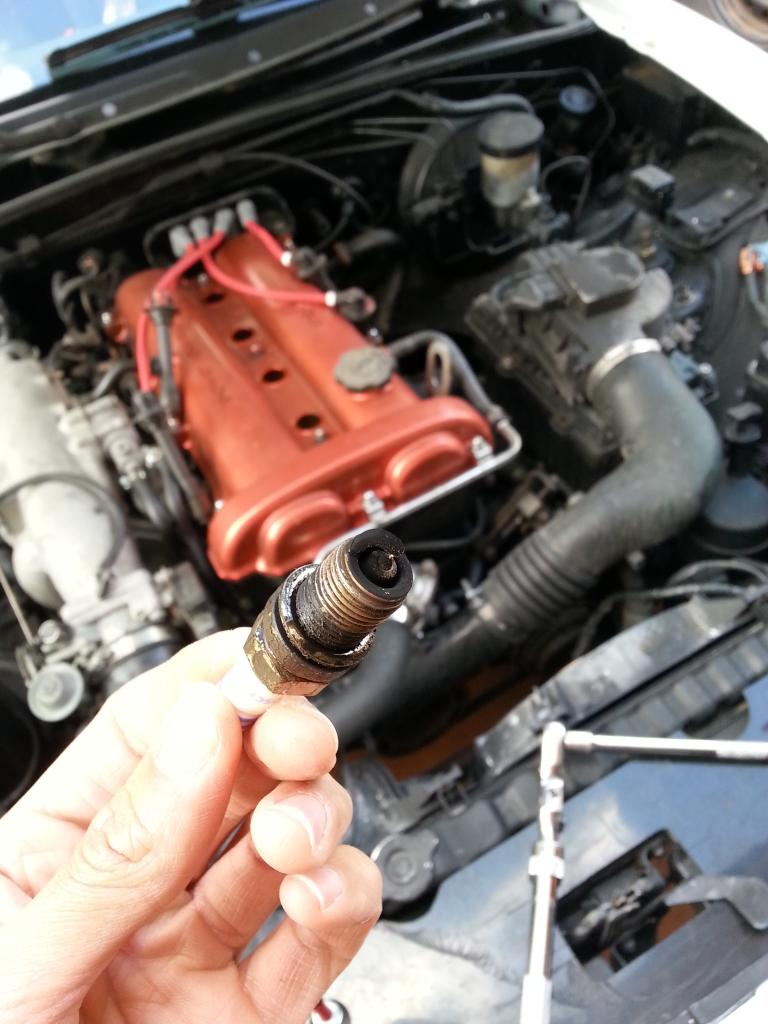
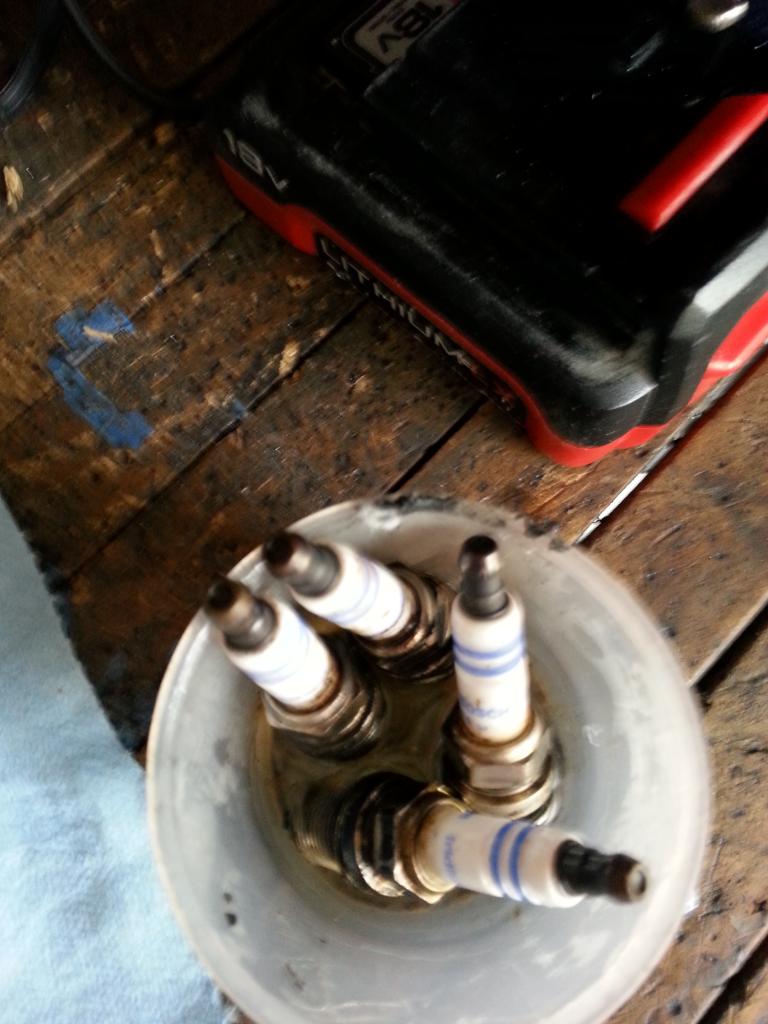
I dipped all four plugs in degreaser, followed by sea foam in order to clean them up
It's hard to tell in the picture, but the part of the gasket above plug#2 was definitely warped.


I dipped all four plugs in degreaser, followed by sea foam in order to clean them up

It's hard to tell in the picture, but the part of the gasket above plug#2 was definitely warped.

Reply
0
0


