When you click on links to various merchants on this site and make a purchase, this can result in this site earning a commission. Affiliate programs and affiliations include, but are not limited to, the eBay Partner Network.
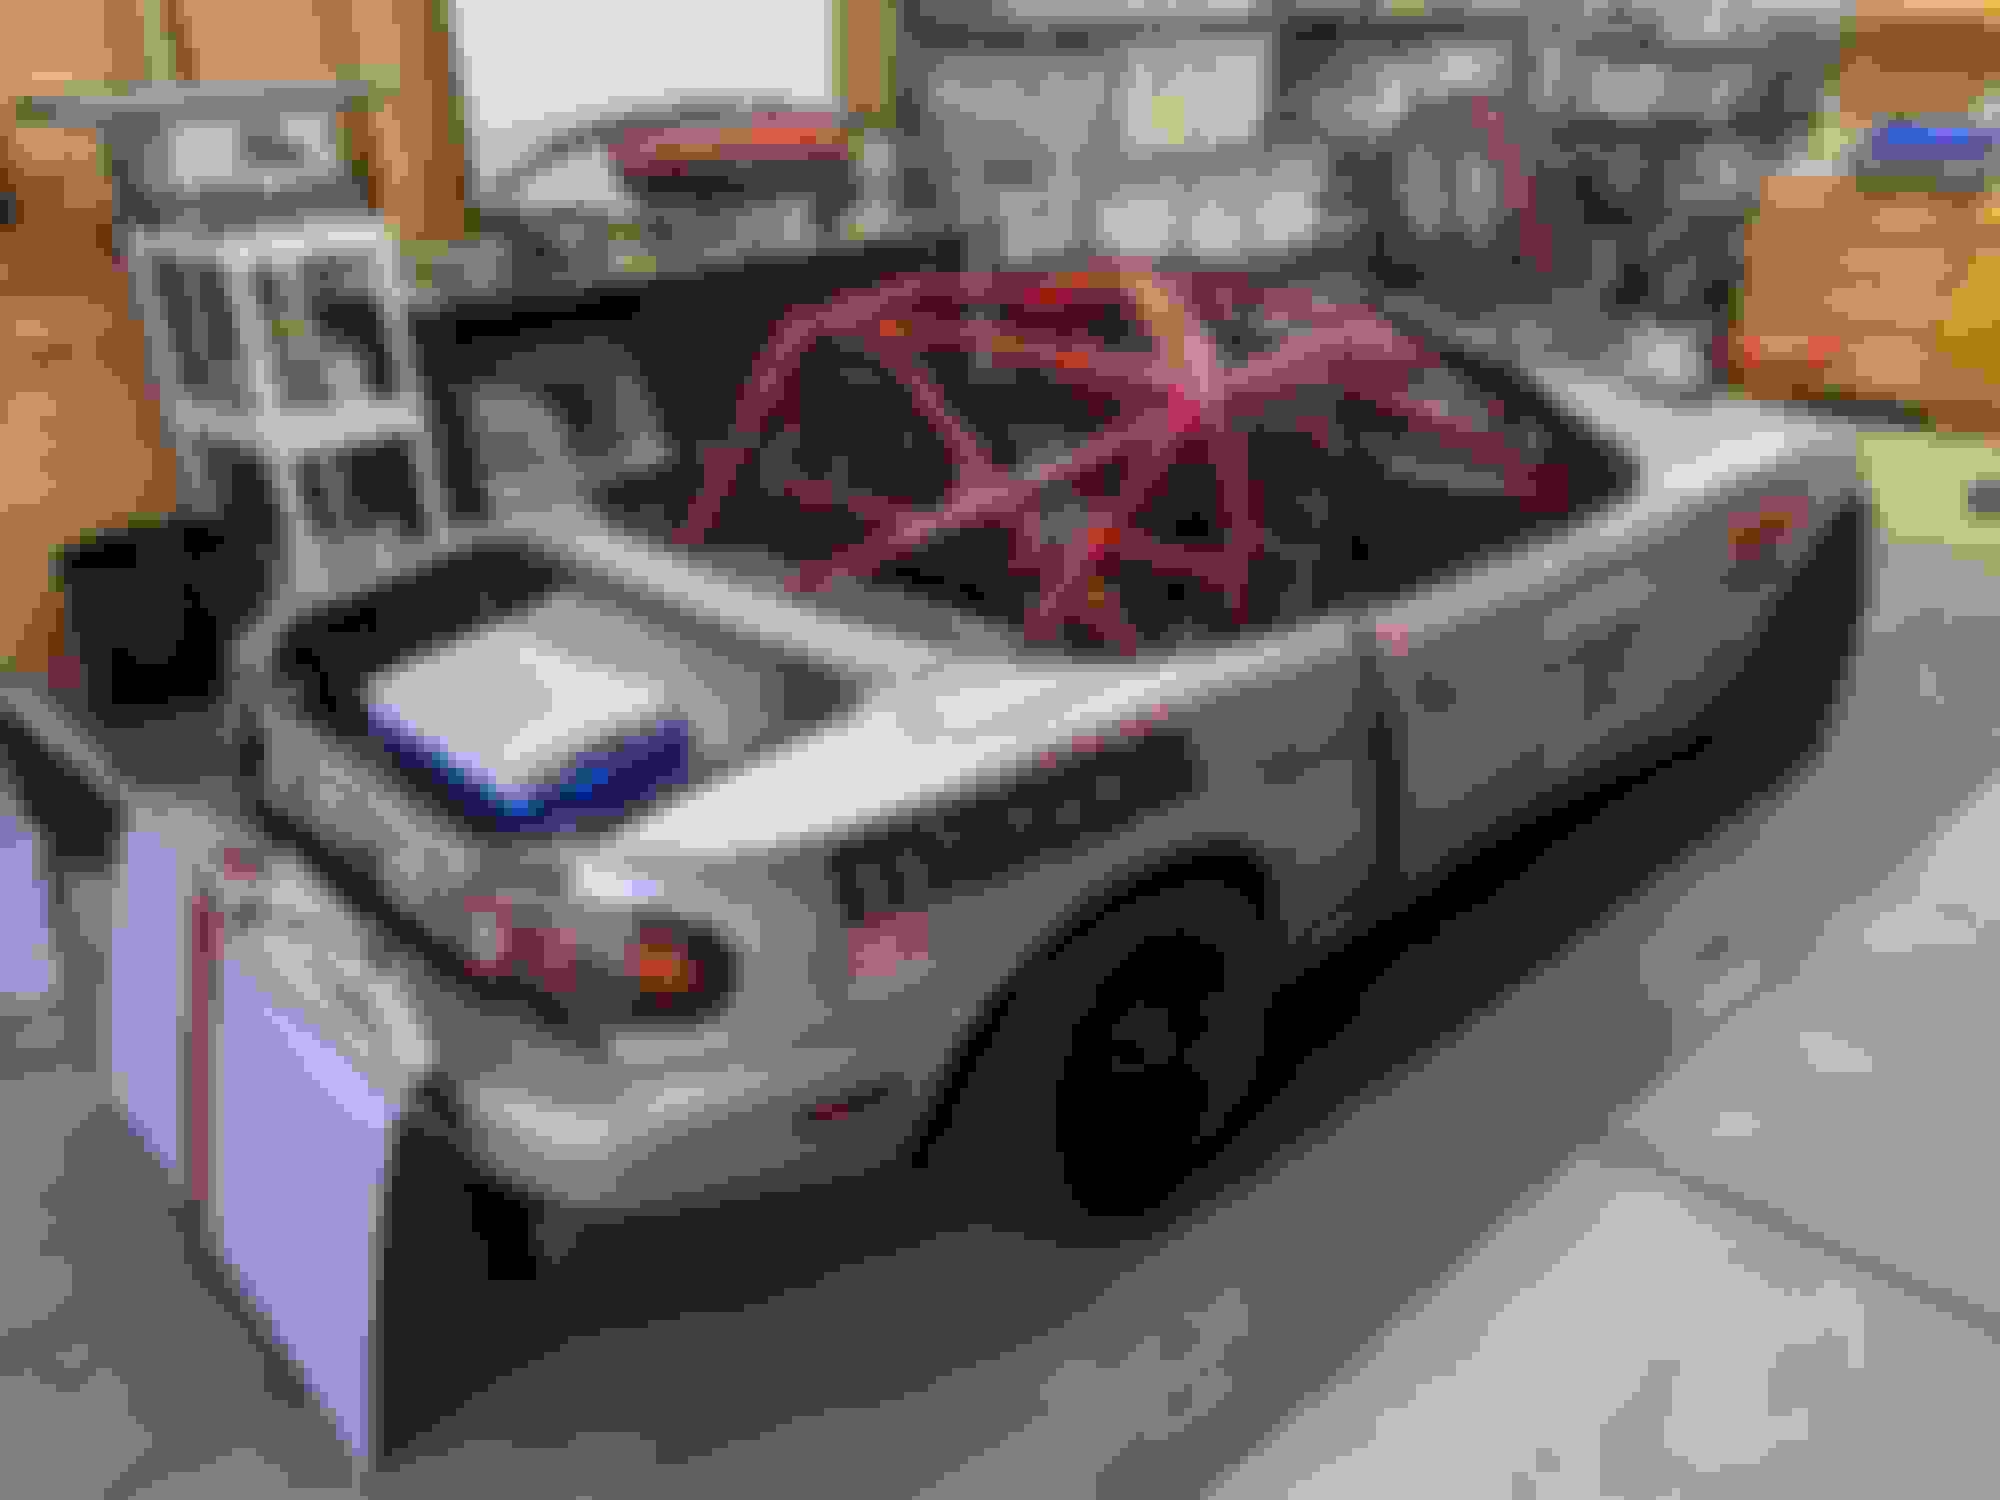
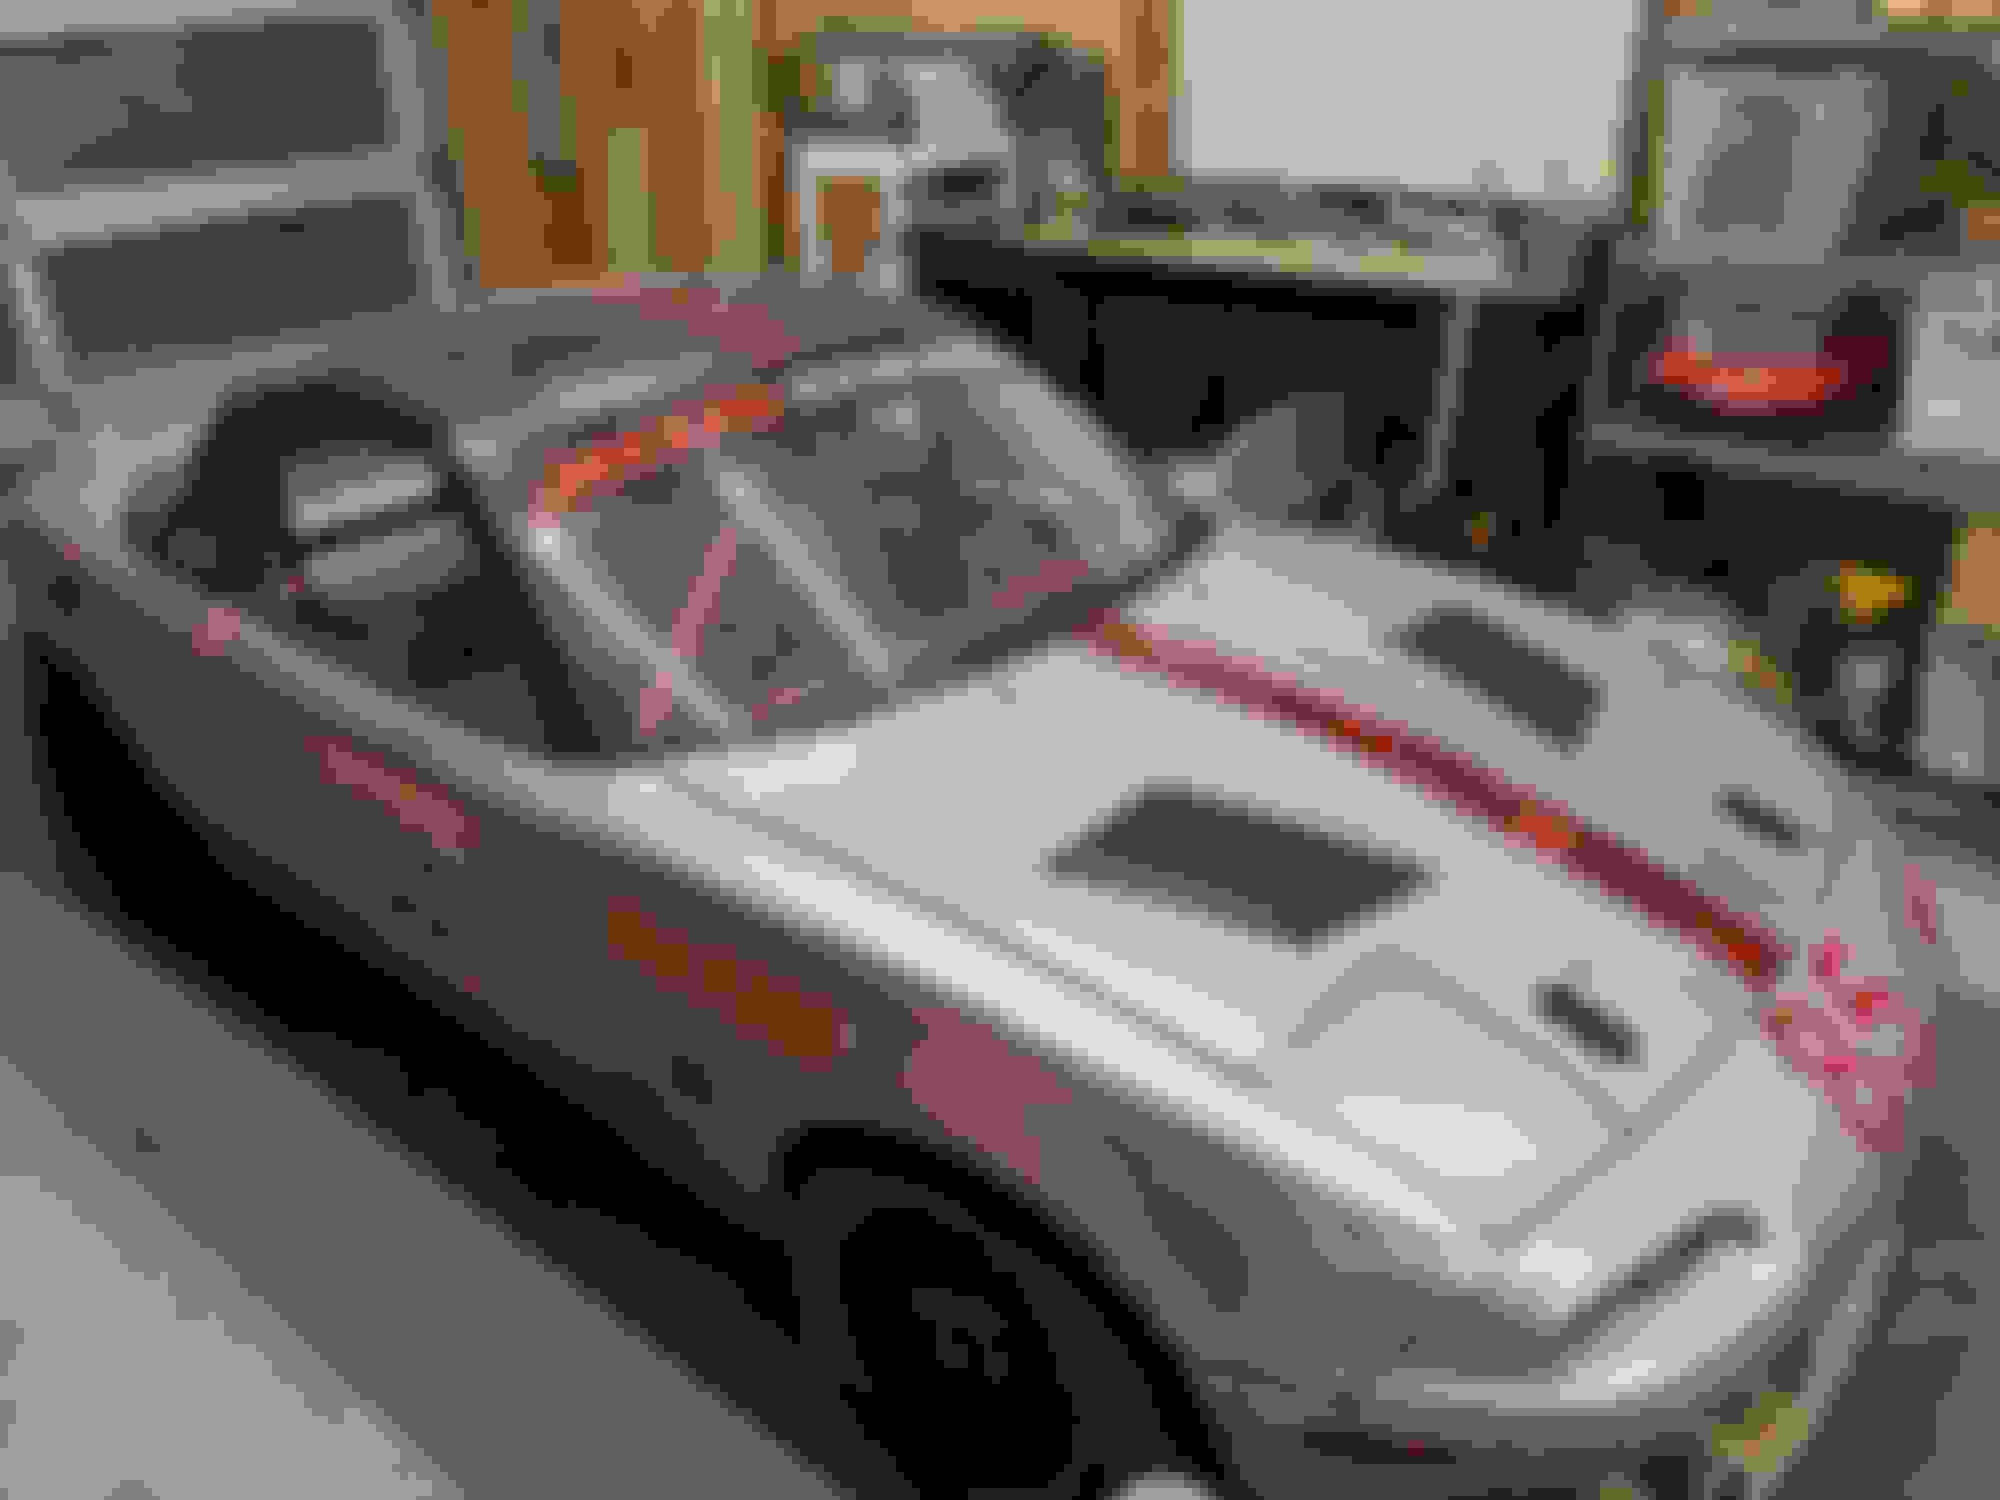
I'm going to be documenting the rebuild of my miata race car named Trogdor. I'm changing it from a competitive SuperMiata car into a regional NASA ST5 car and considering participating in national championships.
I bought the car back in 2010 and slowly bought all the go fast bits with every penny I could scrounge together as I competed in Miata Challenge. Eventually decided to go W2W racing and got a BFW cage installed and started with NASA PTE in 2013 but didn't have the budget to be competitive. Quickly jumped ship after a hand full of races to the newly forming SuperMiata series where I've been chasing the championship until the end of 2018 when I decide to move from California to Colorado. Got a new job, bought a house, and now time to rebuild for ST5 in NASA Rocky Mountain region.
I rewired the entire car with all new connectors and components back in 2013 with aviation circuit breakers, AEM EMS-4, and RacePak IQ3 Dash. I learned a lot as an engineer in the automotive industry so I'm hoping to fix some things that really bother me everytime I see them. I'll be keeping the RacePak for now but purchased a MS3Pro EVO and ECUMaster PMU-16 over the holidays. I'm deep in the electrical planning phase and I finally pulled my car out of the trailer after over a year. Also picked up a used OS Giken with 4.77 gears from a buddy so Iooking forward to trying that. I had a fresh long block built by Haag before I moved that is waiting to be installed after I get the electronics sorted.
Any other Colorado or NASA Rocky Mountain people on here?
Snuck in some more time than I thought I would be able to this weekend. Finished removing the old power distribution system and mounted the MS3 and PMU. I had some problems with my AEM not starting up when it got too hot (turns out it is a weird password glitch) so I wanted to tuck the electronics a little more under the dash and out of the sun. Bent some 1/8" aluminum brackets with space behind the boxes to hopefully run most of the harness between the boxes and firewall. Brackets don't look the best but the boxes are plenty sturdy. I used to have a full machine shop at my disposal at work but I'm stuck with hand tools and a vice for now.
I was thinking I would mount the battery in the passenger area but I'm not liking any spots where the battery would fit. Trunk mounted might be cleaner and more protected without having to rethink grounding.
I need to finish up my electrical planning so I can order the rest of my wiring supplies. I'm also planning other system upgrades to fuel, brakes, and front end aero.
Planed out the entire electrical system in excel down to the pin and wire color level. Also started working in Jira to track tasks and I'm building out the documentation in Confluence. Sampling here:
So many boxes to ship but supplies are starting to roll in
Got the ECUMaster CAN keyboard and Battery Isolator:
All new TXL wires form ProWireUSA, new connectors for all the sensors and items on the engine from Ballenger Motorsports, Radium fuel rail to go with the 450cc injectors i picked up earlier, and some deutsche motorsports connectors:
I'm breaking the MS3pro 5v ref out to 9 sensors (TPS, IAT, CLT Temp, CLT Pres, Oil Temp, Oil Pres, Fuel Pres, Fuel Level, Brake Pres) and I was trying to figure out a graceful way to do that without a giant soldered glob of wires. I came across a deutsche connector splice which is a bus bar the connects all or some of the pins in a connector. Each pin can handle something like 13 amps so it will be good for this and allow modifications in the future without redoing a soldered connection. I picked up a couple 12 pin bussed connecters for the 5V and sensor ground distribution. Also picked up a couple 6 pin version for low amp grouding circuits to hopefully control the grounding rats nest.
Still waiting on a few more goodies and trying to figure out if I'll be able to connect the Battery Isolator, PMU, MS3Pro, and Racepak all on a single CAN bus and log it all on the Racepak. I refuse to buy a $450 universal CAN bus adapter and I've been eyeing an AIM MXL2 but haven't convinced myself I "need" it but I'd rather put the money towards that. I found this Vnet diagram so it's worth a try to go straight to the Racepak CAN.
I also starting putting together my plans for the fuel system plumping and moving the brake bias adjuster inside the cabin along with a break pressure sensor.
After only 3 failed and over complicated iterations, I finished my battery mount. Mounted to the Battery Isolater on the top. Waiting for the ETX14 to arrive but the ETX9 is dimensionally the same except for the height.
Also worked on harness routing. Mocked up engine and chassis harness with some 3/8" nylon rope to determine branch points and mounting locations. Saw this technique in a High Performance Academy youtube video from their club level harness series. Watched the available free videos and picked up some good tips but not sure $200+ will make a difference at this point.
Pulled it all out of the car in one piece so I should be able to build the majority of the harness to this template without dealing with the constraint of the car.
Still looking for some good grommets for the large 2.75" openings in the firewall on either side. Ordered a couple to try off of amazon but not really finding anything else if these don't work. Anybody seen something that works?
Still been moving along with the build in my spare time. I'm fortunate enough to have a job during this pandemic that allows me to continue to work from home so still leaves me with just weekend time.
Decided to upgrade to an AIM MXL2 so got that mounted up with minor modifications to the mount I was using for the my Racepak IQ3. Also started learning about the CAN setup and digging into the analysis software and I'm pretty sure I'll be adding an AIM steering sensor string pot to he steering shaft. Lots of great youtube videos out there and articles to read. Stumbled on to a class that is probably way above my level being taught by John Block. He seems to have a ton of great data experience at the pro level and now retired so not afraid to spill the beans on things that might have pushed the limits of rules in Indy and NASCAR. He has something like 250 math channels setup in the AIM software and he is sharing most of his process and profiles with us.
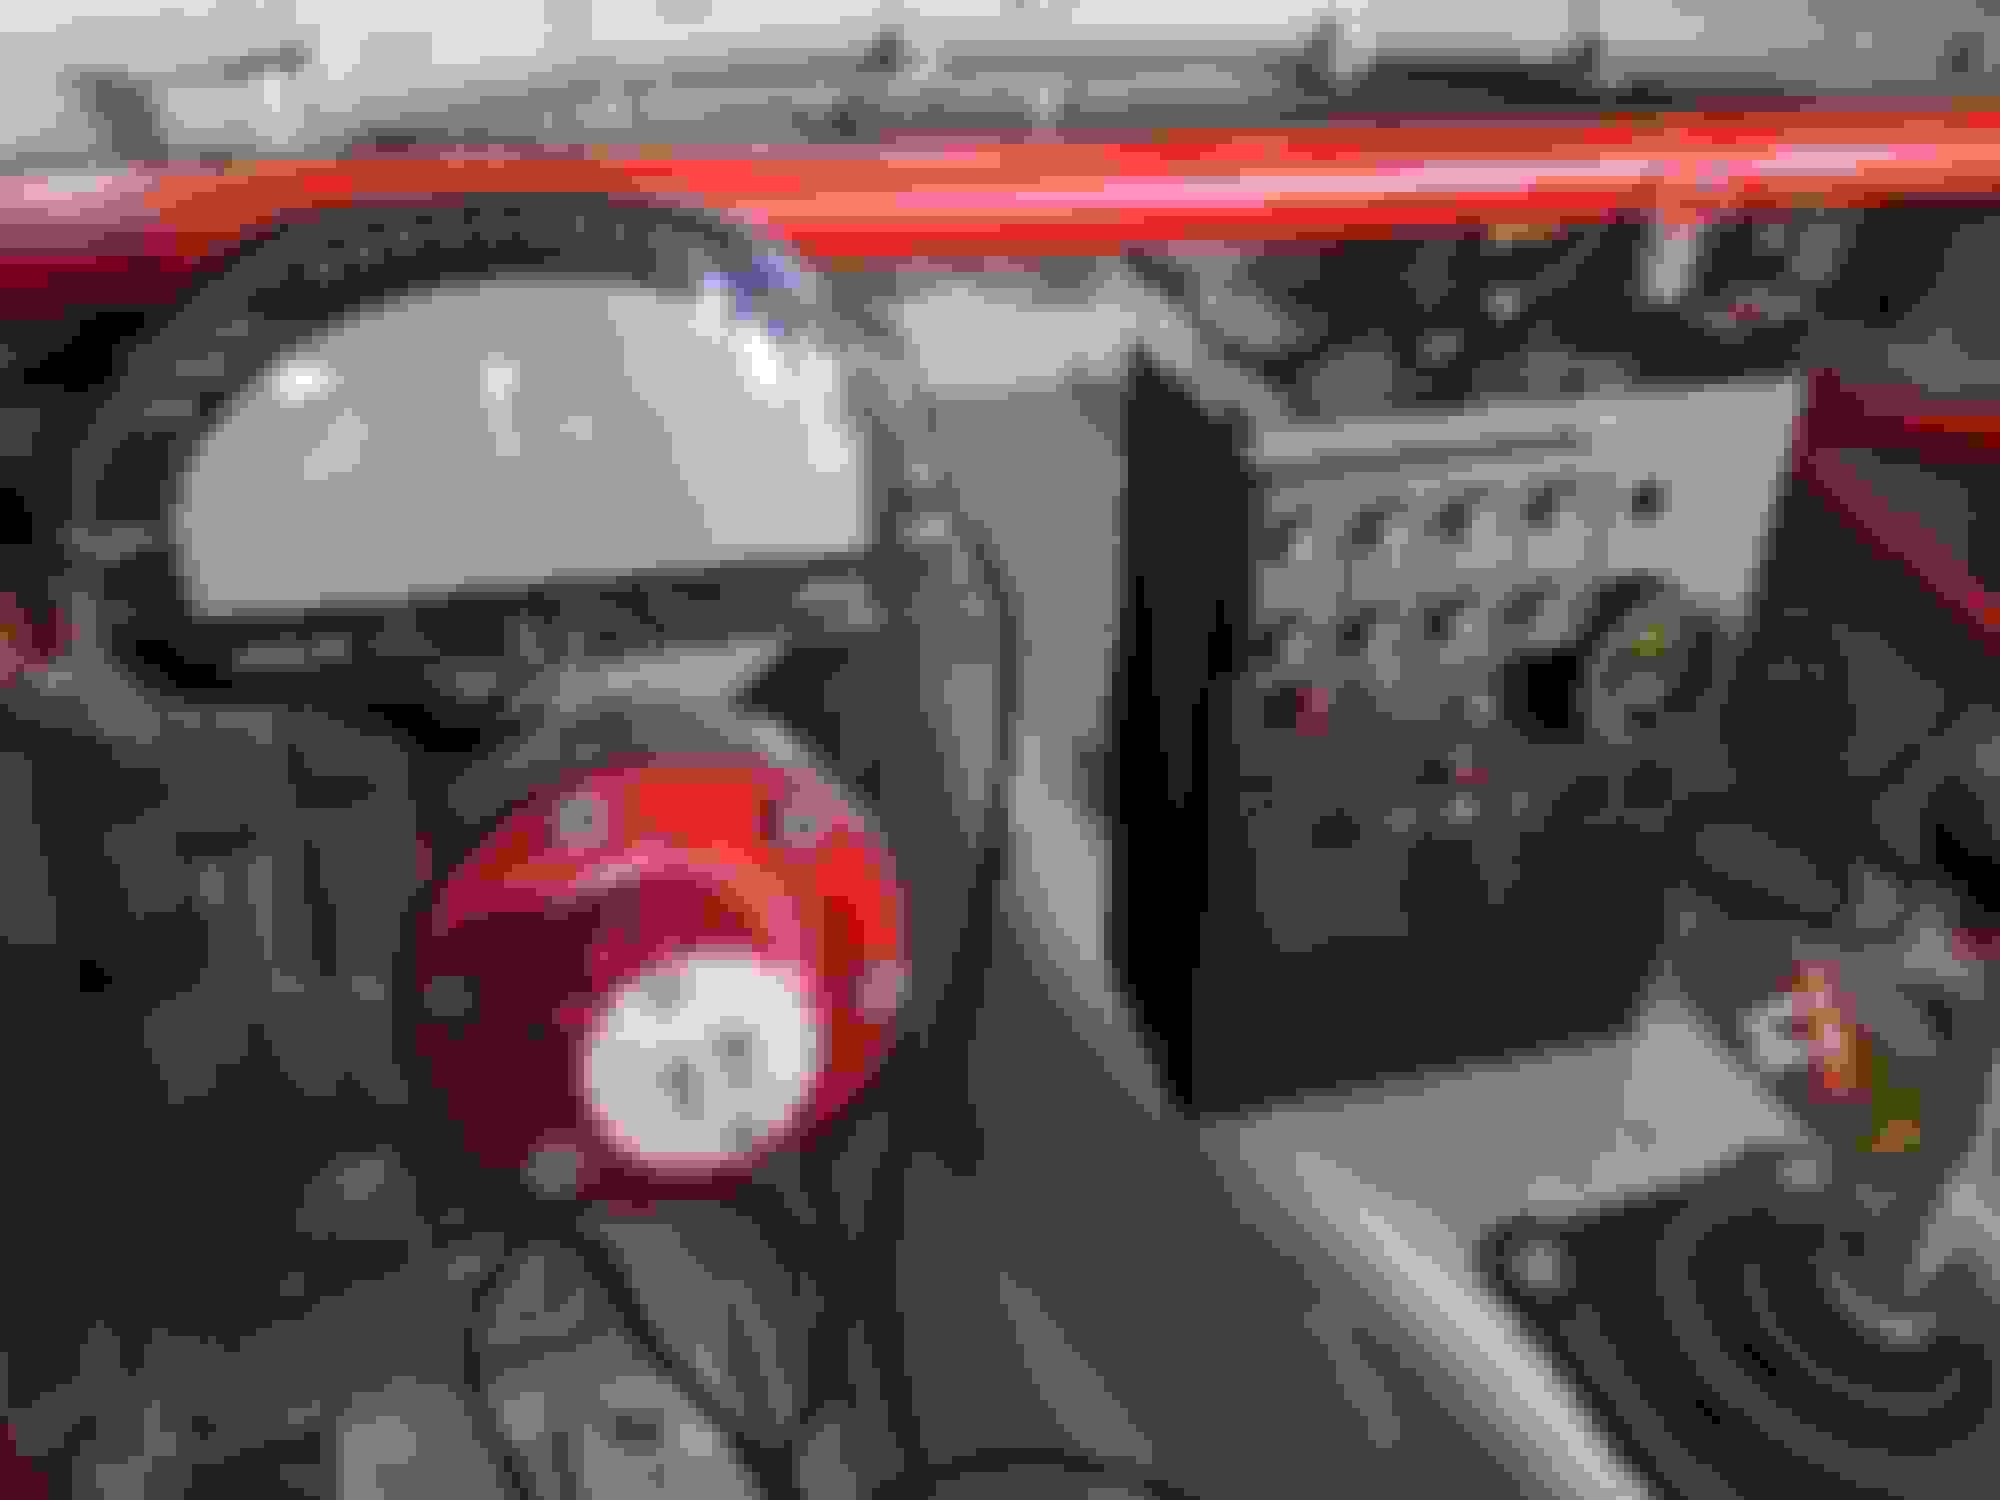
Also go the center console setup with the CAN Keyboard, new AEM digital wideband with CAN interface so I don't have to deal with analog in inaccuracies, GoPro switch, and power save switch for the ECU Master battery isolator. 3 seperate Deutsch DTM connectors behind the console.
Been figuring out the fuel system. Going with all -6 AN lines and mounted a Fuelab 818 6 micron filter back where the original filter was. Spec'd out and ordered all the hose fittings I need but I'll get to that when I hit a road block on the electrical build. I was mainly focused on getting everything mounted that needs an electrical connection and I was hoping to install the flex fuel sensor near the filter but the filter is pretty large. Here I was able to use a top existing hole and made a new hole for a rivnut. When I first started modifying this car, I was heavily using SAE hardware at work so I brought that over to the car. Now I'm trying to only use metric hardware and mostly M6 bolts with a 10mm flanged head unless it really doesn't make sense for the application. I've got a growing assortment of 10.9 M6 hardware to support this effort.
Ended up putting the flex fuel sensor in the engine bay post fuel rail before the FPR. fuel already had to do a U-turn there so just have to use 2 90 deg fittings to make this work. Used M6 rivnuts to mount the flex fuel sensor to the firewall. Also installed a AEM 100 psi pressure senor instead of an analog gauge so I can log and diagnosis any dynamic problems from data. Maybe catch a clogging filter or dying pump.
Also mocked up the Radium fuel rail with AN ports for fuel line routing decision but didn't grab a picture.
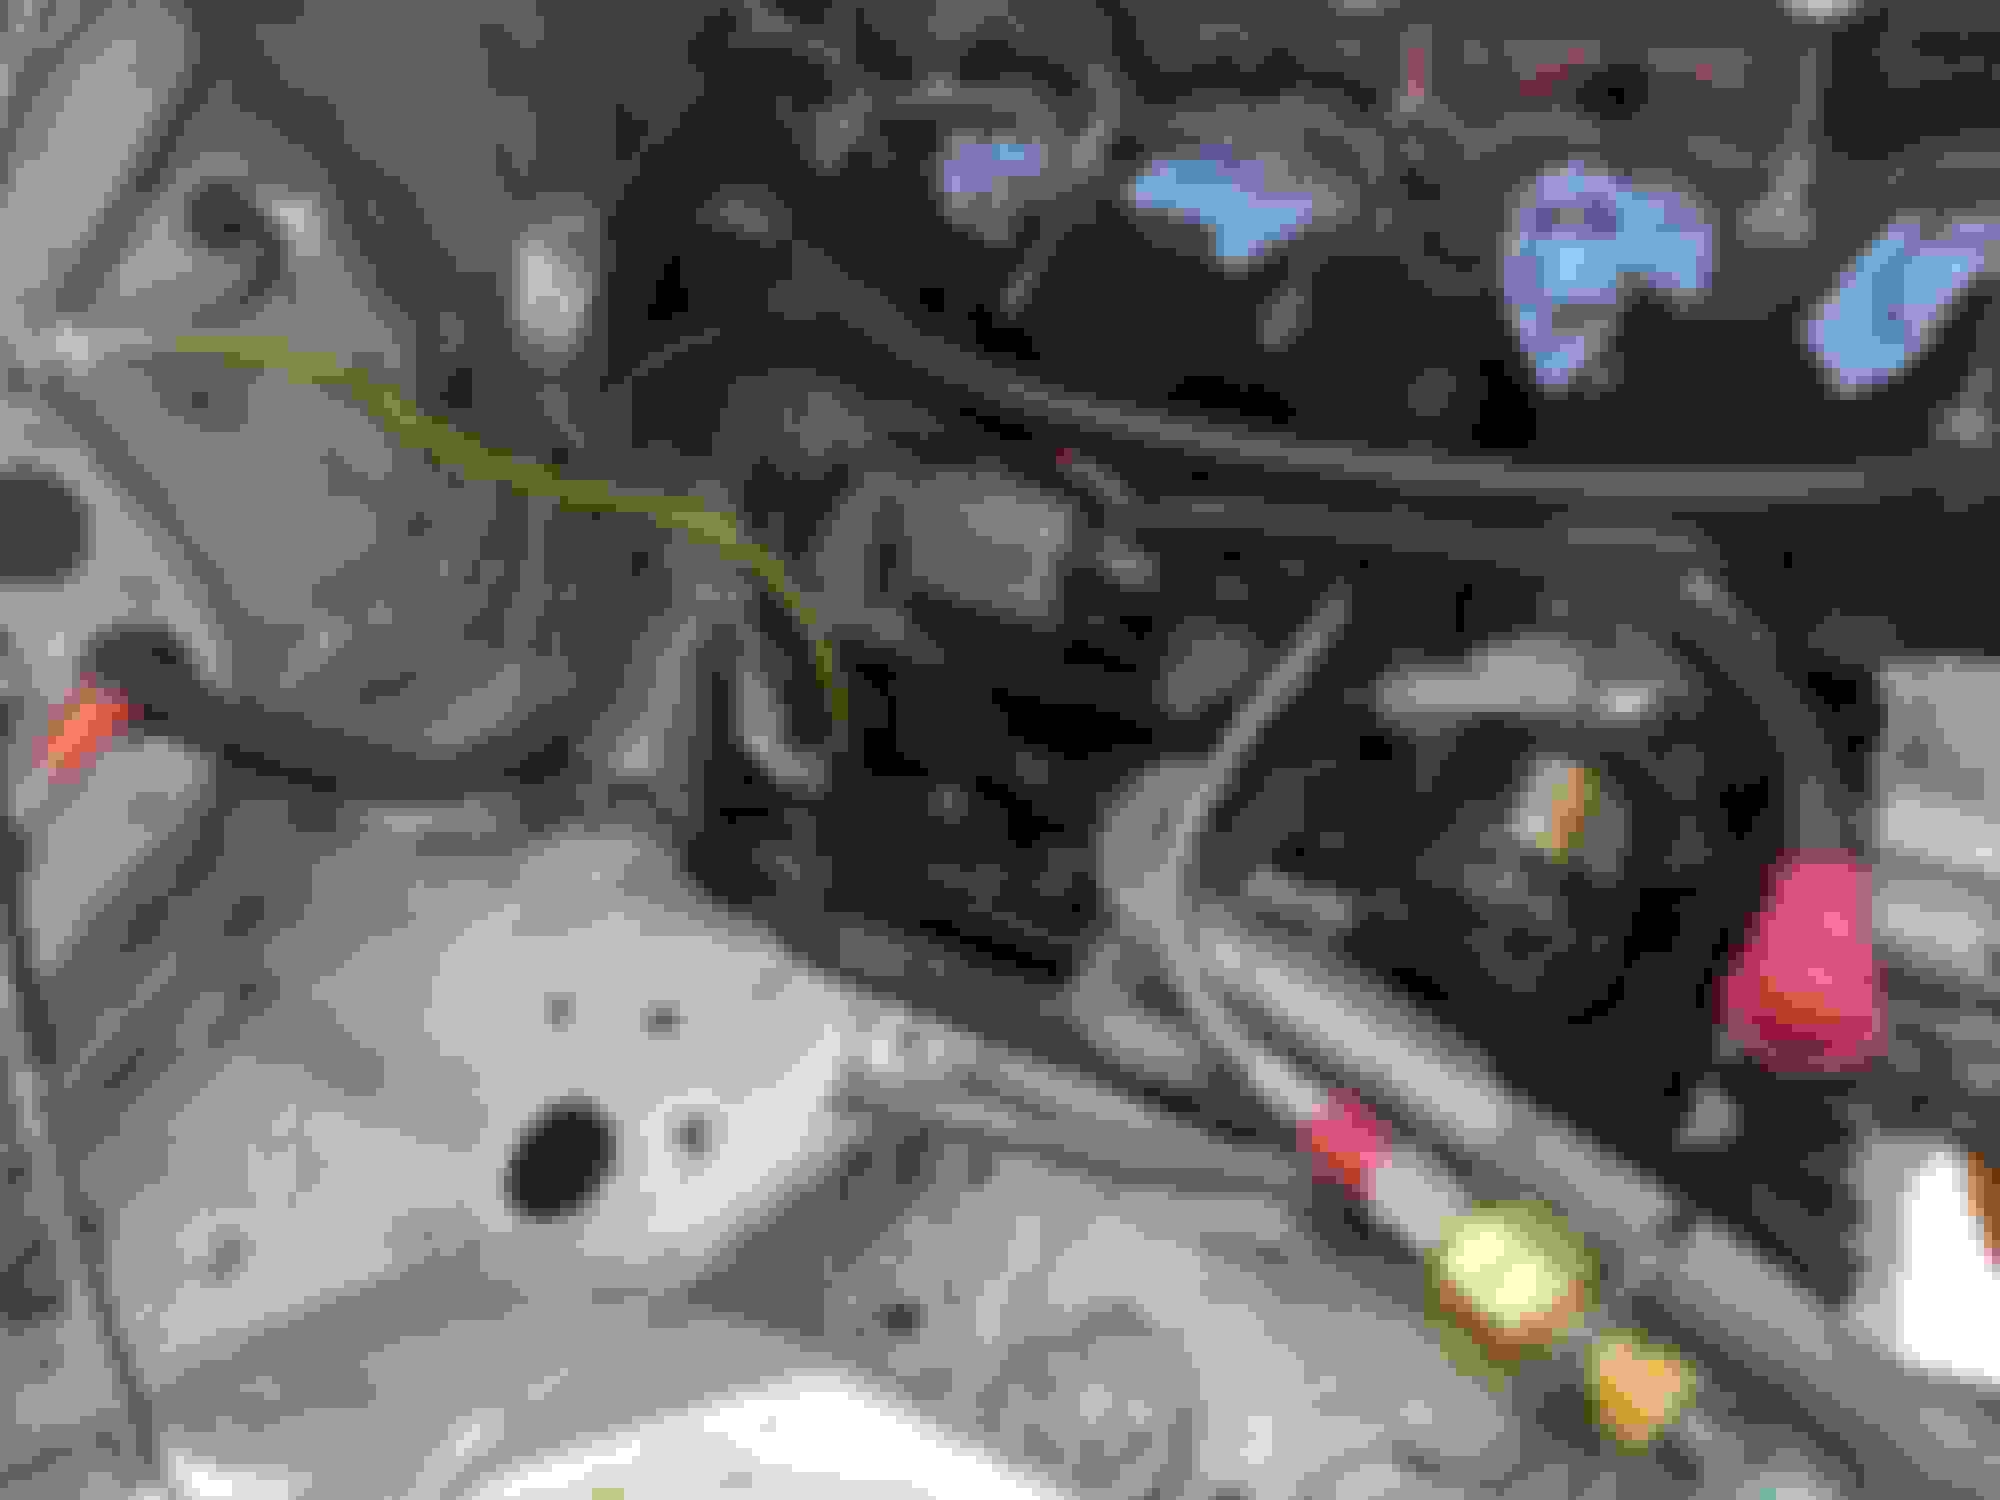
I'm also making new power cables for the alternator and starter but discovered a problem as I was disassembling the intake manifold to get access. 2 of the nuts were missing and the front runner has a decent size crack in it. I'm guessing it has something to do with the Hondata intake gasket I have been running for at least 5 years. I've heard some bad things about them just recently so I was already planning to ditch it but now I have to order a new lower squaretop intake manifold piece. The Hondata was pretty warped and misshaped so it would have been trashed anyways.
Made up some 2 gauge power cables for the starter and alternator. Feeds from the battery lug on the PMU which is a direct connection to the battery. I'm running a NA8 alternator so all it needs is the 12V sense so I tied into the alternator output lug with a ring terminal for the existing connector. I had been connecting that to the starter before but seems unnecessary to have a longer wire.
You can also see the Bosch knock sensor installed on the block. I drilled out to match the M12(?) stock mounting hole which I read other people had done successfully. I'll have the sensor setup and wired in, but I'm not planning on putting a lot of effort into making it usable yet unless the tuner wants to utilize it.
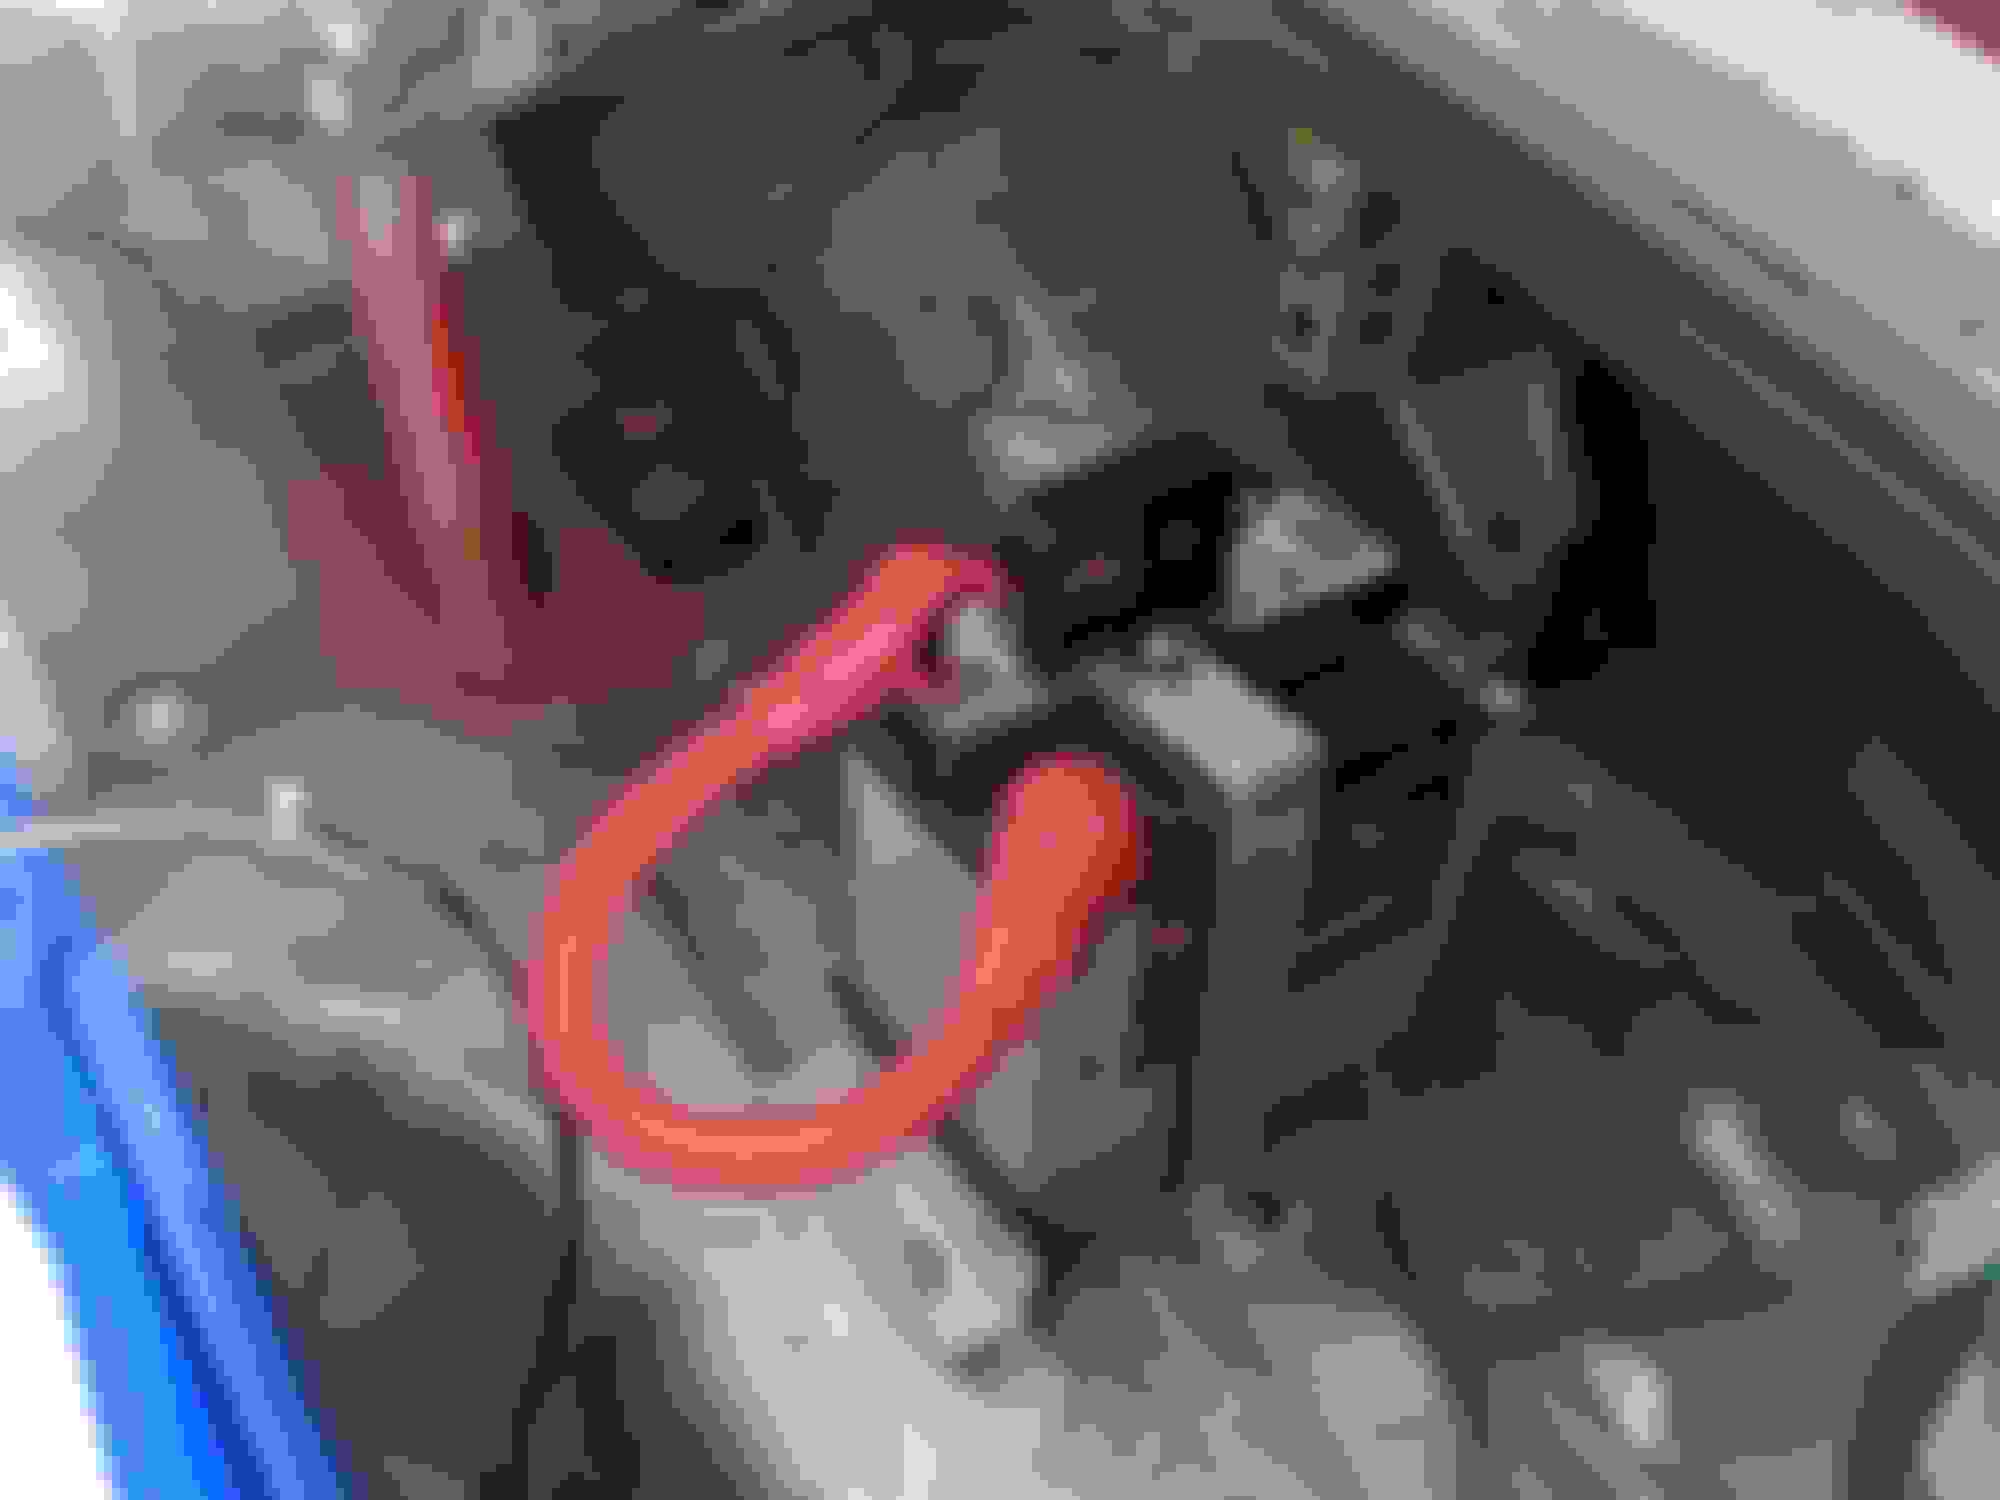
This is the best setup I could come up with on the battery to battery isolator. The output side will have a 90 degree bend and go straight up the interior of the car. just waiting on some more cable sleeving to arrive for that longer run.
After All the end points in the harness were established, I went back and modified the harness to match and double checked I had everything on my spreadsheet accounted for. I'm using Deutsch DT/DTM connectors at all the components that don't have predefined connectors. Pulled the mock harness off the car and started with the existing MS3pro harness. Removed all the wires I don't need (about half) and starting routing the wires. Probably have to pop the main connectors off if I want to do a good job with heat shrink and cable sleeving but I'll figure that out later. I'll start running the PMU wires next. I also noticed some inconsistencies in the MS3pro EVO documentation regarding ground pins and shield drain pins. I'm hoping the prebuilt harness is correct vs the manual.
This mock harness will help me determine the start and end points of the CAN bus. I'm not sure how sensitive the lengths are but I'm running the CAN bus all the way back to the battery isolator in the trunk so I'm thinking end points will be AIM dash and battery isolator. I have also been interested in the IR tire sensors AutoSport Labs has been teasing. Those will be CAN devices so might need to run the bus all the way to the back of the car regardless but I don't think that battery isolator has a built in 120 ohm terminator so I'll have to do it manually.
curious - were you using the intake manifold support arm?
I was not using the support arm.
It makes sense the manifold cracked where it did with the missing nuts and I don't think it's realistic to think the support arm would have stopped the nuts from loosening. Maybe slowed the process but not changing the result.
After a busy work schedule, spring yard work, and grad school stuff, I finally got to spend some more time working on the car this weekend.
All the cool kids are doing it these days and I had brand new squeaky clean square top so I decided to paint it red. I used some rustoleum enamel and a couple coats of clear so hopefully it looks good for a couple years. I'll probably sell the old one for cheap to someone that wants to weld up the crack.
Finished up the bench top wiring layout. I'll test fit in the car one more time to make sure the lengths are good and pull it back out to finish it up with cable sheathing and terminate all the ends with new connectors. Only had a to make a few minor modifications along the way so my spreadsheet planning was well worth it. Almost didn't catch that MS3pro has internal bias resistors for CLT and IAT inputs.
Started putting together my CAN mapping for the system. I haven't powered on anything on this list yet and some of the documentation is a little lacking on default CAN ID and default messages but I think I've captured traffic on the CAN bus well enough to get started. Creating the custom AIM CAN configuration to read and log everything will take a little bit of time but hopefully just a matter of typing in this information and converting to the right variable with correct units.
To Do list keeps getting longer:
-Finish wiring
-configure everything
-Fuel system plumbing
-new oil cooler mounting and plumbing
-rebuild radiator ducting
Then suspension, diff, safety gear, hubs, brakes, etc
Spring has sprung and yard work took over my weekend, but I bought some parts from someone local clearing out some unused parts from a planned S1 build that never happened for a decent price. Picked up a set of Xida Gen 2 1000/500 w/ coaxial billet mounts, RB front sway, and a custom Tilton 7.25" Clutch/Flywheel. Flywheel is a one off designed by Tilton and the clutch is designed for ~300 HP with standing starts and trailer loading in mind. Interested to try out the metallic clutch disc.
Throw should be short. That allows you to set engage point down near floor. Just make sure there is a touch of freeplay in pushrod going into M/C.
Adjust pushrod and brake light switch so engagement point is near flooor. Technique to make it easier is to forget normal clutch actuation of lifting leg. That's modulating with your thigh basically. As clutch grabs (instantly) car moves forward, leg doesn't.. stall.
Instead keep heel on floor and release pedal by rotating ankle. Car lurches forward but foot stays on pedal. Feels weird but you get it quickly and loading ain't as difficult.
On track its just a slap to shift, easy transition from dead pedal. Or just put a damn sequential in it
Spent some time refreshing my trailer electrical system this weekend. My battery box was most likely a swimming pool or ice cube all winter so I had to replace a few things there. Plugged the top vents with silicone and drilled a few small drain holes in the bottom of the box to make sure it didn't happen again. Still plenty of ventilation from the cable openings on the box. New solar controller is now inside the trailer and all the in-line fuse holders and fuses were replaced. The deep cycle wet marine battery was doing some funky things on the charger until I realized it was bone dry inside. About a gallon of distilled water fixed that. I was installing a TireMinder TPMS system on the trailer last weekend which trigger this whole thing. I was forced to go to the truck's 7 way plug for power for the repeater but now it's running off a solar maintained battery and everything seems happy. Just have to remember to bring the battery in the garage during winter storage.
Trailer wiring took longer than expected so didn't get as far on the car as I hoped on Sunday. Managed to trim the harness down to all the appropriate lengths and extend a few runs where the MS3 harness wasn't long enough. Should be ready for sheathing and connectors now. Decided to wrap up the console wiring since that is the last major wiring outside the main harness that I haven't completed. Reused a Deutsch HD30 connector I had on my previous setup but had to make a separate 4 pin connector for the camera control due to the number of pins on the HD30. In the future I might change the camera system to an AIM camera but seems a little hard to swallow a $1000 setup for a camera that isn't fully integrated into the data analysis yet. I've heard that could change soon with AIM.
CAN Keyboard will control the switching on of powered accessories, ECU and engine related power, starter actuation, cool suit, wipers, manual fan, and NOS*.
*possibly not actually NOS.
The larger red button is the latching control for the battery isolator. Restoring power from the isloator will power the CAN keyboard only and the keyboard will also show status on the lighted ring around each button.
The smaller red button and LED is a hardwired button for the GoPro Hero3. Got this from the UK from www.gopro-remote.com and it's been working great along with a USB powered battery replacement. Never have to touch the camera except to retrieve the footage. You do lose time data but the file names are sequential.
There's also a Blue Marine USB charger I'll be using for the GoPro and backup dash cam.
After the picture, I added a panel mounted Deutsch connector above the USB charger for a CAN breakout for programming and diagnosing CAN devices. I'll look at adding the AIM MXL2 USB port above the USB charger too.
First weekend in a long time I didn't have work and/or school stuff to deal with so I was able to spend a lot of time building my harness in my hot garage. Destroyed the circular Deutsch HD30 connector while trying to repin it so I have to wait for the new DTM 12 pin connectors to arrive to finish the console connector and sub-harness. Almost done with the injector and coil sub-harnesses too and then I should be ready to put this in the car. Not a single reused wire or connector on the harness. Only exception I can think of is the crank position sensor with the 1 or 2 inch leads going to the OEM connector I retained to make swapping of that part universal.
Labeled and almost ready to go:
The tiny pins and connector for the ECUMaster Battery isolator. I thought it was strange to crimp the gold side, but that was the consensus on ECUMaster FB group and seemed to line up with other indicators. Now I have a crimper I might not ever use again.
Next up is to finish the sub harnesses and mount in the car. Starting from a blank slate on the setup of the MS3Pro Evo, PMU-16, and AIM MXL2.
Also picked up an unused GT-250 wing with mounts from Renderos Racing and ordered tubular race splitter mounts from KazeSpec
Finished up the harness and started slowly figuring out how to get all the new electronics working together. Steep learning curve for the ECUMaster stuff but I'm starting to get the hang of it. Got the battery isolator and PMU booted up and working together and uncovered an oversight on my can network design. I couldn't figure out how to change the battery isolator bit rate and didn't realize I couldn't change the primary CAN channel bit rate on the PMU. A facebook post to the ECUMaster group page helped me sort out how to change the bit rate and then I just had to swap some pins on the PMU to CAN2 to be able to drop it down to 500 Kbps. The bummer is that I can only program the PMU through CAN 1 so I had to put a seperate CAN connector for that and I have to keep swapping between CAN busses to trouble should vehicle CAN vs PMU CAN but could be worse.
Started with something simple and safe when setting up the PMU. Brake lights work! I'll have to put some logic in to use the brake light switch which is wired as an analog input to the PMU.
Had some trouble getting the CAN keyboard working but I was accidentally trying to use the connector pin number instead of the output number in the software when assigning outputs so easy fix. The learning curve is steep. Started expanding outward and got the AIM MXL2 powered and updated and made sure the Wideband gauge powered on. I was getting all power output channels setup and about to start working on logic with the keyboard when I happened to check firmware on the CAN Keyboard. I had updated the battery isolator earlier when I was figuring that out so I figured I'd do the same. The ECUMaster software has an updater built in and it downloaded the file and as soon as I hit the start firmware update, the entire power system completely shutoff. I narrowed it down to the battery isolator not turning on and at that moment, I had the PMU, battery isolater and CAN keyboard powered on all on the same CAN bus. I think one of the CAN messages used to either put the keyboard in update mode or send the data probably bricked the battery isolator. I double and triple checked all the grounds and made sure nothing is connected to the isolator but I still can't get it to turn on. I posted on the ECUMaster facebook group and sent an email to tech support but haven't been able to figure out the issue yet. I was just starting to figure it out, but I have a problem with compulsive updating even when I don't need it. I'm at a dead end for diagnosing the battery isolator so I'll have to bypass it until I can figure out a fix. Hopefully I hear back from tech support soon.
 01-22-2020, 11:42 PM


 2
2