When you click on links to various merchants on this site and make a purchase, this can result in this site earning a commission. Affiliate programs and affiliations include, but are not limited to, the eBay Partner Network.
Car is getting picked up tomorrow morning to head back to the shop and get the motor installed. Then break-in, tuning, and hopefully have it all done in time for my trip to NorCal the end of this month!
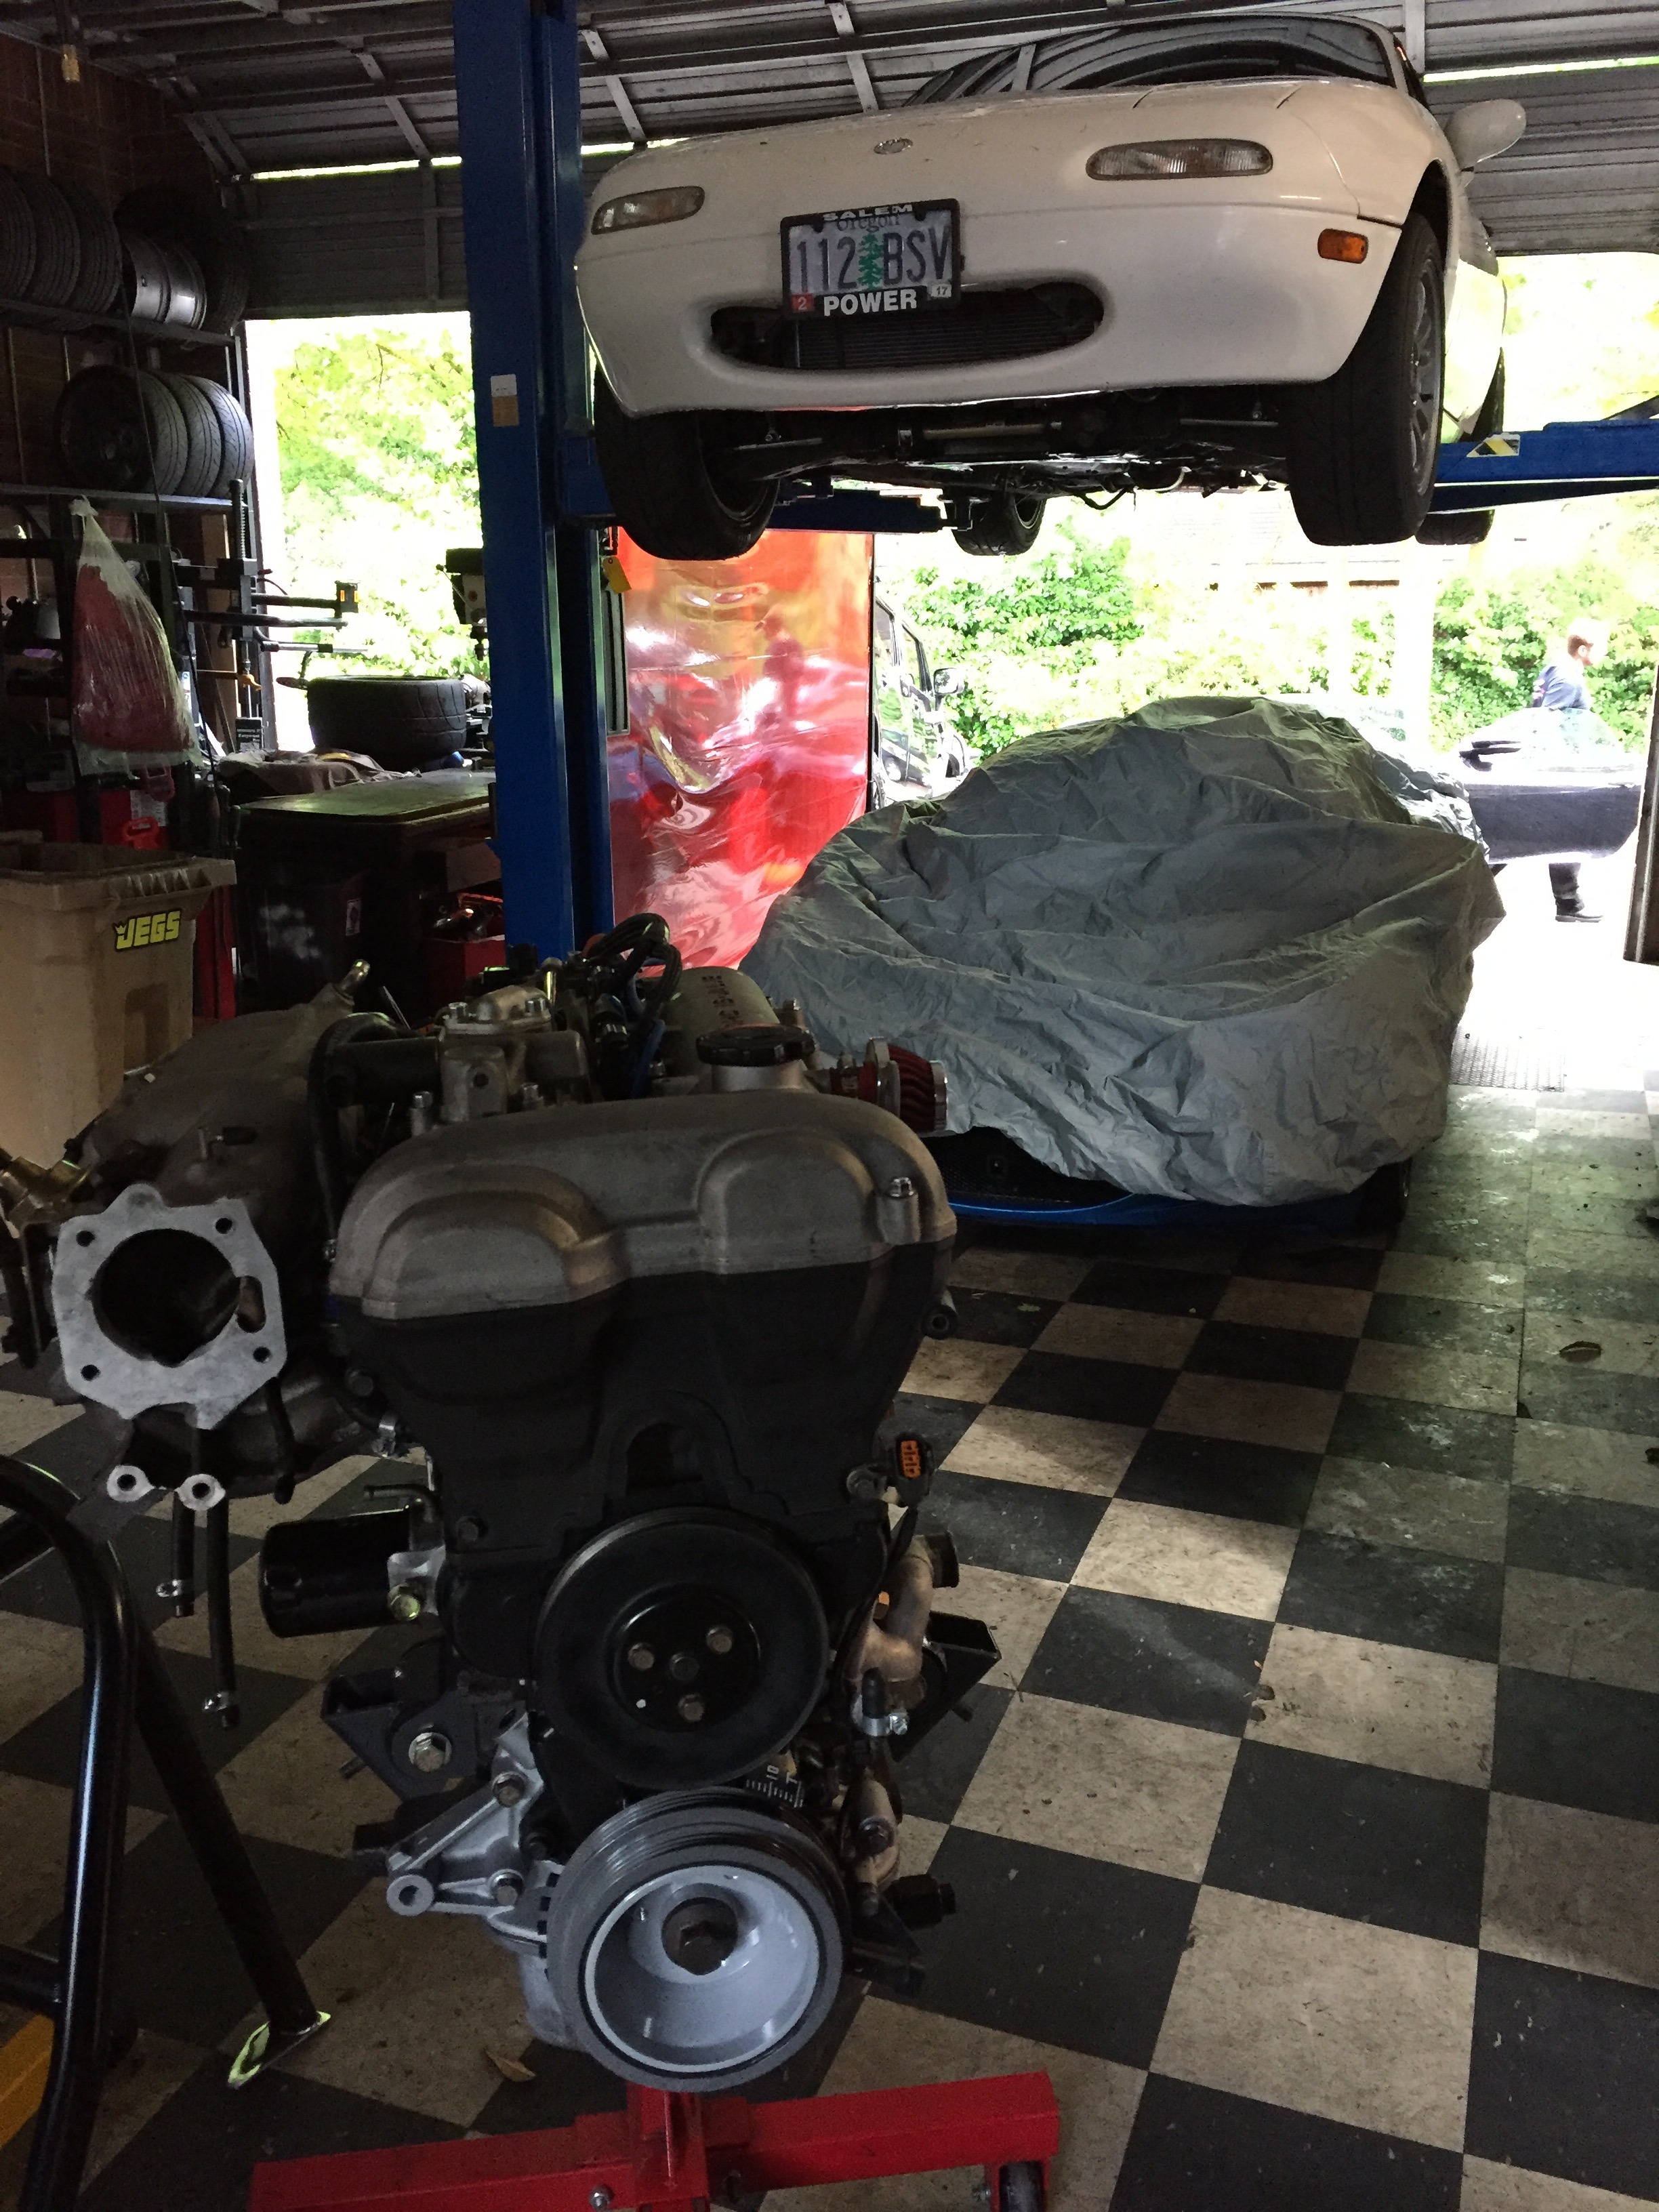
Truth be told I hadn't touched anything until this morning. After finishing a '99 engine install and torquing the head down on a 2ZZ, I was finally given time to move on to Don's engine. Here's it's current state:
Horrible picture, but the shop was getting shut down for the weekend and I was ready to check out after a busy week!
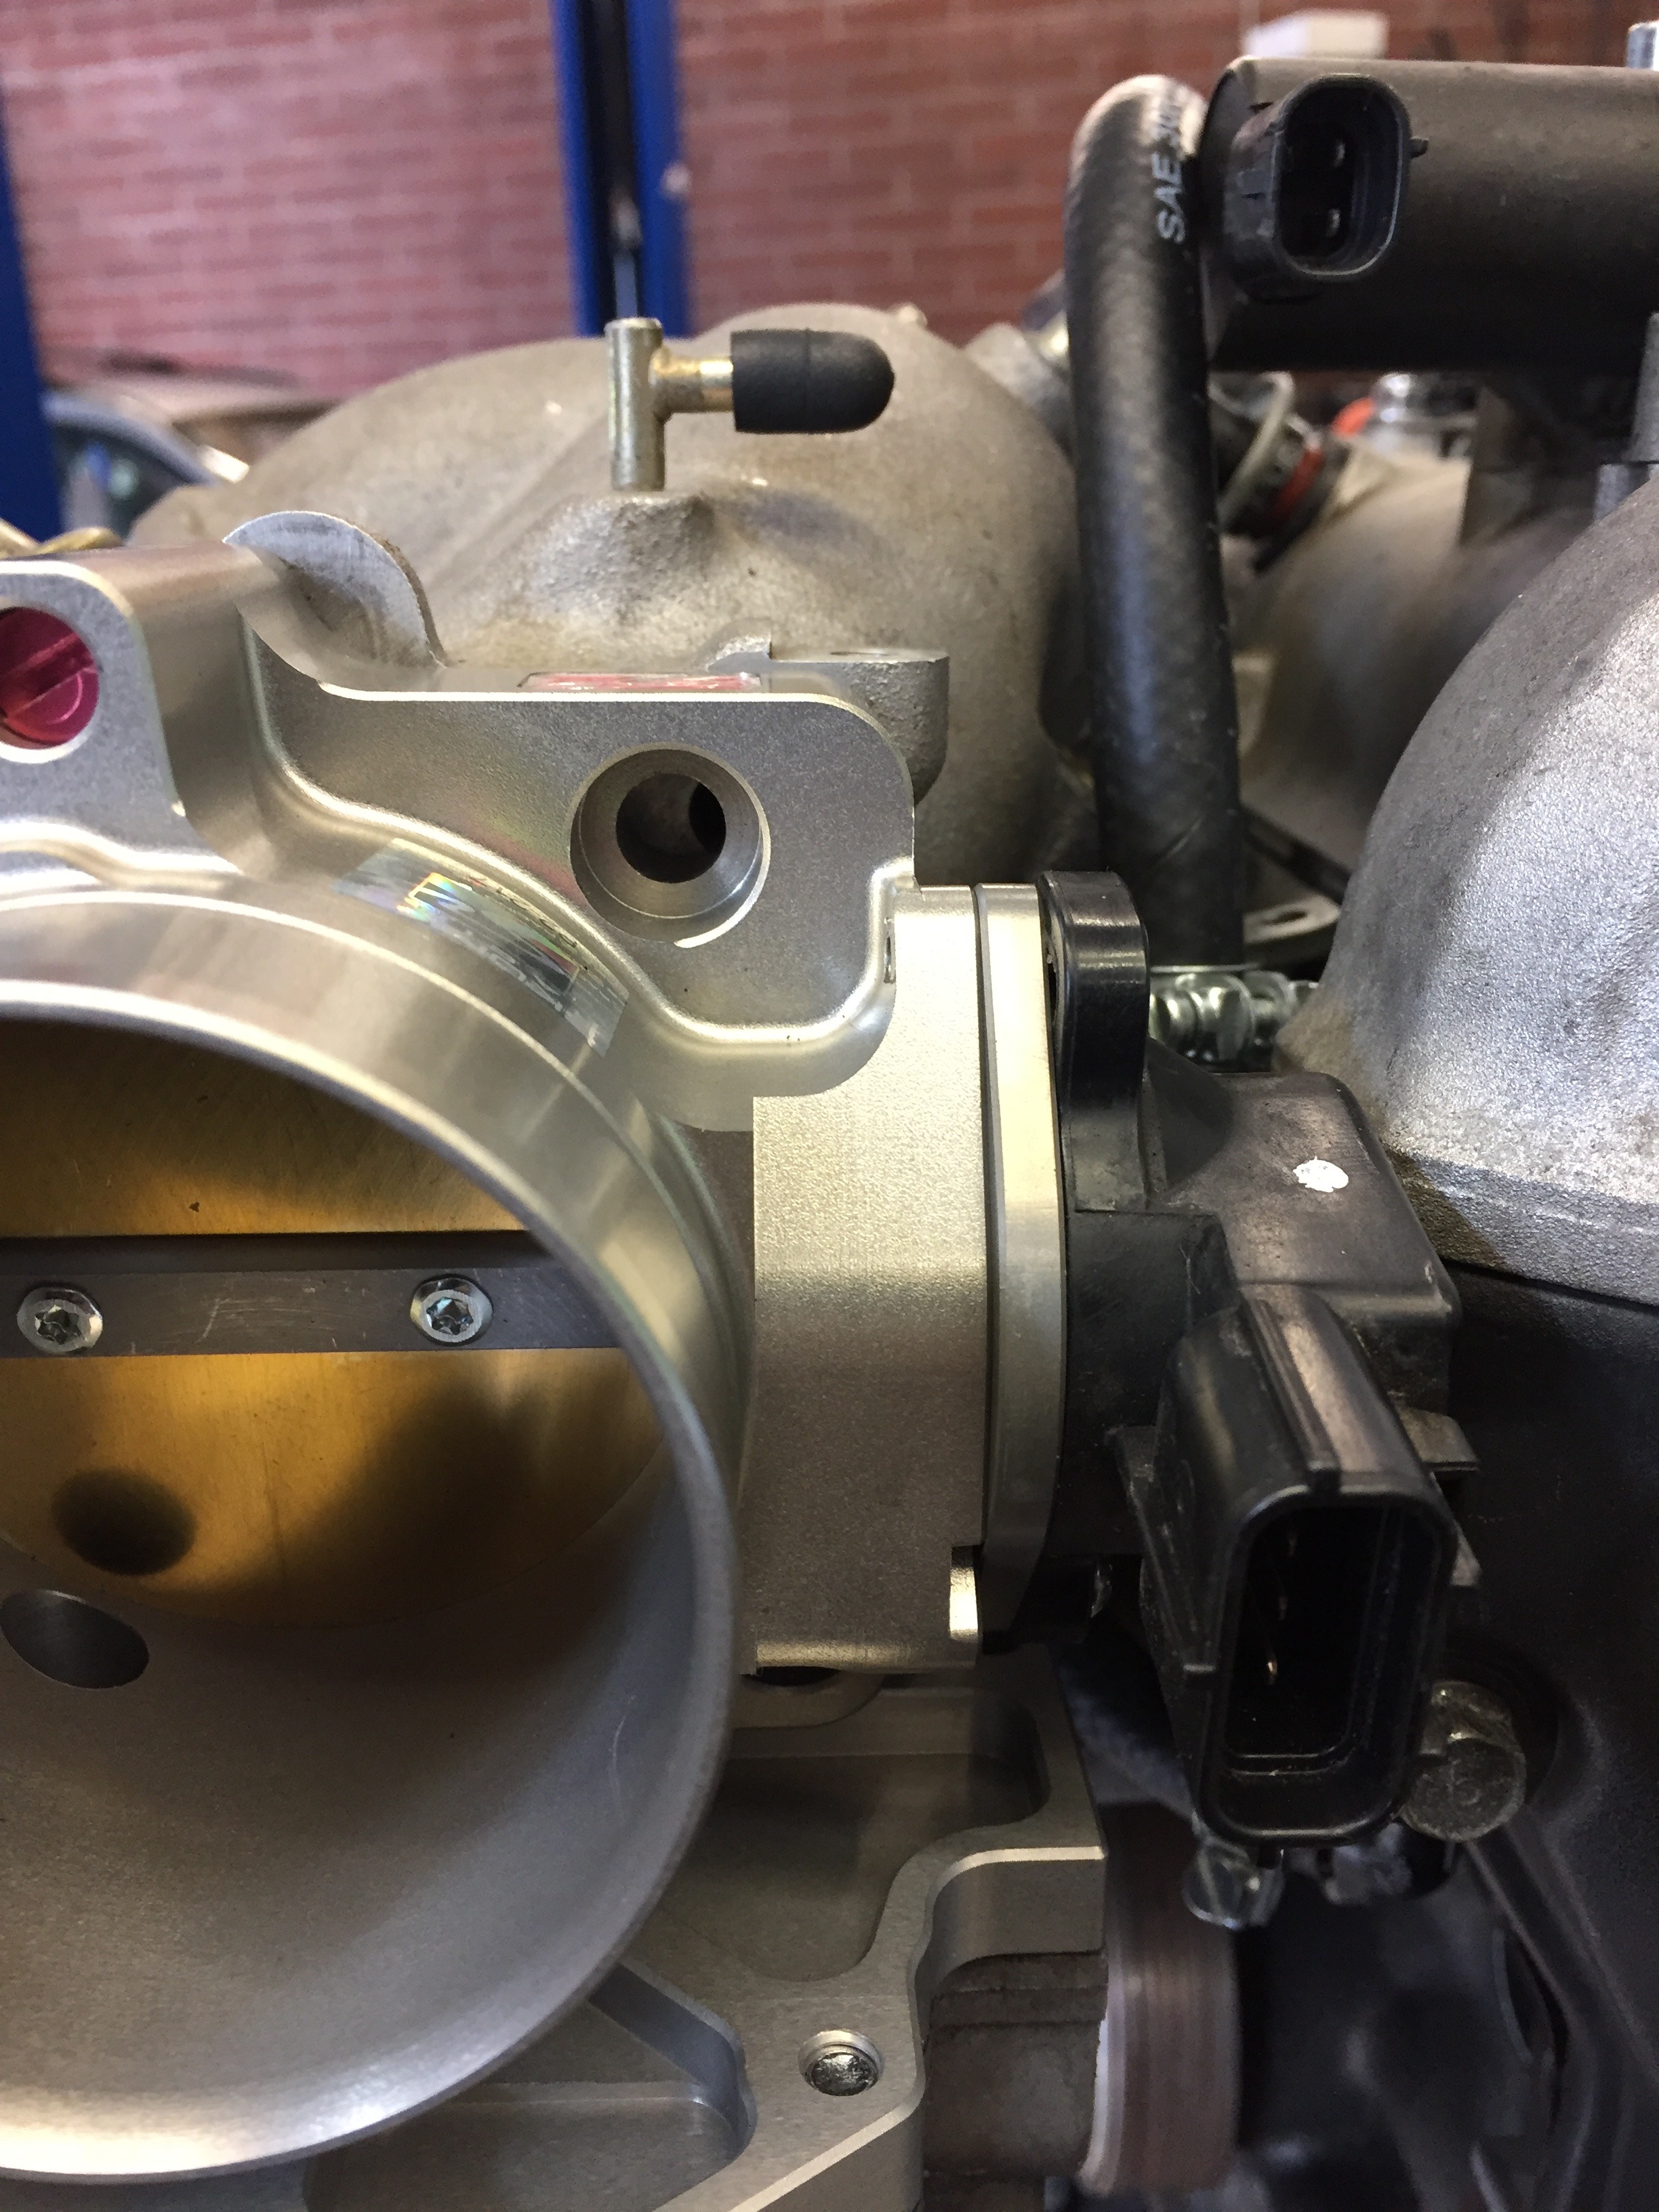
Unfortunately, one of the last pieces missing is the S2 TB, which hit a bit of a snag:
Had I known the NA8 S2 used a TPS spacer, I would have warned Don as it's already a minor interference fit with a stock NA8 TB/TPS on a NB head. Monday I'll dig through my parts stash for an NB TPS and try that. Anybody know if an NB TPS will bolt up to a NA8 S2 TB? Also, under the cover isn't even the 240S the previously mentioned 2ZZ is intended for. That's sitting above Don's pictured engine. Also tucked in for the weekend is a 350Z race car, 599GTB, S62 swapped E46 M3 race car, a PRO3 (E30) race car, and a "retired" T25 E46 enduro car recently brought up to the NW from California. It's never a boring day at AR Auto Service.
Hopefully Don's engine will be installed and running on Monday, S2 TB be damned!
It should bolt on just fine. I believe there are 2 sets of holes for that reason. Either way the only difference between NA and NB is the IAC adapter plate
Yeah, after replacing the tie rods and all the alignment bolts I just eyeballed it. Was good enough to roll it on to the trailer, so I consider that a win.
I may have a NB TPS in my garage, but I won't be back until Tuesday.
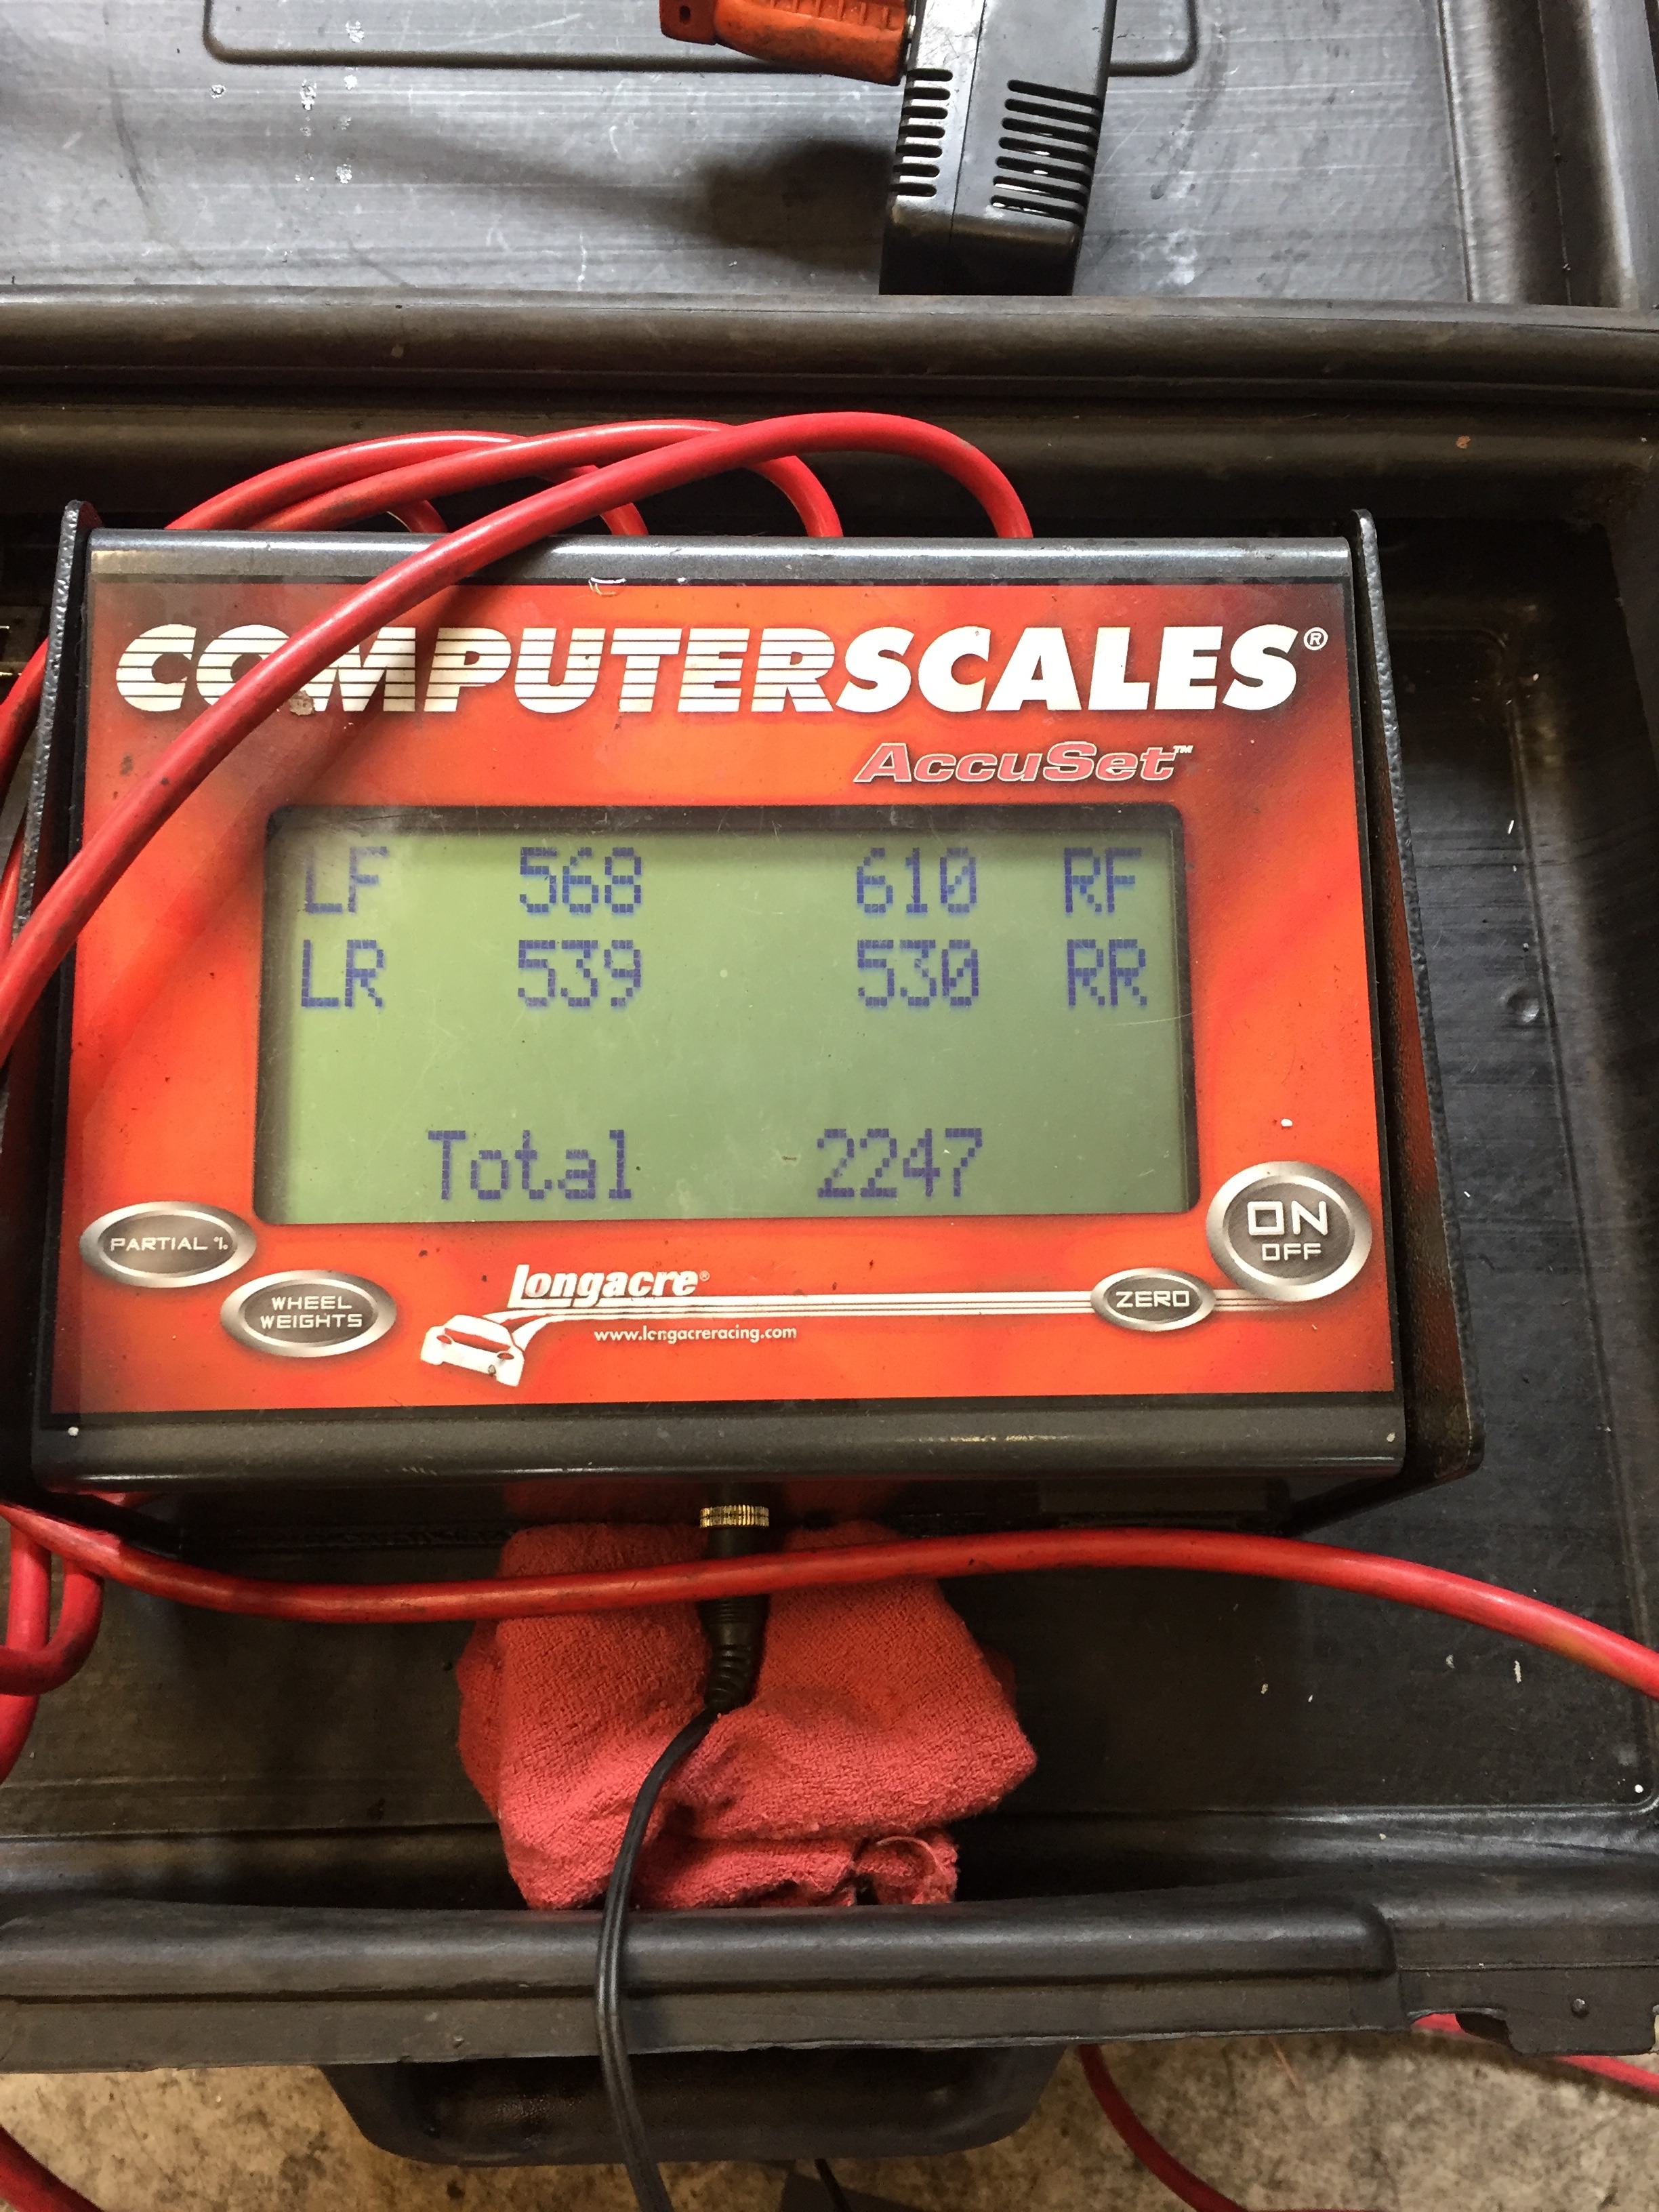
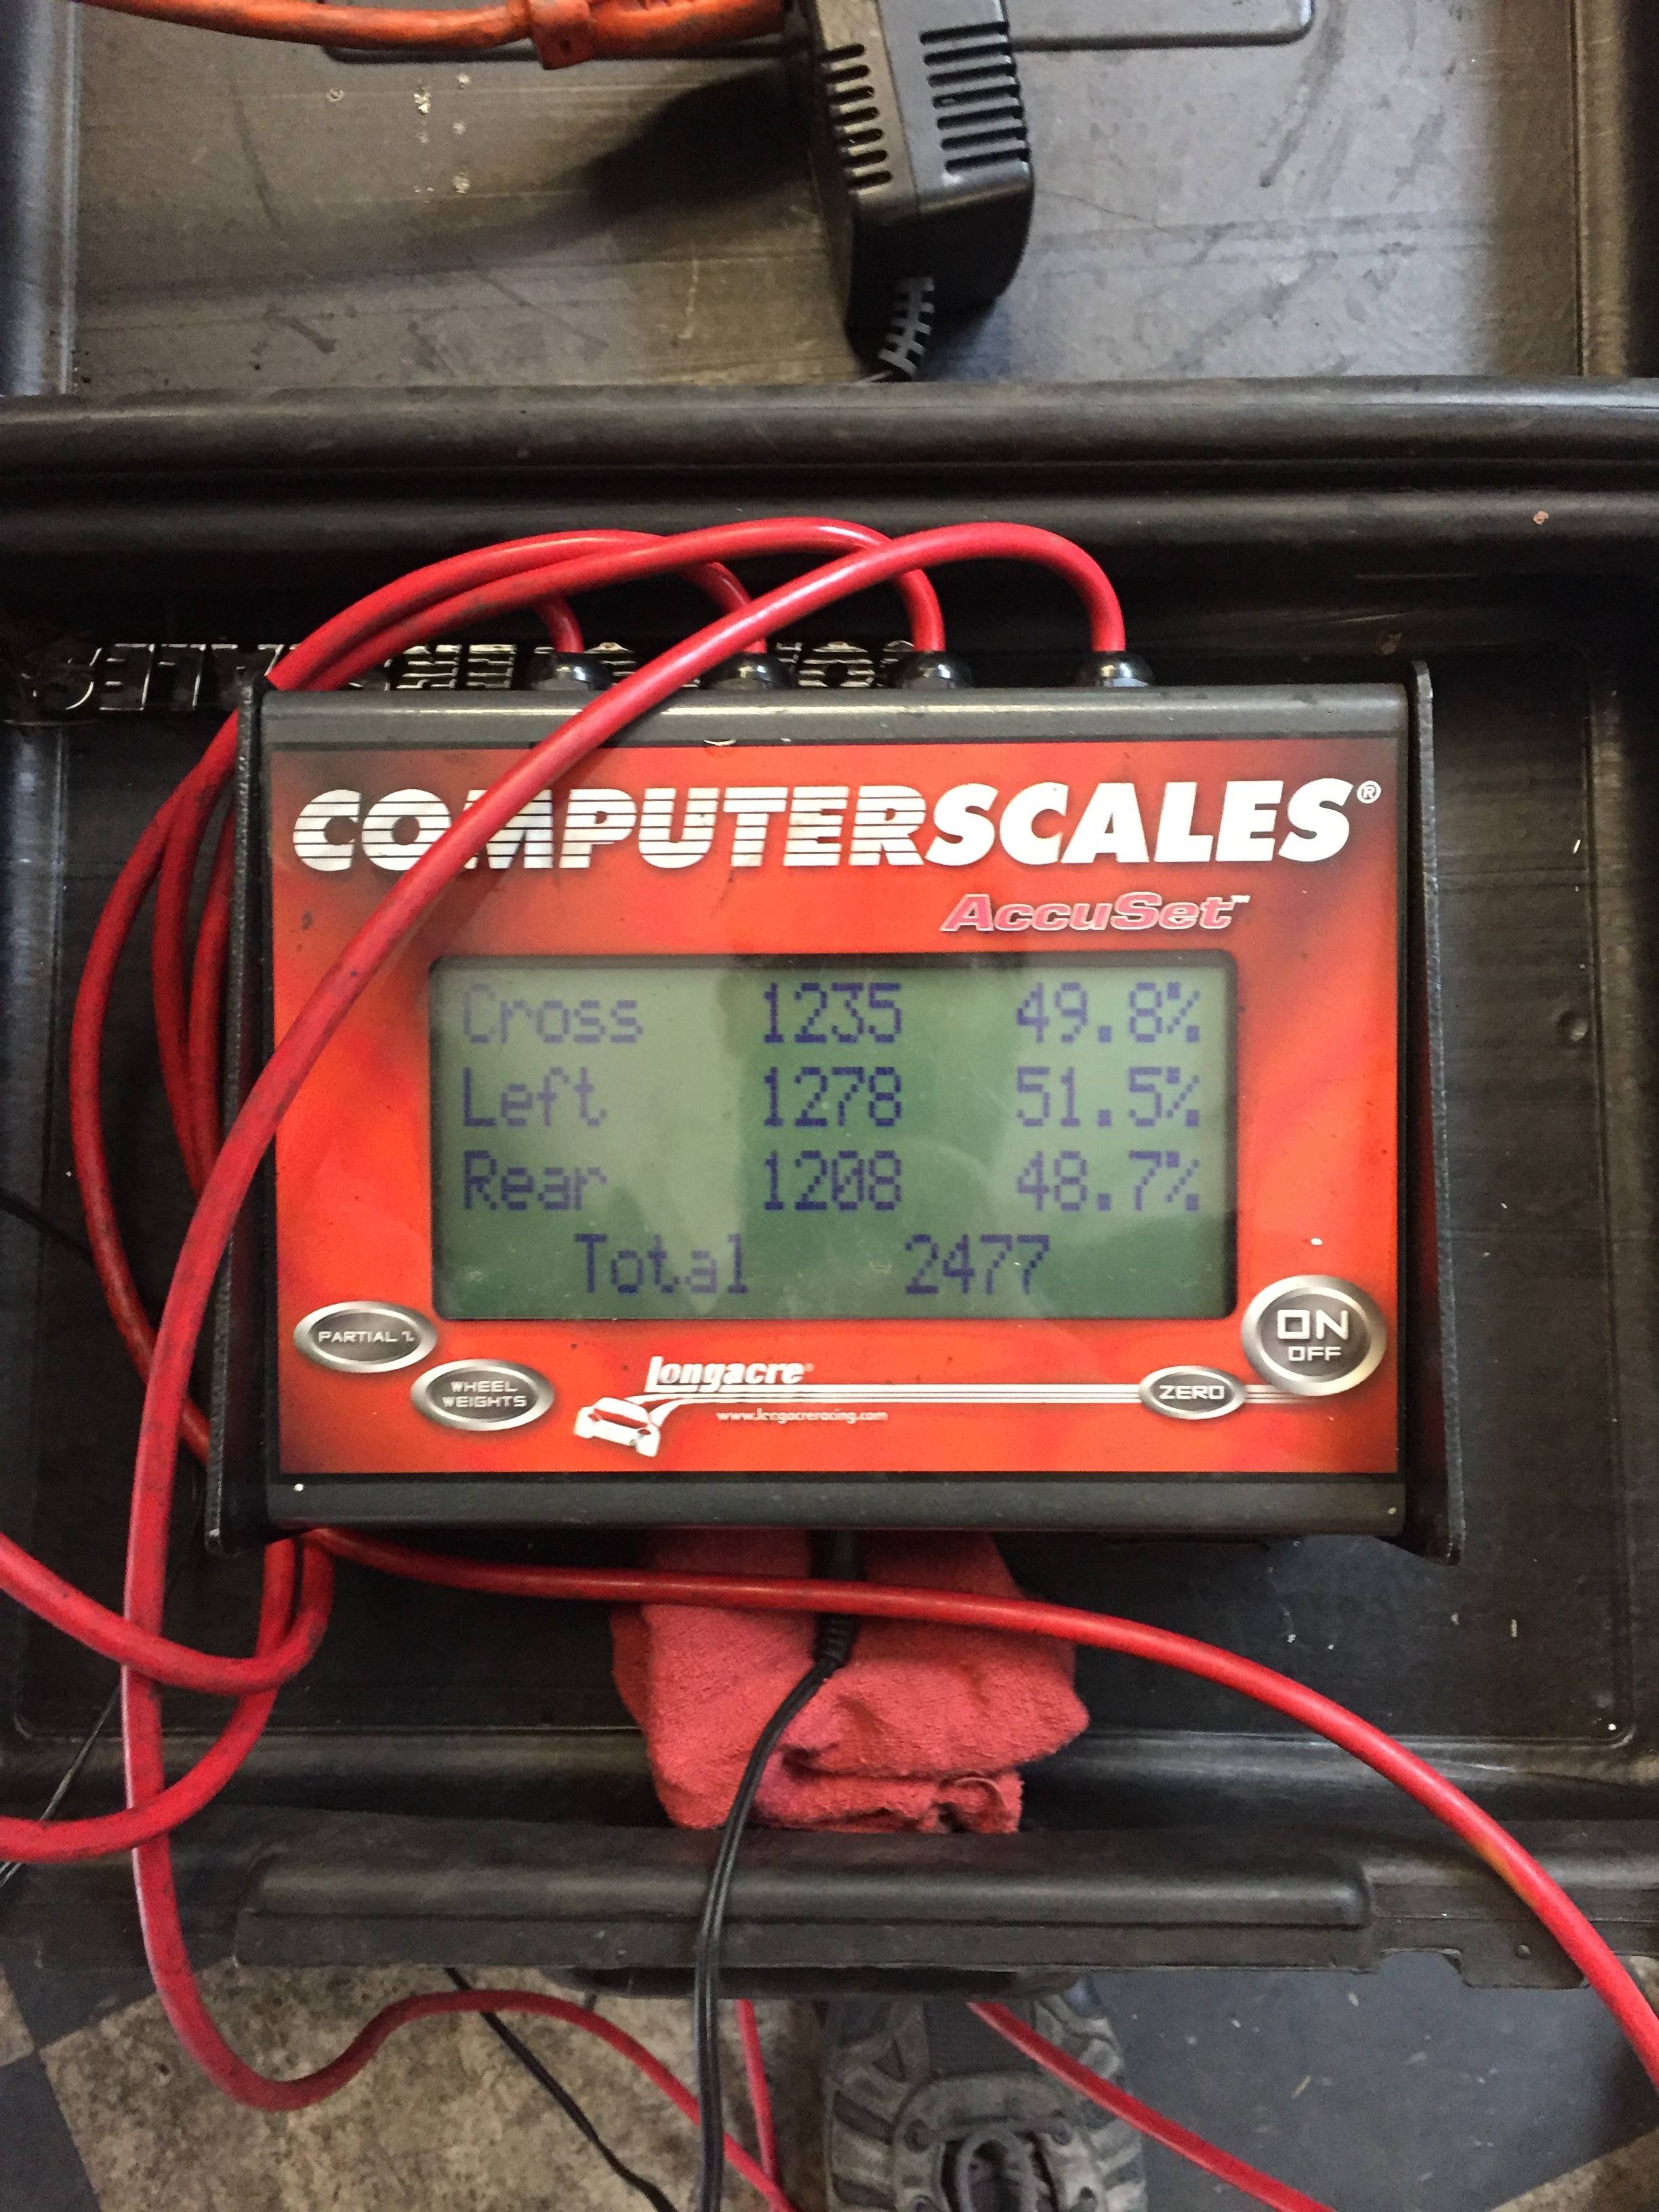
So over the last few days I've had a lot of time to finish up the car. Started this morning ready to start, however since TSE's instructions specifically say to go for a 50 mile drive within 60 seconds of starting the engine for the first time, I had my work cut out for me. Me and a few co workers pushed it around the building to the alignment rack, where I corner balanced and aligned it. Here it is untouched, to show "empty" weight. Has about 5/8th of a tank in it:
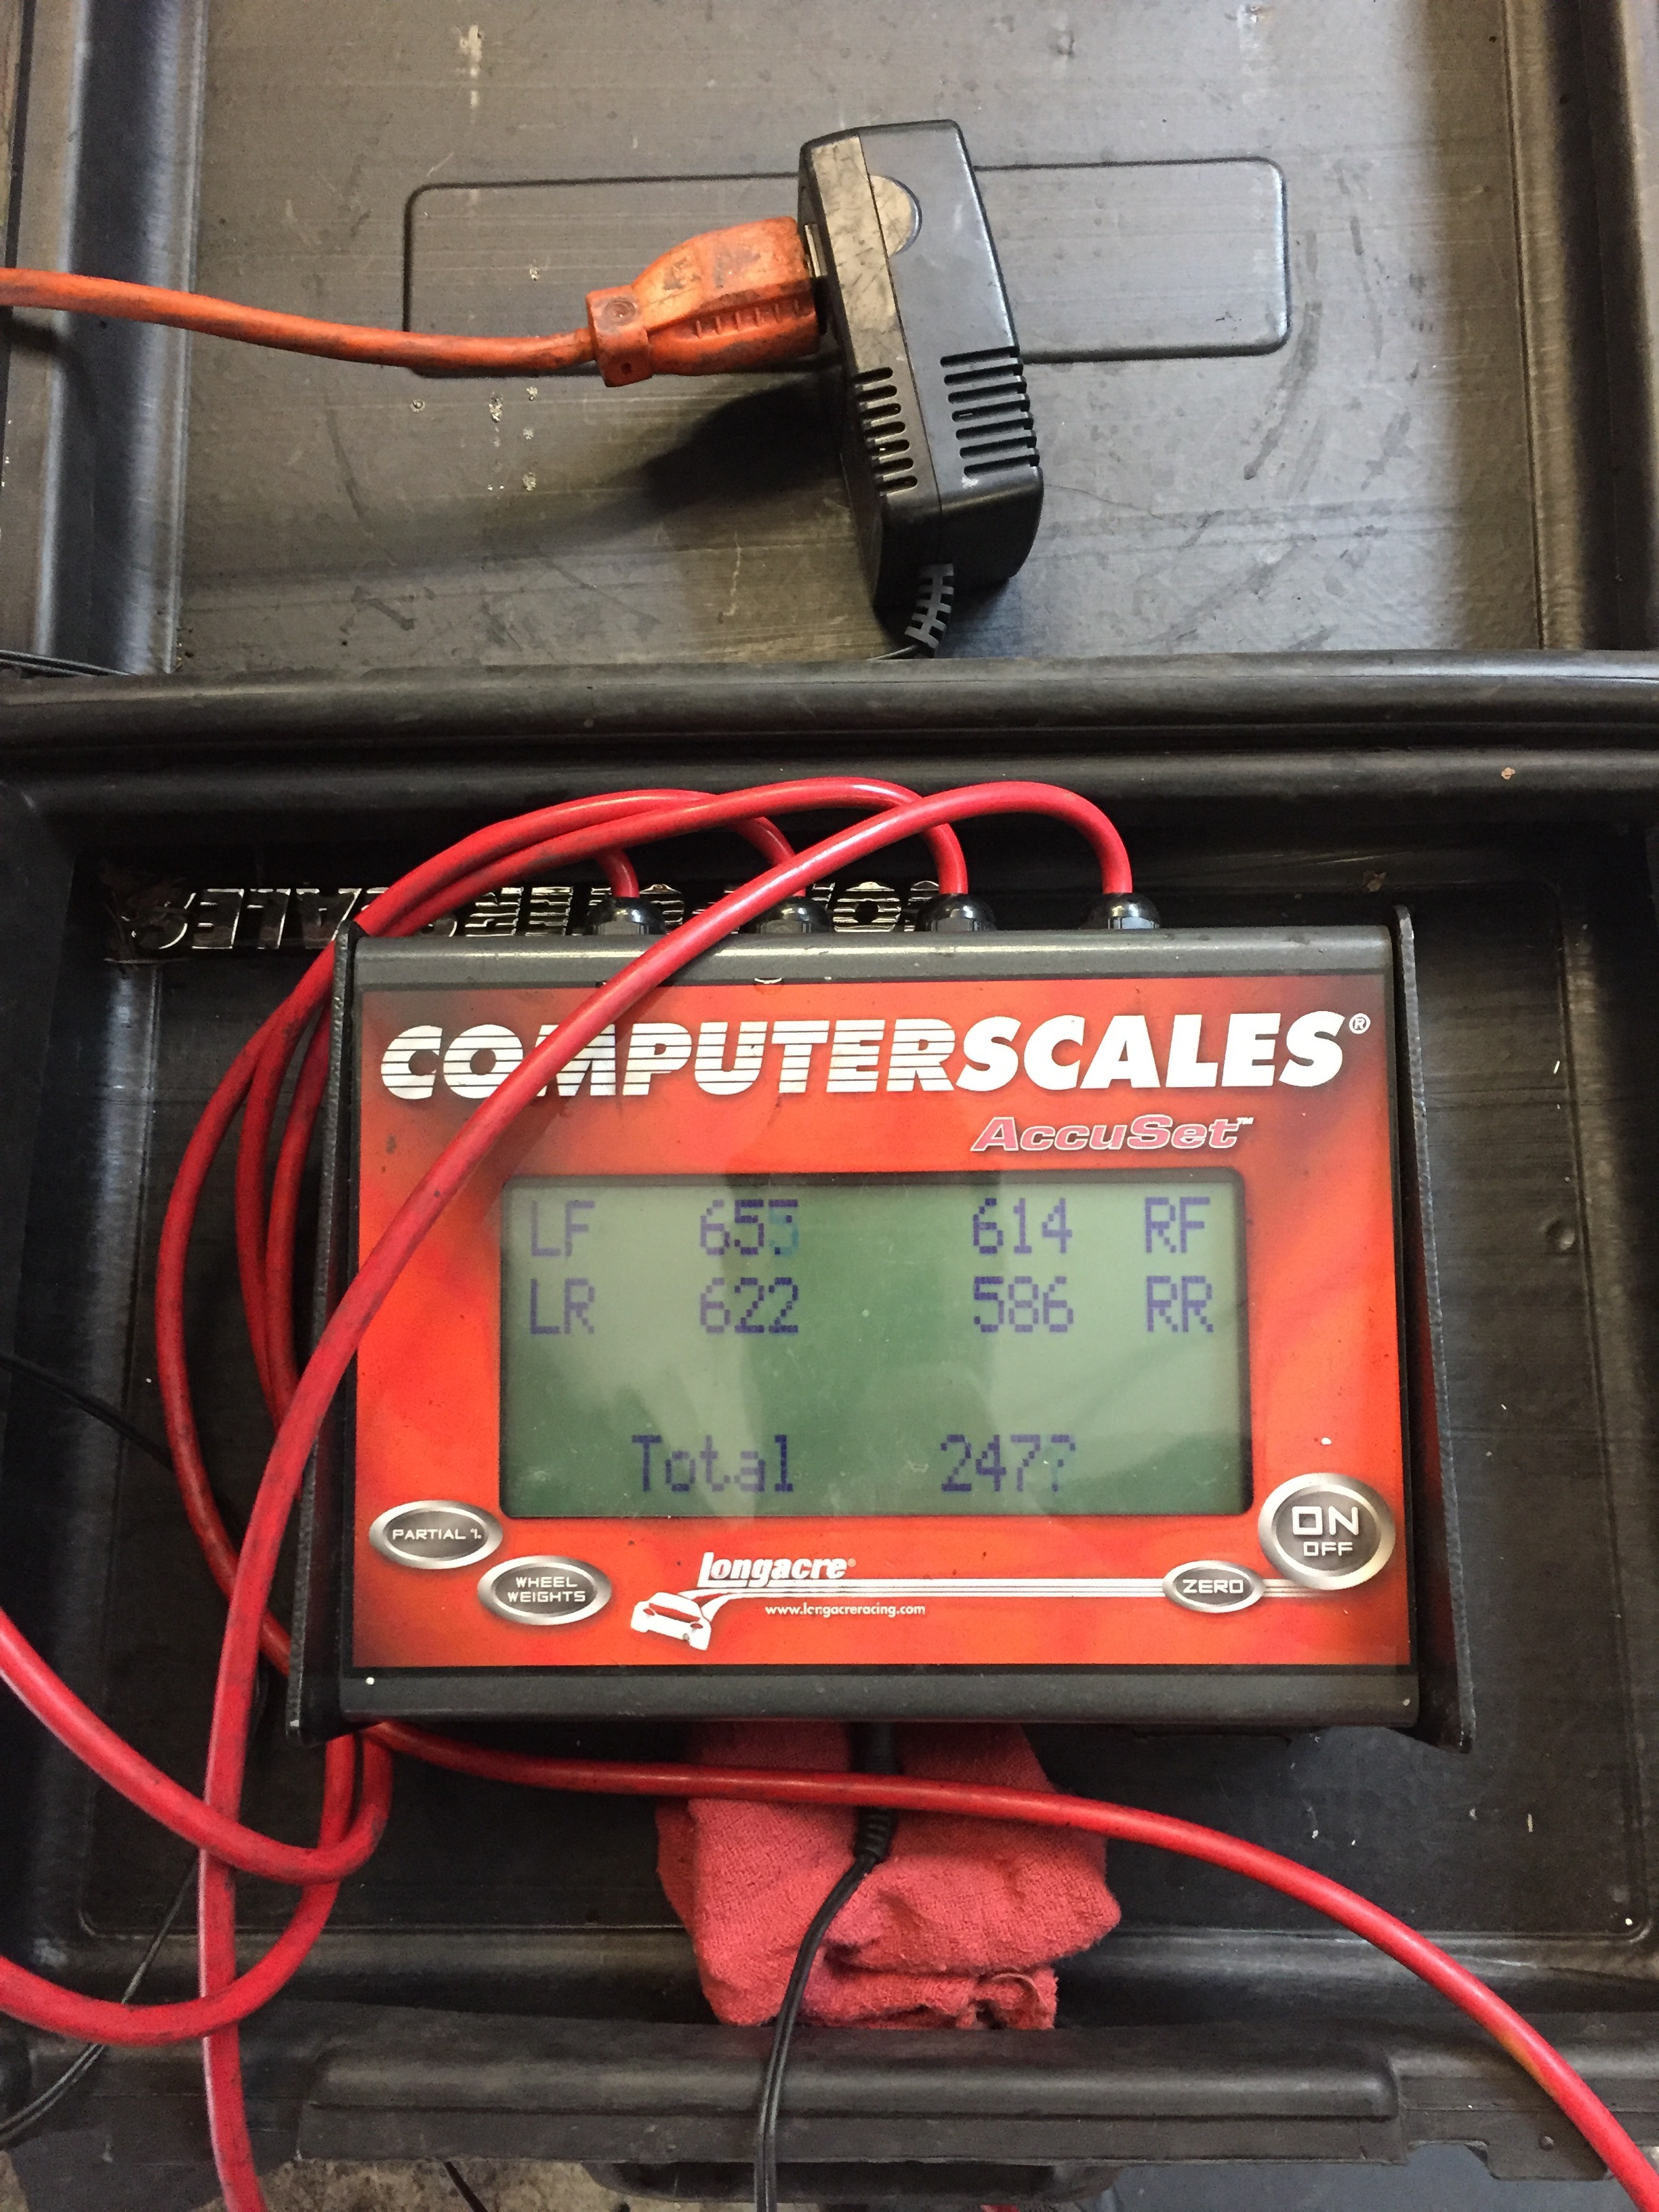
Here it is balasted and corner weighted.
And the cross weights, it's within 7 lbs.
I don't have a picture of the alignment sheet, but although we started at over 3.5 degrees of front camber, we ended with 2.5f/2r, 0 toe up front, and .08 rear per side. 4.5* caster was the best we could do in that regard.
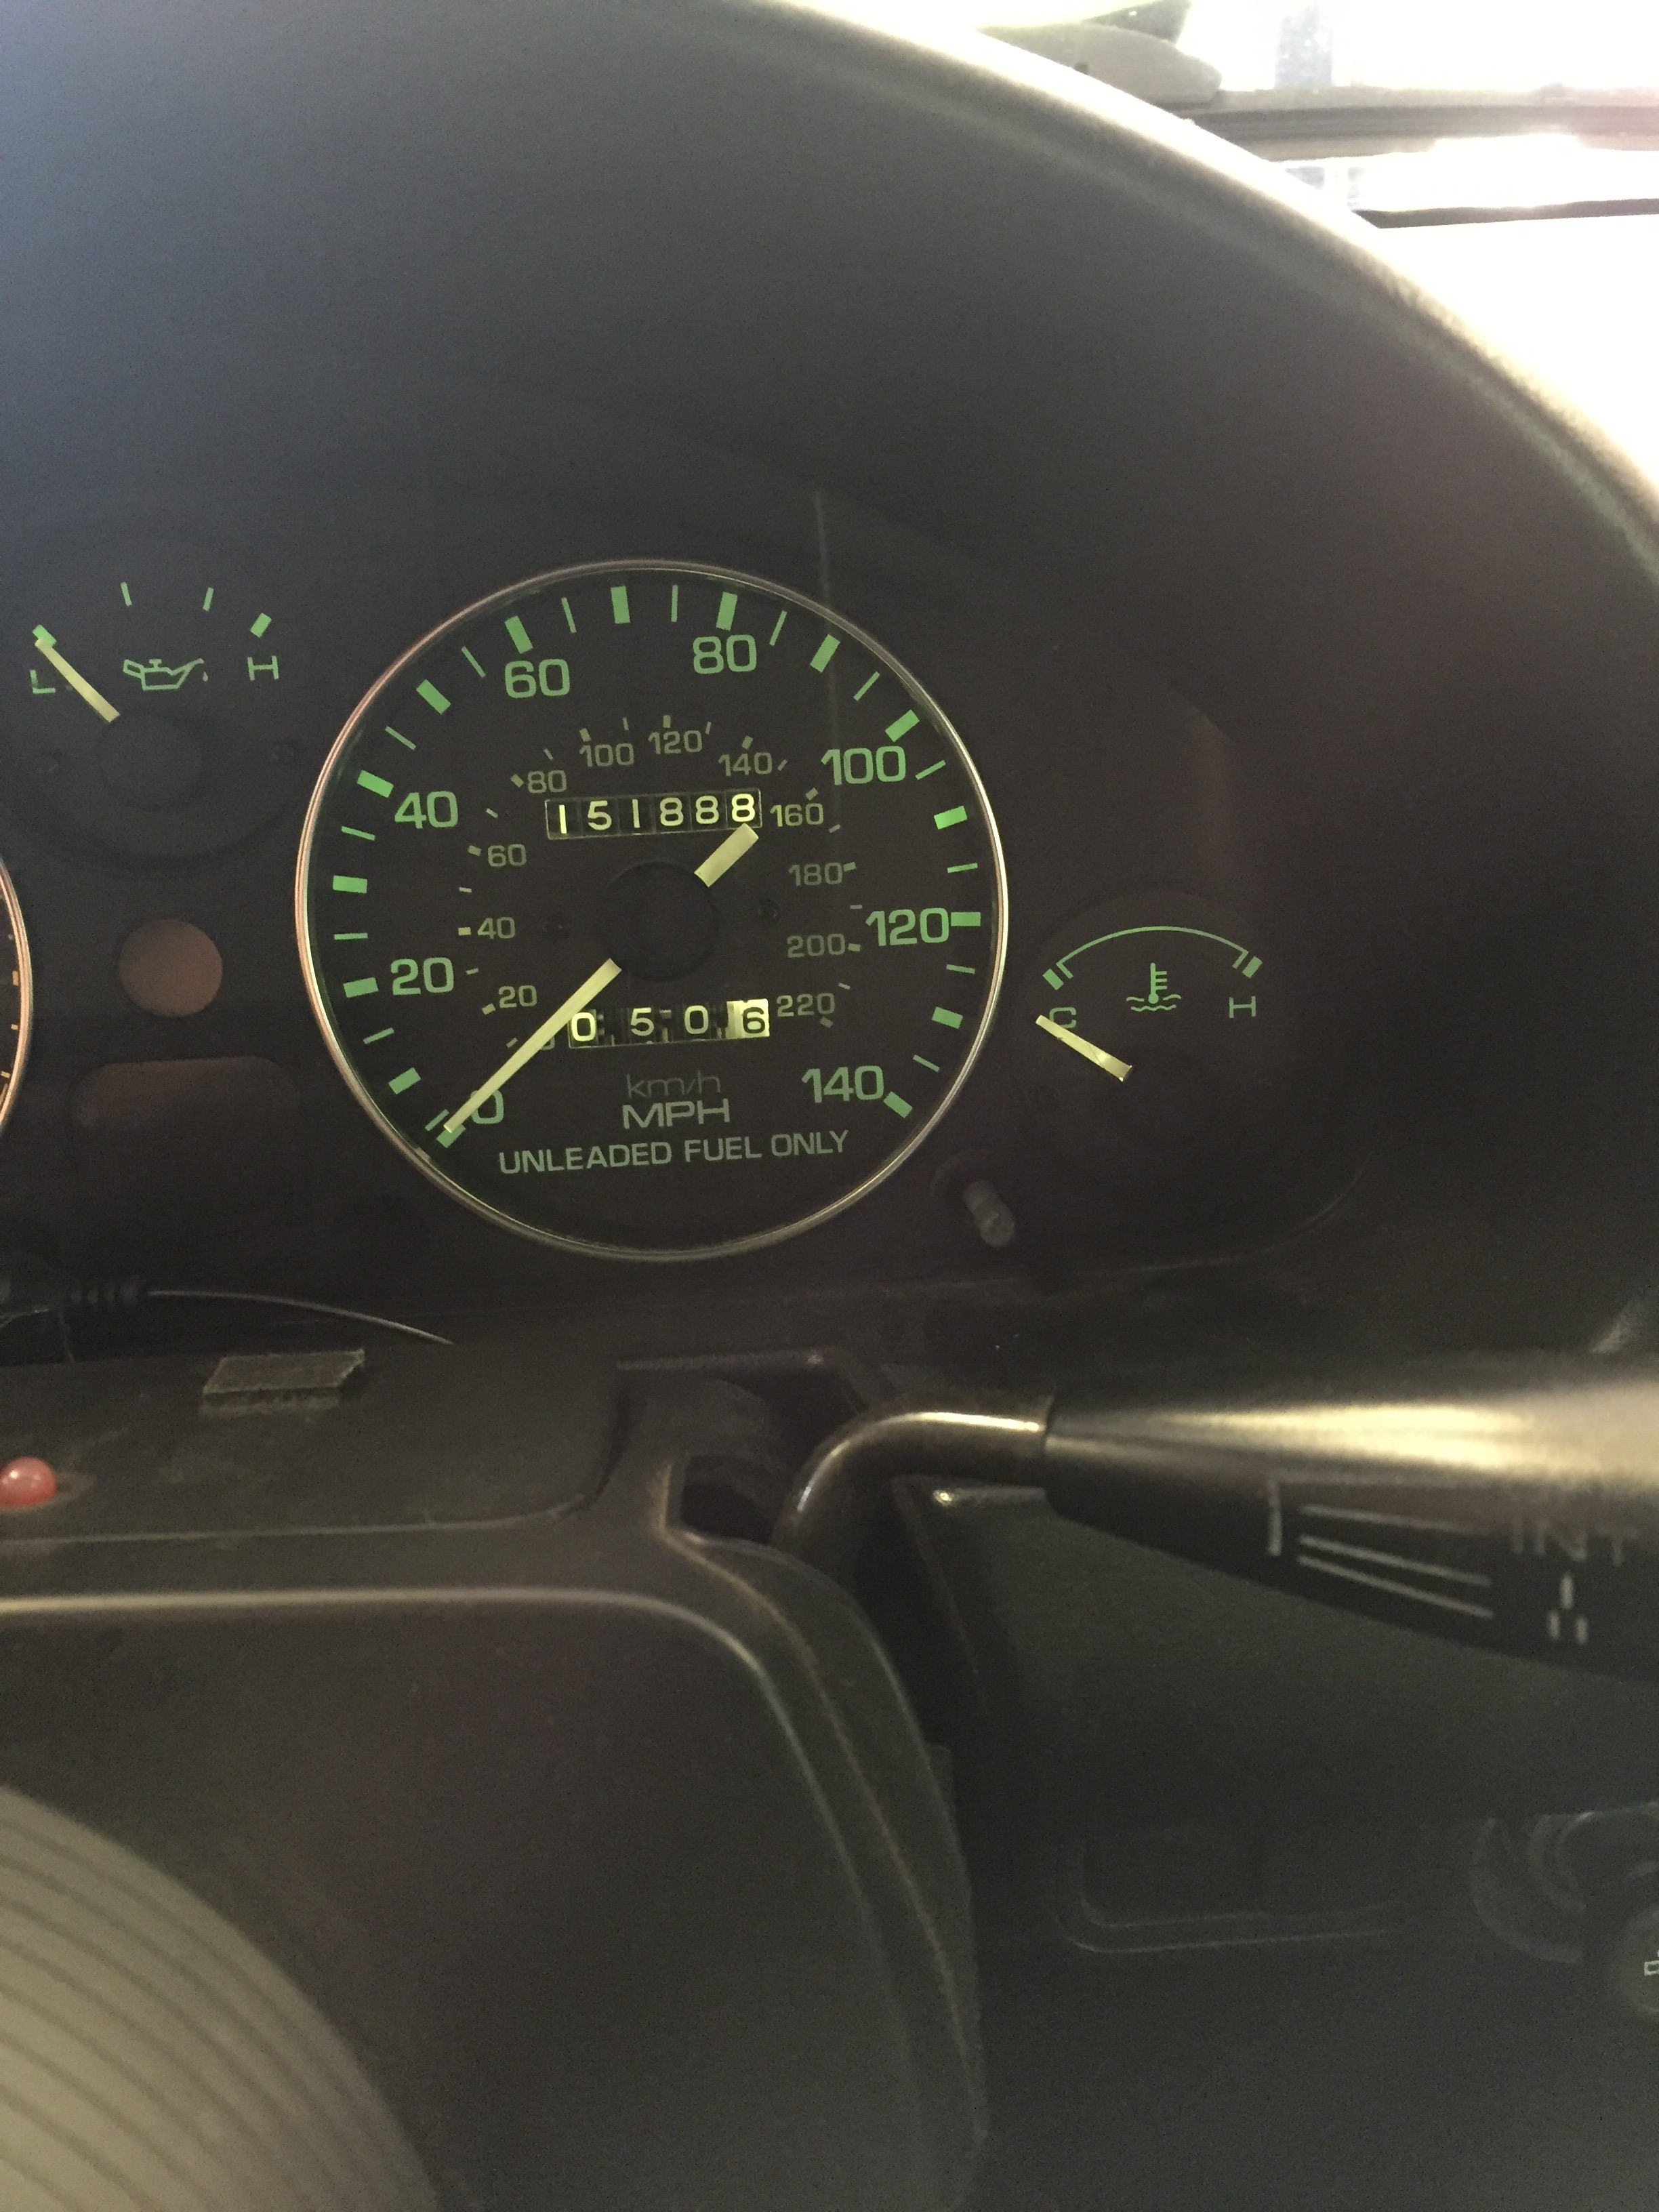
Then we went for our 50 mile drive. 15 miles of lots of engine breaking and full throttle below 4000rpms, followed by 15 miles of the same but up to 5000rpms, then another 20 up to 6000rpms, with a little more normal driving in the last 10 miles. Now for the good news, no smoking! Very happy for Don, setup feels very crisp, peppy, and dialed. It's been quite the transformation, since he's last driven it: FM clutch, BW drop mounts, 3.9 torsen, 6-speed, MMR shifter, TSE engine, 949 head, RB header, CSTG intake, MS3, Xidas, and a roll bar. Can't wait for you to try it out Don!
Check out that trip meter, took us on an almost perfect 50 mile loop!
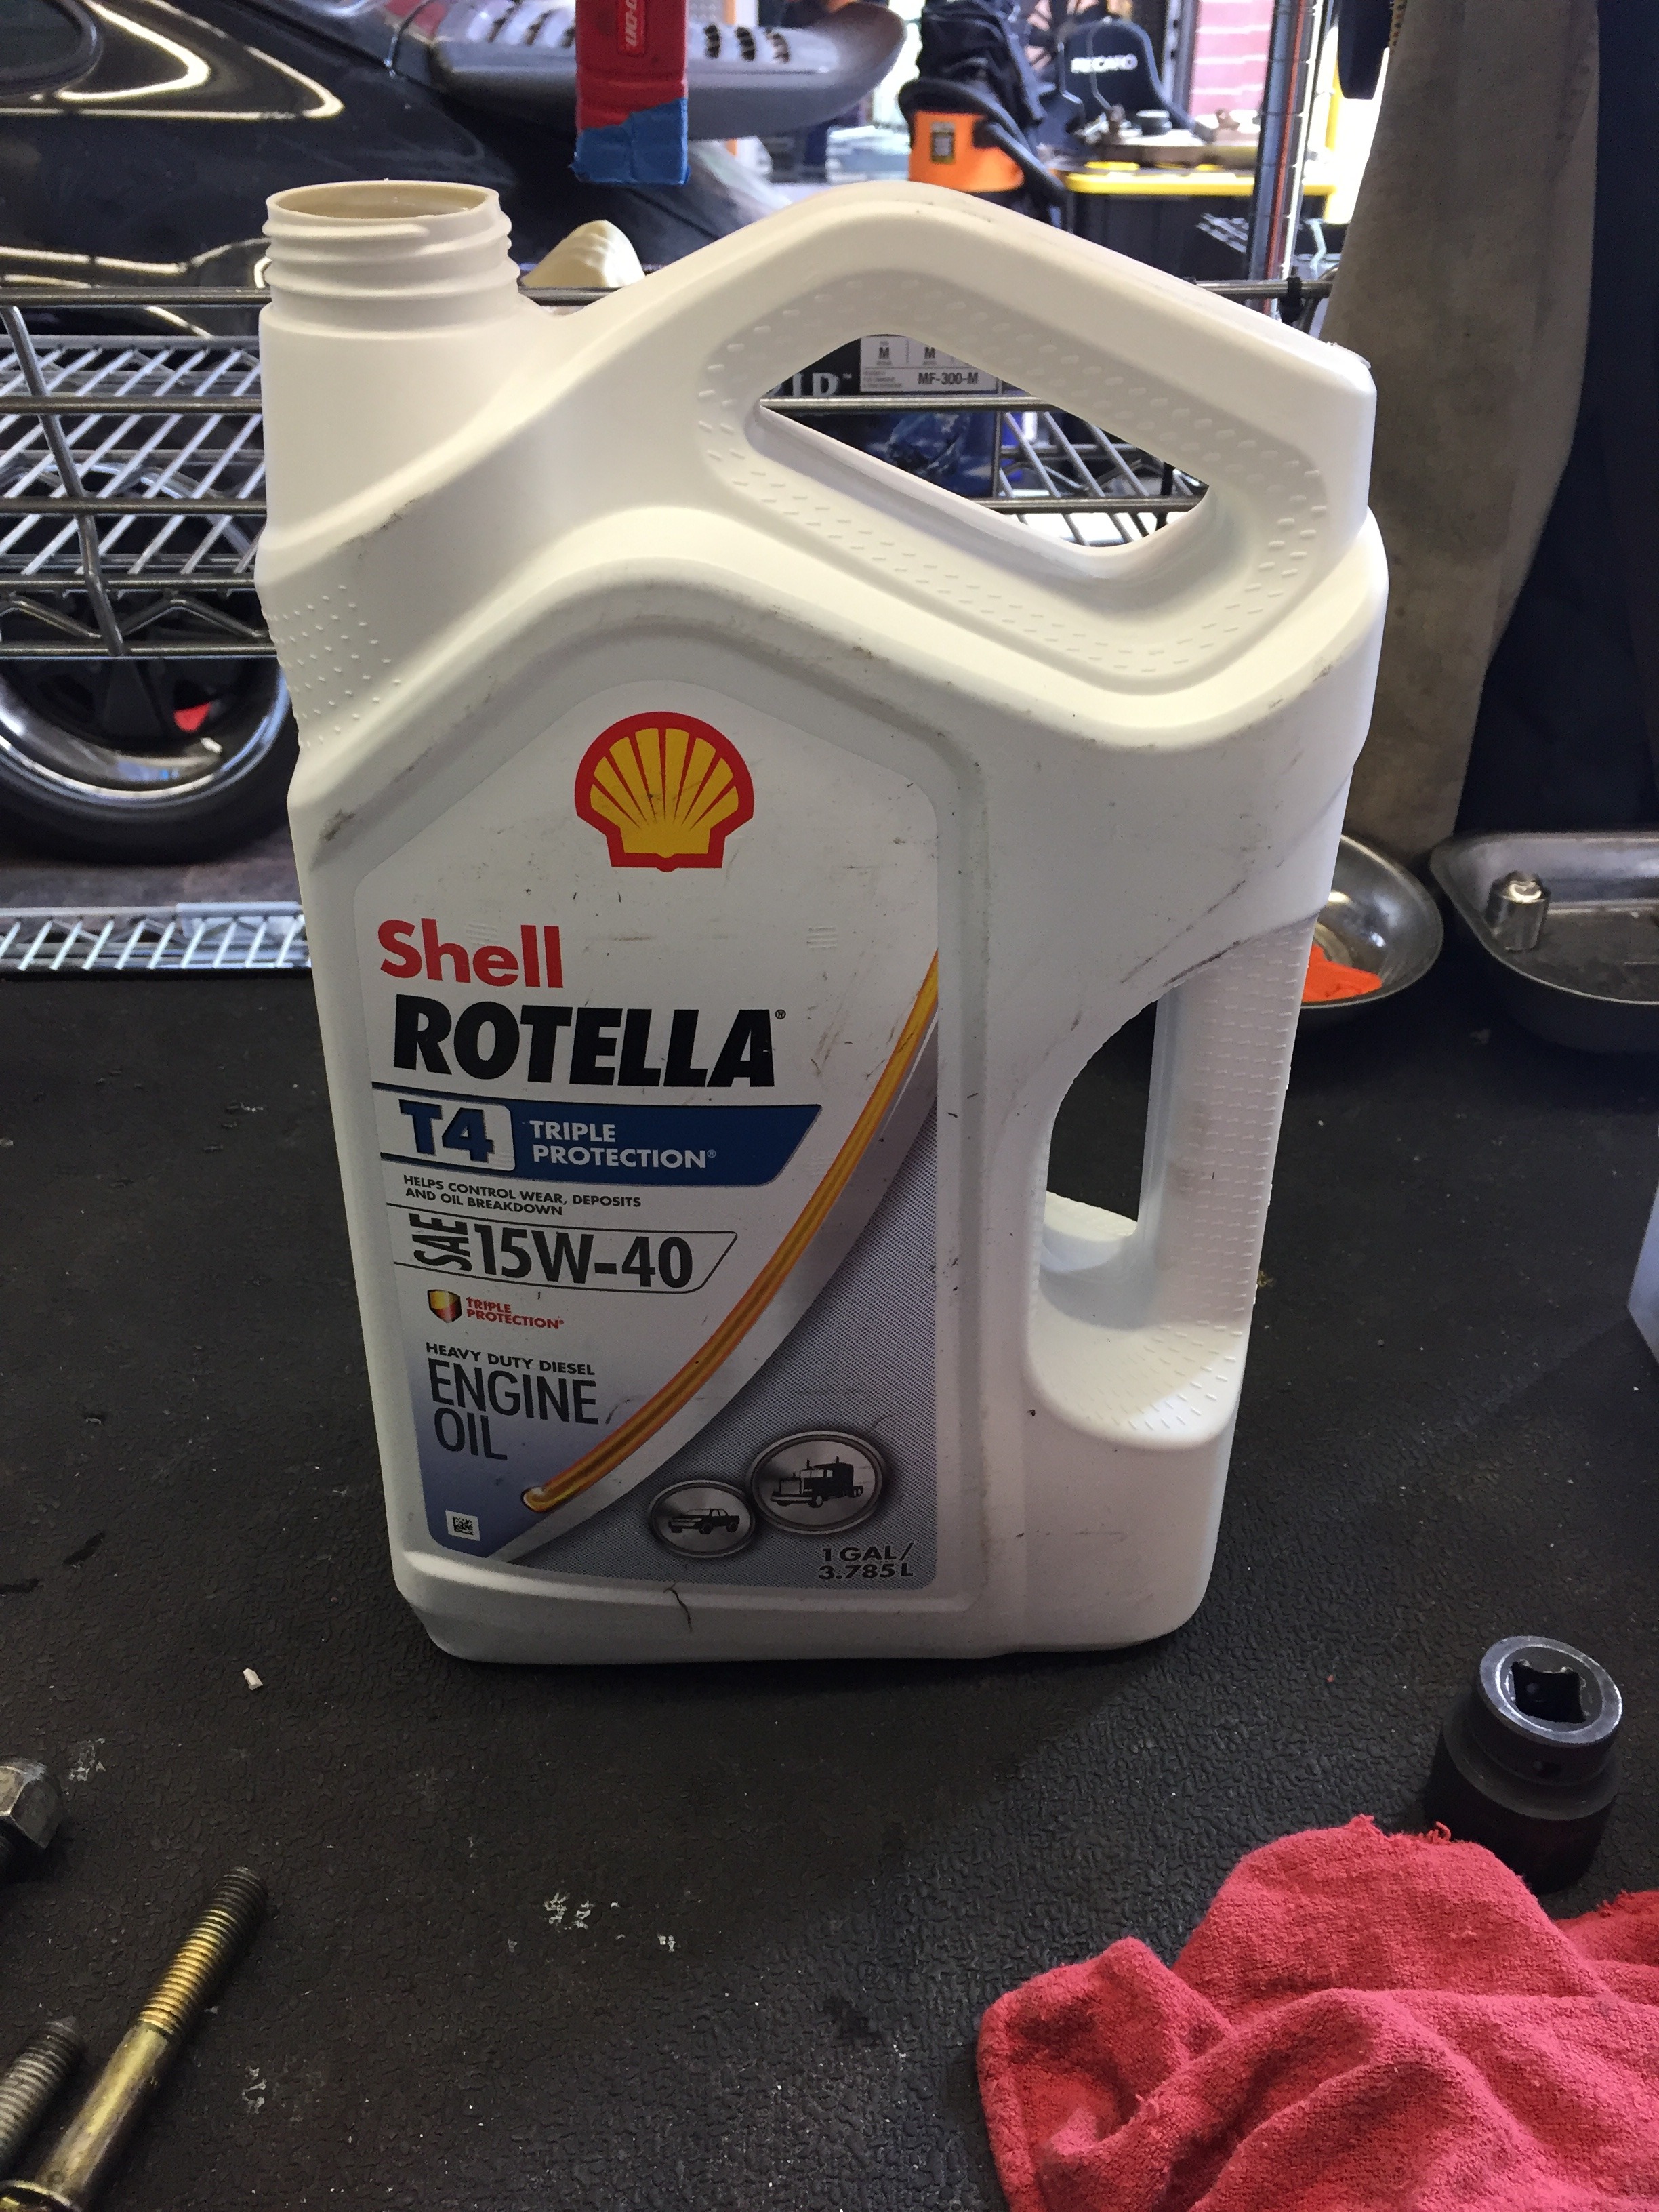
Put in the preferred Rotella...
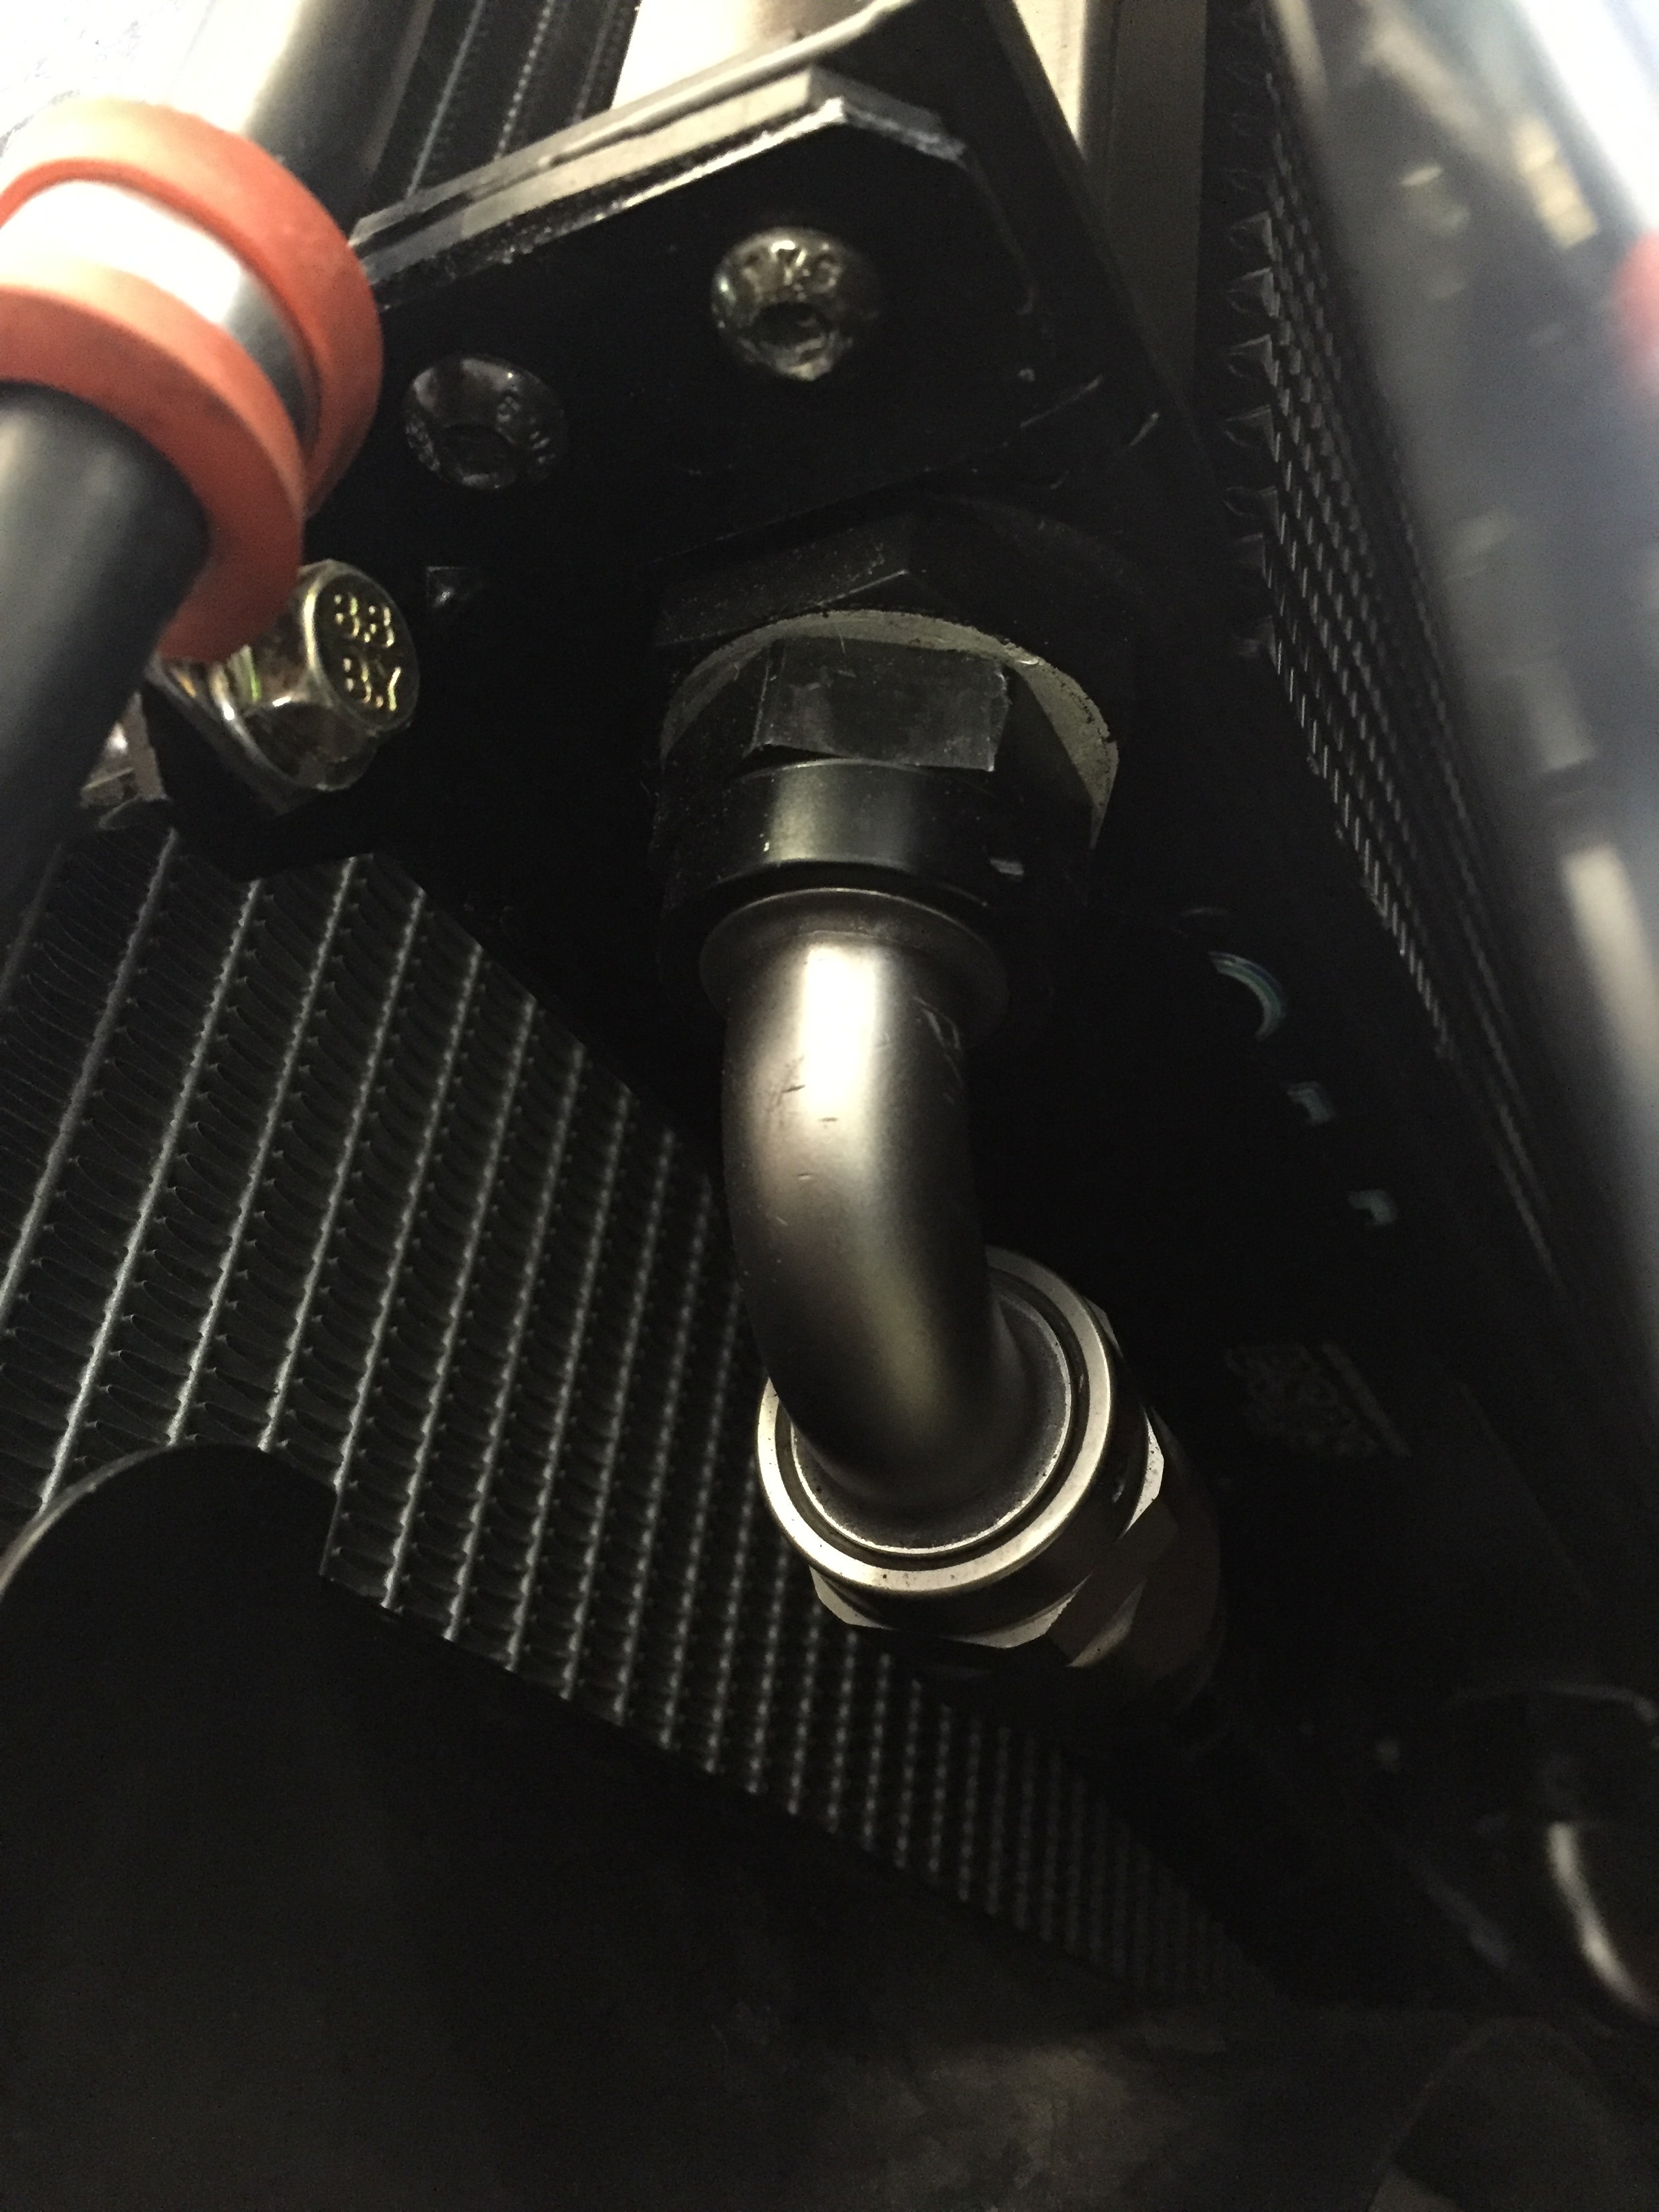
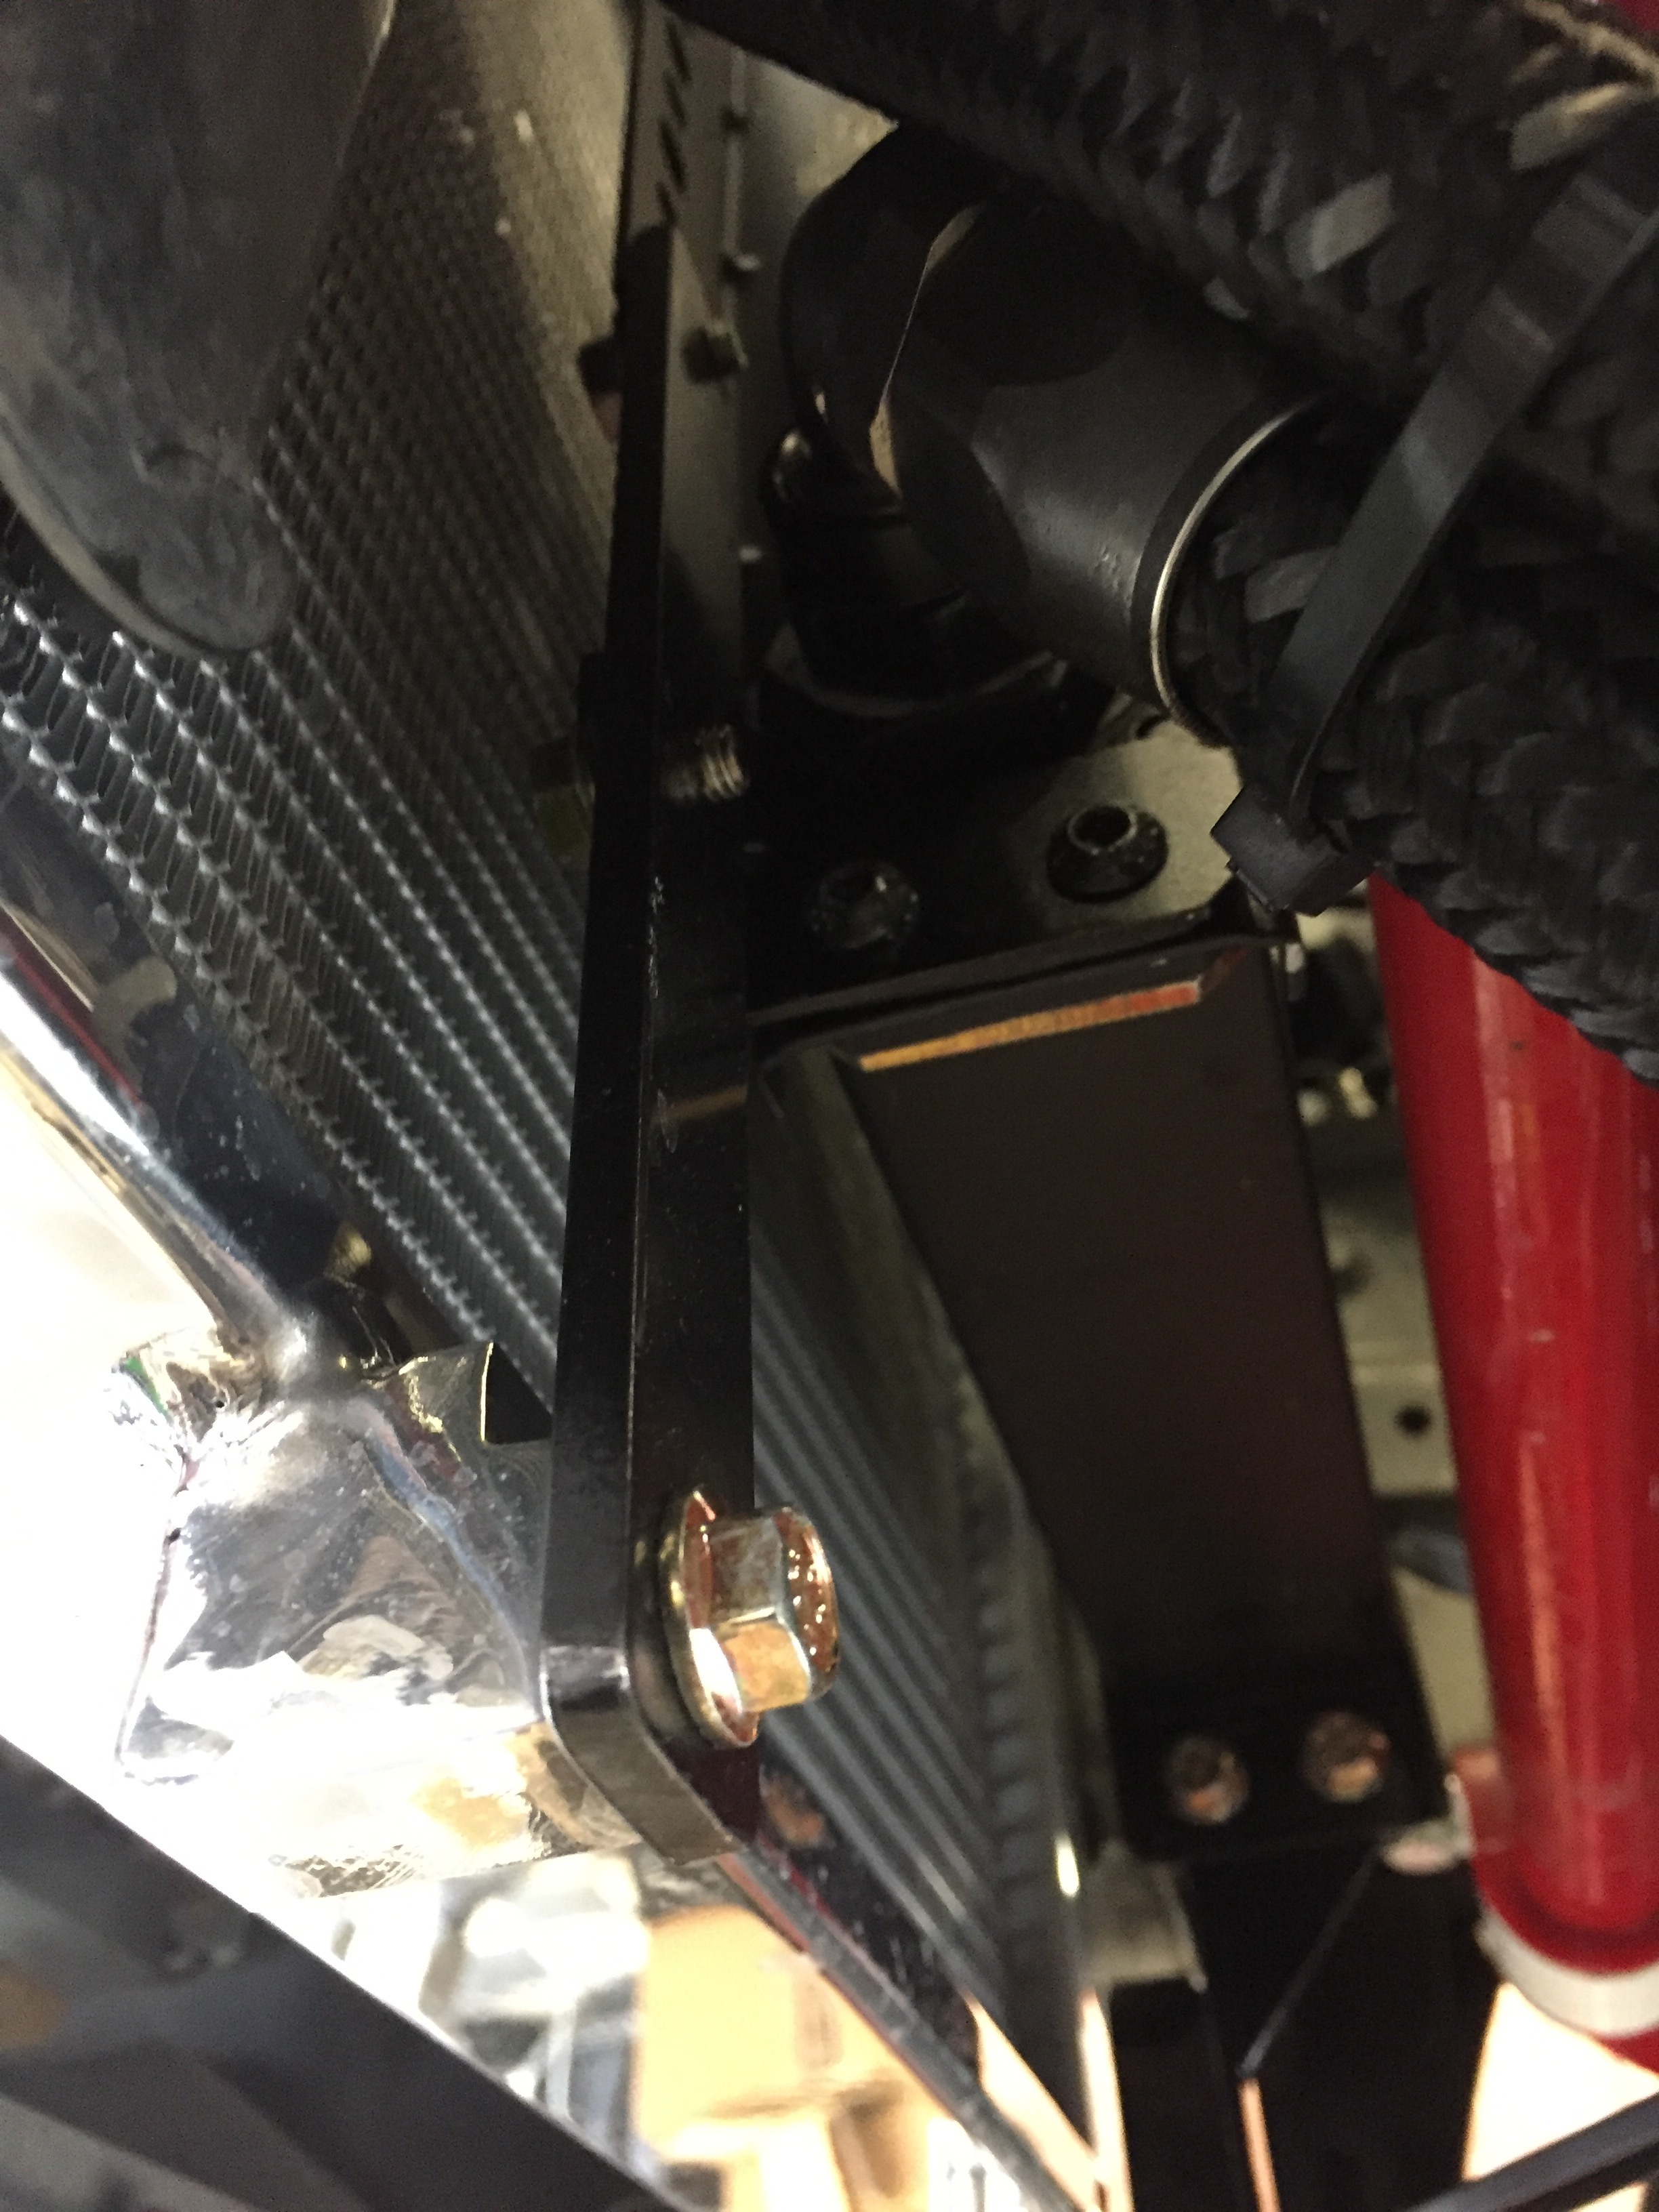
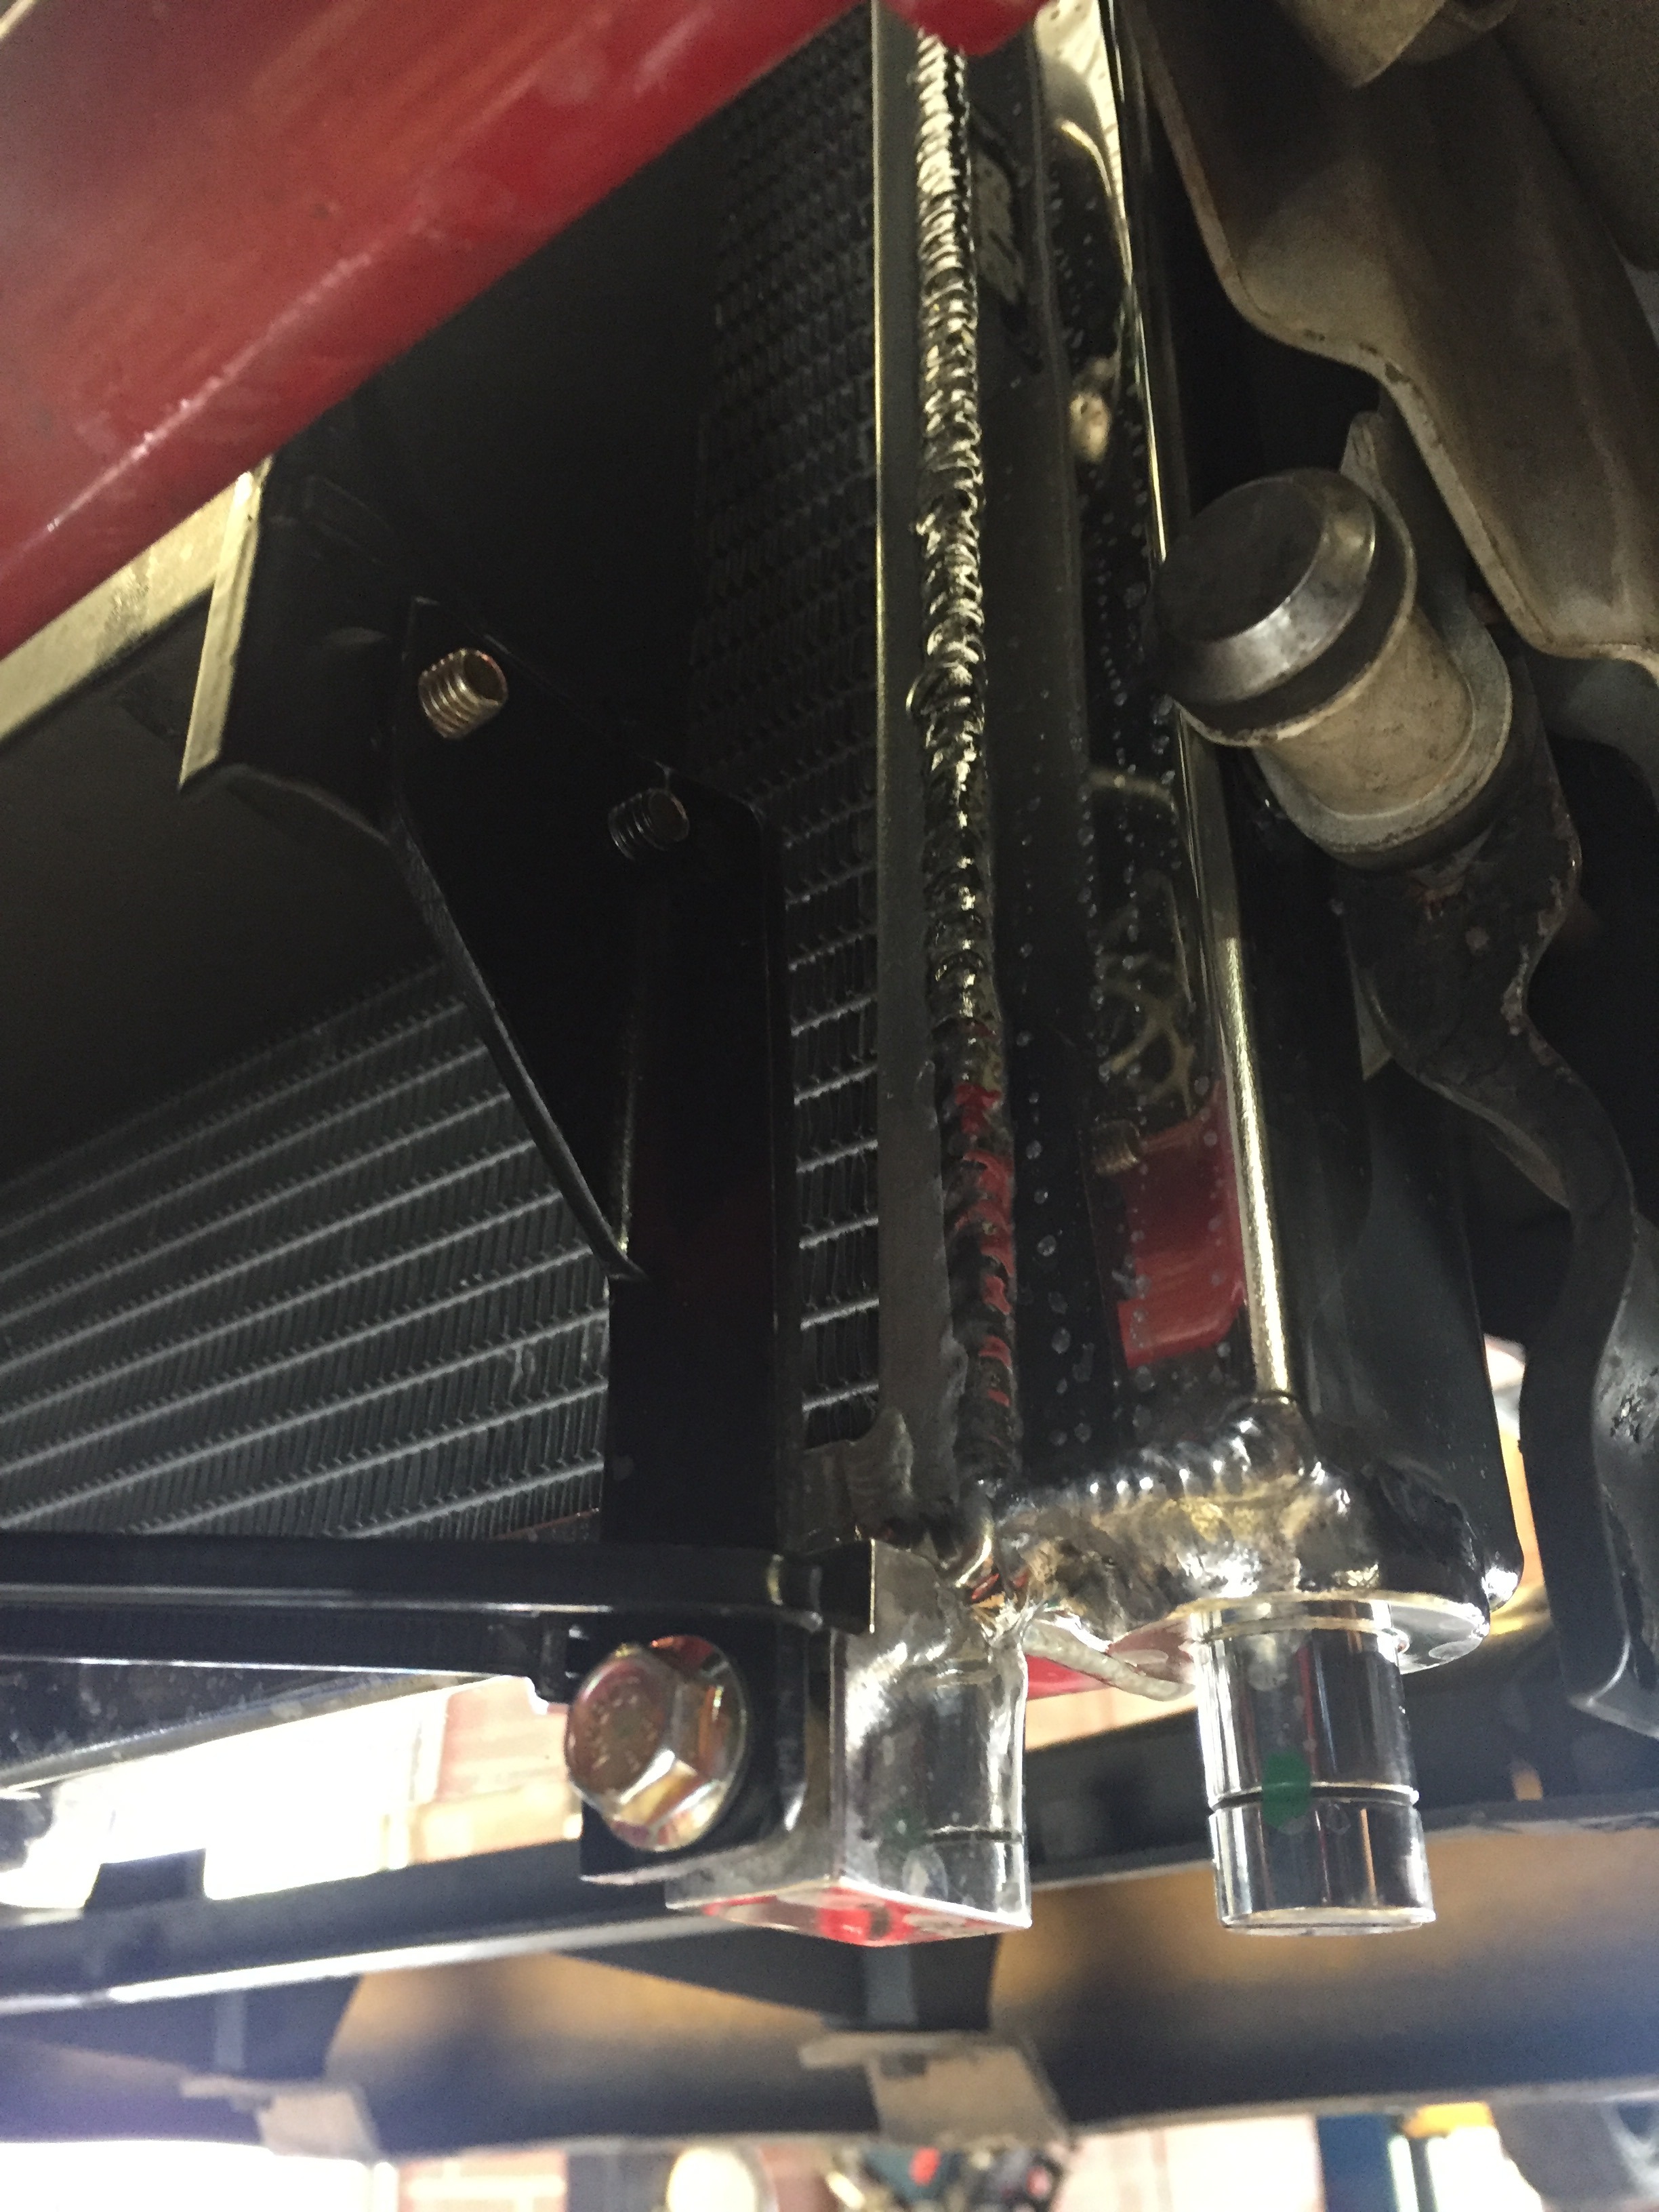
And re-attached the oil cooler. Only had 4qts of amsoil breakin oil from TSE, so I decided to disconnect the oil cooler for the initial break in. Took some pictures of the three mounts I made. Upper left is off the bracket that came with the cooler, lower left is an extension off that bracket, and the lower right is a piece of angle iron cut, drilled, and tapped for the third and final mount. Kind of looks like it's floating from the top as there's only one mount up there, but it's rock solid.
For now we're waiting on the NB TPS and pigtail to install and wire in the S2 TB, then it's dyno time!
Thanks for the pics Josh! I'm excited to drive it again. Somehow my Honda Fit just isn't the same, even if it is a manual.
I'm pleased with that caster number, I had been driving with 5* (as per the FM alignment). Do you happen to remember the ending ride height?
Placed the order for the TPS pigtail this morning, haven't received a shipping notification yet. Hopefully you can figure out what's going on with the CAN module, having the OBDII plug is nice for monitoring when I don't have the laptop. Like I said in the other thread I sent the .msq for my old tune to Martin earlier this evening, comparing settings might help?
Ended up at 4.75" all around. I guess I left out the one bit of bad news. The LR, (only collar you didn't replace) is frozen. I got one turn out of it but it wouldn't go any further. I set ride height on the RR to match, and started lowering the front. I got it at about a 1/8" rake, but if I went for the full 1/2" suggested rake the front was just going to be dumped. As is it looks visually correct and drives amazing, so it worked out. Project for another day!
I'm looking at your TS settings now, unfortunately comparing tunes doesn't compare project properties, although that should only be the CAN ID, which rev says needs to be 9.
Guess it is what it is, no worries. When/if I get around to replacing the control arm bushings I'll get a new perch. Rake sounds fine to me, not sure where the .5" suggestion came from anyway as the 949 dual-duty alignment calls for .06-.18. 1/8" is .125", smack dab in the middle.
I should have some time to get my copy of TS working again tonight, let me know if there is anything I can look up that could be helpful for you. As soon as I have tracking on the pigtail I'll forward it on to Martin.
Yay, got the CAN module working! Biggest different I saw was the protocol difference, REQ/RSP instead of CMD. That and I properly selected CAN ID 9 from the drop down list in the project properties. Whatever, it works!
Anybody know what resistor Rev uses for his 0-5v analog input pullups? I've got this sheet from AEM for the oil temperature sensor I'm using:
However the 0-5v values are specifically for a 2k2 ohm resistor, and when I plug it into the MS I'm reading about half of what I should be, according to my multimeter ohm reading and the above chart.
Secondly, does anybody know how to convert the above chart to one I can actually use once I have the correct resistor value? TIA.
You can use a custom .inc file that contains the curve that you need. But building it by hand is going to suck. And I can't find the program that someone used to make them originally.
Looks like this:
And because all AEM does is rebrand sensors and sell them for TEXA$ they managed to pick a GM sensor, but use a different curve than the standard GM sensor.
For future reference: Airtex/Wells 1H9. Its a 1/8 NPT Sensor, with a standard GM curve. The pigtails are not nearly as nice as the AEM sensor, but they are usable.
If you do end up generating a custom inc file then post it up. Its all simple math. Just annoying.
Damn, well now I understand why that's so important. I'll do a linear best fit line for now, and look into the custom .ini curve later. Looks like I'm getting around -85 for 5 volts and 350 for 0 volts. I'll give it a shot tomorrow when I solder everything permanently.


 0
0