When you click on links to various merchants on this site and make a purchase, this can result in this site earning a commission. Affiliate programs and affiliations include, but are not limited to, the eBay Partner Network.
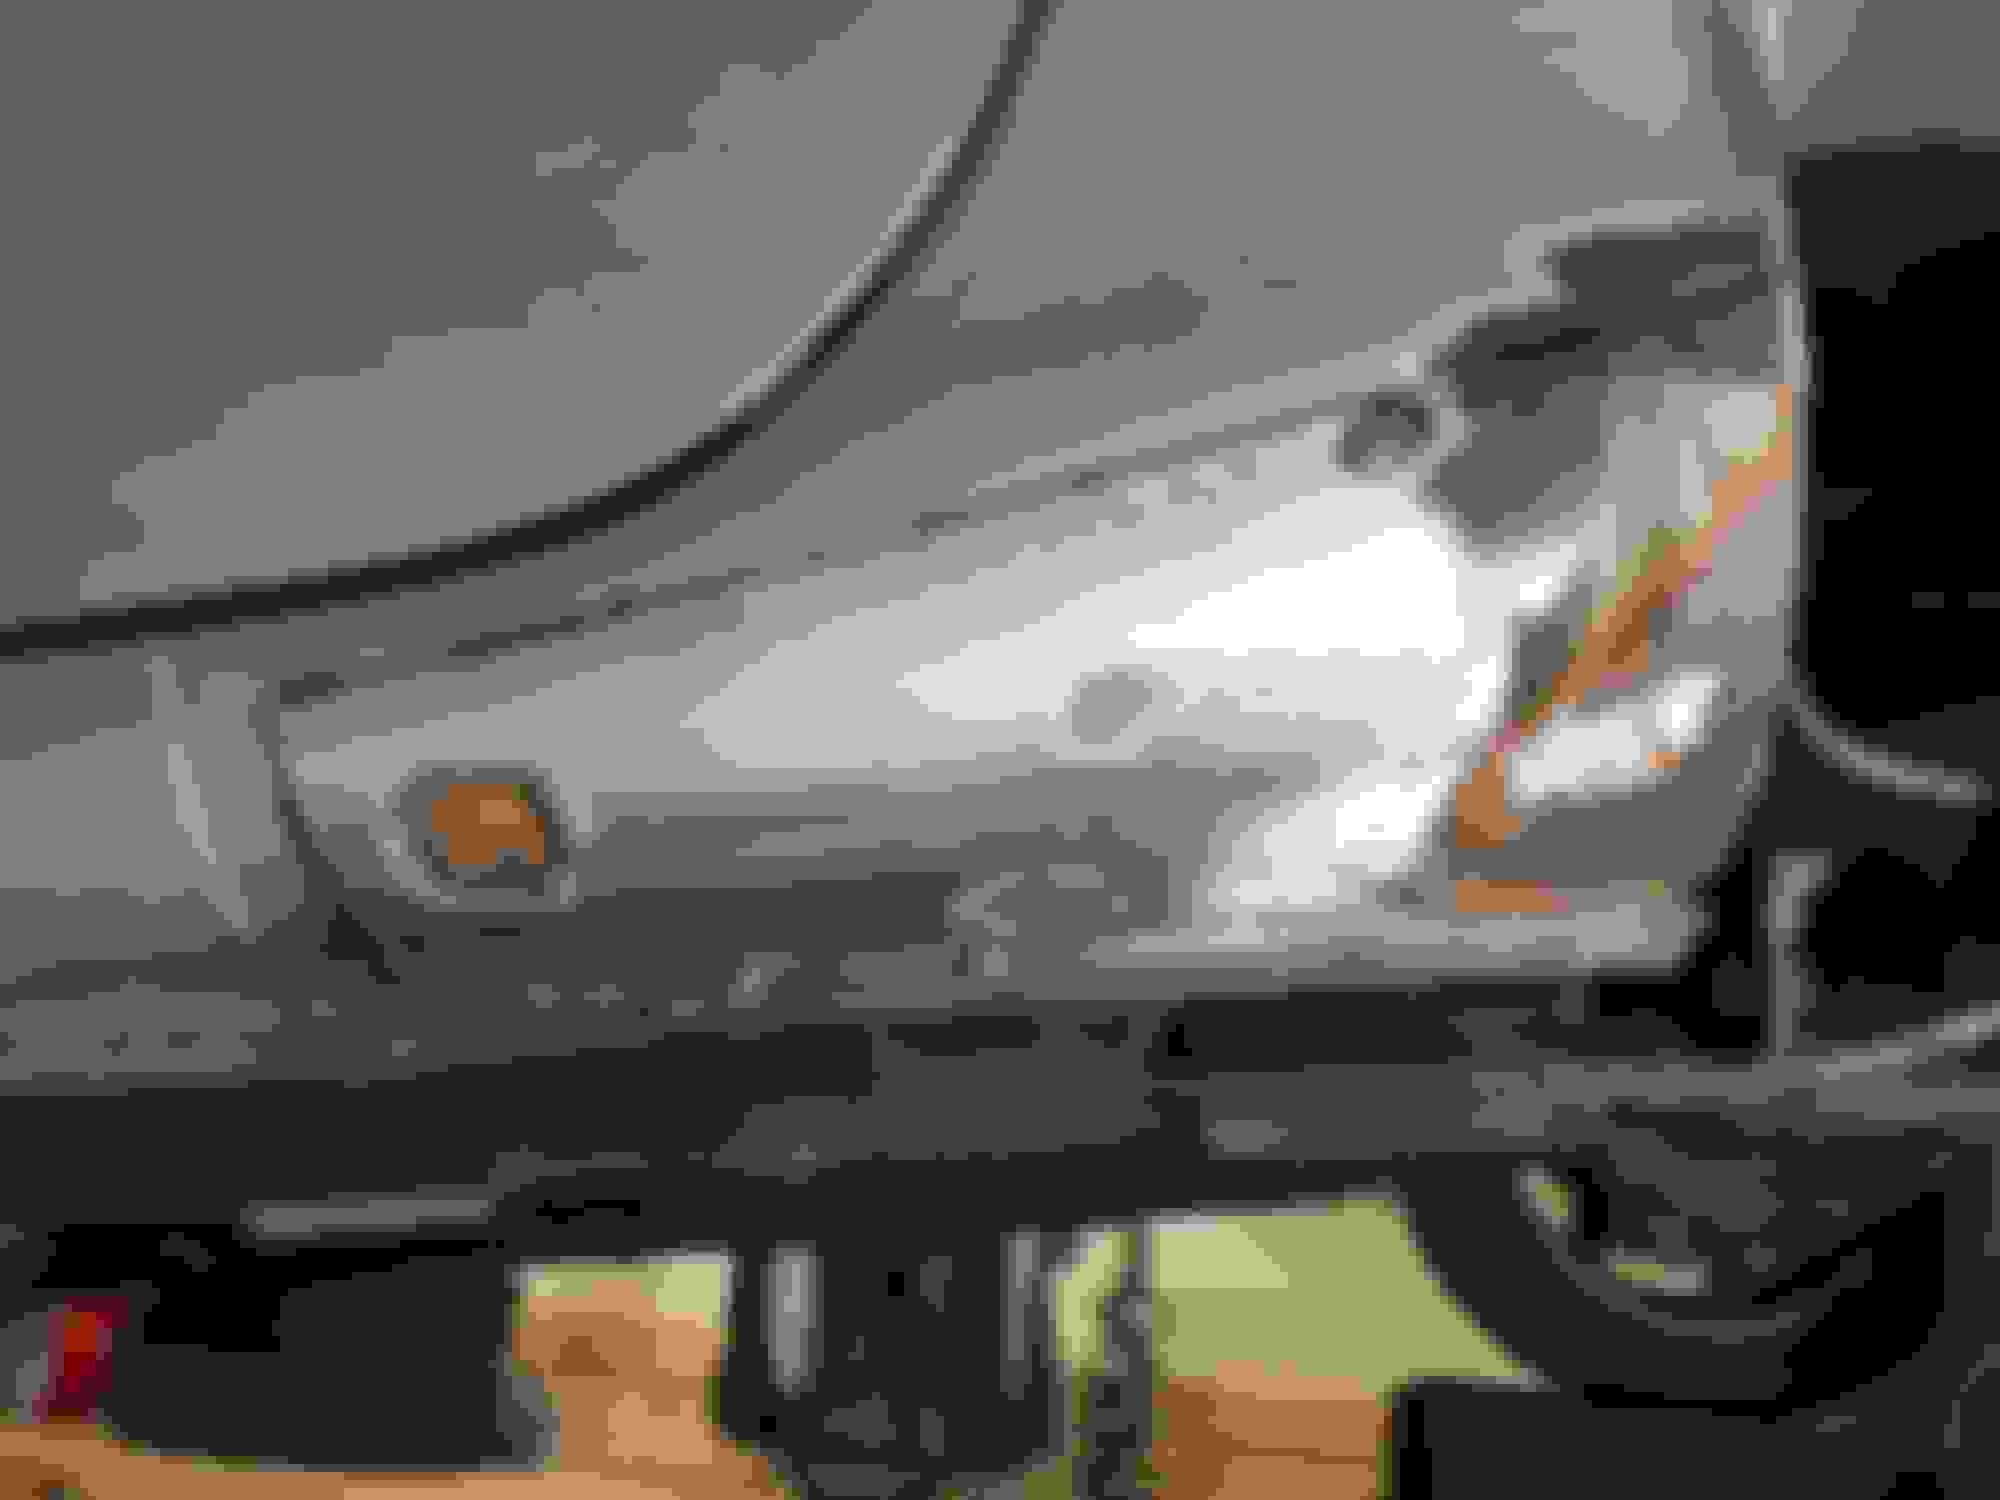
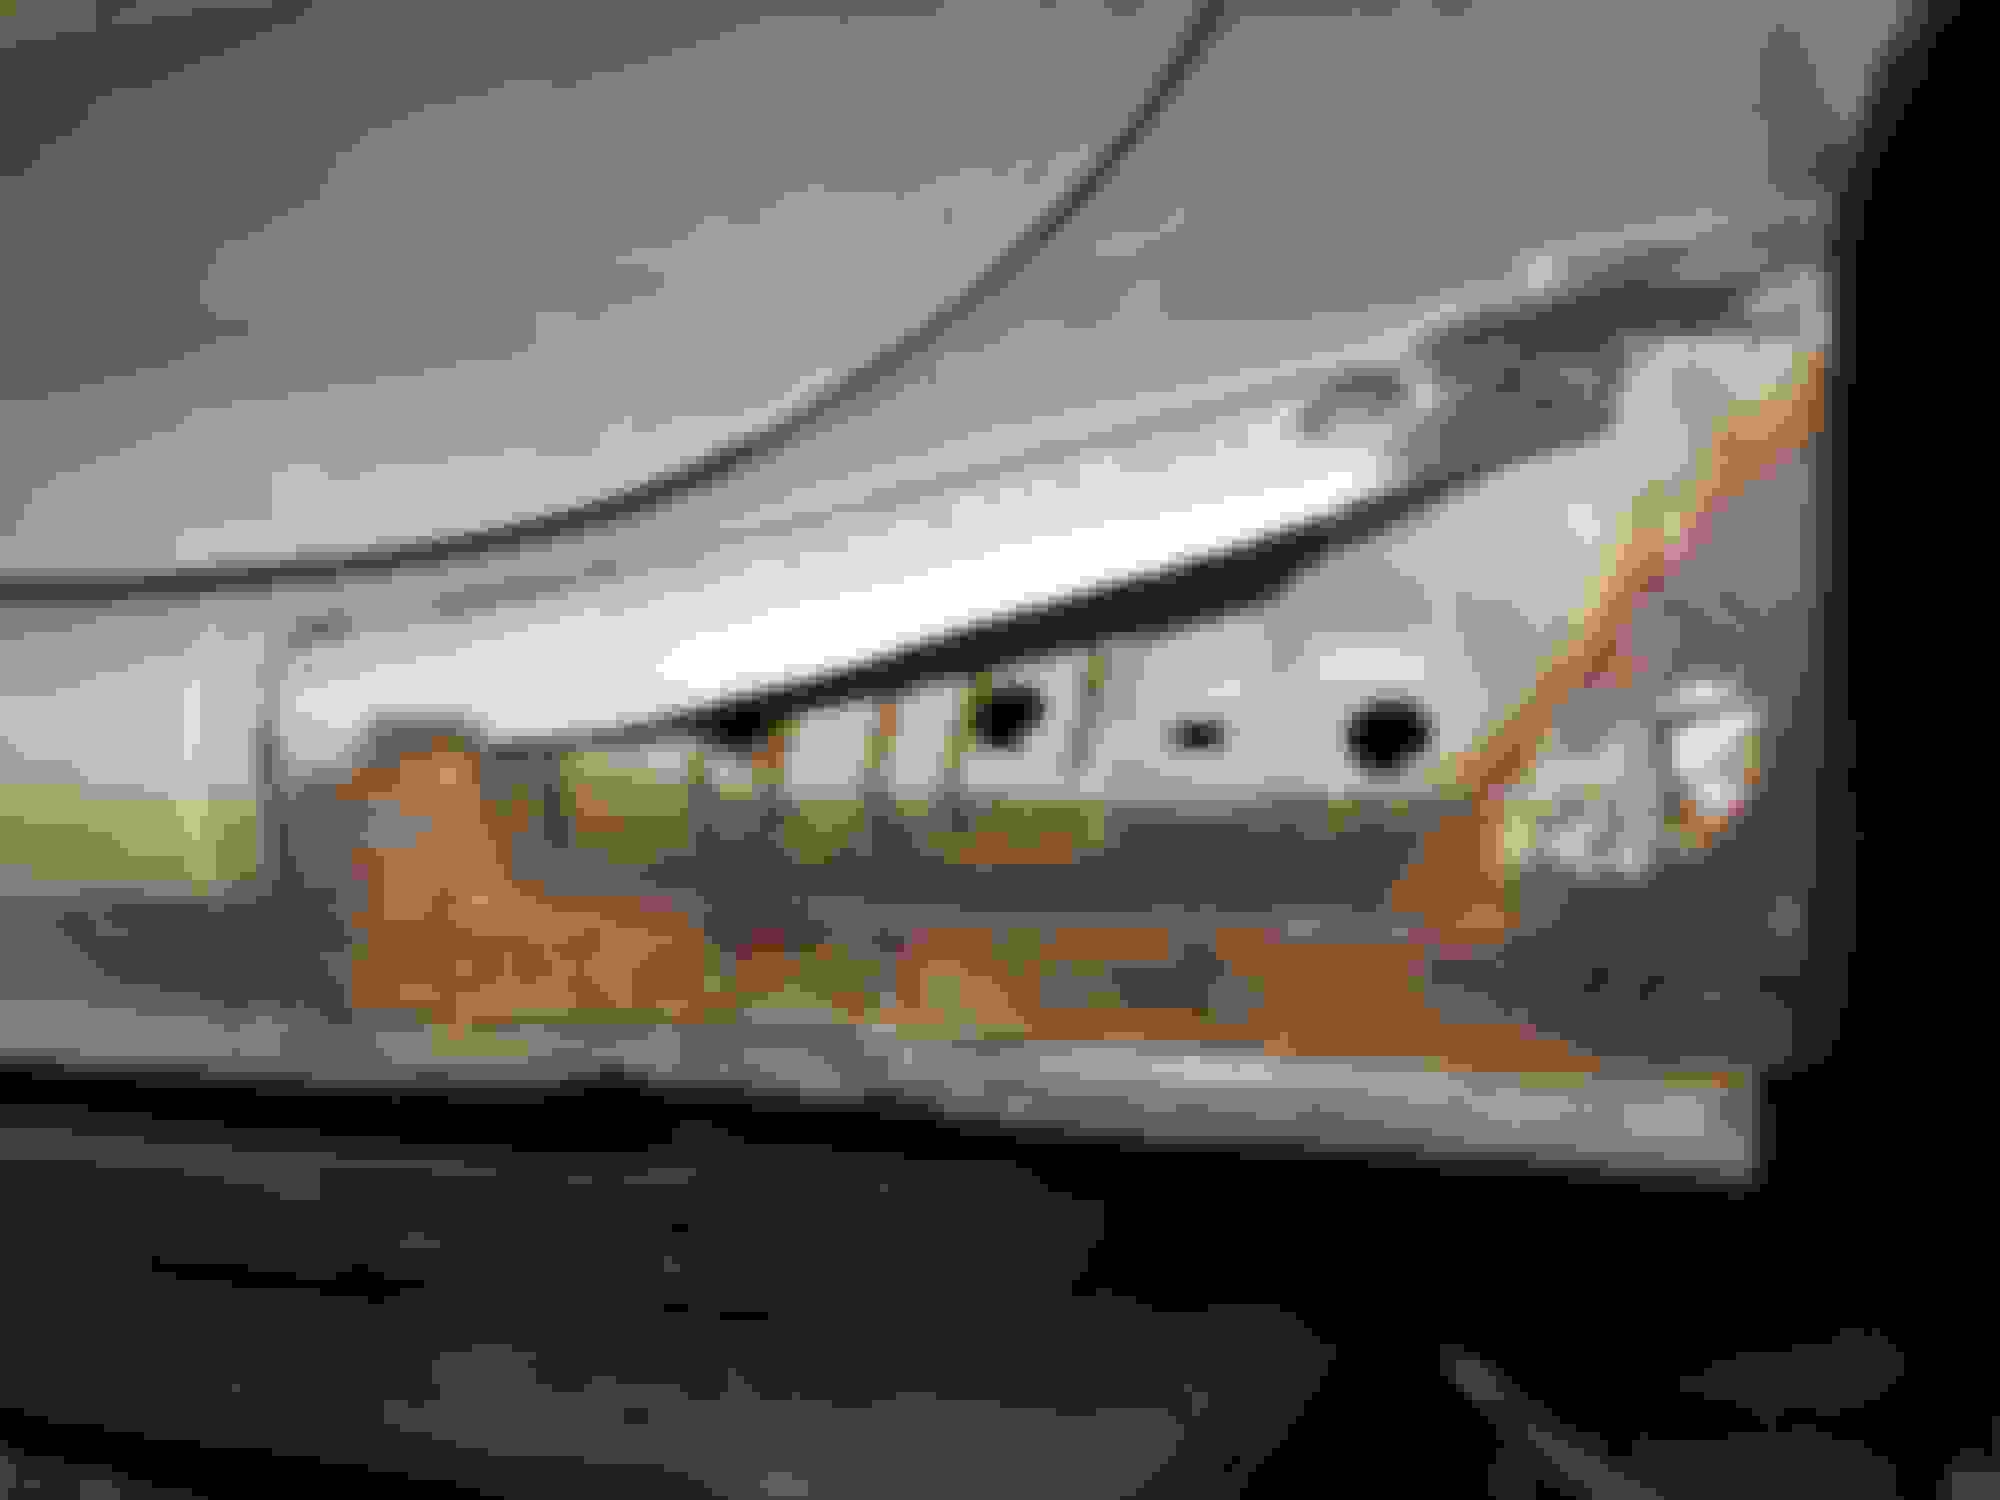
Okay, so to start the repair I needed to estimate the damage done. I removed some interior and exterior bits to get visibility inside the structure, then I put my phone inside and took some blind images to see how it looks. Here are the results:
Left:
Right:
The little peekhole I used to see the insides of my car:
It is very clear from the images that the right side of the car is in a lot worse shape inside than the left. On the right side also the whole quarterpanel has rusted around the lip. I was too lazy to even take a image of this. But nevertheless it is very clear that this rusting is caused by moisture being trapped inside the car and then slowly eating away the car from the inside to outside. Weird part is that the right side looks a lot better from the outside than the left, but the inner damage is the opposite.
Next post I will show what I decided to order as repair pieces.
Parts have been ordered, I ordered whole rear sill and quarter panel for both sides for roughly 130� each from ebay. Parts should arrive next monday, meanwhile I will start removing rust, dirt, rustproofing and taking the rear bumber off the car.
Progress has been made, the repair sheets arrived. Quality is okay for ebay, but I would maybe try something else if I'd have to order the repair pieces again. I decided to start with the easier side. I started cutting the rusted areas with a Dremel to see the actual damage and to determine what kind of piece I will cut for repair.
Now that I have found out the shape of the piece I mocked it up on the actual car and drew the outline to know where to cut from. I have not yet decided if I will weld or glue the new piece in place. Both methods provide a good joint, but gluing would seal the bottom area with only spot welds better. Also welding this particular steel with our welder seems to be very hard as even with lowest power it just wants to burn through the steel immediately... The rusted area looks pretty bad in the images, but only on the very end of the sill I would actually consider it bad. On the straight bit the corrosion is just very mildly on the surface and there seems to be a lot of good steel there to support the surface sheet.
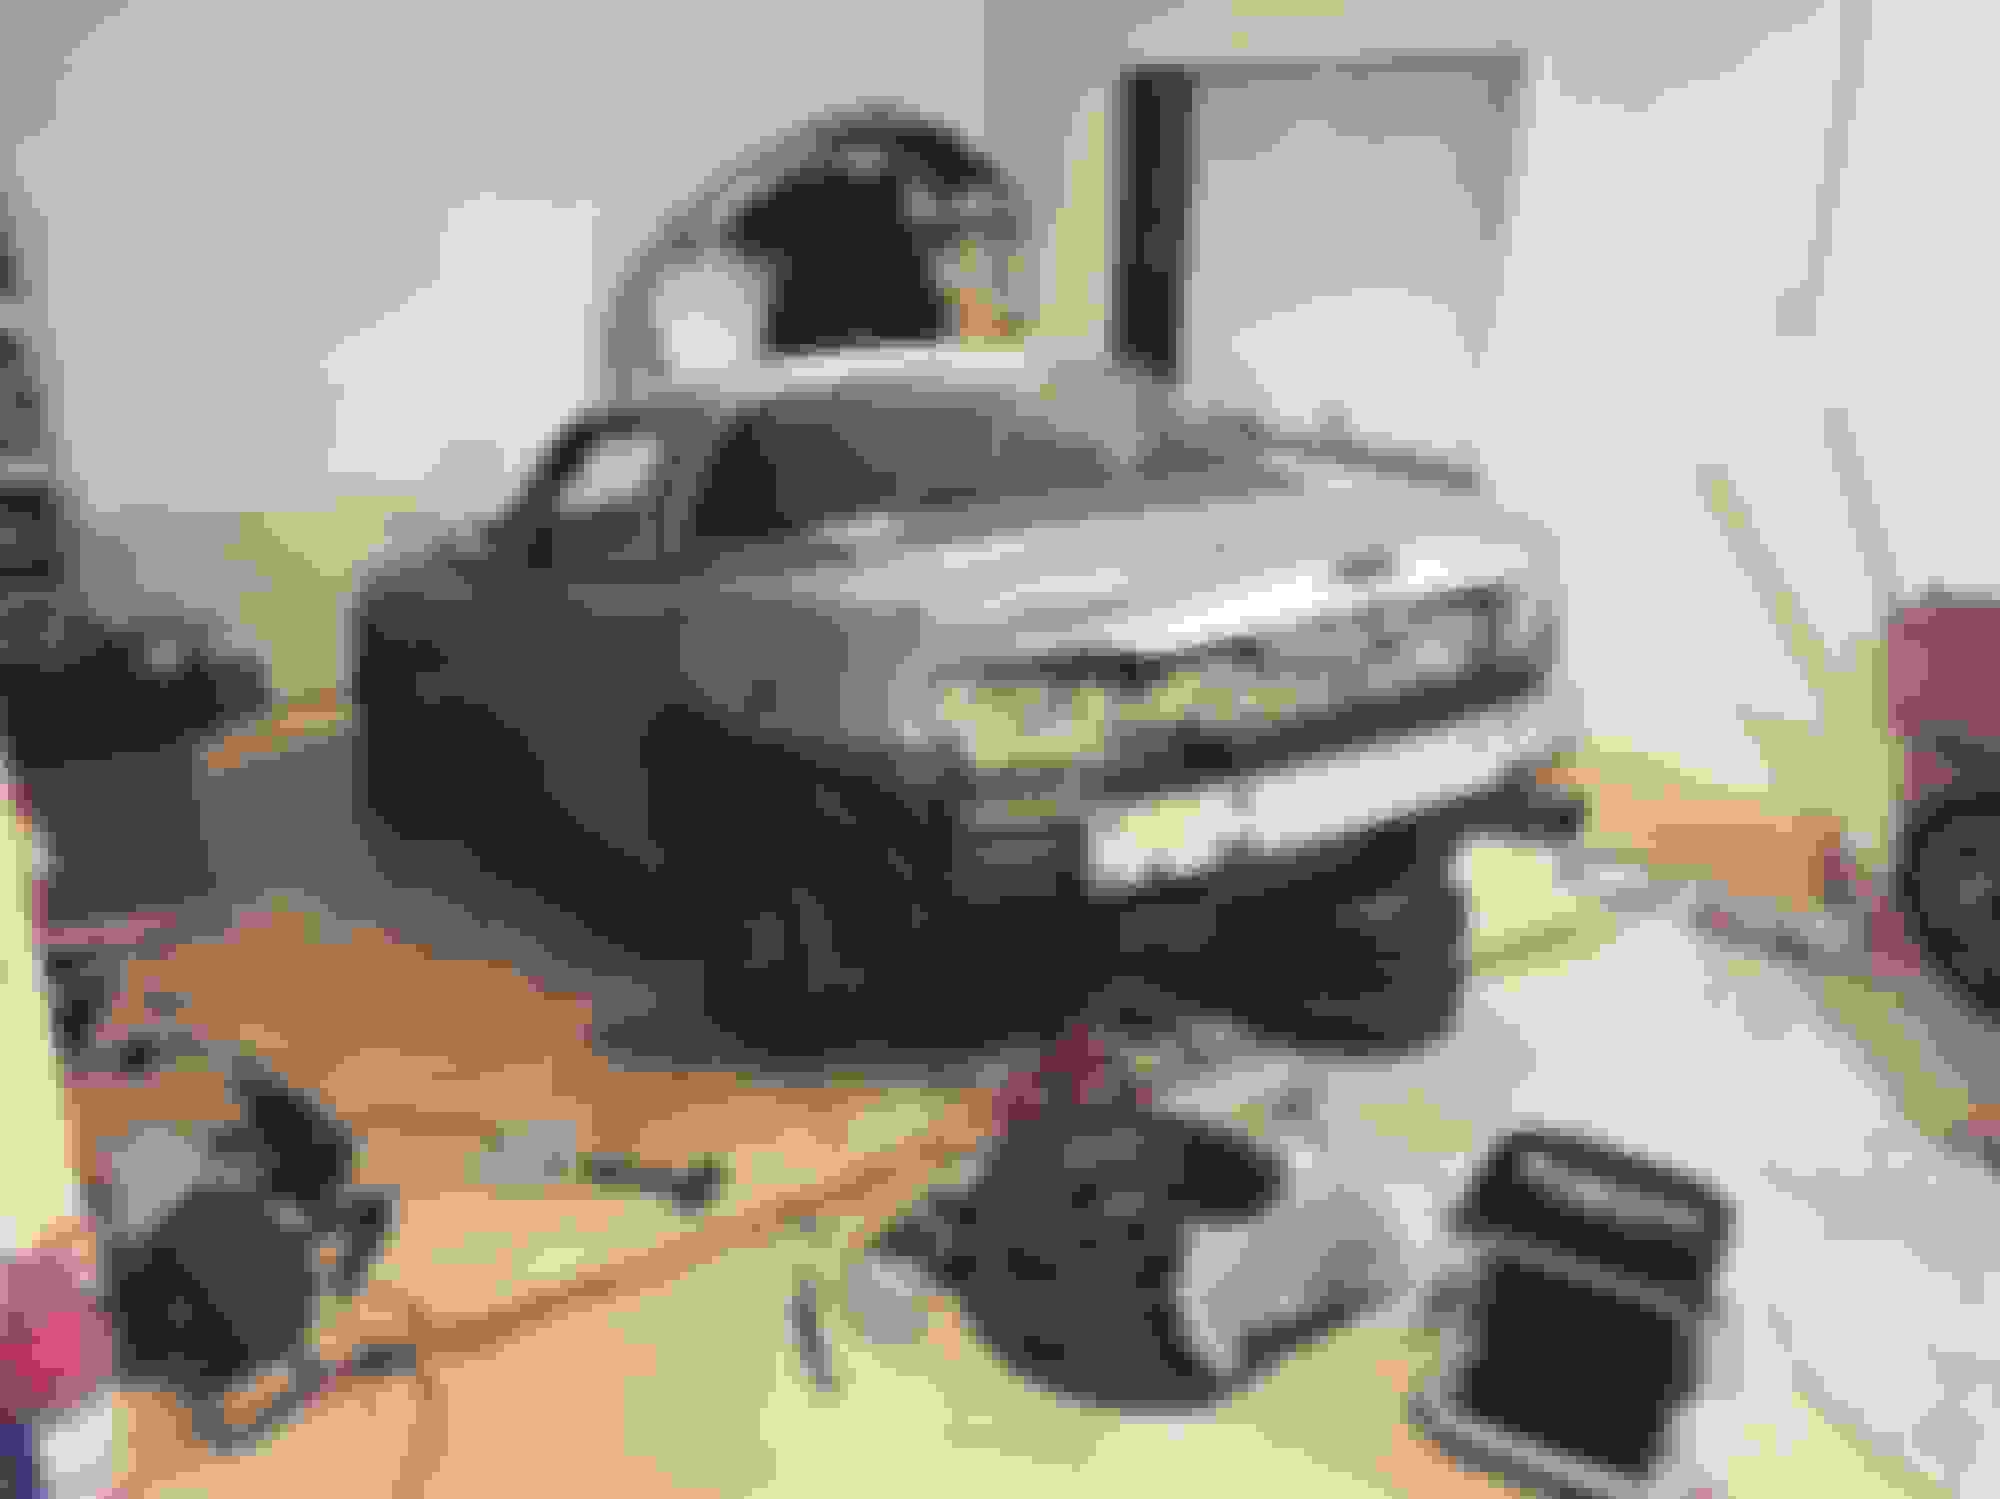
Next up would be removing the rust from the structural sheet, but that will be for tomorrow. One beauty shot of the car
I think it would be nice to finish what I started here. I got too focused on actually fixing the car and finishing my studies that I did not have any time to actually update the thread here. Why I wanted to do the thread in the first place, was that I could not find any good documentation about how the sheets are layered and where and why is the mx5 nb rusting from.
Maybe this information, at some point, will help someone else who is mad enough to cut and weld their own car themselves....
I will now do two more replies to finish this thread for now on my part. One reply for left side (smaller rust damage), and one for right side (a lot of rust damage).
After cutting the repair piece, I cut the car to match the repair piece perfectly. Then I cut one sheet off, around the hole that the corrosion had created on the second layer/middle layer, and cleaned all of the rust.
After this, I prepared the surface with noverox.
After preparing with noverox, I cleaned the area around the hole for welding, and welded a small piece of metal to cover the hole. I did the small piece myself by hand, and it might be a bit unnecessary, but I wanted to train a bit of welding. Unsuprisingly my welds are ******* horrible, and a discrase to our welder, but whatever atleast there is something. The welds were done as small spots since the metal was very thin and wanted to burn through almost immediately.
After horrible welds, I cleaned the welds with an angle-grinder and sprayed a primer (etch primer or 2k primer, I don't remember anymore, something that was okay to use on surface that had Noverox on it.
After this, I prepared the back side of the surface sheet. The edges of the surface sheet I sprayed with weldable zinc-paint (or something that prevented rust but was also weldable at the same time), and the middle I sprayed with etch-primer to get good resistance against rust. If you are wondering, the holes are for spot welding. This is the original way how they were attached from the factory by Mazda. (Except with proper spot welding machine)
Next up was welding the surface-sheet on place. My friend came to help with welding as I am hopeless with welds..
After welding, angle-grinder was used again to clean the welds and the area was prepared for paint. I will cover the paint part later in the thread.
Last edited by AxelWal; Aug 3, 2018 at 05:54 AM.
Reason: Added a one more photo
This side was a piece of **** to begin with. It was repaired horribly and it had 2 kilograms of solid cocaine on it. I hated it and I wish whoever fixed the car before would be burned on a stake. I am not saying my repairs are good, but this was ******* BAD. The previous owner had obviously gone to the cheapest possible repair-shop to just quickly hide the rust to sell the car. I get PTSD just from thinking about this side.
Okay, so to asses the damage I firstly used a cleaning tool on a angle-grinder to get rid of the cocaine to discover that, before the cocaine, the side had already been fixed TWICE by just welding a new surface sheet on without doing ANYTHING to the sheets below. At this point I wished I would had not bought the car in the first place. The first fix is a lot less noticeable (and done a lot better), but you can see the grinded-down weld seam slightly above the bad weld.
I cut off all this junk, and proceeded to discover that there is not much metal left in the very end of the sill..
I proceeded to follow the rust up on the fender and discovered that the layer under the surface was completely gone. Eaten away by the British weather.
I attacked this problem the same way as I did it on the other side. I dug out all the rust, I figured what kind of repair piece do I want, and the cut the car to match the repair piece.
After this I cut away the through-rusted part of the end of the sill and prepared the area with Noverox.
After this I cleaned Noverox around the edges and welded a hand made repair piece to the end.
I welded and primed the whole inner area.
After this the new surface-sheet was welded on place, and the surface was prepared for painting with some soft-plastic-mass and etch-primer and ****.
I promised to explain the last bits with only two replies but **** me.
So regarding the painting, I have just one thing to say. DON'T try to paint it yourself unless you are happy with shitty paintjob.
I did this mistake, I figured that now that I am this far, I might aswell paint it myself too. It was stupid thinking and I wasted a lot of money and time. I mean it turned out okay after I painted it myself with spraycans, the shade was perfect as I bought matched paint, but it was missing the shine on the lackquer, and it had a lot of thrash, and in certain light you could see the primer through the paint. Now that I had fucked it over with spraycans, the real professional spent shitload of time cleaning my mess, as the spraypaint will chemically burn if you spray it with proper paint on-top.
I have photos of the bad paintjob, but I don't think it is too interesting to see. Here is the finished product after the professional painter had his hands on the car.
To conclude the thread, I just want to say again, that the reason I wanted to do the thread was to document the process for someone else who is as suicidal as I am. I searched and searched, and was unable to find any proper information of what the NB sills look like on the inside, and what people have experienced with their own cars.
One thing is sure, I will propably buy more Miatas at some point, but I will never buy a Miata with any sings of rust again. This car I plan to keep, as it has emotional value for me.
So regarding the painting, I have just one thing to say. DON'T try to paint it yourself unless you are happy with shitty paintjob.
I did this mistake, I figured that now that I am this far, I might aswell paint it myself too. It was stupid thinking and I wasted a lot of money and time. I mean it turned out okay after I painted it myself with spraycans, the shade was perfect as I bought matched paint, but it was missing the shine on the lackquer, and it had a lot of thrash, and in certain light you could see the primer through the paint. Now that I had fucked it over with spraycans, the real professional spent shitload of time cleaning my mess, as the spraypaint will chemically burn if you spray it with proper paint on-top.
Modern automotive paints are a basecoat/clearcoat system. Not something you can really replicate with a rattle can. A $40 HVLP spray gun is all you need though.
Nice job on the body work though. I fixed a crap ton of hail damage on mine before I repainted it myself. It is a soul crushing time sink.
Modern automotive paints are a basecoat/clearcoat system. Not something you can really replicate with a rattle can. A $40 HVLP spray gun is all you need though.
Nice job on the body work though. I fixed a crap ton of hail damage on mine before I repainted it myself. It is a soul crushing time sink.
Originally Posted by Stealth97
Looks great!
Thanks guys! It could be done better, but I am pleased considering this is my first time ever repairing rust.
Maybe if the repair would be done with high budget and a lot of time, I would advise to replace the whole rear quarter with the OEM replacement part, and replacing the whole sill also with the OEM part. With the OEM sill you also get the whole inner rear corner. Also what I found out was that the structure is made in such a way, that water and dirt is eventually going to get trapped in this corner pretty much no matter what you do. I was playing with the idea of leaving the bottom of the surface sheet separated from the inner sheet to ensure that dirt and water would actually get out of this corner, instead of being trapped forever. I am not an expert so I don't know if it would it be better or worse, but definitely the way the sill is designed from the factory, is a little bit bad.


 0
0