When you click on links to various merchants on this site and make a purchase, this can result in this site earning a commission. Affiliate programs and affiliations include, but are not limited to, the eBay Partner Network.
The battery situation in this car has been bugging the hell out of me.
For those who don't know VWs, the battery is generally located under the rear seat as we discussed previously. I don't have a rear seat, and part of the pan is now made of wood, so I'm running out of places to put the thing. I had briefly considered relocating it under the hood to get some more weight on the front axle (I can deadlift the front end of the car using the front tube bumper with almost no issue, and I'm a candy ***) but that would then involve running a 14' long 4/0 positive battery cable all the way to the rear of the car, and that sounded expensive and complicated.
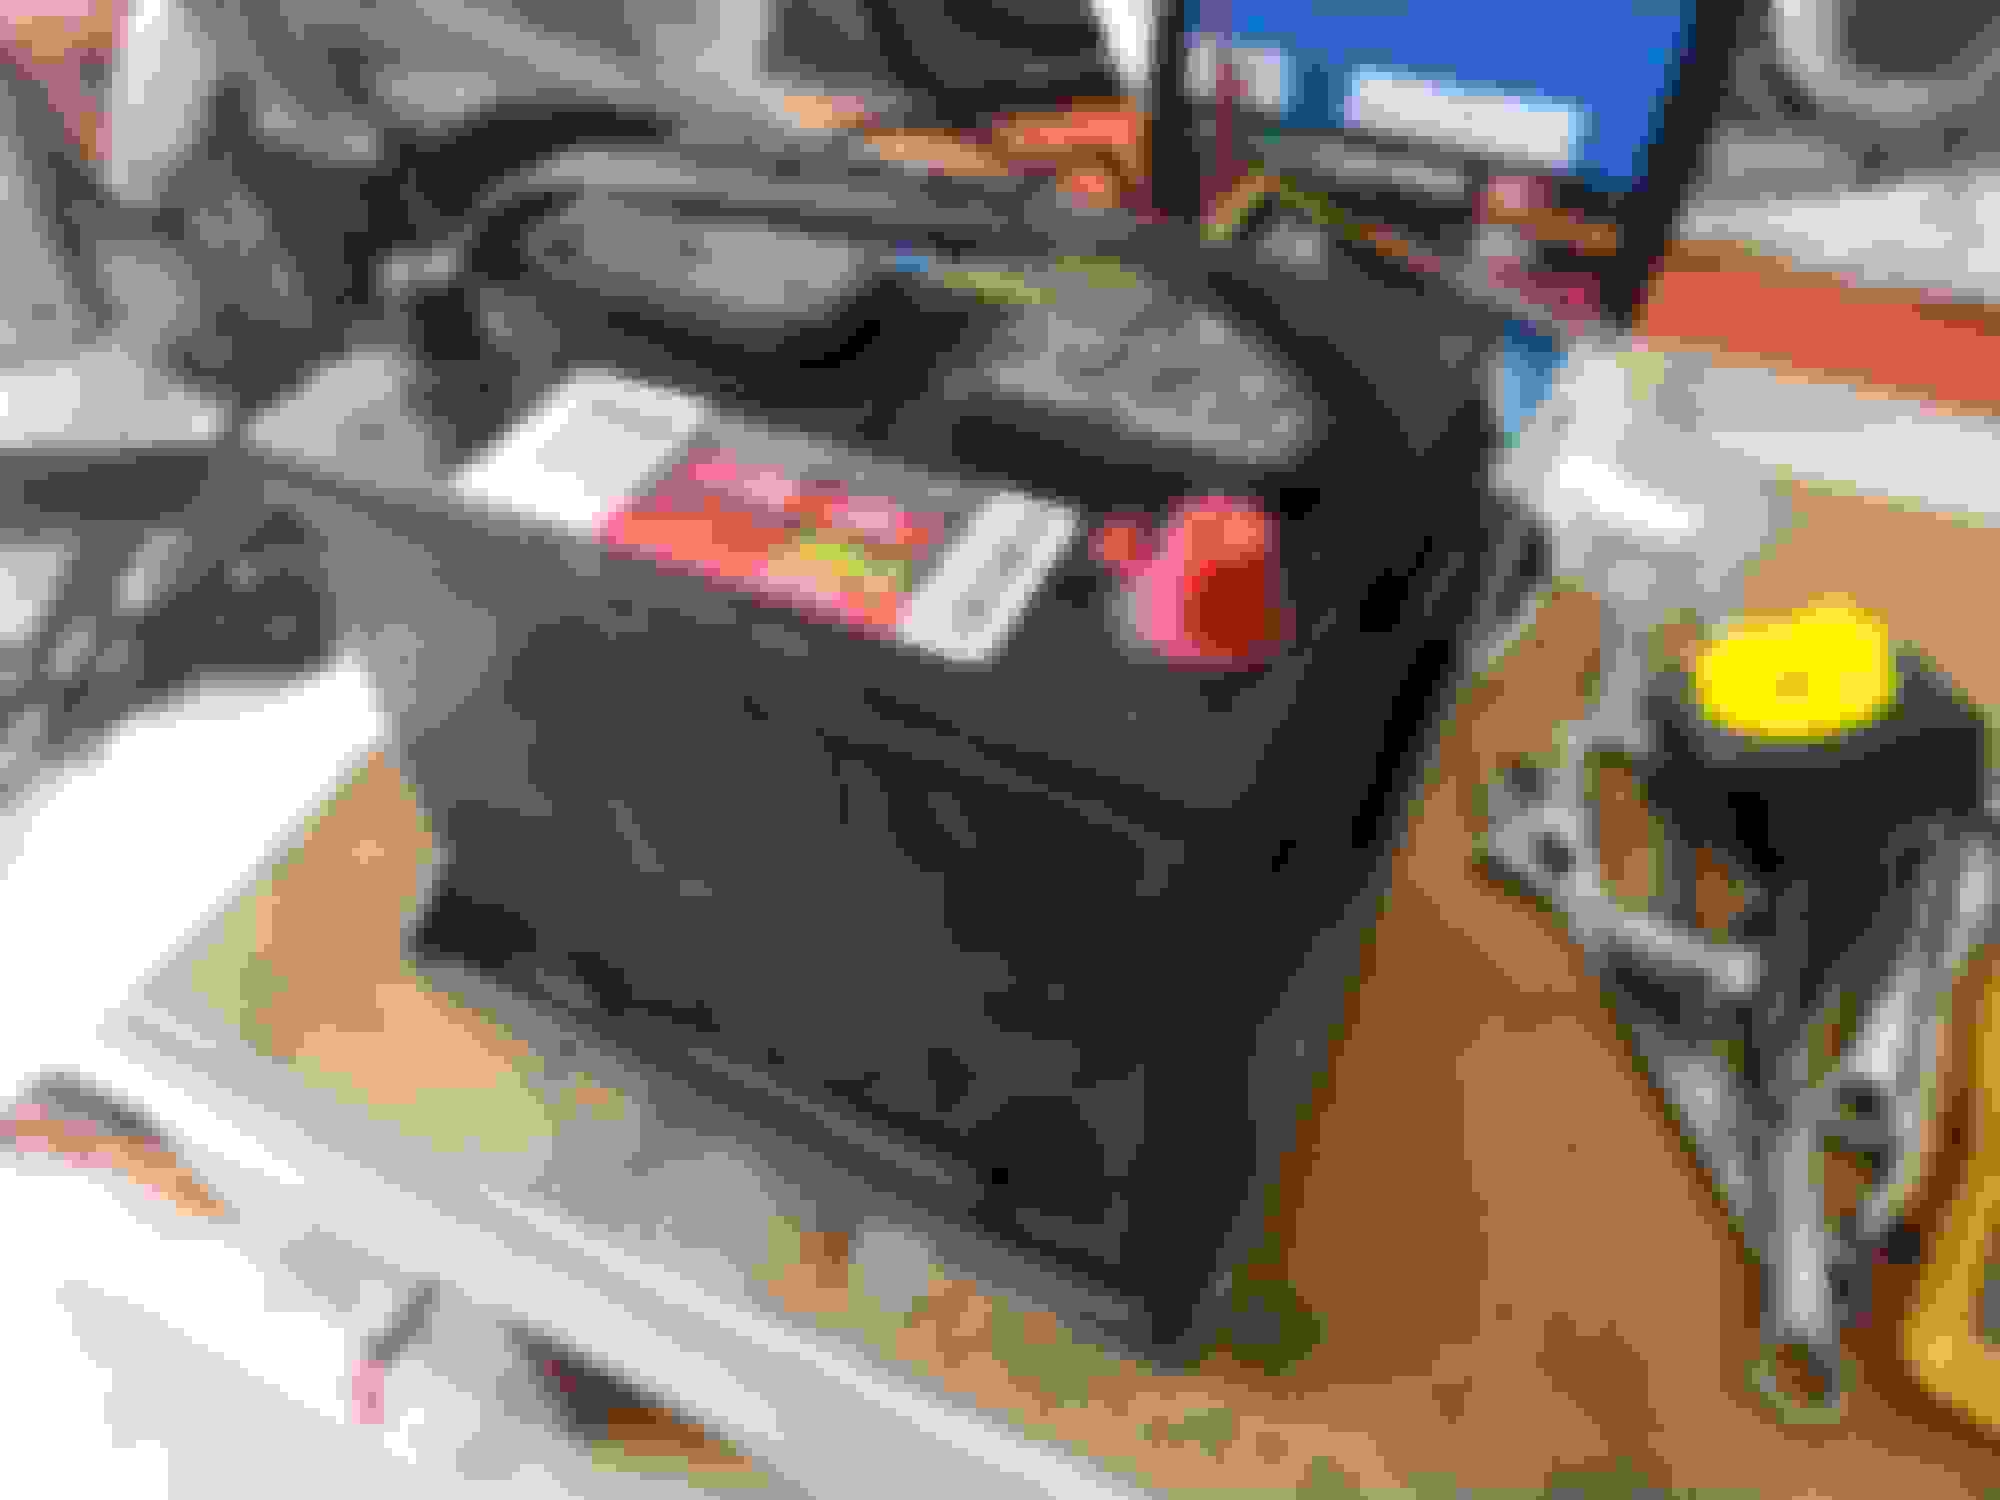
So instead, I bought this thing:
I think its a racecar thing? I got it for teh cheapz from some random off-road warehouse on the internet that was blowing them out of inventory and accepted Paypal. I figured for $25 shipped would be the least stupid thing I've purchased in a while.
It turns out its a really nice part. If I hadn't have got the last one, I probably would have bought another.
It fits my random extra battery pretty well. I'll probably make some plywood spacers for it, just to make sure it doesn't slide around in the frame and drive me nuts.
The next step is figuring out how and where to mount it. (Sorry the pics are a little out of order here, compared to previous posts.)
I'm thinking behind the passenger seat is probably as good a place as any. Now that corrosion is no longer an issue thanks to my wooden floor panel mod, it just makes even more sense.
The battery mount was originally designed to be welded to something, and again, if I had a welder I'd do that, but I don't, so I'll have to find another way.
Now if I hadn't used this 2x4 to reinforce the floor, it would have probably been at least halfway functional for this situation. Also, now that the floor is in place, I need to bring the battery mount up about 2" off the deck. I've got some ideas on how to do it, but nothing I like. Maybe I'll just screw it to the floor and hope for the best.
My old 90amp HF flux welder took me from someone who was bad at video games to a full on metal wizard overnight.
It changed my life.
Within 4 hours of ownership I had functional (and still in use!) clip on handlebars for my old motorcycle.
Wife said no until I learn to weld. I assume this means take a class or something. Regardless, this is not a hill worth dying on so not buying a welder right now.
I'll just spent a million hours fabricating something sub-par that I won't like, and weld it up later.
Had Friday off (4x10 summer schedule) and good weather, so some stuff got done.
Breakfast of champions!
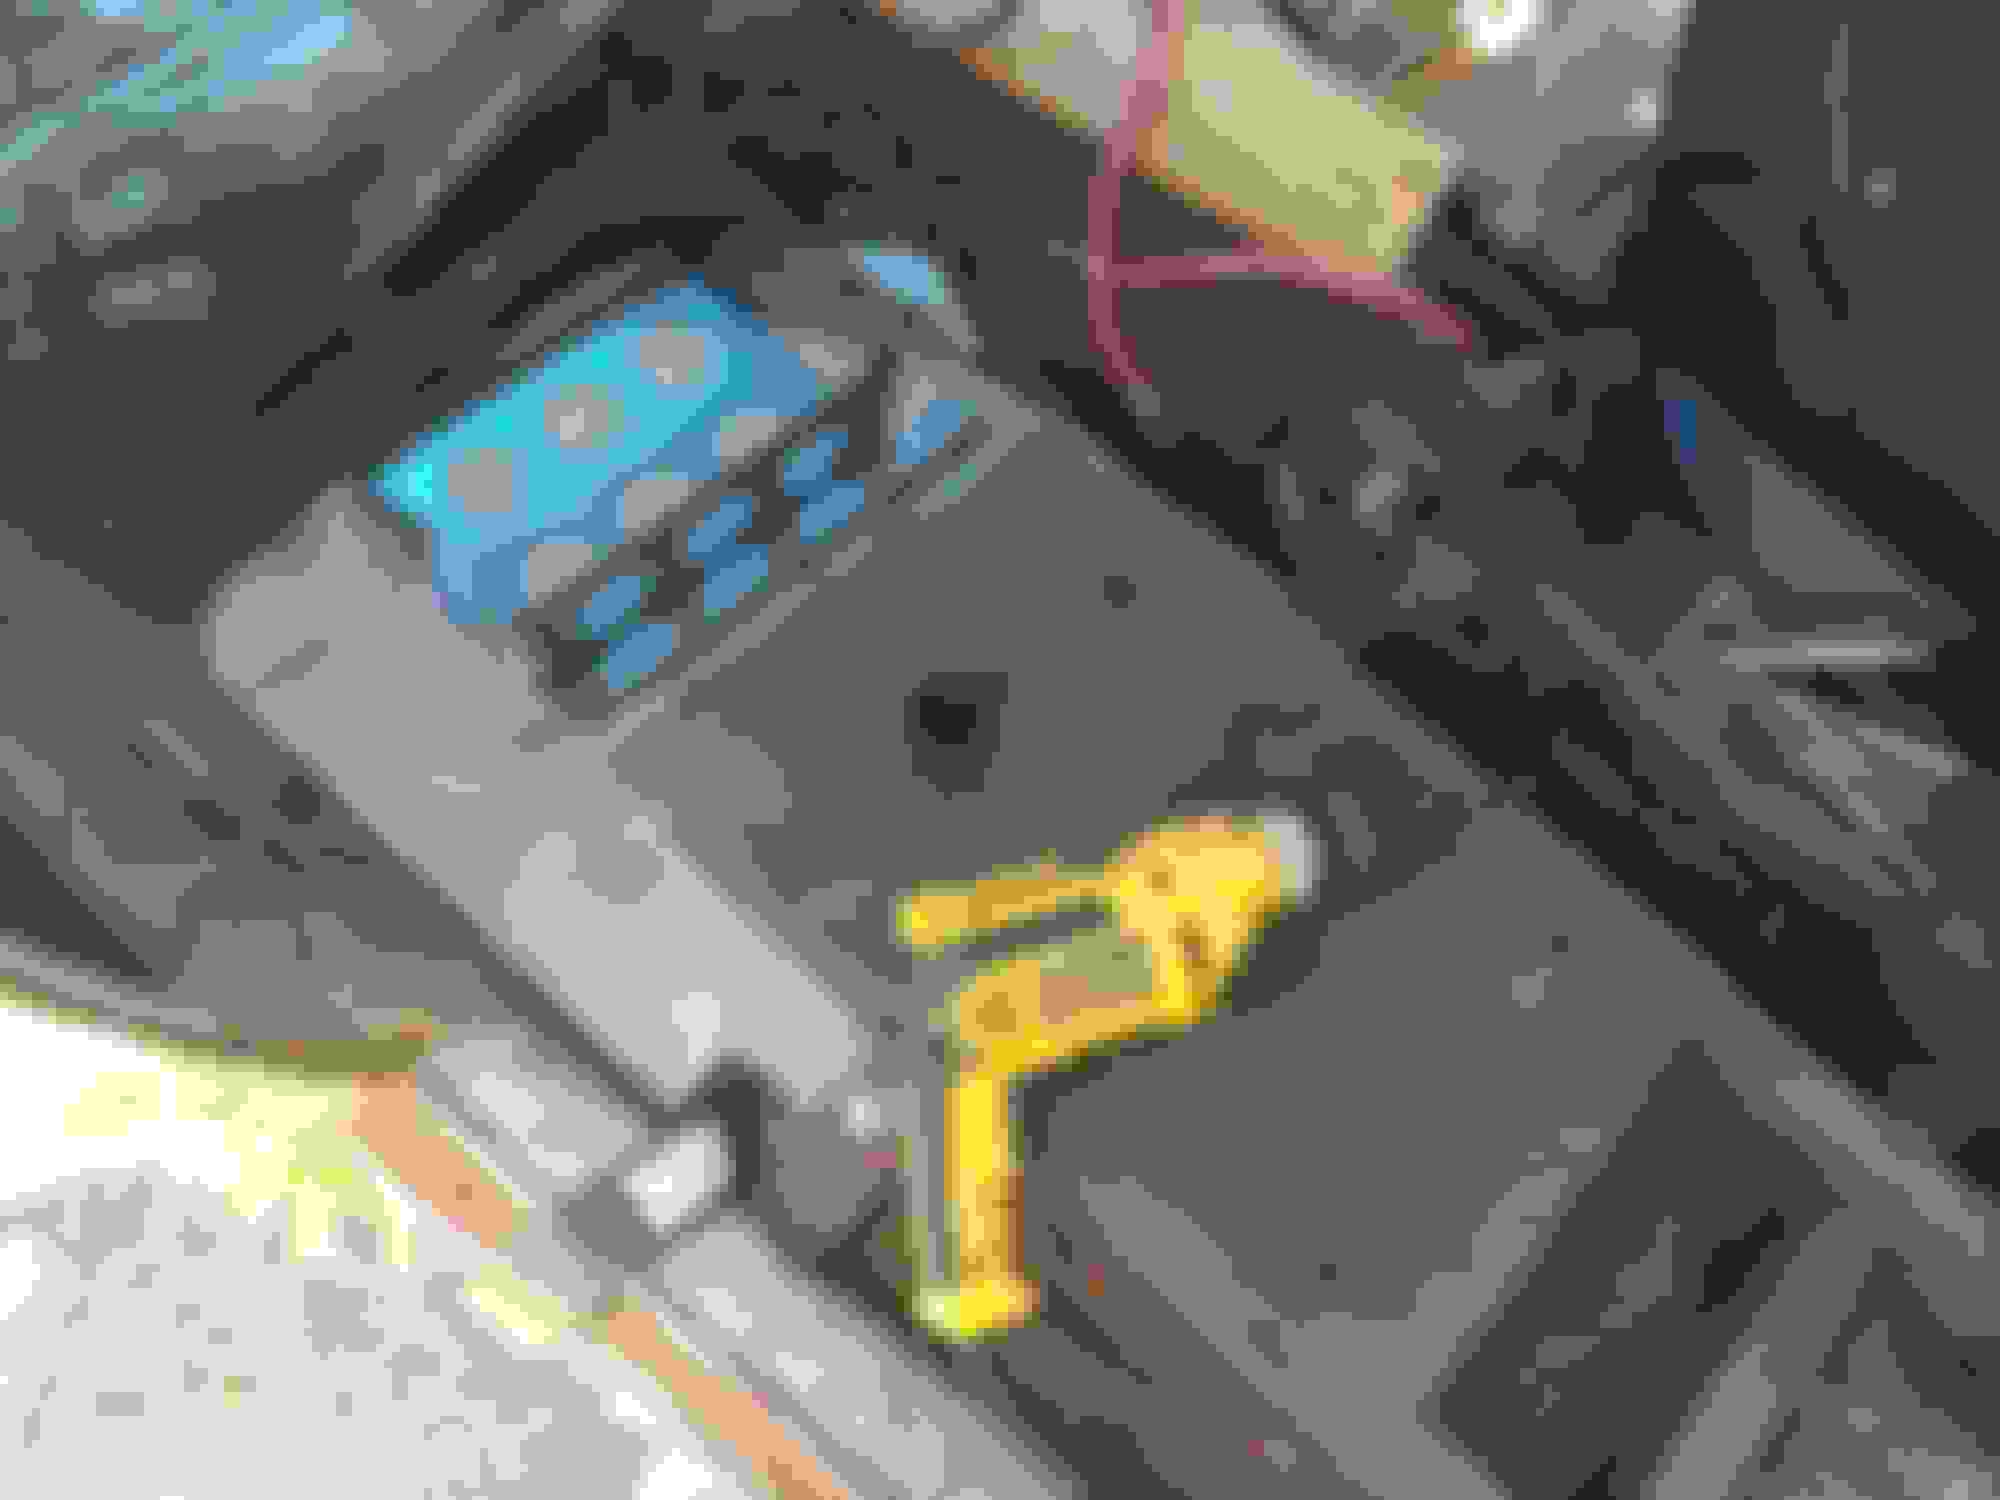
The battery mount thing is unresolved so I started there.
Drill baby, drill
Mounted! The standoff is just a couple sections of 1x1 square tube, and then I bent and drilled things into place. It's surprisingly secure, and hopefully it doesn't rattle too much.
Next step is dealing with the battery cables.
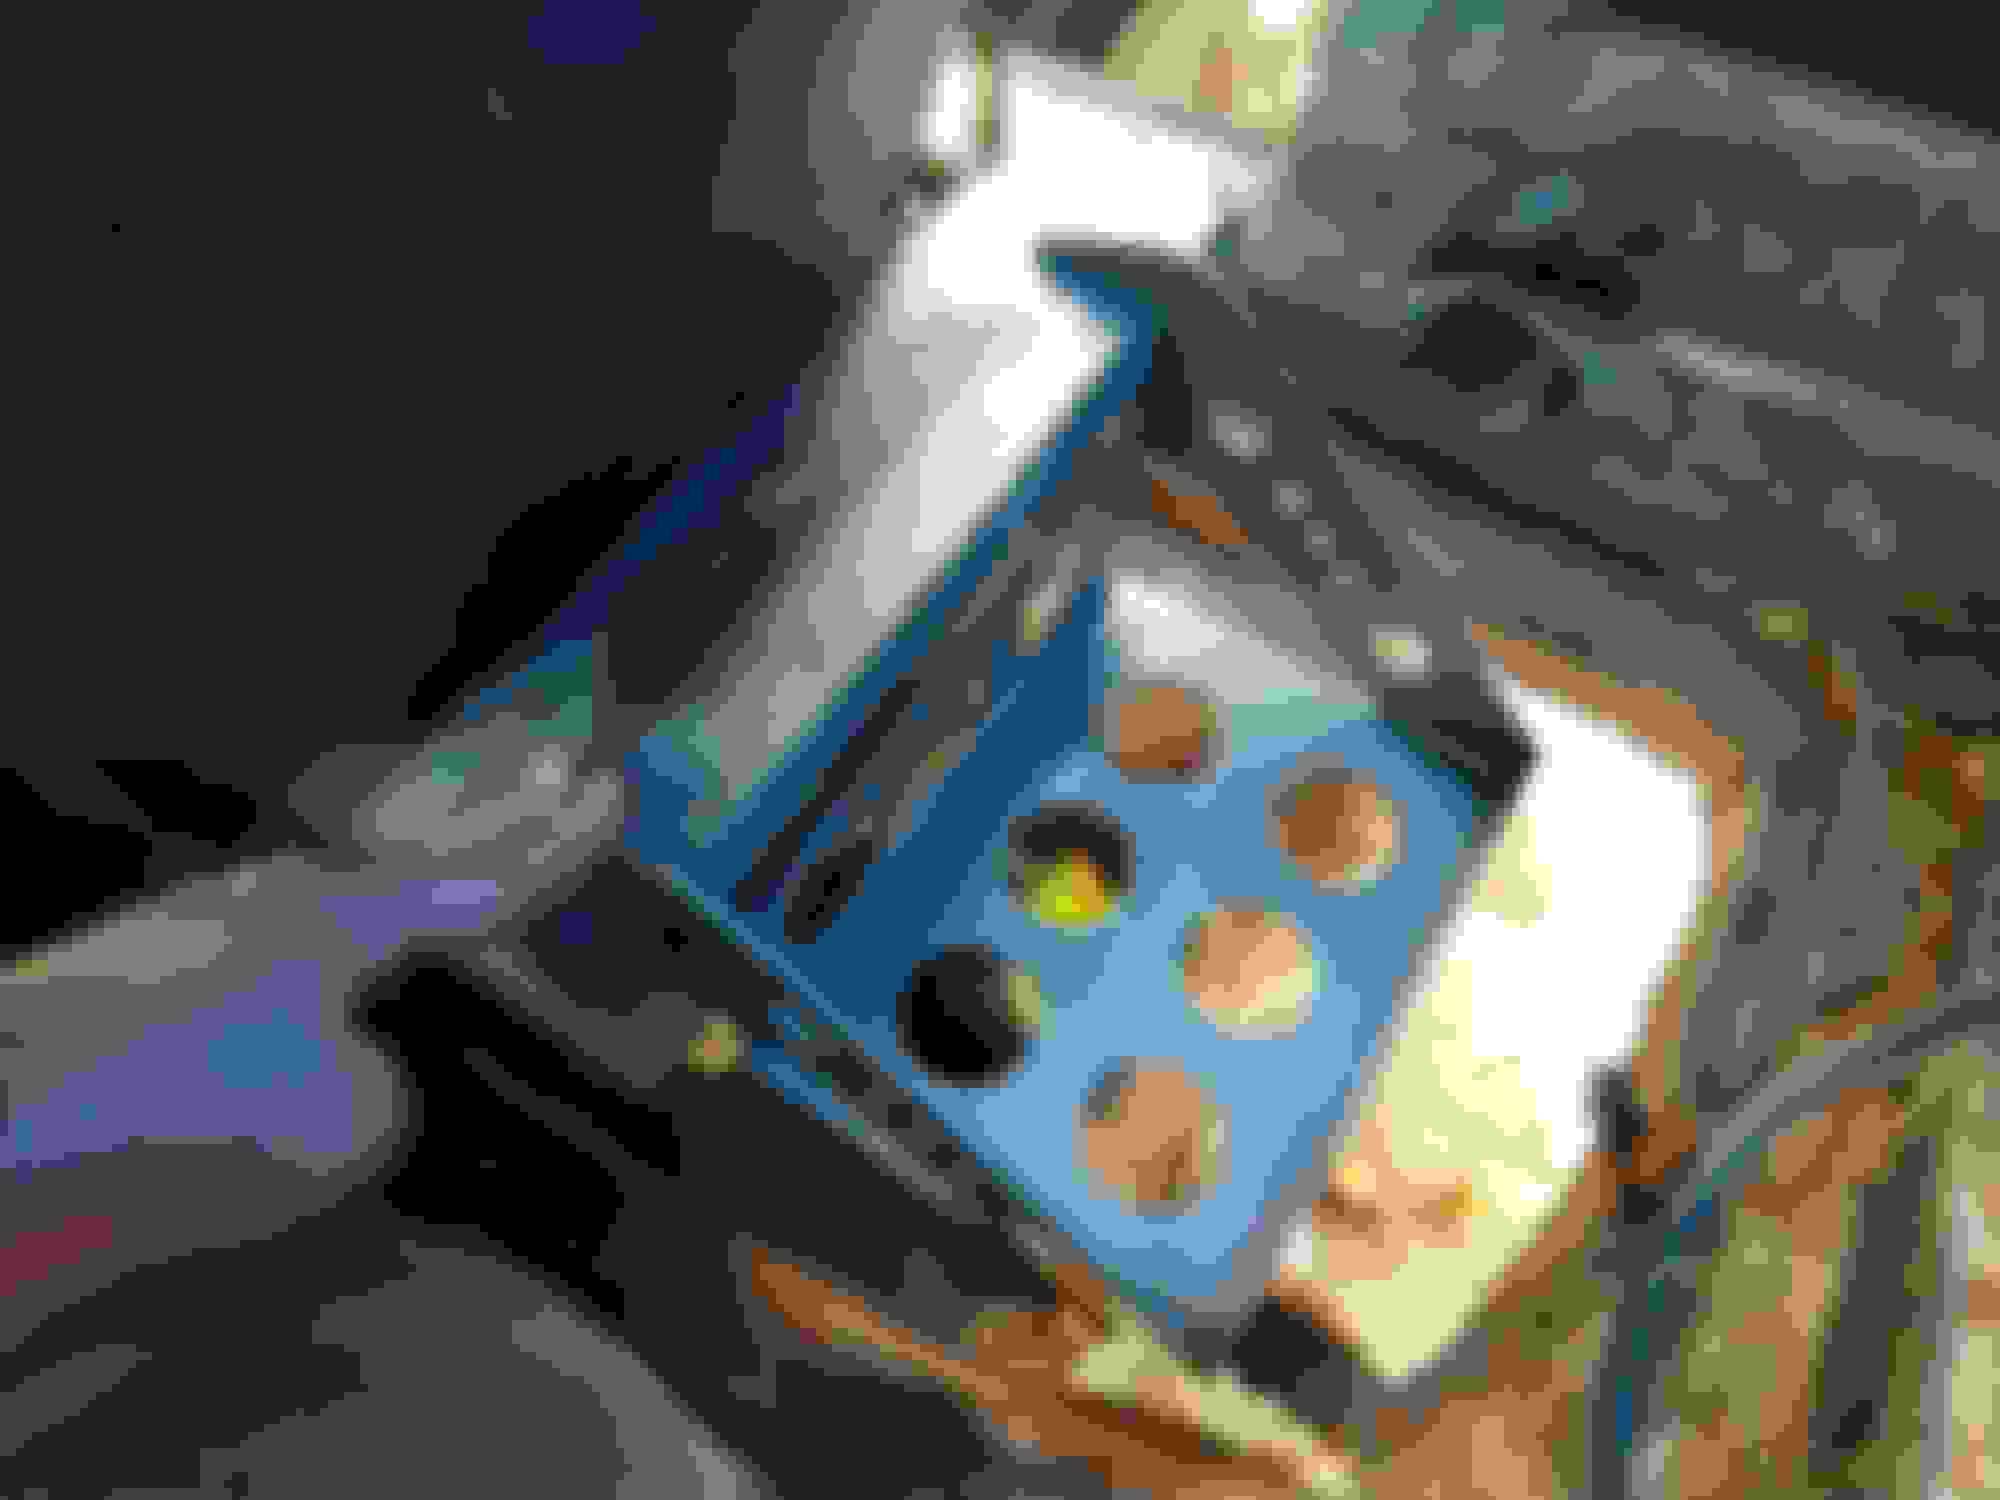
In the above, the 4AWG positive cable is running through one of the tub mounts for the seatbelt bushing base, and the negative cable is running through the hole that I believe was originally intended for the positive cable. Close to the newer left corner of the image is a point tapered bolt that comes in from outside the pan. That's actually a body to pan bolt, so it needs to go back to it's intended home, but I want to use that tapped hole.
Here it is outside the pan. You can see the negative coming in, and then they just sandwiched the ground cable (it runs to the transaxle) on that bolt. It works kinda I'm sure, but it's all rusty and shitty, and I can do better.
I pulled all that **** out and wheeled it clean, both inside and out.
Appropriate hardware was found, cleaned up, slathered with dialectic grease, and the inside portion is now done!
Outside followed the same logic, and I also cleaned up the ground point on the transaxle.
Now that the negative cable is nolonger in that hole, I'll use that for positive passthrough. I need to find a way to insulate it from the sharp *** steel in the tub, but more on that later.
I want to reuse the cables, which are too long, and I want to use the battery cutoff, which is kind of just floating out there currently. First thing is mount the switch. I want to feel it insulated from all the steel in the car, so the clear solution is more wood. How to mount it? Drill and tap a hole of course.
Of course I picked almost the most inaccessible location to do this
Straight is boring!
Drill holes for the switch stem to pass through our chunk of wood...
Hook up the cables (they actually ended up both coming out of the same end)
Awww, fuckyeah
Add label, call it good. We'll see if I can now loose that keyswitch...
Parts have finally arrived! Time to finish up some other stuff that's been hanging
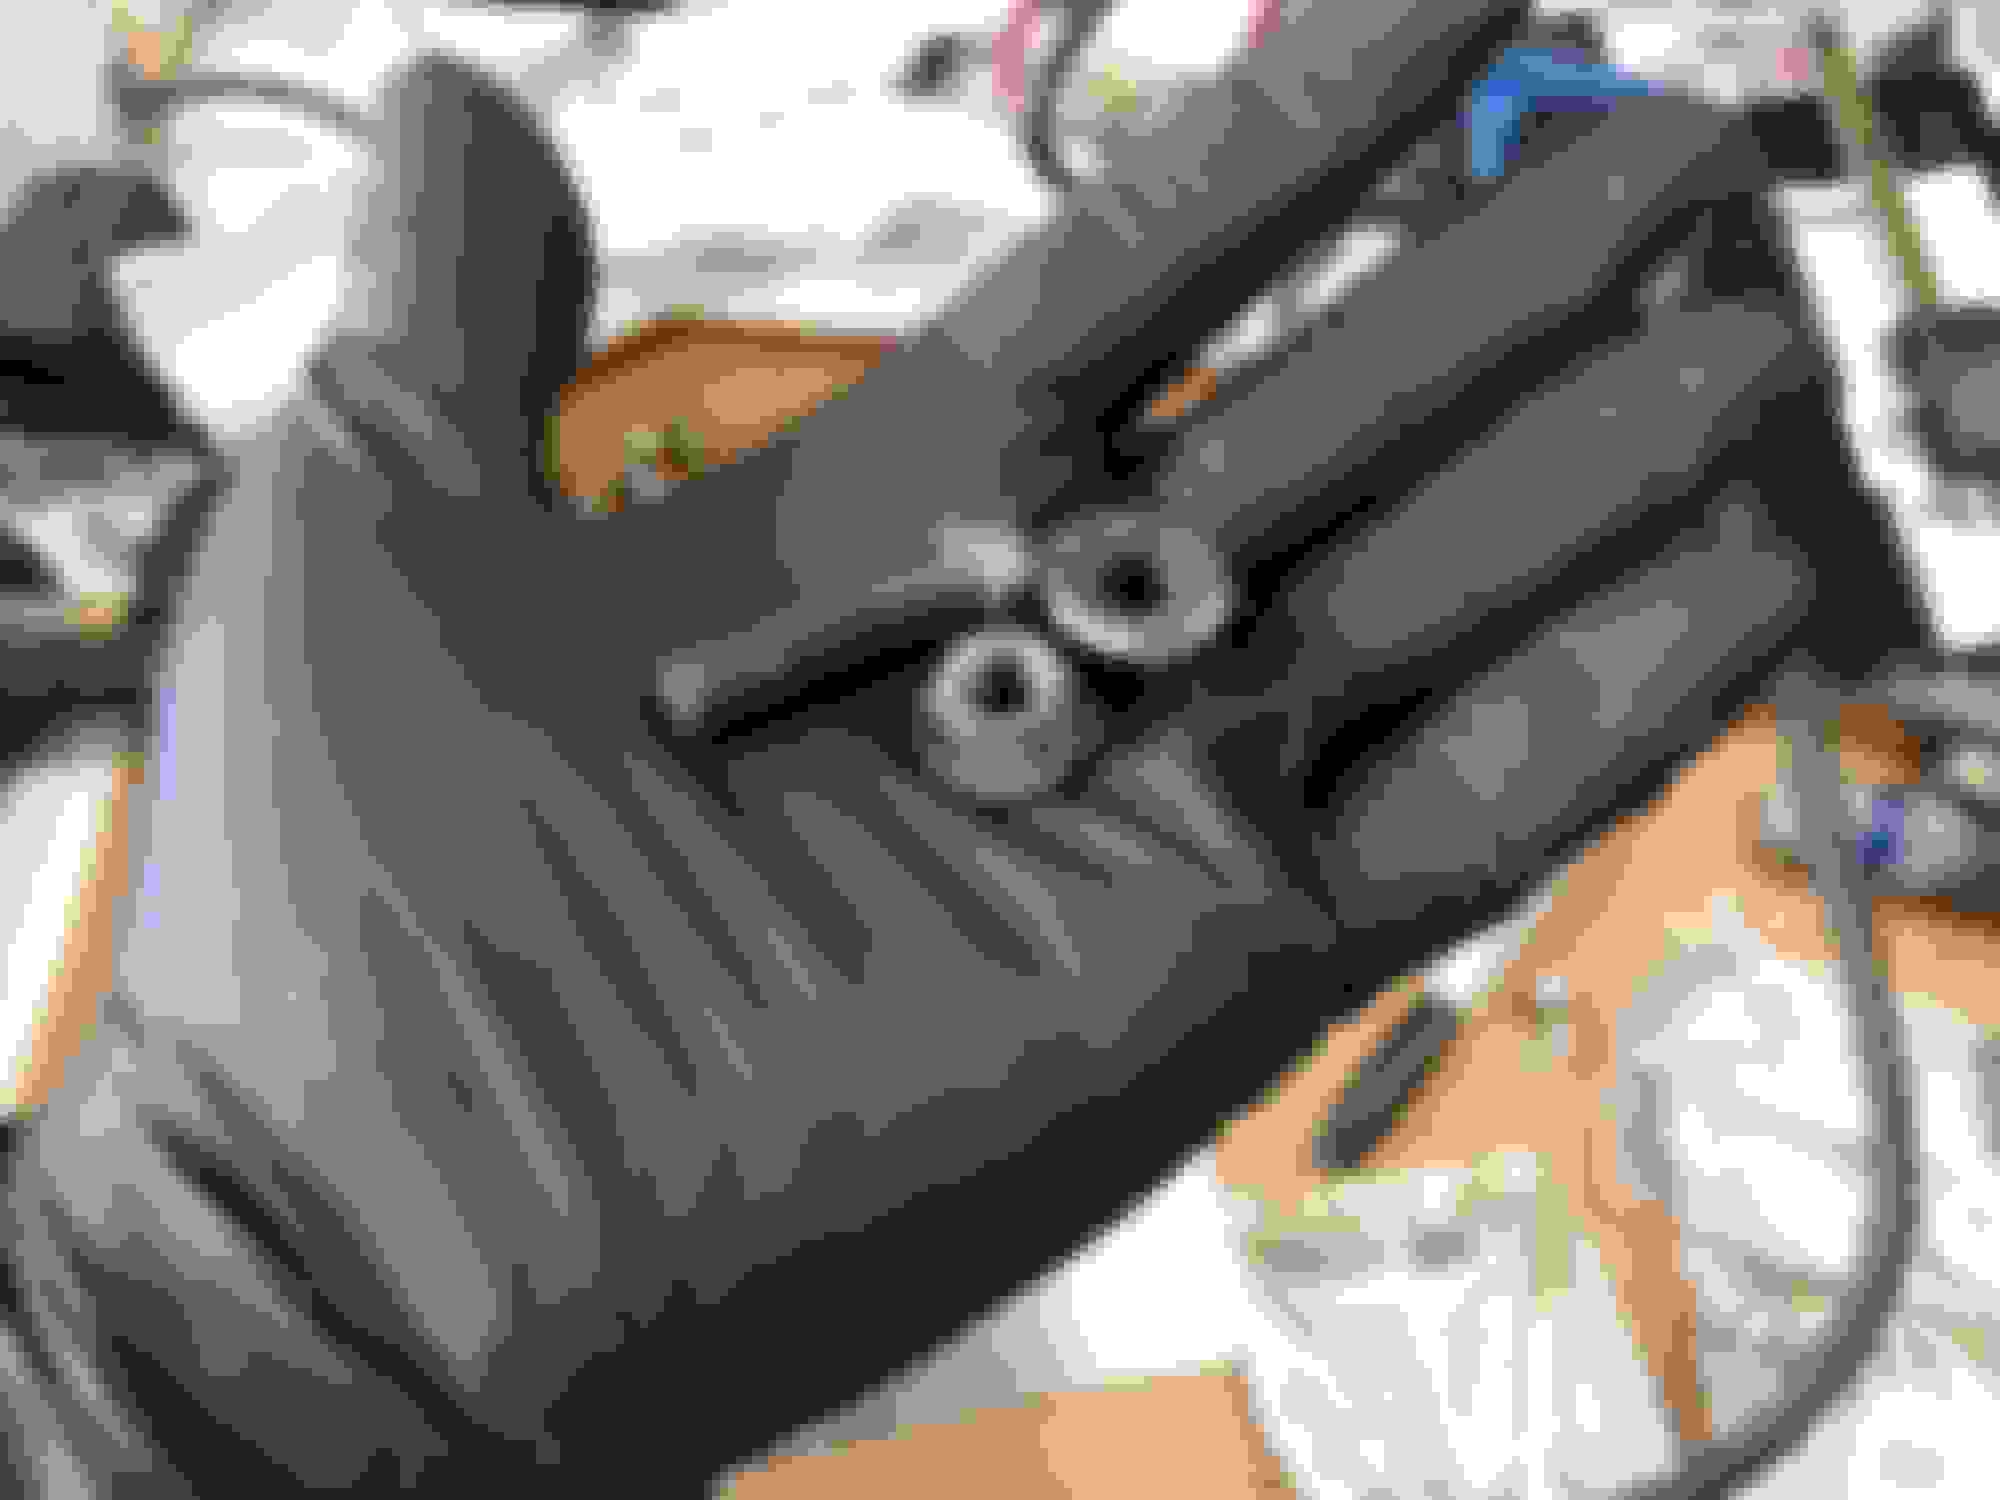
These ******* things. Ungh. I've completely forgotten how complicated these things can be. All the parts were run through the ultrasonic cleaner, and all the points that needed to be greased got a smear of Dominator. The ebrake cable and actuator is a huge pain in the *** when flopping free on the other end. The spring puts tension on the shoes and makes it nearly impossible to adjust correctly. I think I've got it close, but I'll probably have to take a couple of runs up that hill.
After that, TWO HUNDRED AND SEVENTEEN FOOT POUNDS OF TORQUE on the 36mm axle nut. Thank goodness I have a 1/2" drive torque wrench that goes up to 250ft/lb.
Also shown, the "big ***" Dakota Definity AT2s. And they look damn good if I do say so myself, I can't wait to drive it around and see how they do.
Something that continually surprises me is exactly how long every goddamn thing takes to do on this car, because nothing is stock and I basically have to problem solve and reinvent the wheel at every step. Along with that, is all the deferred maintenance I still need to deal with as well. I still haven't gotten into the front hubs to inspect and repack the bearings, and the kingpin front end needs to be cleaned and greased as well. Ungh. I'm definitely feeling the crunch.
Spark blowout
I did that for a while.
Honestly Gordon, happy to help you get your carbs(webbers?) jetted properly, but you need to get it running well enough to meet me in my neck of the woods.
So why do you have 8 spark plugs, of two different brands?
Because it's an ACVW motor that's out of tune. I expect it to foul up at least one set of plugs while I try to remedy that.
The NGKs are factory heat range, plus "extended reach" electrode. They should be a good baseline for getting the tuning started and tooling around town. The Boschs are one step hotter than stock when used in a "lighter" Type 1, or stock heat range in a VW bus. They are also supposed to be "better" in highway cruising situations, like the 3,000 miles I plan on driving this thing for the rally. They were cheap so I bought both.
The "extended reach" electrode in the NGKs is pretty cool
You can really see it in this side by side, it really gets the sparky bits out there so they are unshrouded by the plug body. This should help the VWs anemic ignition system a bit.
Funny thing, I believe stock plug gap is supposed to be 0.026" maybe? Both sets were supposed to be pre-gapped for this application and the NGKs were perfect out of the box, where the Bosch were in a 0.010" spread. GG Bosch. Always check your gaps, kids! I'd make a crack about German quality slipping, but these were made in India.
Originally Posted by sonofthehill
Spark blowout
I did that for a while.
Honestly Gordon, happy to help you get your carbs(webbers?) jetted properly, but you need to get it running well enough to meet me in my neck of the woods.
Thanks Carlos, that's hugely appreciated Bummer I'm not closer but it is what it is. No spark blowout yet, I've just barely started messing with the carbs. They are dual Brosal/Solex 40/44 Kadrons with 28mm venturis rather than Webber's. They are super simple, I just need to make sure they are balanced properly and that the linkage is synched up before I can really play with it. Right now I've got a myriad of other things to do before I can worry about the carbs, like keeping gear oil in the transaxle rather than all over my driveway. Hah!
Originally Posted by sixshooter
Put an O2 sensor bung in each bank and take advantage of technology to aid in tuning it. You can do one side at a time.
I'm already one step ahead of you on that one, just trying to get the other stuff taken care of first so I can actually drive it without ruining something else first.


 0
0


 Bummer I'm not closer but it is what it is. No spark blowout yet, I've just barely started messing with the carbs. They are dual Brosal/Solex 40/44 Kadrons with 28mm venturis rather than Webber's. They are super simple, I just need to make sure they are balanced properly and that the linkage is synched up before I can really play with it. Right now I've got a myriad of other things to do before I can worry about the carbs, like keeping gear oil in the transaxle rather than all over my driveway. Hah!


