When you click on links to various merchants on this site and make a purchase, this can result in this site earning a commission. Affiliate programs and affiliations include, but are not limited to, the eBay Partner Network.
Thanks. I will look into that. I went on a killing spree the other weekend and broke 3 axles in one day, all in the area you talked about. I talked to a local company https://dutchmanaxles.com/ about making some axle center sections out of 300M material and having consistent diameter throughout. They should be done early next week and cost ~$650 for a pair.
Thanks. I will look into that. I went on a killing spree the other weekend and broke 3 axles in one day, all in the area you talked about. I talked to a local company https://dutchmanaxles.com/ about making some axle center sections out of 300M material and having consistent diameter throughout. They should be done early next week and cost ~$650 for a pair.
Dang dude!! 3 axles in a day? that's hardcore LOL... You must have been launching with all the beans! Pos cat for being a stone cold axle killer!! But being a stick shift is much harder on those parts than an auto.
Hope those axle centers work out. The only issue I would think would be the 26 spline outboard part that goes into the hub. Although I havent broken that part of the axle, I think Pat did before. That is an advantage of doing the rx7 or 929 axles since they are larger 28 spline. Problem is the extra cost of getting broached hubs or using rx7 hubs and turning down for miata spindles. Those 929 axles are gnarly, the problem with them is you have to getting custom adapters made.
I made it out to my test spot to measure 40-80 with the dragy and the exhintake cam and preturbo vanes.
Unfortunately it is a tad slower, Well its slower to spool that is. Once fully in boost it seems to be similar to before.
I'm not sure if it is the cam swap or vanes since I didn't test individually. Since the vanes are the easiest to remove I'll retest without and hopefully get response and transient acceleration back. When I do 40-80 testing with the dragy I dont use the spool shot system, I just let it build boost naturally.
If still more laggy without the vanes I'll try testing with cam both advanced and retarded a few degrees before I swap back to original cam.
Welp fellers it wasnt the vanes... I just retested without the vanes. Gotta be the exhintake cam swap deal. Im going to make an offset bushing for the dowel to allow me to advance or retard the cam a few degrees.. I strongly think it will need to be advanced slightly.. If doing that helps to at least match stock cam acceleration (hope to better that though) I will retest with vanes.
So I made an offset bushing out of a scrap piece of brass stock on the lathe. The bushing allowed me to move the cam dowel of the exhintake cam about .025 of an inch which correlates to roughly 5 degrees of cam rotation. I installed to advance the cam over the original position I had the exhintake cam dowel located. Doing this got the transition boost response to be a match for the stock cam, but lost power up top according to dragy data. the best location would likely be to advance a degree or two over the original position I had the exhintake cam located. However I dont think it will be as good for overall acceleration as the stock cam on my particular combination in any cam position and I didnt want to waste any more time making more offset bushings to try cam in different positions, so I put stock cam back in. Maybe on other combinations the exhintake swap deal will offer measureable acceleration gains, but for my particular combination that proved to not be the case.
I will be re-installing the preturbo vanes and testing this week to see if that will offer any measurable gains.
Well guys I did a thing LOL.... I cobbled a quick test to see results of shooting air into intake rather than exhaust manifold. The initial results are pretty interesting.
I have to give Pat credit for pushing me to test this. We have had various conversations about the spool shot system and he has been a big proponent of trying the intake side. To be honest I wasnt convinced it would work very well on the intake side but Pat is a really sharp dude and he felt strongly it would work. So being that I have everything already in place I figured what the heck. I just needed to put a fitting in a spare piece of intake pipe I had and route the air hose to it.
Below is what I quickly and crudely cobbled together just for a one time test.
I was initially very concerned with shooting high pressure air into the intake. My thoughts were that the manifold pressures may spike very high before the wastegate could balance pressures to what I would normally expect. There is an increase in intake pressure over what I had it set for, but nothing to the degree I was concerned about. really just 4 pounds or so. That was with ~110 psi starting tank pressures shooting into 1/4" npt nipple threaded into intake pipe and aimed at throttle.
When I took out for initial testing I pulled 6 degrees of timing at anything in boost and set boost cut at 356kpa, just in case!!!
The first test round looks promising. It does not work quite as well as shooting into exhaust manifold in so far as boost rise time. Also shooting into intake seems to require some degree of positive manifold pressure for it to work well, doesn't take a lot, maybe 6ish or so psi, but it does seem to want some positive pressure and air flow prior to firing solenoid. Whereas firing into exhaust you can do at 0 boost and still get good results, but even firing into exhaust works better with some level of boost and turbine speed prior to firing solenoid. The more initial turbine speed the better the results.
The best comparison of data I could quickly find of boost rise times exemplifying the difference of shooting into exhaust vs best result of shooting into intake from today's testing follows::
Best test today was firing solenoid into intake manifold at 4662 rpm and beginning boost of 6.4 psi it took 1.067 seconds to reach 30 psi.
In the last tack outing of which I captured the dragy video of car running a 6.52 on timeslip at track (dragy showed 6.54) I logged the following boost rise data.
Launching at 3643 rpm at 6.4 psi it took 1.001 seconds to reach 30.6 psi. If I left at 4660 rpm and 6.4 psi it would have been roughly 1 to 2 tenths quicker to reach 30.6 psi, So figure 8 to 9 tenths of a second firing into exhaust if comparing apples to apples with today's test. So initial testing indicates firing into exhaust does yield better results than firing into intake in so far as spool time goes.
But not so fast cowboy you say??? What happens if we fire both into the intake and exhaust at the same time?? Could that be super gnarly?? Well we are about to find out LOL.... Although I took off the contraption I cobbled together earlier and reconfigured car back to firing into exhaust as it was before, I went ahead and ordered another solenoid to redo the intake side in a better fashion to function independently and/or in conjunction with exhaust side, So I will be able to fire both at same time or either one independent of the other. My hope is to get full boost in say maybe 60 to 70 percent of the time it takes now. If that pans out my 60' time should immediately drop by maybe as much as a tenth. That alone should get me into the high 6.30s.
One thing I didnt test today and something Pat was strongly suggesting is firing into intake at top end of track to pick up top end. The thought is since some of the intake air is supplied by the tanks is that air will be cold. The turbo will be working less and in a better part of the map so that will not add quite as much heat, so in theory it may allow for slightly more power due to cooler intake air and turbo doing less work.
I have an additional take though. If firing these together does spool as madly as I'm hoping I may up my turbo size or at least go up to the next a/r exhaust housing, which should add to the power pie as well.. Stay tuned fellers.
So I quickly added another solenoid to the tank setup I was using and simply wired the solenoids together to fire at same time for initial testing. The larger solenoid is the one originally for firing into exhaust manifold. It is 3/4" npt with a 20mm orifice. The smaller one for going into intake pipe is 1/2" npt with a 16mm orifice. The tank is simply a 30lb steel propane tank.
Below is the contraption that gets mounted into trunk.
I tested to be in the worst possible conditions in so far as spool up goes. Current turbo is gtx 3576 .82 a/r. I used third gear which is 1:1 on my transmission from a slow speed of roughly 2900-3000 rpm when going full throttle with very little turbine speed at point of full throttle. Starting boost at point of full throttle was maybe 1 psi + or - a slight amount and measured to approximately 30ish psi on tests. So the timed measurement conditions as close as I could reasonably get were from 3000ish rpm, 1ish to 30ish psi in 3rd gear with around 140-150 psi starting tank pressures. With exhaust only it took 1.464 seconds. Firing into both it took a best of 1.201 seconds, so 2 tenths of a second or slightly better under these test conditions. The next thing I think I want to test is to control the solenoids separately rather than wire together.
The real test will be at the track where I can more properly test The "dual shot" capabilities. Last time at track it took 1.001 seconds to reach 30ish psi at transbrake release and launch from 6.4 psi and 3600ish rpm. I'm hopeful that the dual shot will allow me to get that down to maybe 8 tenths of a second under same conditions.
I quess we will see, but it did show a slight improvement on initial testing today, which makes me want to develop and push this a little further. Will be testing with more tank pressure and separate solenoid control soon. I may even add a second tank down the road to have two independent systems if it shows merit. I am hoping that I can get this working well enough to go up in turbo size or at least next turbine housing size.
Hey fellows just a quick update. Also want to give a huge thanks to all the veterans out there!
So I went ahead and rewired the solenoids to where I can control them separately and independently of each other. I took out yesterday to run some more testing. It seems that firing them together does offer a small improvement over just firing into exhaust for spool time. The effect of firing together is not nearly as great as I had hoped though based off the data from firing them individually. I think firing them together reduces the flow from each branch as compared to when fired individually, but total flow is still somewhat better. Just not additive of the flow from each branch when fired individually. I think to do that a separate tank would be needed to truly run the systems independently of each other.
I will leave as is though and test at the track to get better data. I do believe the greater result will be from further increasing tank pressure. So far I've tested to 180ish psi. I will test up to 200psi next time at track, my solenoids are rated to 235psi but my pressure gauge and blow off valve are for 200psi so I'll at minimum have to change blow off valve to get over 200psi, which i will do eventually. I just recently found out the konegseg jesko runs 290psi tank pressure, so that alone makes me want to go higher pressures. If more pressure or firing together nets significant gains in spool up at the track I think I'll go ahead and try a clone gtx3582 or gtx3584 to test. My current turbo is a gtx3576 clone which is a 5862.
Also recently got a wild hair and spun up on the lathe another locating bushing for the cam dowel to once again try the exhintake cam, which I said I wouldnt do LOL... This bushing allows for about 2 degrees of change. It looks like the sweet spot on my setup is about 2 degrees retarded from where I had the original cam gear drilled. In testing with it I think it still shows slightly less boost response but possibly very slightly more top end. The differences are small and difficult to test in the small range in which I'm doing a dragy test. I will leave as is to test at track to get better data with it. I'm still not sure if its better or worse overall than stock cam, but data at track will tell.
I still want to test the vanes, and pre turbo water injection. I May test just the vanes next time at track since it only takes a few minutes to install. That would get me good before and after data with same conditions.
So I went to track today to do some testing and was considering entering a bracket race. It was very hot, That combined with only a few hours sleep last night almost made me not to even go to track, But I wanted to get some solid data on that exhintake swap deal with the new bushing and cam position, so I went.
Well it is confirmed now pretty solidly in my mind that on my combo at least the stock cam is better for overall performance. Trap speed was off about 4mph or so from what it should be at this boost level. Of course the heat (it was 97f today) would account for maybe 1 to 2 mph, but not 4mph. So the cam swap would have to be responsible for the balance of loss. When I street tested new bushing for exhintake cam position with the dragy the difference vs stock cam was hard to measure since I only test for a narrow speed range. The track testing is over a much longer average speed and time which allows the difference to show.
Its kind of strange since the exhintake cam feels by seat of pants to be at least as good as stock cam. The exhintake deal in its current timing position feels to give a slight bump in power at top end. I believe the exhintake cam is down everywhere but at very top of rev range and that bump in power I feel is just going from lower overall torgue in low and mid range and just starting to pull up top. The track data is pretty solid to convince me to go back to stock cam and put this exhintake deal to rest in my mind at least on my combination.
That is really all the data point I have from todays track outing. I wanted to test higher tank pressures and the vanes as well, but didnt. I forgot to bring the vanes, and after the disappointment of the cam swap data combined with the heat and lack of sleep I was ready to call it quits for the day.
I'll get back to track again soon to test a couple more things and maybe start the drive again to push car a little harder to try and knock down some lower et's.
Welp fellers, today ended the jatco era for me. Twas a sad day. I have the c4 back in the car and scrapped all the jatco stuff. The jatcos worked well but were just not quite strong enough. Got tired of breaking them. I broke an output shaft recently at my test spot and figured that was enough.
The c4 in the car currently is built with a manual valve body, h servo and extra clutches in forward and direct drum. Should be good to maybe 600hp in a light 4 cylinder car. Unfortunately I did not do a transbrake in this one, but I did just pick up another good c4 to build up. The next one I will build just like the first, but will do a transbrake and maybe a converter dump too.
Also gotta start doing the ford rear setup though as well.
The car currently has a rx7 rear in 3.90 ratio, but working on changing that i near future.
I do have a couple parts I am selling if anyone interested. I have a converter for a 94-97 automatic miata built by florida torque converter that has brazed fins, good bearings and maybe 200-300ish rpm more stall over stock. I also have an ign1a coil setup with bracket and plugs wires. Lmk if interested in those things.
Hey Guys, Been a good while since updates on this hoopty project so I figure I would catch yall up.
Finally got around to doing 8.8 swap. I basically duplicated the ronin 8.8 fc rx7 mount for the diff. and for the axles I grafted the ford inner stub shafts to the 929 axles. Should all be plenty strong.
below pic is 929 axle tripod housing removed and after I cut off the mounting "ears"
Below pic is after turning down a register to weld into the ford inner stub tripod housings.
Below pic shows inner stub tacked to 929 tripod housing. This pic looks like ford tripod housing register cut way to large, but there are actually 3 step cuts with the 929 housing fitting into 3rd step that you cant really see due to tack welds. Runout was within reason after tacking.
Below pic shows ronin mount I copied and the conversion axles fully welded and assembled. I also made some 1/4" spacers to go on the side between the axle and hub, but forgot to take a pic of those, but they are on the car now.
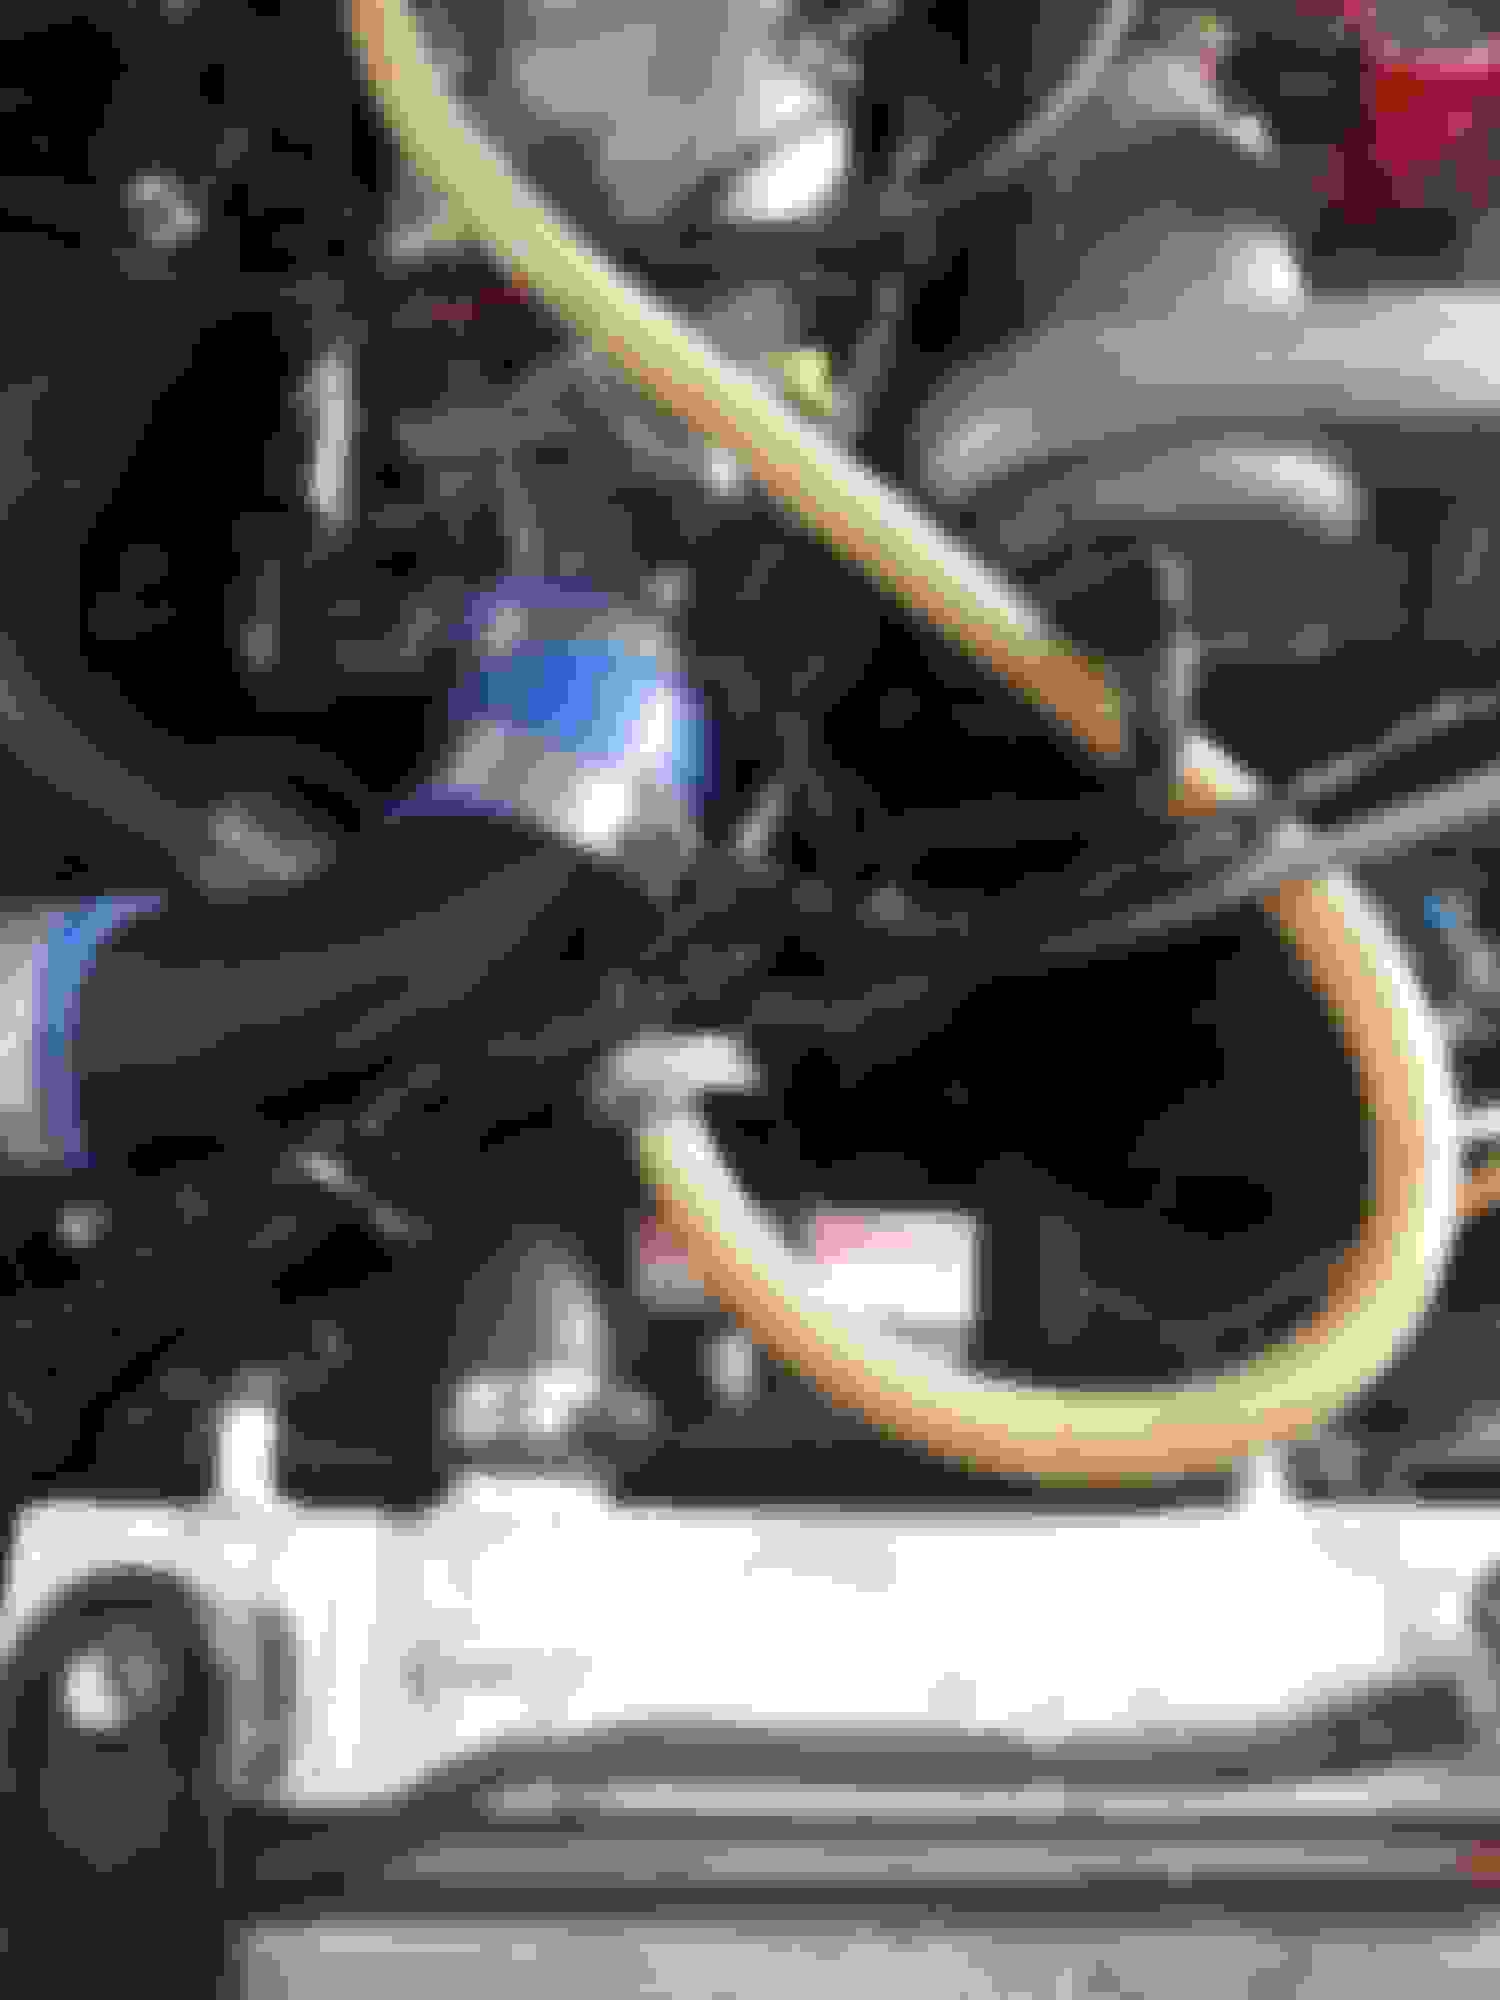
Back view of diff mounted in car.
Modded ford driveshaft
Rear transmission mount. This needs to be re-done, I'll explain this at the end.
Front pic of diff assembled in the car.
Glad to finally have the ford rear and c4 driveline in the car. Had a couple kinks but its all working out nicely so far.
The main bug was when I made the tranny mount. I used a phone app to measure pinion and transmission tailshaft angles. The angles I am quoting are with the car jackstands, so not the actual angles with car leveled, I was just looking for relative numbers.
On the pinion side i got pinion angle -4 degrees and tranny tailshaft I got +3 degrees so 1 degree relative difference which Is what I made the tranny mount off of. Problem is I boogered up on measuring angles. When I used the app I had the phone facing one direction on the diff side and had the phone facing opposite on the tranny side so it was actually a 7 degree relative difference LOL.... When I tested up to mid 6000 rpm range in top gear on the jackstands it vibrated badly. Once I realized my mistake I shimmed the tranny mount to get to about a 2 to 3 degree relative difference and vibration is now barely detectable up to same speed on jackstands. When road testing I cant feel anything, but I am going to remake rear tranny mount anyways to get relative angle as close to 0 as I can and may even spring to balance driveshaft. Overall I'm pleased with the way things went. Still have a few things to do but car feels good now.
Hey guys, testing to see if anyone out there is interested in buying this project. Turnkey, including backup engine and trailer. Its all rough, cobbled together stuff but runs very well and is fast for a miata. It is cobbled together stuff, but rewiring and going through the car with more attention to detail and making something nice wouldnt take a lot. I just never really cared to make it "nice". What you see in the thread is what you get. If I dont sell the whole nine yards I may sell just the two engines. Both are identical. Ask Questions or pm me if interested.
Hello fellows. Since doesn't seem to be much interest in someone getting this thing as is I think I will press on with tinkering with this project a while longer. In looking at my last post, I probably should have done an additional post explaining the state of the car as it actually is currently. Might have had more interest LOL..., but even so I think I still want to hang on to it at least through rest of year.
The state of the car in post #212 from nov 5th 2024 shows the car as I was swapping over to 8.8 ford rear and custom axle setup, but didnt show actually finished and de-bugged LOL.... In the #212 post I mention driveline angles and a vibration.
Since that post, and before the above post, I redid the rear tranny mount and also took the driveshaft to a shop to get balanced. They did not balance it but said The driveshaft also needed to be heat straightened a bit, which they did. Funny enough it was more off on the factory side than the side I welded on up the lathe. They said that side was actually very close.
Anyways car runs very well with no vibrations. It also has driveshaft loop and bracing not shown in post #212.
Anyhooo since I decided to hang on to this thing a while I was going to get to track today to get a baseline with the driveline changes. Track has been closed for like 10 months and was supposed to open back up today.
Wouldnt you know it they post to delay until march. dang it!!! They are closed way more than open. I sure wish there was a track within a reasonable distance that was open weekly on a regular basis. We actually had one here like that up until about 25 or so years ago.
I think all else being equal the car might actually be a little faster with the c4 setup than the jatco. Even with the 3.55 gears in the car it seems more rev happy. However I really havent gone out to my test spot to confirm with solid data using the dragy yet as its been a little too cold most days to get good enough traction to really test in the 40-80mph range to compare with prior data. I'm thinking the c4 has less losses than the jatco. Without all that additional rotating mass that was used in the jatco for the overdrive, (and there was a lot of that), there might be some benefit now to raising my rpm range a tad now.
The only real hindrance I see currently to exceed my prior best is that the differential is open and when I built this transmission I did not do a transbrake. Both of those will be corrected soon and hopefully will start posting some better track times this year. I would really like to start shooting at least a 35 or 50hp shot of nitrous this year. I think the driveline will hold it now. Will get a few trips to track in without that first to see how all these new changes hold up. Hope to post up some solid numbers from the track or at least dragy data from my test spot to compare new setup vs old.
As stated in above post I would be correcting the open diff soon, well soon is here LOL...
I installed a mini spool to lock rear diff. I considered plating and welding, but these mini spools are pretty cheap and should install quick and easy. However this wasn't exactly the case.
These mini spools are really designed for straight axle rears and not independent rears. I had to do a few mods to the spool to get it to fit. however its installed now and road tested.
below detail the mods in case anyone else out there has a ford open 8.8 explorer irs and wants to install one of these. Word of caution though, these are intended for open diffs and not as an upgrade for limited slip diffs. If installed in a limited slip diff it will have too much slop and will fail eventually.
below is mod required to allow the inner stub shafts to go in far enough to fully seat against the pinion pin. The axle shafts in the solid axle setups have a turned down shoulder at the end of the shaft whereas the irs axles are not turned down and require these to be clearanced. The pic only shows one done, but both were done.
the outer portion of the mini spool also required an area to be clearanced for the snap rings on the inner axle stubs to lock into.
I forgot to take a pic of the actual mini spool part before I installed it. So I took a pic of the actual stock outer spider gear to show where the mini spool parts had to be modified. The screw driver is touching the area where the mini spool part had to be turned down.
I swapped engines not too long ago. I have 2 engines built identically I swap every year or two and examine and freshen while one is out and on the stand. The engine I swapped out last I finally got around to tearing into recently. The last time it was ran I heard a new sound after a rip so decided to pull and swap. Glad I did as it was one more rip away from massive destruction. As it is it is fixable.
I had a wrist pin failure!!!
These are the pins that come with the shelf wiseco pistons. I've been back and forth with Adam from wiseco discussing this and he has been very helpful. If anyone out else there are running the shelf wiseco pistons and plan on running very high boost and really beating the snot out of these things you should opt to update the pins. According to Adam the 6553m84 pistons should support up to 700hp, but the pins that come with them part # s623 should not be used over 500hp, and they really like to see even less if your really beating on it. The heavy duty pin you want is #s708. It will support more than the pistons. I have a new set of pistons coming and updating the pins to the stronger ones. I will also be pulling the engine in the car soon to update those pins as well.
below is broken pin
below is heavy duty pin
below is comparing pins. stock miata on right, original wiseco in middle, and heavy duty on left.
At any rate just wanted to warn anyone out there if trying to really push these things hard. Go ahead and upgrade pins. I got really lucky and caught it when I did. Could have been really ugly Lol....
It's funny that there's even a need for a 500hp pin in our little engines now. Seems like just a few years ago that 400 was considered amazing and more than the available drivetrain components could handle.
Car is back together with new pistons and much thicker heavy duty wrist pins. Will be posting some more pics and video from the track next time out. I'm considering selling this so need to get some better pics and video anyways.


 1
1