When you click on links to various merchants on this site and make a purchase, this can result in this site earning a commission. Affiliate programs and affiliations include, but are not limited to, the eBay Partner Network.
The goal of my build is a fun street car.
The car has 120K mi on the clock.
I wanted to start by replace some seals timing belt water pump before going for the boost. I also wanted to upgrade the radiator and install a coolant reroute.
Wrenches for the win Levers did not work here. Steering wheel puller was awesome. Super tight fit. MK kit came with a cap for the AN oil drain. NICE.
Gates Water pump and water neck delete. I will be going Megasquirt so I wont need the thermal switch. This was my attempt to connect at routing coolent that would have gone to the water neck which I deleted.
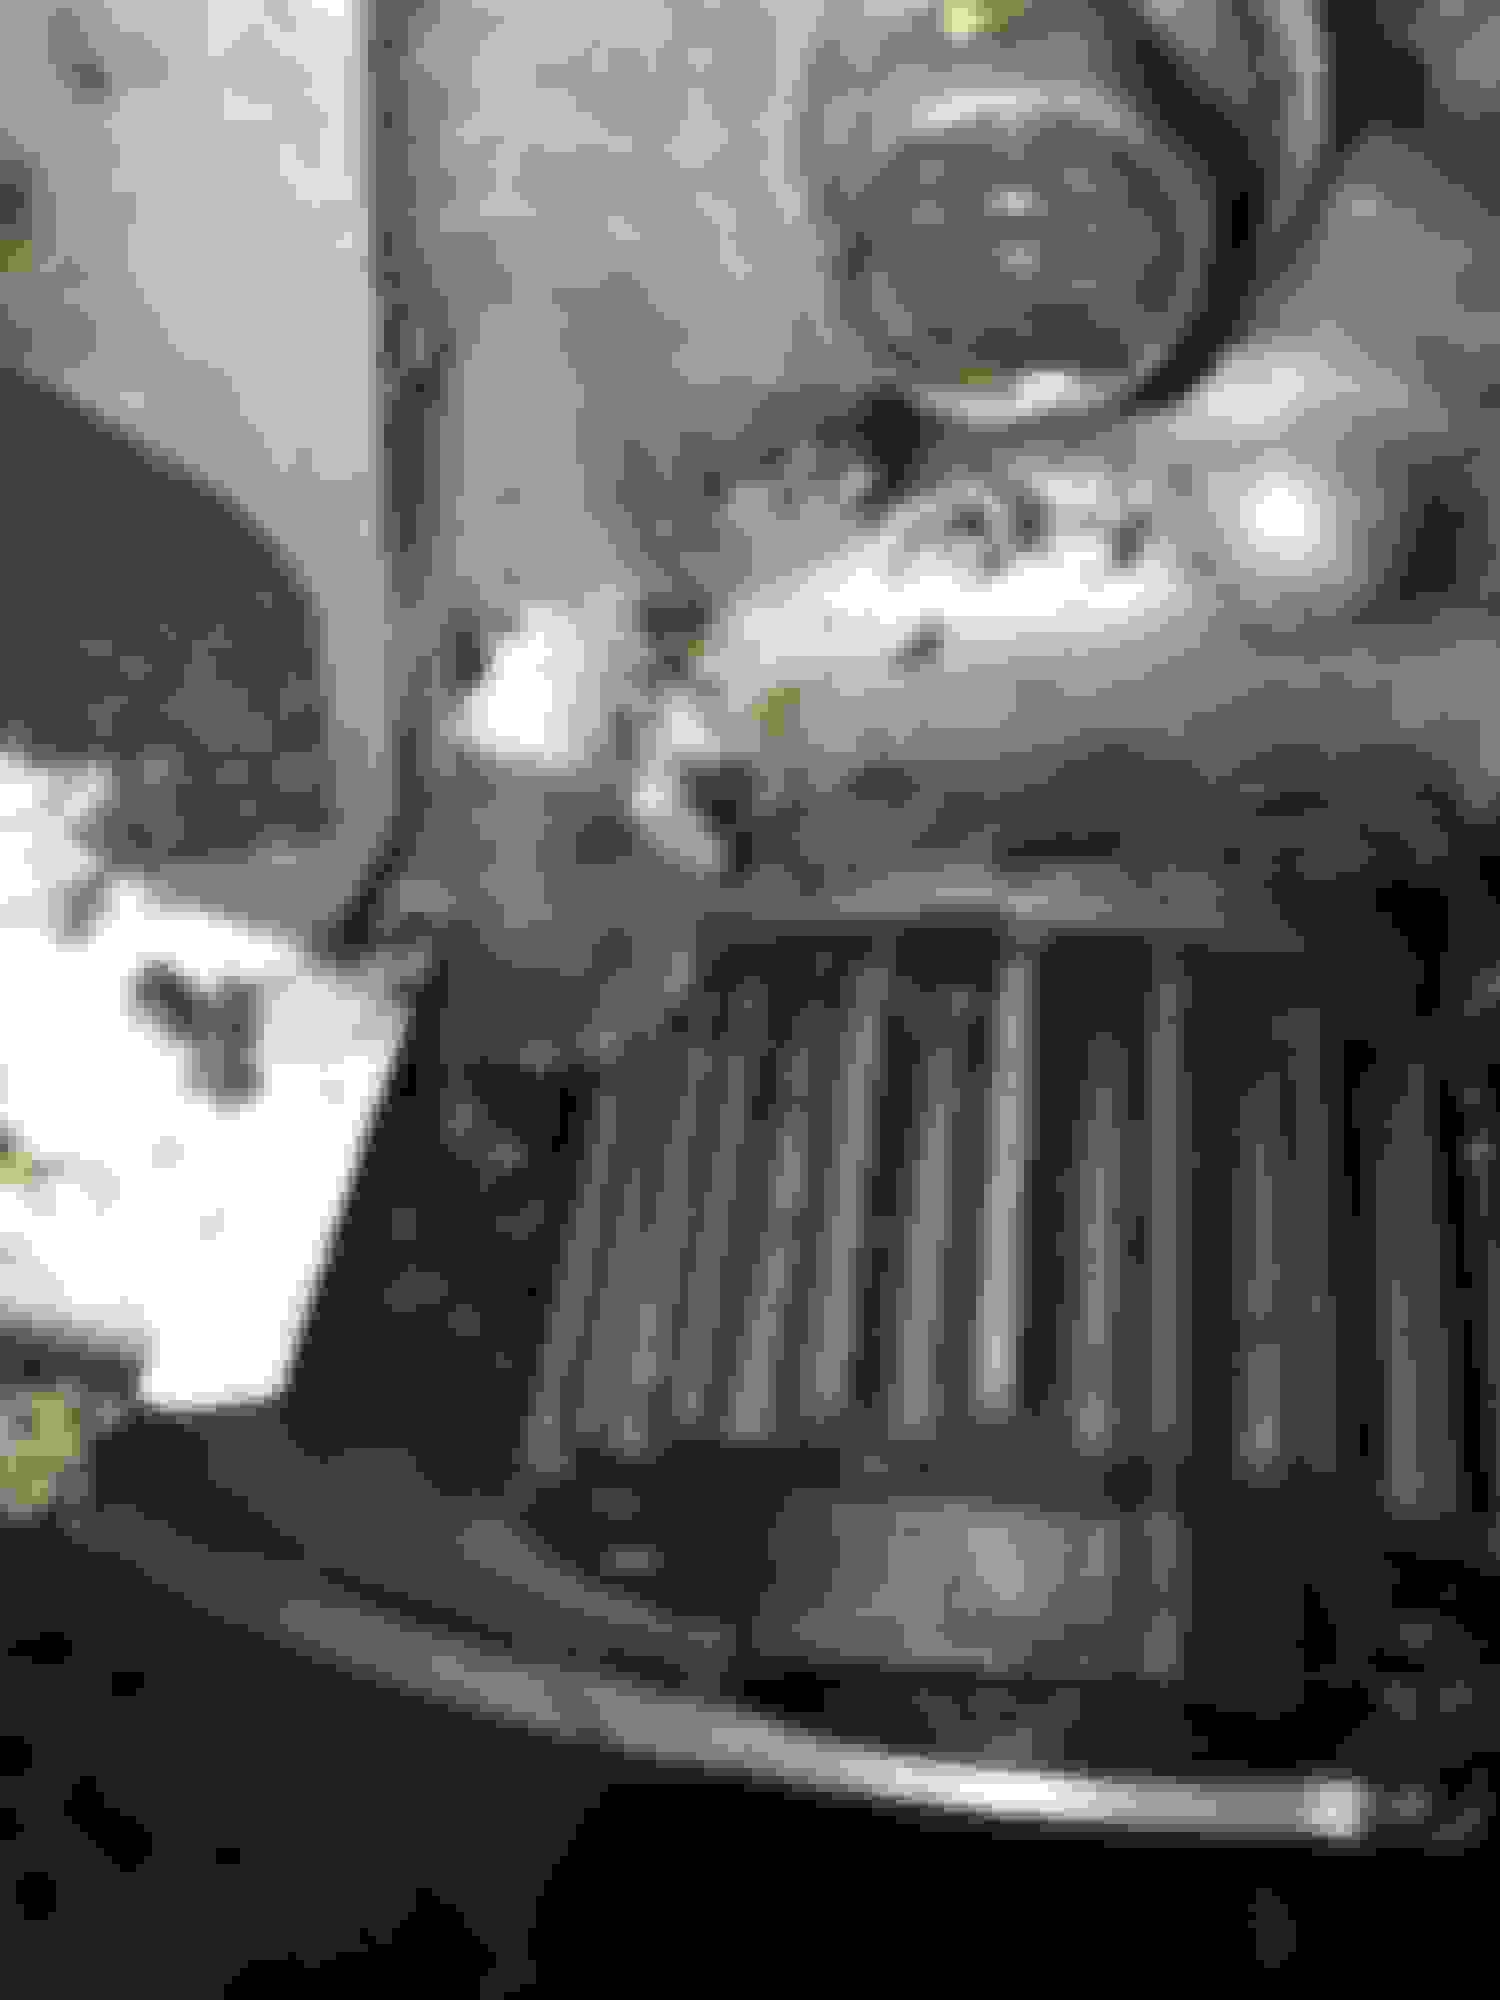
Driver side mount location for Intercooler (I believe) Passenger side mount for the intercooler. Which is the same location as the horn. I bent the horn bracket and replaced with this bracket in place. This is how the Mk intercooler sits with the top mounts. Thinking about painting the front black for stealth. I was just doing some test fitting while I waited for some parts on my water pump timing belt work. Not sure What these are for in the MK kit. I thought they were used for the intercooler but I am not sure. This the hood latch bracket that needs to be deleted or trimmed for the intercooler. I wanted to maintain as much structural support as possible. A 4" angle grinder made quick work of the piece. I also sprayed black epoxy paint into a cup and painted to prevent rust. the bracket in place that needs trimming. Without intercooler mounted.
Driver side mount location for Intercooler (I believe) Passenger side mount for the intercooler. Which is the same location as the horn. I bent the horn bracket and replaced with this bracket in place. This is how the Mk intercooler sits with the top mounts. Thinking about painting the front black for stealth. I was just doing some test fitting while I waited for some parts on my water pump timing belt work. Not sure What these are for in the MK kit. I thought they were used for the intercooler but I am not sure. This the hood latch bracket that needs to be deleted or trimmed for the intercooler. I wanted to maintain as much structural support as possible. A 4" angle grinder made quick work of the piece. I also sprayed black epoxy paint into a cup and painted to prevent rust. the bracket in place that needs trimming. Without intercooler mounted.
Looking good so far.
The extra bolts that came in the IC box are not used. The silver plug in your picture is for the oil feed line. In case you ever need to pull the turbo, you can plug the end of the line at the turbo side to save some time. The 2 black bolts are for IC I believe, you may not need them.
That is the correct way cut up the hoodlatch bracket. Go ahead and paint up the IC black. I have been doing it for years on my cars. To me it is an easy way to keep eyes off you.
Finally got my parts back from the ceramic coating. I got a family discount because my brother in law works there. I also will diy some heat shielding as well.
FInally started installing Megasquirt and wiring.
This is was an Idea I stole from a thread (brain maybe); to secure the the gm temp sensor into the airbox while I learn to megasquirt NA. No heat soak ( i hope). Thoughts?
I know I am supposed to ground at the back of the engine block; but I am not sure which point the ecu is grounded to. Any clarification?
I am also trying to figure out where to splice into for dimmer light on my Autometer gauges, Ive read that I can tap into the light in the cup holder/change holder wires? Yay or nay?
I also bought 1/8" Abs from Amazon for making a gauge holder in the tombstone. 2'x4' was $30 and Ill maybe have extra to make a hood latch ducting.
I read that same post from either brain or 18psi for the air temp sensor. I've been getting my *** kicked with intake temps with just a cone filter on the stock tube tuning n/a and thinking about doing exactly that. Let us know how it goes! Great progress though, excited to see it come together.
Ive been busy with my build. This is sooo damn slow that Ive been searching for an NB to buy.
Installed the MS3 PRO.
Wired in Autometer boost and water temp gauge into plug in reroute. Wired in Wideband.
No 3D router So I made an abs tombstone plate. Bought a new and radio and wire that in, bc why not.
A final picture of the digi key pieces I used to connect the iat (from inside the airbox).
I have a 3.9 Torsen.
I haven't upgraded the clutch yet. I replaced it a few thousand miles ago not thinking I was going to turbo. I am trying to eek out as much out of the clutch before I replace it; may wait till it starts slipping.
I am planning to pick up a used 1.8 flywheel this weekend and have it turned. Then I am going to order a Supermiata clutch kit. My plan is to replace and have it dialed a little before I have it professionally tuned.
You *might* get away with wastegate pressure on a decent stock clutch. I ended up getting a used lighter 1.8 flywheel for about what a stock one goes for... Might be worth hunting around some if your 1.6 holds for a while.
My stock clutch started slipping at 2.5psi on an M45 setup. Turns out it was worn to the rivits on one side and almost to them on the other. Could still hold stock power, but nothing more.
So I bought a 1.8 flywheel for $25 and I am having a shop turn it for $30. Miata mecca sells a turned 1.8 for $150 and Ive found a new oem flywheel on ebay for $180.
I just hope the shop knows how to do it.


 0
0