When you click on links to various merchants on this site and make a purchase, this can result in this site earning a commission. Affiliate programs and affiliations include, but are not limited to, the eBay Partner Network.
Well, it wasn't the shims. I got everything to spec, after waiting a week for the adjustment shims to arrive. When I started it all up, I had the same terrible rattle. Next, I'll replace the exhaust header gasket, and check to make sure the headers are seating well. If it's not that, I suppose it's time for a junk yard motor.
While I was waiting on shims, I worked on my air dam and splitter. I'm pretty happy with the results. It still need to mount some sweet supports I got from the circle track guys at Smiley's.
laying out 14 new shims, I got to re-use 2. After cutting the dam, the splitter is in paint. good from far, far from good. I cut some wood blocks to act as my splitter height guide.
Update: I'm an idiot. It was an exhaust leak. I must have been drunk when I installed the headers. The tab from the coolant hard line was stuck between the header and gasket. Engine sounds great.
I also went by Smiley's and got some sweet turnbuckles to secure my splitter. I used some pre-drilled angle iron and threaded inserts to mount it to the plywood. My goal is to be able to secure the splitter without having any additional mounts exposed to the airflow in front of the air dam. We'll see.
That's the most jank valve lash job I've ever seen.
I'm glad to hear this. I halfway figured people to tell me that it was a common solution. Oh well, live and learn. He won't be getting any more of my $.
I used what seems to be the same cooler as the pros. It's a 13 quart fishing cooler, available at Academy. I also got my random 500 bilge pump there.
The Academy boat section has some great stuff for trailer and cool suit fixes, if you're in a crunch
I was able to source all of the hoses at home depot. I also insulated the hoses.
The cooler is hard mounted to the car, using angle brackets. First, I used 3M hull adhesive to seal up everything. That almost worked, so I went back over everything with clear jb weld.
Created a duct to route air into the radiator
My initial design involved hanging a box off of the bumper, but the mounts started to get real heavy, and I wasn't happy with the decreased ground clearance with the splitter off.
Design two was a cardboard aided design exercise that resulted in a three piece duct built out of ABS plastic. This is mounted to the splitter, with the idea of adding additional ducting between the radiator and bumper to seal everything up.
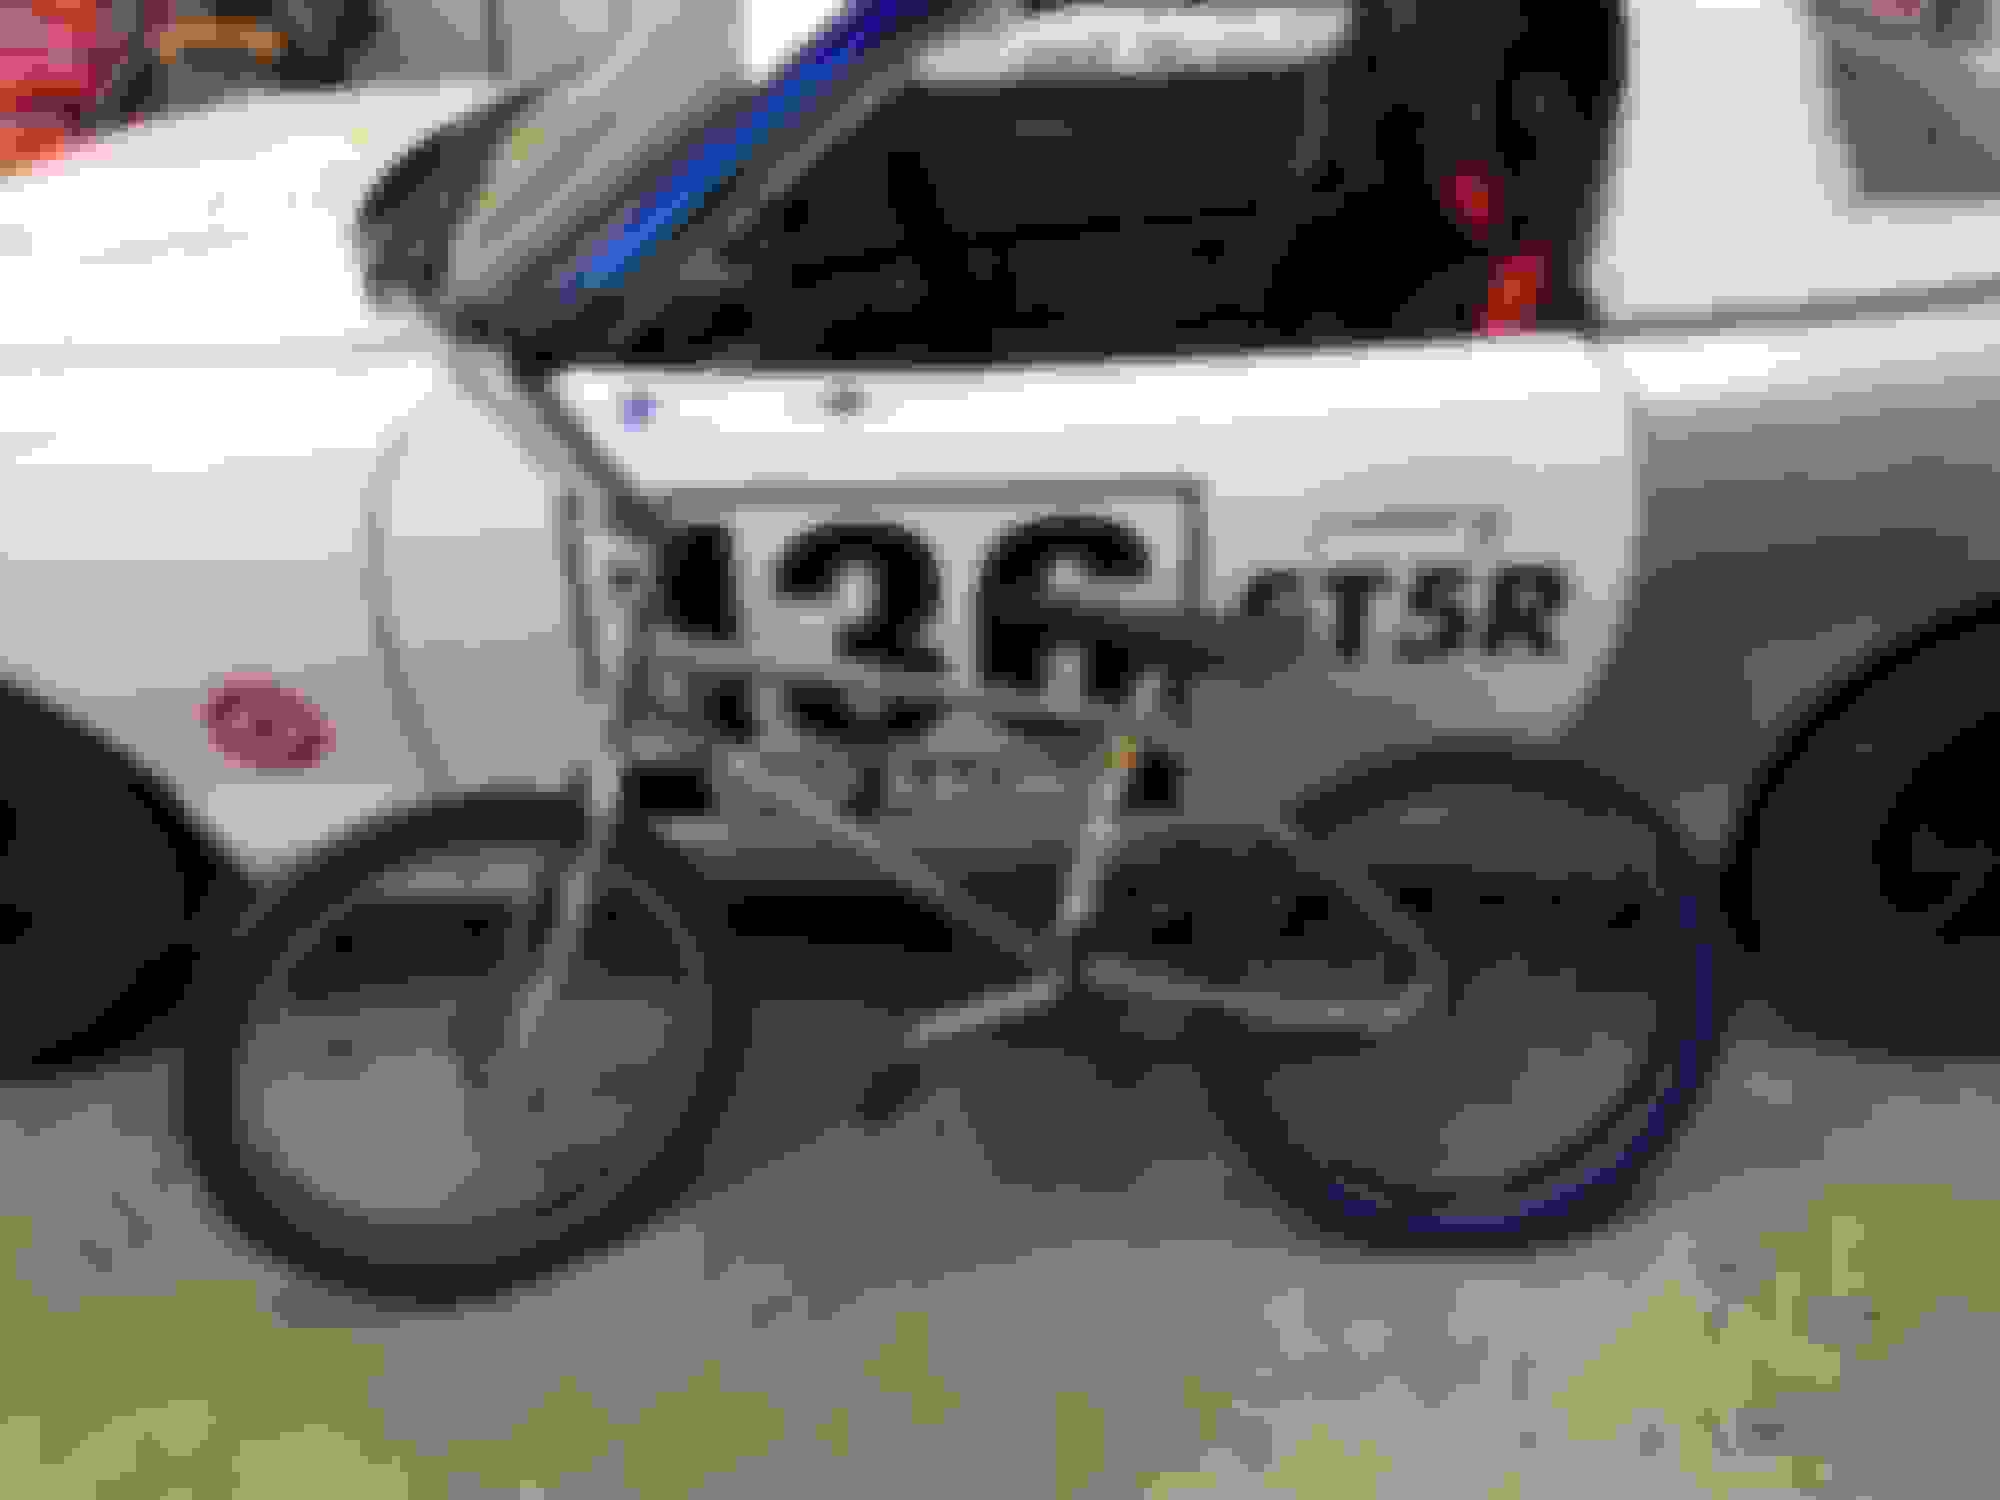
Restored my old BMX
My old Cooks Brothers Racing BMX from high school was sitting around. I found some cool blue tires that match the current livery
Killed our E36, again
at about 5 am in the houston race, one of our drivers missed a corner destroyed the oil pan :(
Now for giant pictures!
photo of my splitter braces. Turnbuckles from Smiley's to angle iron from Ace. DIY Cool Suit cooler. Cool Suit hookups, I ordered these from some water system supply. Much cheaper than Amazon. Duct CAD DIY ABS Brake DIY Rad Duct Duct installed with little adapters glued on to seal it to the dam. Pit Bike! Dead E36, and my feet.
We had a great weekend in Houston. My car went through tech with ease, and I got my provisional comp license. The car was slow against the ITR and S2000 in my class, but that's just something to work on. I'm at 116 HP pushing 2280 lbs. The wing is in the mail. The aero imbalance was pretty rough.
Thanks to everyone for sharing your ideas on this forum. It's been a huge help with build.
Passing test. The only chance I got to do any :( race ramps FTW 116 HP - needs work
Last edited by Matt Murphy; 01-28-2019 at 08:22 PM.
Reason: add text
I've decided to change my approach to 2400 lbs with 225 wide Hoosier R7's. I figured I'm already at 2280, so why not be the lightest car on big tires, instead of the heaviest car on 205's. If I can make enough power, I might bump this up to 2450 lbs, to get the weight modifier down to -.3.
I'll need about 40 more hp to get to my target. My goal is to do this with simple bolt ons and a tune, so I can just drop in junkyard motors. We'll see how it goes. The Megasquirt is in the mail, and I've talked to Team MER, at Cresson for dyno tuning. This is a lot to get done before the March 9th event. Fingers crossed.
The big **** is installed, along with a Skunk2 intake manifold, and some ballast to make weight.
**** Gang! New weight, wider tires, more power! Skunk2 intake manifold. It sits very low, creating some fit issues with the intake piping and coolant reroute.
Just a quick update. I ran the car at 2400 lbs for the Cresson race, and I was able to get on pace with the only other ST4 car, by the end of the weekend.
During the event at Cresson, I boiled my brakes on Saturday. Switching to high temp castrol brake fluid fixed it. I know my rotors and calipers aren't getting very hot, but it could have been heat from my headers, boiling the reservoir. I won the 50 minute enduro on Sunday, because no one else entered my class. Oh well, good enough for some Hawk bucks.
Since then, I've ceramic coated my headers, fixed the cam gear issue, and built a heat shield for my intake. The car gets tuned in two weeks, then my next race, at Hallett, in June. Wish me luck! (oh yea, and my wife bought me a clapped out civic si for my birthday)
gold airbox, ceramic coated headers My new $600 civic si daily.
I'm hoping that is the before picture of your heat shielding efforts and not the after picture. Your left front brake line and your master cylinder are still completely unprotected. Don't die out there.
I saw your car pop up on Jesse's feed yesterday and then I just happened upon your build thread today. Glad he was able to squeeze out a bit more power for ya.
Also for what it's worth, I also have a racing beat header that is ceramic coated inside and out, and have never run any sort of heat shielding for the master cylinder, reservoir, or that brake line. Probably has somewhere between 150 to 250 hours run time on track over the course of 4 years and never had a single issue. Using ATE Super Blue or Typ 200 (same stuff), and only bled every other pad change. Stock NA8 brakes.
But of course, the heat shielding is good practice anyways. Just thought I'd provide some insight.
Hey guys. Yes, the car is running like a top now. Jesse did a great job of getting it tuned, and I get to put my "where's the beef" thread to bed. 163 at the wheels with a stock motor (aside from the MSM intake cam). Goal!
As for the heat shielding. I agree that it's probably not necessary after the ceramic coating, but it was an easy fix, and I'd better be safe than sorry.
 well that's just smart thinking right there


 10-18-2018, 11:08 AM


 0
0