When you click on links to various merchants on this site and make a purchase, this can result in this site earning a commission. Affiliate programs and affiliations include, but are not limited to, the eBay Partner Network.
Thought I would document my �build� here:
starting off this is a 1995 Miata that I bought back in 2019. Basically the guy built the engine then found out it had low compression so put it up for sale and practically gave it to me for $900 cause he didn�t want to look at it anymore. Two years later, $300 engine out of a crashed 1996 and $40 worth of Amazon timing belt and water pump kit and I had it running and driving. Drove it for a year then decided I want to turbo it so bought a kraken turbo kit that�s sitting on the shelf now while the below is ongoing
After some deliberation and unsettling throwout bearing noises I convinced myself to pull the engine out and refresh the seals since I had a leaking front main. ( Courtesy of the aforementioned $40 timing belt kit 😏 ) Figured I would just reseal the engine, slap the turbo on and then put it back in�
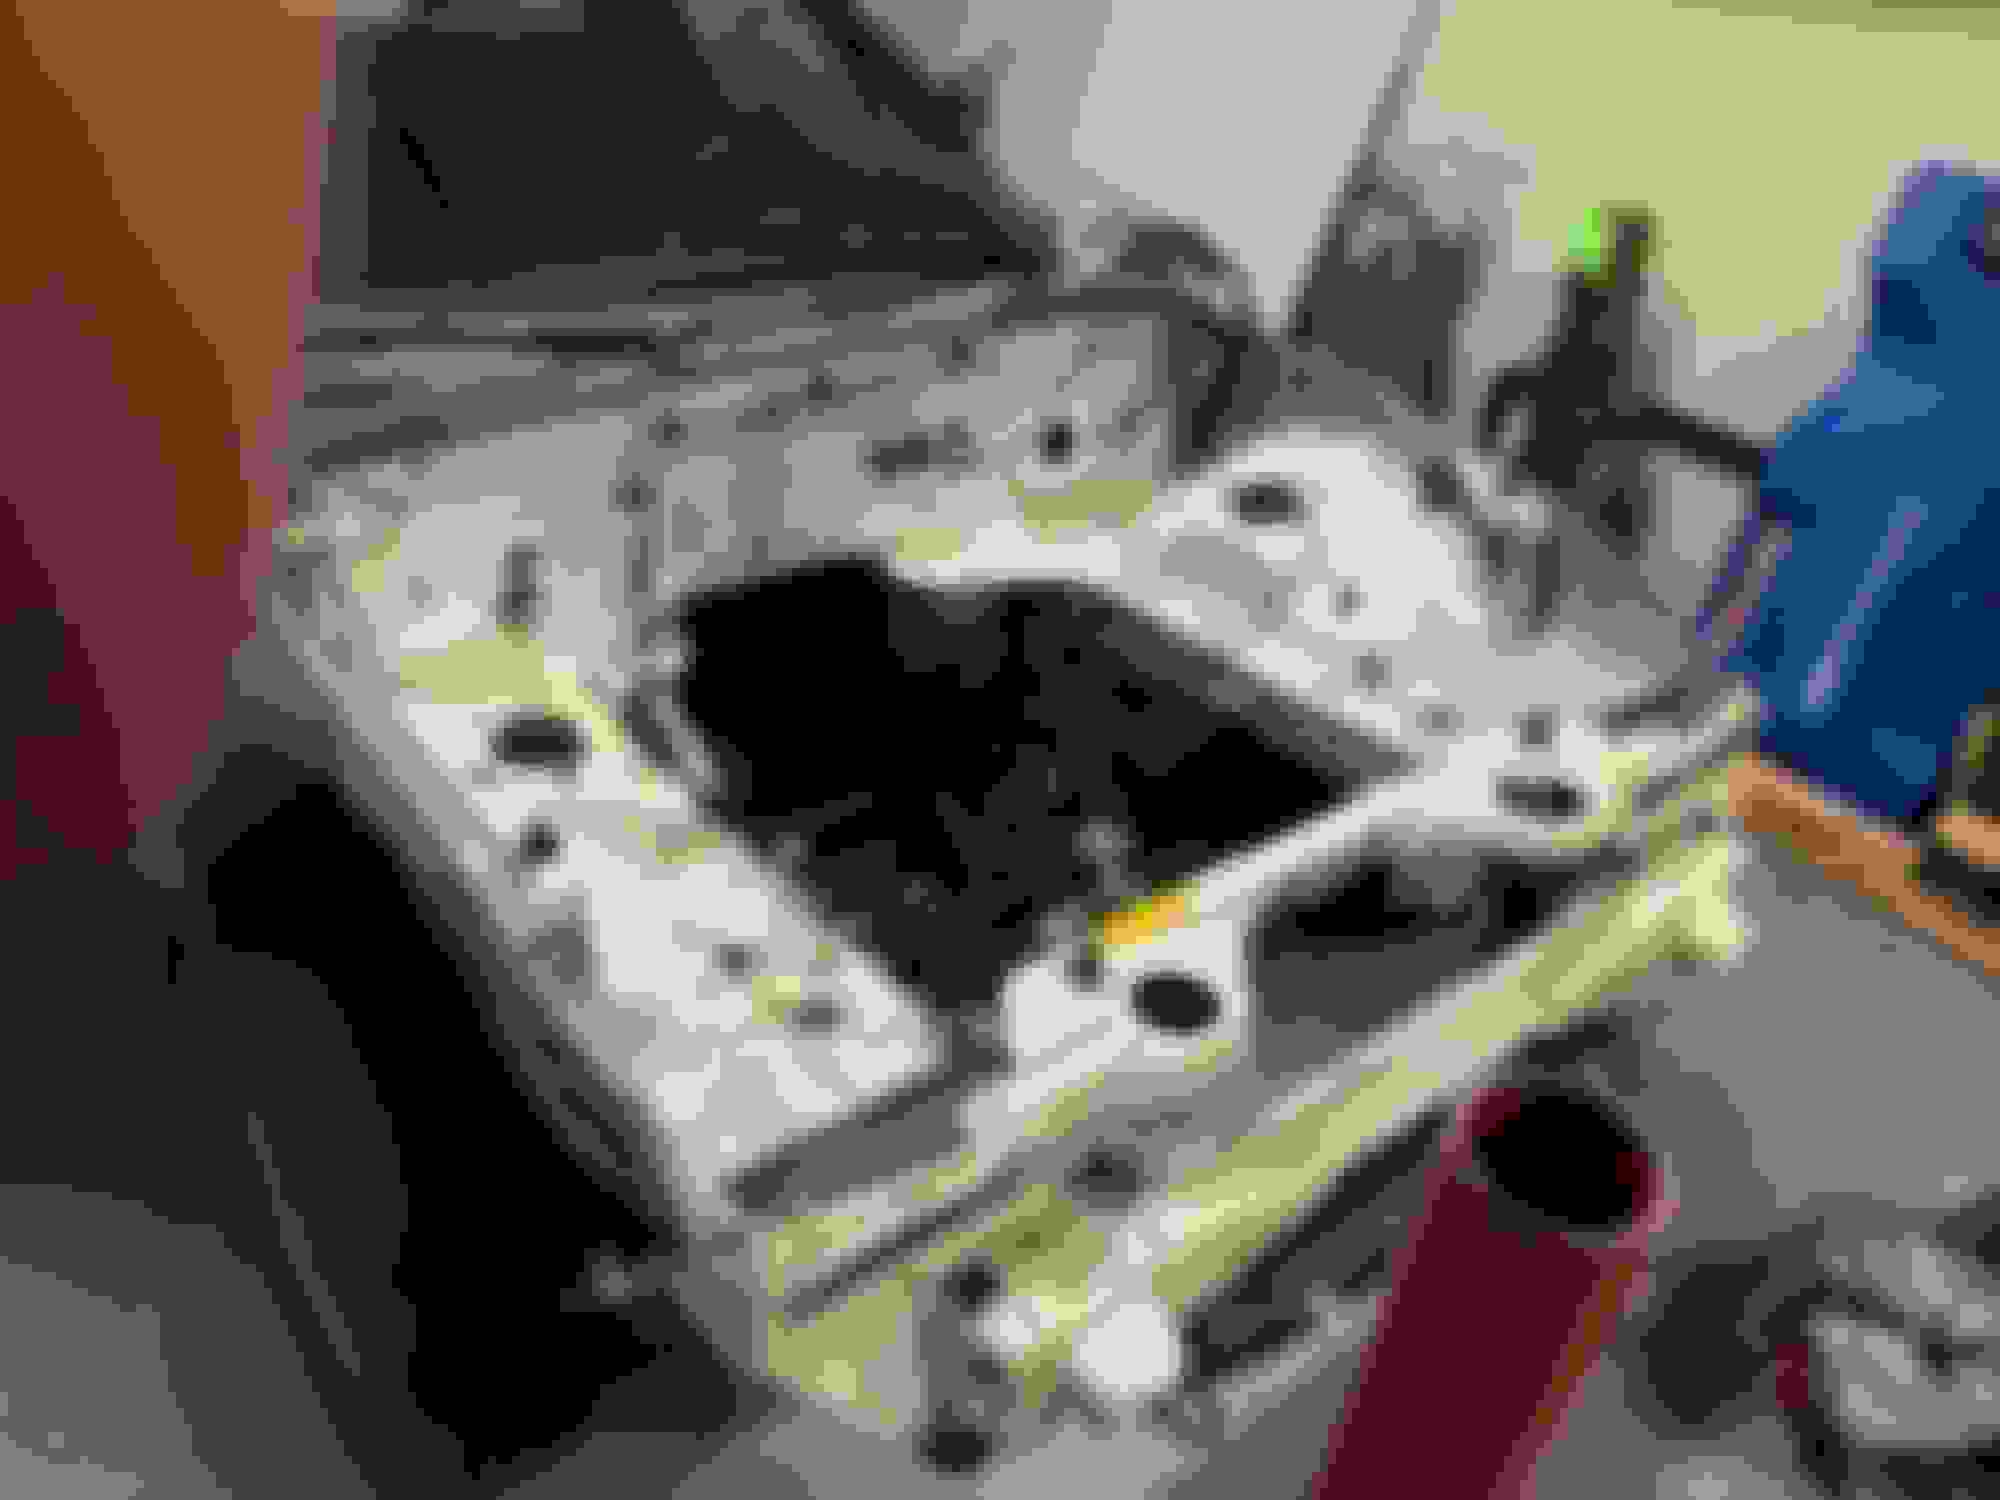
engine pulled and cleaning in progress.. well maybe I should do a bit more now that I�m in here�
well that turned into let me pull everything else out, reseal things and paint the engine bay� at least know I know for sure I have a Torsen 😬( right?)
you know what the wiring looms looks pretty bad to let me try and fix that while I�m in here
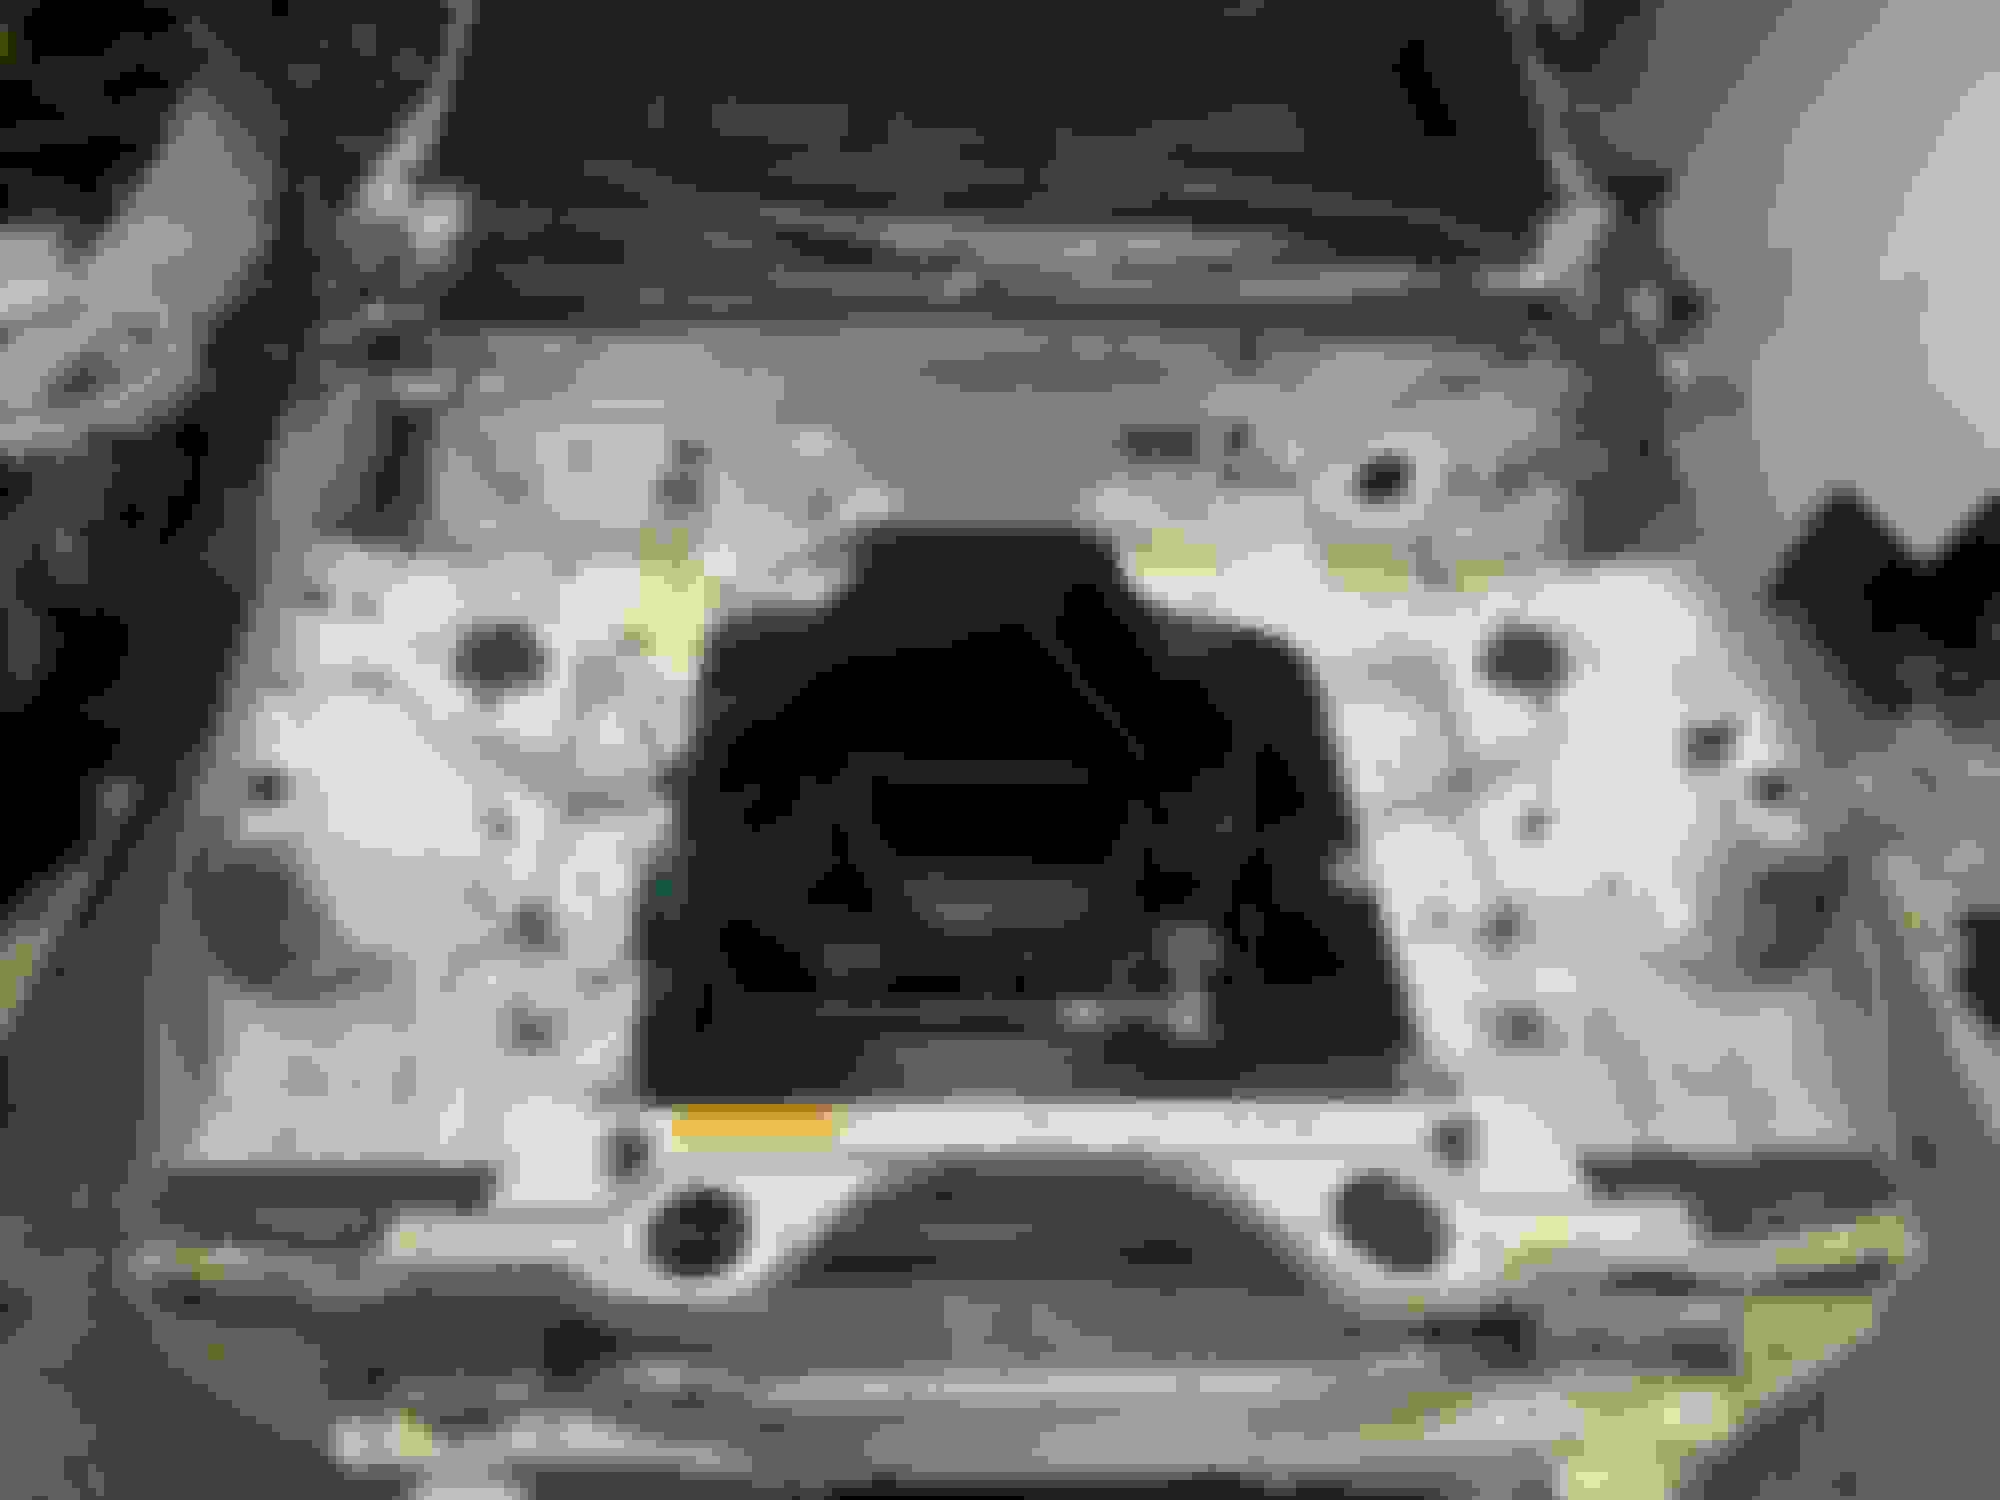
engine bay sanded, primed and painted using only the finest Rustoleum spray paint Walmart/Amazon could offer. Primer and clear used, had been sitting on the shelf from previous projects for I think two years� yes I know it looks bad but insert �it�s better than before and I�m definitely not trying to show it off to anyone but you guys� excuse here. Gonna sand down a few parts and fix them this weekend too so don�t judge just yet. (also check out those paint booths straight out of a dream)
Diff and PPF in the process of being wire wheeled and painted. PPF will be black and Diff will be Home Depot special silver (not sure how long that will hold up)
this is where I�m at right now. Will continue to post here if no objections. I welcome any criticism, advice or general hatred and bullying. Apologies in advance if this is being posted on the wrong thread/ forum/ place (hey I tried reading the ultimate NOOBs post ) also apologies as I�m sure there are a million and one threads like this but I want to document my process 😬
Oh one (or several) more thing:
-1995 NA
-1996 engine
-130ishK miles on both
-Kraken low mount, full 3 inch down pipe/ turbo back with a gt2560R and the kraken inter cooler kit
-MS3pro PNP
-planning on getting an ATI super damper and 640cc injectors with power goals of between 220 to 250 HP at the wheels on stock internals ( not a lot by todays standards but to be honest this will be my first car with >200hp.. hopefully)
- I know I�m doing things backwards since I�m literally on stock suspension and Daisies but that�s just how things worked out. Planning on getting some Avanti storms and either Miester r or Flyin Miata coilovers eventually.
- Also typing this out on my phone at 12:00 AM here on the east coast so that�s my excuse for any grammatical or spelling errors.
Fantastic Start!! I remember cleaning/painting/powdercoating parts in the engine bay way back when I did an engine build. Wildly rewarding! I cringe at the thought of painting the PPF because...well...PPF, and I cringe at the thought of painting the diff housing because I feel like you're insulating it, but I'm excited to see how it turns out.
Fantastic Start!! I remember cleaning/painting/powdercoating parts in the engine bay way back when I did an engine build. Wildly rewarding! I cringe at the thought of painting the PPF because...well...PPF, and I cringe at the thought of painting the diff housing because I feel like you're insulating it, but I'm excited to see how it turns out.
Thank you! I�m hoping to get to the part where it�s all back together 😁
that�s exactly what I thought about the diff too but I read in several places that it doesn�t get hot enough to matter. I may end up just painting the front part and not the fins in the back.
Looking awesome! I wish I had the time (and motivation) to do something like this with my Miata. I used VHT (caliper paint I think?) on my diff, it's held up well to rock chips and such. I laid down 3 heavy coats, seemed to do the trick pretty well. I actually did the opposite of your suggested plan, I left the front unpainted, there was too much rust to bother cleaning up and it also takes the majority of the rock chips. I instead just painted the rear cover with the fins.
I had 14 things on my to do list this weekend but only three were checked off most misc brackets are cleaned and painted. Tried to fix some pretty bad spots in the core support but ended up having to sand and reptile it. Will sand the primer and repaint. Pretty slow weekend but gotta keep going😬
Looking awesome! I wish I had the time (and motivation) to do something like this with my Miata. I used VHT (caliper paint I think?) on my diff, it's held up well to rock chips and such. I laid down 3 heavy coats, seemed to do the trick pretty well. I actually did the opposite of your suggested plan, I left the front unpainted, there was too much rust to bother cleaning up and it also takes the majority of the rock chips. I instead just painted the rear cover with the fins.
Photo dump of more stuff done plus some bad news� this is gonna take longer and cost more than I planned 🤦♂️ Painted some more miscellaneous items Painted front subframe Put things back together in the engine bay. Also most wiring is done. Wiring was so simple�man I love these cars Cleaning engine- preclean Post clean- just some engine degreasing foam, purple power and pressure washer Kraken mixing manifold kit came in 😁 More engine bay Transmission cleaning Had to pull the whole tail shaft off for turret replacement� got bit by the buying bug and pretty much replaced all seals (also replaced the reverse light sensor) Trans cleaned and put back together� also diff was done at some point although will have to redo the axle seals cause I drove them to far in� I think� well I already have the new ones so we�ll see Manifold, turbine housing and outlet ceramic coated Test fitting manifold and turbo to check where to drill for oil return Painted engine block with ugly Home Depot rusty metal primer per YouTube recommendations 🤮 Pulled off the oil pan for drilling to be greeted by this (well there was more metal but I picked it off before taking a picture) Big piece (had a whole hour of looking and wishing it was just some casting that broke off the oil pan� spoiler.. it wouldn�t have mattered) Finally cut the filter housing with an angle grinder to find bearing material Bearings from rod 1 and 3 were toast� didn�t look like they spun and crank looked ok though Decided it was better to look at the original forged built engine that came with the car and see if I can get that one going instead of messing with this one (of course this one will be saved for another project though� I have an NB1 waiting it�s turn after the NA is done) I also have an already machined bp4w head that I originally bought ~1 year ago for the aforementioned NB1. Well now with some luck it will be going on the forged block and into the NA. It does have some small scratches but spoke with a machinist and they told me they�re far away enough from the fire ring to not matter� will probably still take it in for a more thorough inspection Here�s the forged block. So far I know I have ARP head studs (by checking under the valve cover) and forged super tech pistons (84mm/9.0:1) with the NPR Wiseco rings and forged eagle rods. (from receipts I got with the car) It had low compression across all cylinders when I bought it and I had such little knowledge and experience with these cars that I didn�t really do much of a check before deciding to just buy a cheap used engine and using that instead. Hoping it�s a valve train issue and I can fix it by just replacing the head. Does anyone know how to tell if the oil pump is a stage one boundary engineering? I called fab9 and they said boundary uses OEM housings for the pumps so no real way to tell without taking it apart.
will be doing a leak down test on it soon to see if that�s the case and move from there� either way if it�s toast I�m still going to build since I have no choice�. Well I do have a choice of putting another used engine in there but where�s the fun in that 😅
also I�ll shamelessly say if anyone in the metro Atlanta area wants to lend me a leak down tester I would be more than happy to buy you some food or drinks 😁


 4
4


 Cant wait to see it all back together!