
DIY NA over radiator piping question


How low does the radiator need to be dropped down to clear 2.5 inch ic piping? I debating if I need to make new brackets or just modify the existing radiator brackets.
Reply
 0
0

0

For mine I used the original brackets. I just re drilled the hole for the lower rubber mounts higher up and made brackets to tilt it back. Fits 2.5" piping without cutting the hood. Depending on your setup you may need slimmer fans though.
Reply
0
0

Are you trying to go between the rad and the core support or are you trying to use the holes the factory put for over the rad piping? Because for the 2nd one dropping the rad isnt going to help too much, you'll just have to cut the hood and hammer the pipe a bit. Though cutting that little fork off the end tank that holds the over flow line helps considerably.
Reply
0
0

I didn't have to lower my radiator. It did require some trimming of the underside of the hood bracing and a creative route around the expansion tank on the radiator


Reply
0
0
This makes it slightly easier to conceptualize the upper charge pipe I'm going to have to make in a couple days. Any pictures of the hood cut? Did you go all Fael on it or use the angle grinder with a cutting disk?
Reply
0
0

I lowered my rad an inch by cutting and adding material to the brackets that hold the radiator in. If you search over the top intercooler pipes there are other threads.
I cut the hood with a plasma cutter and grinder as well.

I also made a custom rad support to hang the IC from but that wasn't "necessary"
My friend royce has my old IC setup and might have pics of his radiator brackets
I cut the hood with a plasma cutter and grinder as well.
I also made a custom rad support to hang the IC from but that wasn't "necessary"
My friend royce has my old IC setup and might have pics of his radiator brackets
Reply
0
0


My set up uses custom radiator brackets (both lower and upper). I gained room for the 2" pipes by angling the radiator and moving it back roughly 1" (note - this set up wouldn't work with OEM fans). The silicone 90deg elbows have a minimum of .75" of clearance from the OEM hood. Given that I will be running an MS/Delrin engine mount combo the .75" of clearance should be plenty.
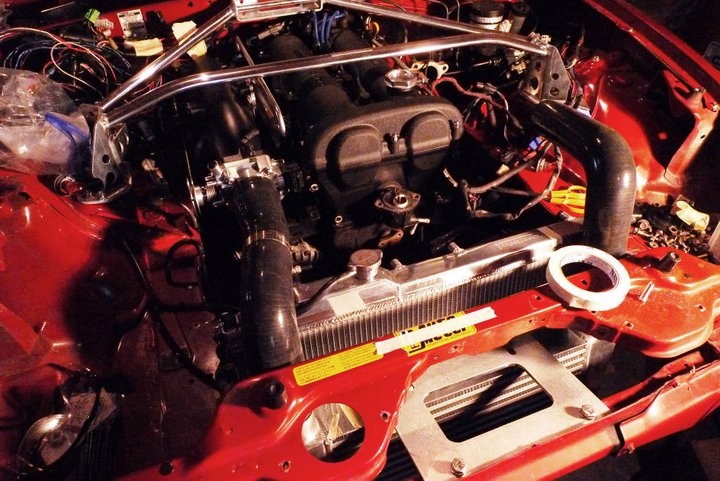


Picture of lower brackets:

I'm happy with the set up, though I have not put any miles on the car so I haven't been able to evaluate intake temps or affects on radiator efficiency.
-Zach
Picture of lower brackets:
I'm happy with the set up, though I have not put any miles on the car so I haven't been able to evaluate intake temps or affects on radiator efficiency.
-Zach
Reply
0
0


Ug, seems like a simple setup but there are far too many sacrifices for an over-the-rad setup. My hood never closed properly, I cut up my pretty hood, I put dents in it from clamps, and my current around the radiator setup uses an intercooler that's half the price and uses no more couplers, and only a few more bends.
Reply
0
0
I have the nb kit for trd, dont know how different the na is but the nb uses the antisway bar mount bolts. All you gotta do is redrill one of the holes on the stock radiator supports since the sway bar bolts are a bit different spacing. The antisway bar mount bolts are perfect height.
All i have is this shitty picture of my broken bolt solution but you see the hole on the left, and then you see the 2 holes on top that are the original mounts for the radiator mount.
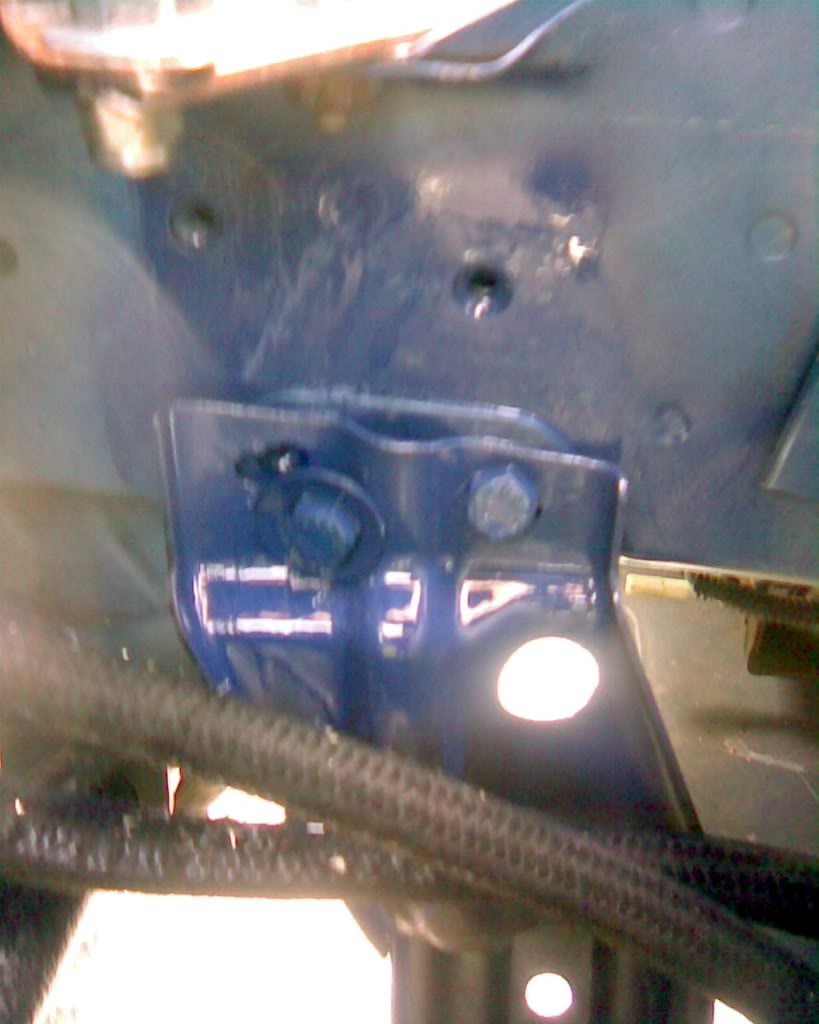
All i have is this shitty picture of my broken bolt solution but you see the hole on the left, and then you see the 2 holes on top that are the original mounts for the radiator mount.

Reply
0
0

Senior Member
Joined: Apr 2011
Posts: 507
Total Cats: 75
From: Martin, Slovakia
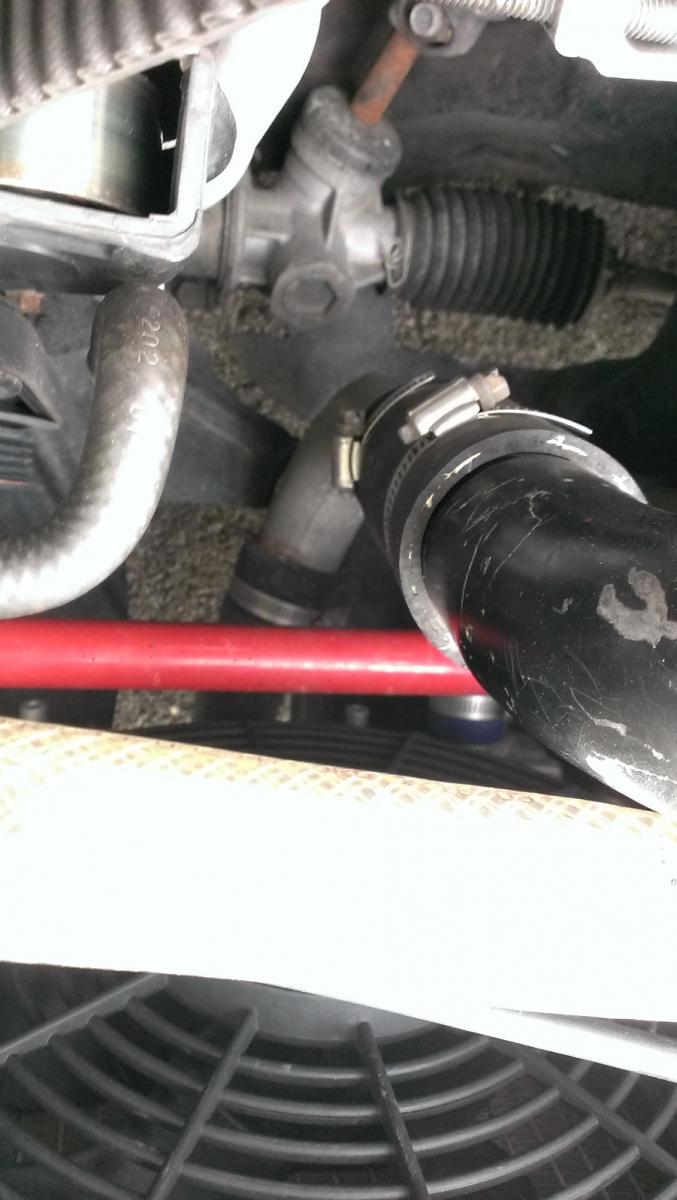
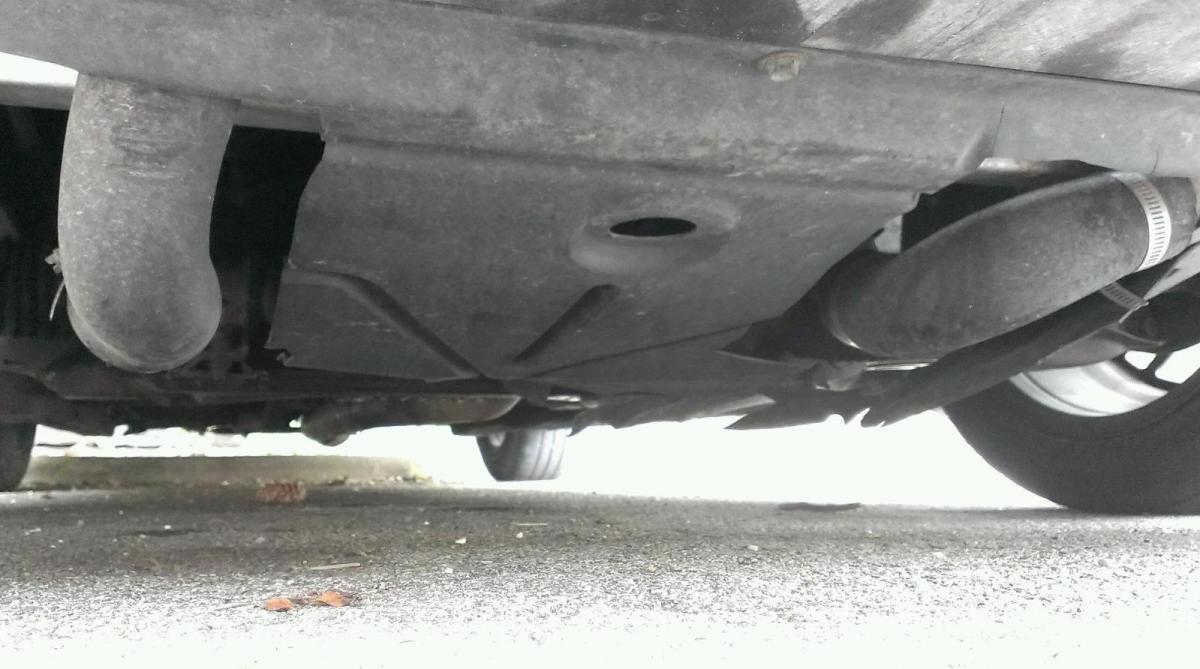
Just curious, does any one ever go under the radiator?
(It seems easier to trim the splash tray than the hood and in cases where the turbo outlet points down then the piping should be relatively straight forward.)
(It seems easier to trim the splash tray than the hood and in cases where the turbo outlet points down then the piping should be relatively straight forward.)
Reply
0
0
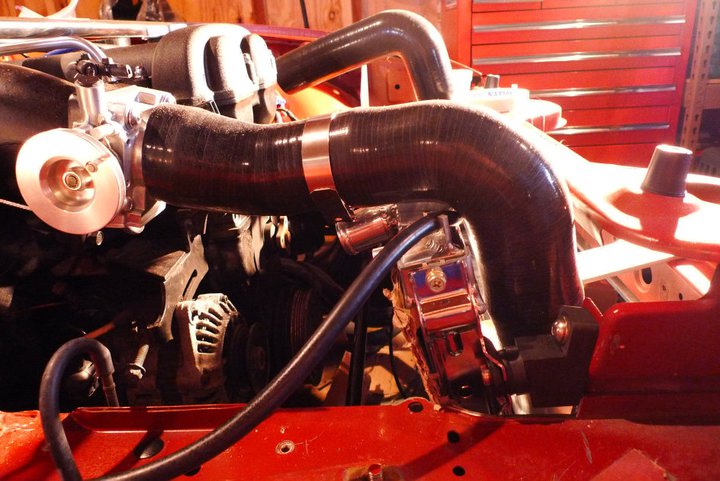
Problem with that theory is ground clearance. Perhaps if you lift the radiator an inch and a half to 2 inches you should be good but then you're still left with the pipes from the radiator to the engine going in the small space between the radiator fans and the engine. Thats a lovely benefit to the over the radiator setups. All the piping is straight forward.
A single bend per pipe.

A single bend per pipe.


Reply
0
0

Senior Member
Joined: May 2011
Posts: 1,112
Total Cats: 35
From: Pennsylvania
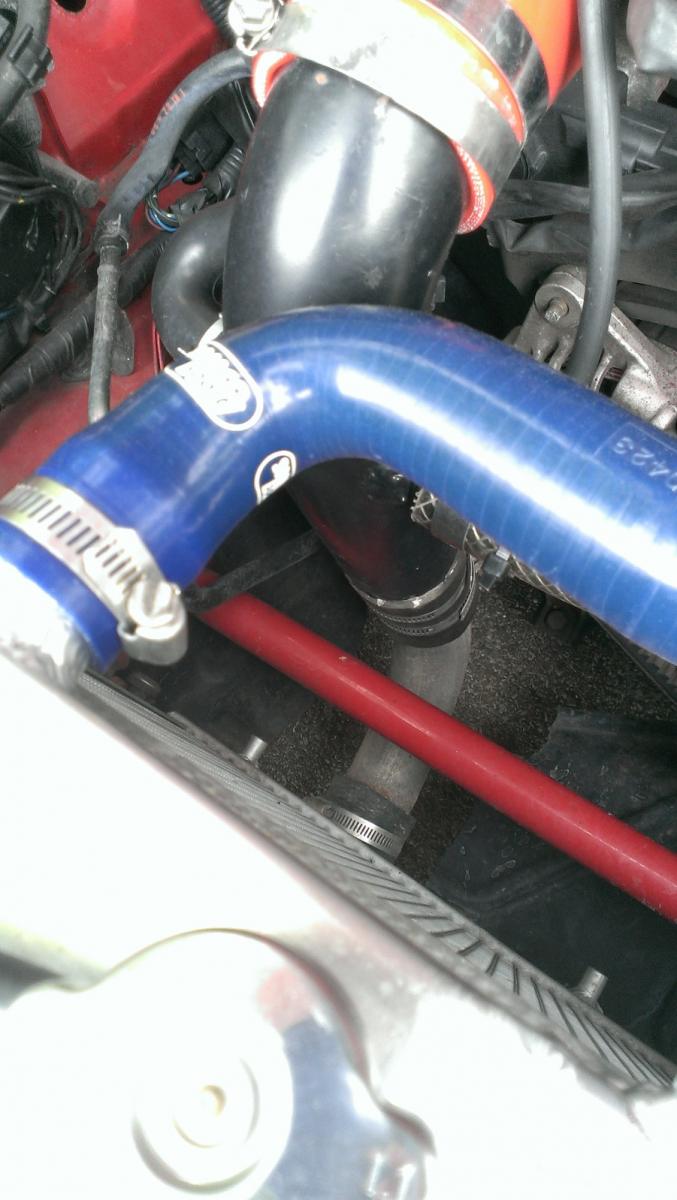
I go under the radiator on mine... its not too bad, but it puts the pipes closer to the (fast moving and hard) ground than i would like them to be. lol my splash tray has been trimmed and ziptied where necessary... needs a little more work though, as i got run off the road by a semi, and bottomed out pretty hard. ill post a few pics in just a bit
Reply
0
0
Ug, seems like a simple setup but there are far too many sacrifices for an over-the-rad setup. My hood never closed properly, I cut up my pretty hood, I put dents in it from clamps, and my current around the radiator setup uses an intercooler that's half the price and uses no more couplers, and only a few more bends.
If you drop the rad you'll never have to touch the hood.
Reply
0
0
Senior Member
Joined: Apr 2011
Posts: 507
Total Cats: 75
From: Martin, Slovakia
I was curious about the frumunduh reference so I did a google image search. It came back with this


Reply
-1
-1

Newb
Joined: Dec 2012
Posts: 5
Total Cats: 0
From: Warwickshire, England
Hi triple88a - in the photo you posted showing how you have redrilled a the rad mounting bracket to lower the rad using the sway-bar holes...the photo is of hotside, right? Did you replace the PS lines with flexible pipes specifically so you could do that? I have hard pipes attached to the bracket - dropping the bracket wouldn't be an option...
Rich
Rich
Reply
0
0
Senior Member
Joined: May 2011
Posts: 1,112
Total Cats: 35
From: Pennsylvania
yeah... im sure that lady has some frumunduh going on too...... lmao
Reply
0
0
Hi triple88a - in the photo you posted showing how you have redrilled a the rad mounting bracket to lower the rad using the sway-bar holes...the photo is of hotside, right? Did you replace the PS lines with flexible pipes specifically so you could do that? I have hard pipes attached to the bracket - dropping the bracket wouldn't be an option...
Rich
Rich
Step One: Removal Of Factory Parts
Step 8


Reply
0
0

Thread
Thread Starter
Forum
Replies
Last Post
StratoBlue1109
Miata parts for sale/trade
21
Sep 30, 2018 01:09 PM


