

"Weight matching" OEM pistons


Thread Starter
Elite Member
iTrader: (13)
Joined: Dec 2006
Posts: 7,742
Total Cats: 915
From: Taos, New mexico
Hey guys, I did a bunch of searching before creating this thread but could not find anything definitive, so bear with me.
I have a set of OEM pistons that are going back into this motor, for a "mild" build, aka Vlad style. Anyways, the heaviest piston is some 5-6 grams heavier than the lightest, and I'd like to do some balancing.
All of the rods are almost exactly the same weight (ebay forged), so I can't really match the heaviest rod with lightest piston, etc.
So now I'd like to get these pistons closely matched, but I cannot figure out WHERE I should be taking weight from them. I've read a few different opinions on the matter, and from what i gather there are a few options.
1) take the weight from underneath the top of the piston. IE dril/dremel from underneath and remove material.
2) Remove "casting" marks from the inside of the piston.
3) "shave" the weight from the bottom of the piston skirts with a belt grinder.
4) don't take any material from the pistons themselves, but rather remove material from the inside of the wrist pins.
Whatcha guys think? Want to get rolling on some miata related stuff, and this would be the next step.
Thanks <3
Reply
 0
0

0

Can you match the lightest piston pin with the heaviest piston and get the weights closer?
I'd be comfortable removing casting flash on the inside of the piston...not sure about the other options.
I'd be comfortable removing casting flash on the inside of the piston...not sure about the other options.
Reply
0
0


Thread Starter
Elite Member
iTrader: (13)
Joined: Dec 2006
Posts: 7,742
Total Cats: 915
From: Taos, New mexico
Well, i guess.. because why not? If I'm doing a budget DIY build, why not throw some budget DIY balancing in there too?
Reply
1
1

Joined: Sep 2005
Posts: 34,433
Total Cats: 7,549
From: Chicago. (The less-murder part.)
Opinions vary as to where weight ought to be removed from a piston, and I don't believe I've ever heard a single answer which was uniformly supported by a majority of reputable sources.
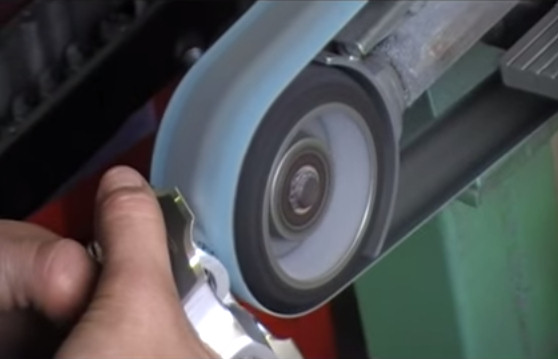
Some shave the inside of the skirt:
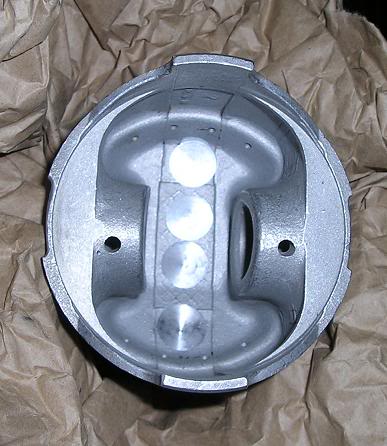
Some mill the underside of the face:
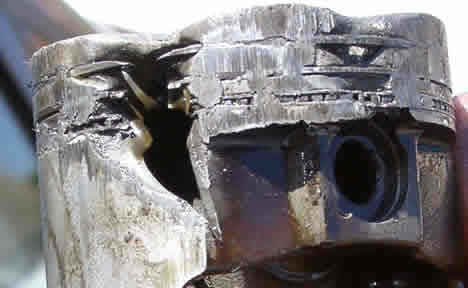
Some grind the underside of the wrist-pin area:
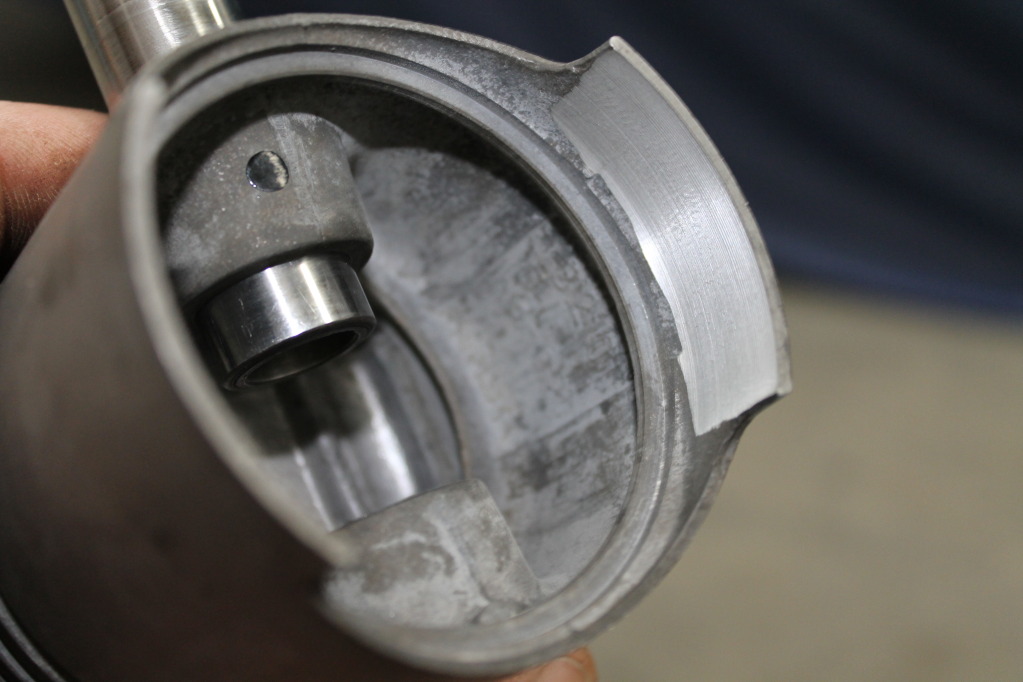
Some remove material from above the wrist pin:

And some simply use a Powercard:
Some shave the inside of the skirt:
Some mill the underside of the face:
Some grind the underside of the wrist-pin area:
Some remove material from above the wrist pin:
And some simply use a Powercard:
Reply
15
15

Thread Starter
Elite Member
iTrader: (13)
Joined: Dec 2006
Posts: 7,742
Total Cats: 915
From: Taos, New mexico
 , classic JoeP post.
Thanks man, it gave me some ideas. I like milling the underside of the piston the best, i'll see how much weight i can get from there before trying the other methods.
Reply
0
0
Thread Starter
Elite Member
iTrader: (13)
Joined: Dec 2006
Posts: 7,742
Total Cats: 915
From: Taos, New mexico
Just an update for you guys, I ended up pulling about 5 grams out of my heaviest piston to bring it back in line with the others. I basically drilled very shallow holes on the underside of the piston dome, and came back in with a dremel to smooth it all out.
I'll get some pics, but I'm pretty happy with how it came out. I doubt it harmed the structural integrity of the piston much, if it all, but time will tell I suppose.
I'll get some pics, but I'm pretty happy with how it came out. I doubt it harmed the structural integrity of the piston much, if it all, but time will tell I suppose.
Reply
1
1


Thread Starter
Elite Member
iTrader: (13)
Joined: Dec 2006
Posts: 7,742
Total Cats: 915
From: Taos, New mexico
Oh well. Didn't really go too crazy with it so we'll see what happens.
Reply
0
0
Reply
0
0

I have the entire rotating assembly balanced. For $50 the shop can balance the rods, rod bearings, pistons, pins, clips, and rings.
For $200 they send the pressure plate bolts, pressure plate, flywheel bolts, flywheel, crank, woodruff key, timing sprocket, front pulley, main pulley bolt, and the 4 small pulley bolts out to be balanced.
Of the engines I've built that I have recent experience with, 2 have been balanced, and 2 have not. It's a fairly obvious difference. A proper balance is the way to go for sure.
Reply
0
0


