
Painting tips (new pictures)

Thread Starter
Elite Member
iTrader: (1)
Joined: Feb 2008
Posts: 7,930
Total Cats: 44
From: Birmingham Alabama
I've done some painting, and have a decent technique, but am not sure of a few things. When doing a respray, what should I do around the windshield, mask or go through the trouble of removing the seal (rather not do). I'm worried about any chipping from the edge it would leave if I masked, since it lays over part of the frame. Same question for the rear rubber around the top just above the trunk, not sure what its called, still part of the belt line? Don't suppose it comes off does it? Never looked very closely.
Most of my paint is still decently in tact, so I guess I will just rough up the paint, fix any small dings, fill and sand any problem areas and then primer and paint. I'm not going for a $3000 job, just better than my multi toned faded red. Front and rear bumpers are terrible, and trunk is starting to go, followed closely by the hood which has a nice size nasty dent.
Any of you guys done any paint on your own car? Have any pictures of the results. I saw the boat paint thread recently which turned out nice, but a bit more work than I would like. Much easier for me to just spray. Plus I have a new HVLP I need to try out.
Last edited by NA6C-Guy; Aug 3, 2009 at 06:07 PM.
Reply
 0
0

0

Ive painted a few cars... The prep work is ALWAYS the bitch. In short, take as much out as you can... prespray the jams if you want, it makes painting the larger surfaces easier. Ive always left the windshield in and done CAREFUL masking.
Id go into more detail, but its 6:45 am and i have to go to work.
Id go into more detail, but its 6:45 am and i have to go to work.
Reply
0
0

Take this as hearsay....but I've heard you can NOT remove the windshield in a Miata without breaking, and that this applies even to pros.
It may be do to the curvature, but my guess is flexy chassis => fatigue microcracks which makes it easier to break one. Ever hear the story about the lawyer that would demostrate to visiting law students why lawyers made the world safer by RUNNING and JUMPING at the floor-to-ceiling window in his office? He though since lawsuits had brought the advent of tempered glass that windows were now impervious. He didn't realize every time he bounced off of it he was making those fatigue cracks slightly larger. He went through it on his last try.
It may be do to the curvature, but my guess is flexy chassis => fatigue microcracks which makes it easier to break one. Ever hear the story about the lawyer that would demostrate to visiting law students why lawyers made the world safer by RUNNING and JUMPING at the floor-to-ceiling window in his office? He though since lawsuits had brought the advent of tempered glass that windows were now impervious. He didn't realize every time he bounced off of it he was making those fatigue cracks slightly larger. He went through it on his last try.
Reply
0
0
When I had the BRG repainted, he masked it. Also, he had some special tape with foam on it that he used inside the doors, fenders, etc. It's laid right on the joint of the panel and when the door, hood, etc are closed the part behind the tape compresses and seals off overspray. Very neat and very tidy. Can't tell where the tape line is because it's right at the joint and it preserved all of the VIN stickers, etc.
Reply
0
0
Thread Starter
Elite Member
iTrader: (1)
Joined: Feb 2008
Posts: 7,930
Total Cats: 44
From: Birmingham Alabama
I'll probably tape an inch or so inside the door just so it will let some paint in, but not get on the seals and stickers. I'm not all that worried about door sills and trunk and hood so much, as long as the outside looks decent and all the color matches I will be happy. I won't even mind a few fish eyes or bugs in the paint, which is likely since it will be done in a large open tent with sheets hung for doors. Done ghetto style in the land of dust, bugs and other air born things to stick in wet paint. Maybe wet sanding can fix most of the problems though.
Reply
0
0

When I resprayed mine, I took off the window surround. It is definately worth it in my mind. If you don't want to do it, then use weedeater line and tuck it under the surround so it props it up a little for paint to get in.
Reply
0
0


I've been thinking and planning a lot lately to do with those damned pink bumpers and finish panel...i'm thinkin just rattle can.
Reply
0
0

Newb
Joined: Jun 2009
Posts: 14
Total Cats: 0
I'm getting ready to paint my car also. Autobody paint stores sell a special tape for mouldings. Can't rember the name buts its made by 3m. It's 2 inches wide with a 1/4 inch plastic edge. You slide the plastic edge in the windshield moulding and pull back and stick the tape to the glass. It works great and is easy to use.
Reply
0
0


Thread Starter
Elite Member
iTrader: (1)
Joined: Feb 2008
Posts: 7,930
Total Cats: 44
From: Birmingham Alabama
Ended up with some Sherwin Williams Dimension (lower end) acrylic enamel single stage. I only got a pint at first to test it on my rear header panel and spoiler. Maybe it will be good enough. Runs $22/pint, $55/quart and like $200/gallon. Any idea how much it will take to do a Miata reduced 8 parts paint, 4 parts reducer and 1 part hardener, with say 3 coats, maybe 4 coats.
Any guess to dry time with acrylic enamel set up like I said above? Sherwin Williams I think says an hour to dust free, and overnight to deliver, which I guess would be dry enough to drive. Sound right? All of my painting experience, which is limited, is with base/clear. I'm also worried about my compressor sending specs of oil down my line. Maybe I will be fine though. If the test shooting turns out well, I will move up to the big stuff.
Any guess to dry time with acrylic enamel set up like I said above? Sherwin Williams I think says an hour to dust free, and overnight to deliver, which I guess would be dry enough to drive. Sound right? All of my painting experience, which is limited, is with base/clear. I'm also worried about my compressor sending specs of oil down my line. Maybe I will be fine though. If the test shooting turns out well, I will move up to the big stuff.
Reply
0
0
Thread Starter
Elite Member
iTrader: (1)
Joined: Feb 2008
Posts: 7,930
Total Cats: 44
From: Birmingham Alabama
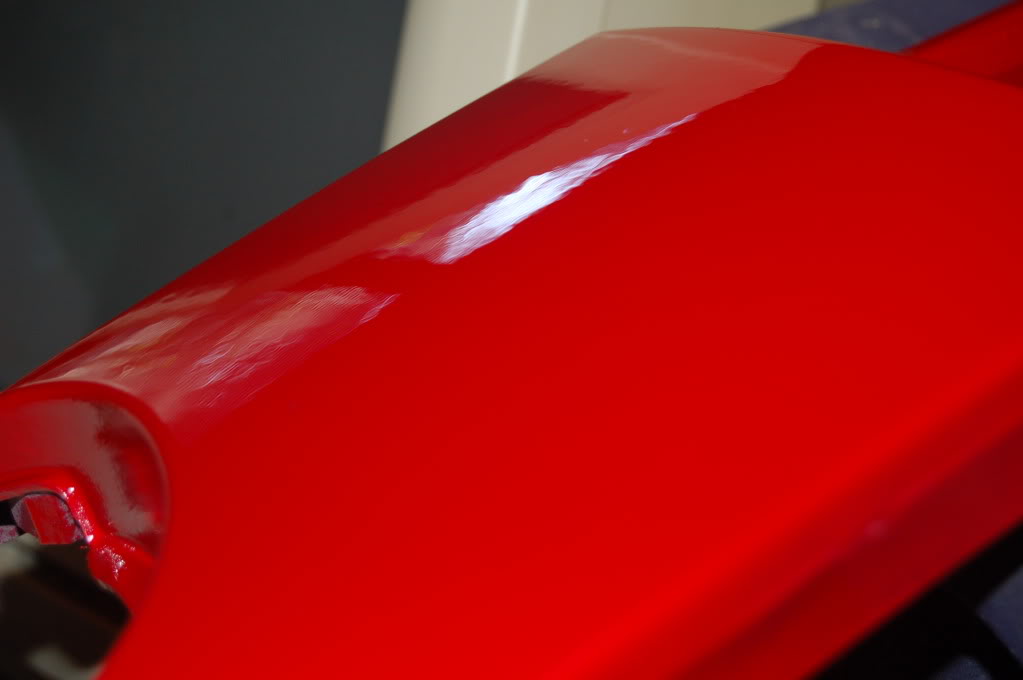
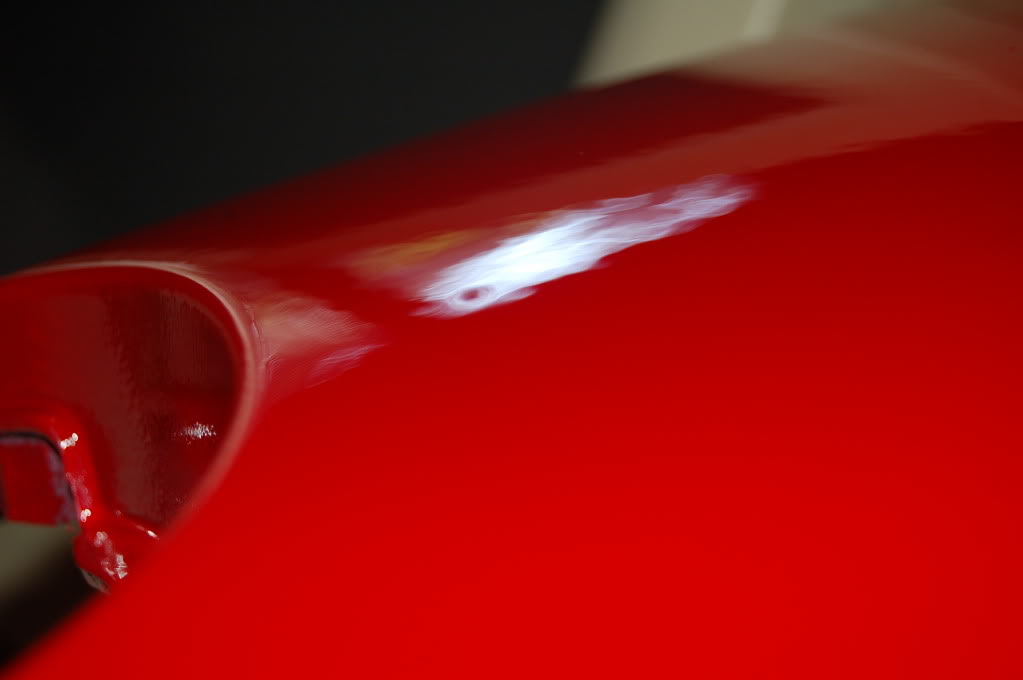
Eh, damn it! I'm not on the fence about continuing my paint project. I did the header panel today since I had to take the tail light off to replace it (got smashed out a month or two ago). It turned out OK I guess, for a home job done outside with a HF $30 gun and bottom of the line Sherwin paint on a compressor with no good water trap... so needless to say I am not really well set up for painting. Being what it is, the panel turned out pretty good. One fish eye and 2 bugs  which I hope I can wet sand out. At least its the header panel and not the hood or a fender. I also couldn't quite get the gun set up right.
Though these aren't very good pictures, and the paint is only about 20 minutes old (might flatten out a big more or something), would you personally find this finish livable for a daily driver?
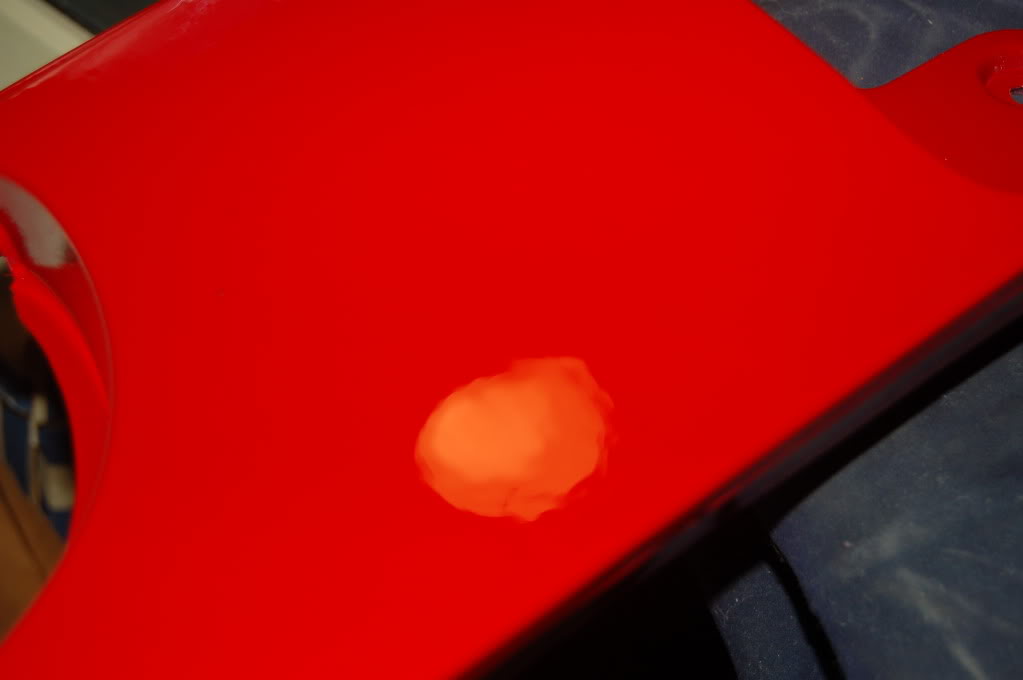
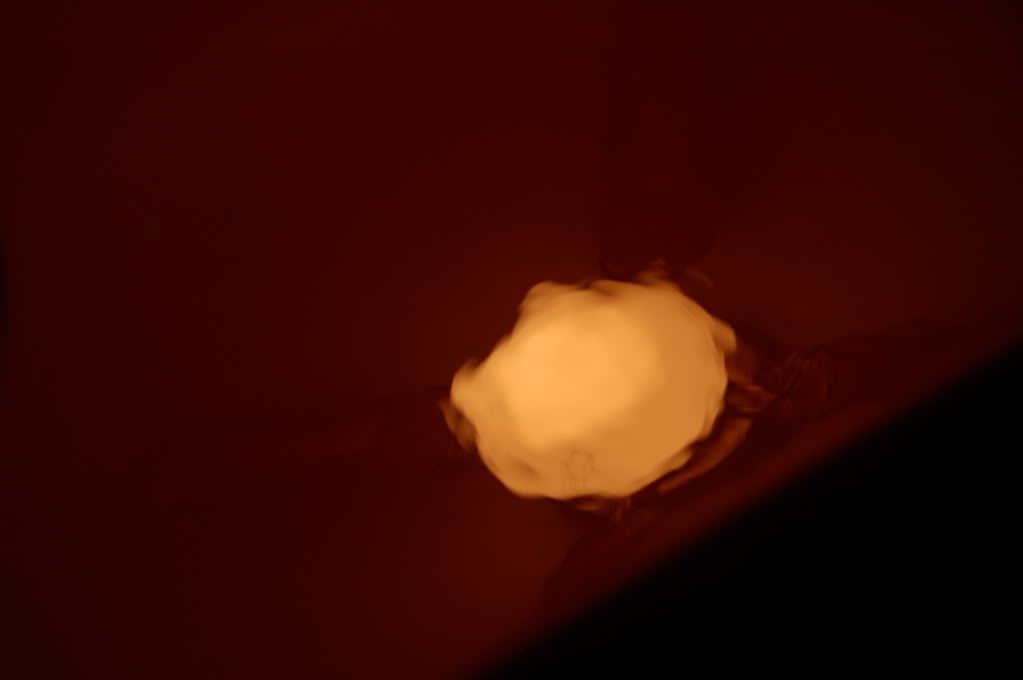
The fish eye
which I hope I can wet sand out. At least its the header panel and not the hood or a fender. I also couldn't quite get the gun set up right.Though these aren't very good pictures, and the paint is only about 20 minutes old (might flatten out a big more or something), would you personally find this finish livable for a daily driver?
The fish eye
Reply
0
0
Yea, if it looks better than before than whats the harm? My **** is so faded that i'd really like to get a paint job of that quality going. You're motivating me more and more.
That fisheye does look a little harsh, I wouldn't expect to get that out, but maybe you can.
Is single stage really the best option for plastic parts? Wasn't there a reason mazda used base/clear on the bumpers/finish panel and mirrors?
That fisheye does look a little harsh, I wouldn't expect to get that out, but maybe you can.
Is single stage really the best option for plastic parts? Wasn't there a reason mazda used base/clear on the bumpers/finish panel and mirrors?
Reply
0
0
The vast majority of the orange peel and the bugs can be wet sanded out if you are patient with it. You wet sand single stage just like you would base/clear. Plastic doesn't know if it is single stage of base/clear, so it doesn't matter from that standpoint. The wet sanding should be pretty easy on that finish though. Doesn't look too bad man.
Reply
0
0
Thread Starter
Elite Member
iTrader: (1)
Joined: Feb 2008
Posts: 7,930
Total Cats: 44
From: Birmingham Alabama
It has 3 fairly thick coats, so enough to handle a good wet sanding. Oh, and the fish eye was actually a bug. It was raised, not recessed, just the lighting made it look like a fish eye. So I did it fish eye free, if I could just take care of the bugs and dust I would be golden. I don't have a garage or anything reasonable to paint in. Well, I do have a car port with open sides, so I would still need to hang sheets or something to keep the dust out. I just don't know. I really couldn't afford what I have spent so far, which is about $200 including the gun, and to do the whole car I would need another $150-$200 in paint and primer. I'm gonna see how it wet sands down before I make a decision. One side of the panel has some pretty wicked orange peel, I don't know if I can get rid of all of it or not.
Do you think there would be a problem with playing with the mix a bit. It calls for 8 parts paint to 4 parts reducer and 1 part hardener. I was thinking adding one more part reducer to thin it out a bit would help it level a bit more. I don't really know why it orange peeled so much on the one side. The prep was good as far as I know. Sanded well with 400, primered with 3 coats, sanded with 800, primer sealer 2 coats, then painted with 3 coats. First coat light, 2nd a bit heavier and 3rd a bit heavier still. It may have had something to do with the gun. It was kind of spattering the paint in large droplets, not a smooth mist like I was expecting. I guess I just don't know how to adjust it correctly.
Do you think there would be a problem with playing with the mix a bit. It calls for 8 parts paint to 4 parts reducer and 1 part hardener. I was thinking adding one more part reducer to thin it out a bit would help it level a bit more. I don't really know why it orange peeled so much on the one side. The prep was good as far as I know. Sanded well with 400, primered with 3 coats, sanded with 800, primer sealer 2 coats, then painted with 3 coats. First coat light, 2nd a bit heavier and 3rd a bit heavier still. It may have had something to do with the gun. It was kind of spattering the paint in large droplets, not a smooth mist like I was expecting. I guess I just don't know how to adjust it correctly.
Reply
0
0


