When you click on links to various merchants on this site and make a purchase, this can result in this site earning a commission. Affiliate programs and affiliations include, but are not limited to, the eBay Partner Network.
I'm on approximately Miata #5, turbo Miata #2, so I'm not entirely newbish but I sure don't say much. I've been lurking here for years trying to gain intelligence in things that are outside my daily comfort zone. Anyway, I figure I'll try and be social, and may consider posting a build thread for the next phase of my current car. I'll need help. Figure I ought to try and help others where/if I can. Current status of car, plus cat and dog tax, and daily drivers below:
Basics:
1996 base model w/ AC and PS, in Montego Blue, just under 60k miles Under ze hood:
Stock internals
TSE EFR 6258 set at about 10psi
Full 3" back to modified FM exhaust
SuperMiata reroute/radiator
FM Stage 1 fans/shroud Driveline:
FM 300HP happymeal
MSM Torsen//axles
Stock 5 speed Suspension/wheels/tires:
FM Fox racing shocks
SuperMiata "big grip" kit
Enkei RFP1 SBC 15x8
225/45/15 BFG Rivals Interior/Exterior:
Corbeau LE-Pro seats
Nardi Deep Corn wheel
Gauges 'n ****
Carbon Miata GV rep finish panel/Porter Cab lights
Scamazon.com GV rep lip
Beautiful car! I'm about to throw 10psi with a 6258 at my stock 1.6 as well, any idea how much power you're making? Also keeping AC and PS, also have the supermiata reroute and crossflow, how does the FM stage 1 fans kit do with AC on?
Thanks - not sure how a 1.6 will compare, but I remember when Andrew started building/dynoing/marketing the kit, 200hp/225tq was the number without doing anything fancy. But, the kit is designed primarily to be a reliable workhouse with excellent spool. I'm enjoying it for the street and for autox. Looking forward to my VVT 1.8, tho...
New fans and rad are TBD as they are new to me this spring. I can say that the Mishimoto setup, even w/ reroute, was not really seemingly enough. I tried a lot of ducting/polyfill as well. I suspect if I pulled AC things would be a lot different. In up to 70* ambient I can say that so far so good this spring.
I don't know where I thought I saw 1.6 in your post, sorry.
Originally Posted by jt@namiata.com
New fans and rad are TBD as they are new to me this spring. I can say that the Mishimoto setup, even w/ reroute, was not really seemingly enough. I tried a lot of ducting/polyfill as well. I suspect if I pulled AC things would be a lot different. In up to 70* ambient I can say that so far so good this spring.
I have heard similar things about the mishimoto setup, so I'll be interested to see how you like the FM setup!
Looks really good. How do you like those seats? I've been looking to upgrade to something that holds me in place better. I slide around way too much with stock leather seats if I don't brace my knees
They were a lot of work, but I think worth it. They aren't absolutely the lowest, but they're low enough for 6'4" paired with the wheel. Stock wheel was a no-go due to where my knees ended up. Could have removed some padding from under the thigh area but didn't want to do that. I've still got the sliders on the passenger side w/ Flipside brackets -- need to be able to get to the ECU behind the seat. Driver's side is on Flipside bracket, but no slider, mounted to a modified TDR flat bracket.
I'd say they're a huge improvement despite not being super deep bolstering wise. They're plenty good enough for the small amount of autox I do, and good for daily driving if I feel up to it.
They're officially a Corbeau UK product, but they made it very easy to get shipped to the USA.
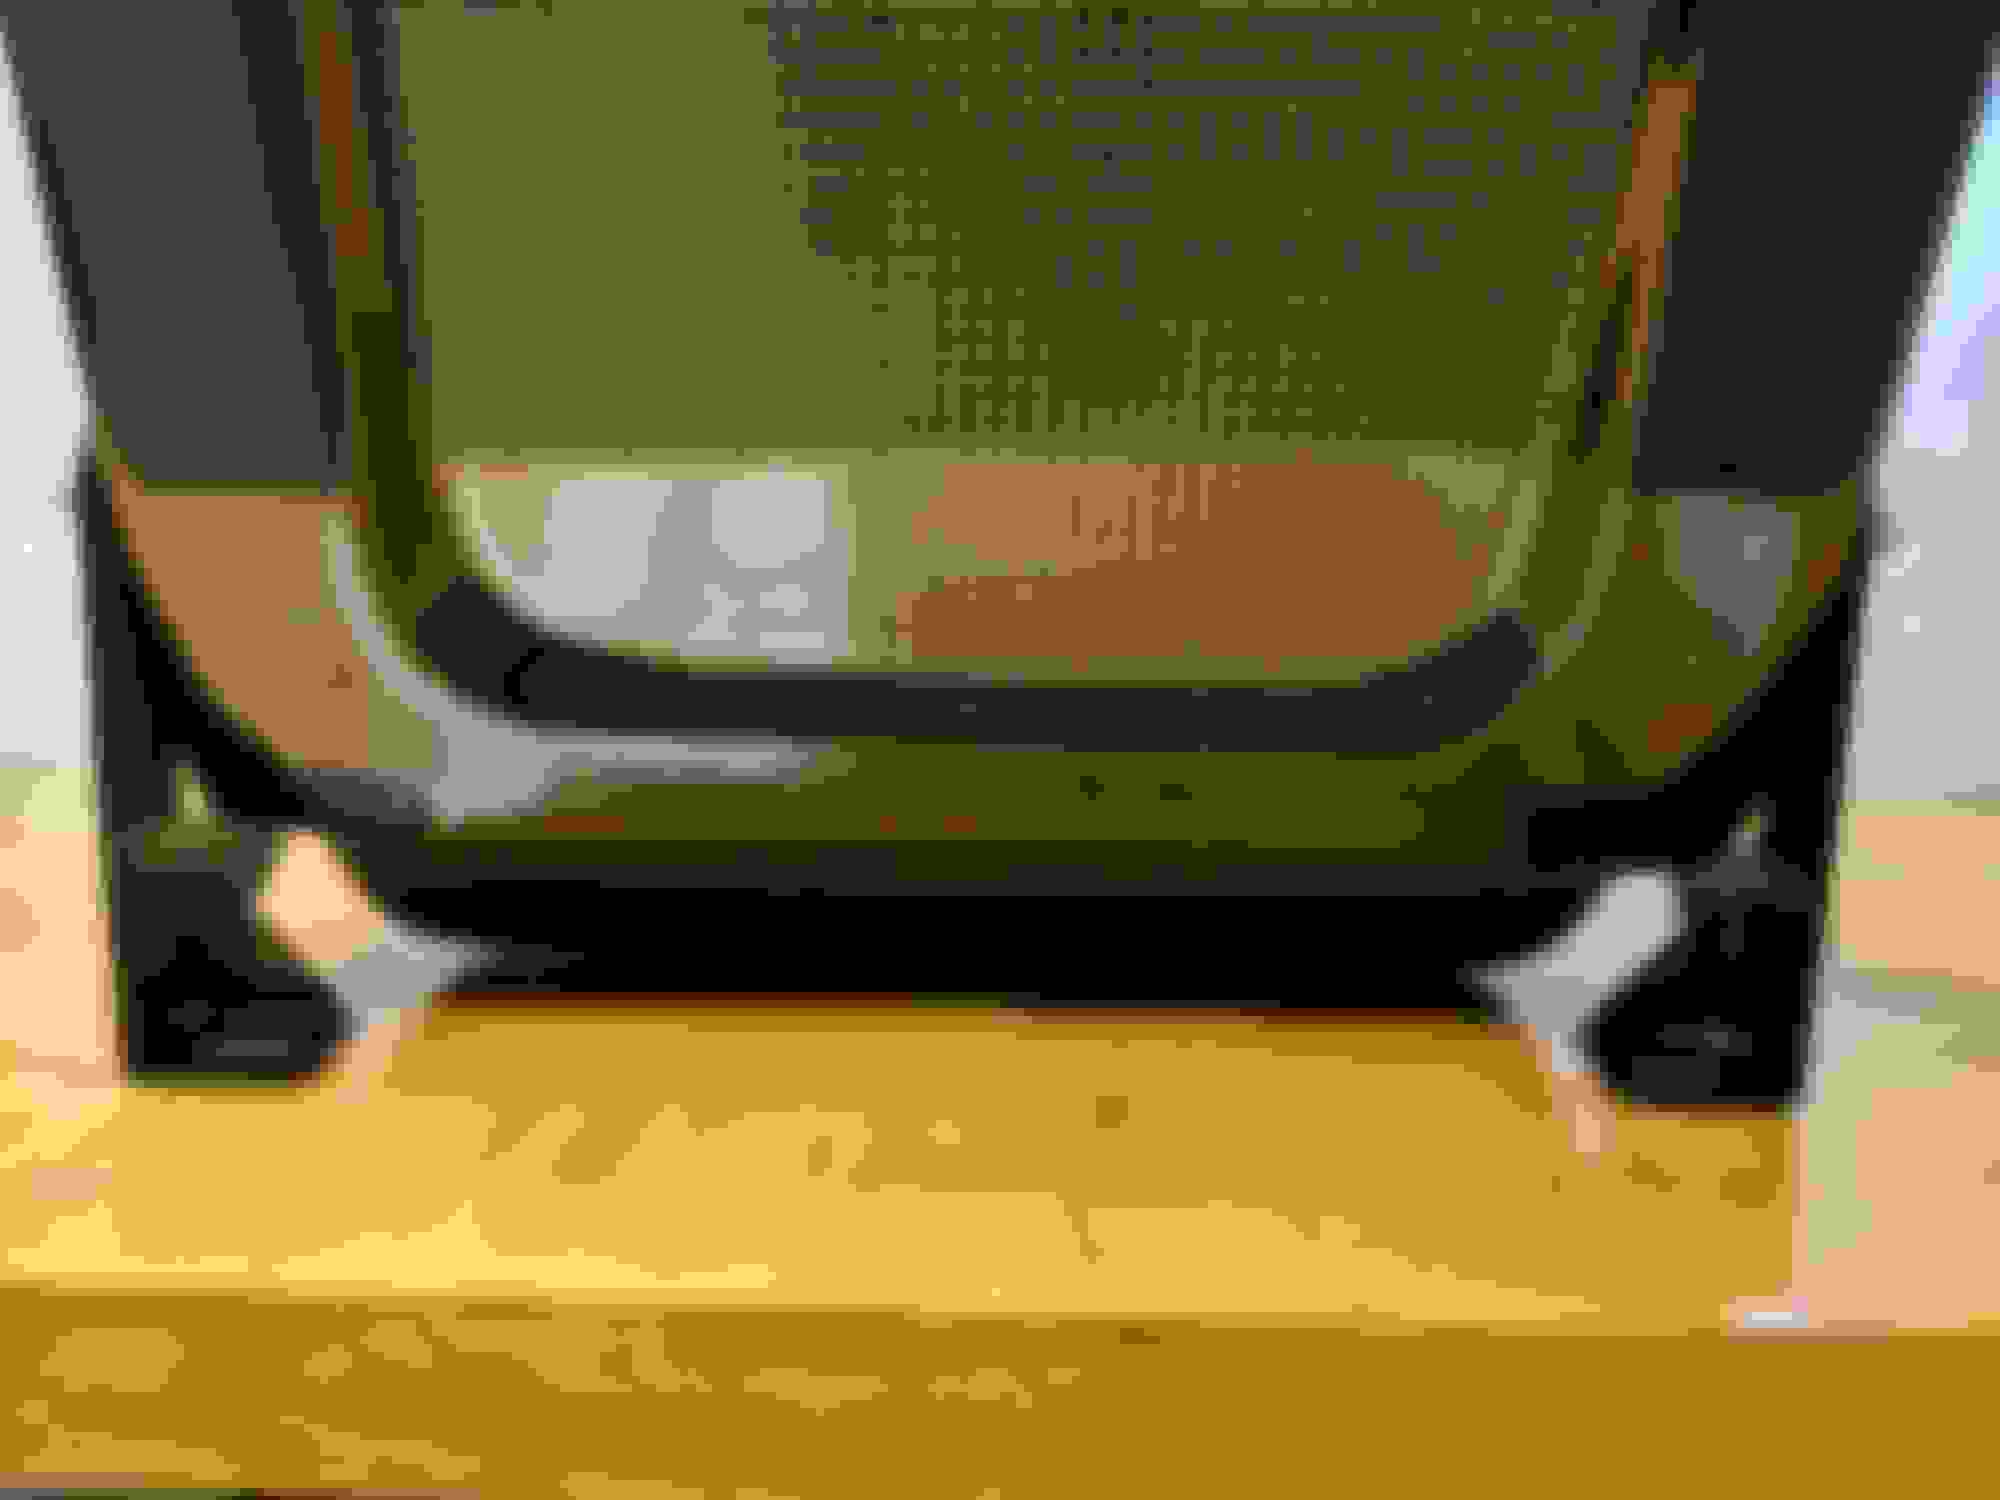
Sure, not the most definitive pics ever, but should give you an idea.
On the driver's side, I massaged the TDR bracket a bit to really get as close to the floor as I could, but used a spacer for the back bolts to change the angle a bit for comfort and fitment. This allowed me to get the seat as far back as I could and have a reasonable angle that kept the back of the seat off of the package tray.
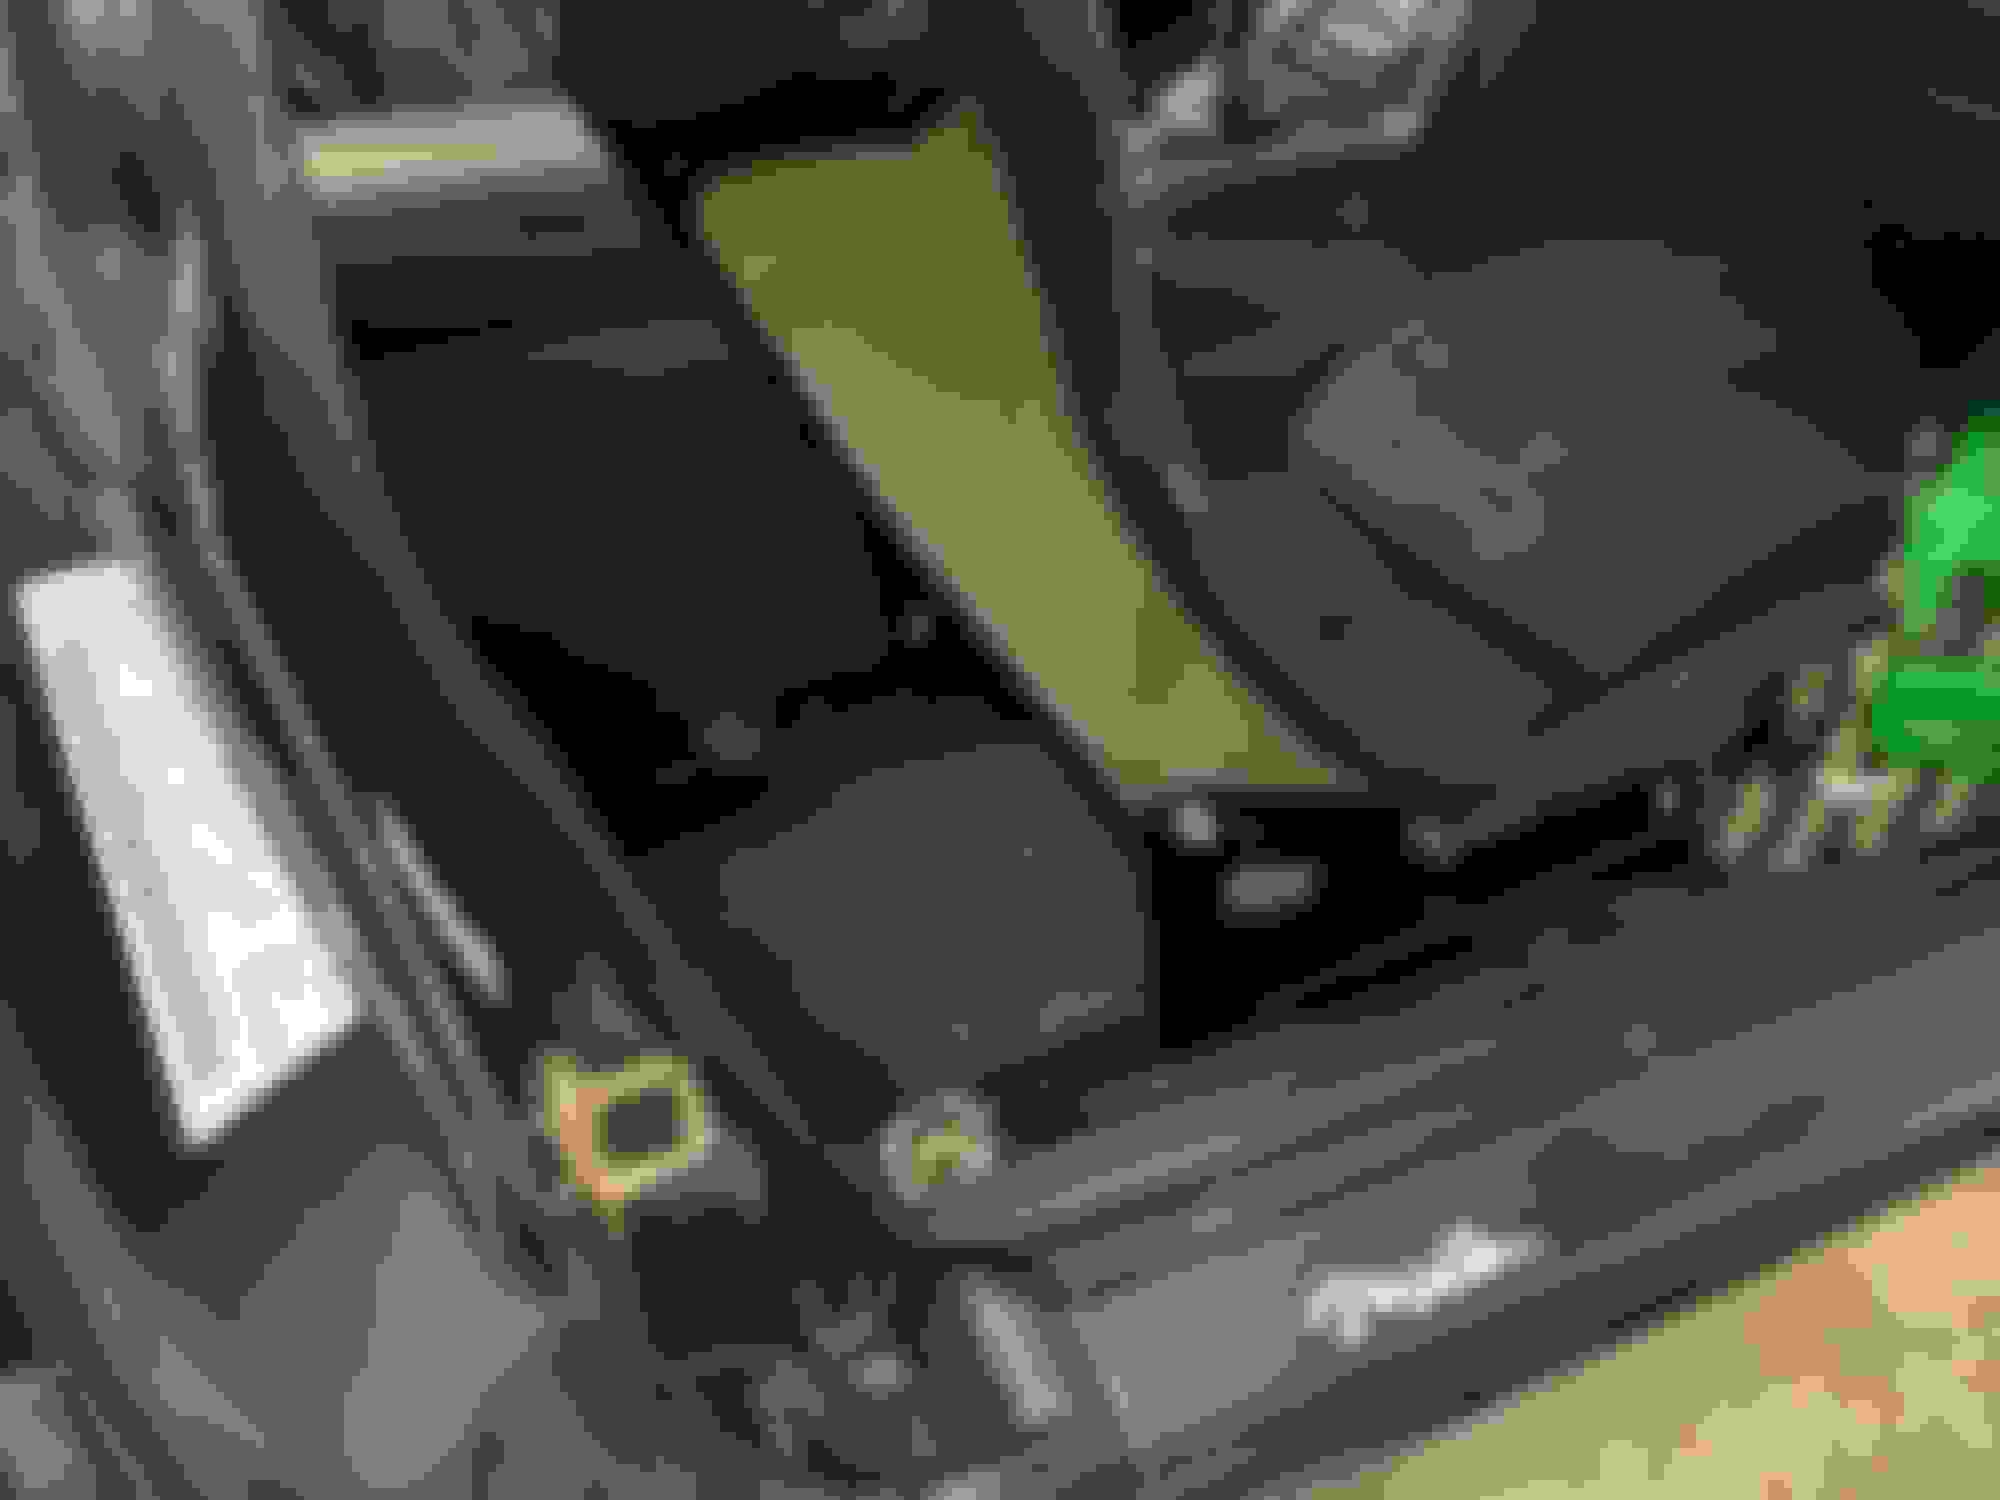
On both sides, the Flipside brackets fit very tightly, and needed some shimming to angle correctly, especially when using the sliders on the passenger side. They really needed to be assembled on the seat and the slider, loosely, then tightened up in the car. I used nylon washers on the inside to keep the brackets from damaging the finish of the seat.
Like how you mounted your seats, pretty much same as me but I made flat brackets for both sides. It did cross my mind to just buy the TDR brackets but they didn't have an option for the passenger side so I just made them myself.
I only question mounting the seatbelt buckles to hardware that might not be as robust as the stock NB heavy sheet metal that has the hooks between slider haves.
You may still have that on passenger side, I can’t tell.
Same mounting on the other side. What do you think the weakest link is, the threaded insert in the seat? I don't disagree. Better or worse to add a mounting hole on that same triangle just for the seatbelt?
edit: Or, maybe add a flat nut between the seat and the bracket. Such that if the insert in the seat failed, you'd still be grounded by the belt being tightened between the bolt head on the outside and the nut on the inside.
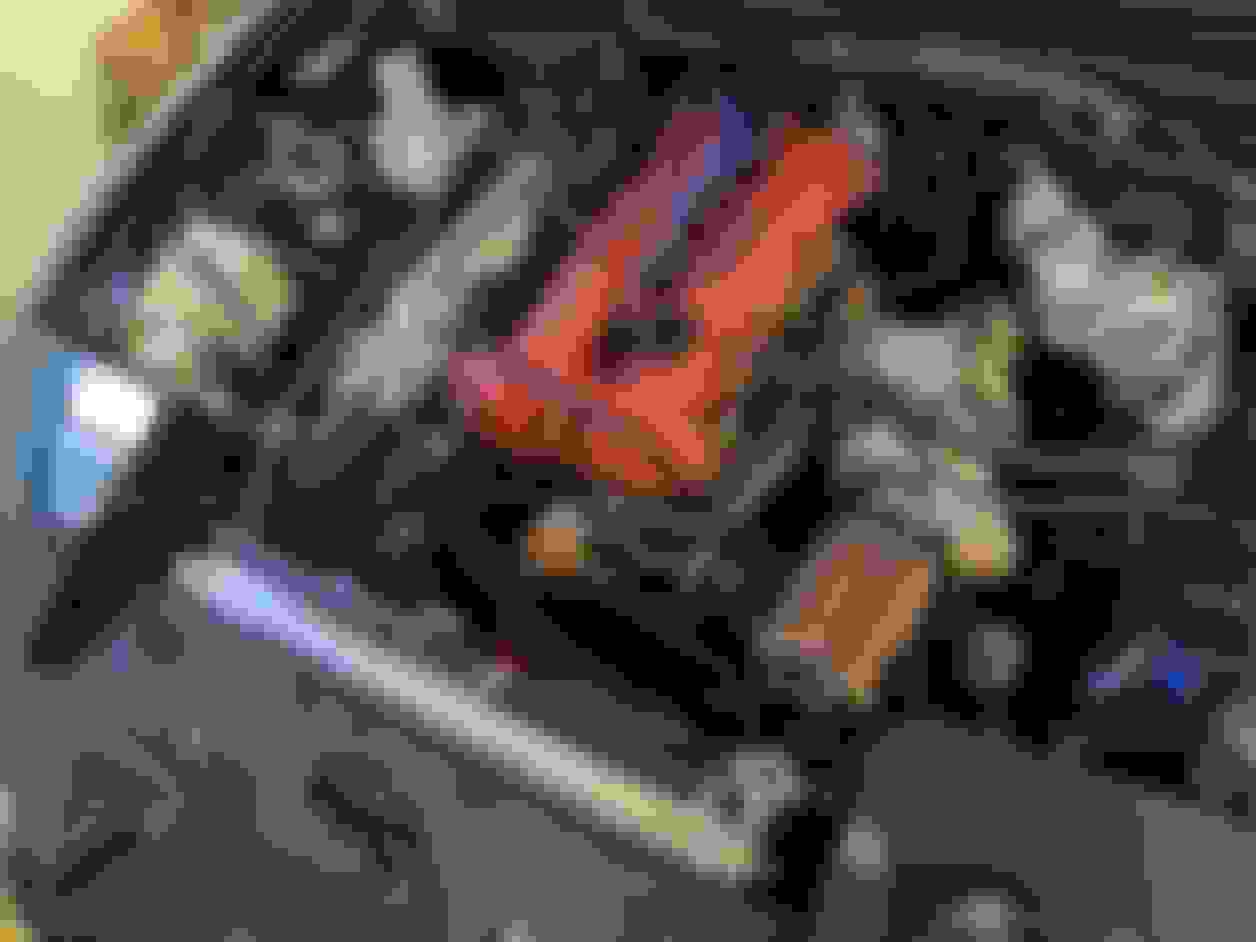
I had to double check this morning, it was bugging me. I've put seats in NA6 and NA8 and I'm certain they differ -- shown is what came out of the 96. There's a mounting point on the transmission tunnel, for what I believe is the rail shown, but it's behind where the back of the seat ends up. The seatbelt receiver mounts to the open hole near the bottom of the seat.
Hmmm. I did not know. I thought NA and NB seats mounted to the same place on the floor.
Anyway, you understand my concern. I have a second set of NB rails so I can modify and go back if I mess up. It is going to take quite a bit of effort, especially on the Driver's side with the heavy offset mount near the tunnel. Kind of makes me understand when people beat the tunnel with a sledge hammer, or cut and weld the bulge away.
I think later NA's had the seatbelt buckle as an add on harness to the seat bracket. But I am planning to use my na6 seatbelt buckles so that things aren't mounted to the seat and instead mounted to the transmission tunnel.
I am curious to know what your final impressions are about the flipside brackets with these seats. My concerns were that it wouldn't bring the seat low enough, the seat wouldn't be centered with the car, the seat would have too much flex and too much paly now.
I can say from experience I was absolutely lower in my '91 w/ TDR bracket and TDR aluminum seat. It ******* SUCKED to DD in though. I ran a 5-point which was a PITA, and the seat was uncomfortable. Right now, I'm happy w/ the rigidity and location of the brackets, but as mentioned, they were tricky to assemble.
Depends on how tall you are. I've always driven small cars (until the pictured TLX), and am 6'4", and I'm used to what most would say is uncomfortable. I'm a pretty even split between legs and torso. The LE Pro with someone as tall as I am on sliders would not work. Lack of slider helps some, but not what some would consider enough.


 0
0