When you click on links to various merchants on this site and make a purchase, this can result in this site earning a commission. Affiliate programs and affiliations include, but are not limited to, the eBay Partner Network.
Please refrain from making uninformed derogatory comments.
I think what he meant to say is "PLA, as used in a filament-based printer and for automotive purposes, is typically known to be inferior to other materials."
Eg: PLA generally has a glass transition temperature of around 60-65� C, which is well within the range of temperatures experienced by a car in the summertime. Although I have no intention of buying aftermarket air vents of any kind, you've piqued my curiosity as to where your magical high-temp PLA is coming from.
The melting temperature of PLLA can be increased by 40–50 �C and its heat deflection temperature can be increased from approximately 60 �C to up to 190 �C by physically blending the polymer with PDLA (poly-D-lactide). PDLA and PLLA form a highly regular stereocomplex with increased crystallinity. The temperature stability is maximised when a 1:1 blend is used, but even at lower concentrations of 3–10% of PDLA, there is still a substantial improvement. In the latter case, PDLA acts as a nucleating agent, thereby increasing the crystallization rate. Biodegradation of PDLA is slower than for PLA due to the higher crystallinity of PDLA.
Hi-temp PLA filament is pretty rare on the market AFAIK, and you have to bake it in the oven beyond the initial print temp to lock it down. I doubt it looks very well after it's all done.
Thanks, deezums, for following up on that; you are correct. High temp PLA filament is available from several suppliers, and the stuff I ordered is from Makergeeks. I have done a fair amount of research before I selected this material and the supplier, and as far as I can tell, the supplier is reliable, and the material should work well. I will perform the annealing process myself before shipping, and if they parts deform during the baking, then obviously I won't ship them. Again, if it doesn't work, then I'll find a better material. I have no intention of shipping people parts that melt in their cars. The advantage of the PLA is that it's very easy to print nicely, and this stuff can be sanded to a smooth surface. So I'm hoping I can make them look pretty nice, though I'll have to see how it works when the material arrives. I will post pictures asap, but I'm at work now, so Ill have to do it tonight.
Here's my proposal: Since these are untested and new to everyone, the first 3 or so sets will cost $40 per set, or $10 per eyeball, shipping included. I would ask, then, that for these beta testers, if you run into any issues, please contact me directly, and I will make efforts to solve the issues.
Haha, small world! I grew up in Greenwood, but I moved down here for work. Sounds good, I'll let you know when I'm ready to send out the first batch. It may be a week or more, especially since my wife is 40 weeks pregnant, so that could put a grinding halt on things any minute now :-)
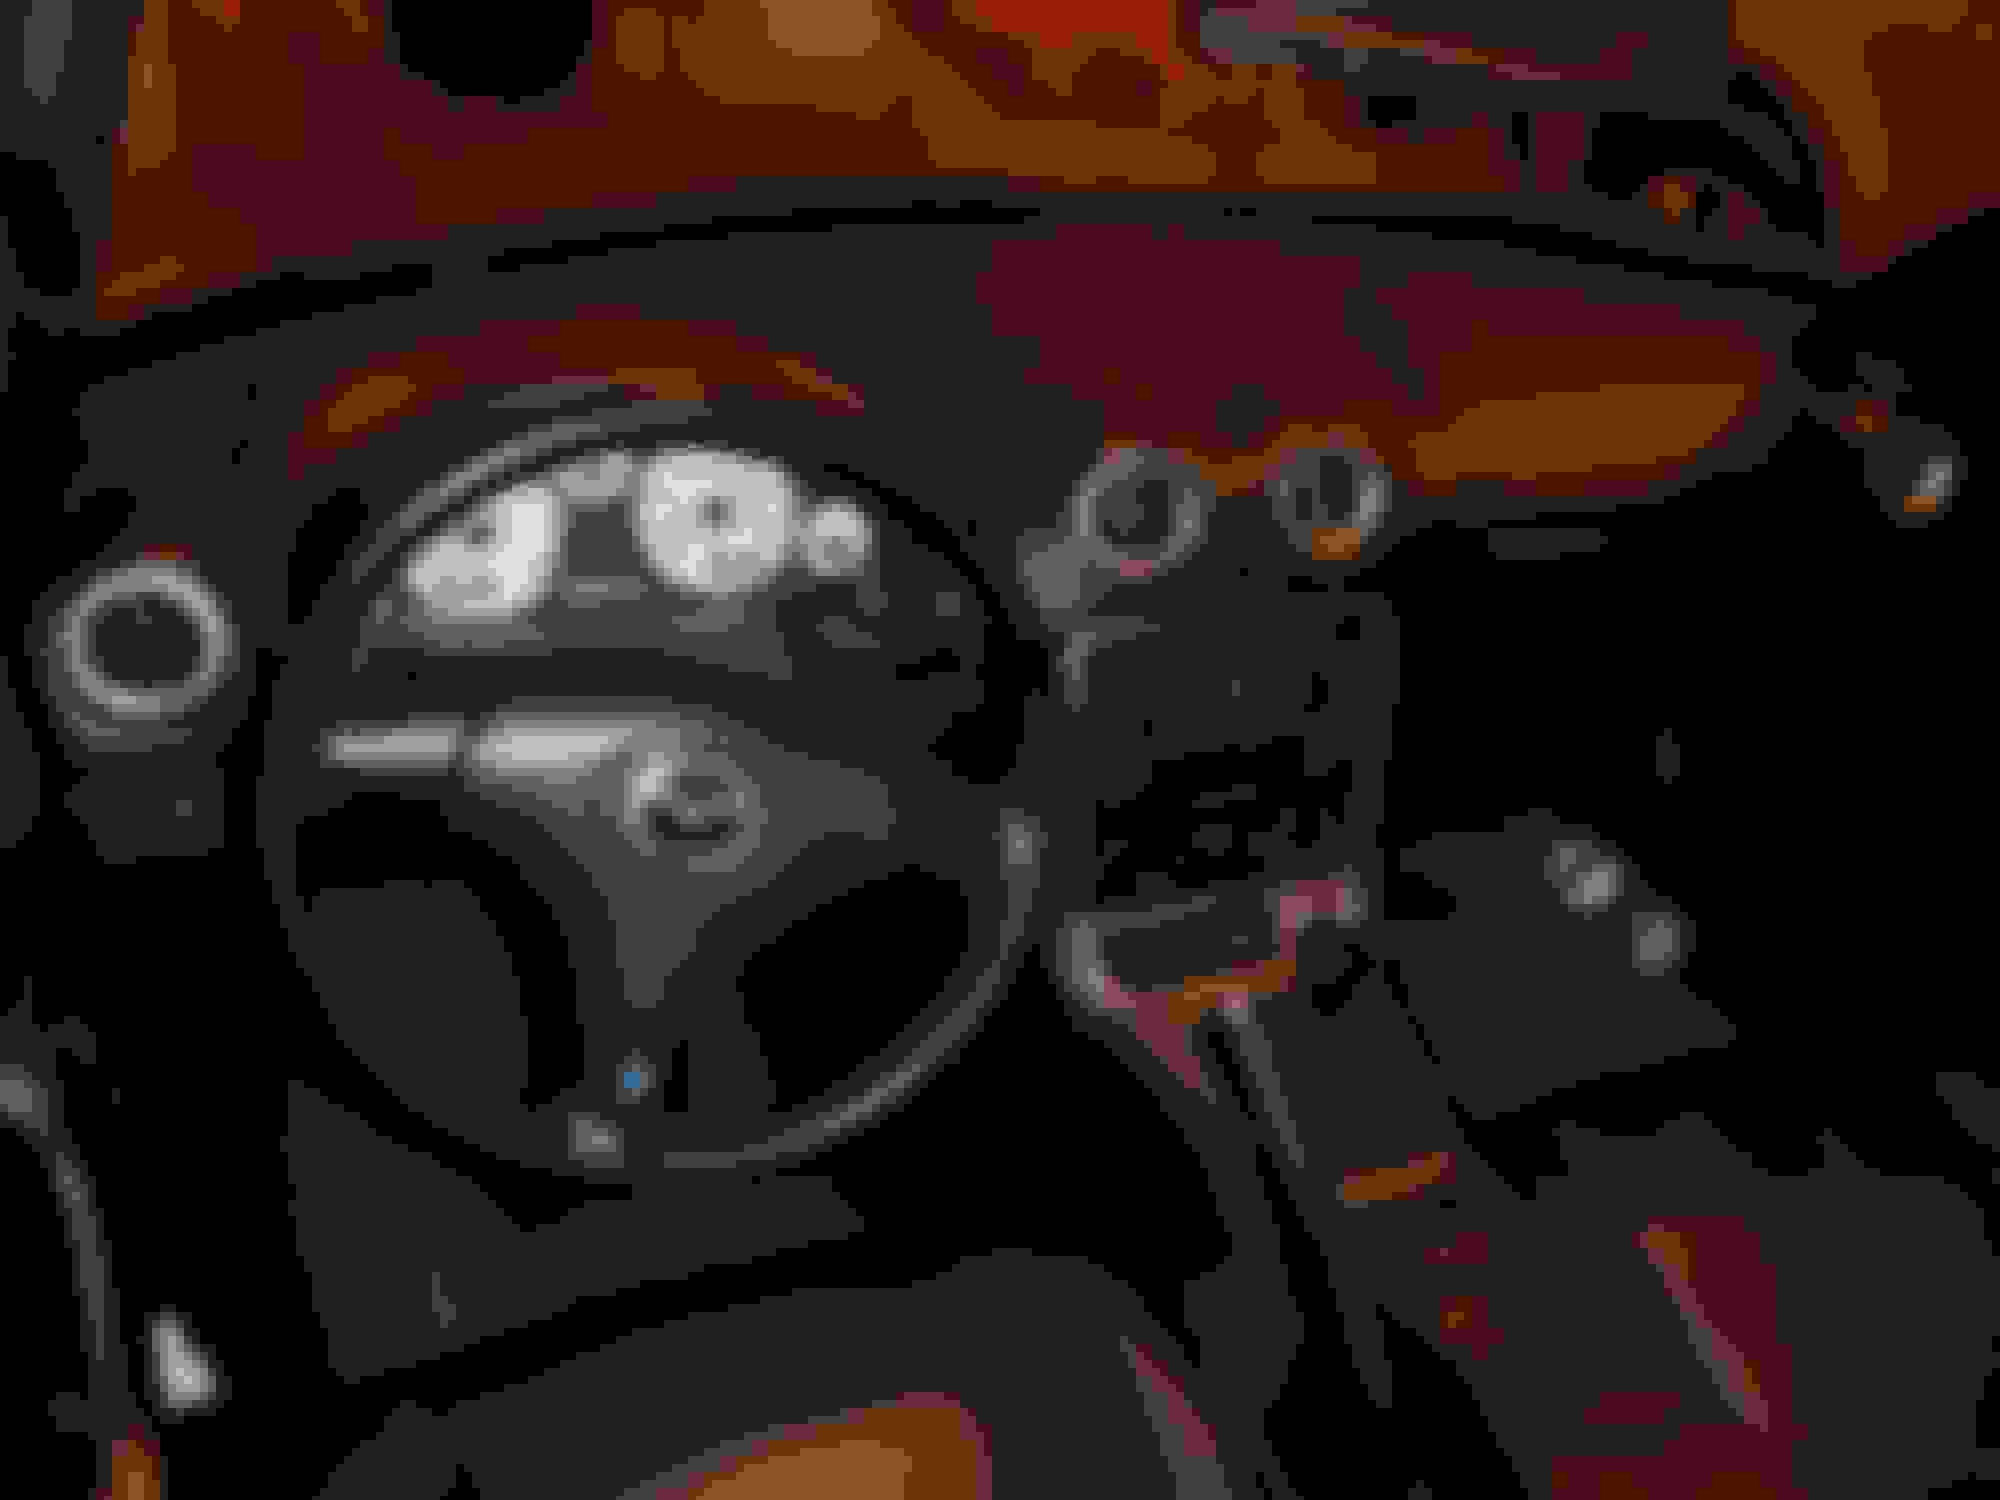
Ok, please see the photos attached. I made a small modeling error, and one side of the rotational shaft ended up fused to the shell. I have already fixed the model, but I don't have time to print another one tonight. Overall, though, the print quality is pretty good. Let me know what you think!
Update: I have received the new black Raptor PLA material, and printed off a test part. I performed the annealing process (baked at 210F for 7 minutes) without any deformation in the part. Pictures taken after annealing. I've got a few more design tweaks to make, and then I'm going to start putting them into my car for initial testing.
With my eyeball vents, in order to get them out I have to brace one hand on the tombstone and jerk on them hard. With the extra moving parts, how are these going to hold up to removal?
If you remove them that way, they will definitely break. Allow me to suggest an alternative method of removal, which is approximately 1472% more better: GearheadsMiataClub.net
As long as you pull on the outer shell part instead of the center "vane," it should be able to take it. I will include that in my battery of tests to make sure they can be removed without being destroyed.
Little update on the removal. I just successfully removed 2 more vents, which have never been removed before, with little to no force. You just have to make sure that you've disengaged the clips on both sides, and it literally slides right out. That being said, you can actually exert a significant force on these vents without them breaking. I just would not recommend the shoestring-through-the-eyeball method.
I'm getting close to being happy with the design at this point. It looks pretty much the same, but I've tweaked clearances and dimensions a bit to improve functionality of the moving parts.
As I'm sure you've been able to see in the pictures, 3D printing inevitably shows layering, especially on round surfaces. How much of an issue is this to people? I've got a set in my car right now, and yesterday I had a buddy riding with me. I pointed out the new vents, and his response was "If you hadn't pointed them out, I never would have noticed they were different." So it's not SUPER noticeable.
However, if this is a huge turnoff, I may be able to find a way to finish them to look smooth, at least on the most noticeable areas, like the center vane section. Thoughts?
At this point, I think they are looking good. My car is far less refined than most though.
I am curious if perhaps you could offer a budget or premium kit. I might be interested in a set with the lines depending on cost. While some people might be willing to pay more for a nice finish.
Yeah, that's what I was planning on doing if it seemed like the layering was excessively repulsive to people. Finishing them will require a not-insignificant amount of time and effort, so I would have to charge at least a little more. I'm also not sure how it would work with the moving parts, or whether it would be possible to get a nice even coating overall. Personally, I'm fine with them unfinished. My Miata is in really good shape on the inside, and they don't look out of place.
Ok, so I said before that the first 3-5 sets would cost $40 per set shipped; this will be a "Beta" run to see if there are any serious issues that I haven't caught. If any such issues arise, I will endeavor to resolve them before the next run. I hope to be ready to start on the first set this week, and probably have them done and ready to ship by the weekend. Let me know if you're interested!
Soooooo�.after a somewhat major redesign, and figuring out how to make my printer less sensitive to ambient temperatures, and some extensive abusive testing,
I now have a finished product.
The final design details are as follows:
Can be fully closed by rotating the interior vane by 90 degrees. The vane is held in position via magic (aka high grade [N52] neodymium magnets),
so it will stay open or shut even at full blast, and none of that spinning vent silliness. -->
Outer shape is such that the vent can be "locked" into a particular orientation by pushing it firmly into the socket. To change orientation,
simply give it a little tug, and it will rotate freely again.
Testing completed:
Thermal cycling: I left a set in my car for about 2 months in the hottest part of the summer without any effect. I've also heated them up in the oven to about 225F with no effect.
If your car gets more than 225F inside, it's probably on fire. Just for thoroughness, I also stuck one in the freezer overnight too, to see if it degraded the epoxy I used to glue the magic. No effect.
Structural Strength: I attached a 30 lb weight to the interior vane, and lifted it off the floor holding the outer section - no effect. Nevertheless, I still strongly recommend using this removal method: GearheadsMiataClub.net If done correctly, the socket just pops out, no force required, and no permanent damage to clips, vent, face, dental work, etc.
Cost is $60 per set, shipped. For now, they will be made to order, which will take about a week to get them printed, assembled, and shipped, assuming everything goes well.
Printing issues, sick baby, visiting in-laws, etc. may extend the lead time a bit. If you're interested, either PM me here, or shoot me an email at PRINT3DNINJA@protonmail.com. See nifty pictures below:


 0
0